DIY banquet

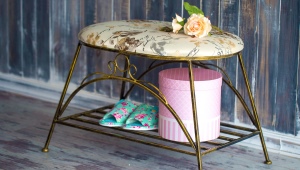
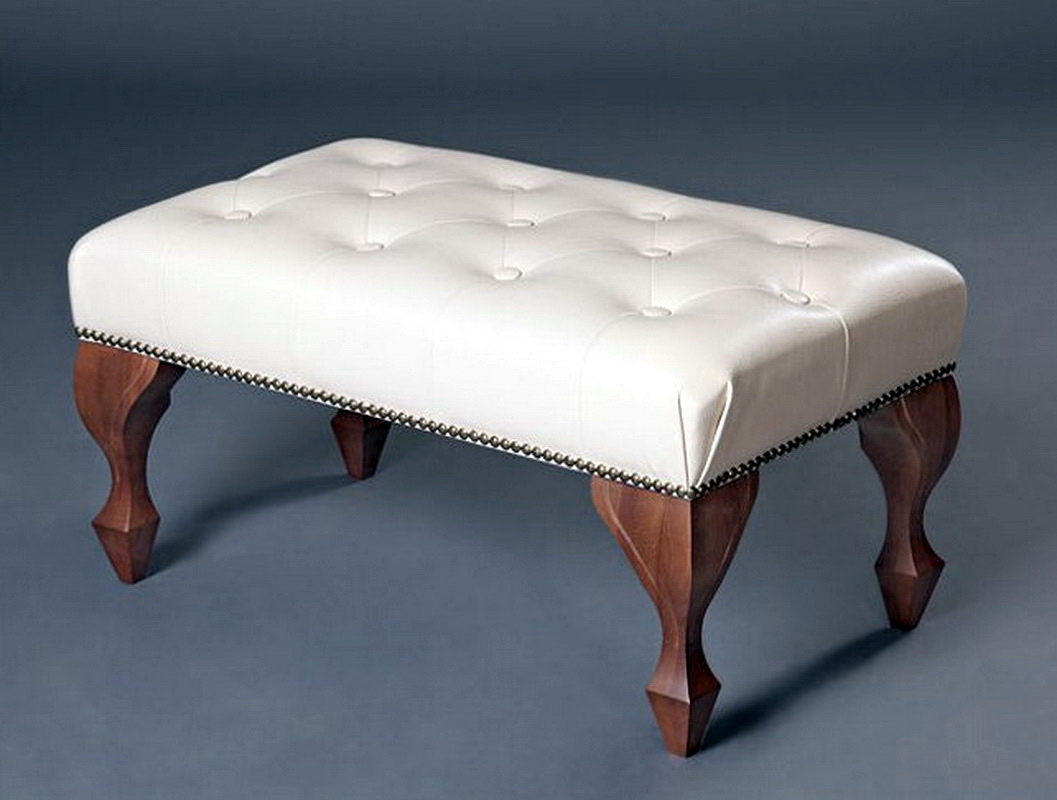
Banquette - it is a decorative element of furniture that can decorate any room. This multifunctional product can serve as a sitting place as well as an element of decor, a place to store things. In the furniture stores there is a huge range of banquettes, made in various styles and using a variety of materials. It is not necessary to go to the store to get this piece of furniture. Many craftsmen are quite capable to make a bench with their own hands - at home. To do this, you only need to be able to work with tools, sew and have a good imagination.
What materials will be needed?
Almost anyone can make a banquette with their own hands. A beginner in this business is better to start working with wood, and not with iron, as with such material it is much easier. Wood materials will not require professional skills or significant experience.For the framework you will need wooden material - for example, chipboard or plywood. If the product will stand on legs, you will have to purchase wooden bars. Their size depends on the height at which the master plans to place the bench. Ready-made legs can be bought in the store or unscrew them from the old stool.
It is necessary to fix the construction with the help of furniture corners, screws and glue. Foam rubber is used for the filler, and any fabric you like is used for upholstery. But you need to understand that the fabric must be durable and very durable, so that it does not wear out over time. If a four-sided screed is planned, then it is better to use not only foam rubber, but also a synthetic winterizer.
Required tools:
- drill;
- a screwdriver suitable for selected screws;
- furniture stapler;
- sewing machine;
- screwdriver;
- sandpaper;
- varnish for furniture.
The main stages of preparation
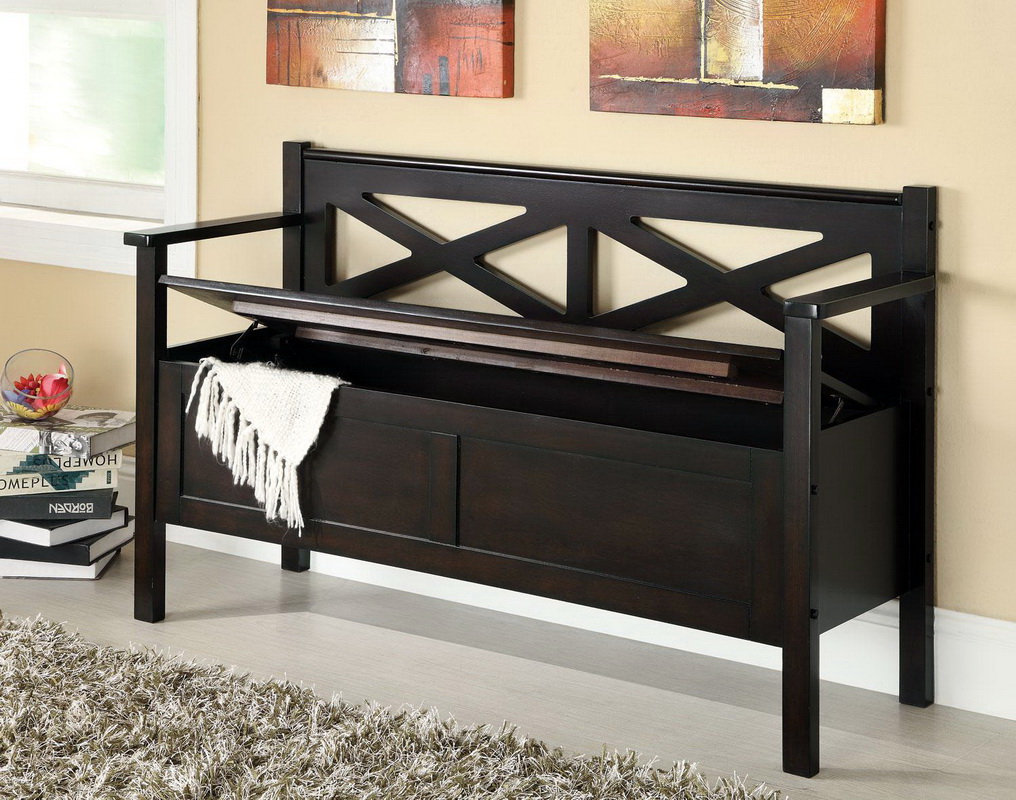
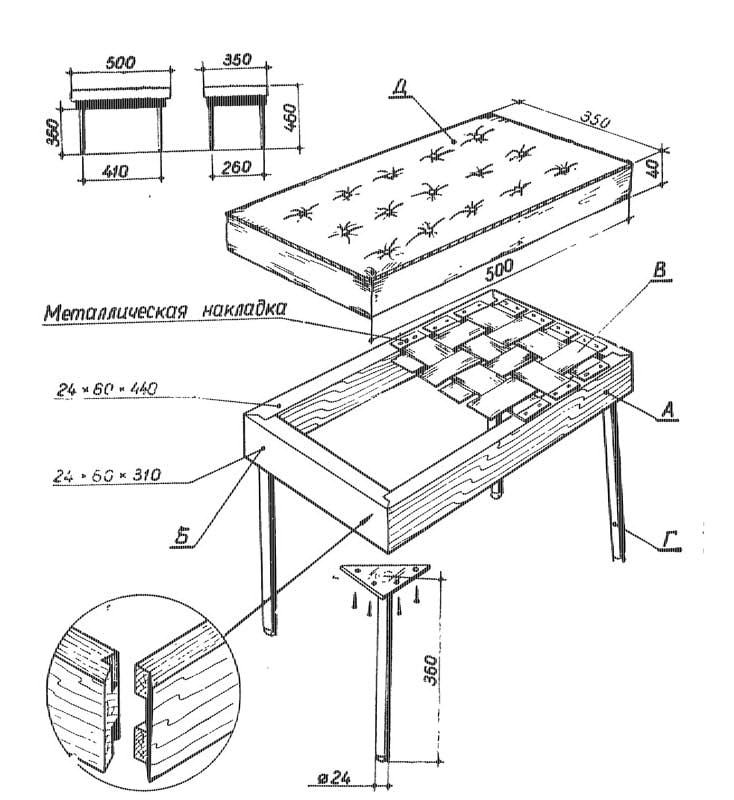
It is possible to begin work only after creation of the drawing of a stool. Many may think that it is not needed, because the product is simple and does not require many structural details. However, the drawing will be needed to determine the parameters of the product and compare them with the size of the room in which it will be.Choosing the type of product, it is better to stay on a simple version. It is harder and longer to collect a bench with a back or with a box, so for the first time you need to limit yourself to a simple design. Having decided on the model, you need to draw a sketch. It is necessary to note all the elements and their sizes. Details of the tree cut out with an electric jigsaw, irregularities rubbed with emery paper. Then they can be varnished.
Master Class
To get right to the matter, the beginner will need step-by-step instructions on how to manufacture such products:
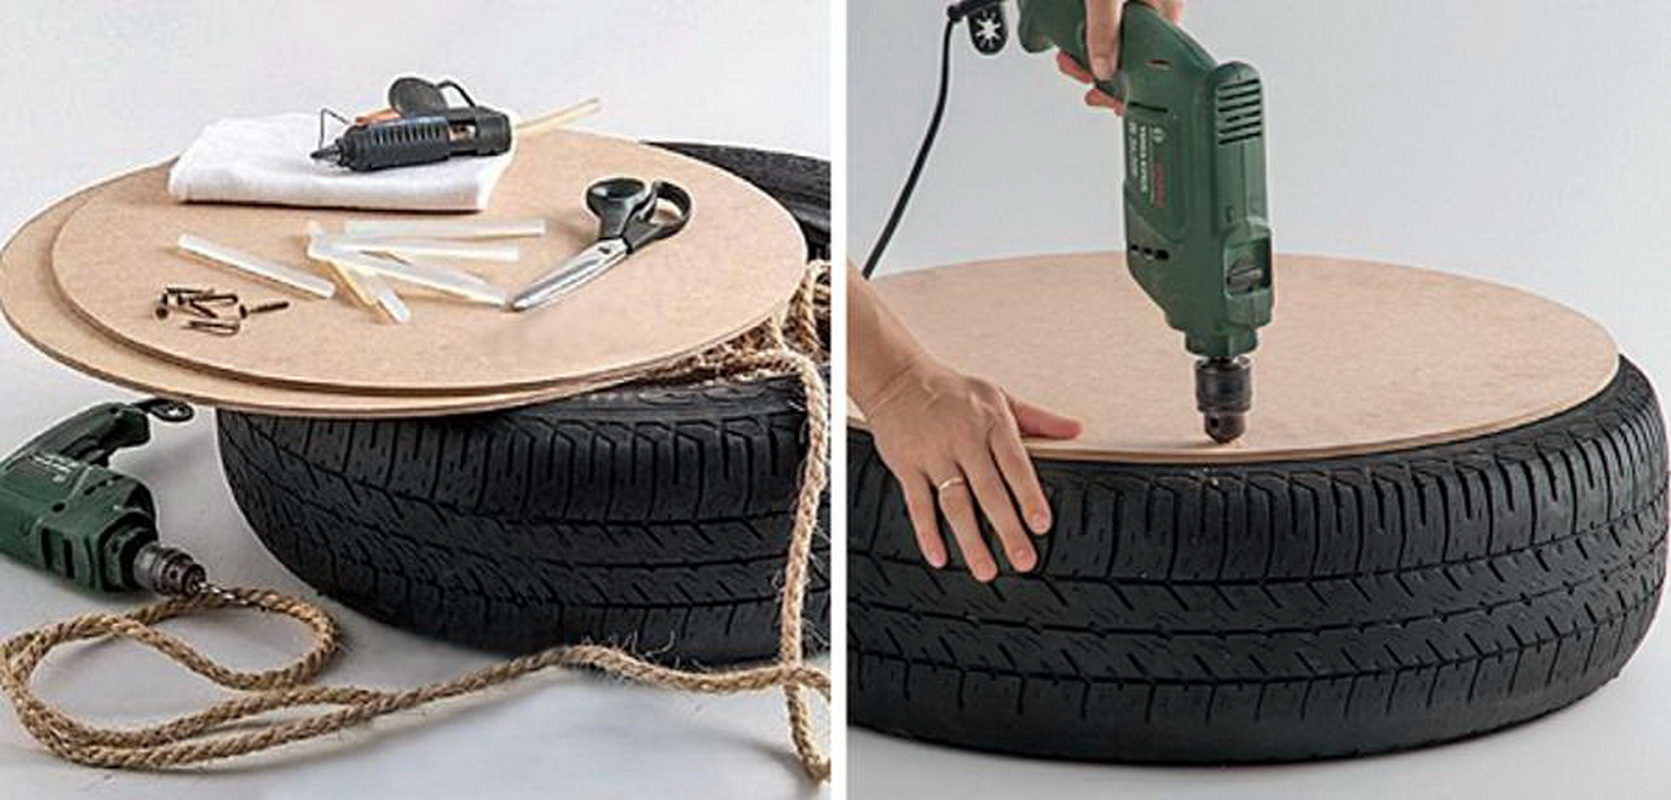
- It will be necessary to cut the seat out of plywood or chipboard. For the first time, you can choose a round or square shape. A form with many corners or curls is too difficult for a novice master.
- If the future product should have legs, then four plates should be attached to the bottom so that they protrude by the edge of the stool a couple of centimeters. It is necessary to fix the legs with the help of furniture corners and screws, which are screwed with a screwdriver.
- If the product rests on the sidewalls, then all parts of the structure are cut out in advance. This is necessary in order to pre-plaster them - only then it will be possible to assemble them on the pins.Every detail should have special holes at the ends.
- Hand mill will help to make legs unusual.
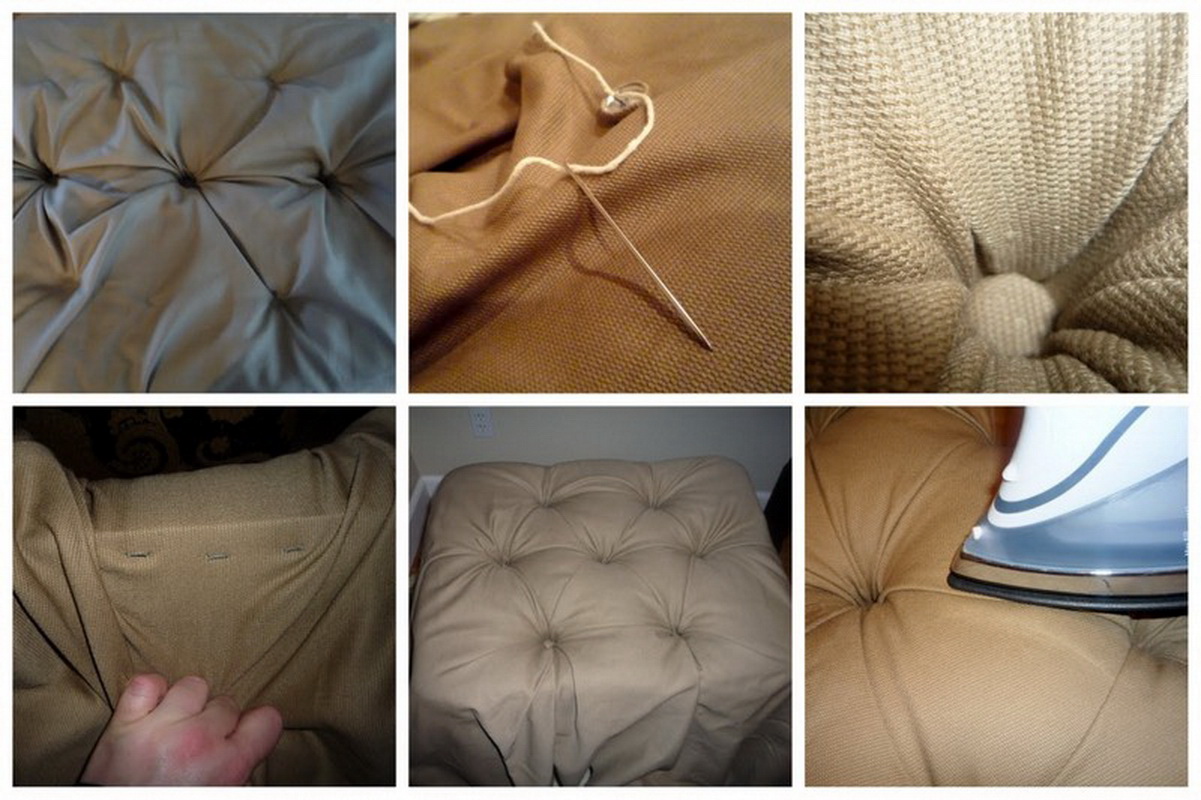
- The softness of the seat should provide foam rubber. From it cut out the necessary form, and then attach it to the bottom of the product.
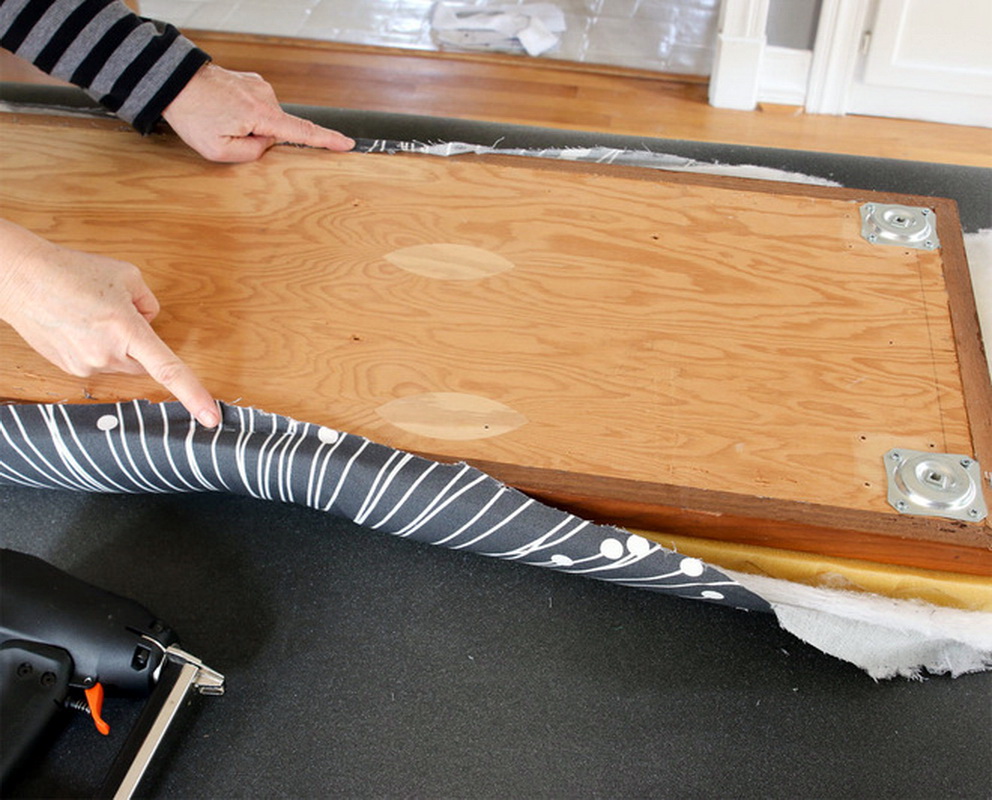
- It is best to first attach the burlap on the bottom, and then glue the foam pad.
- For upholstery you must first make a pattern. The fabric is thrown onto the finished product and secured with staples.
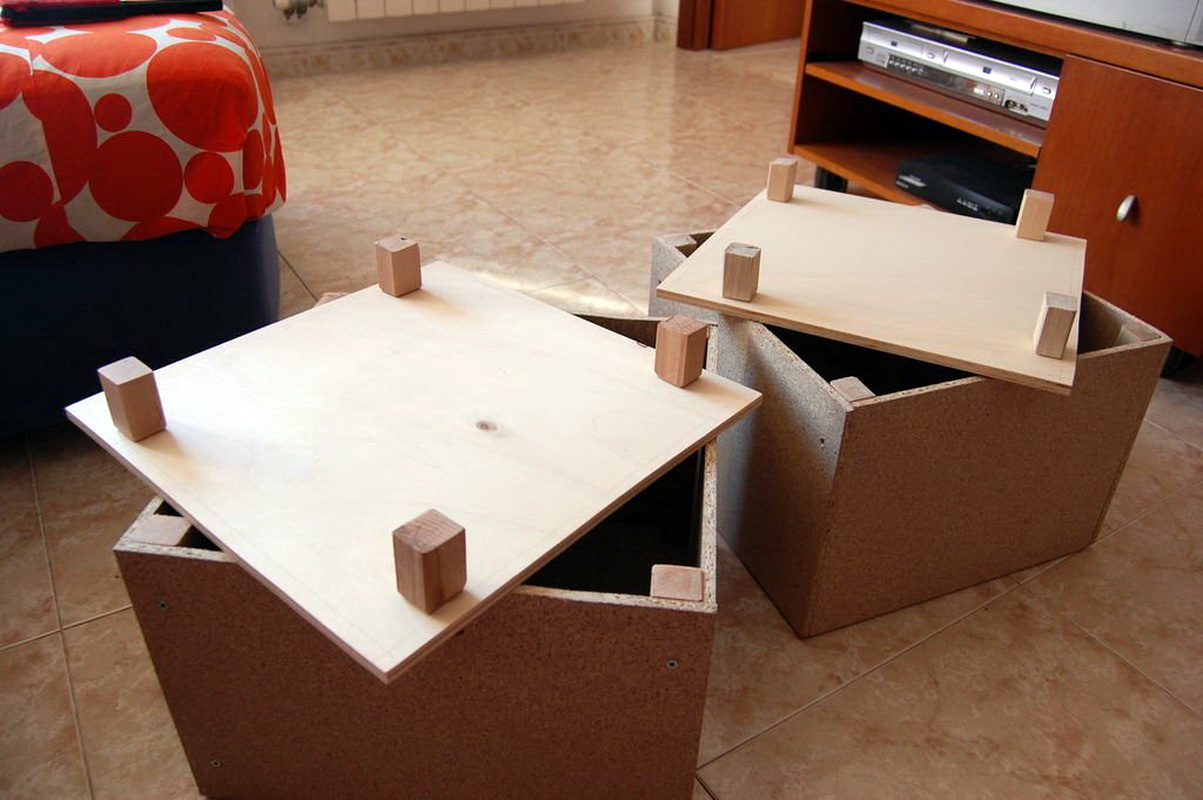

Production of parts and their assembly should be carried out in stages, because to collect everything is a very serious work. To avoid errors and not to spoil a piece of furniture, you need to follow some rules. For example, in plywood be sure to make holes for screws. For this, a drill is used. The lid should be the same size as the perimeter of the case, so as not to interfere with later sheathing the product. The assembly of the frame begins with the fact that on the workbench they collect a square from the blanks and connect them with self-tapping screws. The pre-cut bottom is fixed with screws to the frame, after which the paint is painted on the inside with a stain.
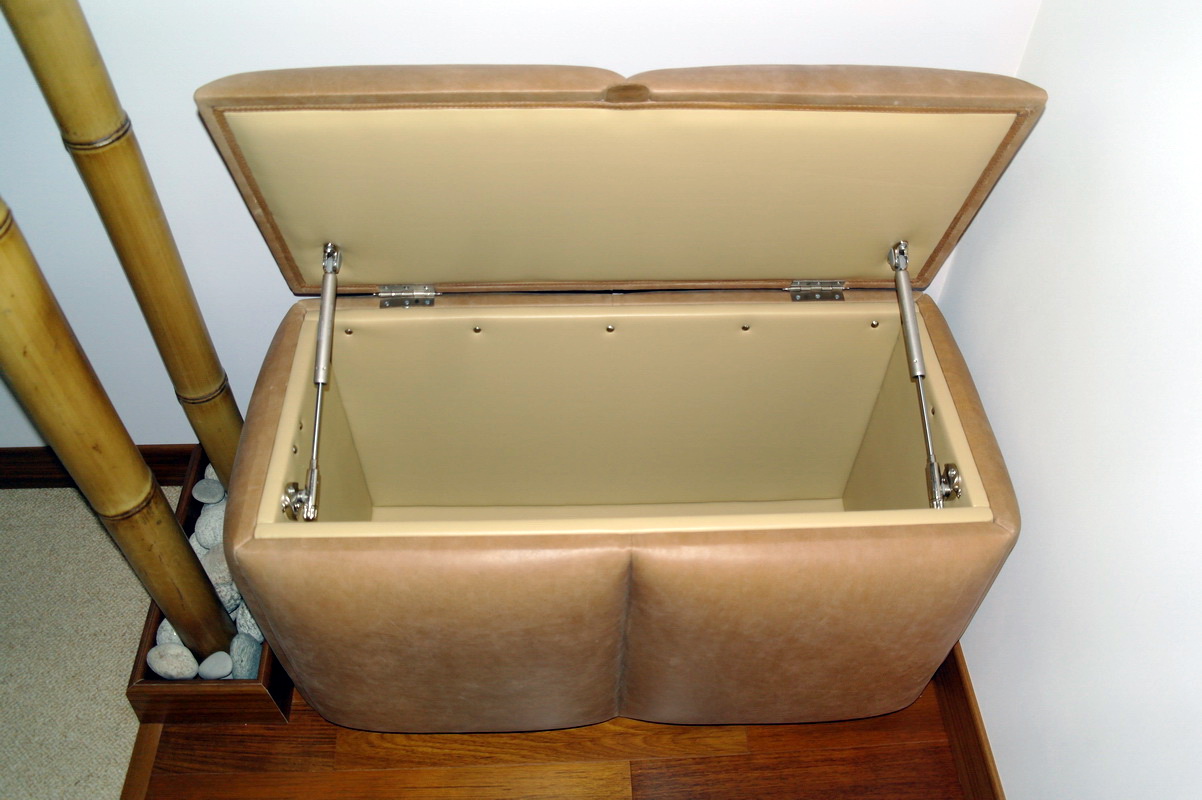
The body should be more than a base for the stool for two centimeters.Billets are connected by screws and varnished. For mounting the cover, the piano loop is cut off five centimeters less than one side of the case. This is to ensure that the fabric is not torn. Piano loop is fixed on the edge of the workpiece, and then fasten the box on one of the sidewalls. At this stage of work, the bench should be placed bottom down. The trim starts with a cap. To do this, create the desired form of foam rubber and using clips and glue is fixed on the outer surface of the cover. If the bench does not have a cover, then the foam rubber is mounted on top of the product. Then foam need to sheathe and side parts.

Unusual ideas
Talented craftsmen have long used old products to create new pieces of furniture, which either became unusable or simply lost their relevance. Therefore, it is not at all necessary to create a product from scratch; you can restore an unnecessary coffee table or stool. The main thing - to have enough imagination. An interesting way to create a stool is to use an old wooden box. To do this, you need to remove locks and hinges from the box. If there are any irregularities, they need to be polished.The box itself can be painted in a bright color, and the lid can be covered with leather (previously - foam rubber). Inside the box, you also need to restore order: polish and paint.

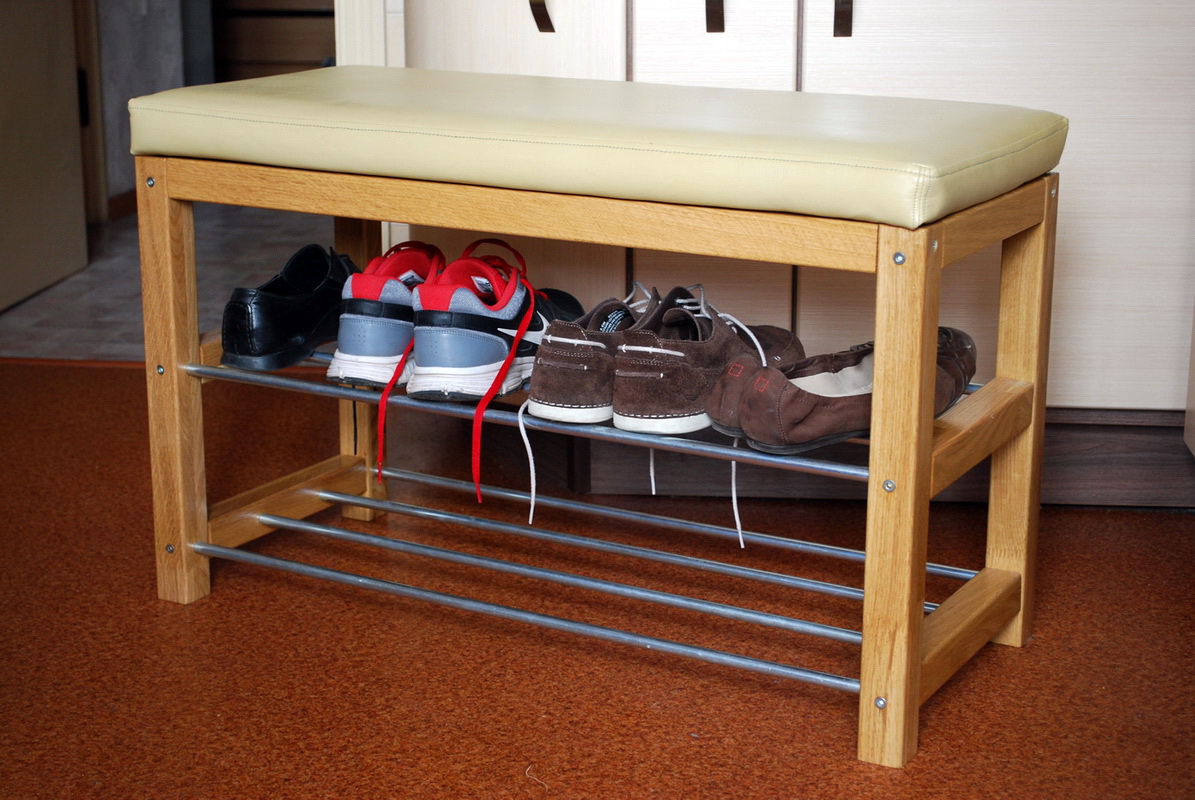
The stool from old chairs will look original. To do this, take two backs of chairs with rear legs and connect them with the help of two bars. Fix the bars need angles and screws. Then they make a seat of plywood and sheathe it with foam rubber and cloth. The bench of plastic bottles is the trend of this year. For the manufacture of such a product will need to prepare about 40 bottles, cardboard, tape, glue and foam rubber. Bottles are fastened together with scotch tape, and then glued to the cut cardboard from two sides: on the bottom and top. After this, the construction is pasted over with foam rubber and covered with a cloth. An old shoe shelf can become a multifunctional product. To do this, it must be polished and painted. Then at the top you need to make the seat of a sinteponovoy pillow, which is pre-placed in a cover and attached to the shelf.
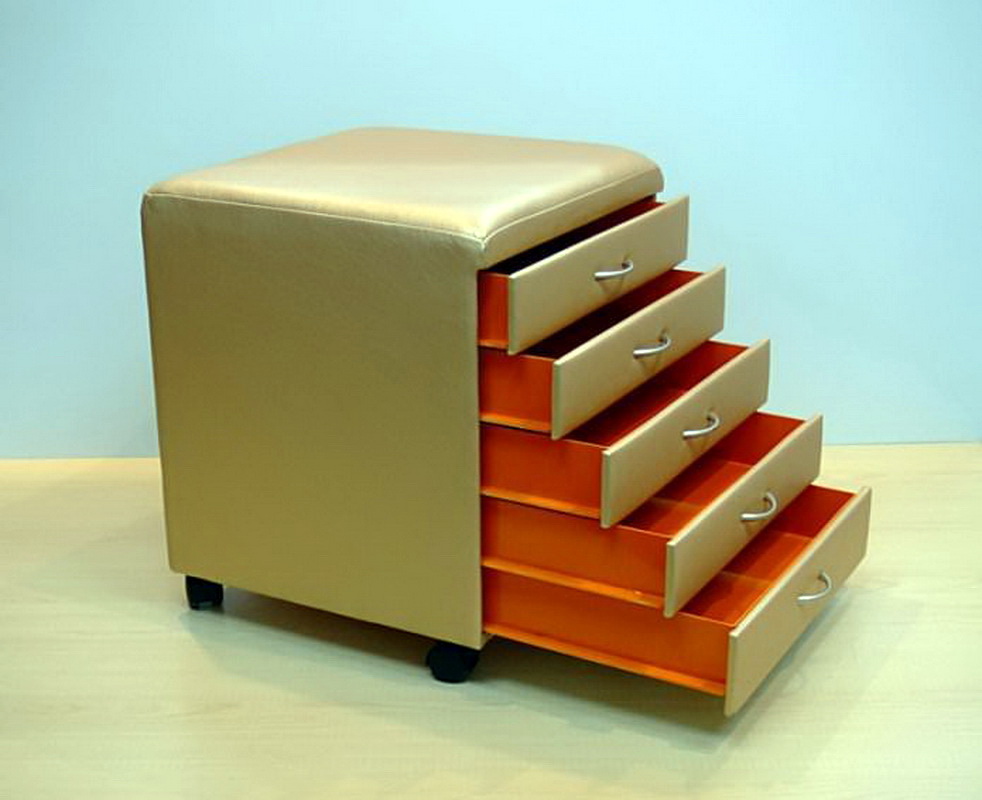
Jewelery
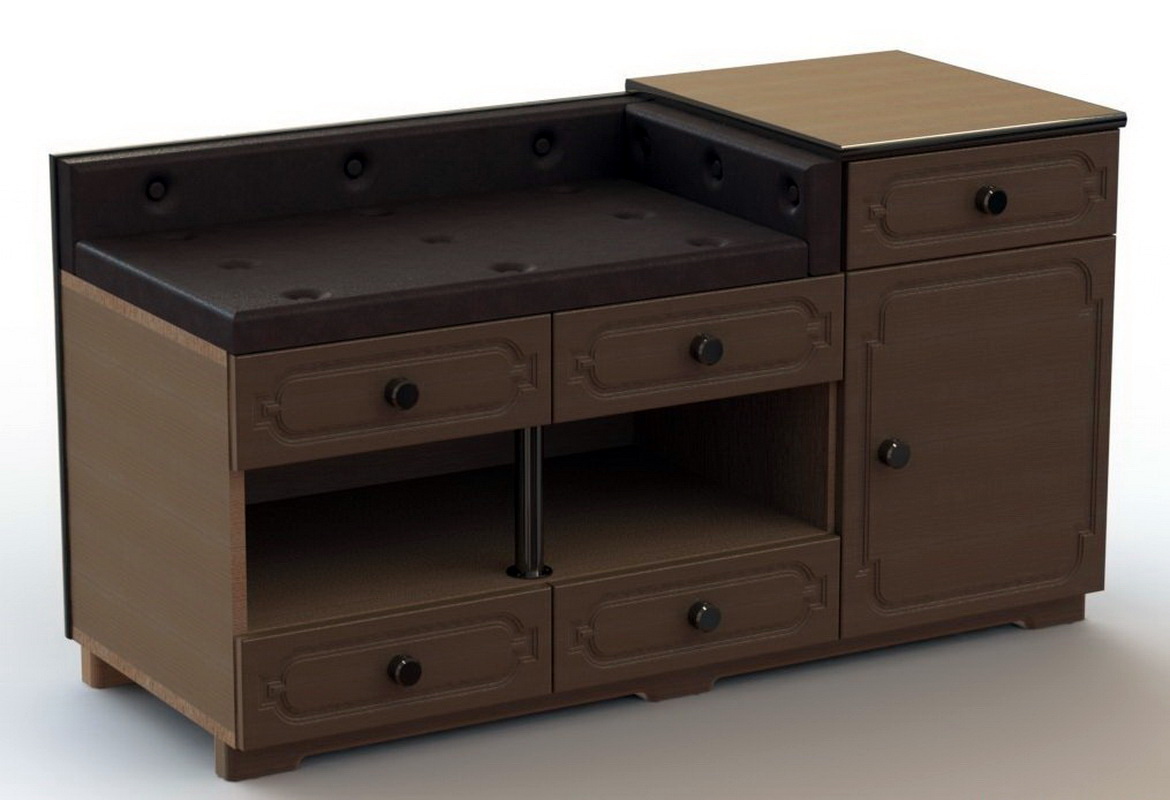
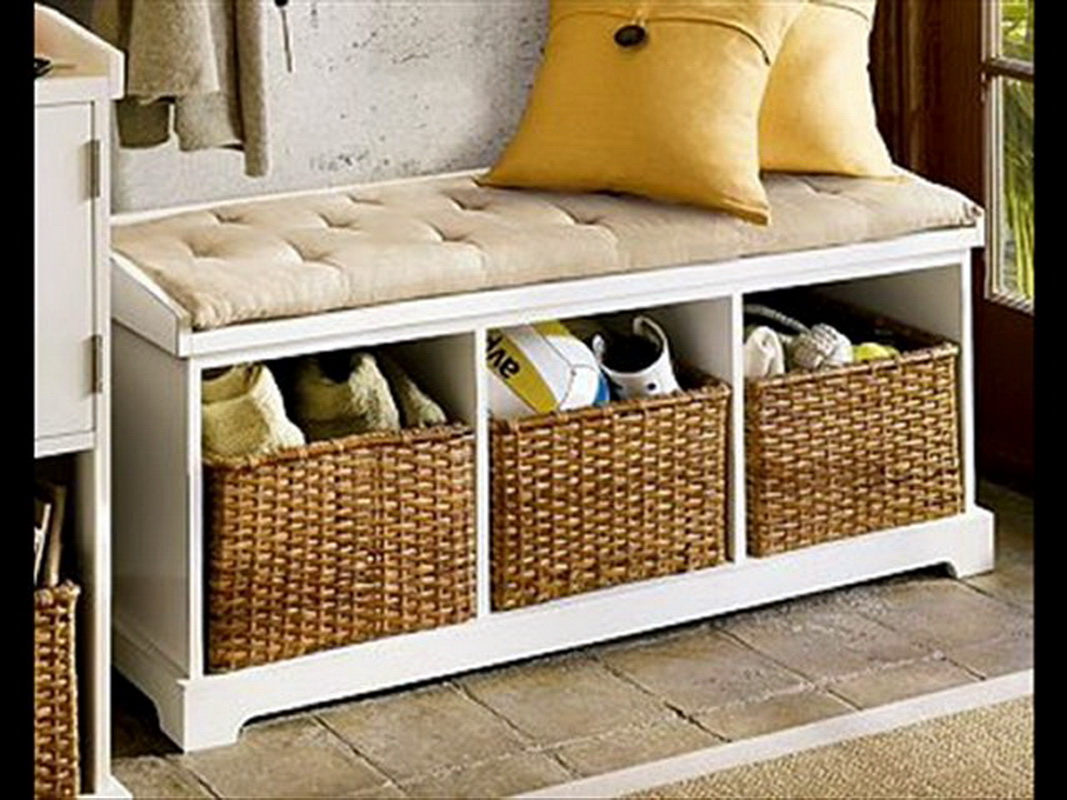
To update the old furniture and make it a stool, it is not necessary to spend a lot of time and effort.In such a product, the main thing is softness and the availability of storage space (drawers, shelves). When the transformation of old furniture is already finished, it's time to think about the decorations. When translating your ideas and fantasies into reality, you should not limit yourself. After all, the stool should be pleasing to the eye, and not sad to stand by. Therefore, it is important to arrange it in such a way that it will at the same time catch the eyes of the guests and harmonize with the interior.

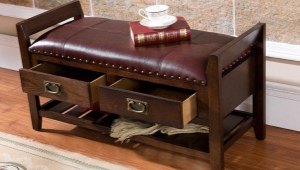
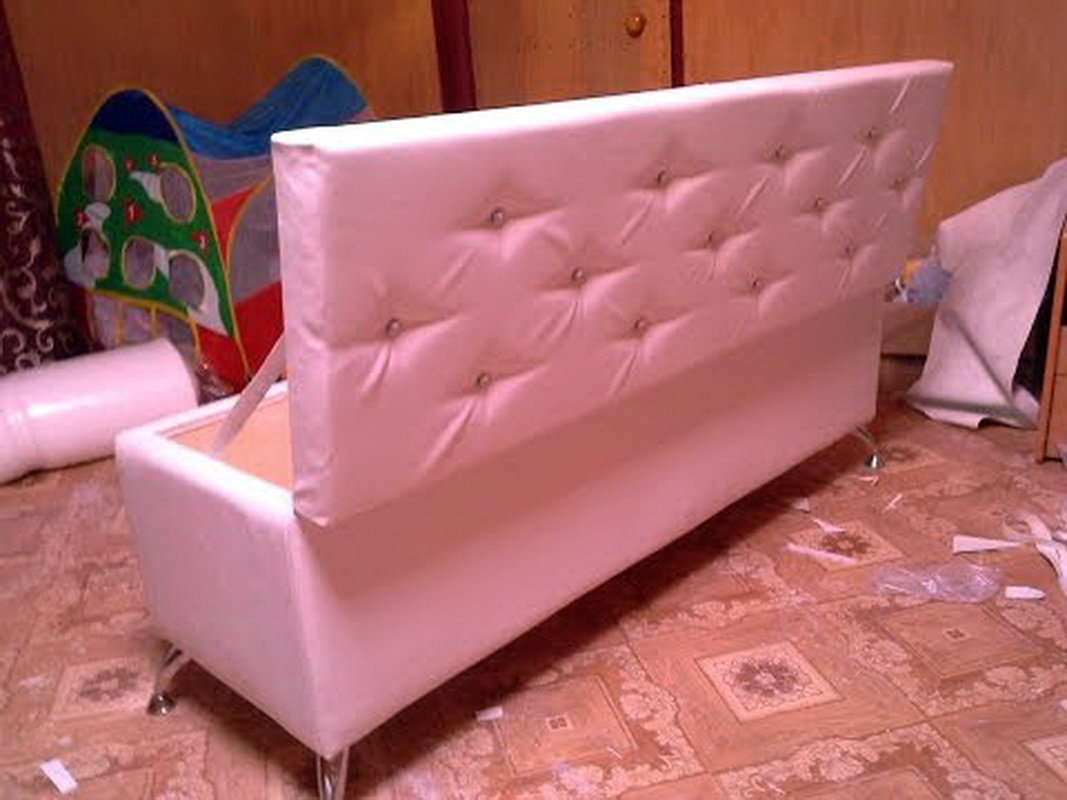
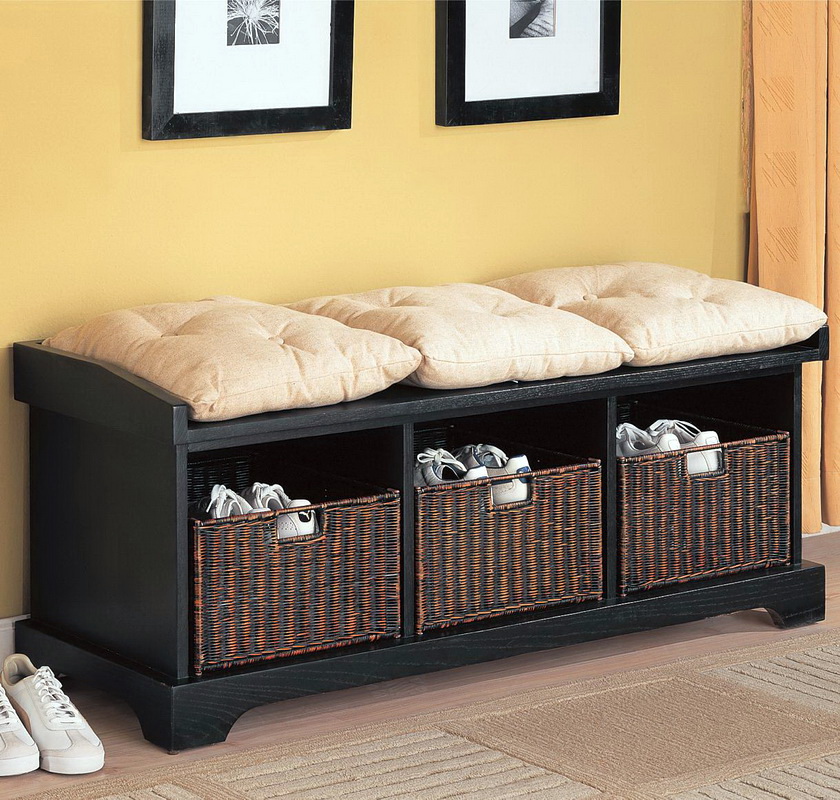
For the hallway fit the product, made in the classical style. This is especially important if you also need a shoe shelf. The purpose of the banquettes in this case - more for storing shoes than for a comfortable stay on it. However, it should be noticeable and have a skin of leather or leatherette. In the children's room such product can have any style. The main thing - that he considered the situation. For girls, the banquette can be decorated with velvet and voluminous flowers. It will be very interesting if the case is bound by mom. For the boy, the product in the form of a soccer ball will be original. Even more interesting if there is a place for storing toys inside.

In the bedroom, the stool is more often used for pointing beauty in front of a mirror or for reading. Usually it is sheathed with a fabric of calm tones.
Often, the banquettes are made specifically for the wedding.Guests on them are very easy and simple. All banquettes and poufs at this event should be made in the same style. So they look very nice on the background of the hall. Satin ribbons or embroidered patterns will look very tender on them. Of course, this is painstaking work, but such products look impressive.
Making a soft stool or a padded stool with your own hands is not very difficult, but it requires care and accuracy. It is important to correctly assess your strength and use a drawing that is suitable for a novice master. And we must not forget about the versatility of the product. On the bench, they not only sit, but also store small objects in it.
In the next video - a master class on the manufacture of stools.