How to install the hood in the kitchen
Many people, choosing a hood, doubt whether it is possible to install it yourself, or it is better to invite a specialist. This work is by no means difficult, and any person who has a drill at least once in his hands and knows at least something about electricity can cope with it.
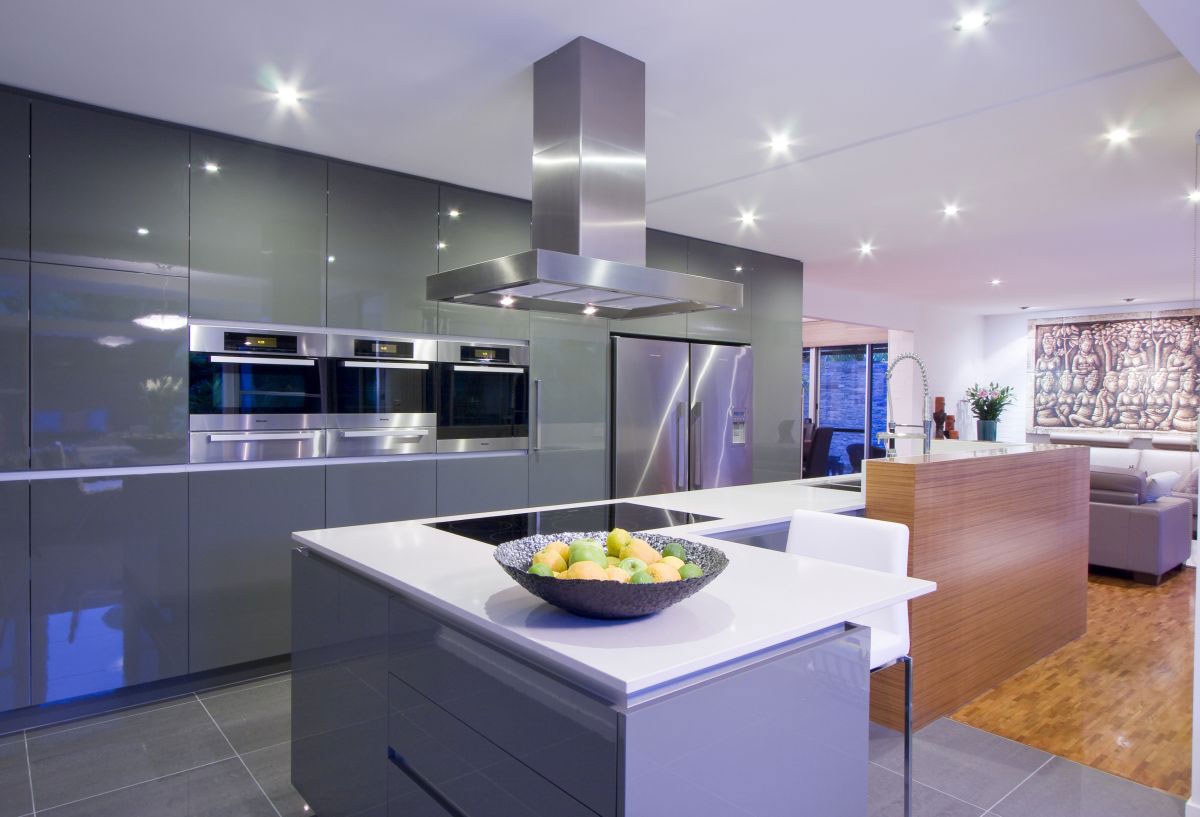
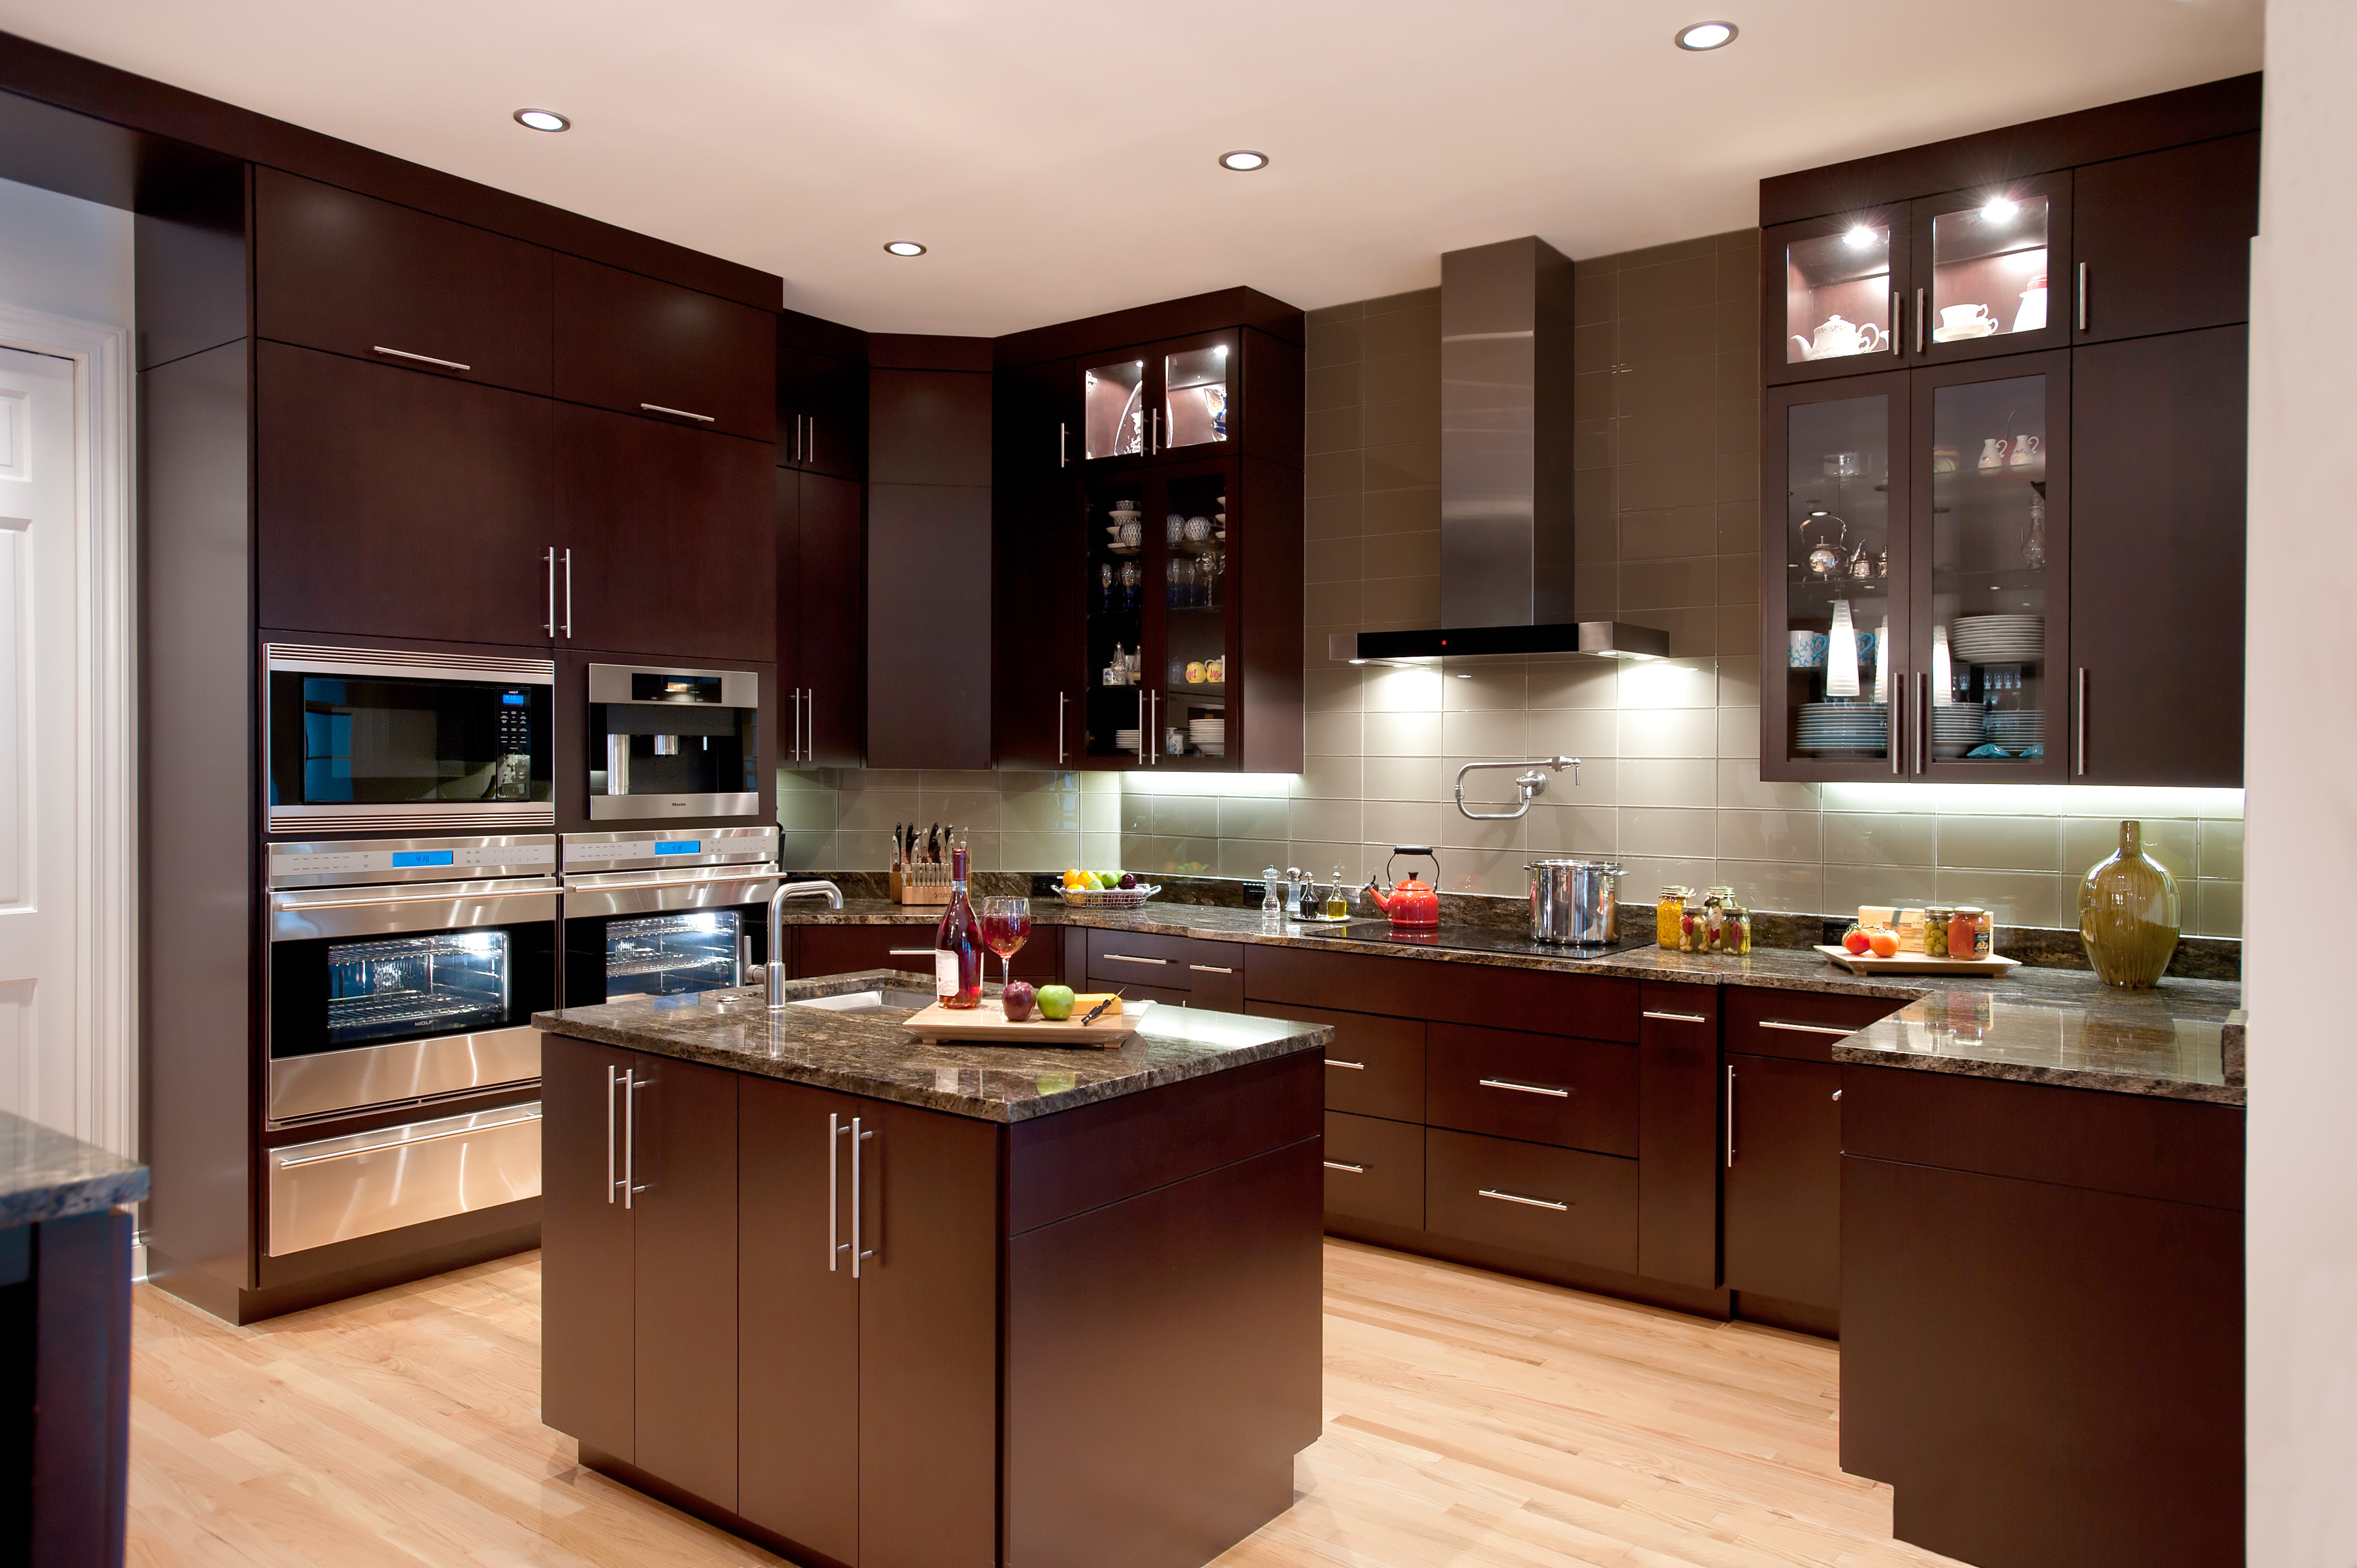
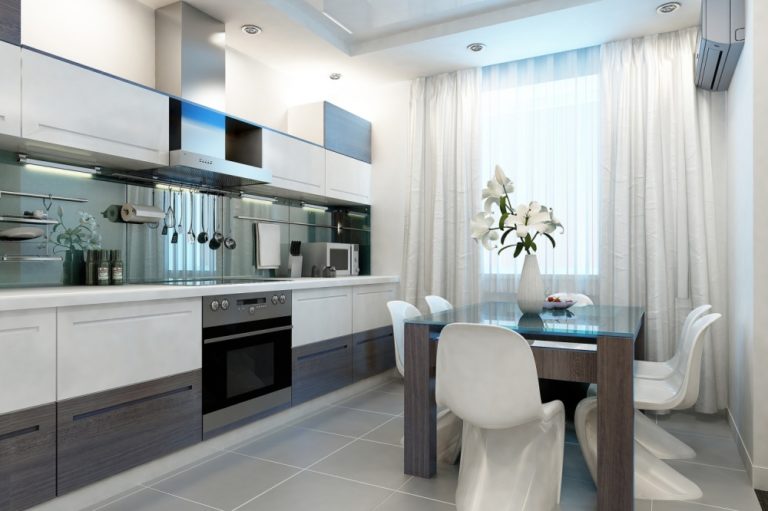
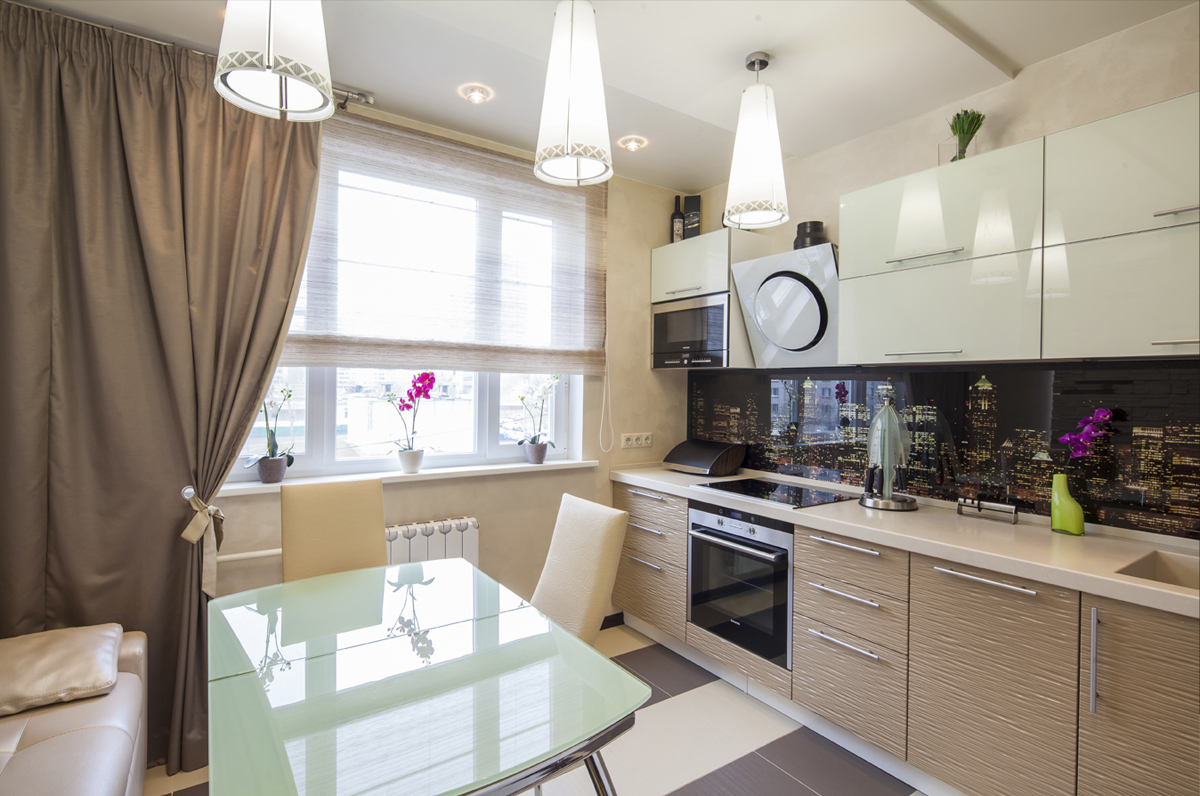
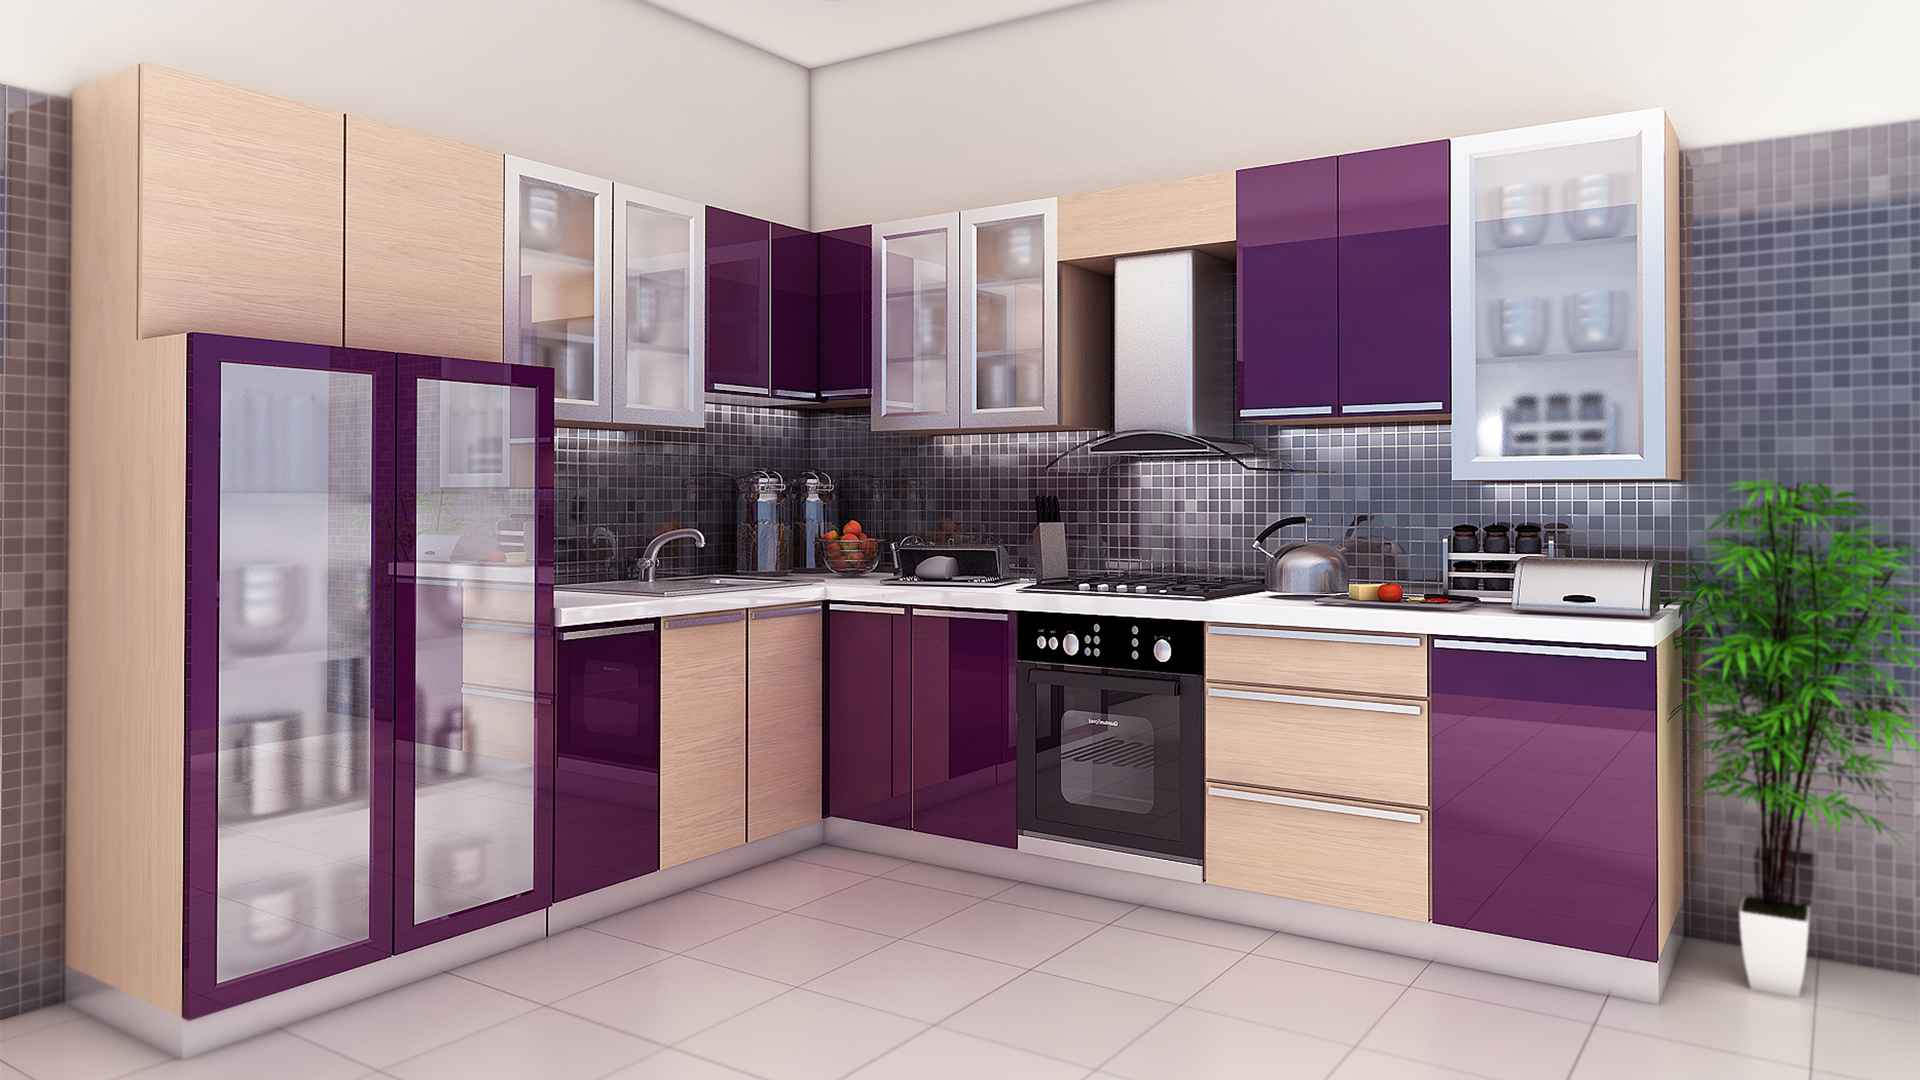
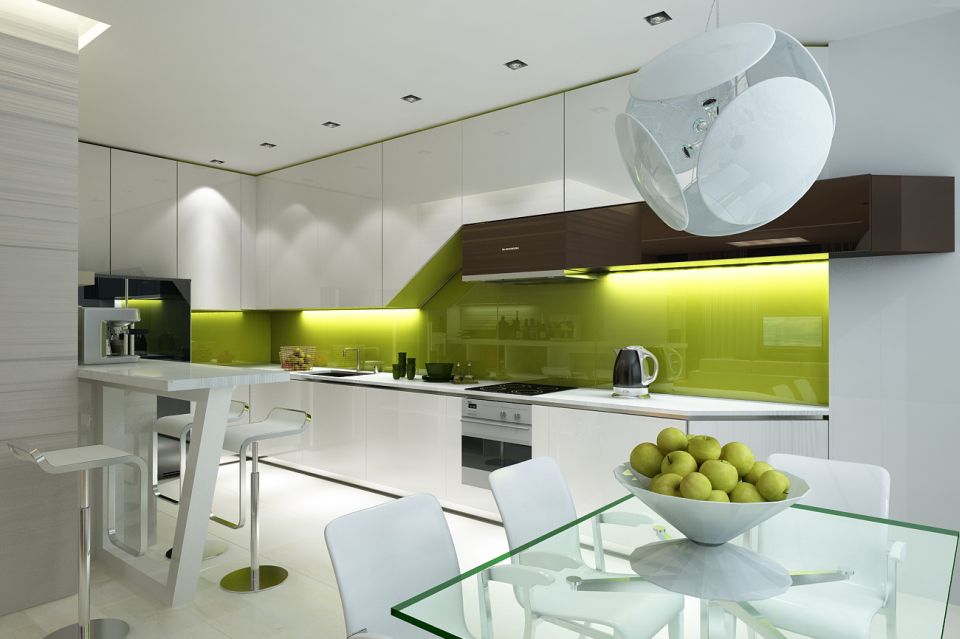
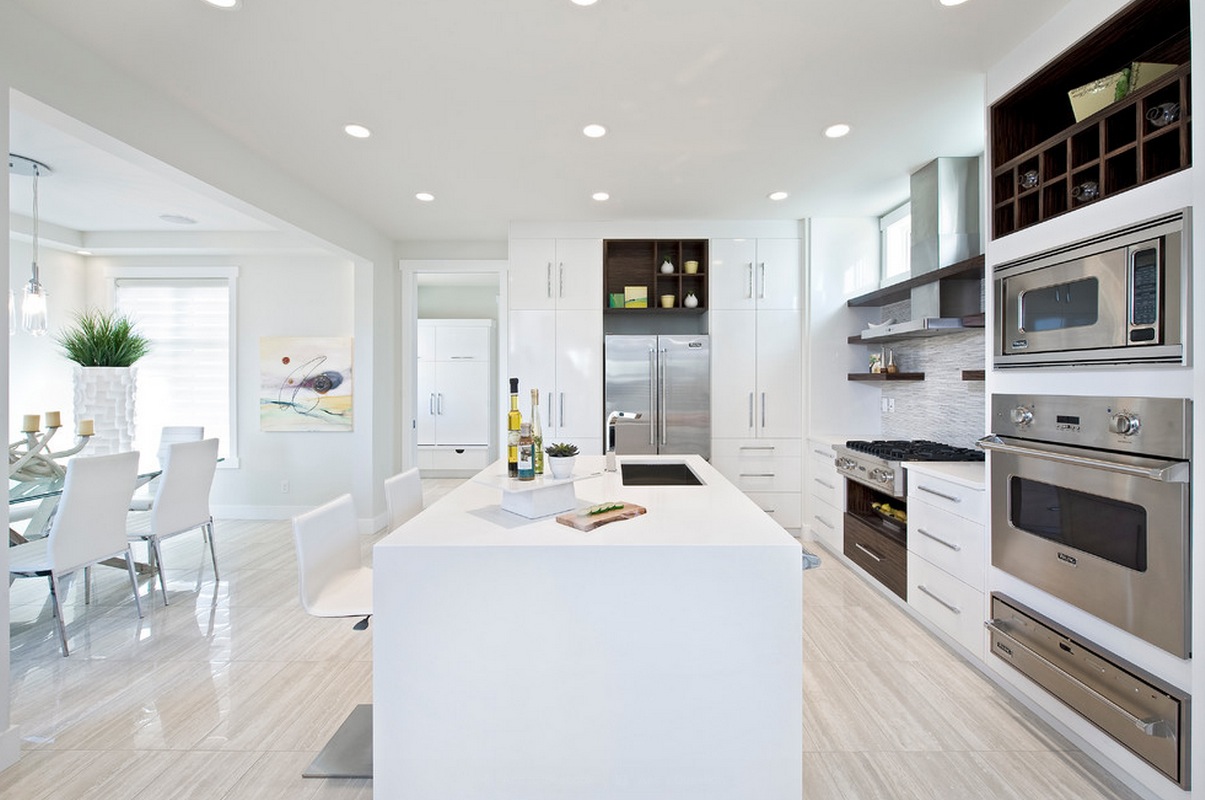
First, you need to pick up the hood, the appropriate volume for your kitchen. To do this, calculate the cubic capacity of the room, that is, multiply the area by the height, and increase this number by 10 times. As a result, get the bandwidth that is needed for your premises. The design of the hood can be anything: straight, domed, oblique, and depends only on your preferences.
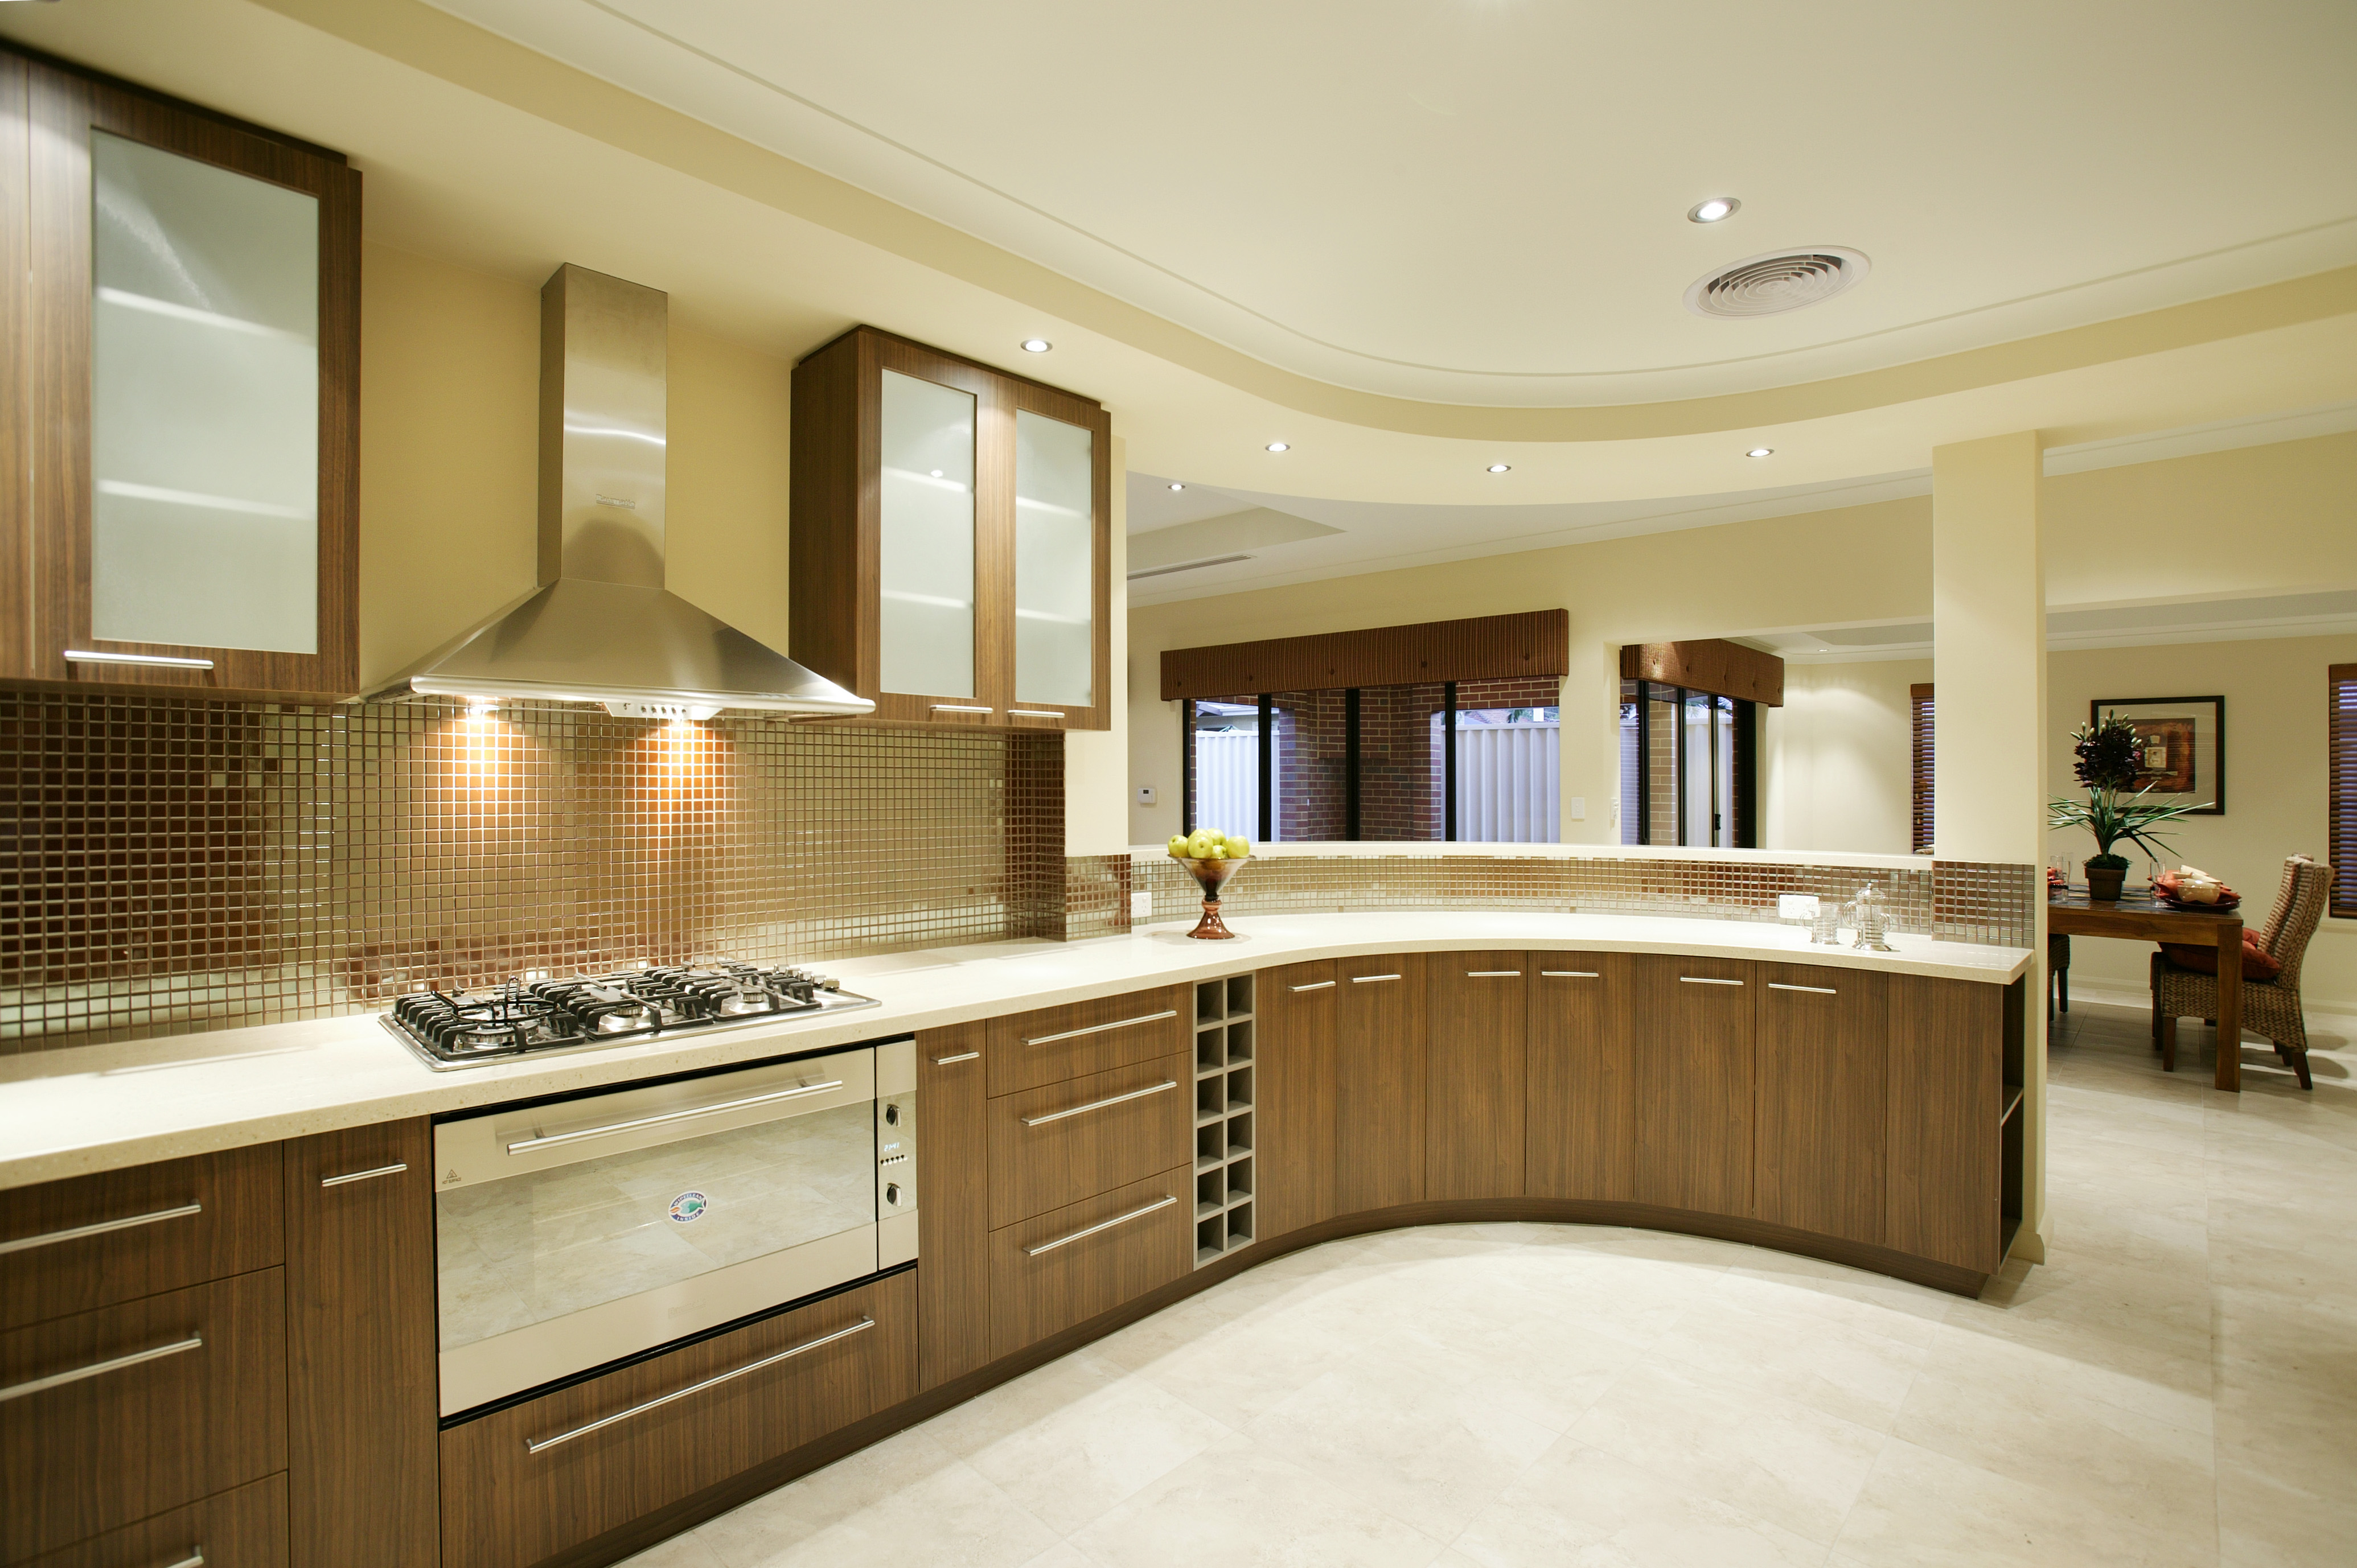
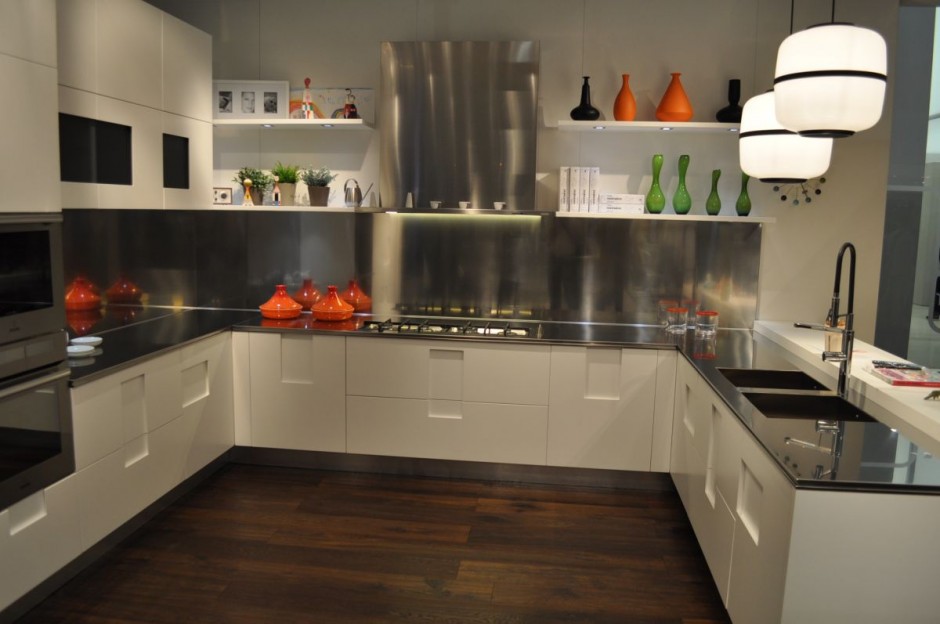
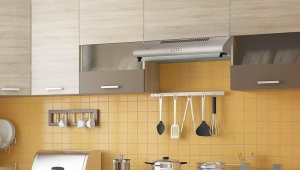
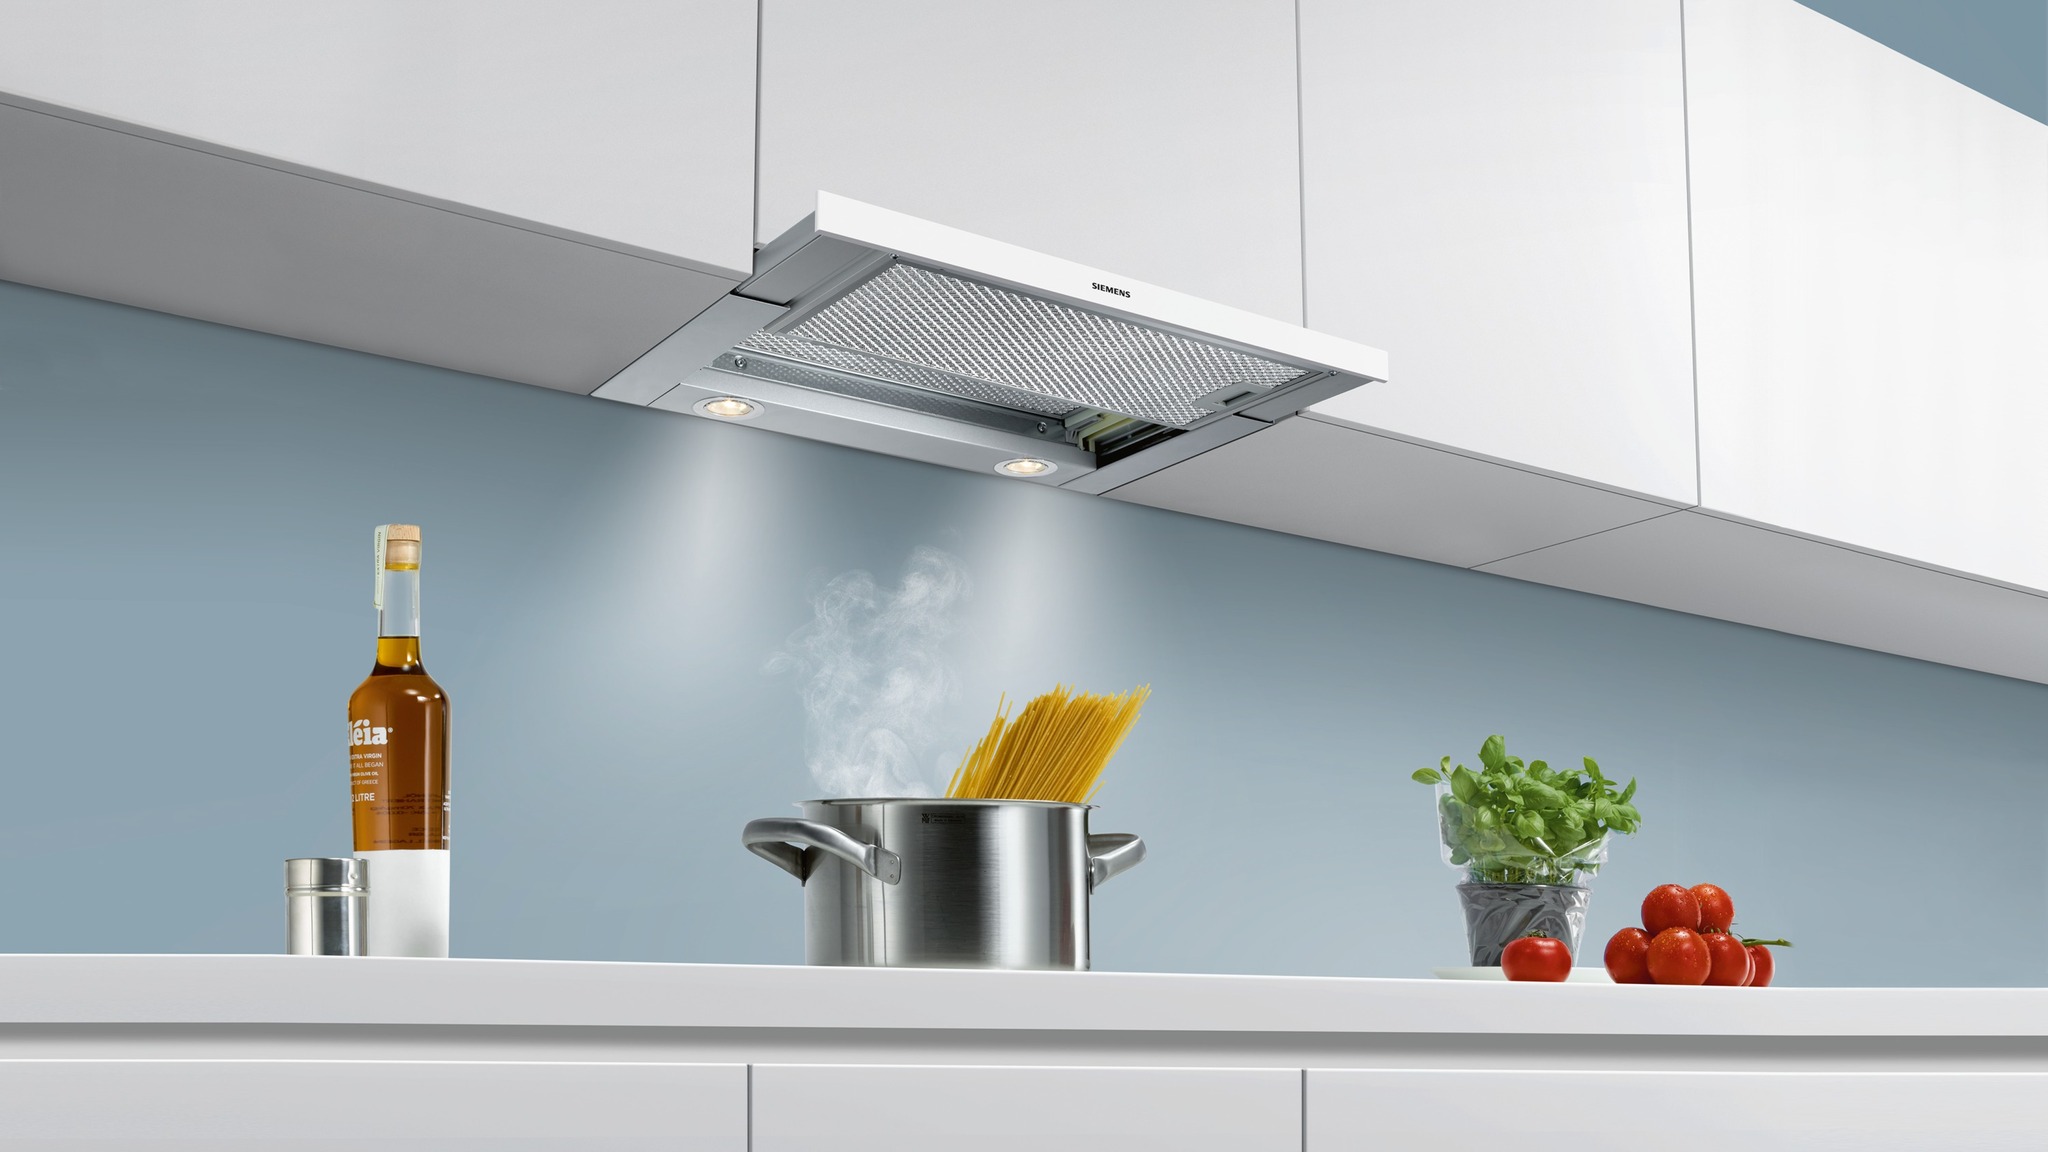
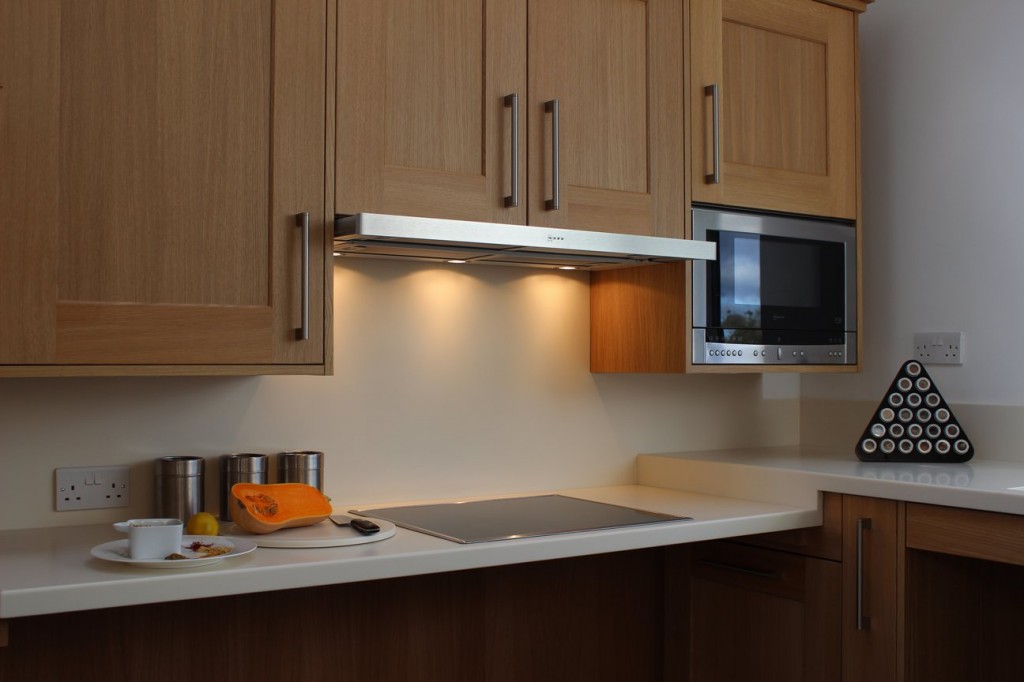
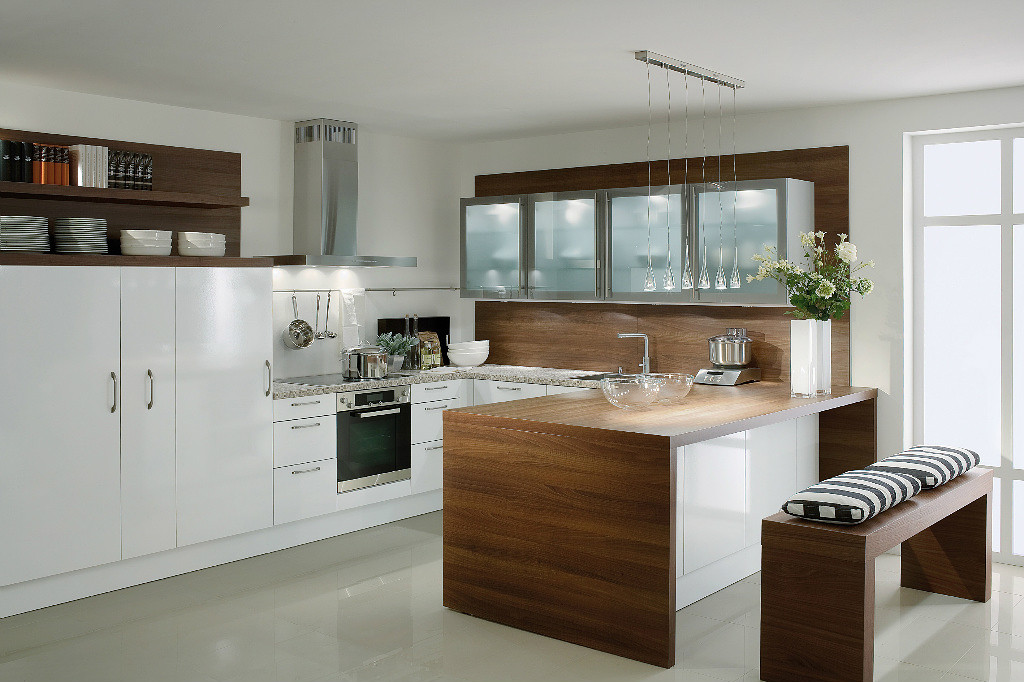
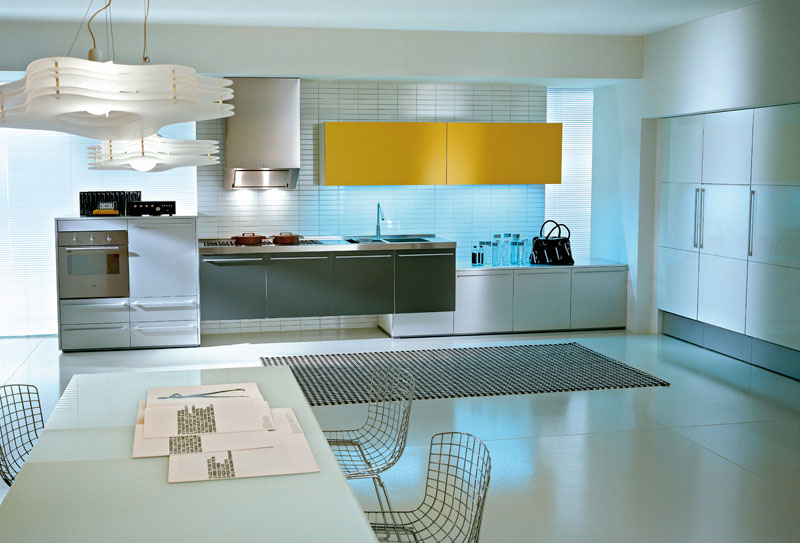
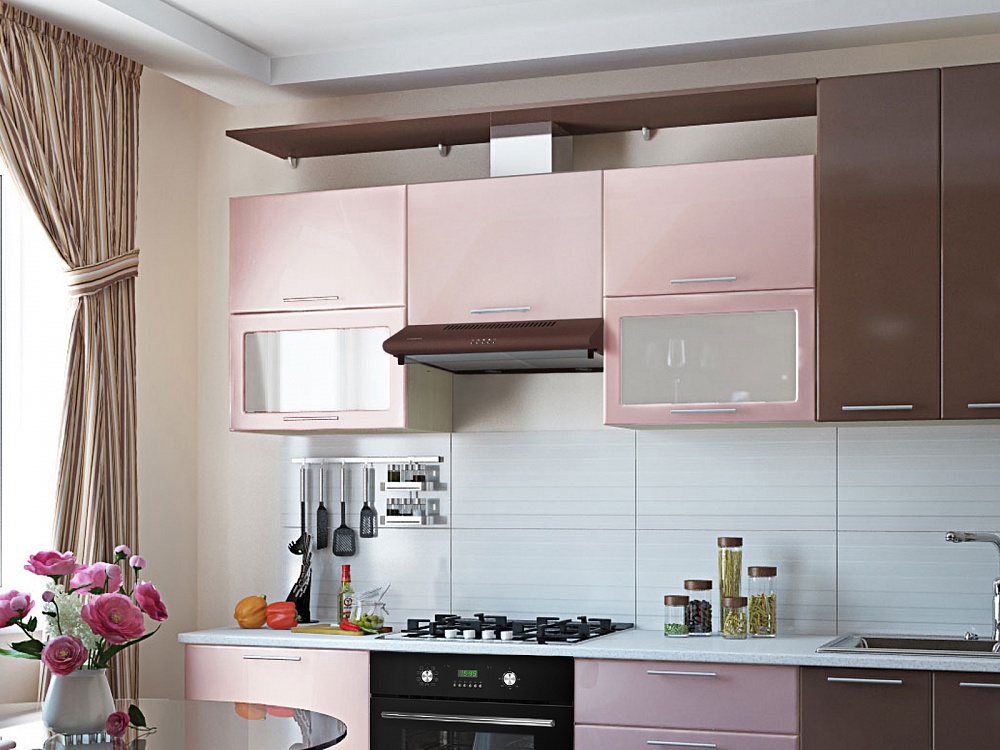
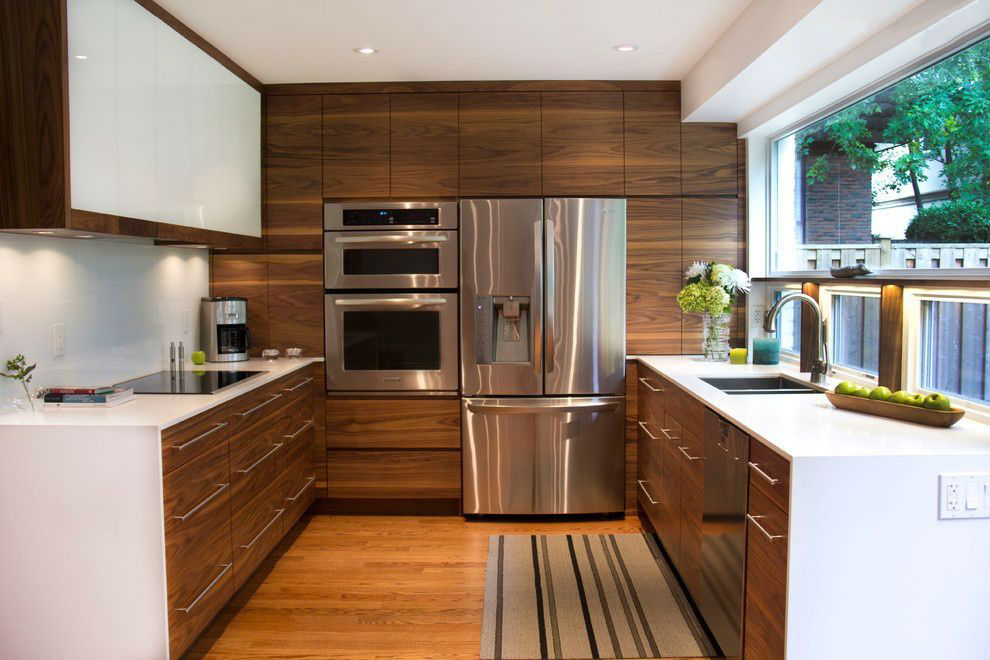
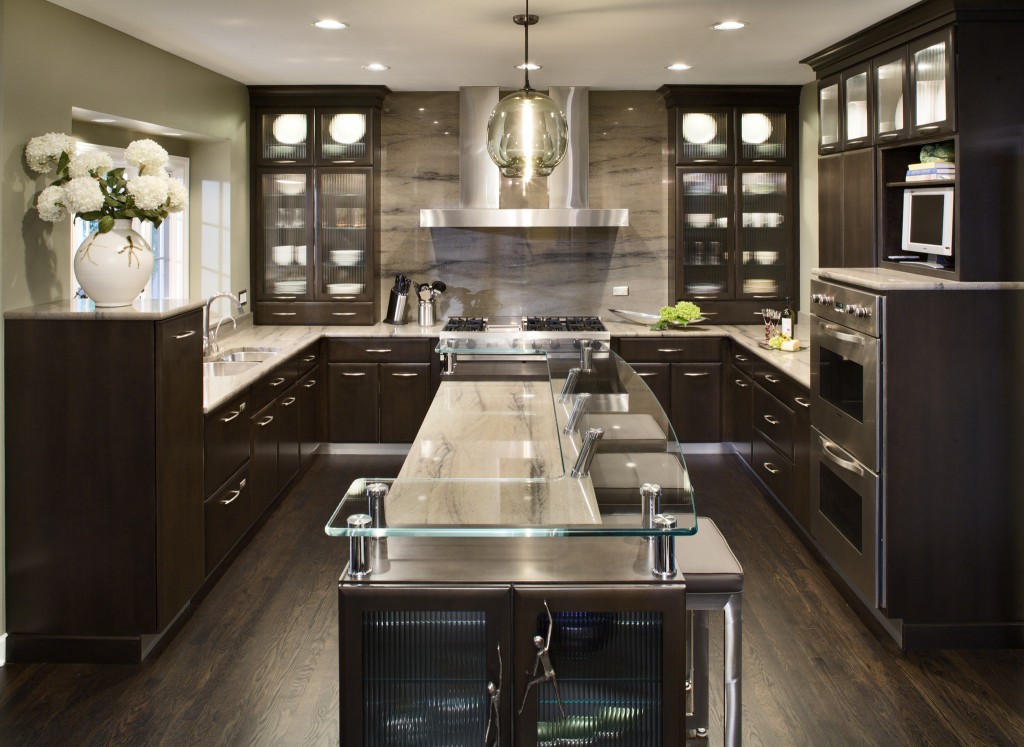
Straight hood is usually built into the cabinet, that is, attached to it. Convenient, does not take up much space, extends when necessary. Dome hood is designed as a fireplace, massive, suitable for large rooms. Fastened to the wall.
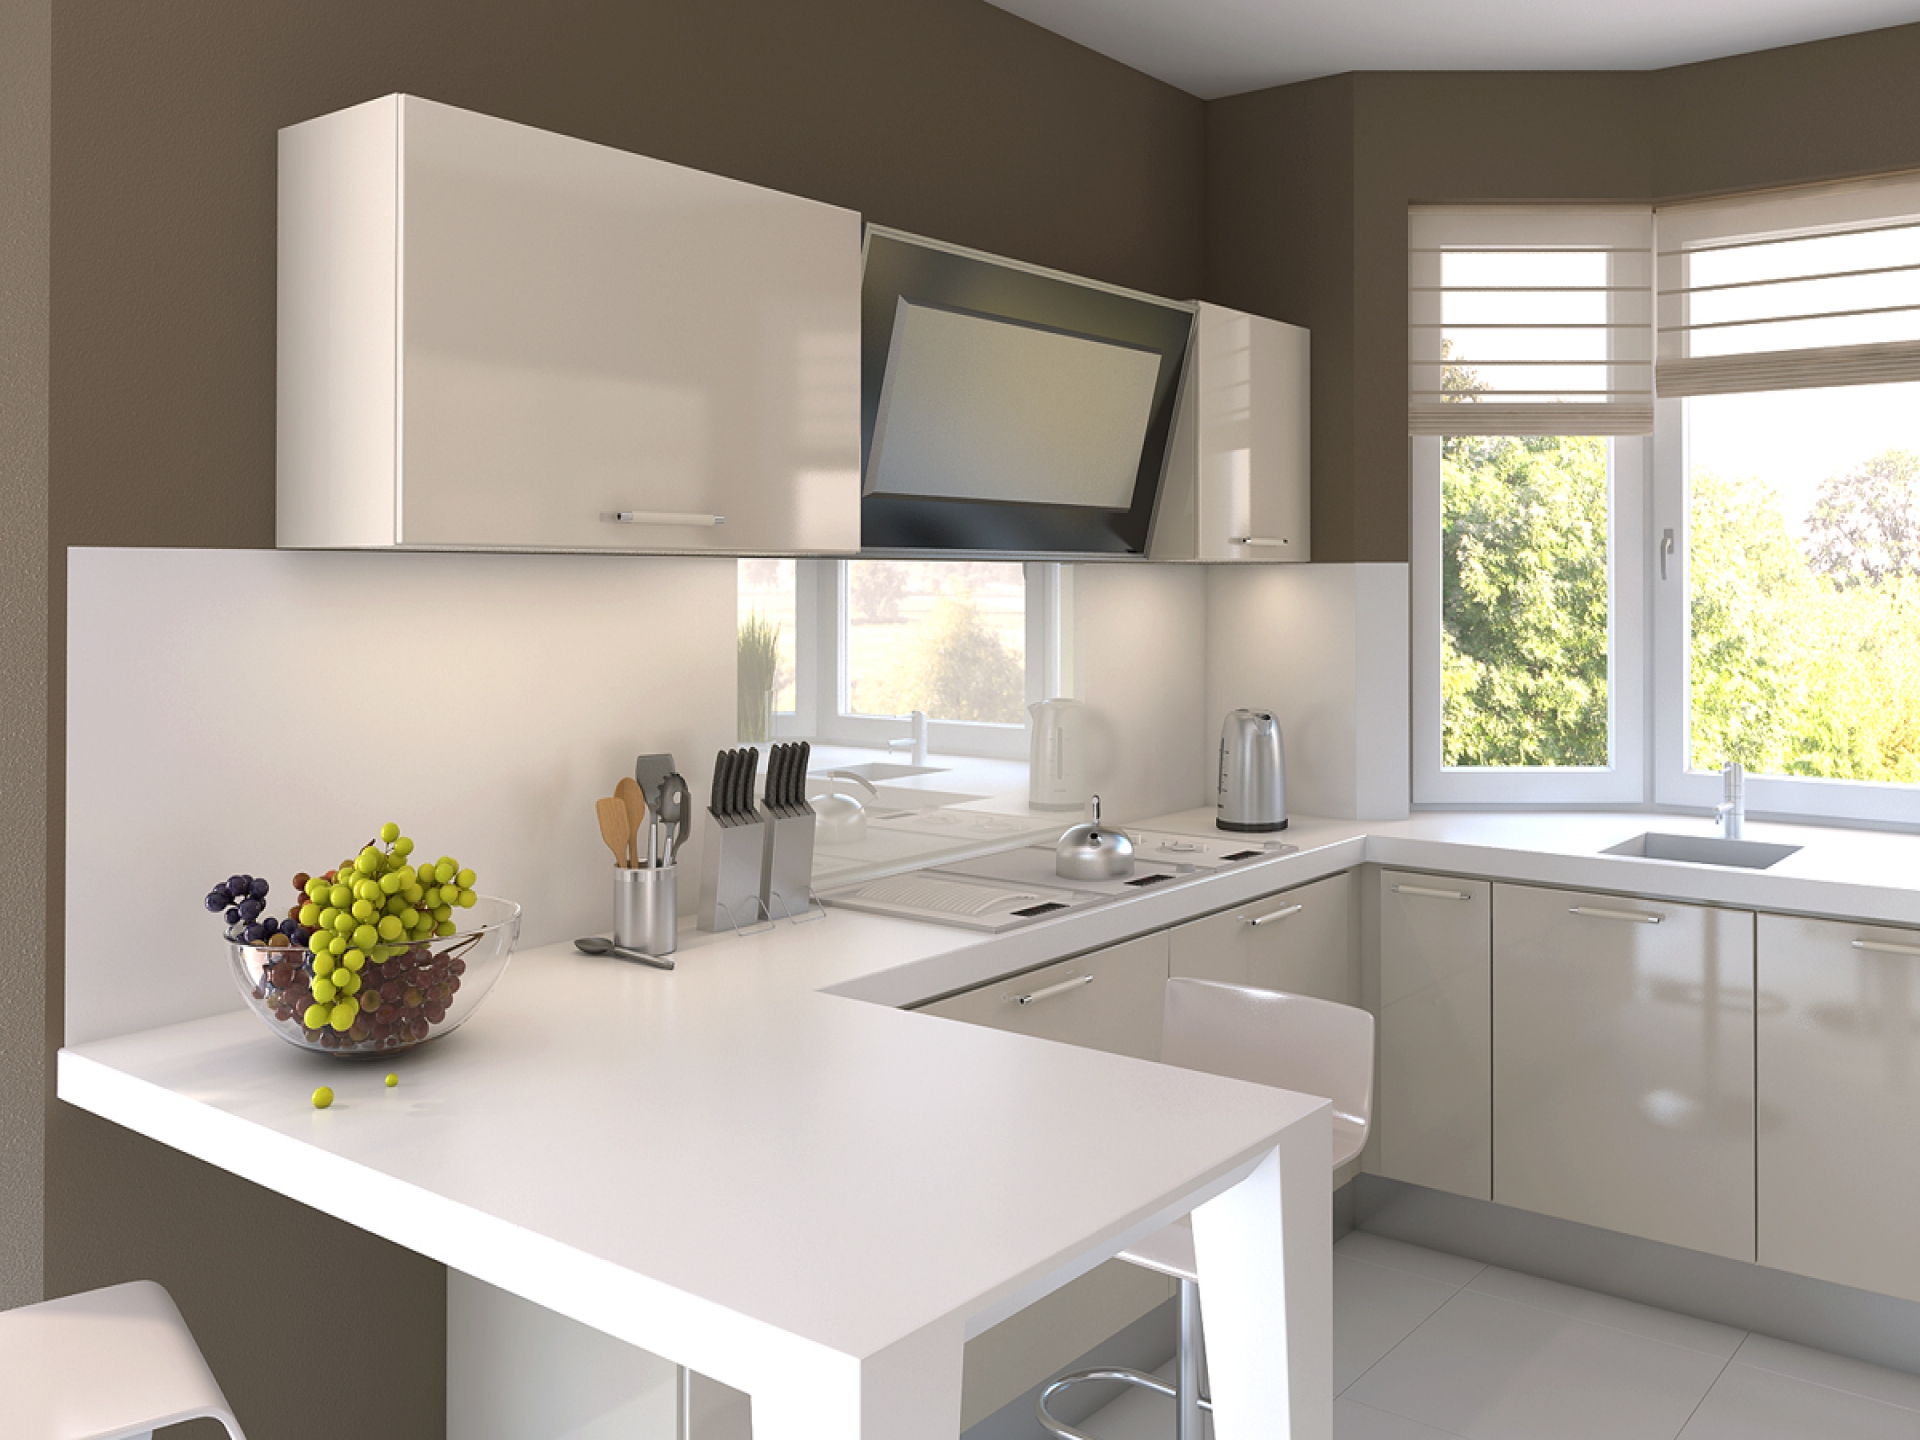
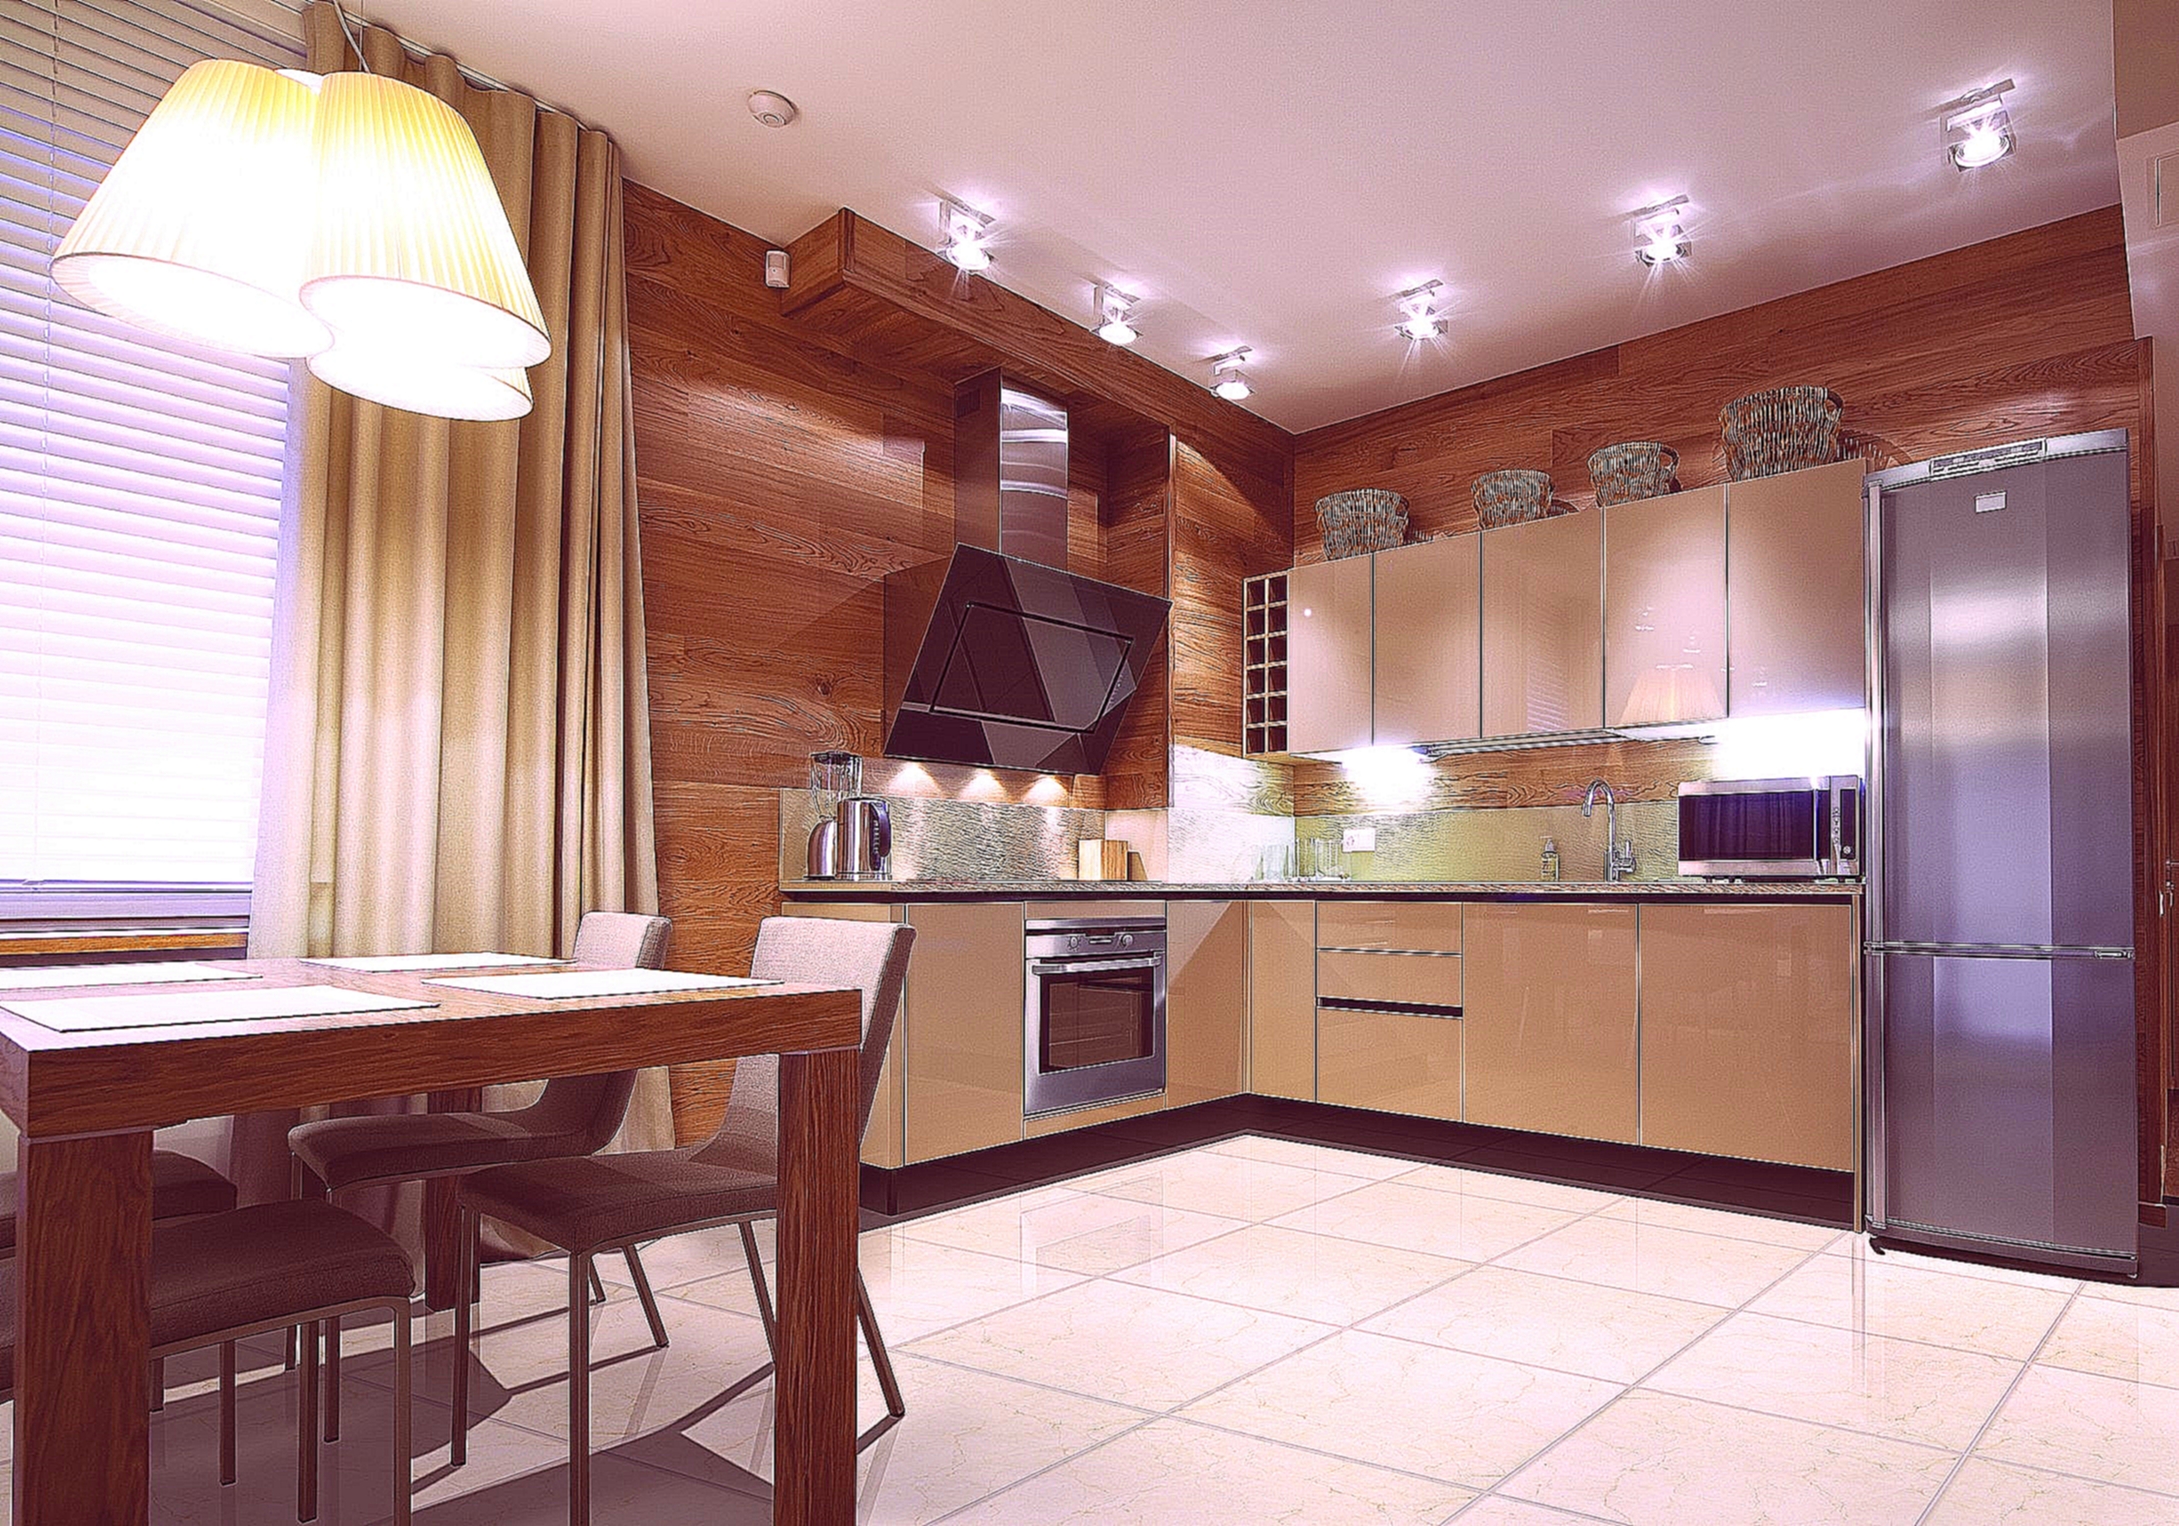
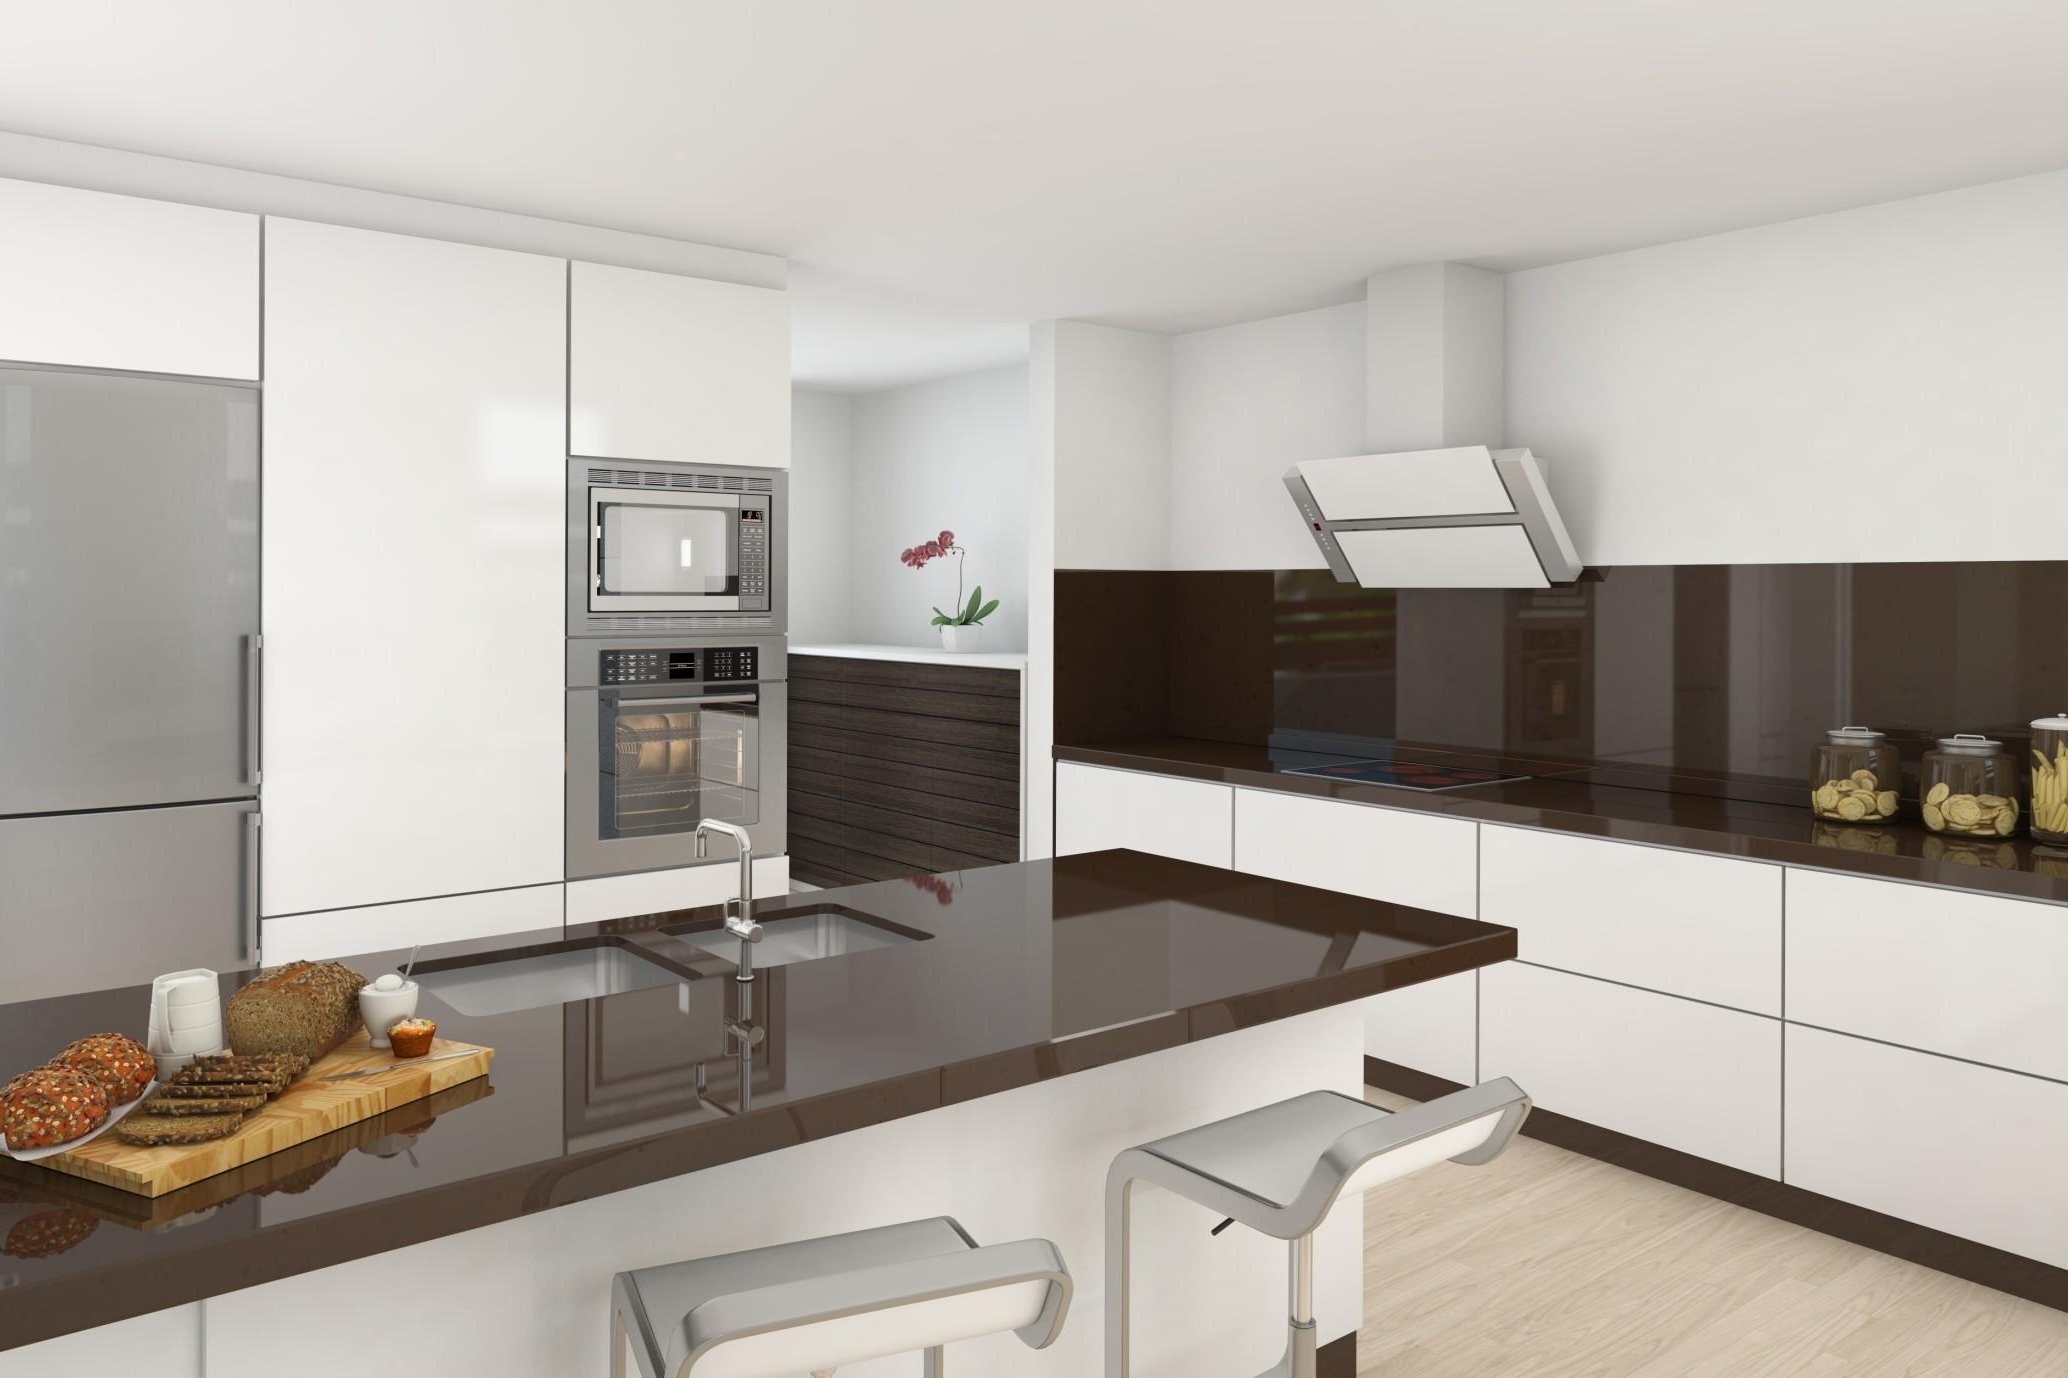
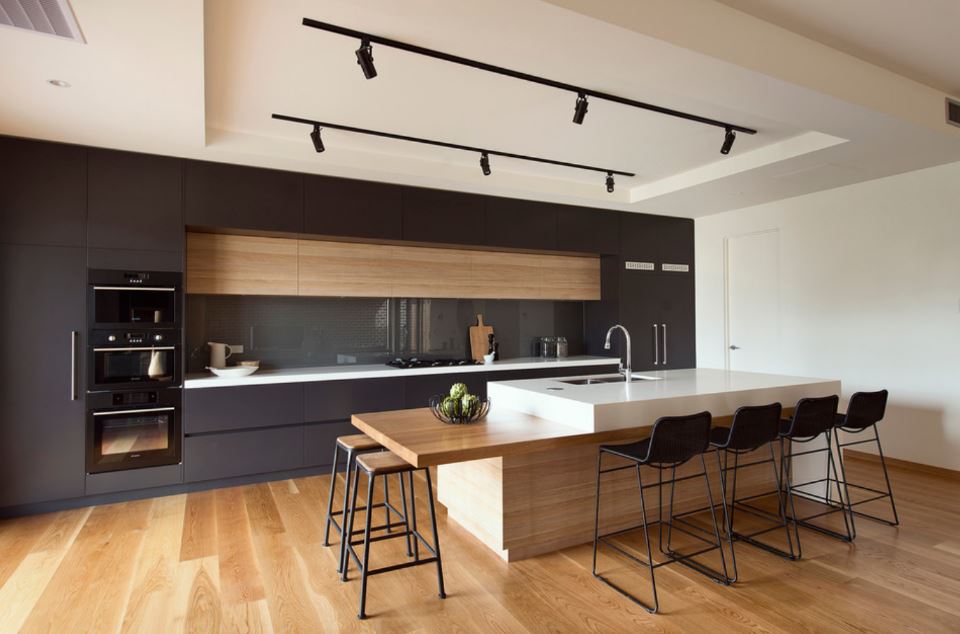
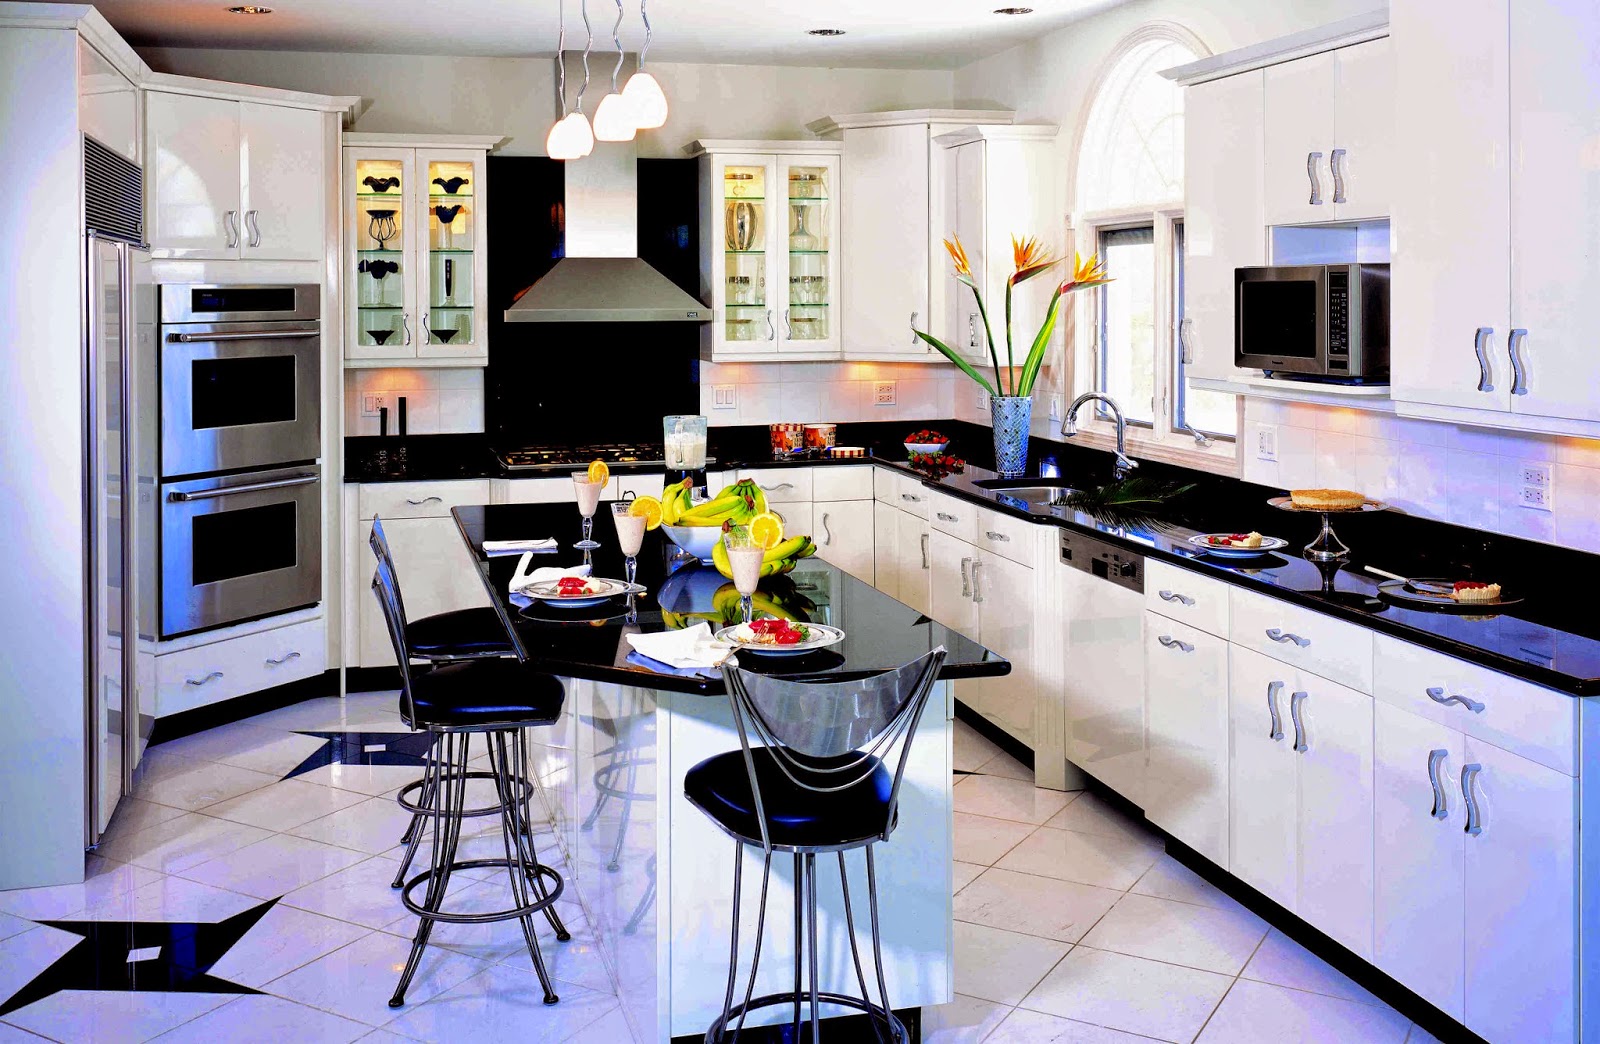
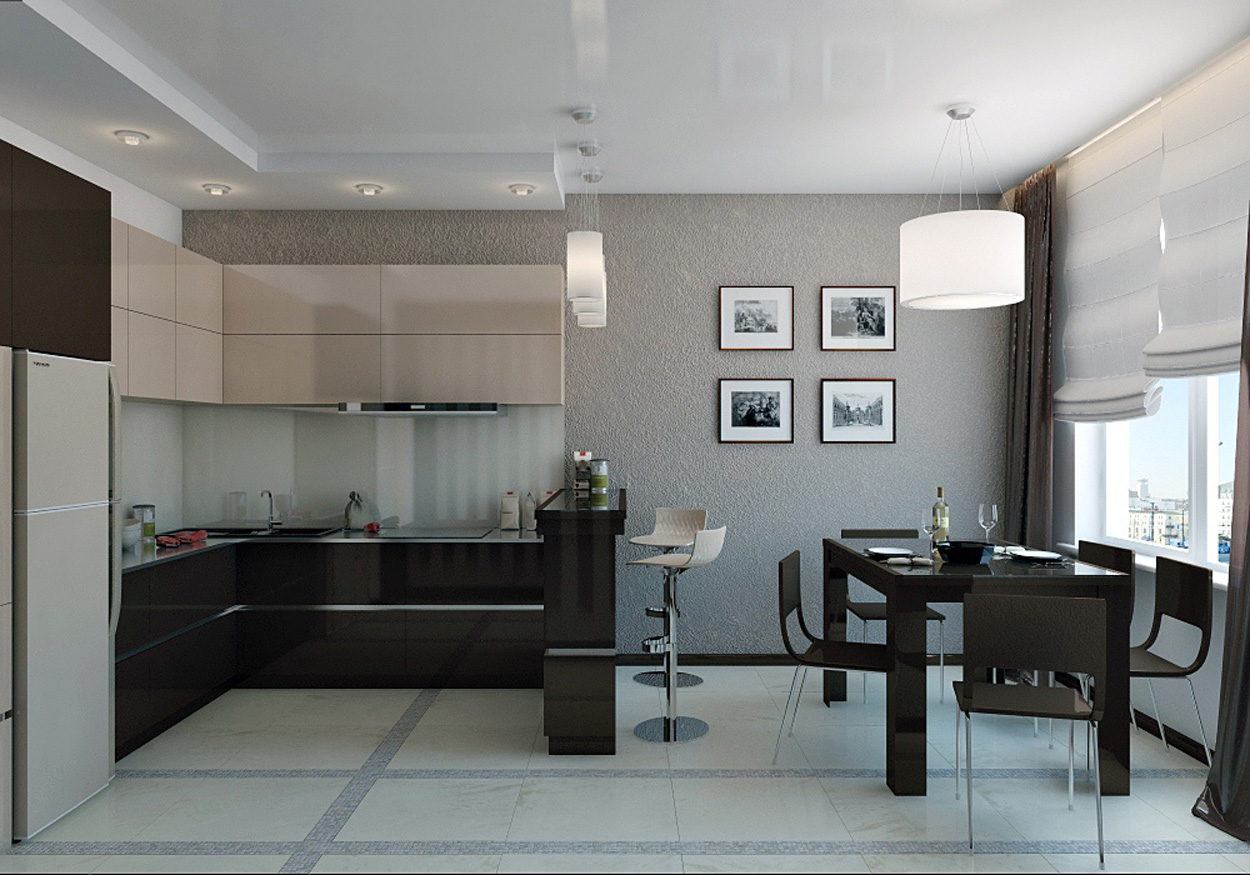
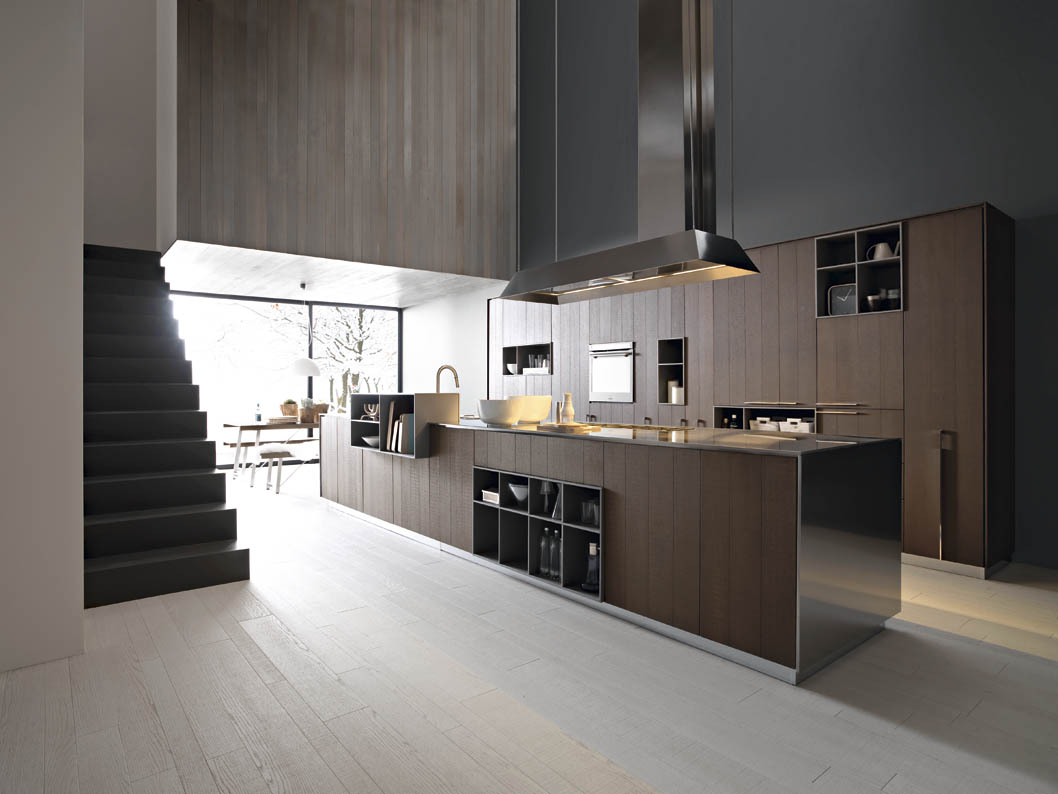
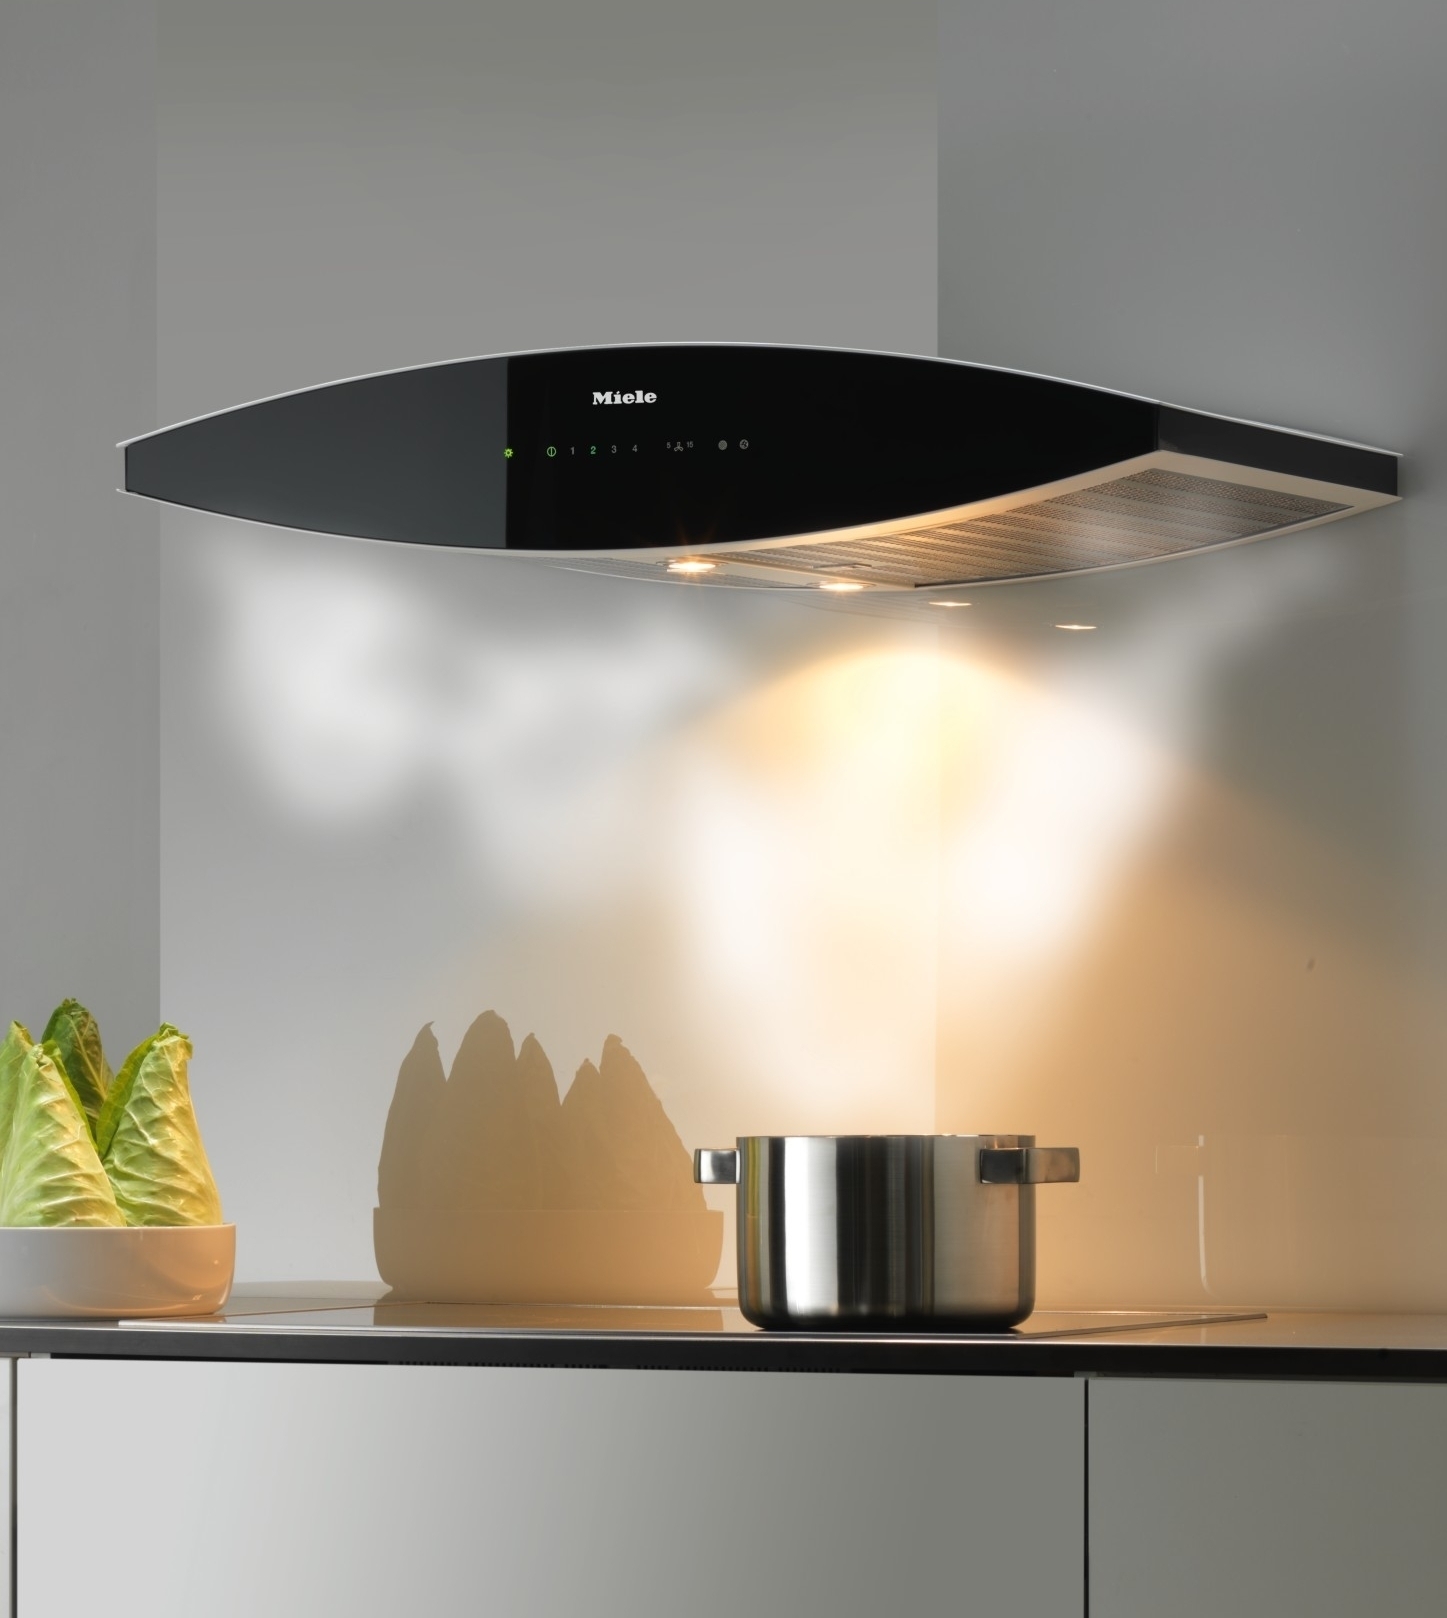
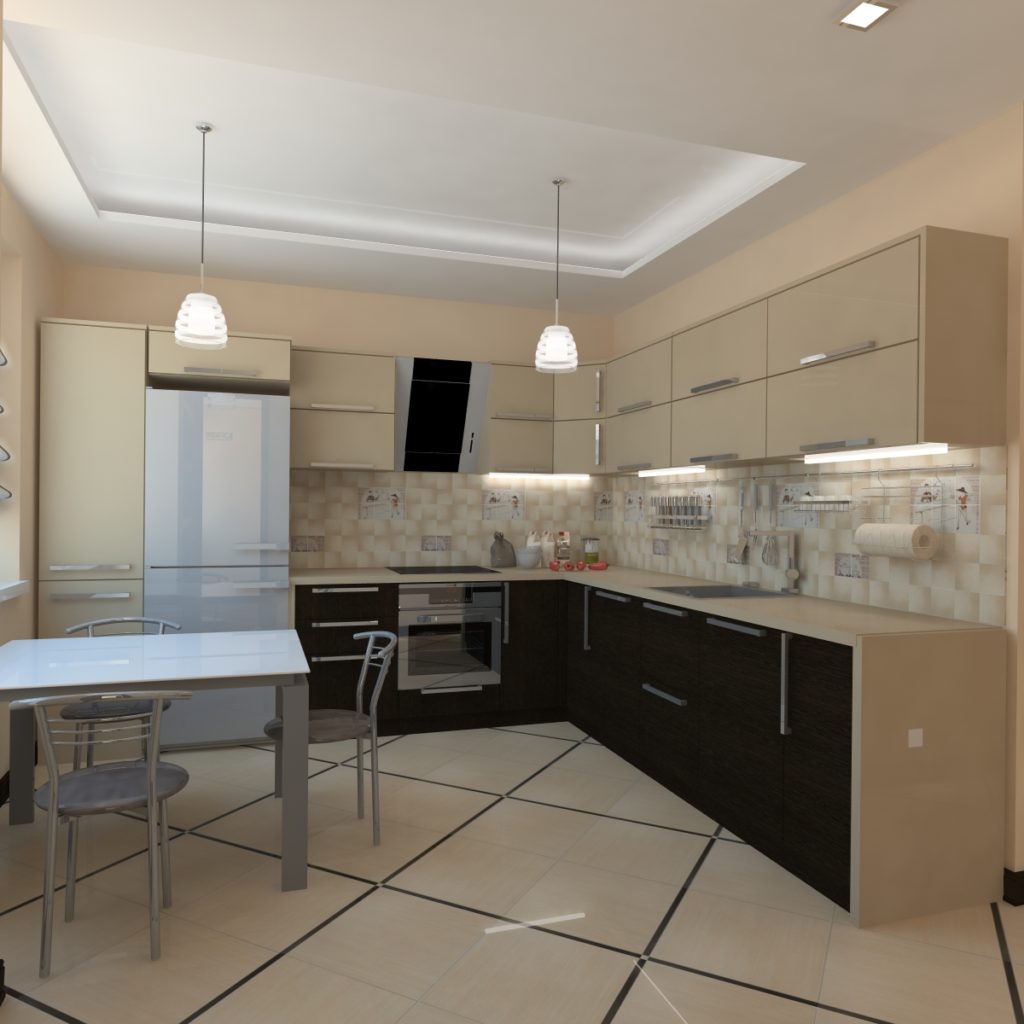
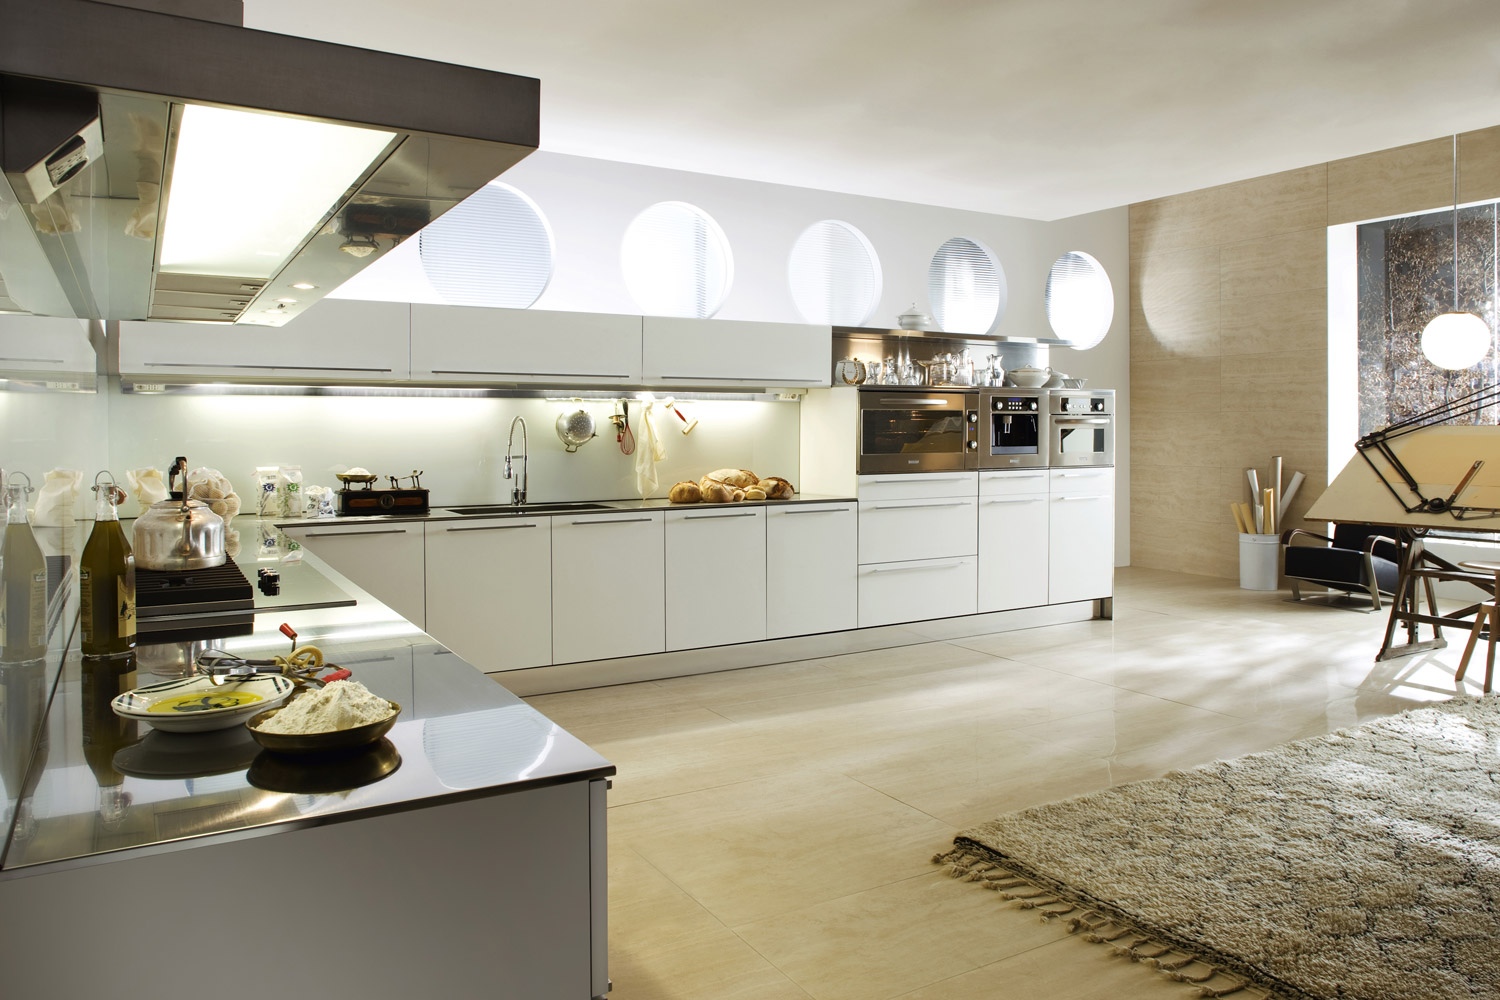
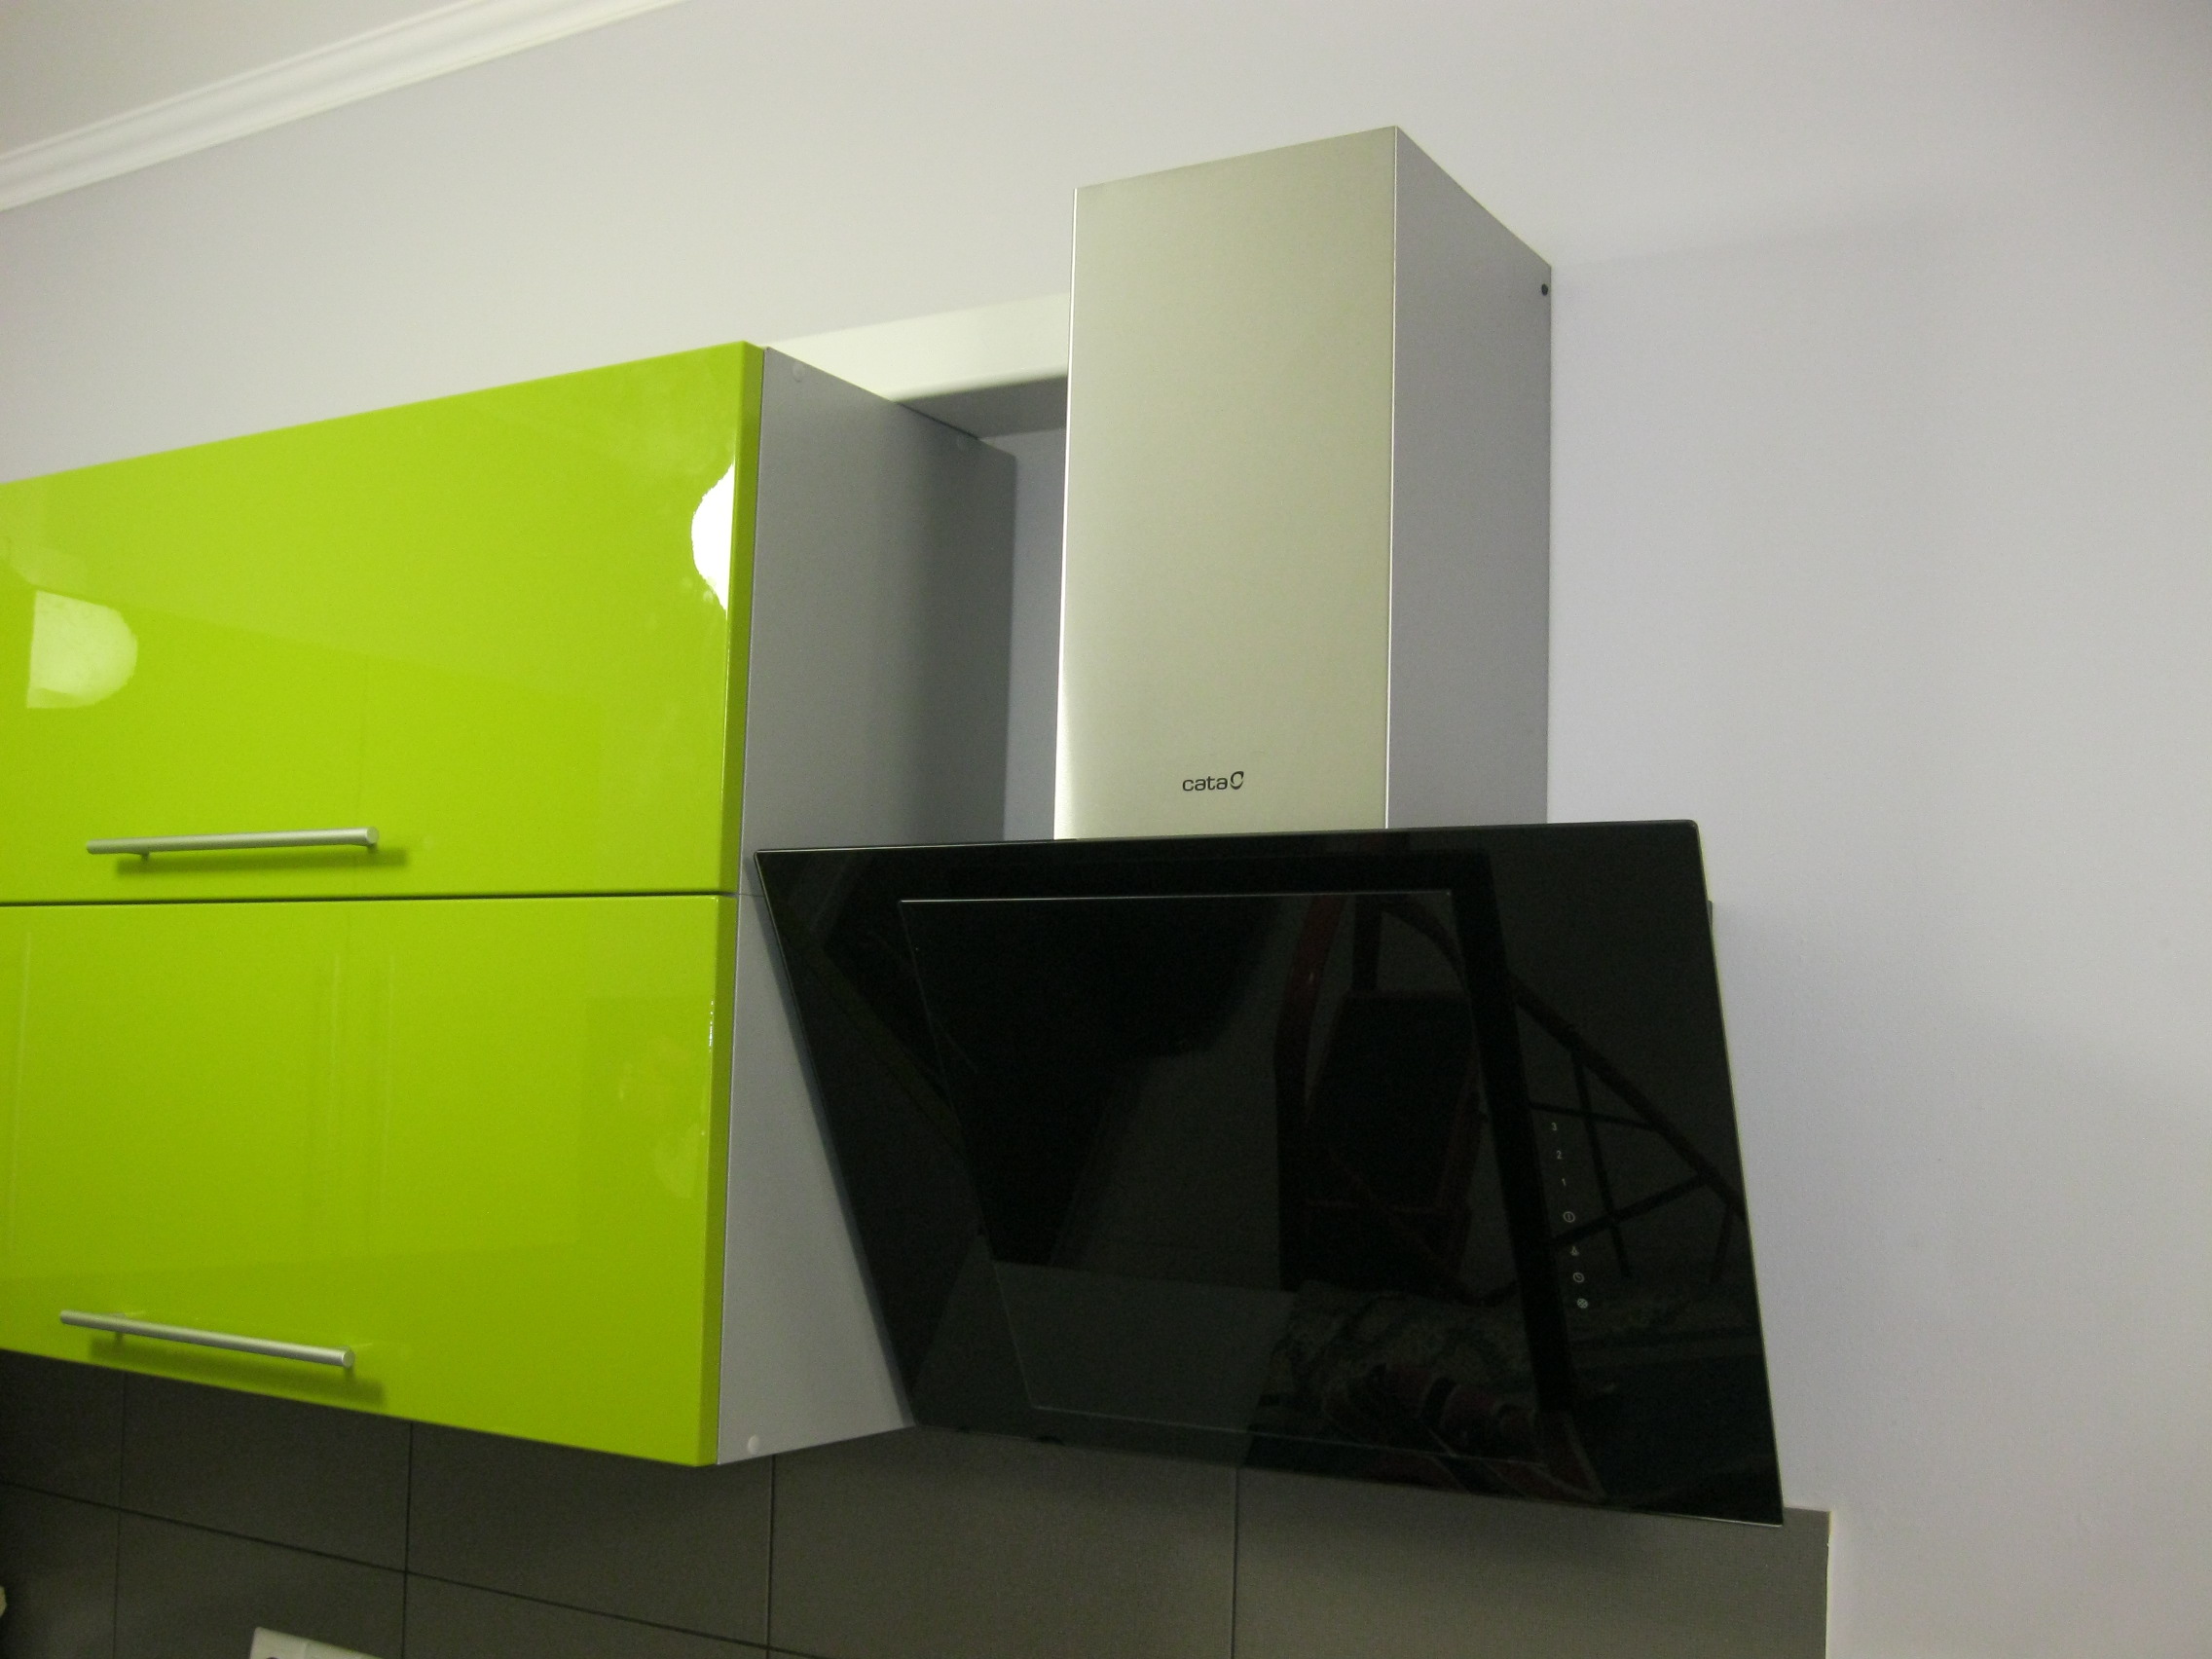
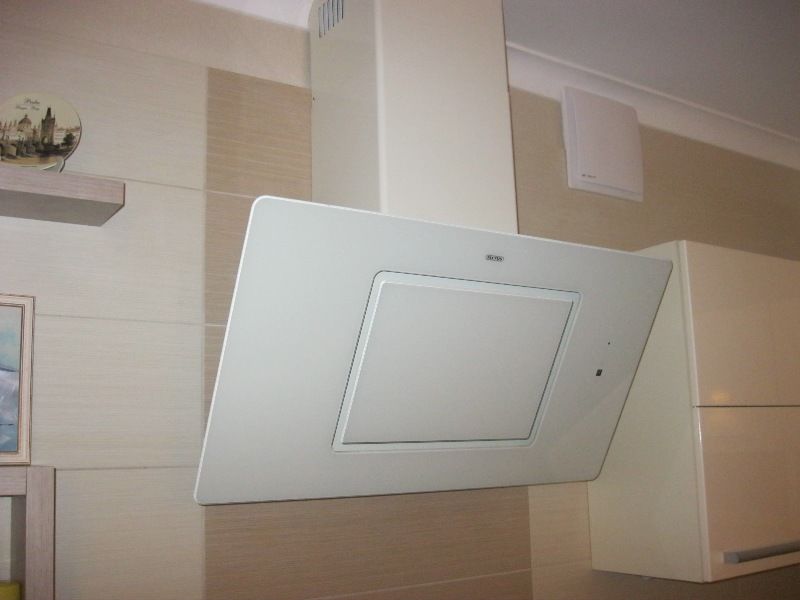
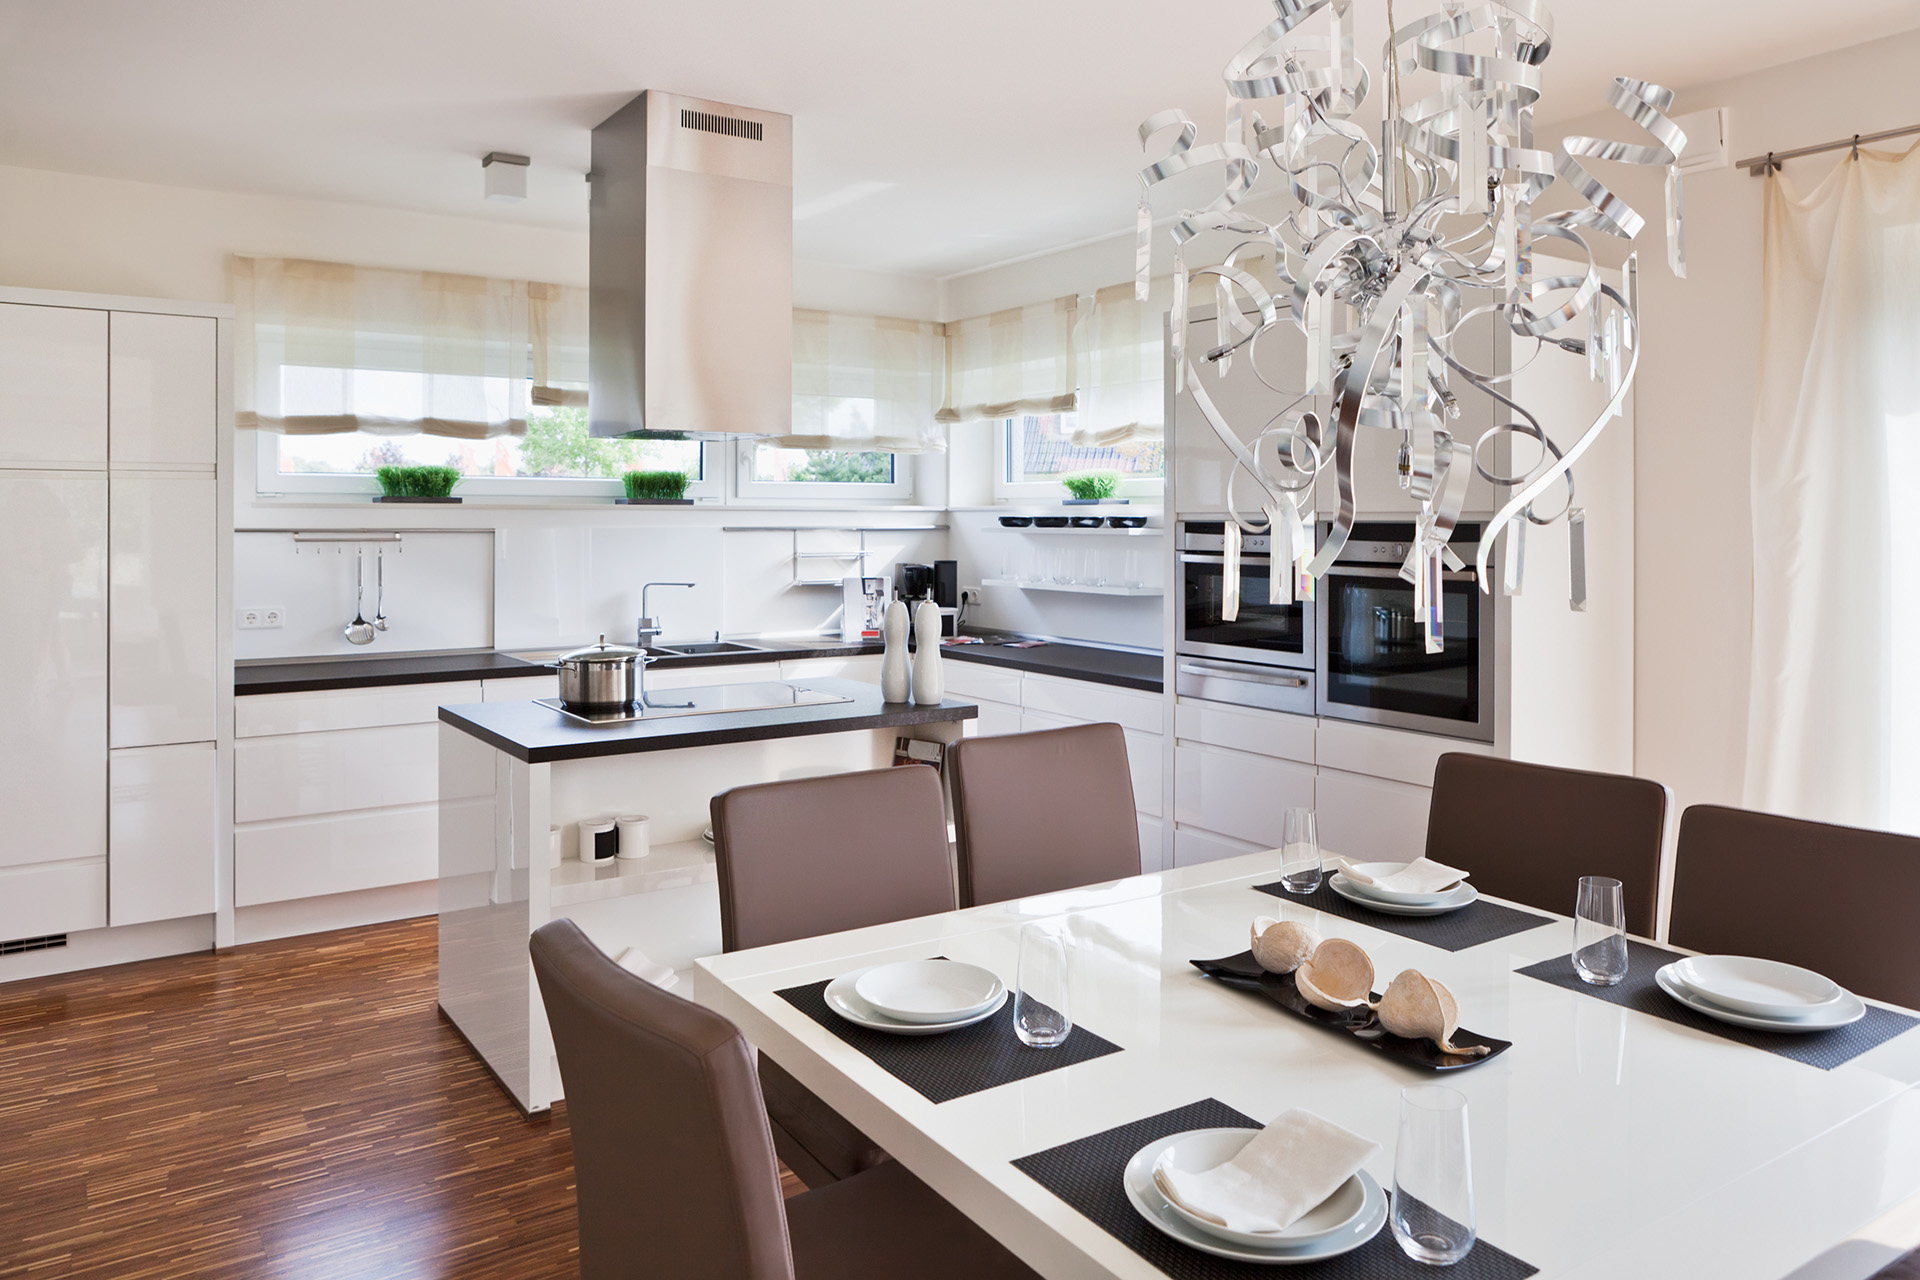
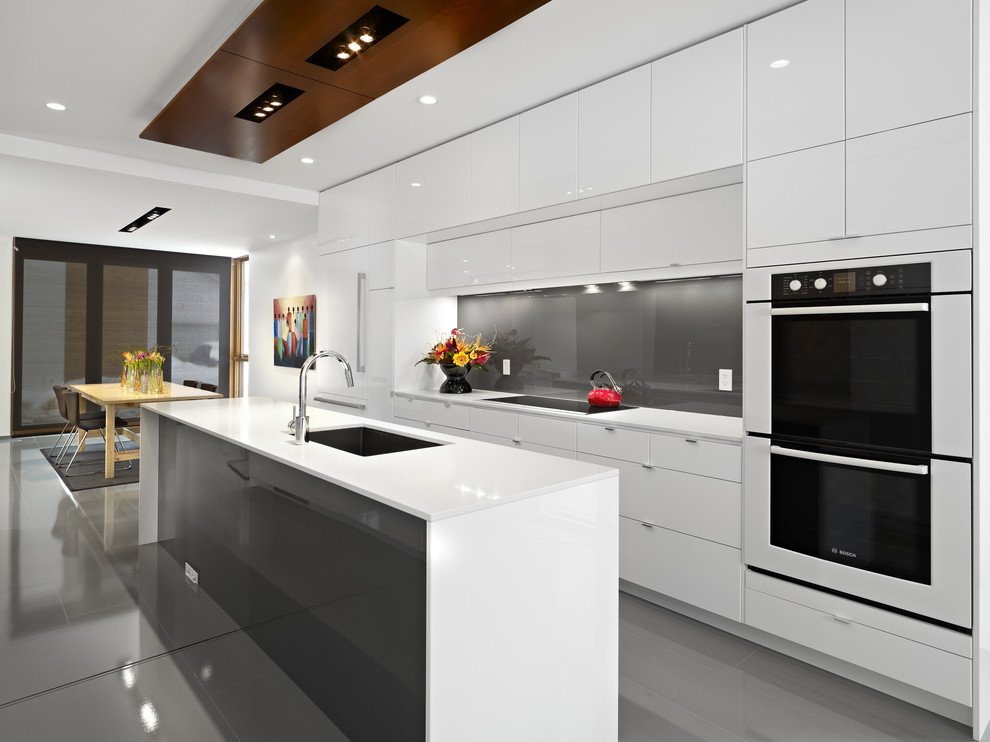
Sloping hood.The most innovative device. Mounted on the wall. It has a very presentable, modern look. It takes air not through the grill, but through small holes, as a result of which it is not necessary to wash the honeycomb of the grill, which is very difficult to do. In addition, hoods are often equipped with neutralizers. They are of three kinds.
- UV. Installed in the hood ultraviolet lamps that clean the air. Such a neutralizer is completely safe, and the light of the lamps can be used as a backlight, however, the price of these lamps is not small, and they will have to be changed on average once every two years.
- Chemical. They emit substances that neutralize odor. May cause allergies, require frequent replacement.
- Ionization. They work according to the method of conventional ionizers, but they produce a higher discharge, which is harmful for a person who cooks near the stove because he is in a constant electric field, with a voltage higher than the standards.
Once you have decided on the type of hood and its throughput, it is worth seeing what principle of work you need.
If there is ventilation in the house, then it is better to choose a hood with an evacuating principle of operation.That is, it takes air from the kitchen, and by means of ventilation leads it to the street.
If there is no ventilation in the house, then in order not to do it, you can buy an exhaust hood with recirculation cleaning. She takes the air from the kitchen, passes it through a series of filters and kicks him back into the room.
Rules and requirements
Rules for installing hoods alone, whatever model you choose.
Since the hood is an electrical appliance in which grease and moisture accumulate, a breakdown of electrical current through the housing can occur in it. As a result, a person may get an electric shock. To avoid this, it is necessary when installing the hood to conduct its grounding.

Wiring in modern homes is equipped with a ground loop, and there should be no problems. Turned on the plug in the socket and you're done.
If the ground loop in your house is not, it must be done. Do not be afraid, you do not need to stretch the wire to the street and bury it deep into the ground. But it should not be fixed to pipes, radiators, it is fraught with the same injuries as leaving the hood without grounding at all, besides, an electrical discharge on the risers can go to the neighbors, and this is even more trouble.
To organize the ground loop, you just need to lead the wire to your electrical panel, where there is a pipe from which the bundle of wires goes. This is the deaf neutral to which you need to connect the ground. If there are already any wires on it, in no case do not disconnect them, just fix your own over it, not forgetting to clean it beforehand. For grounding fit three-core wire with a cross section of 2.5 square meters. mm
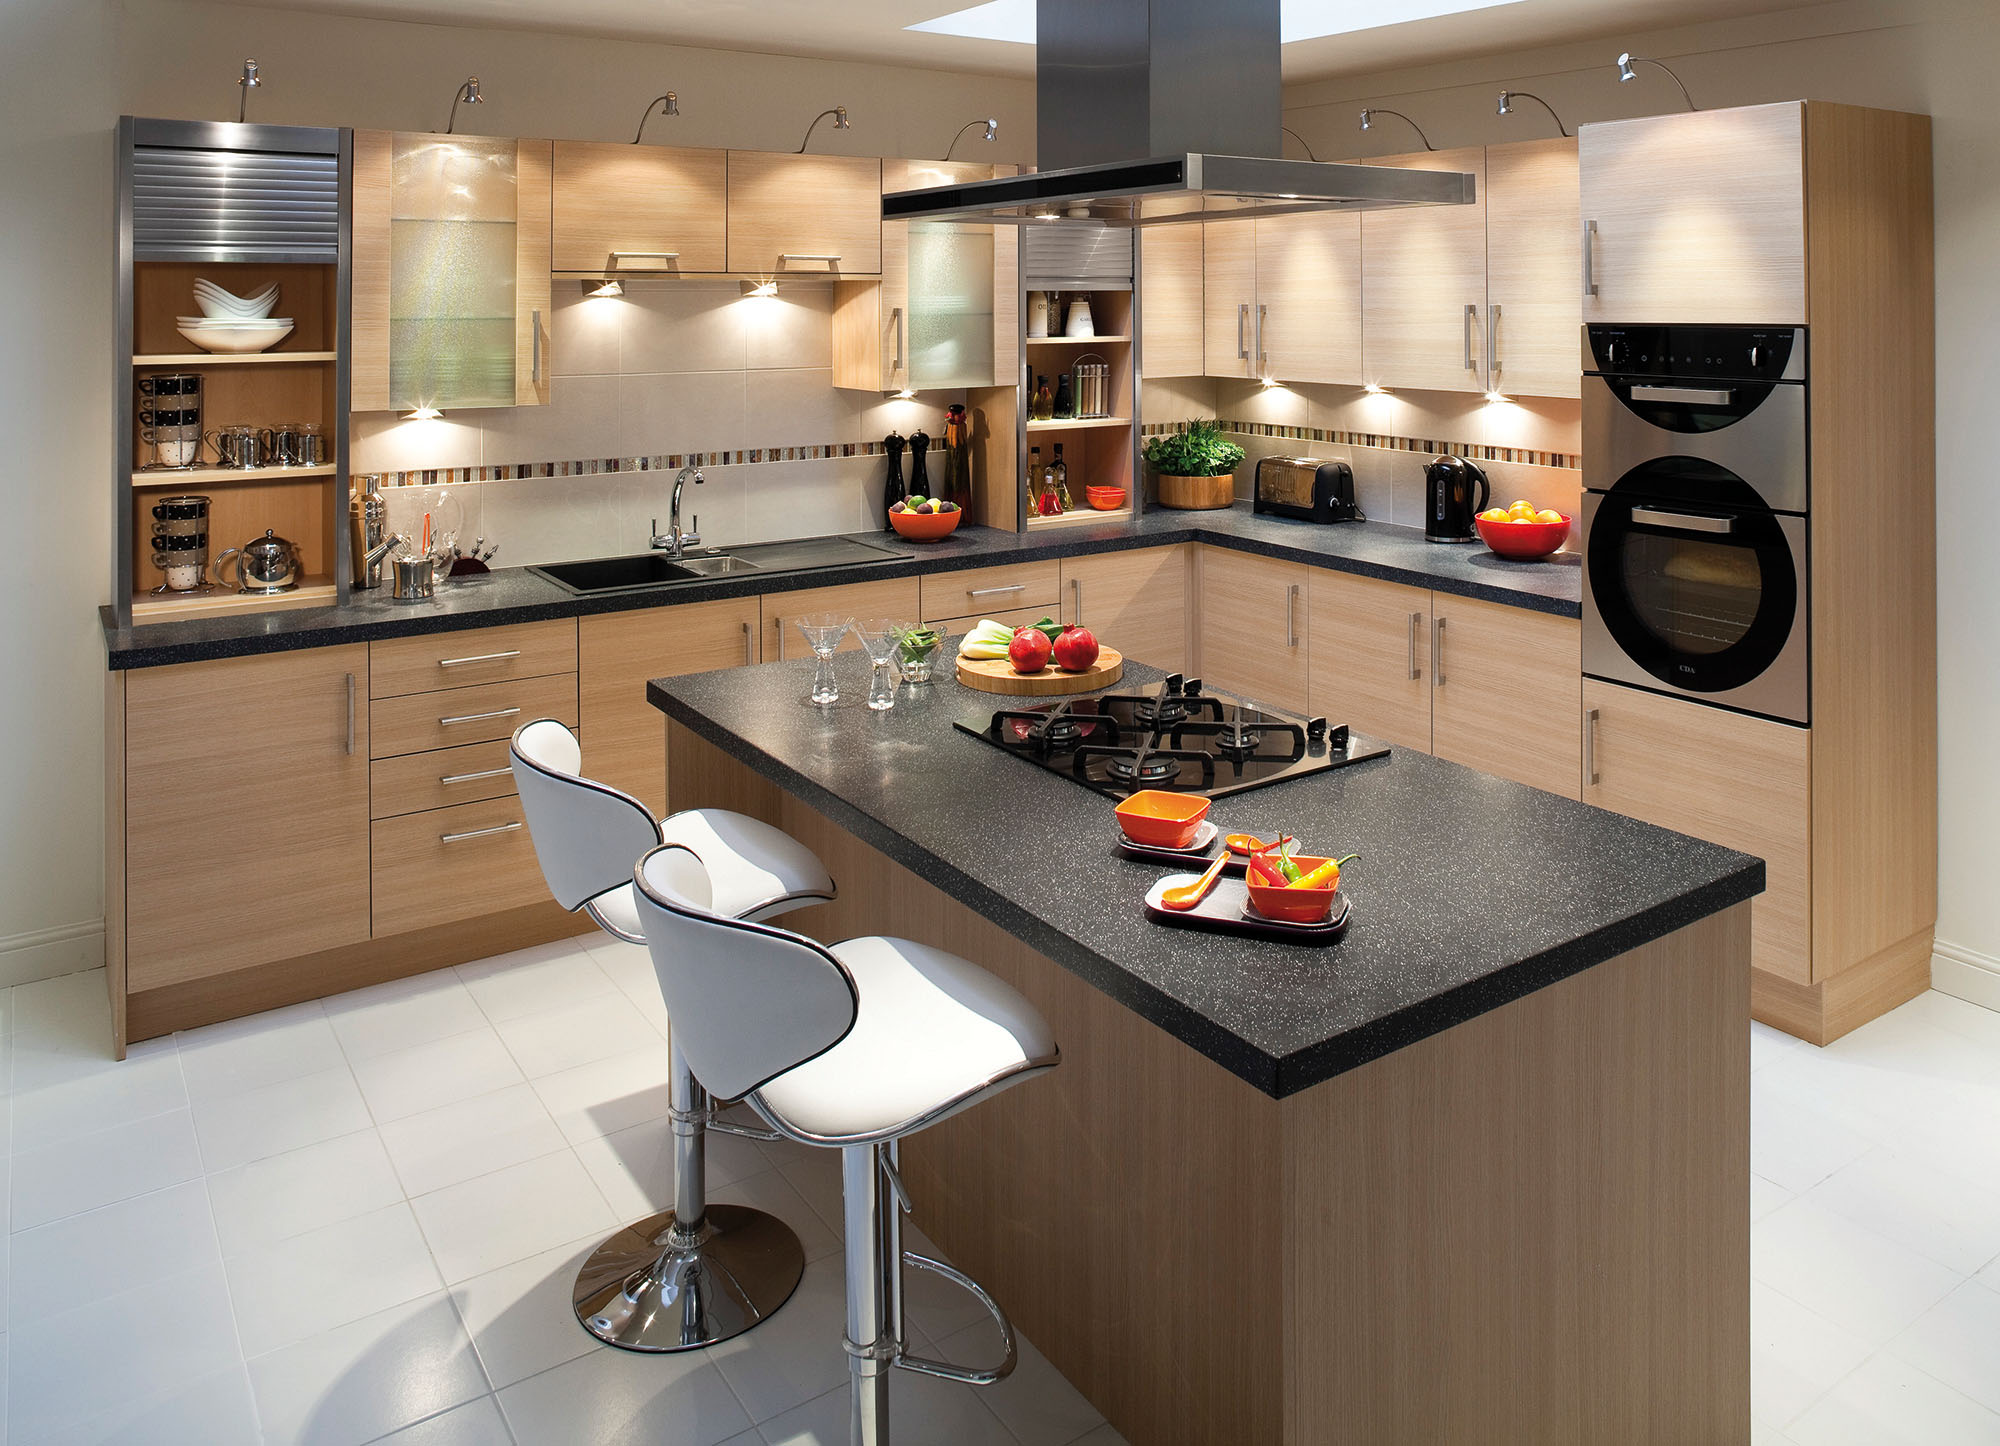
Another safety measure when installing a hood is the distance from it to the cooking surface. Since the surface above the hood becomes hot, steam comes out of the saucepans and sprinkles oil, there are standards for installing the hood over the stove.
The height from the electric cooker to the hood should not be less than 70 cm, and under the condition of a gas stove, this size increases to 80 cm.
Also, for proper operation of the hood, the ventilation of the kitchen, whether in an apartment or in a private house, must correspond, that is, the throughput must be higher than that of the hood, otherwise all the polluted air will return to your apartment, through other ventilation holes, or to neighbors which is also not good.
Fastening the hood to the wall should also be reliable.Since when you cook, with improper and poor-quality installation of the hood, it may fall on your head and cause injury. If the wall where the hood is to be fixed is made of drywall, it is necessary to pre-fix the place for fixing the hood with wooden bars in advance, before starting the repair.
Required materials and tools
To install the hood with your own hands, you will need the following tool, which in principle is in any home:
- pencil;
- roulette;
- drill or hammer drill;
- jigsaw with a saw "clean cut";
- screwdriver.
You will also need to purchase dowels, screws, corrugation or plastic air duct to connect the hood to the ventilation.
If you are planning to hide the ventilation sleeve, then immediately you need to buy a drywall sheet, guides, putty, paint.
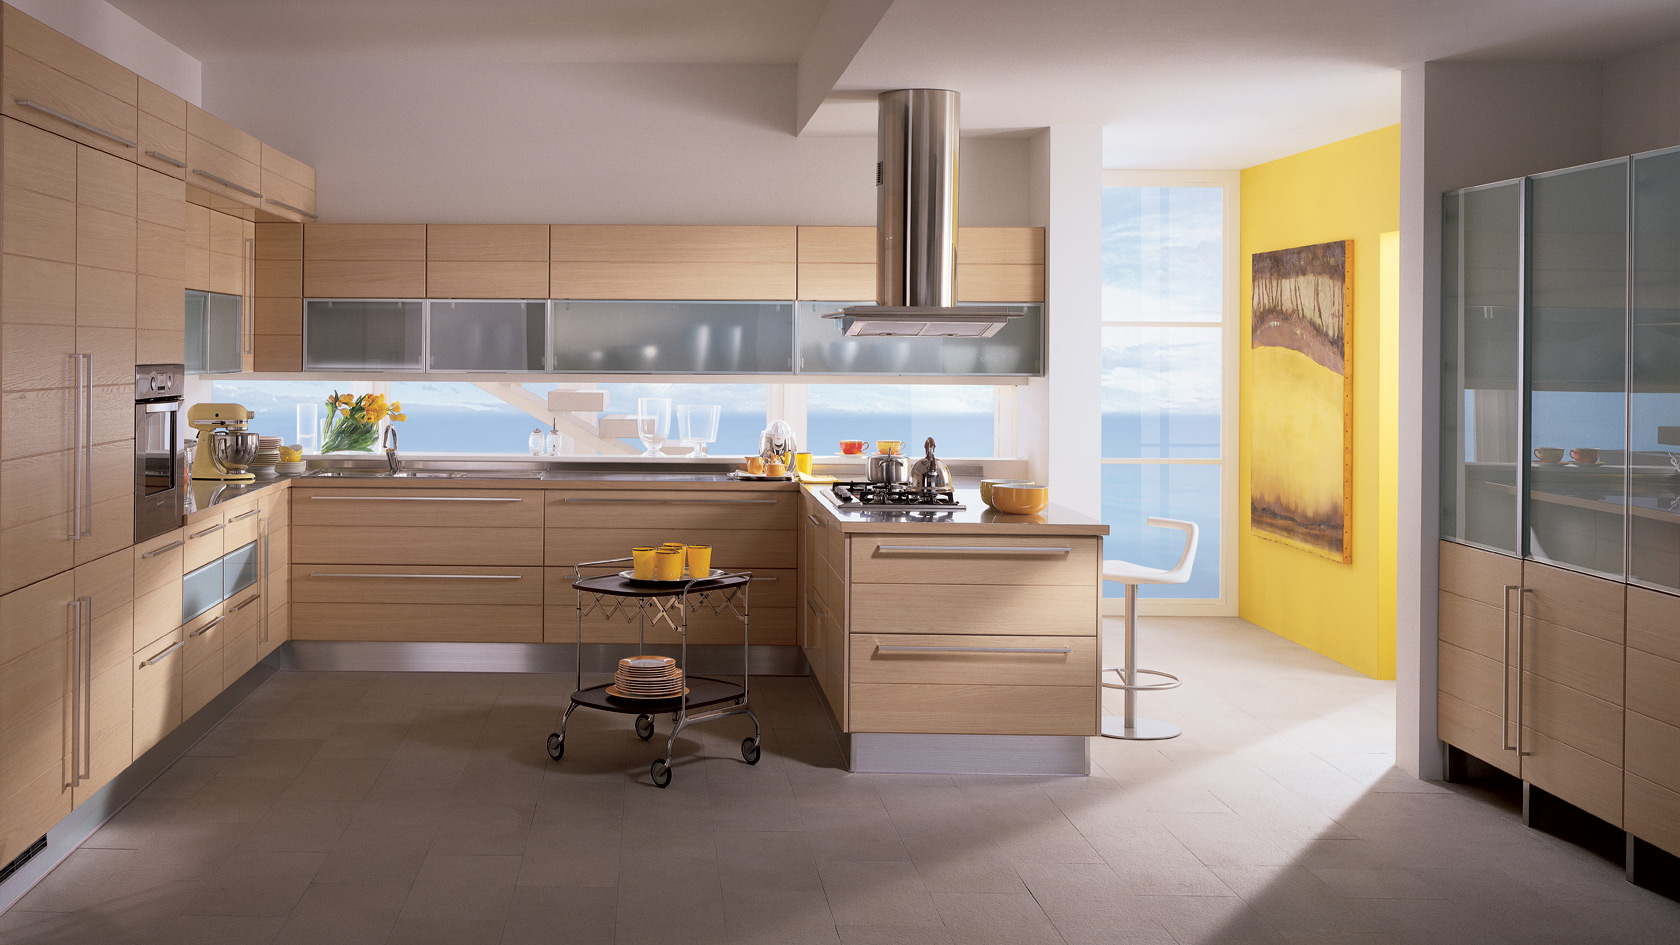
Installation of inclined or dome hood
In principle, the stages of installing the hood on the dome or sloping, are not much different. The work is not difficult and everyone can do it on their own. Consider everything in order and do not forget about the height of the hood above the hob.
Installation steps
If you purchased an exhaust air recirculation system, then it does not require connection to the ventilation duct. Simply mount it on the wall above the hob. This is a good option for installation in a private house with no ventilation system, or in apartments, where the kitchen is moved far from the room ventilation system.
But if the installation of an exhaust hood with an evacuating ventilation system is carried out, the first thing to do is to organize a ventilation system.
The most popular is the output of ventilation through the wall. It can be done in three ways.
- Natural outflow. This ventilation, which works on the basis of the laws of physics, due to the difference in pressure and temperature, air is exchanged in the apartment through a draft.
- Mechanical outflow. This applies forced air through the fan. Here, the ventilation holes facing the street are much smaller than the first option.
- Combined. Combines both ways. When weather conditions allow, ventilation is carried out in a natural way, when there is no draft, the fan turns on.
When the house ventilation is equipped, proceed to the installation.
- We make a backflow flap valve that will not allow air back into the kitchen.
- We mount the hood on the wall.
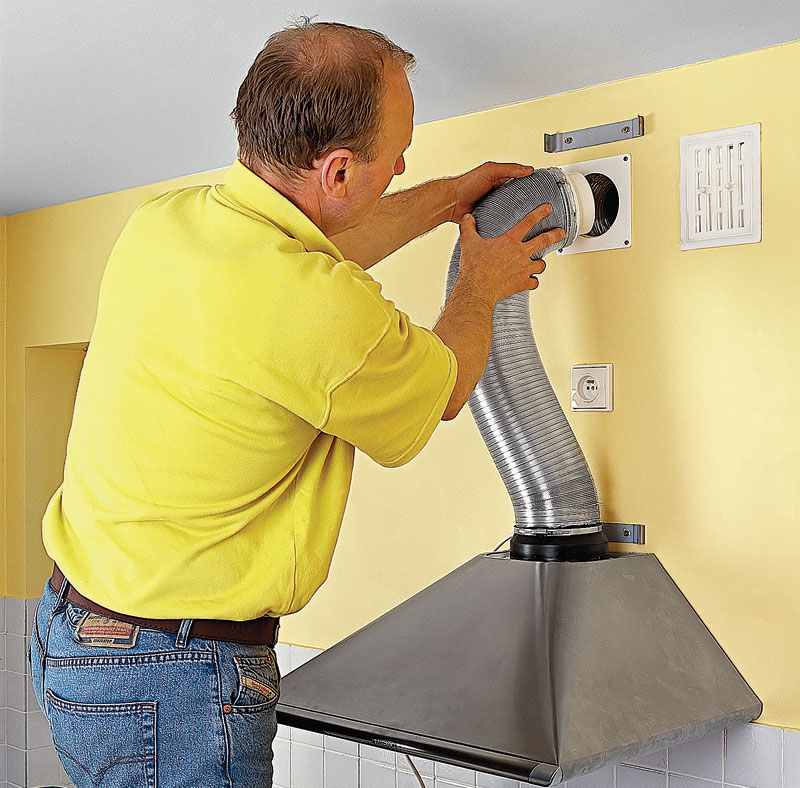
- We mount the valve check valve to the ventilation hole.
- We connect the corrugated-pipe hood and cracker.
- Close the duct box.
- We connect the hood to electricity.
- Customize touch control.
Connection to ventilation
Initially, you need to install a check valve or, in common, a poppers. This is part of the ventilation system, which will not allow the air from it back to the apartment.
To do this, from a piece of tin we make a box with the dimensions of the hole 3/4 of the diameter of the duct. Thus, we obtain that the area of its cross section will be equal to the area of the ventilation opening.
Then from thin aluminum 0.5 cm thickness, we make a barrier. We fasten it on a spring to the main building so that when the air returns from the ventilation system, it closes it with a stream, and when the air leaves the apartment, it can open it. To do this, we use a soft thin spring, the diameter of the wire from which it is made should not exceed 0.3 mm, its length is 12 cm, and its width should not exceed 0.5 cm.Hard spring for these purposes will not work. The tension of the spring should be such that the door, forcibly opened by hand and released, slowly returns to its place. Details can be found in the diagram.
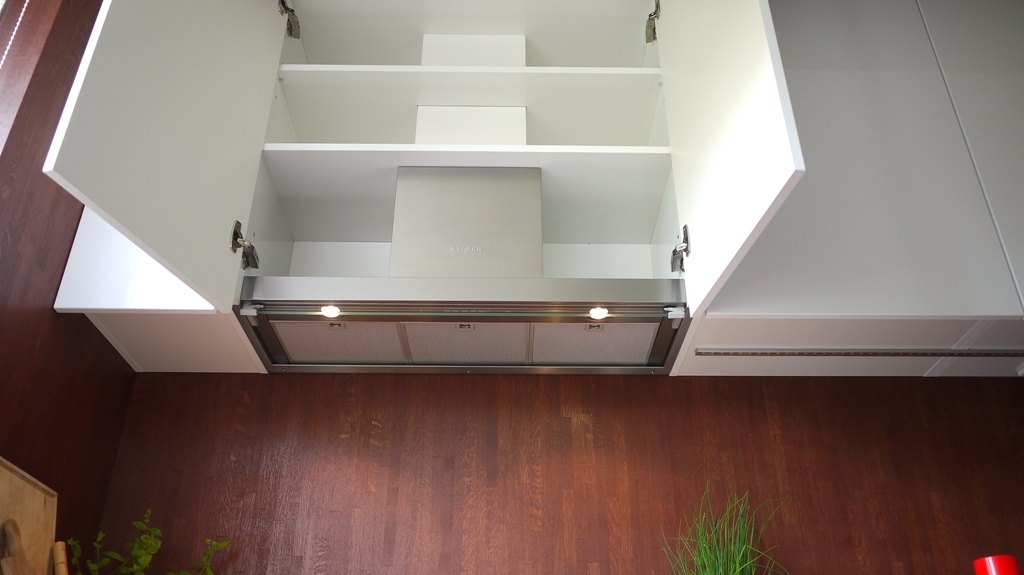
If a cabinet is installed above the cooking surface where the hood is to be installed, you must first cut a hole for the ventilation pipe in the upper and lower walls. To do this, use an electric jigsaw to drill the corresponding slot in the bottom wall and shelf. In the upper part, we make a square hole in order to install the clapper box.
After all the preparatory work is completed, we proceed to the collection design.
Since the air duct is not provided with the hoods, a corrugated pipe would be the best option. It is easy to assemble (it is cut with ordinary scissors, bent by hands without any tools), and, moreover, it does not make noise or ring during operation, which cannot be said about a hard box. She also has good aerodynamic properties.

First, we push the corrugation into the holes of the cabinet. Before pulling it through the top, we form a square out of the pipe. This is done easily, just bend with your hands.At the top of the pipe a little incise and bend it. Then we glue with silicone to the edge of the box. After that, insert the check valve box into the vent hole and glue it to the cabinet.
After 30 minutes, when the silicone is dry, you can gently fill the holes between the edge of the ventilation duct and the check valve body. It is better to do this with the help of a pistol, since in it it is possible to make the jet thickness minimal.
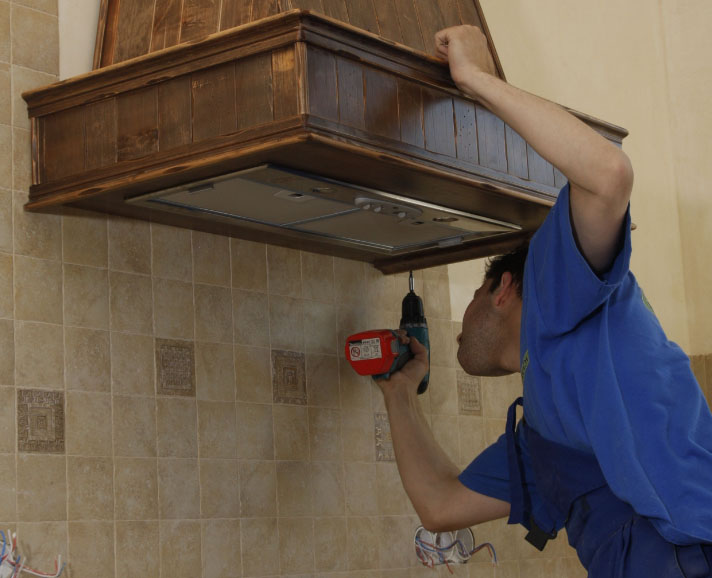
Next, fasten the hood to the cabinet. To do this, use self-tapping screws using mounting holes to attach it with a screwdriver to the bottom wall of the cabinet. We put on the corrugated pipe on the exhaust fitting and fasten it with a clamp or a simple soft wire. The connection should not be coated with silicone, as this will complicate the cleaning of the ventilation channel, and the clamp is enough to prevent the corrugation from peeling off.

But the cabinet above the hob is not always installed. The reason for this may be fire safety, if the stove is gas, as well as just the design of the hood is not suitable for installation in the cabinet. To do this, a corrugated pipe is simply laid above the hood and, before entering the ventilation, a clapper is mounted, the casing of which is attached to the wall.The whole design of the corrugations and check valve is closed with a finished plastic box or made from a sheet of drywall.
There are also equipped kitchens so that the hole of natural ventilation is located far from the cooking surface. In this case, you have to pull the duct across the ceiling to this hole. In this case, we must remember that the throughput of such a pipe is reduced by 10% with each turn of the corrugations. In addition, the sleeve of corrugations, stretched across the kitchen, does not look very good, so it is better to think in advance about the placement of the plate, or, if this issue is not resolved, to decorate it with a box.
Another feature of the installation to the ventilation hole is that there must be a gap between the ceiling and the exhaust structure, since during operation of the exhaust all the structures vibrate, as a result the ceiling can be damaged.
Now you need to connect the hood to electricity. To do this, you need to think in advance how to do this, and bring the wiring under the headset and apron up. If the hood has a conventional plug, then simply mount the outlet, insert the plug into it and everything works.
But there are some hoods that need to be connected to the wiring themselves. In this case, you must install the machine. It must be installed on the electrical circuit break, and insulate all exposed wires.
And do not forget to connect the ground. Install the grille on the hood. It remains only to configure the touch control, if available on your device.


Cost of
If you do not have time to do this work or you are not confident in your abilities, you can order this work from specialists.

Order this work should be a proven construction company with good experience and positive feedback from satisfied customers. Otherwise, unscrupulous and careless masters can not only spoil the repair, but also install the hood in such a way that later you will have to redo it yourself.

Typically, a standard set of installation of the hood includes its mounting to the wall with pre-alignment, connection to the ventilation system, connection to the current point of the power grid, and performance testing.
The cost of such work depends on the type of extracts.If the installation of a classic standard size hood will cost around 1,500 rubles, then installing an island hood with a ceiling mount will cost around seven thousand. Additionally, you will have to pay for the installation of a check valve and power supply.
Whichever hood you choose, and whoever installs it, you yourself or employees of a specialized company, first of all, you need to perform work qualitatively from all sides so that the hood works correctly, in accordance with electrical and fire safety rules grazing did not fall on your head. And think about whether to overpay if the work on the installation of the hood is not so difficult.