What furniture can be made from gypsum board?

Drywall - one of the most popular finishing materials. When repairing the premises they line the walls, from it construct arches and ceilings of different configurations. But not everyone knows that furniture is made from gypsum sheets that is not inferior to standard headsets in quality.
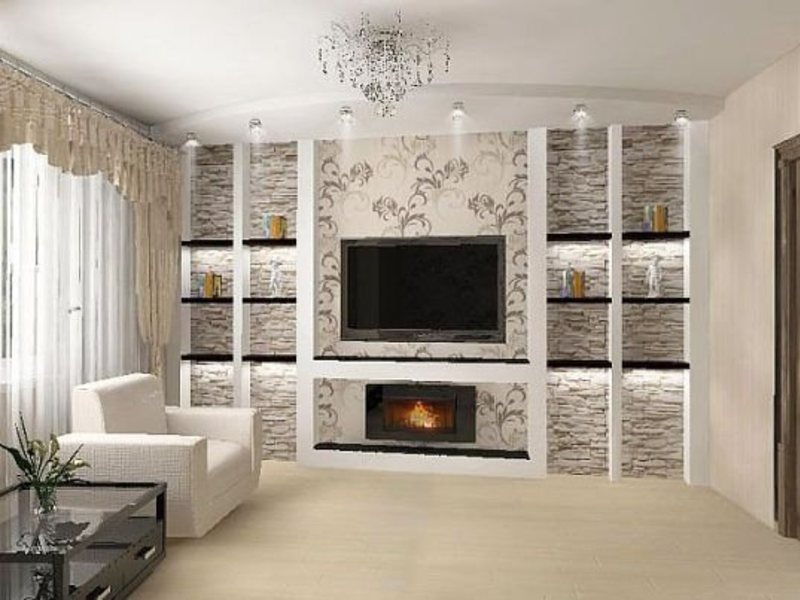
Plasterboard products created by hand, most often made by people with fantasy, tired of the type of stereotypical interiors. In the kitchen or living room, you can create a great setting using drywall furniture.

Features, Pros and Cons
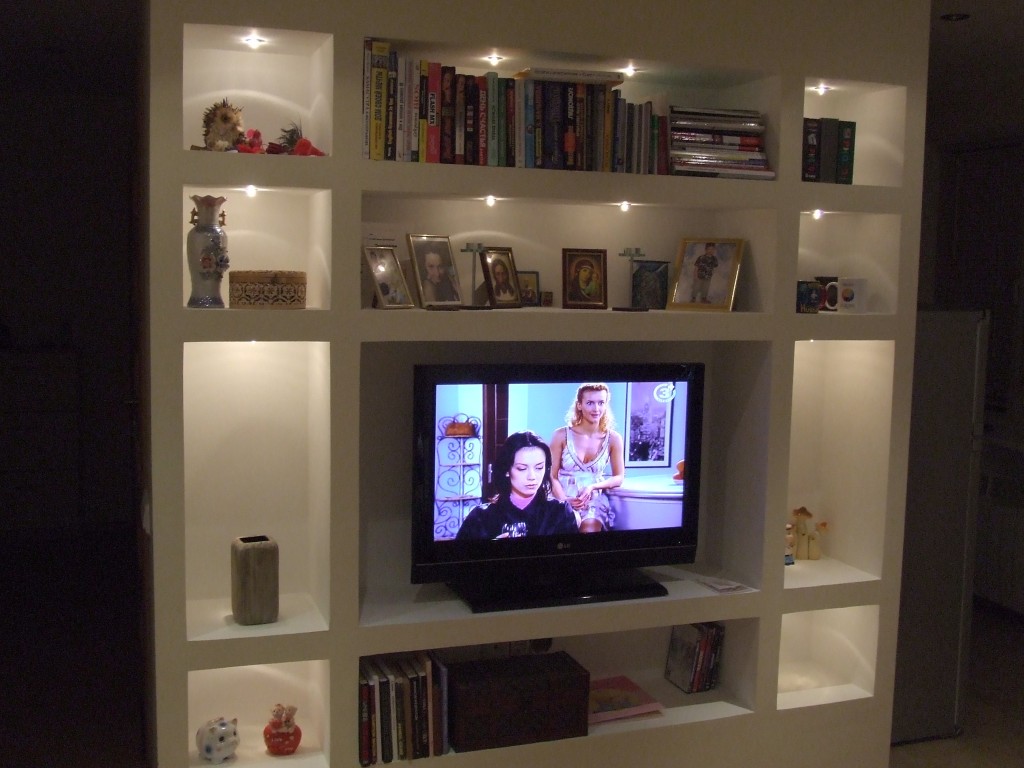
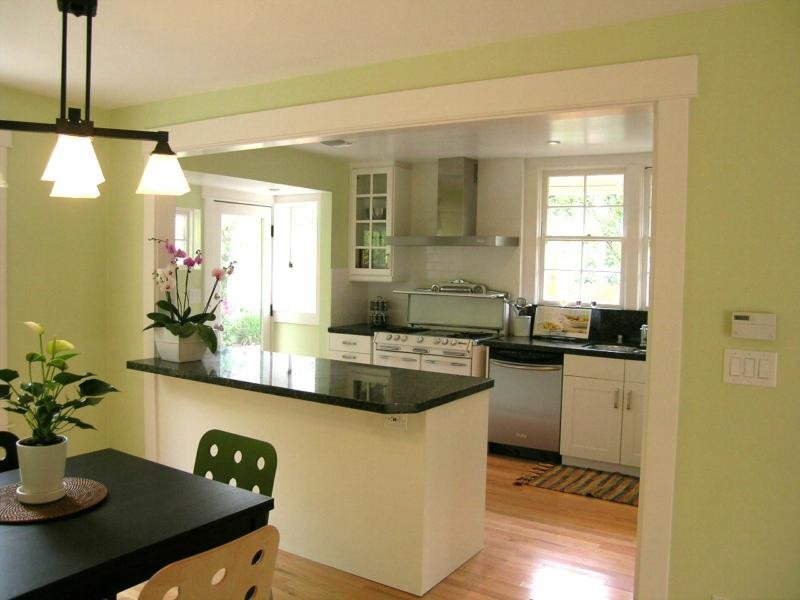
So, in the kitchen it is possible to construct standard furniture from gypsum boards of cloths: cases, cabinets, a table, a niche for a TV, arches with shelves, shelves and a lot of other elements. The advantage of any plasterboard products is the availability and low price of the material. They also differ.
- Easy installation. Plates can be fixed in a variety of ways, including with glue. The main thing is to take into account the load. The products themselves are light, which removes the heaviness from the floors.
- The ease of finishing. By themselves, the panels do not create an impressive view, but they are easily painted, covered with wallpaper, messed up with tiles, in other words, lend themselves to any decoration. If the plasterboard fragment is damaged or dismantled, it can be replaced without much effort.
- Furniture made from such materials is completely safe. It does not emit harmful substances, it is resistant to high temperatures (it does not burn or melt), which makes it possible to carry electrical cables under or on it.
At any time, plasterboard furniture design can be disassembled and constructed a new model.
- The fragility of the material. Naturally, such interior items are designed for a certain severity, which is not recommended to exceed.
- The availability of raw materials is limited in rooms with high humidity. Even when using moisture resistant species, they need to be auxiliary protected. Otherwise, soaking with regular condensate cannot be avoided.
It turns out that there are almost no drawbacks to drywall. It is important to choose the right material for a particular design, and then accurately make an independent installation. Then there will be no problems, and the result of the work will please.
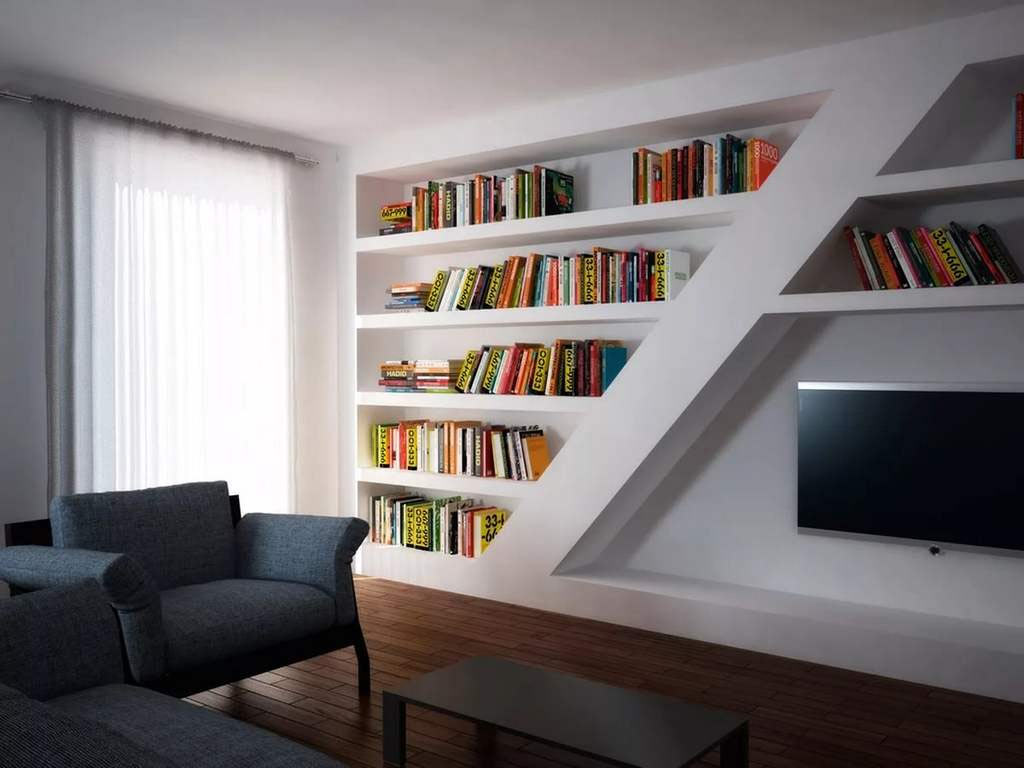
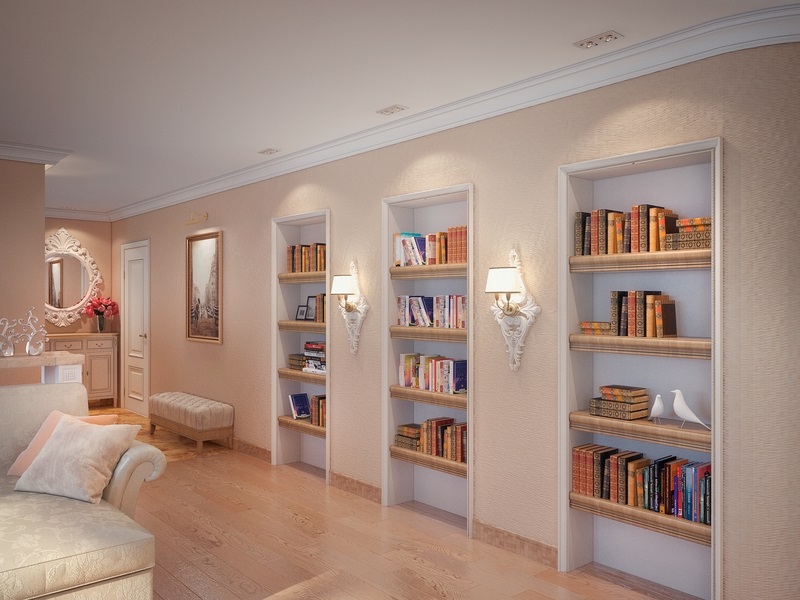
Quality designs can be placed not only in the kitchen. For example, in the bathroom or living room, the built-in cabinet from hisboard or shelves of this material will look stylish.
Drywall & Moisture
The kitchen is constantly present high humidity. However, for such an interior is not necessary to choose raw materials with a waterproof coating. As a rule, kitchen sets are equipped with an exhaust hood; this does not allow moisture to penetrate the material.
On the drywall always put a finish (paint, tile, oilcloth, cleaning wallpaper). Through it, moisture does not reach the base. The thickness of the panels is selected based on the functions of the product, as well as taking into account the size of the working area and the strength of the frame. Interior items made of cardboard should be as functional as possible (shelves, canisters). As a basis for such structures, load-bearing walls (arches with shelves, racks, bar stands) can be used.
How to do it yourself?
Preparation and calculation
In order for the pieces of furniture to stand correctly, it is necessary to make an even wall plane. This is best done using the same raw materials from which the furniture will be made - from gypsum board.
Consider what actions for this need to produce.
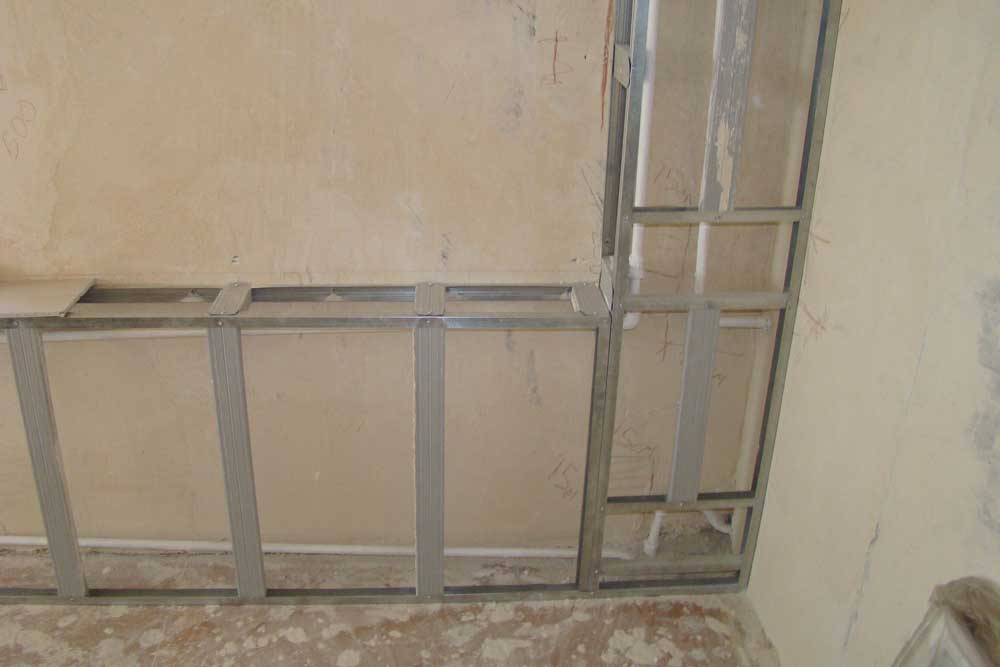
- First you need to calculate the differential surface irregularities. A flat rail is applied to the wall (perpendicular to the floor). If the gaps are less than 1 cm, the panels can be mounted without profiles. In other cases, the frame is required.
- Metal profiles are fixed along the marked lines. Interstices are installed jumpers, preferably more.
- You can hide all communications (electrical wires, water pipes) in a constructed metal profile frame, but you need to take care of this in advance. It is also permissible (if required) to insulate the wall.
- Gypsum canvas is fixed to the wall with self-tapping screws, which go deeper into sheets by 1 mm. Panels should be tightly joined to each other.
- It remains to give the walls a proper appearance. Putty seams and caps from screws. The surface must be faced in some way. Now you can begin to design the necessary products.
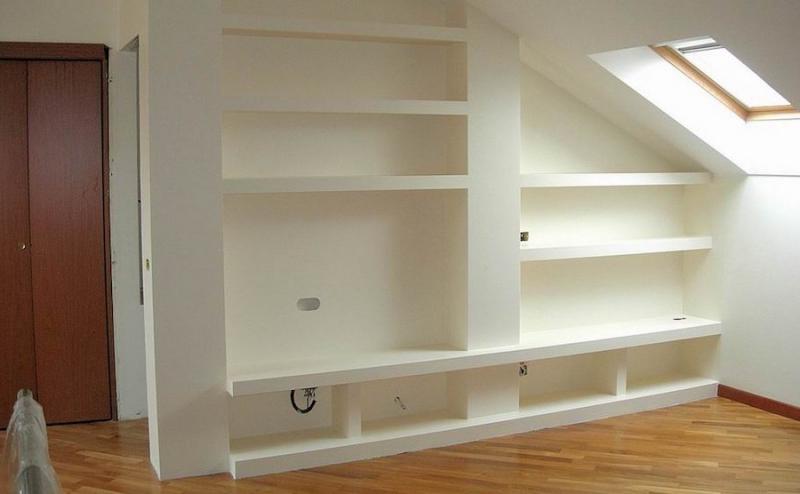
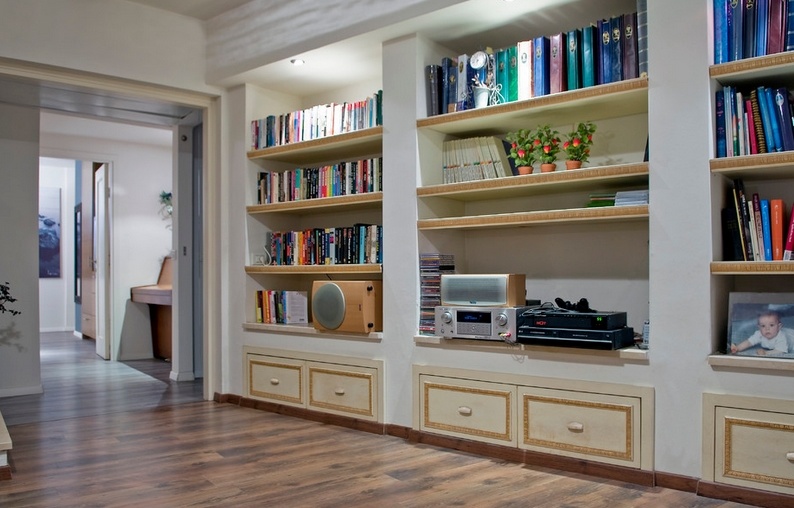
Cupboard with shelves
For the manufacture of the cabinet with the usual design will need some materials and tools. After they are required in the design of other objects.
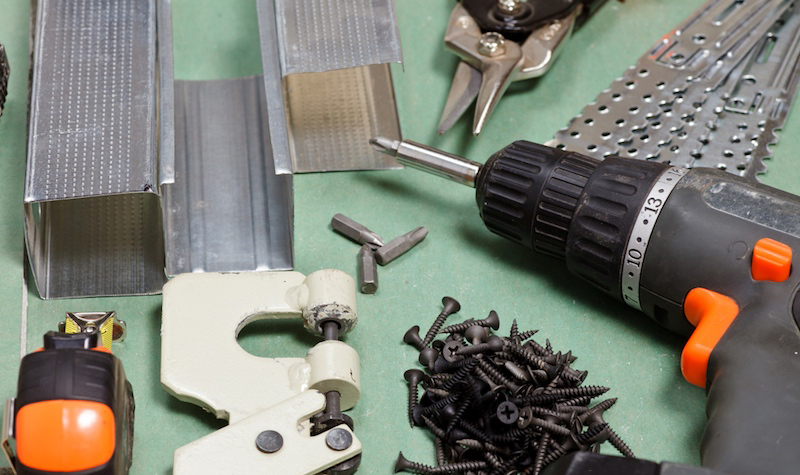
- Aluminum profile for frame assembly.
- Plasterboard sheets with a thickness of 1.2 cm. Depending on the place of use, it is necessary to choose whether to use moisture resistant or not.
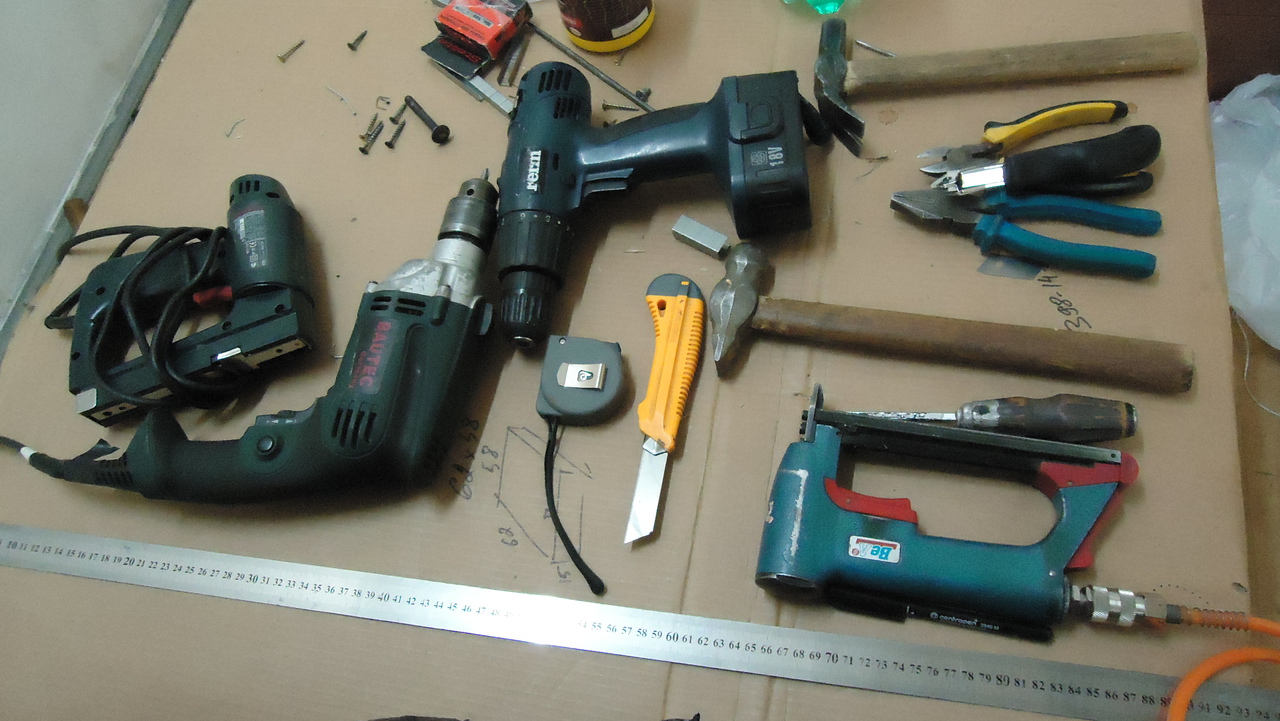
- Jigsaw or saw with a blade for cutting material.
- Drill with perforator mode.
- Screwdriver and screws.
- Square, building level, tape measure.
- Protective equipment: respirator, gloves, goggles.
It is not bad to have a scheme of a future product - work with it will be faster, as the dimensions will not need to be rechecked, and all the details can be done in advance.
Assembly process
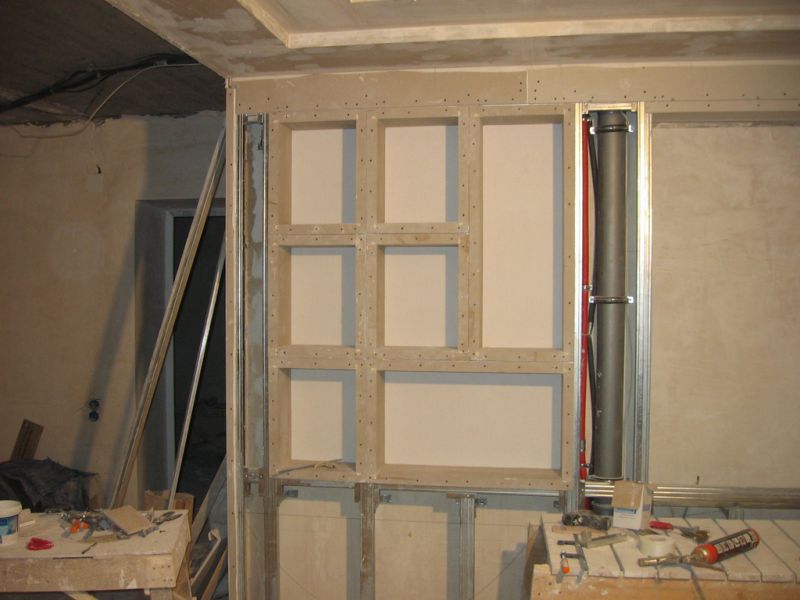
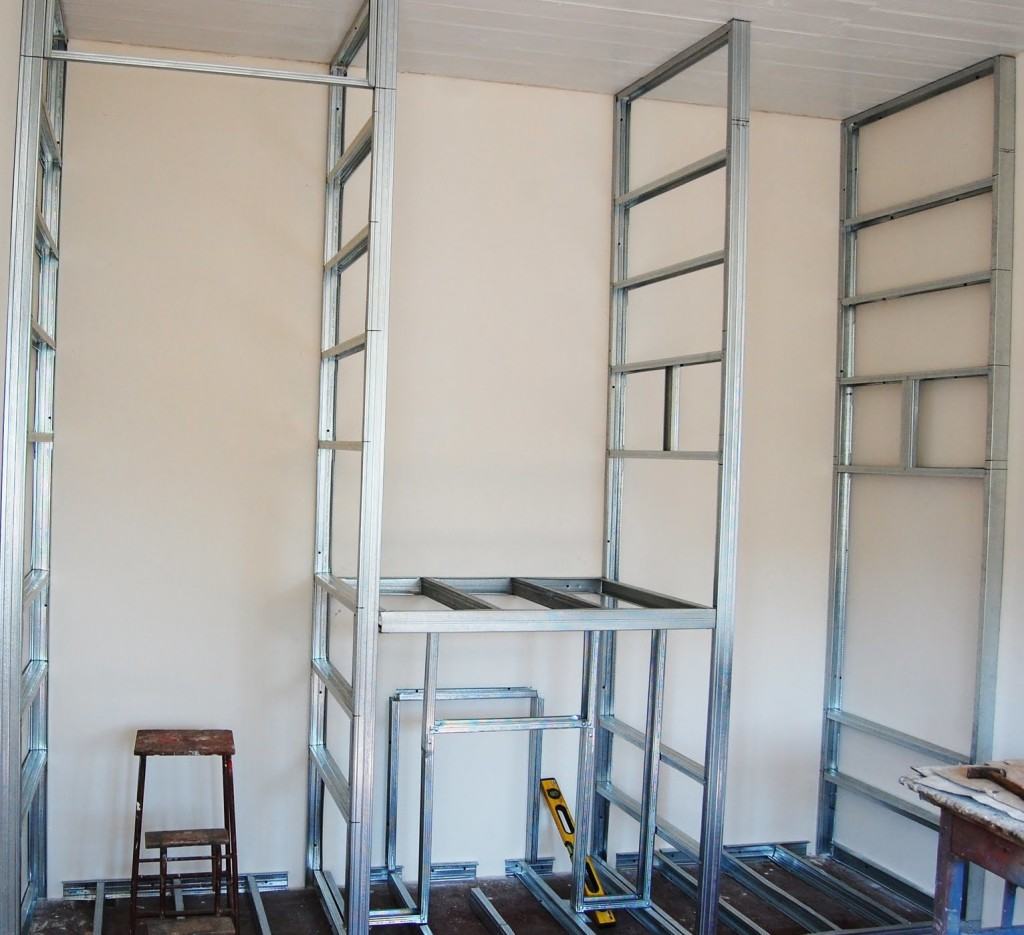
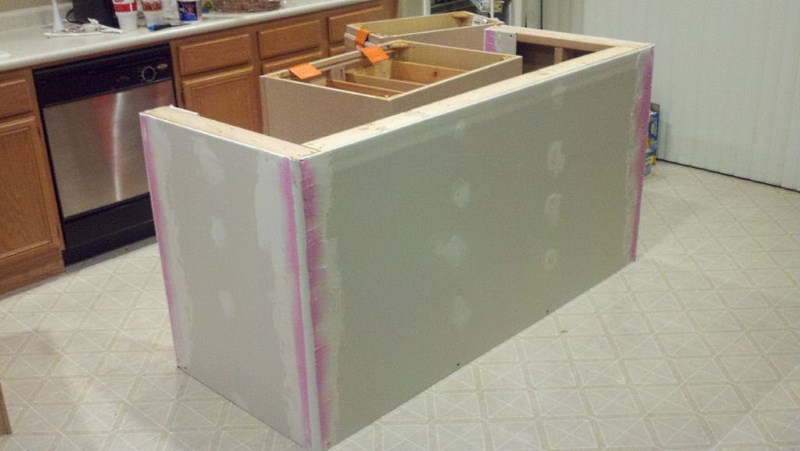
- At first, they fix vertical posts from the profile to the wall. Next to the floor and ceiling attach horizontal bars. Under the aluminum (optional) pave the damper strip, which will perform the function of a shock absorber, preventing vibration.
- If the rack is made not in height to the ceiling, the piping is constructed from above. As a result, the frame of the parallelepiped shape from aluminum components should be obtained.
- To strengthen the whole structure is equipped with jumpers (especially the lateral plane). Without fail, they are placed around the perimeter where shelves are to be made.
- Pre-mark the place of insertion of light devices. For them, in the necessary places a double frame is made. There are holes for the withdrawal of wires.
- The resulting "skeleton" is sheathed with panels. Sheets of drywall are cut into workpieces of exact dimensions, given that the edges of the fragments should be located in the middle of the profile. Blanks screwed using a screwdriver on the screws.
The rack can be equipped with doors, but it is better to order them in finished form. The finished product is initially puttied, then decorated.
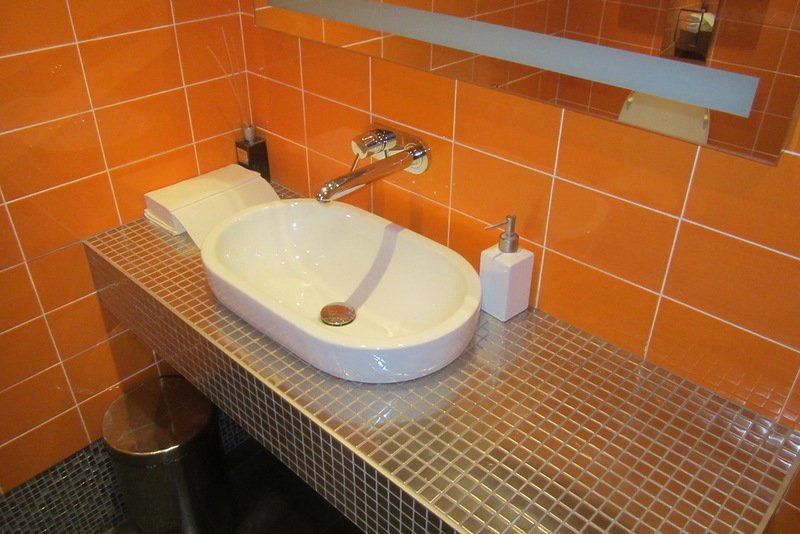
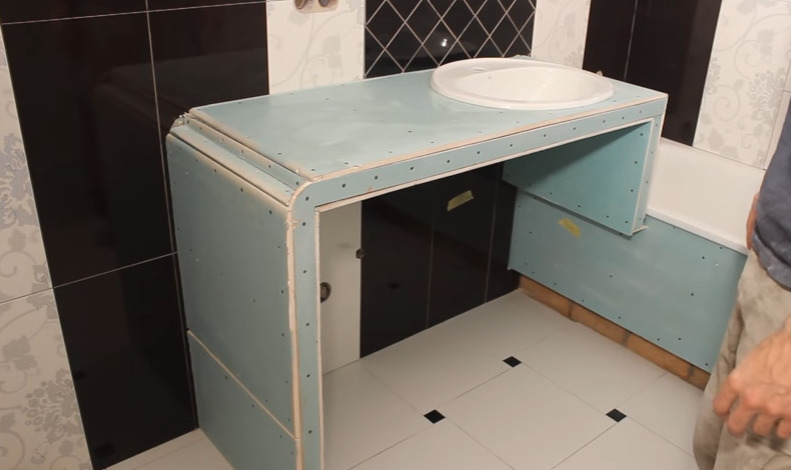
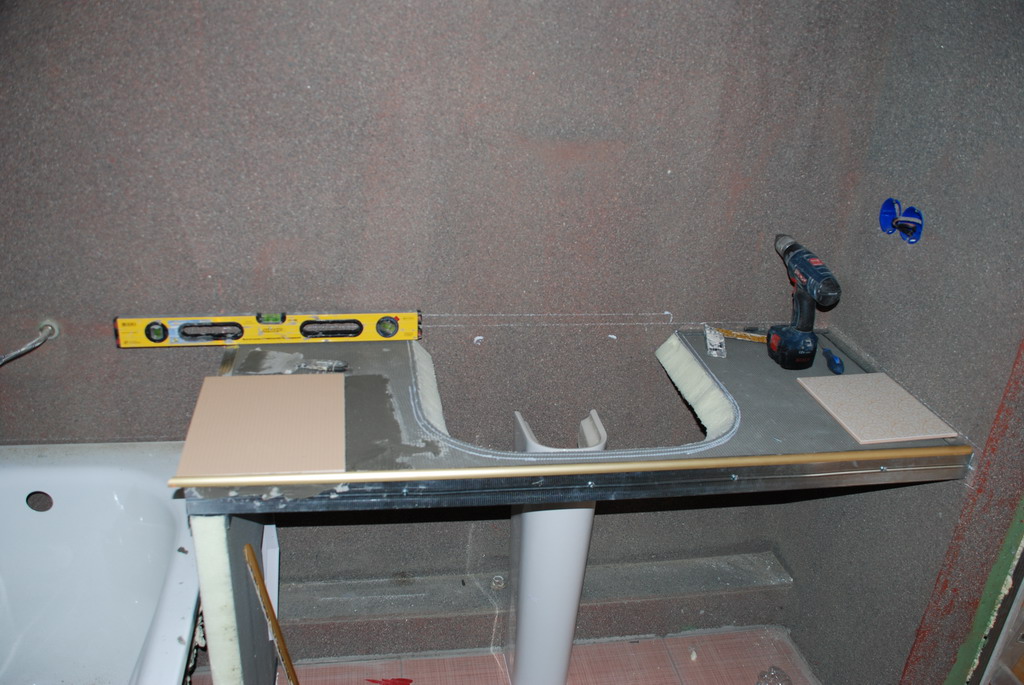
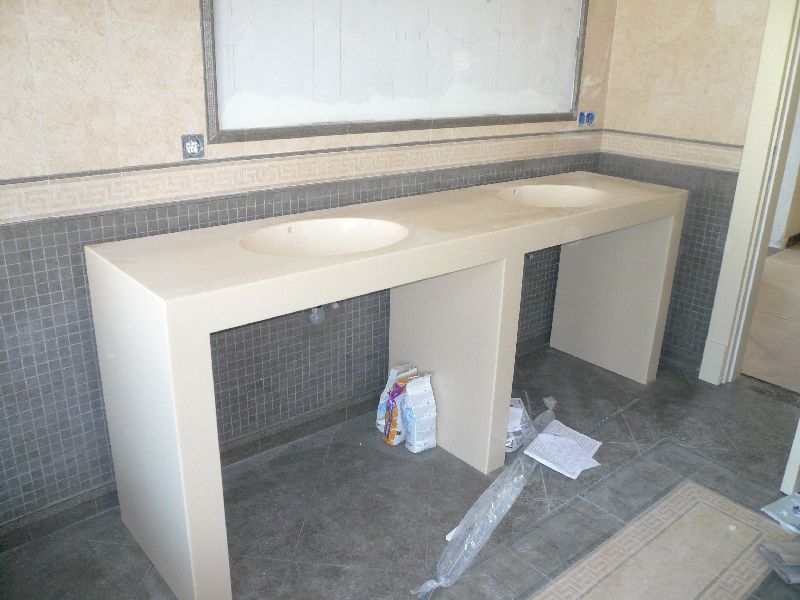
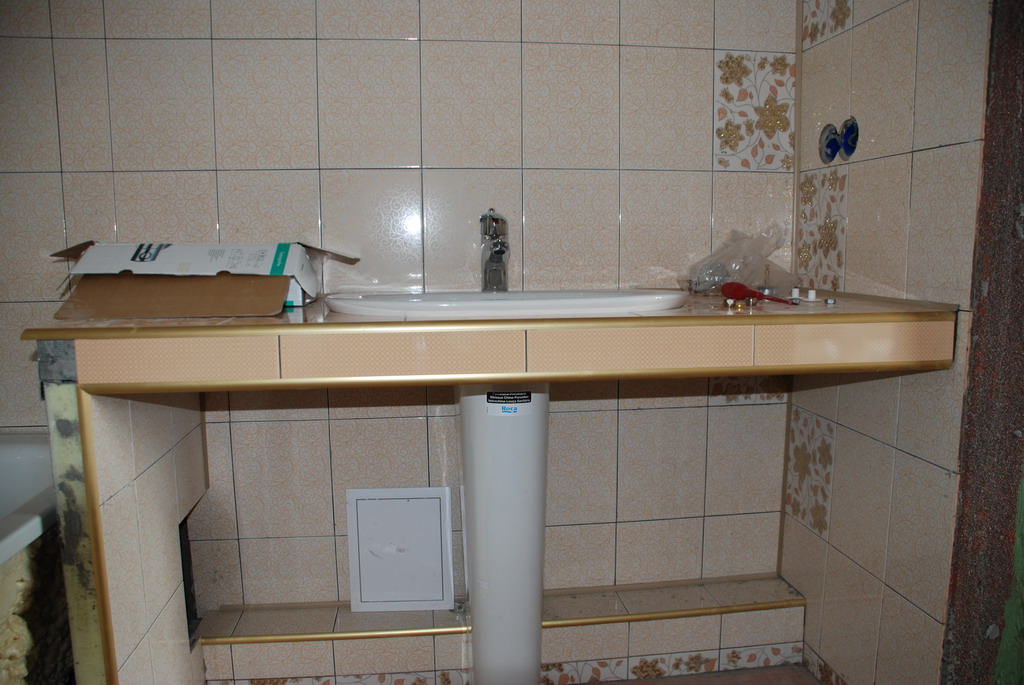
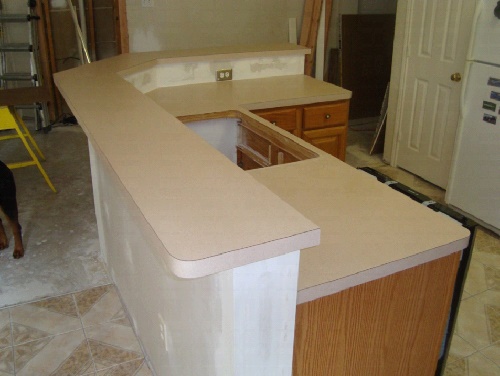
Table top
Need to take profiles of the required size. They need to be cut, and then to number. In a separate profile holes are made for fasteners. The metal elements are in turn fixed to the wall by marking, observing the level. To do this, use the measuring tool. For the manufacture of the frame guides are formed of two profiles - one is embedded in the other. Cross bars, located horizontally to reinforce the upper plane, are also made double. Each fragment of the skeleton is checked for evenness of the surface.
Frame framework must be strengthened with double struts.A pair of spacers fixed with screws at an equal horizontal distance. This is done by dividing the total height into 3 equal parts.

Vertical amplifiers are mounted on the sides. At the top of the jumper must be positioned with regard to the placement of the shell. To do this, make a washbasin pattern made of thick cardboard and determine where the amplifiers will be mounted.
After finishing work with the frame, it is recommended to check the level of the plane for the last time. It is necessary with a little effort to click on the structure. She should not stagger, but stand firm. This ensures the reliability of the table top.

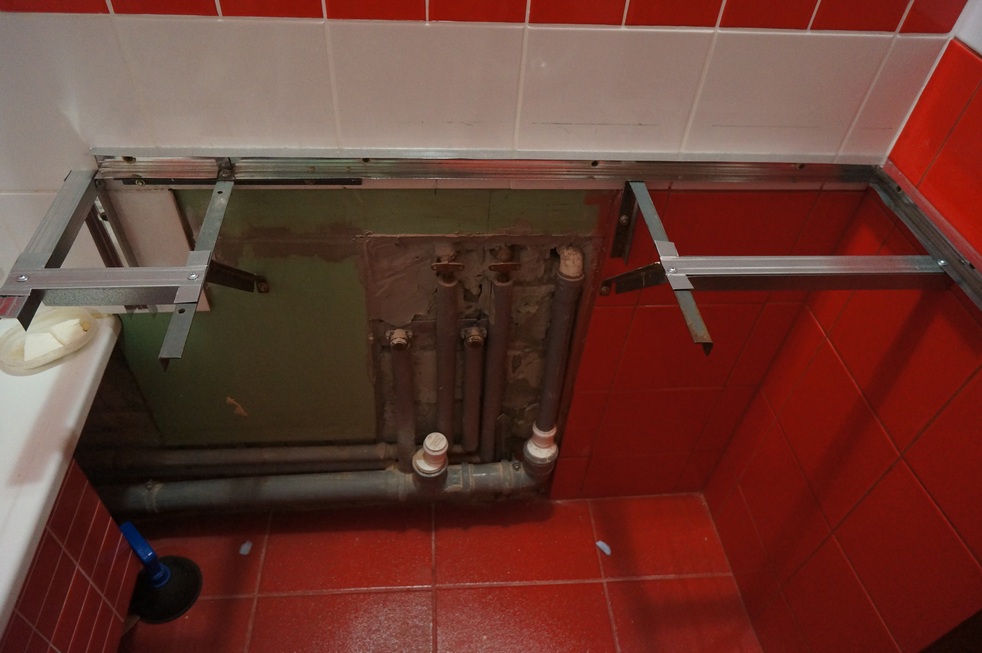
For a plane under the sink, you will need 2 identical plasterboard elements. They are cut to the size of the case. One part should be fixed on the upper surface, and the other - horizontally (under it). Next, prepared layouts are attached under the sink on the lower and upper fragments of GCR. Carefully cut the cavity under the sink.
For the sides of the product, blanks are needed (according to the size of the places to be sewn). First, the drywall is fixed with glue, then fastened with screws. They are screwed every 20 cm.Bottom blanks should not reach to the floor to avoid soaking. They are made on the floor a centimeter shorter. The side walls are veneered with panels on both sides - outside and inside. The ends are sewn up with plasterboard stripes on glue and screws.
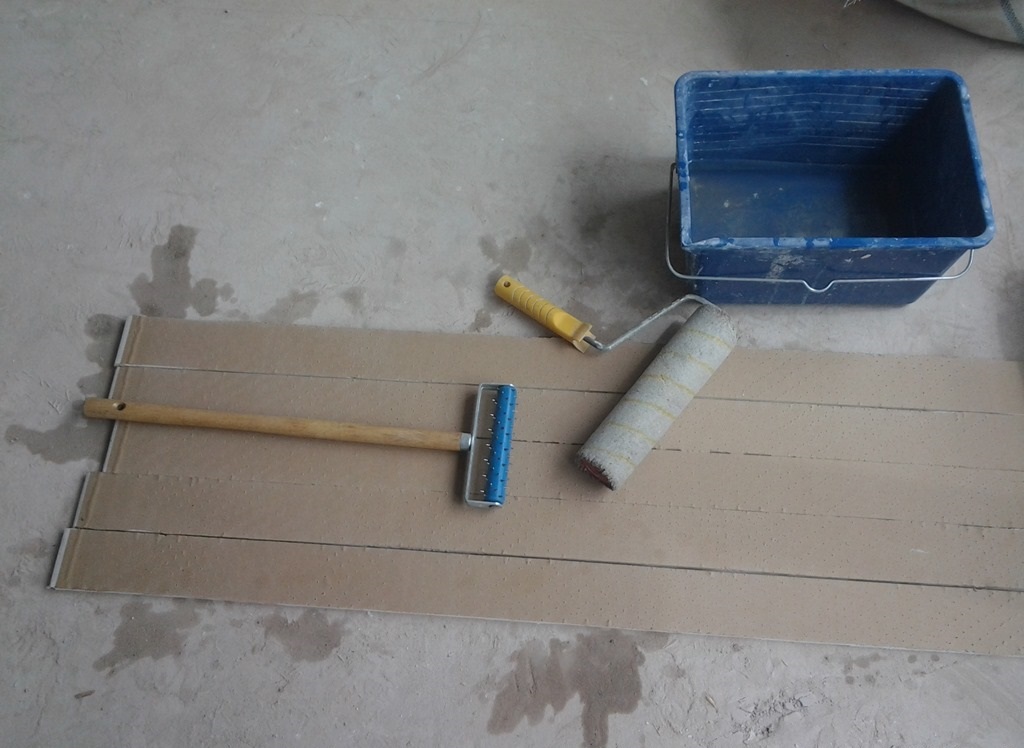
At the end of the work you need to grind all the corners of the product with emery paper, then treat the structure with a primer and finish it.
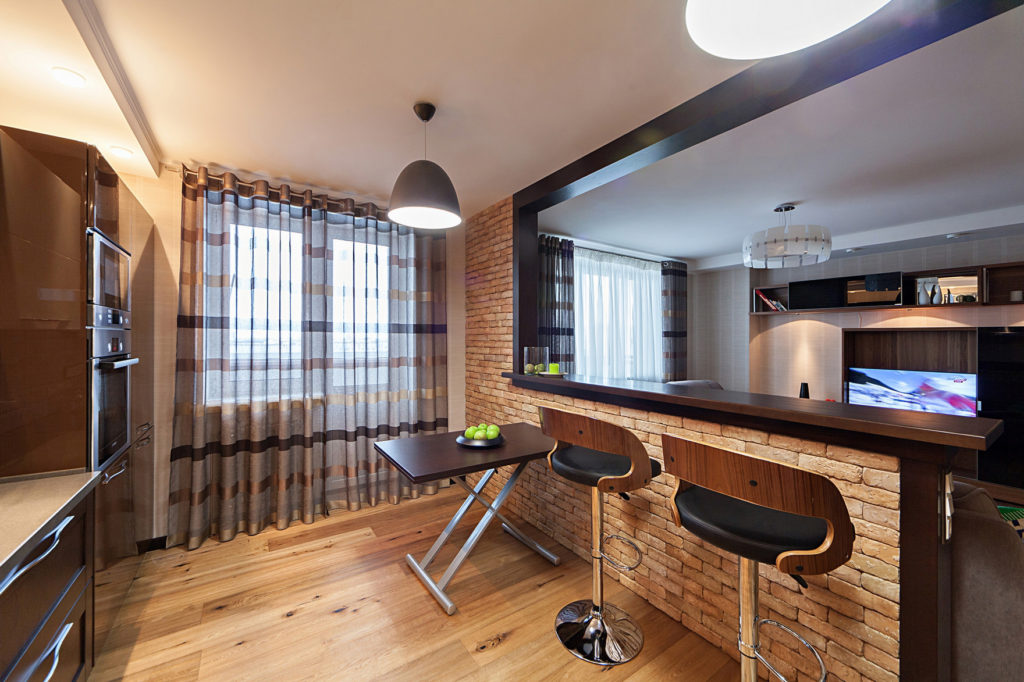
Bar counter
In the manufacture of the rack is nothing complicated. The only difficulty may arise if it is planned with a curved surface. But it is easy to make from drywall.

- The wall is made in the same way as for the cabinet with shelves. The design itself is low, so reinforcing the jumper in the frame to anything.
- It is necessary to bend the main guides of the skeleton to duplicate the desired configuration. One piece is attached to the floor, and the other is screwed to the rack as the top trim.
- It is easy to subject the metal to deformations, but still, slots are made in the profile to bend the desired arc. With drywall, this process is much more complicated, as it is fragile and can break.
- To avoid this, it is necessary to perform the following actions: use a needle roller to walk on the back of the part, then wet it with a wet sponge.Moistened billet acquires elasticity - it can be bent in any direction.
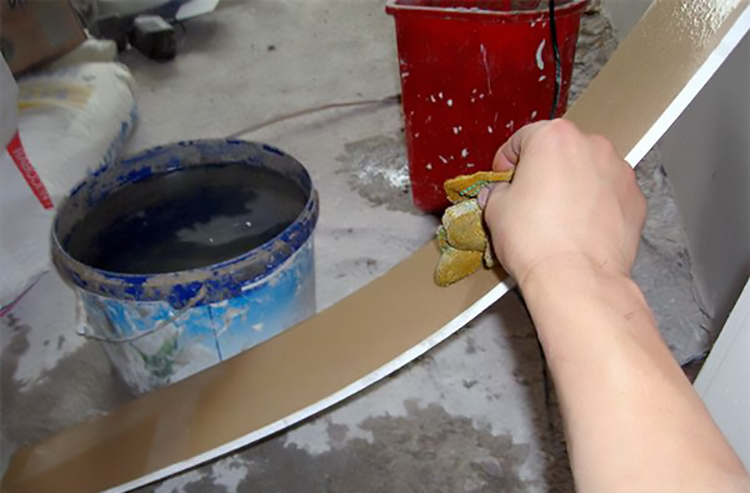
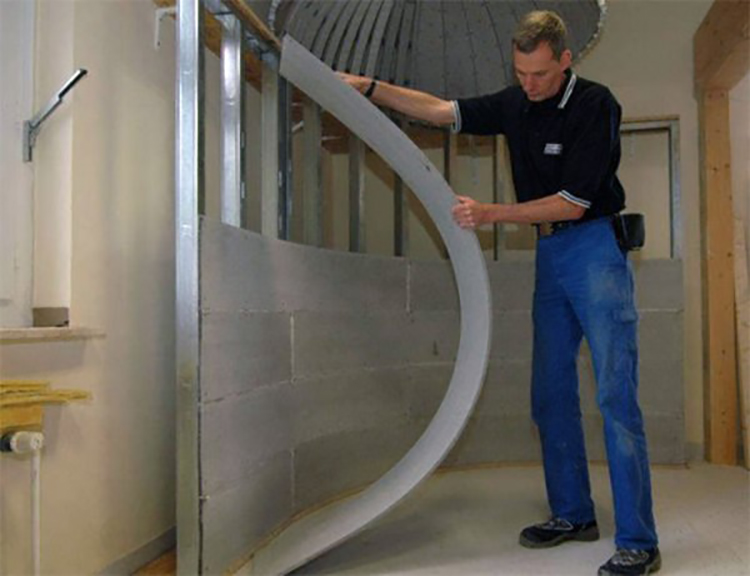
- After giving the desired shape, the strip is placed in prepared holders and left for 20 minutes. The holders are bars fixed on the plane. The workpiece installed between them will perfectly acquire the required radius. When the part is dry, it is screwed to the frame.
- In the end it remains to arrange the table top. Next, you need to putty the finished bar counter, to make the final finish. If you approach this purposefully, then there is nothing complicated about it. The product is equipped with sliding mechanisms for opening doors.
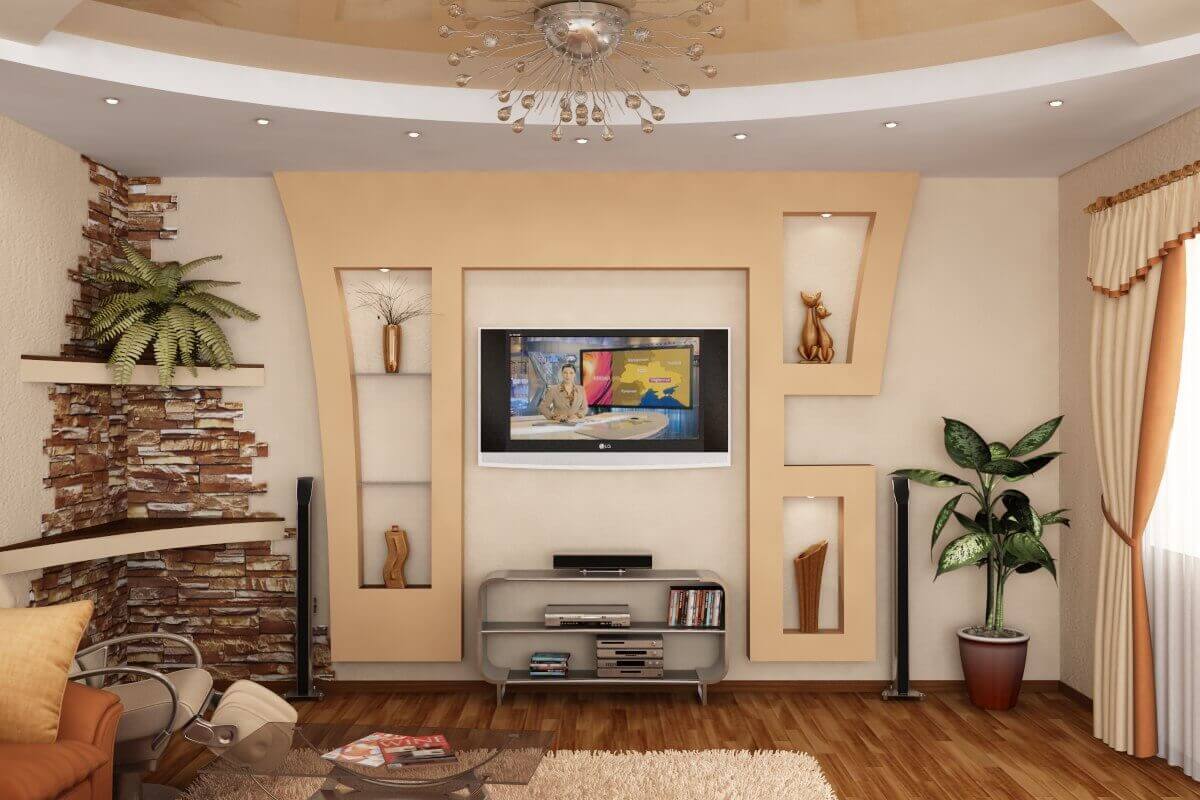
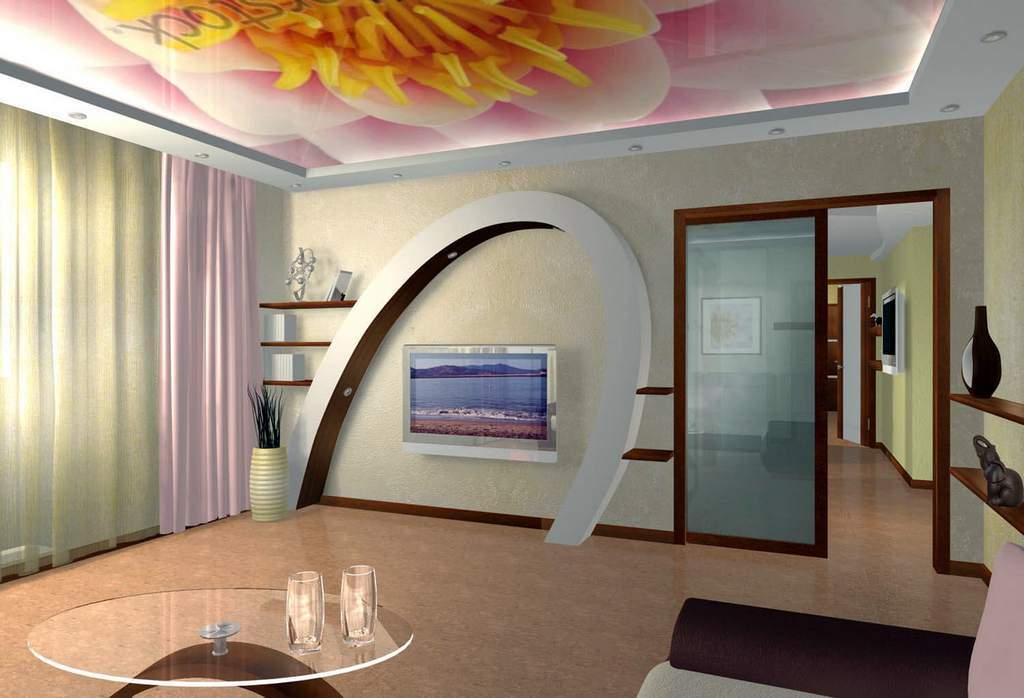
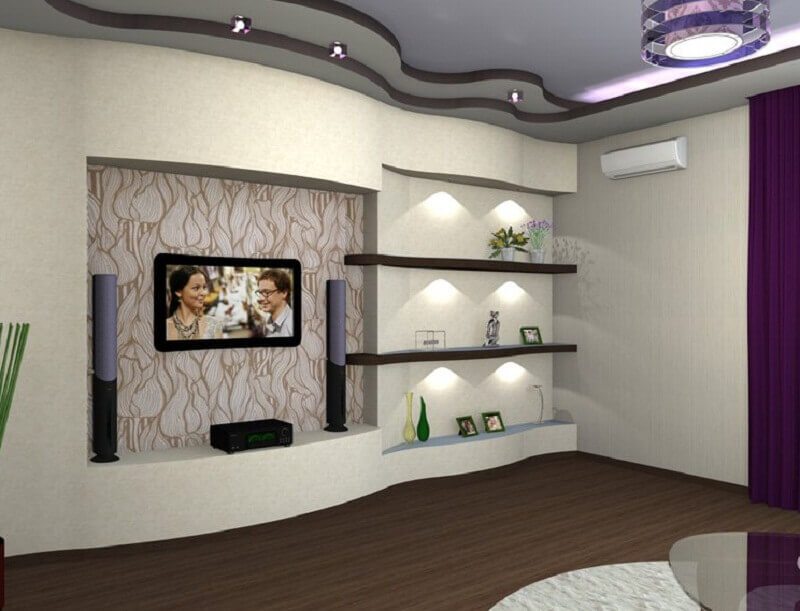
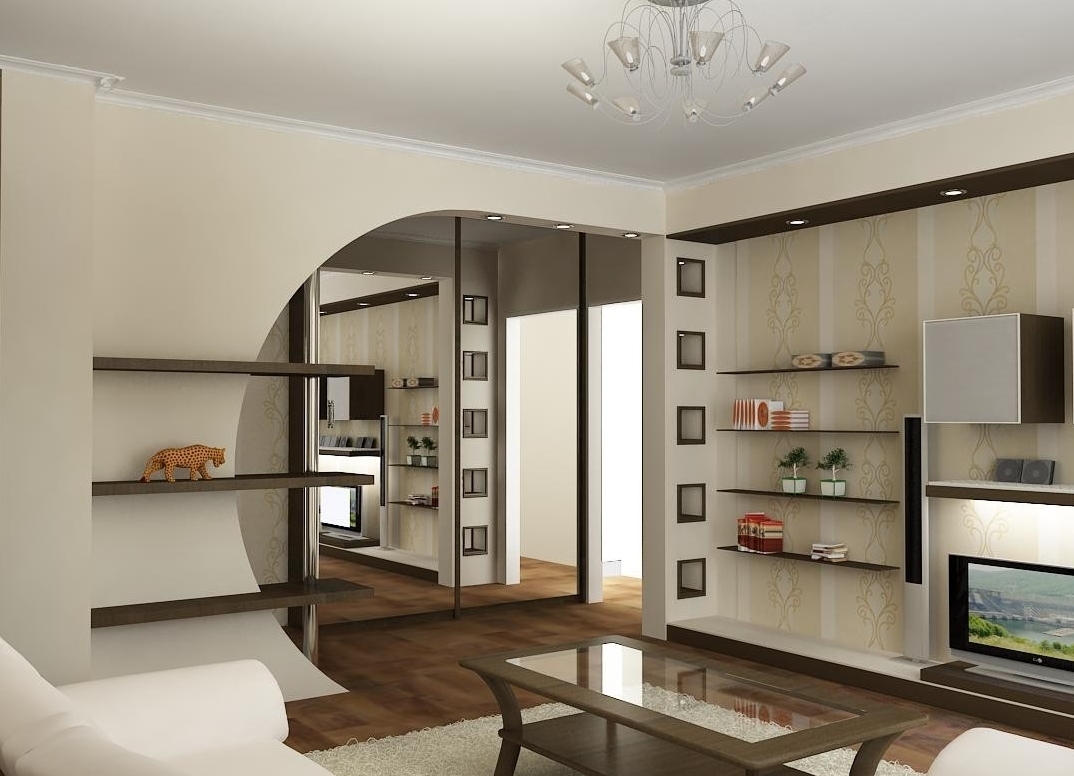
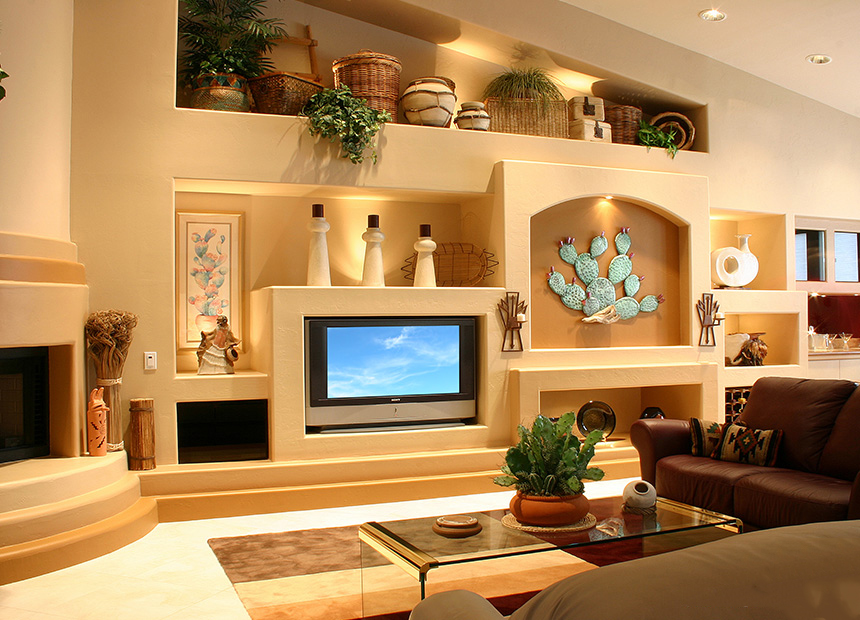
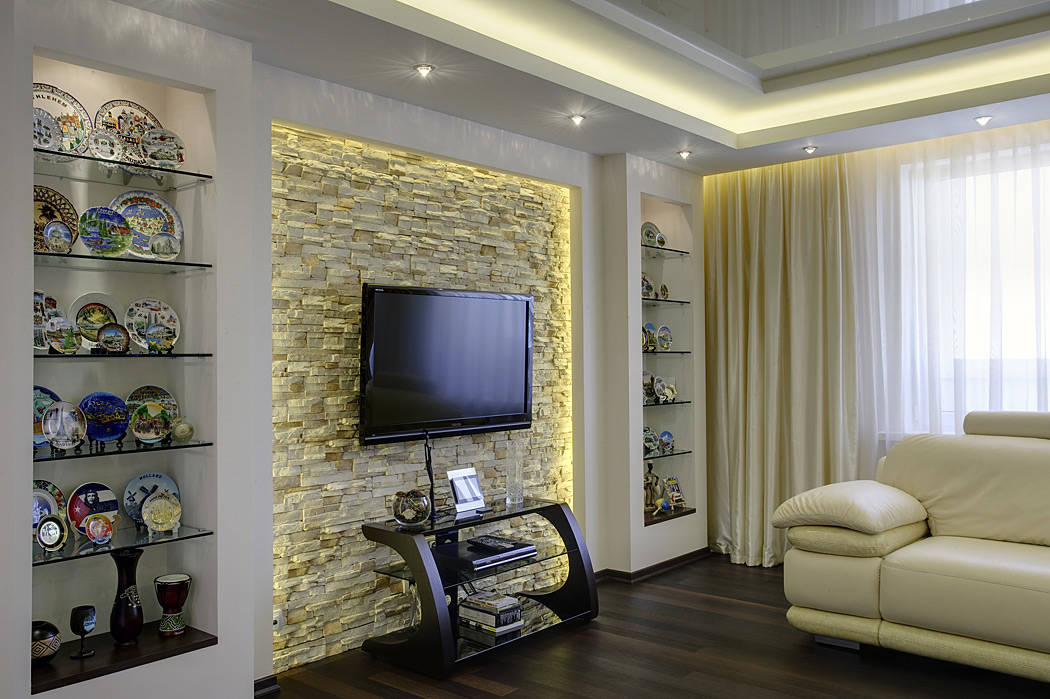
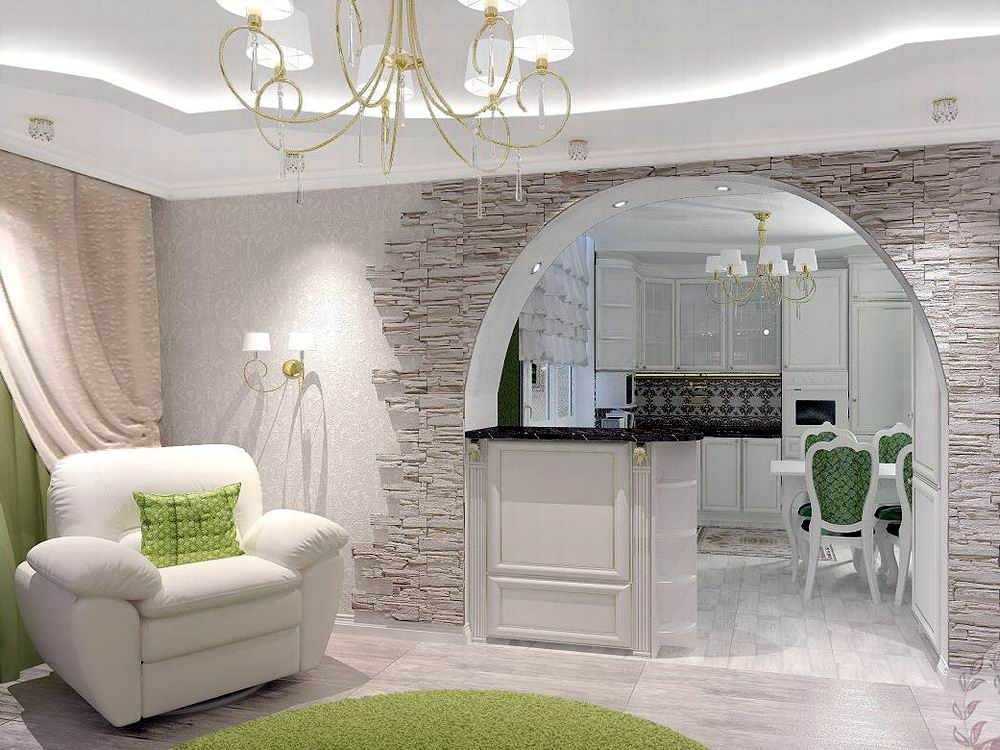
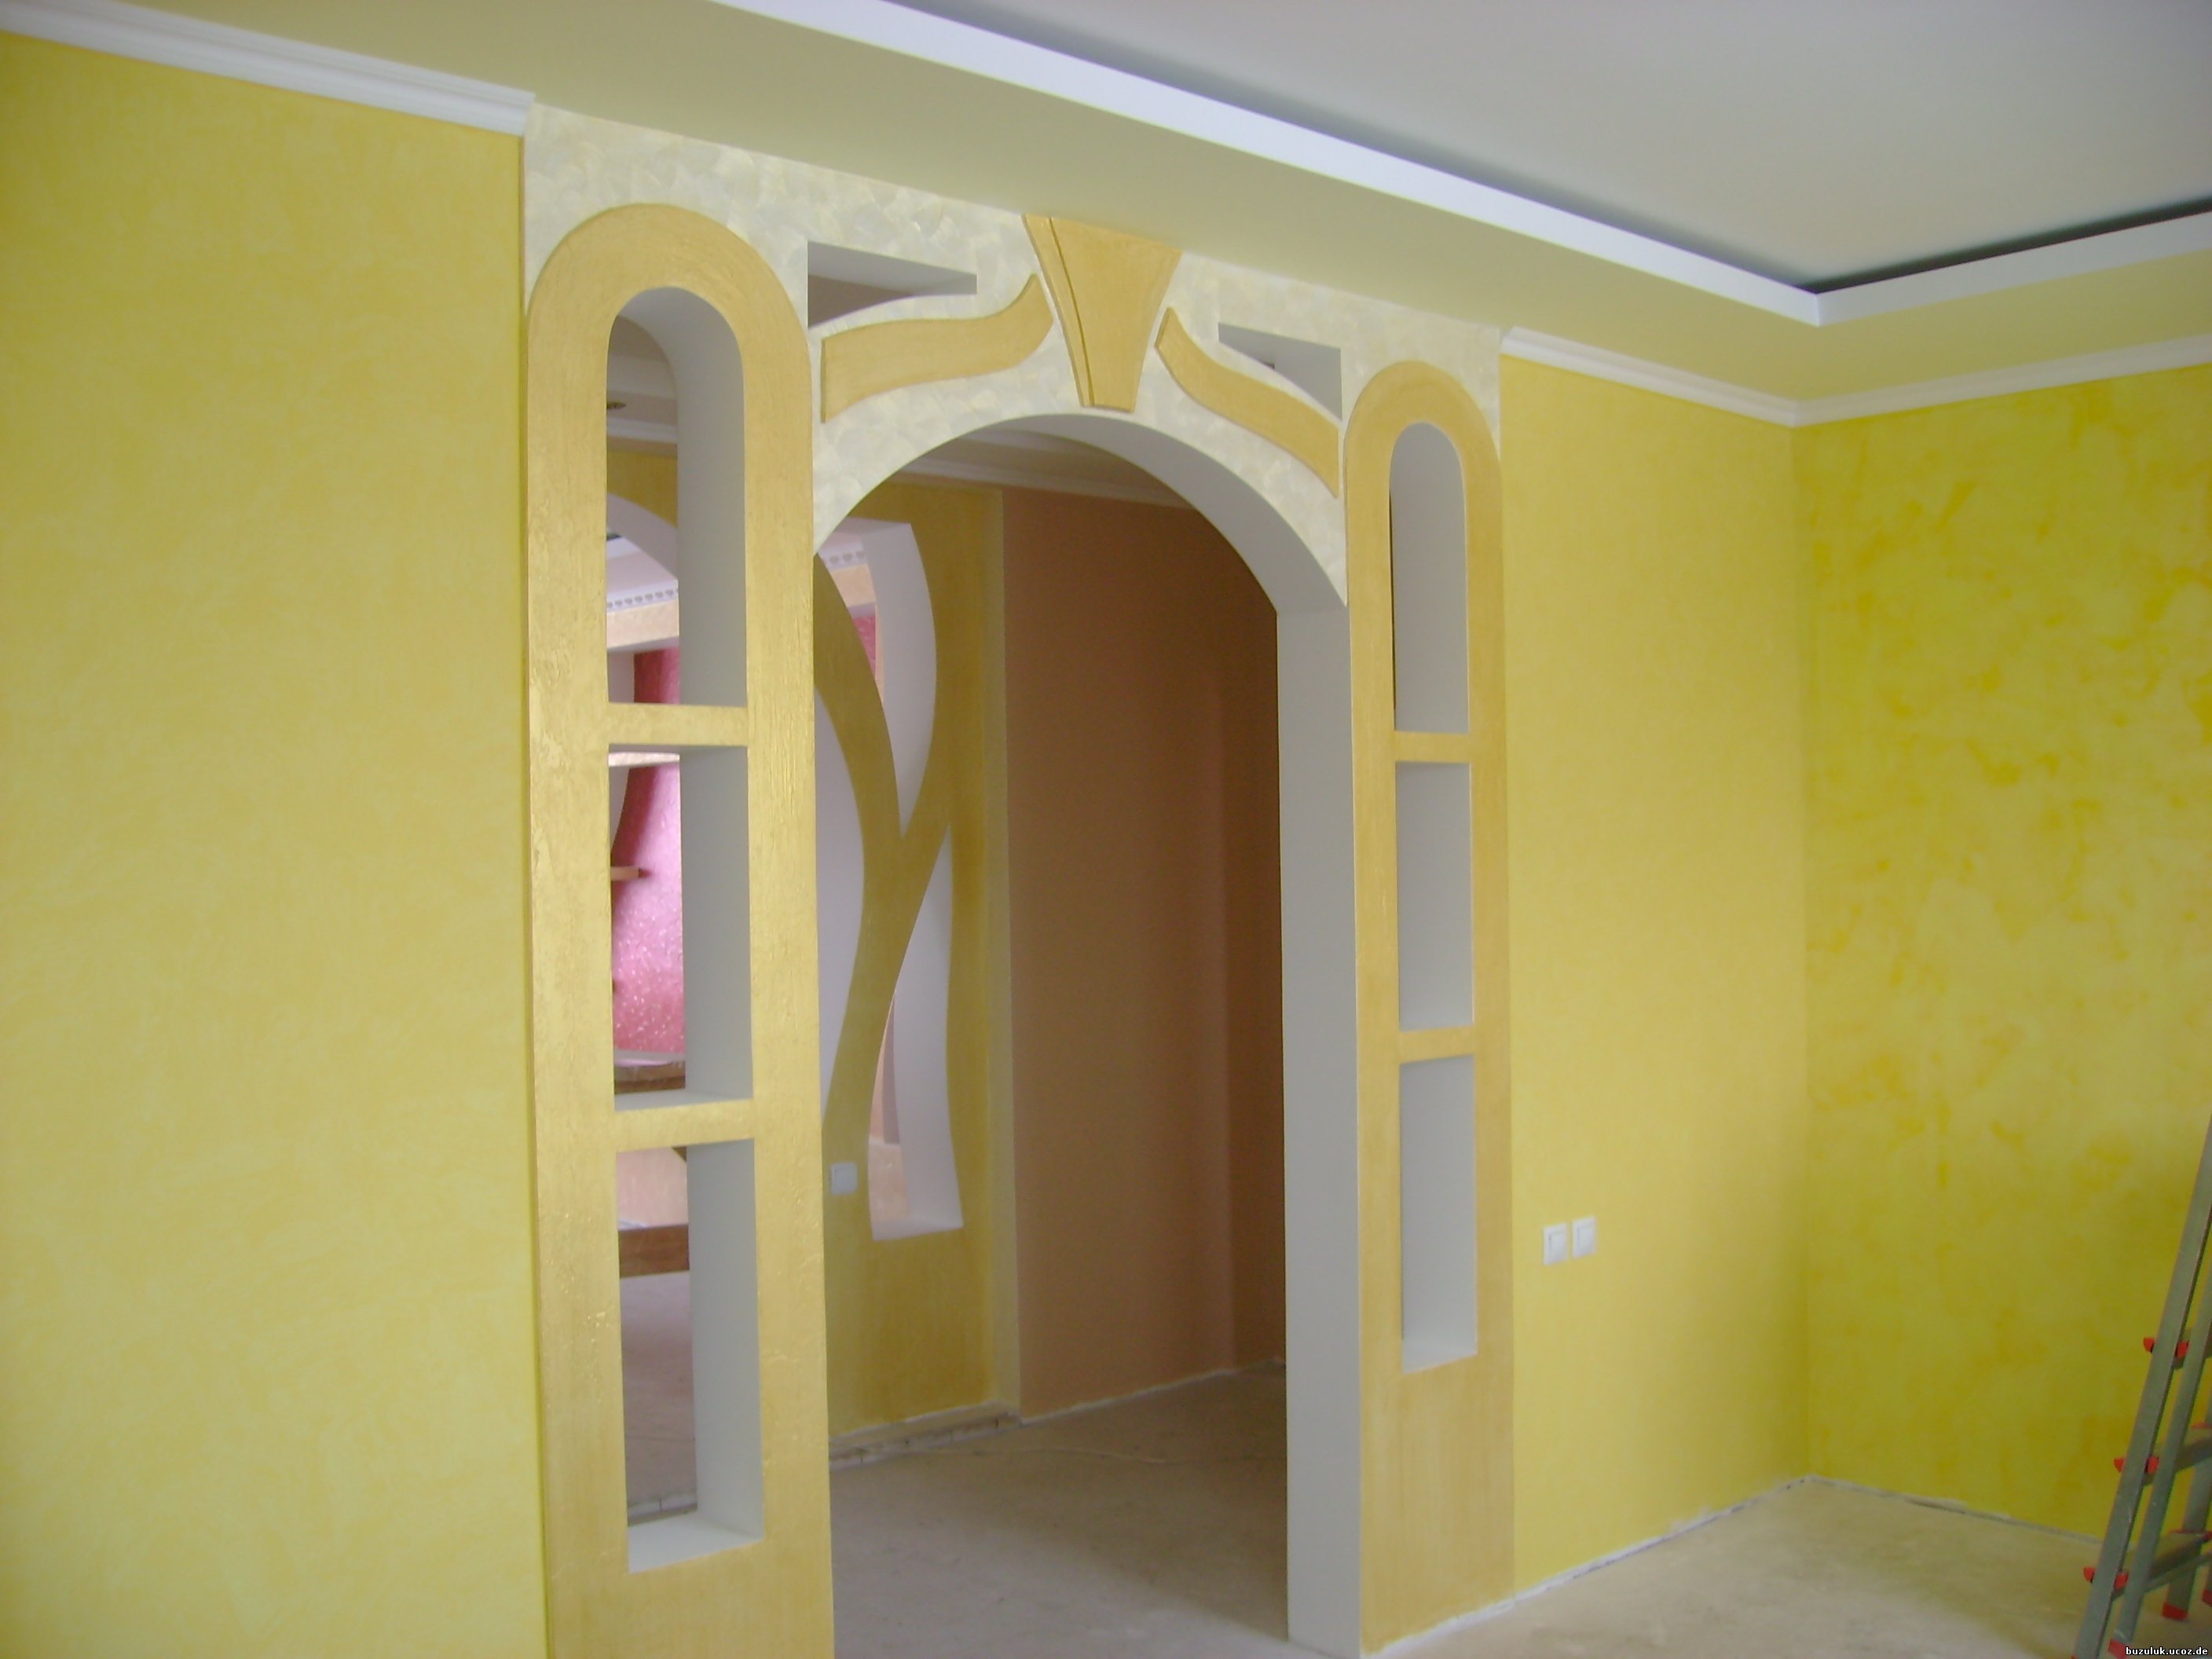
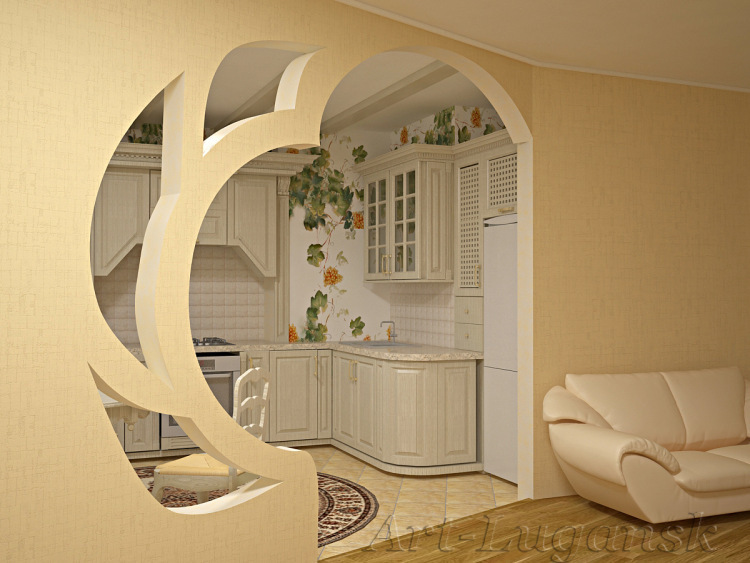
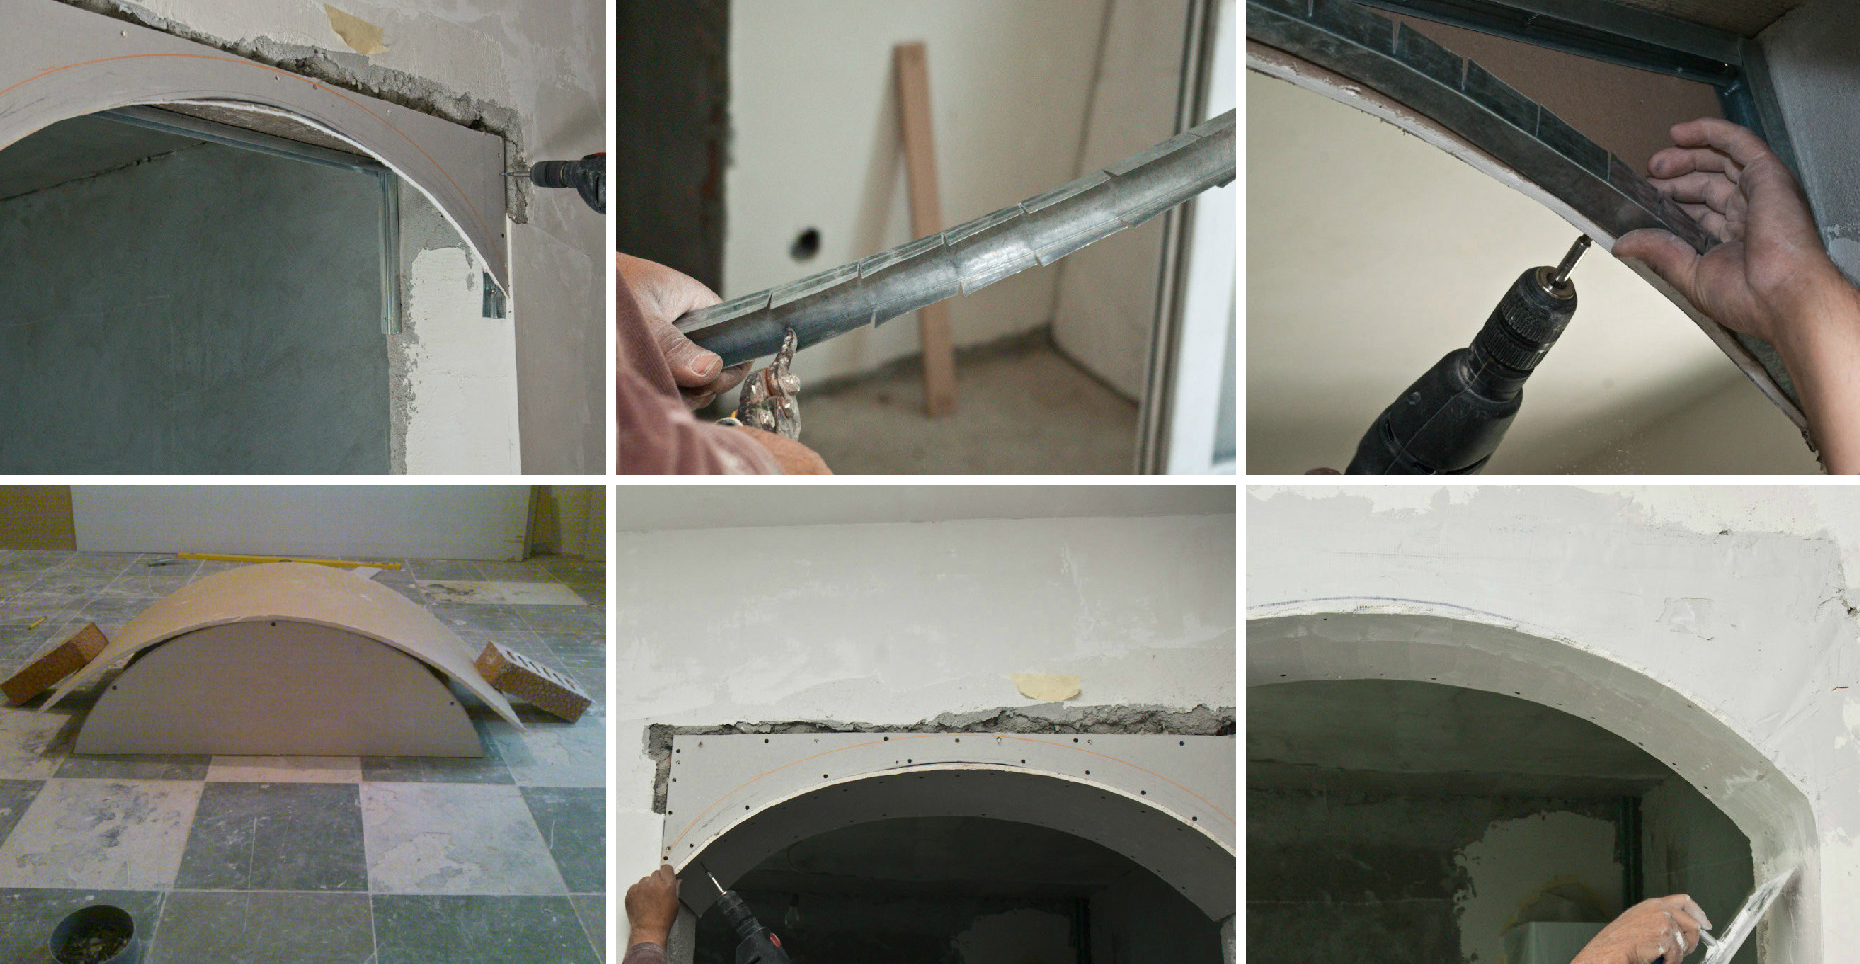
Kitchen arch
Such a design will become not only part of the design idea, but will also be a useful and functional area of the kitchen space. The idea of a vault in a wall of plasterboard with shelves is simple. With a small room the arch is more rational to place in the cavity of the wall. This will save usable space. In the arch will fit not only a pot with a flower, but also a TV, and various accessories.
Of course, it is easier to bring it to life at the construction stage, but if the plasterboard partition is already mounted, you will have to work hard.
- The marking of the planned configuration is made on the wall. It can be with the most unusual bends.
- A fragment is cut along the line if a through niche is provided. It is worth doing on both sides of the wall.
- Further, the non-through variant will be considered - removing the cut fragment, it is necessary to cut bare profiles along the contour and remove them.
- Bend the profiles and insert into the voids formed from the end faces, fasten them with self-tapping screws. You also need to bend the plaster strips, sheathe the perimeter of the arch. Make the finish, pre-putty cavity.
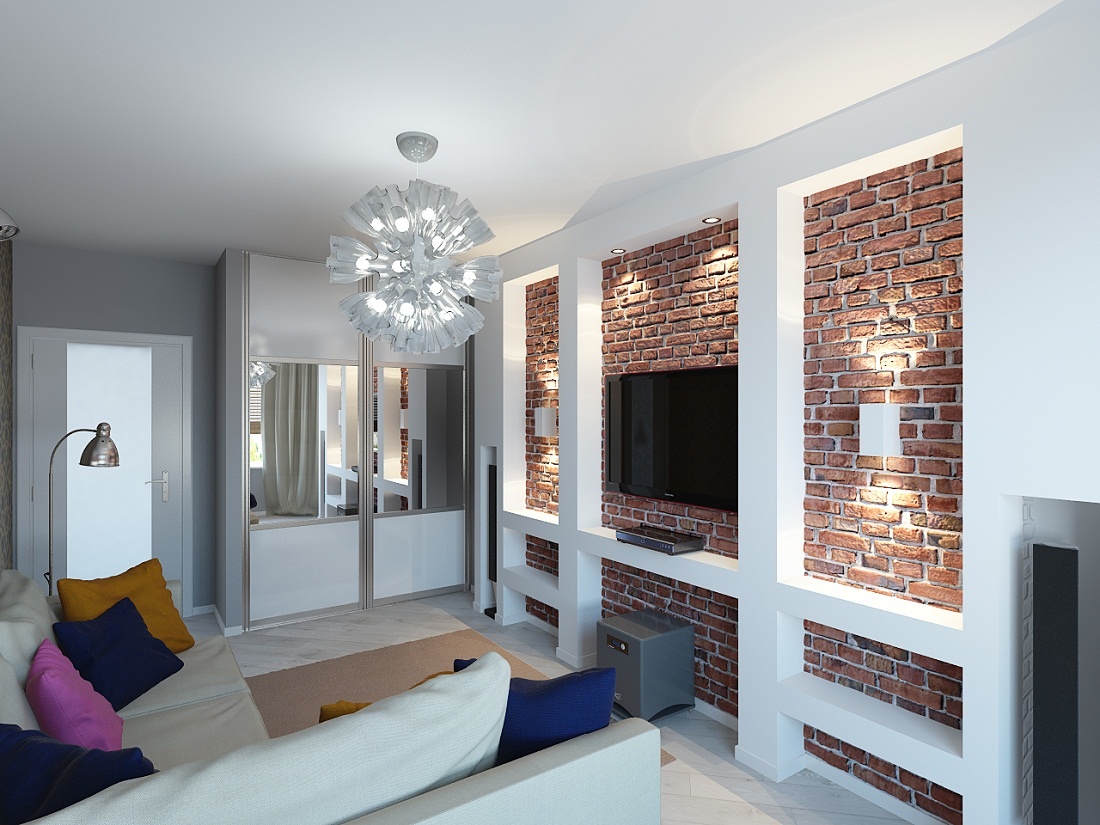
This niche can be equipped with a variety of shelves. Their location can only determine the imagination of the owner. This process can be done in any room. Also in them are possible options with shelves, false-fireplace, niches for TV and other similar furniture.
How to make a built-in closet of plasterboard, see the following video.