Mosaic shower tray: ideas and how to implement them
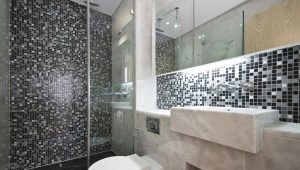
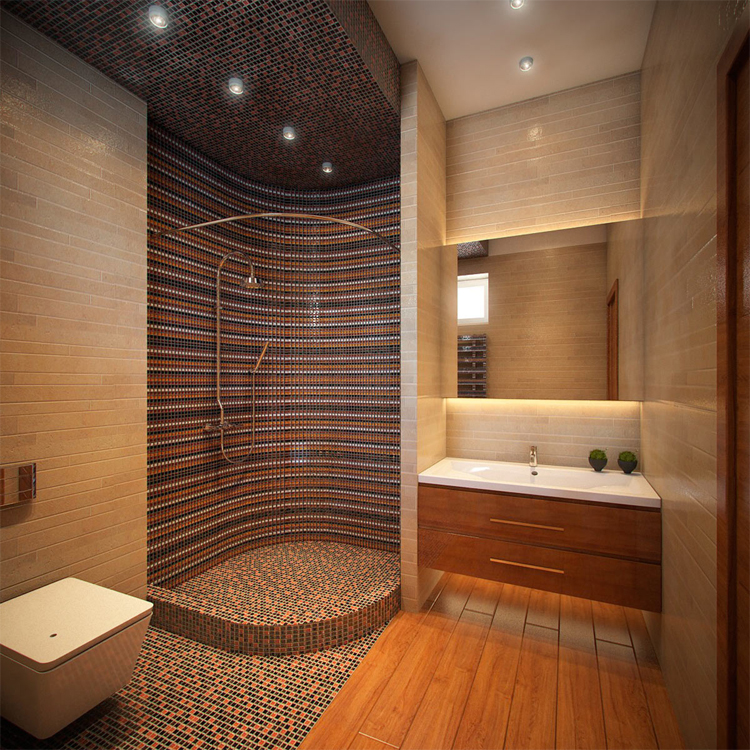
Mosaic, laid on the floor in the shower, will give additional originality and uniqueness to its design. Modern technologies allow you to perform work on finishing the bathroom and give a unique shower stall at the expense of the original tile. A mosaic pattern on the floor and walls of the shower will be a very useful addition to its configuration.
Benefits
The use of practical material for cladding, which, no doubt, is a tiled mosaic for its installation in the shower, greatly simplifies the finishing work in the bathroom and significantly saves time spent on installing non-slip tiles for its walls and floor. Mosaic tiles with a unique pattern are distinguished by reliability, long service life, a variety of design options, durability and simplicity during its installation. Reliable mosaic coating is resistant to deformation, even in the presence of strong dynamic effects on the surface of the shower stall.
Finishing a shower cabin in any, even a small bathroom guarantees the owner a long service life of this decorative material, provided that truly high-quality tiles and glue were used to install it.
Material properties and its selection
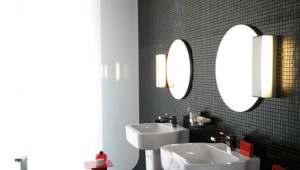
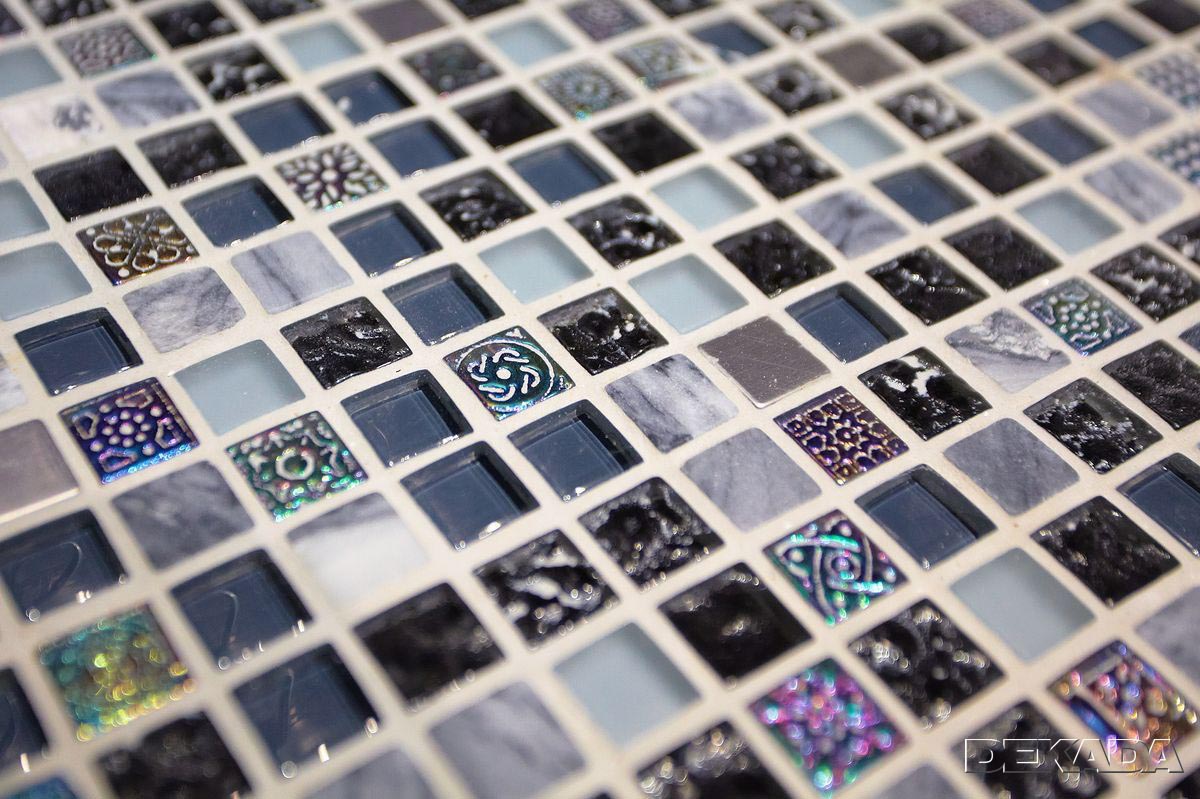
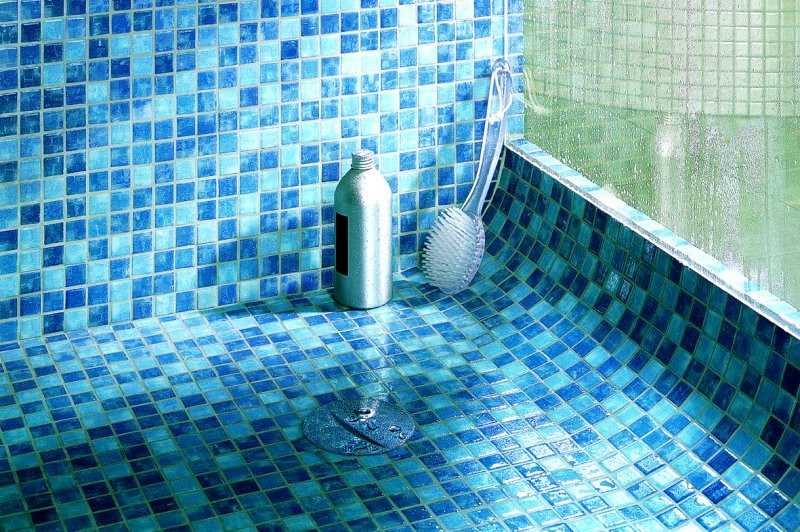
The glass mosaic tile along with natural similar products from a stone or ceramics is popular among those consumers who prefer classical decisions of a decor of the dwelling. Color range of decorative material presented in a wide range, thanks to the brightness of pastel coatings with all sorts of shades, allows you to implement the most daring design ideas.
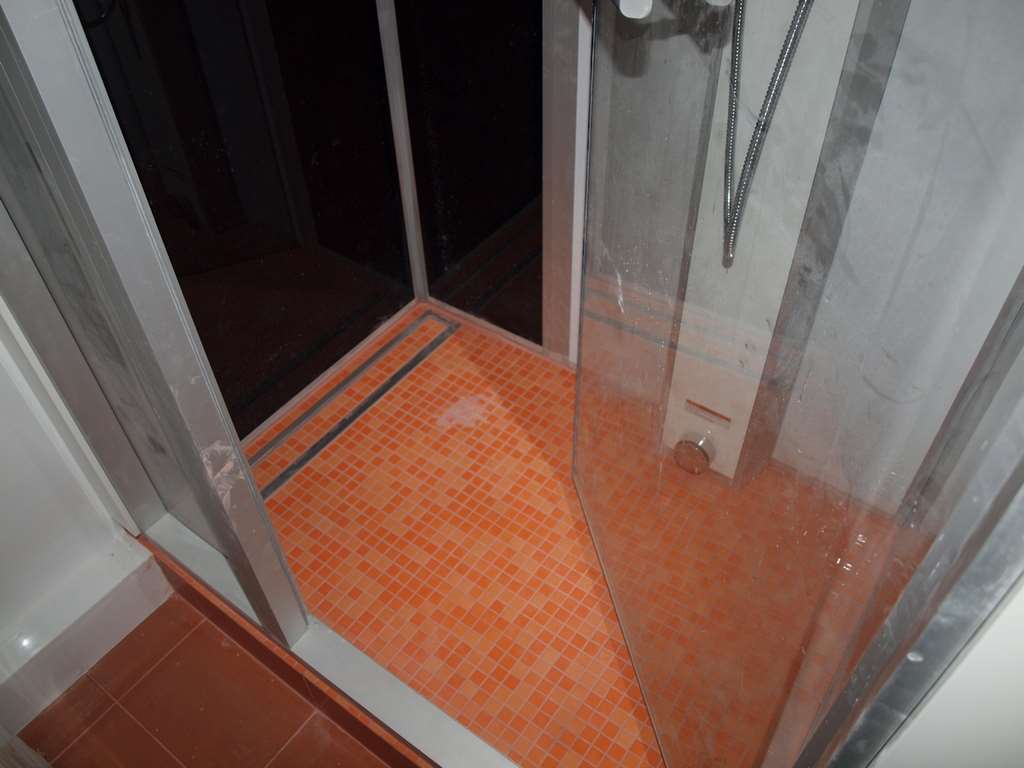
The mosaic for the shower is resistant to high levels of humidity, and its universal anti-slip surface is a reliable protection against temperature fluctuations and fluctuations in the level of humidity in such a room.
The daily intensive impact on the shower tray base does not affect the appearance of the decorative tiled mosaic and does not harm its base.
Laying such coverage on its own can even be possible for a person who does not have any special professional skills in building finishing works, naturally, if there is a desire and due perseverance. The choice of mosaic material for the design of the bathroom while it is quite possible to stop at an inexpensive tile.
This type of coating still has some negative properties that should be considered when choosing it. So, despite the availability of budget options, the cost per square meter of elite mosaic collections is very high and can exceed one hundred dollars per square meter. The technology of its installation is very close to the installation of conventional tiles, but the high cost forces the owners to hire professional tilers for fear of spoiling the work, trying to do it with their own hands.
Glass from which elements of a tiled mosaic are made is a fragile material, therefore, with a certain wear resistance, mosaic tiles from it are very susceptible to dynamic impact loads and scratches.
Preparatory stage
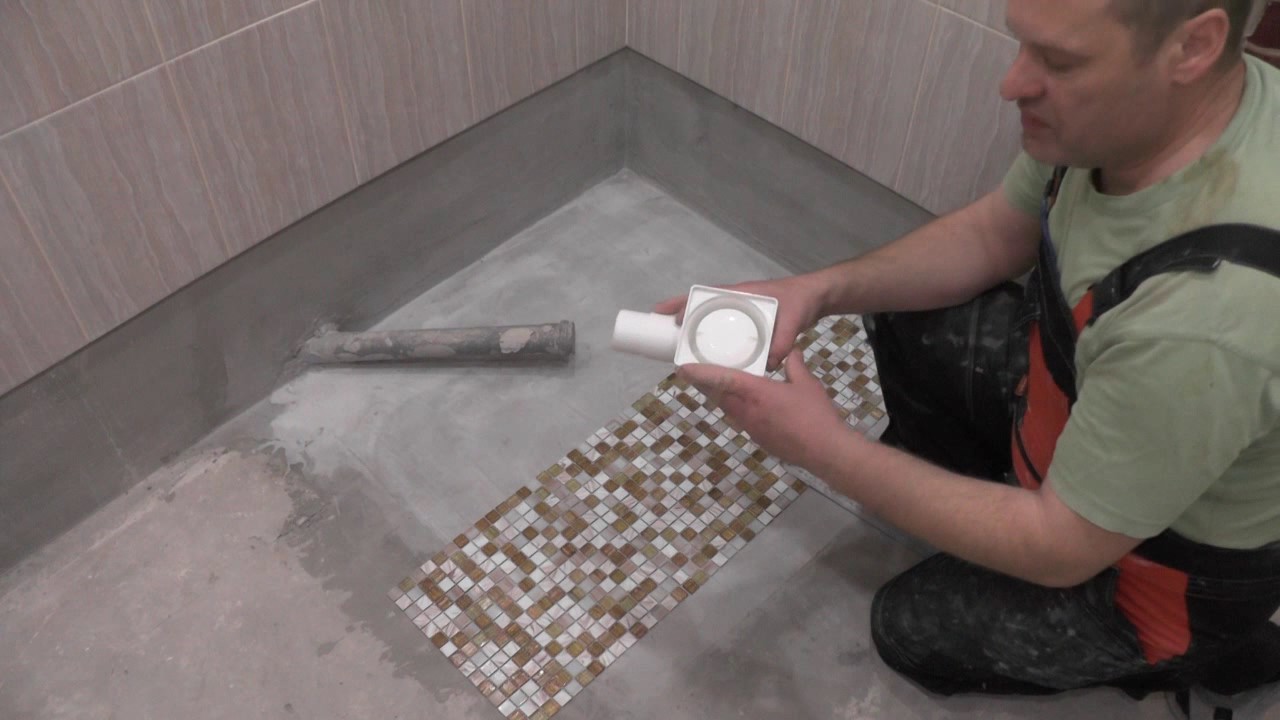
In the process of preparing a mosaic tile for a shower cabin for laying, attention should be paid to the compatibility of the coatings underlying its framework or tray.A concrete screed, brickwork or wooden coasters should not collapse under the weight of a mosaic or from the effects of glue used during its installation.
Laying the mosaic is carried out in several stages, the initial of which is to determine the shape and appearance of the future coverage and purchase the necessary materials in the right quantity. This also includes the preparation of working surfaces, which is performed immediately before the lining is applied to them. The principle that allows you to select the desired type of tile depends on the type of finished material. The latter is offered by modern manufacturers in sheet form or as a grid for easy gluing.
Adhesive substance for fixing the mosaic coating is selected in accordance with the technical characteristics of the pallet and finishing material.
Natural materials at the same time require the use of additional mixtures for final processing in order to protect the finished coating from unwanted external influences.
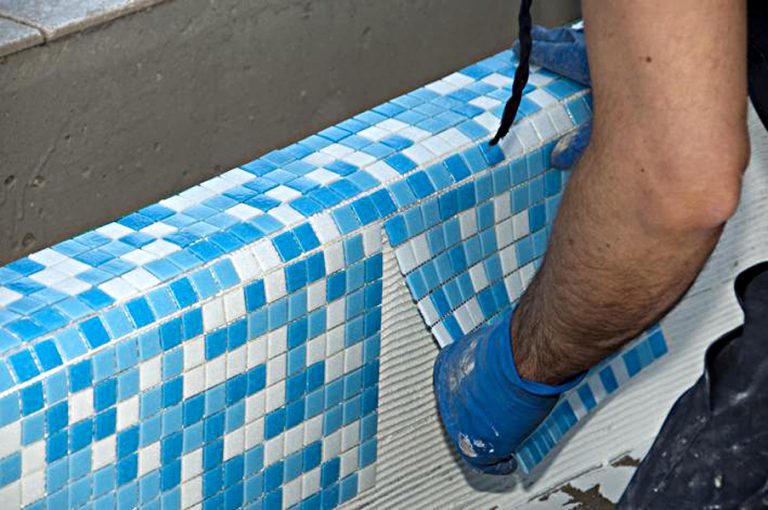
Piling
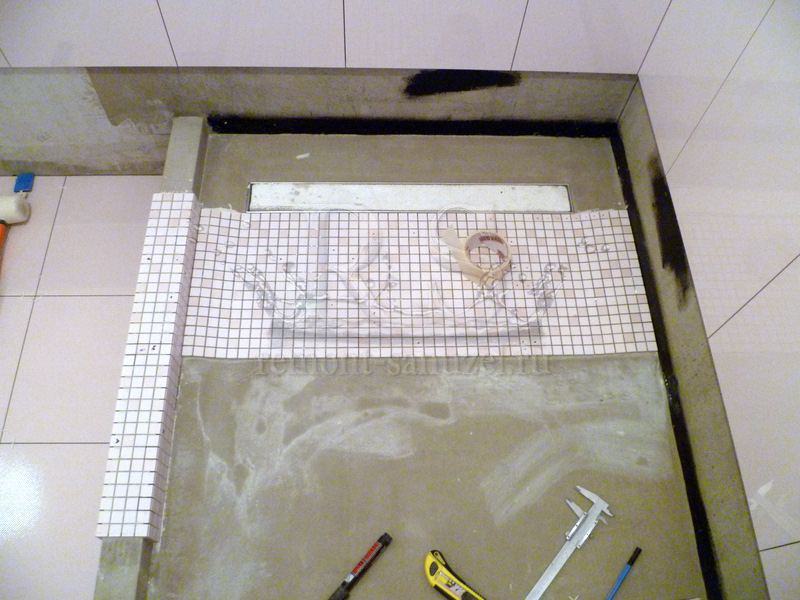
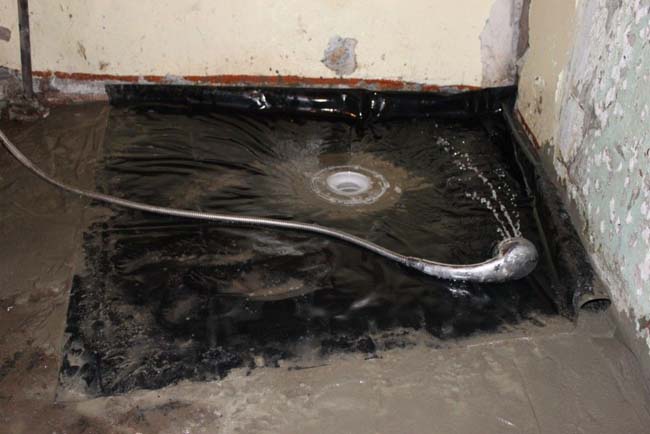
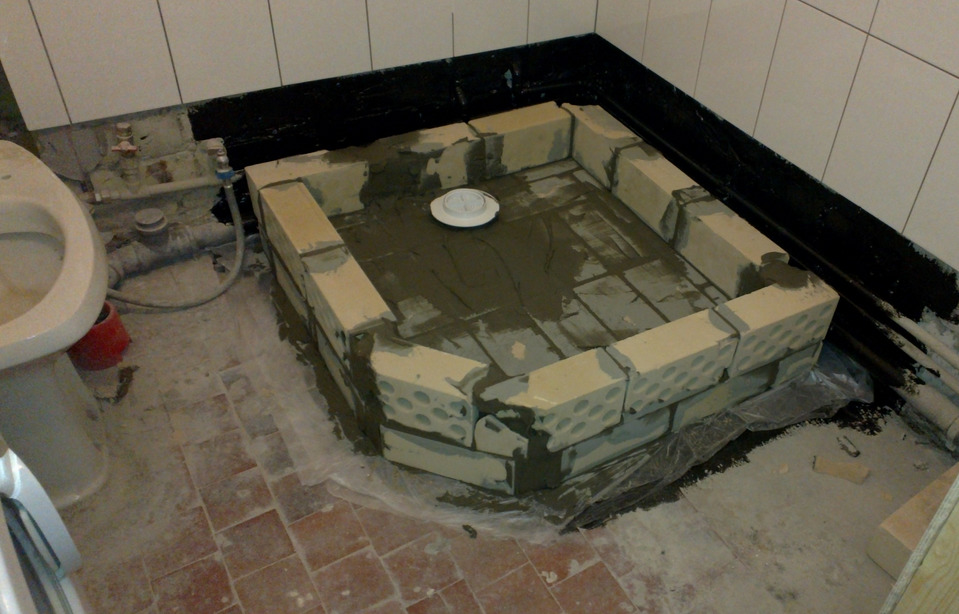
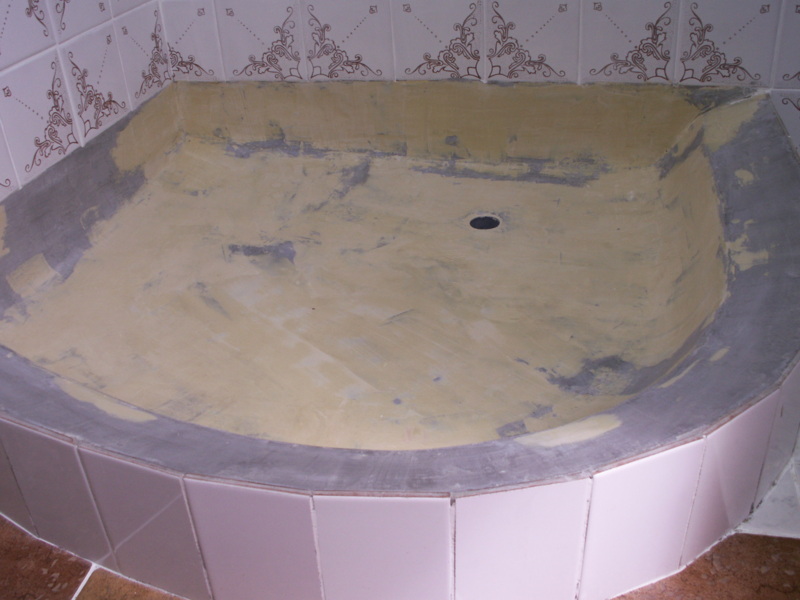
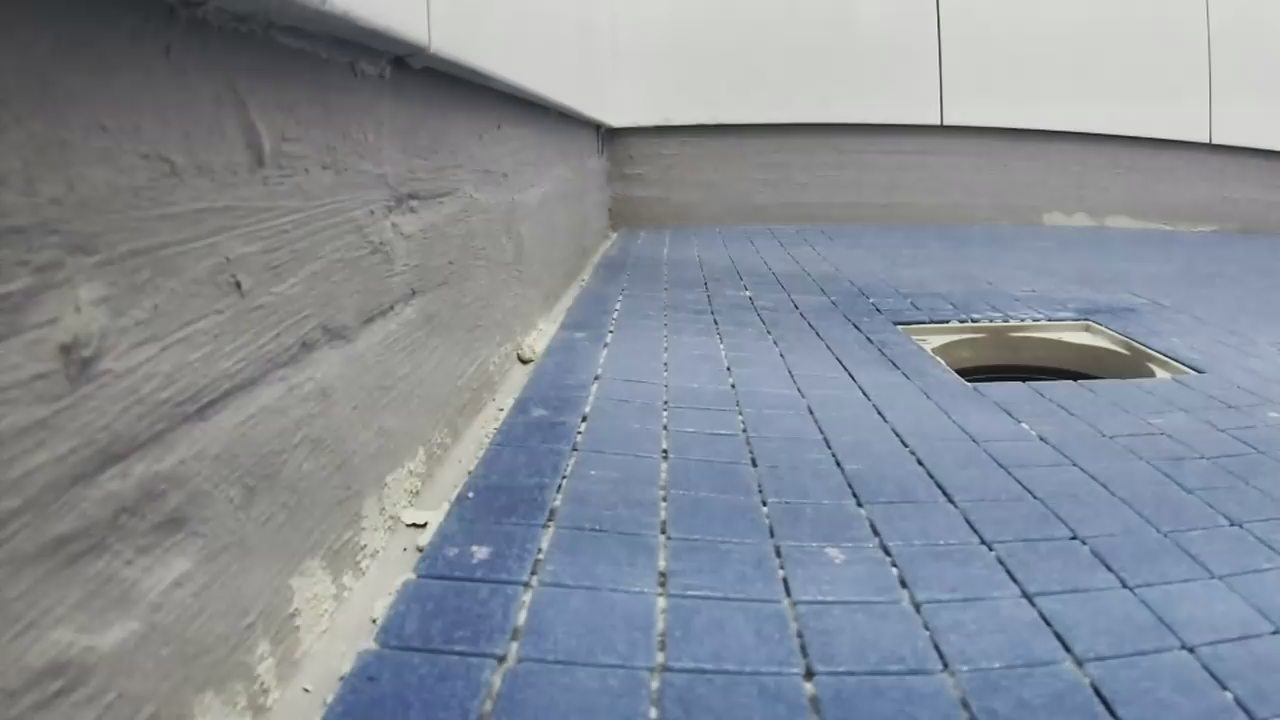
This stage of the work begins with the preparation of work surfaces, when all the old coating along with the screed is removed to the level of the concrete floor.Then the first waterproofing layer is applied. It is made of plastic film or rubberized fabric, which is placed on a layer of bitumen mastic. Brick walls can be laid on this layer.
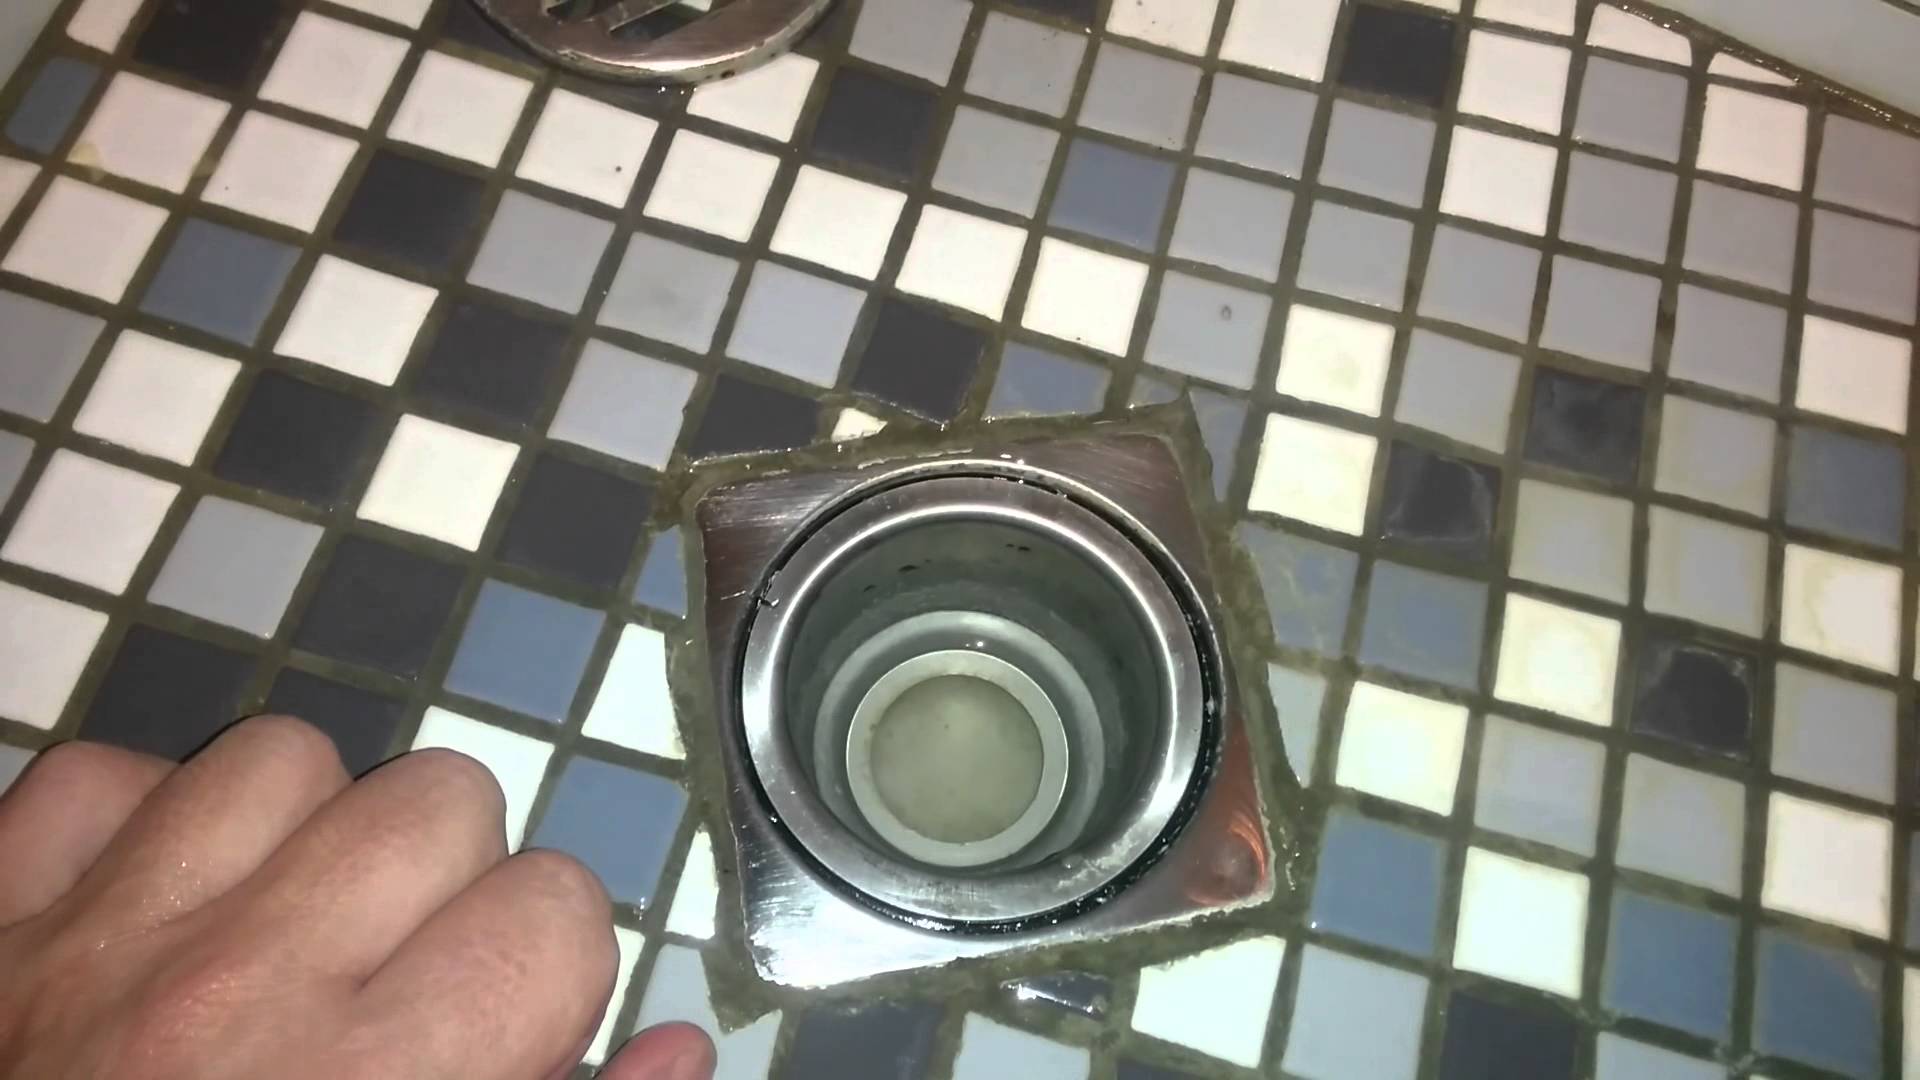
Waterproofing the floor is of particular importance, since with its lack of inevitable becomes the penetration of moisture in the basement of a private house or on the lower floors in an apartment building.
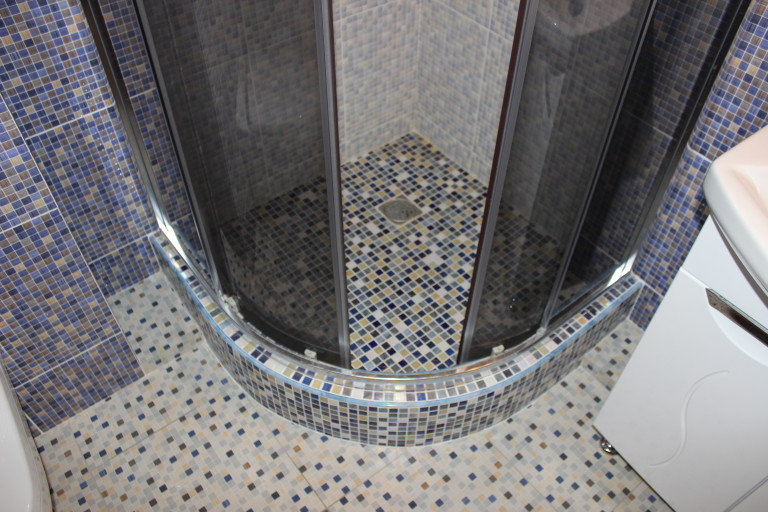
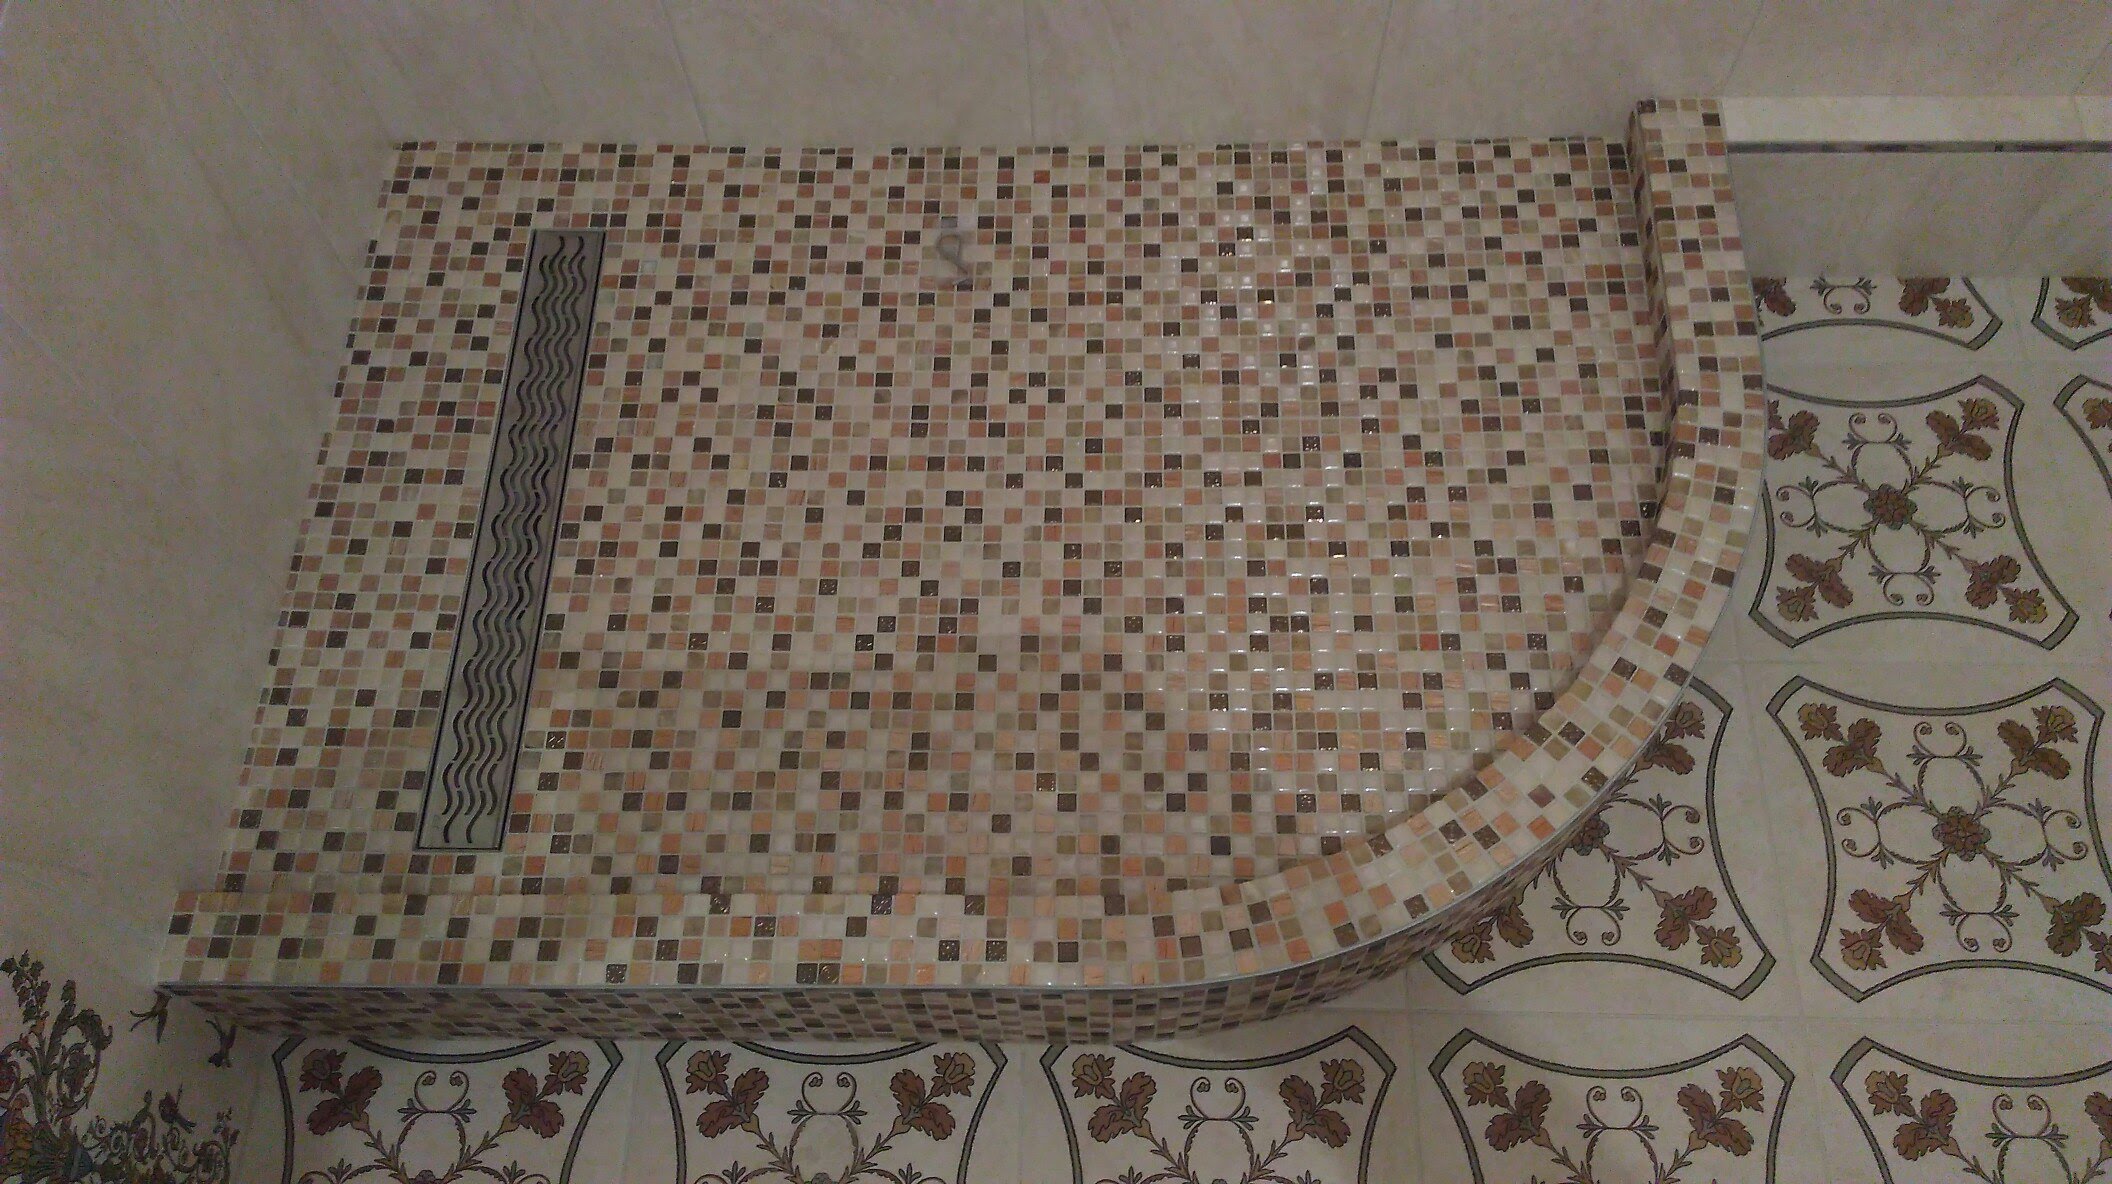
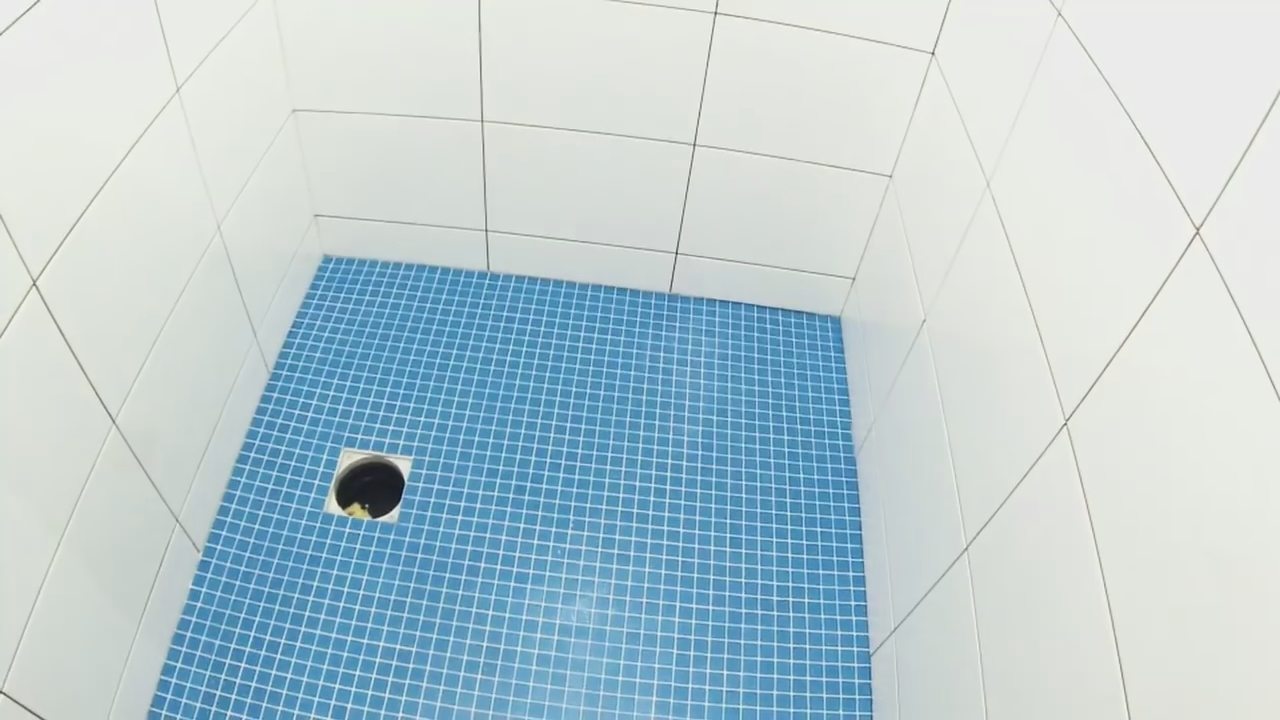
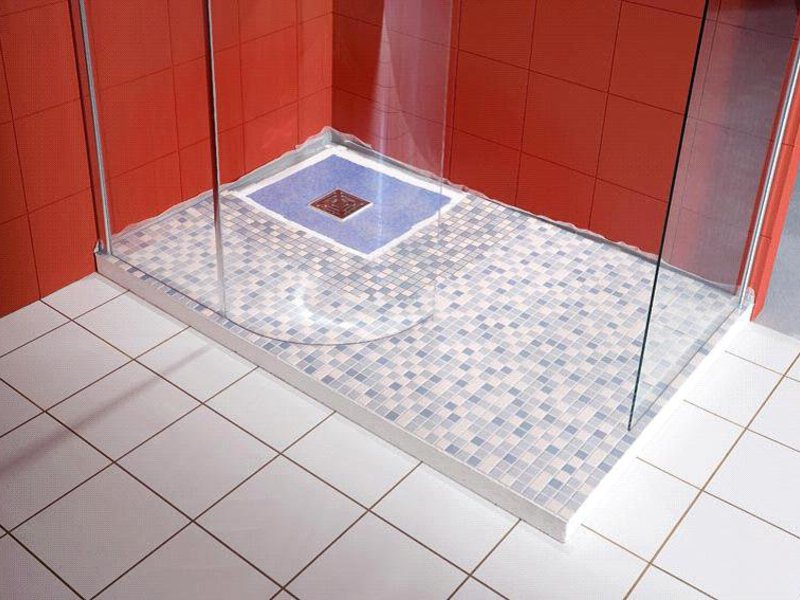
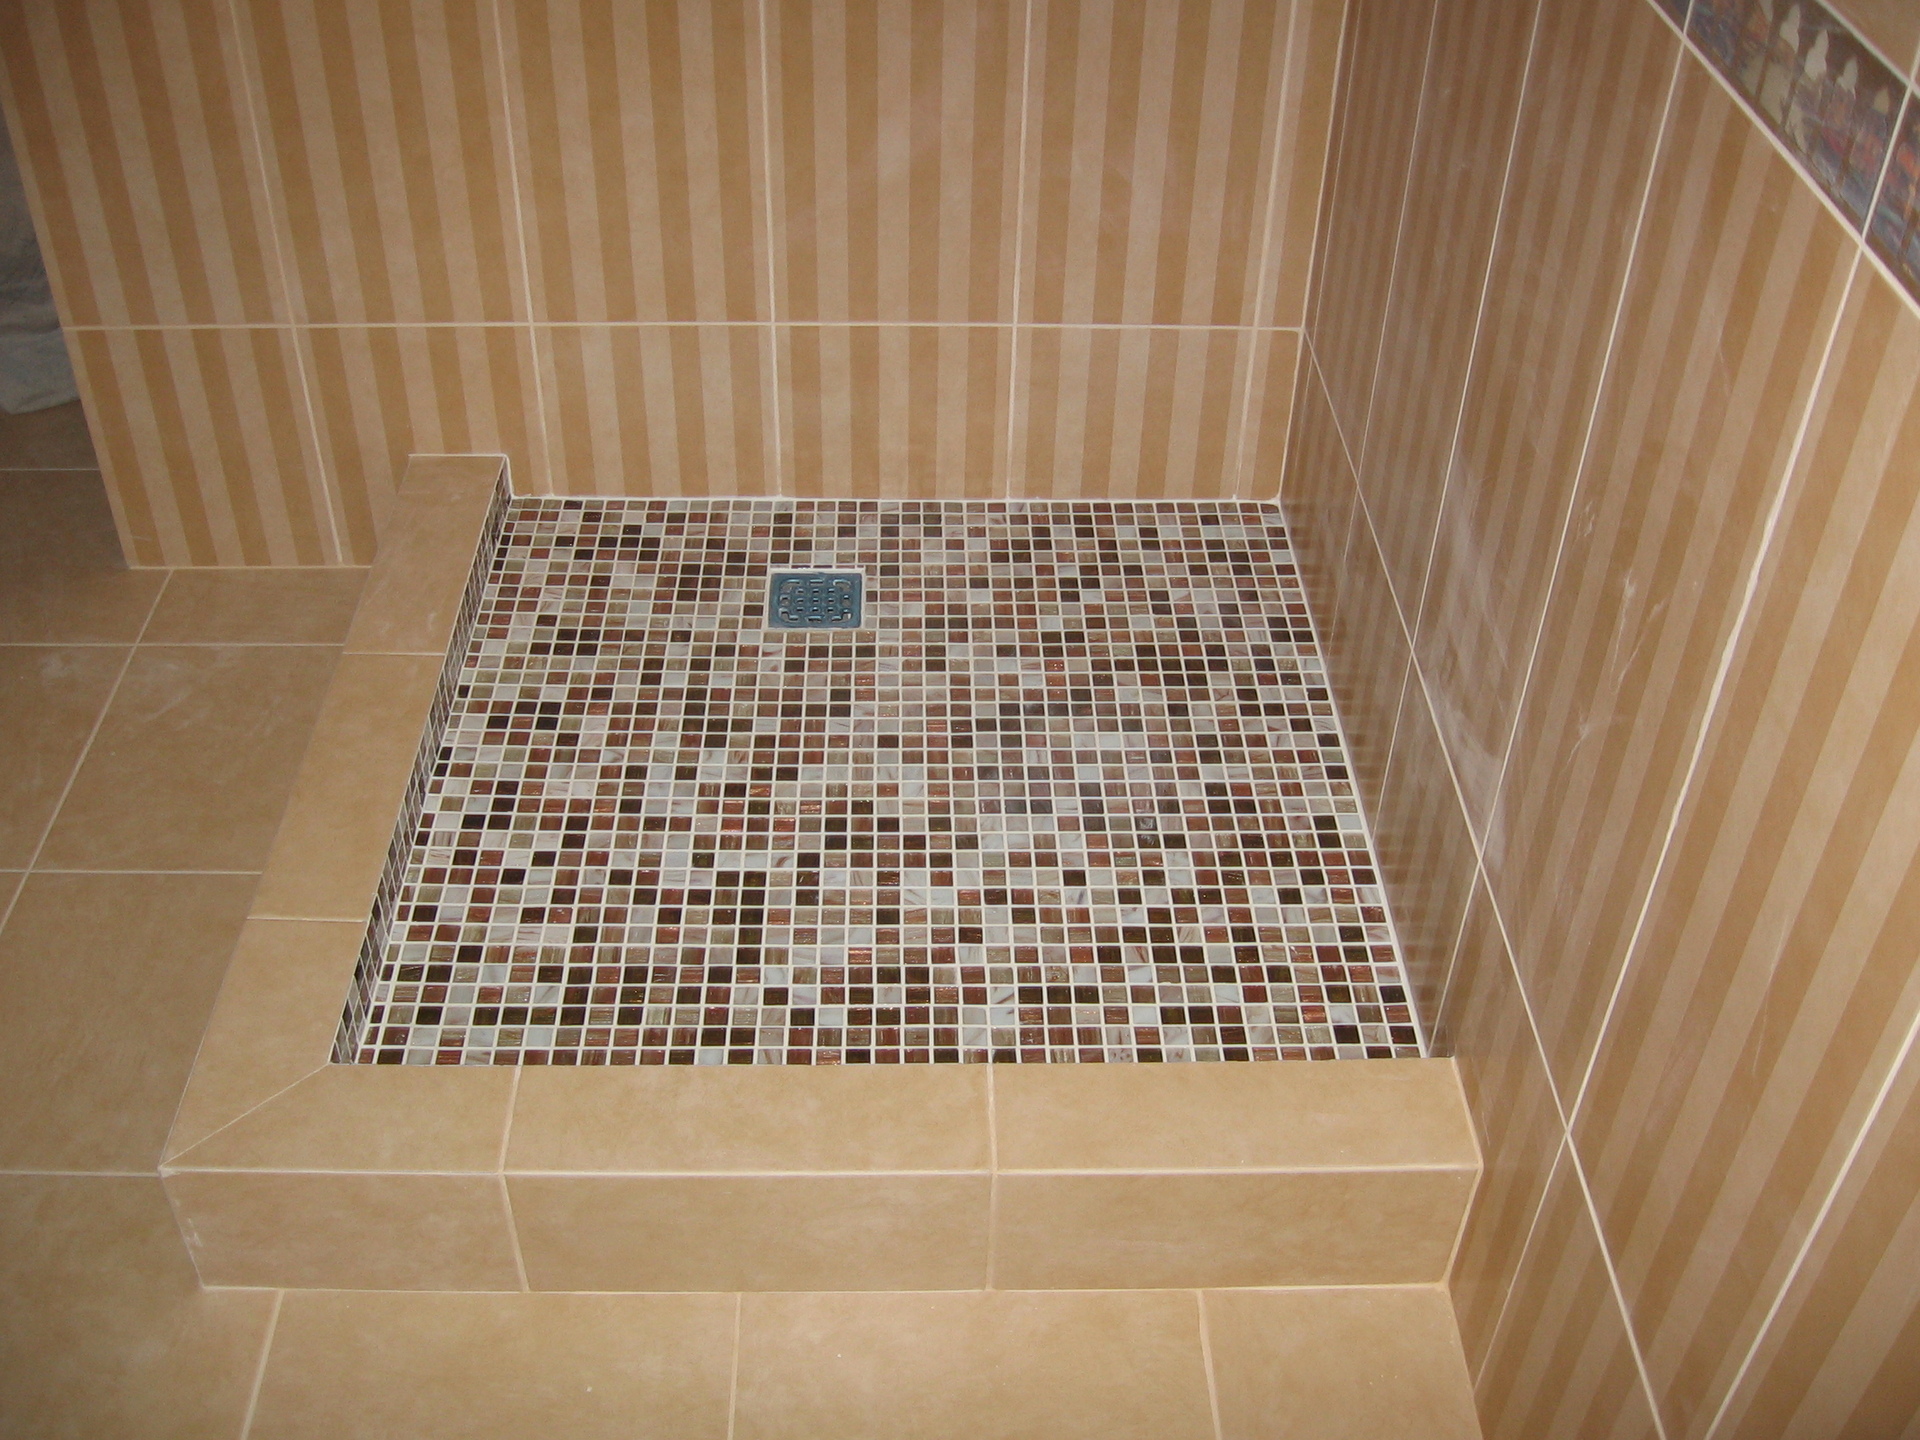
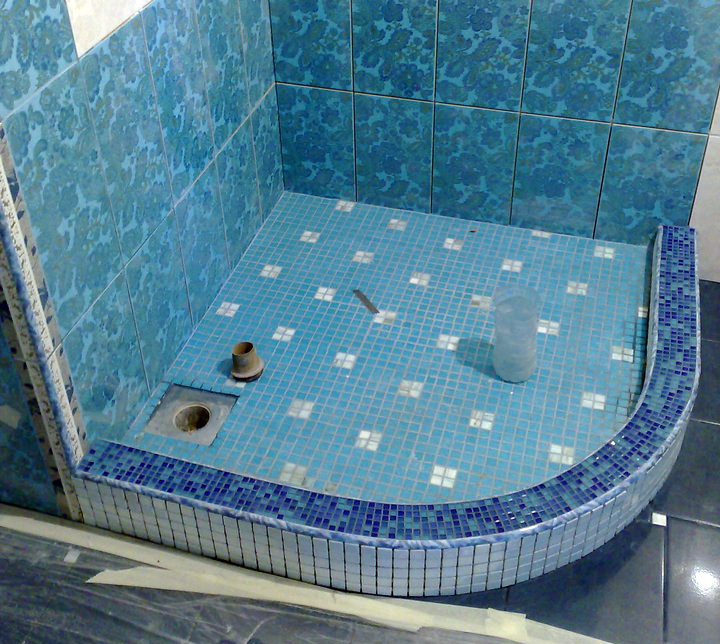
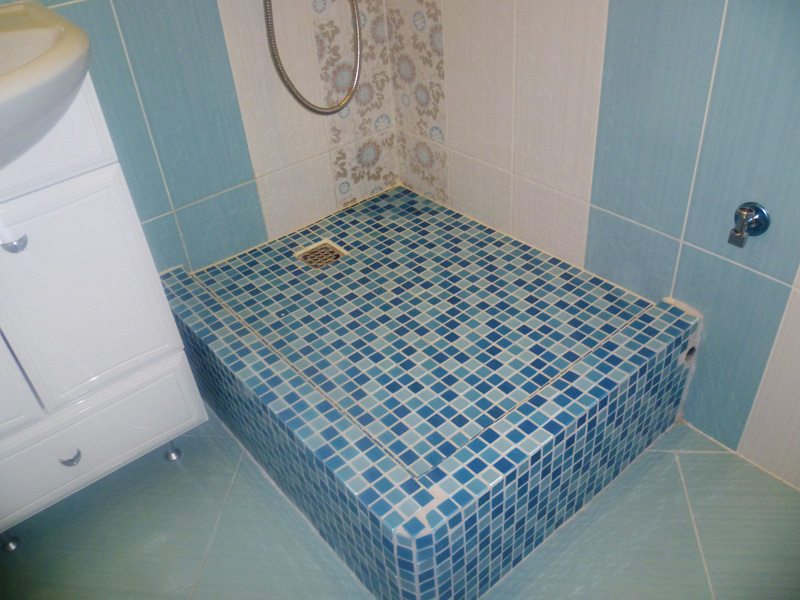
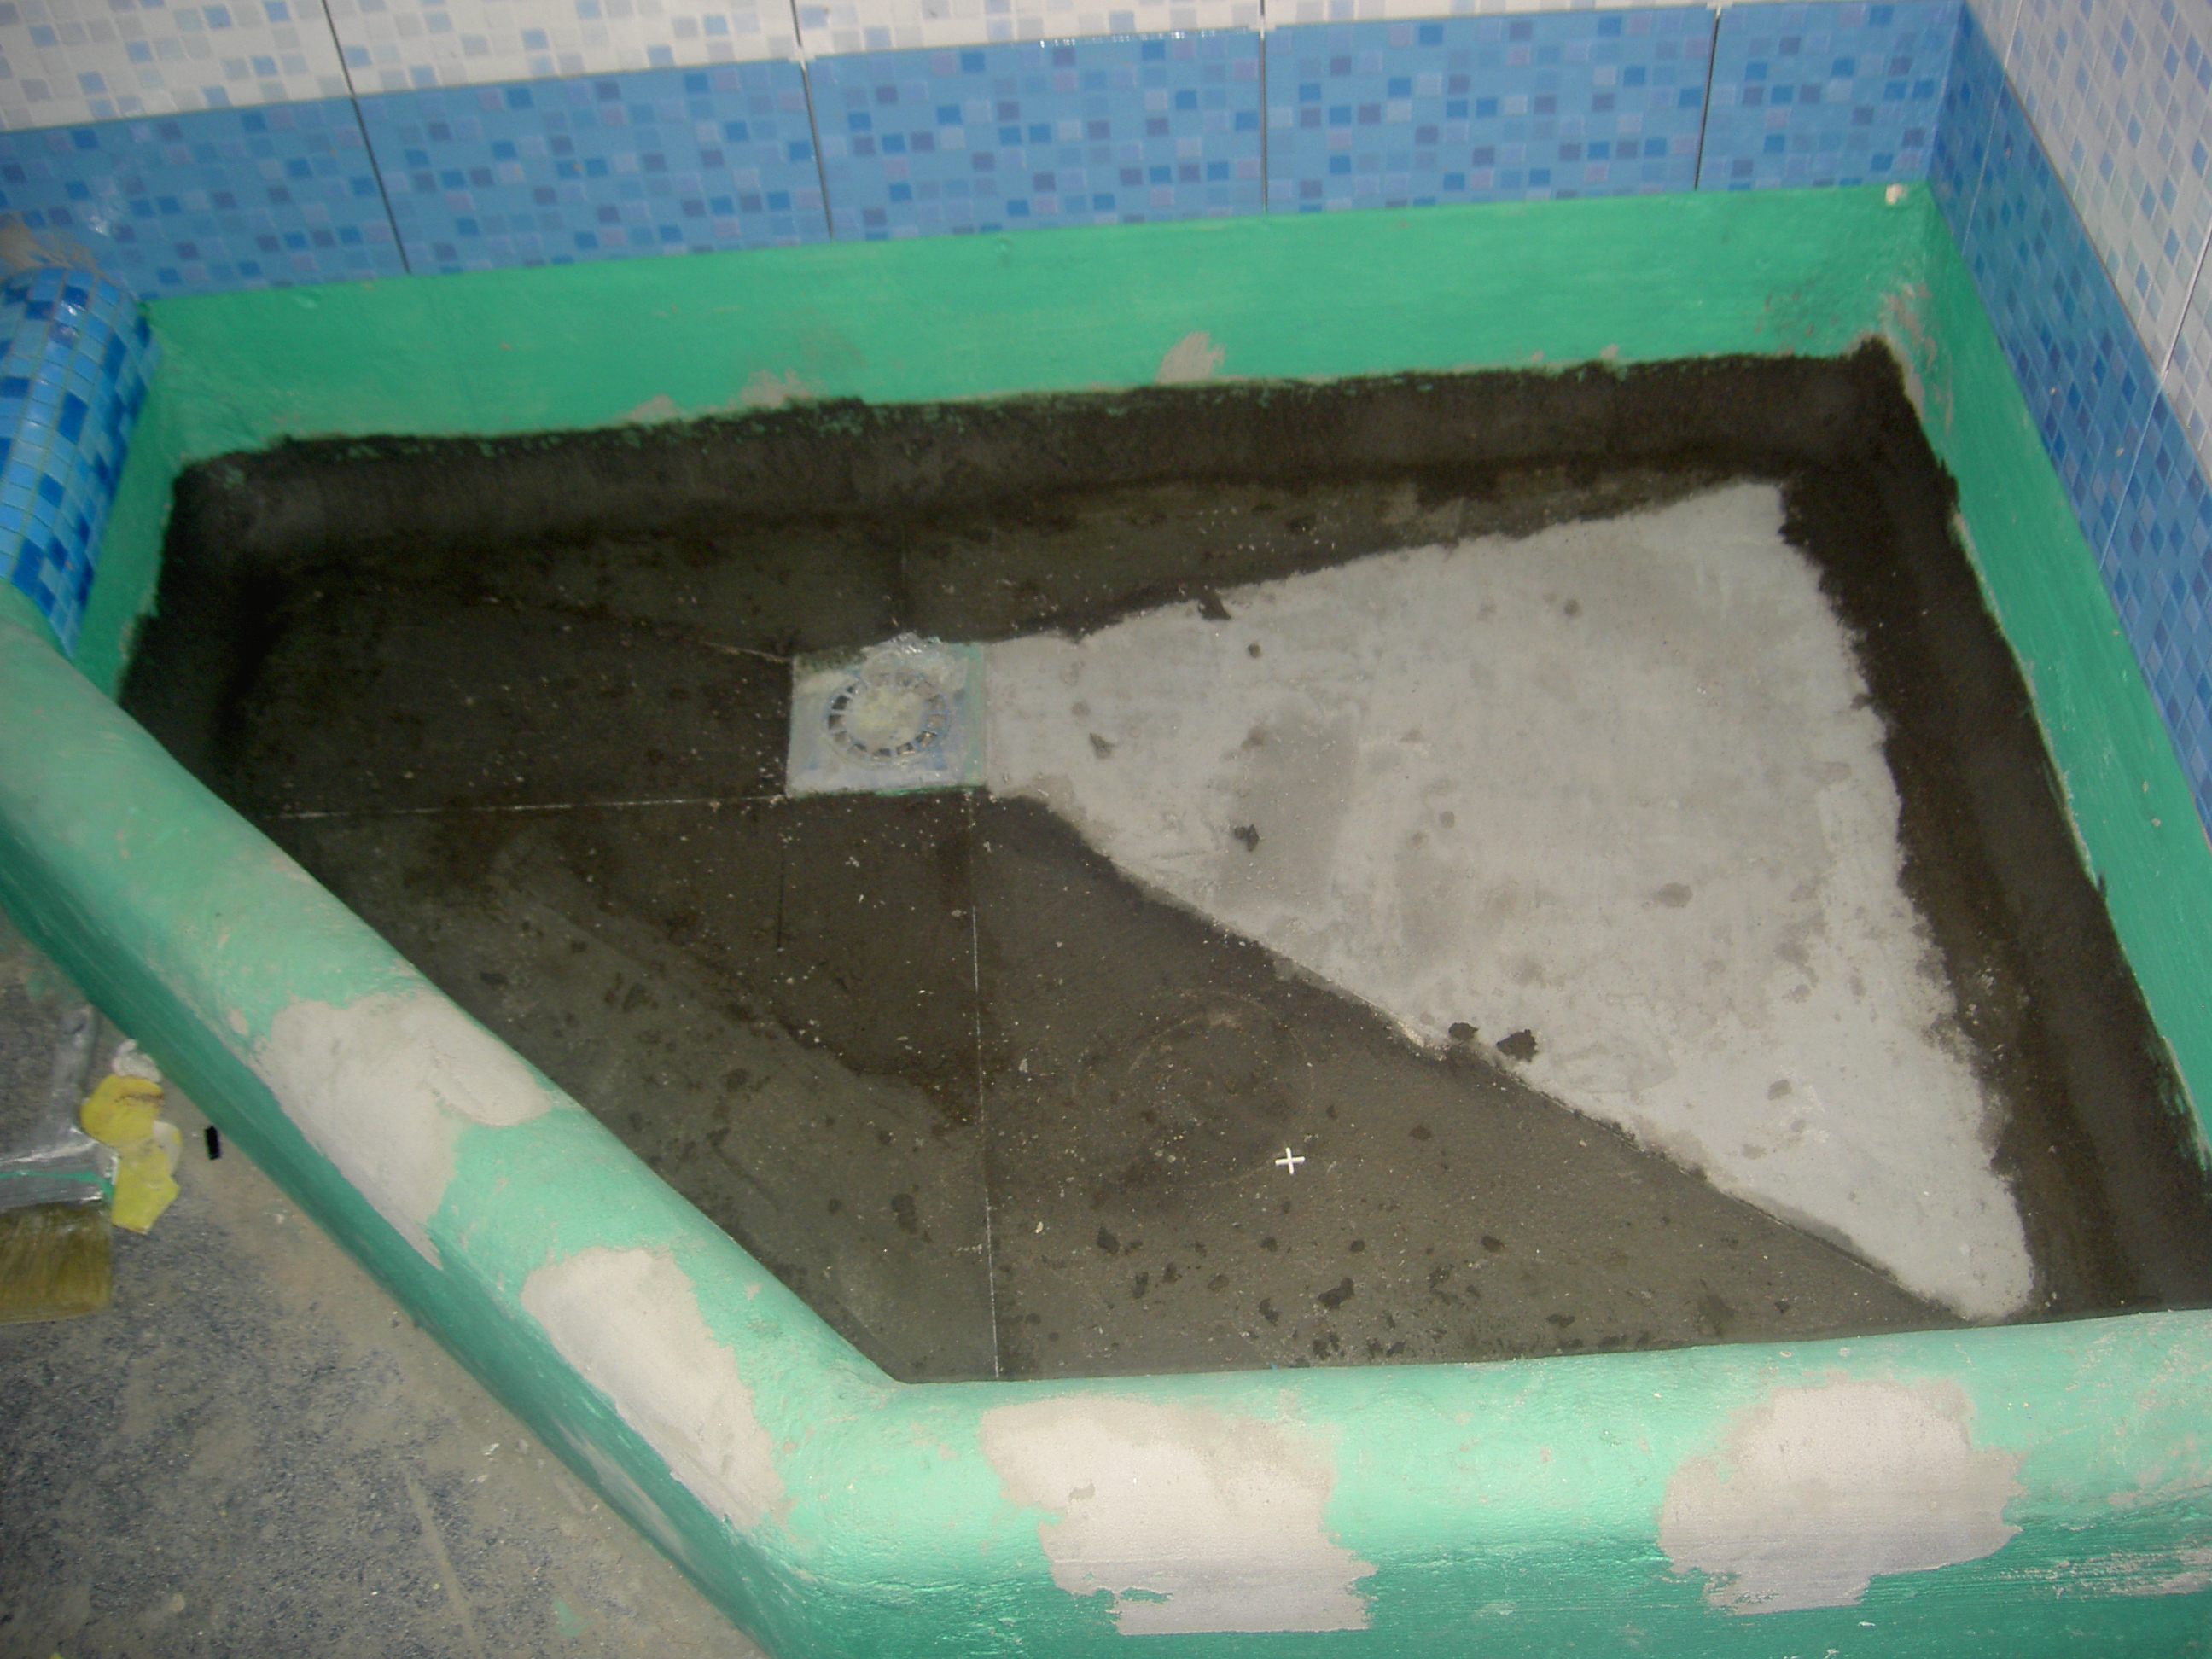
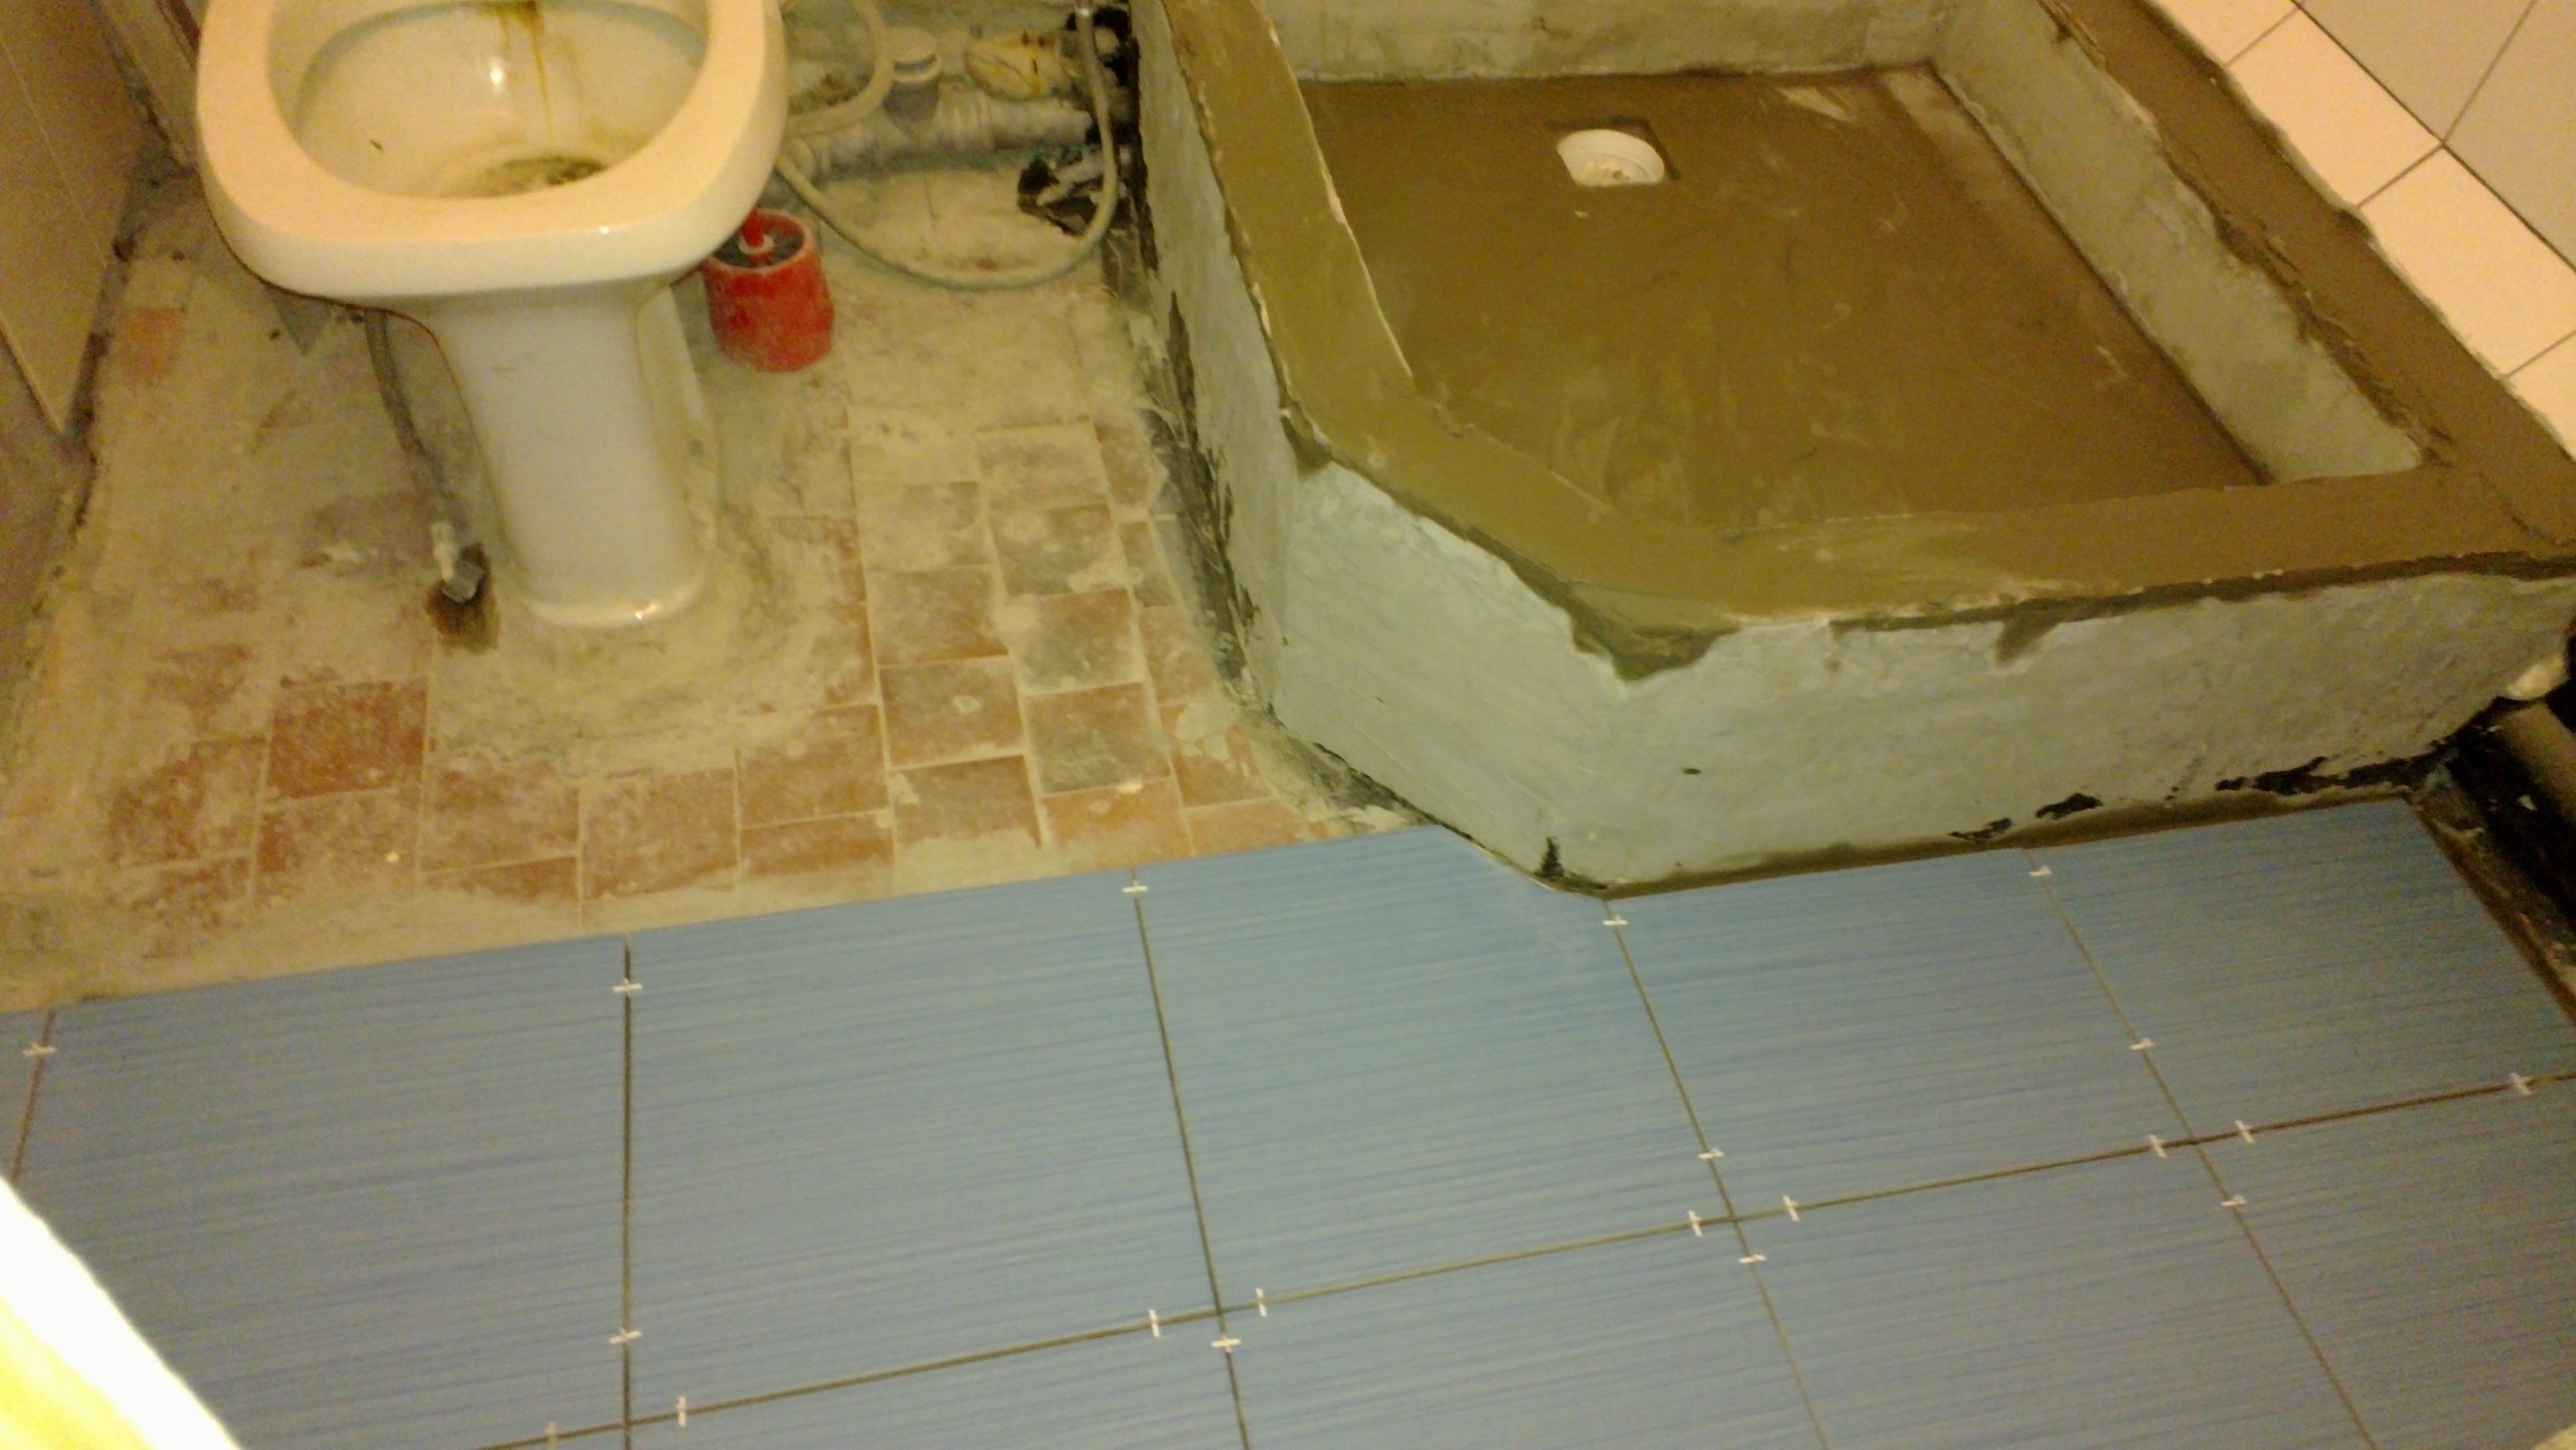
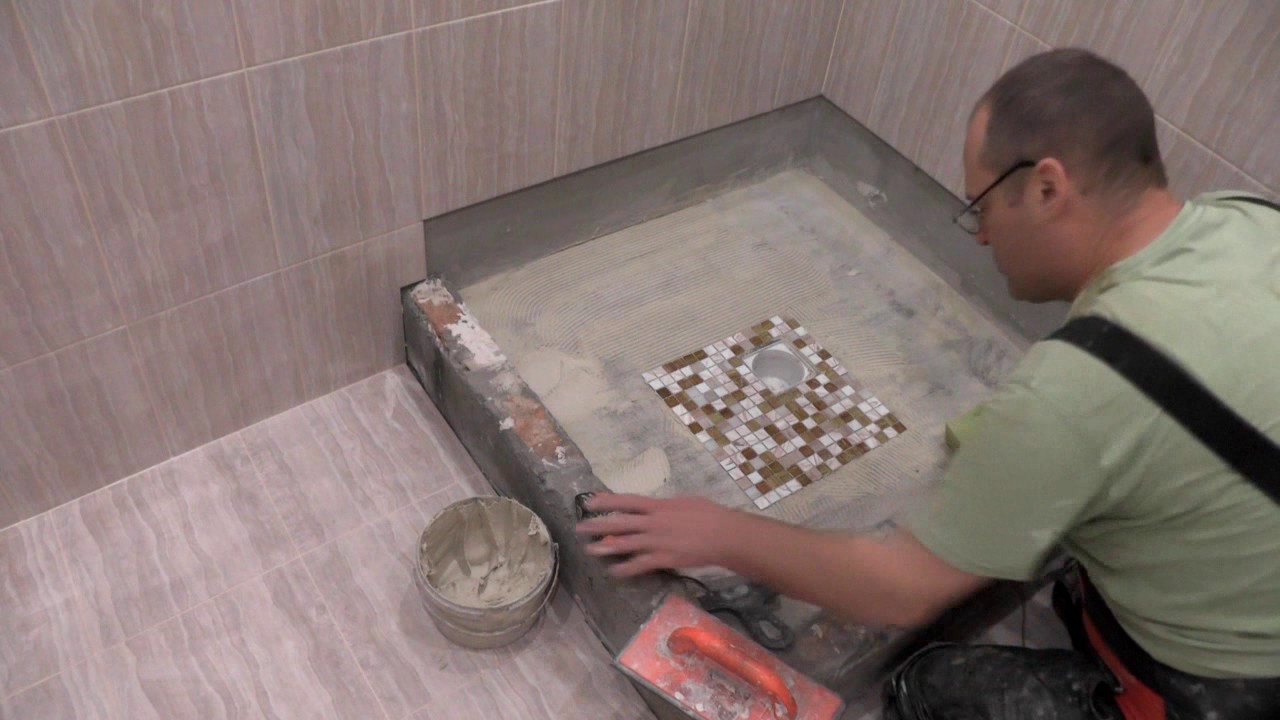
Bricks can also be laid on the floor of the pallet, which is then mounted drainage system. The pallet itself should be about 25-30 cm high. Then, on a brick foundation, the second waterproofing layer is laid. It is made so that it were closed and the sides of this pallet. A reinforcing mesh is laid on the waterproofing and a screed is poured from a cement solution with water and liquid glass, which is additional insulation from dampness. All this is done with a slight slope to the drain hole to eliminate the stagnation of water in the pan.
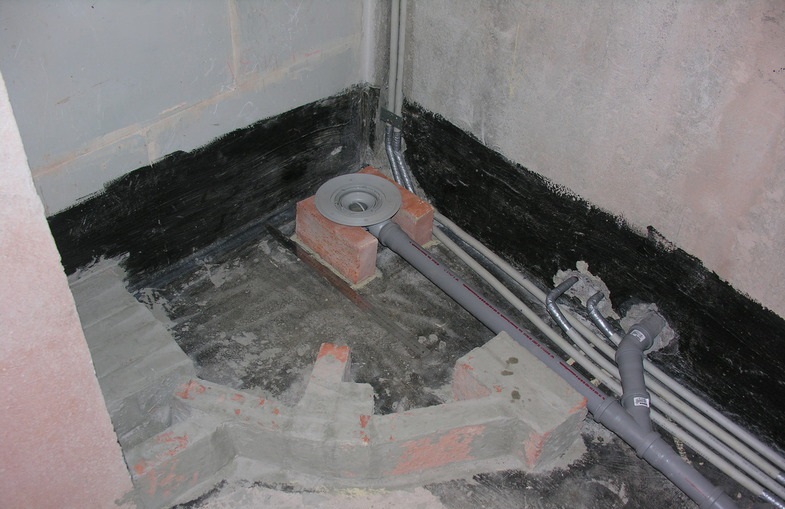
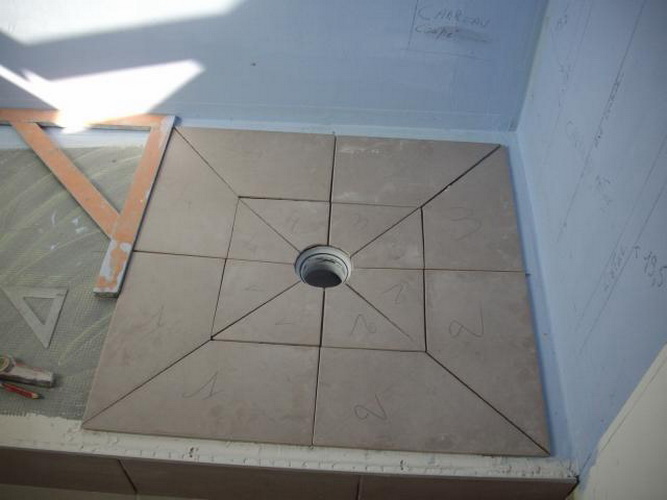
It should be noted that the walls and ceiling of the shower should also be waterproof. To create the necessary level of waterproofing, it is best to plaster them with a solution of cement with water-based liquid glass.If desired, the walls of the shower can hold the pipe to install additional equipment such as "Charcot" shower or hydromassage device and lay electrical wiring in them. If the owner's space permits, the seat can be fitted to one of the walls, if the owner wishes.
It is necessary to carefully align the surface on which the mosaic will be laid, since, unlike tile, it does not hide minor irregularities, but on the contrary, makes them even more noticeable.
Therefore, the surface is leveled during plastering with the use of pre-exposed beacons and templates in order to account for all sizes and check the result of plumb and construction levels.
Under the base can be used drywall, having a perfectly flat surface. However, it is a moisture-absorbing material, and on its surface a reliable retention of a mosaic by an adhesive layer is impossible. Therefore, the plasterboard base before applying glue primed with bitumen mastic.
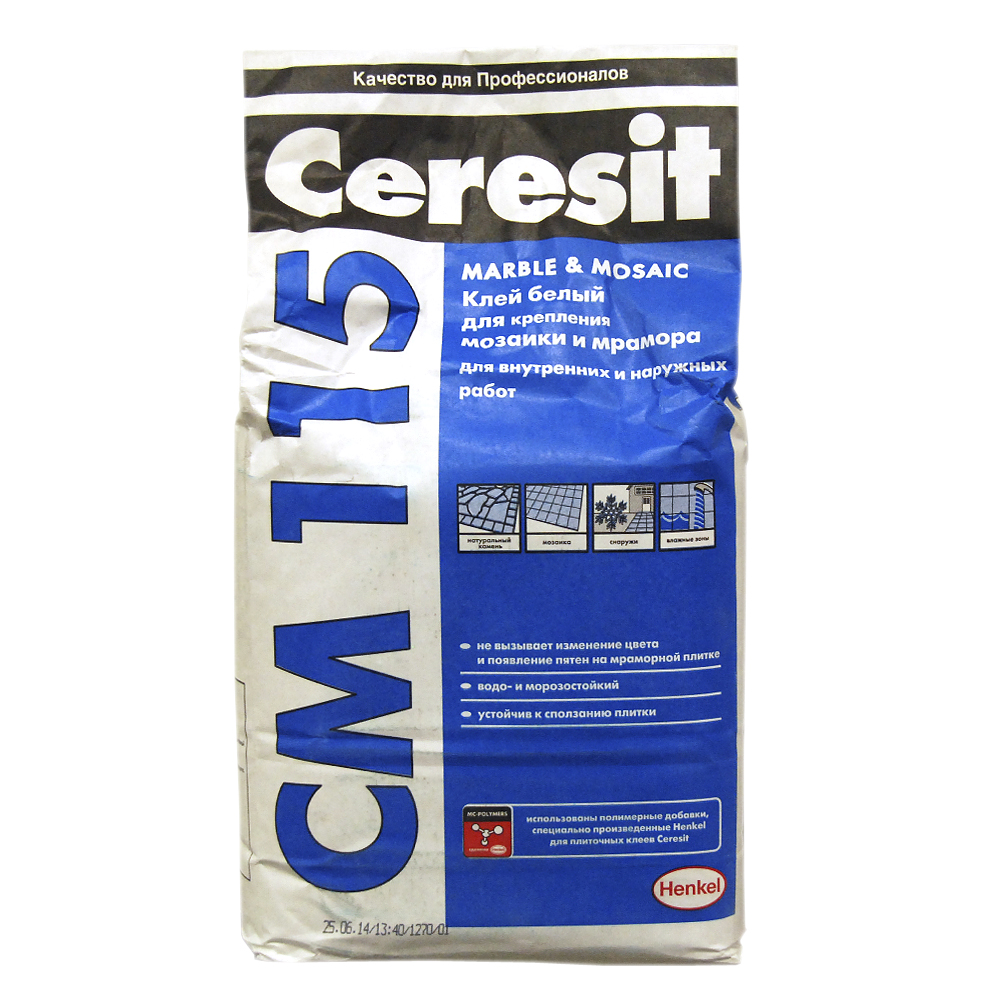
The adhesive composition for mosaic tiles can be either cement based or polymeric. His choice depends on the surface structure for laying the mosaic, and the color of this glue may be gray, with a hint of ordinary cement mortar, or white. If it is decided to arrange a shower cabin in bright colors, then it is better to use white glue for this. This is due to the fact that, in comparison with ceramic tiles, mosaic elements are characterized by a certain transparency, therefore gray glue will give a mosaic surface a darker shade.
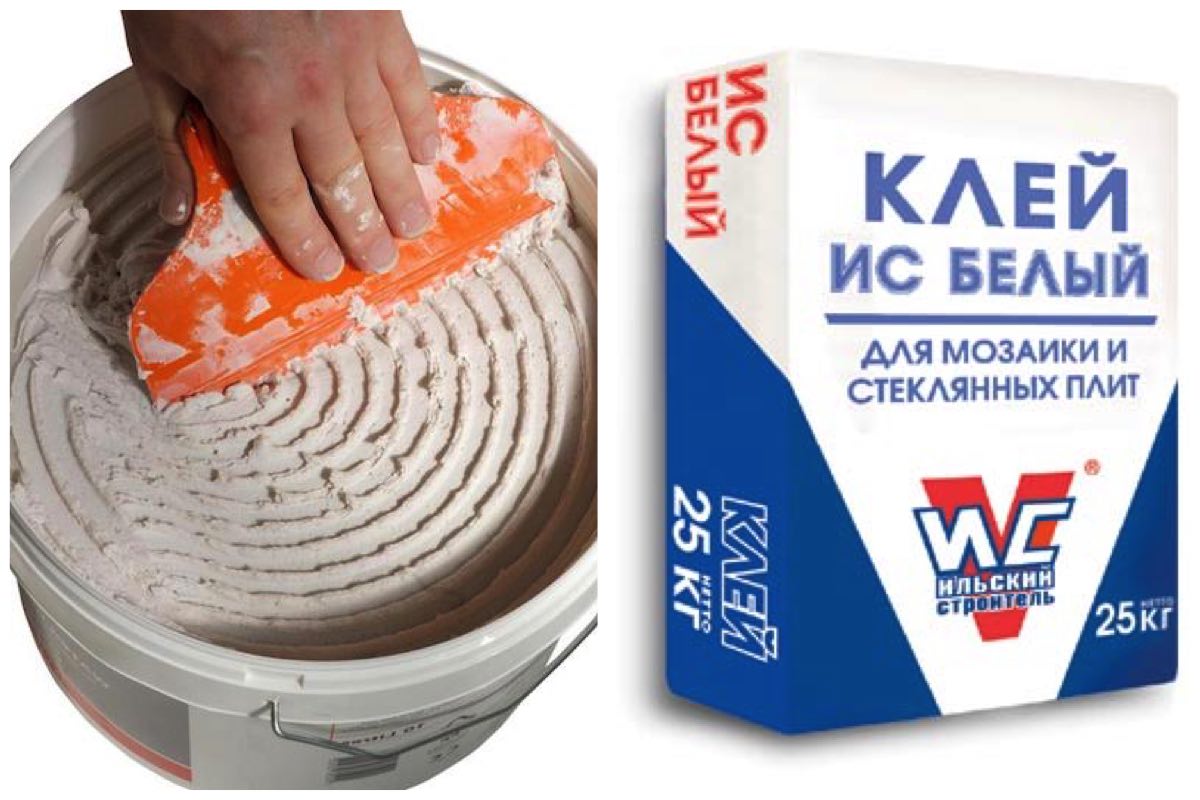
For plastering or plasterboard surfaces, cement glue for tiled ceramics of the German Ceresite type will fit perfectly. For a wooden or plastic base is better to use polymer glue. In the ideal case, the laying of the mosaic on the floor and the lower part of the surface of the walls should be carried out on a two-component reactive glue, which will be an excellent addition to the existing waterproofing.
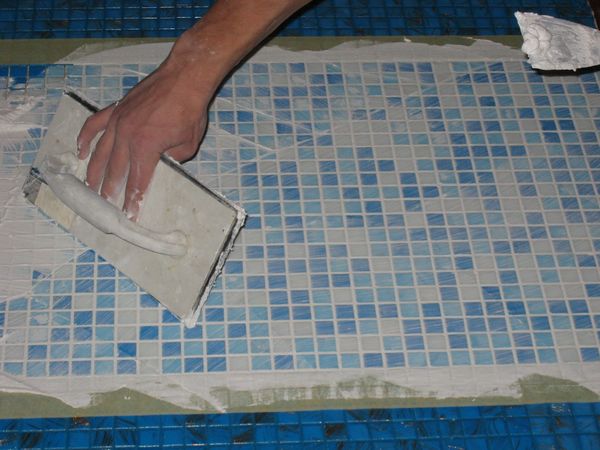
Mosaic elements made of glass paste can be mounted on a grid basis. Such a grid is made of paper or synthetic fibers in the form of a web having a certain area, which significantly speeds up the work on their installation.An even layer of adhesive is applied to an even and thoroughly primed surface with a comb trowel so that the profile of this surface is exactly the same.
Do not cover with glue a large area so that it does not stiffen until the installation of the mosaic covering.
Then the mosaic canvas with the base of the grid or paper is laid on a layer of glue. If the grid is laid up with mosaic upwards so that it is completely submerged in the thickness of the adhesive mass, then the paper base is placed outside with the front part and then removed with a wet rag.

Surface leveling
Due to the small area, it is impossible to level each cube separately. Therefore, an even object with a large area is taken which presses down the surface of the mosaic layer and at the same time controls the alignment of the seams between the individual fragments. To do this, use a hand grater for stripping putty.
While the glue has not stiffened, the mosaic surface is cleaned from glue streaks protruding on it. In the case of polymeric glue for this purpose denatured alcohol or plain vodka is used. Removing excess glue between fragments of a mosaic can also be done with a screwdriver or a small trowel.
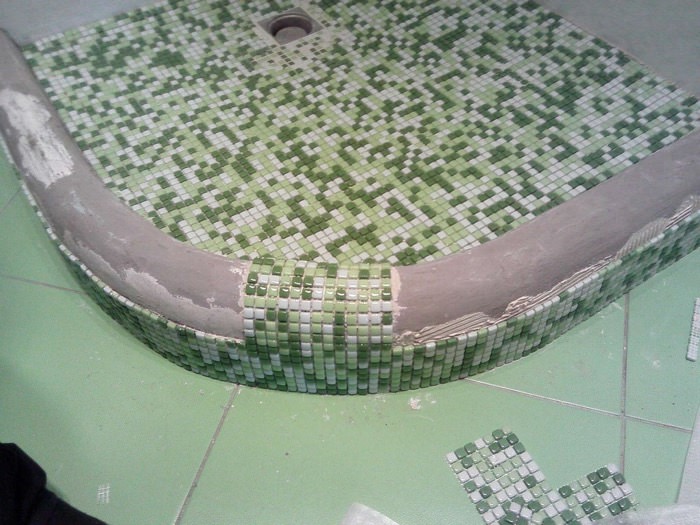
The final step is to grout the joints with a putty with a rubber trowel about 20 cm wide. The trowel should be allowed to dry slightly, after which it can be removed with a sponge or cloth soaked in water.
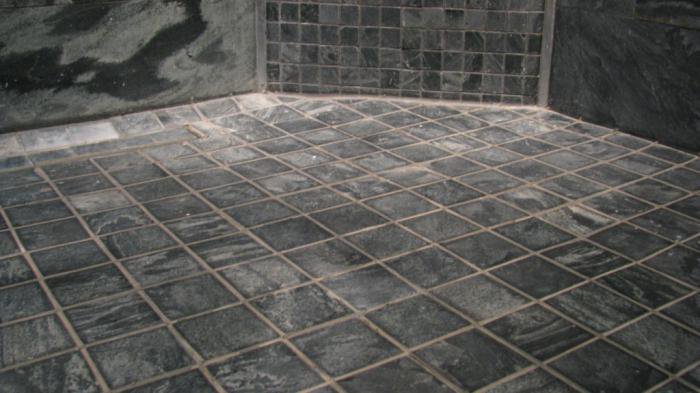
This coating technology is applied not only to the floor and walls, but also to the ceiling. Mosaic after setting the adhesive substance is a much more resistant coating than even tile. Unlike the latter, the mosaic elements do not crack and are separated from the base much more difficult.
Even when peeling a mosaic and its elements are easily glued back into place.

How to make a shower tray from the mosaic with your own hands, see the next video.