All the subtleties of pasting wallpaper end-to-end
Wallpapering seems to be an intricate occupation, requiring special knowledge and skills. However, in fact, it is much simpler, so it is possible for everyone to save on the call of repair crews, the result of which is often far from ideal. At the same time, hand-made lining often looks much more professional and high-quality. We understand the intricacies of wallpapering butt.

What it is?
Docking the wallpaper means combining the canvases, making the wall finish roll-type a monolithic appearance. This combination of strips of wallpaper among themselves, which has several varieties, depends on the type of material and its density. It is the docking of the wallpaper that determines the aesthetic characteristics of the lining.
Types of docking
Properly glue the wallpaper - it means to perform the desired type of docking. In total there are 4 ways to combine paintings. Docking happens:
- straight line - wallpaper joining using the seamless technology method, eliminating the divergence of seams and the formation of gaps;
- free - used for wallpaper without a pronounced pattern, performed with overlap or butt;
- Offset - overlapping type, in which one panel comes to another, often observing the coincidence of the pattern;
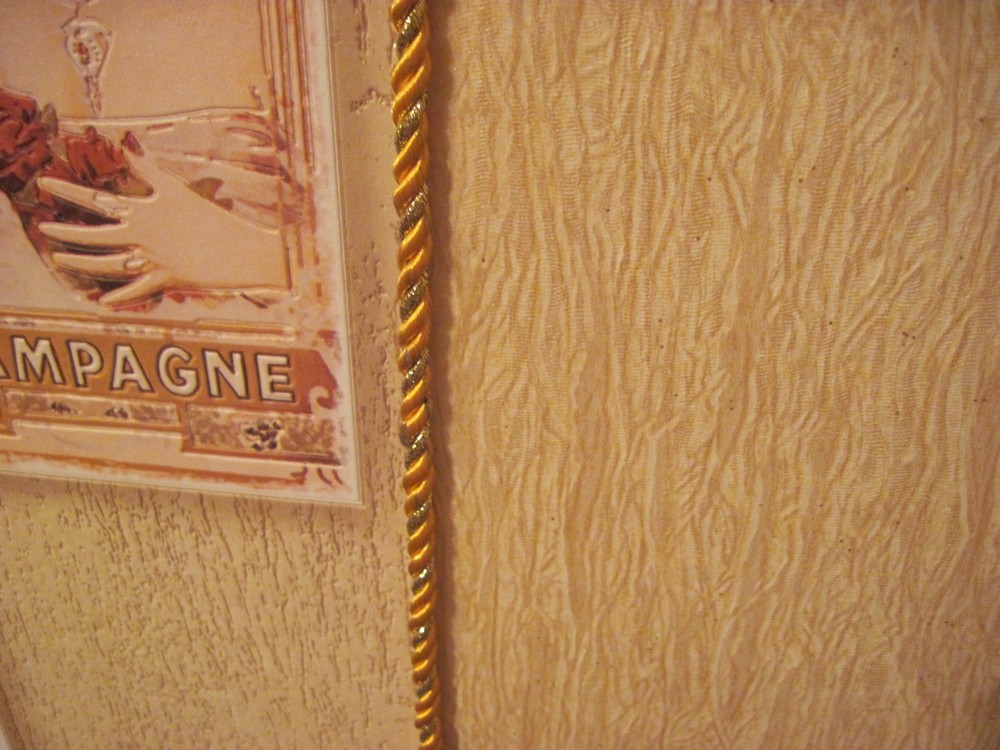
- with the use of additional elements - the use of decorative elements, covering the place of the junction contrasts texture or color.
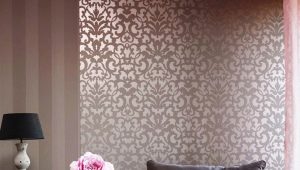
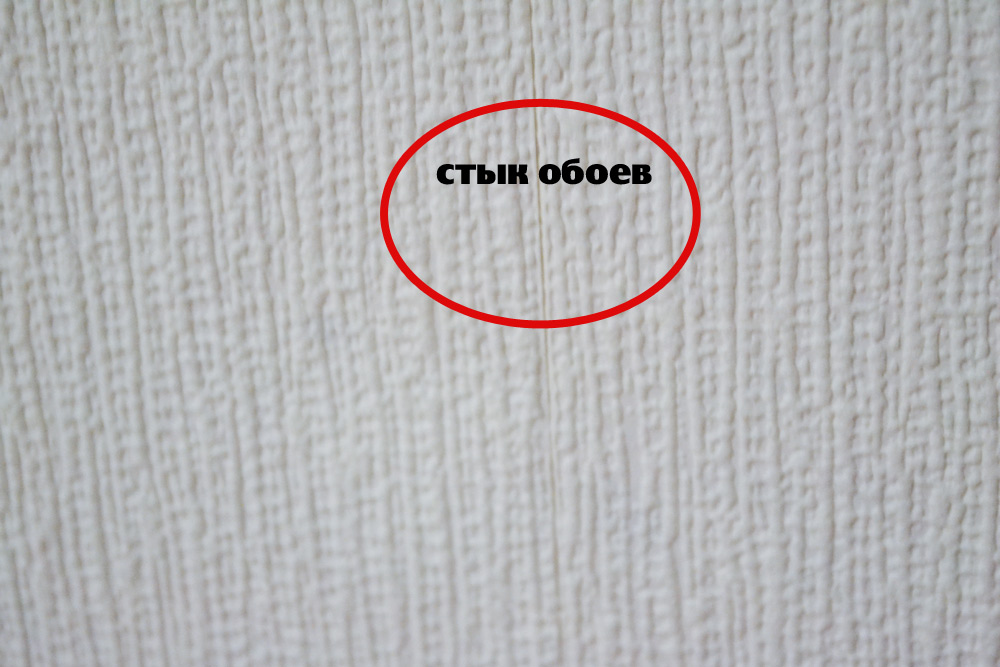
Butt joining without gaps is a straight view of a uniform seam, which allows you to connect horizontal or vertical wallpapers without using a joint plinth or other decor. This is a classic method of combining wallpaper with the coincidence of the pattern without seams (visits of one strip to another). It is not suitable for all types of wallpaper.
Typically, such information is indicated by a schematic pattern on the label of each roll of wallpaper.
Type of wall covering
The type of wallpaper used may be different. In this case, it is he who determines the degree of adhesion of the material to the surface of the walls: not every material is well supported on the surface prepared for sticking. One of the most common materials for wall decoration, popular with buyers, are wallpapers:
- paper (varieties on a two-layer basis);
- vinyl (solid, smooth, porous, embossed silk screen printing);
- non-woven (alternative to vinyl, more eco-friendly);
- textile (from fabric fibers on paper backing);
- glass wallpaper (created on a loom from fiberglass filaments);
- photo wallpapers (paper wallpaper with a picture);
- 3D varieties (three-dimensional, space-changing);
- for painting (some varieties of paper, non-woven, glass fiber).
In their production they use different natural and artificial raw materials, while all the varieties are rolled wall coverings that need to be docked when pasting the walls. If desired, all these varieties can be joined without seams: the thicker and more textured material, the easier it is to dock, but the more exacting the rules are for the choice of glue.
The exceptions are thin paper canvases: this wallpaper is overlapped.

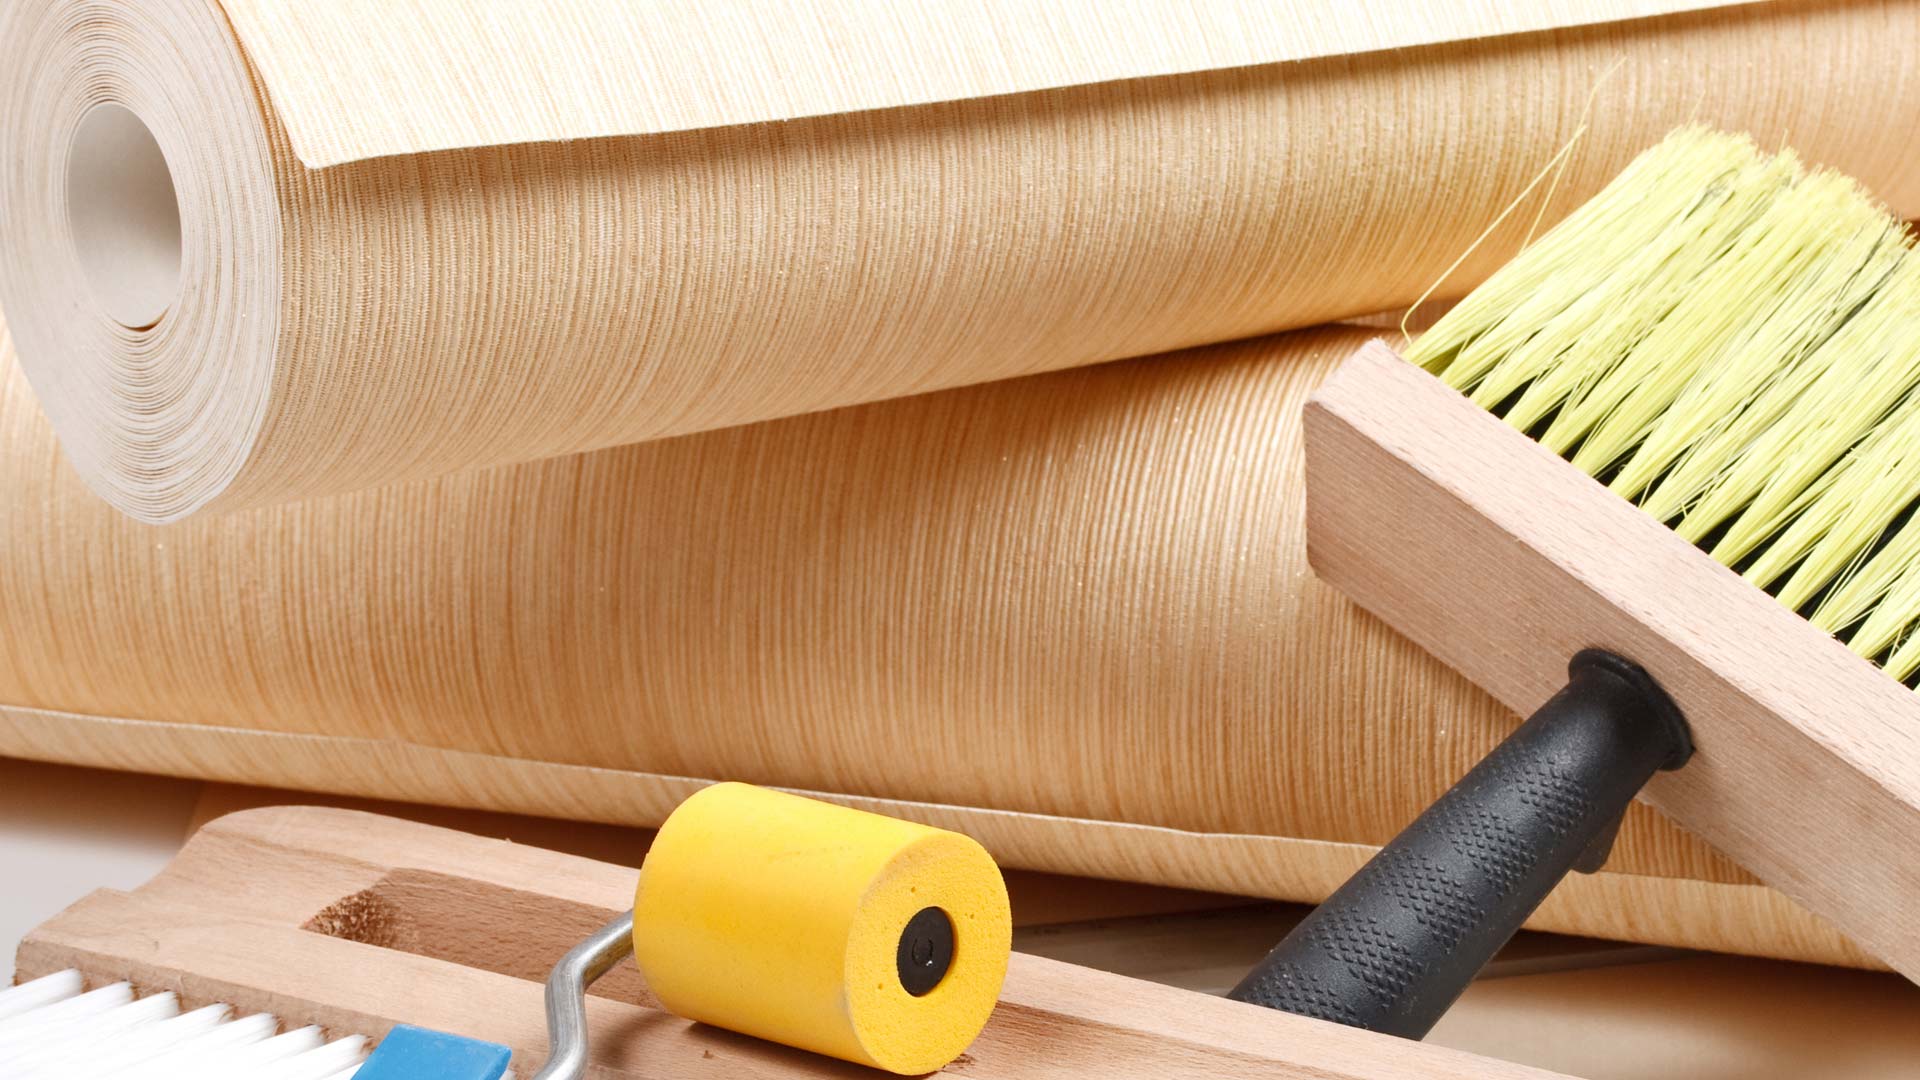
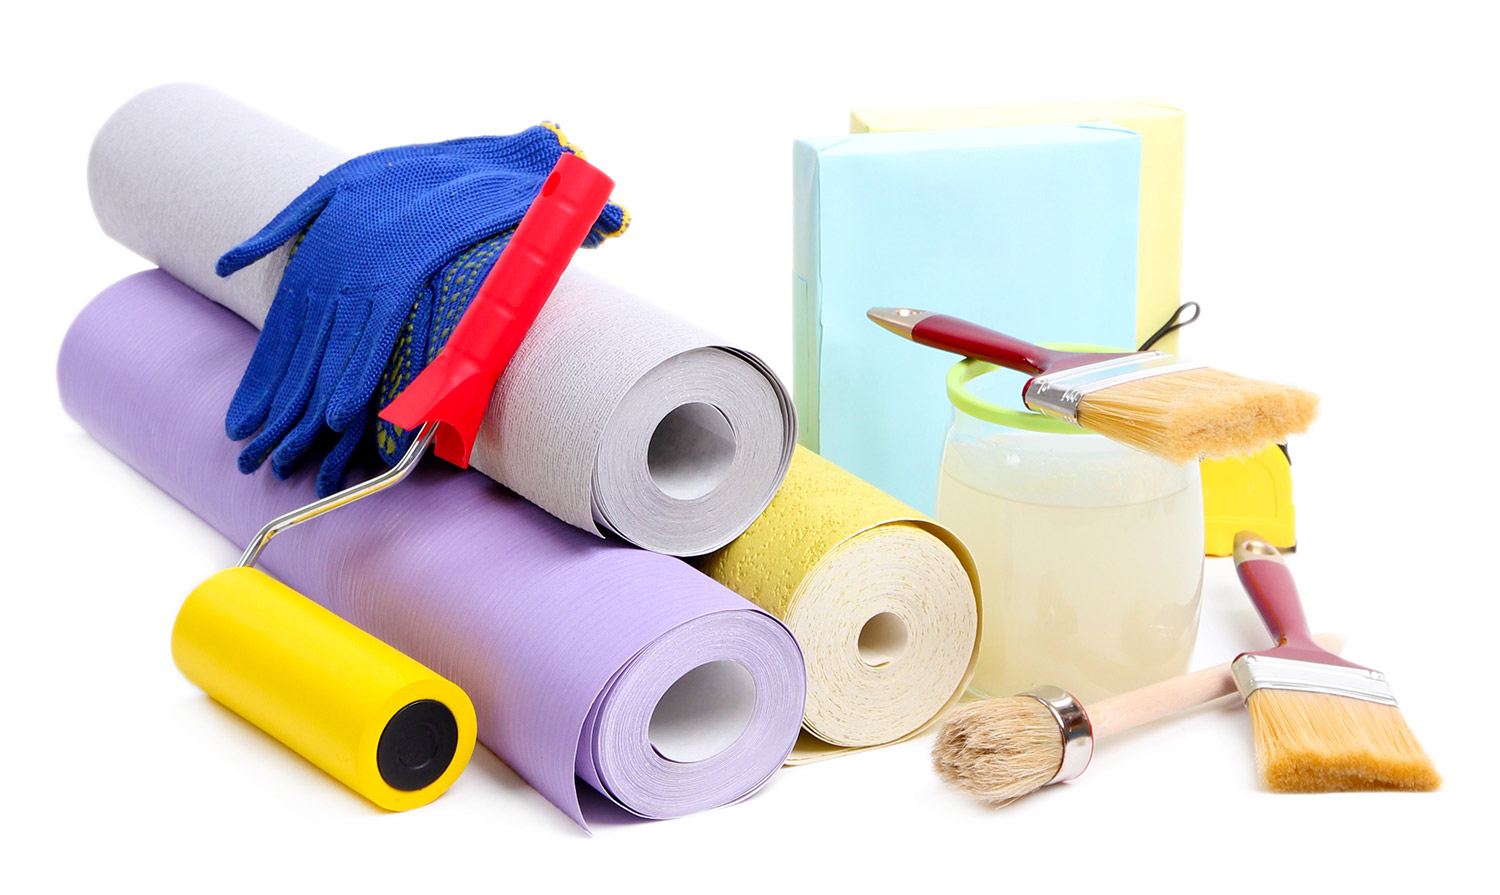
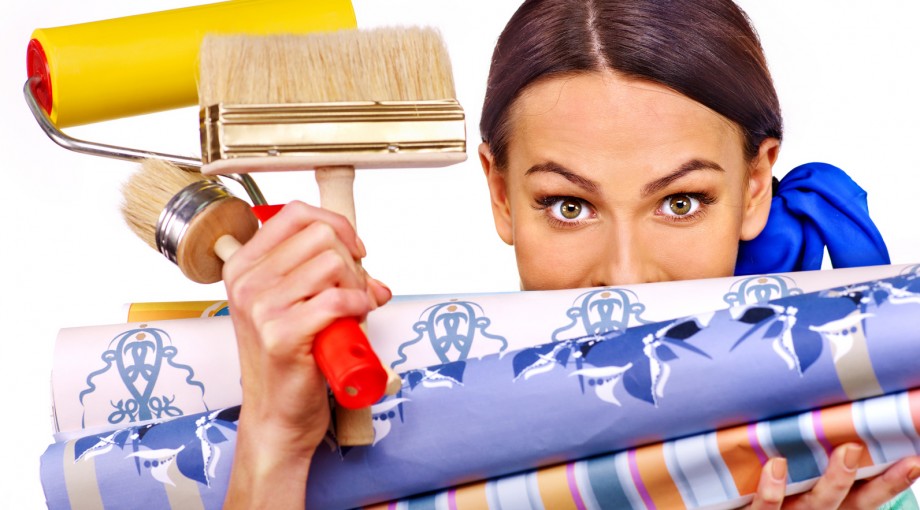
Instruments
Before pasting the surface, it is necessary to prepare the necessary tools, by means of which it is possible to significantly simplify the lining process. It is desirable that they include:
- wallpaper paste;
- rubber roller;
- selected wallpapers;
- construction or office knife;
- glue brush;
- glue container;
- plummet;
- scissors;
- metal spatula;
- simple pencil.
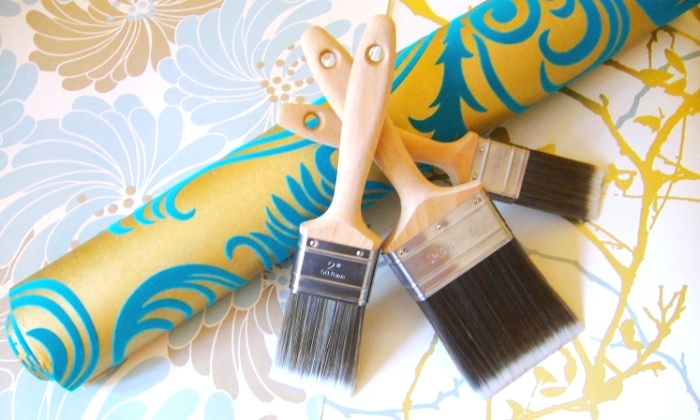
Accessories
In addition to the main inventory and wallpaper, you may need in your work:
- deep penetration primer;
- foam roller for priming the surface of the walls;
- foam sponges and dry cloths to remove excess glue;
- plastic film 1.5 m wide, about 2.7 m long.
If the docking seems very difficult, it makes sense to buy a docking tape.


Pasting technology
To properly glue the wallpaper butt, you need:
- prepare the walls;
- mark the material with respect to the glued plane;
- properly prepare the glue, following the instructions on the package;
- apply glue to the work surface.
Preparation of the wall consists of several stages:
- first, they are leveled, if necessary, eliminating irregularities, roughness and smearing with plaster or putty;
- when the walls are aligned, they are covered with a primer followed by drying, which increases the adhesion of the wallpaper to the treated wall;
- it is worth treating the walls with a fungicide solution: this will prevent the formation of an environment for the appearance of fungus or mold.
Usually, the walls dry out a day after the treatment with the last solution.
Wallpaper
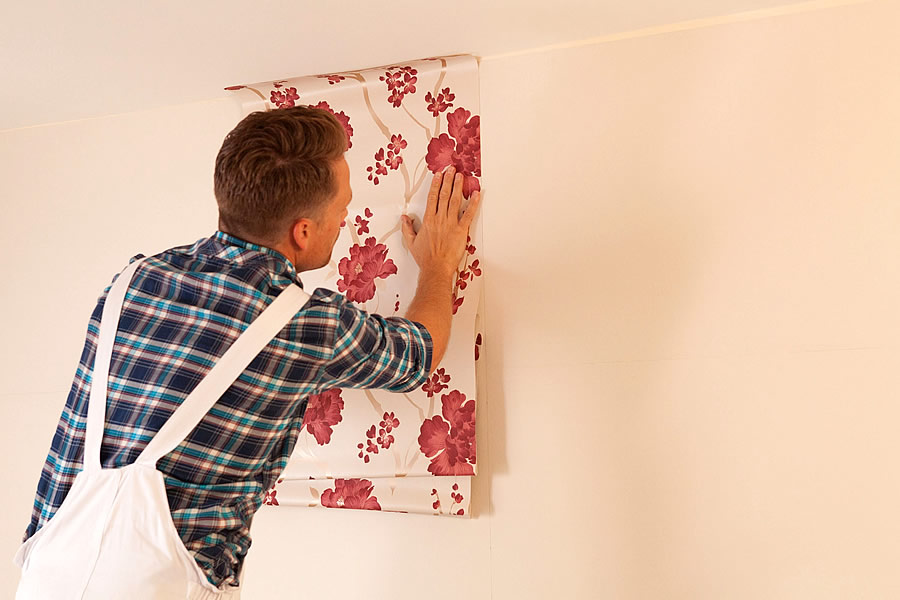
More often masters carry out fitting of wallpaper directly on the wall. Doing lining with your own hands is difficult, so it is easier to measure how much material is needed and to trim the excess. To do this, put on the floor plastic film: it will save the floor from glue, in addition, take care of the cleanliness of the front side of the wallpaper. The roll is rolled over the film, having measured the desired height and adding 2 cm to the bottom of it to the curvature of the wall: it is easier to cut the stock in the future than to add a small piece.
In order for the sticking visually not to “fall” on its side, it is necessary to measure out the vertical line with the help of a building level. If not, you can use a thread with a small sinker, hanging it from the ceiling with adhesive tape. To make the direction more visible, you can draw a line with a pencil. Further level may be needed when working with corners. If the plane is approximately flat, pasting will be simple and convenient.
Cut the canvas into several strips at once is impossible: even if the wallpaper is plain and does not have a pronounced pattern, the problem may be a curved ceiling. In any case, the length of the cloth will vary. It is more expedient to make a rough cut of the next strip, adding this time to it 1-2 cm above. The amount of allowance at the bottom will depend on the first glued strip. Usually one roll of 10 m is enough for 4 strips from the ceiling to the floor, if the wallpaper does not have a pattern and does not need to be adjusted.
The number of fragments depends on the design features of the lining or combination technique. For example, having panels at the bottom of walls with a height of 64 cm, you will need less wallpaper, while saving material. To the number of joints was minimal, it is worth buying canvases of a meter width. In any case, when facing it is important to add a small allowance to the desired length.
The marking of wallpaper is always approximate: it is impossible to fit perfectly, since in most cases ordinary walls are uneven.
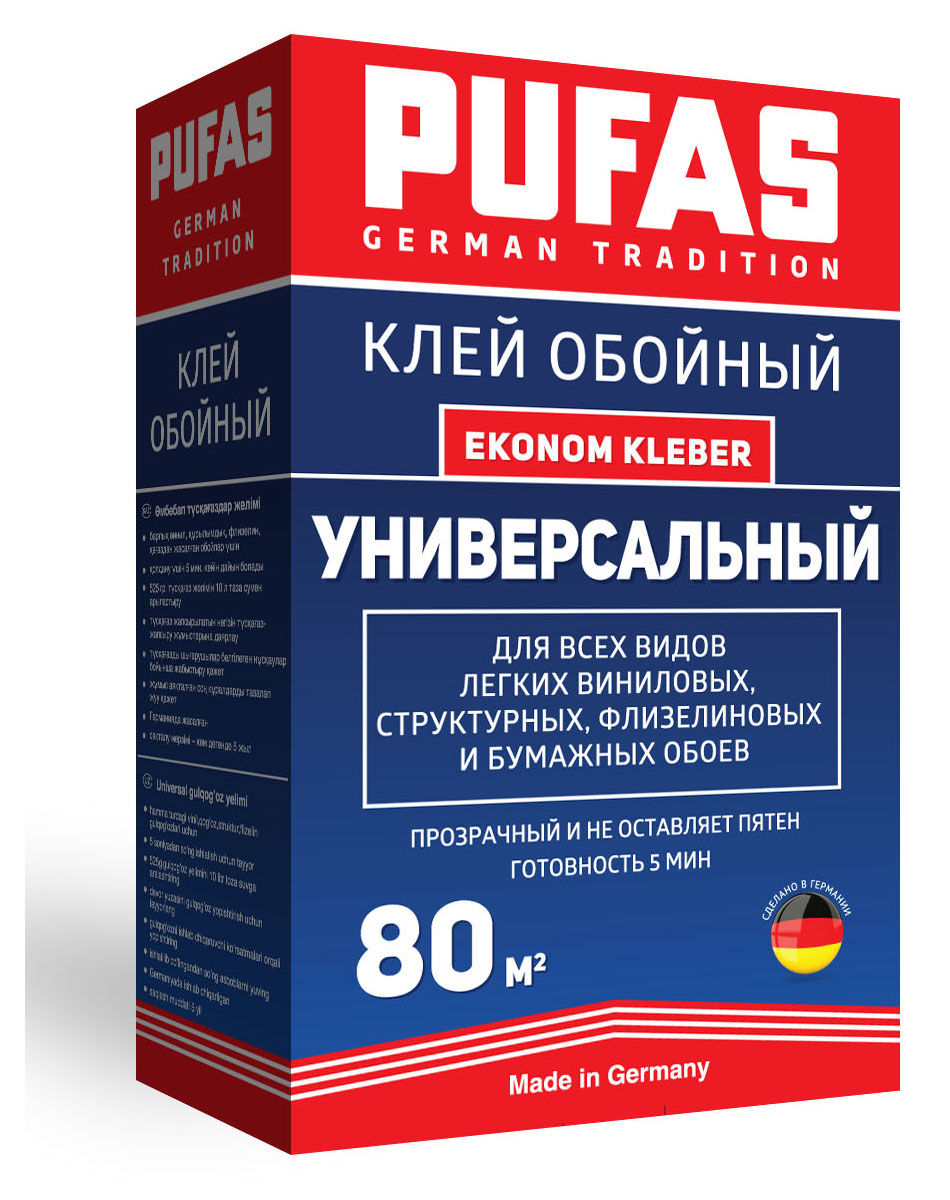
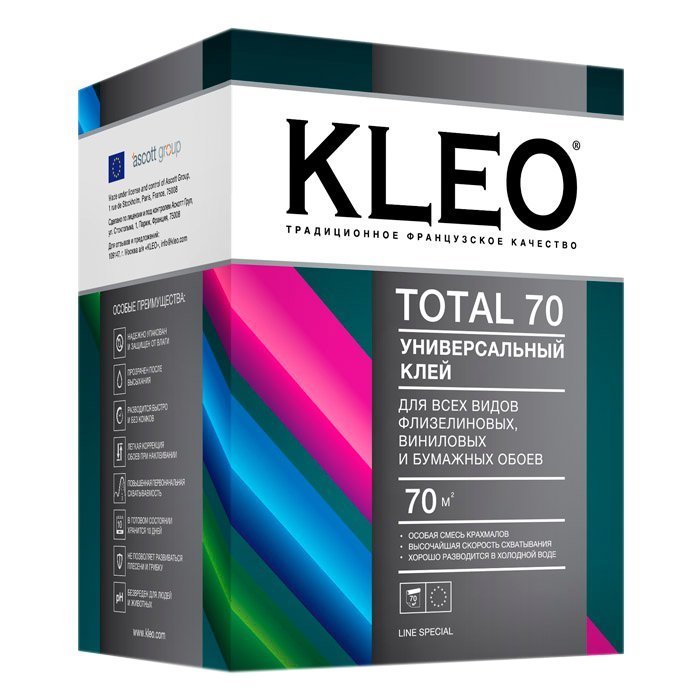
Glue
Glue preparation is carried out strictly according to the instructions for a particular type of material. For each type of wallpaper it has its own: often the wallpaper joints diverge precisely from the use of an improperly selected adhesive substance. When preparing the glue, it is worth bearing in mind:
- it is not diluted with boiling water, it violates the structure of the components;
- Do not use rusty water: you can spoil the color of the wallpaper;
- the consistency of the adhesive should be uniform;
- Do not make the glue thick: so you have to drive out the excess from under the wallpaper, it can get on the front side;
- time for swelling of the substance must be sustained in full.
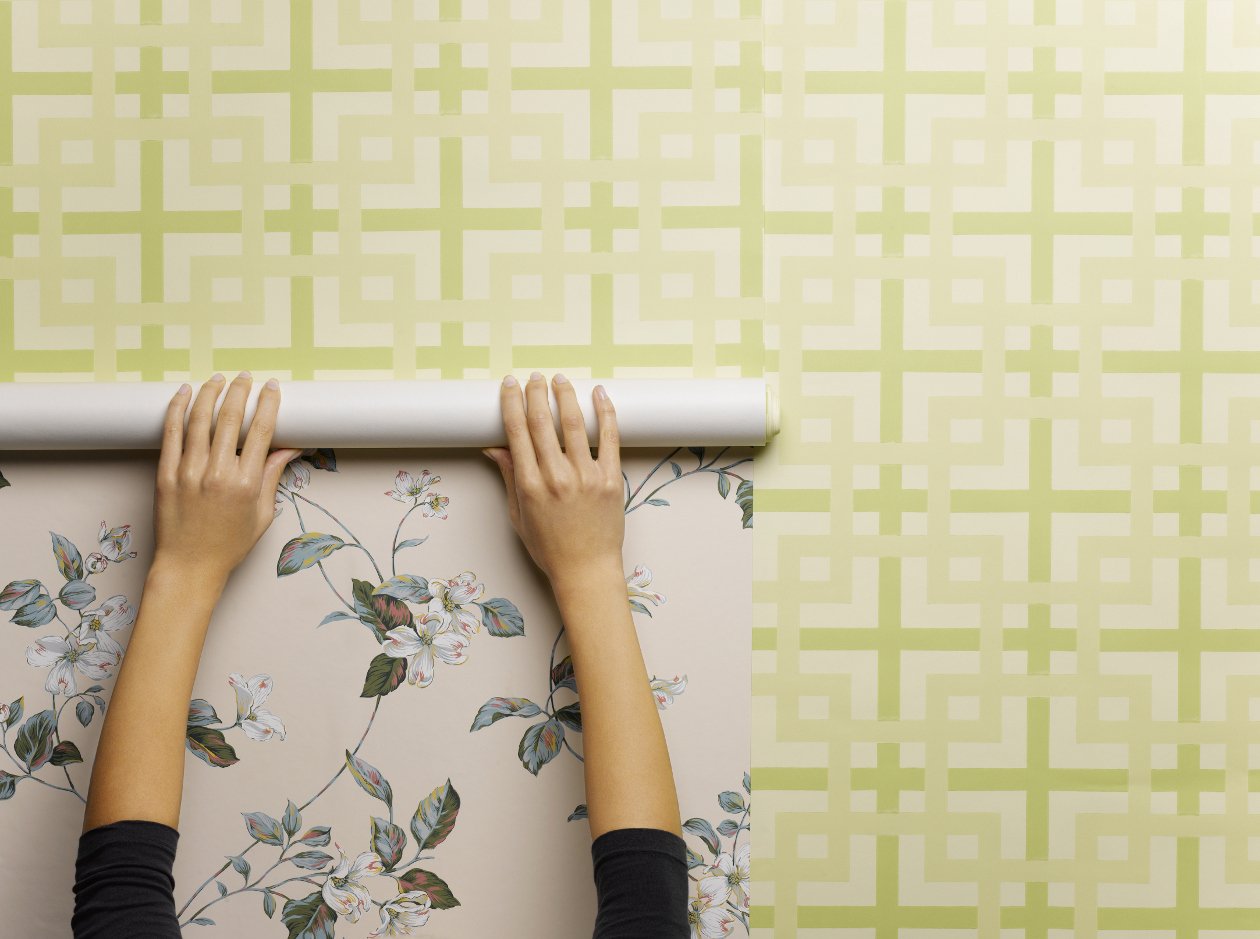
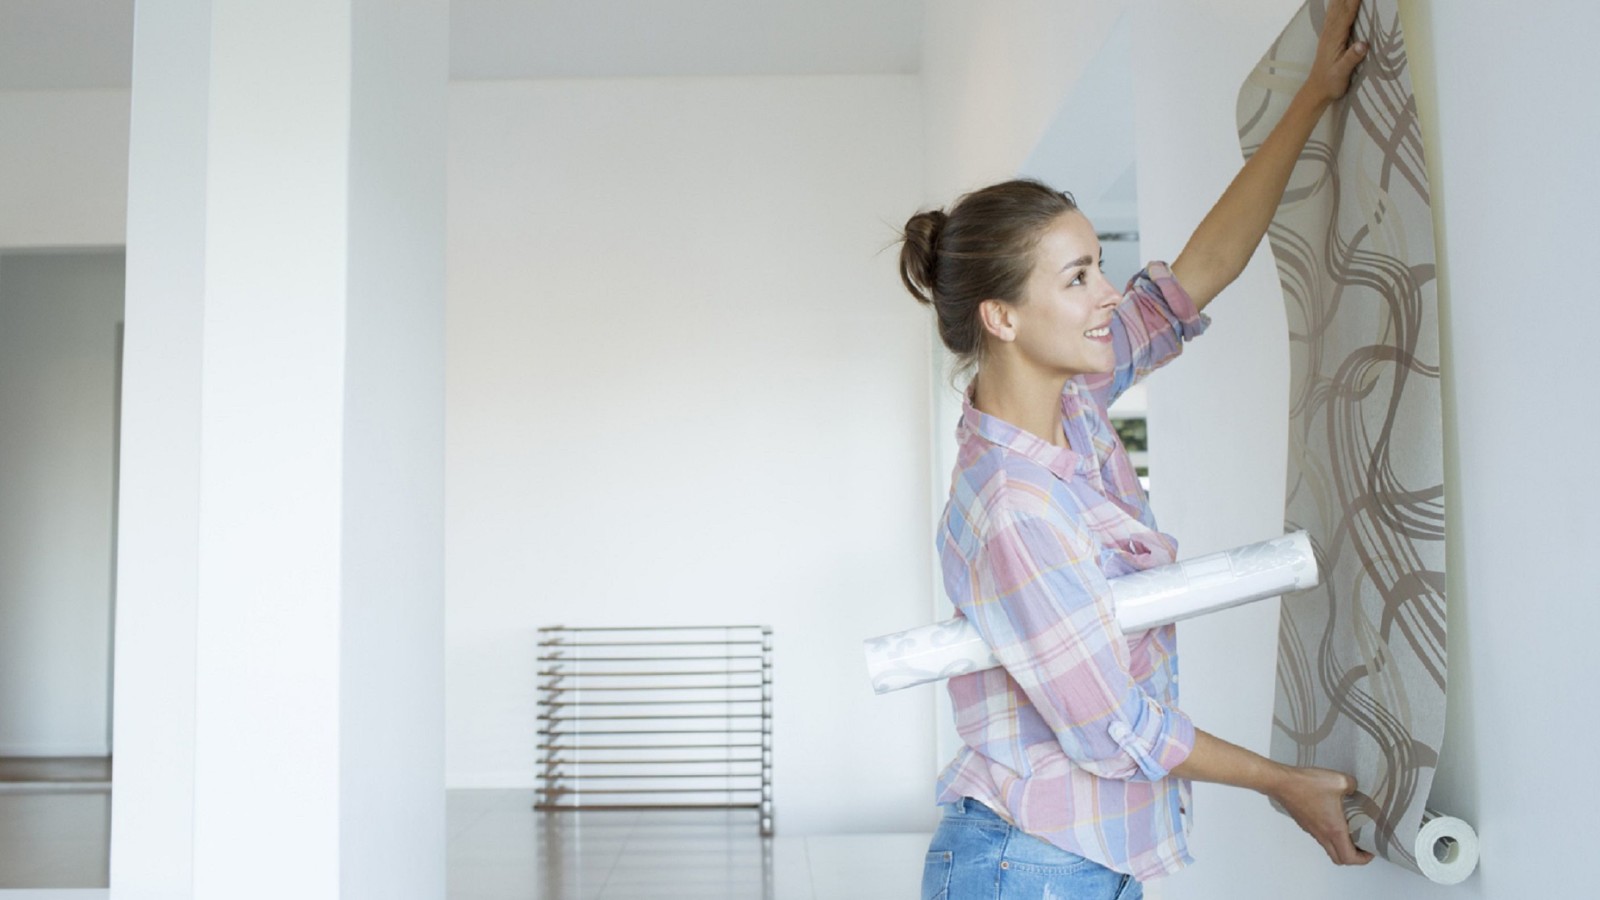
Sticking
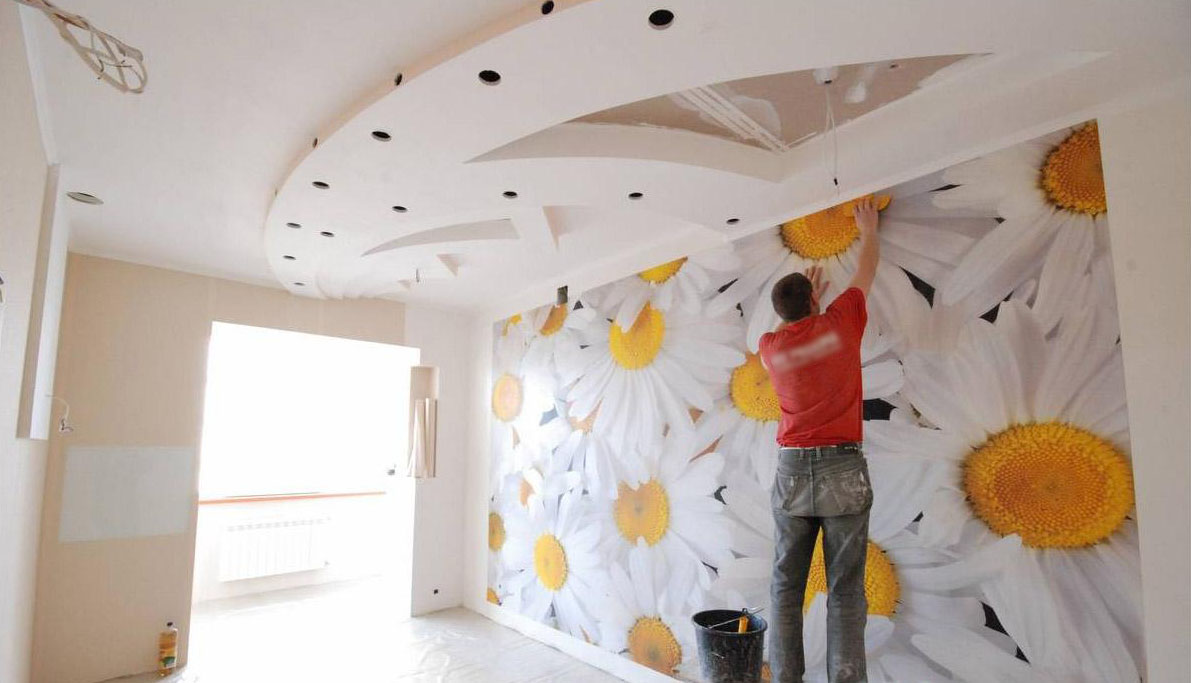
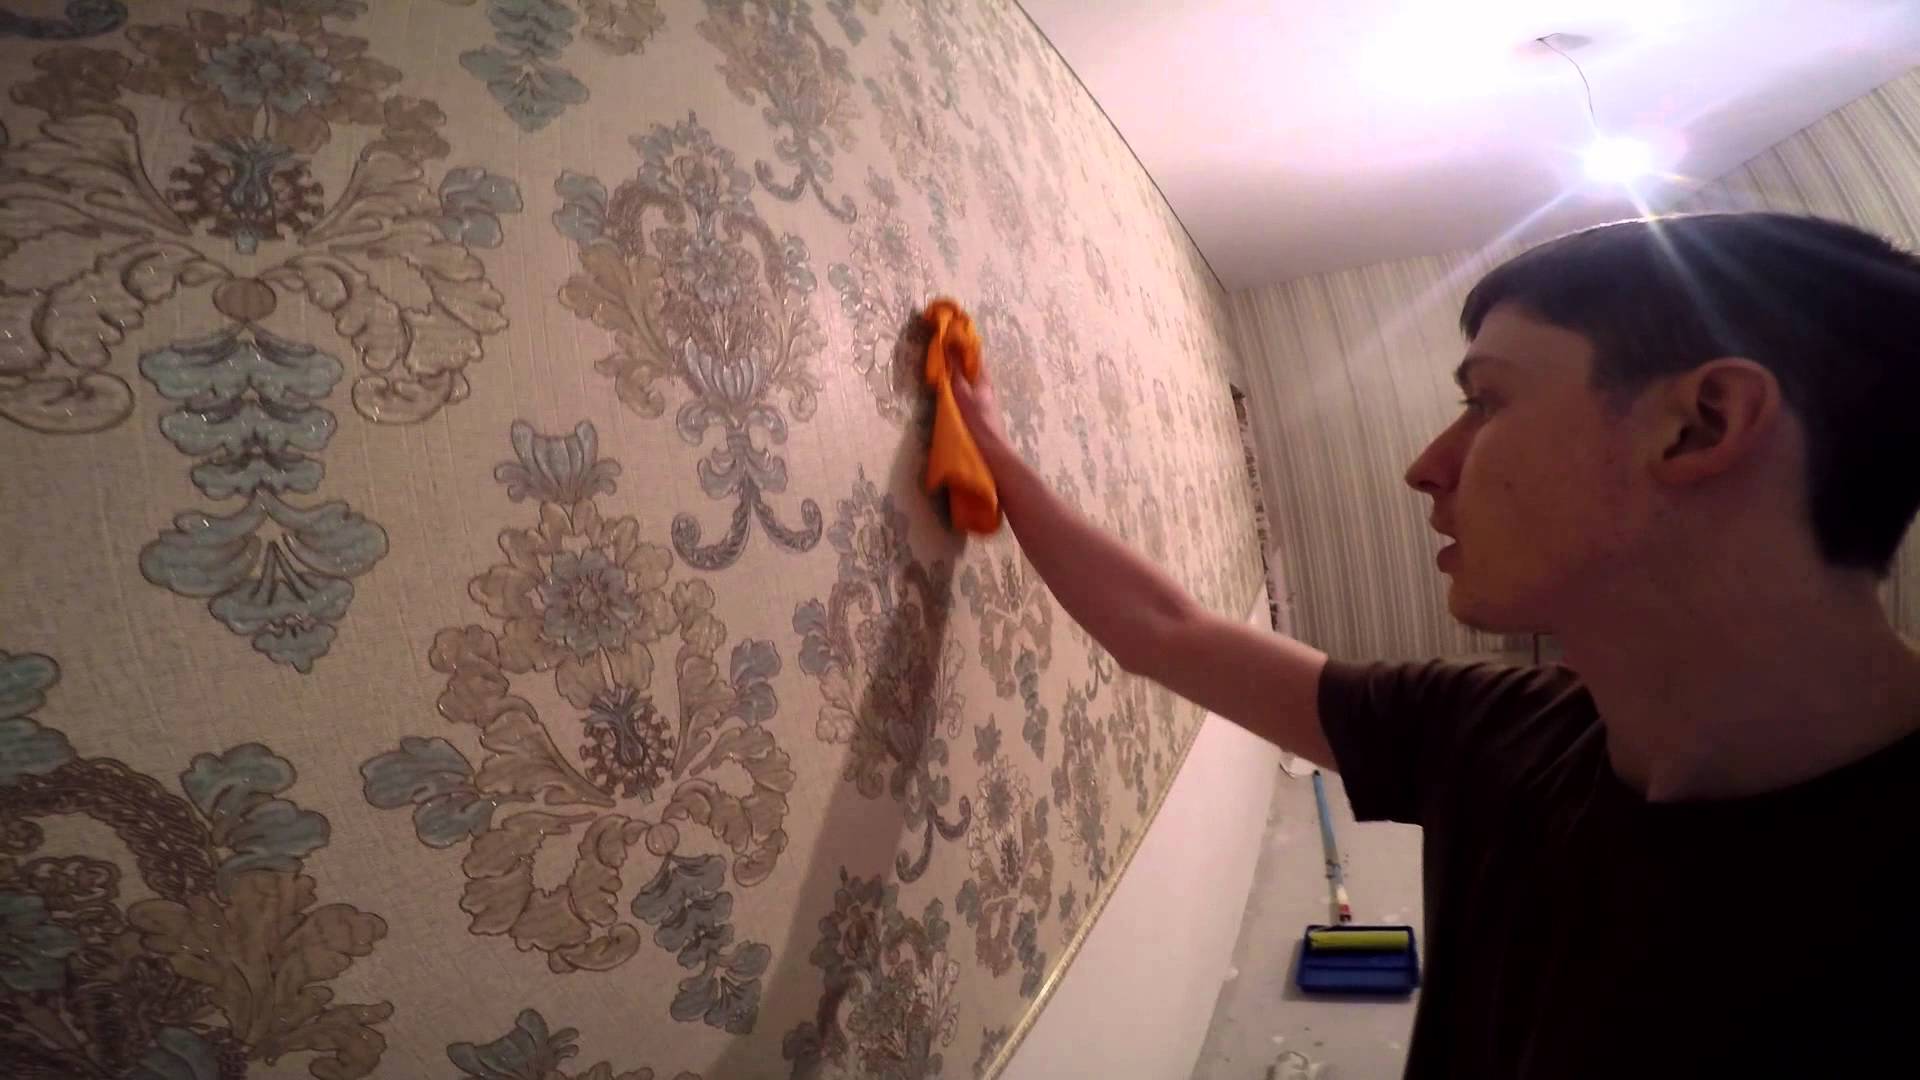
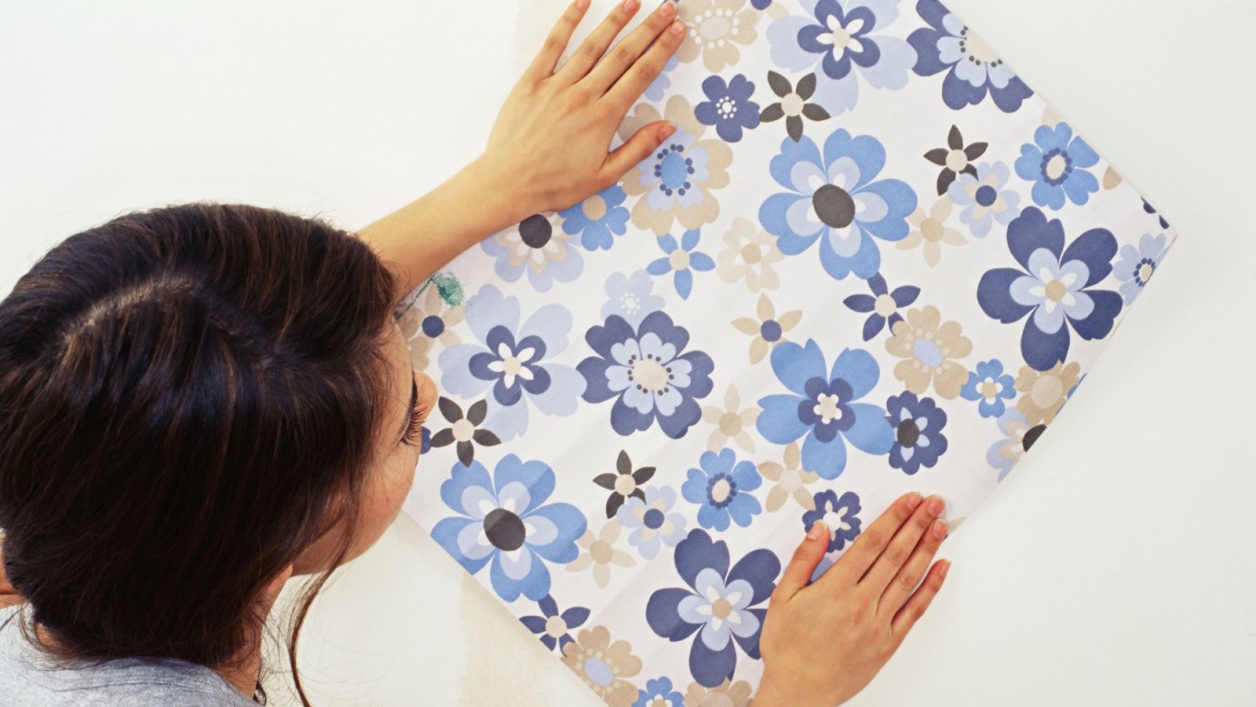
Butt-glued wallpapers do not need to respect the place of the first canvas: you can begin to glue them from where it is convenient. More often it is the beginning of the wall: it is easier to glue the strip after the strip, aligning the pattern on the side and near the ceiling, setting the direction of each new strip. First, the glue is applied to the back side of the wallpaper (with the exception of textile and non-woven wallpaper). While the compound is absorbed, you can glue the wall itself: this will eliminate the place of the not-missed area on the wallpaper and increase grip.
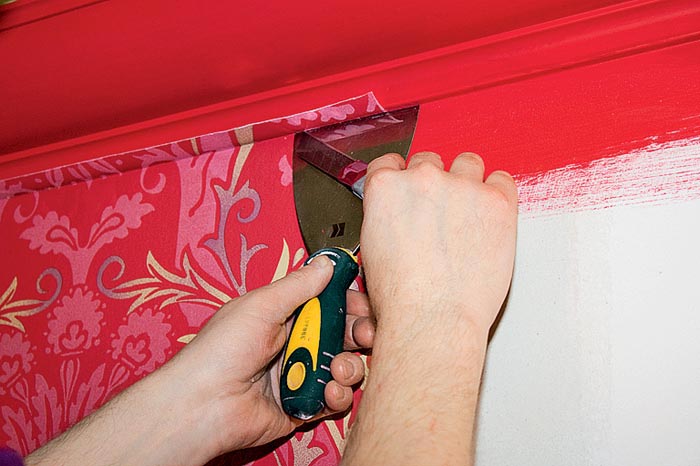
Taking the first strip, align it with the line marked by a pencil and glue it. Then swipe to the side with a roller: so you get the line of the upper joint, the excess material needs to be cut, pressing the wallpaper with a spatula after the canvas is glued to the middle of the wall from the ceiling.Cutting the top of the canvas at once is undesirable: pressing the roller, which relieves the wallpaper from bubbles, can move the canvas downwards, which automatically forms a gap above. Try not to pull the strip in different directions: its texture should not stretch, otherwise in the future, when drying, the fabric may skew.
After the first canvas is glued, you can mark the third cut on the floor, take the second one and, attaching it to the first lane, initially combine the side joint. This also applies to the pattern: it should not shift, because on the general background it will be noticeable. Align the joints, roll the roller up, down and to the side. After the basting, roll the canvas with the roller, starting from the top down, paying particular attention to the joints. If the pattern does not move, trim the allowances and glue the wallpaper above and below. Press the roller evenly.
Corners
Despite the fact that the wallpaper can be dense, in contrast to the external corners, the pasting of which does not differ from the main lining, in the internal one they will have to be joined differently. This is due to the curvature of the walls: it is impossible to trim the canvas ideally in any way. To do this, usually on the sides of the strips make an allowance (1.5 - 2 cm), then glue the strip, slightly going to another plane. You do not need large allowances: they will be visible, and they will come off faster, especially if the wallpaper is thick.
A new side is glued to the stock of the previous strip, this allows the walls to be decorated with wallpaper without distortion of the material after drying.
Tips and tricks
If at the end of the work the joints are still separated, you can re-glue them or disguise them. If they are visible or are dark, ugly stripes, they cannot be made invisible, so you have to decorate them. This can be done through moldings, baguette or regular ceiling plinth. For this first glue the joints, then the decor is glued at the joints, thereby giving the wall originality.
To make the interior look interesting, it is better to glue a pair of panels, paintings or just a photo within the framework over the wallpaper between the moldings. Remove the bubbles immediately after pasting: then it is impossible to do.
This method is also excellent if the joints come off between the canvases of different colors. It allows you to hide the pasting defect, give volume to the space, making the place of the contrasting material an accent of the room. If the sheets diverge not only in the joints, but also more, you can carefully trim the problem area with a construction knife.It makes no sense to glue it again: in most cases it is not for long, there may be a bubble under the surface.
In this situation it is better to use the technique of combining wallpaper, delineating the desired area, neatly cutting the pasting and putting a fragment of a contrasting tone or pattern in its place, decorating the edges with a baguette or molding. So you can do the reception of the combination of two wallpapers, presenting the bottom material in the form of decorative panels.
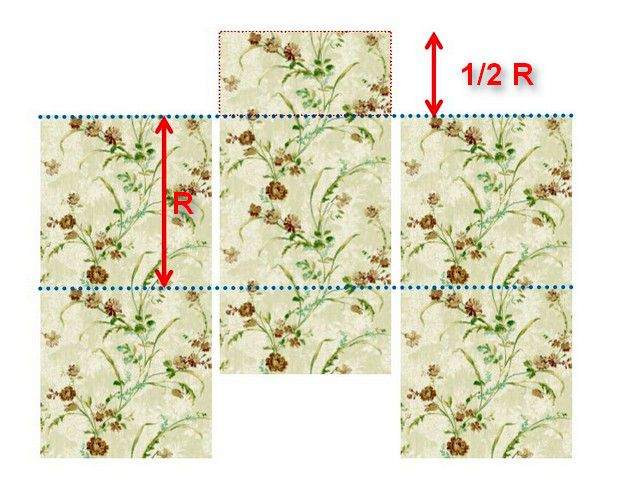
Pasting without a pattern with a vertical or chaotic relief of the surface is the most economical. The drawings are often repeated, rapport can increase the consumption of material up to 60 cm for each strip.
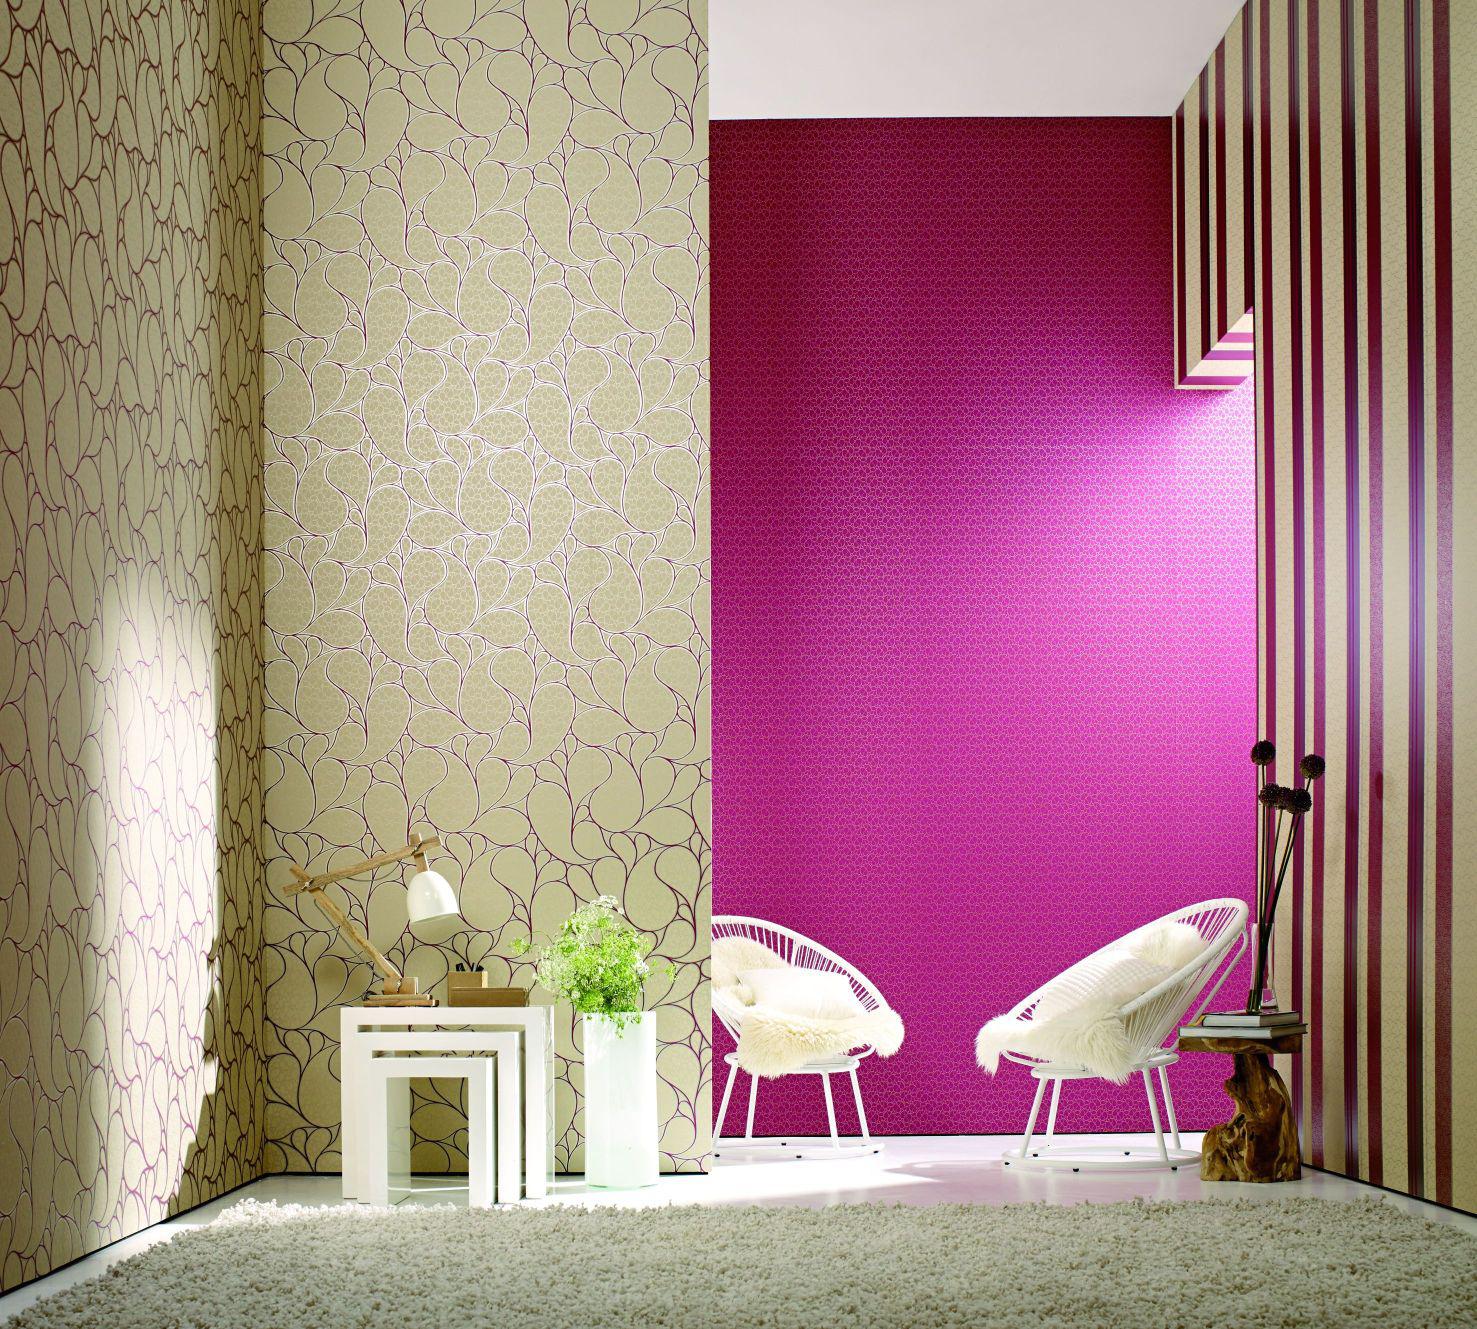
In order not to spend money on facing more than necessary, you should purchase paired wallpapers with the same background, but different patterns. So you can zone the space and beat its shortcomings, for example, highlighting the ledges and niches.
If there are protrusions on the walls, it is better to distinguish them by contrast than to try to disguise them: this way the disadvantages of the room will turn into its merits.
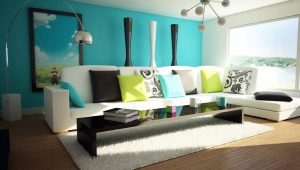
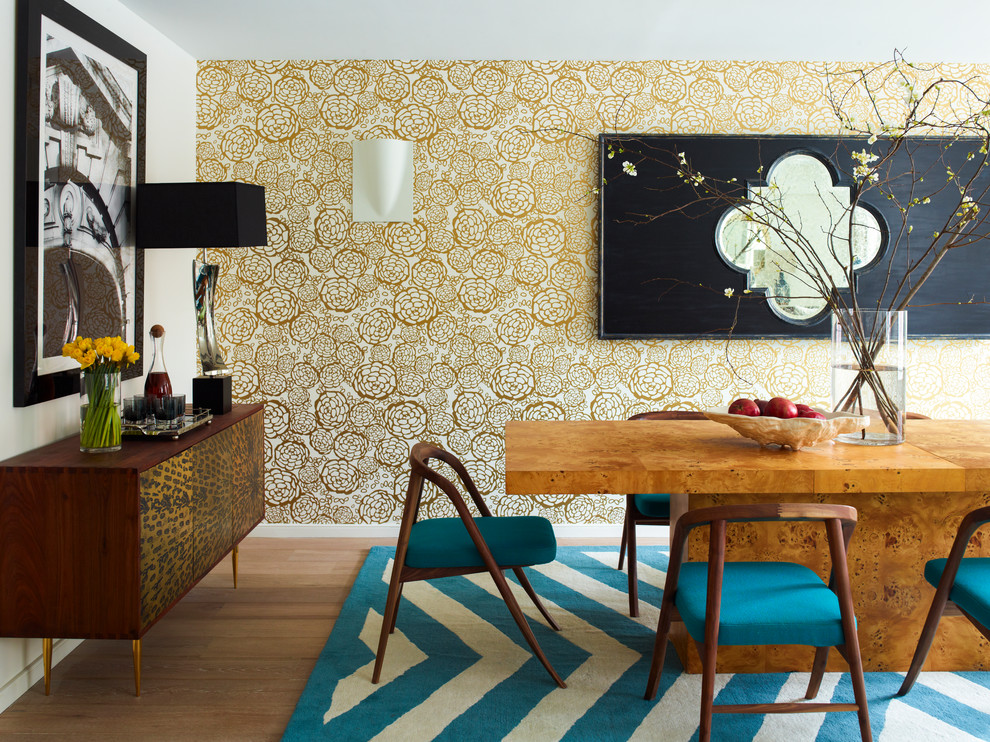
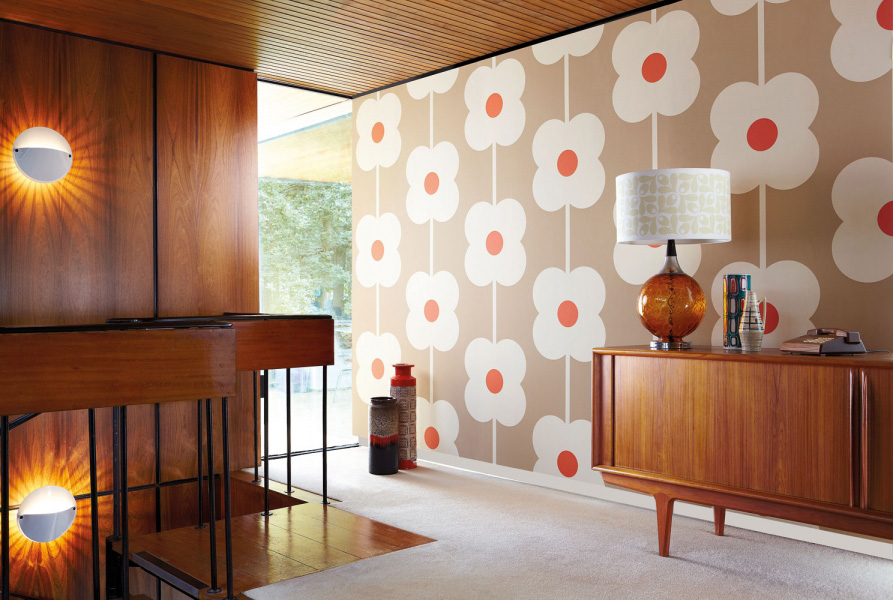
Successful examples and options
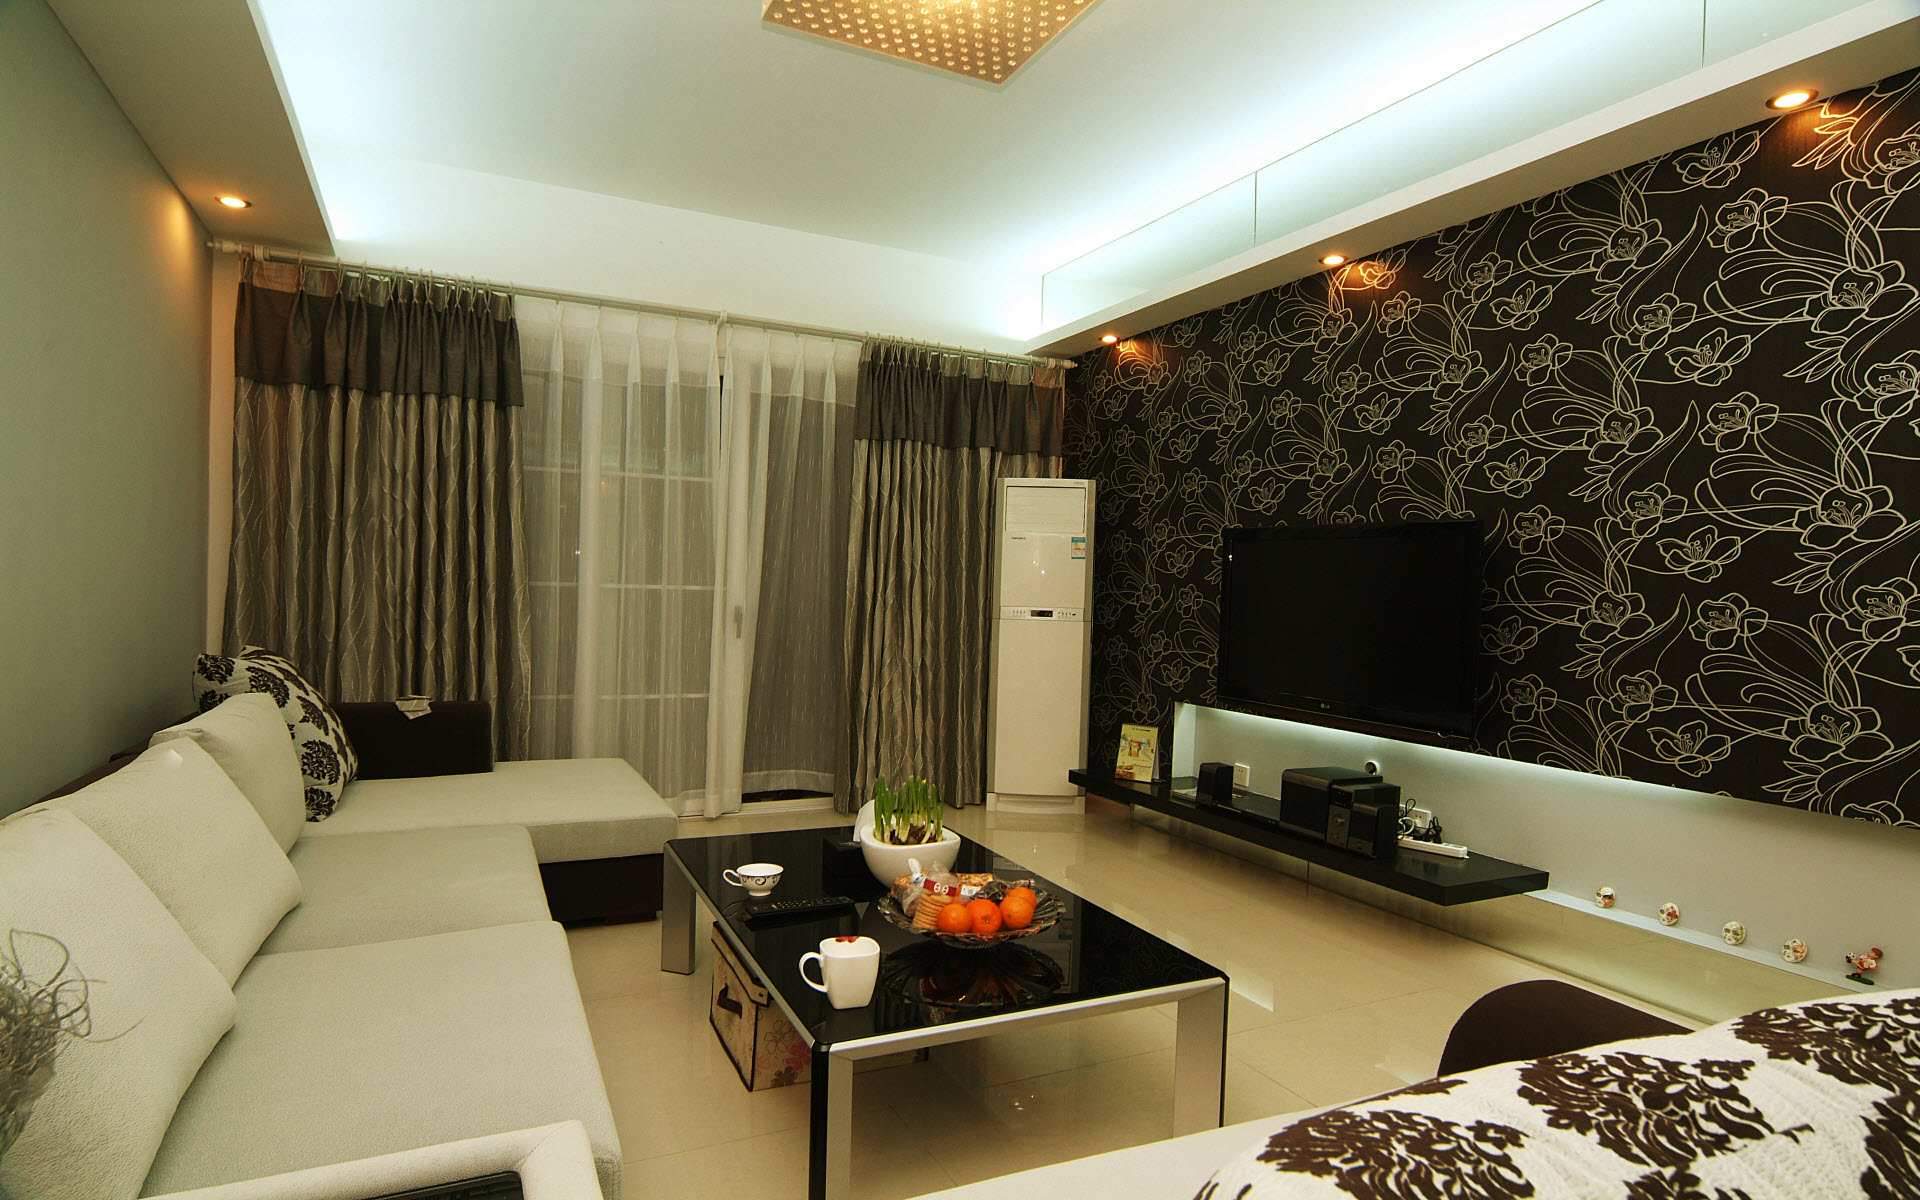
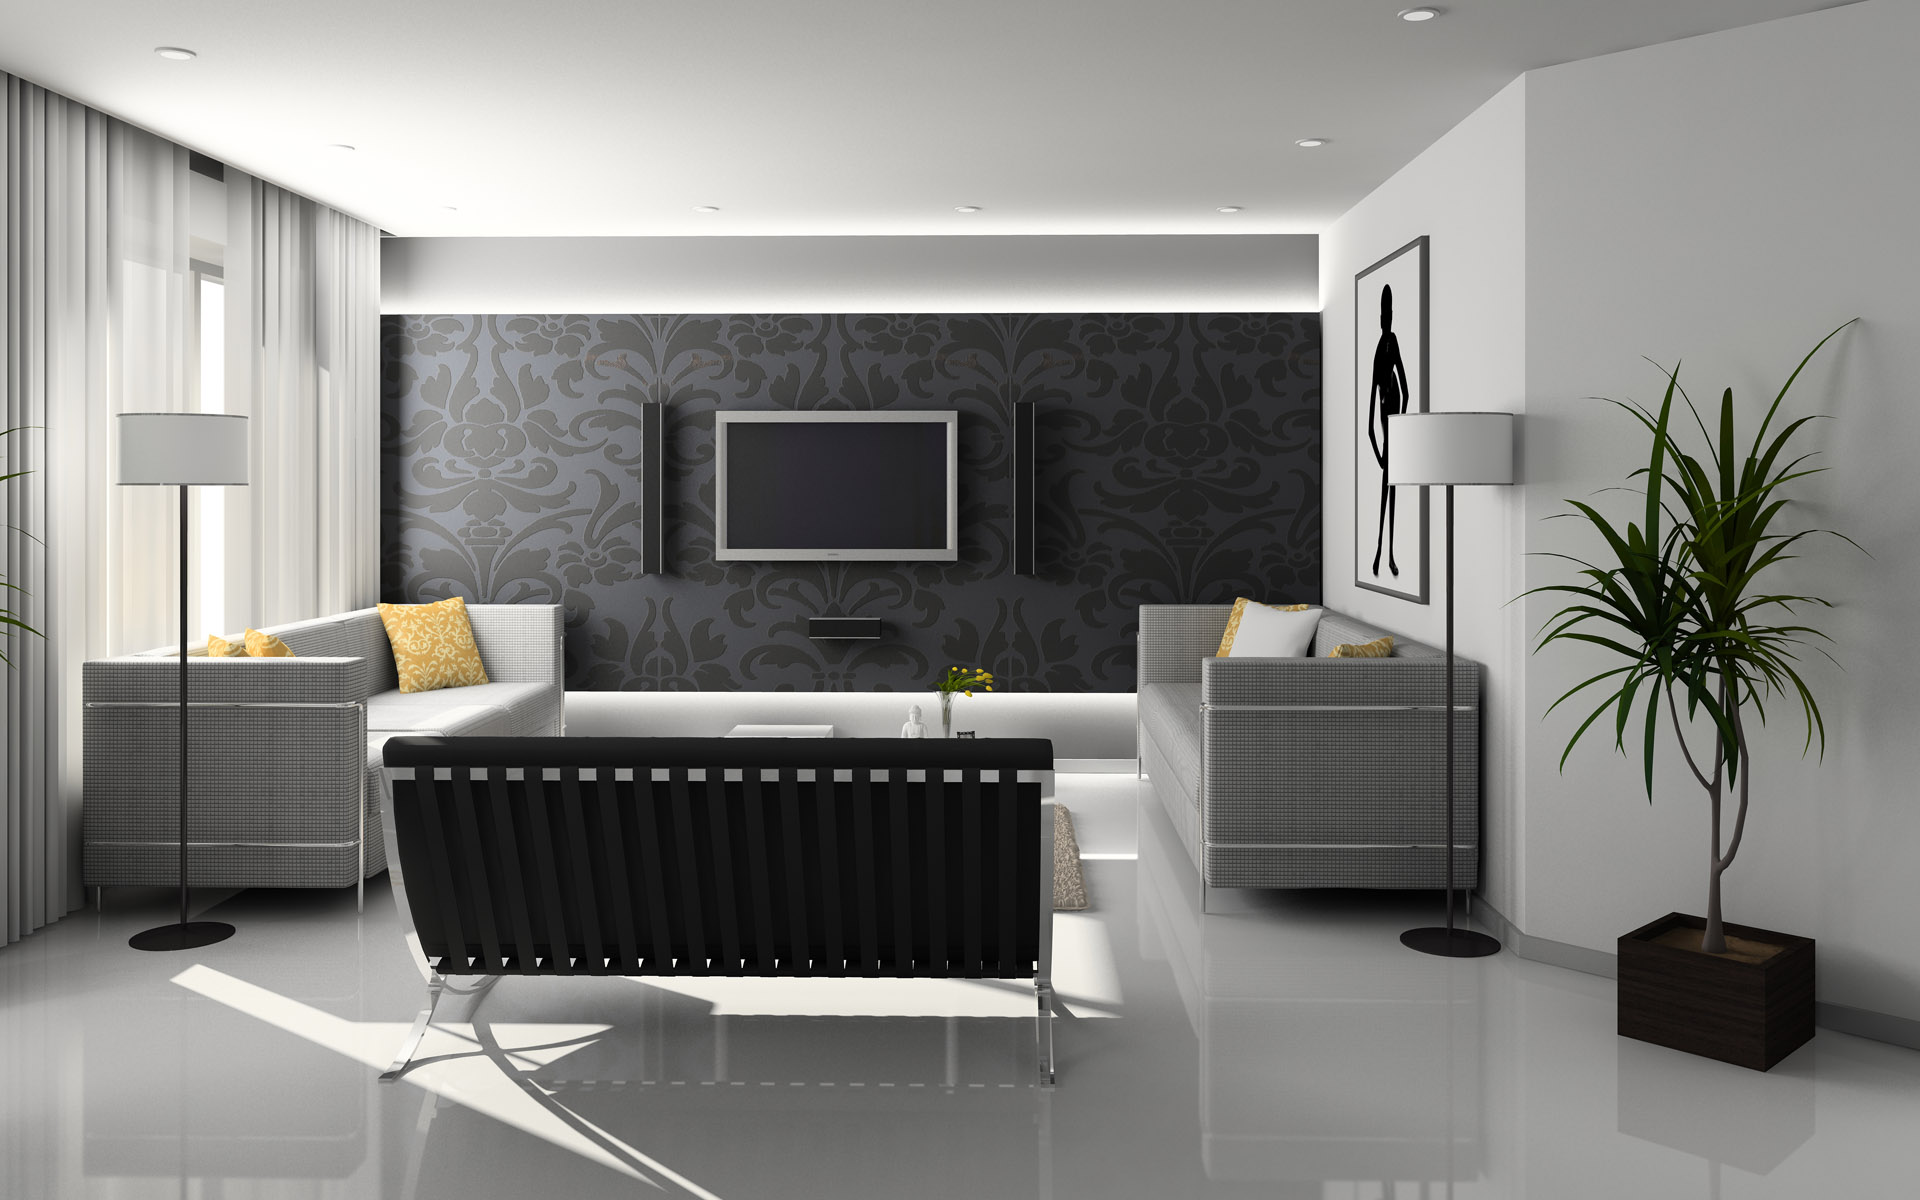
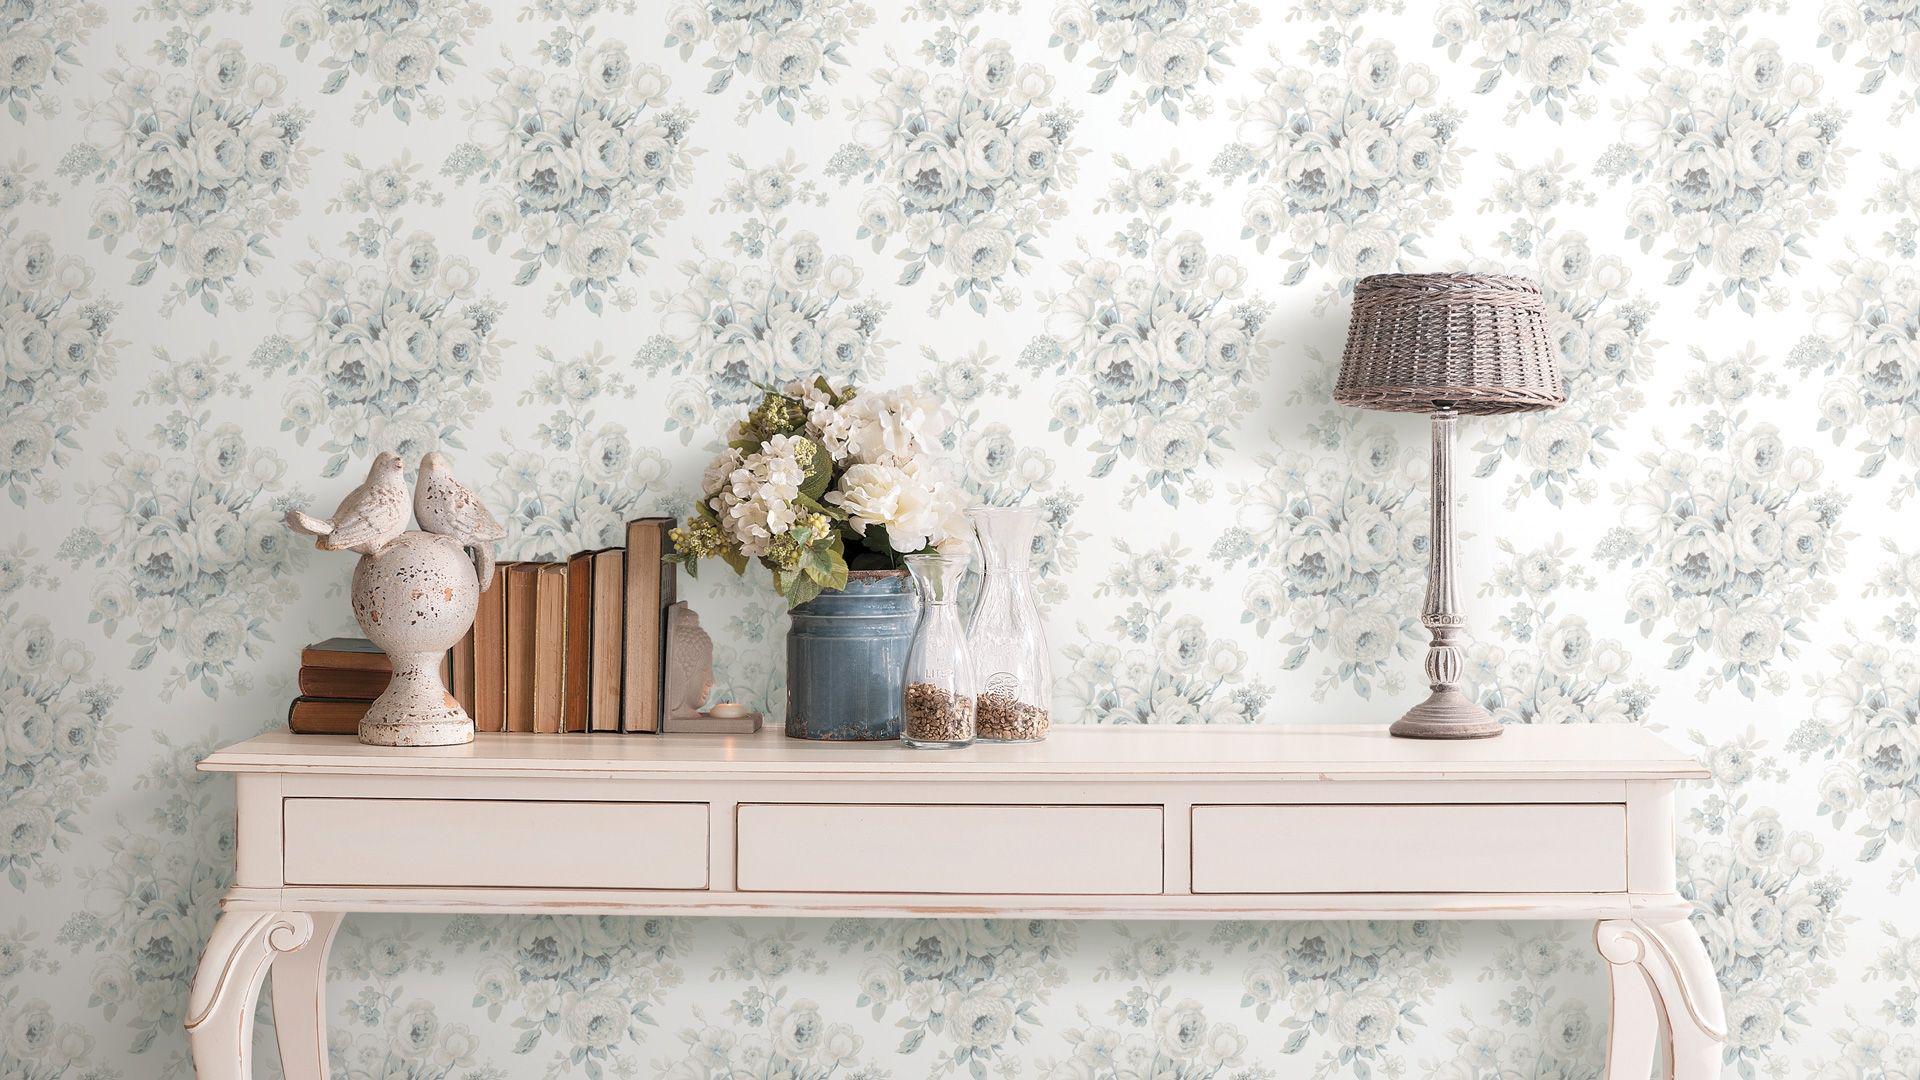
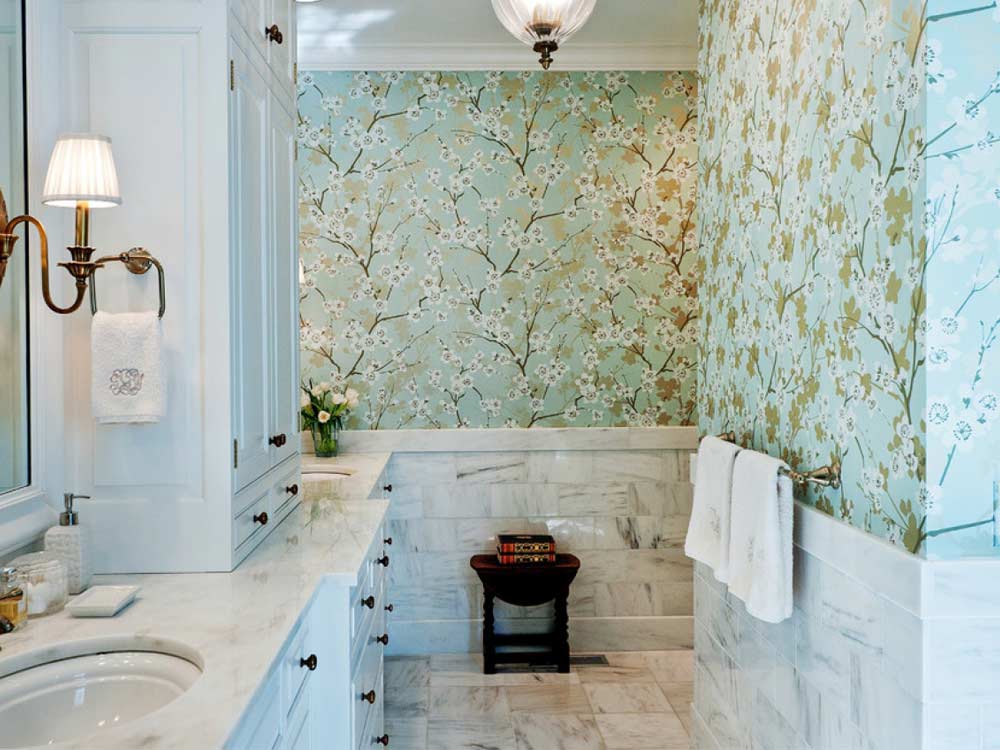
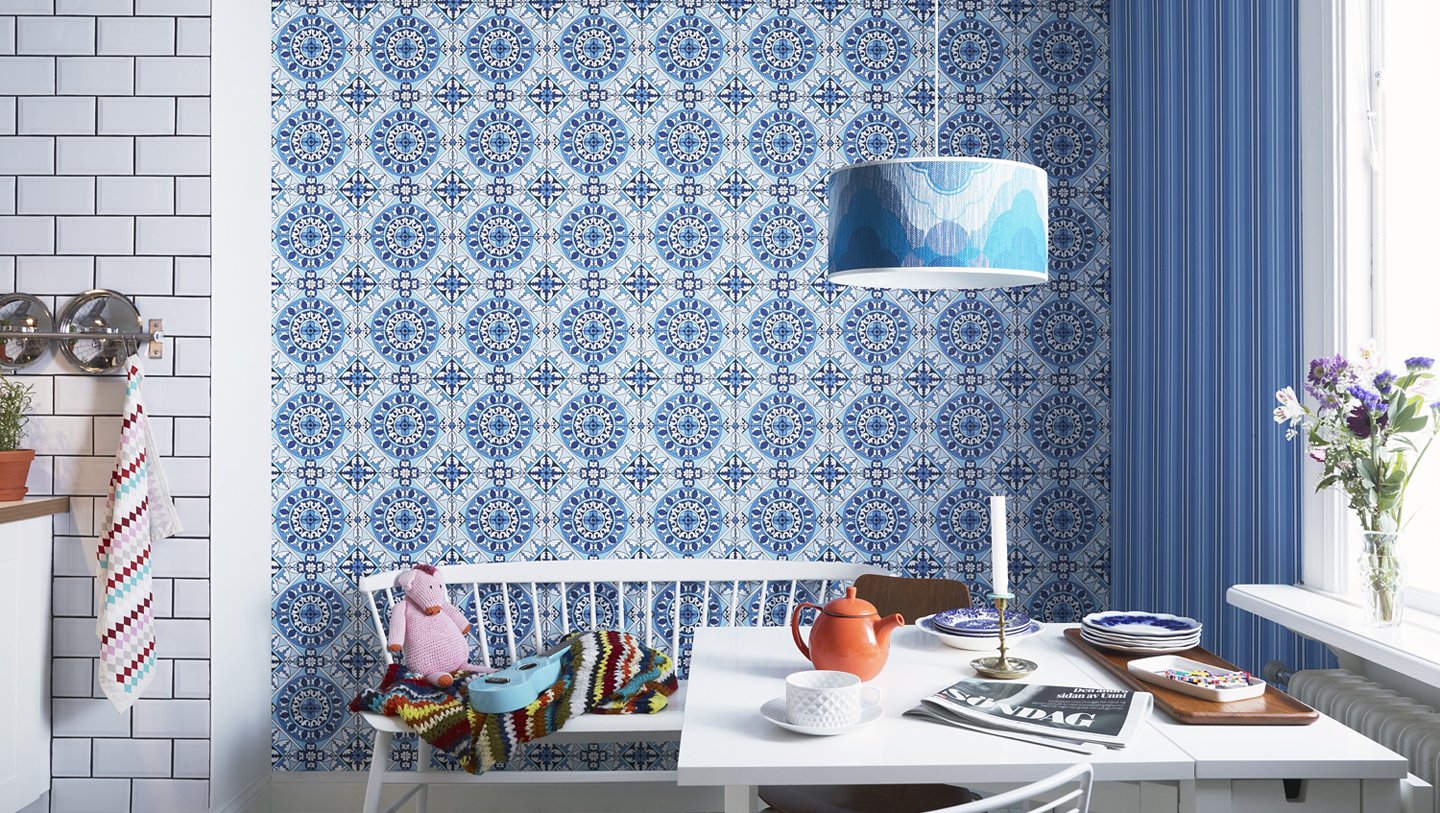
It is possible to connect wallpaper when facing with different finishing materials.Today, design techniques welcome the combination of wallpaper with tile, decorative brick, performing accentuation on one wall, or accepting zoning of space with the transition of shades of cloths. Among the best examples of wallpaper facing butt can be noted Several types of combinations on the example of original interior compositions:
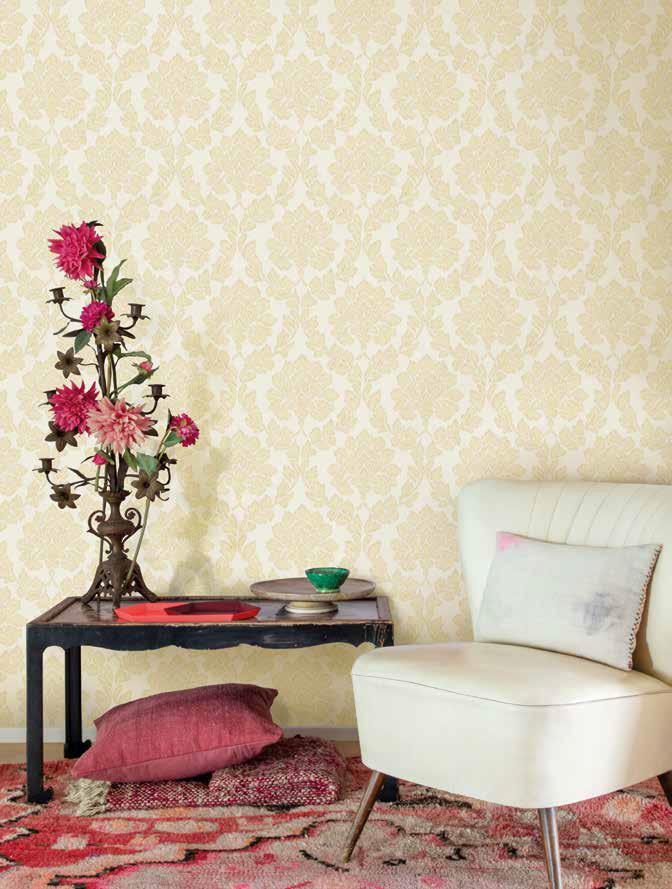
- bathroom walls can be decorated with a material with a flowering cherry blossom, by pasting the cloths to the marble panels of tiles;
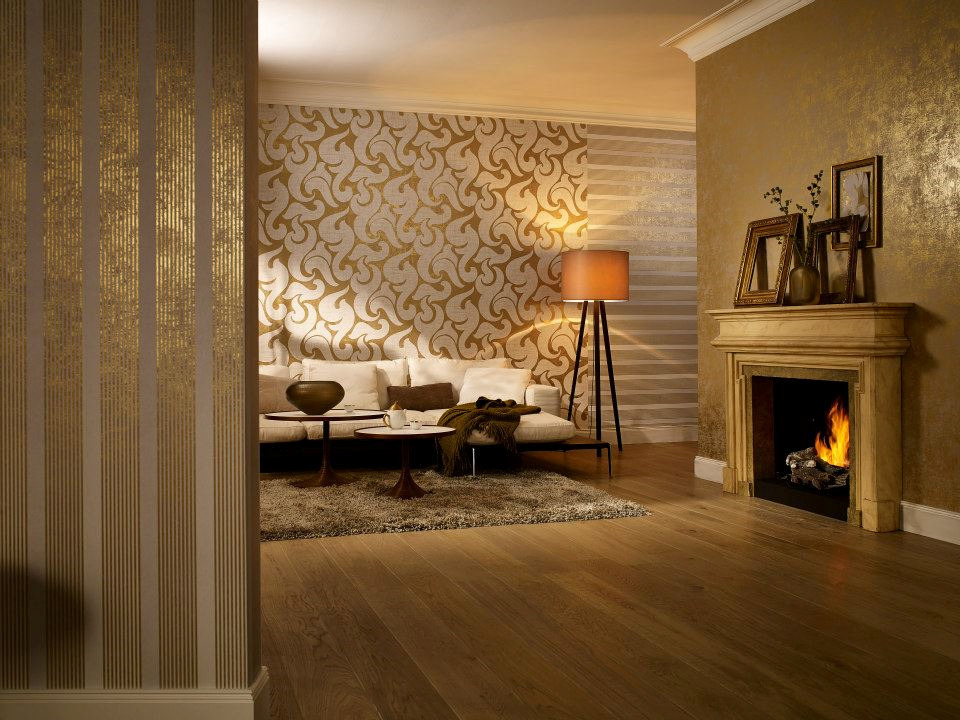
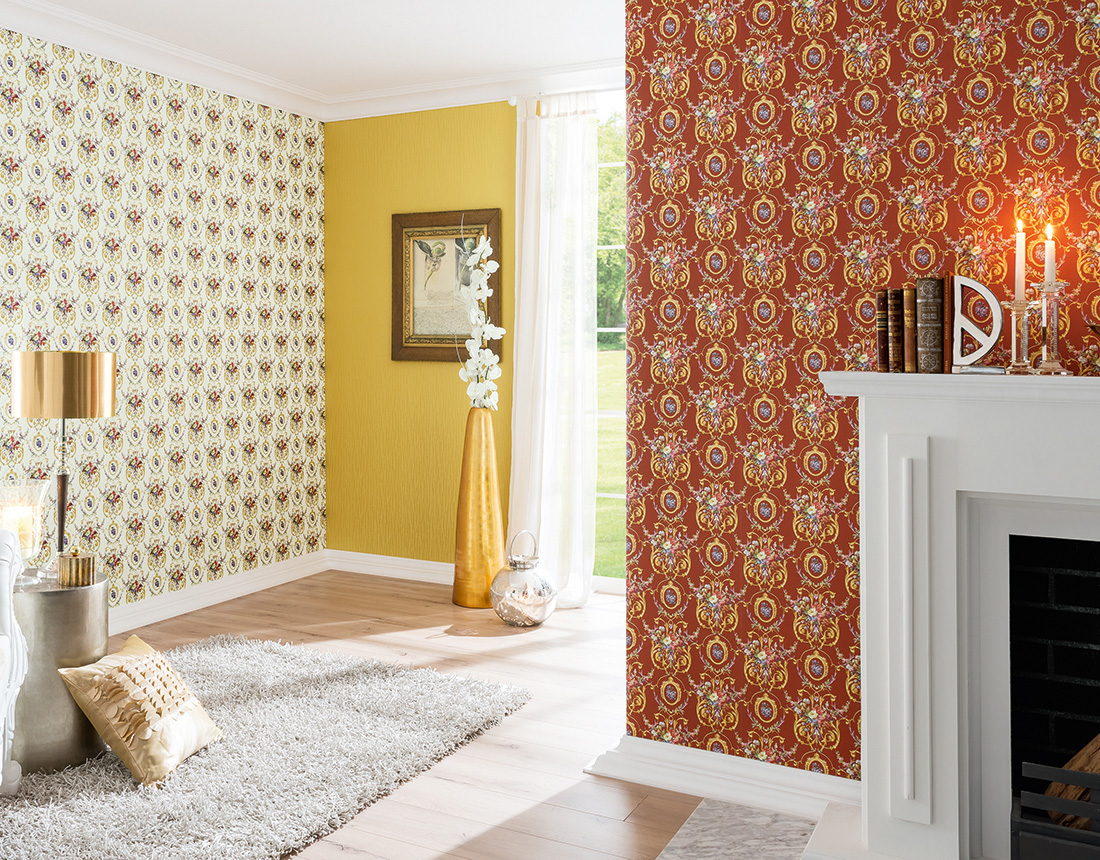
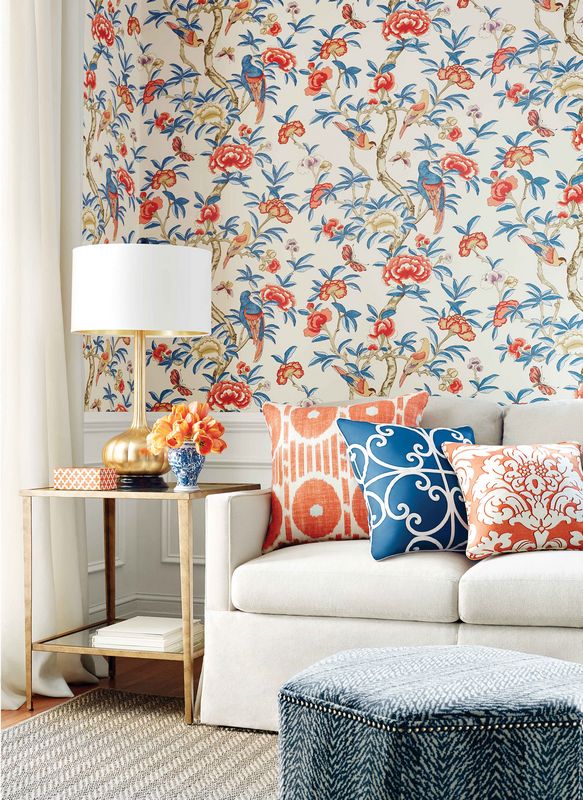
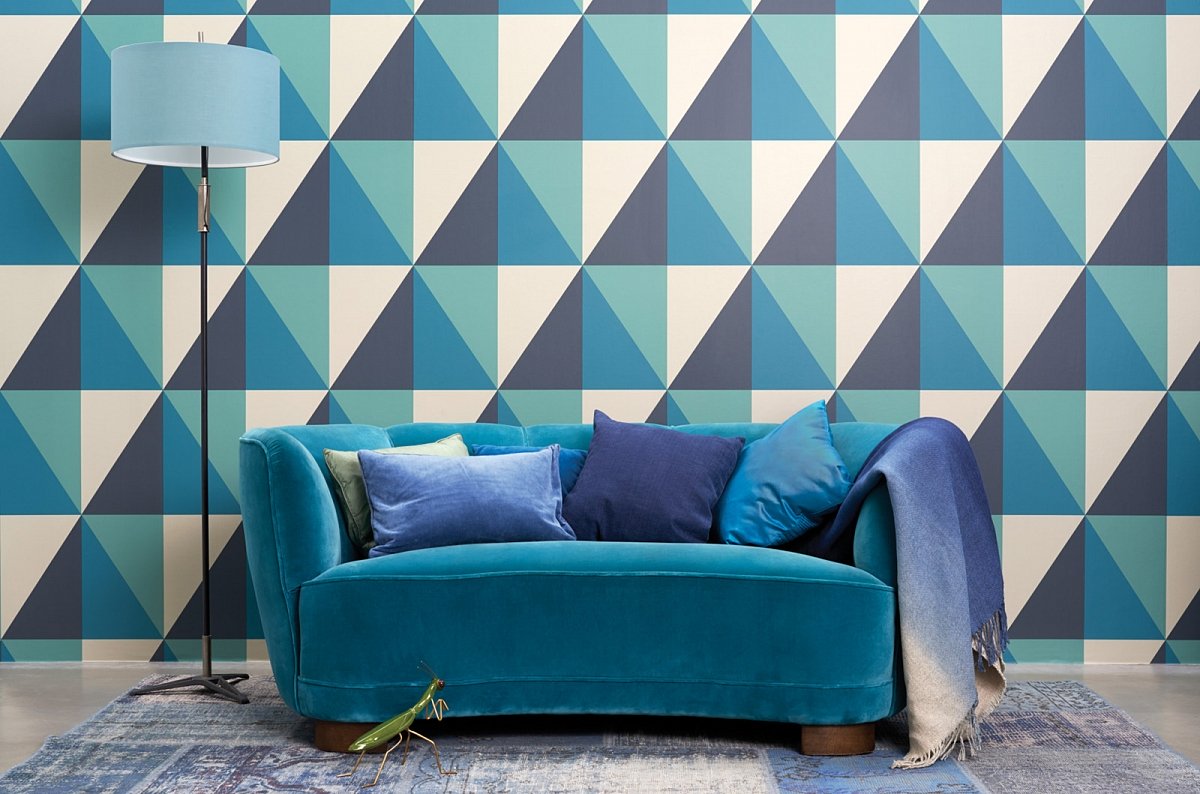
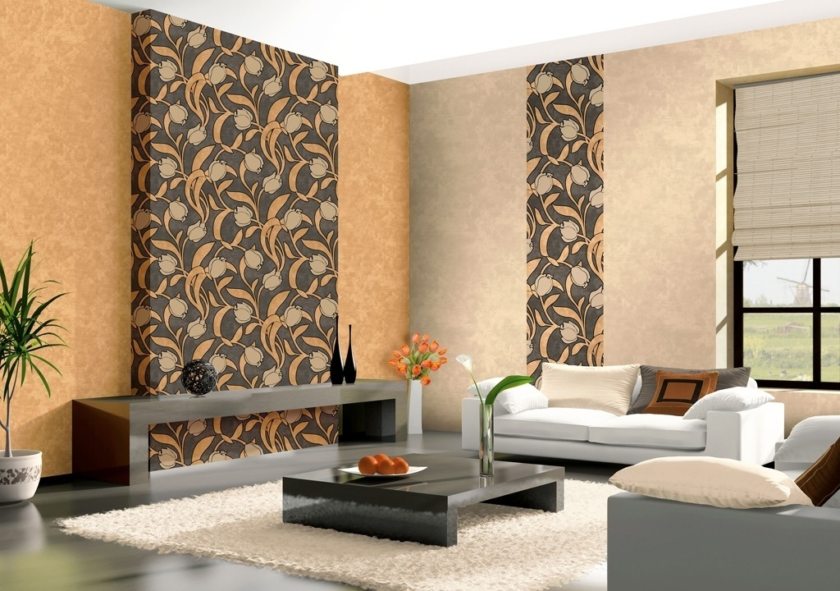
- It is possible to accent the dining area with bright, contrasting wallpaper butt-to-side, pasting the area with paired cloths with a geometric print and a companion stripe;
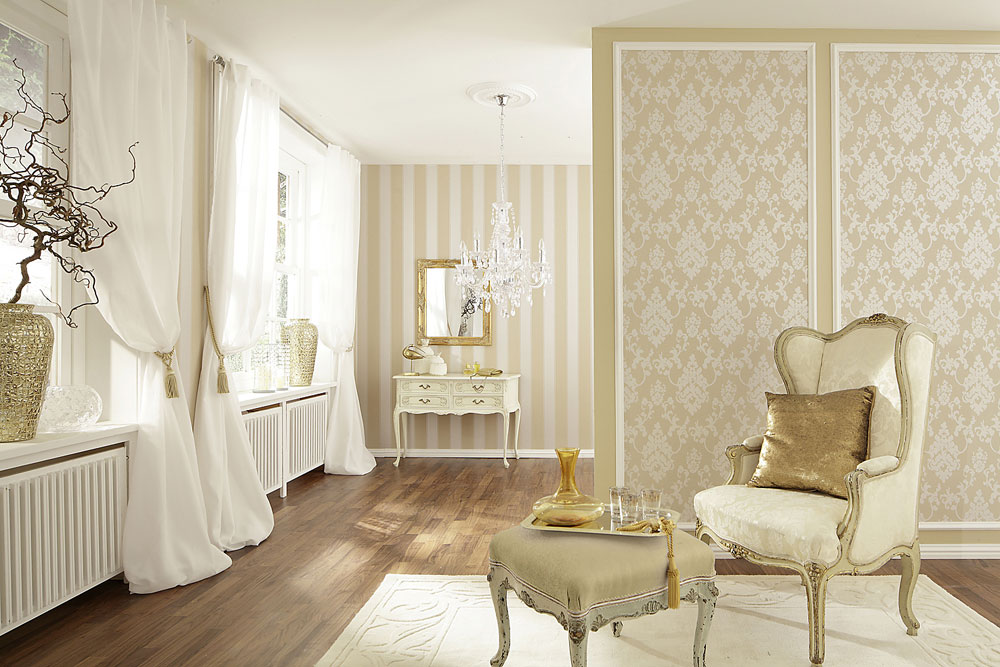
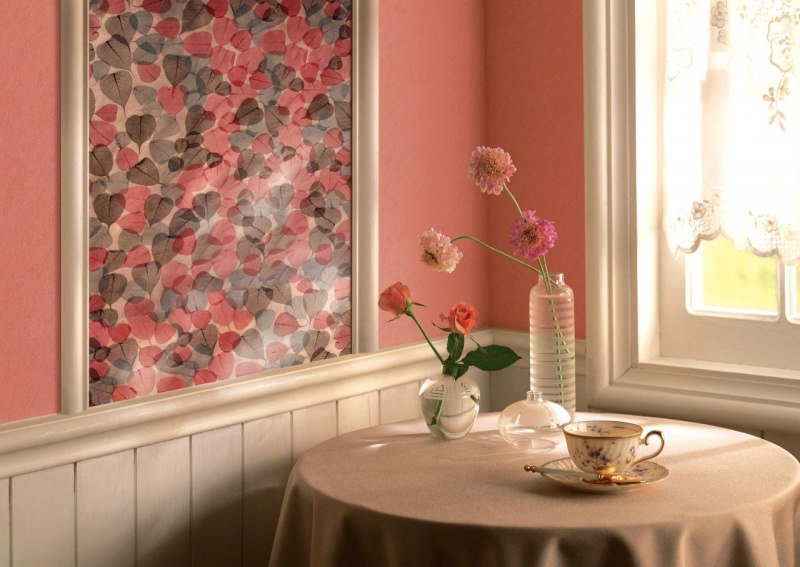
- if you want to zone the space, you can paste over the walls with plain wallpaper, decorating a small fragment-panel on one of them, decorating the joints with a frame;
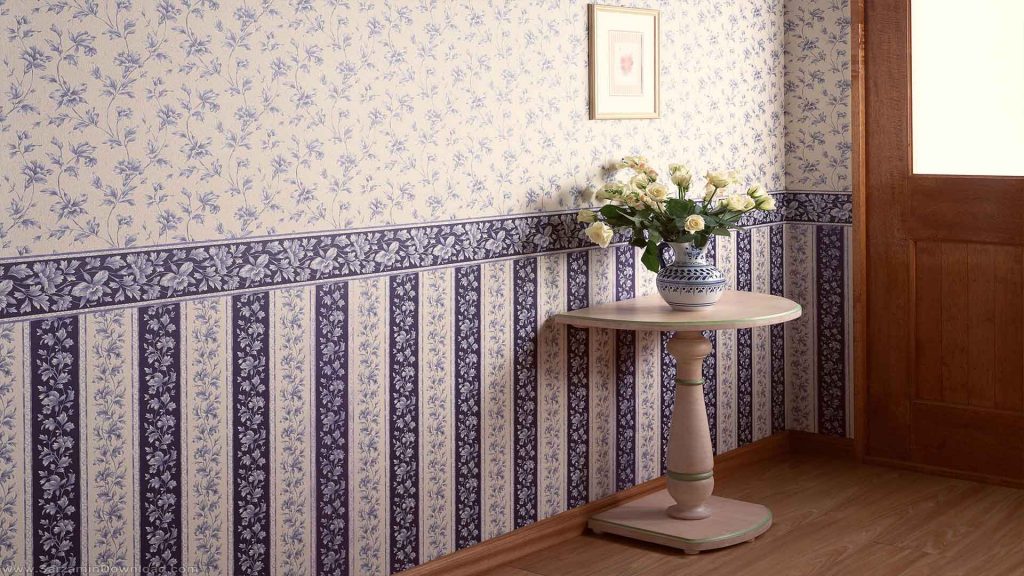
- if you want to recreate the effect of panels, you can perform a combination of two types of wallpaper, using paired cloths with fragments of the same theme, sticking a striped companion to the bottom in a strip and joining two materials with a border to match the overall pattern;
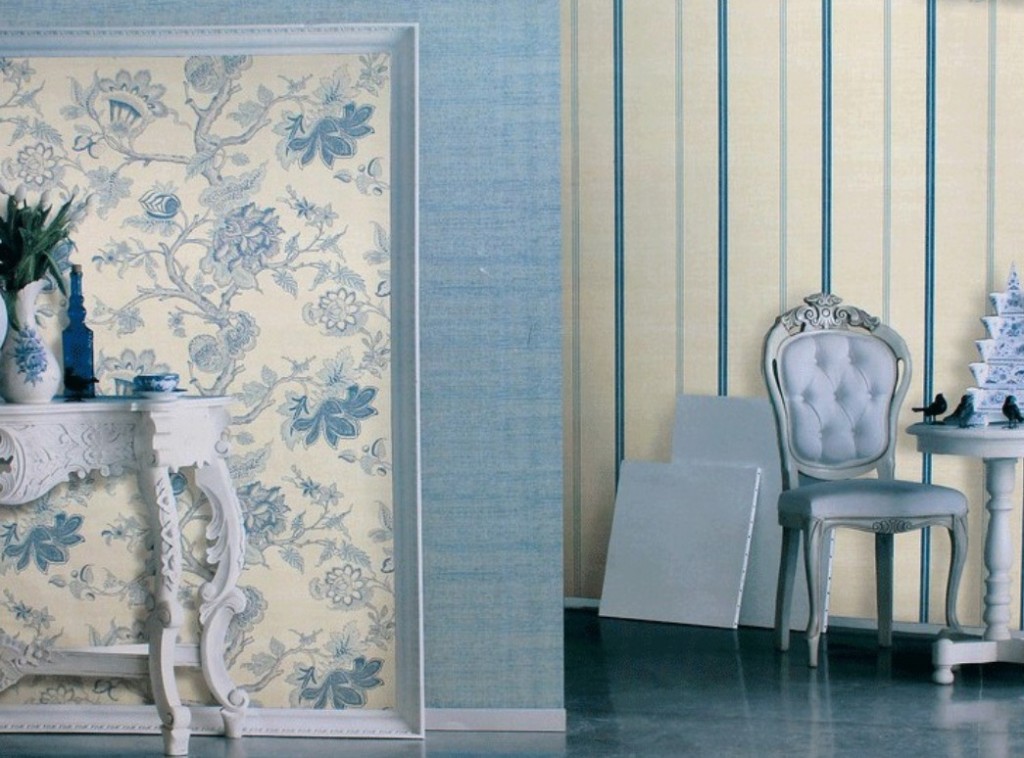
- You can zone the living room space by highlighting a ledge on one wall with contrasting wallpaper with a pattern, supporting the facing composition with an identical stripe on the adjacent wall;
- You can glue the walls with three types of wallpaper: highlight a straight plane with stripes, a ledge with monotonous, a hollow in the wall with a decoration in floral motifs.
Learn more about how to glue butt wallpaper, you will learn from the following video.