Glue the tiles on the wall: the details of the process
Tile - one of the most popular finishing materials. It is found in almost every home. It can be laid both on the floor and on the walls, which indicates its universality. Moreover, this finishing material is addressed in the design of a wide variety of rooms, from the bathroom to the living room. Today we will talk about how to glue tiles on the walls in the home.

Features and benefits
Tile is a common and popular finishing material, as it has excellent characteristics.
First of all, attention should be paid to the rigidity and reliability of this wall and floor covering. Quality tiles will serve for many years, without causing any trouble to the owners of the home.As a rule, it is not so easy to damage this material, which once again confirms the durability and wear resistance of tile products.
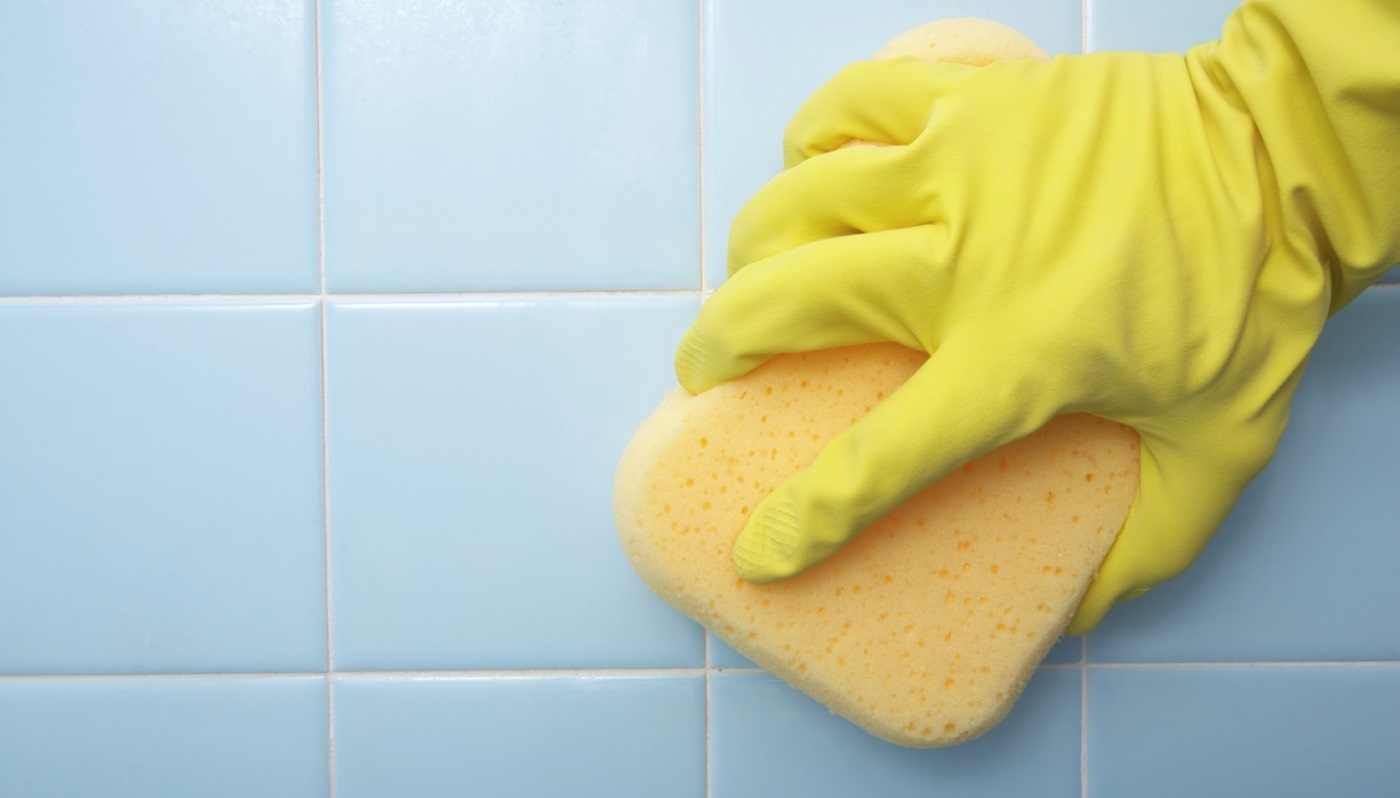
Modern tile does not require complex care. This is one of the good reasons why many consumers choose it. If dirt or dust appears on the surface of this material, it will be easy to get rid of them. It will be enough to wipe the desired place with a damp cloth with a cleaning agent.

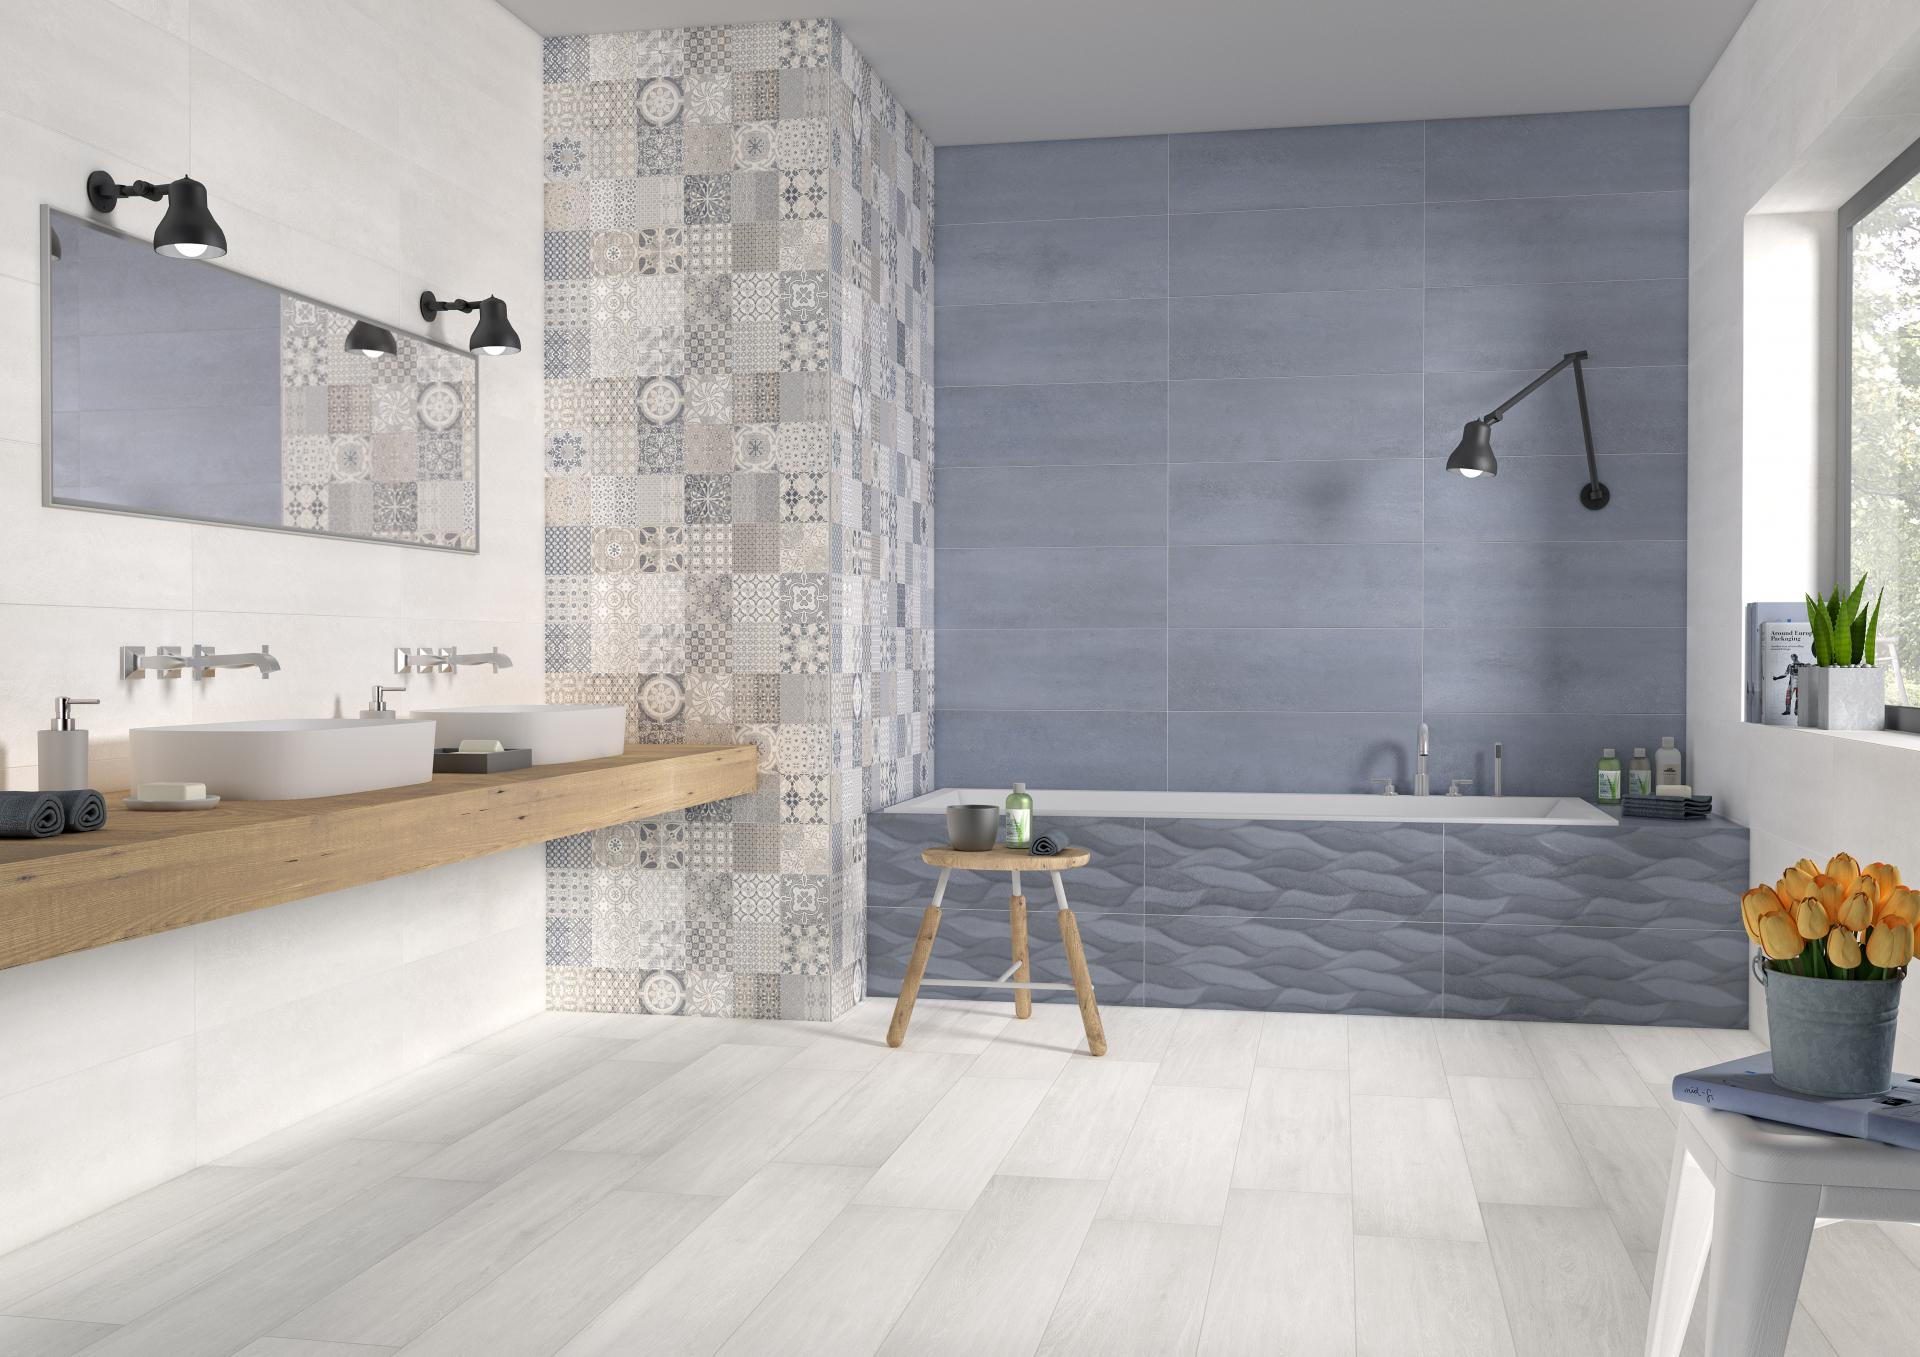
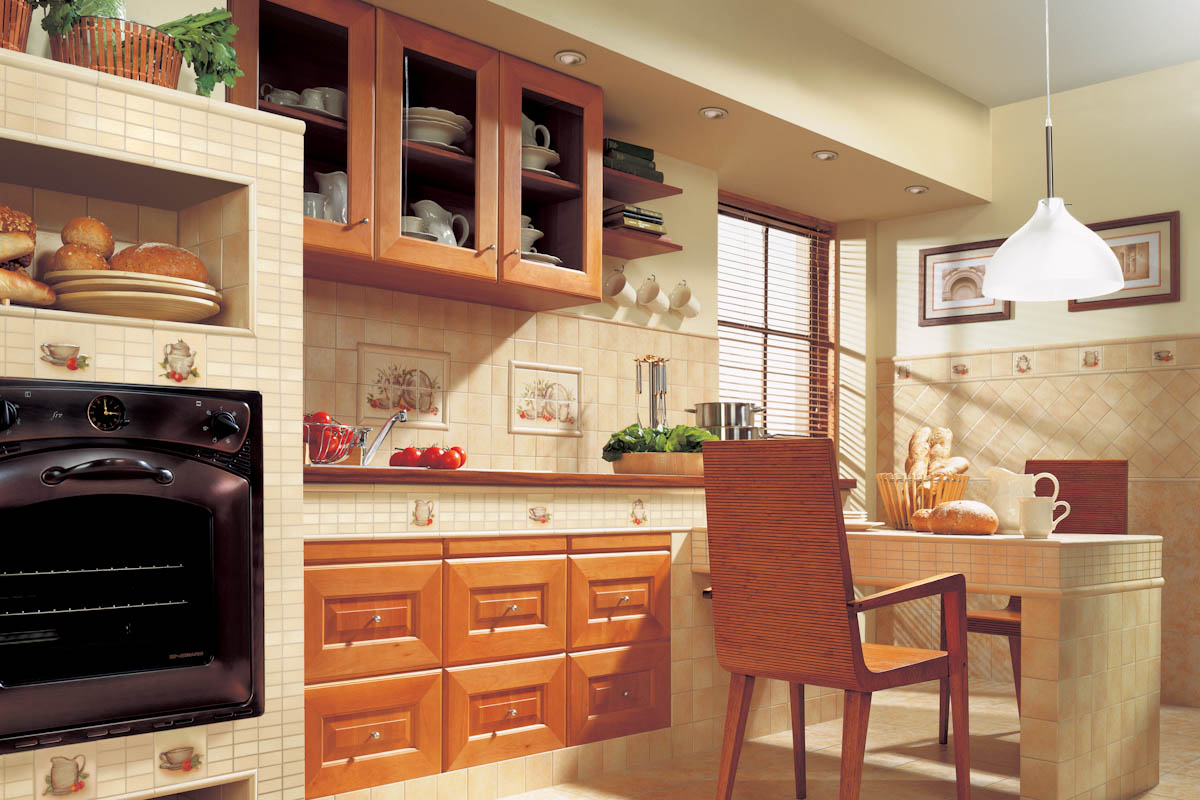
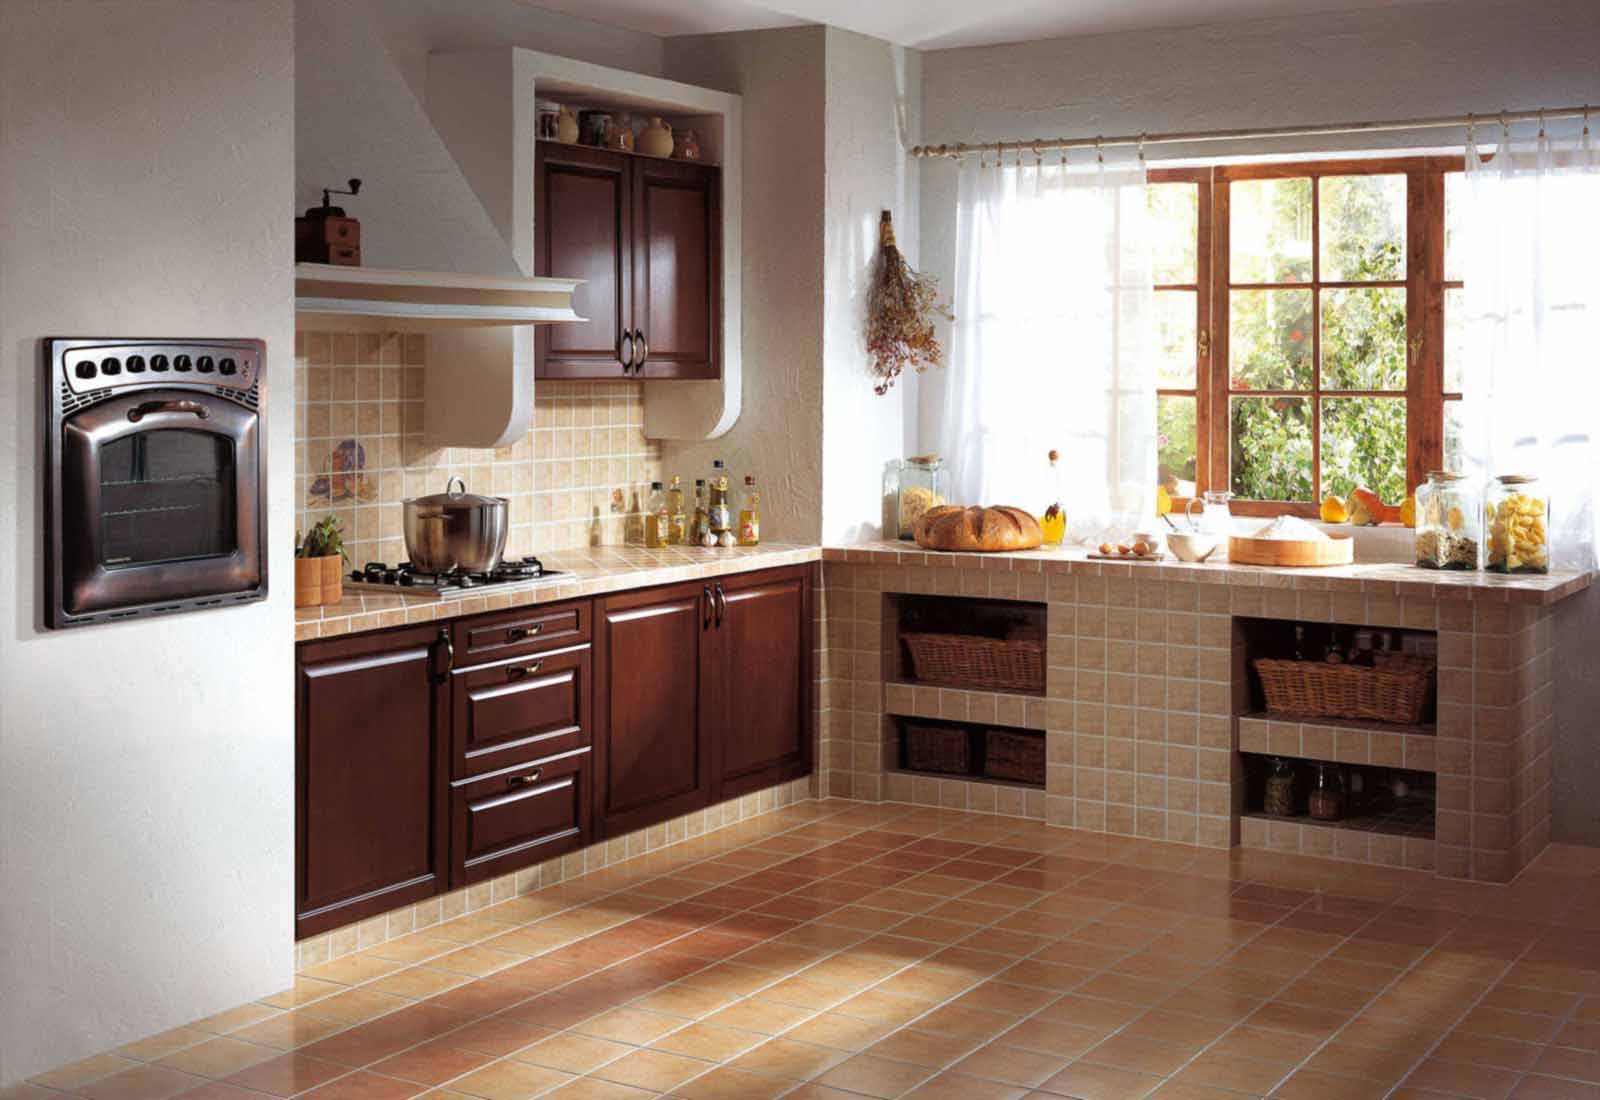
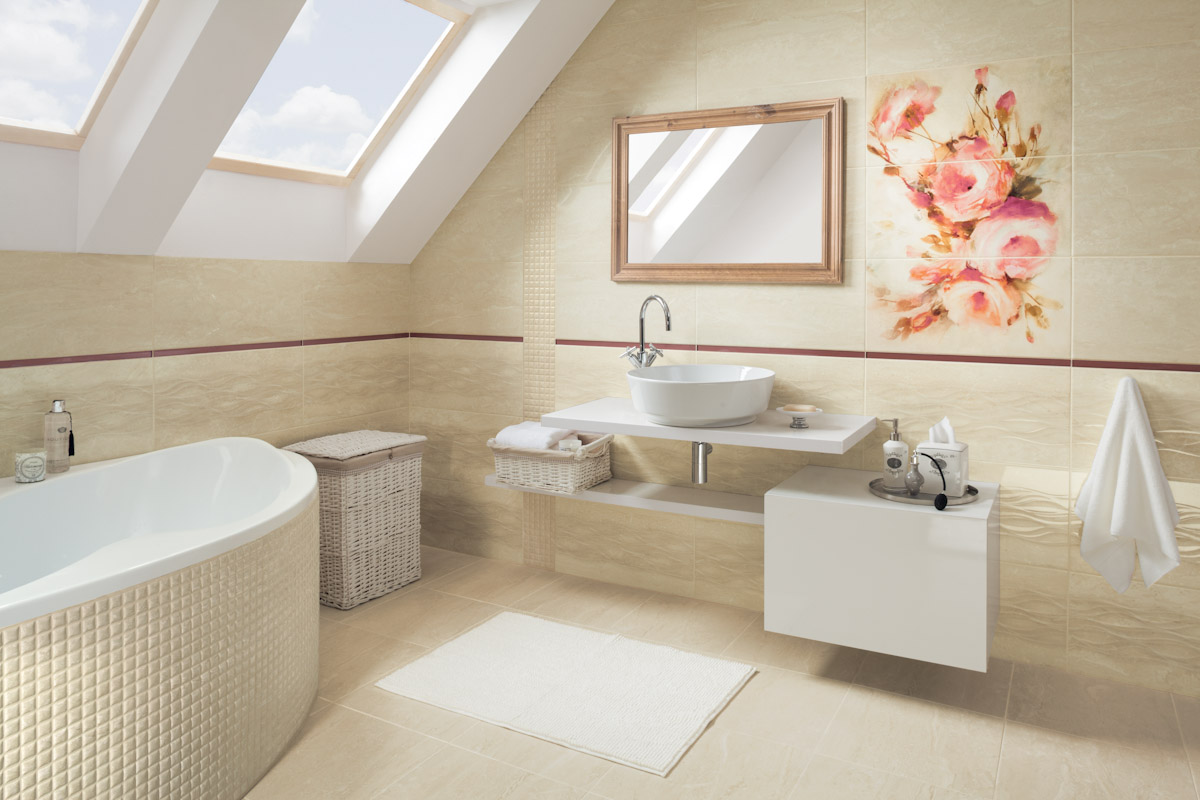
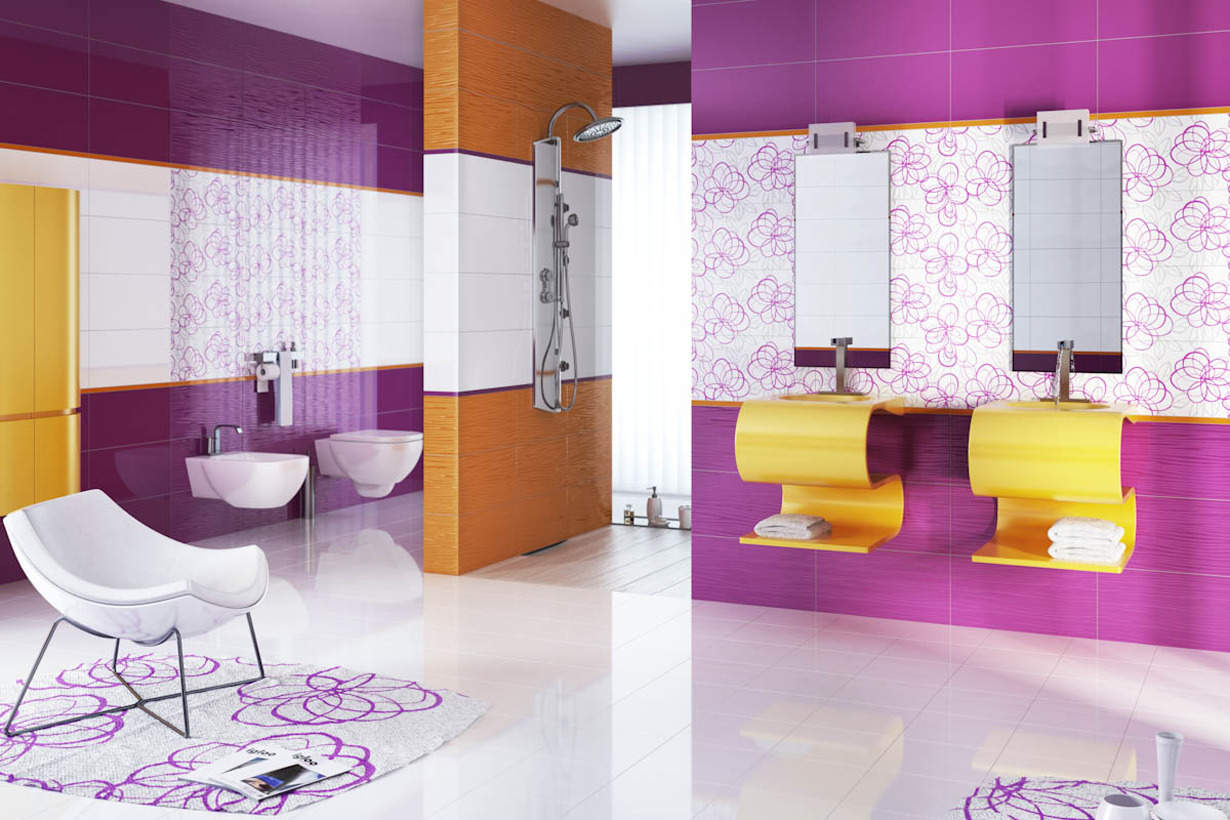
The tile is a non-capricious finishing material, as it easily withstands temperature fluctuations and increased dampness in the room. Thanks to these characteristics, such coatings can be safely installed in bathrooms, bathrooms, kitchens, dining rooms, swimming pools and even baths. The increased humidity of these areas will not affect the tile.
Of course, a lot depends on how the tile was laid on the base of the walls. If all stages of work were carried out correctly, then the material will serve for a long time and will not cause problems. But if you neglected some stages of tile laying or used low-quality materials, the finish may not last for so long.
Due to improper installation, such a coating can move away from the walls and even fall off.
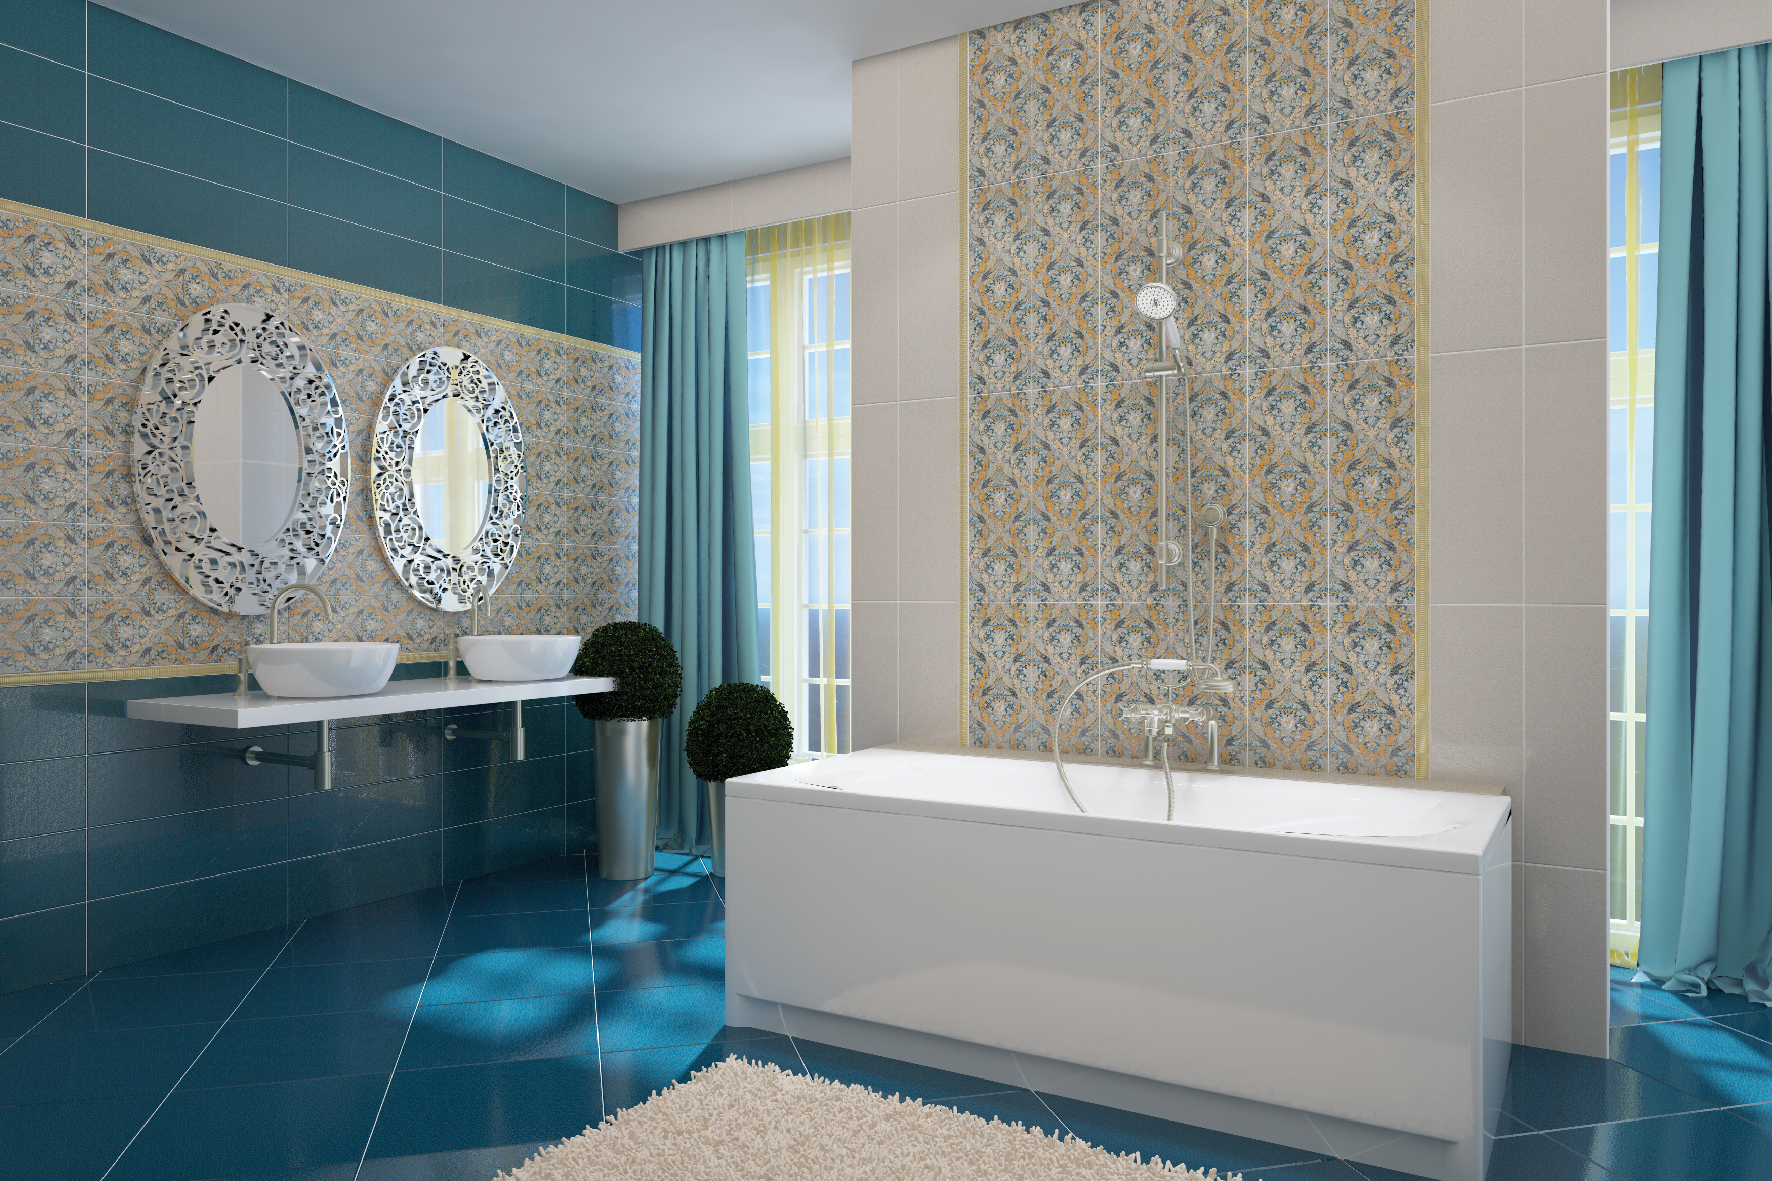
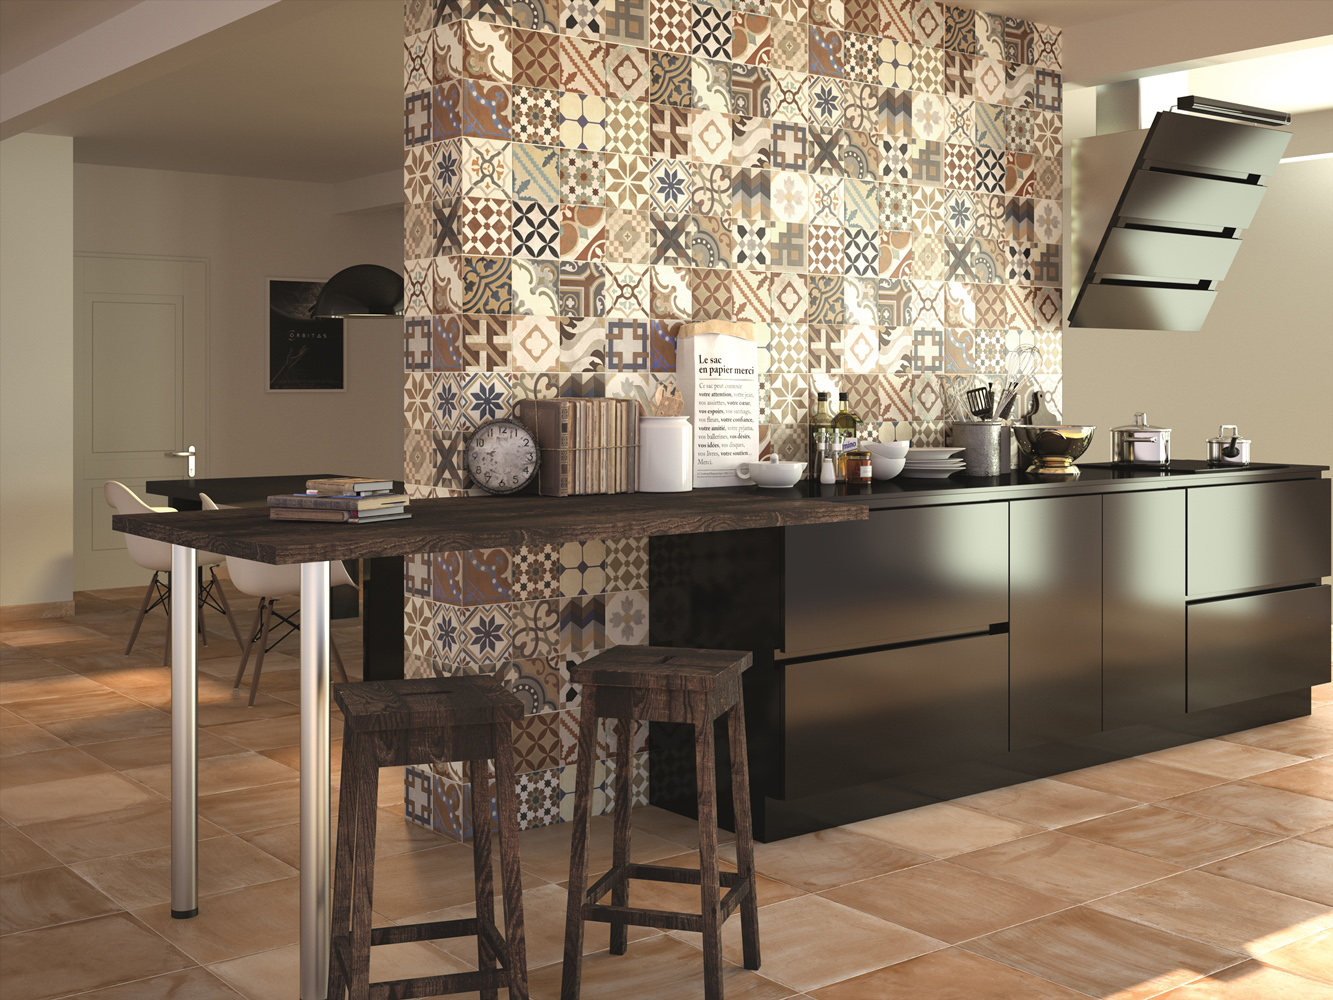
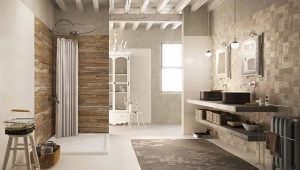
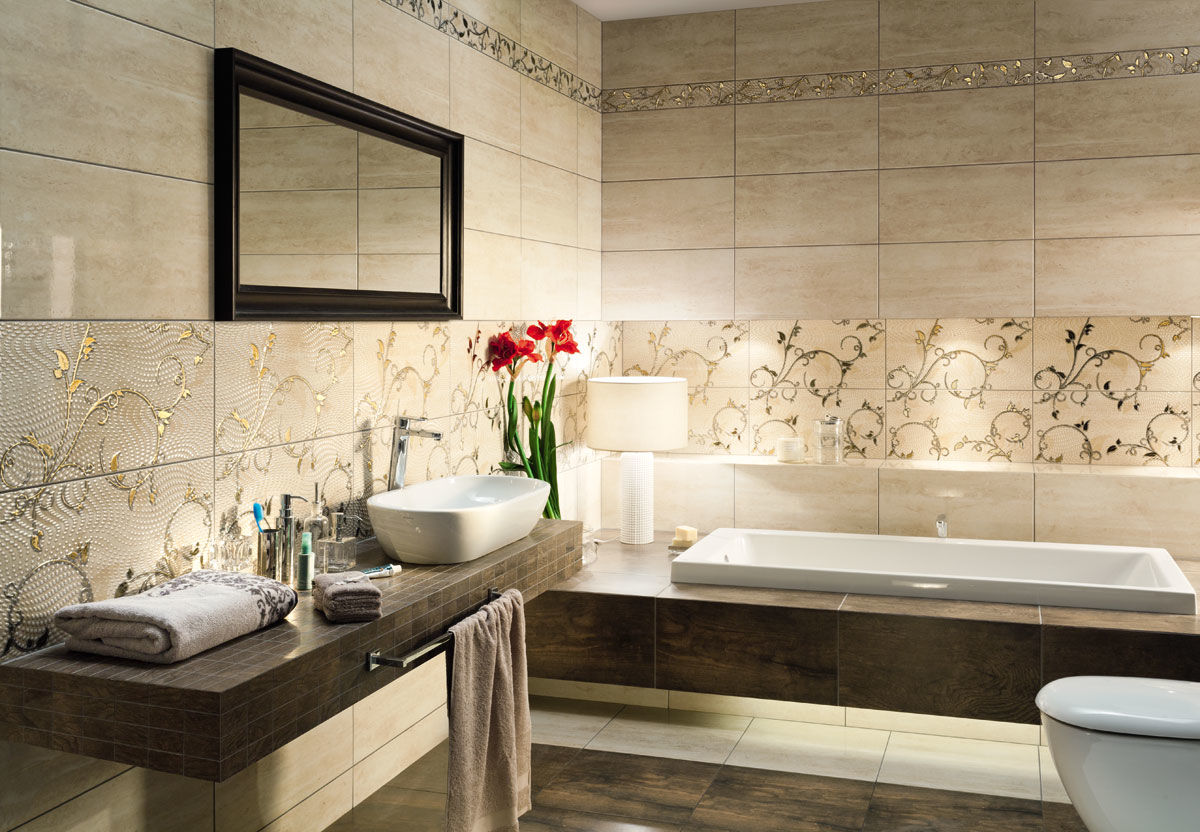
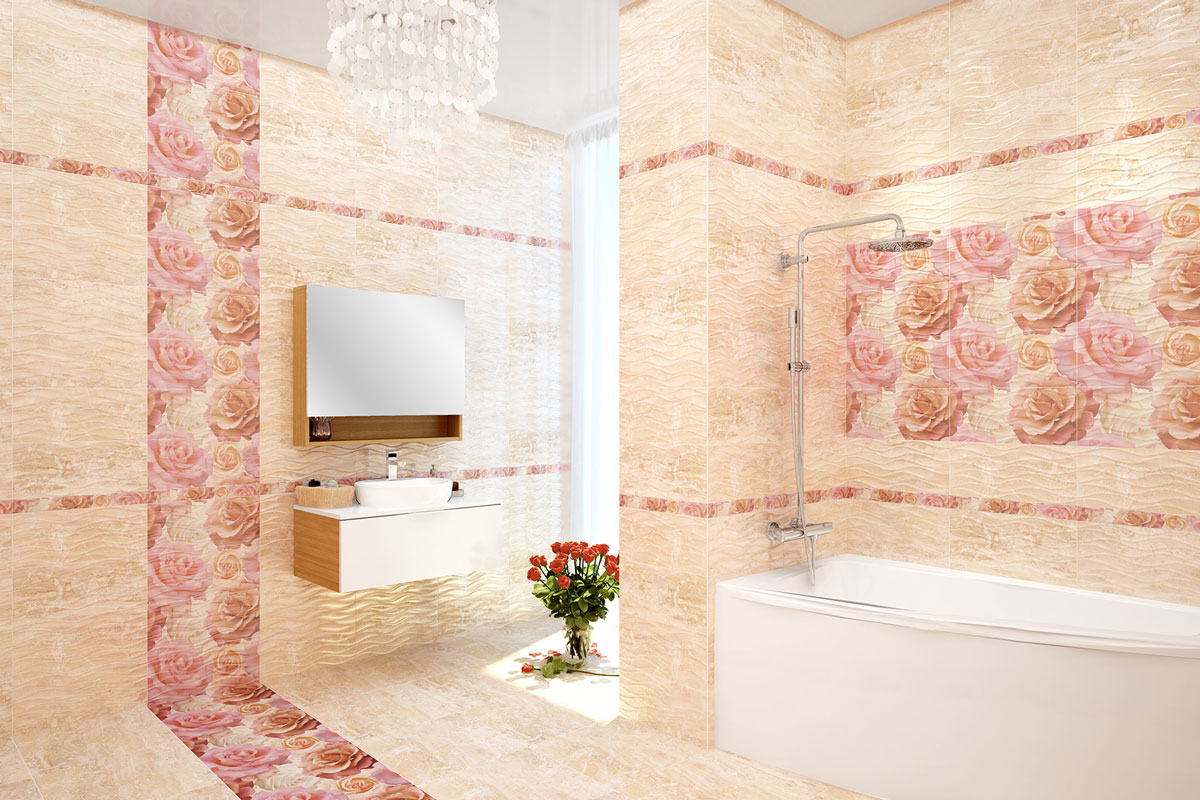
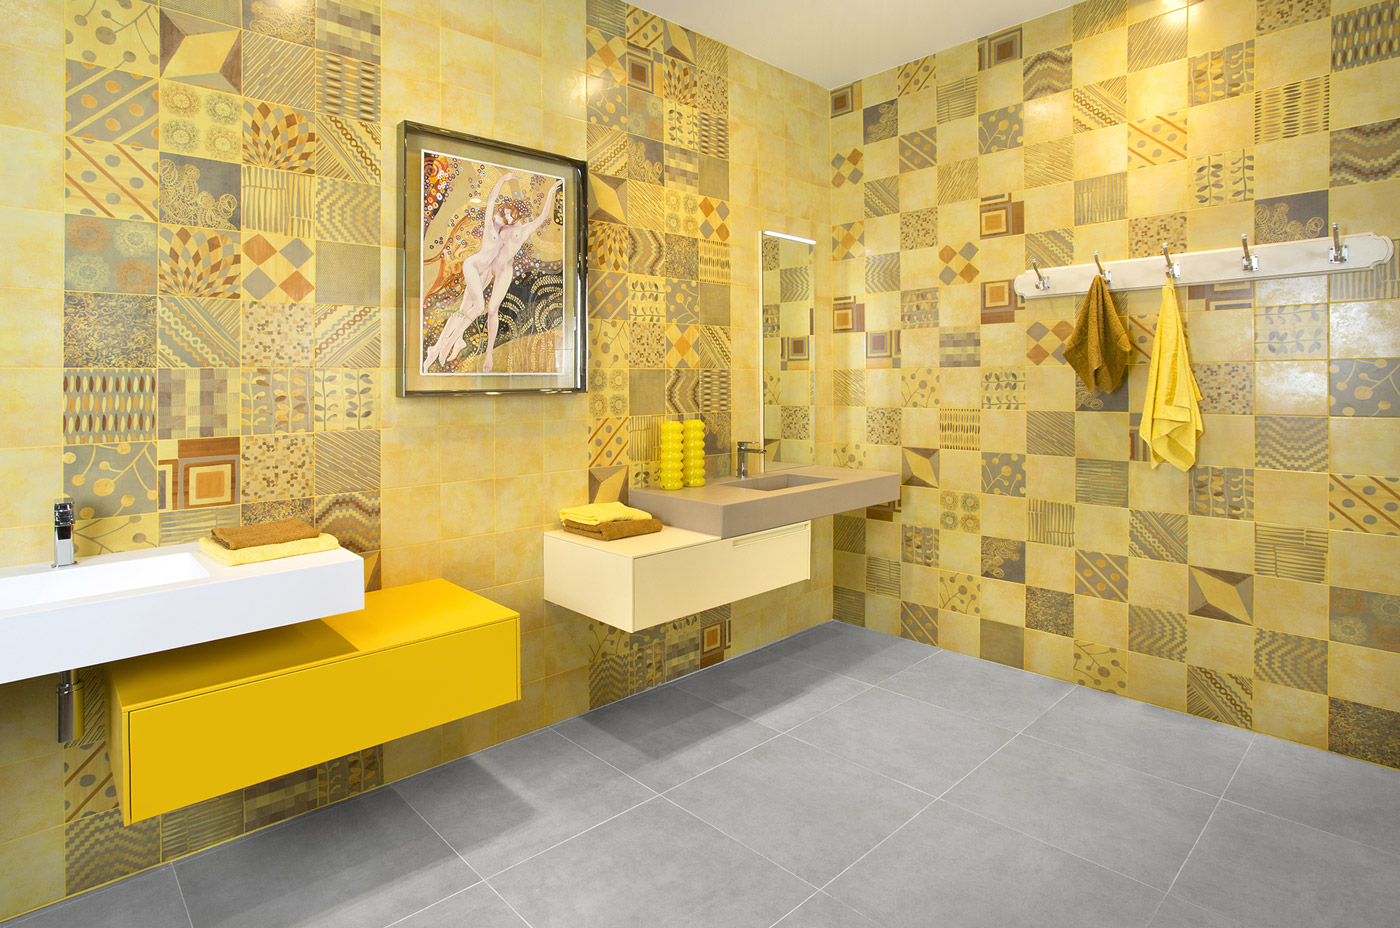
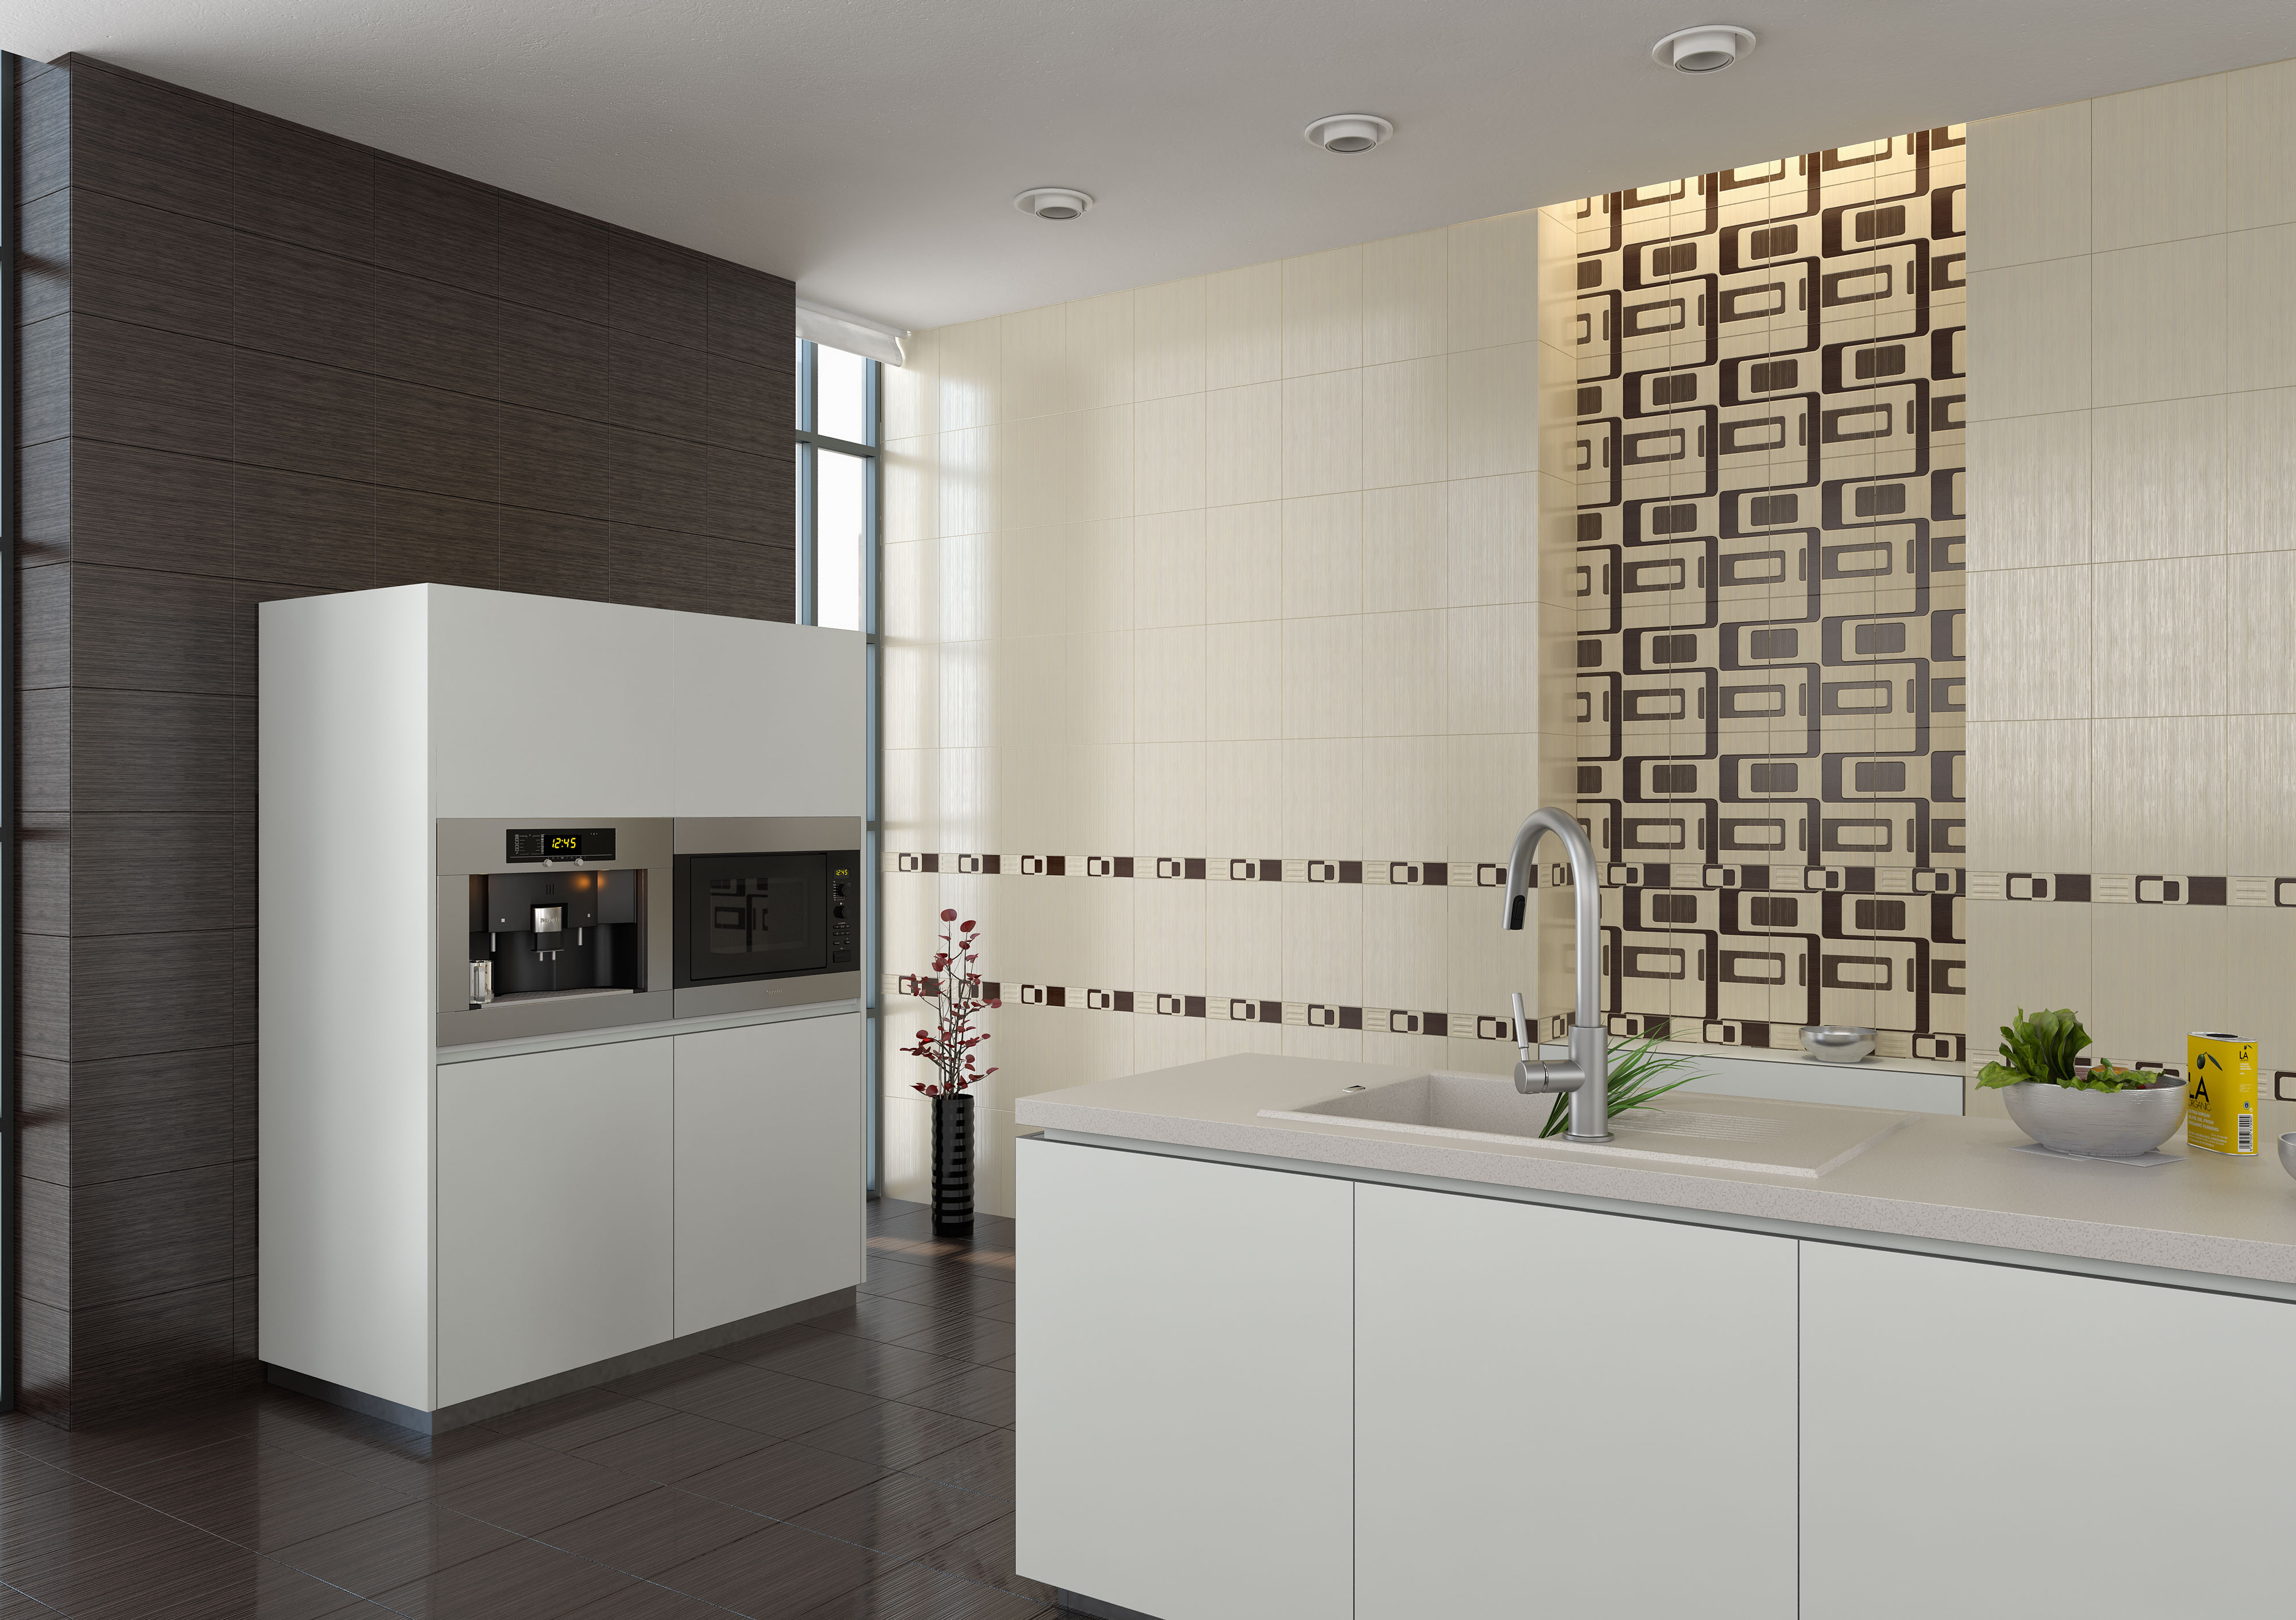
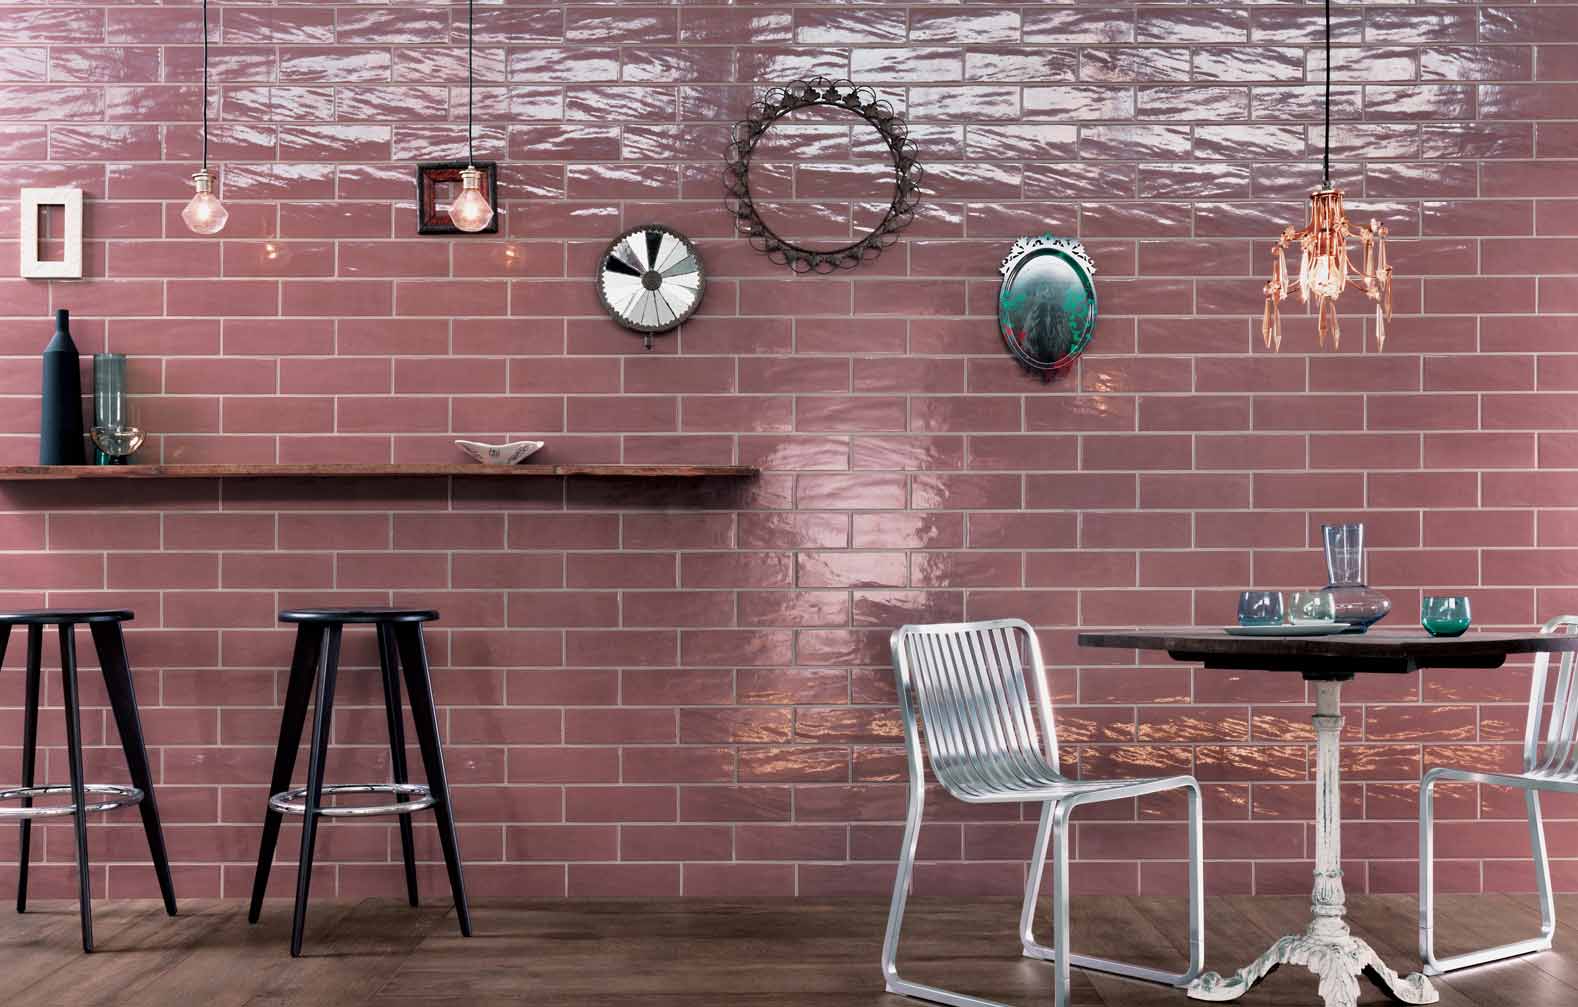
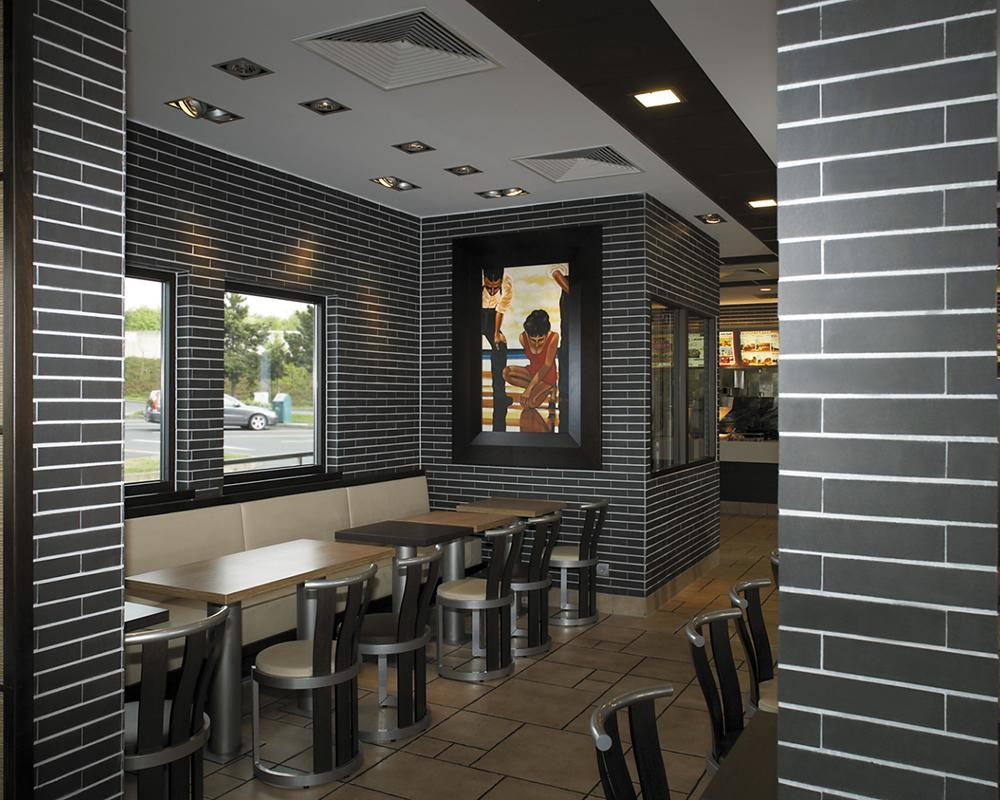
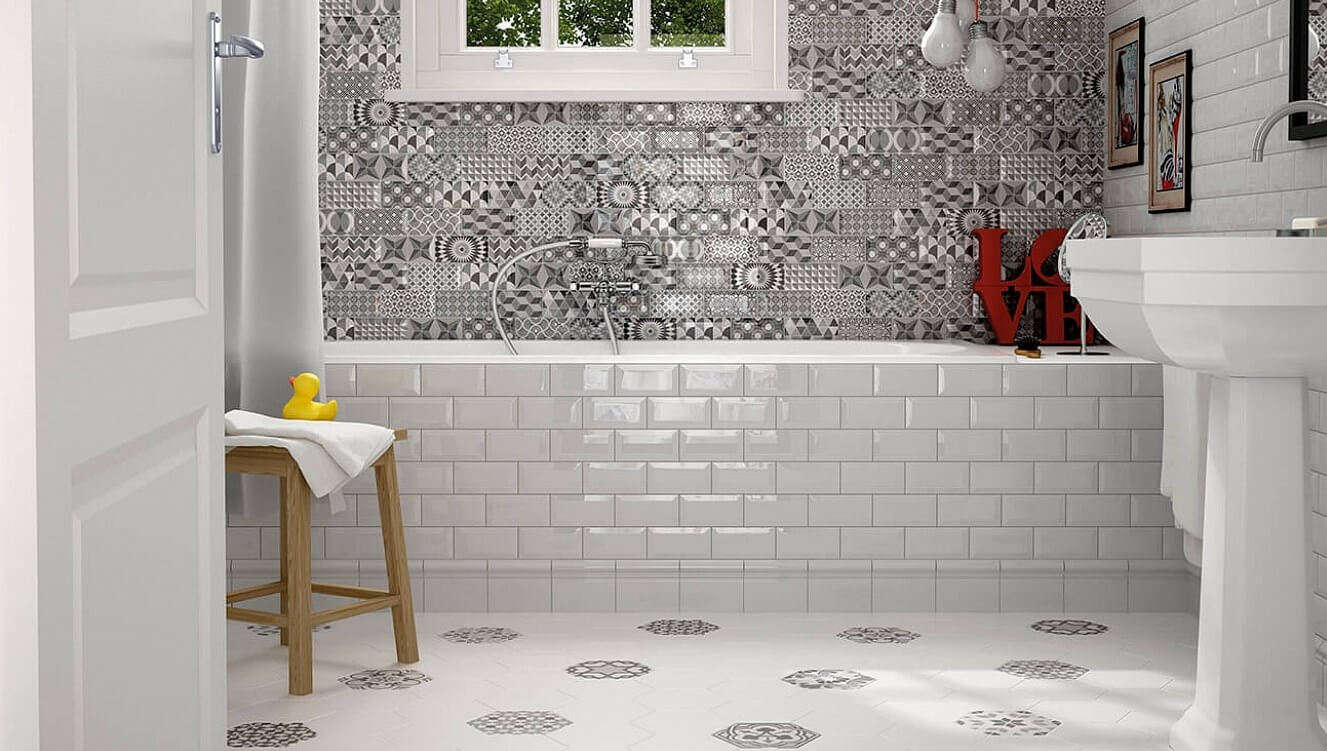
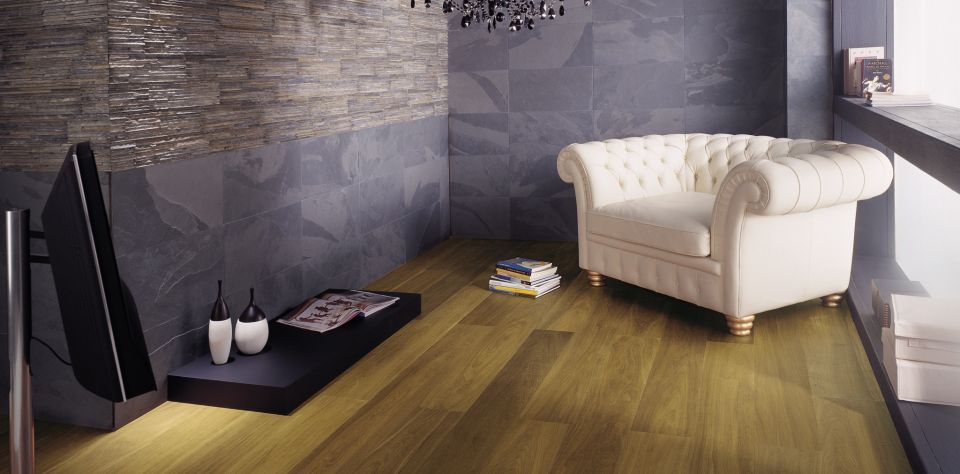
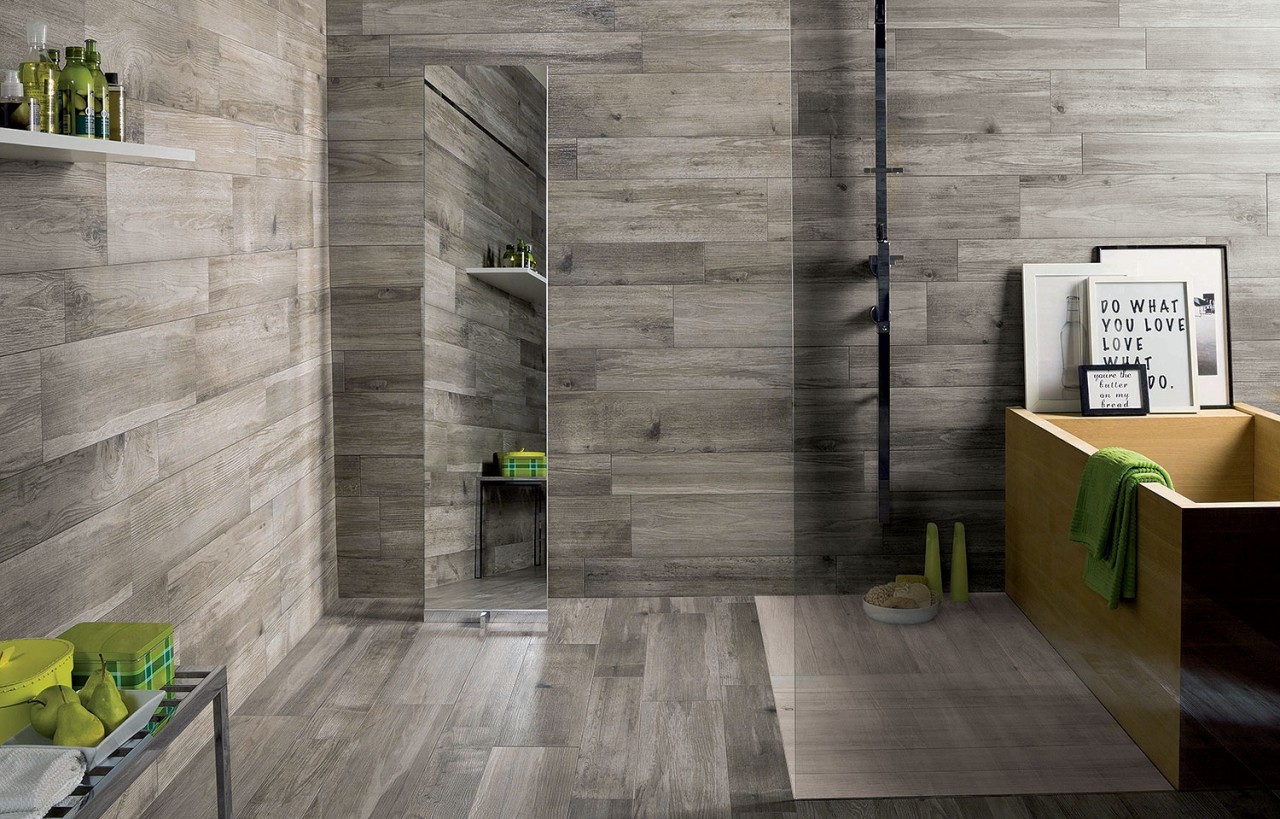
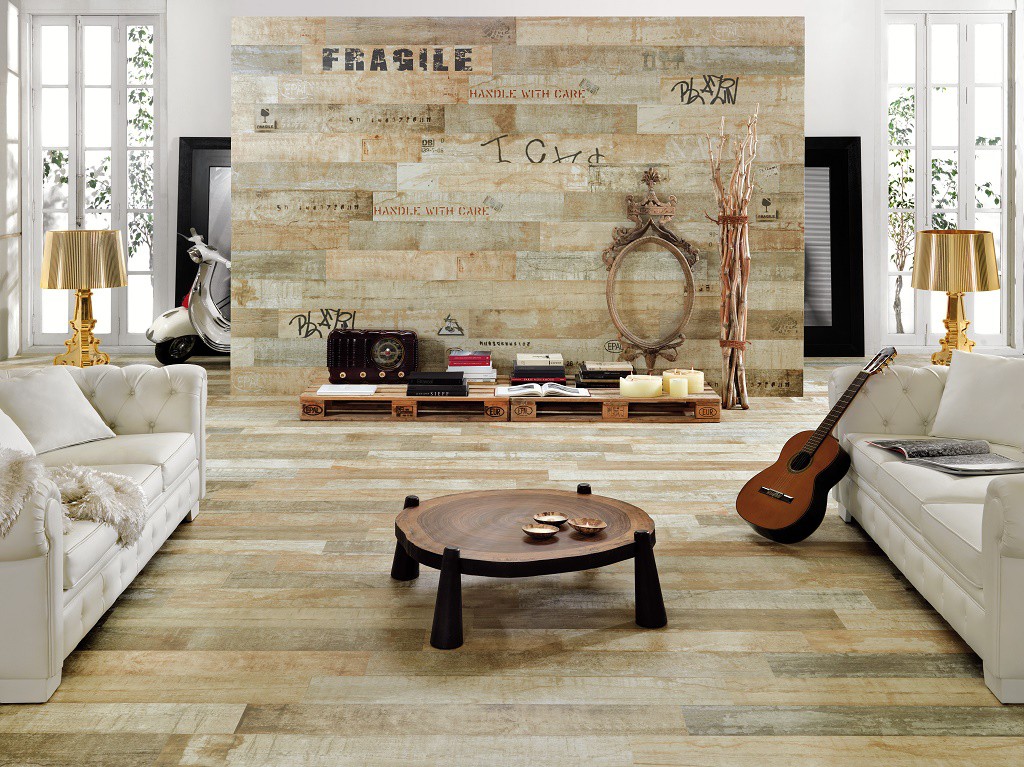
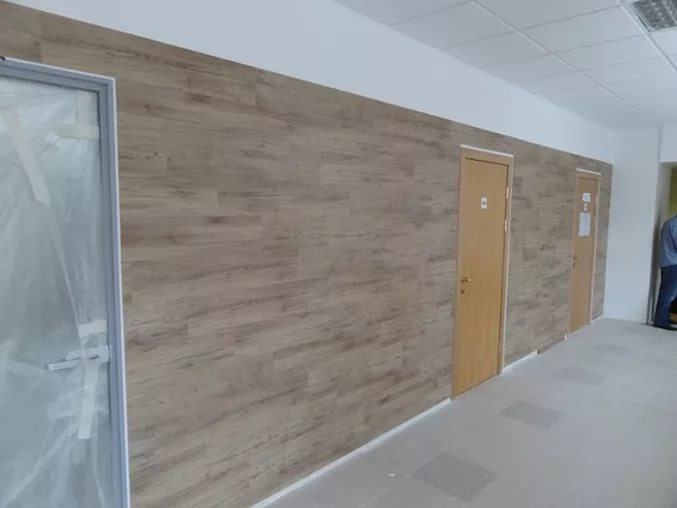
It should be noted the beautiful appearance of modern tile materials. They are produced not only monophonic, but also with imitation of other attractive coatings. For example, it may be a tile that repeats the pattern of a tree. Also in stores often found a spectacular coating with drawings, patterns and beautiful prints. They are often used in the decoration of bedrooms and living rooms. Such original design solutions are often used by experienced designers. So, with the help of a suitable tile you can form an accent wall that will emphasize one or another style of the interior.
Laying tiles on the wall is quite possible to do on their own, without turning to experts. You can save money and gain experience in finishing work. However, in order for the tile covering to hold securely on the floors, it is necessary to follow simple instructions and use appropriate materials. Let's talk about this in more detail.
Types of tiles
There are several types of tiles that can be used to decorate walls in a given room.Each of them has its own characteristic features, pluses and minuses.

Tiled
Tile is one of the most common types of tile materials. As a rule, it has a glazed surface. Today, tile is available in a wide range. Each owner will be able to find for themselves the option of a suitable color.
As for the positive aspects of this finishing material, they can be safely attributed to high wear resistance and durability. Tiles are often used not only for wall decoration, but also for floor decoration, as it can easily withstand heavy loads.
The advantages of tile include:
- not fear of dampness and moisture, so it can be safely laid in rooms such as a bathroom, toilet or kitchen;
- resistance to aggressive chemicals;
- tile does not suffer from temperature extremes;
- does not lose brightness of paints and positive properties under the influence of aggressive sunshine.

Most consumers say that high-quality tile for many years retains the original appearance. It does not fade and does not become dull.
Serious drawbacks of this finishing material is not observed, but you should pay attention to its coldness. As a rule, in rooms where there is such a finish, always cool.

Ceramic
Ceramic tiles are made from clay, quartz sand and special components, which are necessary to sufficiently reduce the temperature value of sintering. Also in such tile coatings, special additives are often found that make their structure stronger and more durable.
Pottery happens:
- glazed;
- unglazed.

Glazed versions are single or double fired.
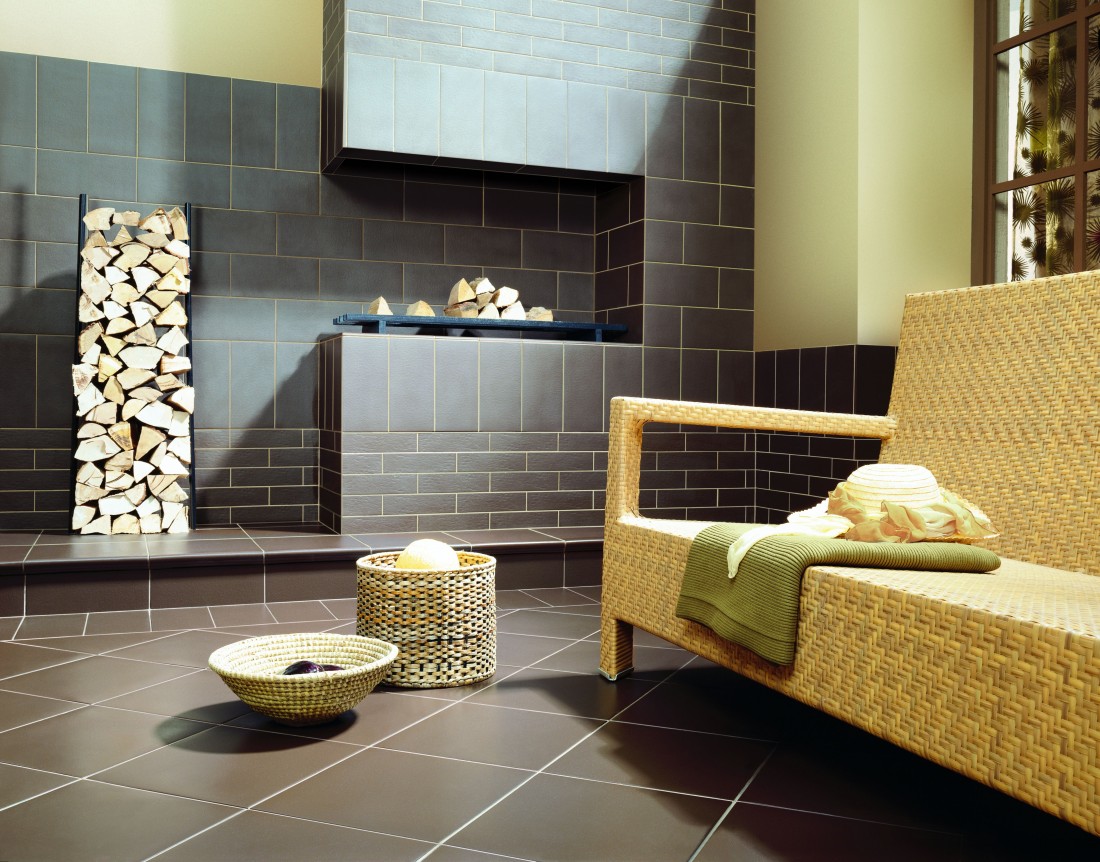
Clinker
In the design of the walls and facades of buildings it is permissible to use a special clinker tile. This is a tiled material made of ceramics, which is subjected to single firing in the production process. In the composition of such coatings there is a special clay with the addition of coloring substances and fluxes. In order for the material to acquire the necessary shape, a common method of extrusion or extrusion is used.
This tile is fired in a special tunnel kiln at a temperature of about 1200 degrees Celsius.Thanks to this method of firing, the material acquires increased strength and a pleasant smooth surface.
The main advantages of modern clinker tiles are:
- increased resistance to abrasion;
- reliability and long service life;
- no fear of chemicals and ultraviolet rays;
- water absorption capacity;
- unpretentiousness in leaving, rather easy cleanability of a surface.

Experts say that working with this material is very simple. But nevertheless the clinker tiles have their weak points. For example, it has not the lowest price, especially if you compare it with a simple tile.
There are several types of clinker tiles:
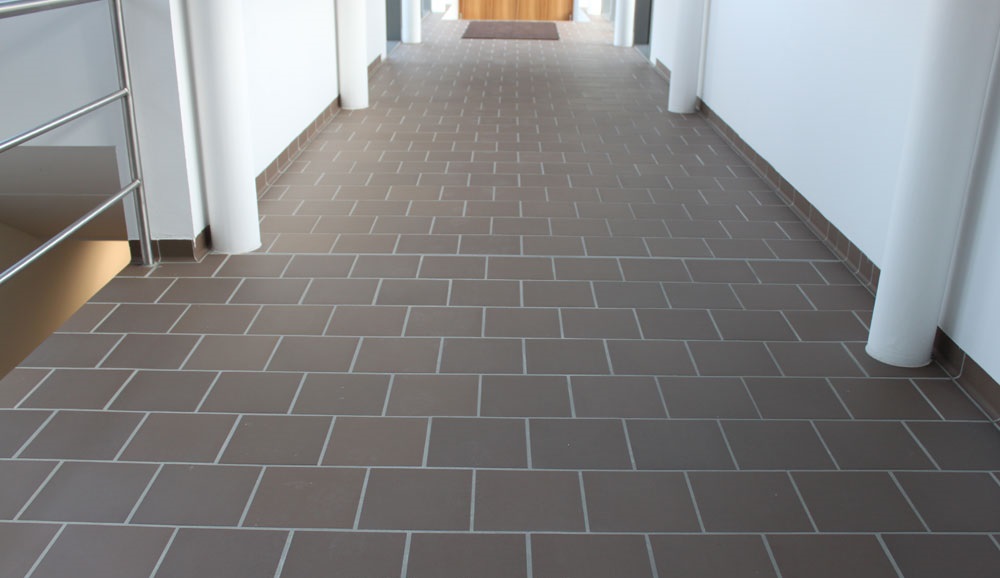
- Technical clinker. This material is used for paving roads and sidewalks. Also, technical coatings are treated in the flooring in public buildings.
- Waterproof clinker. It is often used for decoration of hydraulic structures.
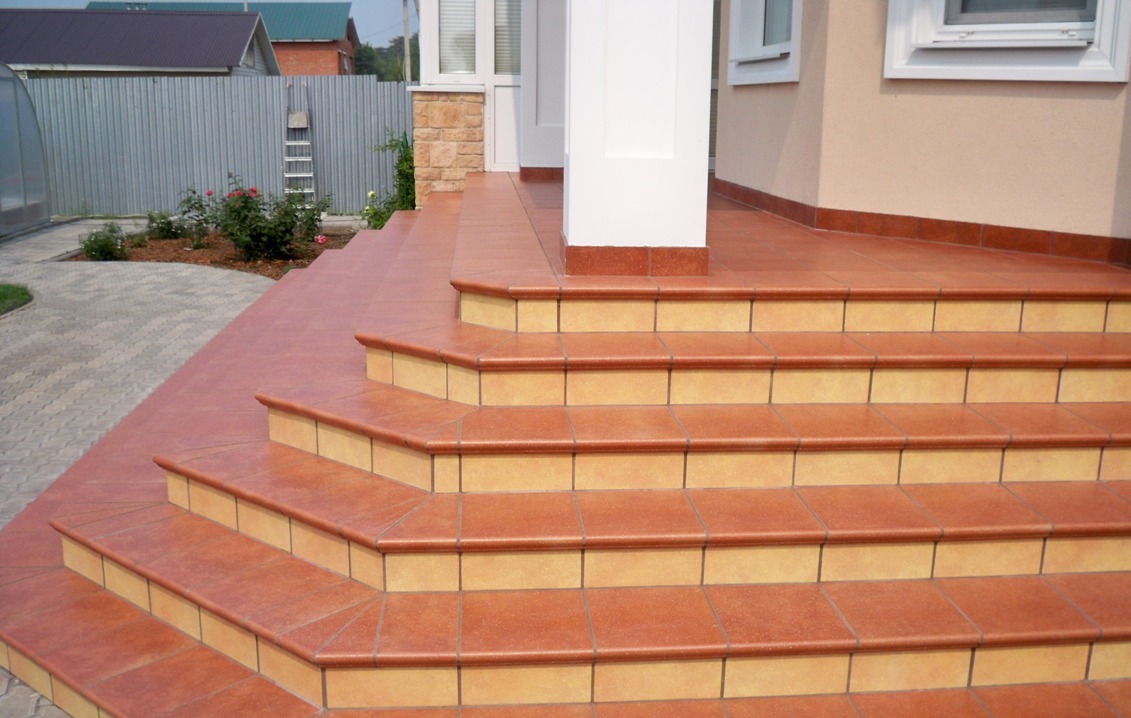
- Facing. A similar tile coating is used to decorate the various components of buildings. These can be walls, stairs or the floor.

Porcelain stoneware
This finishing material appeared on the market not so long ago, but already managed to gain immense popularity among consumers.It is a kind of well-known ceramic tiles, but it is distinguished by higher strength and wear resistance.
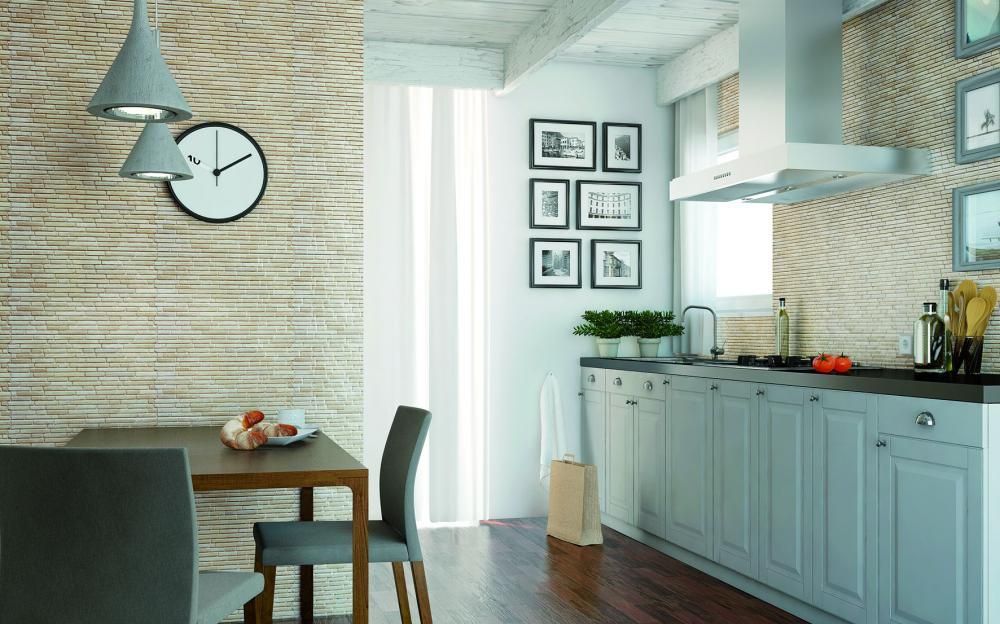
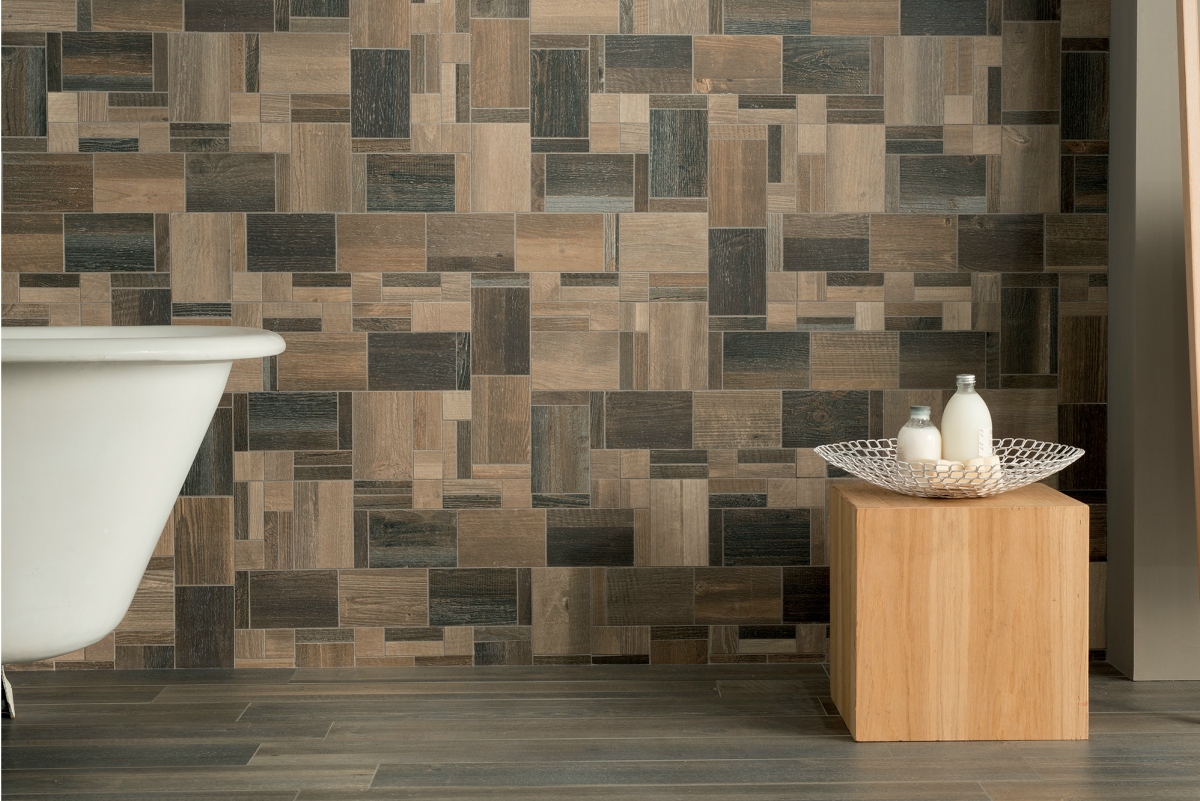
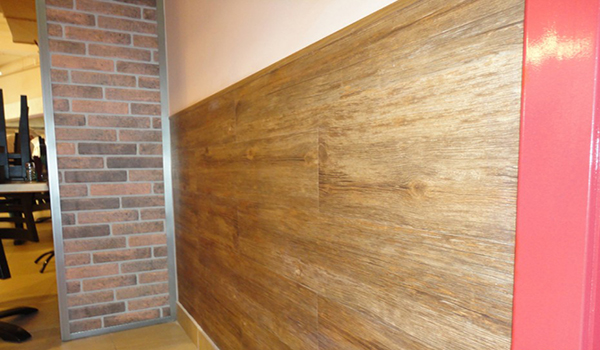
Porcelain tiles boast not only excellent performance, but also a spectacular design. It is its surface that best conveys various imitations. For example, today fashionable decorative coverings under a brick, a stone or a tree are especially popular. Under the condition of proper installation, porcelain tile exactly repeats the structure of other materials and is not immediately recognized.
Ceramic granite is recognized as an environmentally friendly and completely harmless material.
It is created from:
- kaolin clay;
- spars;
- quartz sand;
- metal oxides;
- coloring elements.

Modern ceramic granite tiles can withstand heavy loads. It is rather difficult to damage it. That is why this material is chosen by many consumers.
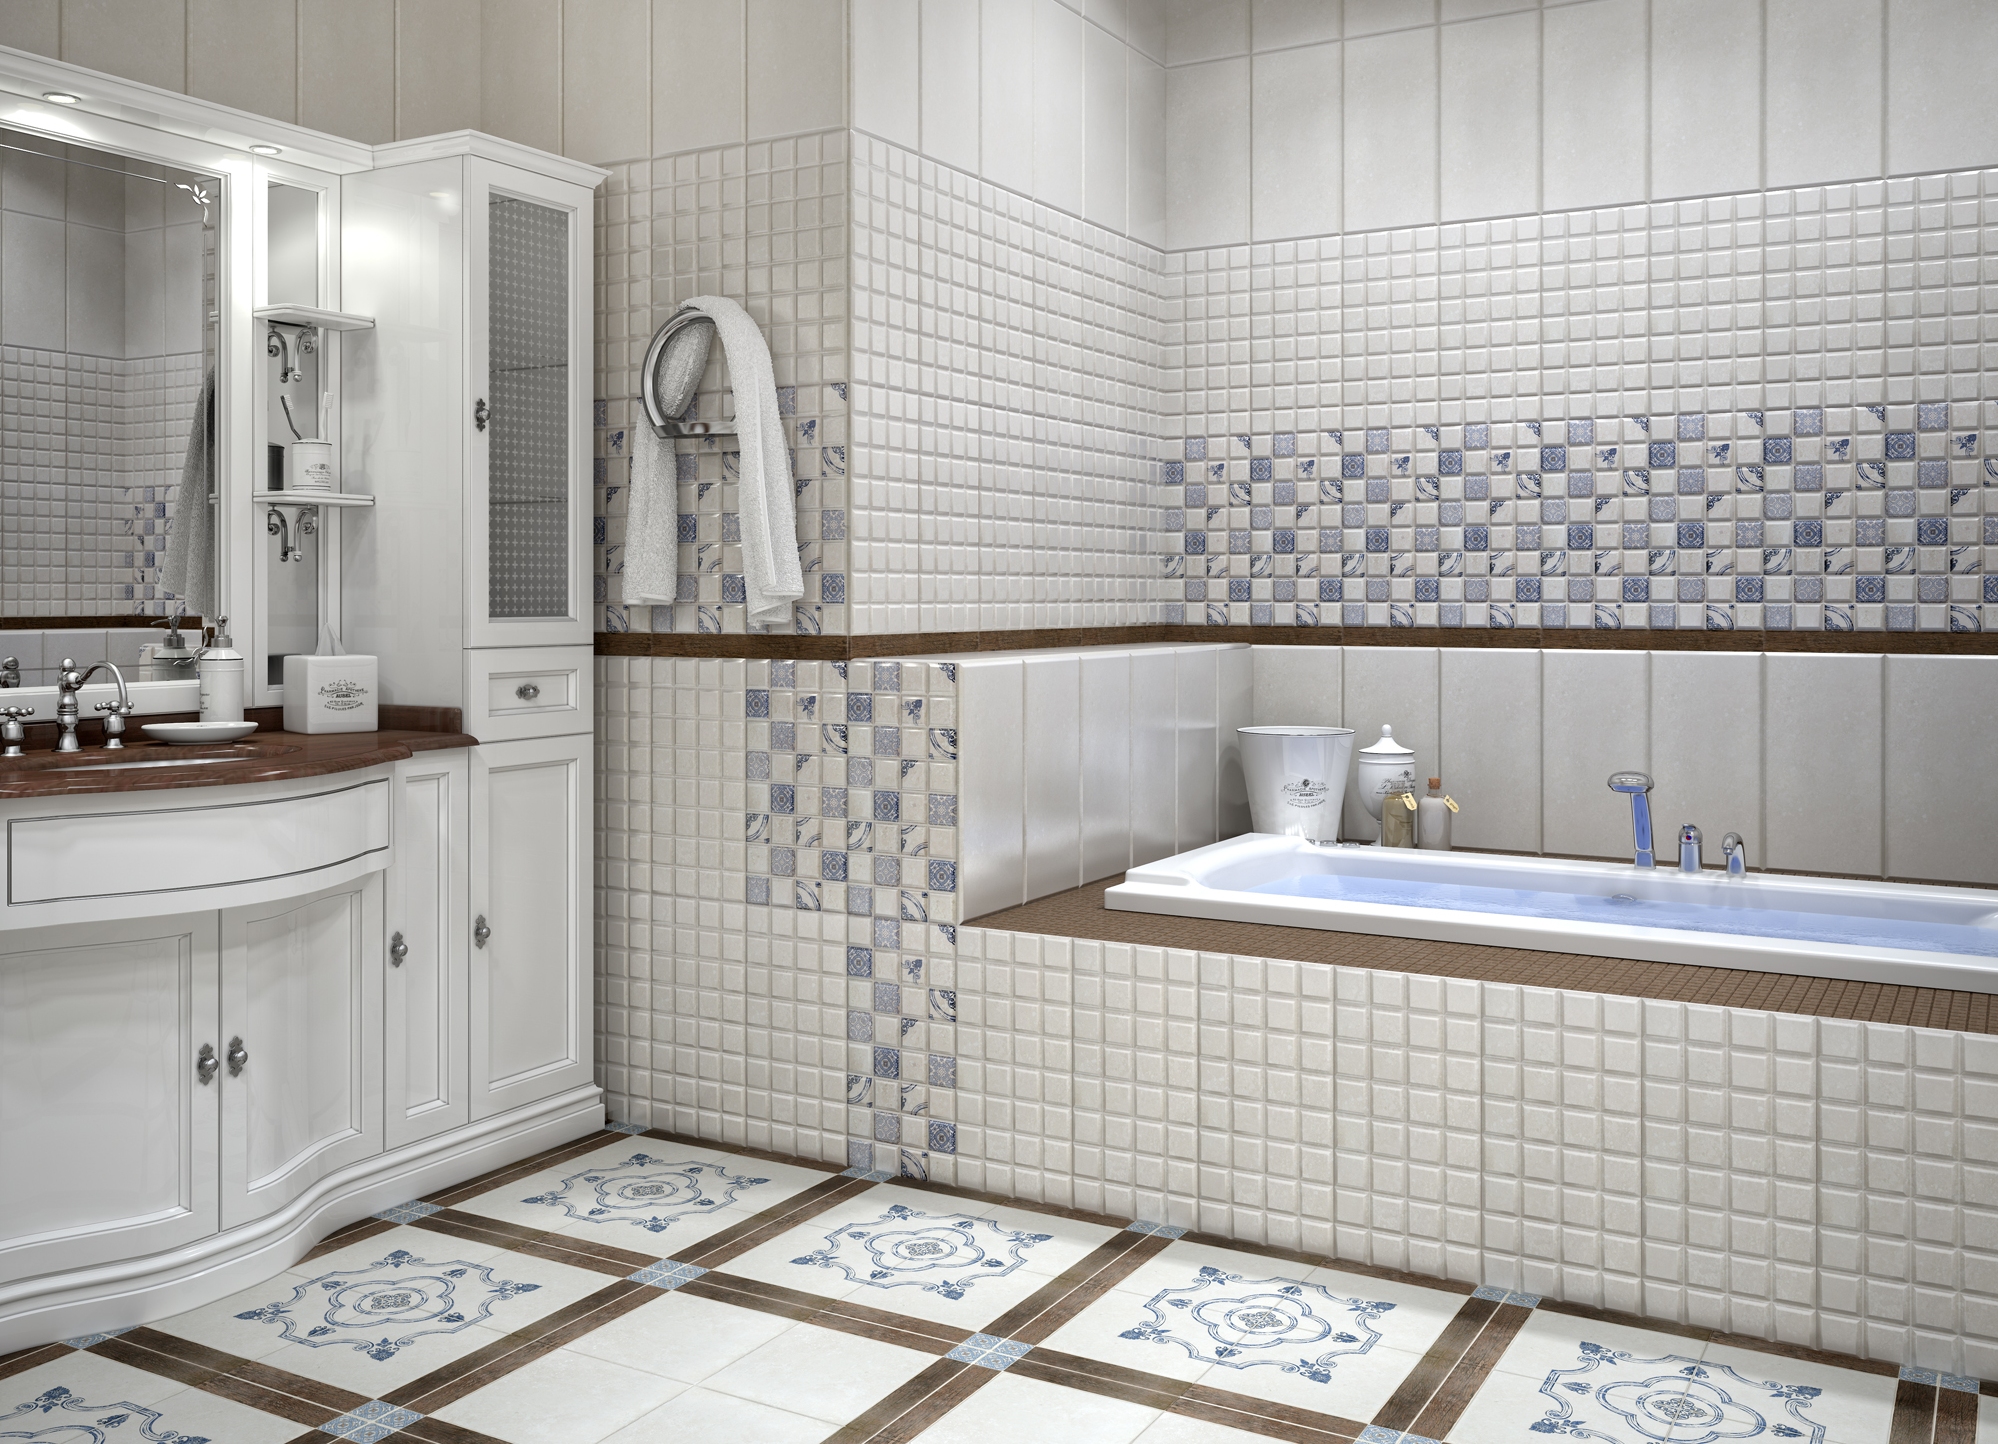
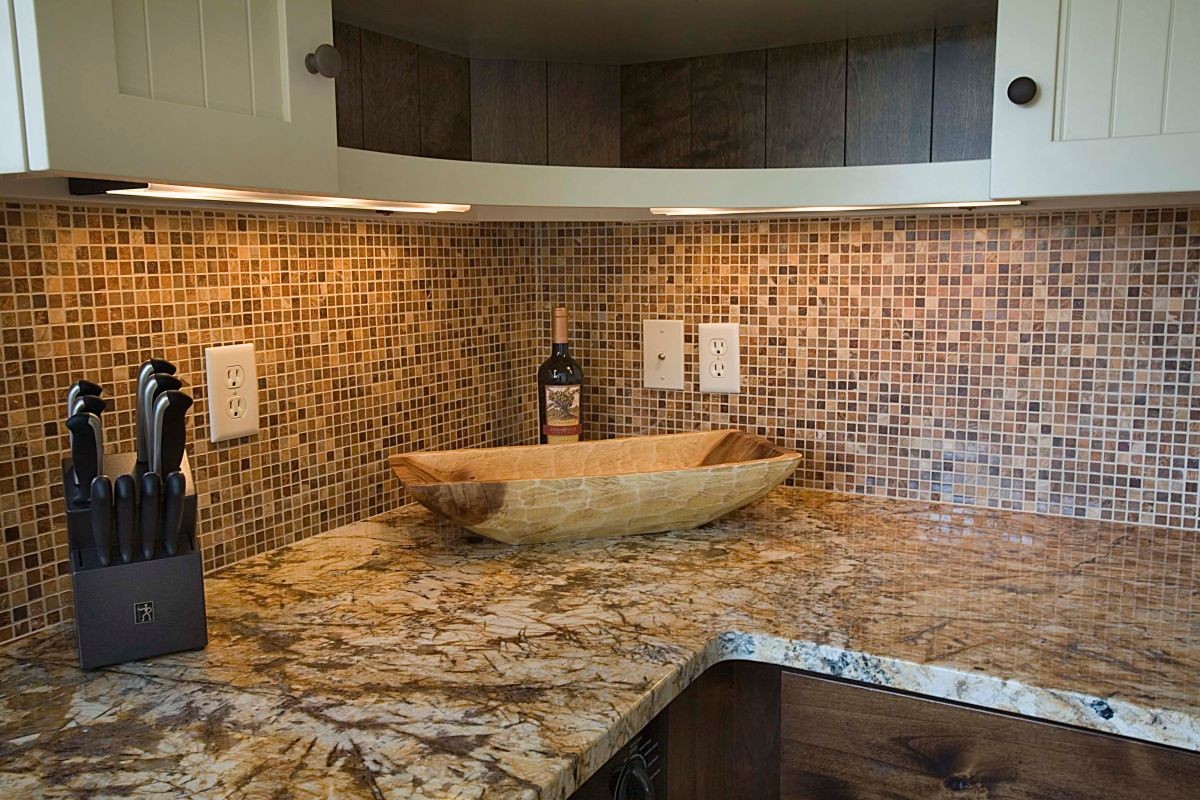
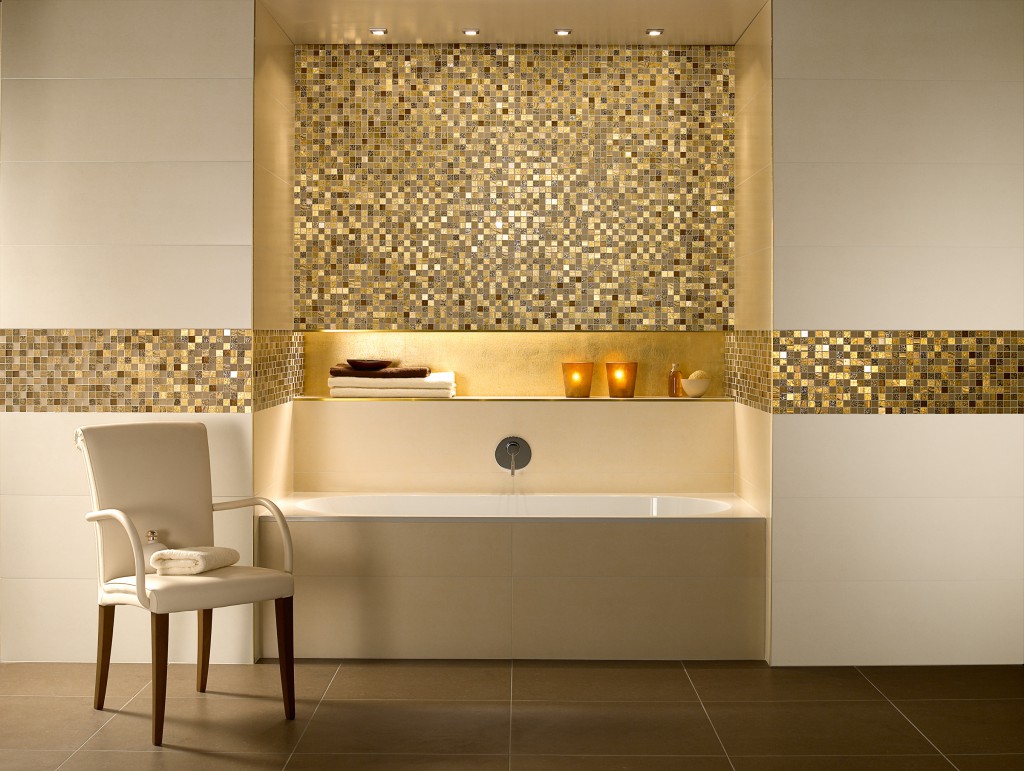
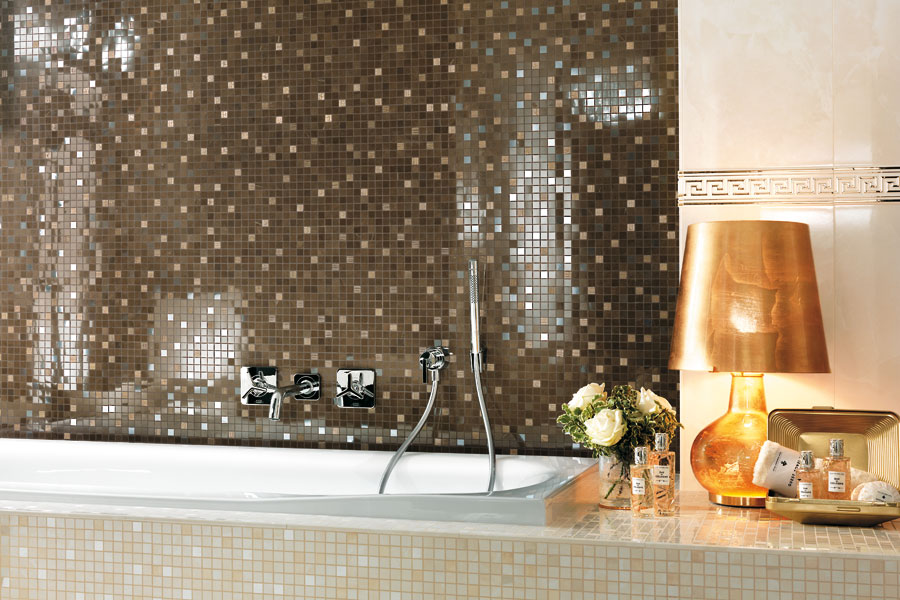
Mosaic
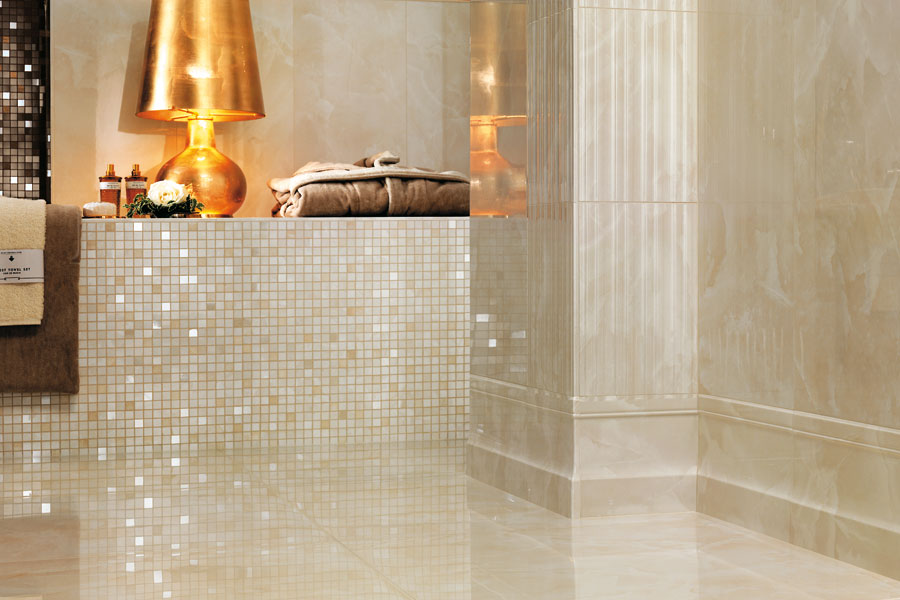
If you prefer more original design solutions, the mosaic tile is what you need. It has an unsurpassed exterior performance, which is able to radically change the image of the interior and give it a highlight.
A distinctive feature of the mosaic is that it does not need to be laid on the base in the form of many individual elements. Often, these coatings are connected in a single canvas or original panel. For walls, this finish is an excellent option.
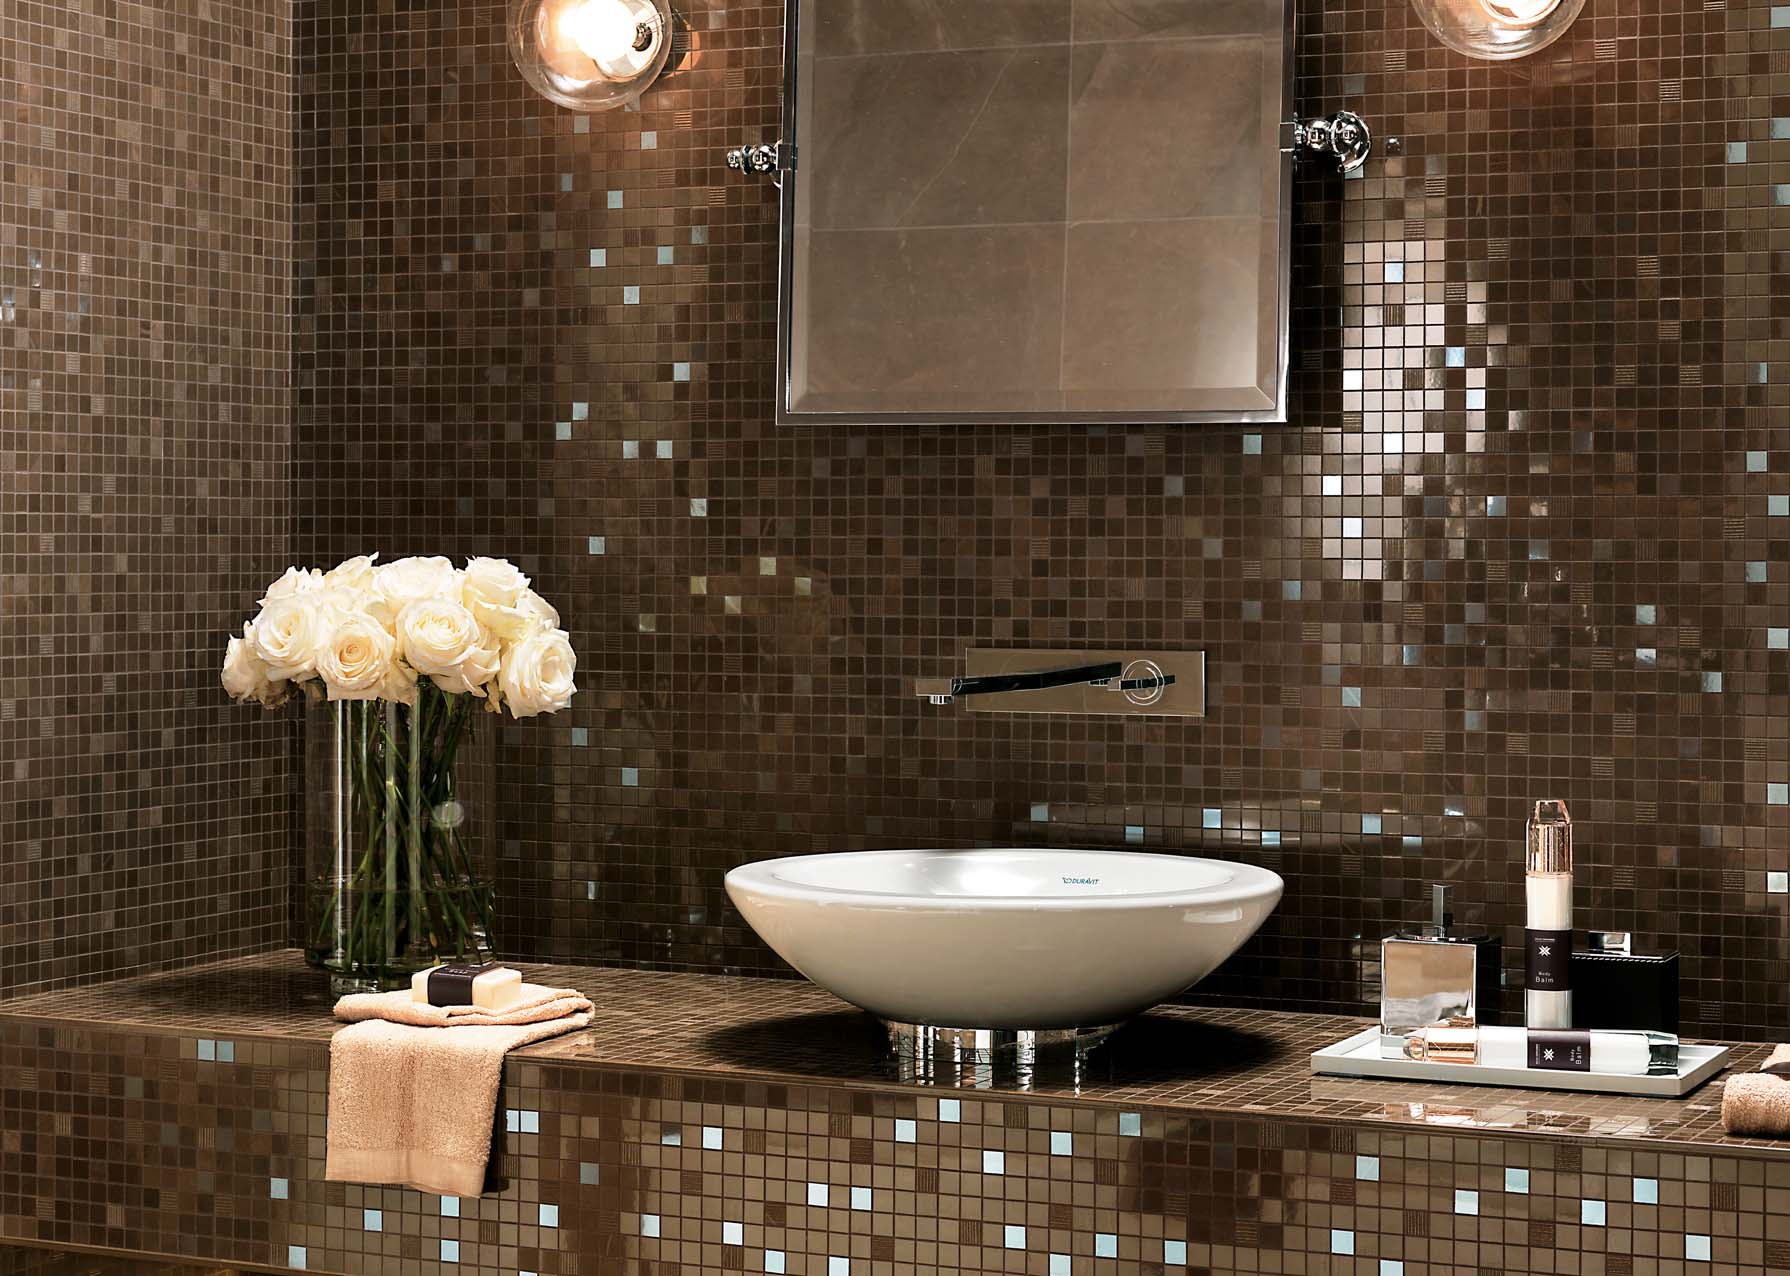
The mosaic tile has a number of positive qualities for which many consumers choose it:
- These coatings are characterized by durability and resistance to wear.
- They are not afraid of high humidity.
- Mosaic temperature leaps are not terrible.
- Mosaic canvas can be customized to fit the desired size.
PVC
Relatively "young" finishing material is PVC tile. She may replace the standard design tile.
The original vinyl tiles have a structure consisting of several layers, which include polyvinyl chloride and polymer. In addition, PVC materials are composed of quartz chips. Thanks to this component, the material is more durable and harder.
PVC tiles are represented by several varieties:
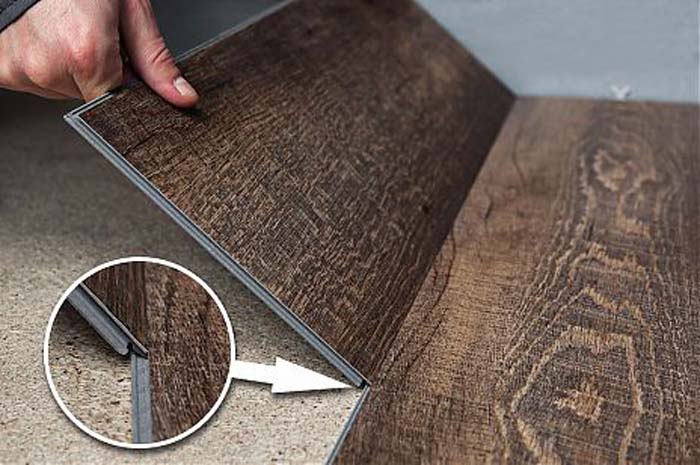
- With lock connection. Such tiles are interconnected with special spikes and grooves present in their construction.It is necessary to lay such materials on the prepared crates. At the same time, there is always a gap between the cladding and the ceiling. According to home craftsmen, the installation of these elements is not the easiest and fastest.
- With glue attachment. Glue is applied with a spatula on the reverse side of such parts and is evenly distributed over their surface. Then the tiles are tightly pressed to the prepared walls and rolled with a rubber roller to get rid of the air. If excess glue is made on the finish, they should be removed with a clerical knife.
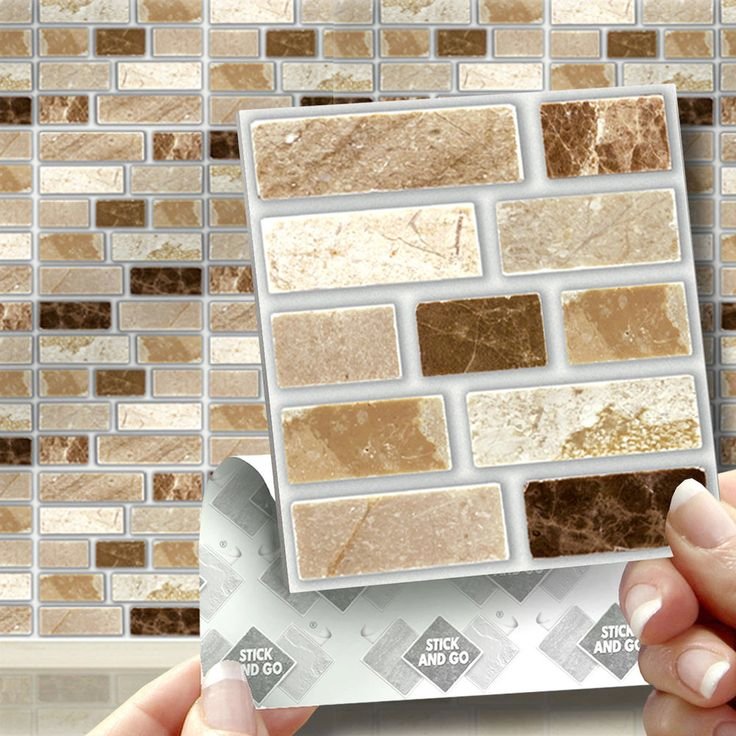
- Self-adhesive. It is necessary to carefully remove the paper layer of protection from the bottom, after which the tile must be firmly pressed to the surface of the bases.

Such thought-out finishing materials have many positive characteristics:
- They are represented by a large assortment. PVC tiles can have almost any color and print.
- This material is moisture resistant.
- It is quite durable.
- Easy and quick to install.
- It is cheaper than ceramics, which attracts consumers.
- It has good sound insulation characteristics.
- It is undemanding in leaving.
As for the weaknesses of PVC materials, then these include the following nuances:
- This finishing material can hardly be called environmentally friendly, since it is synthetic.
- PVC tiles are short-lived (up to 10 years).
- Such coatings may be affected by contact with solvents.
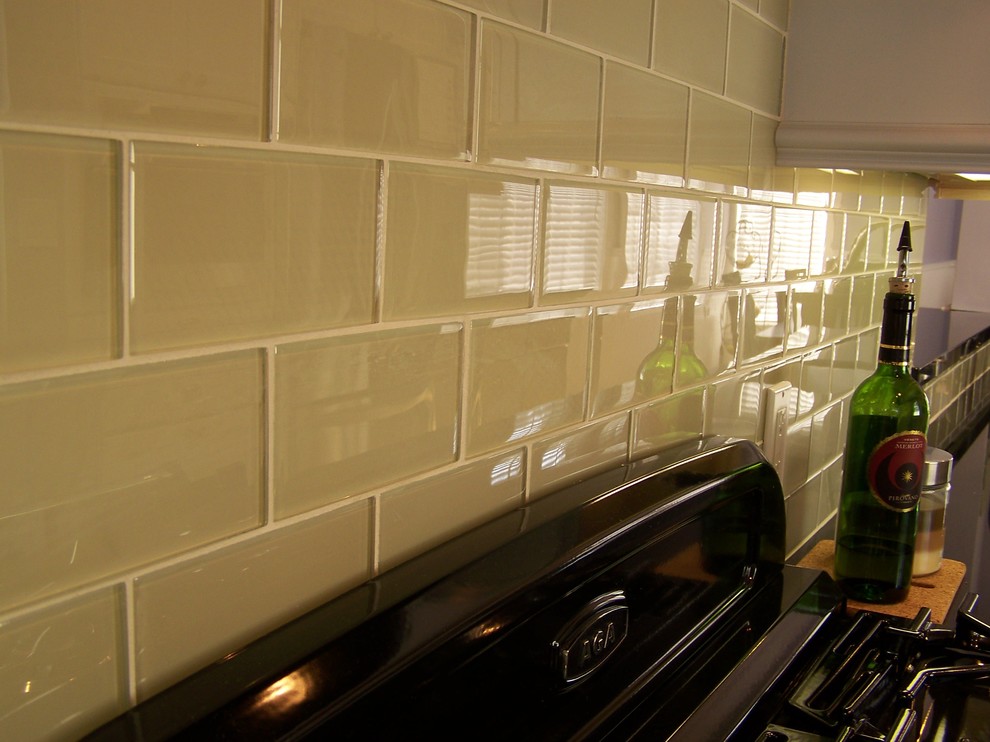
Glass
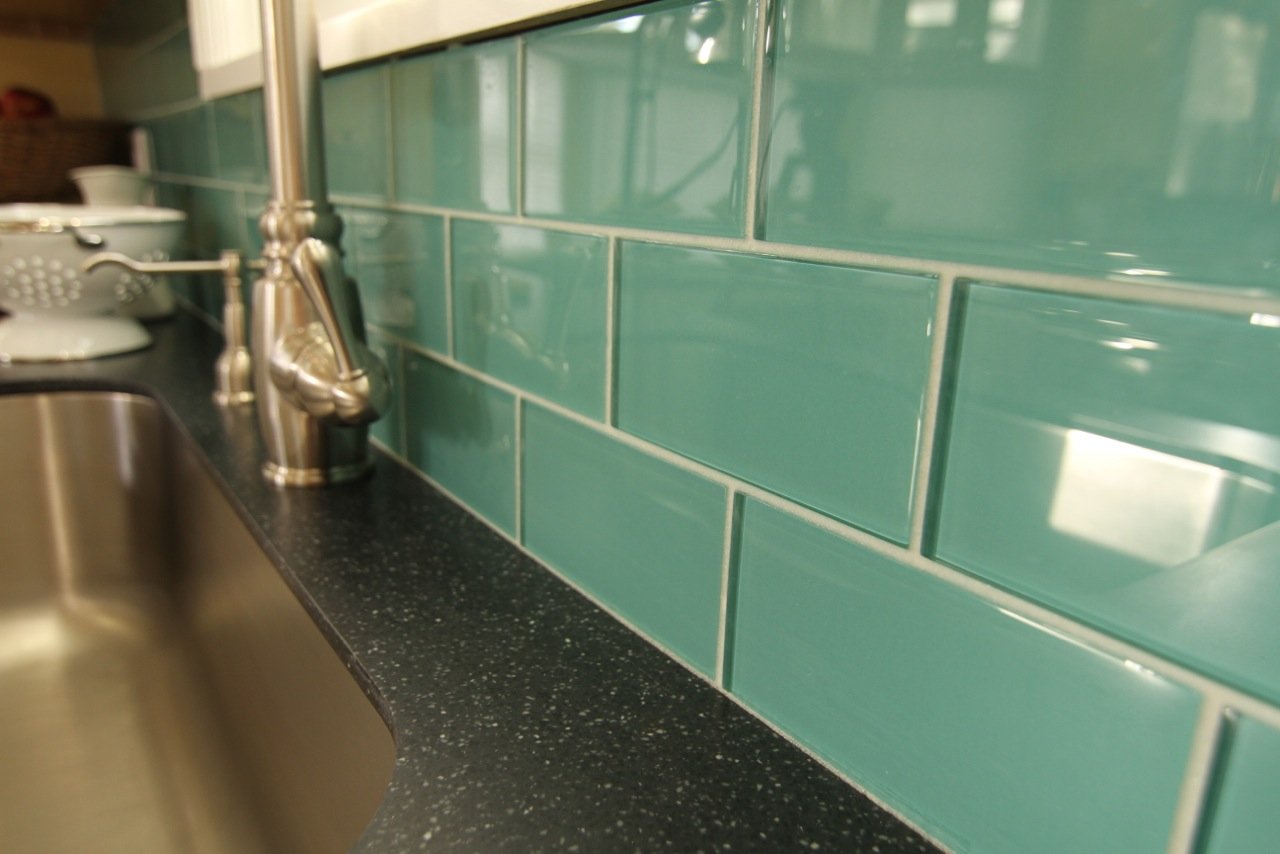
Beautiful glass tiles are often used in the decoration of both residential and public spaces. Glass is perfectly combined with many materials in the interior, which indicates its versatility.
To such a tile is recommended to apply when you make a small room., as it visually expands the space. These mirror materials look very expensive and elegant. In the shops you can find glass tiles with a matte, multi-colored or patterned surface.
If you want to make an interesting ensemble and make the situation more voluminous, then the glass tile is quite suitable for this. You can pick up materials in black and white colors. Chess laying tiles visually change the layout of the room.

Many consumers opt for such finishing options, as they have a beautiful design and do not require complex care.Dust and dirt can be easily and quickly removed from the surface of such materials without resorting to aggressive chemical compositions. But if they are still needed, then you can not worry that the decoration will suffer, since the glass tile will not suffer from contact with chemical means.
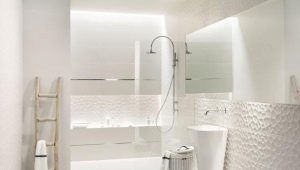
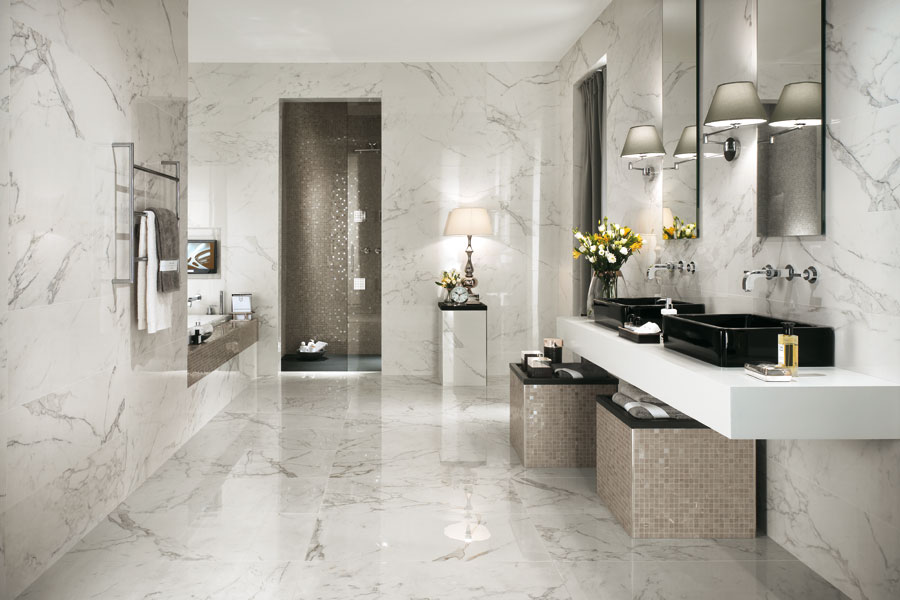
Glass tiles can be easily laid in the bathroom, in the toilet, and in the hall. In all cases, this finishing material will refresh the interior and make it more aesthetic.

Such a beautiful tile is available with different parameters. It can be not only standard square or rectangular variants, but also long strips. The last elements can be easily combined with ceramic matte and glossy coatings.
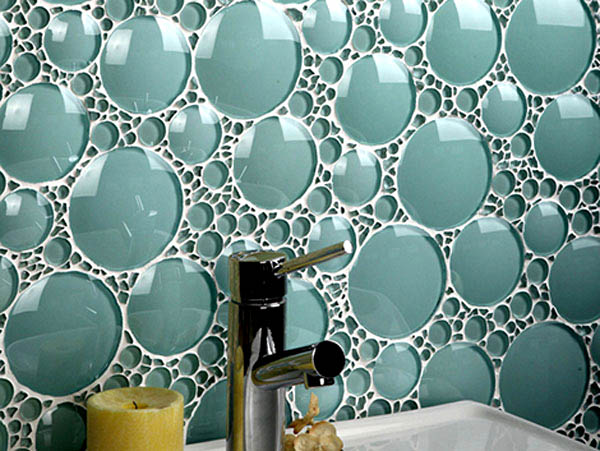
If you want to bring something truly unique and fashionable into the interior, then you should take a closer look at the beautiful glass mosaic. As a rule, it consists of small sparkling tiles. Such details look especially impressive in settings in white, beige, blue, red and blue shades.
These finishing materials have the same advantages as conventional tile options, but are more fragile.Working and handling them should be very careful not to damage.

How to stick?
Wall tiles must be glued using the following materials:
- Glue solution. It can be stirred independently, taking sand and cement, and you can also purchase ready-made mixture that does not need to be prepared for finishing works. To apply the adhesive solution, you should use a spatula.
- Priming. Primer is needed to ensure better adhesion of materials. In addition, it protects the walls from contact with moisture and moisture, which have a detrimental effect on any bases (even if they consist of durable concrete).
- Putty. It is recommended to lay tiles on ideally even floors. To get rid of significant differences on the surface, you should use the starting putty. Most often, you can do without the finishing layer and immediately proceed to laying tile material.
- Crosses. These small details are necessary for fixing the distance between individual tiles. As a rule, they are made of plastic. Filling of seams. With this mixture you can fill the voids remaining in the joints.In addition, the grout perfectly masks minor defects and gives the surface a more aesthetic and neat appearance.
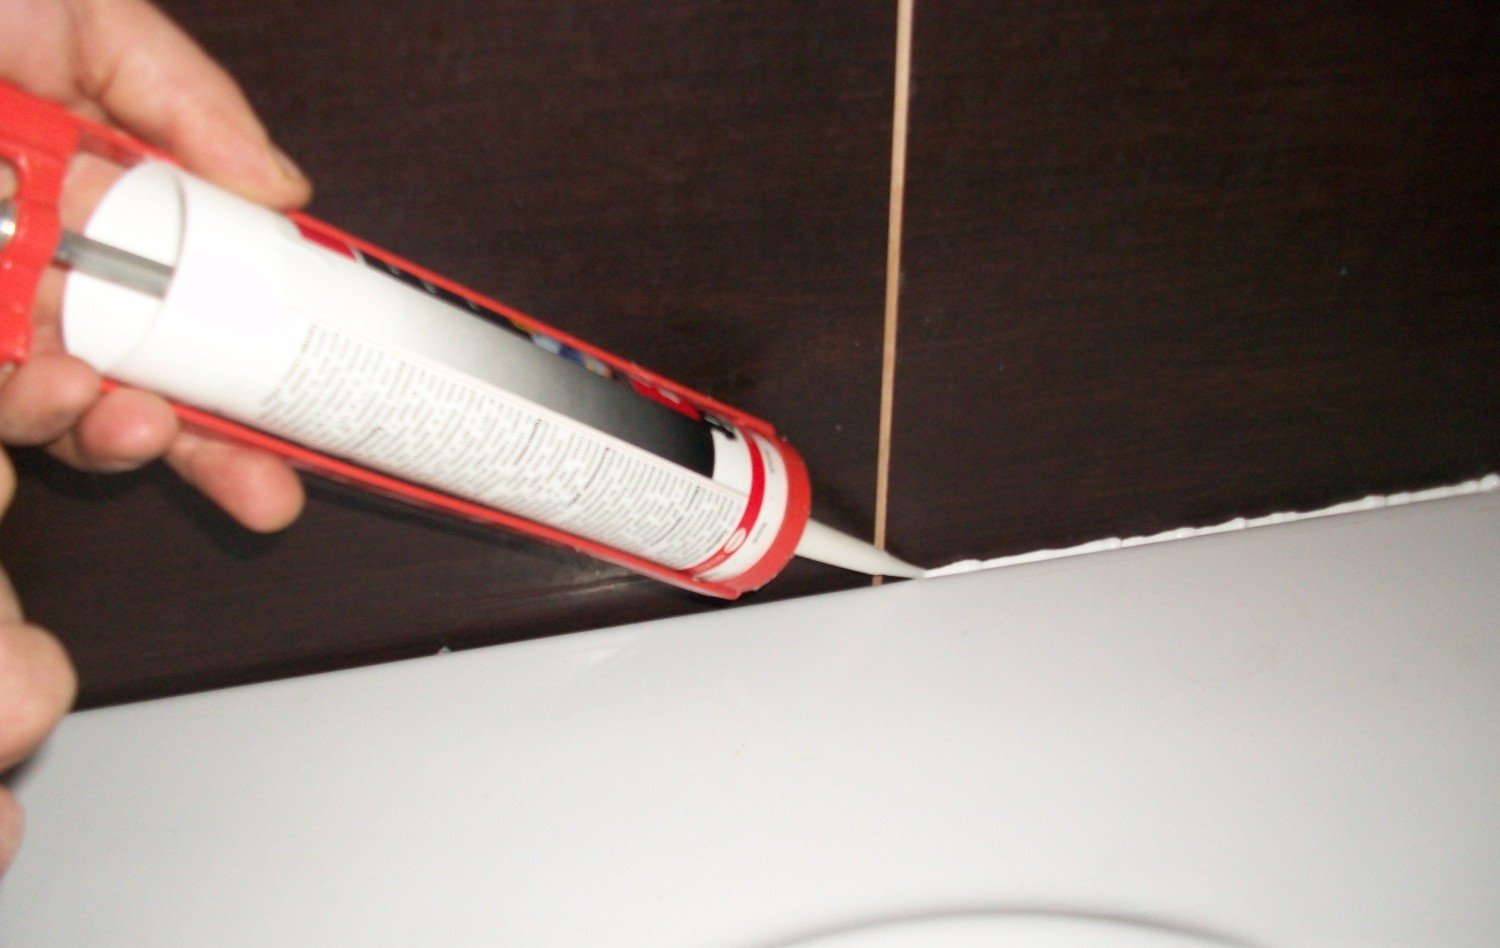
- Silicone sealant. It is necessary for high-quality and reliable insulation of the joints. Thanks to the sealant, the seams between the tiles are protected from moisture penetration. In addition, curbs and baseboards are glued with this tool.
- Antiseptic. This is a special liquid that is needed for processing walls and joints between tiles. It prevents the development of mold and mildew.
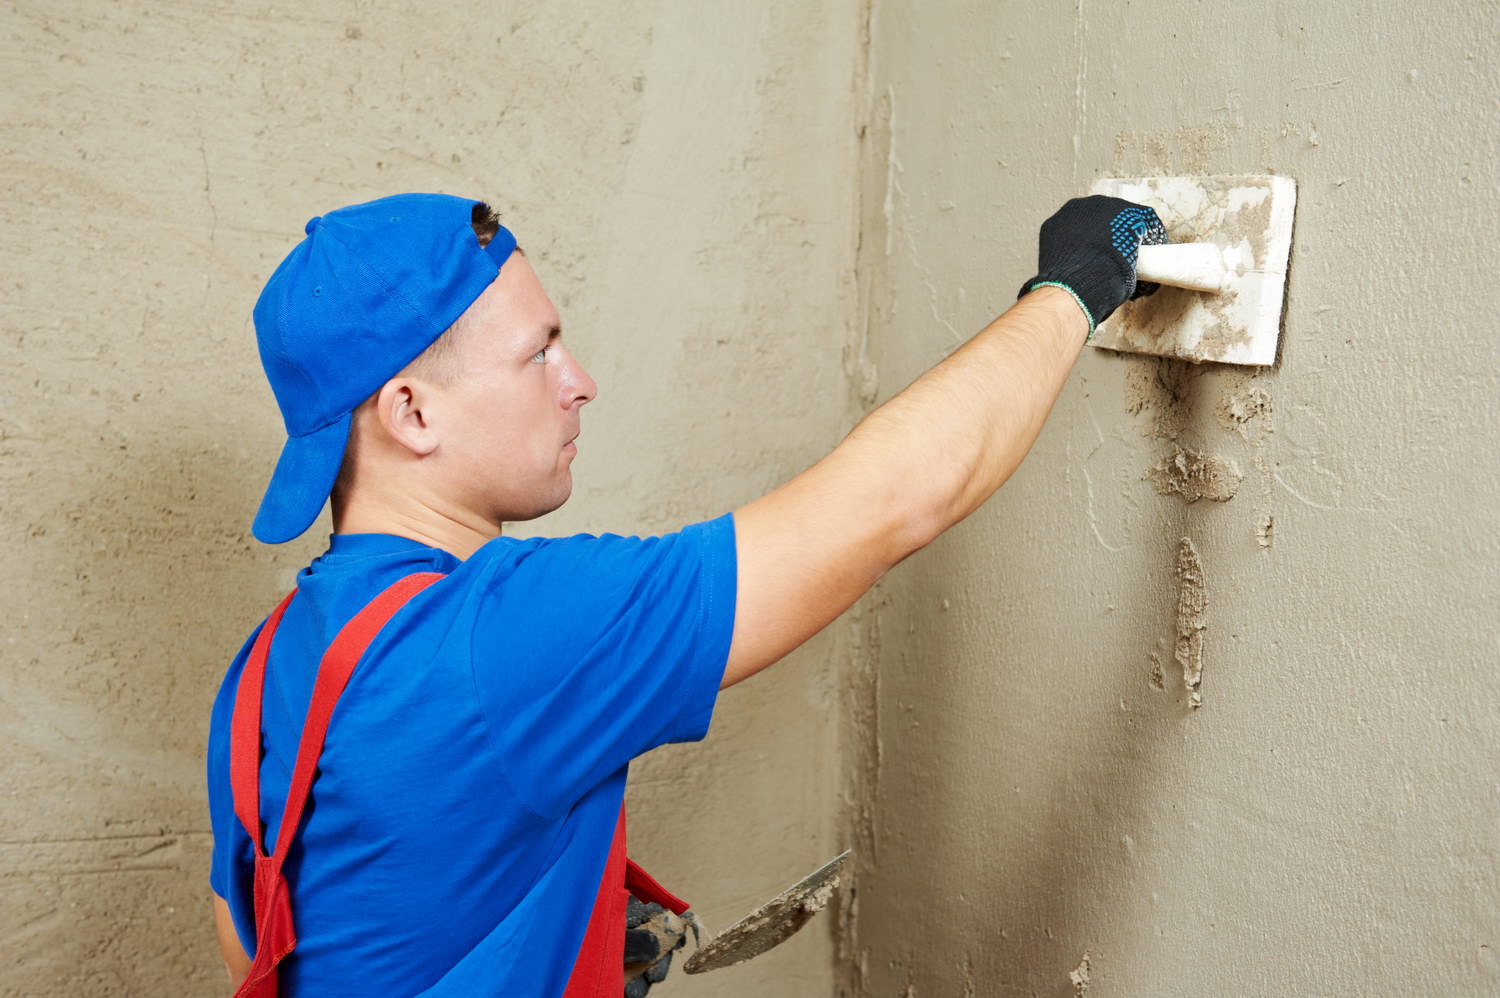
Preparatory work
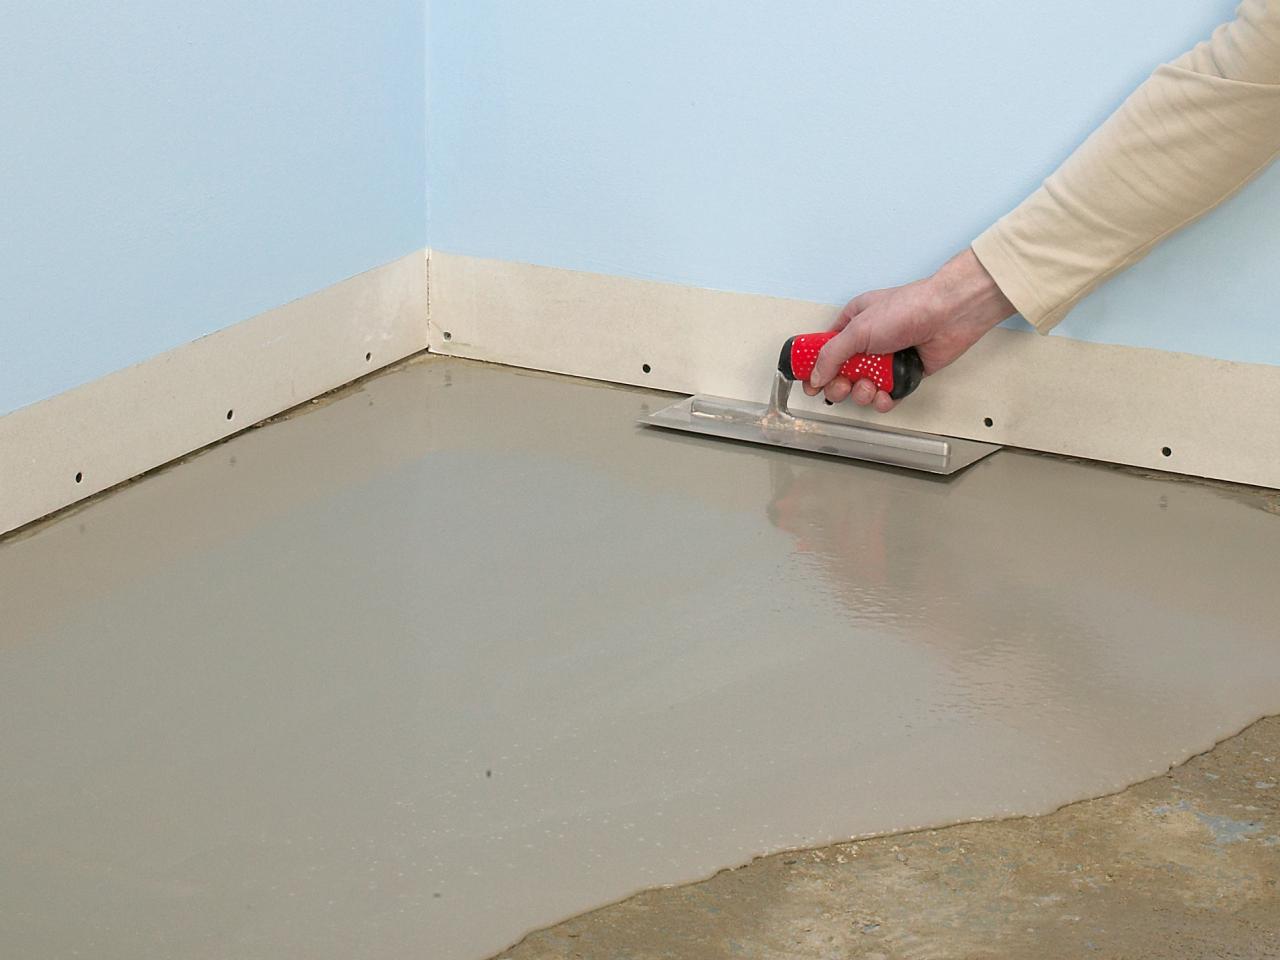
The laying of wall tiles can be started only after a good preparation of the bases. In order to achieve good adhesion of tile adhesive, it is better to plaster walls with cement-sand composition in advance. To do this, you also need beacons - working with them is much more convenient.
Grouting is not necessary when applying plaster. The main thing is to achieve a perfectly smooth and neat surface of the base. It should not be the slightest defect.
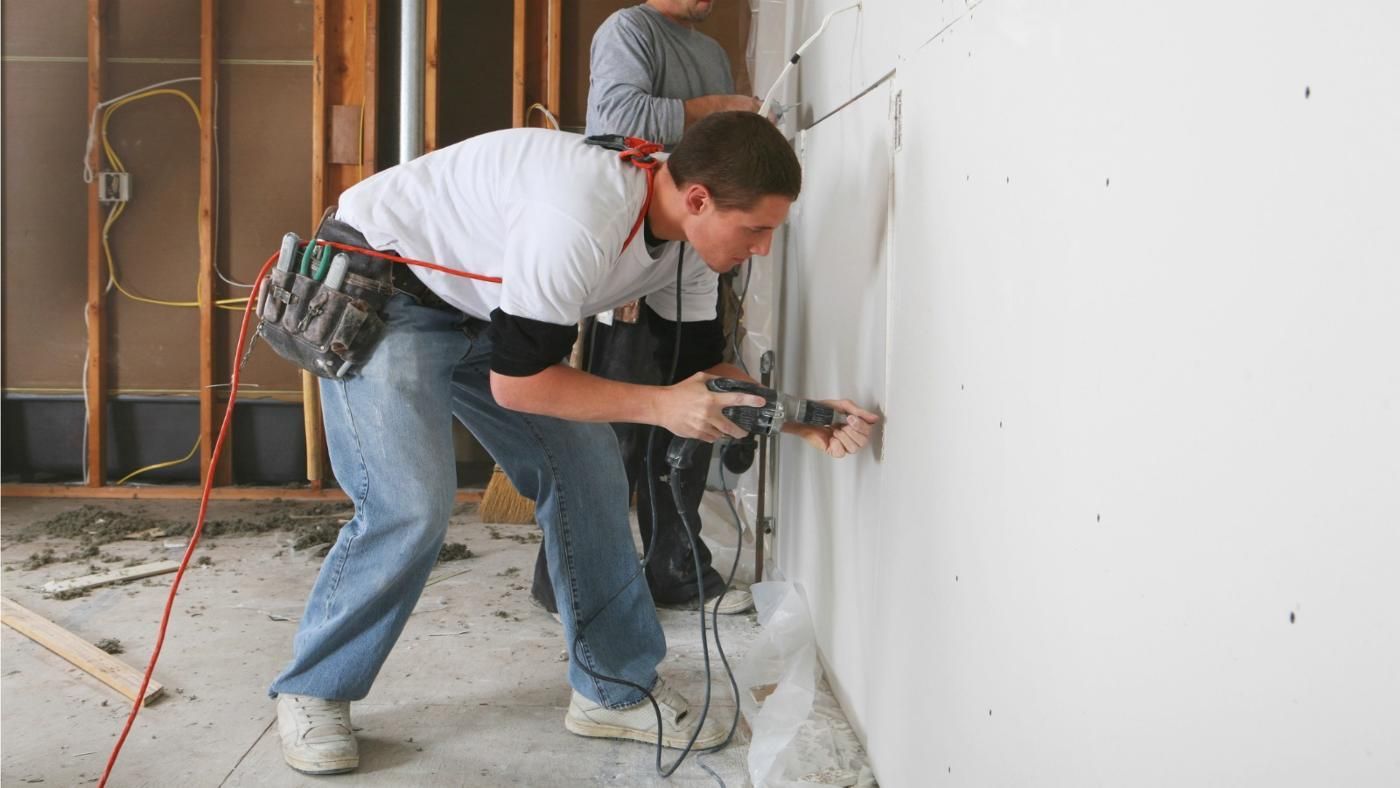
Wall leveling
If the walls in the room are curved and have significant drops, then they can be leveled using plywood or plain drywall.This material is inexpensive and durable. It is not subject to rotting. Of course, if we are talking about finishing in the bathroom or in the kitchen, then it is worth buying waterproof plasterboard sheets that seamlessly tolerate such conditions.
Drywall is installed on a metal frame, pre-made from high-quality profile.
Ceramic tiles can not be immediately laid on the plaster surface, especially when it comes to the design of the bathroom. First, a special fiberglass mesh is attached to the leveling sheets. It is recommended to do this with the help of a construction stapler. After that, you need to putty the base with high-quality tile glue and allow the composition to dry thoroughly.
- If there are neat walls (without irregularities) in the room where you plan to lay tiles, but there is a layer of acrylic-based paint on them, then you will need to clean it.
- If the floors were previously covered with lime, then they should be primed before gluing the tiles.
- If the walls were decorated with water-based, then you need to walk a few times with a wet rag. After complete drying of the floor must be primed.
- Old wallpapers also need to be removed from the floor surface.

After leveling the walls must be leveled and the floor. To do this, use a cement-sand screed and lighthouses.
Markup
Before sticking tile material it is necessary to make a marking of the bases.
This may require the following devices:
- Level. It is better to use the bubble option.
- Aluminum rule with a length of 200-250 cm.
- Roulette.
- Pencil.
- Special breaker thread.
- Hammer.
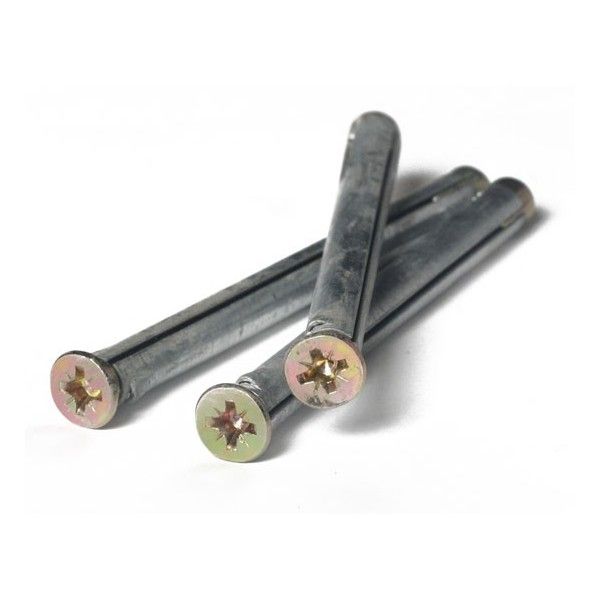
- Steel dowels.
- Board with smooth edges.


The markup is as follows:
- On the screed parallel to the wall you need to put a rule (on the edge). Then put a level on it.
- In the course of this work revealed the highest point on the coupler.
- Moving from this point, on the adjacent overlap you need to make a mark with a pencil. It will be zero.
- After that, just above the first mark, making an indent of 10 mm, on the wall you need to put another line. Thus, there remains a margin under the glue layer and the thickness of the tile itself.

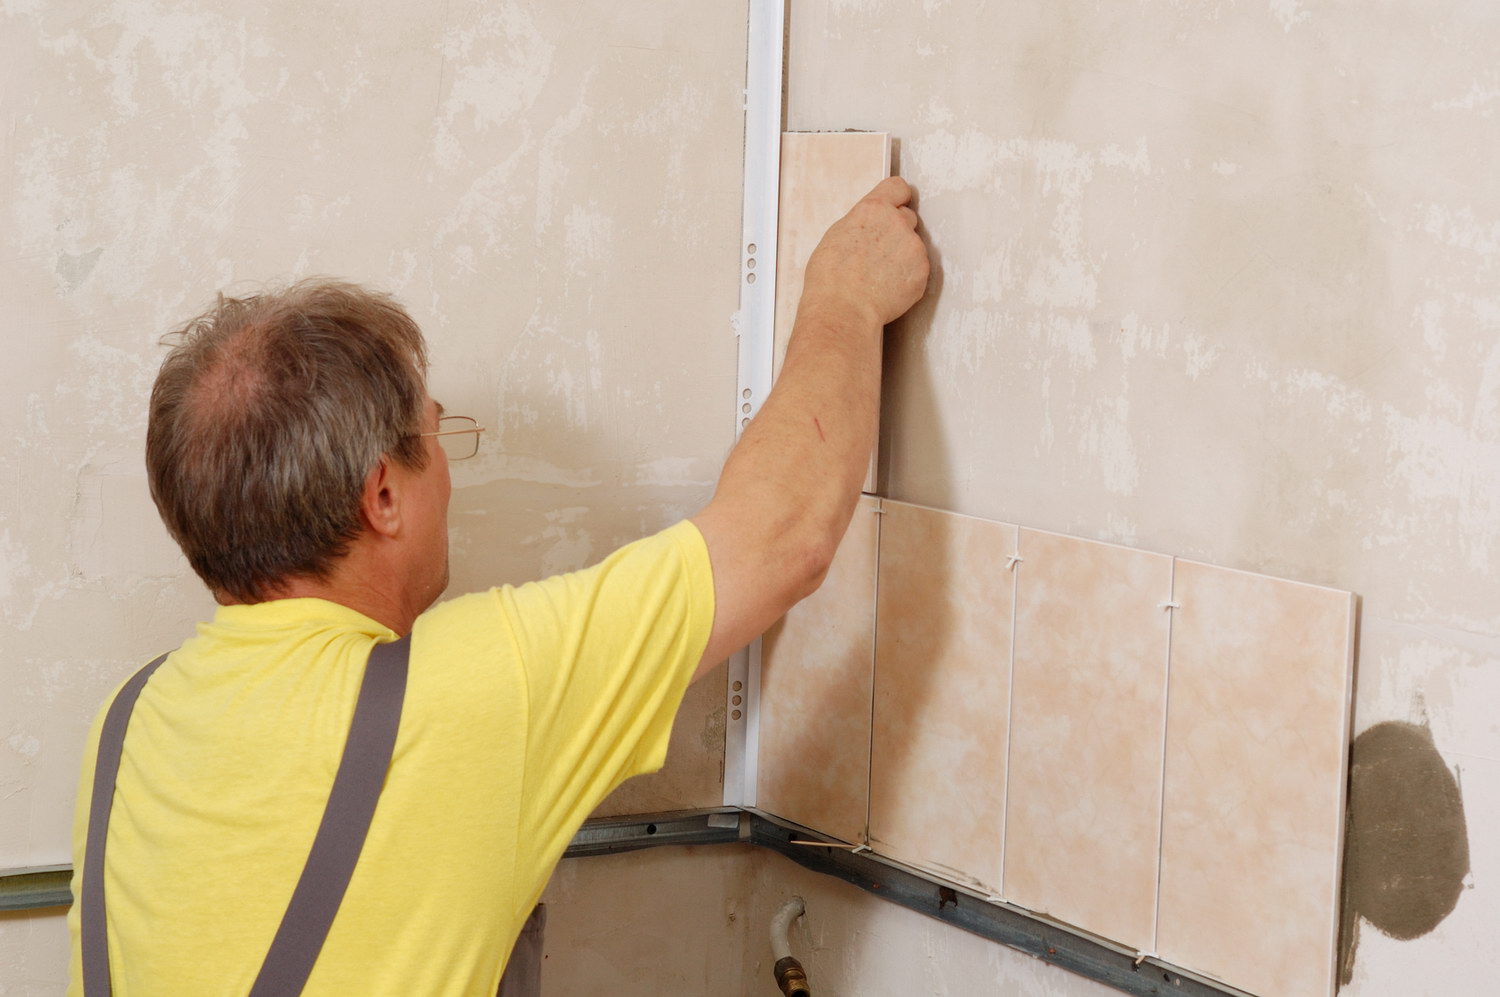
How to glue your own hands?
If the preparation of the walls and their markings were made correctly, then you should have no problems with laying the tiles.
Consider the process of sticking such finishes in stages:
- It is recommended to lay tiles on walls in areas so that the adhesive composition does not stiffen or dry in the bucket. In addition, this way it will be much more convenient to align the distortions of the rows.
- If the tiles are of different sizes, the fit should be done by reducing or increasing the seams between them.
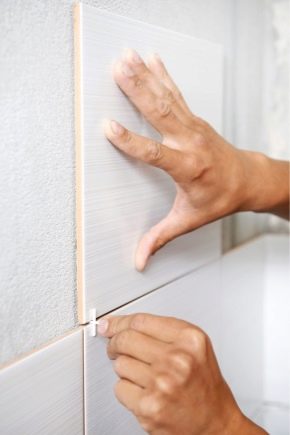
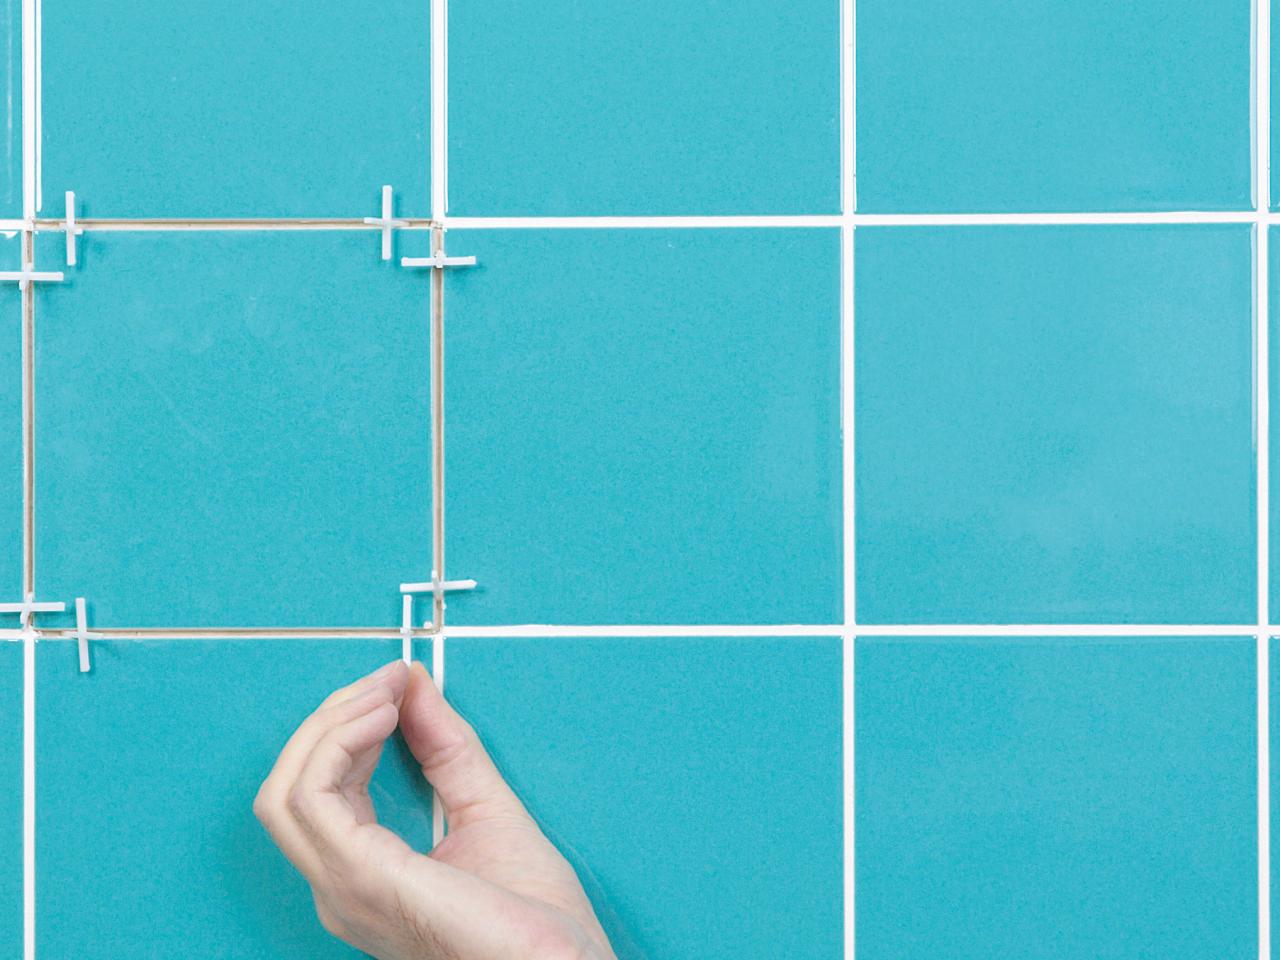
- To make inter tile joints even, small plastic crosses should be used. They need to be inserted into the corners of the tile.
- If you are gluing tiles in the bathroom, then to align the rows in height, you need to lay plastic wedges (under the first row).
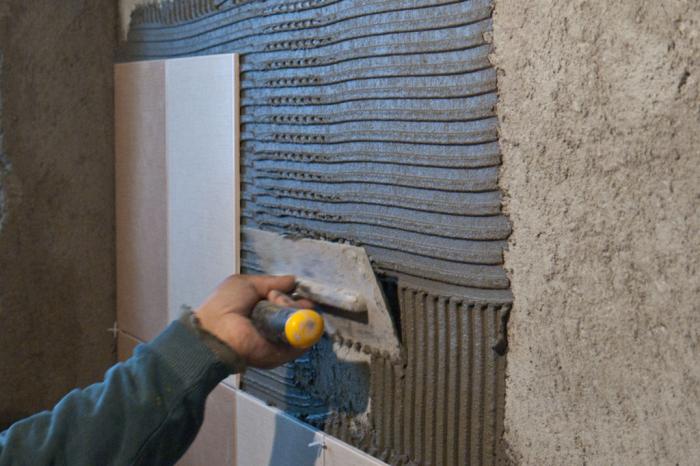
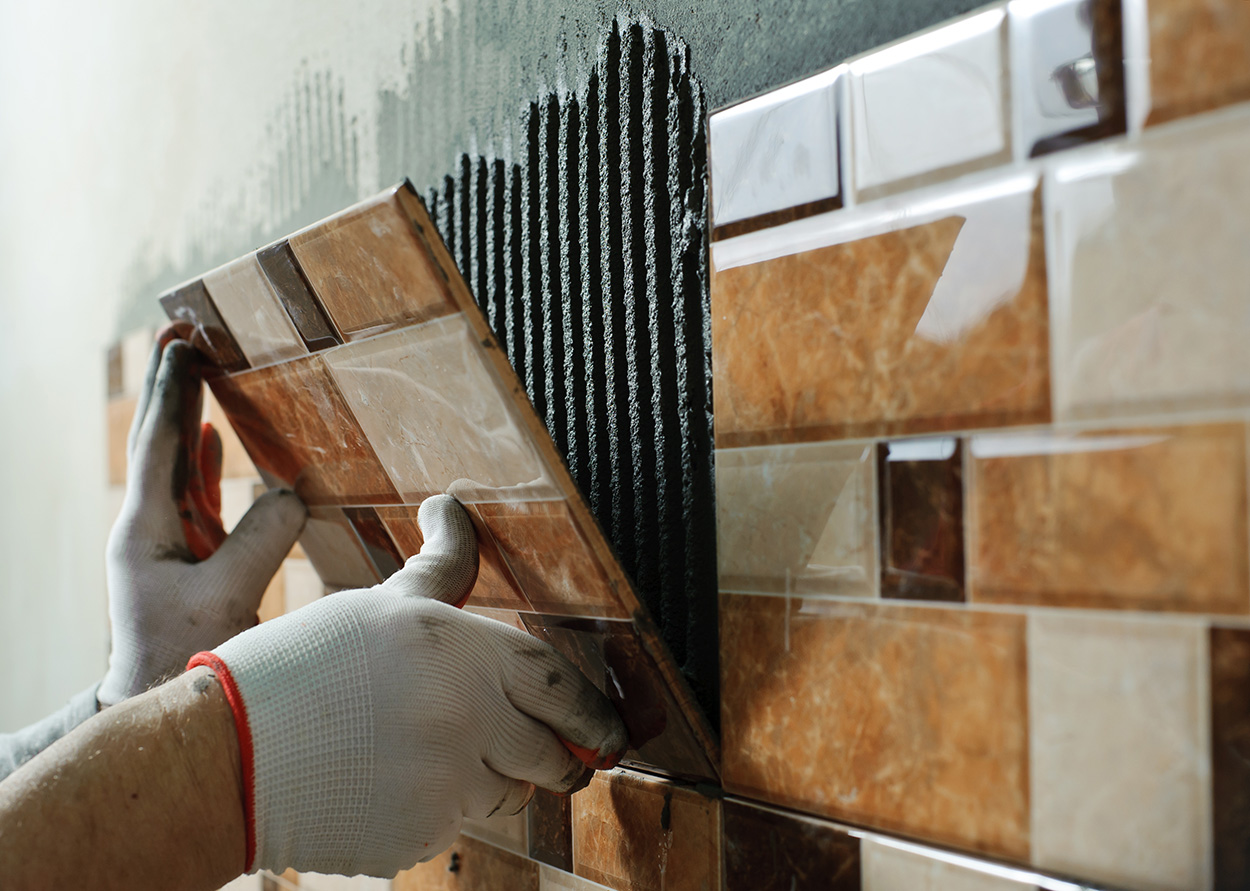
- It is necessary to glue tiles with mixtures with a cement base or mastic.
- Mastic is applied on the floor or on the tile itself. The layer should be thin and should be leveled with a notched trowel.
- If the glue on the wall begins to dry, then it is better to clean it off and apply a fresh layer, otherwise the tile will not stick securely.
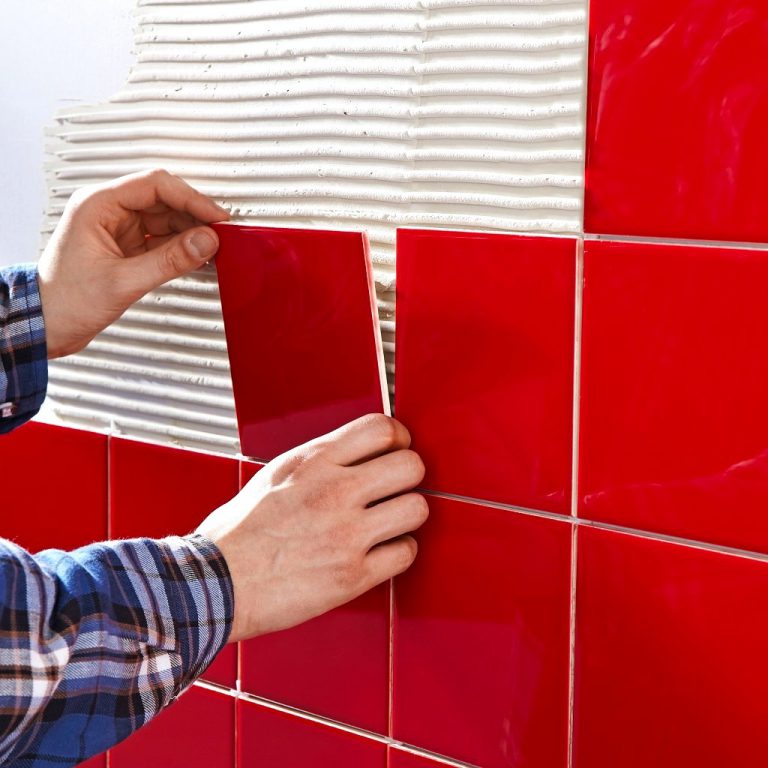
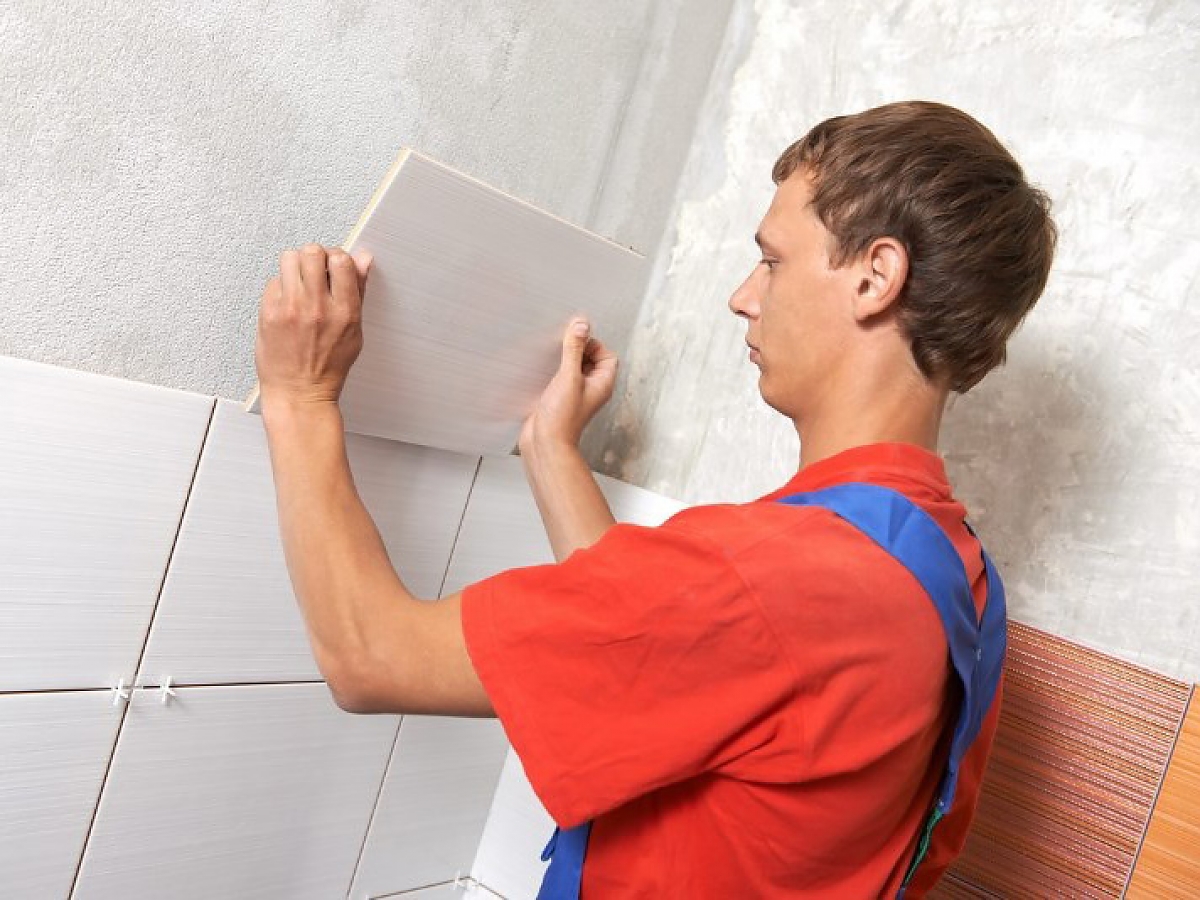
- Tile should be pressed to the floor surface, but you should not push too hard. After that, you need to check the masonry using the level. This is to make surethat the newly glued tile is exactly relative to the neighboring elements.
- To make sure that the rows are even, you should use a long level.
- In no case do not leave on the basis of voids. To do this, you should tap the surface with a rubber mallet to notice the characteristic sound.
- Adhesive protruding from the seams must be removed immediately.
A day after tile laying, it is necessary to grout the joints. Experts advise buying for this ready-made mixture of high quality.
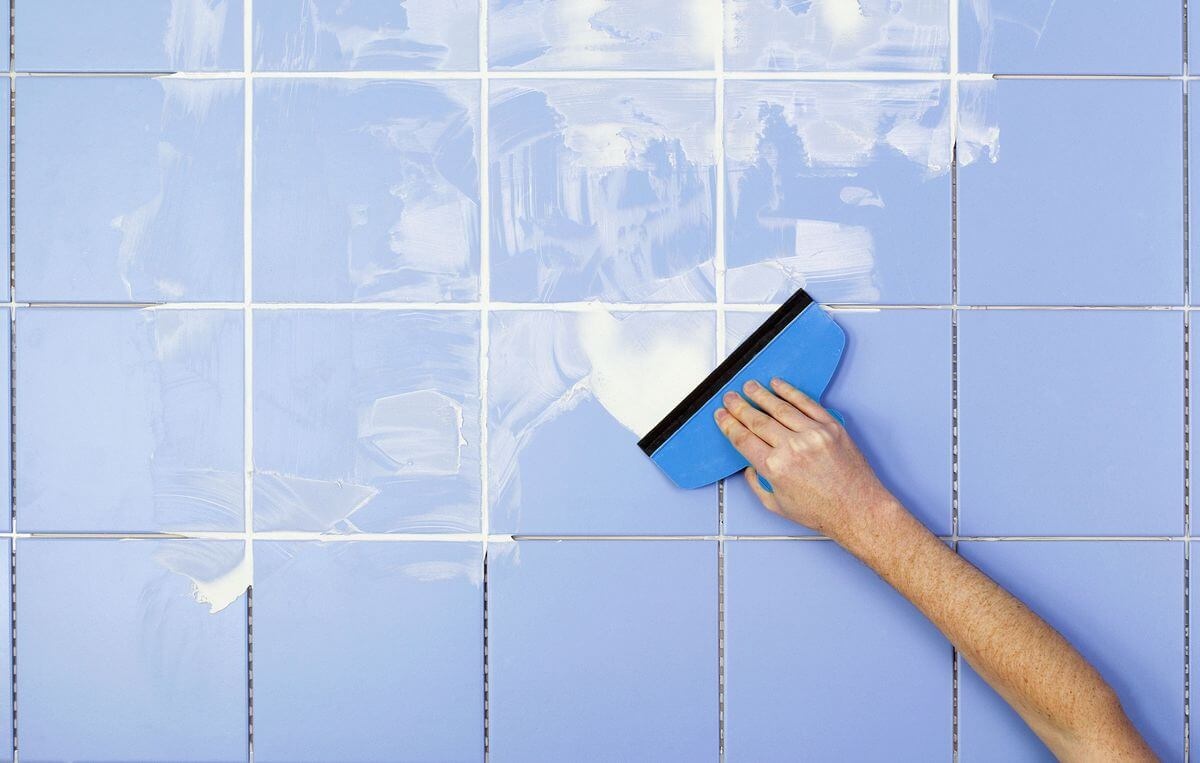
If you purchased a dry grout, then it must be diluted in accordance with the instructions on the packaging. After that, the composition must be applied to the seams with a rubber spatula.
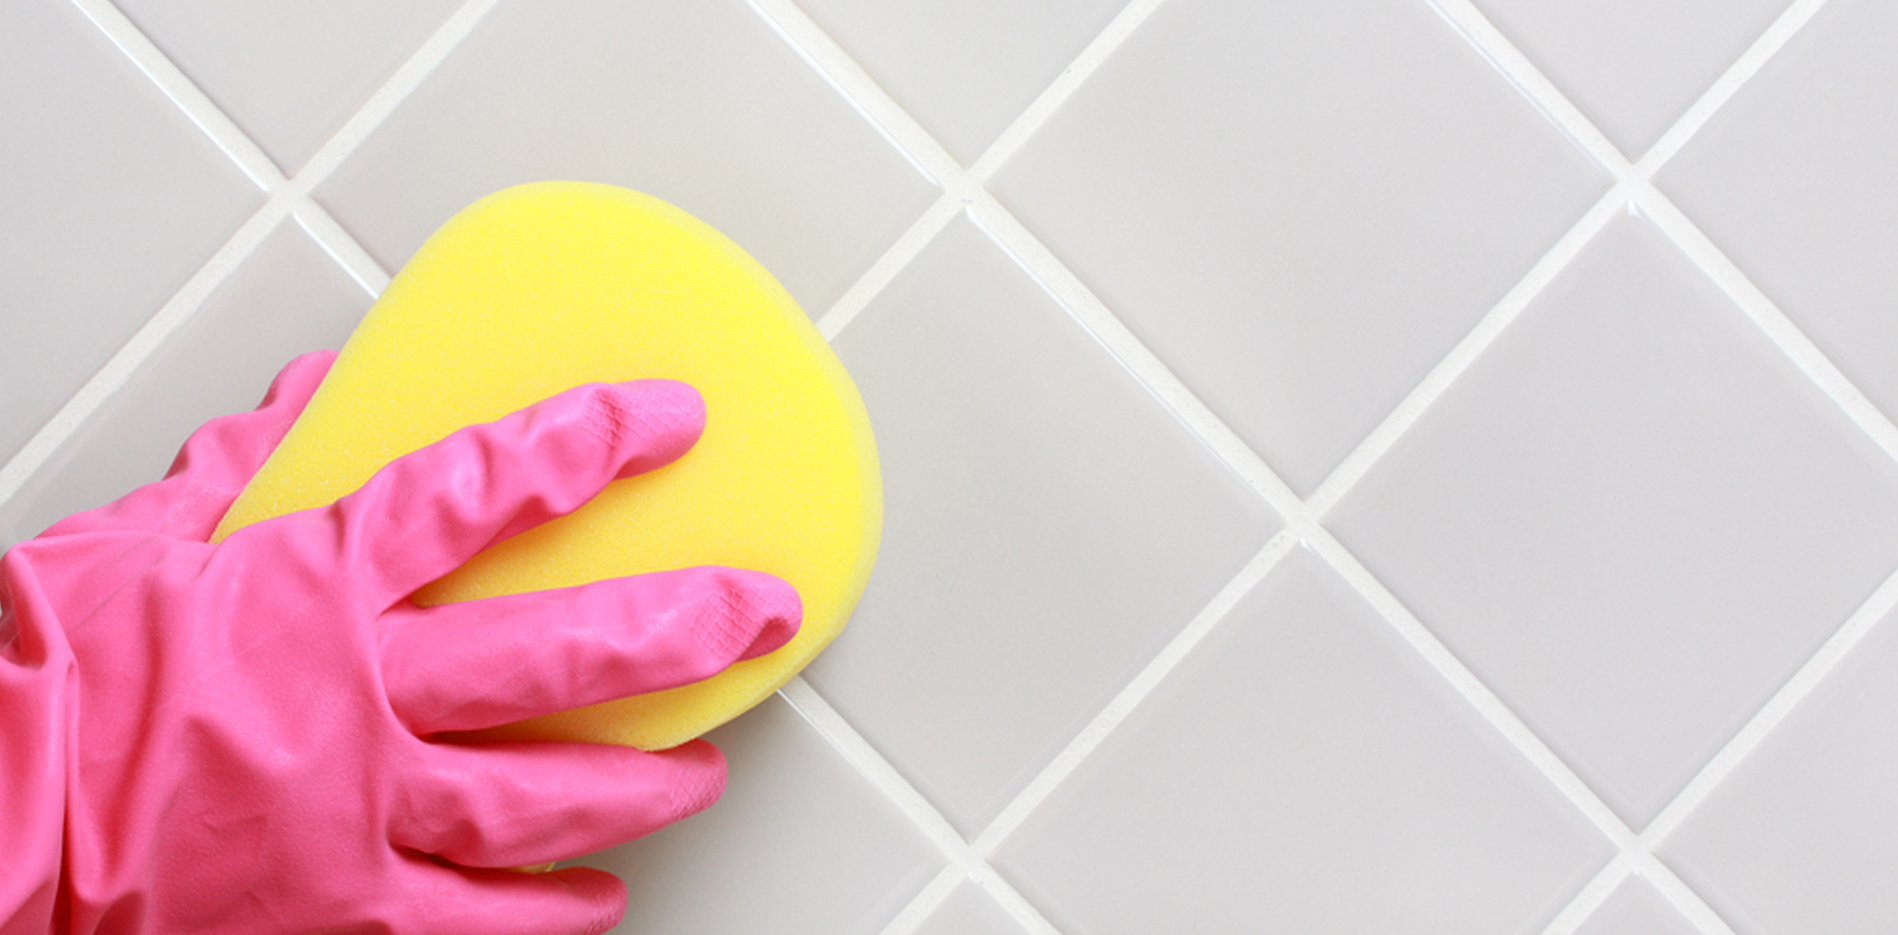
After 30 minutes, when the grout begins to harden, it should be polished, removing excess elements with a damp sponge. If white tile remains on the tile, it can be removed with water or felt.
Silicone sealant should be used to seal joints between the bathroom and the wall.
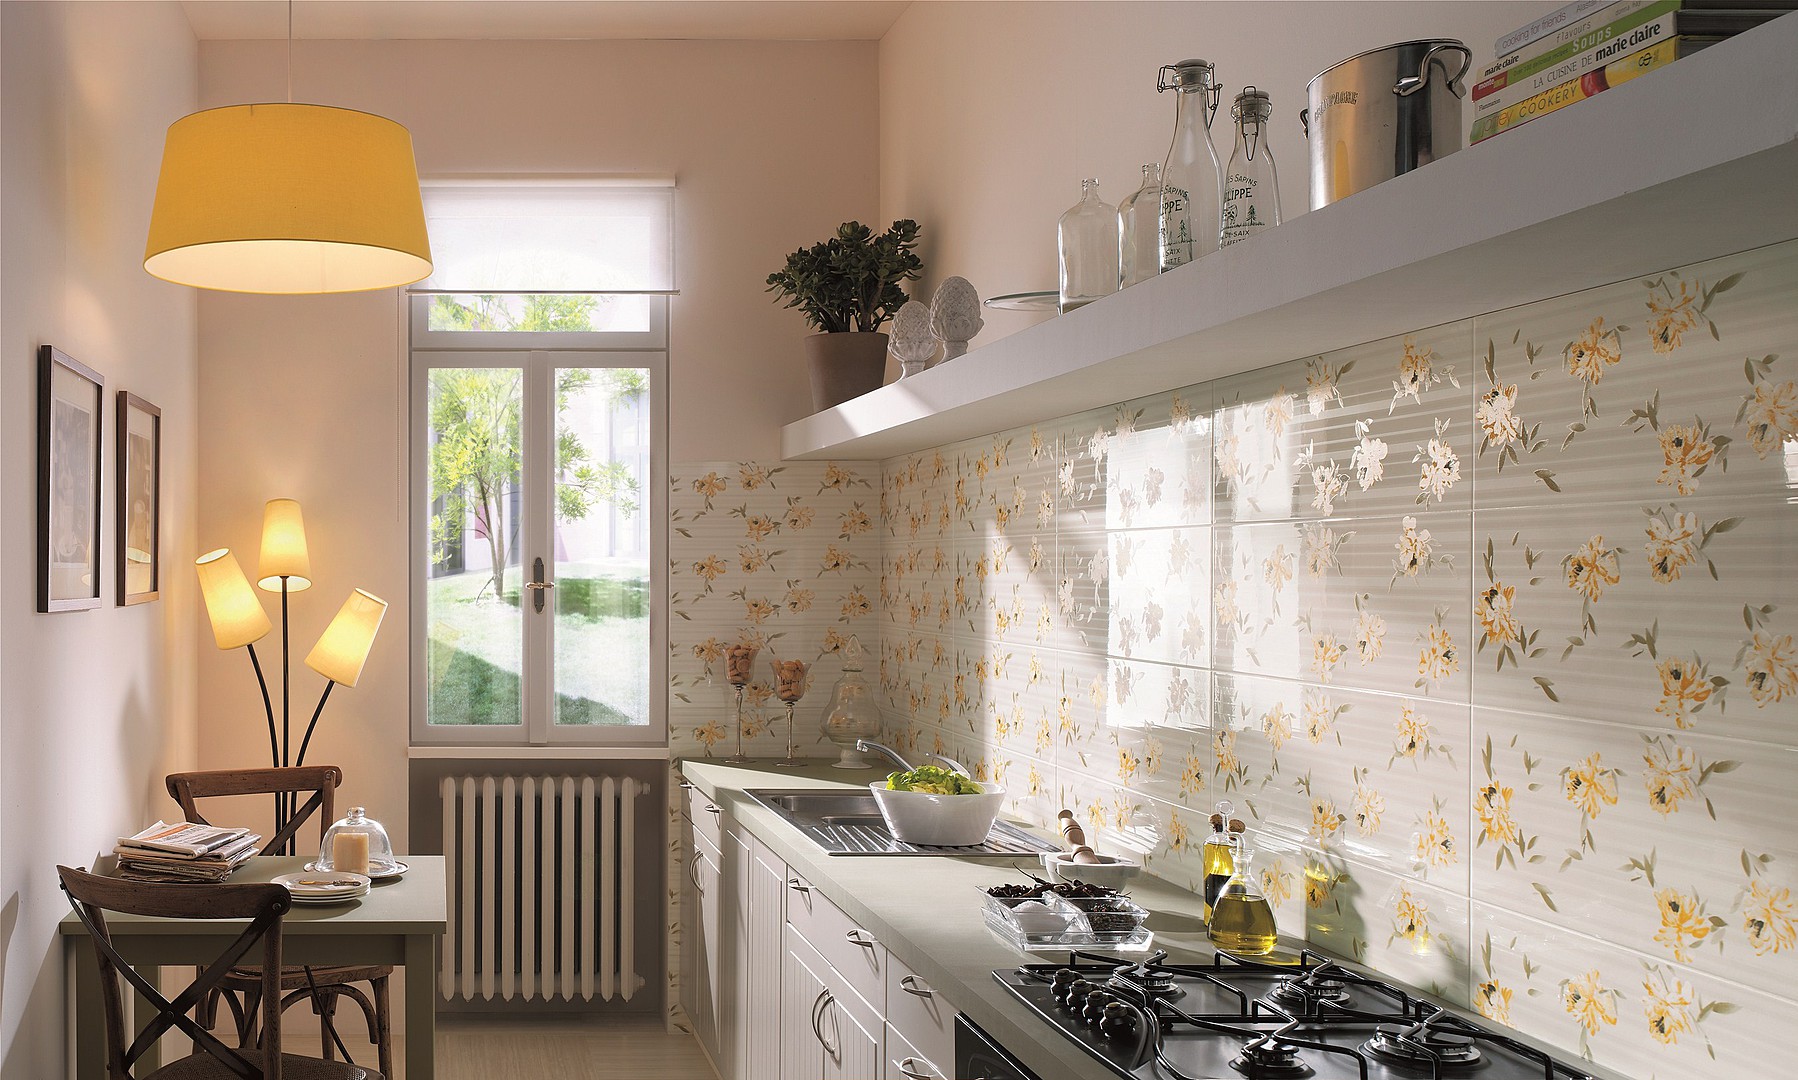
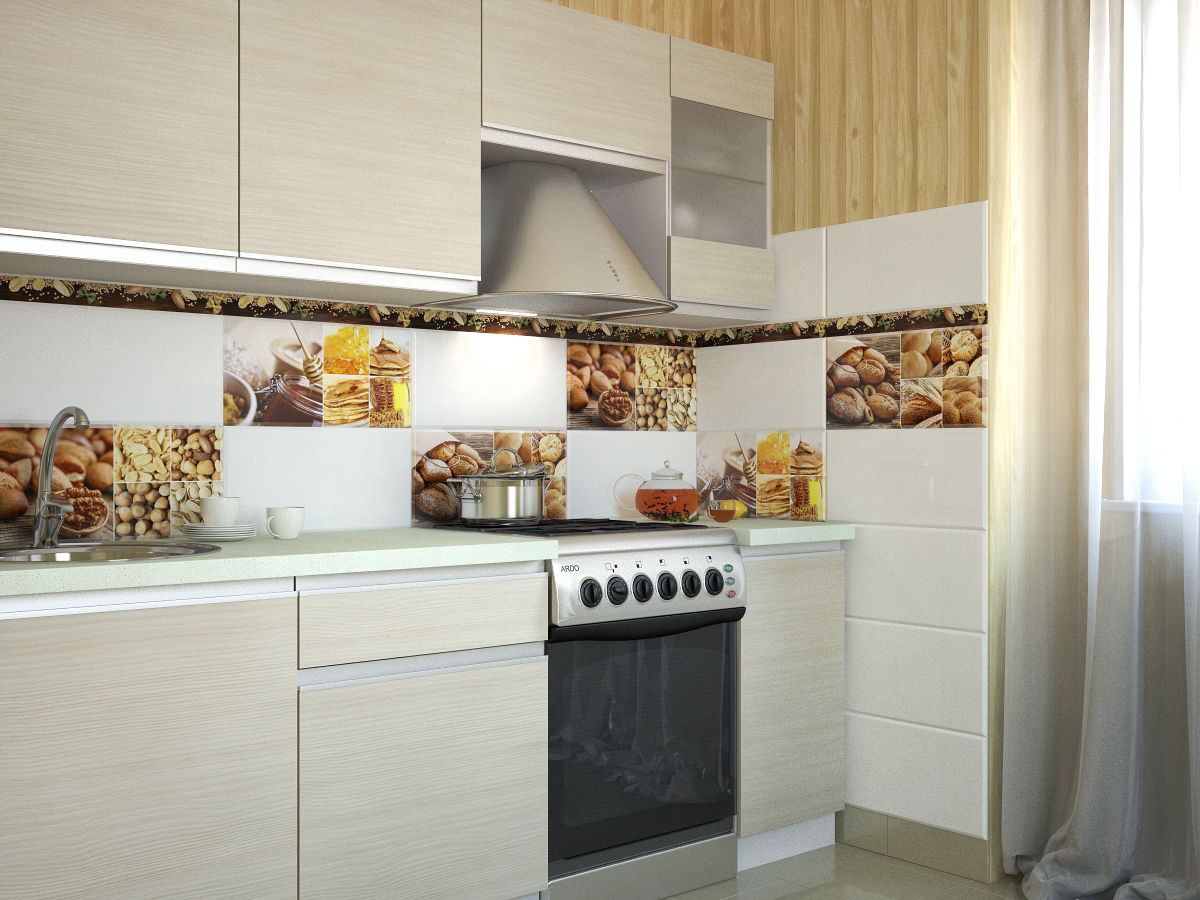
In the kitchen, tile is installed in a similar way. Before starting work, it is also necessary to get rid of irregularities and defects of the walls. It should be borne in mind that the tile in the kitchen fits the apron where the stove and sink are installed.
In these areas, the humidity is always high, so you need to buy a moisture-resistant finishing material, then ensure that it is properly maintained.

If there are wooden walls in your house, you can also lay tiles on them, but for this you should use a special epoxy-based adhesive or silicone glue.
In this case, you also need:
- Prepare the surface for tile installation.
- Attach a reinforced mesh.
- Apply a layer of plaster to it and wait until it is completely dry.
- Then the tile is glued.
- When the masonry is dry, you need to grout the joints.
The tile can be laid out on the foam block. For this you need:
- Apply pre-prepared glue to the base. For this you should use a spatula with cloves.
- Attach the first tile to the wall and press it firmly.
- Next, you need to check the correct fixation of the material using the level. Keep in mind that the alignment of the finish you are given no more than 15 minutes.
- Similarly, you should lay out the remaining tiles. Do not forget to install plastic crosses between the elements.
- A day later, crosses are removed and grouting is performed.

Grouting and cleaning
At the end of the finishing work should be done grouting inter-tile joints.
To do this, you can use the following devices:
- Fugu (suture filler).
- Special rubber spatula.
- Office knife.
- Sponge
- Rags.

First, from all the seams need to remove the plastic crosses. Then all the inter-tile slots need to be cleaned of adhesive composition to a depth of about 5 mm. For this, a sharp blade of a small clerical knife is best suited.
After thorough cleaning of the interlayer joints, it is necessary to pour into a medium-sized container of 0.5-0.8 l of warm water. Then you need to add a dry grout (if you purchased this, and not ready-made version). After that, you need to mix the composition to obtain a homogeneous mixture.
When you thoroughly stir the grout, and it will be ready to work, you need to take a rubber spatula and fill the areas between the tiles with it. After that, you need to wait 30-60 minutes (average drying time). Then, the finished surface should be wiped with a sponge, well soaked in water. Next, the overlap is re-treated with a piece of rags.

Repair Tips
So that you do not have problems associated with the finishing of floors in the room, you should use only high-quality and durable materials (and mixtures) from famous brands.Low-quality tiles will not be securely fastened to the wall base and will simply fall over time.
In all cases, remove the old finish from the walls before sticking tiles. On the basis it is impossible to leave the slightest pieces of wallpaper or paint, since these elements will interfere with sufficient adhesion of materials.
Do not use glue in large quantities. This can lead to the fact that over time the tile will begin to move away from the base, and then completely fall off. However, the adhesive solution should not be too small. It can also lead to unreliable retention of tiles on the walls.

If you notice that the tile has moved away from the base, then you should not be afraid. Dropped parts should be returned to the old place. To do this, clean the vacated surface and cover it with glue. Install the tile on the prepared area and remove excess adhesive (if they appeared).
When choosing a wall tile, consider that too many joints may contribute to the penetration of moisture and moisture into the finishing material. Over time, mold and fungus can appear in these areas, as well as an unpleasant smell of dampness. It is very difficult to get rid of such defects.That is why experts recommend giving preference to larger tiles, between which there will be fewer seams.
How to independently lay tile on the wall, see the video below.