LED ceiling lights: advantages and disadvantages

LED ceiling lighting has its advantages and disadvantages. You can make such LED lighting yourself if you follow our recommendations.
Special features
The main features of ceiling lighting with LED elements are the possibility of obtaining unusual lighting of varying degrees of brightness with very low energy consumption, as well as ready-made kits, for example, for a hallway or a hall.
In addition, the multivariate nature of the proposed LED elements and the ease of their installation make it possible to equip the lighting without special skills in electrical engineering.
Today, the market offers elements of such lighting with a very different spectrum and different colors. Therefore, if you have hands that can hold a tool in your hands, you can transform the most familiar interior beyond recognition.

How to place?
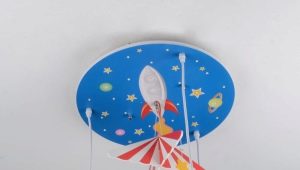
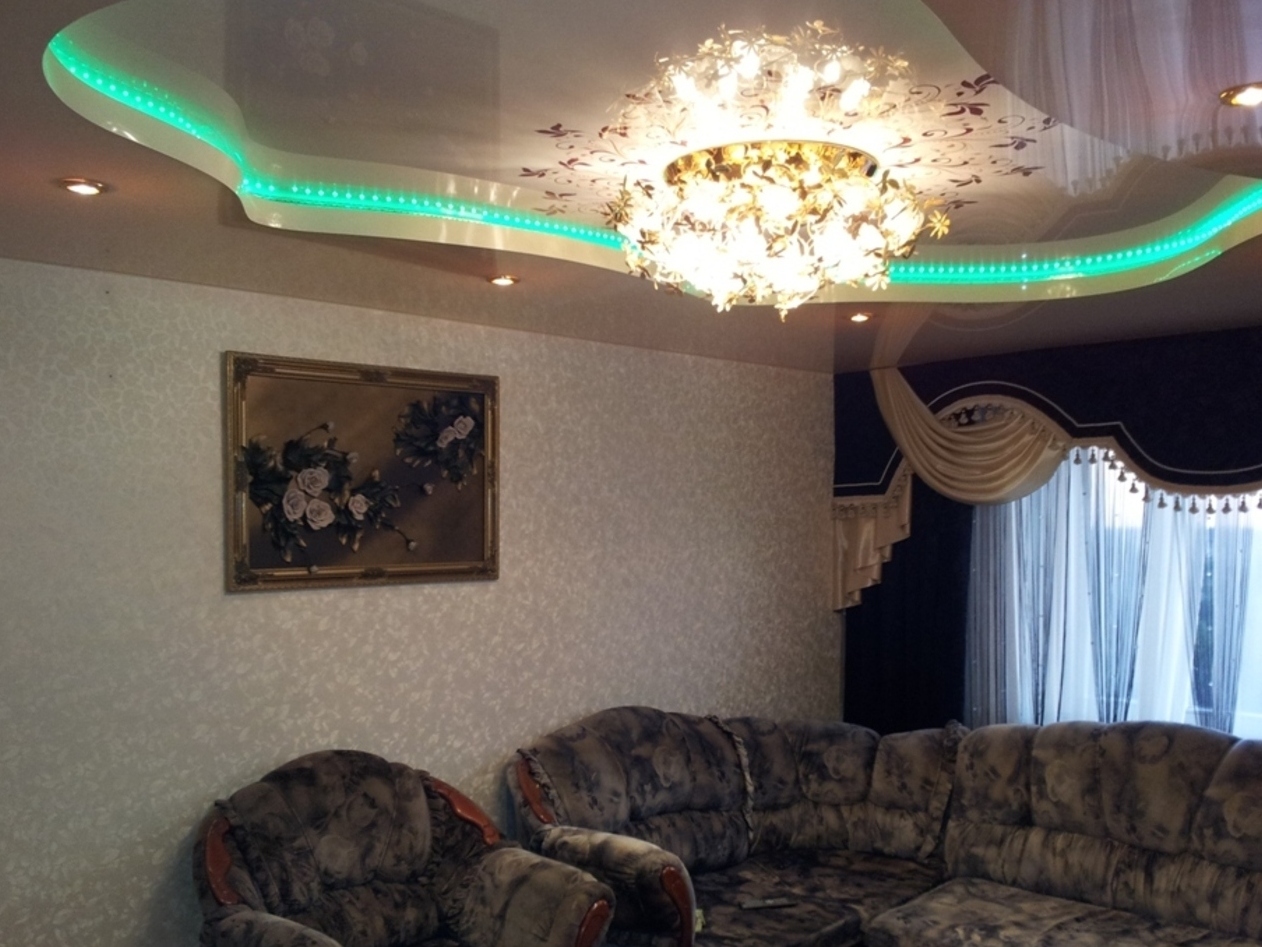
When placing LED lighting, first of all, you need to decide what types of elements will be used. The easiest option is a central luminaire., having built-in LEDs in its design, either of the same color or changing it. Typically, these chandeliers have up to six options for the inclusion of various combinations of LED lighting and standard lighting. In this case, it can be a decoration of the room.
If, apart from it, no additional sources of light are planned, then the interior of the room should be oriented to the point where it is fortified.

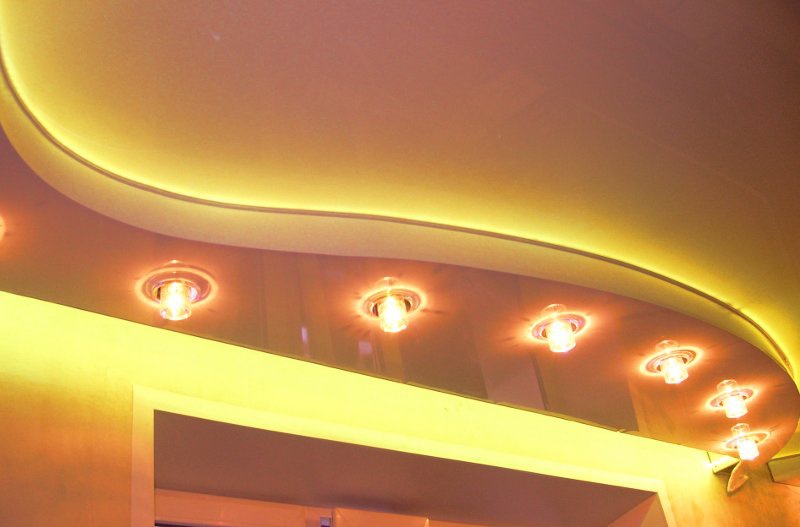
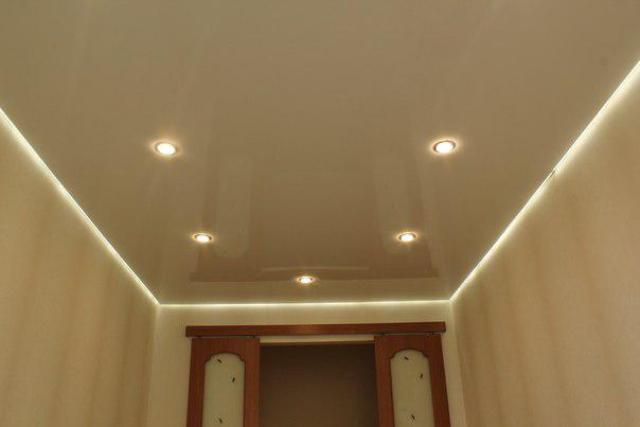
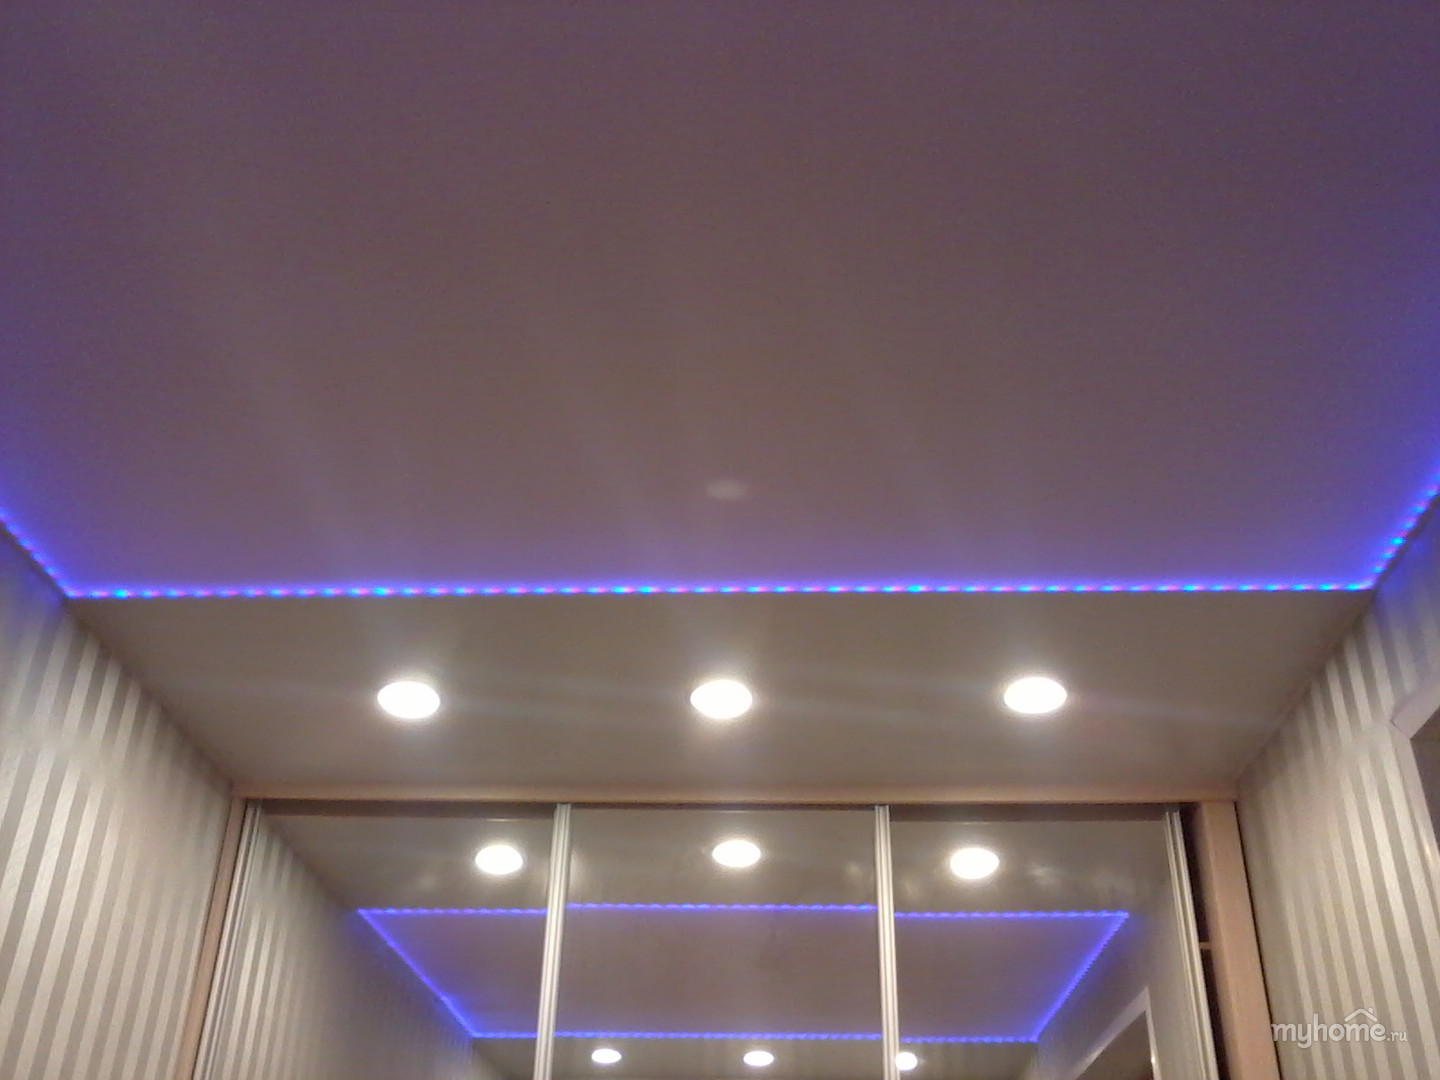
The second option involves, in addition to central lighting, additional spotlights, distributed in areas of the room. They are intended for separate illumination of the necessary part of the room used for specific purposes. This is also one of the simplest highlights. Its logic is only that the light can be turned on in different areas of the room.

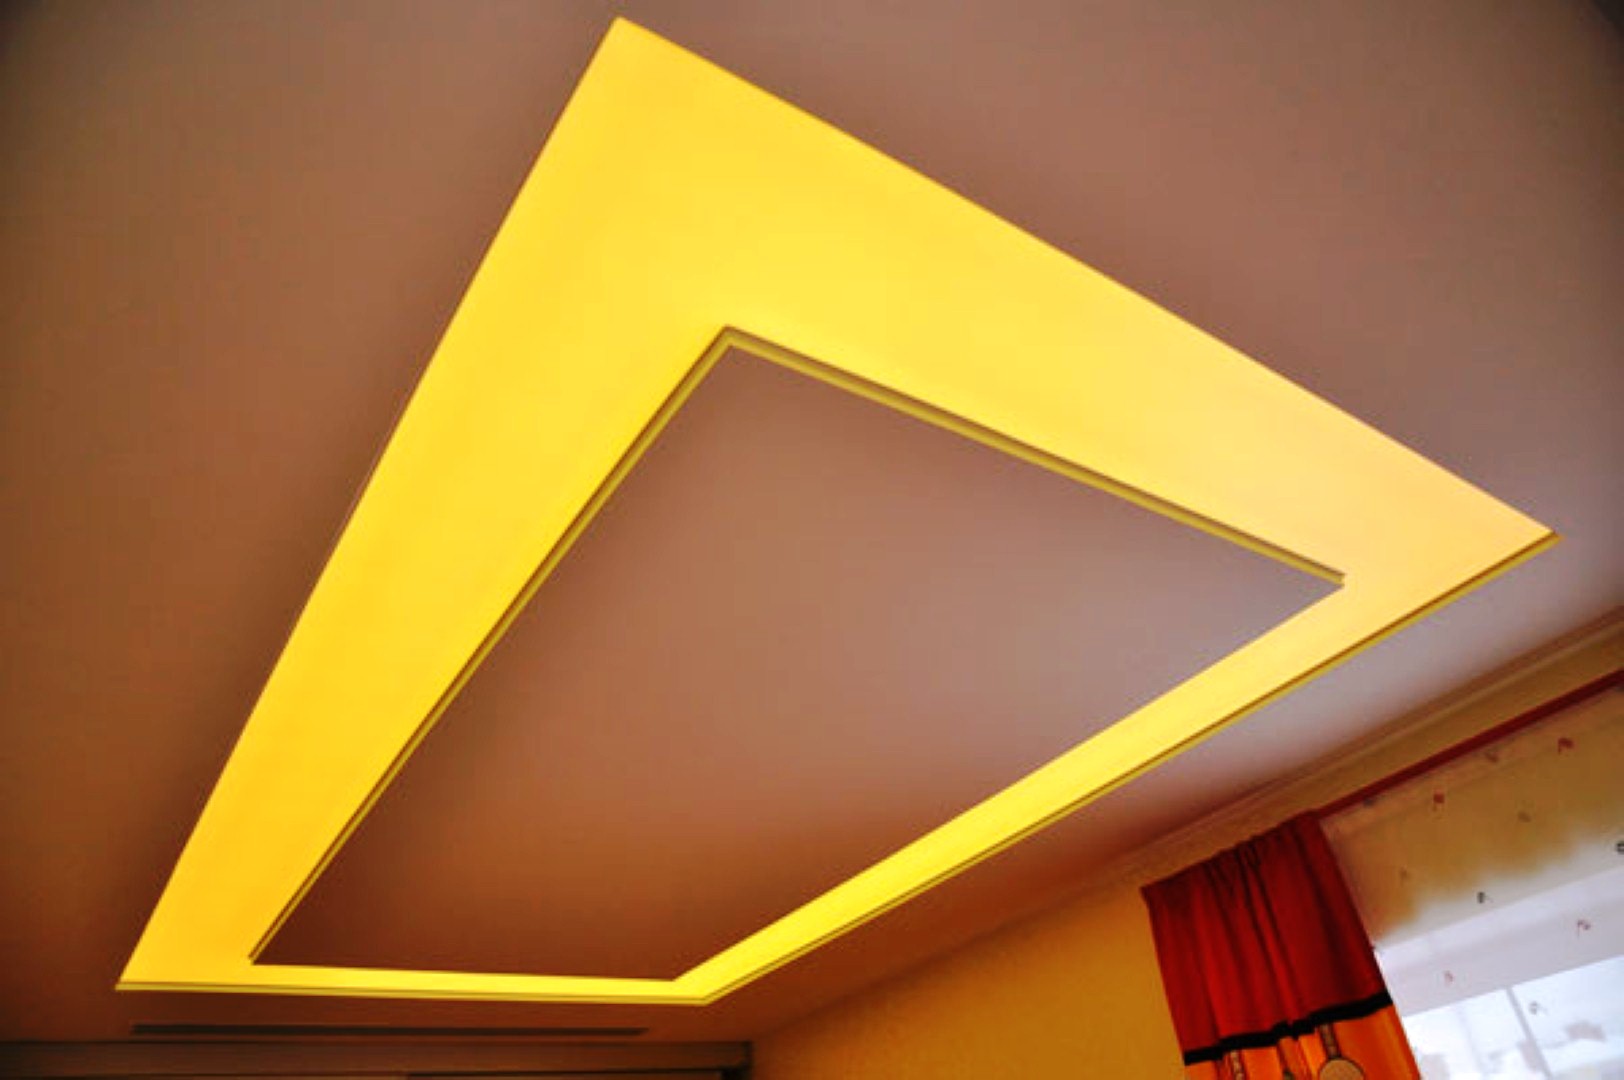
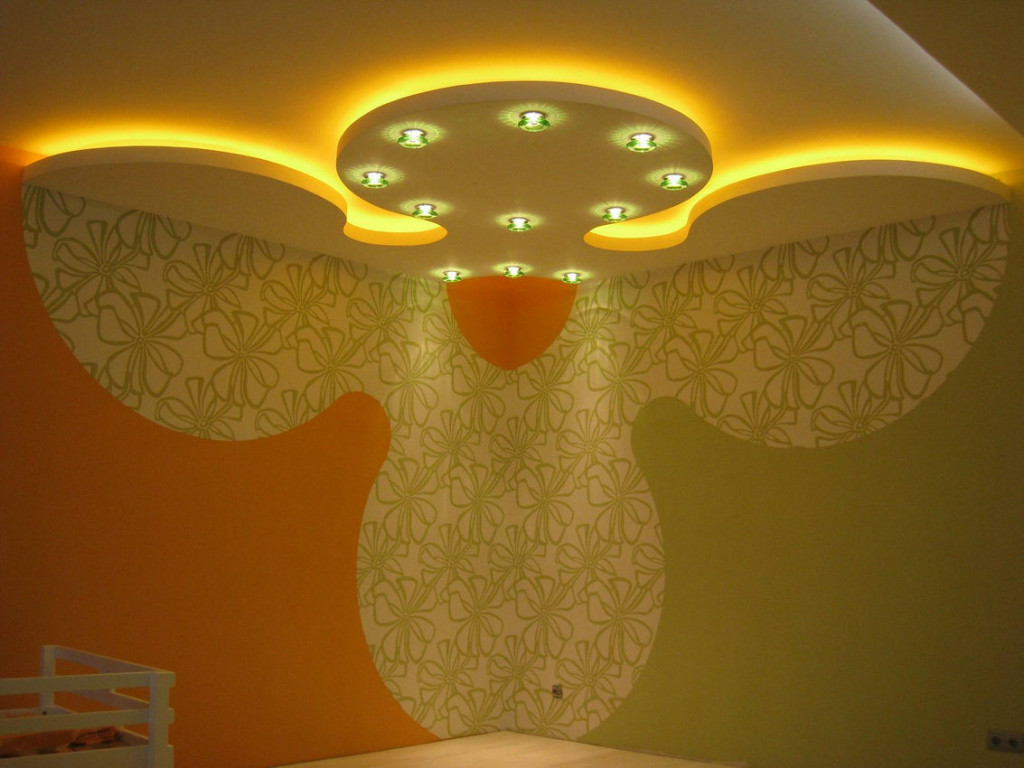
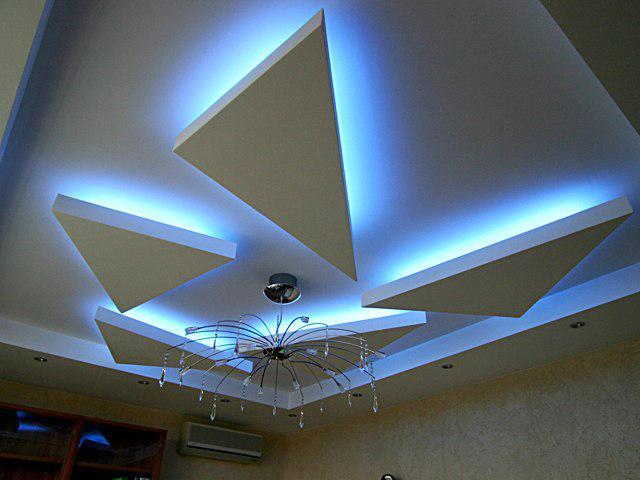
The third option involves the lighting of LED strips of various elements of the ceiling. This is one of the most interesting solutions, giving a lot of imagination.
This highlighting is done in three ways:
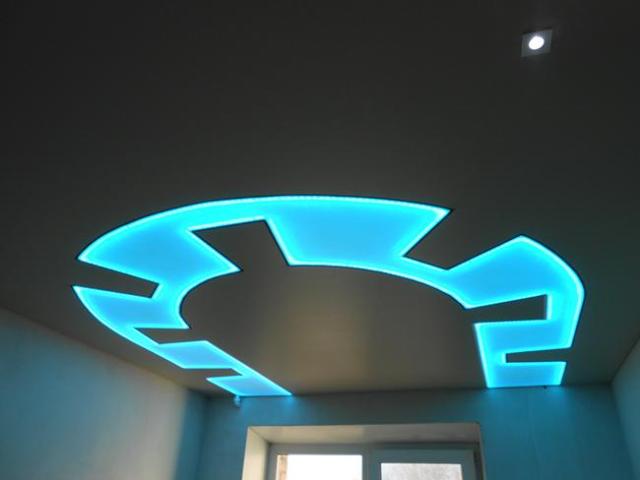
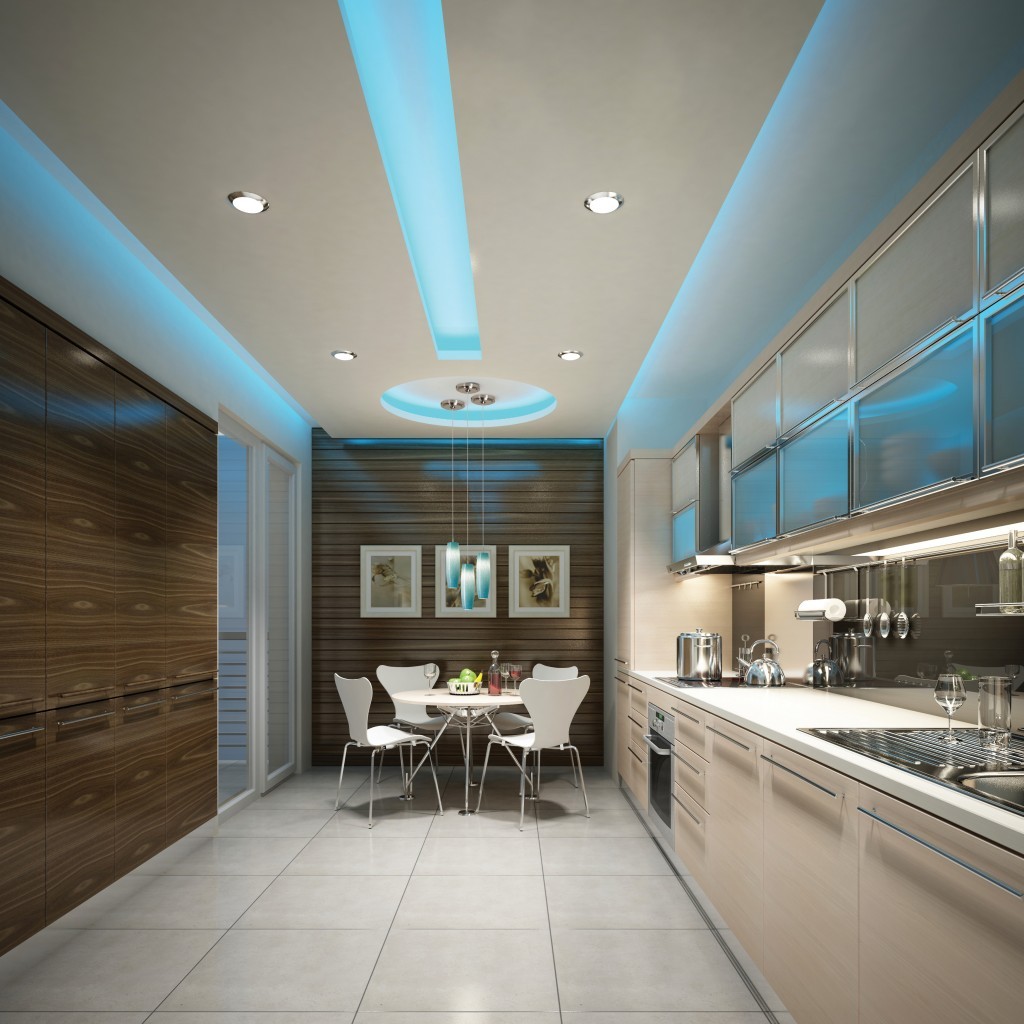
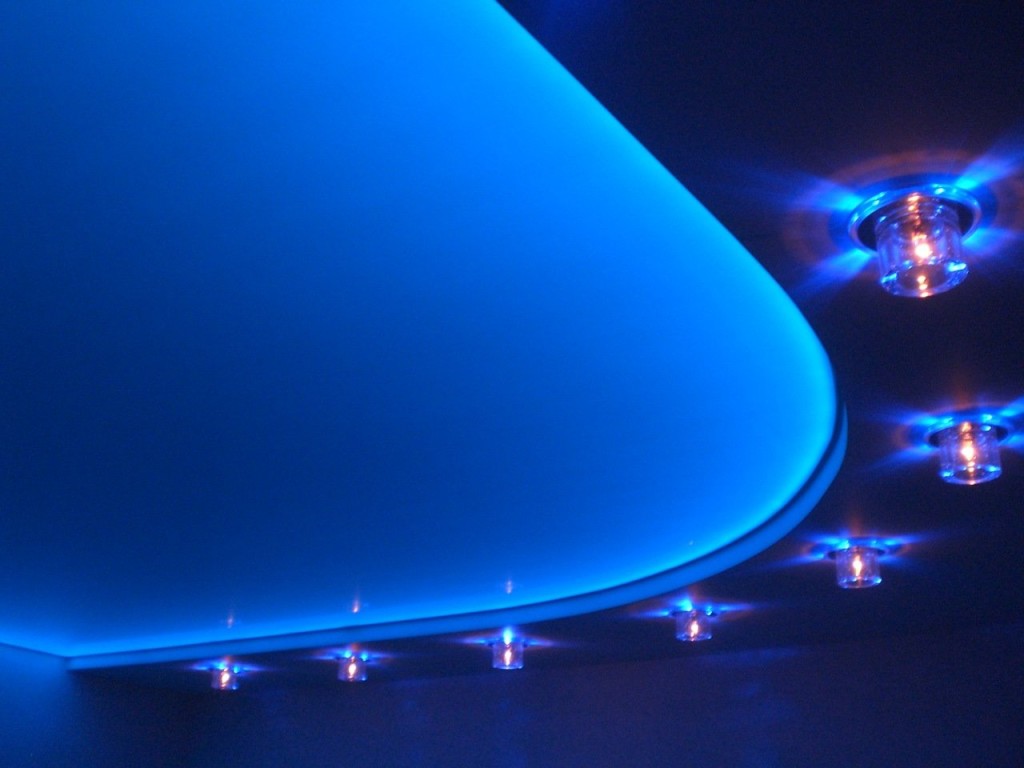
- LED lighting works on the film stretch ceiling film. If the film is white, then you can choose LEDs that give color illumination. In this case, a gentle light of blue, green, pink or lilac color is obtained. If the LEDs are white, then the lighting will be muted. Also, this option is used to simulate the starry sky. The difference is that for each LED a hole is punctured in the film, which is fixed by a tie ring so that the film does not disperse from the tension.
To enhance the effect in this case, the film can be applied drawing luminescent paint or use Swarovski crystals.

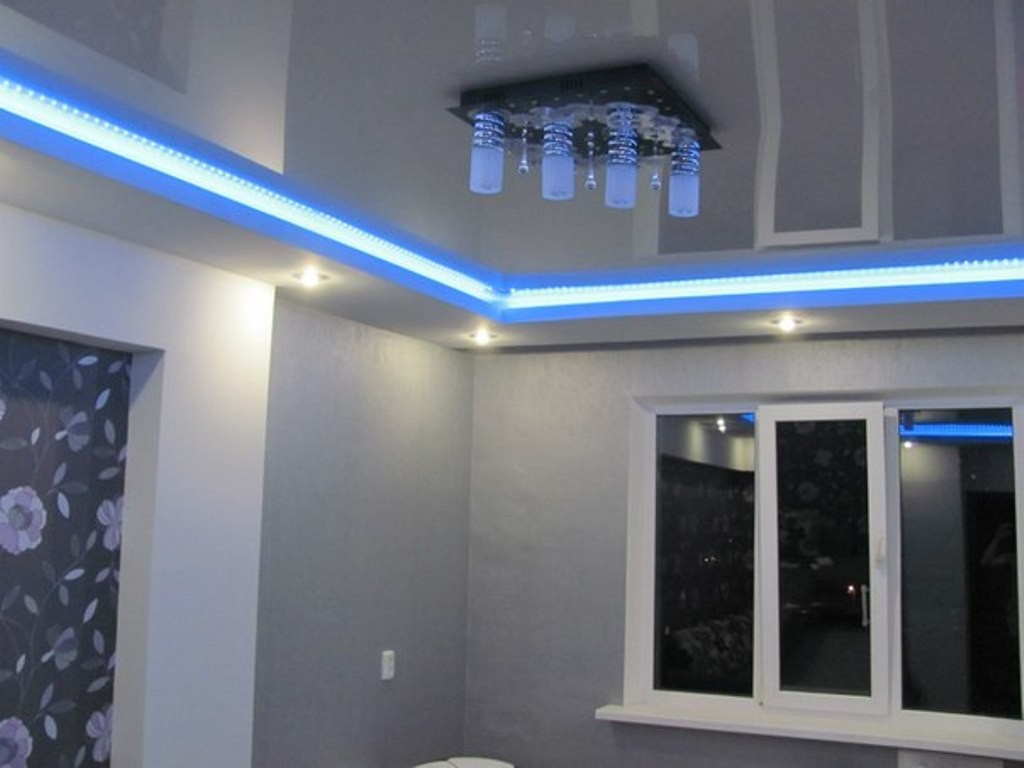
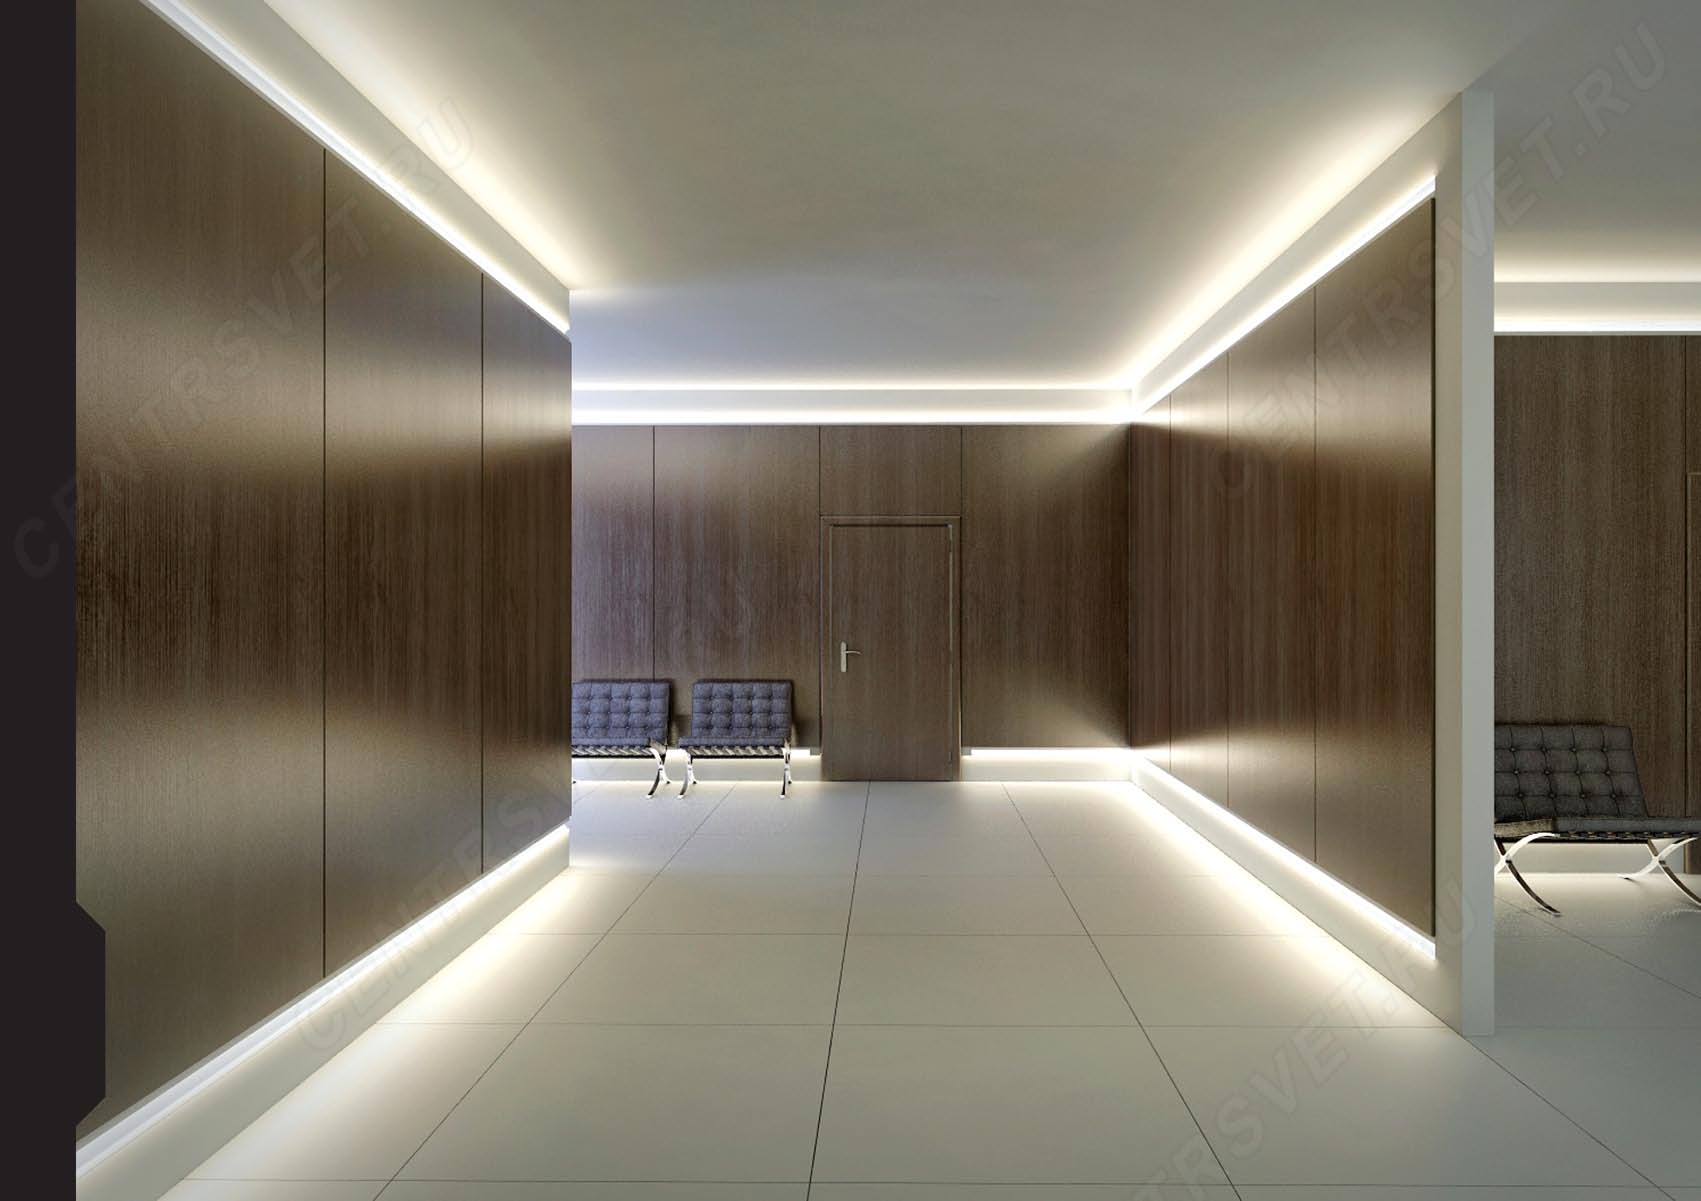
- LED strips are located in guide profiles for lighting around the perimeter. Thus you can highlight the panels on the wall, the picture, the ceiling, a niche for curtains. The profile for mounting such a backlight should be U-shaped. The simplest option is one of the straps cable channels.
You can also use metal starting profiles for slatted ceilings of the desired color.
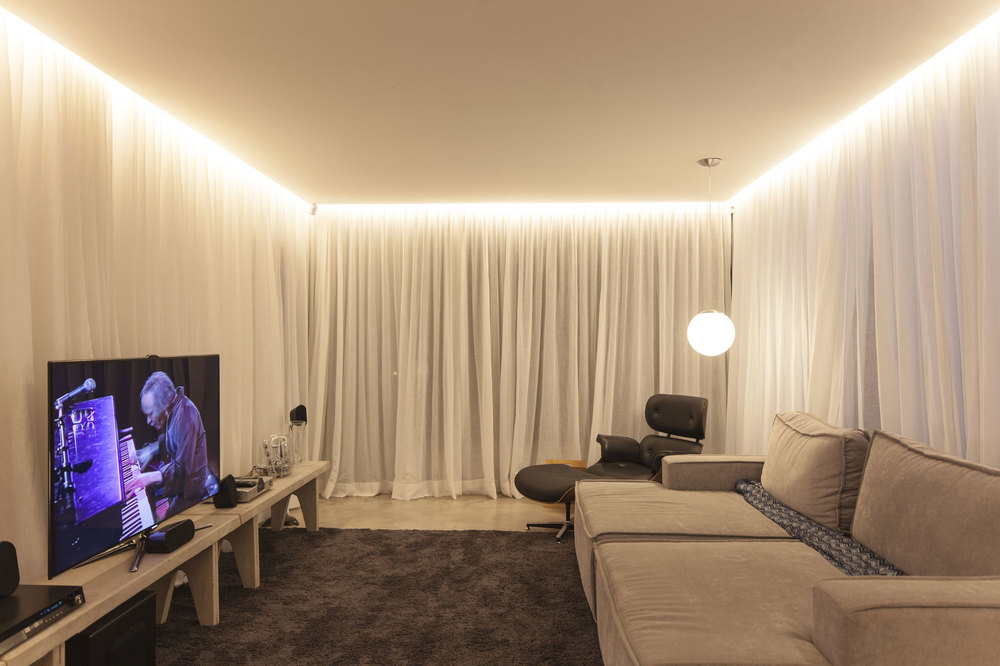
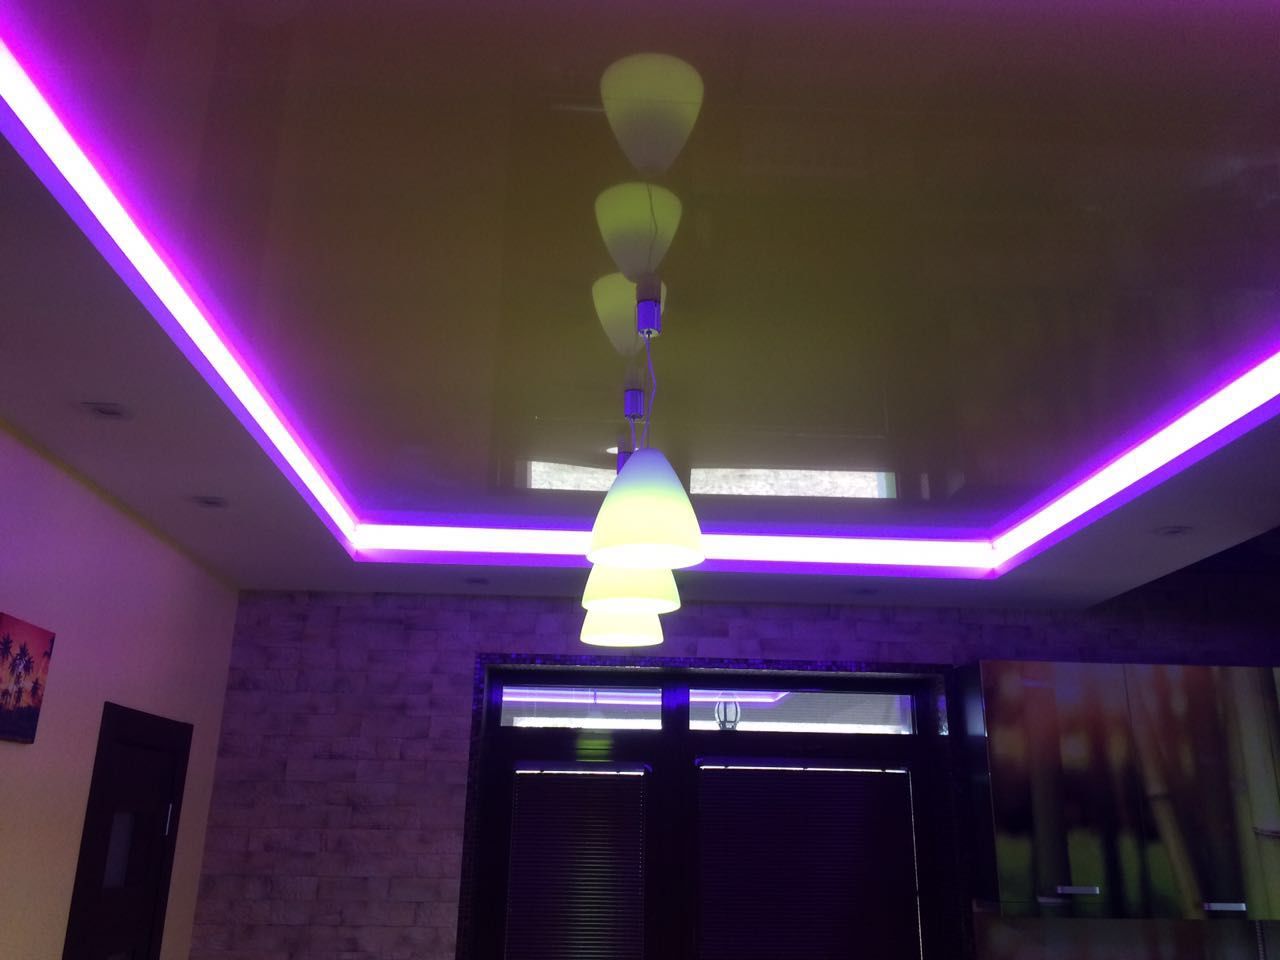
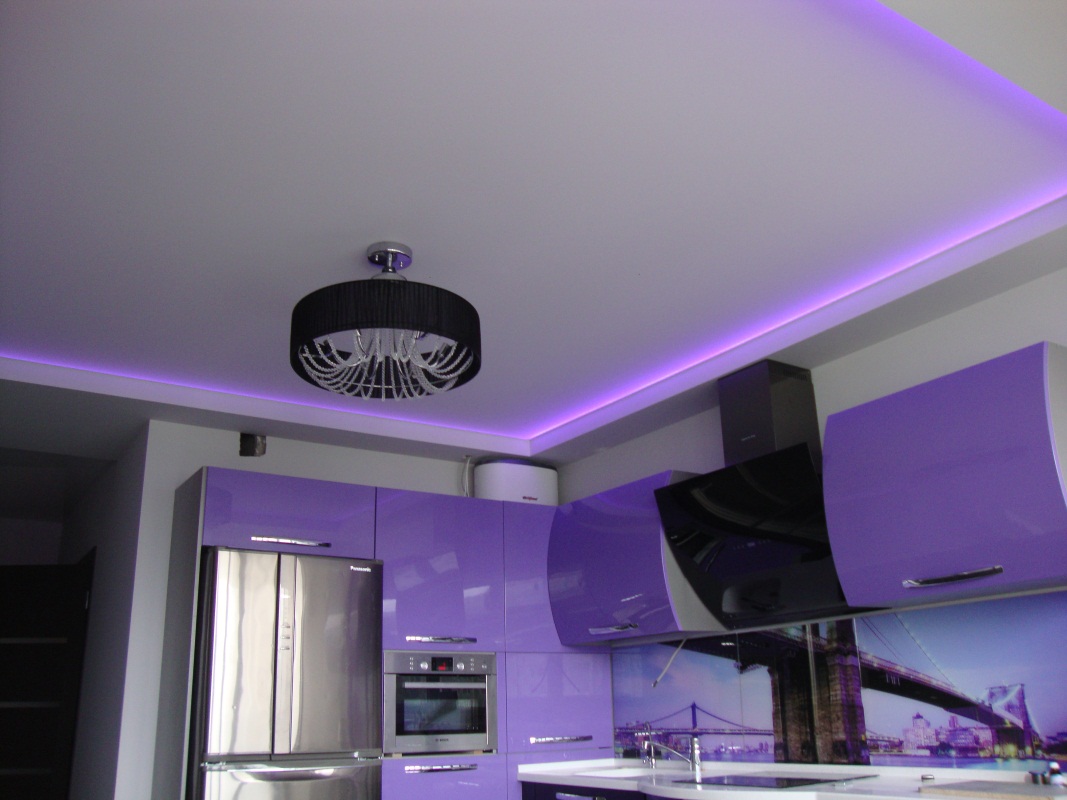
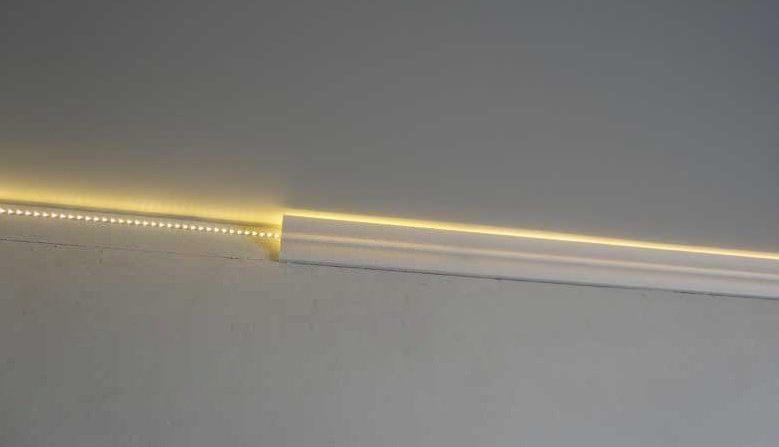
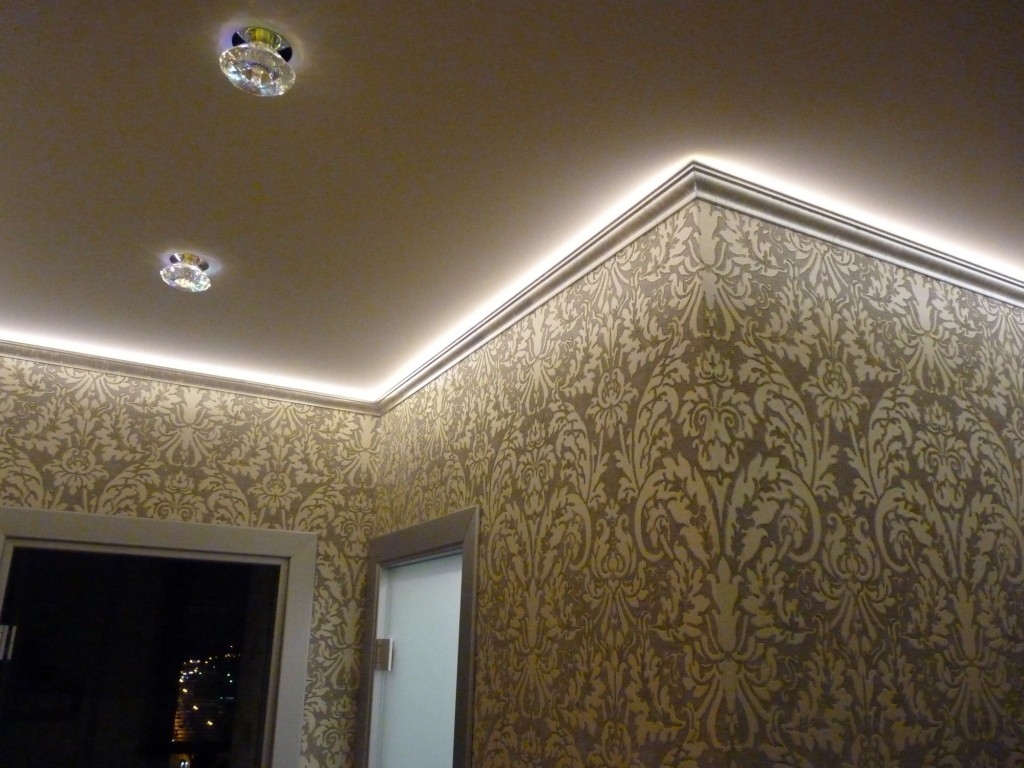
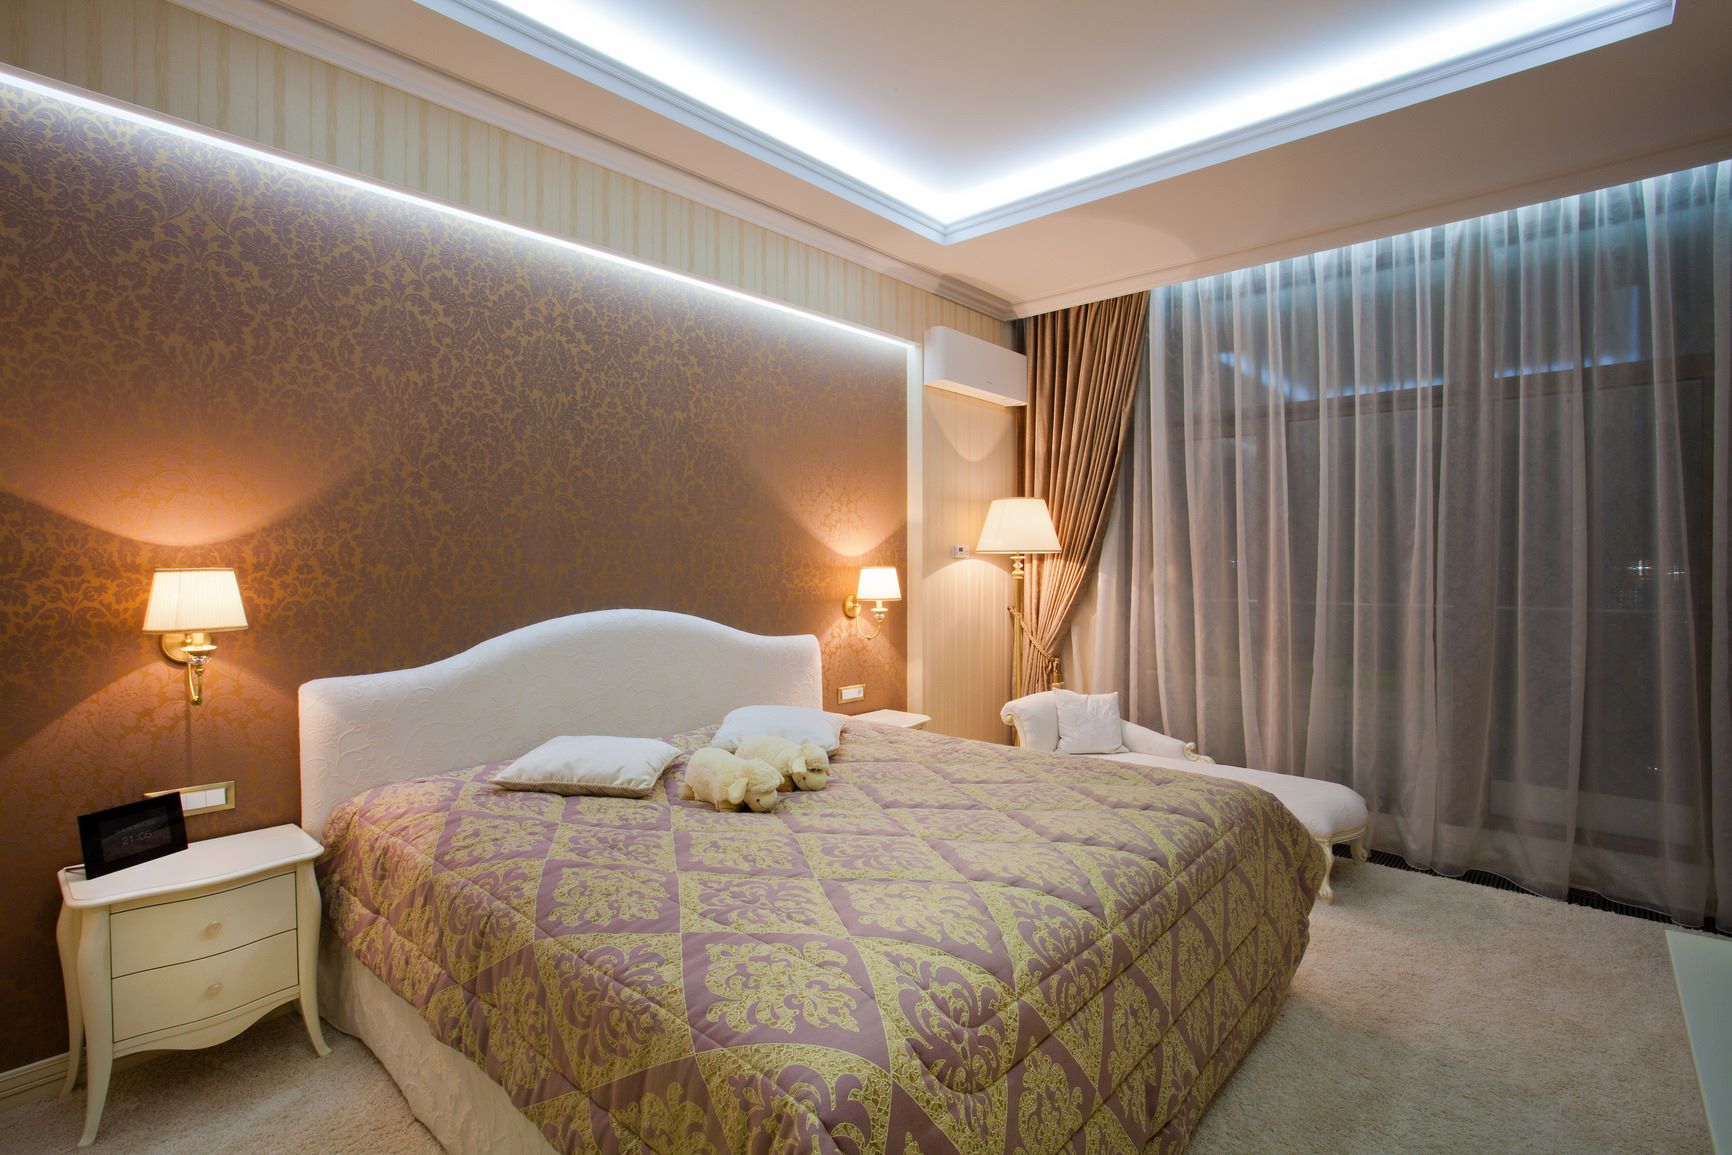
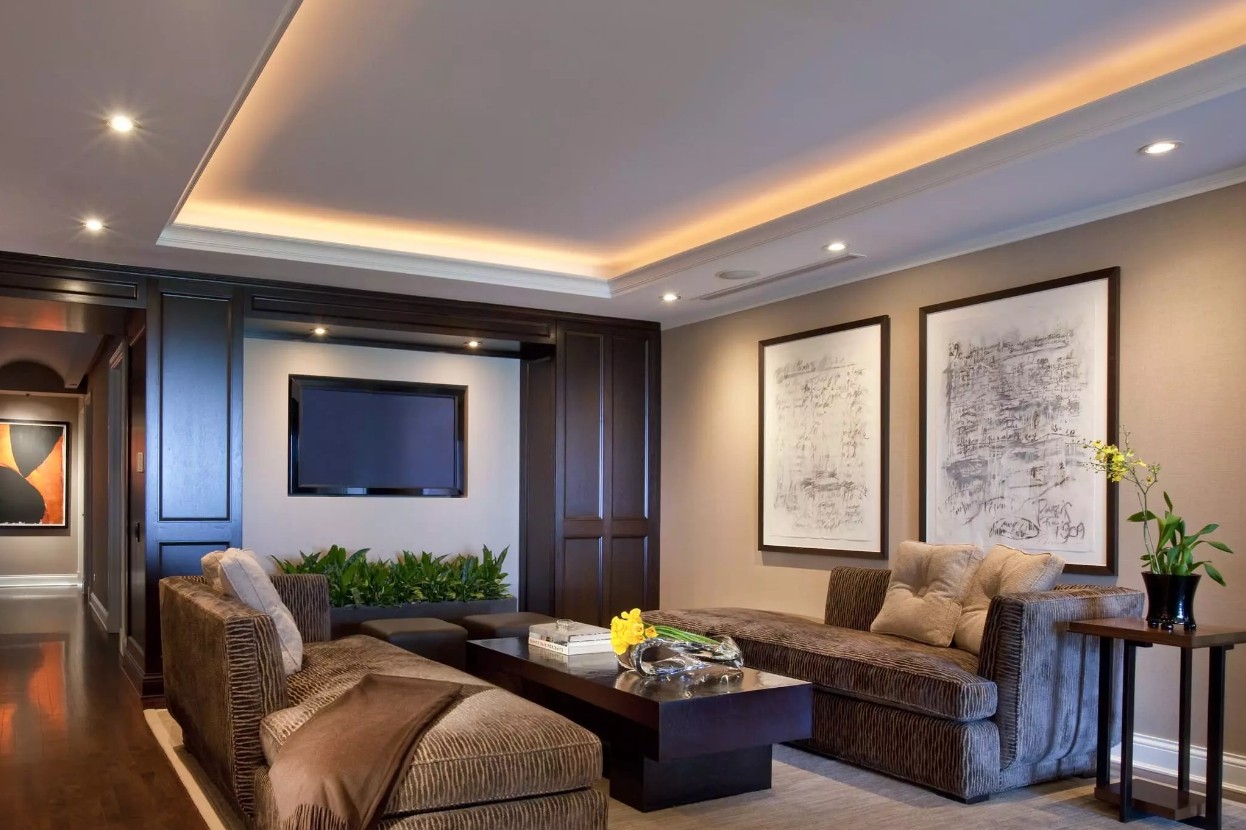
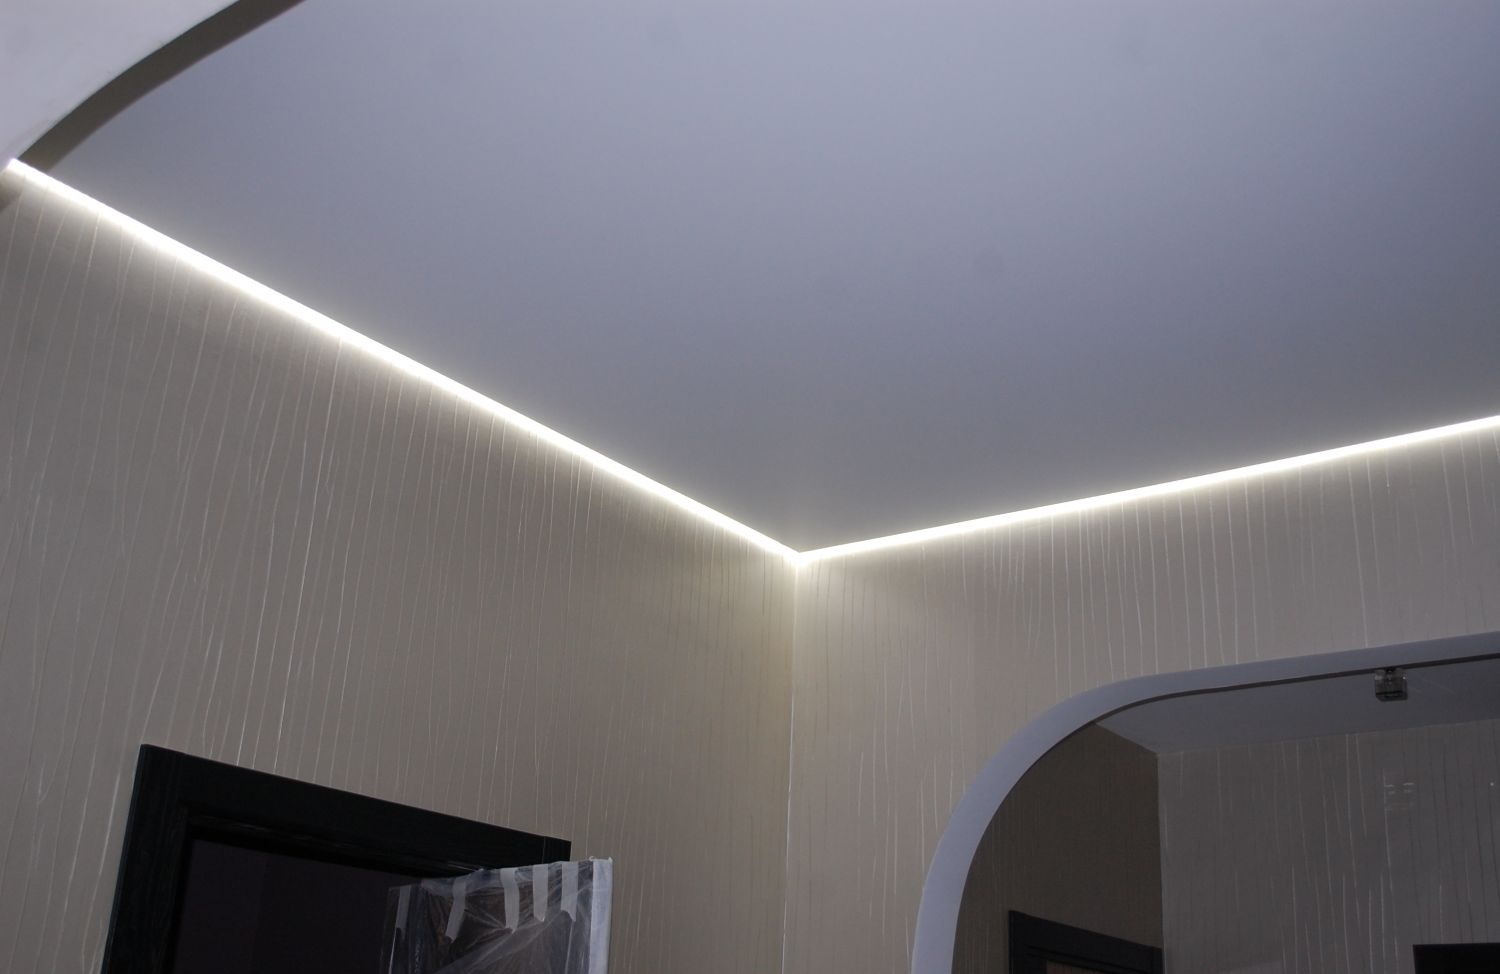
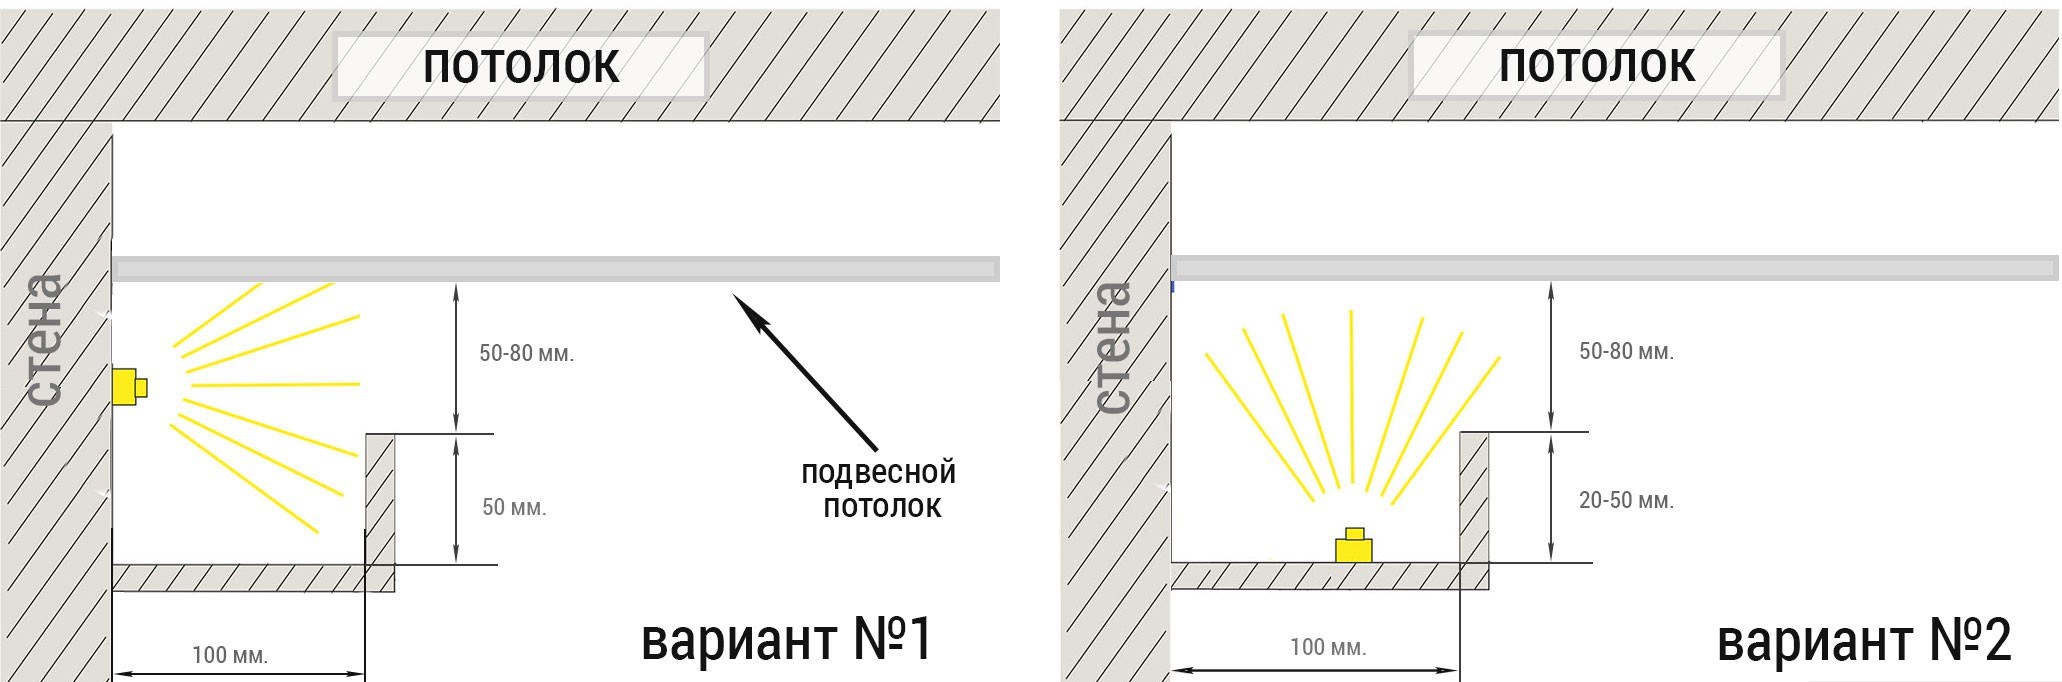
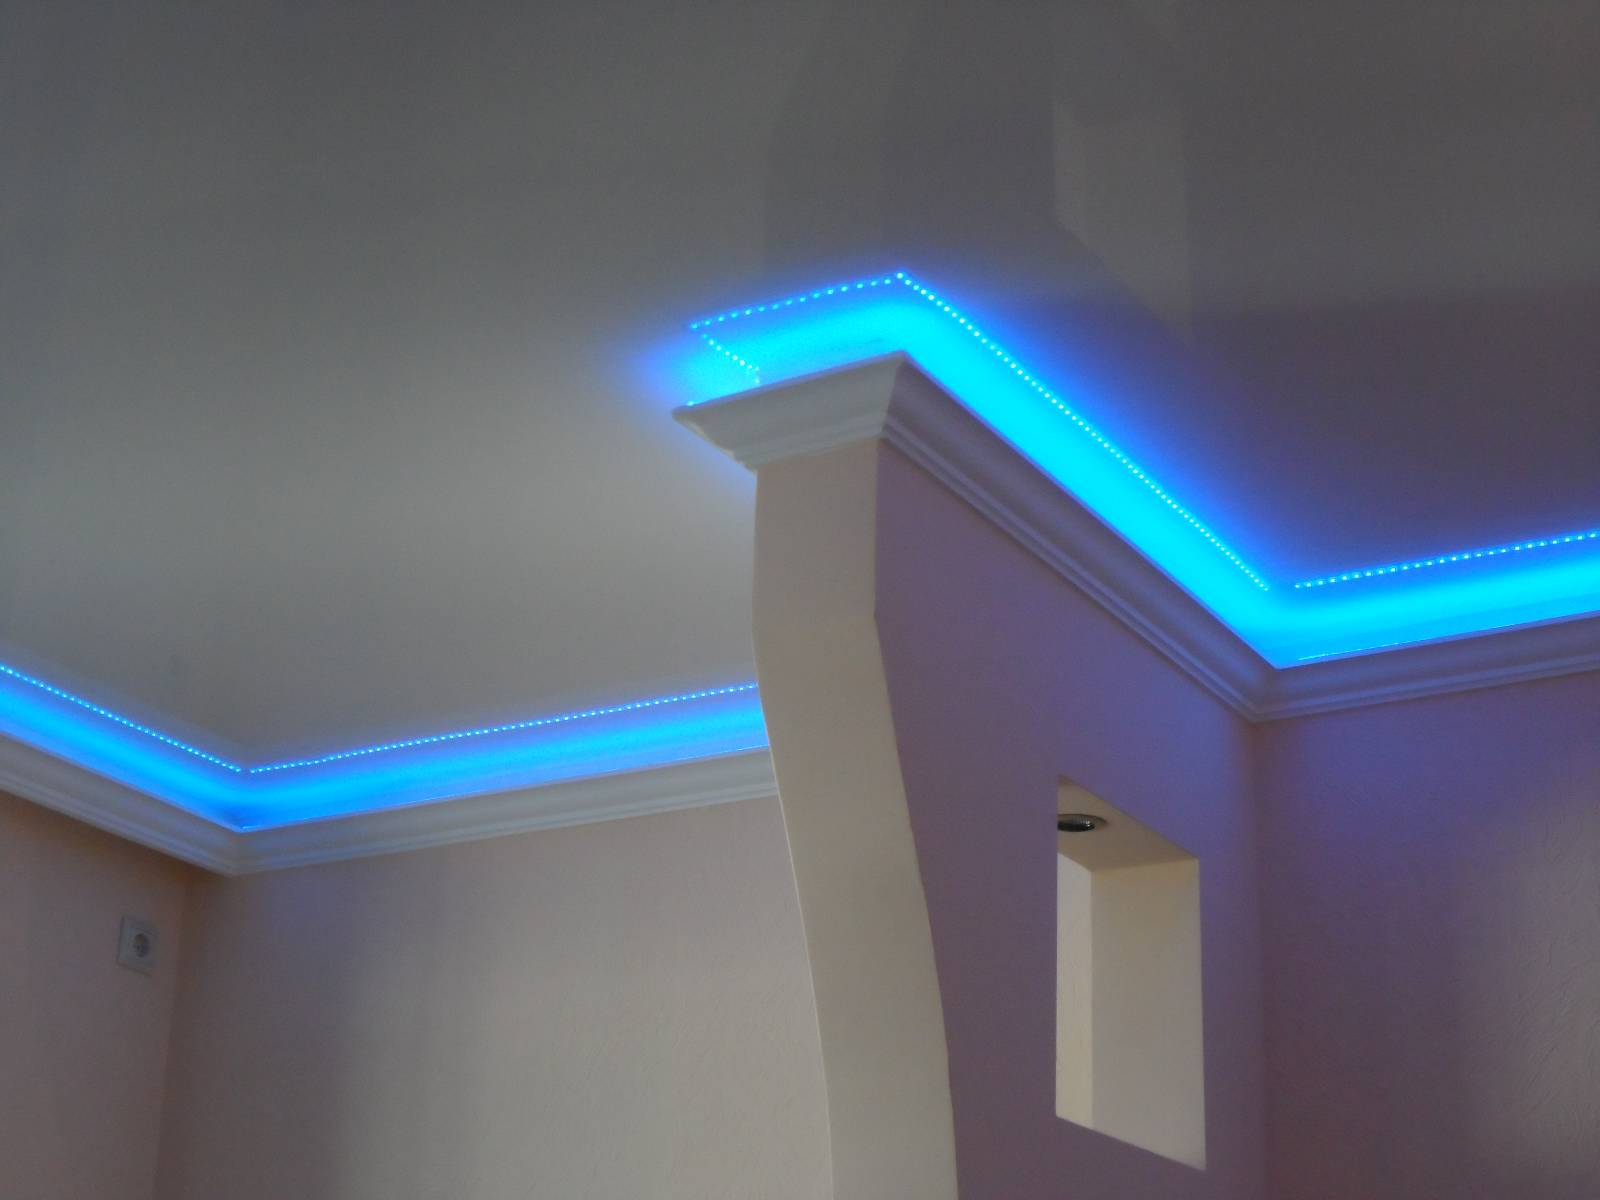
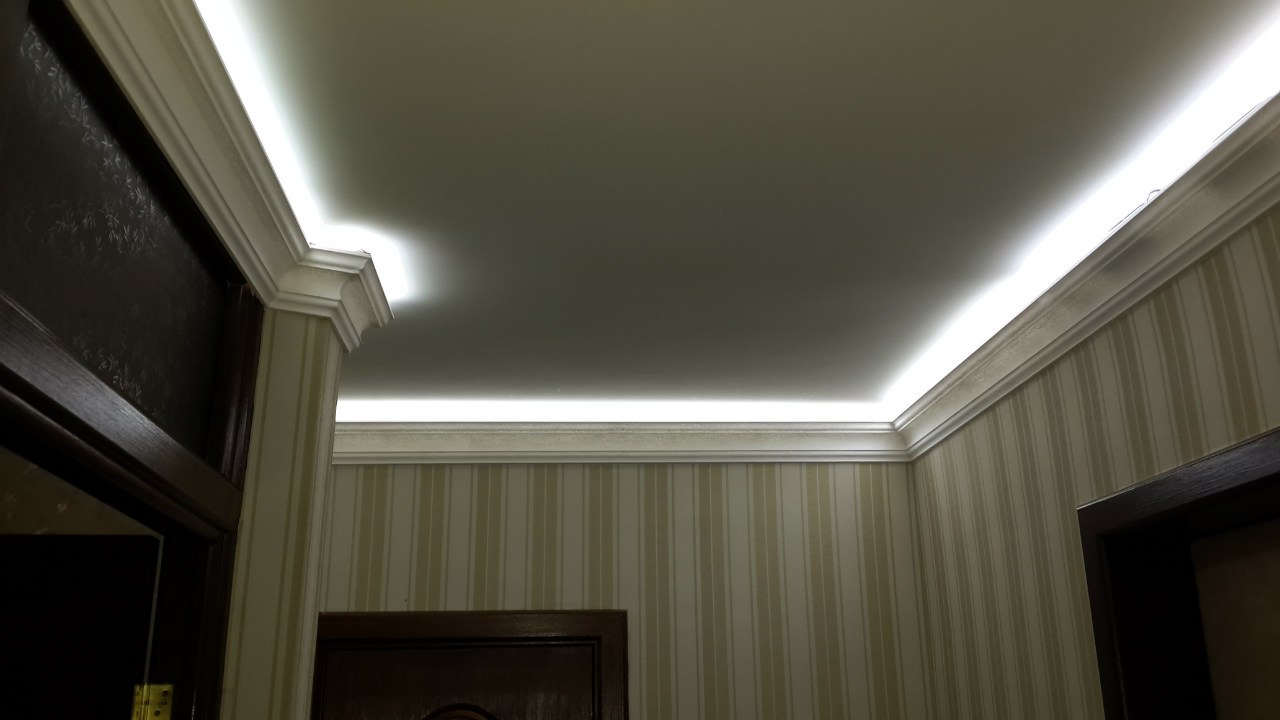
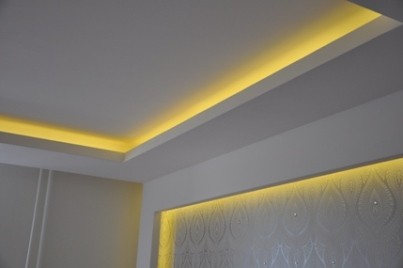
- Backlight from the gap. This option does not provide illumination throughout the ceiling, but only a directional beam of light, illuminating the strip along the perimeter and diffusing towards the center. The gaps into which the LED strip is mounted can be made in a drywall construction. The easiest option is to install the tape in the gap between the ceiling plinth (eaves) of extruded polystyrene and the ceiling. In this case, the plinth is mounted only on the wall.
The distance from the ceiling is made from one to three cm. The plinth is necessarily fixed additionally with screws for the strength of the structure, the heads of which are recessed, then puttied and painted together with the plinth. The larger the gap, the wider the band of light falling from it.
With this installation it is very important that the laid LED strip was below the level of the plinth, otherwise all its elements will be visible as a dotted line. The plinth should also be glued strictly in a straight line. The edge, from which the light beams are reflected, must not be contaminated from the inside with putty or glue. Otherwise, the backlight bar will be ragged and uneven.
Design
The design of the placement of LED backlight directly depends on the owner's imagination and the possibility of financial investments.Developing the appearance of the room, you can provide lighting in the most unexpected places. The presence of lamps on the ceiling is a generally accepted way of lighting a room. But besides the ceiling there are columns, shelves, niches, decorative elements, just walls and floor plinth. And you can place the backlight on any of the listed elements.
To enable multiple backlight points it is necessary to provide switches specifically for each element or symmetrical pair.
If the backlight is made on the sides of two or more columns, one switch is enough for them. For a central luminaire, it is desirable to have a separate two or three-button switch depending on the number of modes and lamps.
To illuminate the ceiling from inside or around the perimeter, panel illumination, pictures, from below, a separate final equipment is displayed on everything so that the illumination of one section does not drown out another.
The combination of highlights in one way or another can be selected based on mood or need.
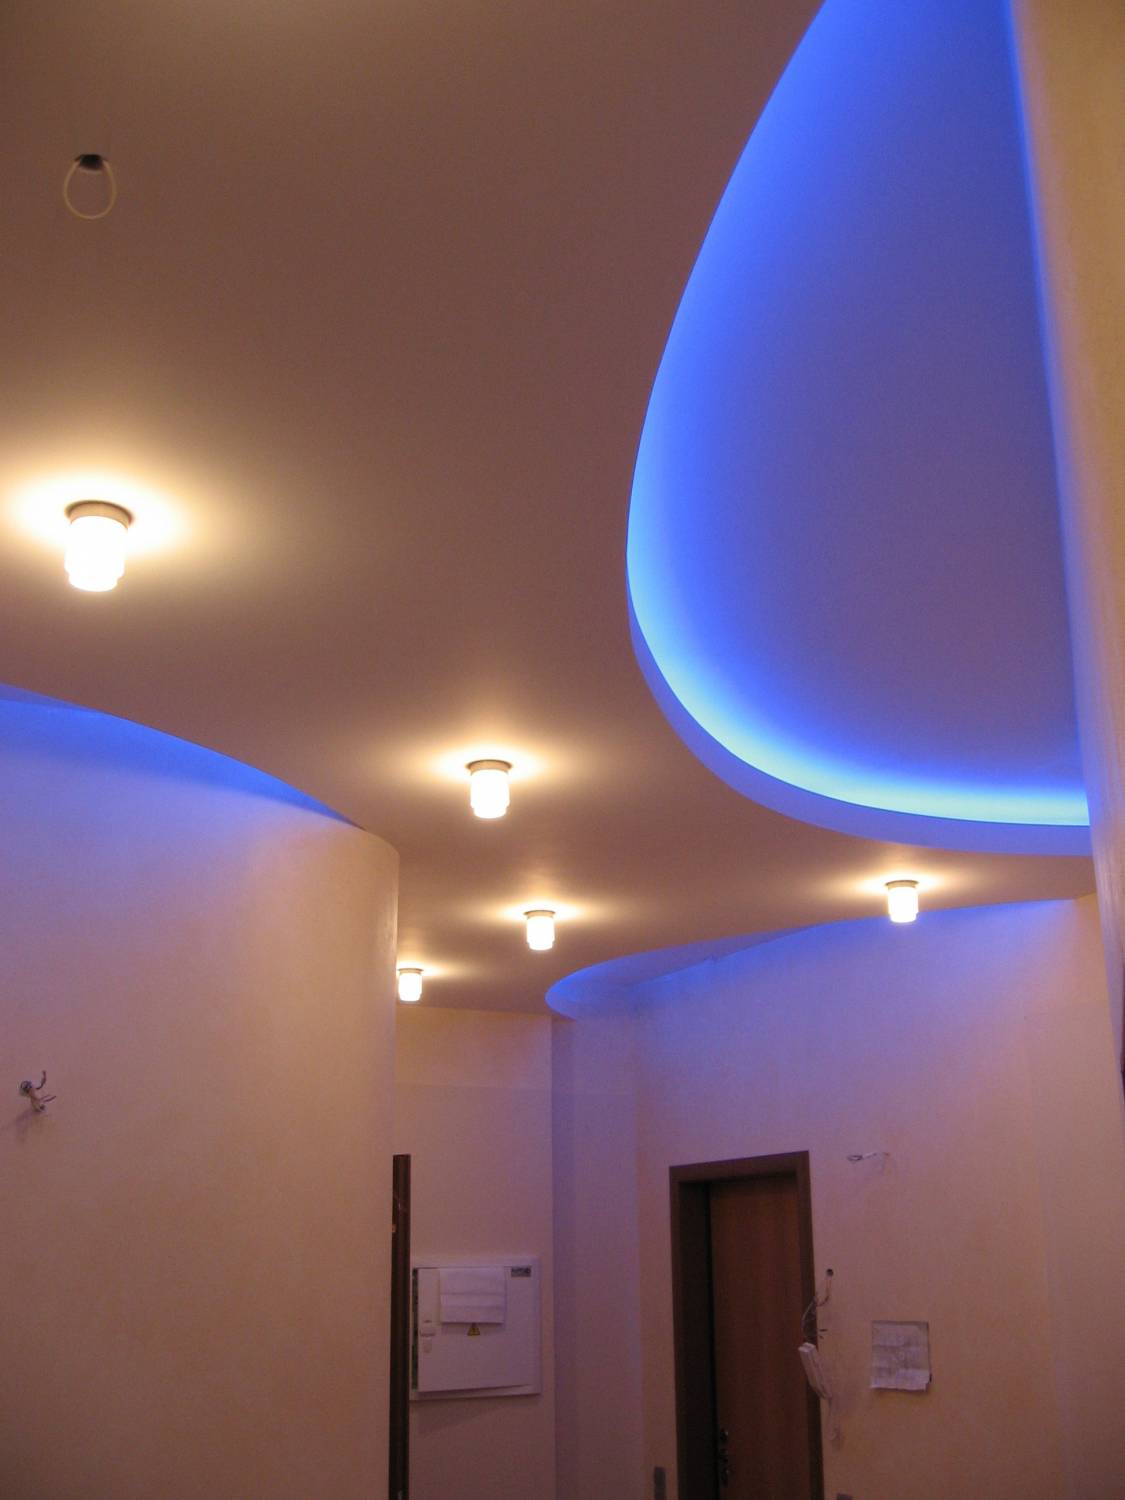
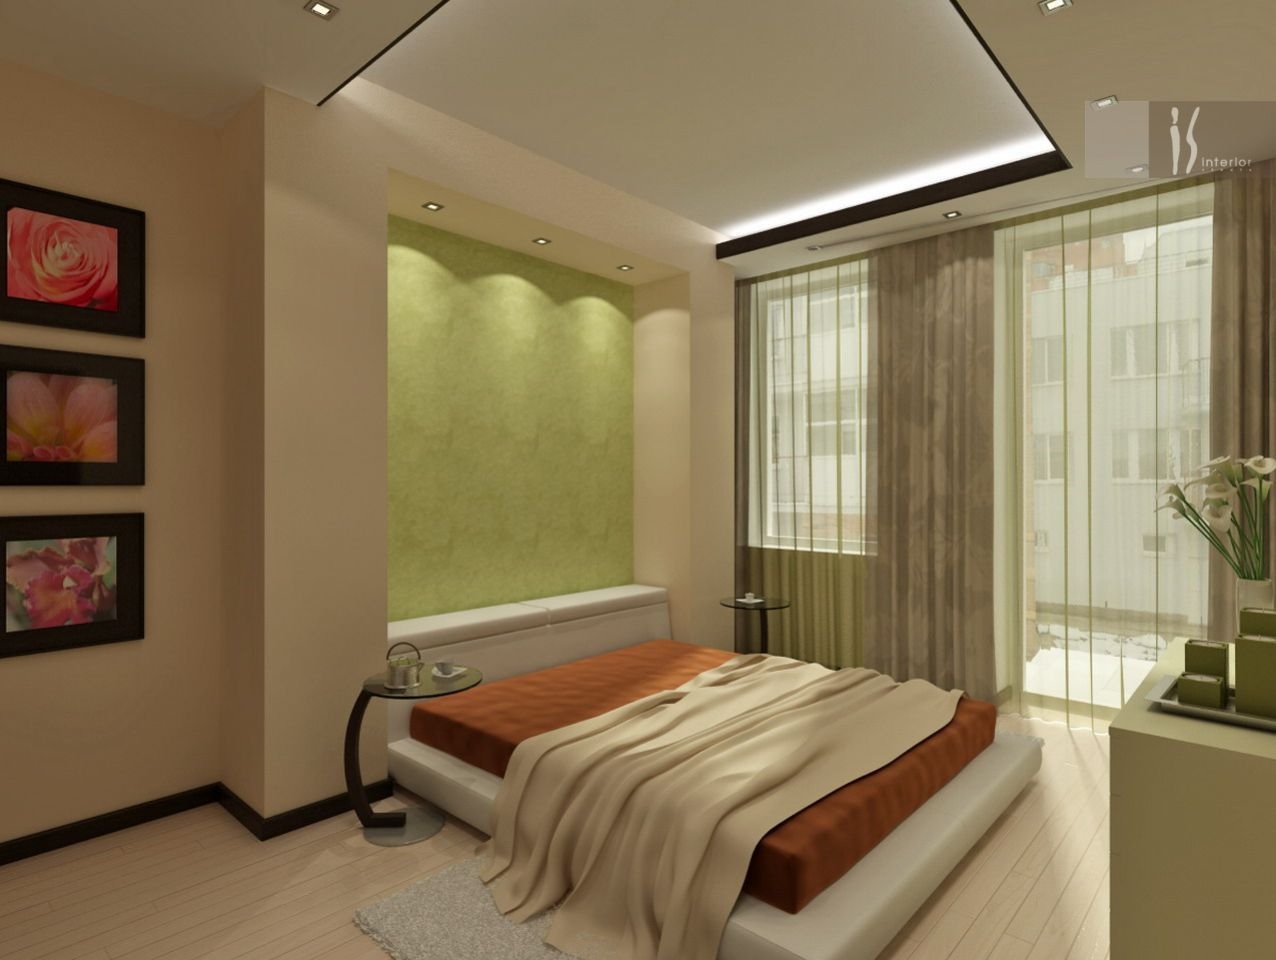
When planning a small room lighting, it is better to use the cold colors of the spectrum.. They sort of alienate objects, warm colors, on the contrary, make the room smaller. If the light is directed only to one wall, then it will “lengthen” the small room.
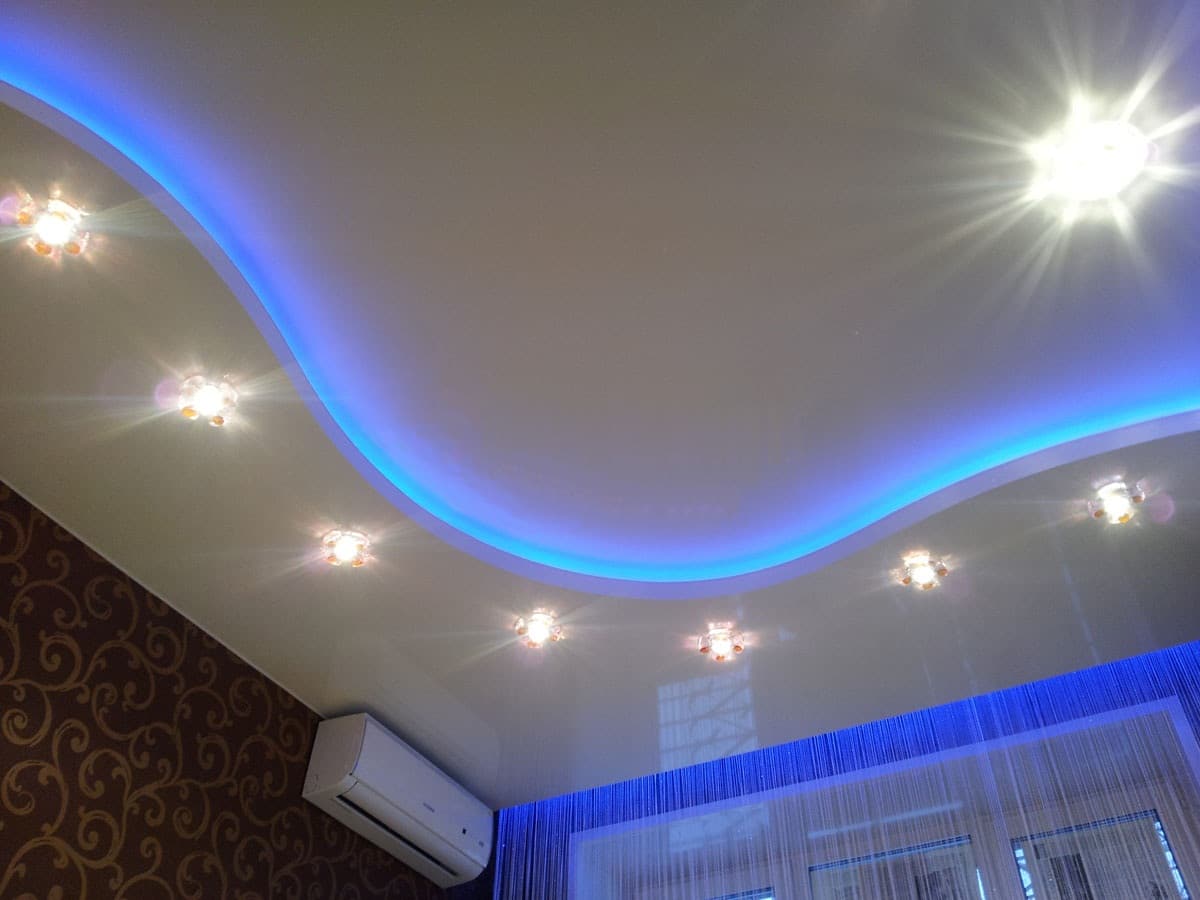
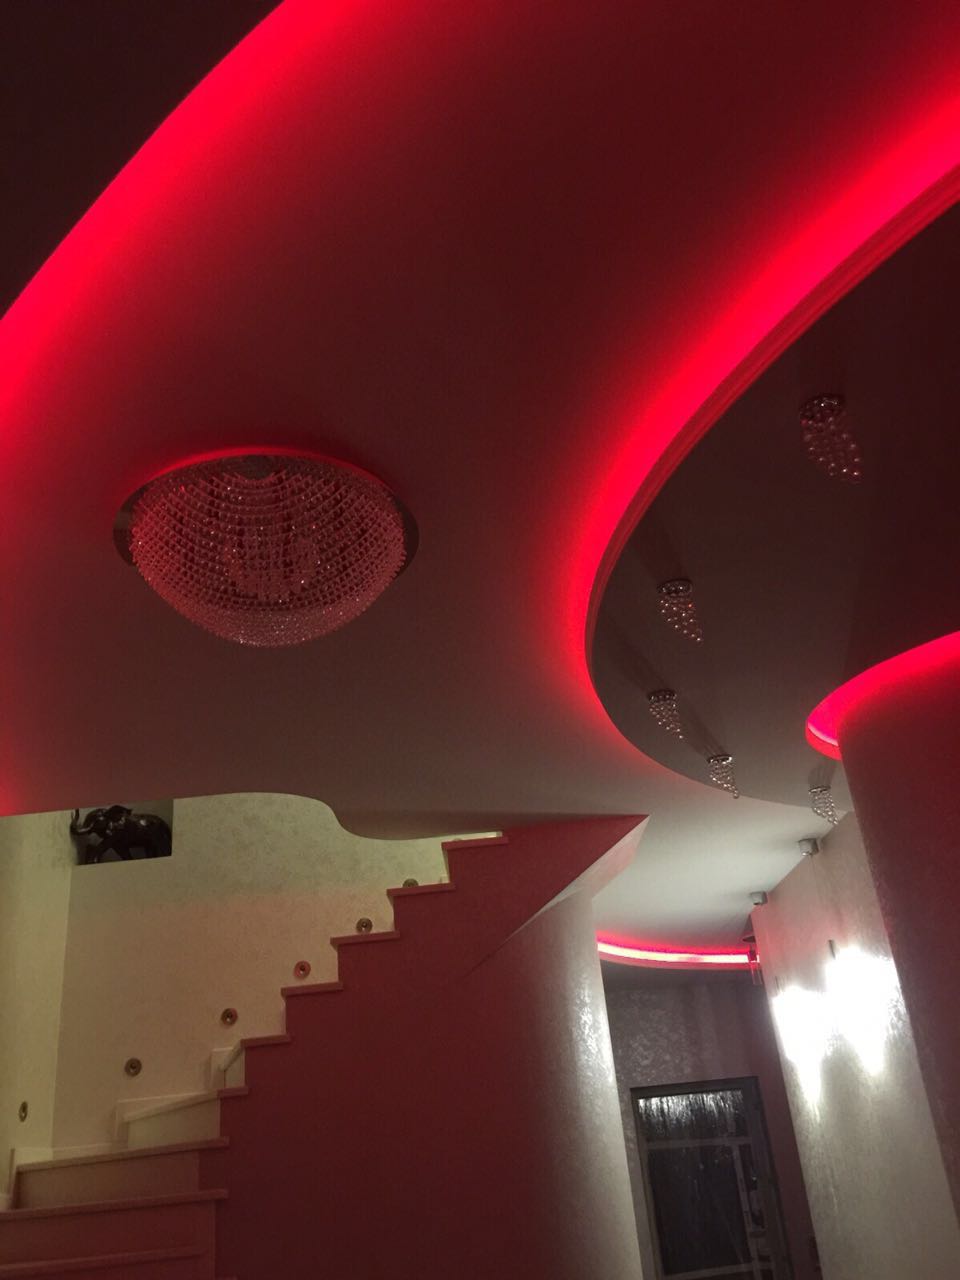
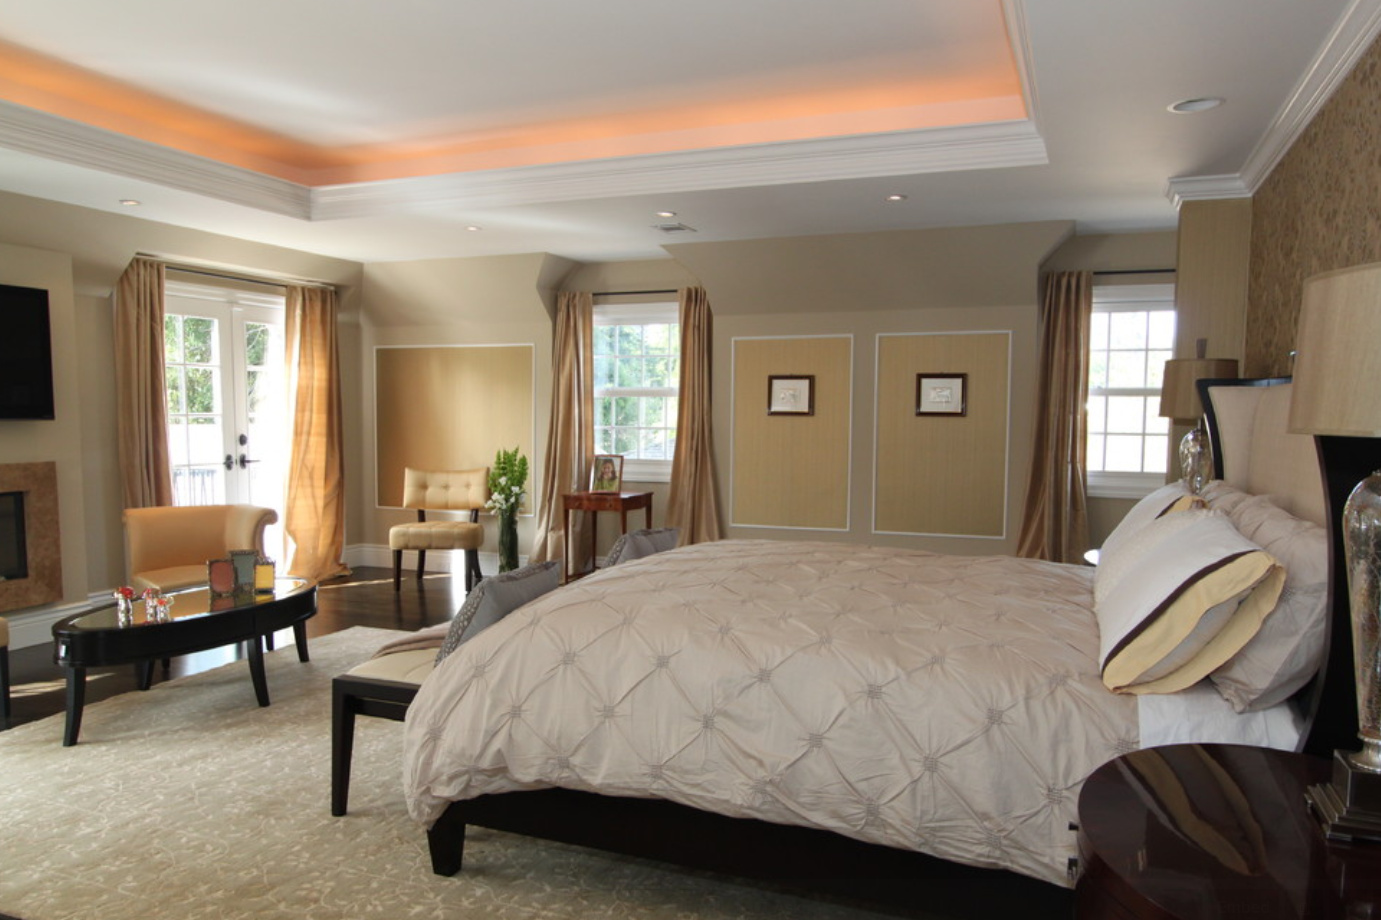
Highlighting the ceiling around its perimeter will create a feeling of a higher room than it actually is.
Equipment selection and installation
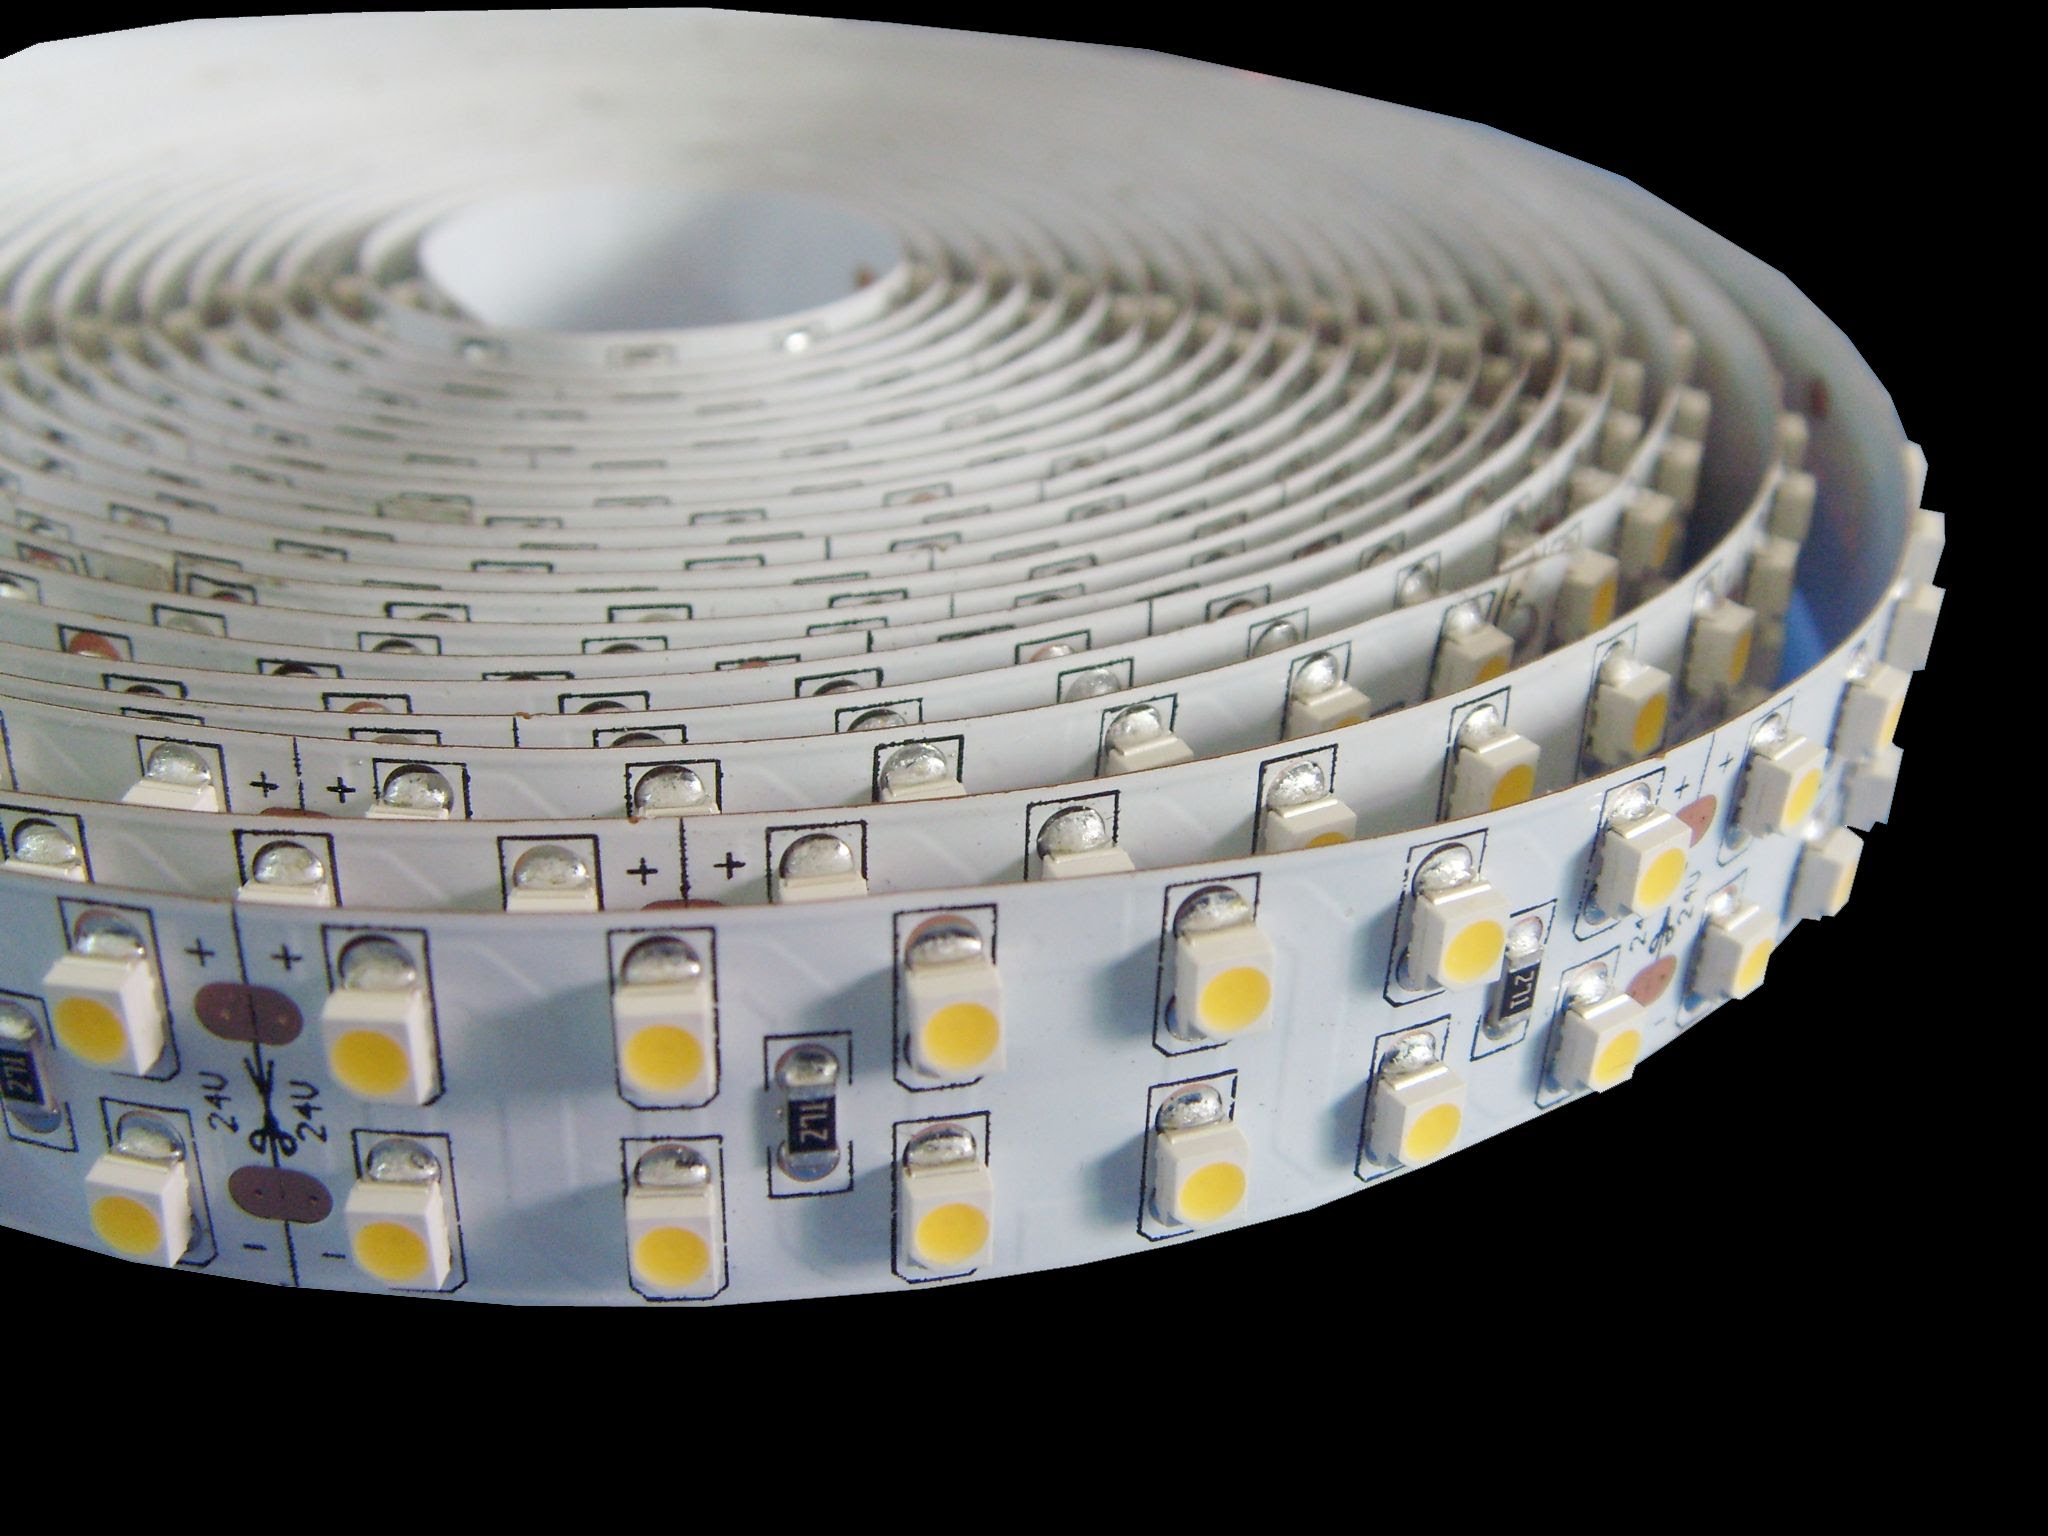
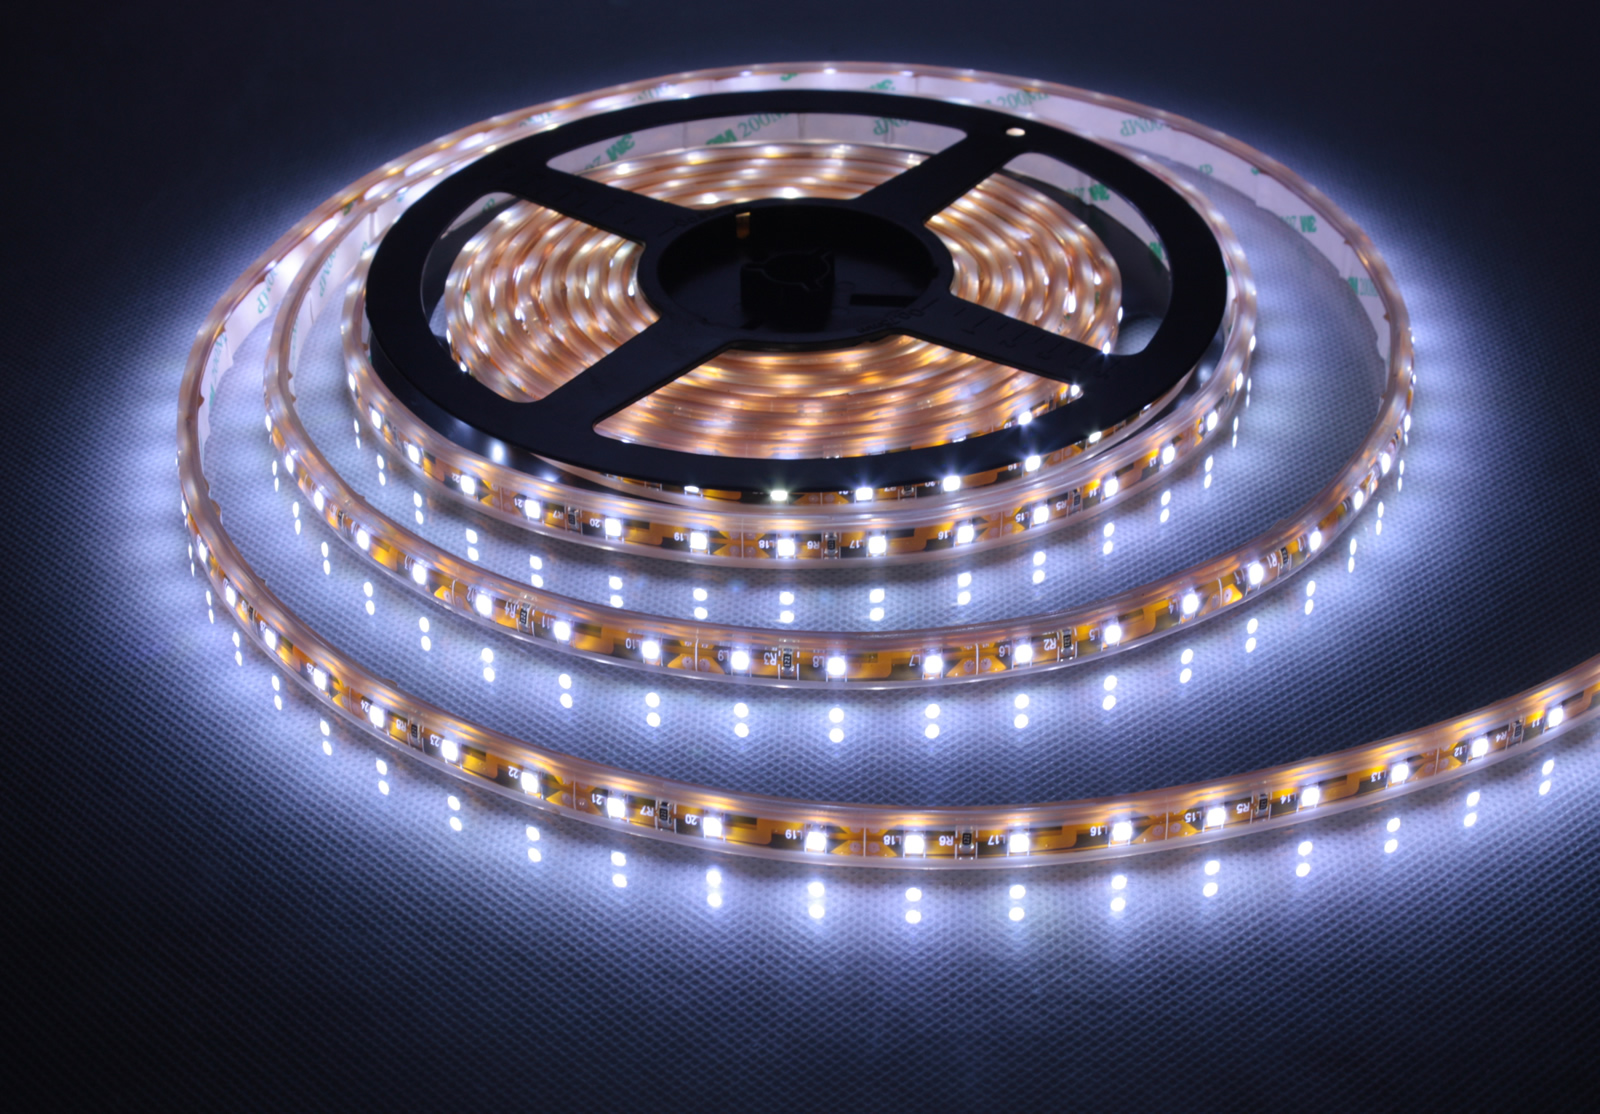
Today we offer LED strips with a voltage of 12 and 220 volts from construction markets. On the one hand, when using tape under 220 volts, there is no need to install additional equipment in the form of a step-down transformer, they are connected via an LED bridge and operate at a constant current. On the other hand, the serial connection of LEDs on such tapes is mounted in sections of 1 meter length. If one of the elements burns out, the tape meter stops working.
In addition, as the voltage rises, the temperature emitted by the LED elements also increases. Compact rectifier is installed at the point of contact with the power supply cord. If the assembly is designed for 12 volts, then the chain consists of only three elements and resistors.

In the event of a breakdown of one of the LEDs, only two more of this circuit stop working. If you compare security, then 12 volts, of course, is much less than 220.
Hence the conclusion: the tape, designed for 12 volts will last longer and easier to be repaired in case of failure of any of the elements.
LED strips are available in a variety of luminescence spectrum - cold and warm, of varying power and color. When calculating the number of light elements take approximately the need for 5 kW per meter of illuminated surface.
In addition to the LED strip, you can use the built-in lights, which can be both overhead and embedded. Sometimes they are equipped with touch-sensitive switches, sometimes they need to be built into the lighting system of the whole house using conventional switches.

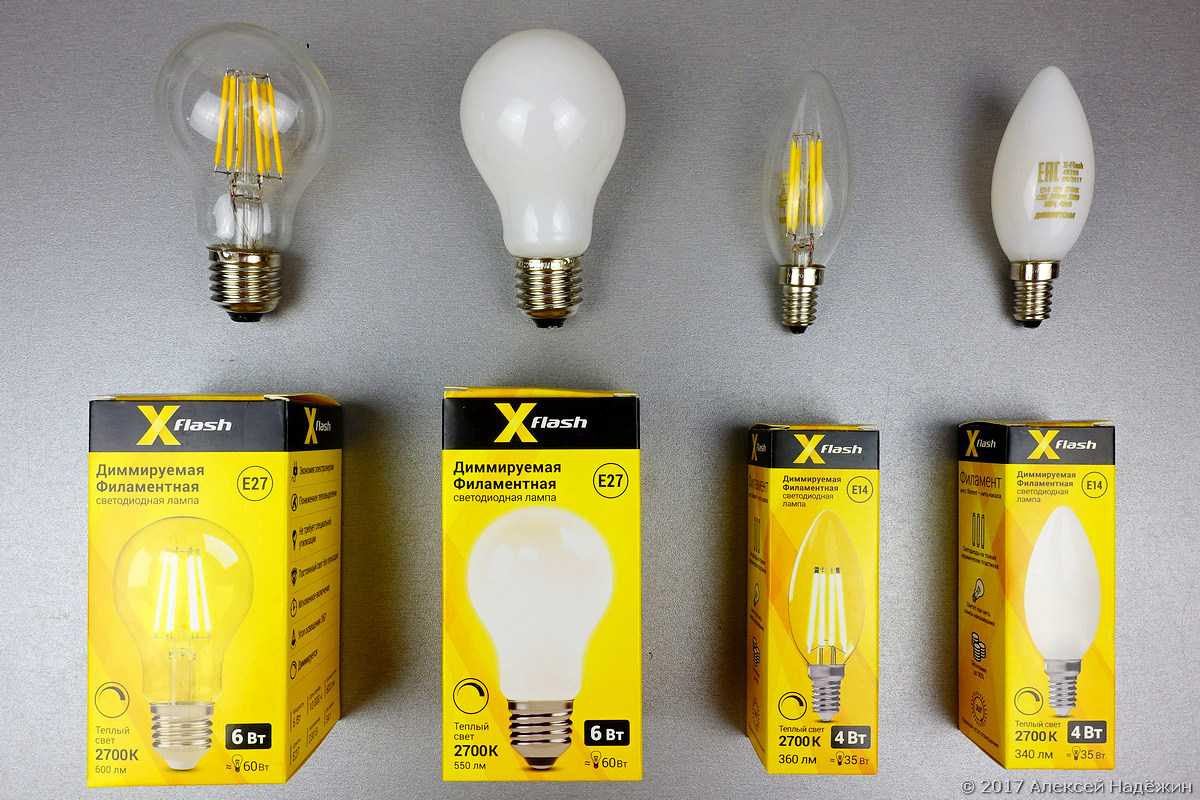
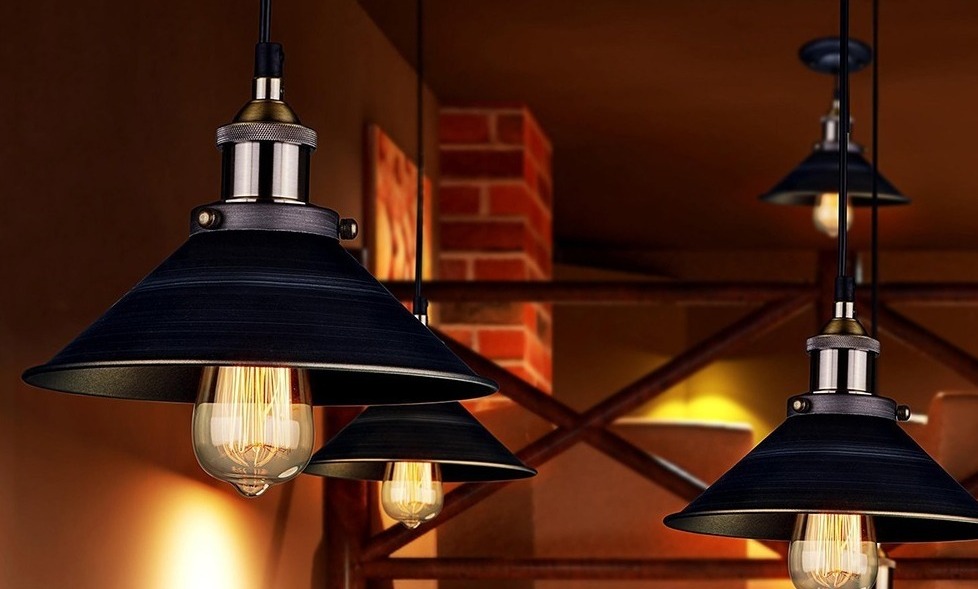
Recently, lamps have become common, called filament. These are LED lamps with habitual to all a glass flask and a socle. Such lamps are used in standard lamps of central and side lighting to save energy.
They were developed in Japan less than ten years ago. In fact, it is the replacement of incandescent bulbs for more energy efficient ones. Even the name contains, speaking in Russian, a filament.How to screw such lamps into standard cartridges, no need to tell anyone, the main thing is to choose the right size base.
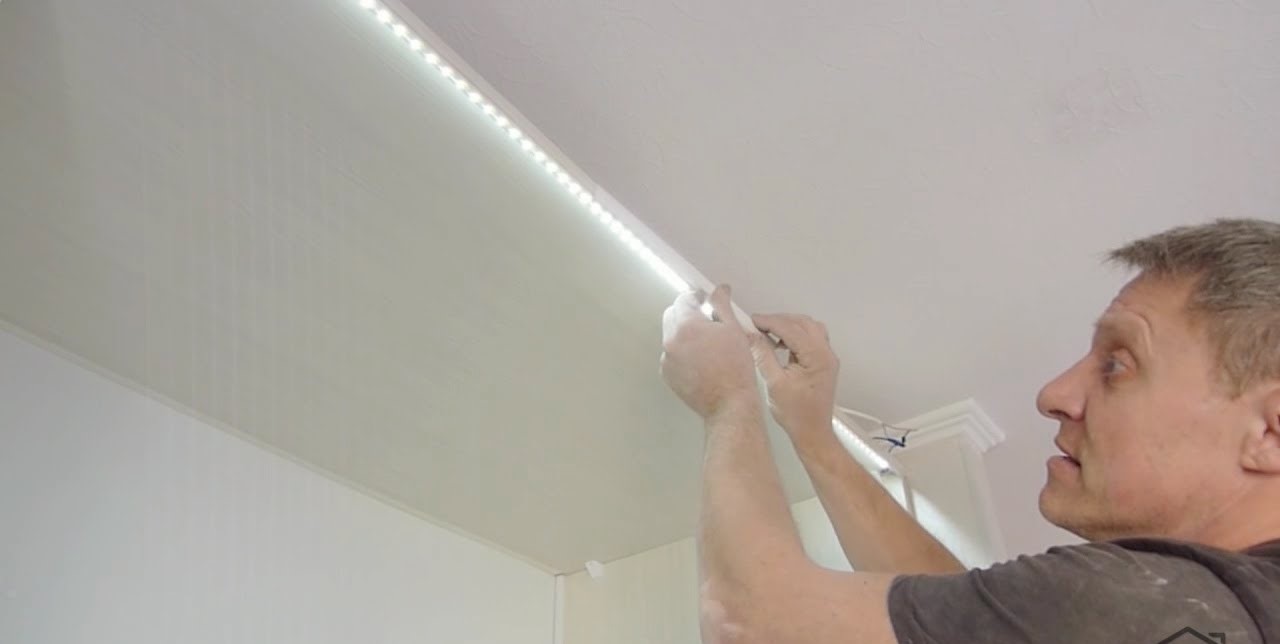
When mounting LED strips, it is imperative to observe the condition of sticking them onto a smooth, degreased surface.
Manufacturers often put a sticky layer on the back of the product for bonding. In practice, this glue is very weak. The tape begins to lag behind the base almost immediately after installation. therefore better to use the usual "liquid nails" or silicone sealant.
Mounting guides directly depends on the selected location of the backlight. When fastening the base with screws or dowel-nails, it is necessary to heat the head so that the tape does not bend in this place.
Any bending of the tape will cause a disturbance in the geometry of the stream of light. Plastic corners or parts of cable channels are easiest to use as guides.. Which one to choose depends on the direction of light flow.
If the corner is the base, the light will be more diffused. If you need a certain direction, it is better to take the u-shaped profile, on the bottom of which to hide an element of light.In the photo, the LED tape is glued to the bottom of the metal starting profile from the rack ceiling.
To create a light on the stretch ceiling, the frame is first mounted either from plastic or from usual plasterboard profiles, after which the LED elements are fixed on it, not forgetting to hide either behind the ceiling or in a secluded but accessible place, the step-down transformer.
The cable can be laid in the wall and plaster it. After checking the operation of the mounted system, you can stretch the ceiling.

When arranging spotlights in a drywall construction, standard electrical wiring is made; holes in the ceiling construction are drilled with a diameter for the fixture seat. Luminaires are connected and mounted after complete painting of the ceiling..
There are interesting designs in several levels and lateral arrangement of lamps in each tier in a staggered manner. With this design it turns out quite bright lighting in the room. Also side lighting can be combined with downlight diffusers.
Tips and tricks
When choosing a LED element, it is better to take a more powerful element than the calculation showed, as manufacturers have a feature to overestimate the characteristics of their products.
- Blue light shows the most minor defects in the ceiling. Therefore, the blue color is better to use for suspended ceilings. Even a perfectly finished plasterboard ceiling may seem defective in such lighting.
- Choose LED strips running from 12 volts to get a more maintainable design.
- Observe the perfect flatness of all the lines on which the lighting will fall. Irregularities will cast a shadow that can ruin the whole picture.
- Do not skimp on the switches. They should be in those places where they will be convenient to use to illuminate a particular place in the room. The more divided by apartment lighting zones, the more interesting and economical.
- Do not dwell only on LED strips. For original lighting, you can use LED panels of various sizes, side and floor spotlights.
- When laying the LED strip into the gap between the ceiling and the ceiling plinth, do not in any way attempt to use products made of conventional polystyrene foam. They shine through.When you turn on the light through them all the joints, traces of the brush and other defects are visible. Use only products made from durable extruded polystyrene. If it is already finished in color and decorated, choose such places for its fastening with self-tapping screws, which can be puttied and tinted without damage to the appearance.
- Provide ventilation to both lighting and ancillary equipment, including niches for transformers. Do not place the LED light elements very close to suspended ceilings without protection.
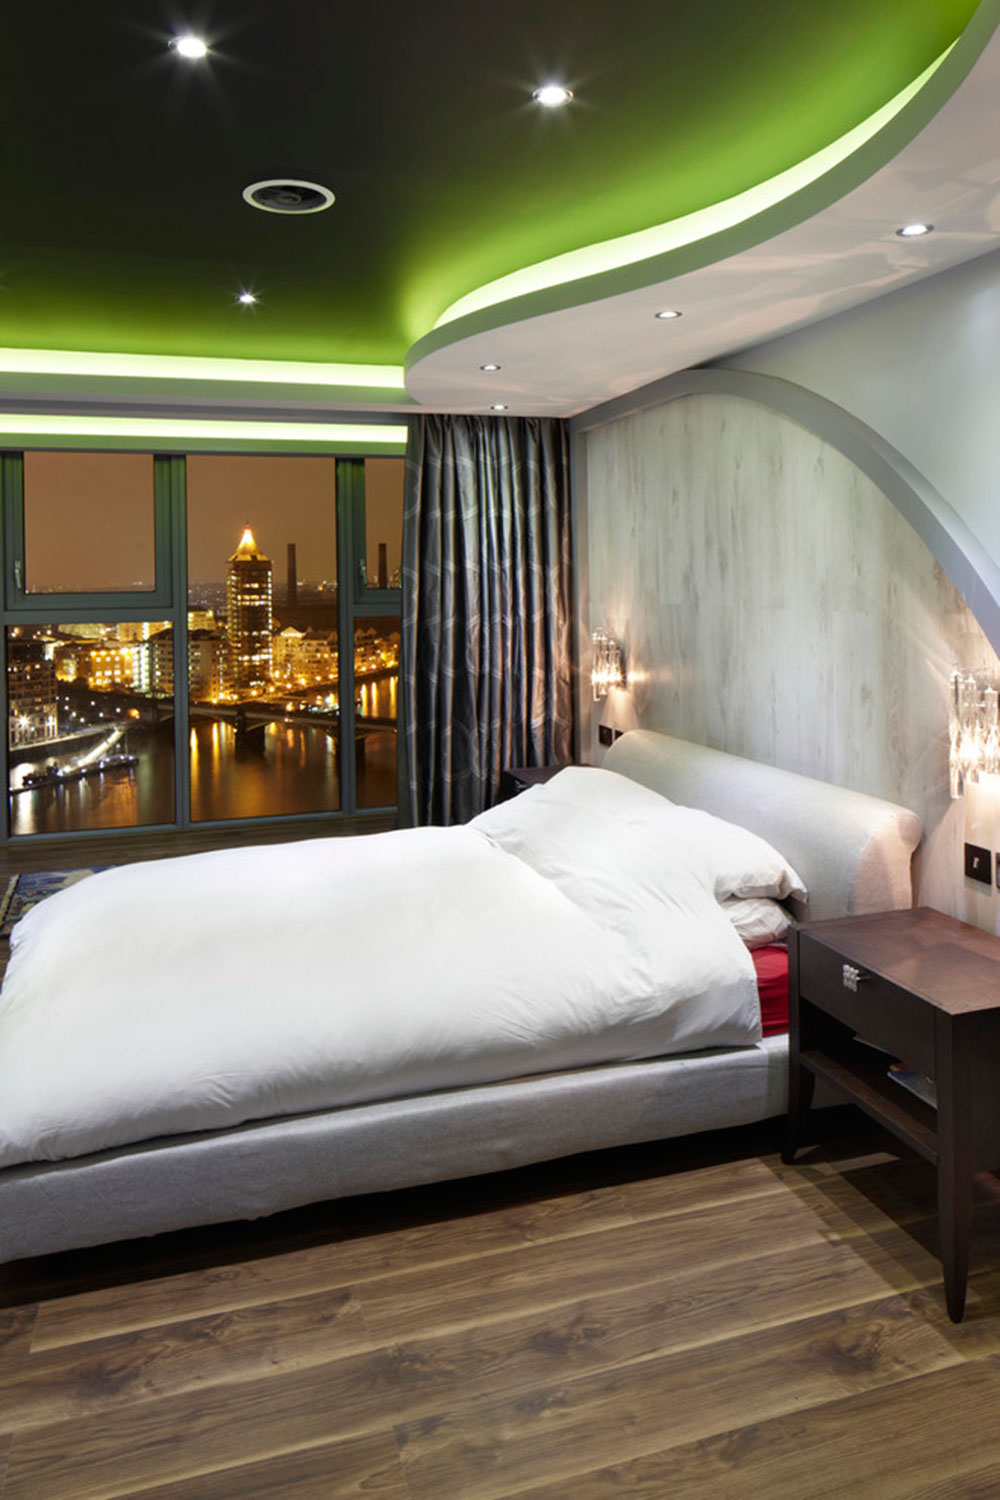
Beautiful examples in the interior
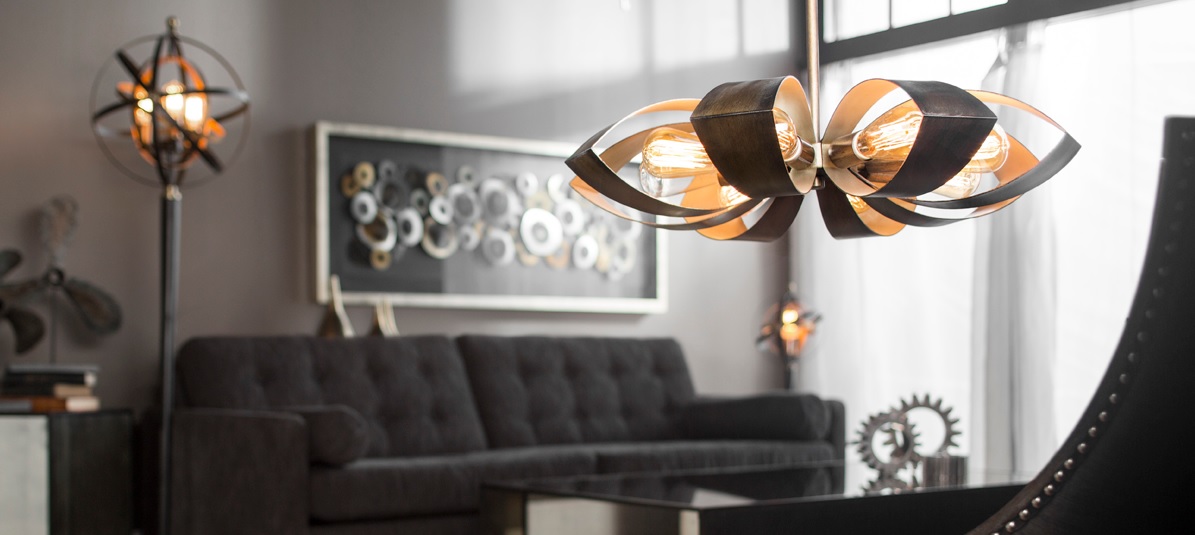
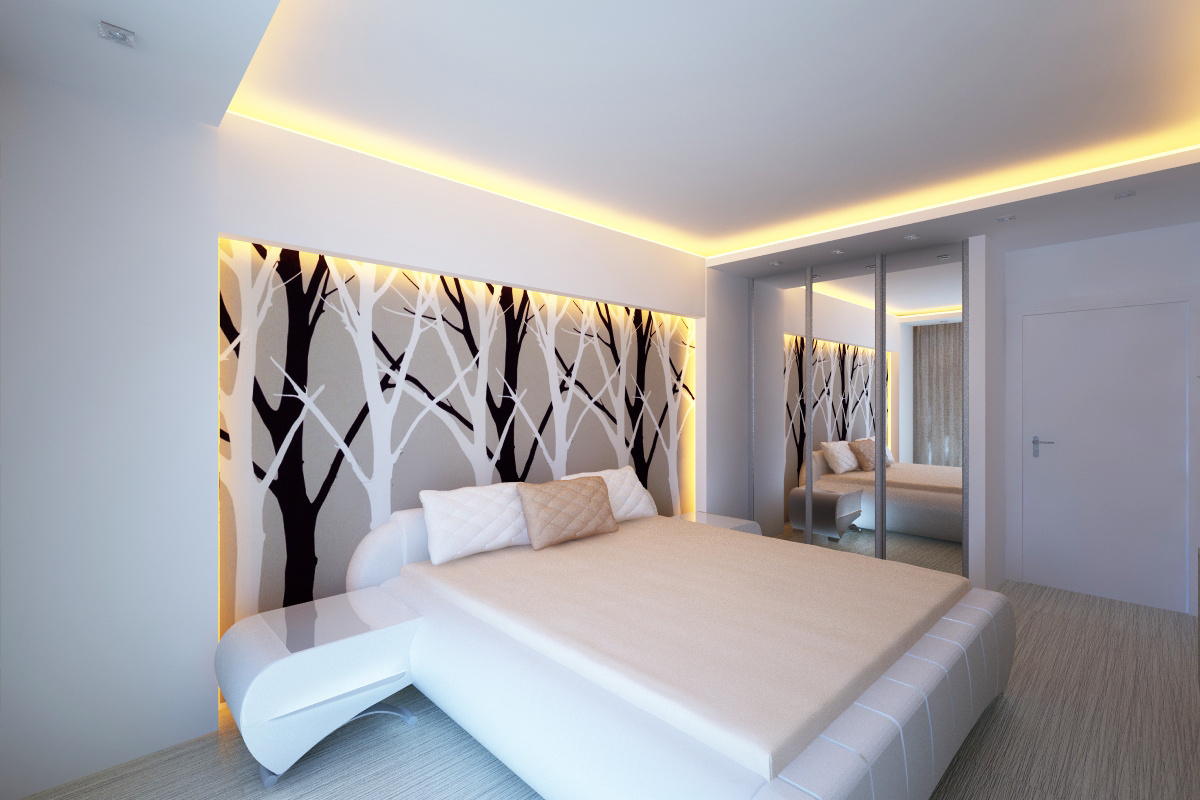
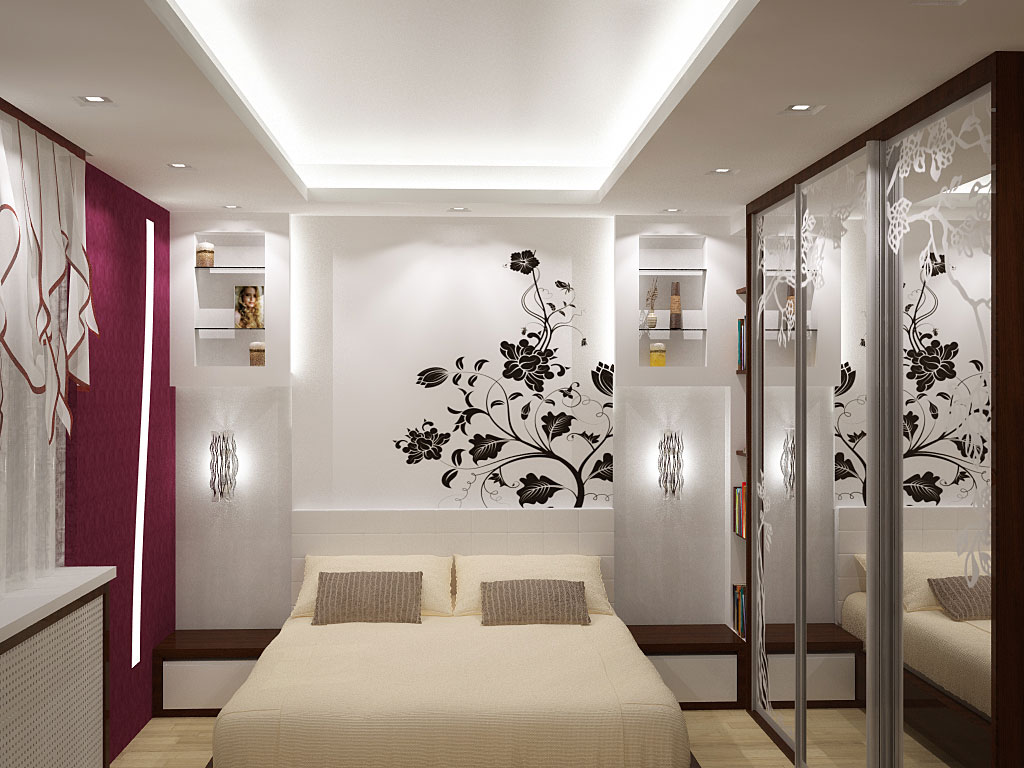
- Stylish asymmetric lights. It is most suitable for a modern interior. This light is used in many rooms. For the bedroom it is used to create a muted and romantic atmosphere.
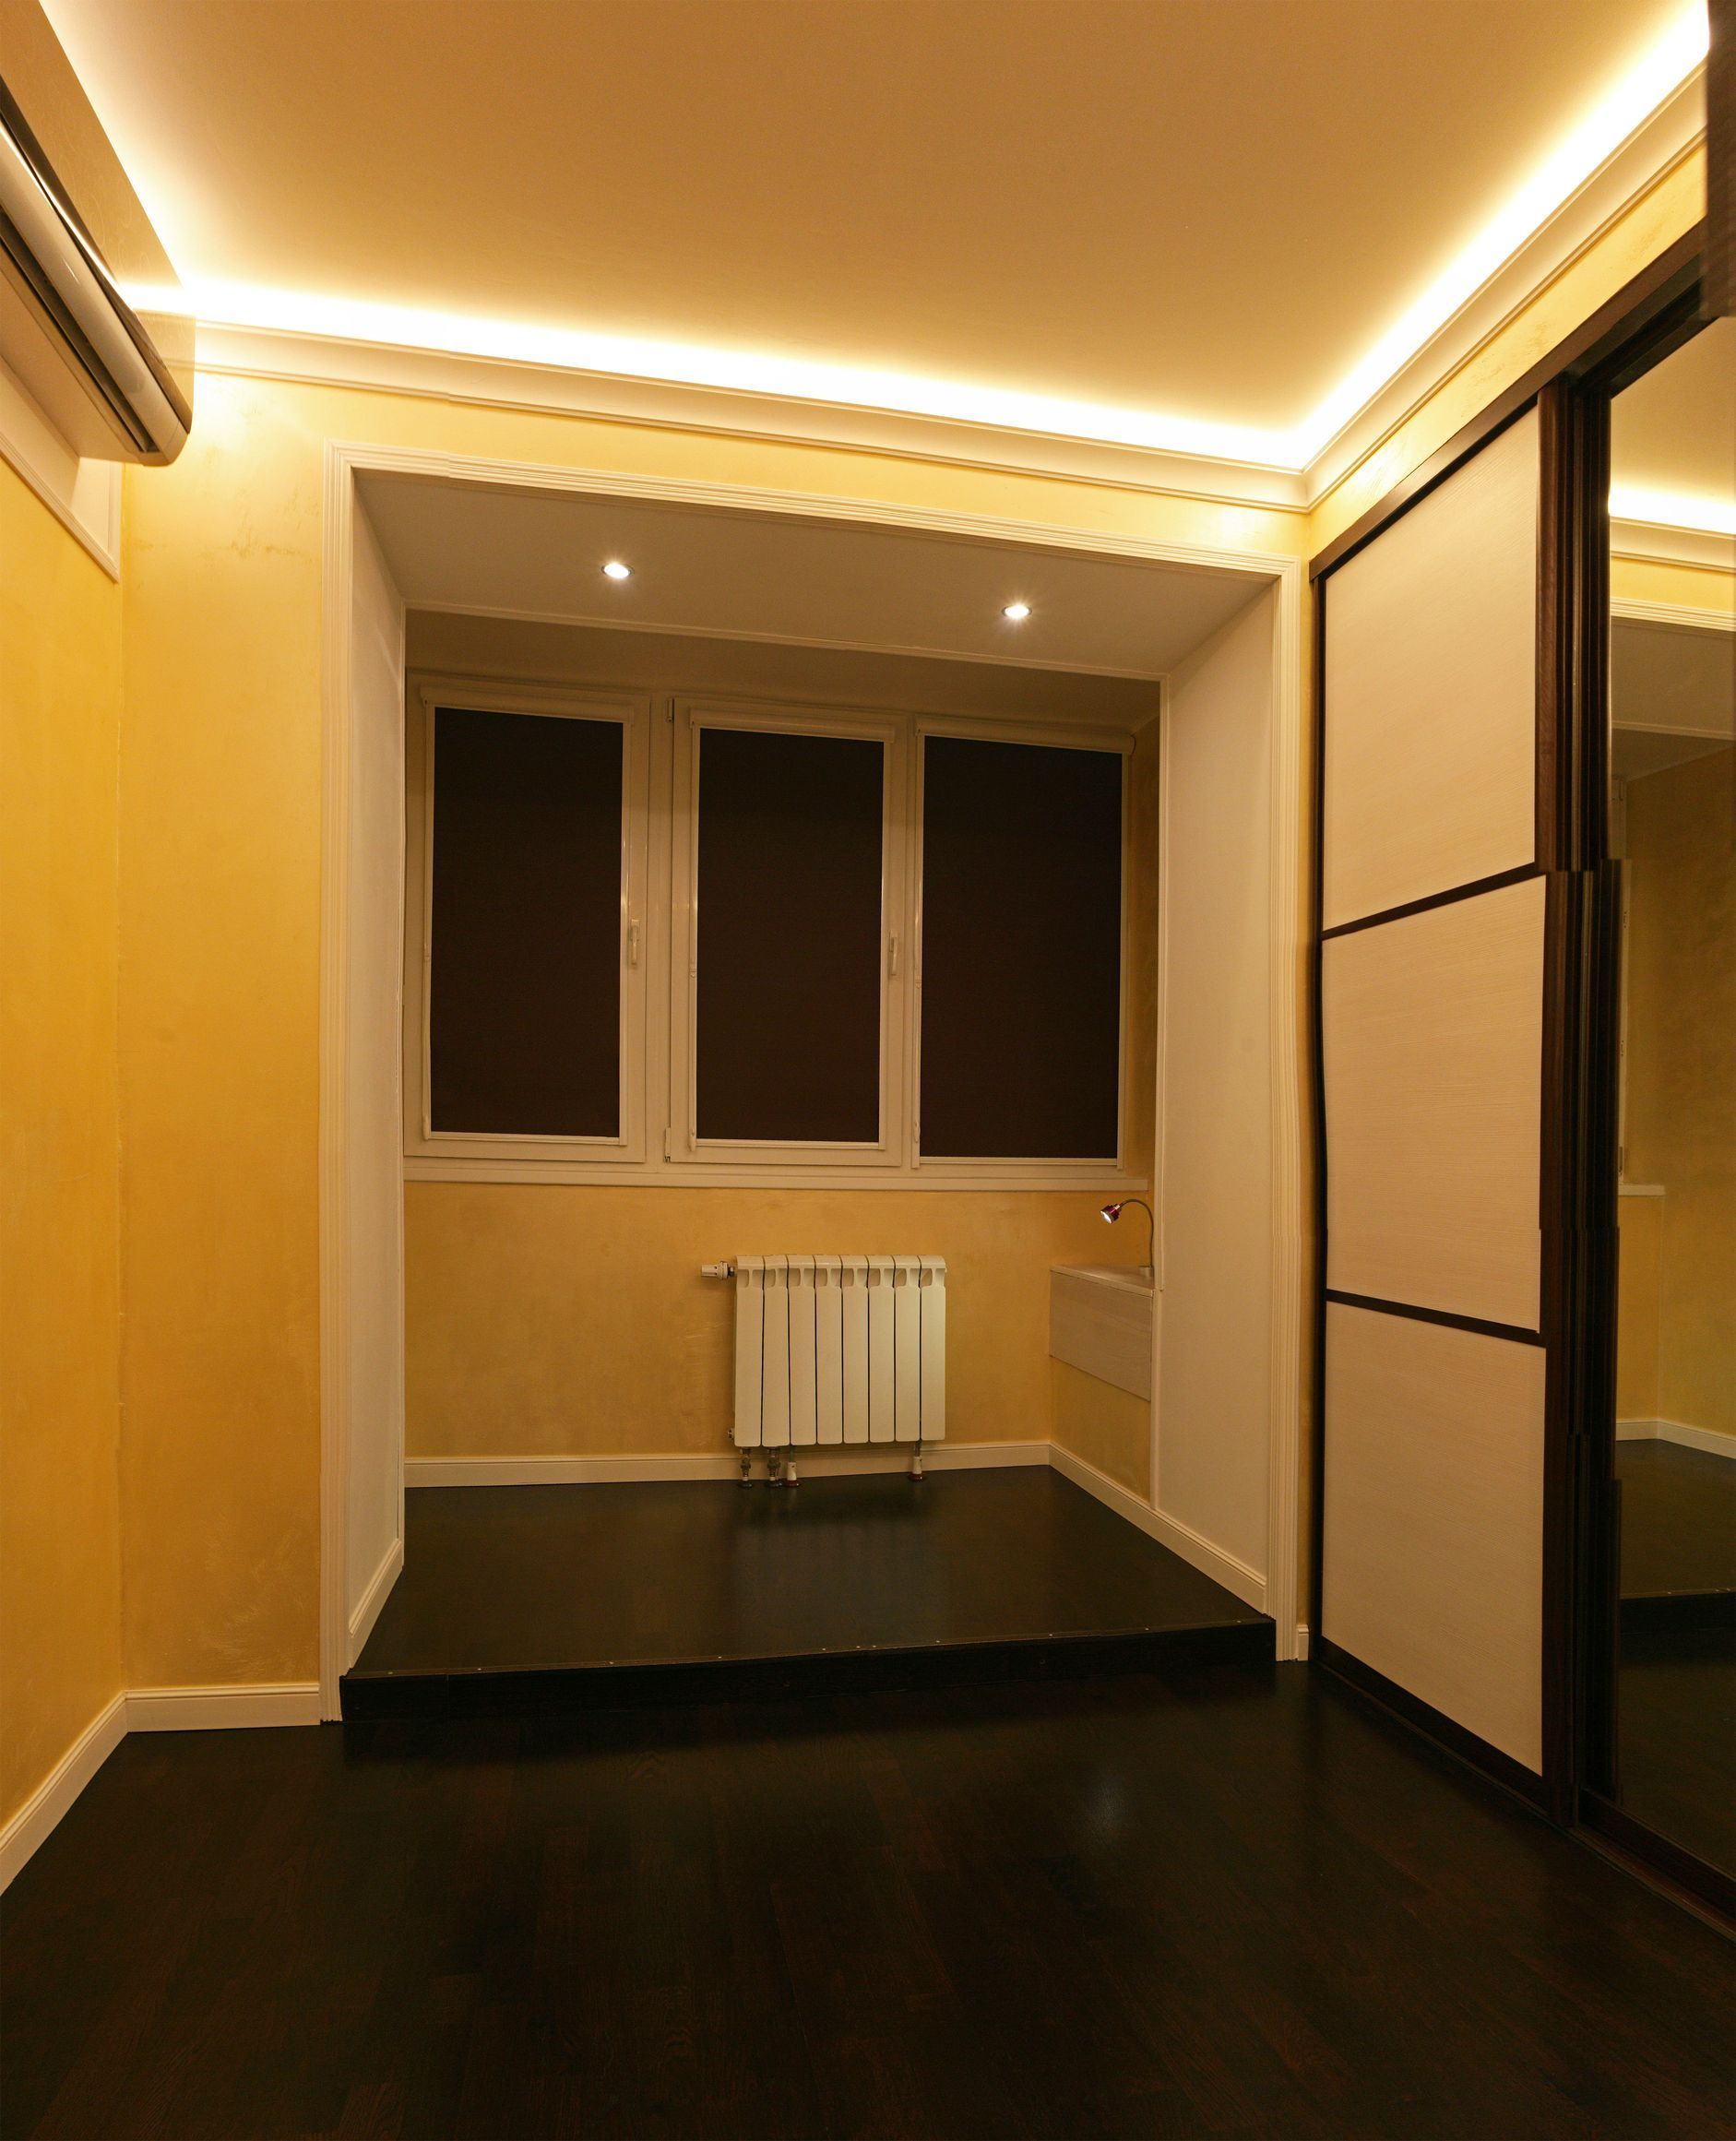
- It is not necessary to use only the classic white light, yellow is also suitable for these purposes.
How to make a LED backlight with your own hands, see the following video.