How to make a table made of wood with your own hands?

Table - an essential attribute of each house - can be made of different materials, have a simple and intricate form and carry different functions, but it is absolutely impossible to do without it. Not everyone understands why doing the table with their own hands, if such a common object is easy to buy in any furniture store. Indeed, not everyone dares to make furniture with his own hand.
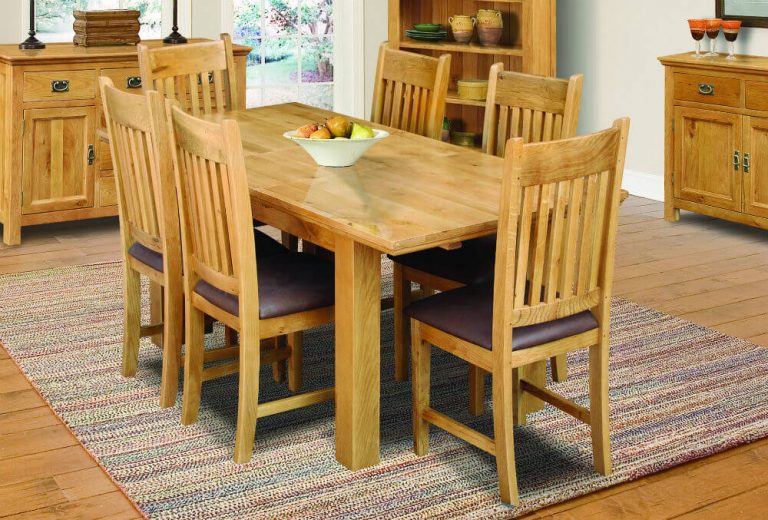
But the brave man who deliberately takes up the work will certainly enjoy the process and the wonderful result of his labors. Some people come to this, wanting to save money, especially if something simple is required.Others, in obedience to a creative impulse, wish to have a unique piece of furniture in their home that will enhance their mood and self-esteem. In addition, a handmade table always has perfect proportions and fits the style of your home.
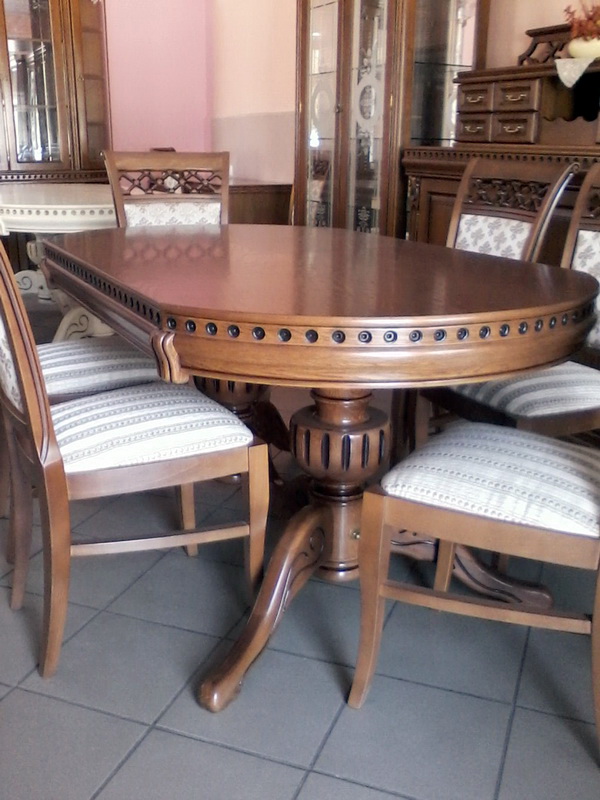
The shape and design of the product
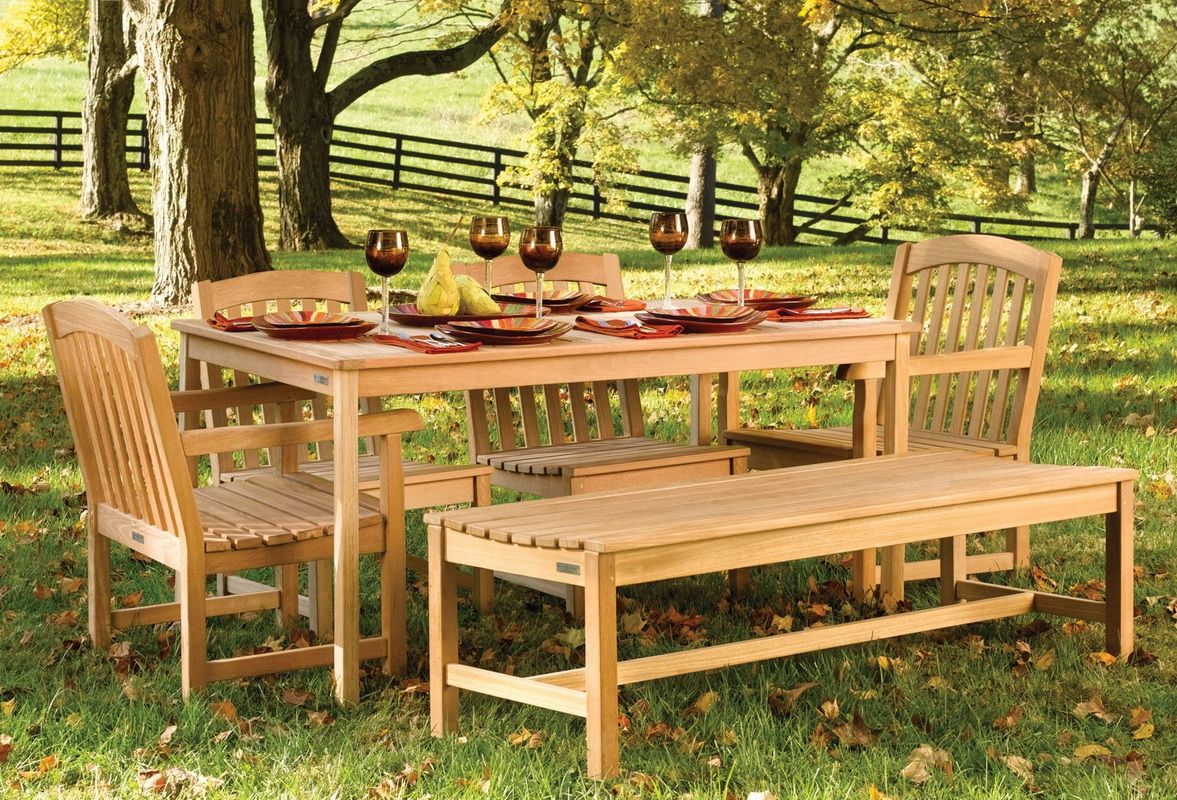
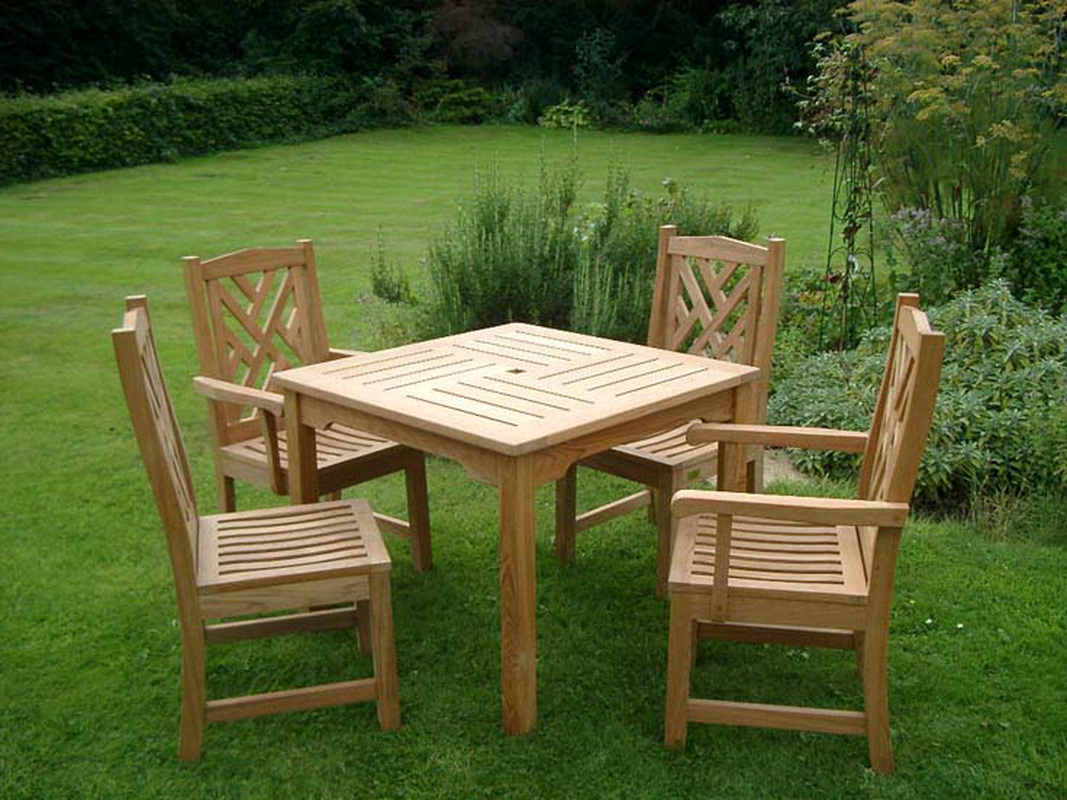
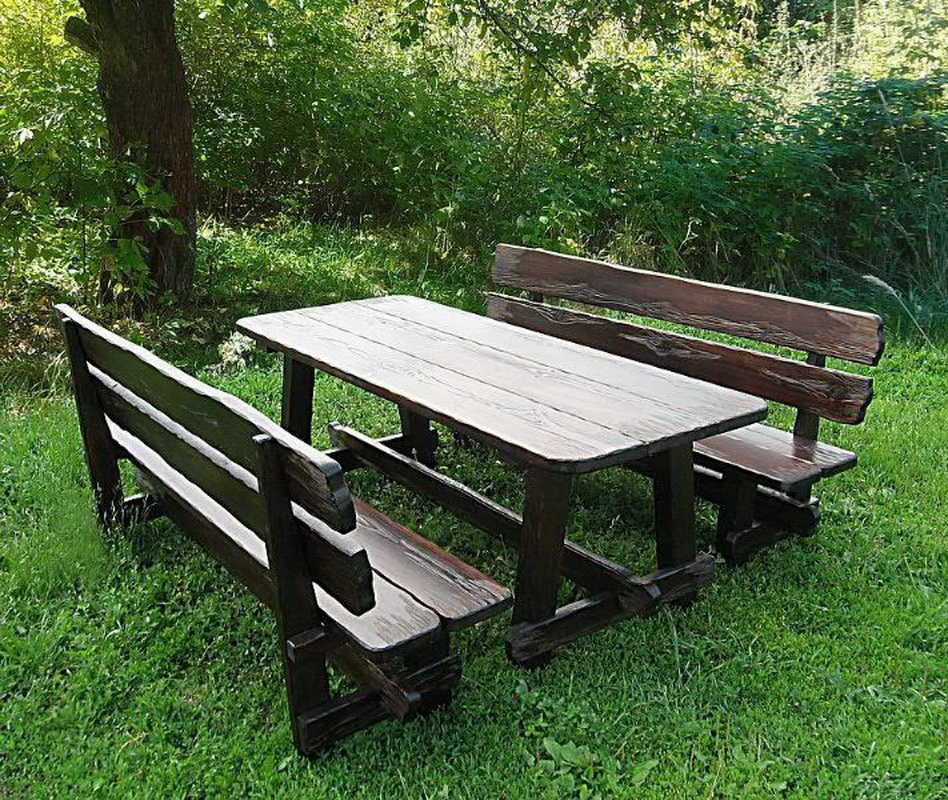
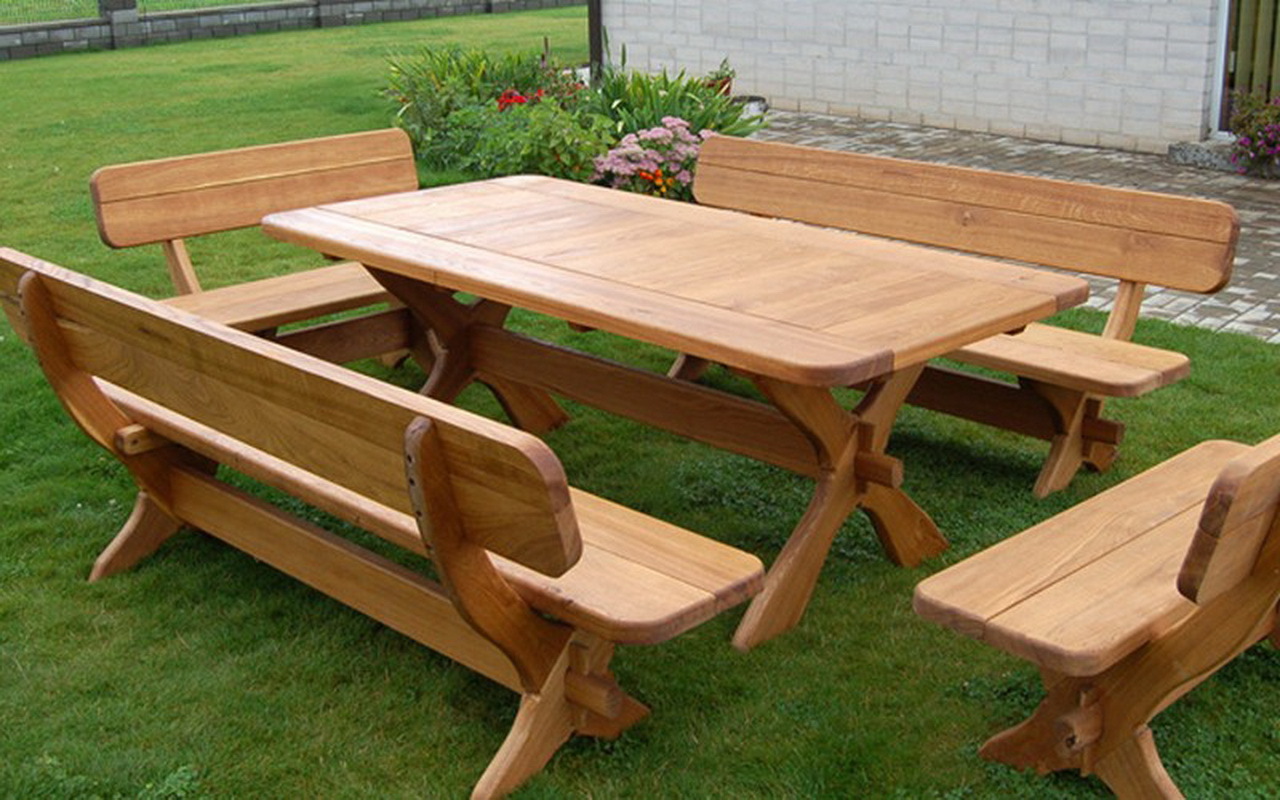
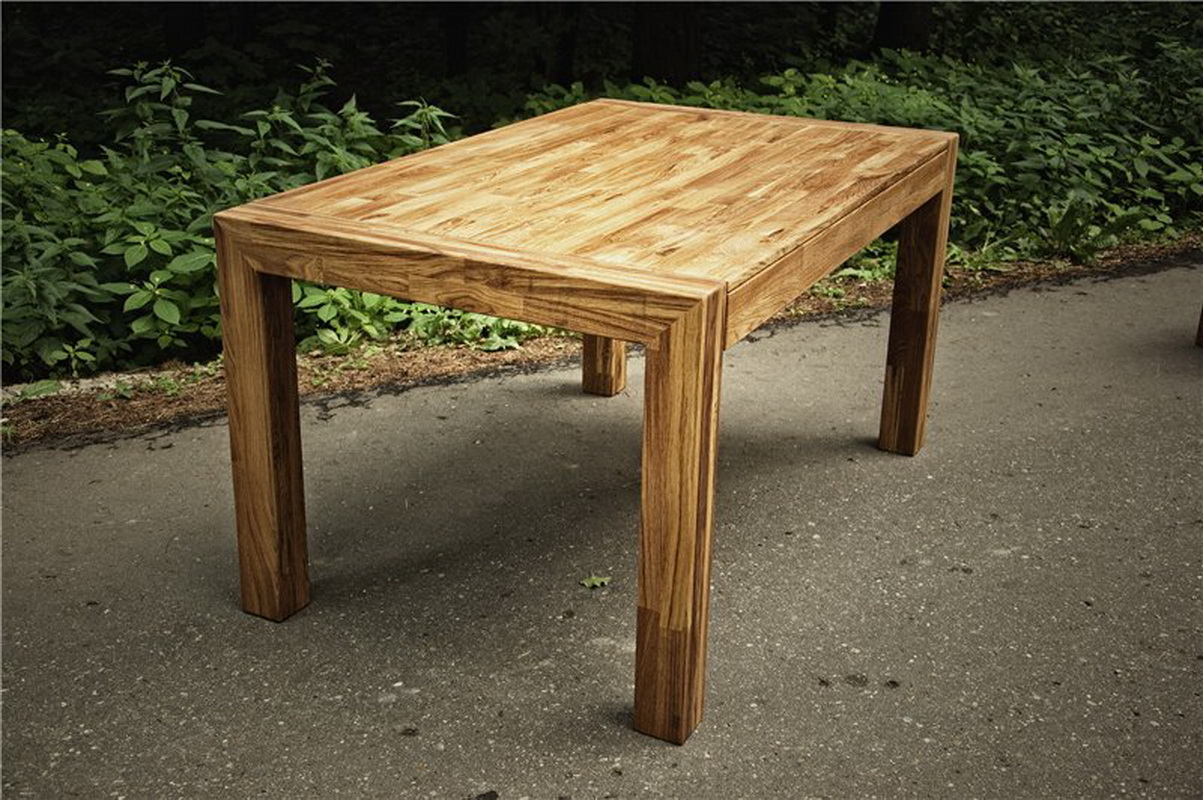
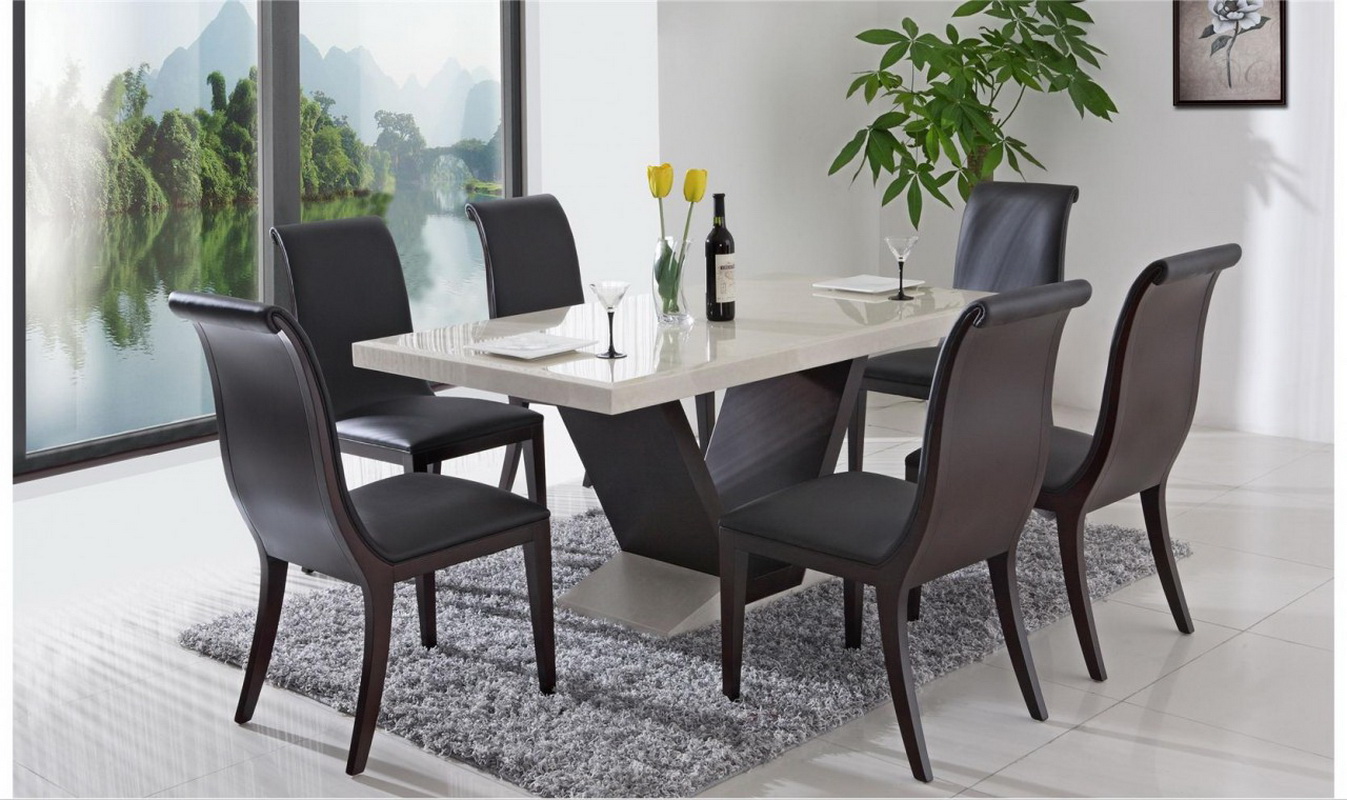
The wooden table is an environmentally friendly, aesthetic and durable product that will fit perfectly into both the apartment and the cottage. Moreover, there are options for special garden tables. It can be light, portable, or solid and massive, have different models and forms:
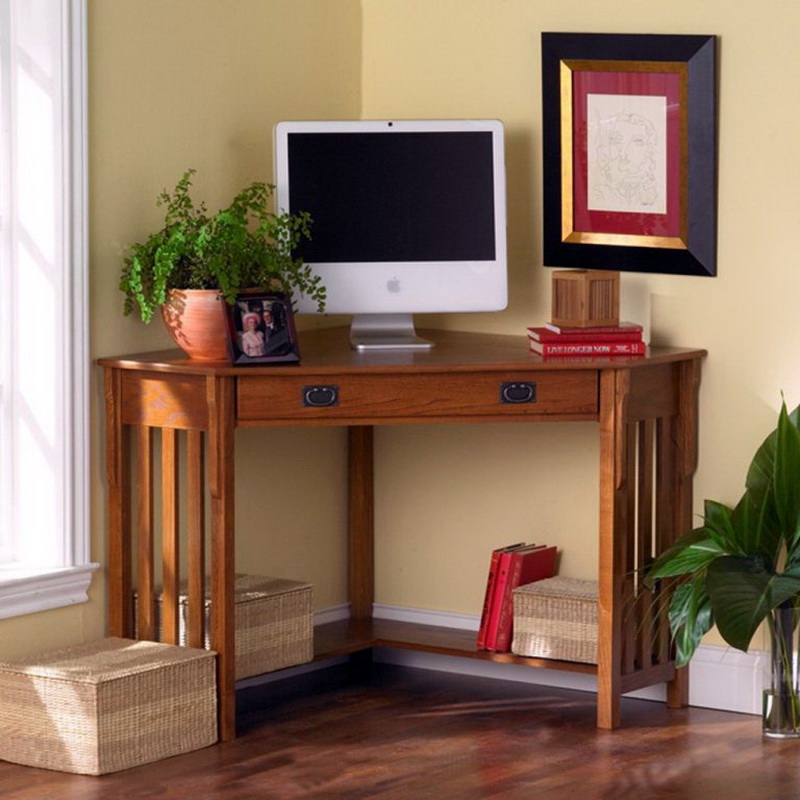
- Angular;
- Oval;
- "Book";
- Folding;
- Sliding;
- Transformer.
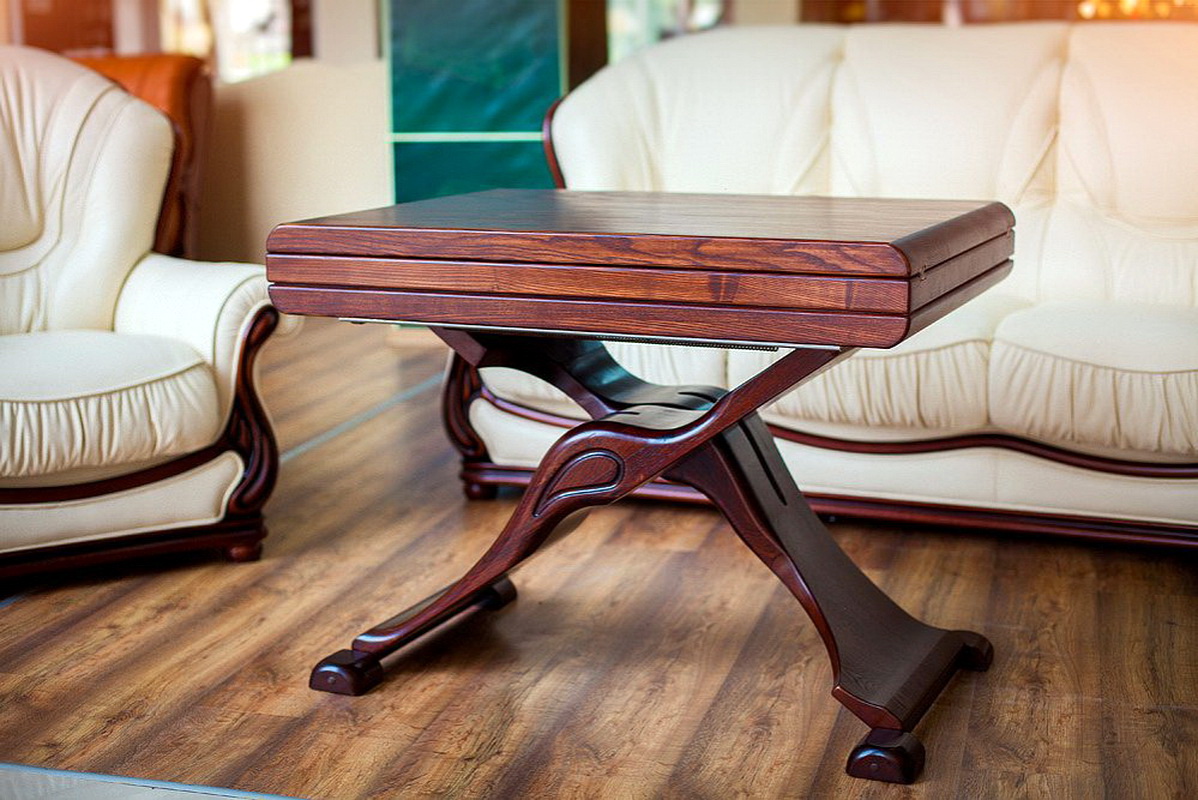
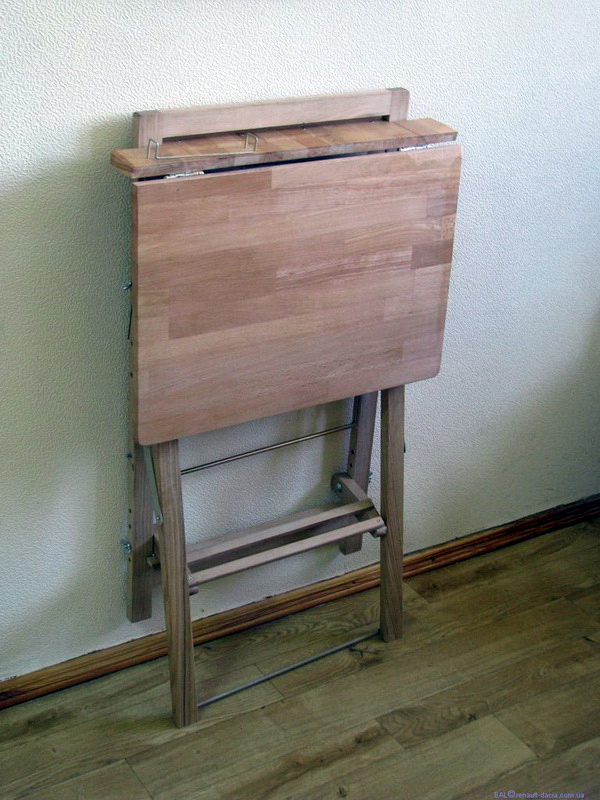
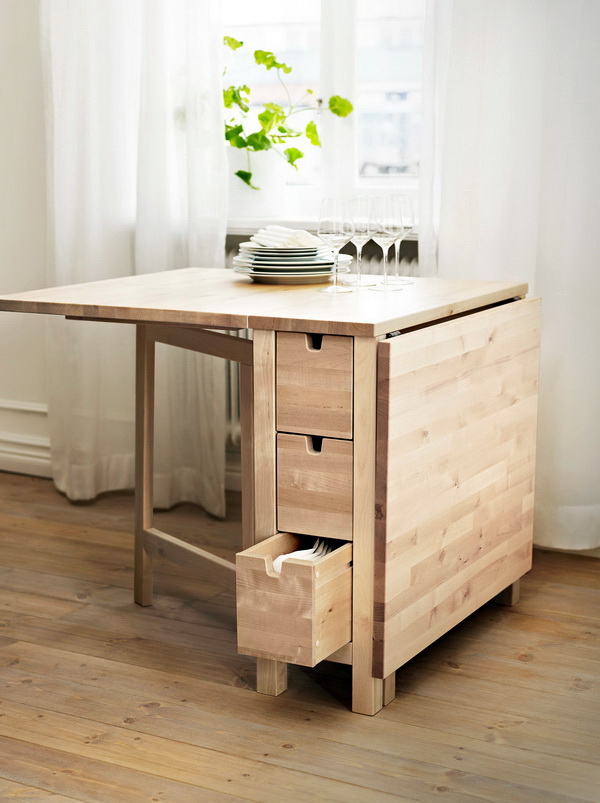
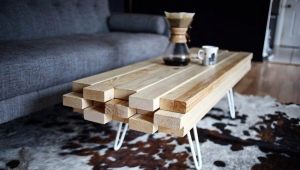
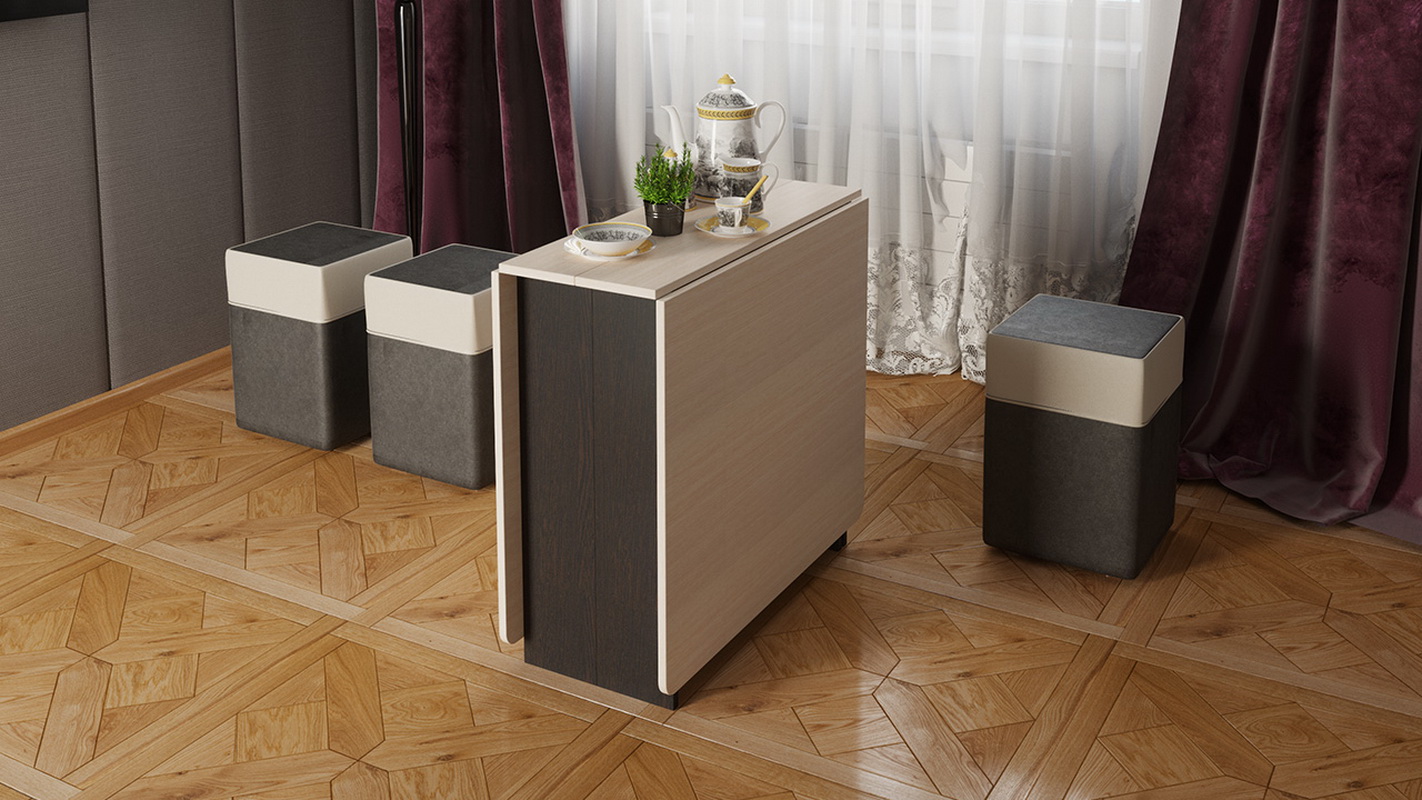
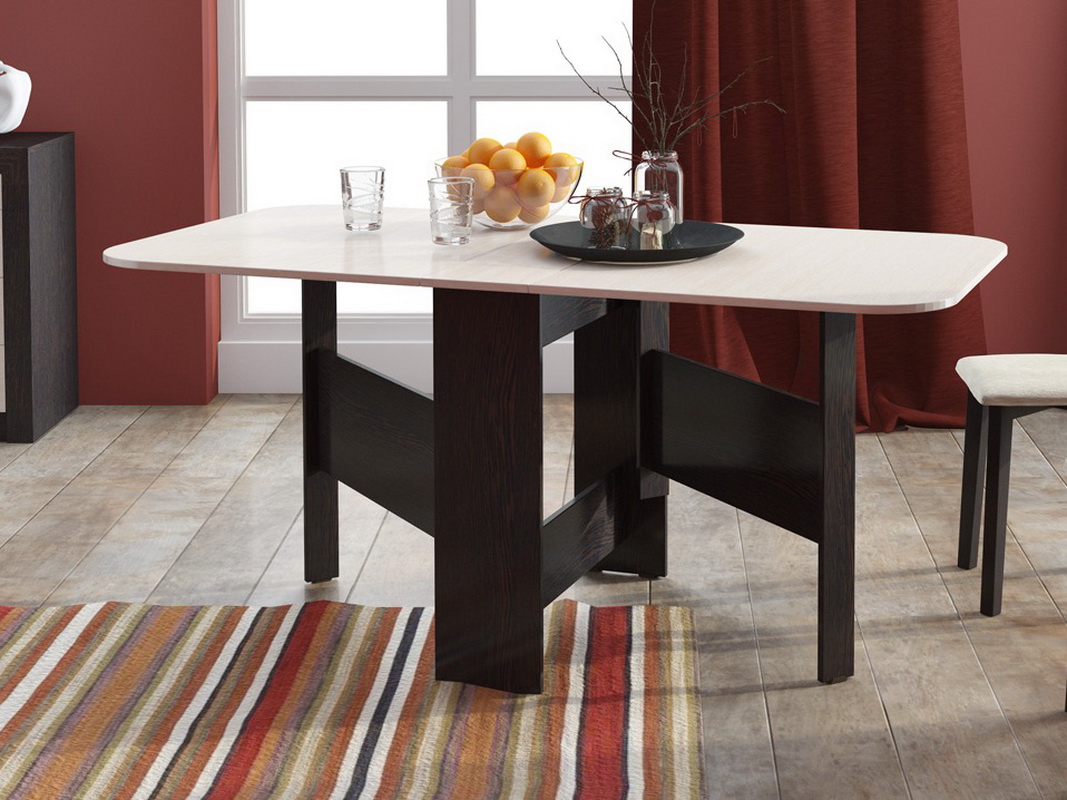
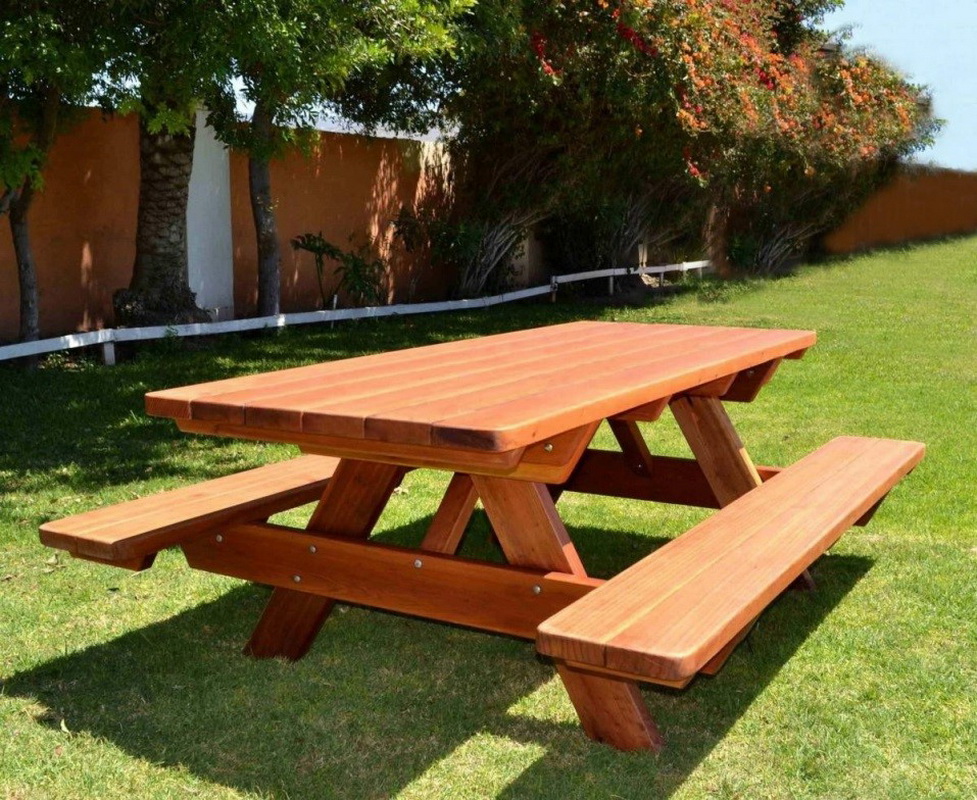
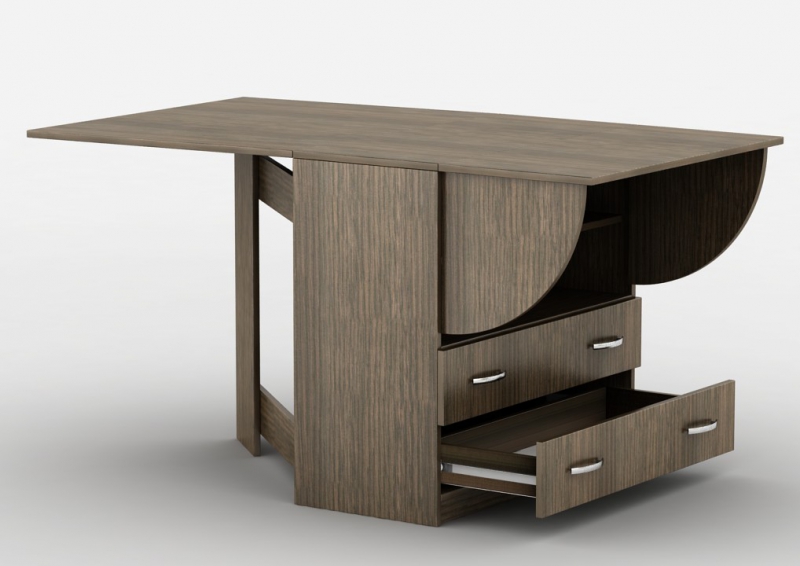
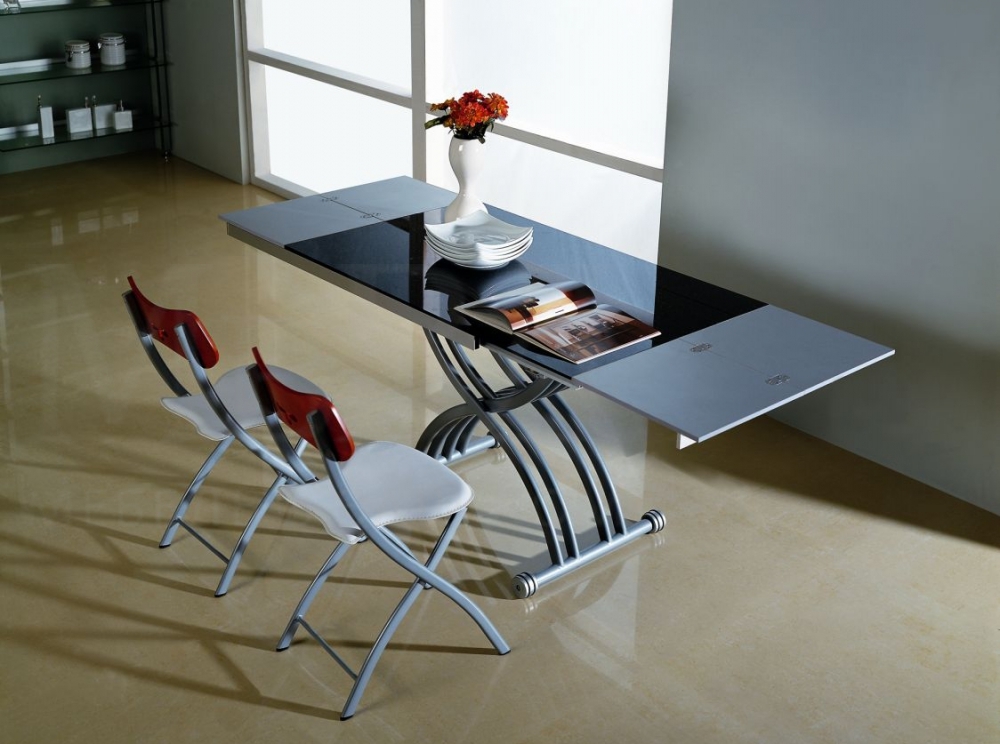
Transformers, perhaps the most interesting category of tables. When folded, they are very compact and are a bit of a small nightstand. If you attach it to the wall, then it will take no more than half a meter. Table of this form is indispensable in a limited area, when there is no possibility to hold a large dining table for a dozen people. Hinged table tops are attached using a hinge system. Transformers, as a rule, are rectangular, but there are also round models.
Before you get started, decide what configuration and size you need. The following are general recommendations from professionals:
- The hand-made table should correspond to the room for which it is created, both in size and in style;
- When creating a street option, it is important to think in advance how many people will use it at one time;
- Folding table - a great option for hospitable hosts. Such a product will be used in assembled form for family dinners and will be a godsend at the time of receiving guests;
- For a comfortable feast, the place at the table reserved for each guest should be at least 70 cm;
- The baby model must be designed according to the age and height of the child.
Making will cost a certain amount of work and time, but the result will please. After all, a product created with your own hands will be inexpensive and fully consistent with your ideas and desires. If desired, you can make a whole furniture set, but it will require special skills and skills.
Before you start making the table, you should carefully read the drawing, so as not to transfer materials in vain.
Tables can be divided into the following constructive types:
- Solid wood;
- Prefabricated (from the terrace, groovy, unedged boards);
- Glued;
- Made in the form of a “shield” of lamellas.
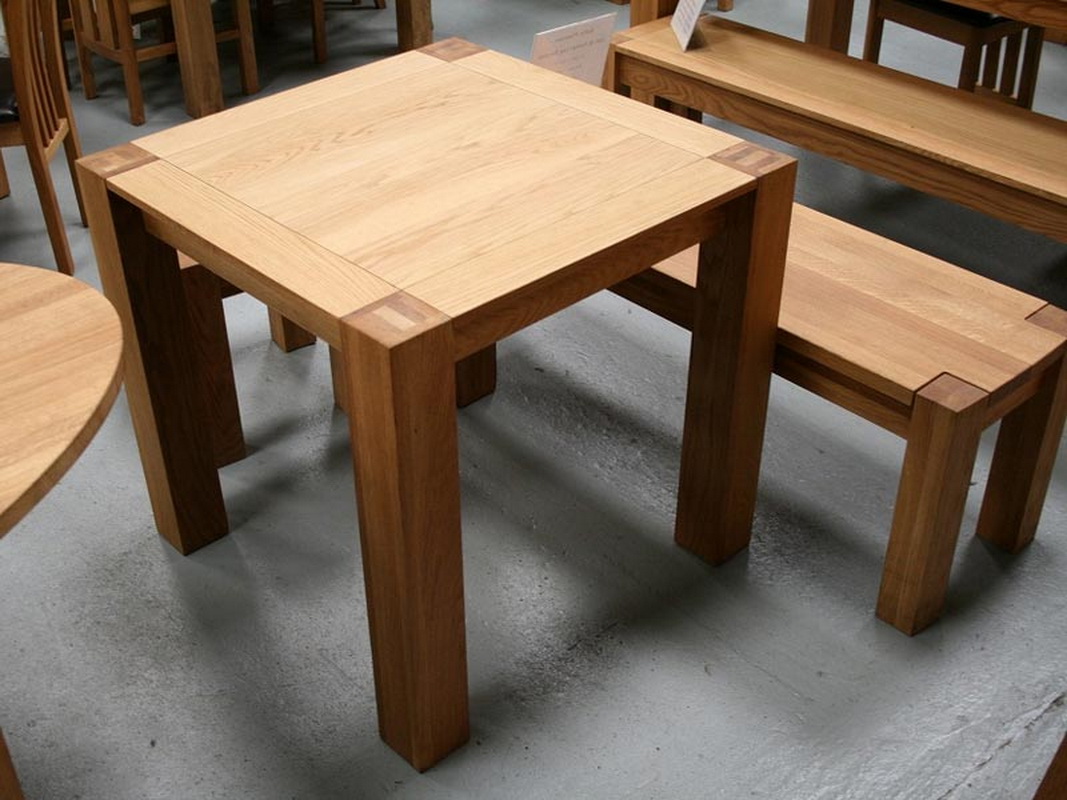
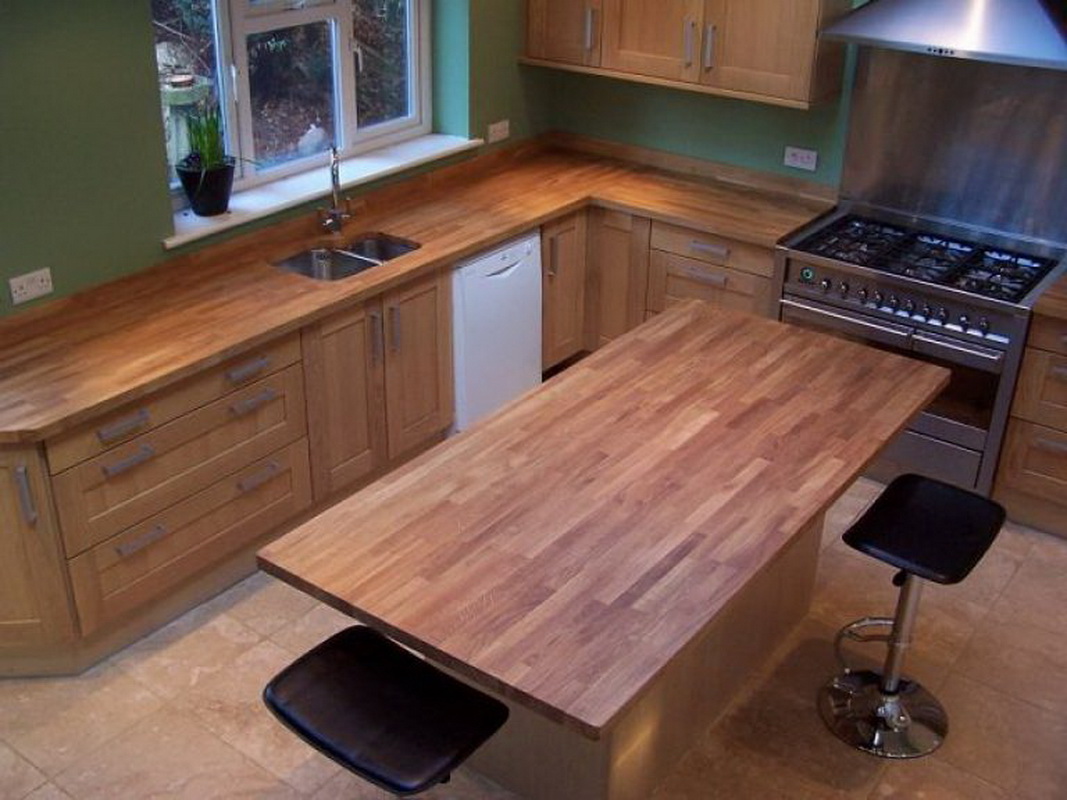
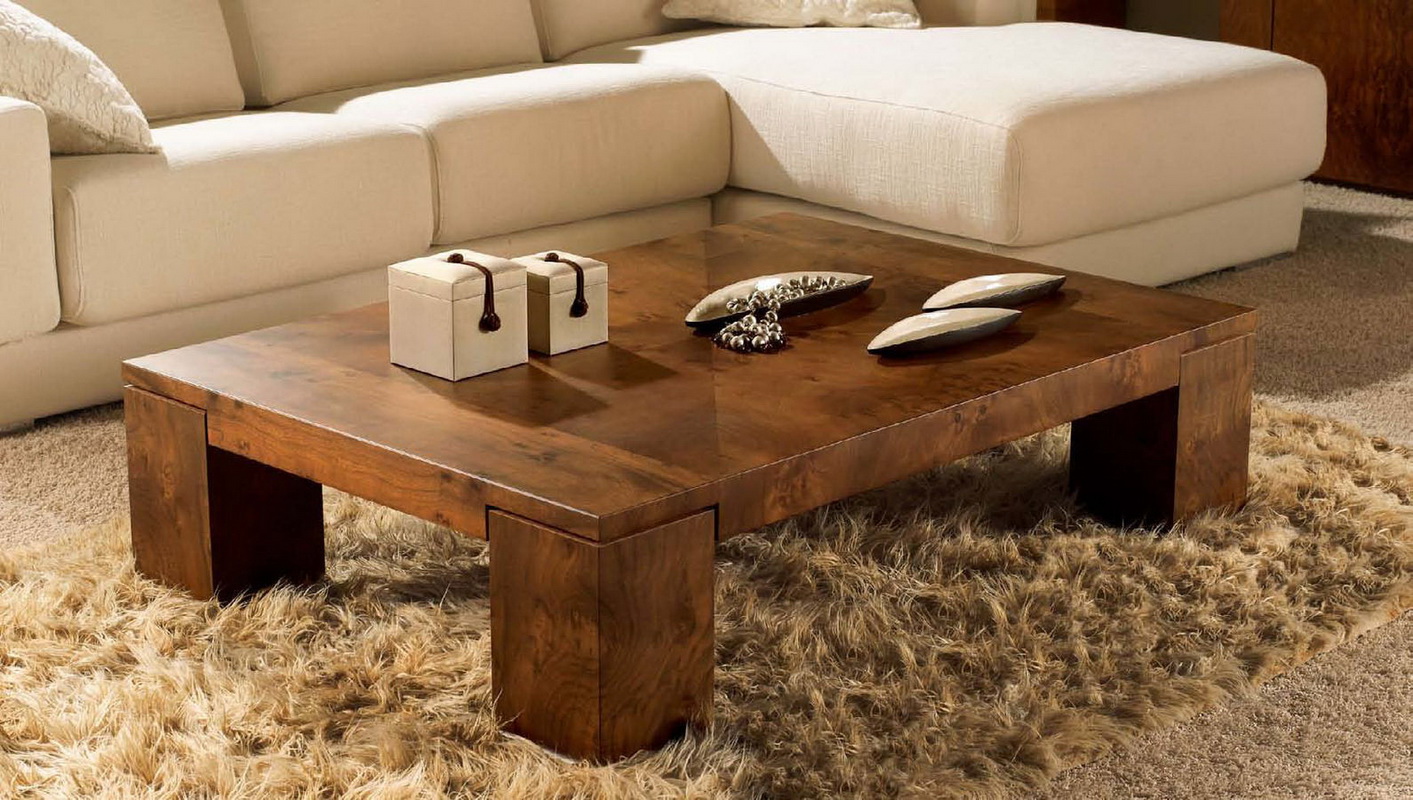
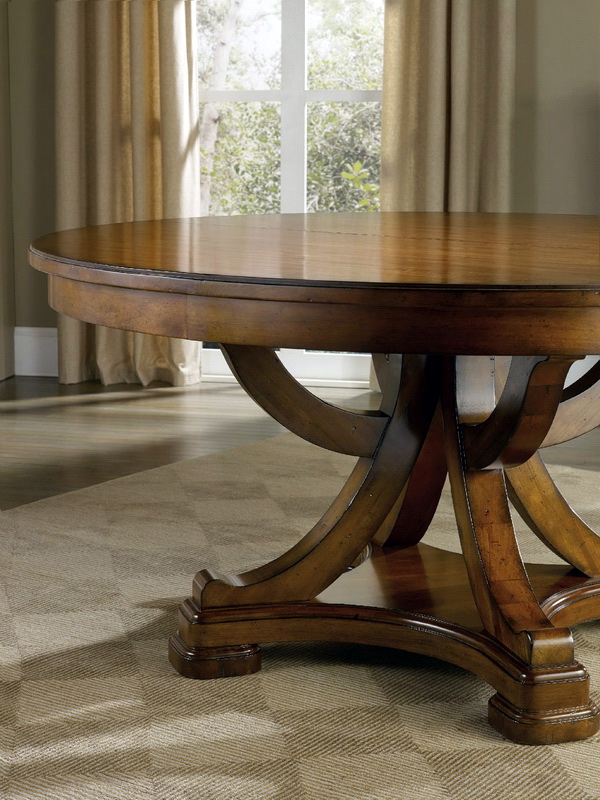
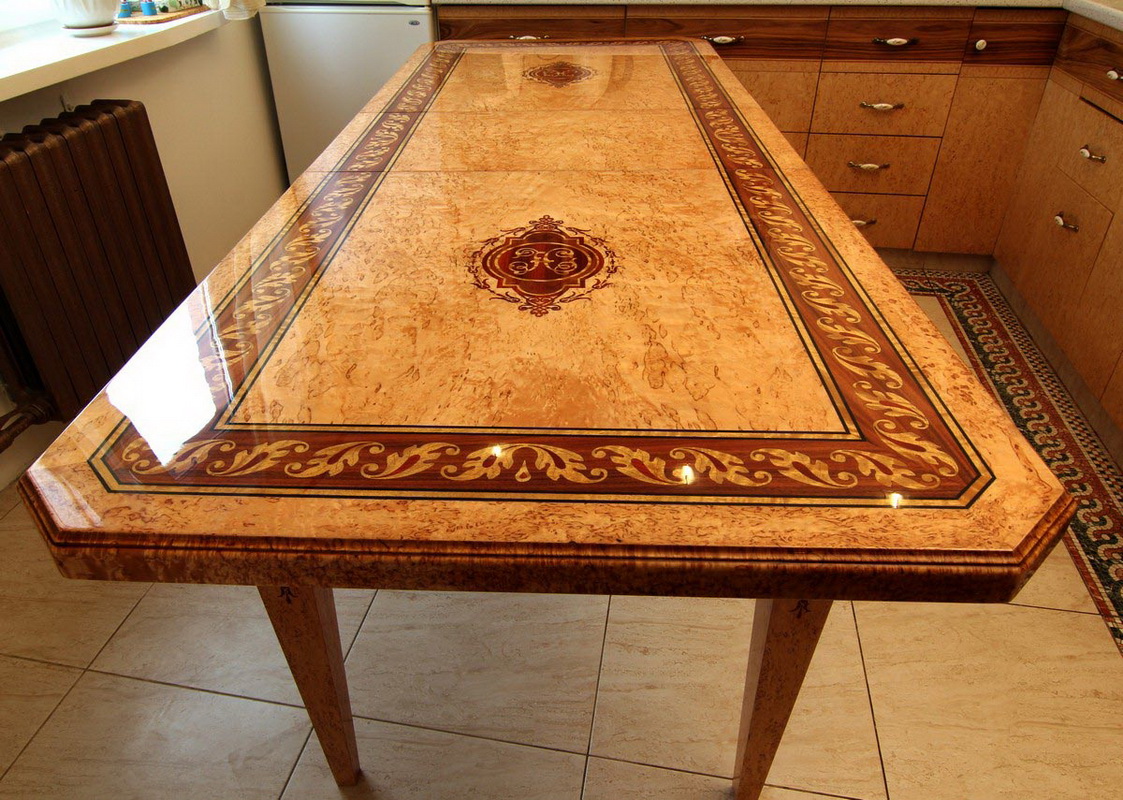
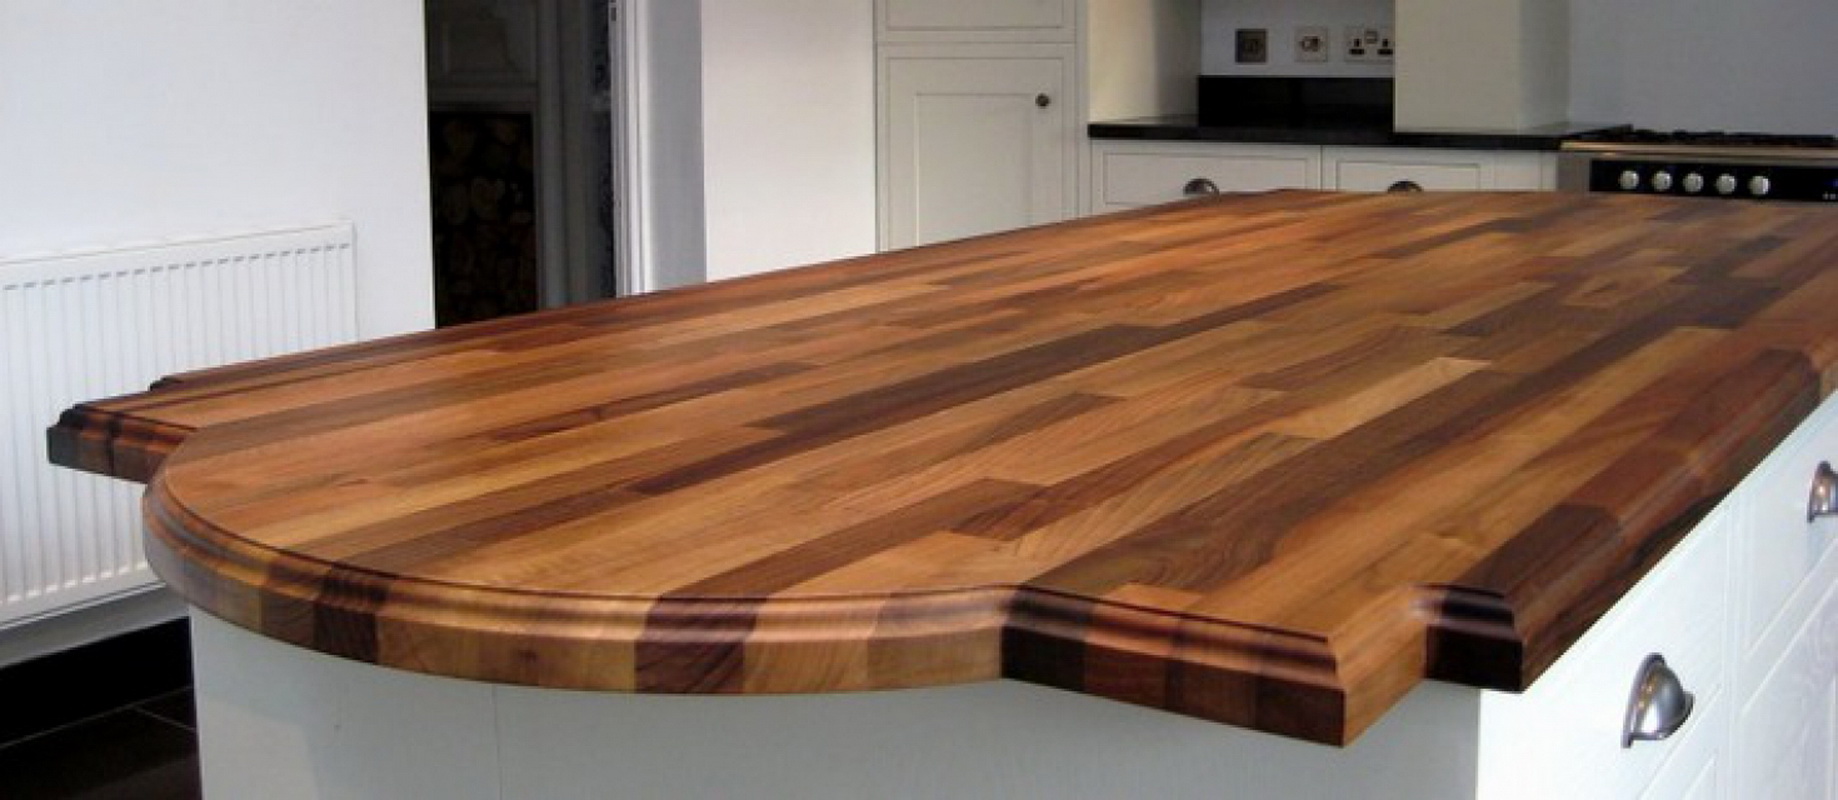
Solid wood furniture belongs to the elite and has a rather high cost. The remaining options are simpler and can be used both in pure form and in combination. Glued countertops made of epoxy-made boards of different types of wood look very pleasant - this is an adhesive based on resin. Natural woody pattern and different textures create an incredible effect. Products made by this technology very durable and resistant to deformation.
Material selection
The most popular material for the manufacture of tables and other garden furniture is wood. This is easily explained, because wood has a number of significant advantages over other materials, for example, metal or concrete. The tree has such advantages as:
- Ease of processing;
- High aesthetics;
- Resistance to different climatic conditions;
- High depreciation;
- The possibility of restoration;
- Ample opportunities in the field of processing and painting;
- Safety for human health;
- Low cost of certain categories of wood;
- The beauty of natural patterns.

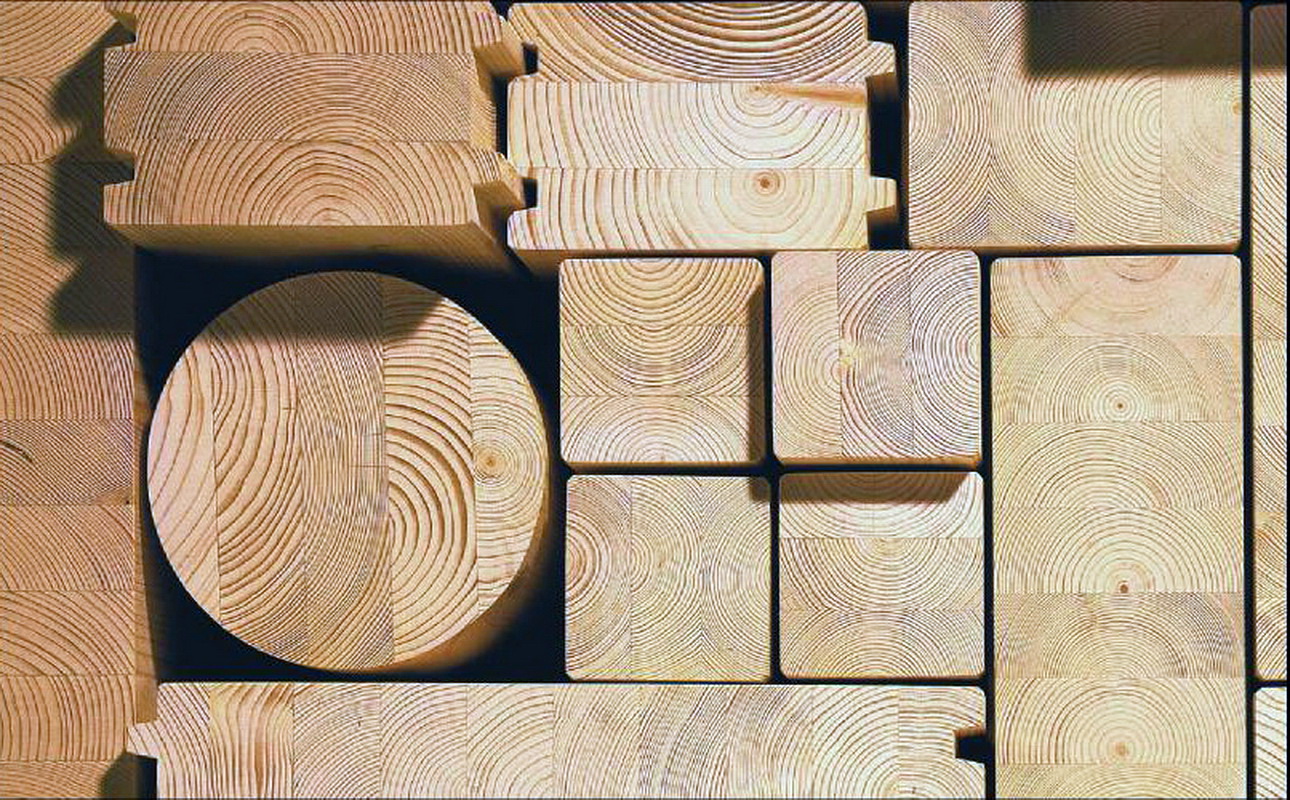
Natural wood is a material of beautiful natural texture, fairly inexpensive, environmentally friendly and durable. It is moisture resistant with special treatment, malleable for joinery tools, therefore, excellent for making home furniture and utensils.
The appearance of the finished product and its characteristics will depend on the type of material and its preparation, so you should start with the selection of wood. Each wood species has its own hardness. The most popular tree species can be distinguished:
- Spruce, pine and cedar are softwood species. Easy to process material, but prone to deformation, drying out and cracking;
- Oak, beech, larch and birch - representatives of solid wood. Beautiful and noble views of the tree. Waterproof and durable. Electric tools are required to process oak and other hardwood products;
- Superhard materials - yew, hornbeam and acacia - owners of extremely dense internal structure, are high-strength material.Requires professional industrial processing.

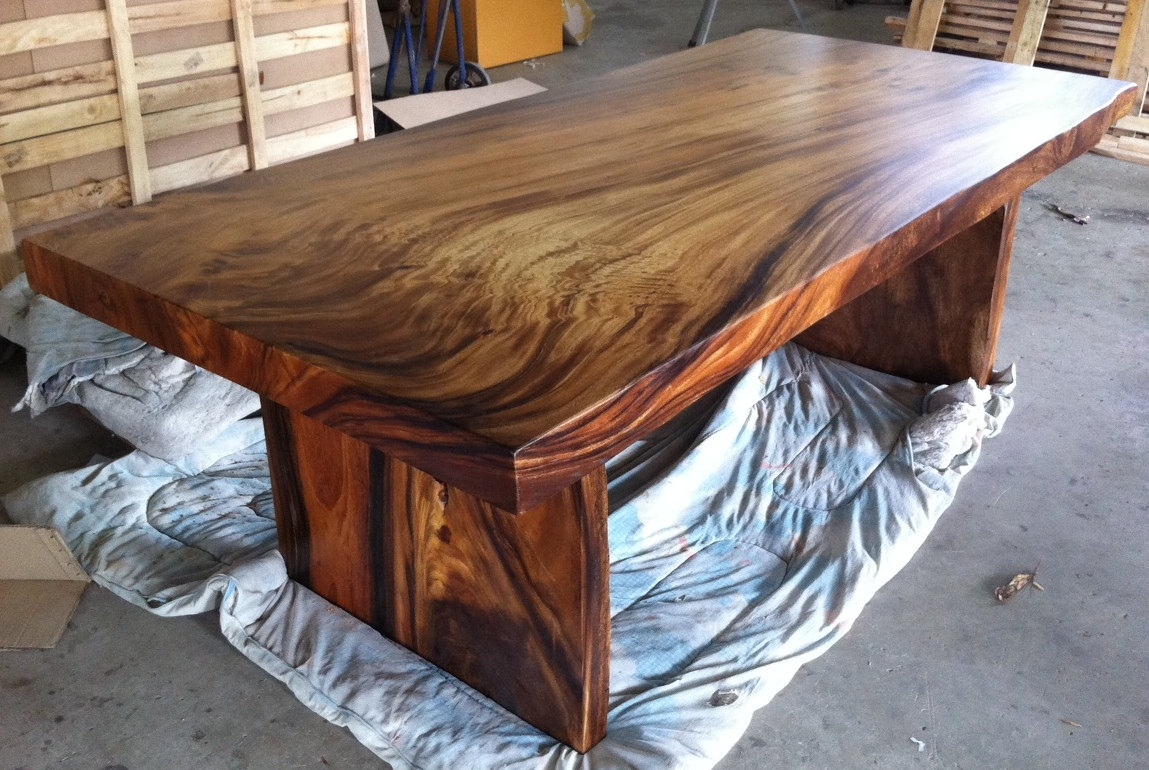
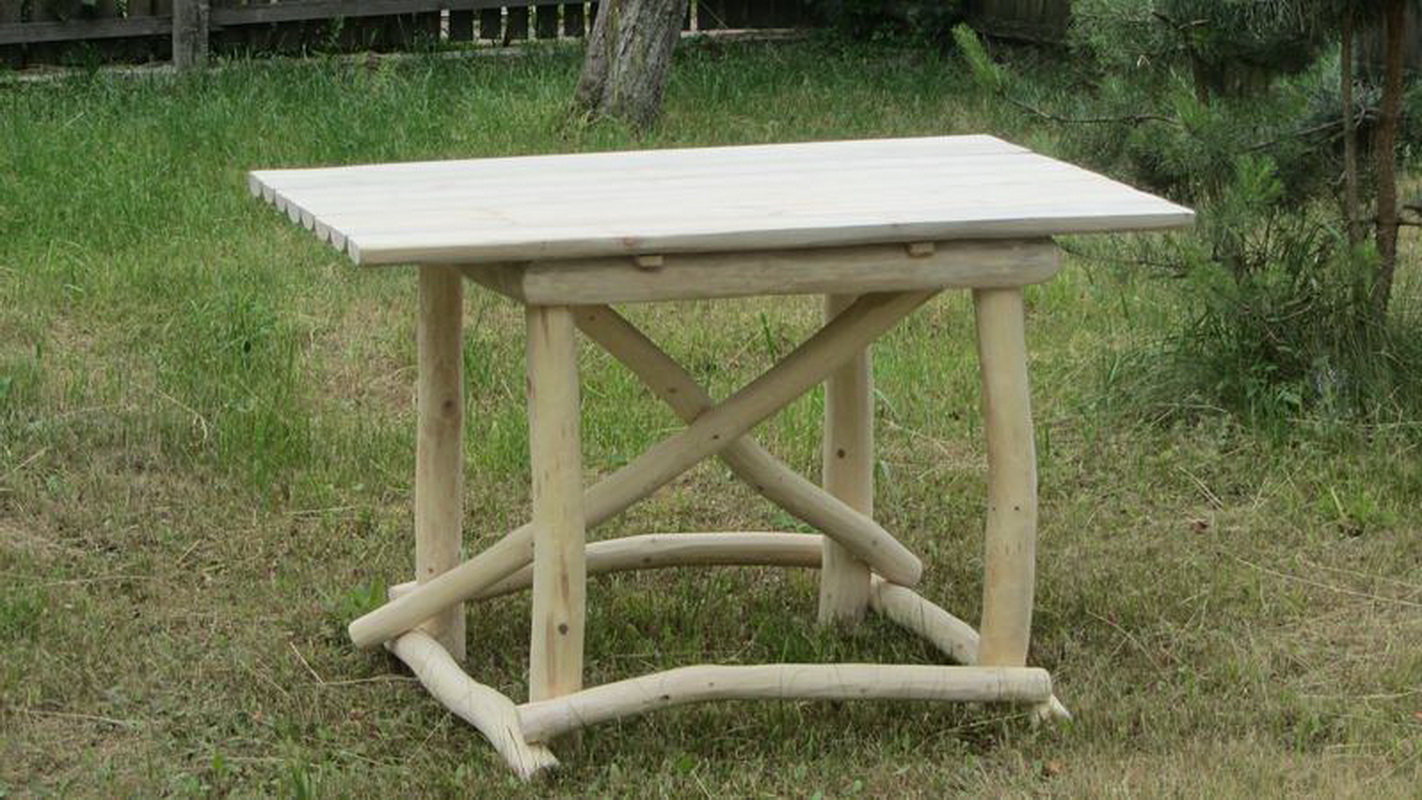
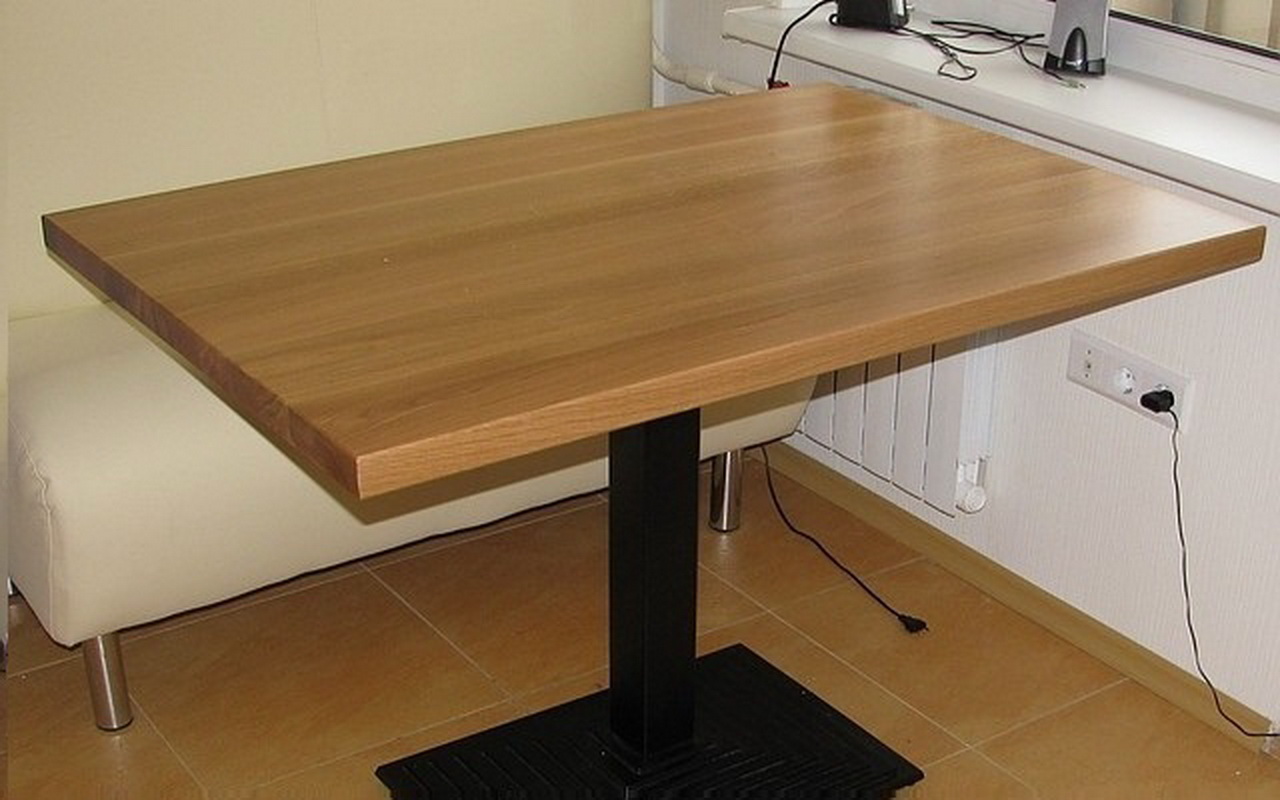
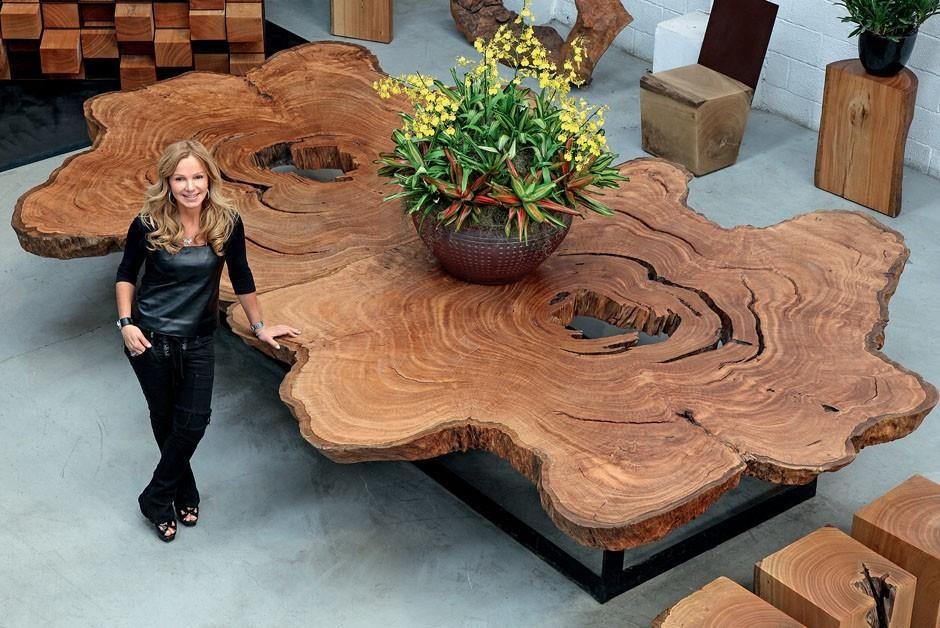
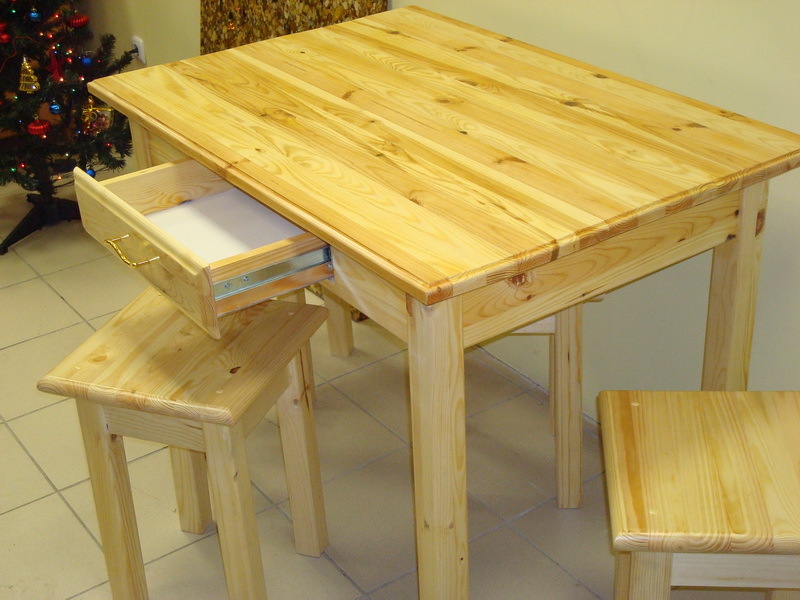
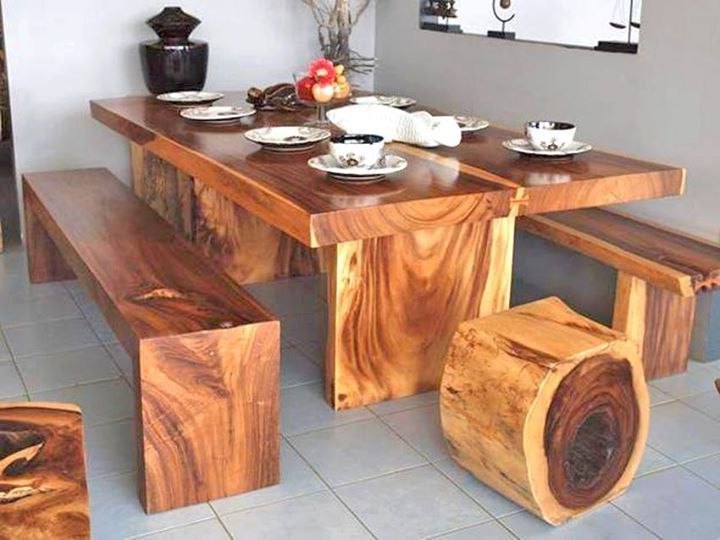
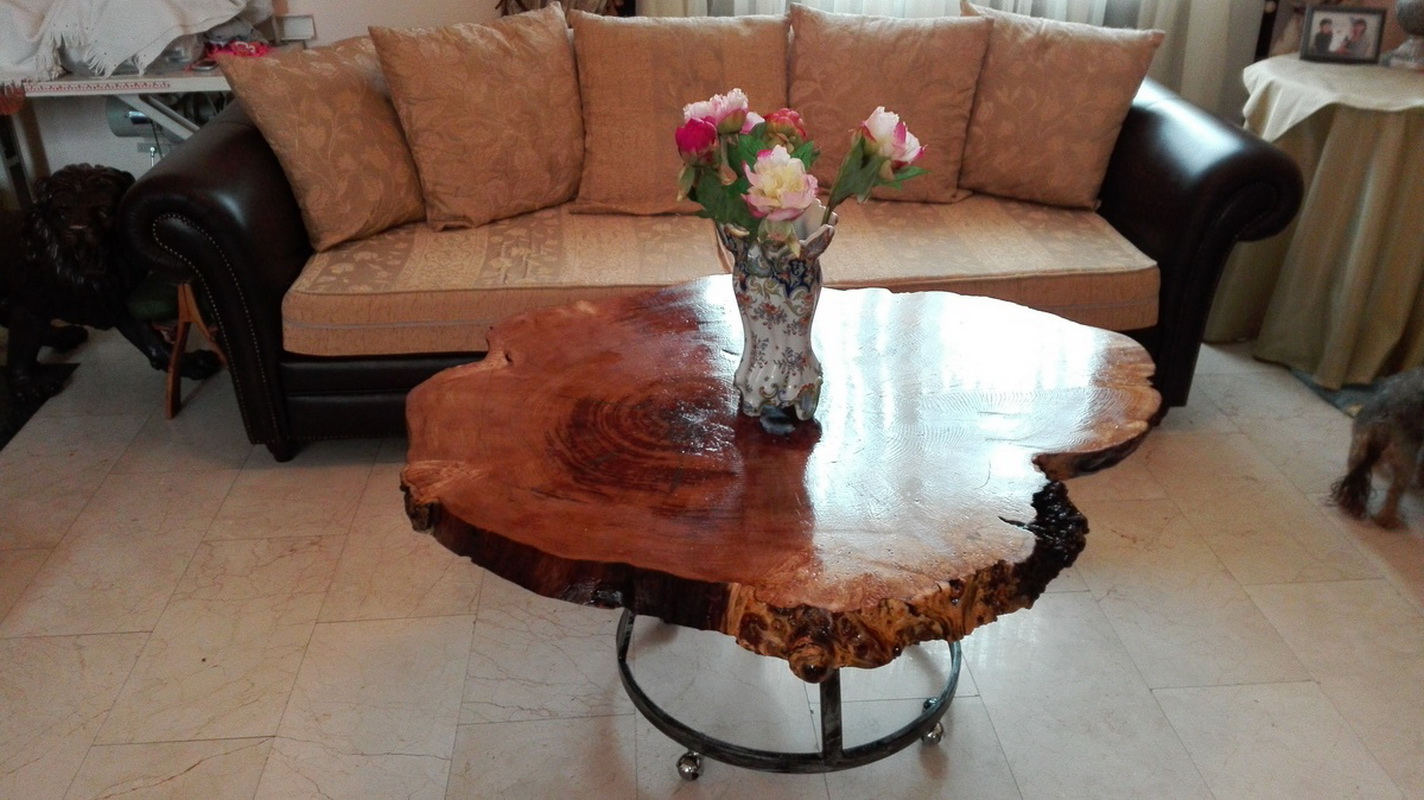
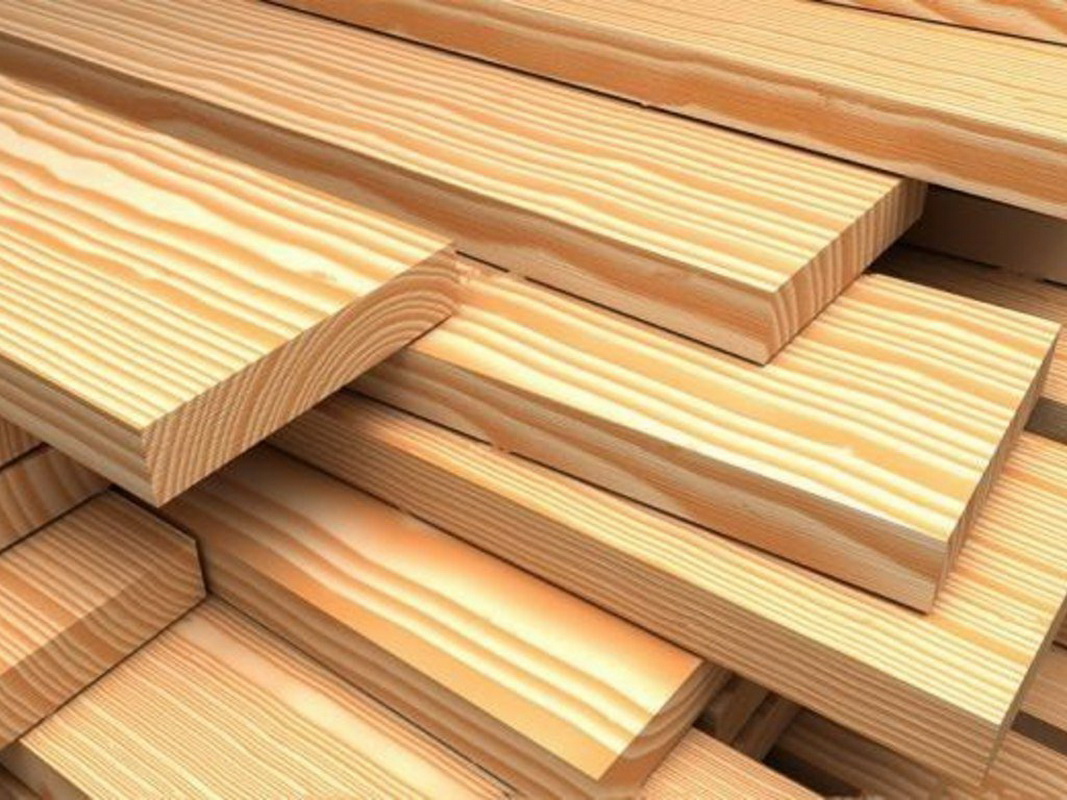
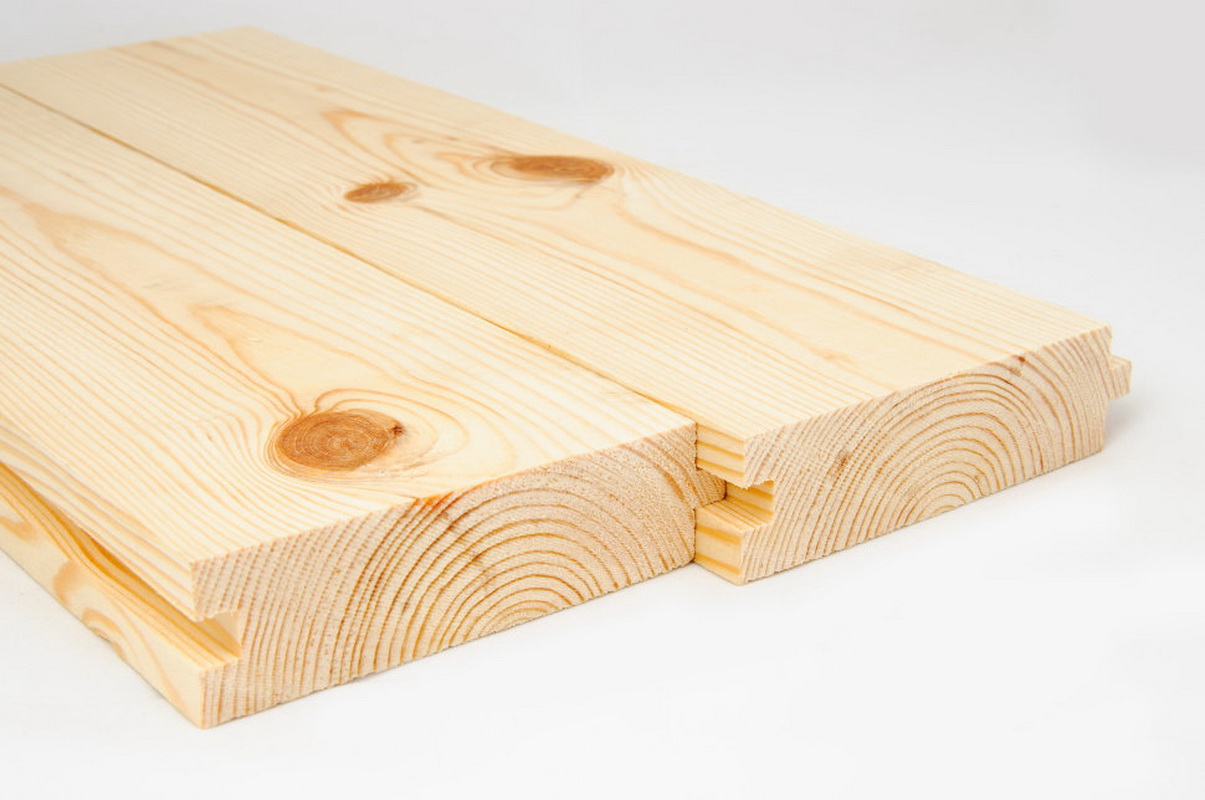
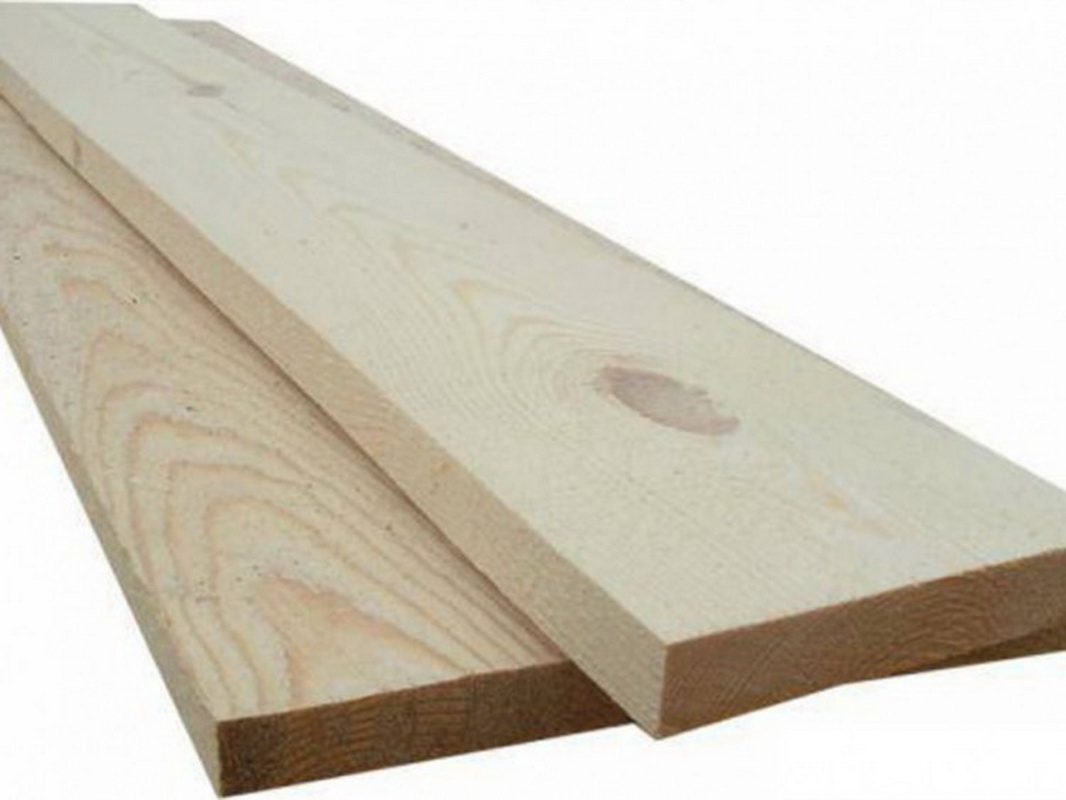
For the manufacture of a wooden table, you will need an edged board or timber. A table made of slabs will have a brutal look and will perfectly fit into a country house in a hunting style. A wide croaker can serve as material for the entire tabletop. Another material for creating a tabletop is a cut of the trunk. First, the trunk of the required diameter is selected, then an even cut is made and varnished. With this technology, a large amount of waste is generated.
The durability of the product depends not only on the processing of wood, but also on the choice of wood. Hard rock is not always a good choice. Under conditions of temperature and high humidity, the tree swells and crumbles. The best option for outdoor or cottage tops is elastic wood. Characteristics such as hardness and elasticity, provide resistance to deformation. These properties can boast spruce, aspen, larch and linden.
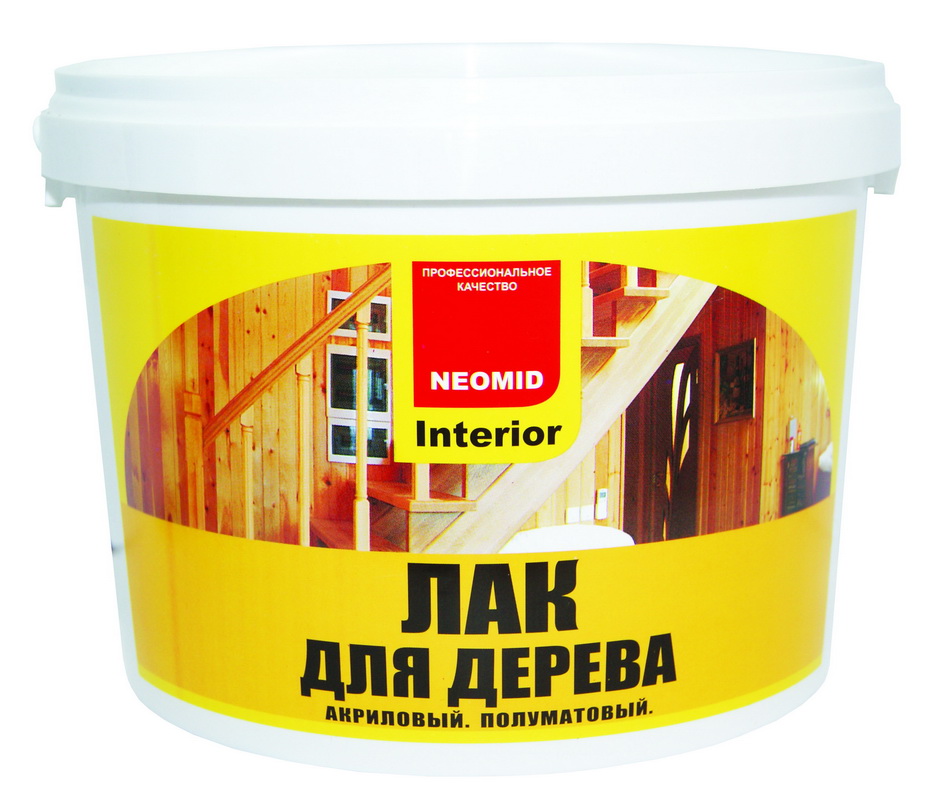
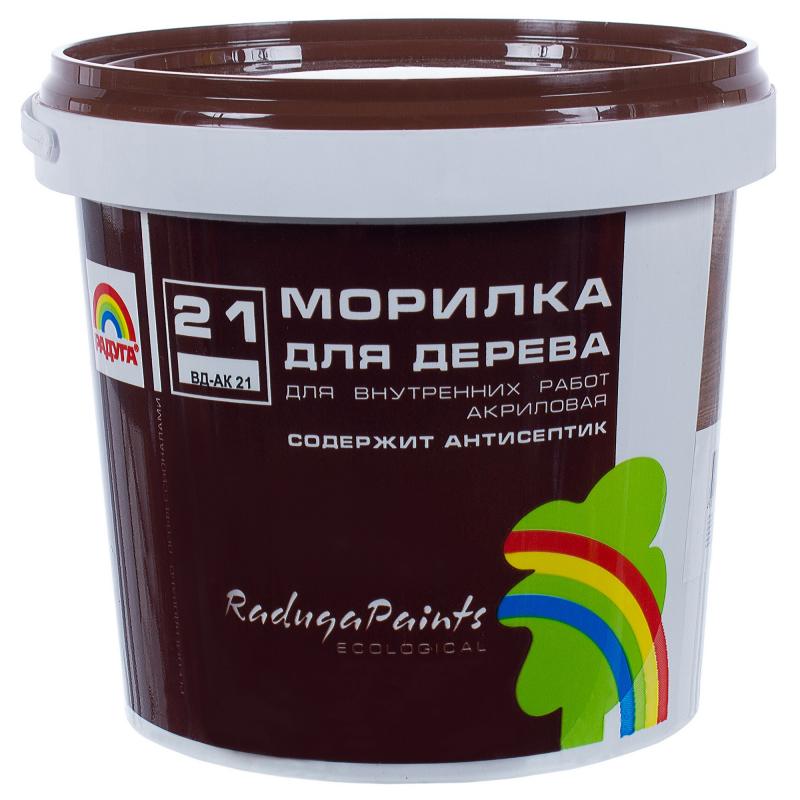
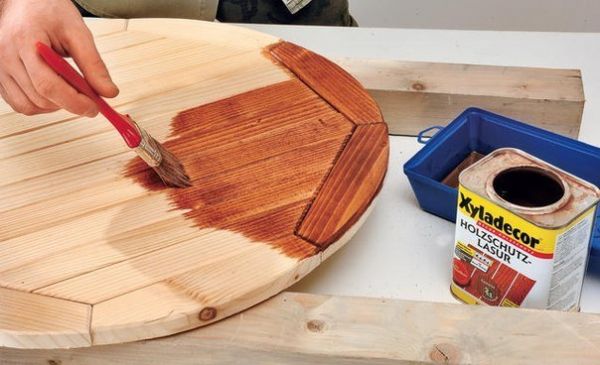
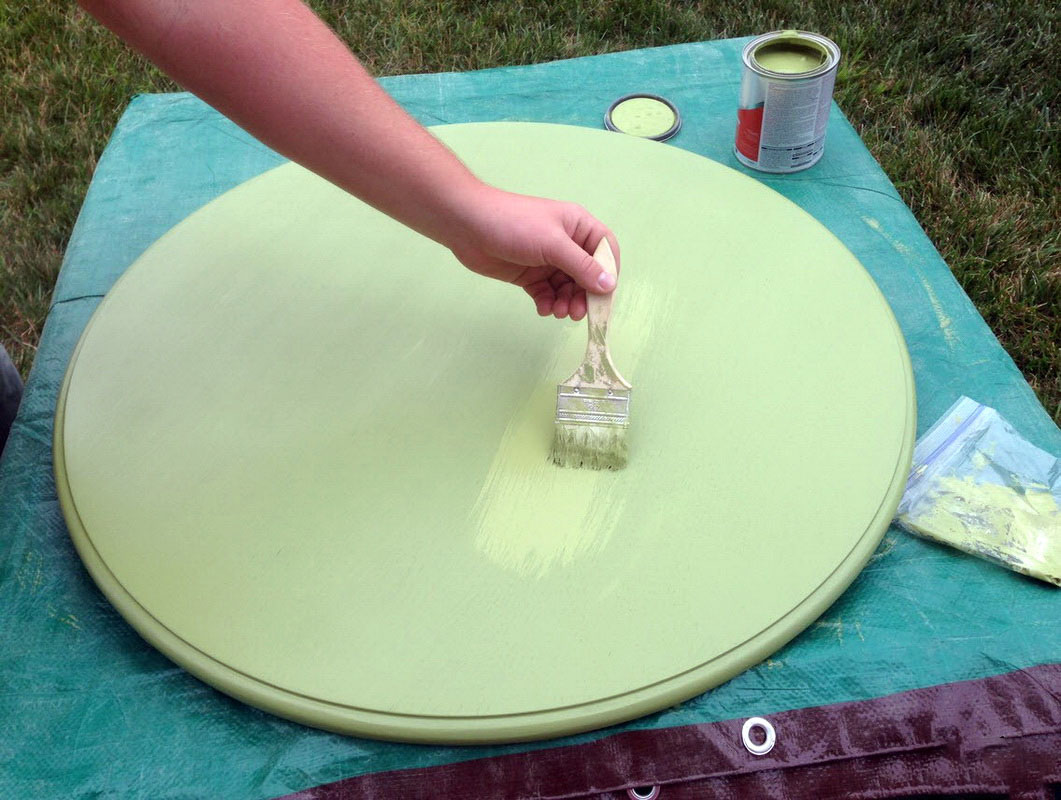
Before the start of carpentry work, the wood must be ground and treated with antiseptic, and in the end you will need varnish coating.In addition, the stain will give the product a finished look.
Preparation of tools
If you were inspired by new ideas and decided to make a wooden table with your own hands, The following tools will need to be prepared:
- Surface gage;
- Saw;
- Jigsaw;
- A hacksaw;
- Jointer;
- Milling cutter;
- Screwdriver;
- Drill;
- Grinding device;
- Clamps;
- Pencil,
- Roulette,
- Square.
In order to make the work go away, consider the shape and size of the product, prepare the drawings. The size of the product will depend on the area allotted for it, and the height is on average 70 cm. Here is a list of materials required for work:
- Antiseptic;
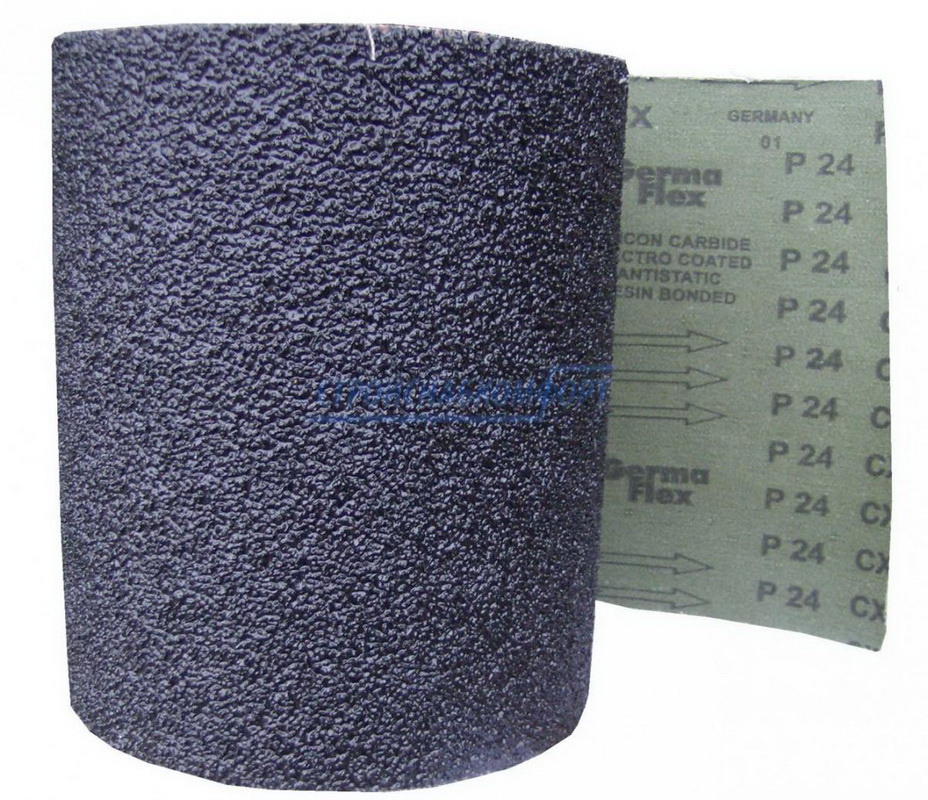
- Sandpaper of different grains;
- Boards;
- Timber or slab;
- Luck;
- Paint and stain;
- Glue.
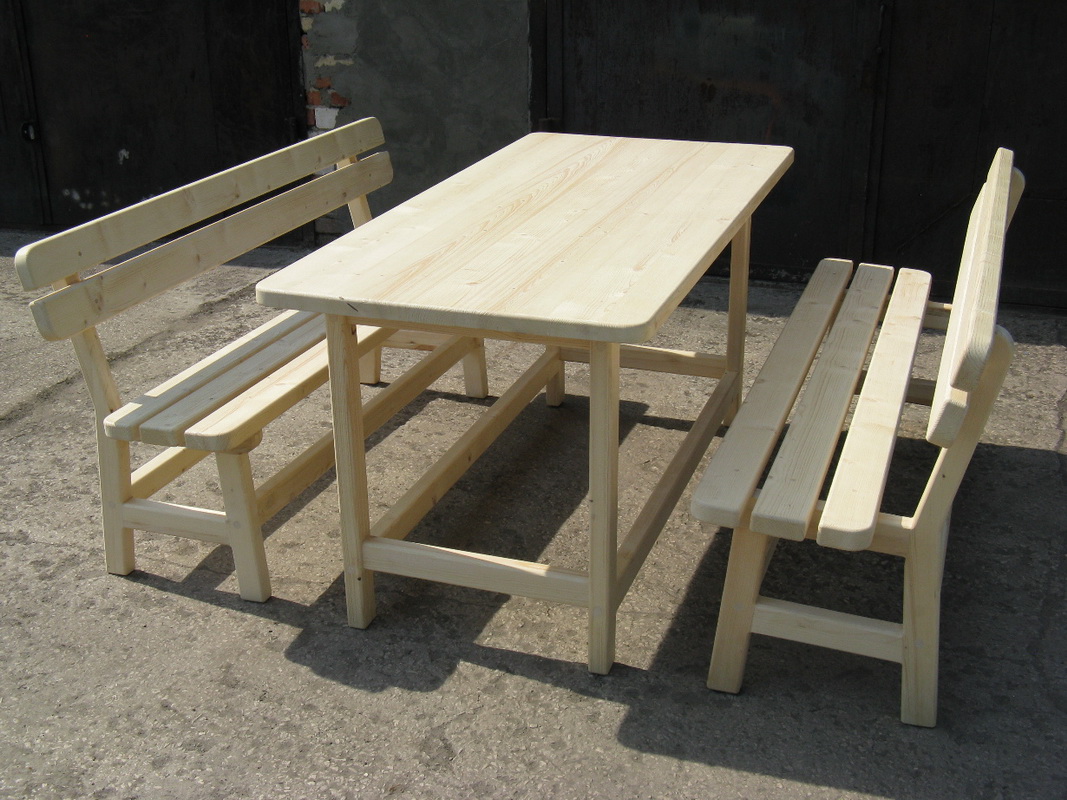

For a standard family of four people, a square-shaped table with a side width of one meter will suit. Size 120 to 90 cm will accommodate both owners and guests.
Drawing drawing
The drawing is a diagram that visually narrates the sequence of actions, following which the expected result is guaranteed. If a unique design is conceived, then you will have to work on the scheme and drawings yourself.To do this, you can use a computer program, then print the received documents in order to have a visual guide.
Manufacturing of parts
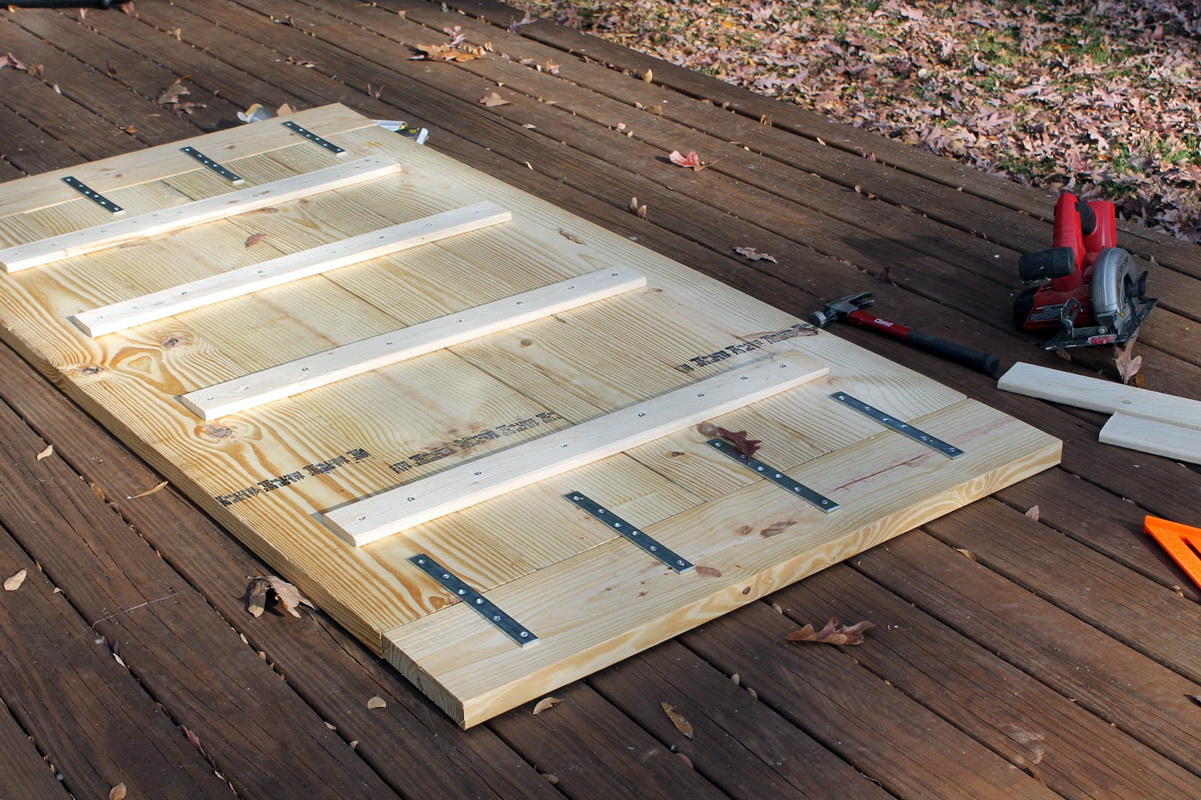
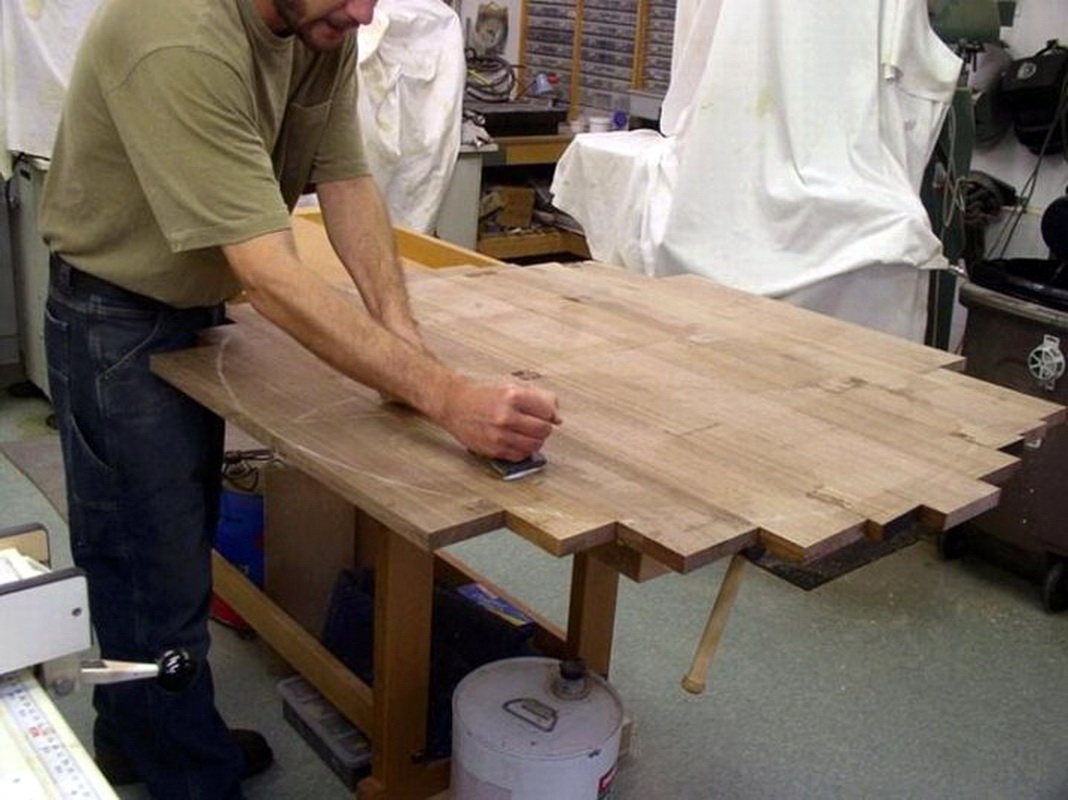
Step-by-step process of making wood tabletops can be described as follows:
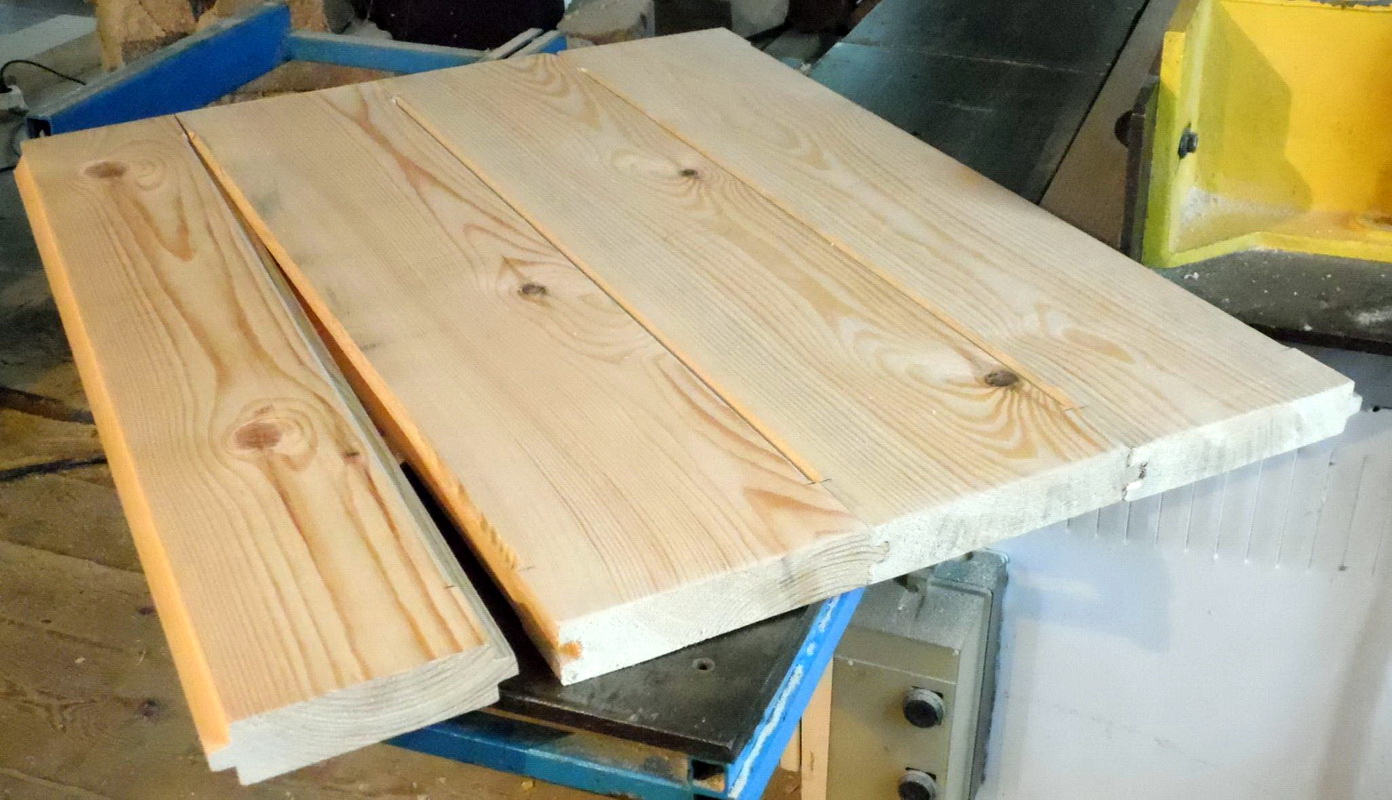
- Select the desired amount of materials. For a standard width, you will need 6-7 boards 3 cm thick. Only ideally even boards treated with a jointer are suitable. Knots are not a hindrance.
- To antiseptic wood and dry thoroughly.
- Lay out the boards in the shape of a flat rectangle. Align the joints.
- Attach the bar on both sides and cut off evenly.
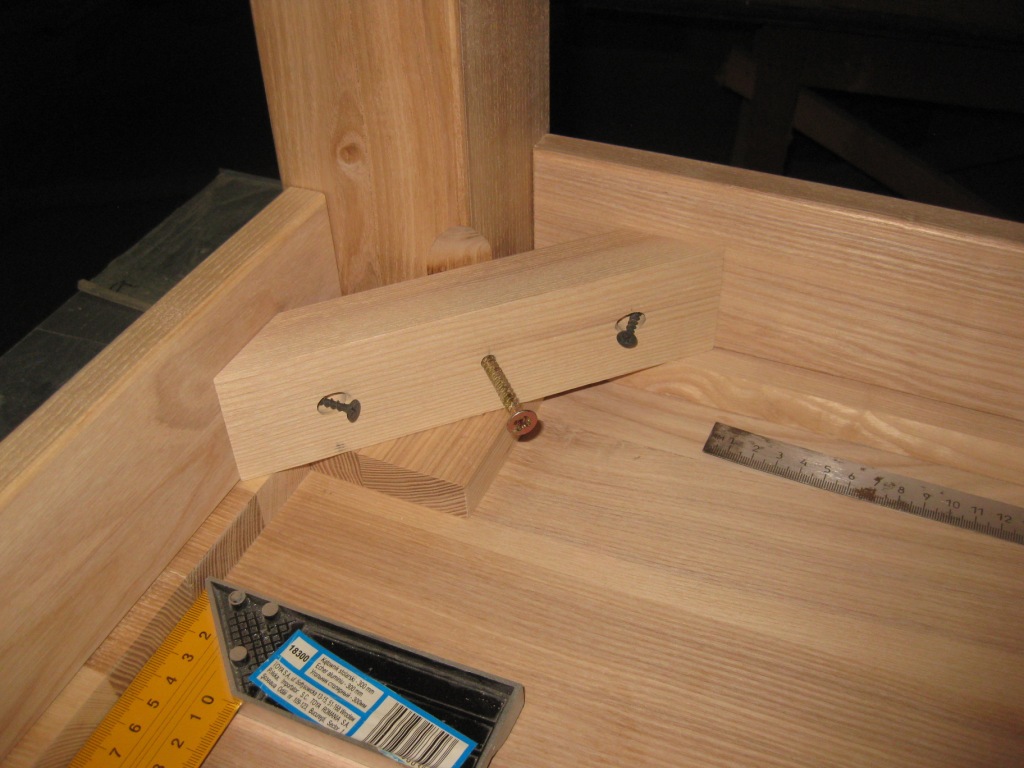
- Screw the screw to the boards. On the back of the tabletop, in the center of the boards on each side, drill a hole for the bolt through the bar by 2/3. On the timber to make the deepening wider so that the bolt head drowns.
- Round the corners.
- Bottom diagonally attach the board with screws, smeared with glue.
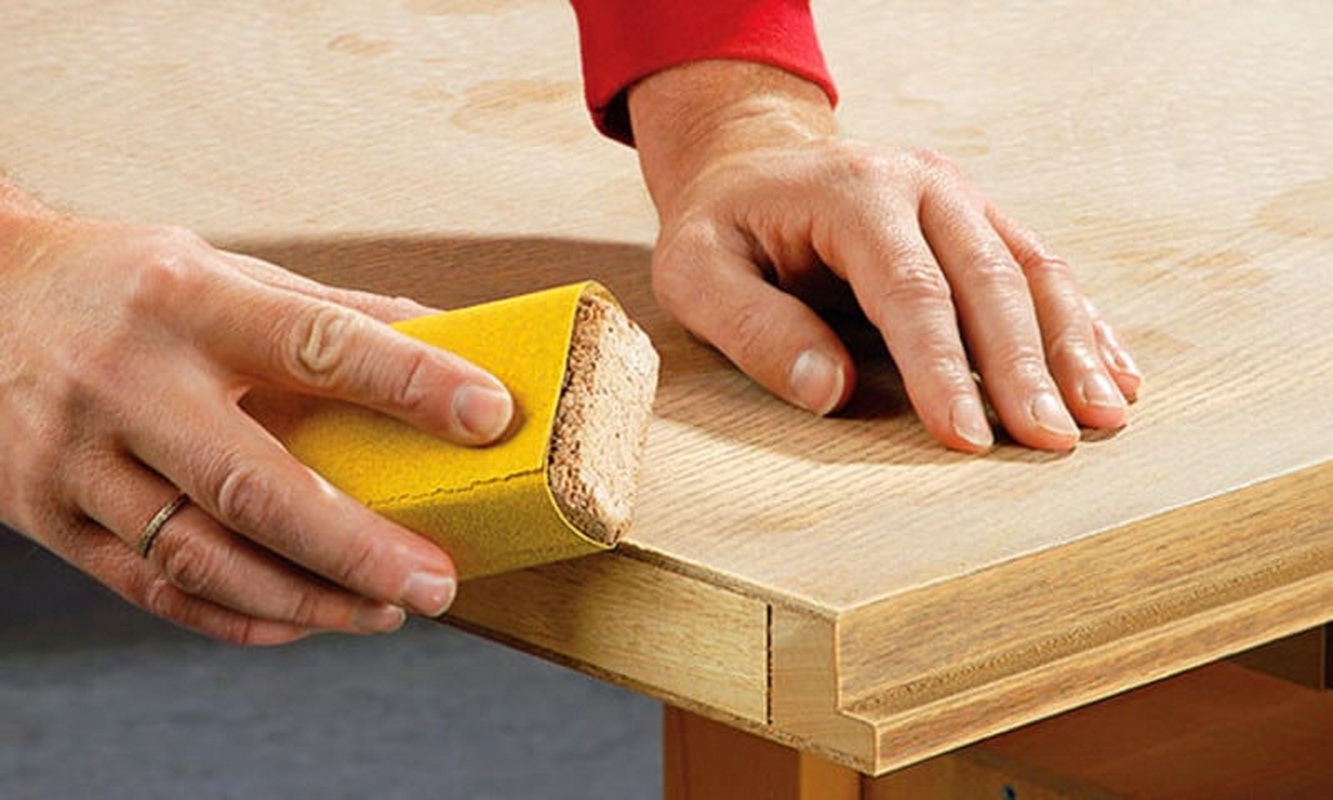
- Sand the surface first with coarse sandpaper, then softer.
- Cover the product with stain and varnish. If desired, the table can be painted.
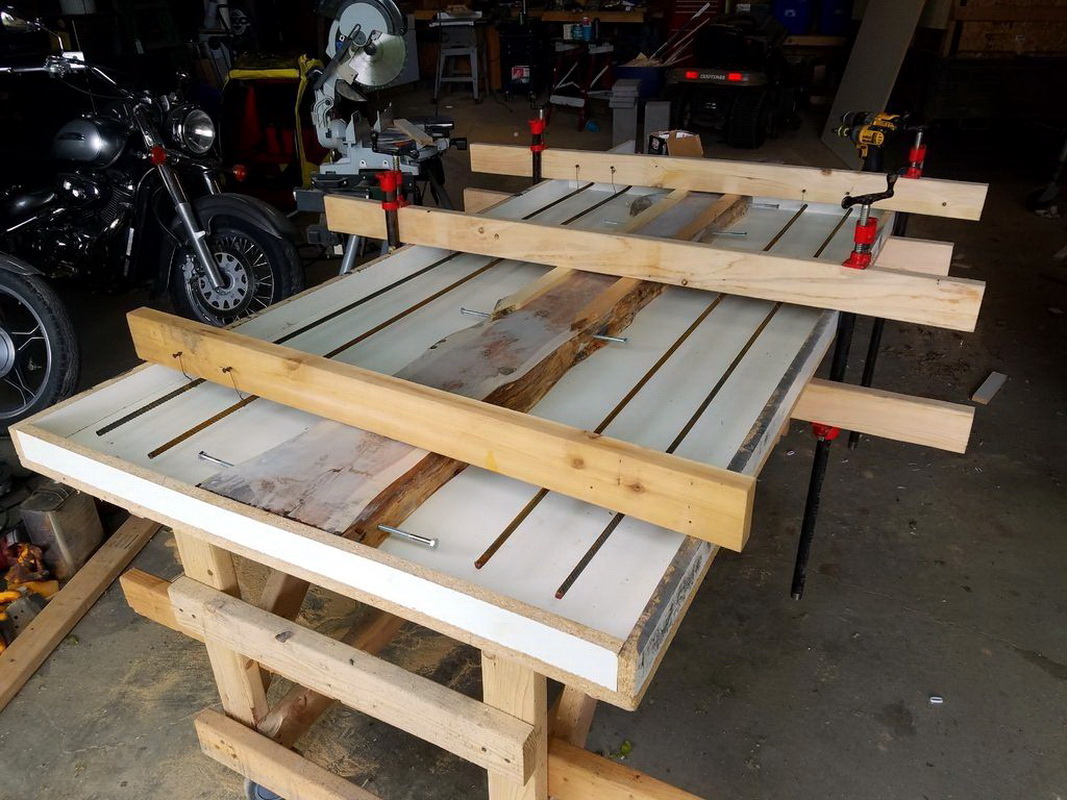
Homemade laminated worktop
Tables of this material have a smooth and uniform structure, do not have joints and cracks.Another argument in favor of this technology will be resistance to the occurrence of deformations and cracks. To make the table, you will need 4 boards with smoothly rounded edges, having the following parameters - 1x1.5x0.5 m. The algorithm works as follows:
- At the ends at a distance of 10-12 cm to make holes of 8-12 mm They are needed for mounting dowels and dowels. Holes in the two side boards are made only on one side.
- Correctly fold the boards before processing with glue.
- To grind boards, grease them with glue.
- Insert the dowels and fasten the boards.
- Align the ends and make sure the correct position of each board.
- Place the finished worktop on a flat surface and firmly squeeze with a clip.
- Leave to dry.
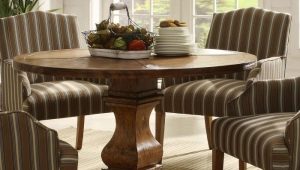
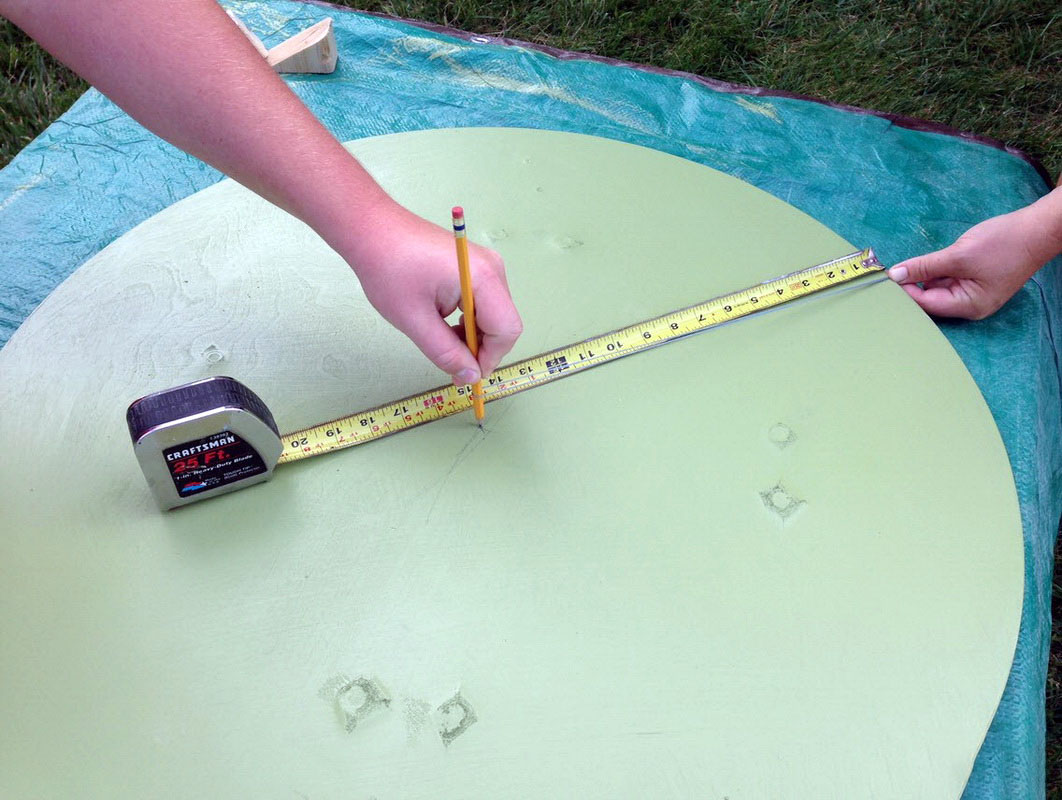
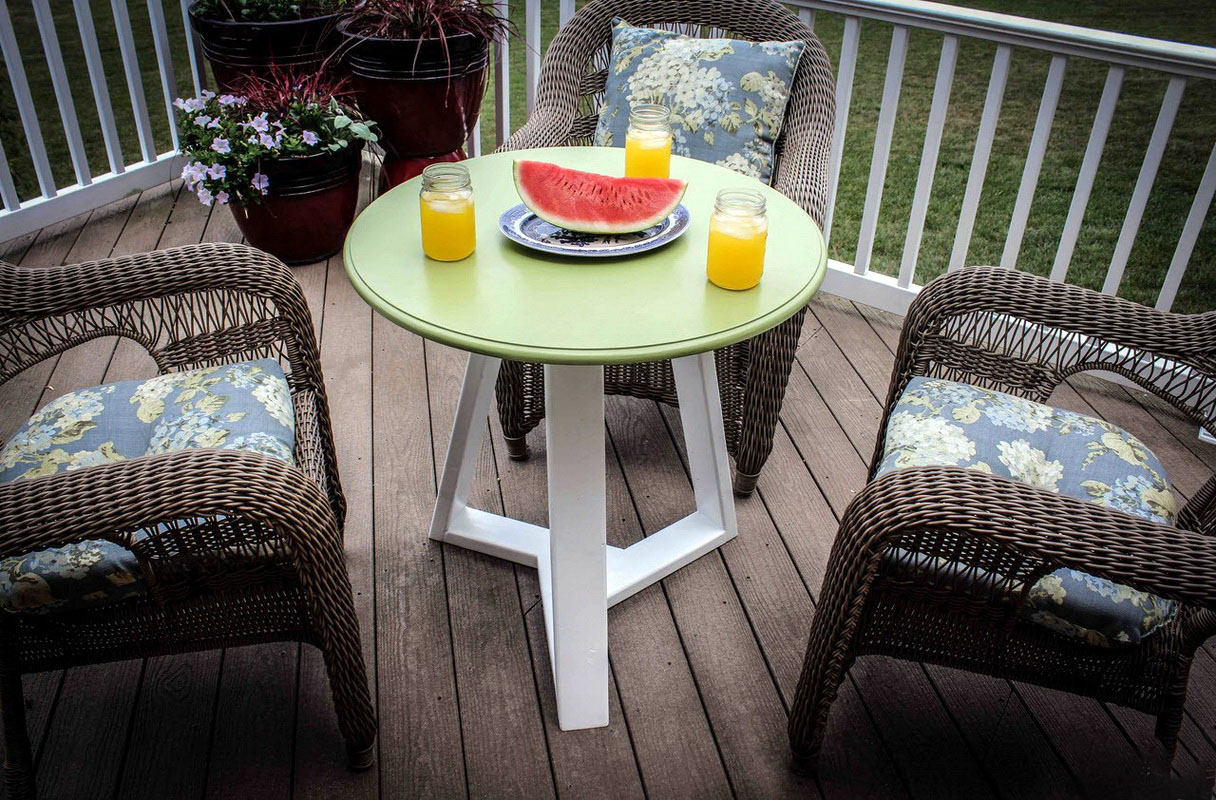
Making a round table
For the realization of the idea of creating a round table with his own hands, you need to have following materials:
- Square bar (width - 100 mm, length 750 mm - 4 pieces;
- Boards 100 by 20 mm, length 750 mm - 2 pieces;
- Boards 250 by 40 mm, length 2000 mm - 4 pieces;
- Boards 100 by 20 mm, length 800 mm - 2 pieces;
- Boards 100 by 20 mm, length 1600 mm - 2 pcs.

Step-by-step instructions for creating a handmade round table:
- Four long boards tightly folded with each other.
- Draw a circle.
- Cut with a jigsaw line.
- Make a rectangular frame and fasten the circle with screws.
- Attach the legs to the frame.
- Check the stability, and then disassemble.
- To process a tree an emery paper. First tough, then soft.
- Cover with stain and varnish.
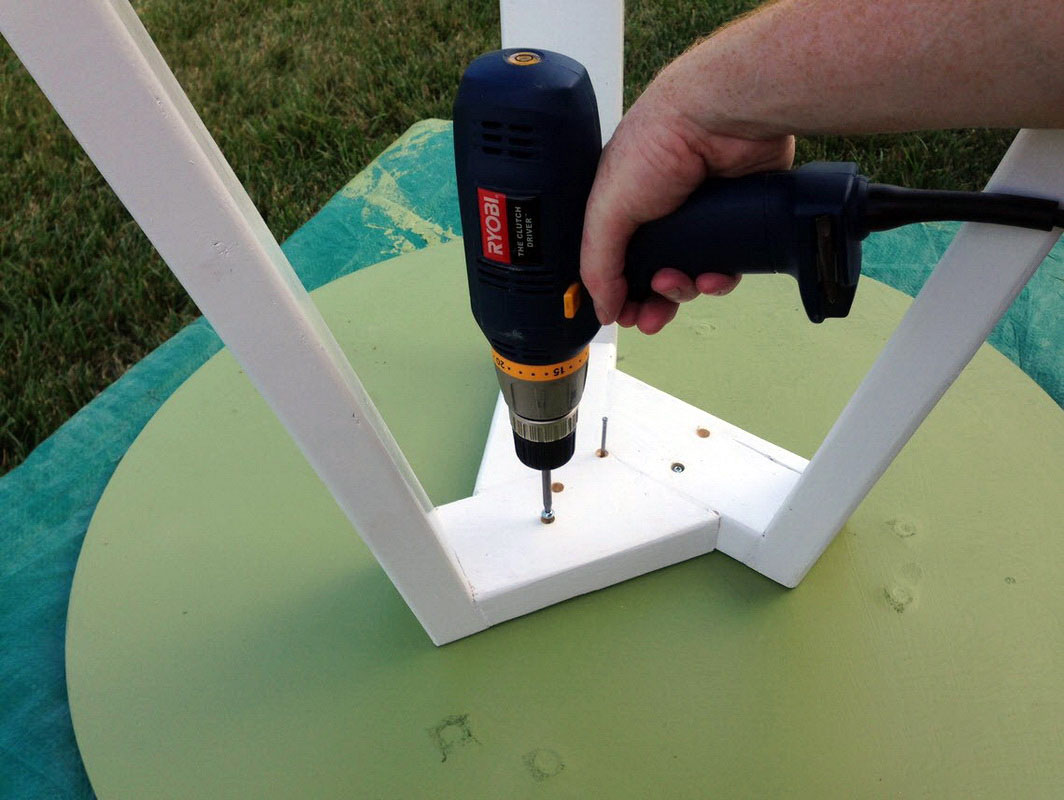
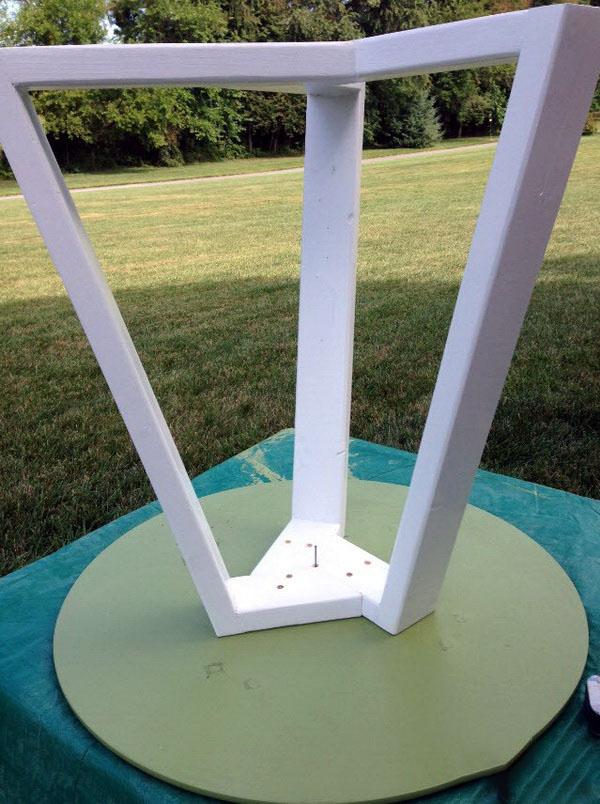
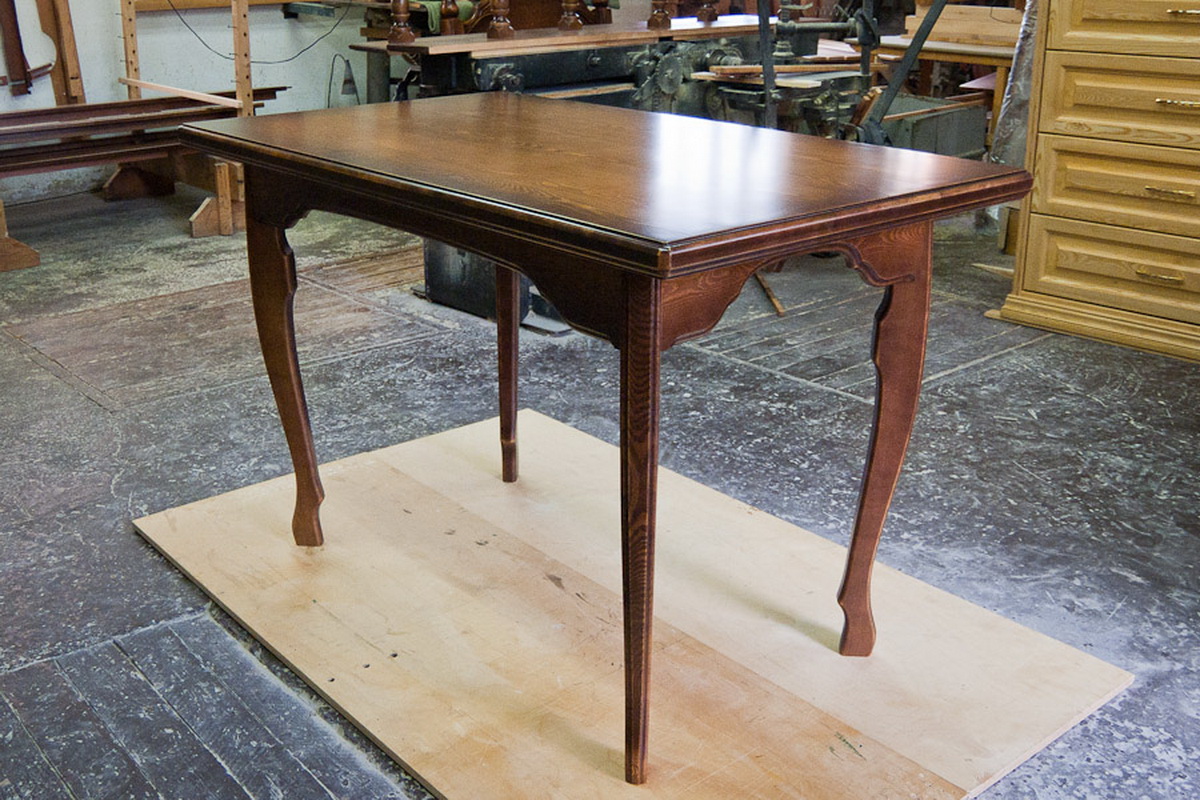
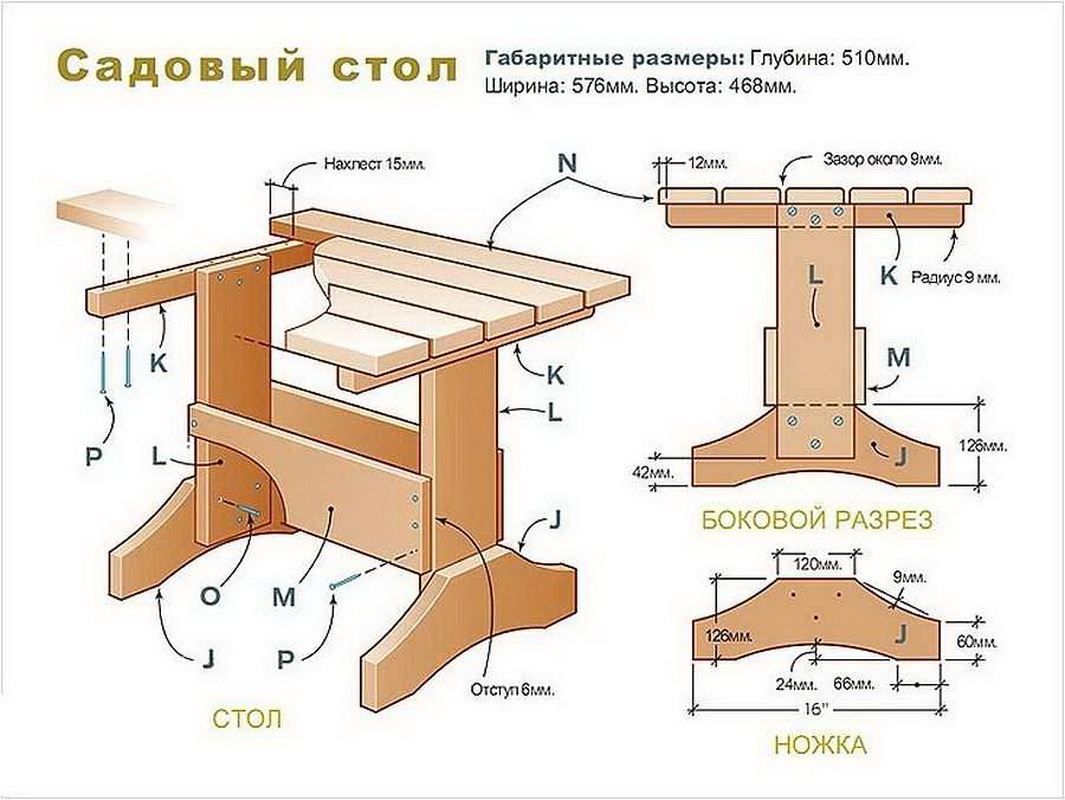
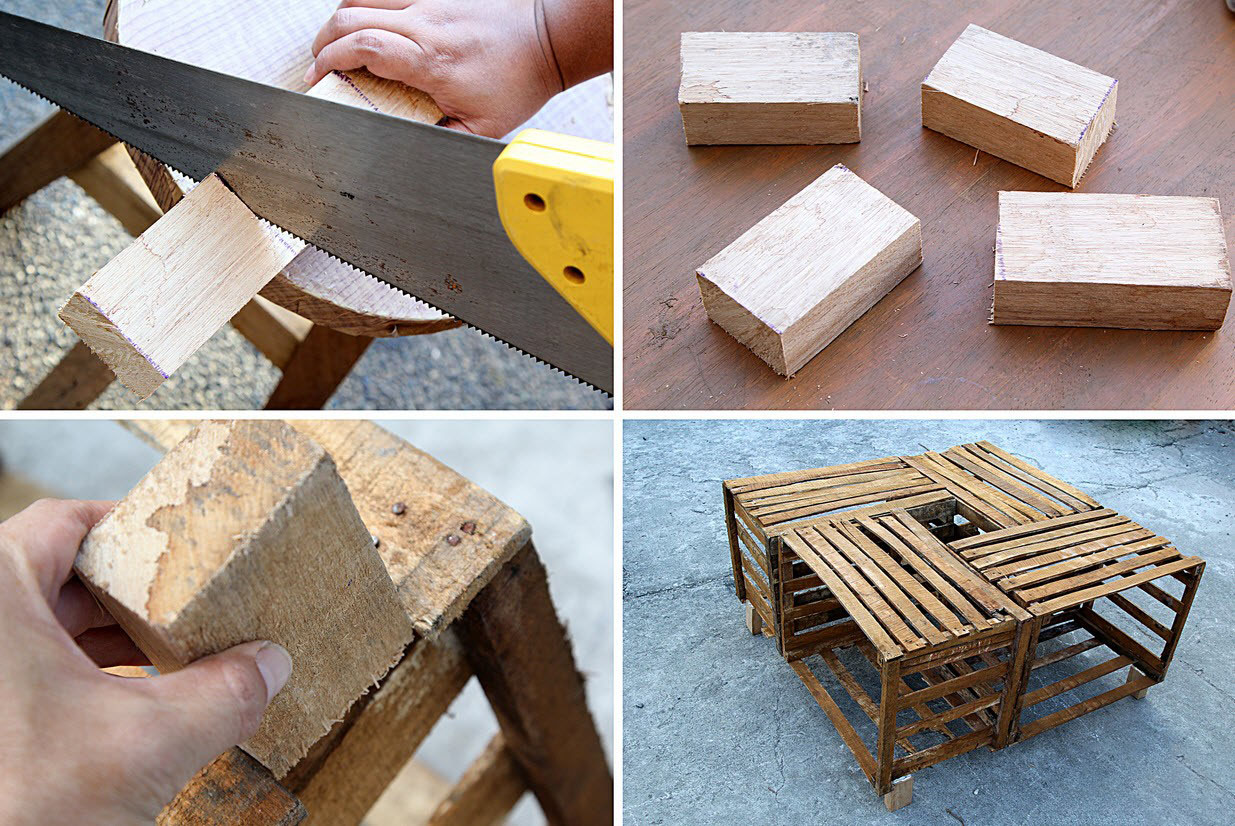
At first glance it seems that the most important detail of the table is the tabletop. However, do not underestimate the legs and products. After all, they decorate the table and give it a certain style. The legs should correspond to the basic style of the model and the necessary parameters.
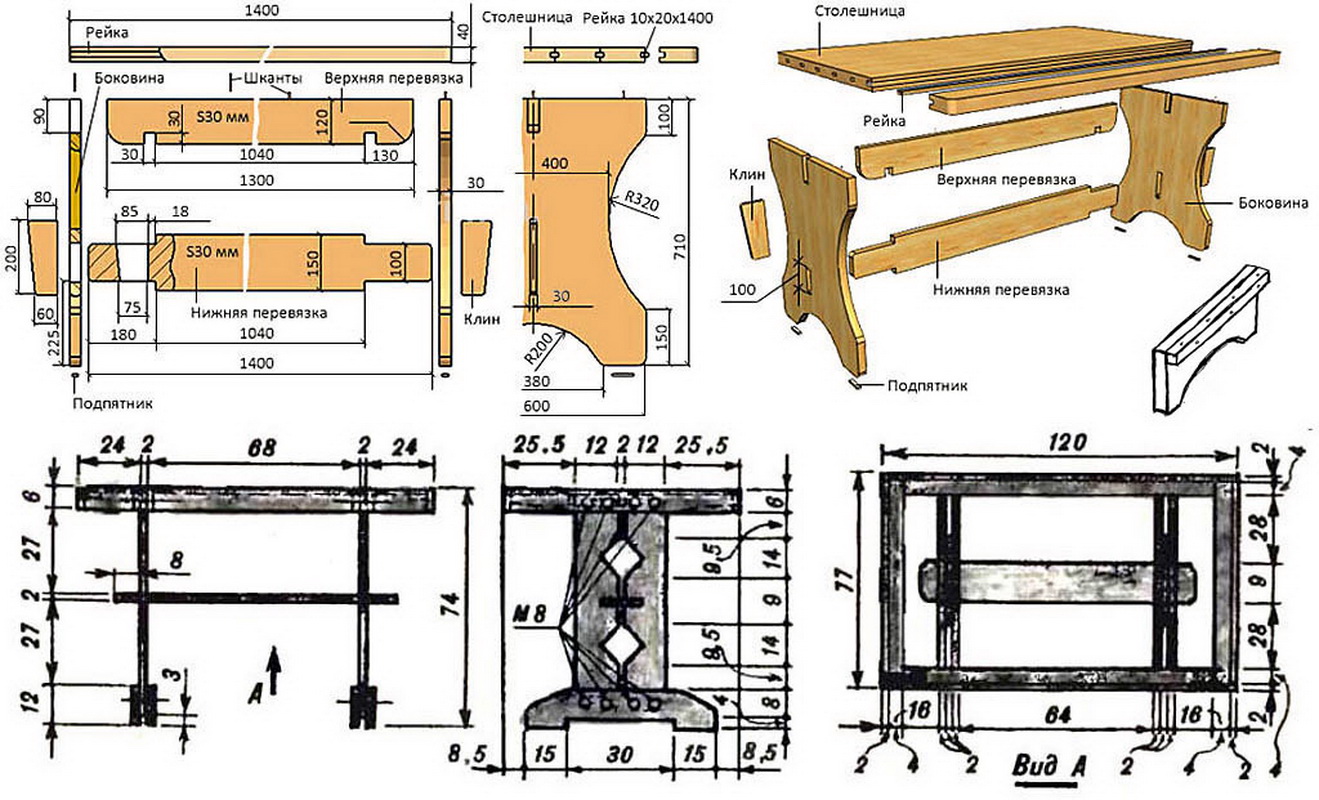
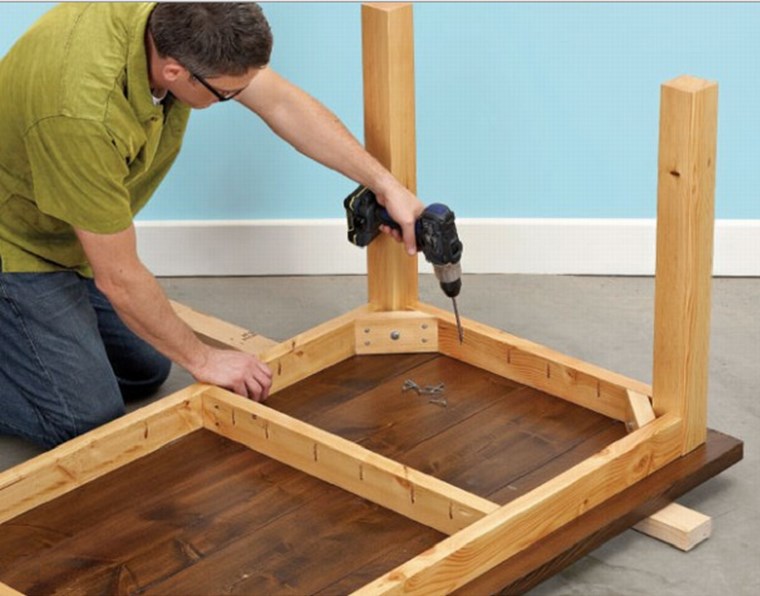
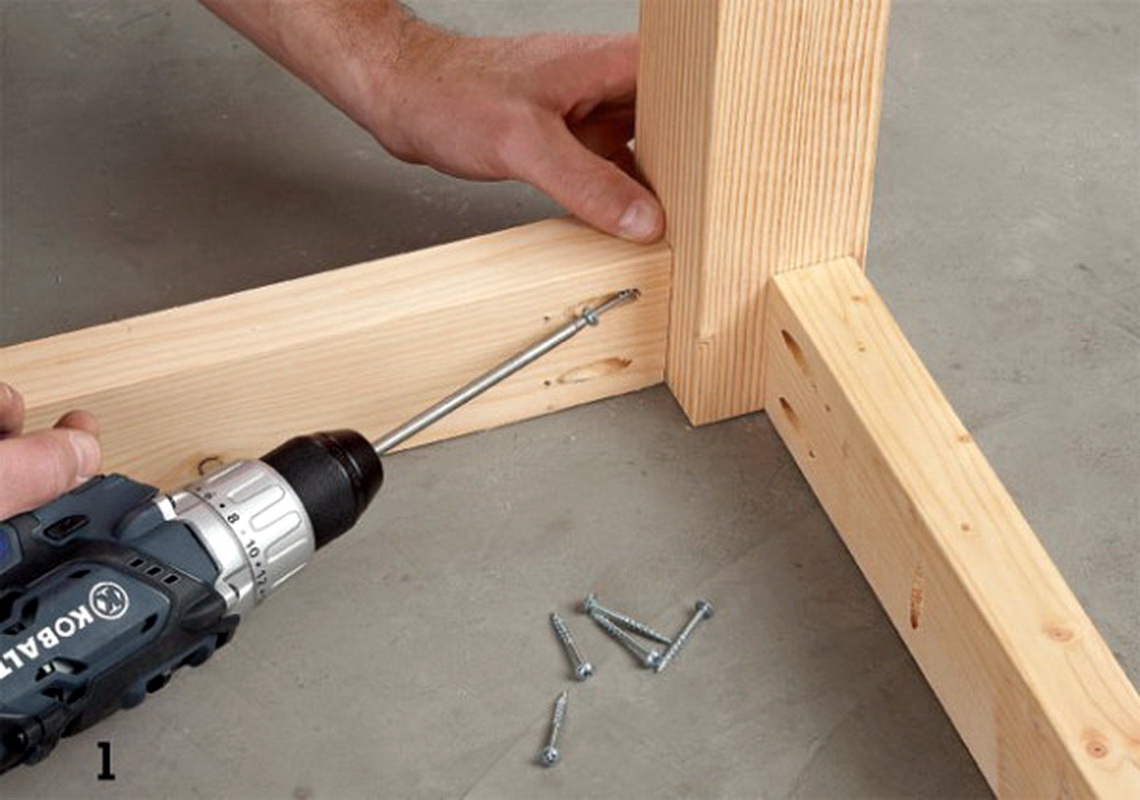
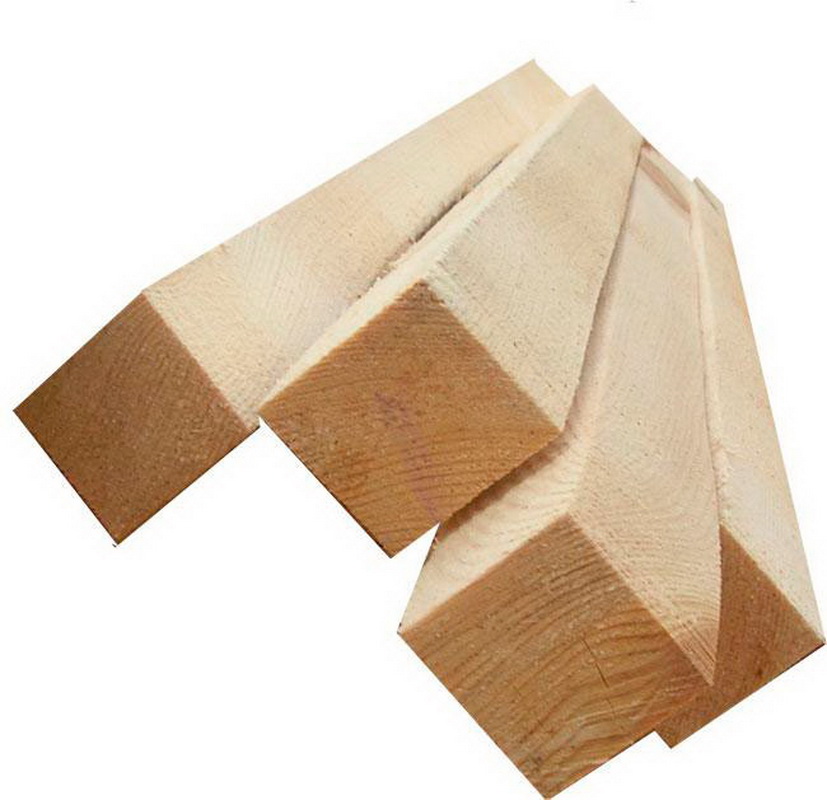
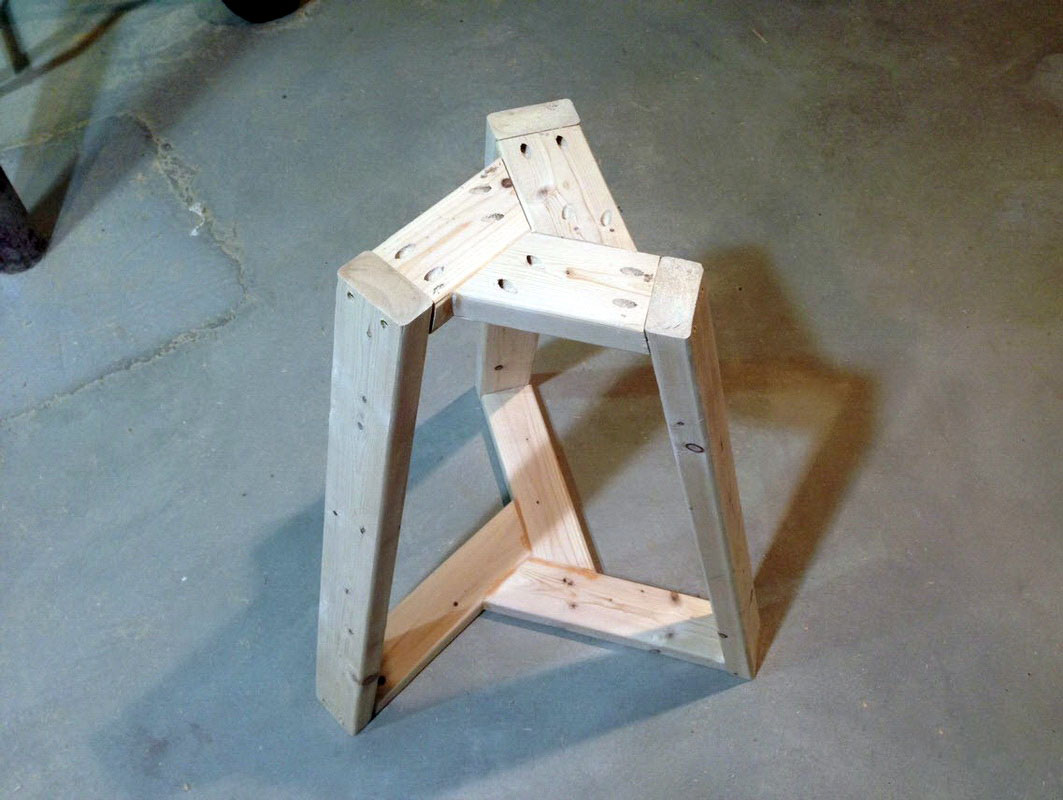
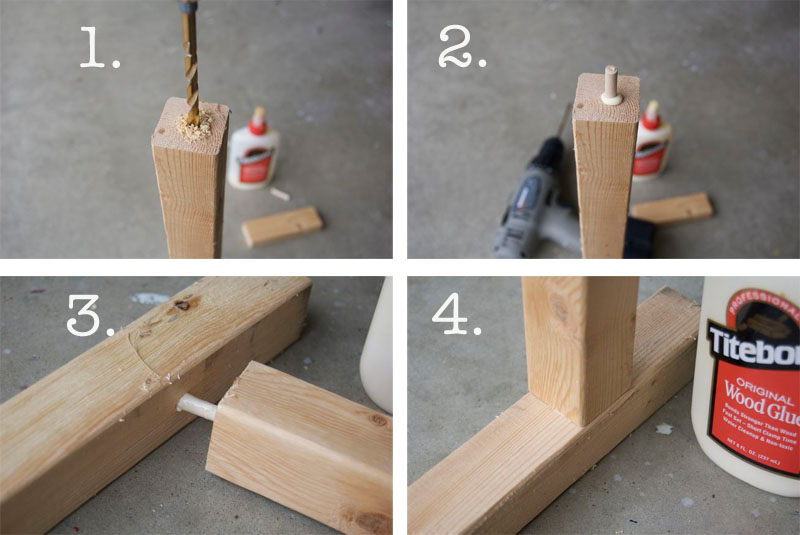
The paradox is that the more complex and pretentious the table legs are, the less they will last. The most reliable will be simple wooden, stable and lightweight supports. Drawings for them can not do. The steps for making table legs:
- Selection of four equal in length (85 cm) bars;
- Installation of bars in the corners of the tabletop;
- Connection on each side with boards or bars: two equal to the length, and two - to the width;
- This construction is glued to the table and left to dry.
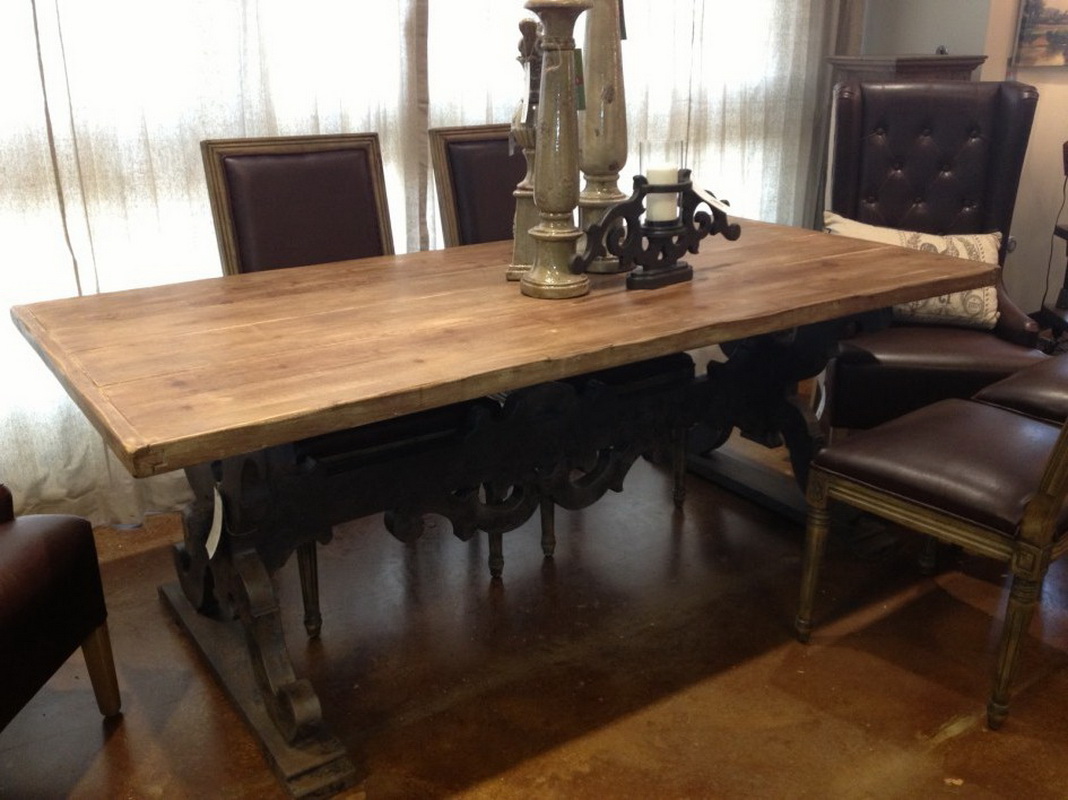
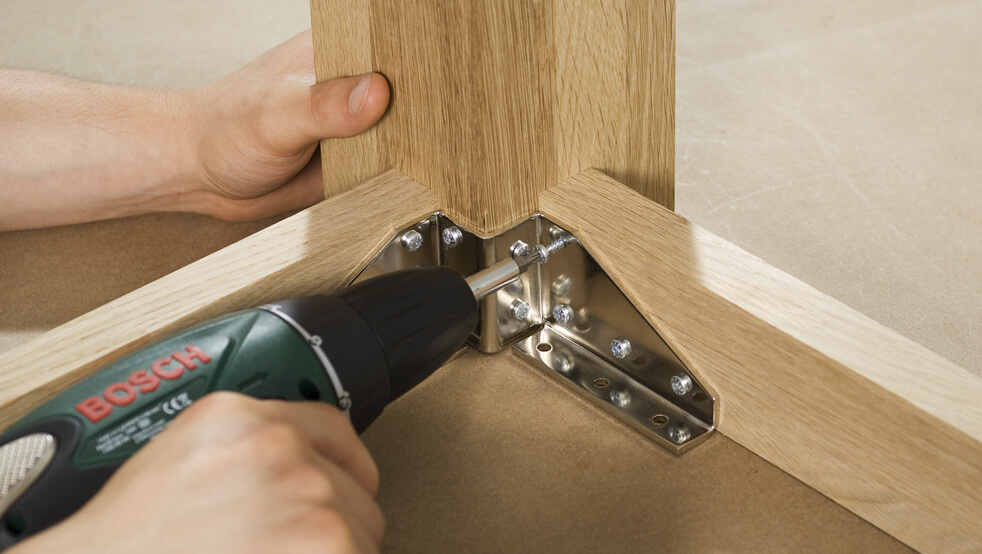
The table does not always have the standard four legs, sometimes the masters resort to creating a base from the frame and one or two legs. The glue can be replaced with furniture corners that are fastened with self-tapping screws or to use both versions for reliability.You can create an unusual fantasy model, smoothly attaching the tabletop to the ornate and bizarre woody roots. It will be a terrific product that only you will have.
Assembly features
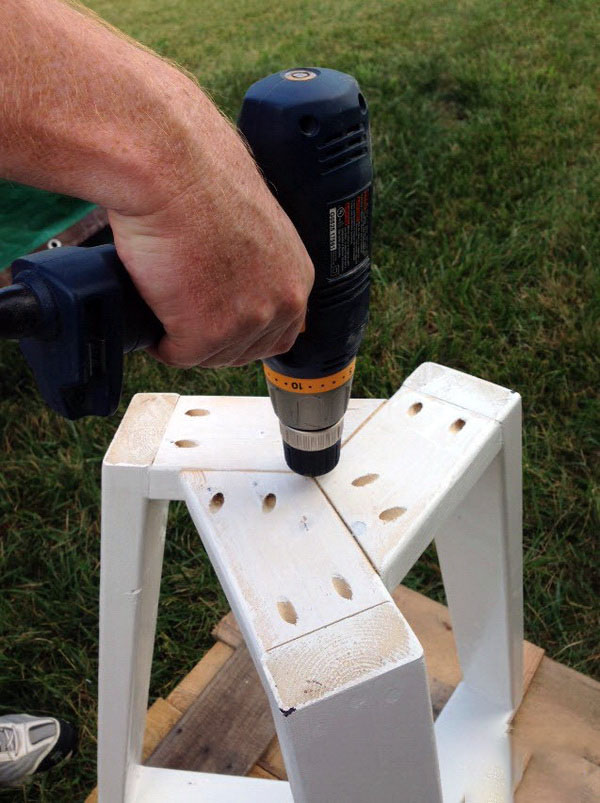
Holes are drilled in each element of the product, then the parts are bolted together, which makes the product truly durable. You can enhance the effect with fixing a good glue. Screws are screwed from the inside at an acute angle to the board. If the finished product staggers noticeably, use special belts with clamps. This will help make the design more reliable and sustainable.
For the legs, wooden blocks are taken, which must be machined with a cone-shaped plane. Carved balusters that can be both bought and independently turned on a lathe are also excellent for this. Carrying out the construction with his own hands, a person gets the skills of working with wood, so if there is a need to make repairs to the product, it will not cause difficulties. You will already have all the necessary arsenal of tools. In addition, you will need wood and tools for the restoration of old wooden products.
Treatment
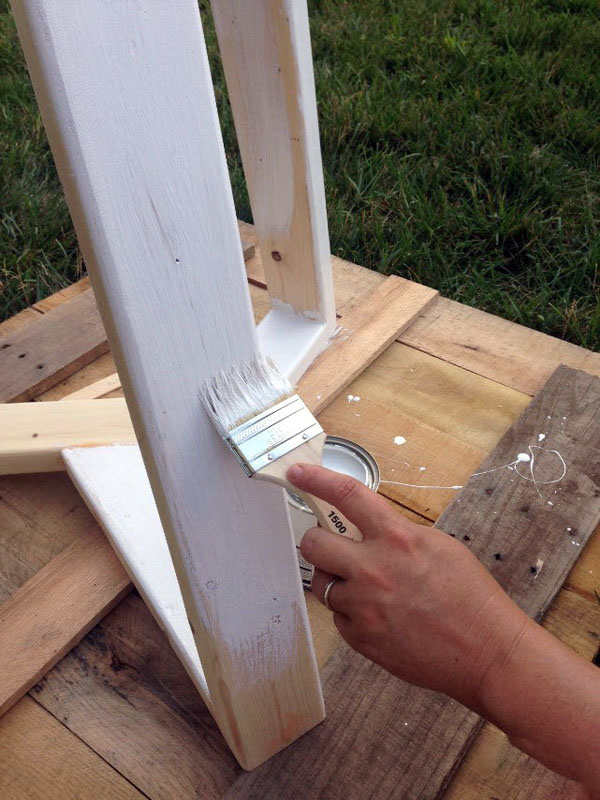
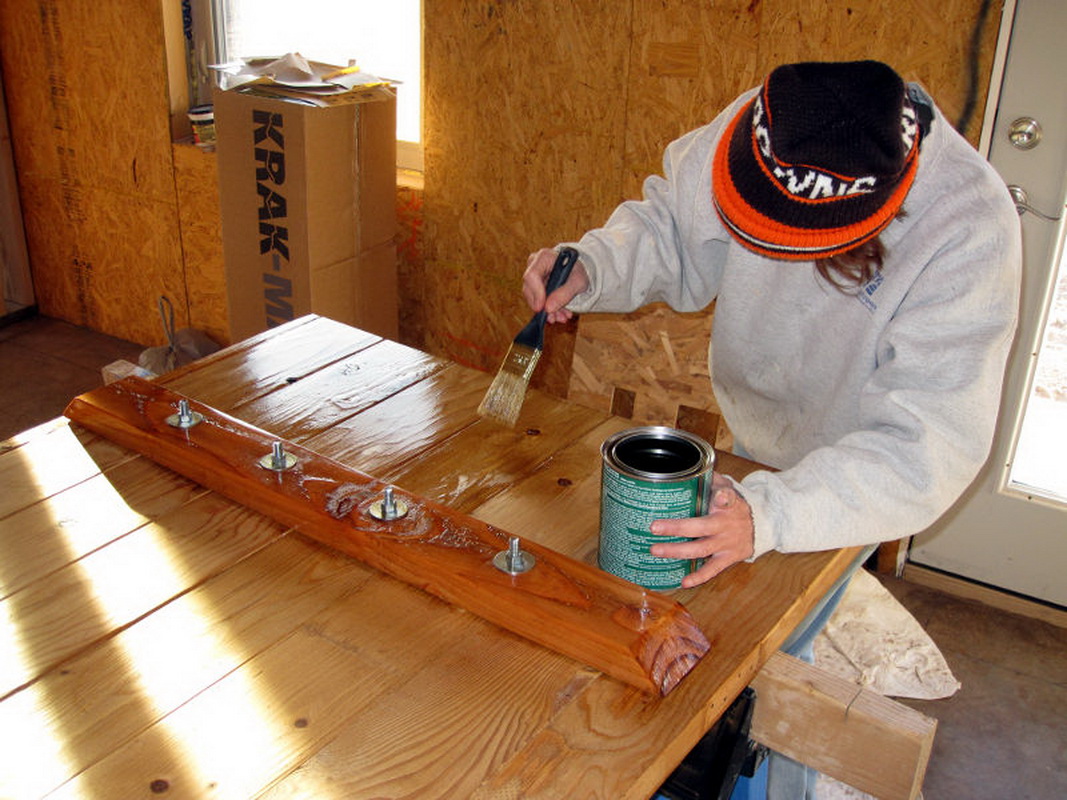
Getting a good and good result is not so difficult. The main thing is to comply with all necessary conditions. After the main works, the time comes for the final, but no less important stage - the processing of the product with varnish. In order to properly carry out this operation, follow these rules:
- Sand manually the edges of the tabletop;
- Apply high-quality varnish to the entire product. In addition, the coloring of some parts of the table with paint will look very decorative;
- Flaws in the work well masked putty, suitable for color.
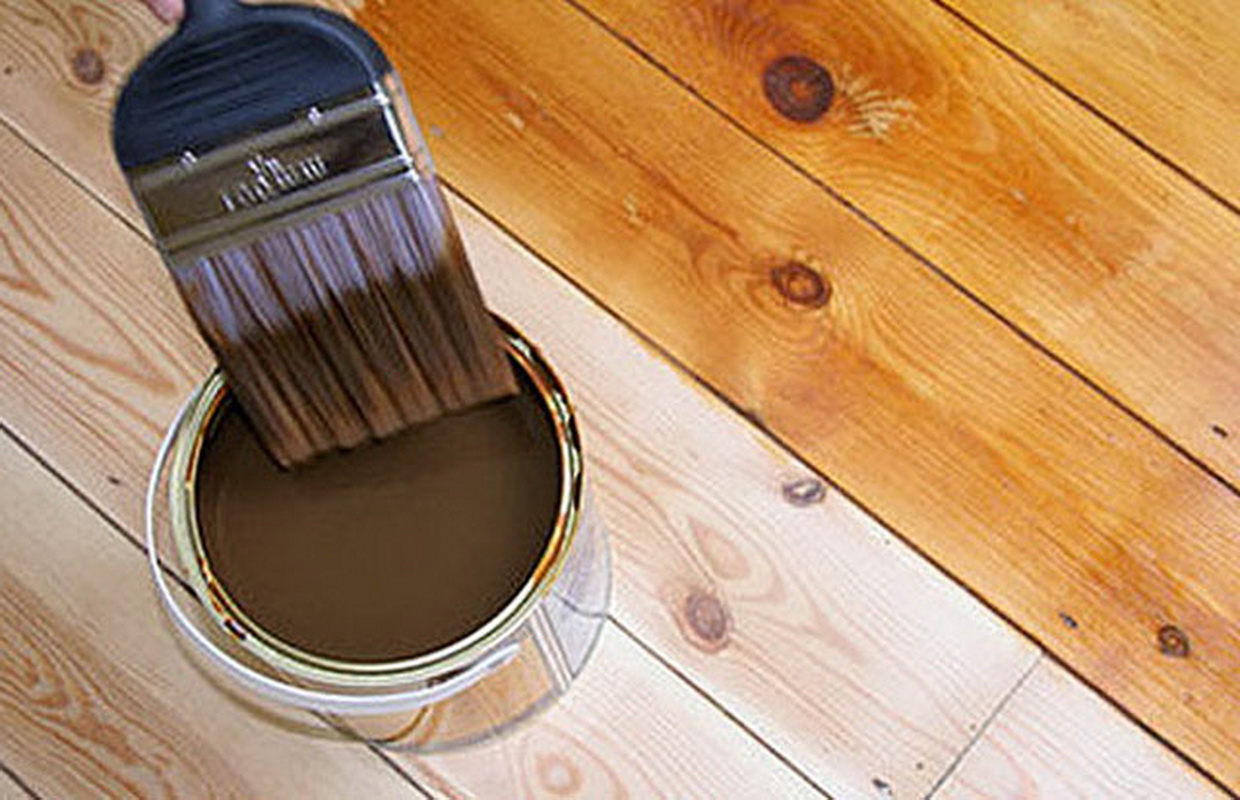
The most popular option for decorating a wooden table is to cover its surface with clear or colored lacquer, which will accentuate the natural wood pattern and ensure its protection from the influence of external factors.
In order that the product made by his own hand, served for many years, while remaining the pride of the owner, It is recommended to follow simple rules:
- Avoid direct contact of the product with the open sun and do not leave it outside in the rain;
- Keep the surface clean;
- Handle polish;
- In winter, the table should be kept indoors so that the lacquer coating is not affected.
Before assembly, each wooden part must be treated with antipyrine, which will serve as protection against rotting, increase moisture resistance and fire resistance.
Exterior finish and design
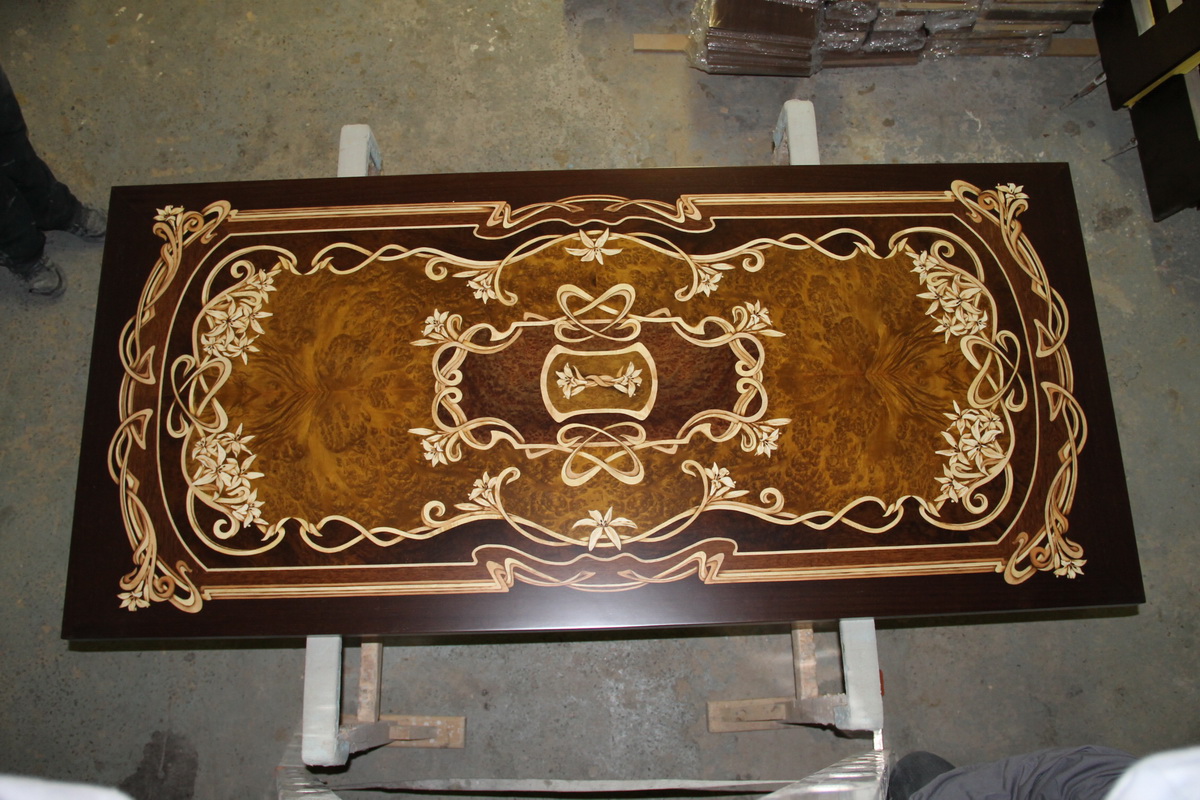
The most enjoyable stage of making furniture with your own hands, of course, is the decorative finish that each master performs in his own way. In order to get the original model, you need to consider the external design of the product. To help you come cuts medium-sized trunks, decorative laid out on the tabletop. Also a wonderful decoration is wood carving. Carved legs and table top will give the product elegance and lightness.
Many people prefer to make the tabletop under glass. This option is suitable if the table will be in the room. A table painted by hand is unlikely to be overlooked by the guests. Such a product will bring a special flavor to any room.
For those who are not strong in drawing, the option of transferring the pattern through a stencil will do. This is, indeed, extremely simple, but there are some nuances: it is recommended to apply the pattern with acrylic paints, as they freeze and form a thin film, therefore they do not spread.
Before applying a new layer of paint, let the previous one dry. You can work as a brush and roller.

The frame around the edges of the tabletop always looks decent. Create a perfectly flat line will help masking tape. Finished drawing varnish. The easiest and proven option is to play with the color of the boards. With the help of paint, stain and sandpaper, you can create the effect of aged wood. Products "under the noble old times" always look spectacular and expensive.
The decoupage technique is just a godsend for creating the decor of a new wooden table or restoring a retro-furniture. This method consists in attaching a paper picture to the surface of the product using furniture lacquer. The choice of drawing is carried out to taste of the owner. It can be images of nature and animals, rhythmic patterns, black and white graphics and even photos from the family archive. The material can serve as napkins, newspaper clippings and vintage postcards.
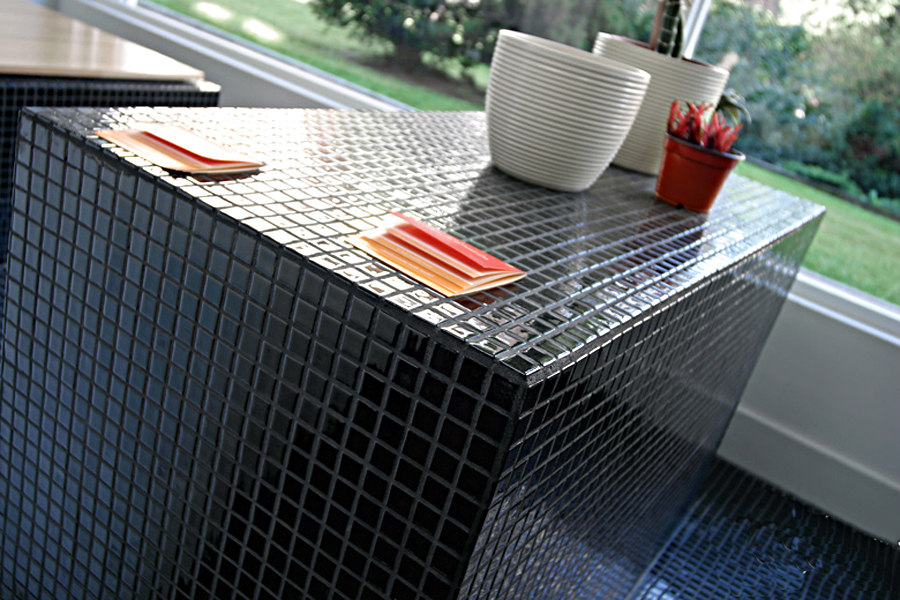
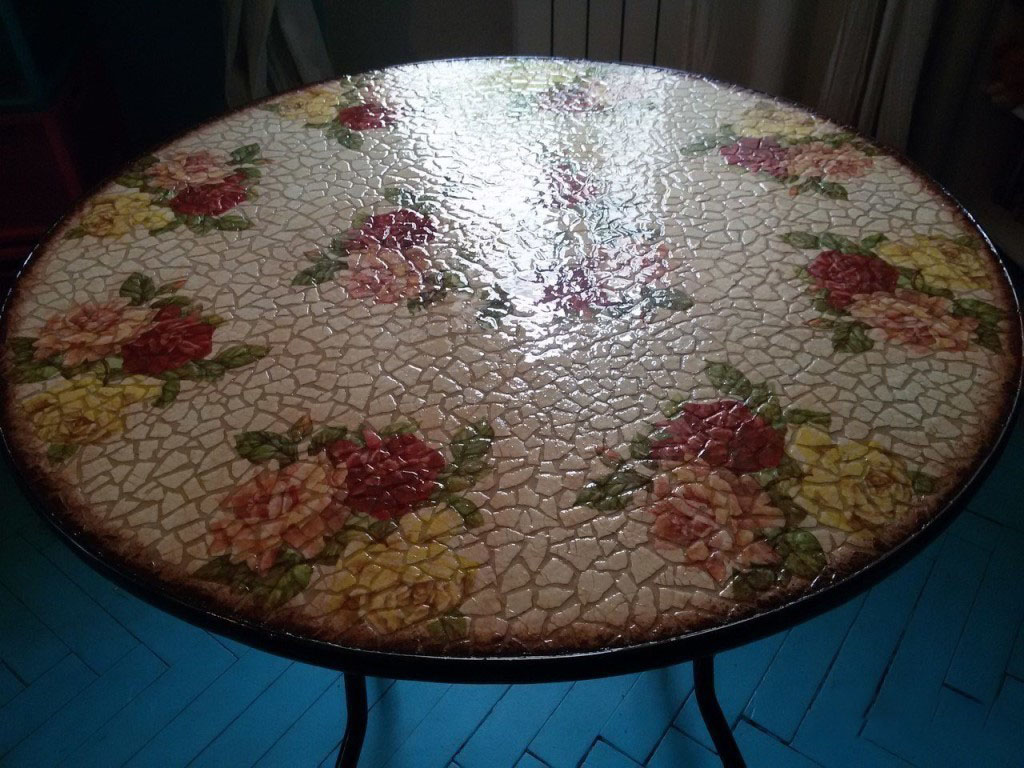
The new table is easily upgraded using mosaic tiles. To date, a wide selection of it is presented in hardware stores. It is advisable to use one set of tiles,so that there are no inconsistencies in height and no unnecessary relief is created, which can damage the pattern and make the table inconvenient to use. In addition to the mosaic, you need to buy glue and grout. Briefly, the process of creating a countertop with mosaic tile can be described as follows:
- The surface of the tabletop is degreased with alcohol;
- Then it is processed with sandpaper;
- Begin the layout with the outer edges;
- Fasten the elements;
- Leave to dry for a day;
- Spread the grout to the desired consistency;
- Carefully coat the seams;
- An hour later, remove the remnants of grout;
- Give the product a rest for two days, then wipe with a rag with the addition of vegetable oil for shine.
The budget version of the mosaic decor will be setting eggshell table. It is necessary to crush the shell into a crumb of medium size, then lay it out with a pair of tweezers on the surface of the table top which has been smeared with PVA glue. Between the shell try to keep the minimum. If desired, the shell can be painted.
Countertops with a very noble and expensive look decoration of potali. Potal is a thin sheet of metal alloys, imitating gold.This material can be purchased at art stores. The necessary pattern is applied with a special glue to the table surface, after 15 minutes cover it with a sheet of sweat, smoothing it gently. Then you need to walk on the surface with a soft brush and admire the result.
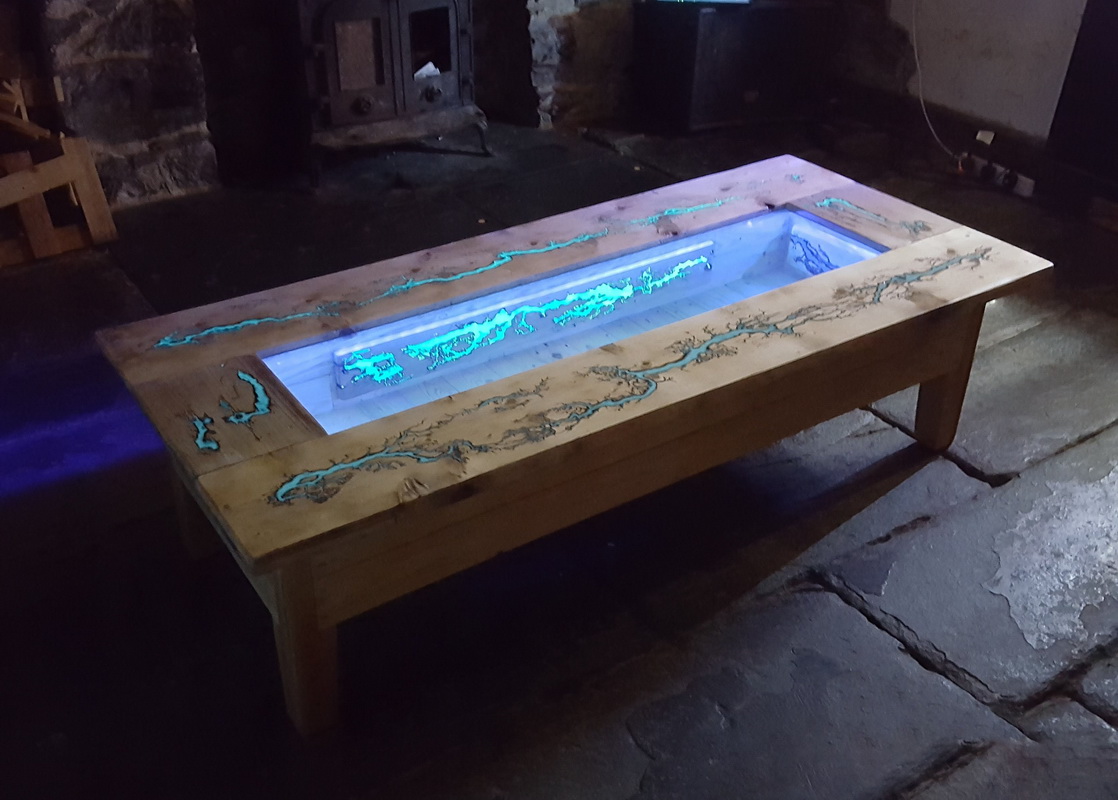
The luminous table is an excellent design solution, and it is also quite simple to implement. The finished product is equipped with a special backlight - small lamps or a ribbon with LEDs are built in, providing a variety of lighting options: from simple to color.
Recommendations for choosing a model
Modern kitchen sets often do not include such a basic necessities as a dining table, and if it is included in the basic package, it is usually made according to a typical project from cheap pressed wood. Of course, these products are not famous for the original design and durability. Such tables are usually inexpensive, but still it is better to abandon the unsuccessful purchase in favor of a homemade wooden dining table, which any newcomer to home carpentry can handle.
Physical work associated with woodwork (sawing, planing) usually gives great pleasure to beginners, and a successful result will not take long to wait.
It is important that the activities associated with the independent design and assembly of wooden models is a very creative process. Rarely, someone is trying to completely repeat your favorite model from the store. Usually, the design of the model is taken as the basis, and the remaining parameters are modified by the master on his own whim. On the veranda or in the country house, utility rooms it is better to choose transforming structures:
- Folding,
- Marching;
- Suspended;
- Garden;
- Leveled.
Tables for stationary use are made in the same size:
- Coffee;
- Massage;
- Writing
- For a laptop;
- For the bath.
The assembly of such products is very strong, the parts are fastened tightly, there are no hinged joints.
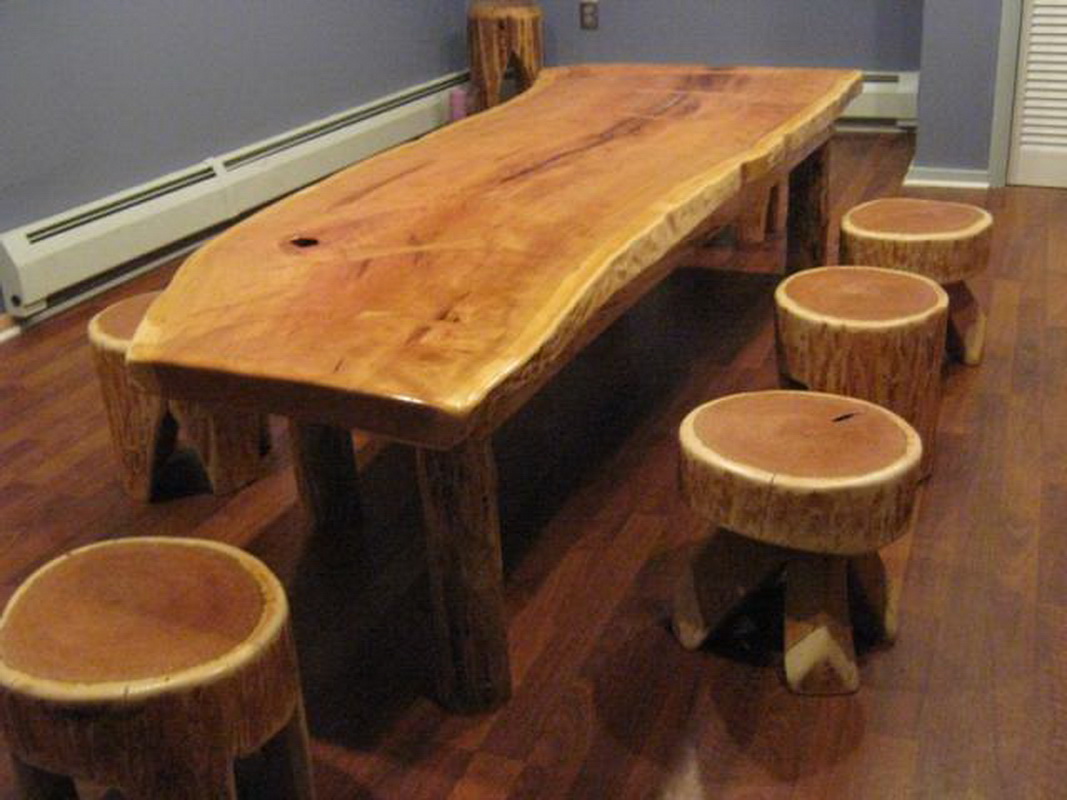
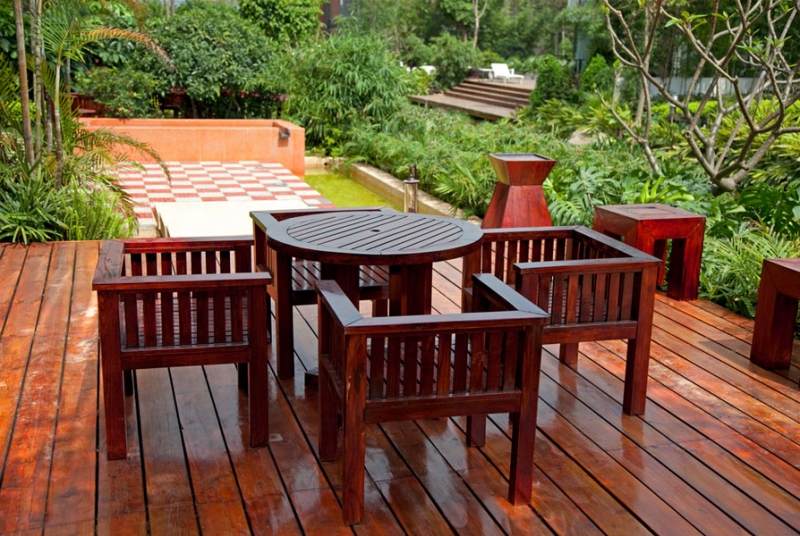
Tables for giving or terraces usually have a standard rectangular or round shape. However, there are craftsmen who manage to make a table in a rustic style in the form of a penelette, and a bench in the form of a log, which looks very impressive.This ensemble is easily complemented by stools made of log cuts in the same style. As you can see, making a wooden table yourself is an easy job.
If you follow the instructions exactly, select the right quality materials and the right tools, you are guaranteed to get a durable and beautiful table, which perfectly fit the parameters and style in your interior.
To learn how to make a wood table with your own hands, see the next video.