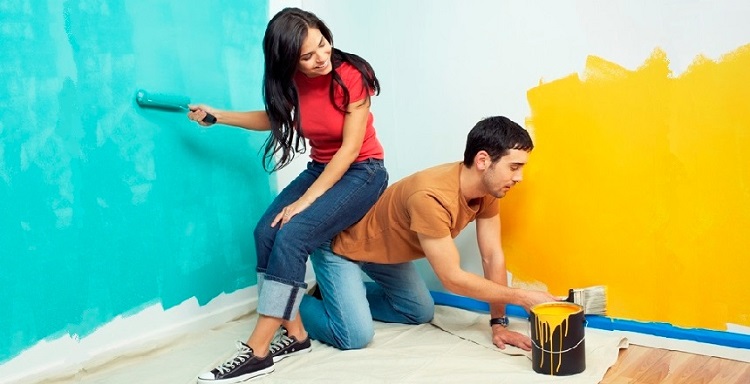
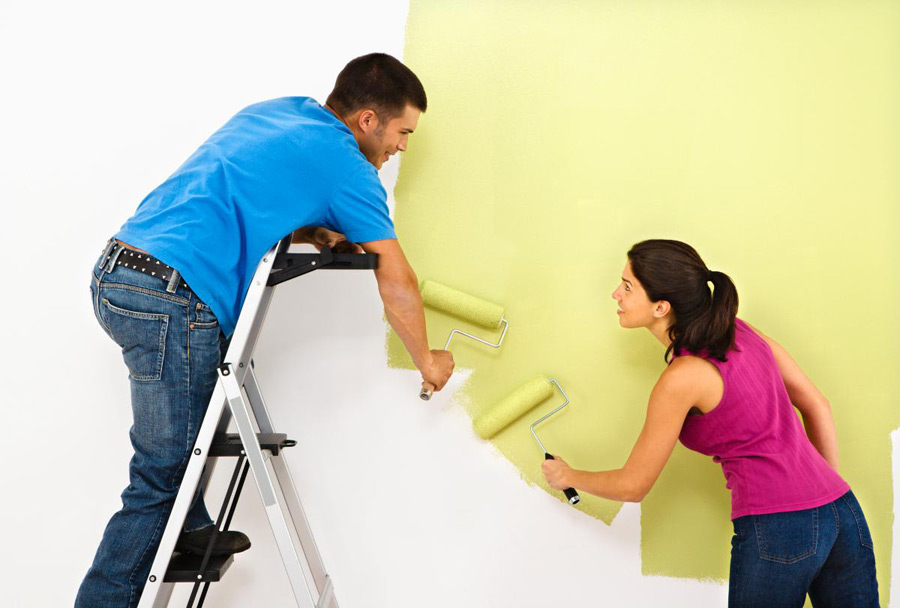
How to paint a wall with a roller?
As in any case concerning the repair, in the process of painting the walls have their secrets. After all, the only way the result will be immaculate. According to people who have experience in this difficult task, the most optimal device for painting walls is a roller.
Advantages and disadvantages
As evidence of popular recognition You can bring some advantages of rollers compared with other devices:
- saves time and effort;
- reduces paint consumption;
- allows to apply a covering on a corrugated surface;
- usability thanks to nozzles;
- there are no stains and stains;
- creates additional effects depending on the pressing force (for example, by holding a dry roller over a dry layer of paint);
- low cost and large range.
The disadvantages include the need to select a roller for a specific paint composition and the impossibility of staining in hard-to-reach places. Despite the fact that the range is large enough for painting for the battery or in the corner will have to buy something else.
If we evaluate in general - the positive aspects of this device are more, therefore its convenience and practicality are indisputable.

What tools are needed?
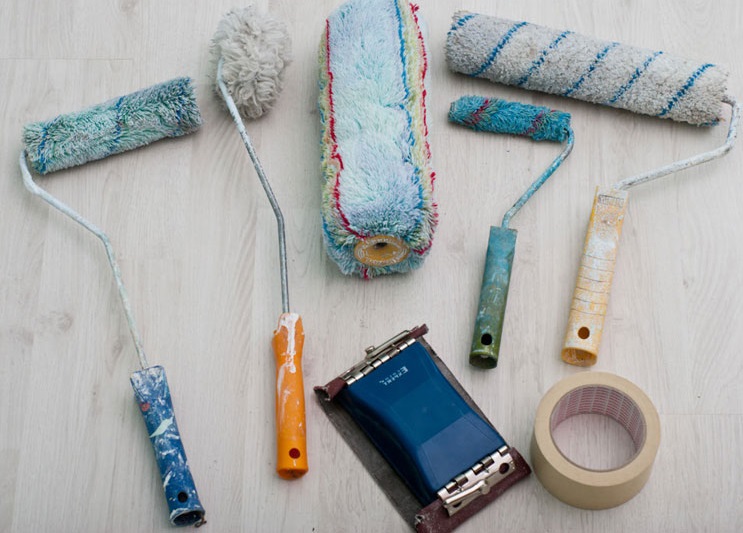
For painting walls, a roller is required first and also:
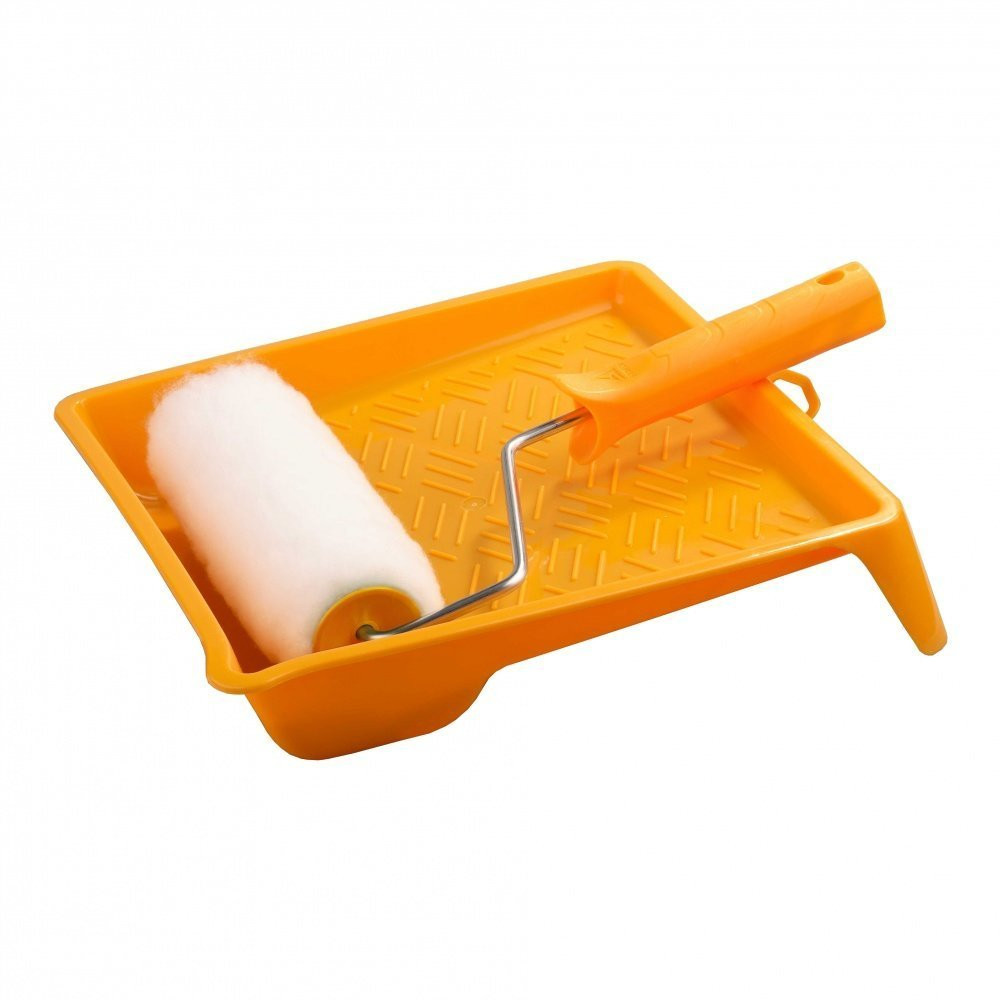
- Paint tank. You can use any suitable container as it, because the roller does not fit into the jar. However, in order for the coloring composition to be evenly distributed over the roller and used sparingly, there is a specially designed for this painting cuvette or, as it is commonly called, a bath. It consists of a hollow where paint is poured and a relief platform on which the roller is rolled for its distribution.
- Masking tape - it is necessary to protect those areas that should not be painted.
- Wall grout.
- Material (film or paper) to protect the floor.
- Respirator, gloves, protective overalls or unwanted clothing, goggles.


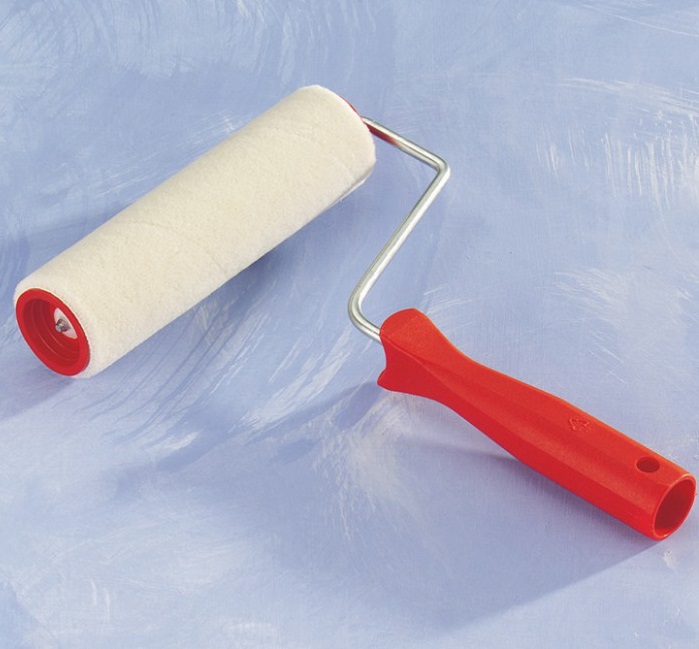
Roller parameters
When choosing the size of the roller should be guided by two considerations - the area of the painted surface and its own. The wider the wall or its area - the larger size can be taken roller.
At the same time, it is necessary to take into account that a wide roller will absorb more paint and become heavy, therefore it will not be so comfortable for them to paint.

The width of the roller varies from 5 to 35 cm. There are also wider models, but they are rare and require more effort and skill. The diameter of the rollers, like the width, is different. Again, here we need to proceed from the volume of work. Thick roller in this case will cope faster.
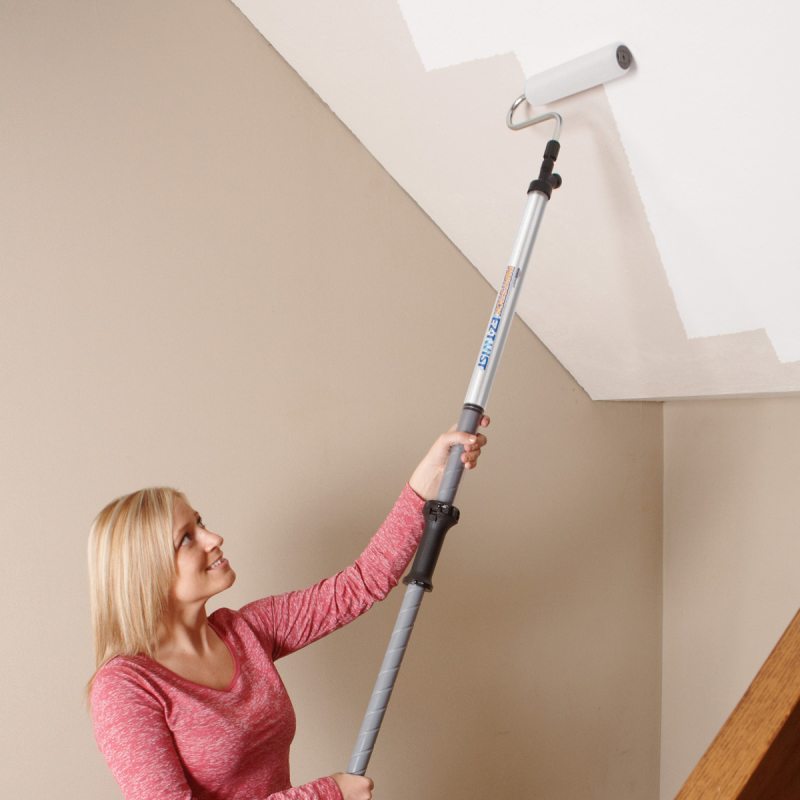
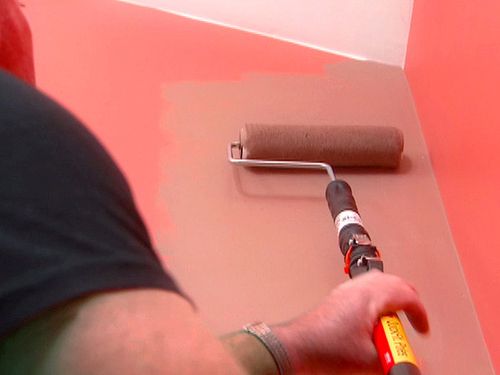
Its one important indicator is the length of the handle. When painting the wall is not necessary to use chairs, ladders and other objects. It is enough to get a pen that can be attached to the roller. In order not to change the handles often, you can buy a more expensive, but also a more convenient sliding option. Adjustable length relieves tension from the muscles of the arms and spine, allows you to do more and shorten the repair period.
Be prepared that there are places where even the smallest roller cannot cope. At the junction of the walls, you can paint over a special corner model or an ordinary brush.
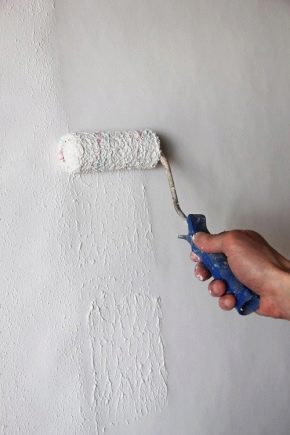
Features of use
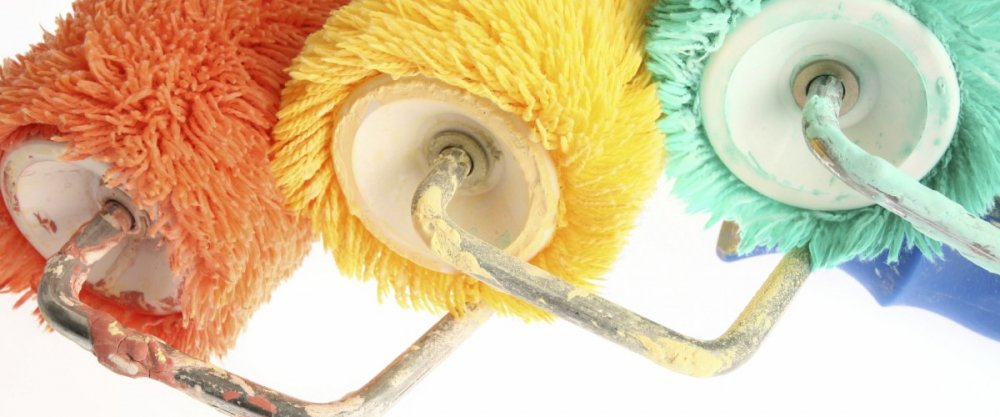
From what material the roller is made of, it will depend on how the paint will fall on the wall. Pile absorbs more, and therefore such a roller will leave a thicker layer of paint. For a smooth thin gloss, a lint-free coupling is needed.

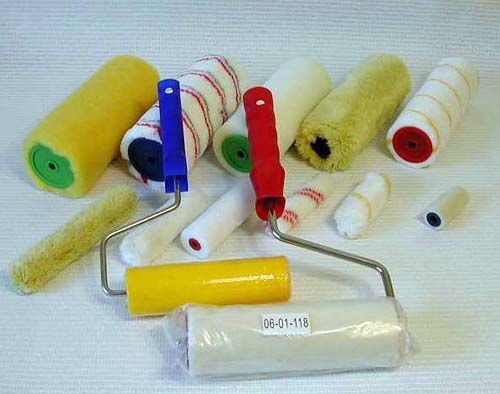
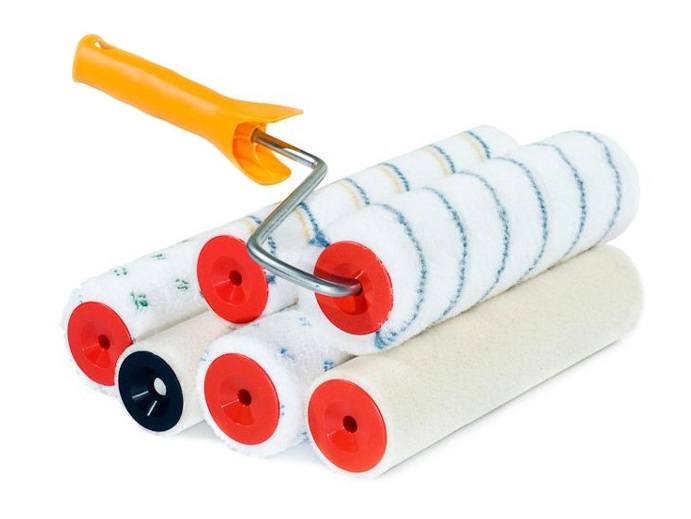
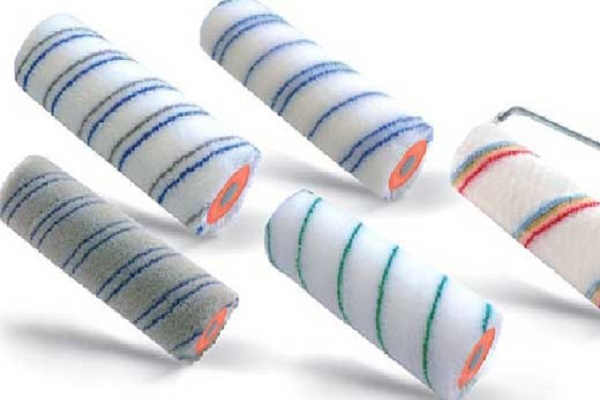
In the shops you can find rollers:
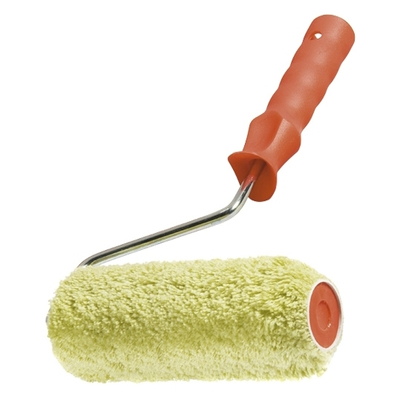
- Fur - universal in use. The coupling can be natural (from a sheepskin) or artificial (from polyester). For rigidity and durability, metal threads are woven into such a pile. This is probably the most famous type and the best in the price-quality ratio. The disadvantage is that you need to constantly monitor the loss of individual hairs.
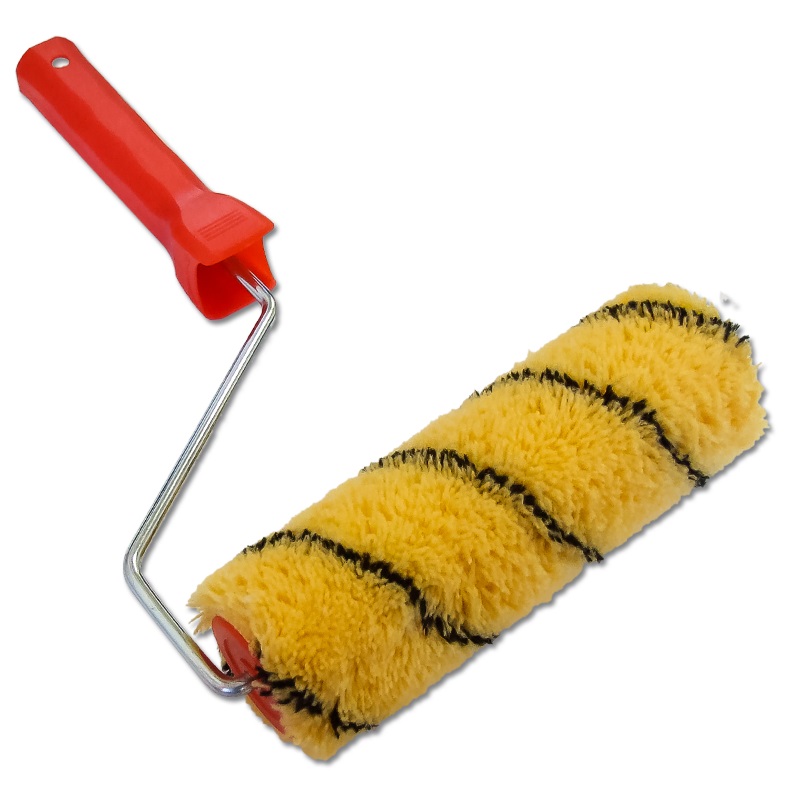
- Polyamide. Such rollers can work with different types of paints - oil, acrylic, water-based. However, their consumption is small, since this material is not porous and therefore absorbs little.
The result may be splashes or drops, however, in this case, the paint layer is thinner and smoother.
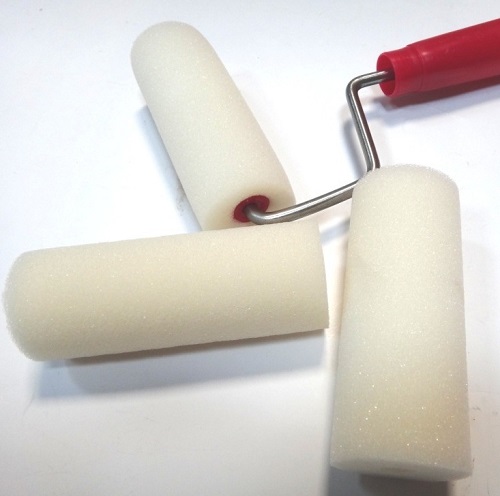
- Foam rubber - the cheapest. Such a porous material absorbs a lot of liquid. They are more suitable for the application of water-based paints, since solvents destroy its structure. Among the shortcomings should be noted the formation of bubbles that will be visible.
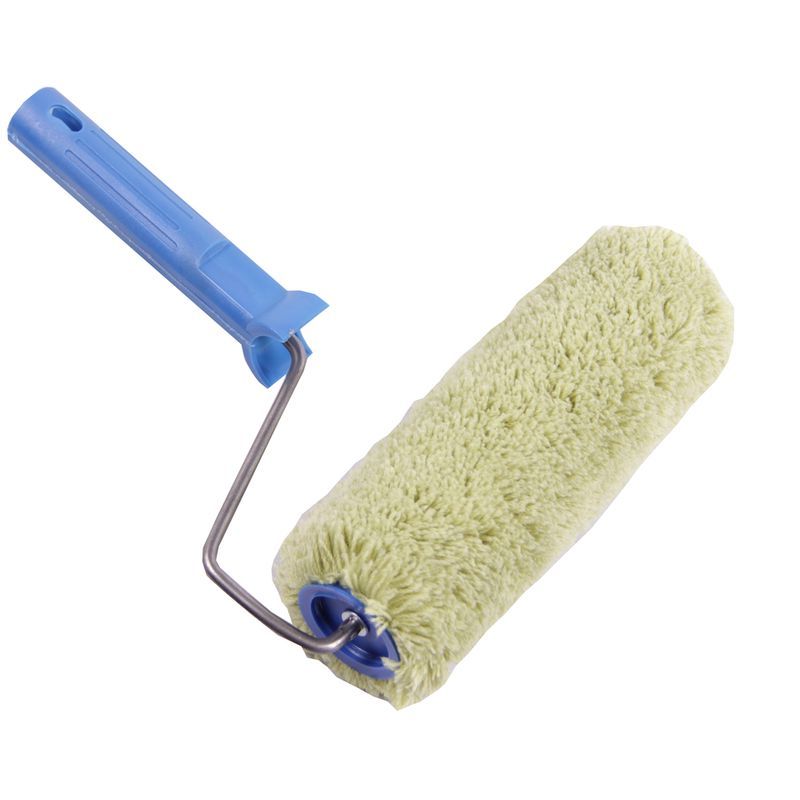
- Velor - convenient at all stages of dyeing, they are designed for almost any paint coating. The downside is only that they can not paint the textured surface.
When purchasing it is important to inspect the product:
- Mounts must be secure.
- Nothing should obstruct the rotation.
- The clutch must be uniform, without protruding parts (if we are not talking about a roller to create a decorative pattern).
- If the foam crumbles, and the pile falls out - it is better to choose another option.
Preparation for staining
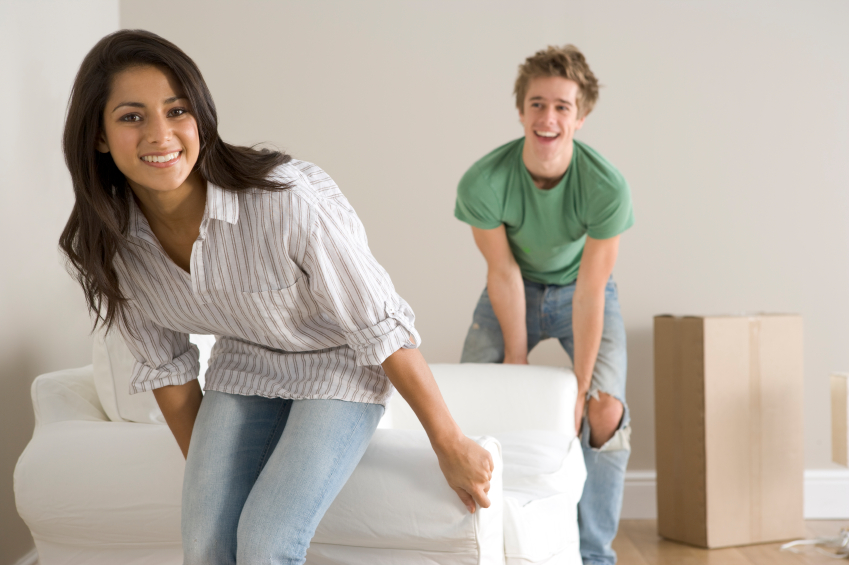
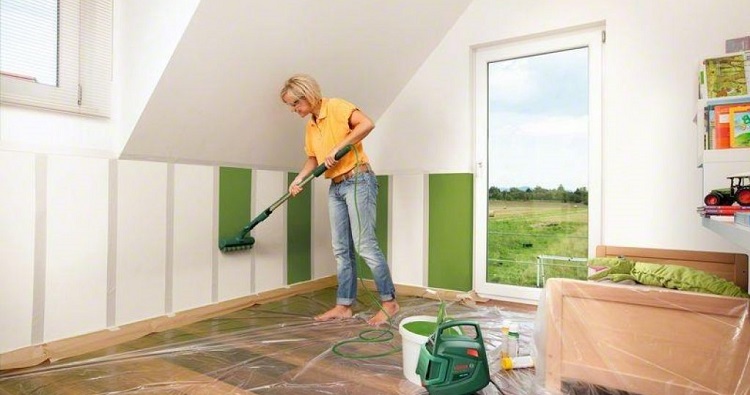
So that in the course of dyeing nothing interferes with the process and does not take up too much time, Before starting work, you must perform several actions:
- Think about how to rearrange the furniture so that it does not interfere. In fact, there are only two options: take it to another room or move it to one place and cover it with a film.
- If the changes affect only the walls, you need to protect the floor and the ceiling from getting into the paint. To do this, the entire floor or space along the walls should be covered with paper or plastic. Floor and ceiling plinths should be removed, if possible. The floor and ceiling along the perimeter are taped with masking tape, then it can be easily removed.
- The window and the door must also be covered and protected along the perimeter with masking tape.
- De-energize the room, remove the casing of sockets and switches. If you decide to leave them in place - seal them with the same tape. The same should be done with other wall objects and holes.

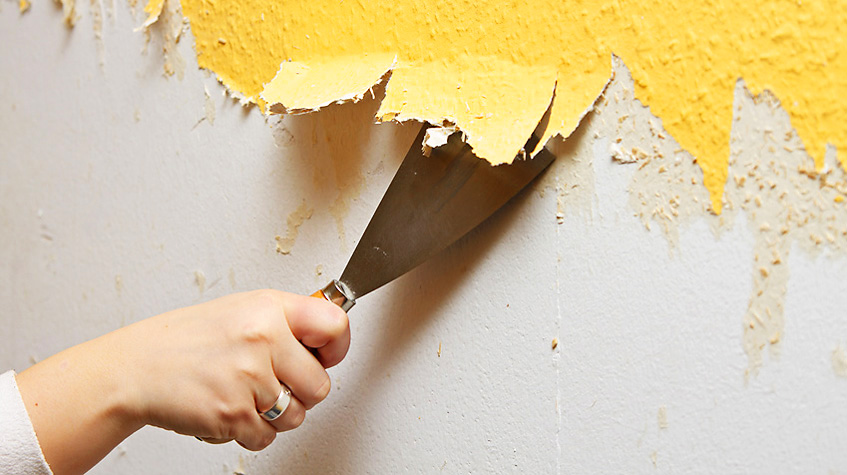
If there is already a layer of paint or wallpaper on the wall, it should be removed. In the new building, if all the rough finishing work has been completed, the surface needs to be leveled (sandpaper or any other grouting tool is suitable for this) and shake off any remaining particles. The next step should be a primer (it should be applied in at least two layers). But some modern paints can be applied without a primer. Information about this can be read on the bank or check with the seller. In addition, they should be selected in accordance with the surface on which they will be applied.
The roller with a long nap needs to be prepared before use:
- Soak it in warm, soapy water for an hour.
- Rinse in clear water, let it drain or wring out with a towel.
- Dry without using heaters.
- Make sure that the pile does not fall out, as its individual particles may stick to the surface.
Application Methods
The painting process itself is as follows:
- Pre-mixed paint in the tank in which it was sold, pour it into the tub. The top level of the paint must match the level of the roller shaft.
- We dip the device into the paint and turn it so that the material absorbs it well.
- We take out from the paint and roll on the relief platform. This action must be repeated until the excess flows back into the recess, and the remaining paint is not evenly distributed. Do not neglect this procedure, because it is she who will save you and your property from splashes, and the wall from drips.
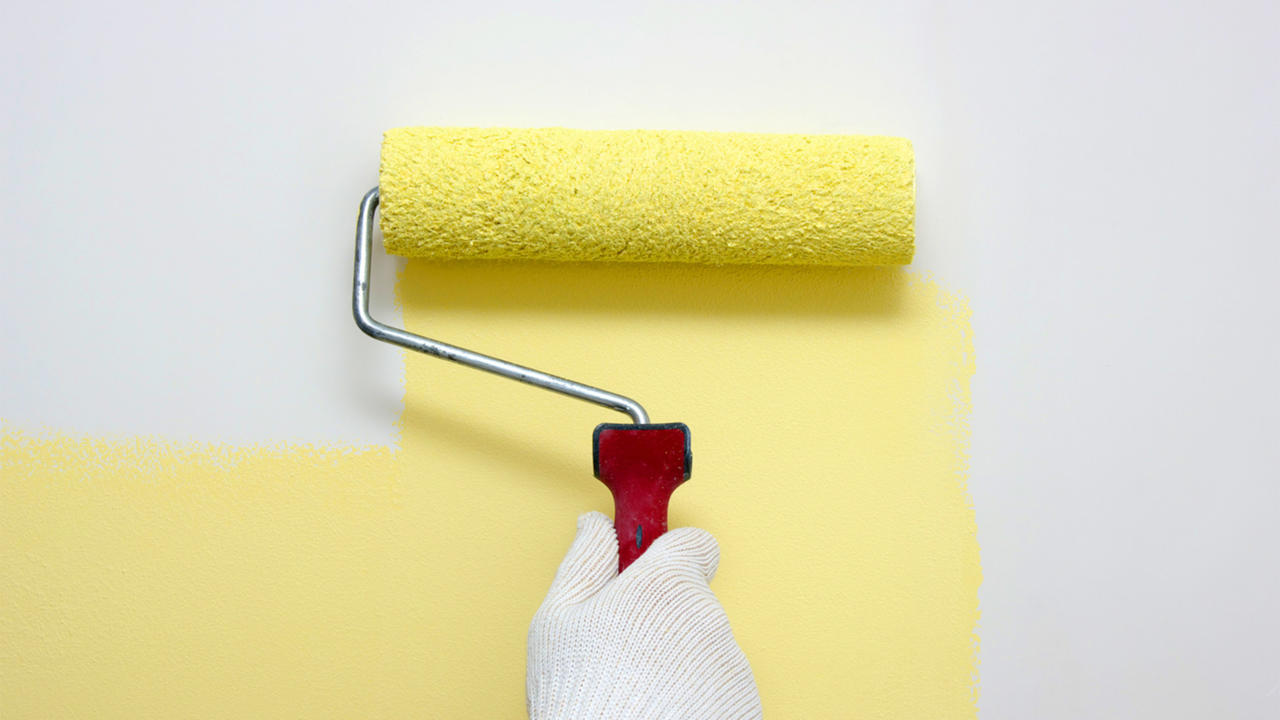
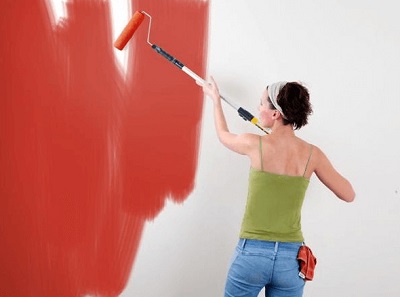
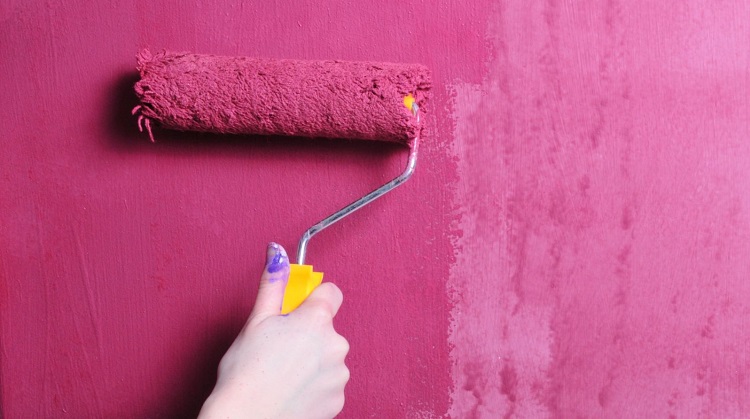
- We lean the roller to the necessary site and we carry out up and down. In this case, the roller should rotate easily along the axis, without failures. After the coloring layer ceases to be uniform and saturated, we repeat all the previous steps in the collection of coloring agent and continue coloring.
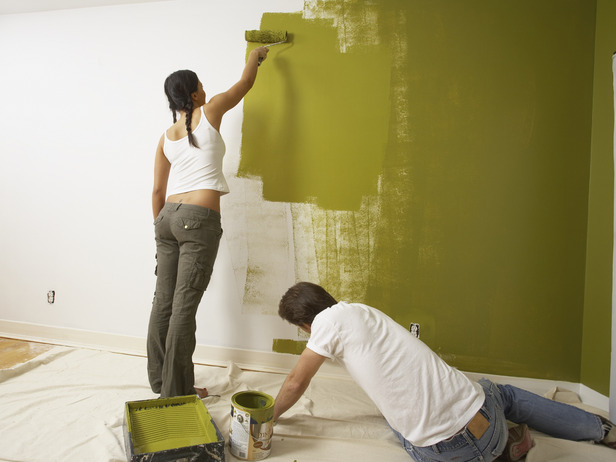
To paint the walls was of high quality, you can use one of the following methods of painting.
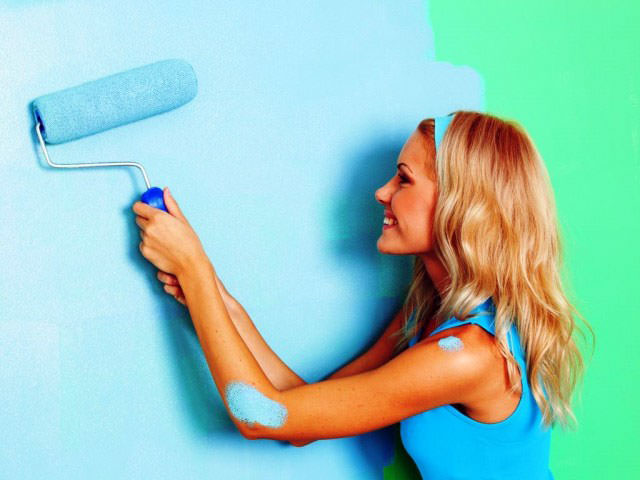
According to one of them, you first need to determine the sequence of painting walls. It is better to move from the depth of the room to the exit in order not to damage the already painted surface. Speaking of the wall, it is necessary to start from the top corner, moving down or sideways. Movement should be smooth, without pressure. In fact, you need to paint the strip, equal to the width of the roller, and go down on it. Then, without stopping to spend on the diagonal from the bottom up, and paint over the strip near, without gaps between neighboring ones.
Sometimes after drying defects become visible. The most common of these is neprokras, divorces, or uneven coverage (when one area is visually darker than another). To avoid this, you need to use the second method.
Its peculiarity is that it is necessary to divide the entire wall into equal squares (the side must be three or four times as large as the roller).
After that, we start to paint them. As a starting point we take the upper corner. However, the movements in this case are made in two directions.First, a few horizontal, and then a few vertical rolling. In this case, the square, in turn, must be mentally divided into stripes and paint over them through one. To make it clear, for example, moving from left to right, you need to paint the first and the third, and in the opposite direction start from the fourth and finish with the second. The transition from one lane to another is already happening not diagonally, without imposing, but each time separately - from edge to end.
You can not leave the work, painting some part of the wall: in this case, after painting it will be a few tones darker or lighter than the rest.
Someone this technique will seem difficult, but it is worth trying in practice and make sure that it is not.
Another way to get rid of imperfections and make the color richer is re-staining. It is better to do this only after the first layer has completely dried, otherwise the thickened paint may be deformed.

Completion of work
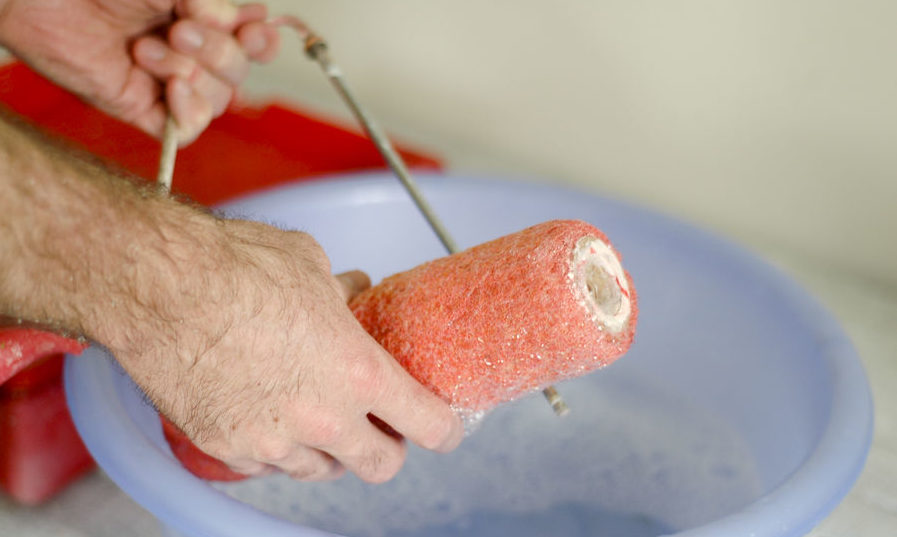
After painting the last section, take care of the tools that need to be cleaned as soon as possible if you plan to use them again.Otherwise, the remnants of paint will wither, and it will be more difficult to clean them.
Water-soluble paint is easily washed with water. To remove traces of oil will need a solvent. And in it it is necessary to soak tools entirely for several hours. And change it until complete purification. Therefore, it is sometimes cheaper to purchase a new painting kit or a replaceable coupling than the required amount of solvent.
Calculating time for painting, do not forget that the wall needs to be dried. Depending on the components included in the composition, the paint can dry from several hours to two days. To speed up this process, you can change the microclimate of the room - warm the walls and air. To do this, you can turn on the heating, use heaters or a building dryer (if it has such a function). This will help in this case a constant flow of air through the door or window (this will also help to cope with a specific smell). Touch the walls until they are dry, you can not. Check it better in an inconspicuous place. Only after complete curing can you remove the tape and return the living room to the room.
Proper, phased implementation of all the work will help you achieve a good result with your own hands, quickly and without large material costs.In addition, having mastered the basics of painting walls with a roller, you can change your interior as often as you like.
Useful tips on painting walls, you can get from the following video.


