How to paint the ceiling with water-based paint without a divorce?
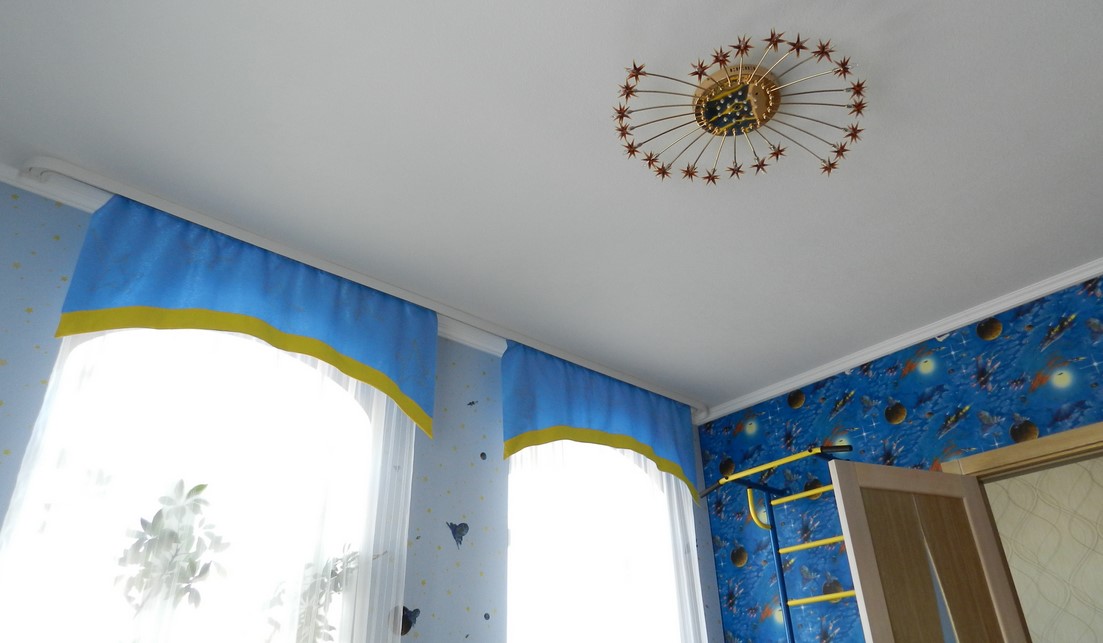
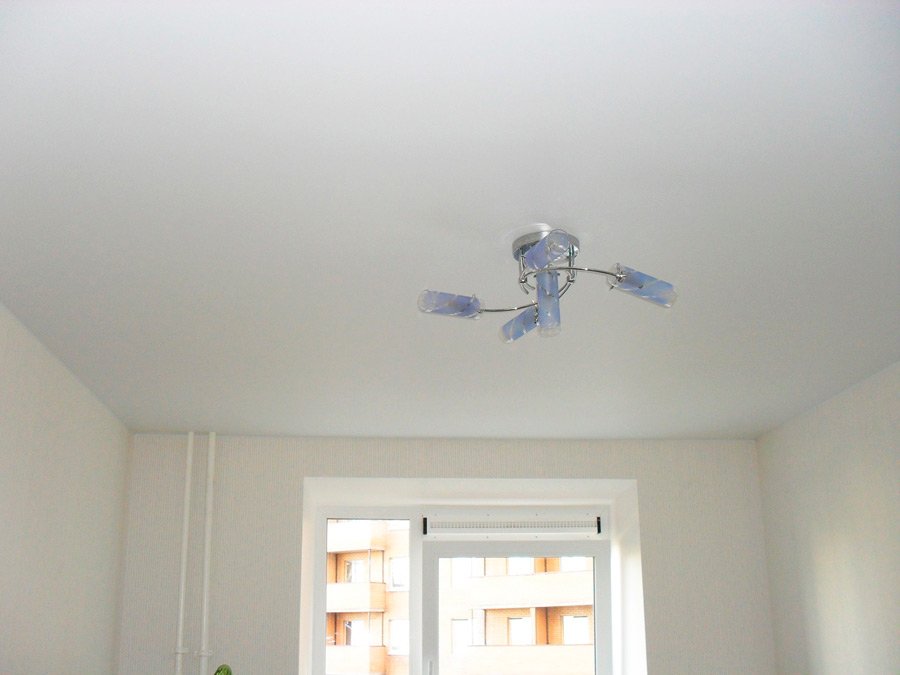
It is possible to paint the ceiling, in principle, any paint and in any color. It all depends on the fantasy of the owner of the room. White ceiling - the most common option, as white color gives a sense of space and elegance. The choice of formulations for coloring today is so great that without special knowledge it is very difficult to choose which of them is specifically needed to obtain the desired result.
Special features
When repairing premises are mainly used:
- organic solvent based paints;
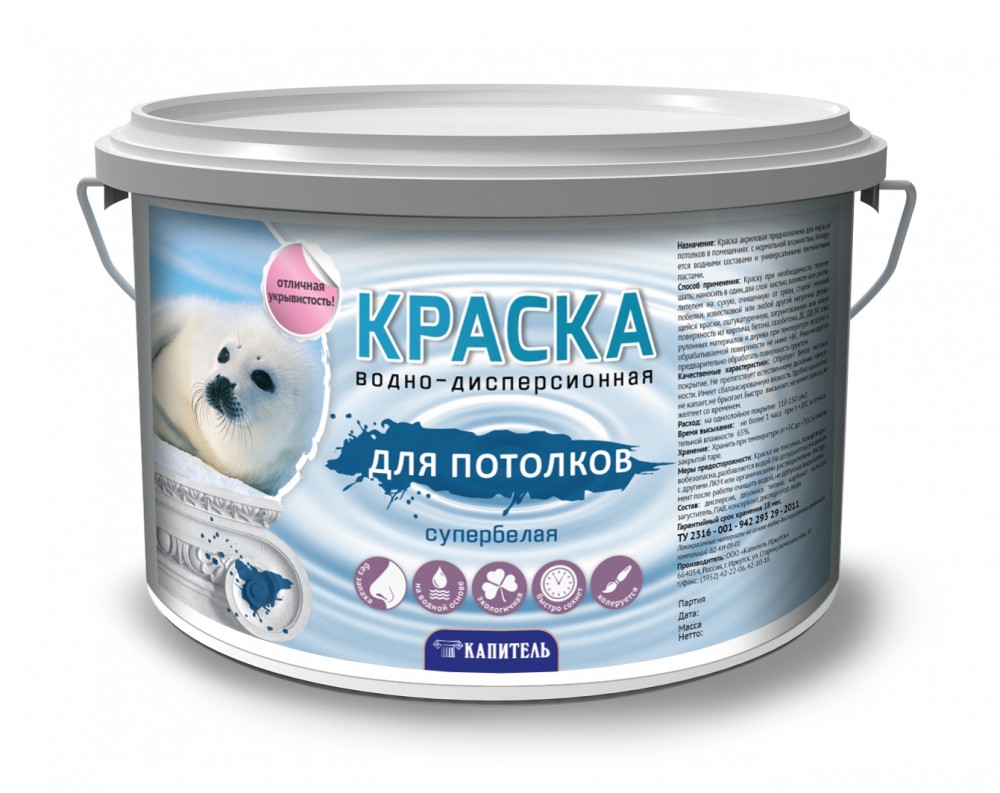
- water-soluble paints.
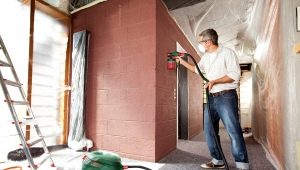
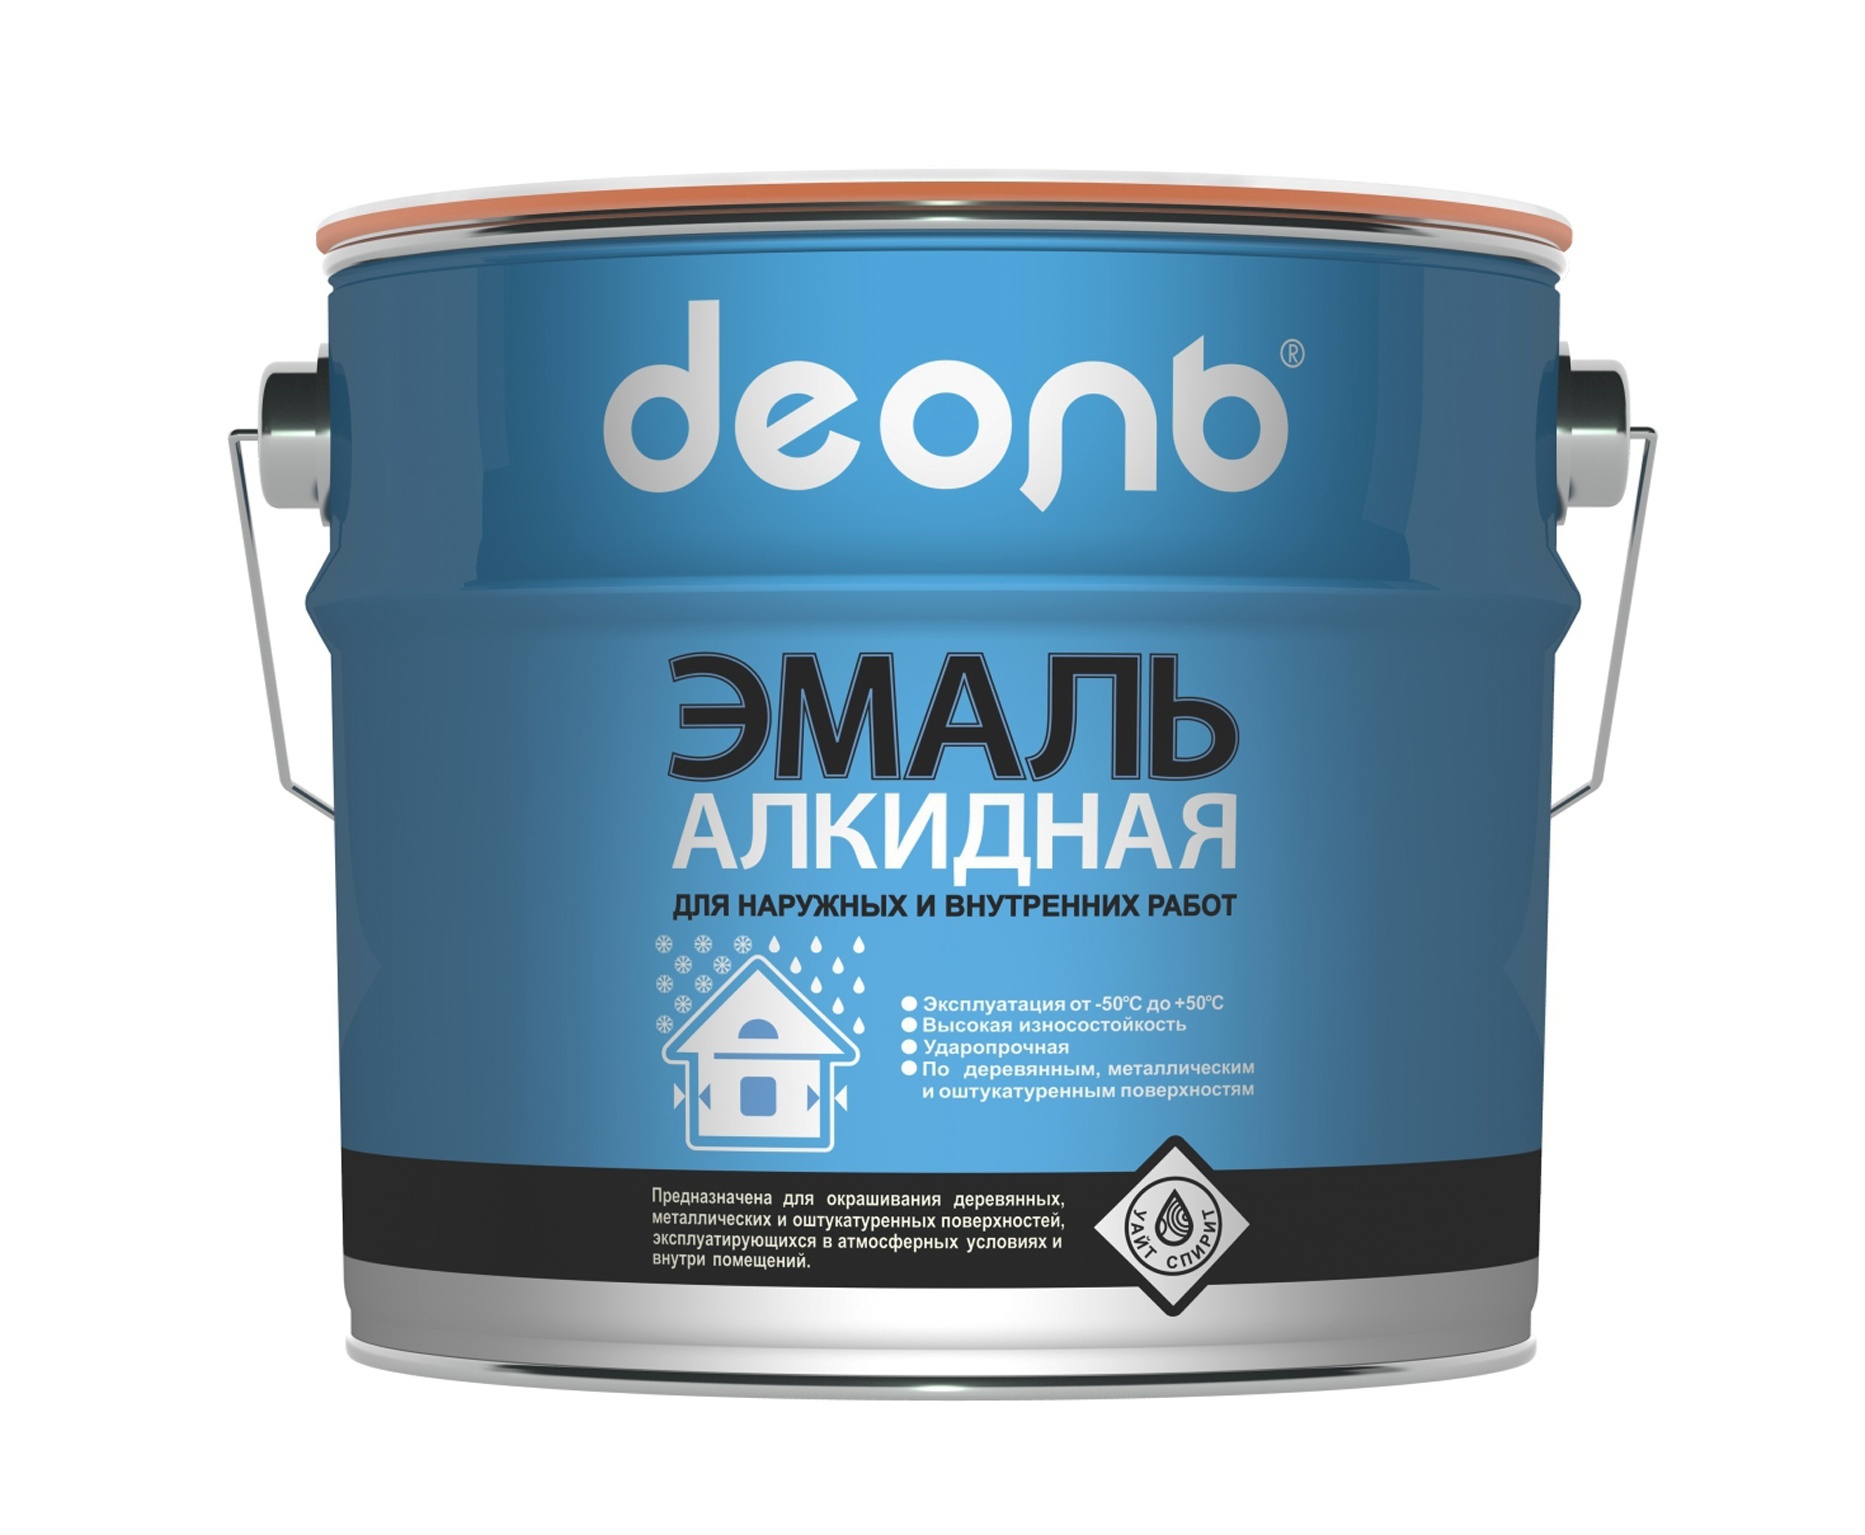
The composition of the first group is characterized by a sharp unpleasant odor in the process of application and drying due to the evaporation of the esters of resins and solvents that make up their composition.In everyday life, they are called oil, but this is a common name that has almost nothing to do with the actual composition. Among them are oil-alkyd, nitro-enamels and epoxy paints. After drying, they all form a solid film that is not washable with water.
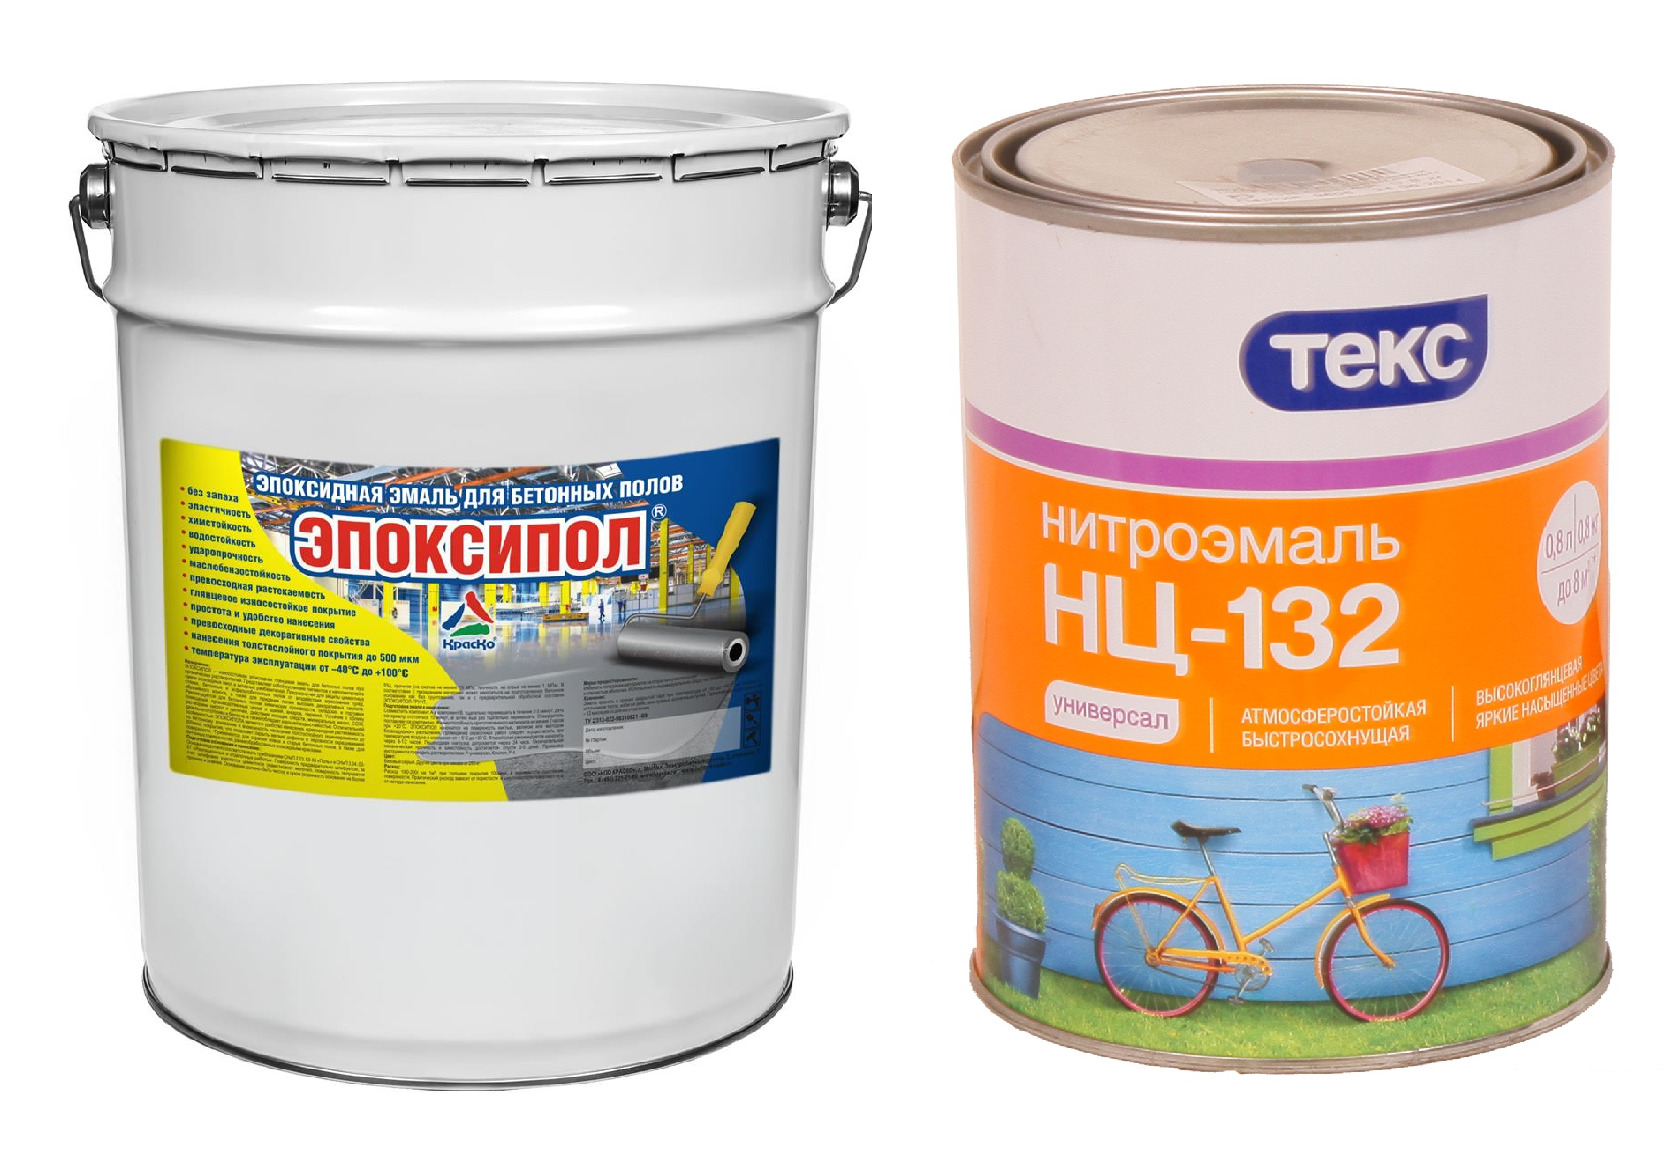
Such compositions for painting the ceiling today is used only in areas not intended for domestic use. Apply on surfaces that are not treated with plaster and gypsum-based putty materials (only cement-based compounds).
The second group includes paints, the solvent for which is water. Common to them is the consistency of the emulsion, which includes particles of polymers, pigment and water. They are classified according to the polymer used.
When painting, the surface dries to a tackiness in 1-2 hours, completely - in 6-8 hours, the emulsion does not smell in the process of work and drying. It is not an error that the name of such paints is water-dispersive, since the emulsion is a kind of dispersion solution.
To apply a water-based coating, the original surface must be carefully prepared.The composition of mixtures for preparing the surface for painting does not matter.

Kinds
Water-soluble paints differ from each other in the type of polymer, which is their base, and there are:
- acrylic;
- latex;
- vinyl;
- silicone;
- silicate.

Silicone and silicate compounds are used where the surface needs to be given such additional properties as water repellency, antifungal protection, vapor permeability. They are semi-glossy, that is, they gleam slightly.
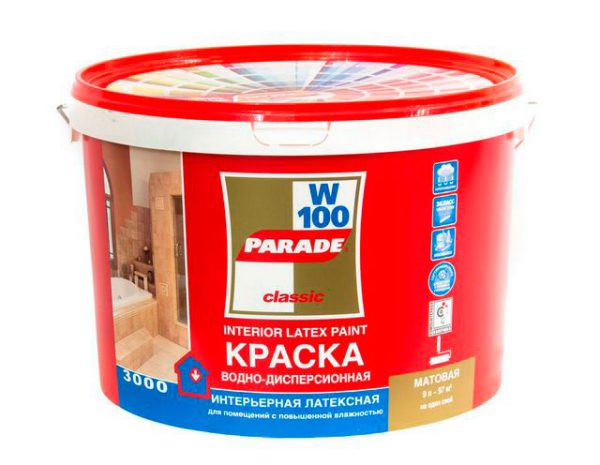
For painting ceilings in premises intended for permanent residence, water-dispersion solutions based on latex, vinyl and acrylates are used. All of these compounds after application give a deep matte, matte, semi-gloss, semi-gloss or glossy surface.
Silicone and silicate are used if the painted surfaces are exposed to aggressive environmental influences (water vapor, chemical evaporation).
Water-soluble paints are available in two types: base "A" and base "C". When buying, be sure to check this label. What's the Difference? Pigment titanium dioxide gives white color to the coloring composition.The more of it in the composition, the greater the "opacity" (transmission through the layer or the density of one layer) has the composition. Accordingly, using such a solution it is easier to obtain a perfectly even painted surface with less consumption.
But since this pigment is not cheap, then the price of the same volume from different manufacturers directly depends on its quantity.
Base C is translucent and is intended for tinting in dark colors. On the basis of A, which has titanium dioxide in its composition, it will not be possible to obtain a dark color, no matter how much tinting paste is added. Anyway, the color will be in the pastel palette.
From the point of view of environmental friendliness and convenience in work, there is practically no difference in water-soluble compositions. All of them are almost odorless, dry quickly. And performance depends on the amount of polymer that makes up the base paint. The smaller it is, the less the resistance of the painted surface to washing and abrasion. Usually this is reflected in the name of the paint numbers.
If you take the banks with the same name (one manufacturer), then marking 2 will mean the usual not very resistant paint.When painting with such a composition, cloaked in color, after an attempt to clean the dirty area, a spot of different color will remain.
No. 3 is more stable, almost no blemish. Paints with higher markings give a strong film that can be washed without problems and stains. The same marking is usually applicable to light reflecting characteristics. The higher the number, the more the finished surface will shine.
Surface preparation
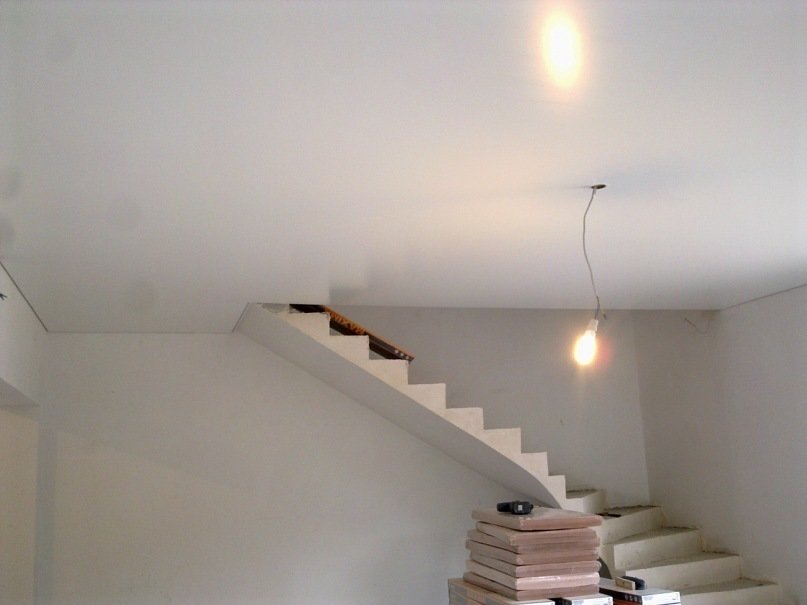
To get a painted ceiling that looks like a stretch one, that is, perfectly flat in plane and color, its surface must be prepared.
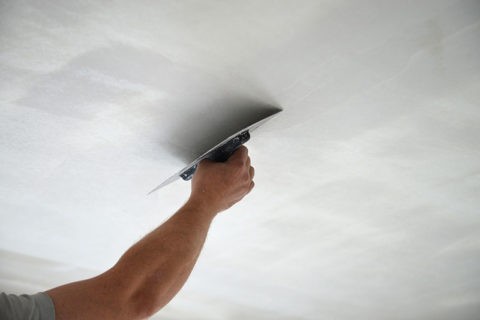
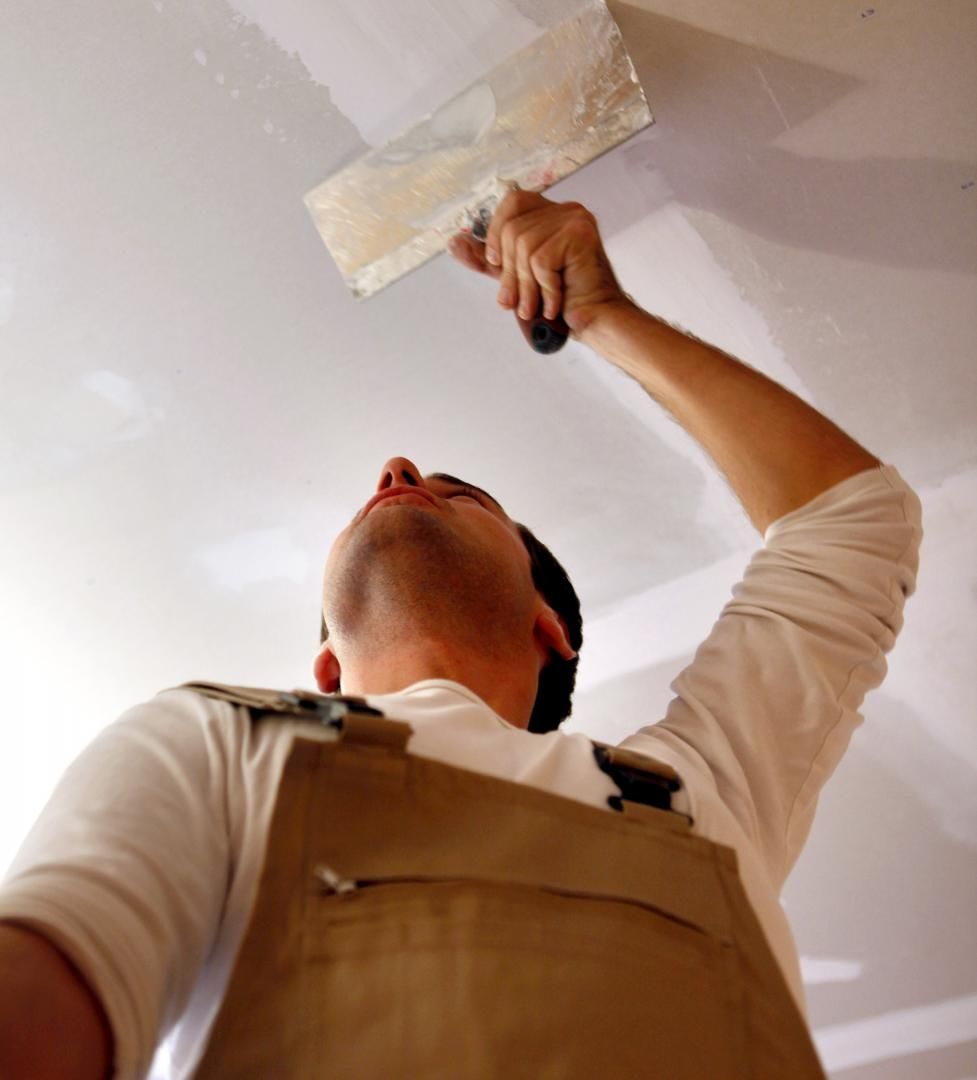
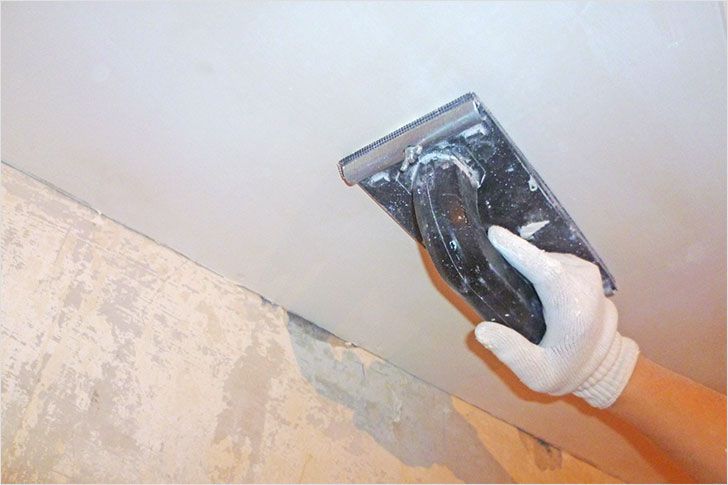
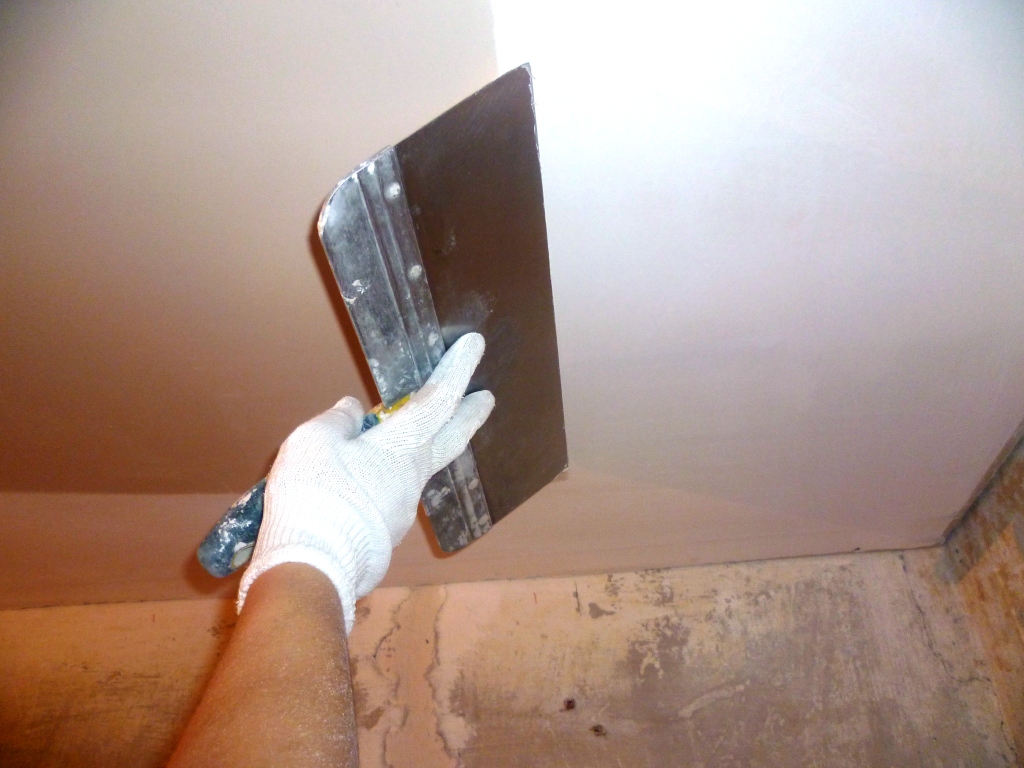
Preparation of the ceiling includes the steps of removing the existing coating (whitewashing or old paint) to the slab or drywall, sealing and gluing joints between the floor slabs, if the slab is not solid, perhaps plastering the failed areas, puttying the entire surface with several types of putty to eliminate defects in the form then scratches followed by grinding the resulting surface.

Preparation directly depends on the initial state of the floor slabs and the selected paint. In homes where they have been living for many years, they can be whitewashed and already once painted.
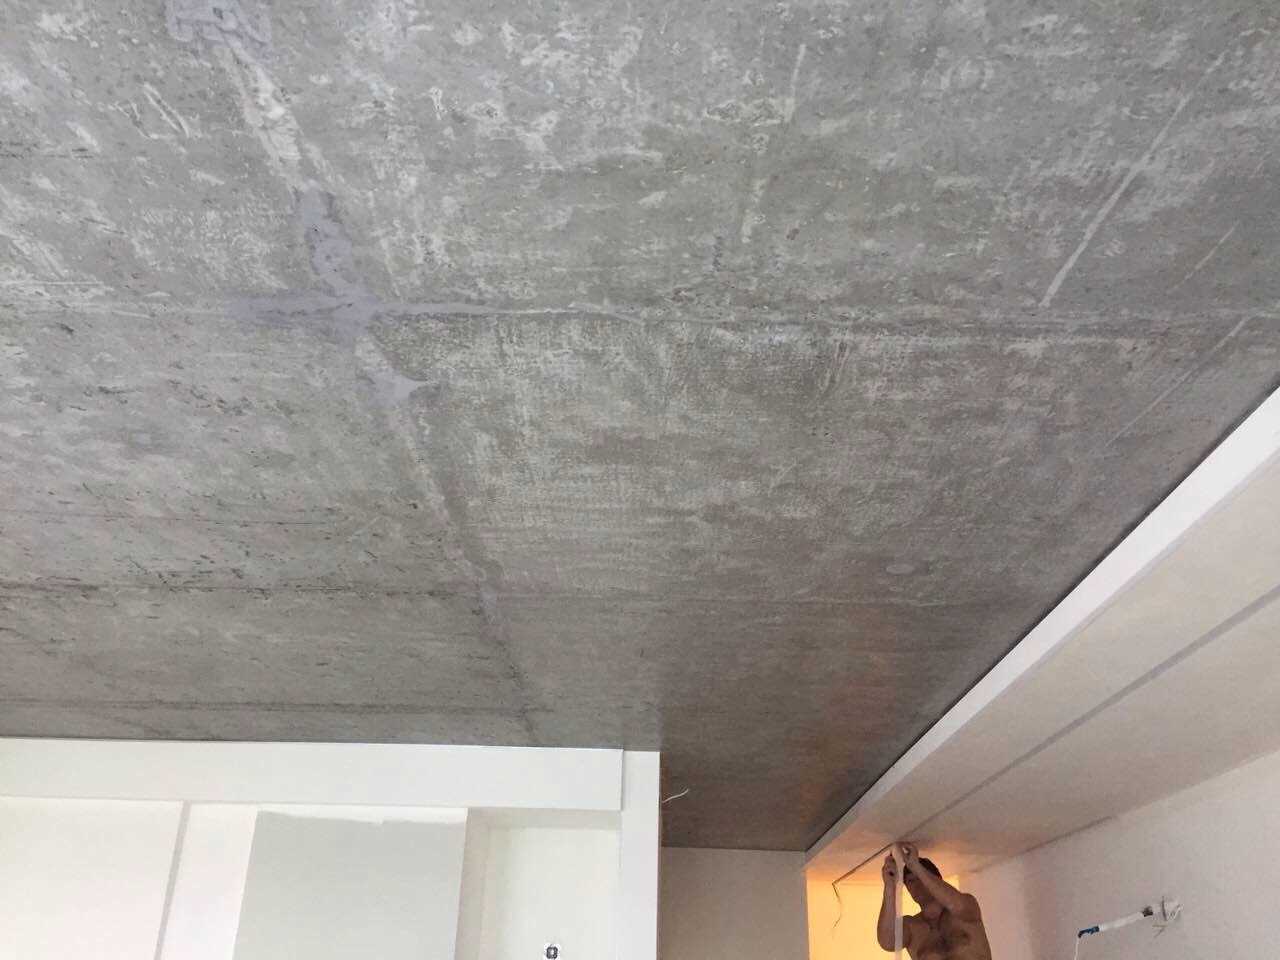
If the ceiling was whitewashed, then whitewash should be washed off. This is done with the help of hot water, a roller, a spatula, a sponge and an old terry towel. Whitewashing with areas is moistened with a roller with hot water once or twice, removed with a spatula, after which the floor slab is washed with plenty of a sponge and rubbed with a terry towel.
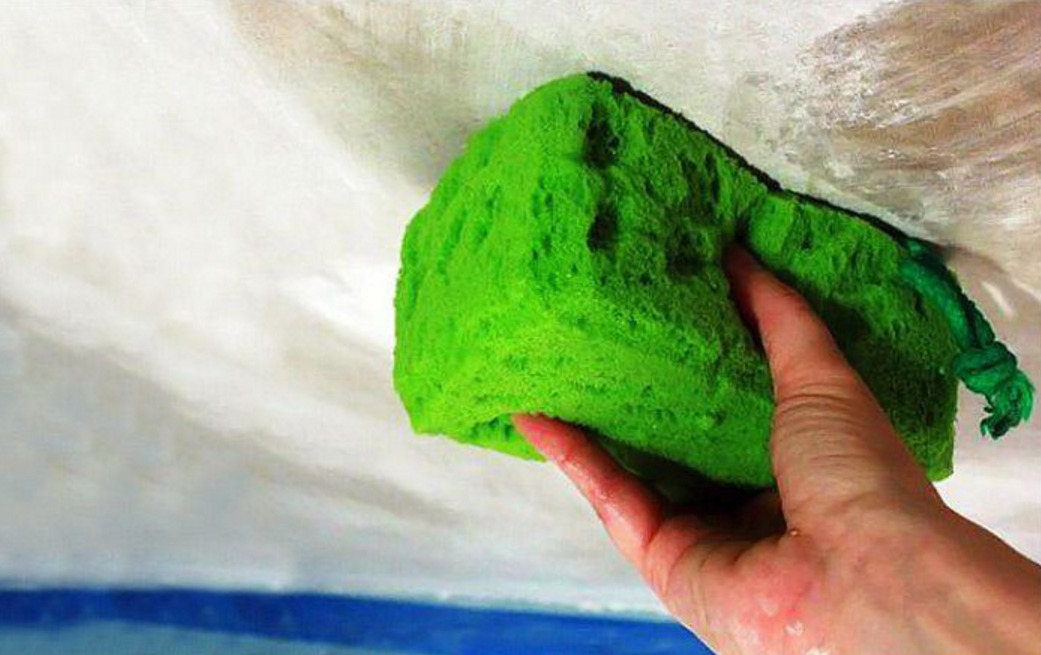
As a result of the correct removal of whitewash should get a clean gray concrete ceiling. It is permissible if there is a whitewash, ingrained in the pores. After that, the ceiling is puttied, depending on the chosen paint, from two (for deep matte) to five times (for glossy).

If the surface was previously painted with water-soluble paint, you need to check how the old coating keeps. Sometimes, if the ceiling was perfectly finished, it would be enough to wash the dirt off of it and paint it once on the direction of the light coming from the window.
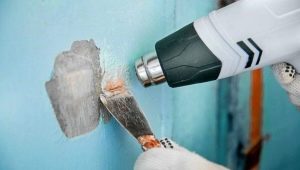
To assess the quality of the old coating, the ceiling should be wetted by arranging a small draft. It is necessary to moisten up to two times, keeping for 30-40 minutes. If defects in the form of bubbles or delamination of paint are opened, they are scrubbed with a spatula and coarse abrasive.Defective places are filled with polymer finishing composition, and after it is completely dried, they are ground “to zero” with a painted surface.
Transitions and filler fillers are unacceptable. A new layer of paint will emphasize them, the ceiling will be spoiled.
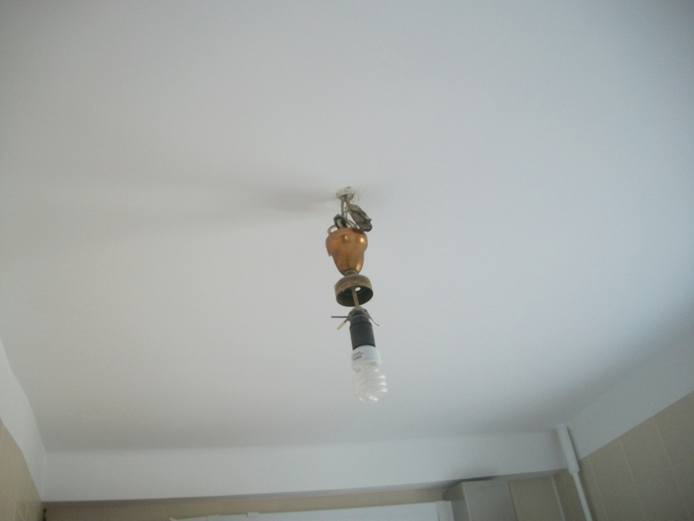
Renovating or repainting the ceiling is a snap. To fix all the irregularities, you must first clean it, remove the chandelier and carefully ground it.
Selection of tools
For the application of the coloring composition, you need two rollers of different sizes, a soft brush, a bath with a corrugated surface for pressing, a telescopic extension.
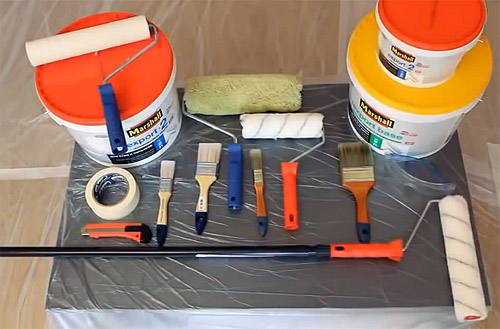
The brush should be soft so as not to leave bristle marks. You should never buy fully synthetic brushes, as they become useless after five to ten minutes of operation.. Natural bristles tend to "fall out" of the cage, remaining on the painted surface. The best option is a mixed bristle brush. It serves for a long time, the nap does not lose.
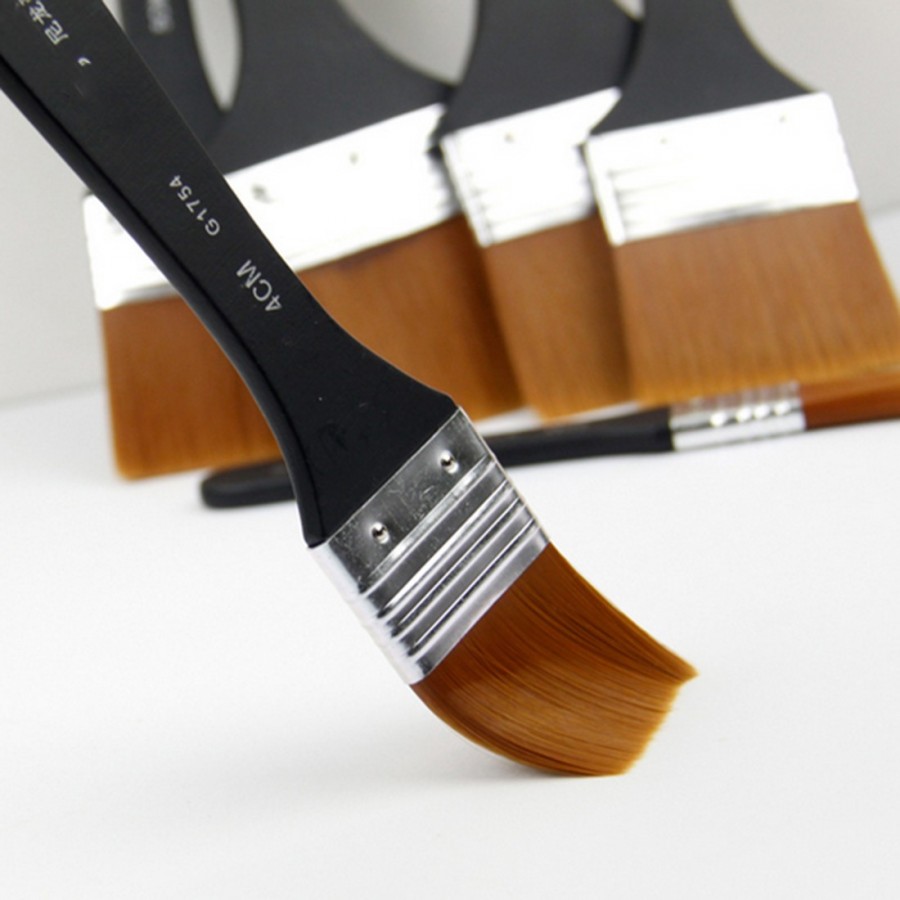
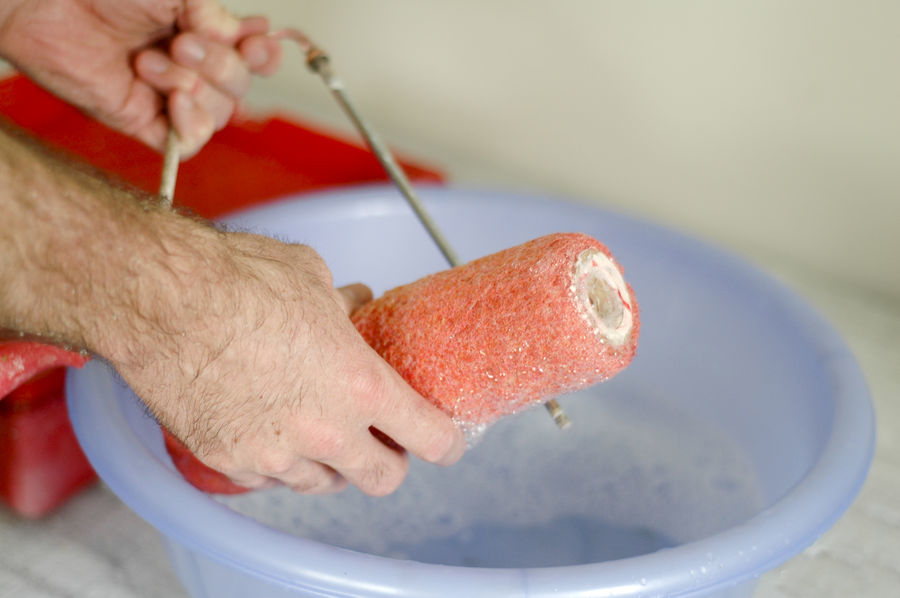
The roller should not be foam rubber or synthetic thin thread. The first leaves bursting bubbles, which are then visible to the naked eye.The second one loses the villi-strings, which are extremely problematic to remove. For painting the ceiling is selected roller-coat with a pile of different heights.
The higher the pile, the shagreen the surface can be obtained. If you need a perfectly smooth ceiling, the pile height should not exceed 6 mm. Rollers with a very low pile (so-called velor), if they are of poor quality, the manufacturer will leave diagonal strips from the seams on the ceiling surface.

The wide roller serves for rolling the main surface, with the small one rolling out the paint applied with a brush. This is due to the fact that the texture of surfaces painted with a brush and roller differs from each other. If you do not roll out the paint applied with a brush with a roller, then visually this place will look darker or lighter than the main surface. The height of the pile rollers should be the same.
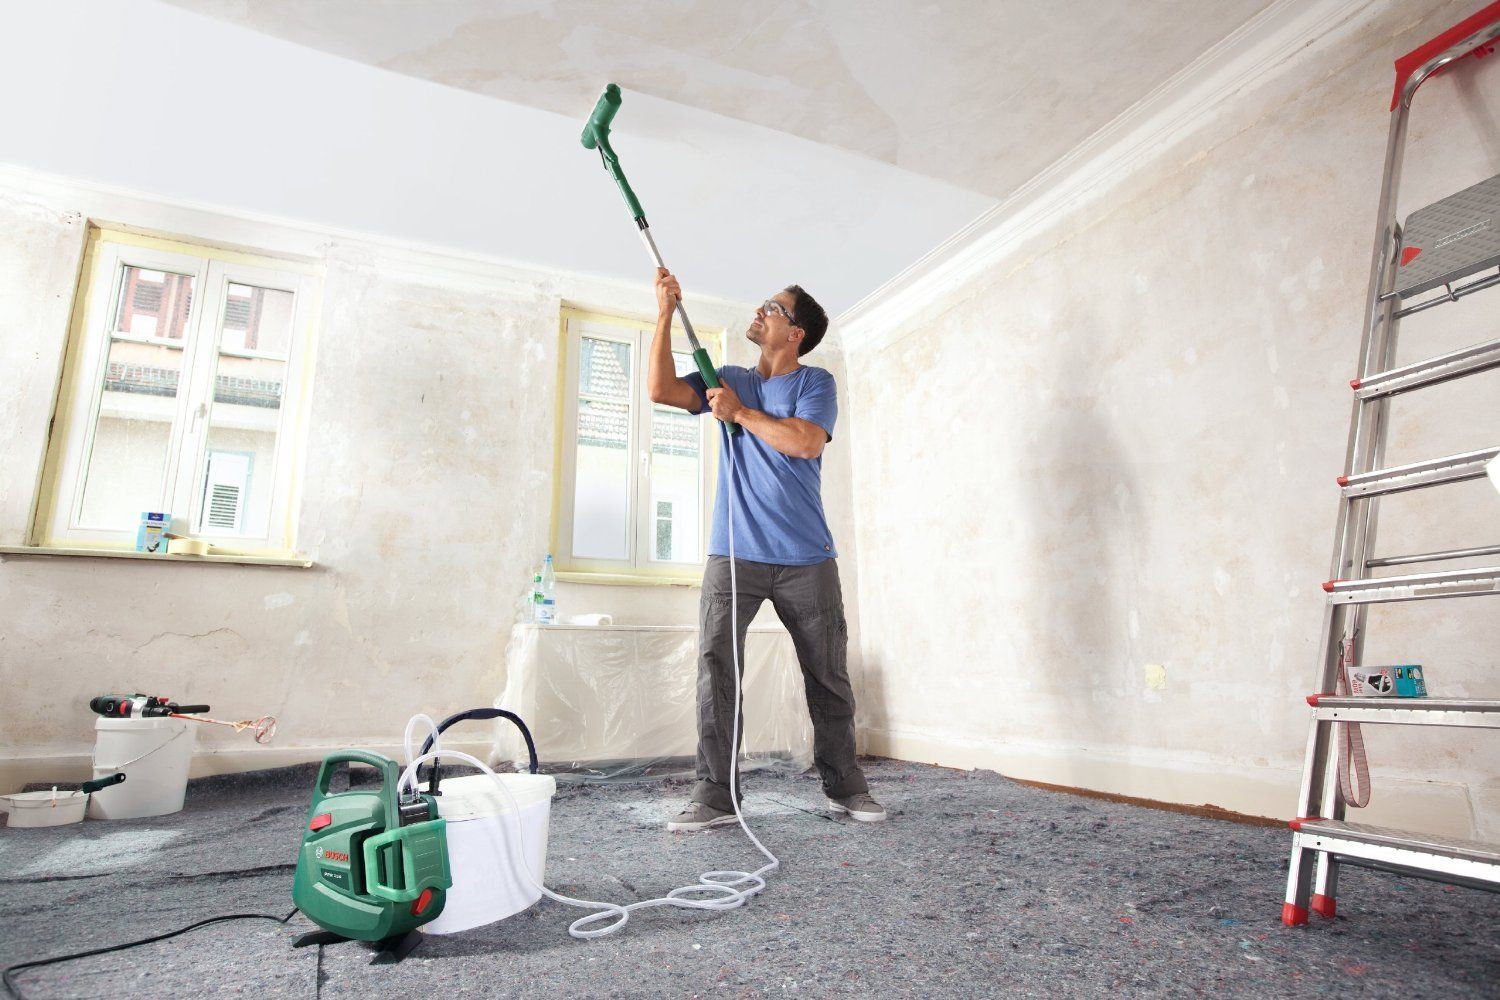
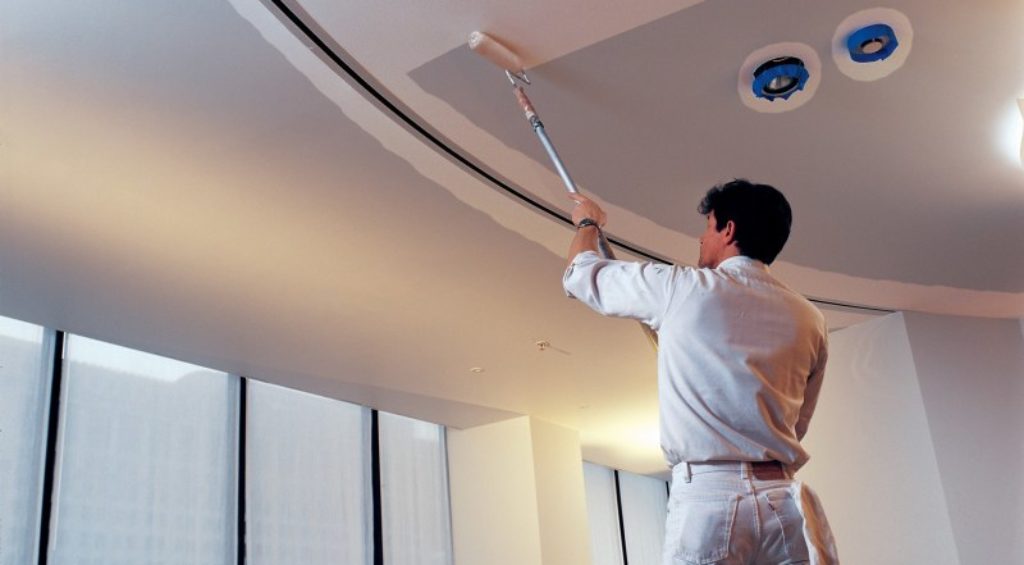
The bath is necessary to squeeze out excess paint from the rollers in order to avoid its uneven application. Telescopic extension allows you to paint the ceiling, standing on the floor, rather than crawling along the stepladder. You can also use the spray gun.
How to breed?
The plastered and plastered unpainted surface of the ceiling looks quite decent. Defects, if any, will appear only after applying a layer of paint. Amateurs believe that the paint is capable of hiding their flaws by itself. This is a completely wrong approach. On the contrary it emphasizes and reveals all defects that remain after surface preparation.
Only after applying the first layer can you clearly see all the scratches, small and not very pores, the influx of one layer of putty to another. Therefore, the first layer, which, in essence, is a primer surface, you need to do a highly diluted composition. It must be diluted in certain proportions.
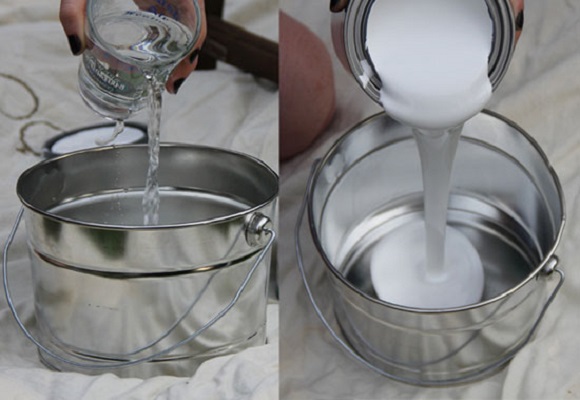
If defects appear, they are eliminated, and after that the main layers of the coating are applied. If there are pores that are trying to hide with paint, then they will be seen more and more with each layer. As a result, the more poured onto the defect, the more bulky and noticeable it is. For the basic coloring, the water-dispersion composition must be diluted, if it is thicker than the consistency of kefir. Otherwise, you can get shagreen areas,different from the rest of the ceiling surface.
Drawing
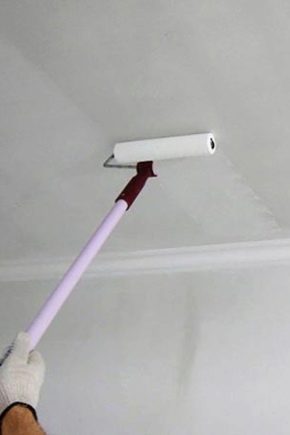
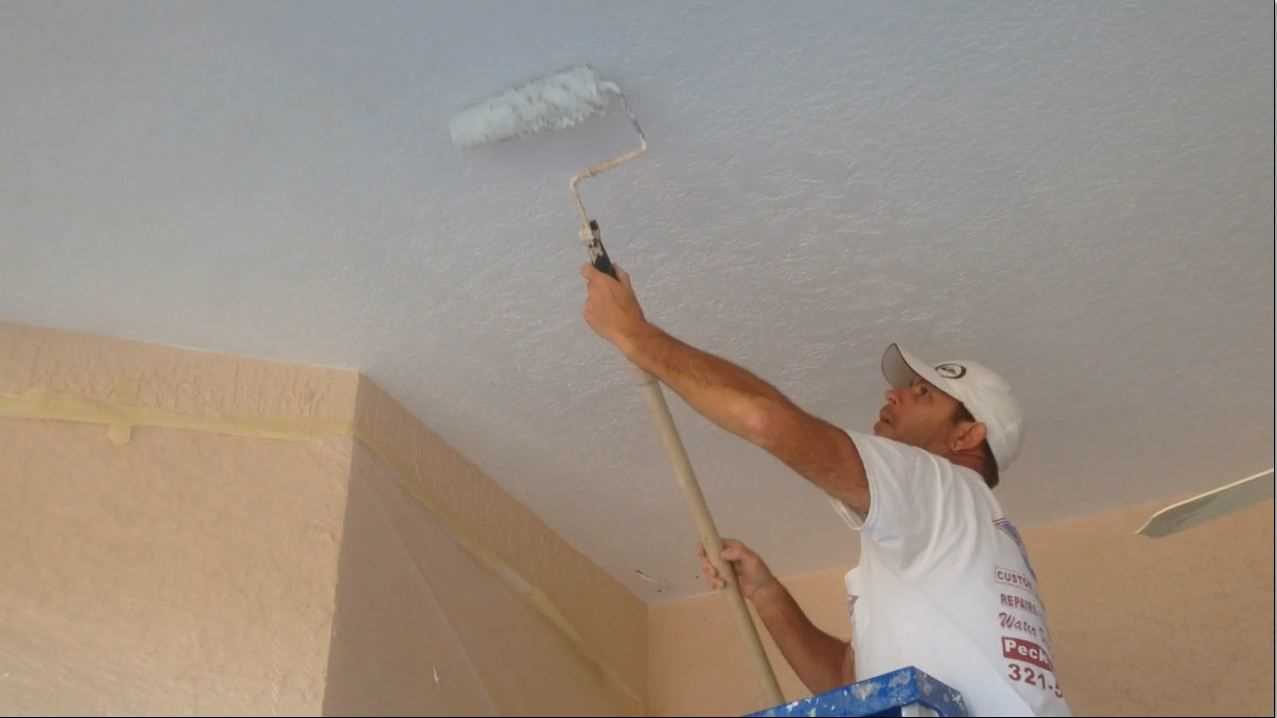
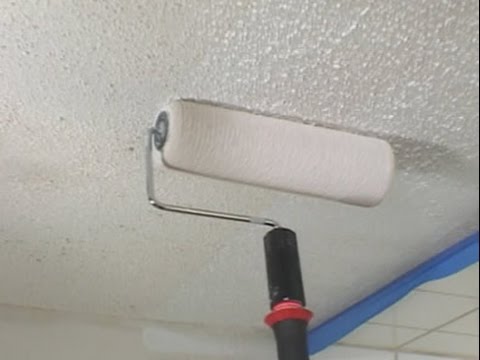
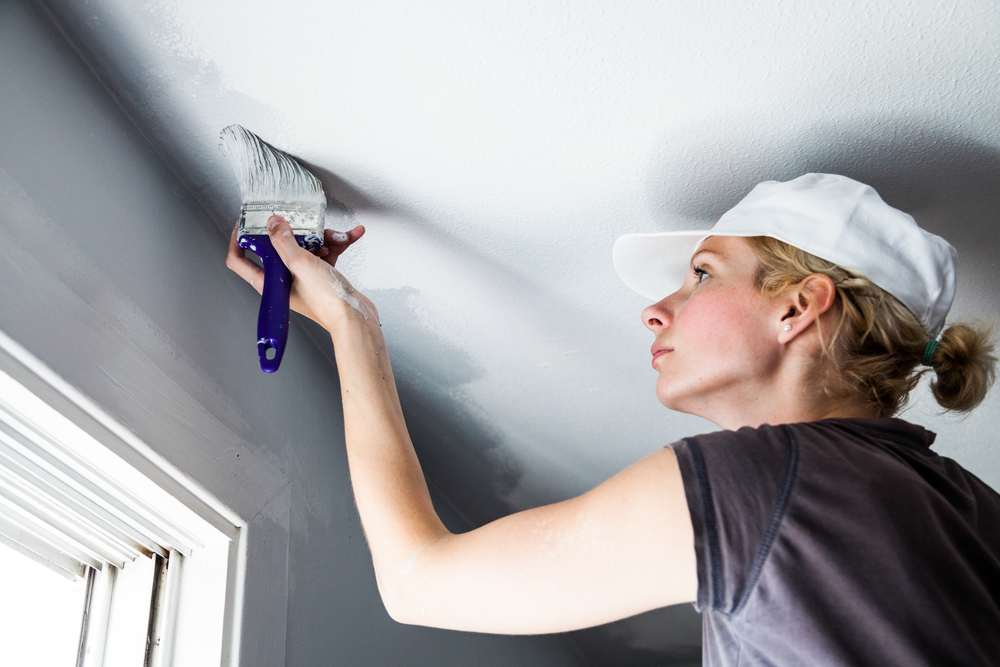
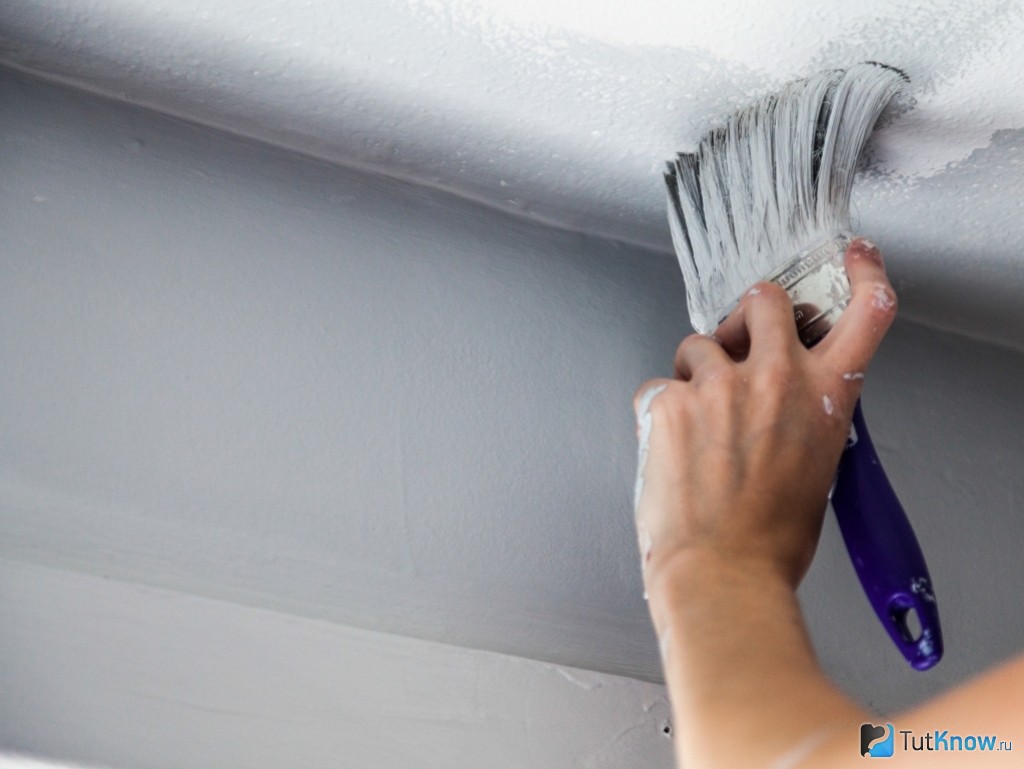
Before painting the ceiling, it is first “circled” around the perimeter, starting from the corner farthest from the window. Brush carefully paint over the joints of the ceiling and wall, grabbing a strip from 4 to 6 cm wide, and roll out the paint after the brush on the ceiling with a small roller. If the ceiling plinth is provided, it is painted at the same time. This is due to the fact that it is simply impossible to paint over corners with a large roller. In addition, it can stain the walls or leave a drop of paint on the baseboard.
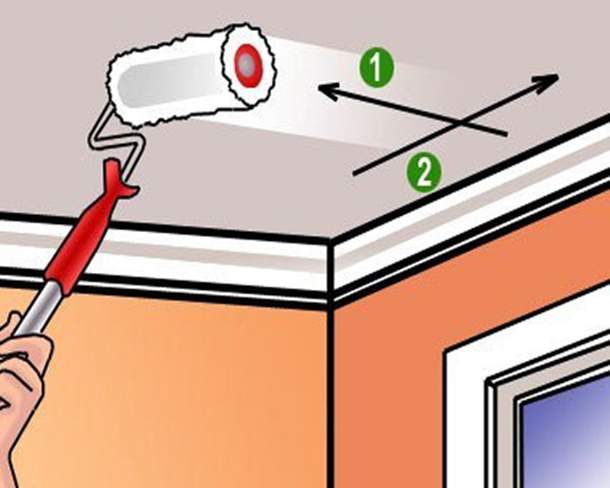
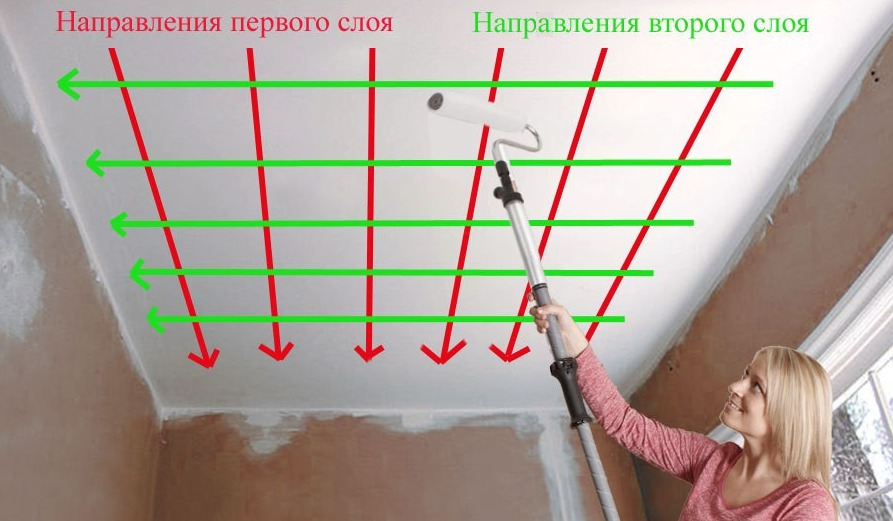
The roller is wetted in paint so that it is completely saturated with it. If even a small, non-wetted area remains, there will be “nonprokras”. To apply the roller evenly after soaking, it is necessary to squeeze it out so that the paint from it does not flow down in a stream and does not drip everywhere. Since the primer was applied all over the world, the second layer should be applied in the perpendicular direction, that is, along the window.
The last layer must be applied in the direction of light. It is possible to paint with sections of 1 m by 1 m, with the approach of each subsequent square to the previous one or stripes for a width slightly larger than the width of the roller.In any case, the roller rolls up to the state until it becomes almost dry.
When all the paint collected by the roller remains on the ceiling, immediately you need to roll out independently possible tracks of droplets forming along the edges of the roller. If this is not done, strips visible on the ceiling will remain visible to the naked eye. Each of the layers of paint is applied in one pass. If applied with areas that will have time to dry, you get visible boundaries between them. We must always remember that paint, like any material, also has its thickness.
When applying the coloring composition with their own hands in perpendicular directions, the non-color surfaces are practically excluded. If, nevertheless, one of the areas appears “translucent”, correct it with a small roller, be sure to roll out the paint to dry so as not to get a stain that differs in texture from the main surface. All work must be done in stages.
For information on how to properly paint the ceiling without streaks, see the following video.
Useful tips
If it happened that during painting you overlooked the areas where it turned out to be painted more than on the neighboring ones, they will look like dark spots due to higher relief.In this case, before applying the next layer, it is necessary to grind them with a fine abrasive.
If during the preparation of the ceiling were imperceptible small concave areas (pits), after painting they will look stained due to light falling on the relief. Any slide in oblique light gives shade. In this case, you need to level such places with the neighboring ones with the help of fine finishing putty. After that, sand the edges of the site to zero with the rest of the surface so that the boundaries of the site are not visible, after which you can first roll up with a small roller, a diluted solution, and then apply the last coat of paint to the entire ceiling.
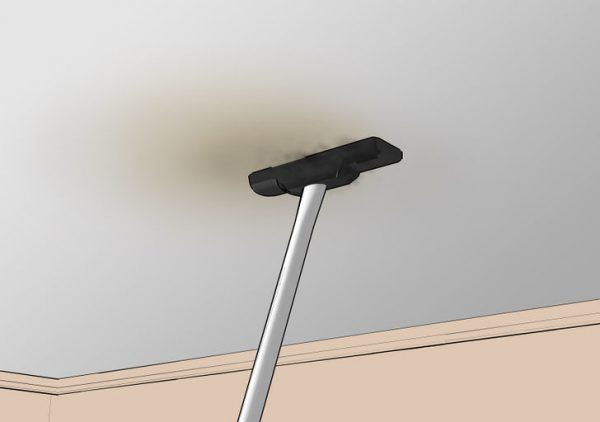
To track all possible surface defects in the process of work, and not after reaching the final result, illuminate the ceiling with oblique light using a carrying lamp.
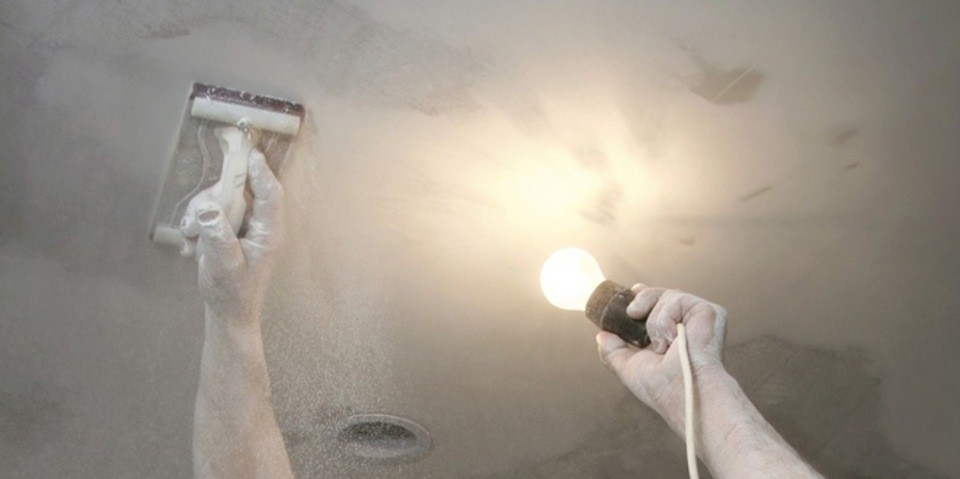
To avoid a striped ceiling, all operations are done in the perpendicular direction.
Any layer is applied only after complete drying of the previous one. Otherwise, the wetted, not yet dried out and not hardened putty will stick (“wound”) on the roller, and it will be necessary to stuff the resulting defects.
If the temperature in the room changes, the paint can “sit down”, that is, it can shrivel in places to such an extent that cracks can occur. Too fast drying can lead to the same. Therefore, it is best to turn off the heating elements, close the windows and leave a bucket of water in the freshly painted room.
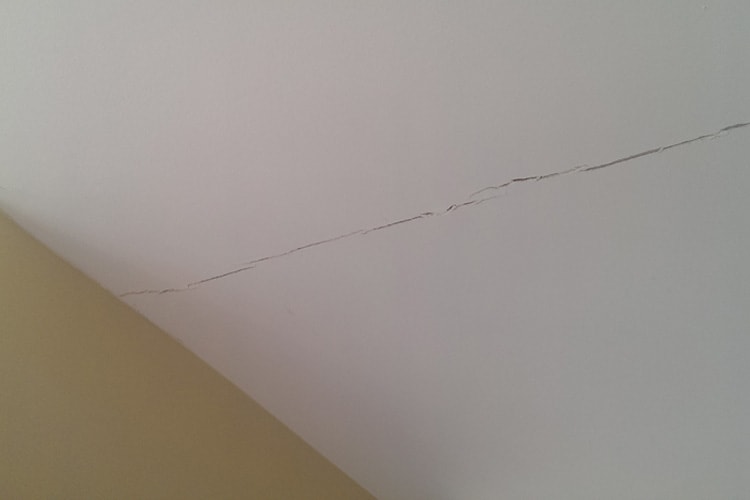
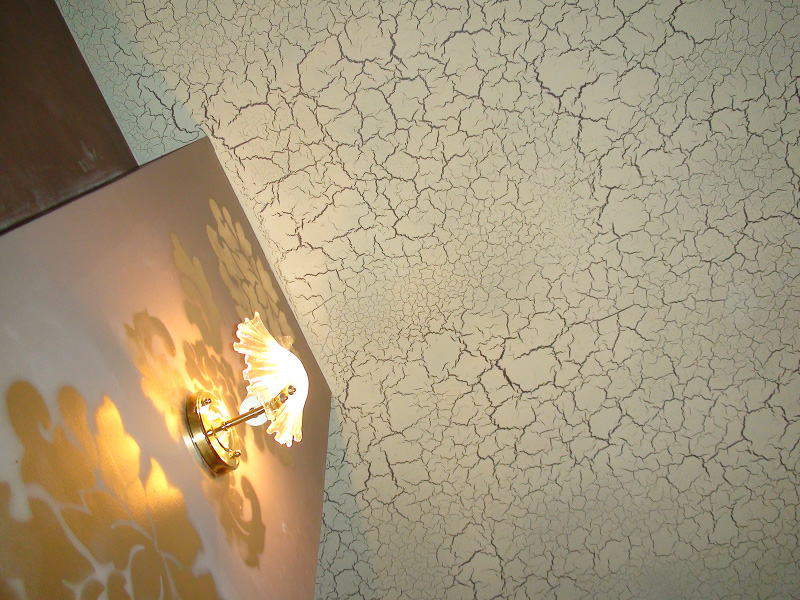
Water-soluble compounds can not be painted on surfaces that are already painted with alkyd or oil paints. For example, they are not suitable for tile. After drying, the painted canvas will go in small cracks - this is the so-called craquelure effect. But if you stylize your premises as antiquities, this may be appropriate.
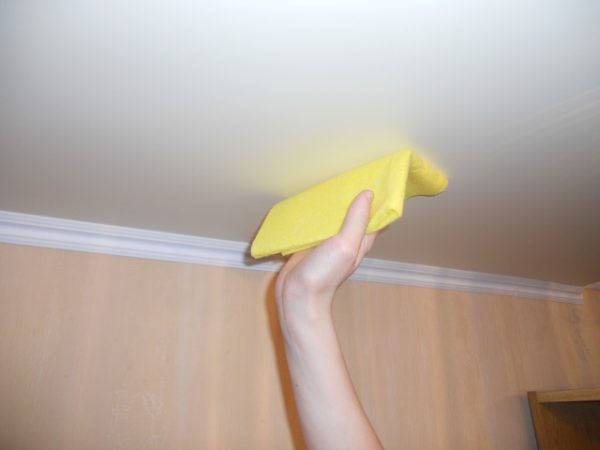
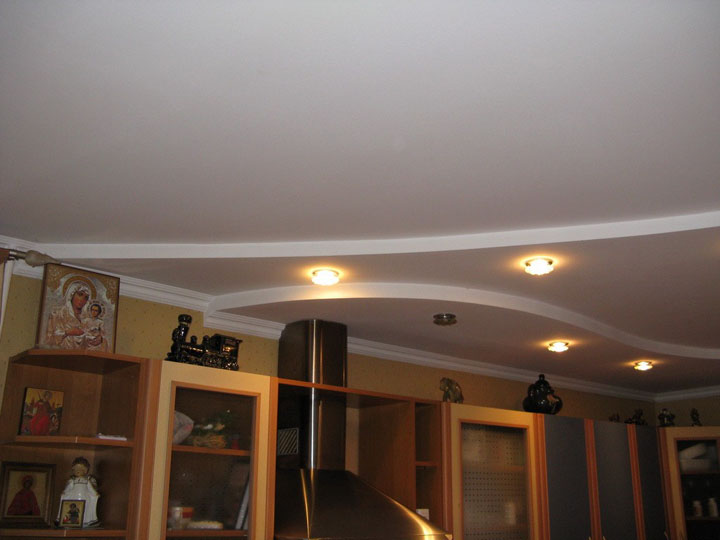
If the ceiling is already painted, it is set to “excellent” and it needs only to be refreshed, just vacuum it, go through with a slightly damp microfiber cloth. It will be necessary to tint it again only if the paint has turned yellow from time to time. It can be washed only with clean water.

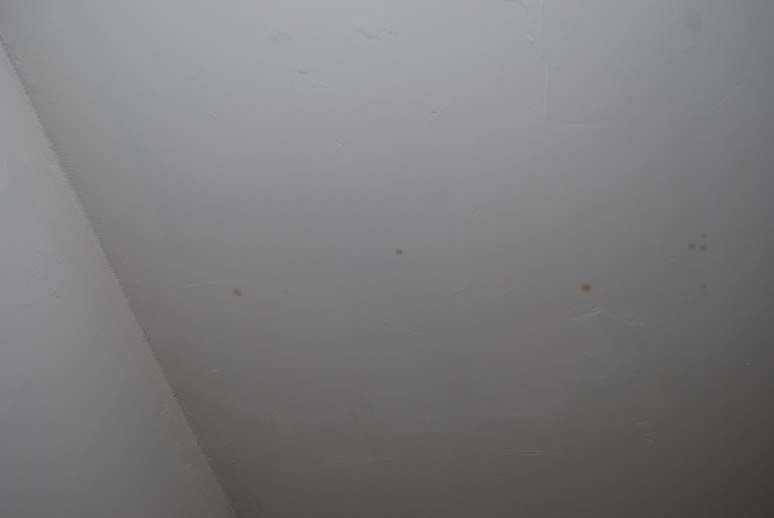
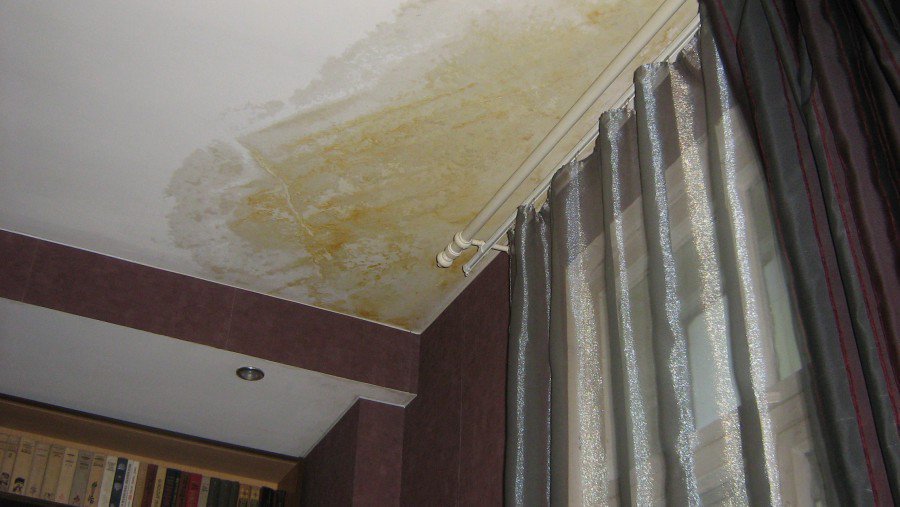
If the painted ceiling was poured by the neighbors from above and there were stains from rusty water on it, go first to this area, and then the entire surface of the ceiling with a solution of chloramine (“Whiteness”), and the stains will disappear.

In the manufacture of the ceiling in any case, you should not use painting sanding nets. With them you will scratch the entire surface. Now in any hardware store for sale there are fabric-based nets and water-repellent sponges with an abrasive coating. The size of the abrasive technology should decrease with each subsequent layer. Using this tool, you will get real pleasure from work and excellent result.