Subtleties of painting with water-based paint
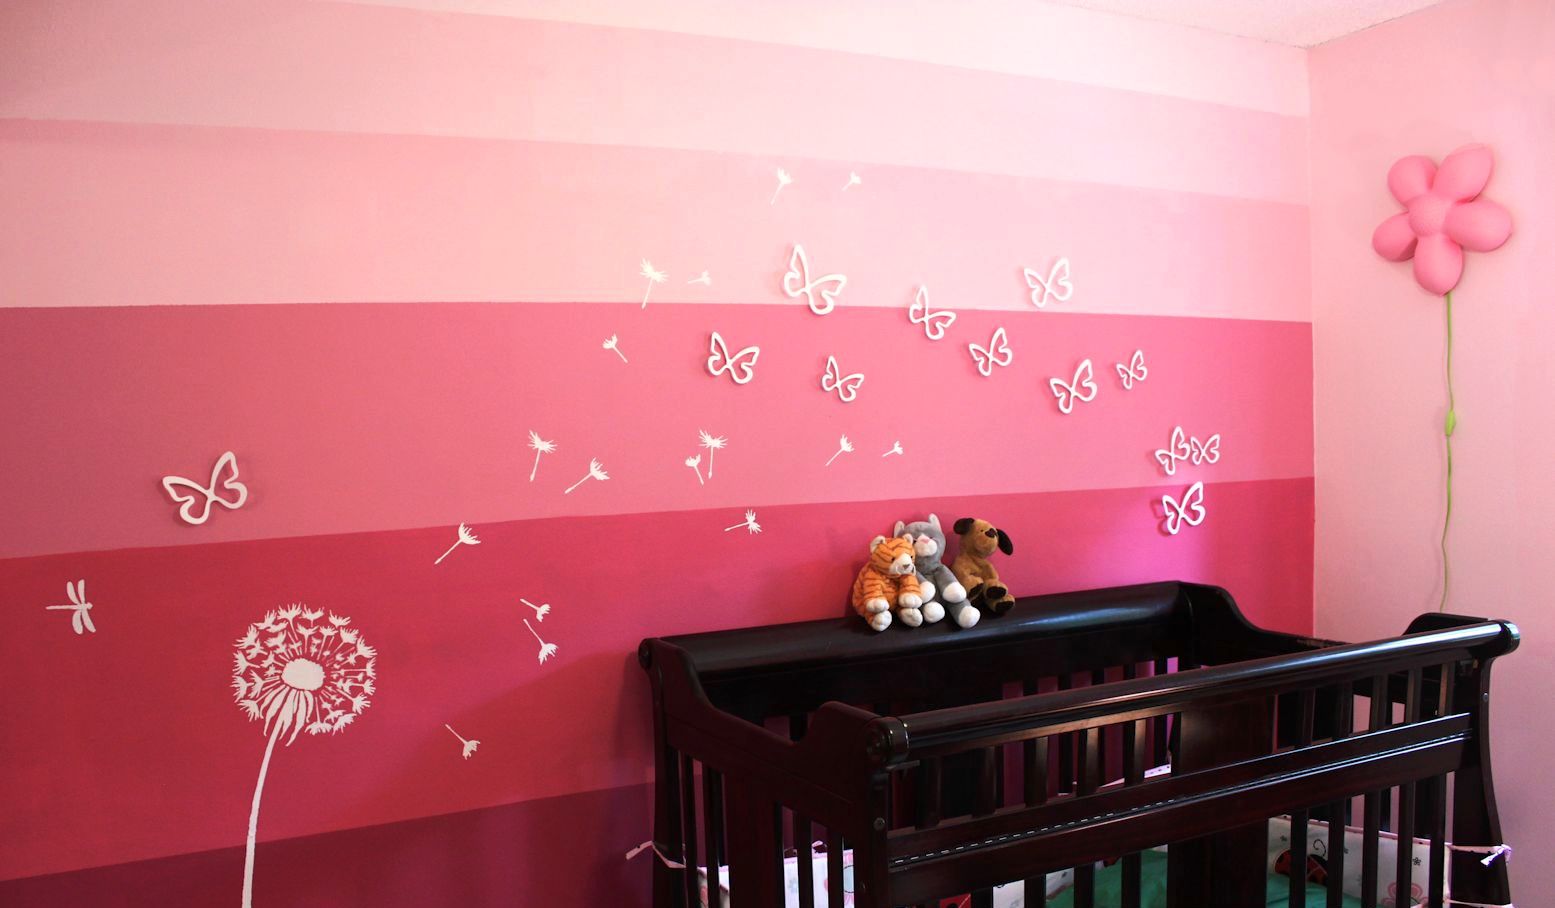
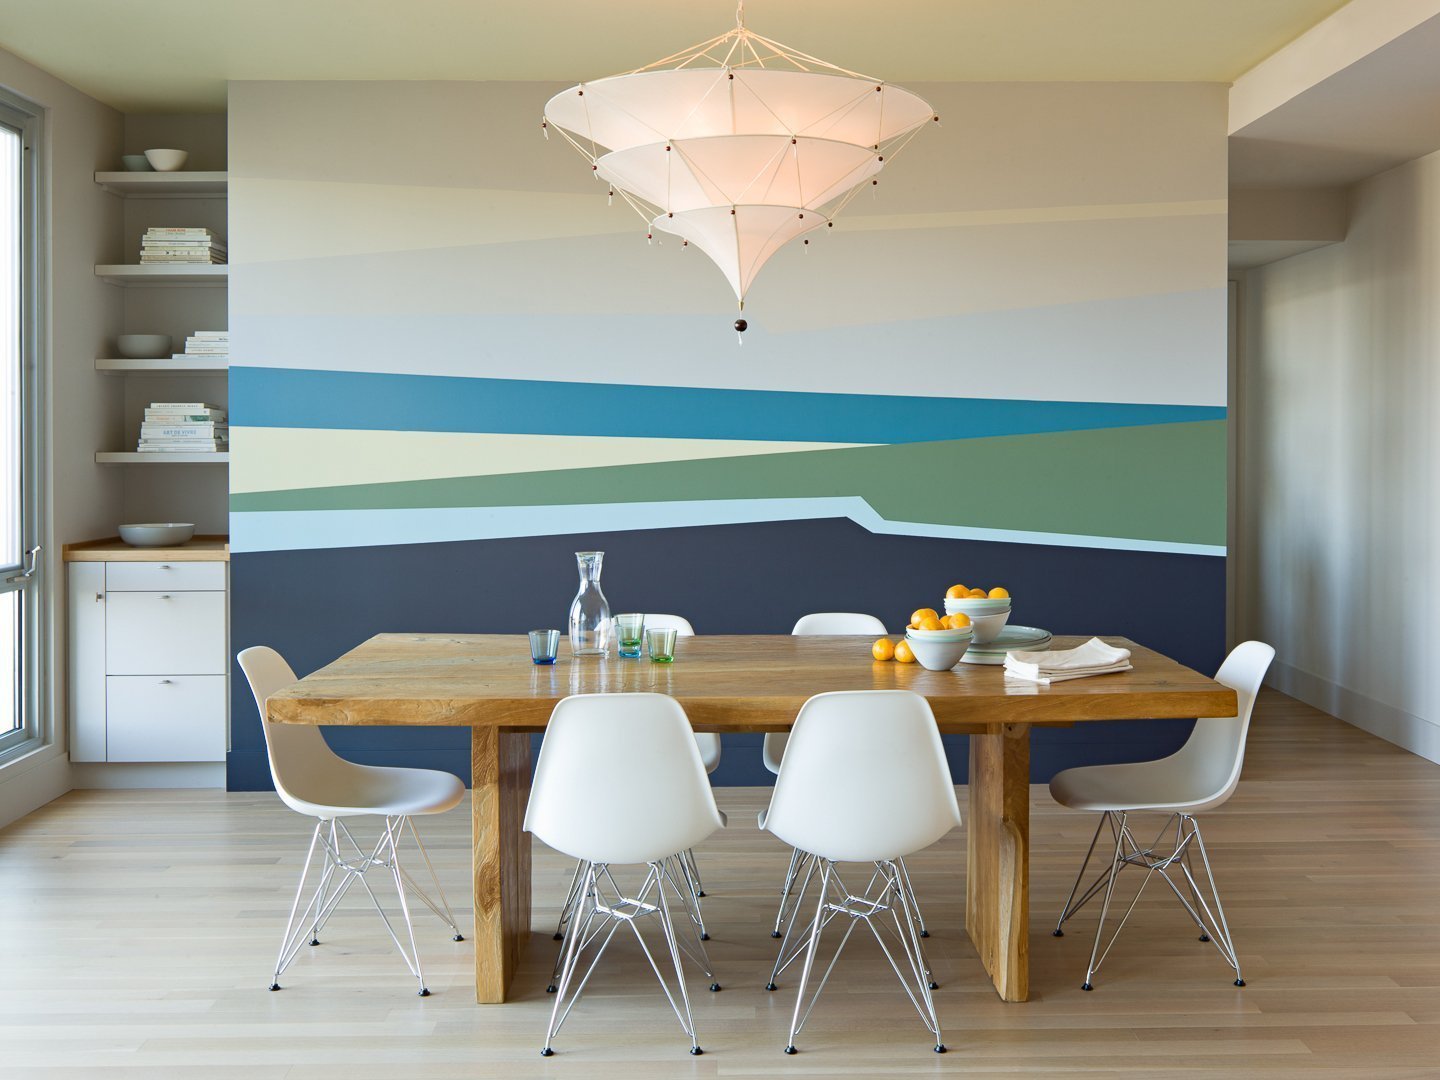
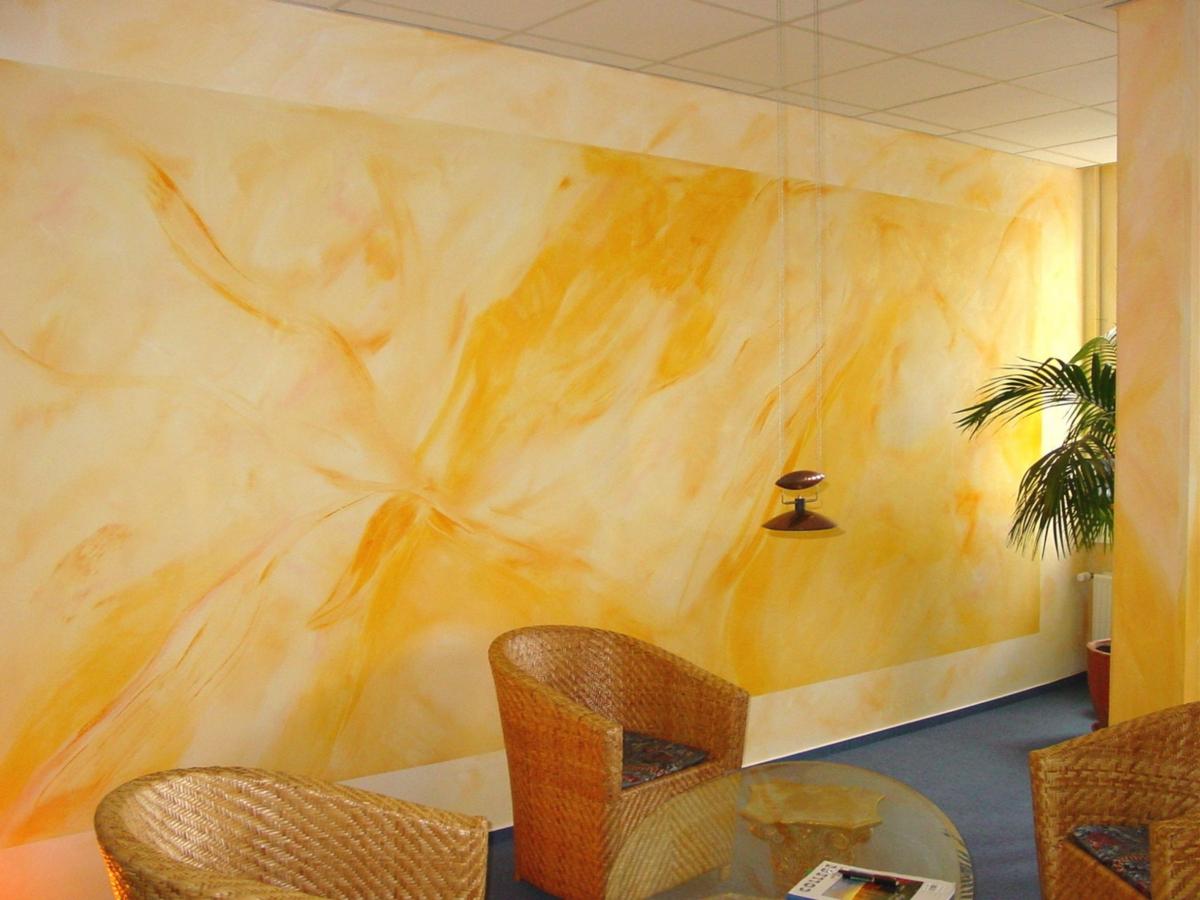
There are many different ways to decorate a room. One of the most common is painting walls and ceilings with water-based emulsion compositions. The popularity of this coating is due to its distinctive features: this paint does not have a sharp chemical smell, dries quickly, is non-toxic, and is not afraid of washing and cleaning. In addition, thanks to tinting, you can get almost any shade.
However, water-based paint, like other materials, has its own characteristics and special requirements for application.
Application features
A water emulsion is the definition of a large group of dyes based on an aqueous emulsion. All of them have different characteristics and their application features. However, there are a number of features that combine all types of dyes: Coatings do not fade, do not crack, are easy to apply and dry quickly, are sufficiently wear-resistant, odorless and environmentally friendly.
You can paint almost any surface, but due to the high water content, the water emulsion is not used to paint metal and ceramics, since it is from these materials that it simply drains.
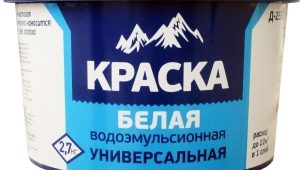
It is also important to note that this paint has a very low price. In addition, in large retail outlets, it is possible to tint the base for free or at low cost, which will help to get almost any desired color.
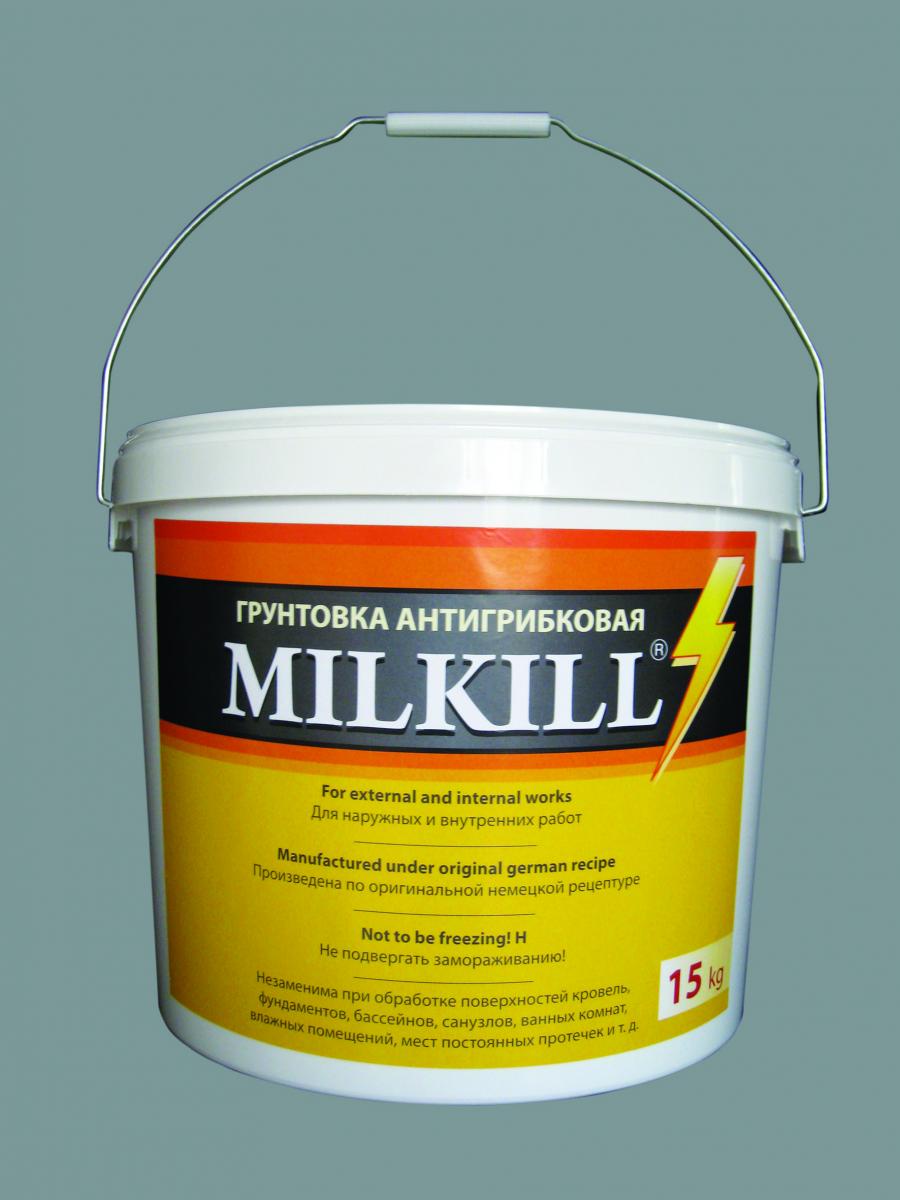
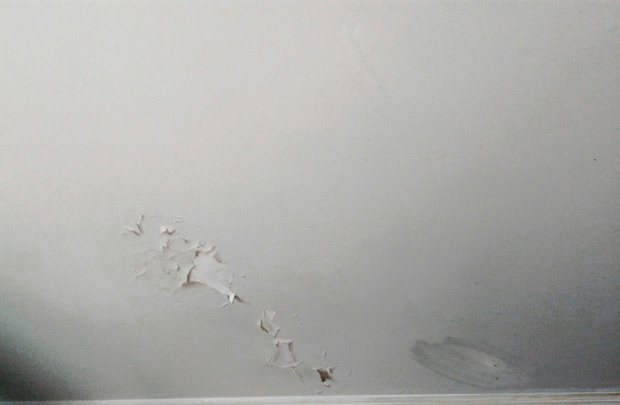
With all the advantages there is a significant drawback. Using a water-based emulsion in very humid rooms with low temperature or its frequent changes, for example in the bathroom, as well as making mistakes in dilution, application, or other application technologies, you can face a rather unpleasant consequence — a fungus.
To avoid this, adding special antifungal compounds to the paint will help. Many modern manufacturers initially add antifungal substances to the emulsion paint.
What are the options of water-based dyes offered on the market today.
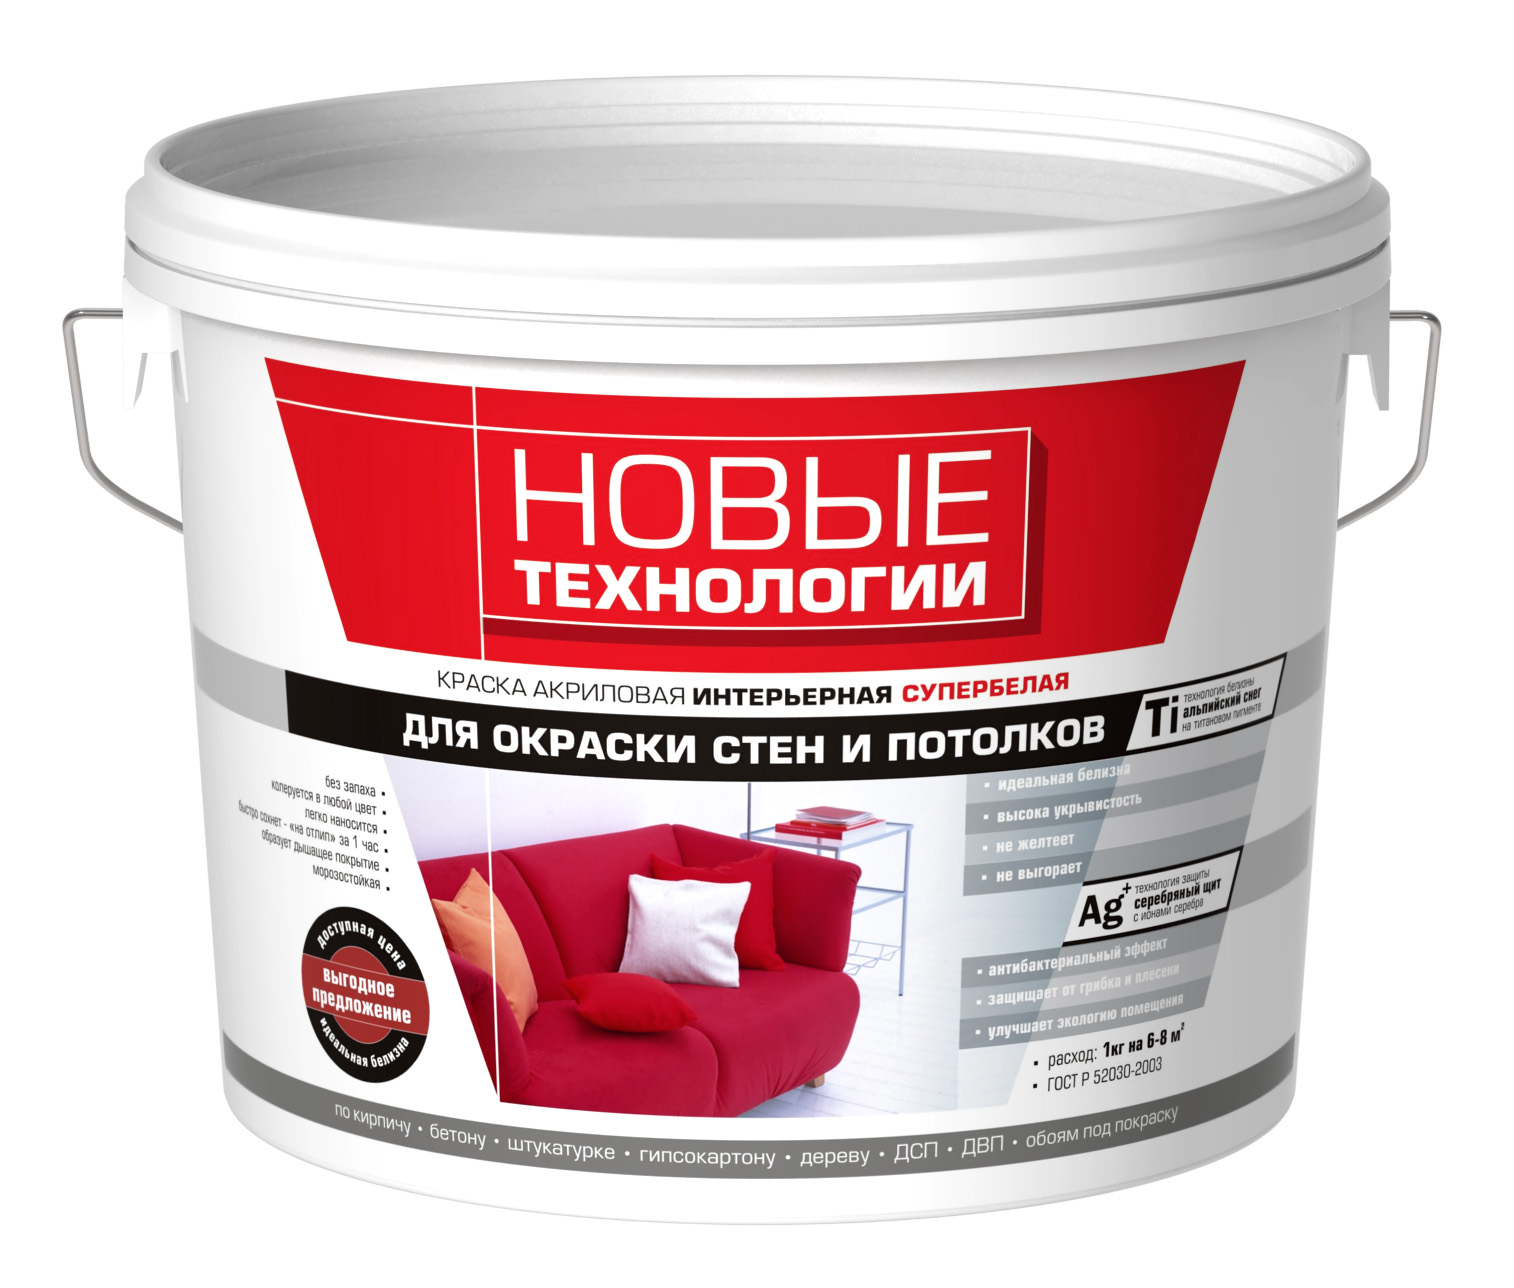
- Acrylic water-based paint. This option is by far the most common option used for painting virtually any surface. A distinctive feature of this paint is its increased moisture resistance. Surfaces painted with such compositions can be washed with any cleaning agent. Painting can be made even on metal surfaces, which must first be well primed. Acrylic paint is an ideal option for inexperienced users, because it does not flow and lays down without gaps, and can also be applied in any convenient way: using a roller or brush.

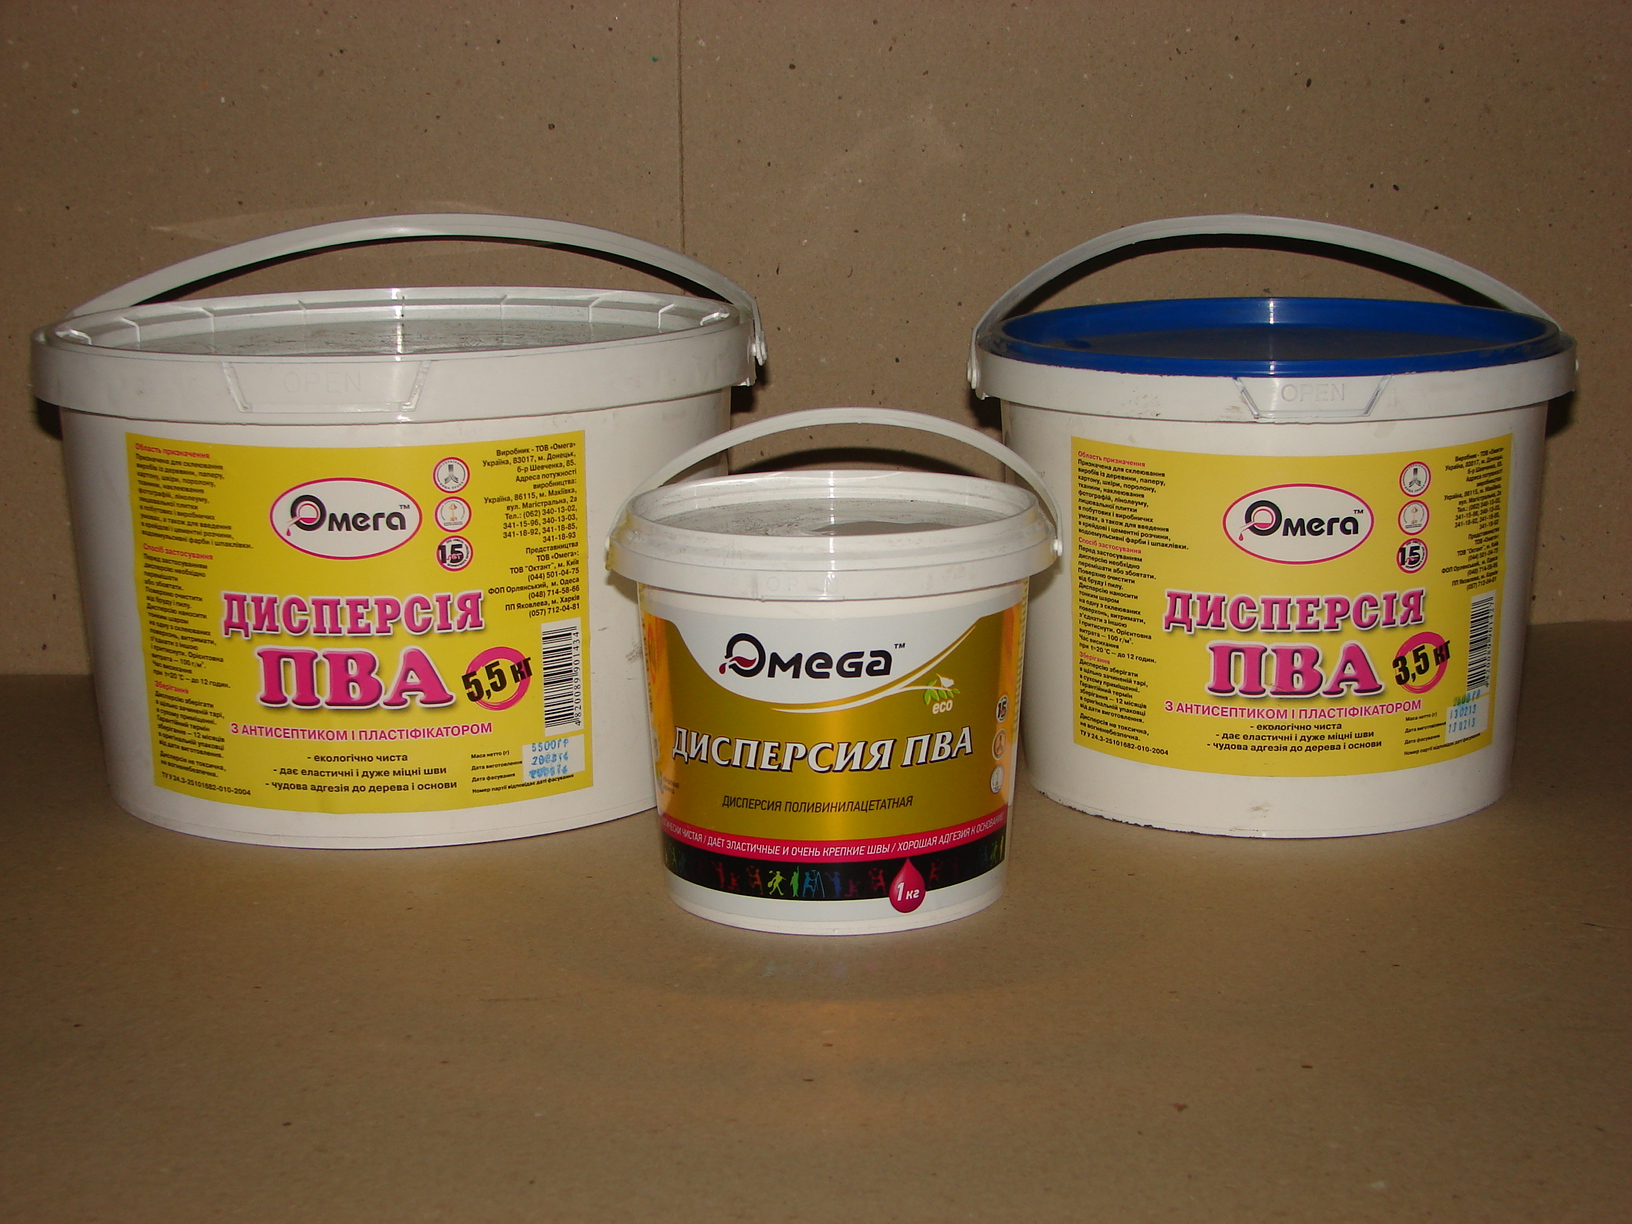
- The cheapest option that applies only in dry rooms is polyvinyl acetate water emulsion. Such a coating can quickly crack and wear off even with a small mechanical action.
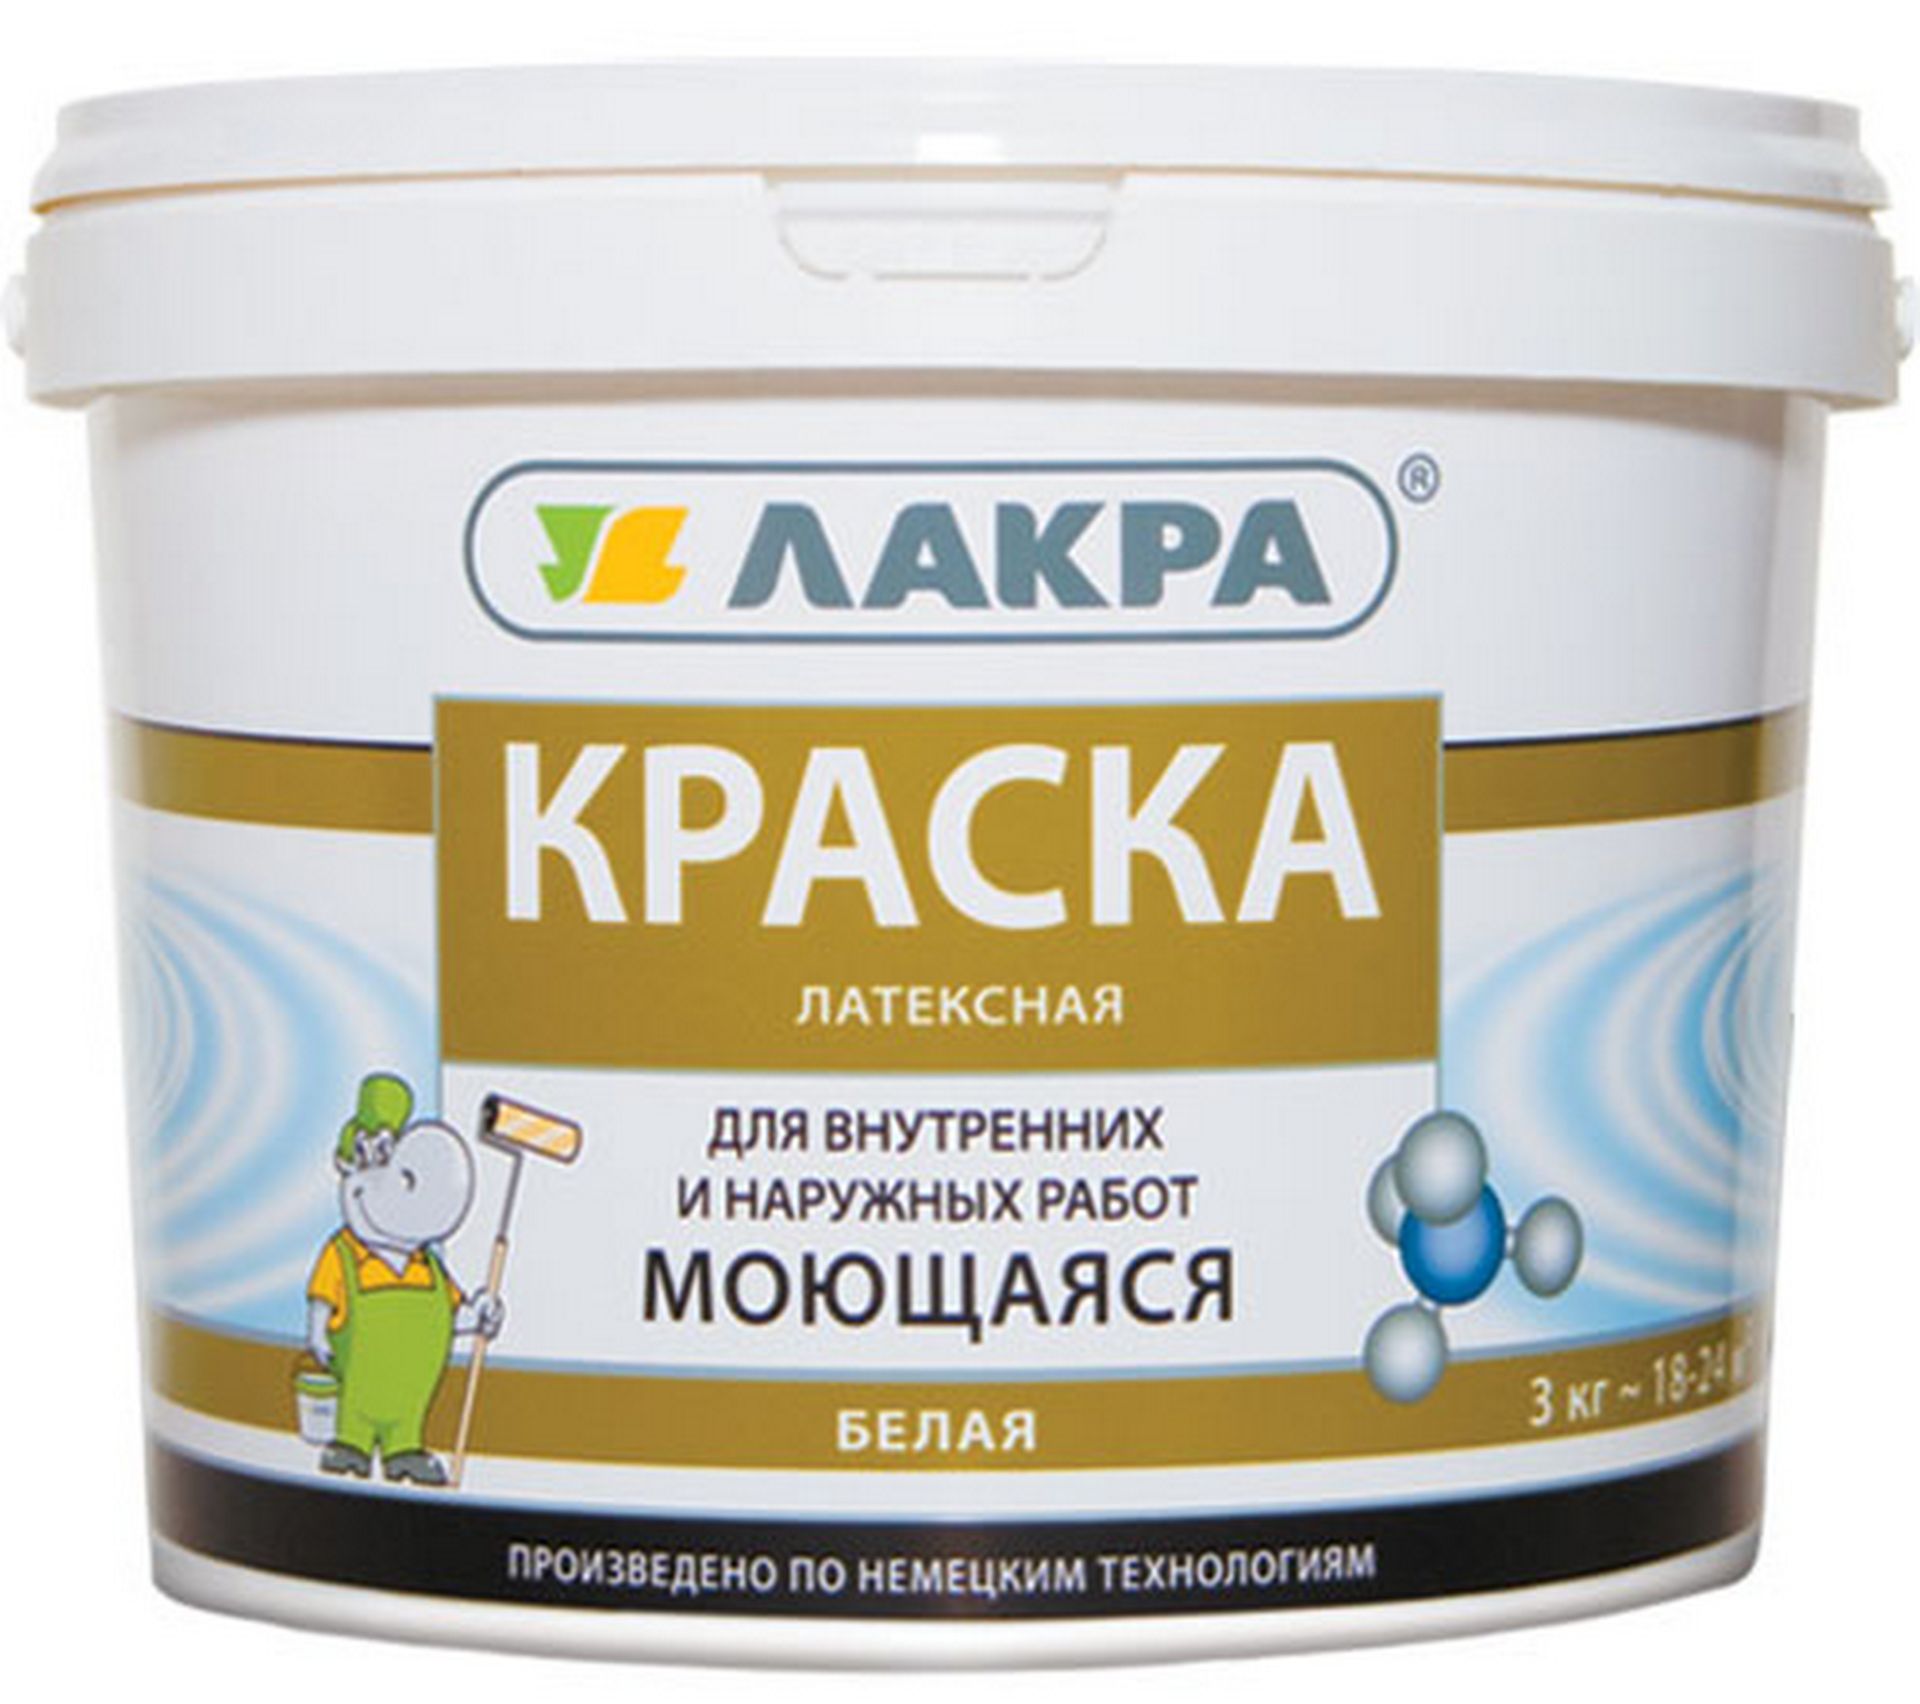
- In contrast to polyvinyl acetate is the most expensive representative of the line - latex dye. This option has a maximum level of moisture resistance, so it is suitable for coloring the whole room.
Most often, however, it is used for coloring streams.When using such a coating can be obtained as a matte and glossy coating. The type of coating can be found on special labeling on the packaging.
- Least prone to pollution silicone coating. It can be applied on plaster, on top of wallpaper, on drywall, plywood, fiberboard and other surfaces. In addition, the coloring can be subjected to both paper and any kind of vinyl wallpaper.
- The option of glass fiber can be obtained by painting the surface silicate water emulsion. On the primed surface of plasterboard or wood silicate coating can last up to 25 years.
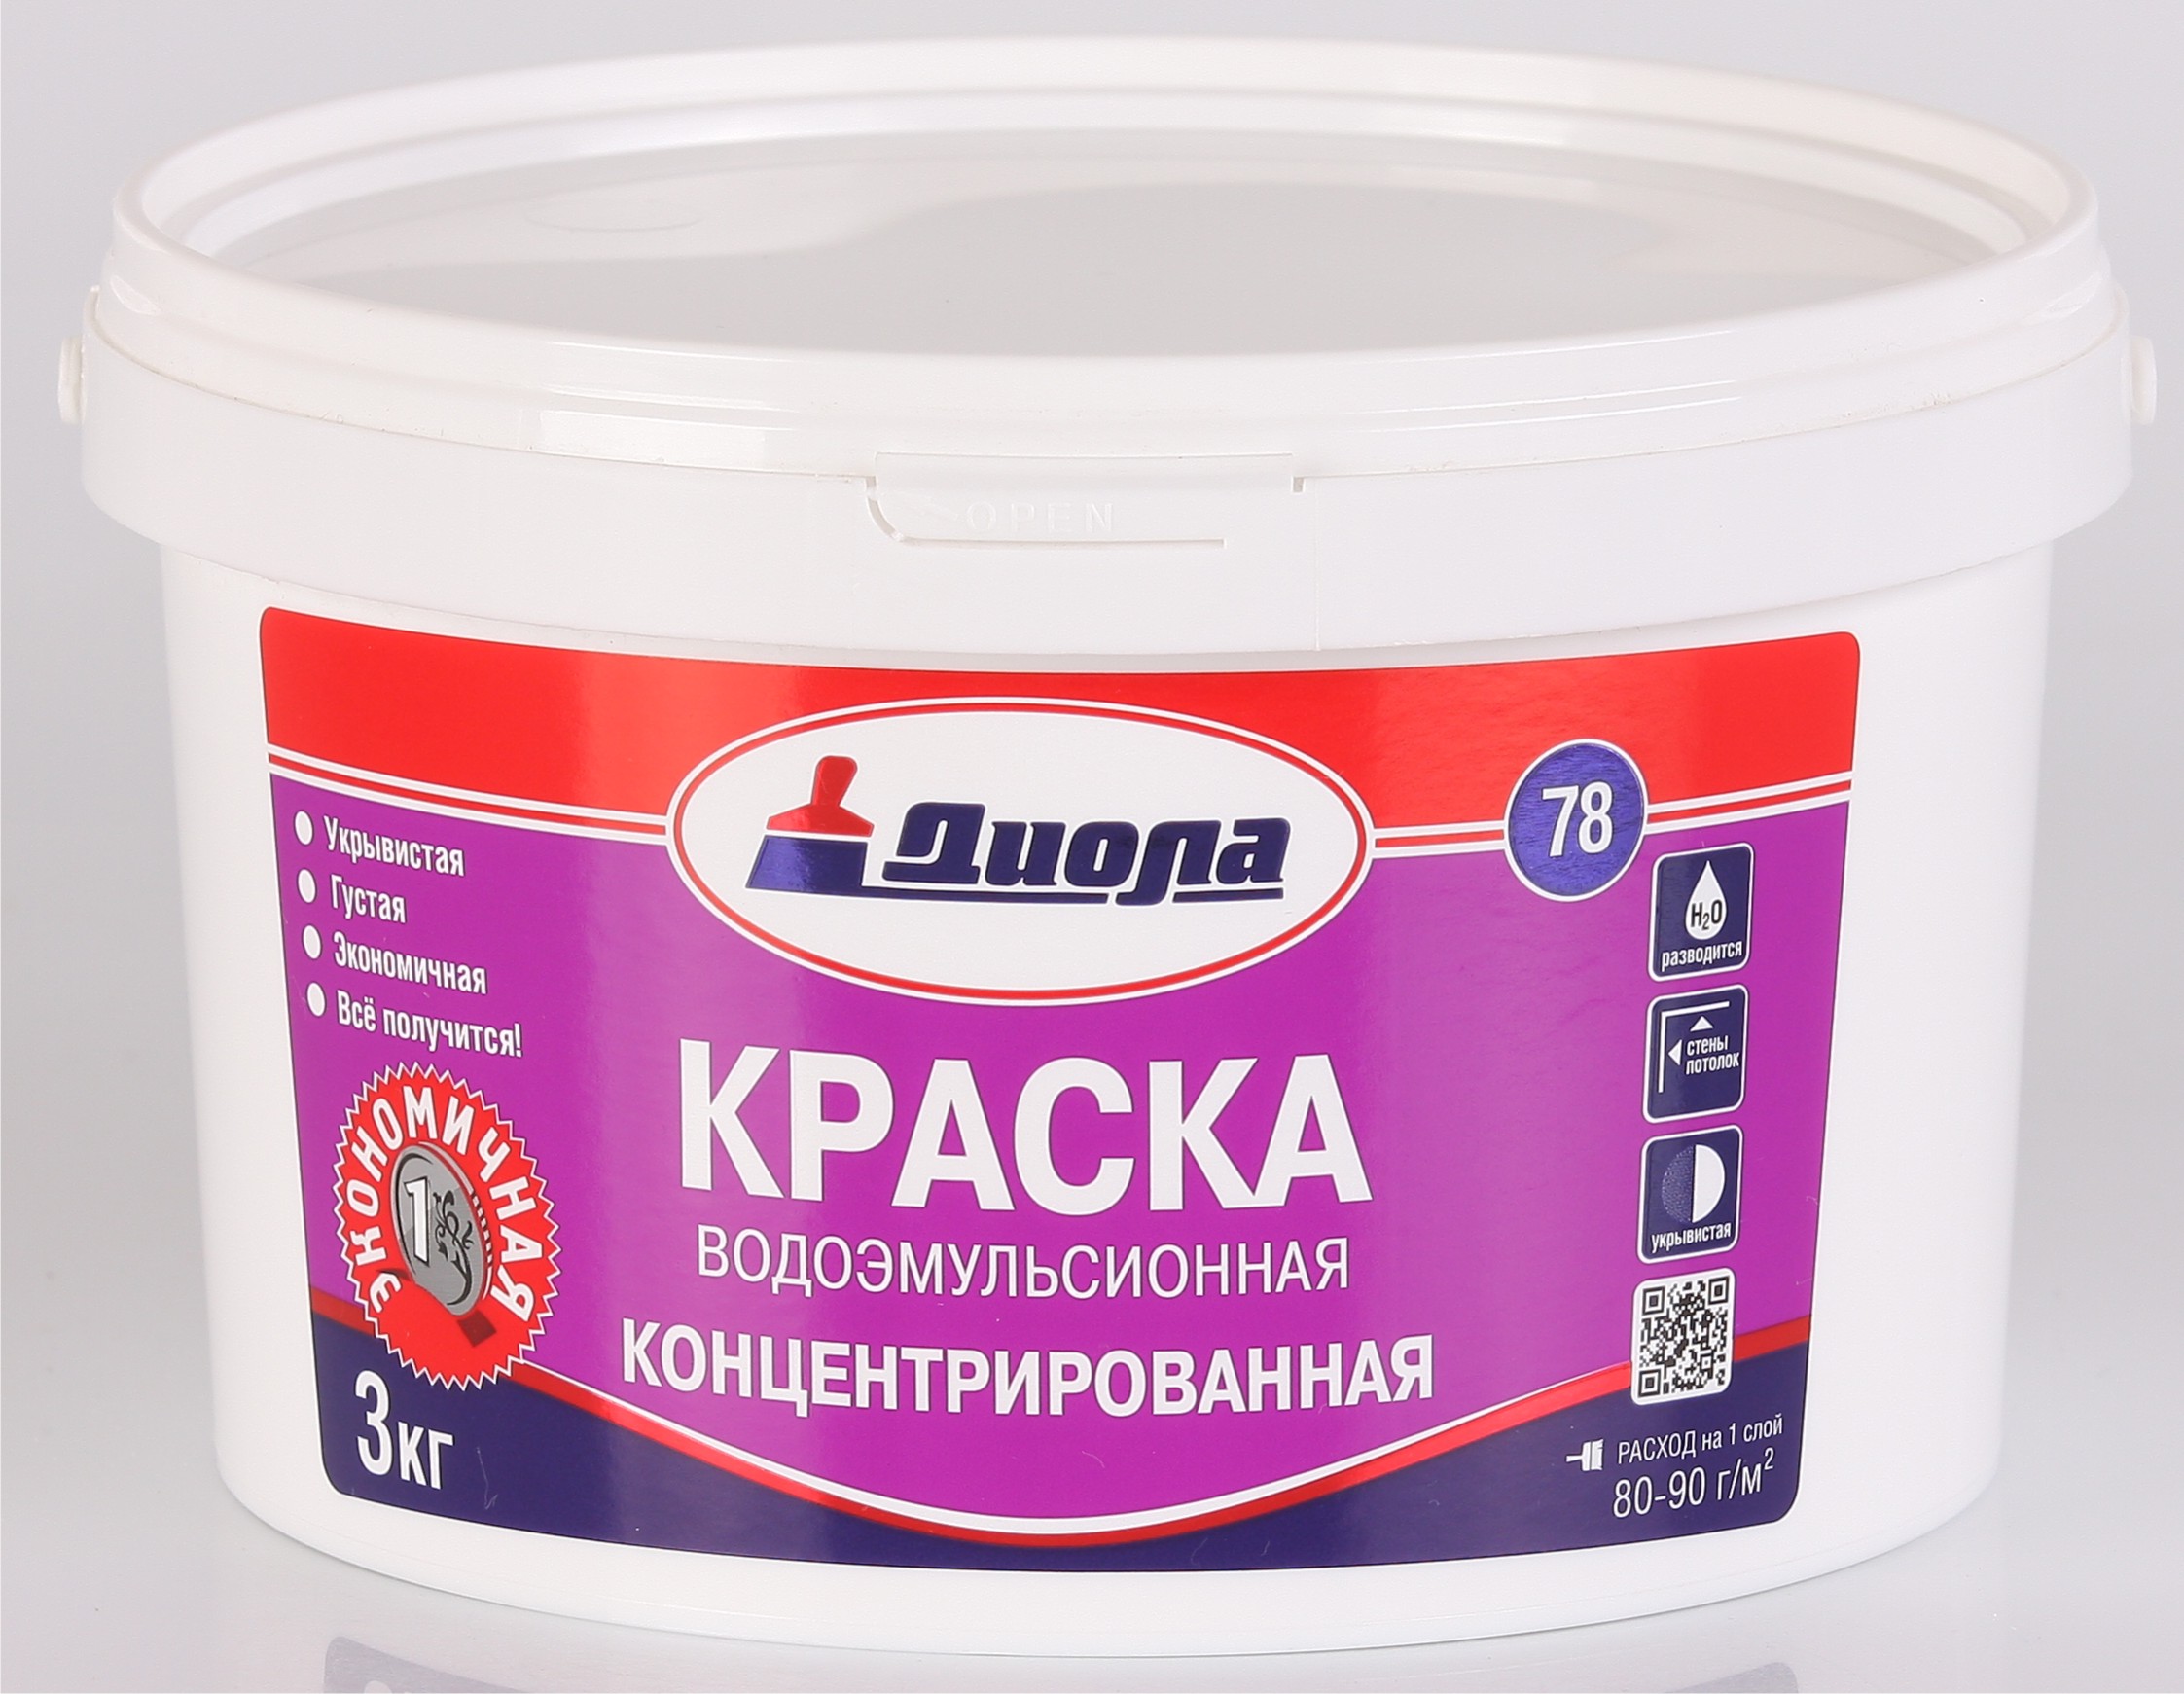
When coloring by any of types of water emulsion it is necessary to first calculate the required amount of paint. This is especially true if the paint is pre-tinted. Mixture consumption per 1 square. meter room can be found in the annotations to the product. In addition to the required amount, it is worth laying 10-15% of the total mass plus, just in case.

Since the layer of paint is usually extremely thin, it is necessary to carefully level the surface to be painted, after removing the old coatings, unless staining is performed on top.
After that, it is recommended to prime the surface well. This simple step will help reduce paint consumption and remove excess dust. After that, you can proceed to staining in any convenient way.
How to dilute the paint?
One of the most important conditions for a comfortable and economical application of water-based paint is to bring it to the necessary viscosity indicators. Too liquid paint will drain, will not be able to paint over the surface and fill the existing small irregularities or roughness, and too thick will have a very large material consumption per square meter. meter surface. Besides, too thick a layer of paint may cause detachment of the material.
So what is the paint, if its consistency requires it? The easiest way to breeding is, of course, the most common water. There are also special solutions for dilution, but water is the most accessible and simplest material.

In order to dilute the paint, you must take a clean container, the size of which will depend on the surface parameters and the amount of paint that will be needed for painting.With a large consumption of paint it can be diluted directly in the factory capacity.
The process of dilution itself is extremely simple: it is necessary to gradually add additional water to the paint, while the mixture must be thoroughly mixed. It is best to mix the components with the most suitable device for this - a wooden stick. The proportions of water emulsion dilution with water will be determined by the initial density of the paint.
A special formulation exists to dilute heavily thickened paint, which has already acquired the consistency of a paste. Here to make it again suitable for work will help all the same water, which it needs to be diluted. Only under these circumstances must it be heated.
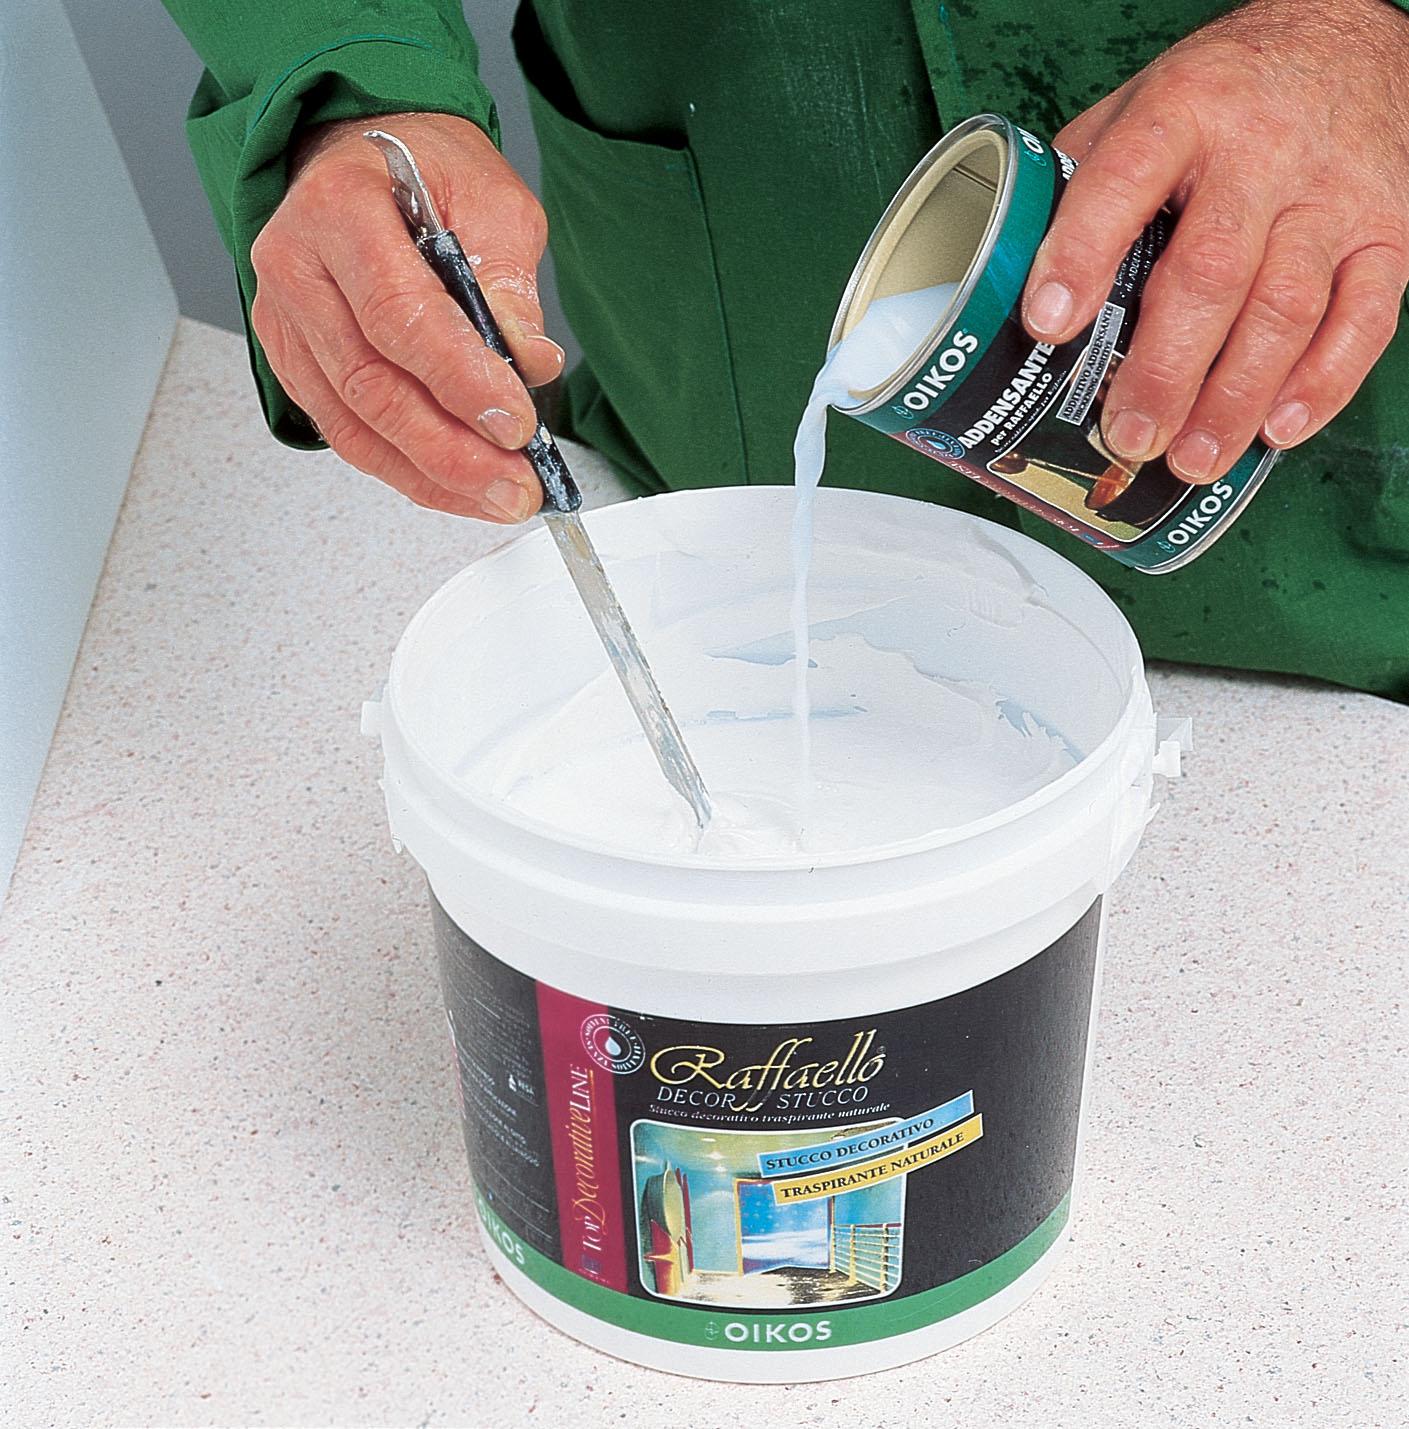
Sometimes, to obtain a colored water emulsion with the necessary consistency, there is no need to dilute it with water - it is enough to carry out the tinting process. The procedure will be similar to that described earlier.
- In the clean dishes you need to add the amount of paint needed to paint the entire selected area, otherwise getting into color with additional tinting can be extremely difficult.
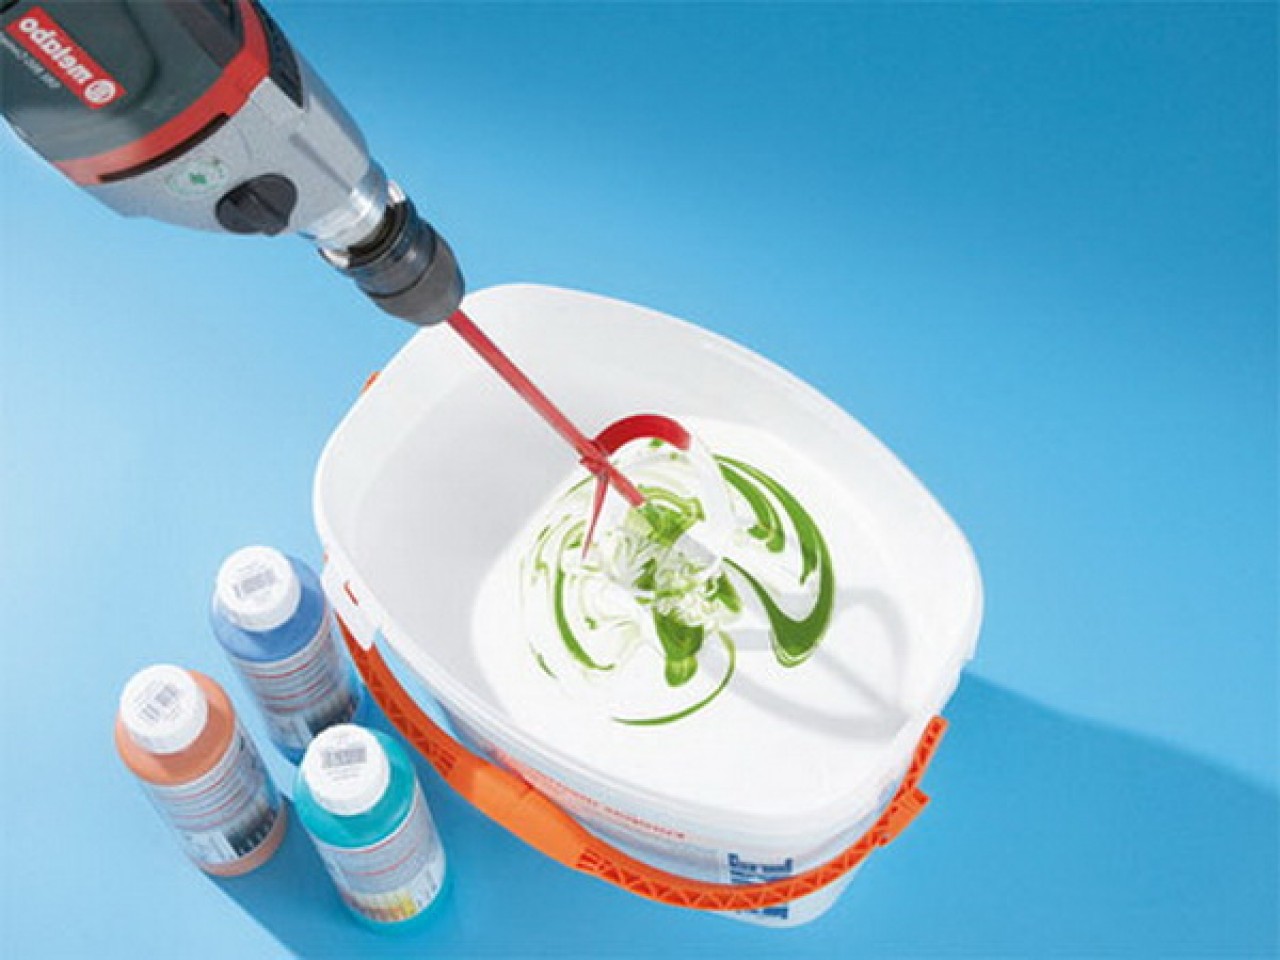
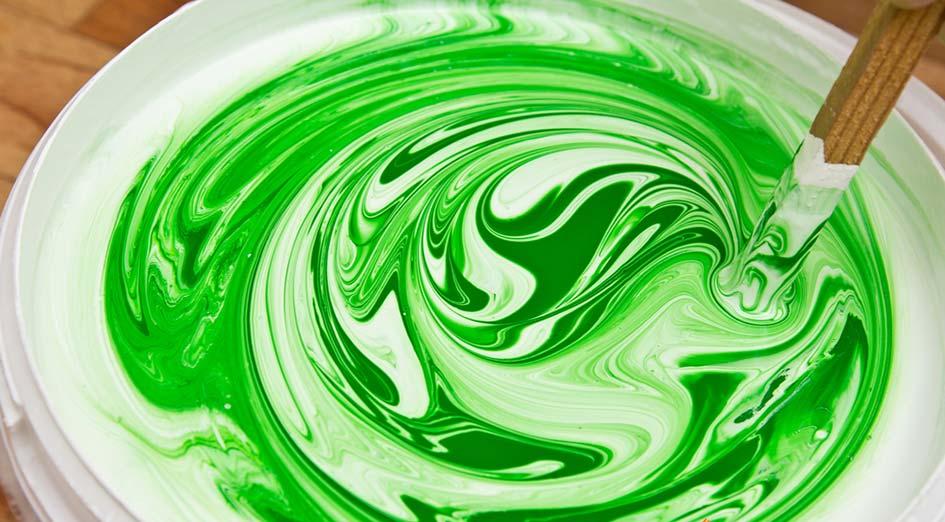
- Further all this paint needs to be mixed to uniformity with a clean stick or whenusing a construction mixer.
- Without stopping to interfere, it is necessary to begin to introduce a dye drop by drop. To continue such actions should be as long as the paint does not acquire the desired shade.
In addition, in the process of tinting, you can add a special pigment that will help make the selected pearl paint. This action will help to achieve a very interesting final result.
Preparatory work
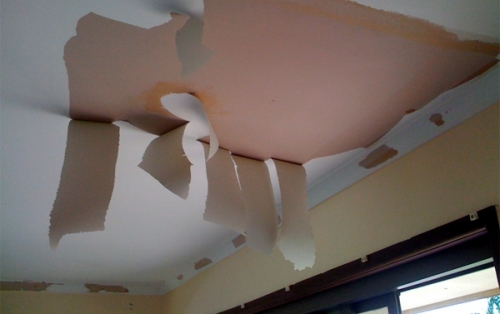
Irregularities, stains, blemished spots or other patches can ruin the impression of fresh staining. To avoid this, it is important to properly prepare the surface for the coating.
Firstly need to completely clean the surface of old coatings, whether it be wallpaper or paint. If the wallpaper is poorly scrubbed, you can help yourself by wetting them with water from a spray bottle. After water is absorbed, the wallpaper will easily move away from the walls or ceiling.
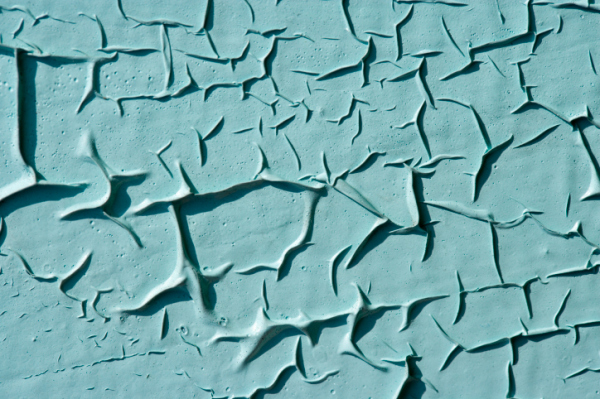
If the prepared plane has various irregularities, the surface should be puttied / plastered and primed. You should not forget that before painting it is necessary to allow the putty to dry completely.
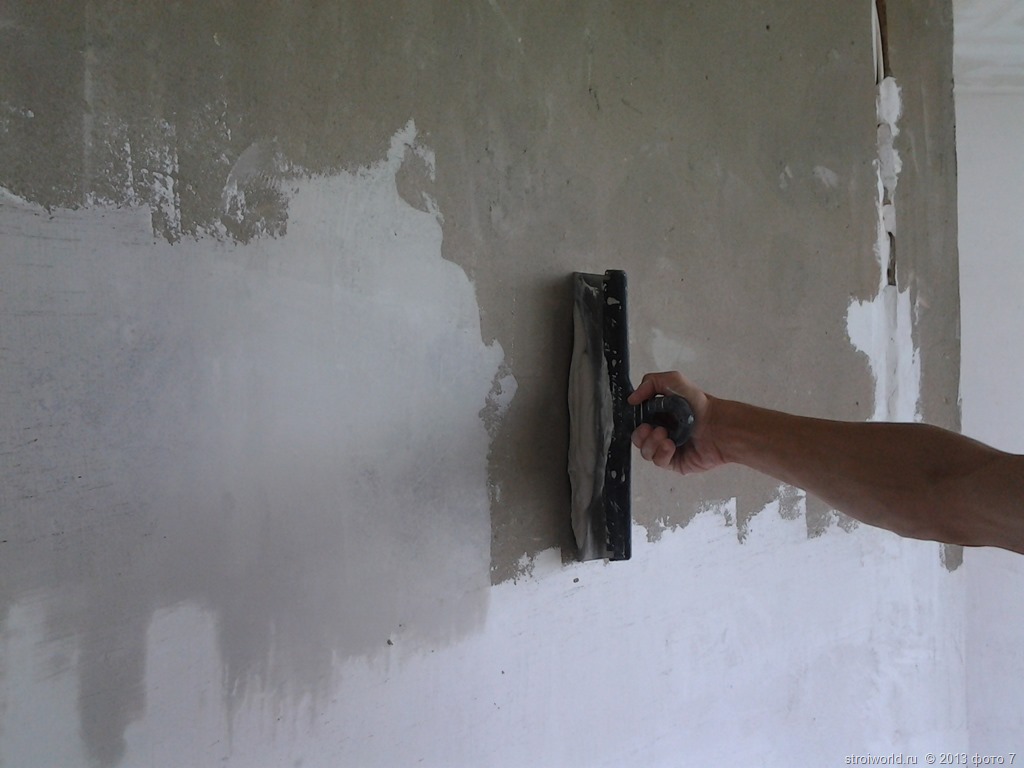
Need to rememberDepending on the type of plaster and its manufacturer, the period of complete drying of the applied layer can be up to 30 days, so it is necessary to carefully study the properties of the mixtures before plastering or puttying the surface.
The prepared surface should be rid of dust, stains and possible particles of dirt, if necessary, you can rinse the walls with a solution of water with the addition of a mild detergent. After cleaning, it is important to wait until the surface is completely dry.
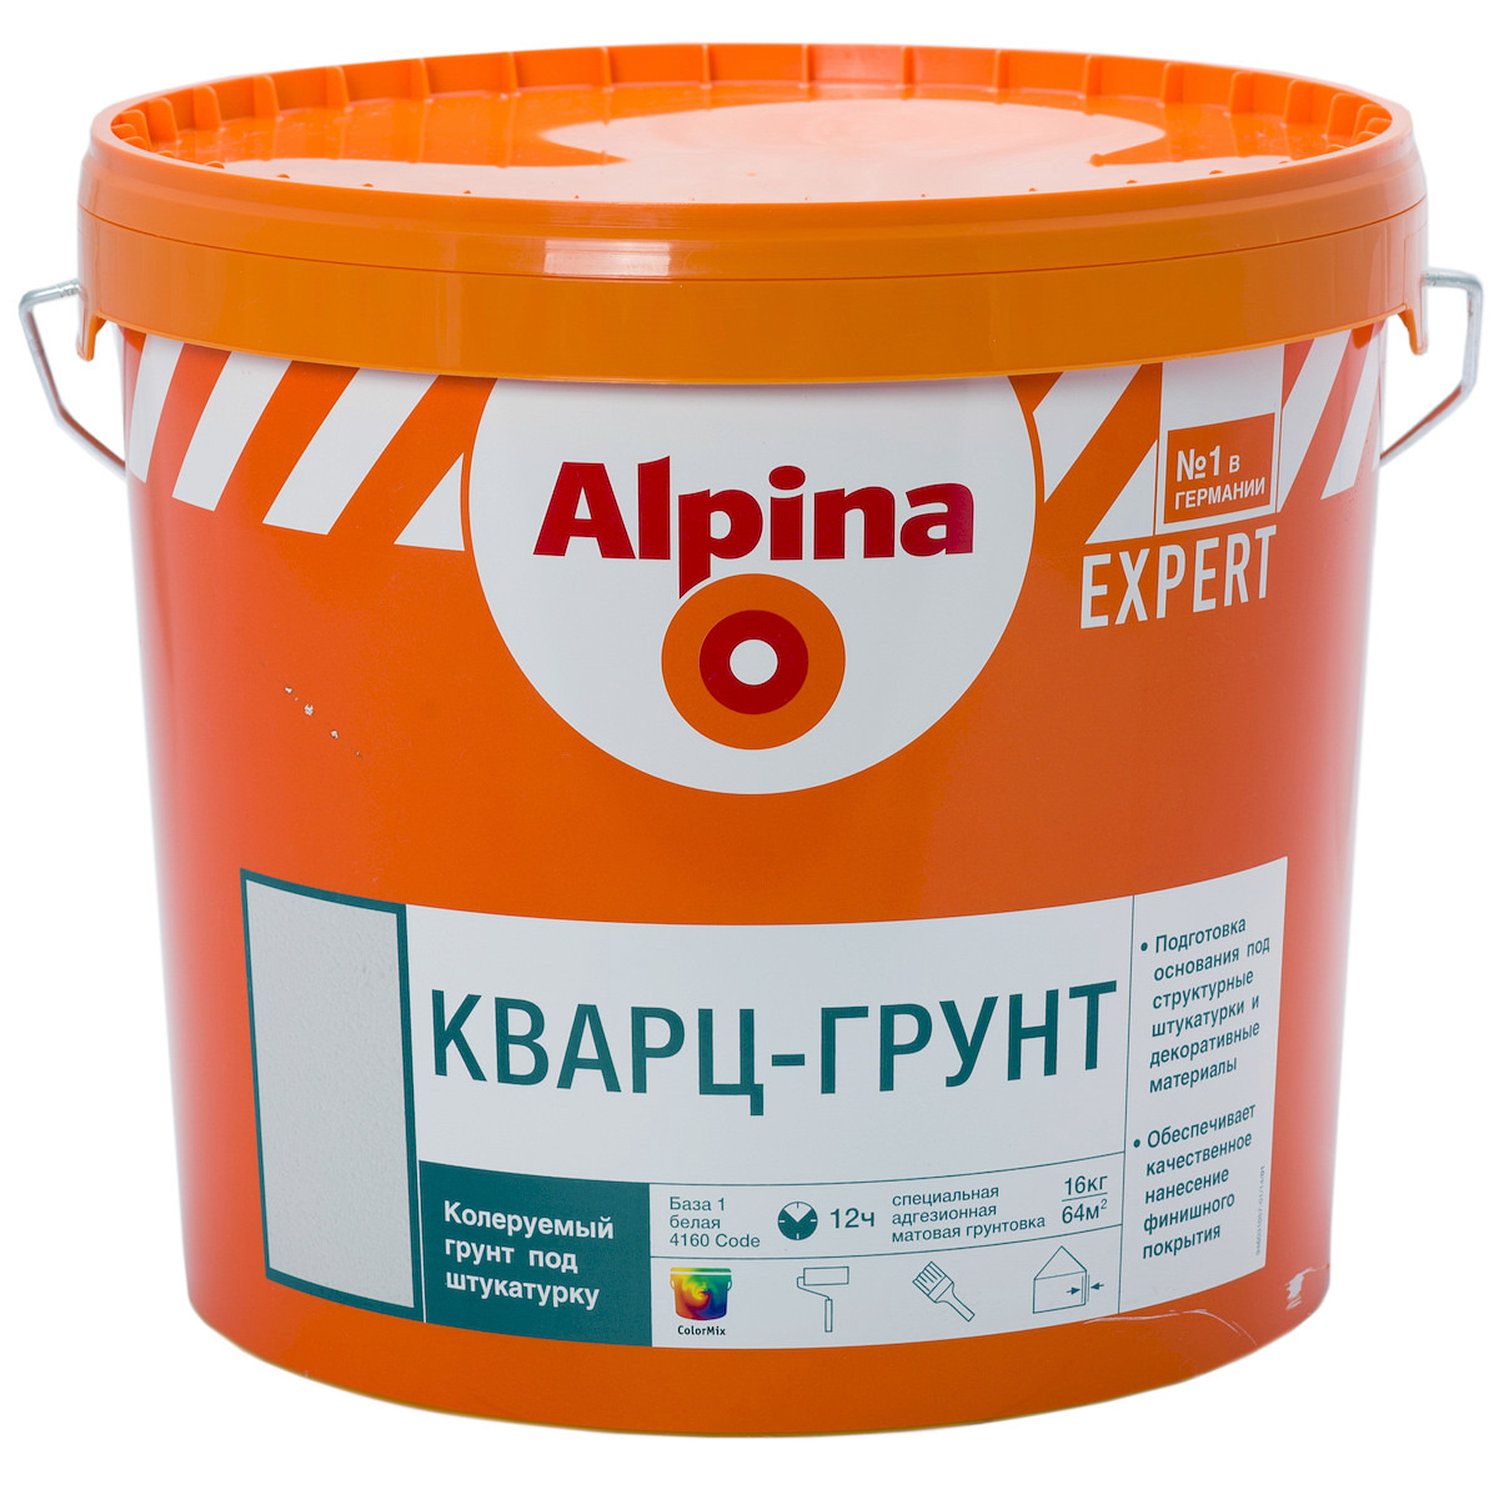
When the surface is as clean and dry as possible You can proceed to the next and final stage before painting - primer. Most often for this stage are used universal polymer compositions of various manufacturers. These types of primers are suitable for processing most types of materials, whether brick, concrete, cement, drywall.
It is better to start priming from the upper left corner, gradually moving to the lower right corner. Proper and high-quality primer surface will help provide a more reliable grip with the coating, as well as remove residual dust if necessary.When applying a primer, you can use any convenient tool: a roller, a brush, even a cloth.
After such thorough preparation, you can safely apply paint without fear of scaling, irregularities and other unpleasant defects. It is better to apply in two stages: first apply a thin base color, then fix it with another thin layer over the first one. Between the application must be thoroughly dried layers.

Application details
The application of paint, like any other stage of the process of painting, has its own subtleties and rules.
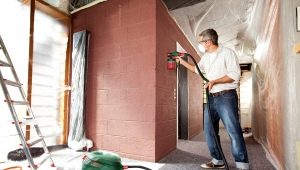
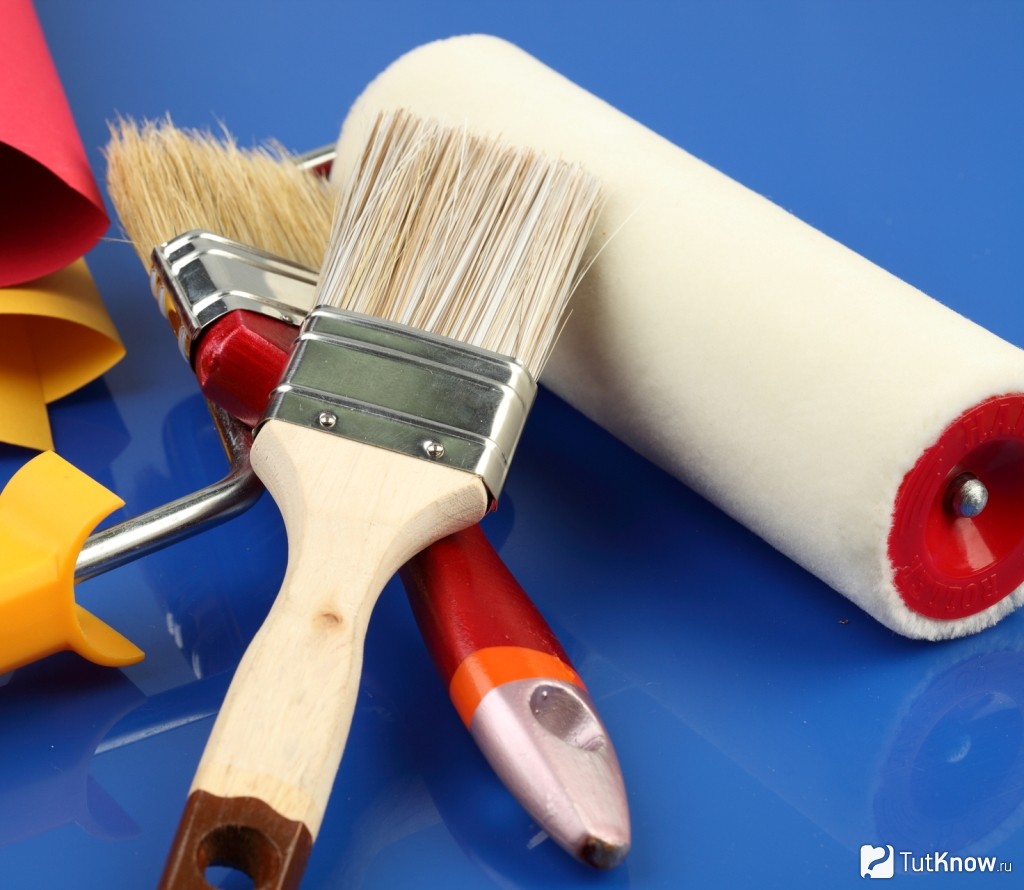
So, regardless of the tool with which the staining will be done, you will additionally need a flat brush. With its help, it will be necessary to paint the least accessible places in the room: corners, joints with windows and doors, as well as very small details of the decor.
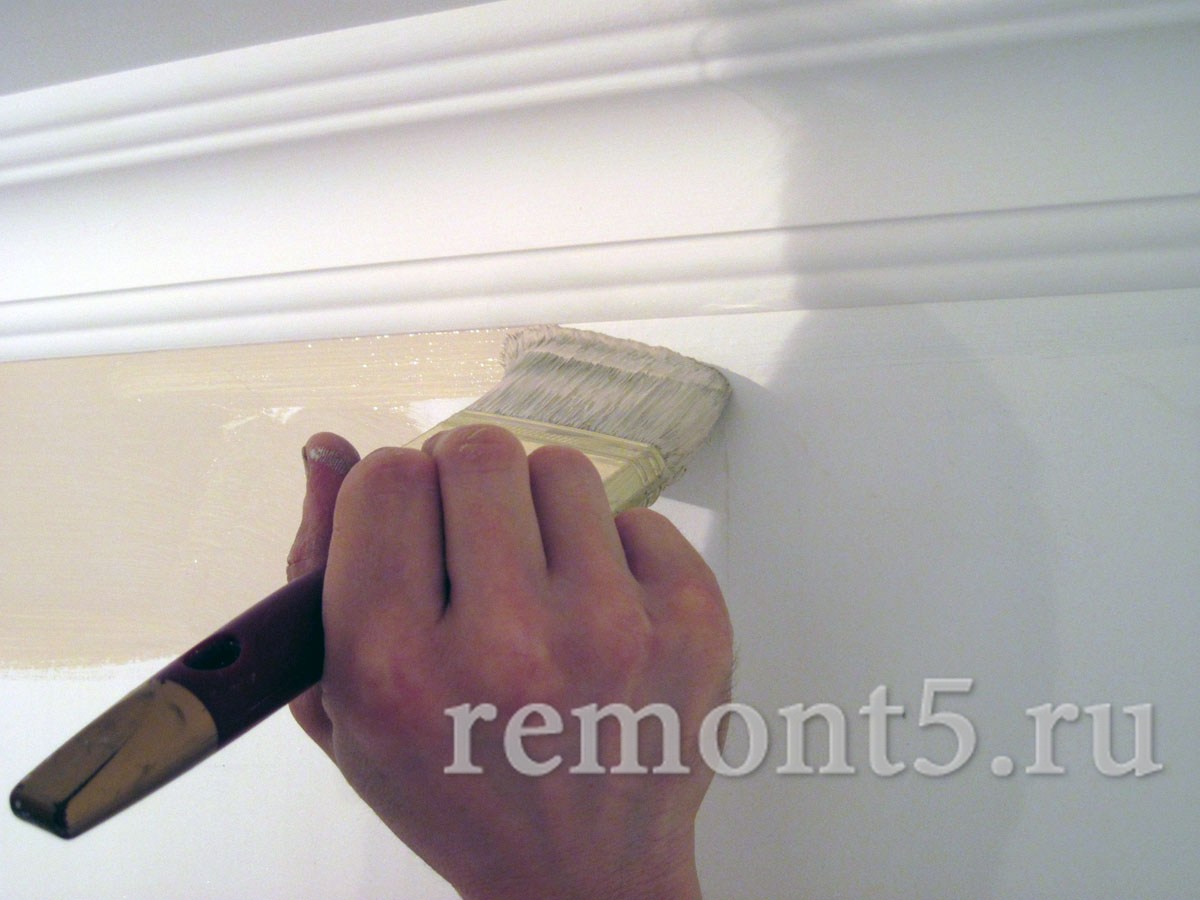
With the painting of corners and joints, the entire responsible dyeing process should begin.. And the first corner most distant from the doorway is decorated first. At this stage there is nothing difficult: you need to take a flat brush, dip it in paint in half (it is more convenient if the paint is poured from a common container into a separate paint container), wring out and start painting with light movements.
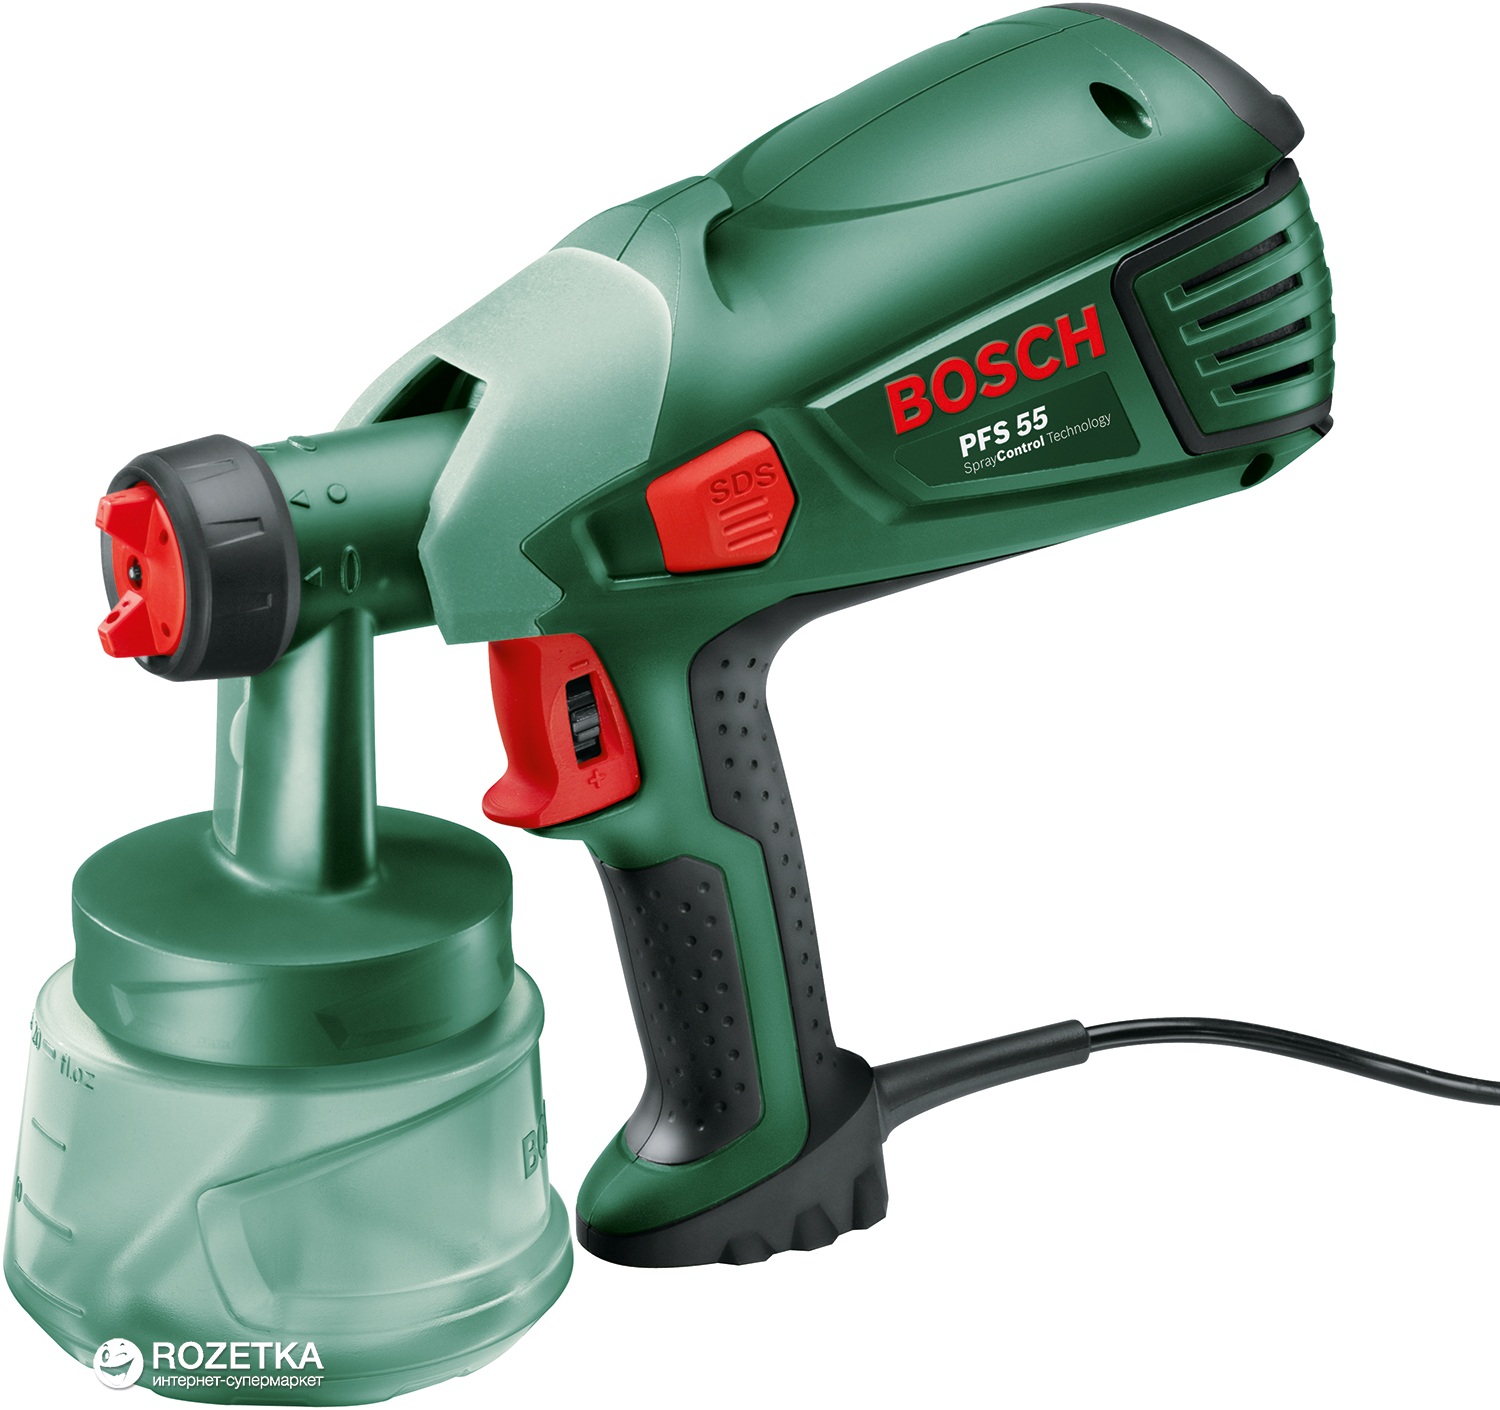
Along the entire perimeter it is necessary to lay a strip of paint 30-40 centimeters wide. Such preparatory work will help to more evenly apply the coating with a roller, from a spray gun or airbrush in the future.
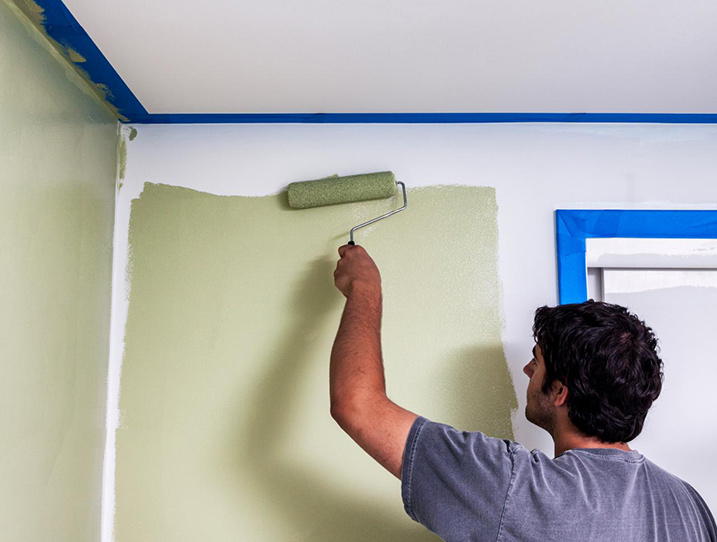
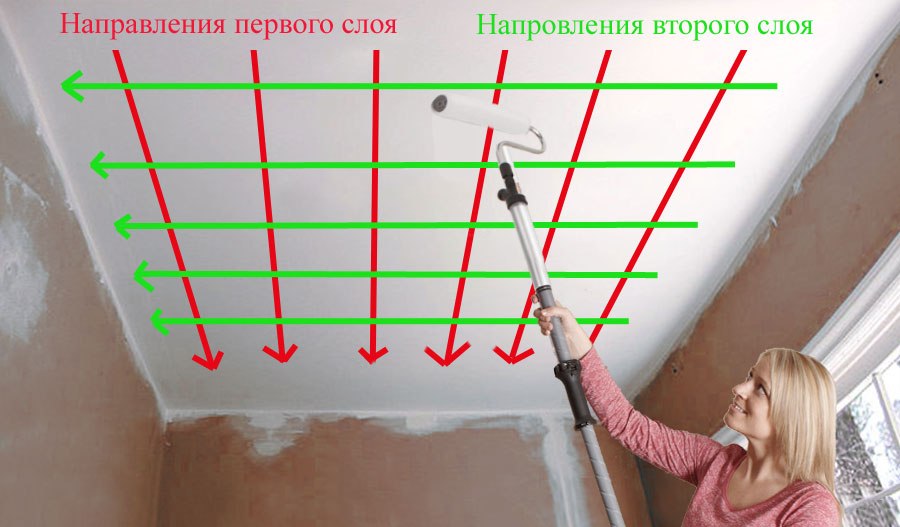
The main staining will be done in three stages: Stage 1 - 1 layer. Here there are some nuances: each of the three layers should have its own direction of coloring - this will help avoid undyed spots, irregularities, stains, too thin coatings.
So, the mixture should be correctly applied in layers, focusing on the location of the window: 1 layer should follow parallel to the sun's rays, 2 layer will be applied perpendicular to the first one, but you need to complete the work with a layer whose direction will move exactly towards the window.
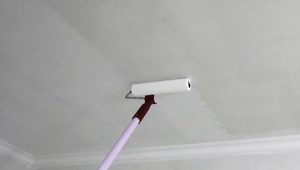
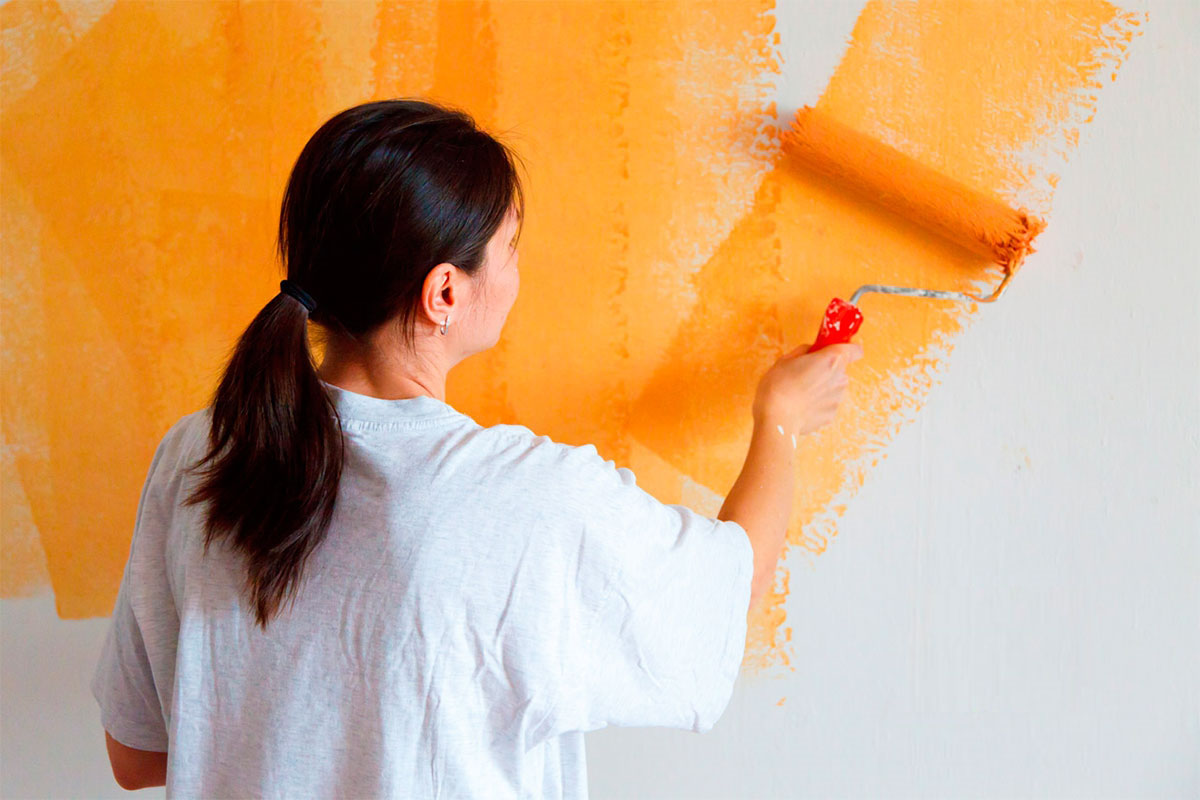
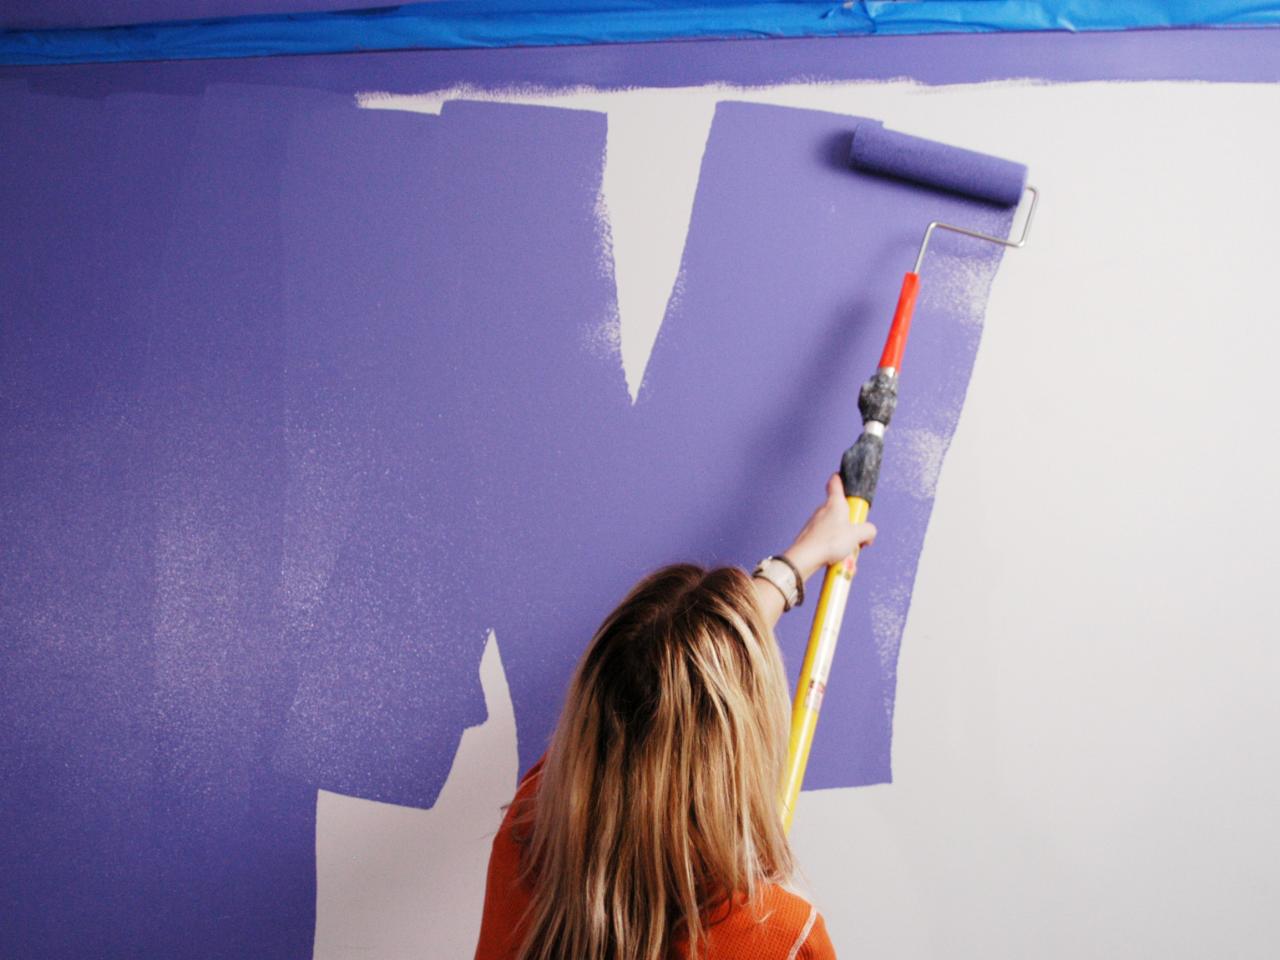
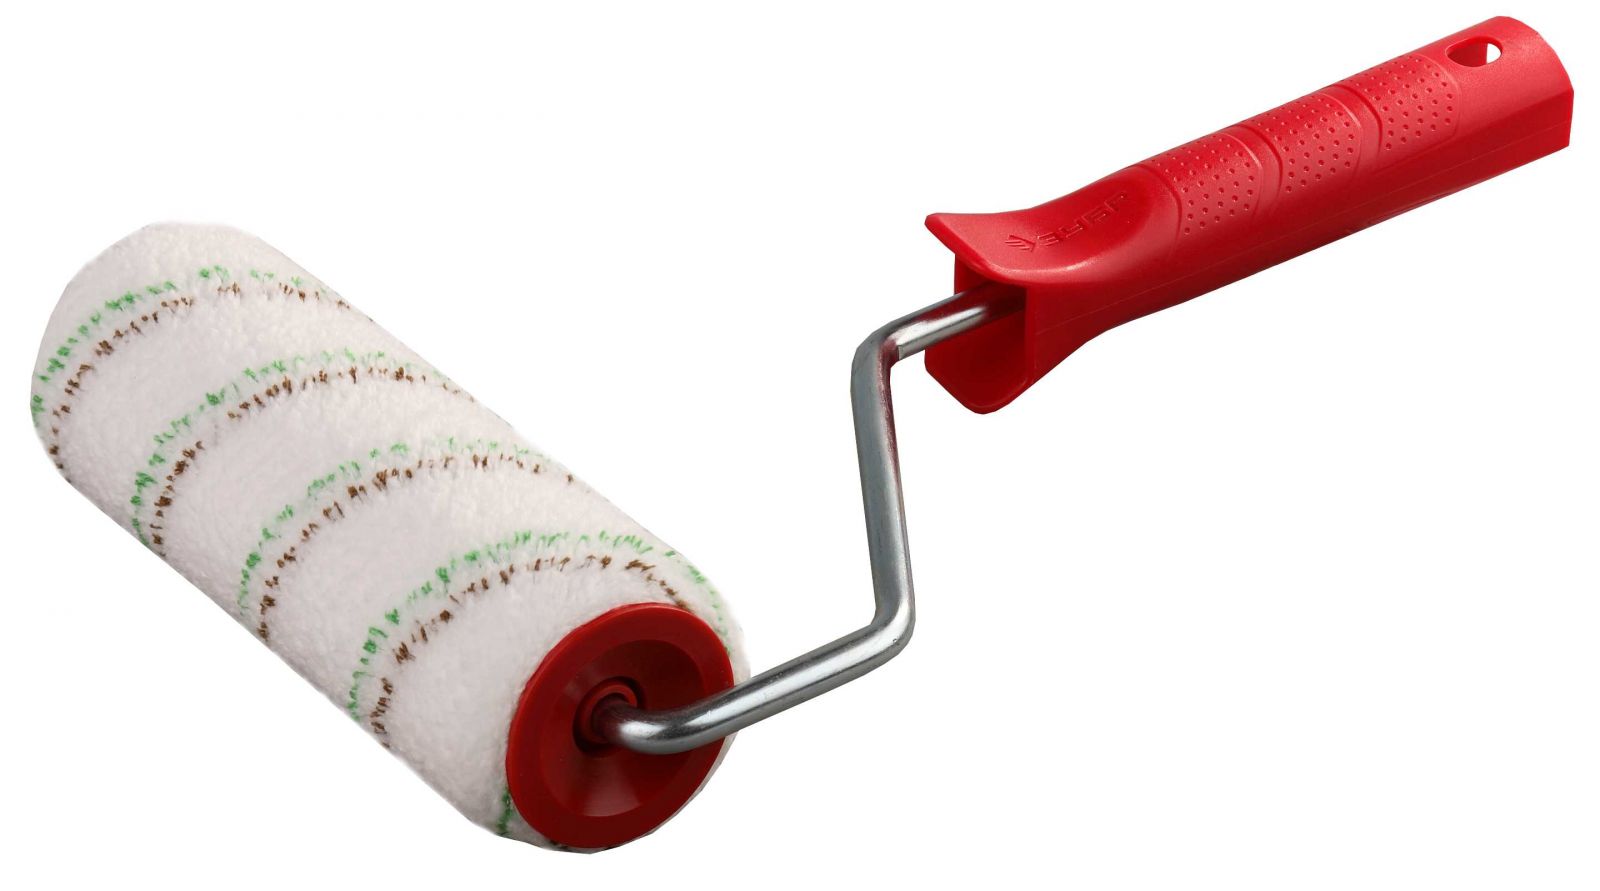
Coloring is most convenient to produce using a simple roller.. This, of course, is not as fast and smooth as when using the spray gun, but this method is the most budgetary. In addition, the roller can be easily purchased at any store, and after the completion of repair work, simply throw it away without cluttering up the house with unnecessary items.
Between the application of layers it is important to leave the necessary amount of time to completely dry the layer. Only after complete drying of one of them can you start applying the second and third.
Applying paint on a wet layer is fraught with detachment and spreading material.
To learn how to paint a wall with water-based paint, see the following video.
How long does it dry?
Water-based dyes are considered the fastest drying among other coloring emulsions, however, the full drying time may vary depending on the type of paint, the material on which it will be applied, and even the manufacturer.
In order to determine the drying time of one or another variant, it is necessary to study the annotation to the product. It is there that the manufacturer places more accurate information about the drying time of the dye. This indicator can vary from 2 hours to days.
What happens to the paint during the drying process and why does this process happen so quickly? This pattern is possible due to the special composition of the mixture. Thus, any water-based emulsion incorporates water and a special binder. Applied paint under the influence of oxygen gives all the water that just evaporates from the surface, leaving only the binder, which remains on the surface in the form of a color film.

It is also worth noting that until the paint is completely dry, you can wash it off, fix it, or remove smudges. After drying, it will become very problematic.
Also, the drying rate may vary depending on the thickness of the applied coloring layer: the thicker it is, the longer the drying time. In wetter and colder rooms, the drying time can also be longer, but at a temperature above average the paint will dry faster.
However, first of all it is still necessary to focus on the time indicated on the package, and not on the eye or touch. To soil such a mixture will stop almost instantly, however, a certain amount of time must pass before its actual drying - and one should not neglect these indicators.
Useful tips
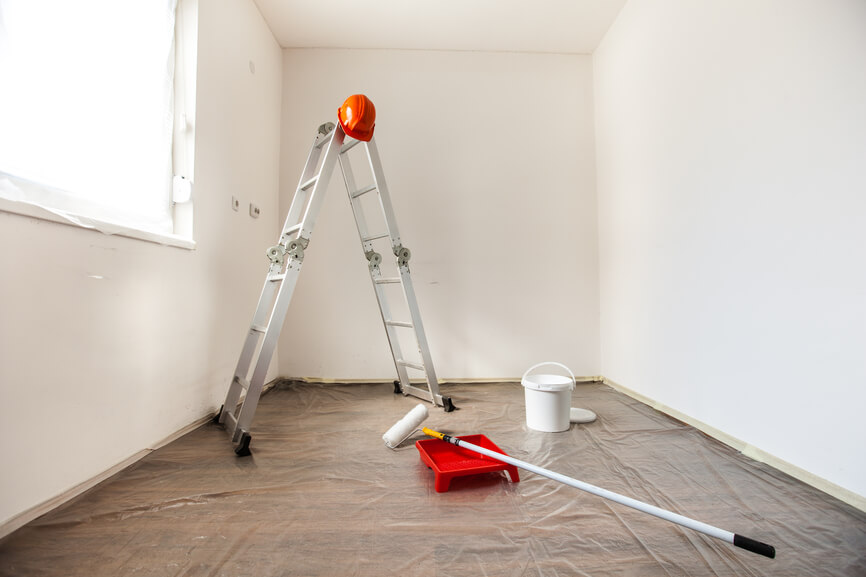
Before you start coloring, you must make all the pieces of furniture. If it is not possible to do this, it is worth covering it with newspapers or cloth. In addition, it is recommended to protect the material and the floor if no further alteration is planned.

It is not so difficult to wash out the water-based emulsion from clothes: if the stains are fresh, you just need to wipe the area where the paint has entered with a solution of water and detergent in a 1: 1 ratio.If the stains are old, alcohol or ordinary hairspray will come to the rescue. The product must be applied to a cotton pad and applied to the stain from the paint for a while; after this procedure, the paint is washed off with plain water.
However, despite the fact that the paint can be easily washed off, when preparing for finishing work, you should take care of protecting your clothes and put on a protective suit or some old wardrobe items that you can’t ruin.
You can also protect your hands with building gloves, and if you plan to paint the ceiling, then it would be good to use a hair cap or a headscarf.
Before work it is important to carefully prepare the surface for them. It should be smooth and clean, so you must first remove all remnants of the previous coatings, putty and level the wall or ceiling, sand it if necessary, and then clean it, removing residual dust and dirt. After complete drying of the layer of putty material the walls must be carefully primed.
It is necessary to apply paint in several layers. Depending on the manufacturer, there may be 2 or more.However, the best option is to apply 3 thin layers of material, while the direction of brush strokes or roller movements on each of the layers is different. The first layer should be applied parallel to the sunlight falling into the window, the second layer is applied perpendicular to the first, but the third one should be applied, moving in the opposite direction from the window.

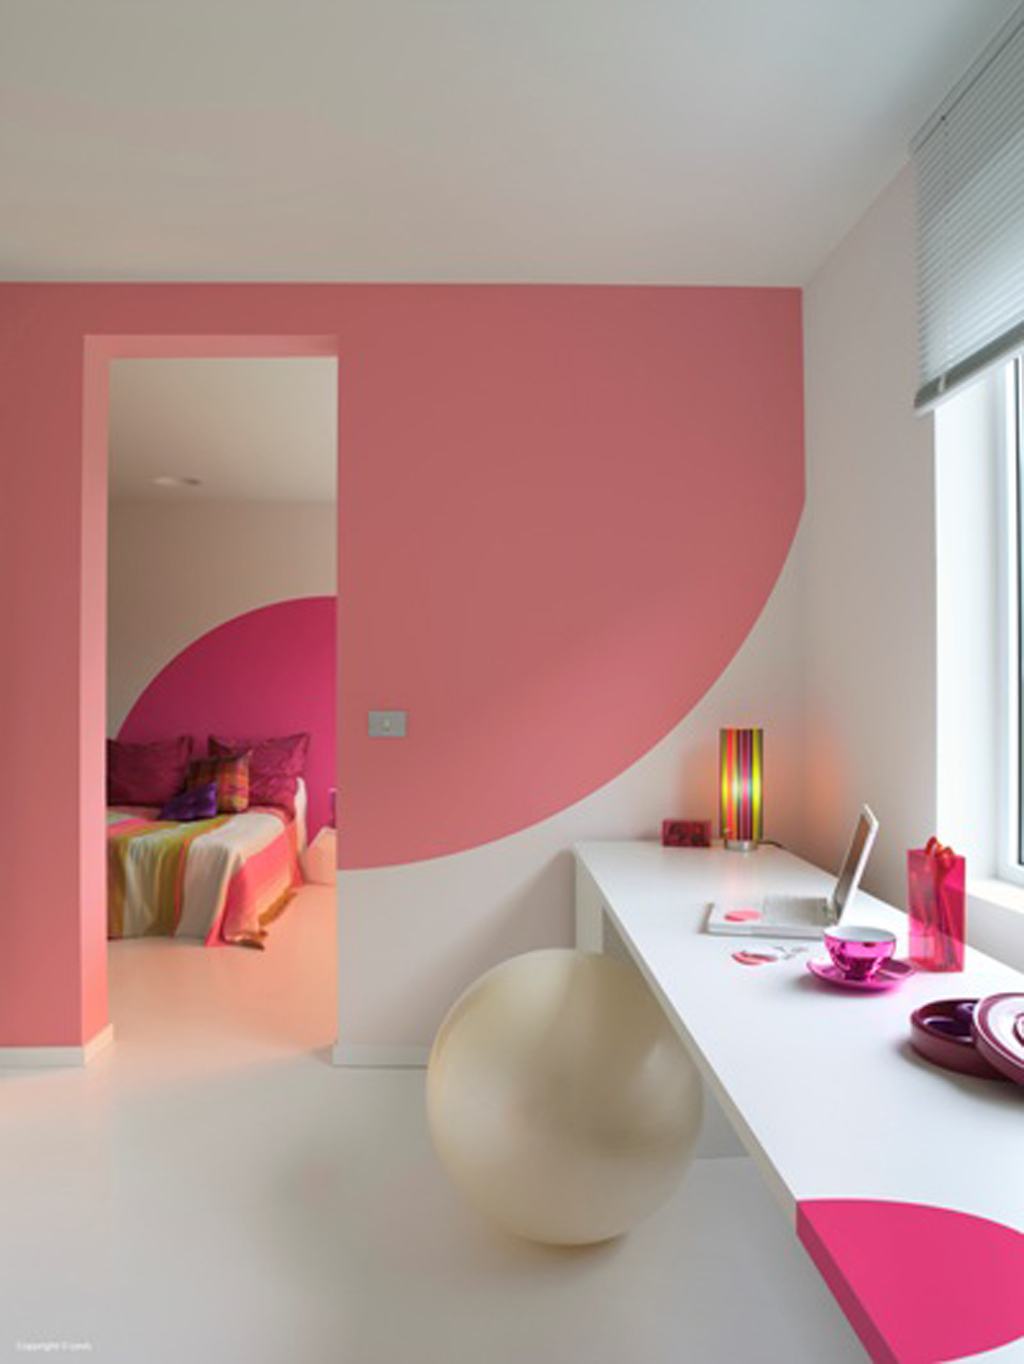
If it is necessary to produce staining in different colors, you must use a white water-based emulsion and color scheme with the desired shade. Mixing the coloring matter should be carried out carefully and slowly: it is better to add the missing part of the pigment later than to get too dark.