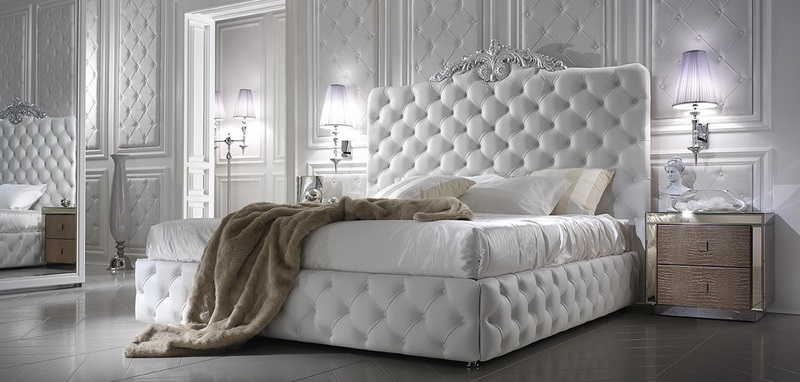
How to make a headboard with your own hands?
The head of the bed is a hallmark of the bedroom, because this attribute always attracts attention. In this article, you will learn how to make a headboard with your own hands so that it blends in well with the overall interior of the room.
Ideas and options
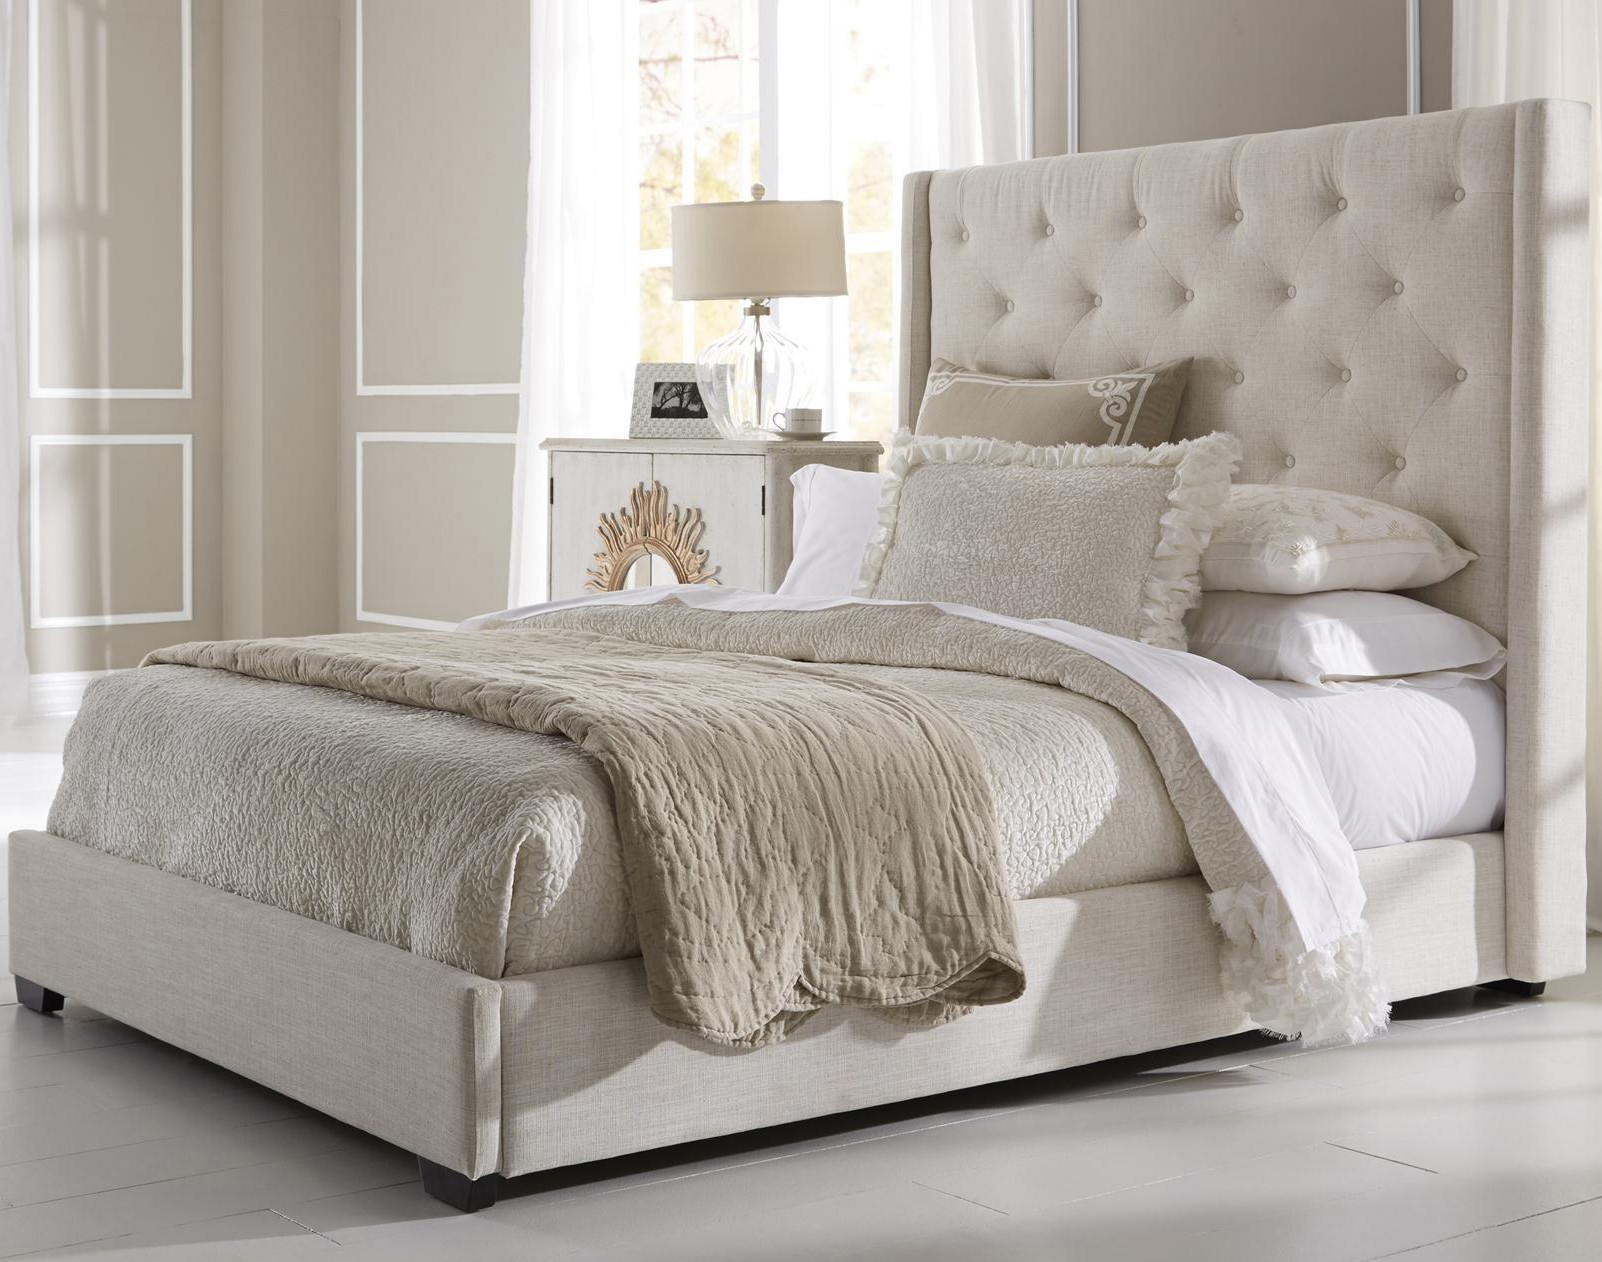
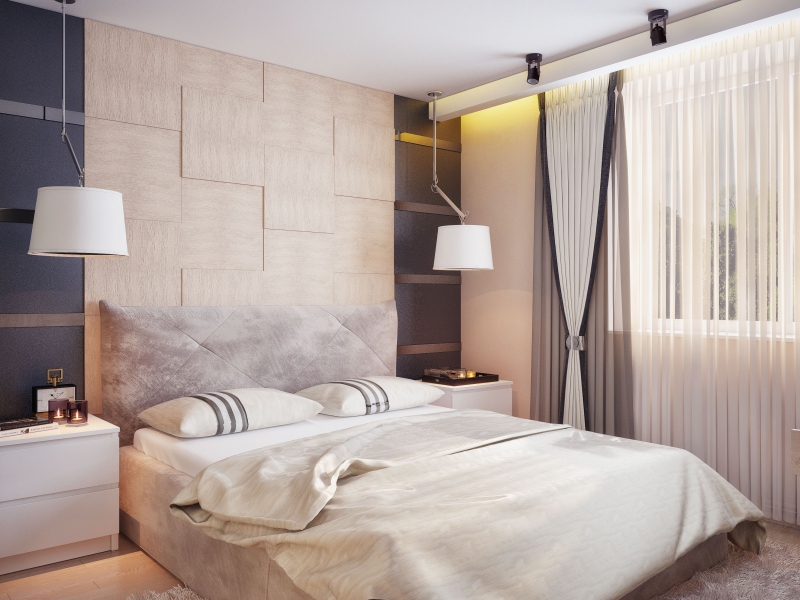
First of all, you should decide which option is right for your bedroom. If you like to read books before bedtime, pay attention to the soft headboard. This option is ideal for this purpose, because it is convenient to rely on it. You should also consider the idea of an inclined headboard, which many people like.
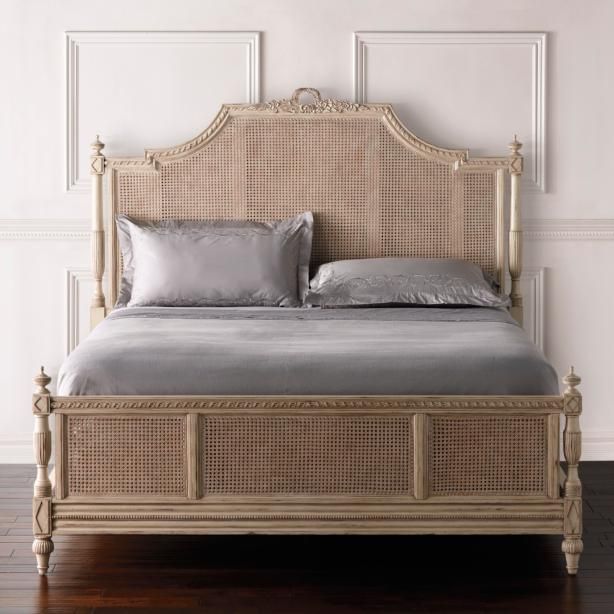
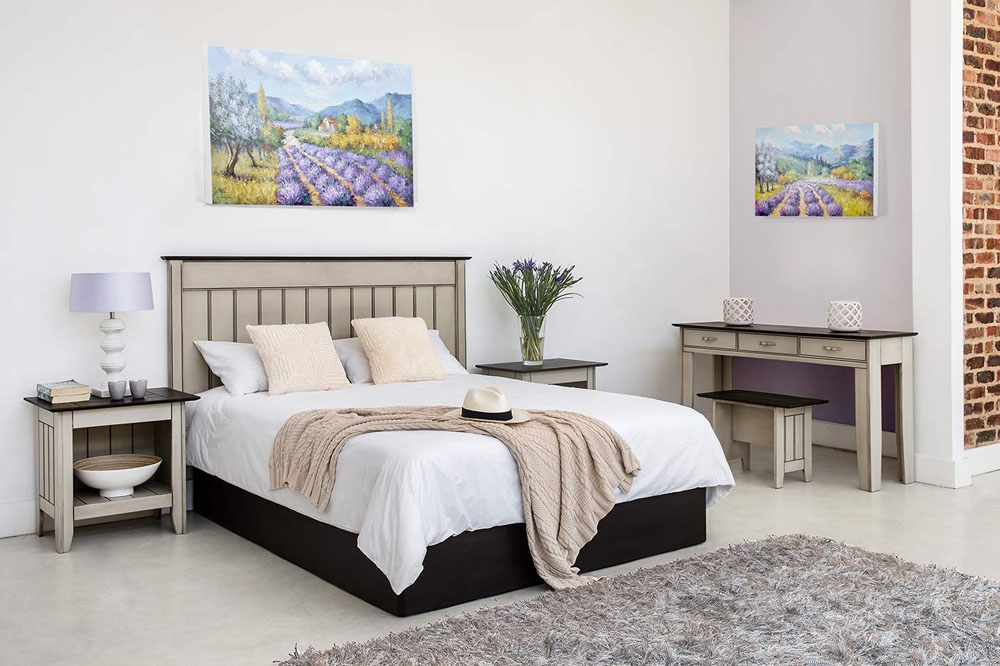
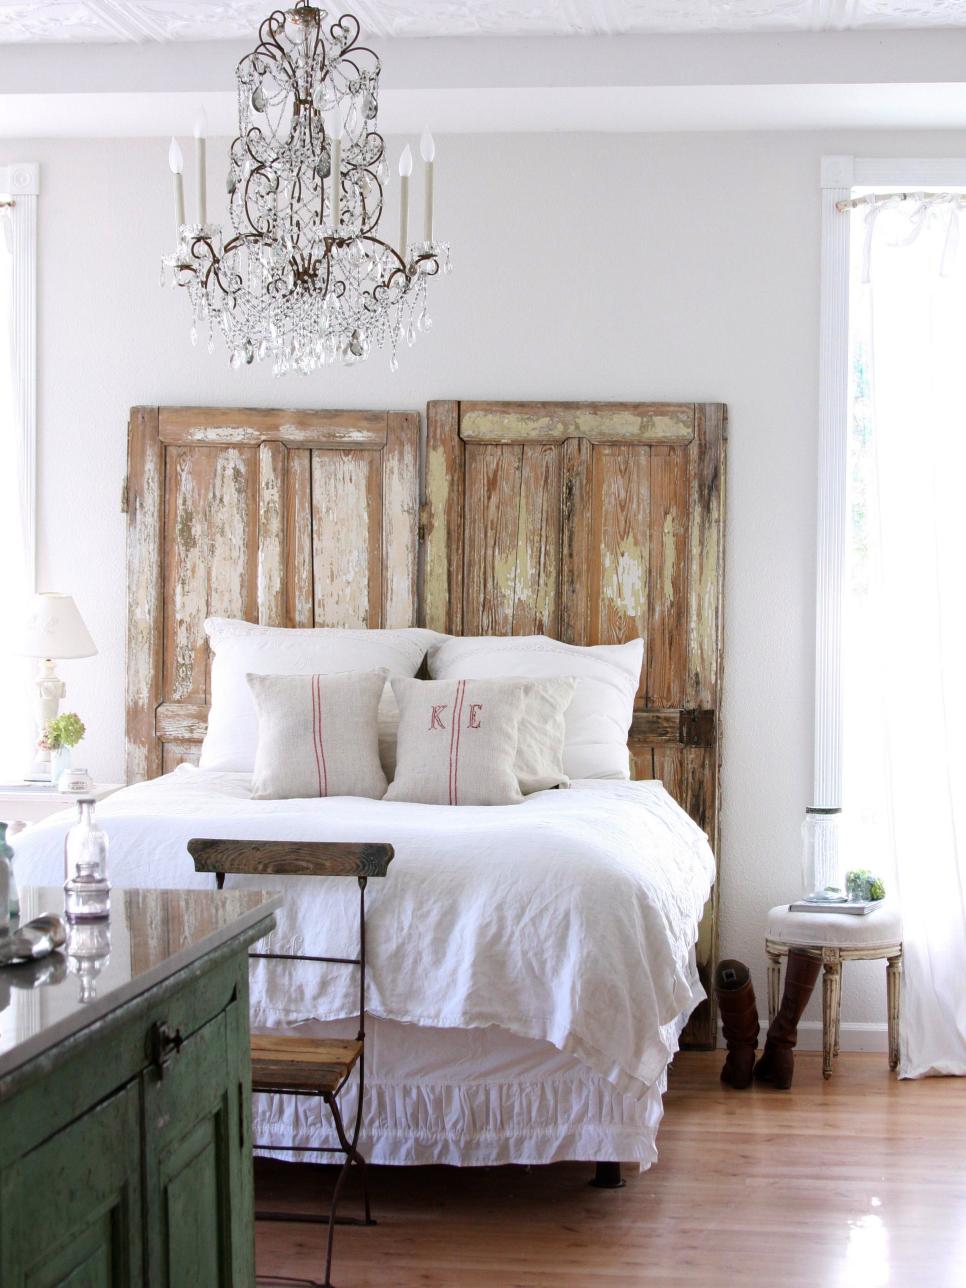
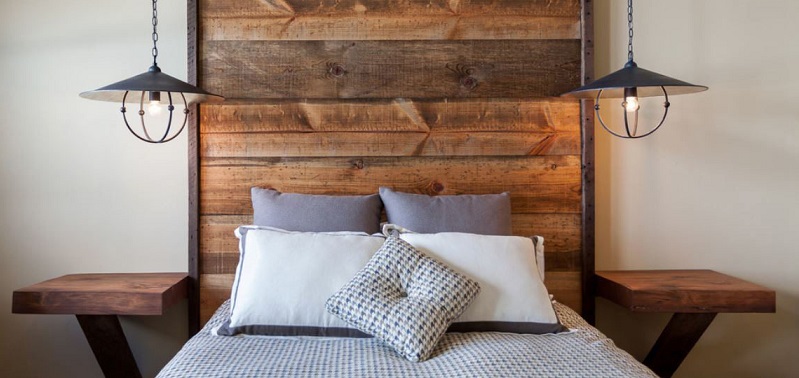
If your room is decorated in the style of Country and there is an emphasis on environmental friendliness, you can resort to a high backrest of wood above the bed. For fans of the French provinces suitable headboard in the style of Provence.
Young families can make a beautiful headboard out of scrap materials. In most cases, this option is the most acceptable, because the newlyweds do not have enough free finance for other ideas (decors with panels, photographs, pillows will do).
For this reason, when choosing an idea for a headboard, you should rely on your capabilities, imagination and abilities.
Popular ideas for the headboard include:
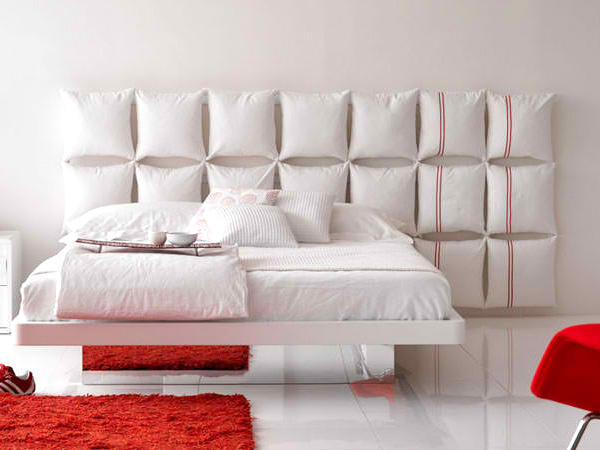
- decorative panels. They can be made of wood, plaster, textiles, plastic. You can also choose soft panels, which are offered by many construction stores. Looks good wall, decorated with panels of several types. Invent a fancy pattern or puzzle, surprising guests with its originality;
- for rooms that are decorated in the style of Provence and Country fit Old barn board or carved wooden shutters. You can resort to the use of the head of the door;
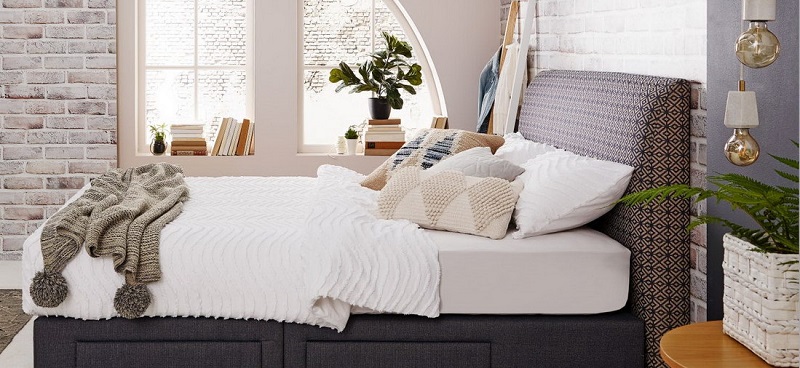
- pillows hung over the bed will help fill the headboard space. You can use multi-colored or monochromatic elements;
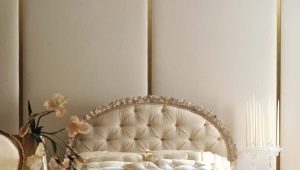
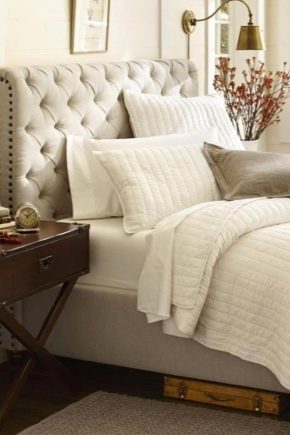
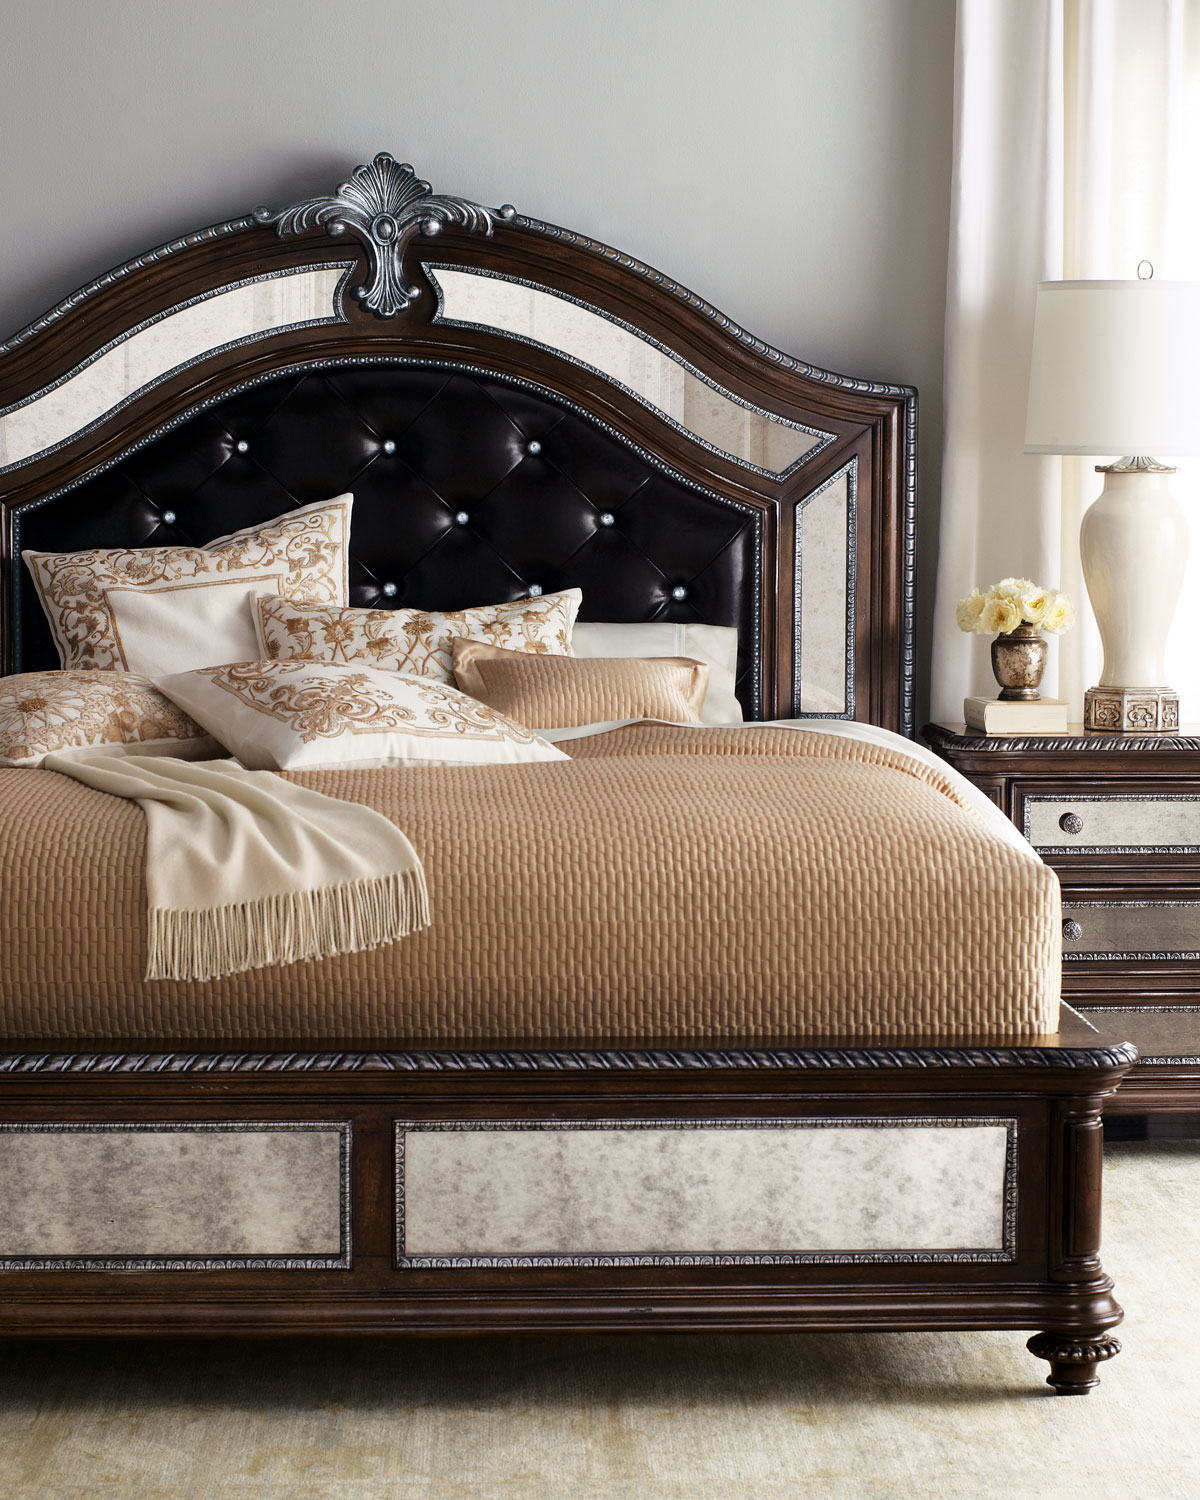
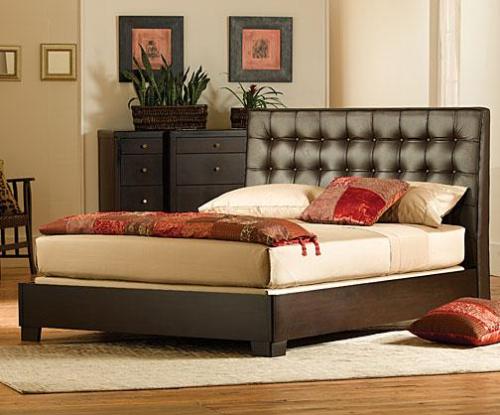
- quilted headboard always present in high quality hotels. If you want to fill your bedroom with luxury items, pay attention to this option. Such a headboard is easy to do with your own hands, at the cost of creating very little finance.
Materials
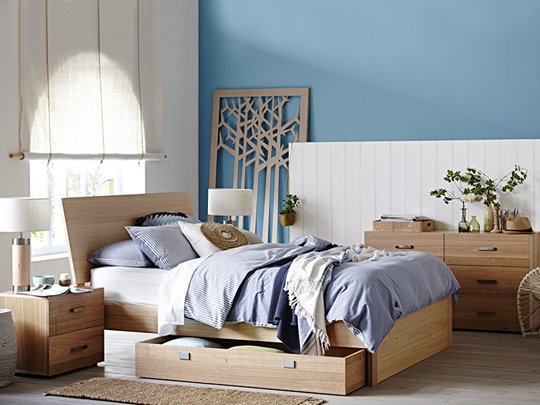
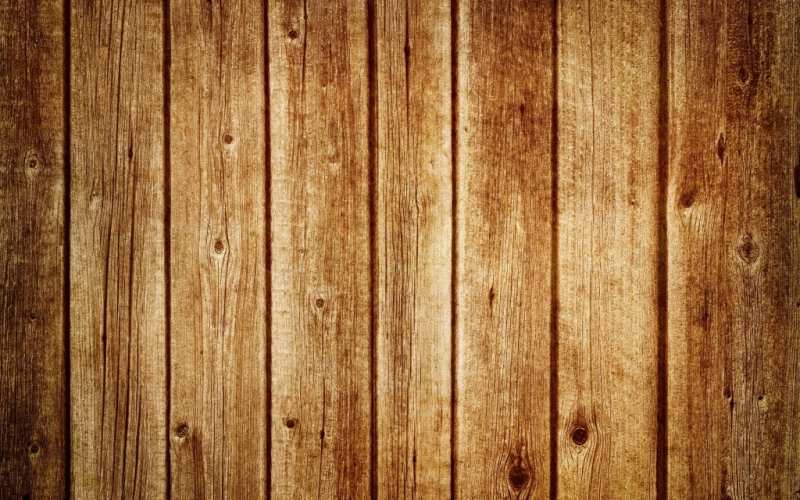
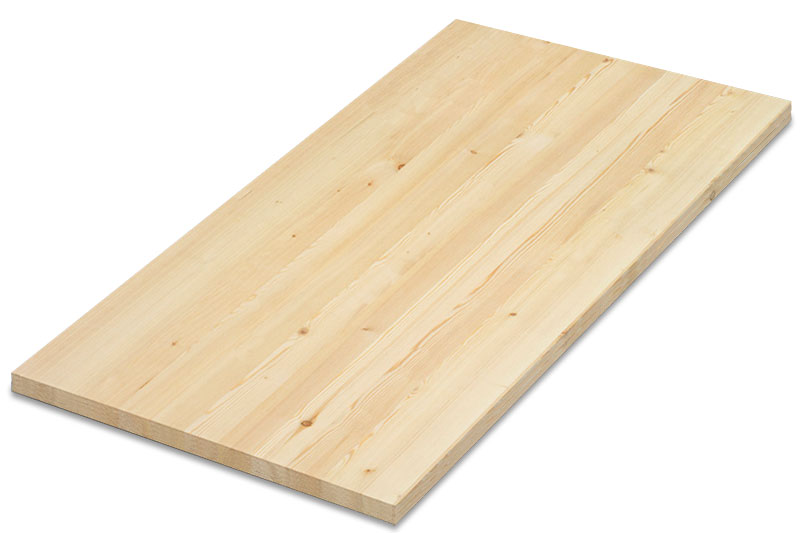
You can arrange the headboard on your own using a variety of materials. There are many ideas for its design of wood. You can use even painted boards or gnarled, with little processing. The main role is assigned to the harmony of combination with the general interior of the room.
If you decorate the room in the Baroque style, the headboard in the form of a fence will not work for you and everyone should understand this. Even if your bedroom has a simple interior, in which there is a classic set of furniture from the salon, the picket fence described above will also be inappropriate.

Such accents should have support in the face of furniture, lamps, accessories and other interior elements in order for harmony to be present.If you want to make a simple wooden headboard, for example, from plywood, this option does not need special support.
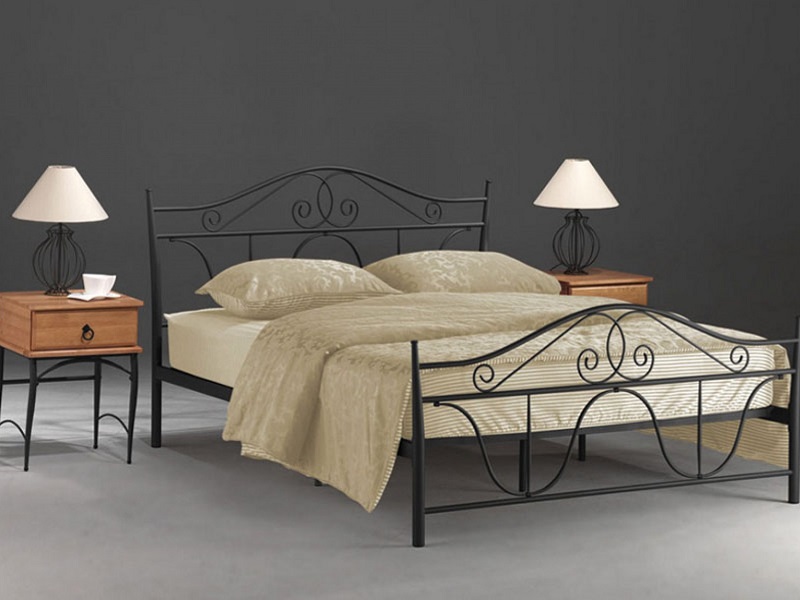
Metal headboards are considered old-timers bed "kingdom." They are actively used in various interiors, because such material is suitable for a romantic bedroom, as well as for a strict Scandinavian atmosphere.
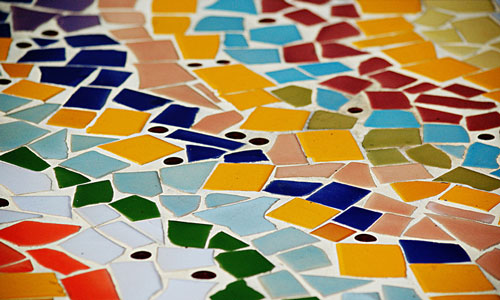
Mosaic and stone can be used as an alternative material for a bed headboard. You will make interesting patterns with elements of sea pebbles, tiles and even glass pieces.
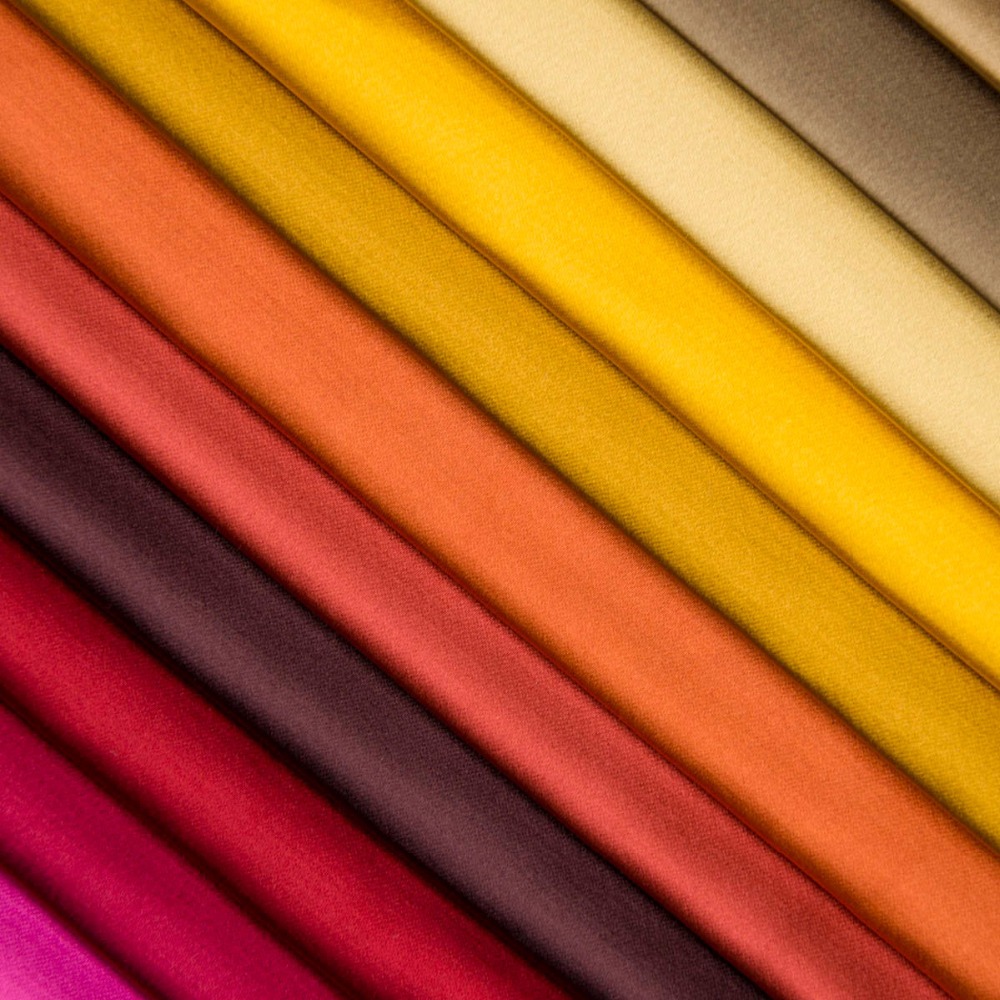
Textiles, like wood, are often used to decorate beds. The material is able to make a cozy atmosphere in the room. A wide choice of material allows to realize even the wildest fantasies. For example, heavy velvet will be relevant for Rococo or Baroque, and a golden satin will be suitable for an empire room.
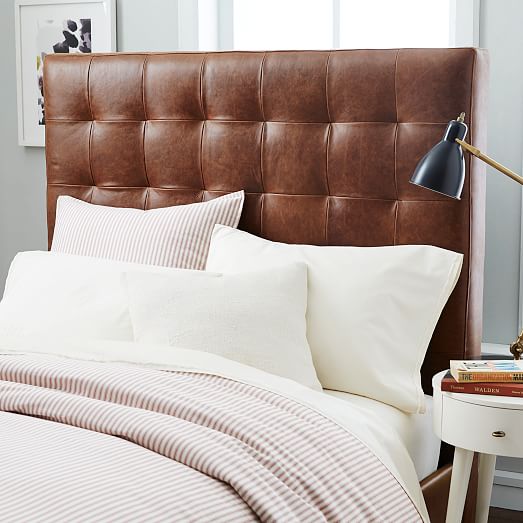
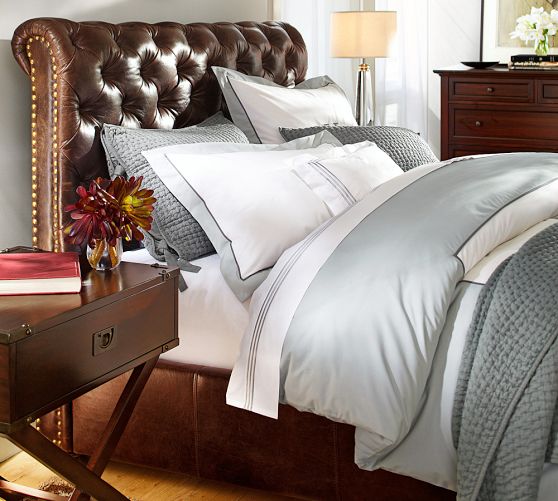
Leather headboard is a stylish option. Some people prefer the eco-leather option because it is more budget. Proceeding from embossments, colorings of the material, such headboards will harmoniously fit into any interior.
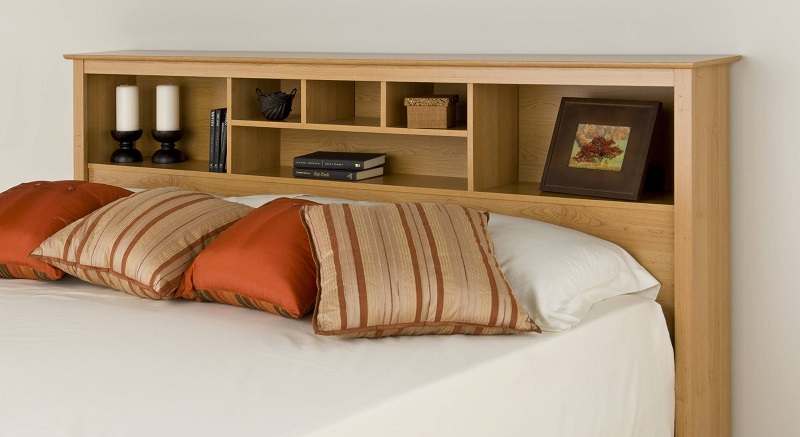
Laminated headboard looks good on the wall. Many people decide to decorate the space above the bed using this material. The headboard turns out original and stylish.
Thinness of the waist
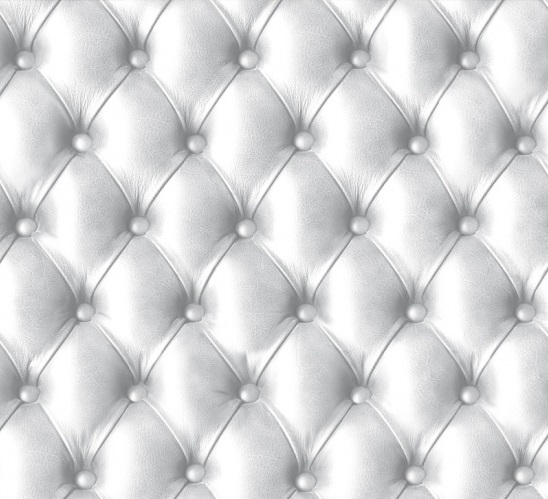
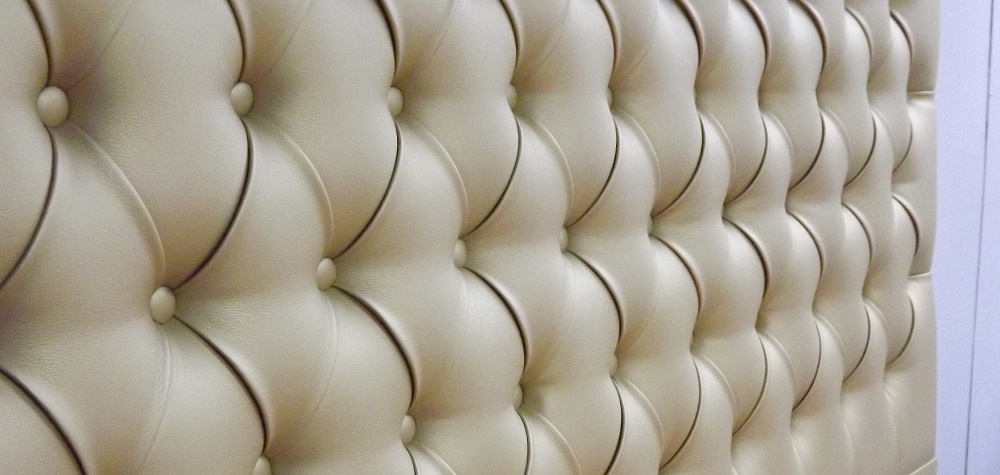
Many people decide to win over the headboard to give it a more attractive look. The most popular carriage stitch, which is known from the XVIII century. Previously, such a skin flaunted on the carriage, from which came the name. To date, this method is used in the design of furniture, as well as other decorative elements. The second name for the upholstery is Capito.
To make the result of your work look spectacular, it is necessary to sheathe the headboard with the help of expensive and rich material that will look favorably with a large number of folds. These materials include velor, suede. Many people decide to wrap a leather bed headboard.
You can decorate the pattern of the screed using squares or diamonds. Buttons that are covered with similar material are used as rivets. If there are beads or crystals in your headboard, choose elements with the same color or contrast.
To carry out hauling, you should prepare the following set of tools:
- furniture board or plywood, which will be used as a base;
- high quality fabric.The material should be purchased with a margin of 30 cm more than the length and width of the plywood;
- foam rubber, whose thickness is 5 cm. It should also be customized to the parameters of the selected plywood;
- synthetic winterizer;
- buttons tied with a cloth. They must be present ear;

- drill;
- a knife;
- crochet hook;
- glue;
- shoelaces. You can use a rope or twine. Select the thickness according to the diameter of the button ear;
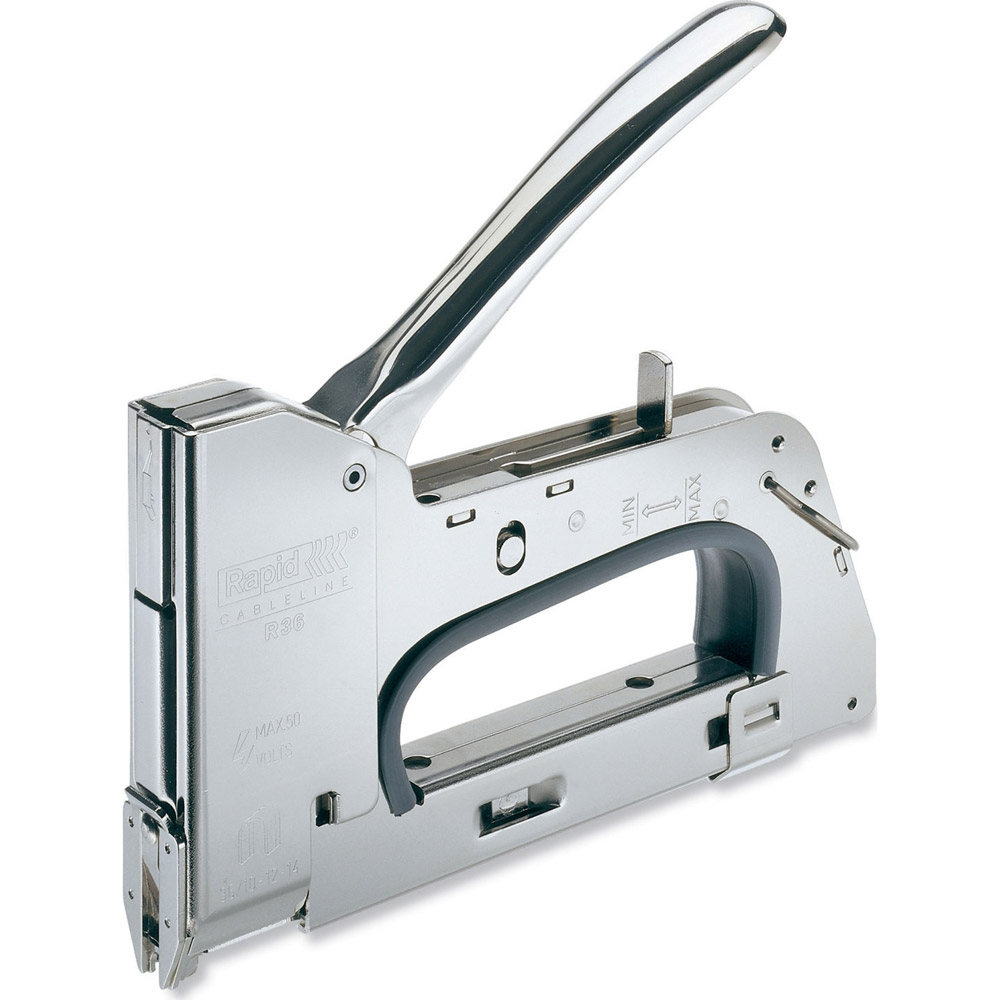
- furniture stapler;
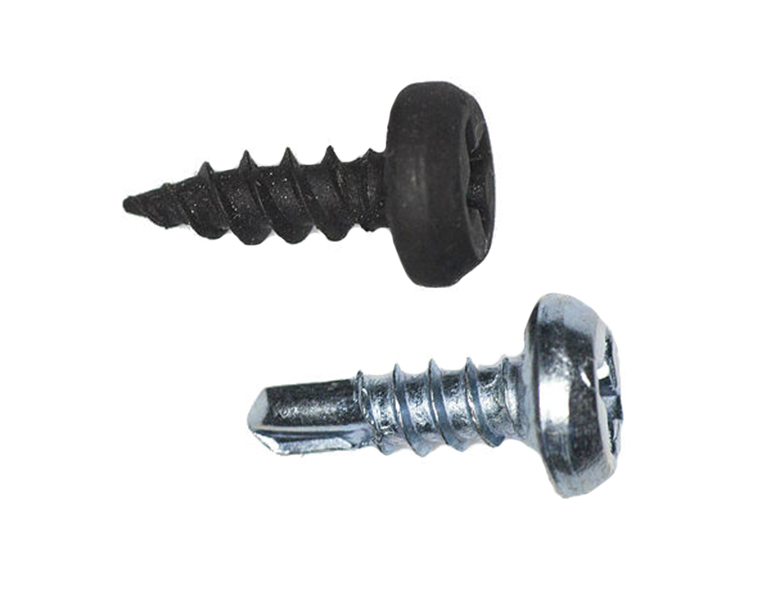
- wall mounts and screws.
Thinness of the waist:
- For such activities, you should choose a rectangular plywood sheet. Optionally, you can cut the original shape that you like best;
- cutting of foam rubber is carried out on the basis of the dimensions of the plywood itself. You will need to mark up the material, indicating the area where the buttons will be attached. Most often, buttons are placed in a checkerboard pattern. Using a sharp knife, make holes for buttons in the foam rubber sheet;
- it is very convenient to make holes due to a metal tube heated on fire. You need to heat the pipe on the gas burner and quickly make holes. For one approach, you can get about 2-3 holes.Do not forget to put a piece of board under the material in order not to damage the floor surface;
- Now you can put the material on the plywood and with a pencil mark the places under the holes and make them a drill. Use a drill for wood with a diameter of 8 mm;
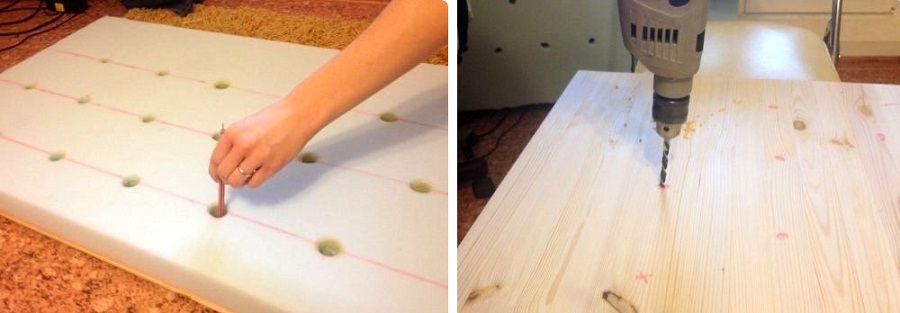
- the next step will be to glue the foam rubber to the plywood, taking into account that the holes for the buttons in both sheets are identical;
- on top you need to place one layer of padding polyester Do not forget to leave an allowance of 5 cm for each side. On the padding polyester there is a fabric, the stock of which is 10 cm on each side. As soon as you complete these steps, you can turn the future headboard over and fix the fabric on the plywood using a stapler;
- At this stage, you can do the preparation of buttons. You can drag them with textiles personally or give them to the craftsmen. Thread the lace in the eyelet of each button. Use laces that are at least 15 cm long and tie them into a knot. A crochet hook will be required in order to push the string through the plywood;
- feel for the hook from the side of the fabric. Use the ruler to measure the distance to the adjacent button and make a small hole.For this purpose, you can use nail scissors. Using a hook, pick up a button with a cord and thread them into the hole;
- the string should be stretched and properly attached with brackets to the back;
- The last step is to mount and mount the bed head to the wall. For this purpose, you will need screws.
If you are familiar with the basic subtleties of the headbands, the made skin will be able to compete with the purchase version. Hauling with your own hands allows you to use fantasy, as well as create an exclusive version.
Master classes for beginners
Many people prefer to make their own bed head instead of buying ready-made. To equip the space above the bed itself will cost less than you will choose from ready-made options. It should be noted that the personal idea will be unique, which also has its own weight when creating the interior of the bedroom.
Making a headboard is not a complicated procedure. There are ways that allow you to make the decor of the bed quickly and without unnecessary trouble.
To work you need to prepare:
- plywood sheet whose thickness is identical to the width of the bed. Height you can choose at will;
- thick fabric. Buy textiles with a stock. For these purposes, use sintepon or batting. You will need 3-4 layers of material of identical size with a sheet of plywood. Consider a margin of 10 cm for each edge;
- all-purpose adhesive, nails, stapler for furniture.

Step-by-step guide for making a bed head:
- plywood need to cut a rectangle or an arbitrary shape;
- synthetic winterizer or batting laid out in layers. You will need to glue each layer separately, securing the first piece on a plywood sheet;
- Now you should wrap the back end of the future headboard and fasten it with a stapler;
- Now you can turn the blank face up. Treat the material with glue and carefully roll the fabric over the surface of the padding pad. Eliminate the appearance of folds and wrinkles - the surface should be flat;
- when the fabric dries, wrap it on the back of the workpiece, stretch it and attach it to the plywood sheet with a stapler;
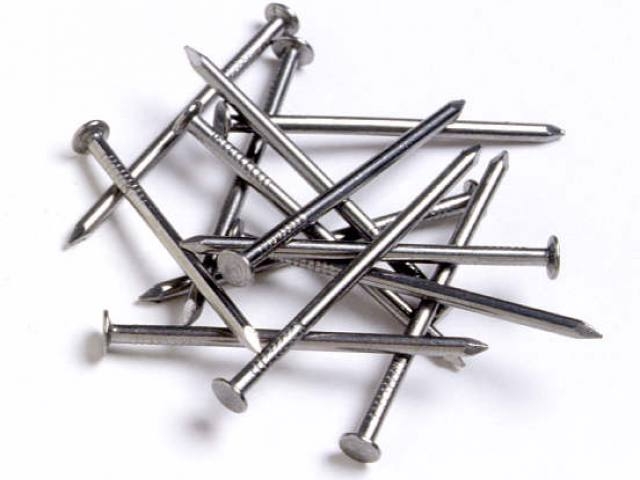
- the pattern will be created with nails. You can choose any pattern.Among the most simple options is the frame, which is located along all edges. To create it you will need to nail the nails evenly and deeply, keeping the same distance between them. This rule is present in any pattern;
- to create a flat line, you need to put two points on opposite ends of one side. Observe the rule that points are placed at the same distance from the edge;
- Now you can drive nails into points and stretch a thread between them. Put a point along the thread with a pencil. Remember that the distance between the points should be the same;
- nails can be hammered in the indicated places to help in the future to create a drawing;
- Now you can mount the headboard to the wall.
How to attach yourself?
Attach the headboard in several ways:
- to the wall, which is located above the bed. You will need to fasten two hinges with screws to the back of the head. The element is hung up on bolts;
- to the frame. This method is concluded in the drilling of a pair of holes on the sides of the outer part of the bed frame.The headboard will be screwed through these holes with screws;
- You can also make the headboard in the form of a separate structure. You can buy ready-made legs of wood or build them with your own hands. The legs are screwed to the headboard, and the design itself is installed between the bed and the wall.
How to decorate?
Not everyone decides to put a bed in the center of the room. As a rule, this element of furniture is placed near an empty wall or back to the window. If you decide to use the last option, you just need to choose a beautiful design for the window. If the sleeping bed is located near the wall, you can take advantage of numerous options for the decor, choosing the right one depending on the interior of the room itself.
Provence style
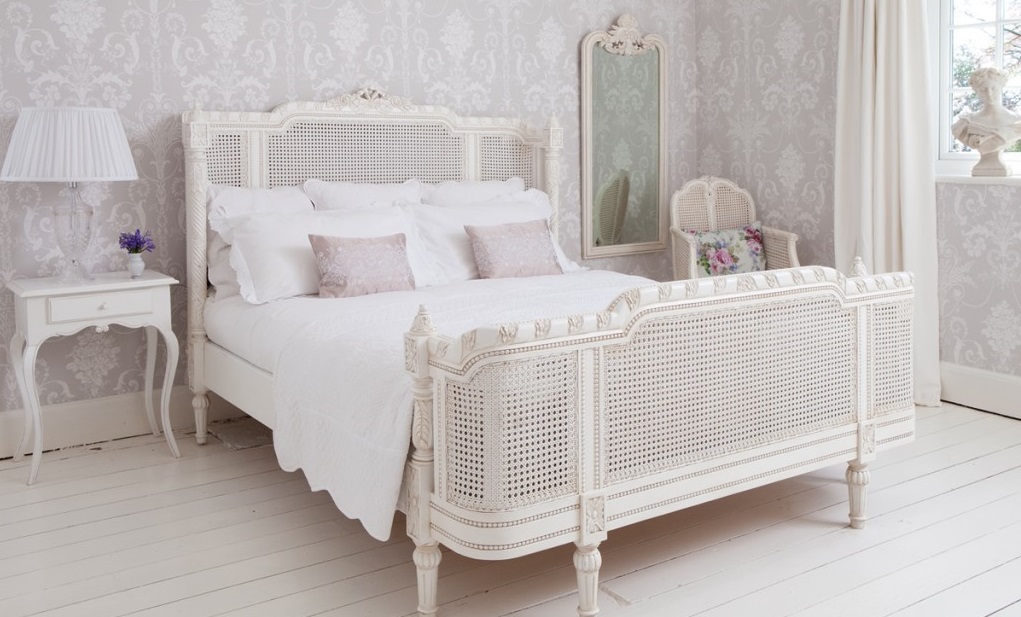
Such rooms are endowed with romance, light and comfort. The interior, decorated in this style, is styled as an old French village. It has a large amount of fabric with floral images, light colors. In such a room will look antique wooden furniture. For finishing of a headboard it is possible to use the painted boards or doors of an old sample.You can resort to a soft headboard made of light-colored fabric with small flowers.
Loft style
In such a room there is freedom and brevity, brutality and simplicity. The Loft-style interior favors rough brickwork on the walls along with a wooden ceiling and floor. The room must contain a minimum number of partitions and furniture. The decor needs to be used in a small amount, but it must be present. Headboard should be made simple, without pretentiousness.

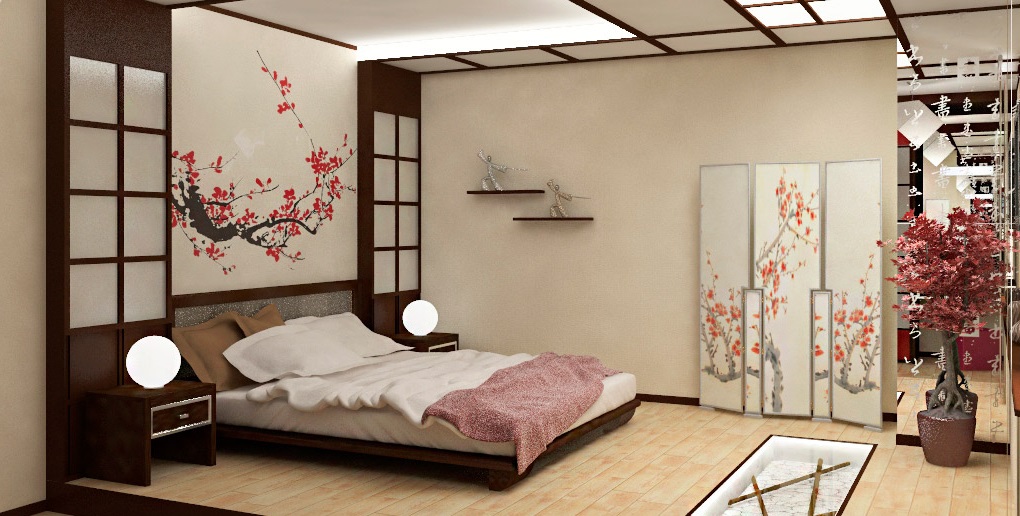
Japanese style
The interior will combine screens, fans, as well as bed-podiums. A small number of pieces of furniture made from natural raw materials of dark color is allowed. The headboard must have the correct shape. You can use solid decor or soft fabric lining with national ornaments.
You can arrange the headboard with a fan or canvas, on which there are prints in the form of national themes.
How to change the old to the new?
If you already have a headboard and you want to replace it with a new one, there are several options for resolving the issue:
- it is possible to carry out a waist of an old headboard.Using this method, you can replace a hard element with a soft one, which is especially suitable for those who like reading before bed;
- Some people do not want to engage in constriction of the old decor, but arrange a “soft back” directly on the wall. This can be done by wrapping foam panels and fixing them on liquid nails above the bed;
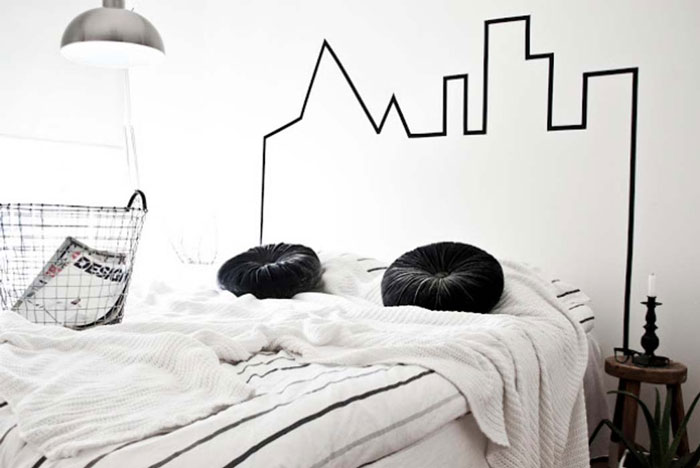
- artists will love the idea to paint the headboard;
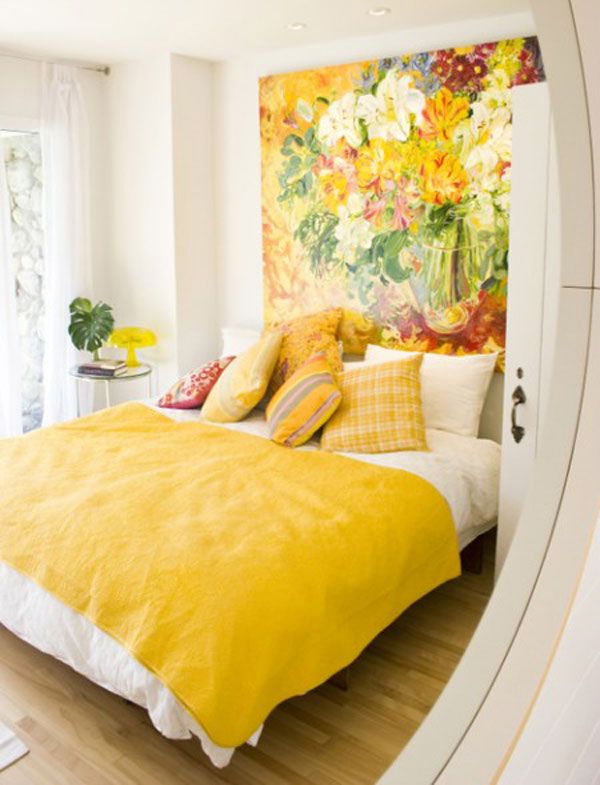
- the use of paintings and canopies will also help to quickly update the familiar interior.
Replacing the old head with a new one is not a problem. You can easily update this element of decor using the available tools or paint, or replace an outdated item with a new one. It all depends on your desires and capabilities. You can change the headboard every week, based on the tone of your bed linen or leave the stationary, which will please you for many years.
The manufacture of "Carriage screed" at the head with his own hands, see below.