Subtleties laying paving slabs in the country
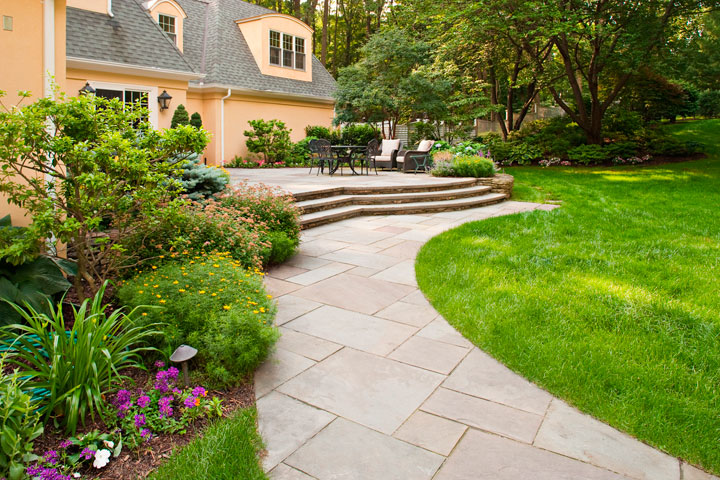
Paved paths and alleys are an appropriate addition to any landscape composition. Traction to the beautiful and original motivates the owners of country houses and country houses to replace the dull concrete walkways in the yard with original compositions of paving slabs. A variety of colors, shapes and sizes allows you to recreate on your site at least a fabulous yellow brick road, even the famous Roman trails, or even put an unusual drawing.
Features of paving slabs
Paving streets, sidewalks, squares is not a new way to improve their appearance. Such coatings, unlike concrete or asphalt, do not interfere with the nutrition and air exchange of plants. All types of paving slabs can be combined into two groups: artificial and natural.
Natural facing materials are known for a long time. They are made, as a rule, of hard rock (granite, basalt), resistant to atmospheric and mechanical stress.But such an expensive material is available to few, so stones of lower density, such as limestone or slate, are becoming more common. The advantages of natural materials are known: environmental friendliness, natural unique stone pattern, wear resistance and durability. The main disadvantage is the price.
Sandstone, of course, can be bought very cheaply, but it will be a low-density material, which is made from the upper, fragile layers of rock. On the tracks, especially subject to heavy loads, such a coating will not last long.
The group of artificial materials is more diverse and interesting. In their manufacture they use various technologies and formulations of mixtures, due to which the properties of the final products differ. There are three known molding methods: hyperpressing, vibropressing and vibrating. Most often on sale there are products made by the last two methods.
The method of vibropressing is applied to semi-dry mixes and provides for the presence of vibropress. Stamping under high pressure with vibration allows to achieve a high density of the product and uniformity of the structure.Automation of production makes it possible to manufacture large quantities of product with exact dimensions and weight. The tile obtained by this method has low water permeability, which increases its frost resistance and service life. Its rough surface provides better grip when walking. The only downside is the limited choice of colors.
Vibrating casting involves working with a liquid concrete solution, which is poured into special forms. With the help of vibration, air escapes from the solution and the density increases. This method uses manual labor, so products are produced in small quantities. As for quality, vibro cast limestone has a non-uniform structure. The bottom layer is more dense and durable, and the top one is more porous. Water penetrates into these pores, which, when it freezes, destroys the stone and leads to detachment of the upper part.
The quality of the product is also affected by the human factor. If an error has occurred in the dosage of the components of the mixture, then the qualitative characteristics of the individual batches will differ. Despite these shortcomings, vibro-molded tiles are loved for their bright and attractive appearance.This method allows you to get products of various colors and even imitate the texture of natural stones. The casting will suit the originals who want to make tiles with their own hands. Self-made products are unique, and the final coating will turn out really exclusive.
The following types of paving slabs are most common:
- Concrete: for its production are used both methods described above.
- Polymer-sandy: binding components are polymers based on polyethylene. The method used is vibropressing.
- “Granilite” is a type of vibratory cast concrete tile. It is characterized by better quality than the classical one, since the solution is thoroughly mixed in a concrete mixer before entering the vibrating table. The mixture gets rid of excess air and is poured into molds in the most compacted state.
- The clinker is a tile in the form of paving stones, made from refractory clay. It is considered one of the most durable and durable artificial pavement coatings.
Layouts
The layout of paving slabs depends on the landscape, the architecture of the buildings at the dacha, the shape of the walkways and their area, and the type and color of the road lining.
The most common and easy to perform is linear styling, which combines several variations:
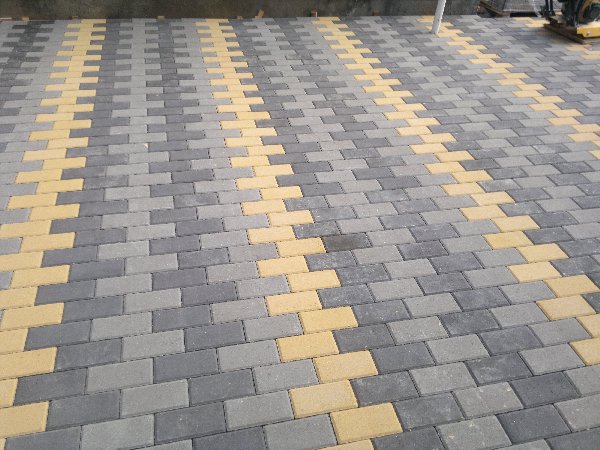
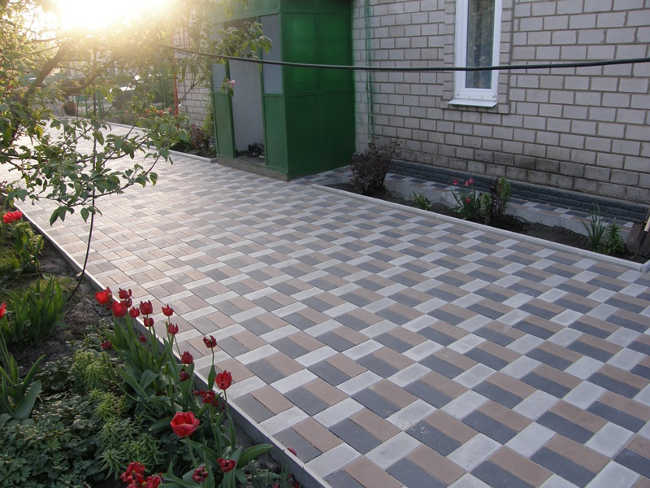
- No shift. This scheme is used in areas with low load or in combination with other drawings.
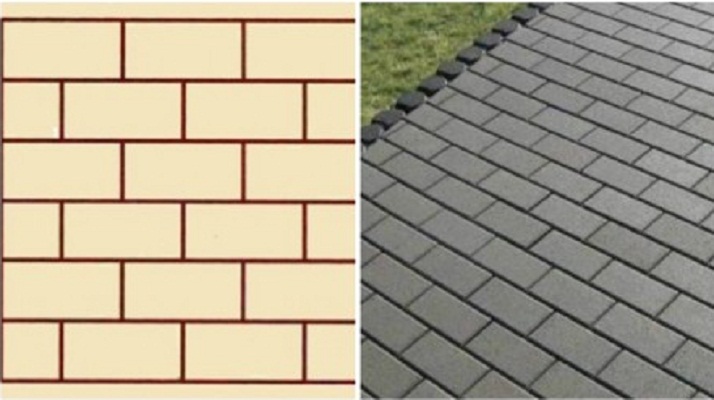
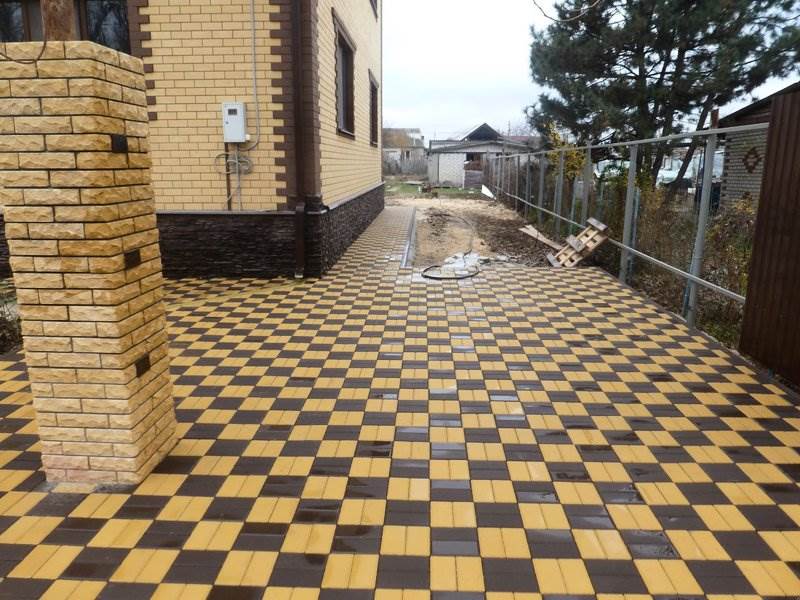
- Half offset or three quarters. This option is reminiscent of brickwork. Playing with different shades will allow you to get interesting compositions.
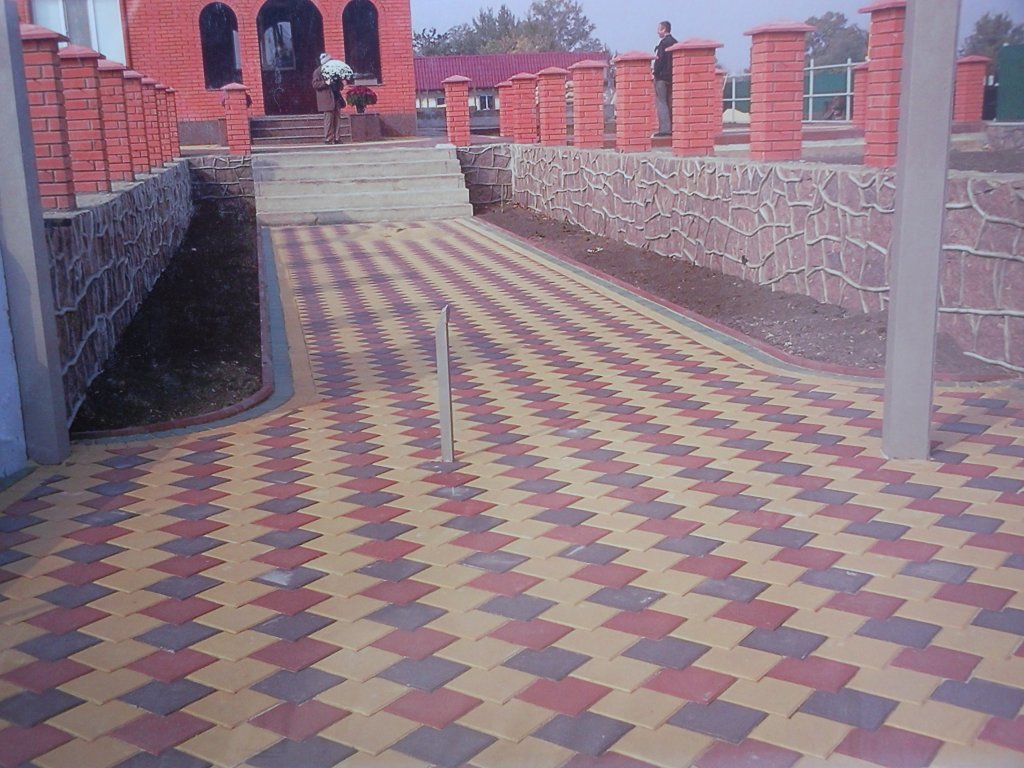
- Diagonal scheme. Unlike the previous versions, here the tile should be laid diagonally. The use of elements of different colors will emphasize the picture.

With a linear-angular scheme, the individual elements need to be built at an angle relative to each other.
Two options are possible, depending on the degree of the angle:
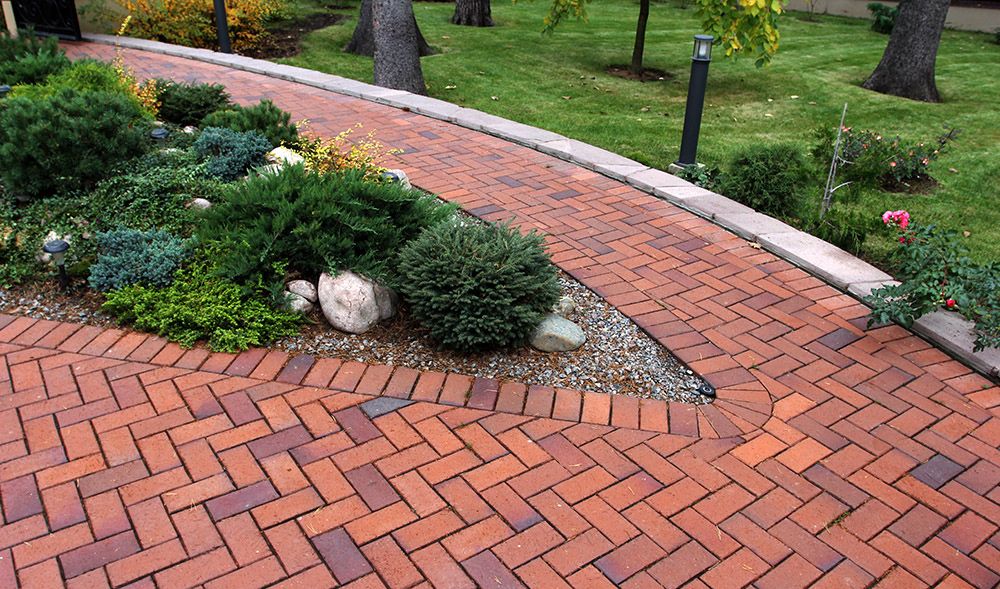
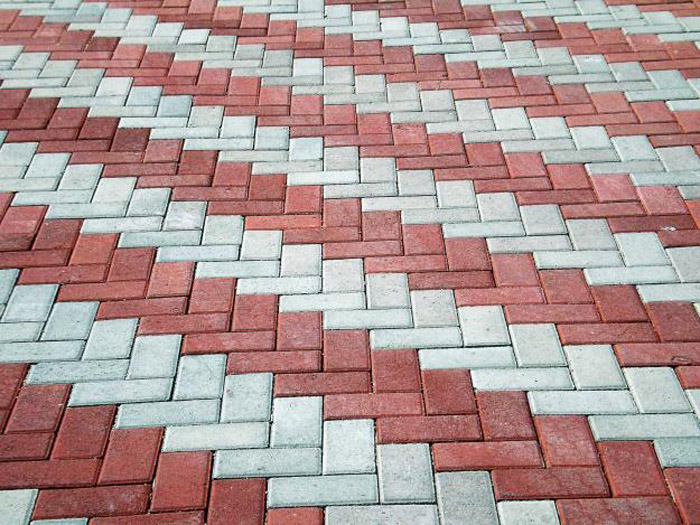
- Herringbone. In this case, the parts are laid at an angle of 45 degrees. Such a device tiles visually narrows the space. The scheme is simple and does not require highly skilled stacker.
- Network. It has an angle of 90 degrees.
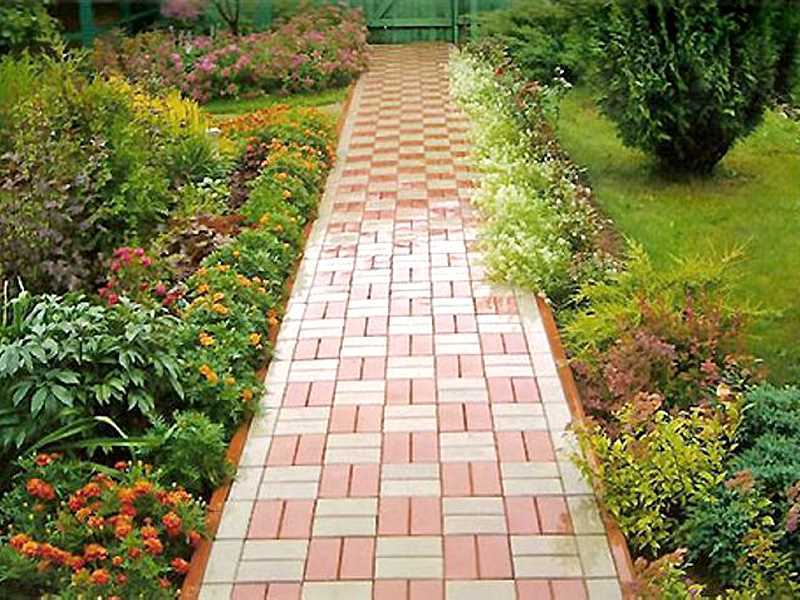
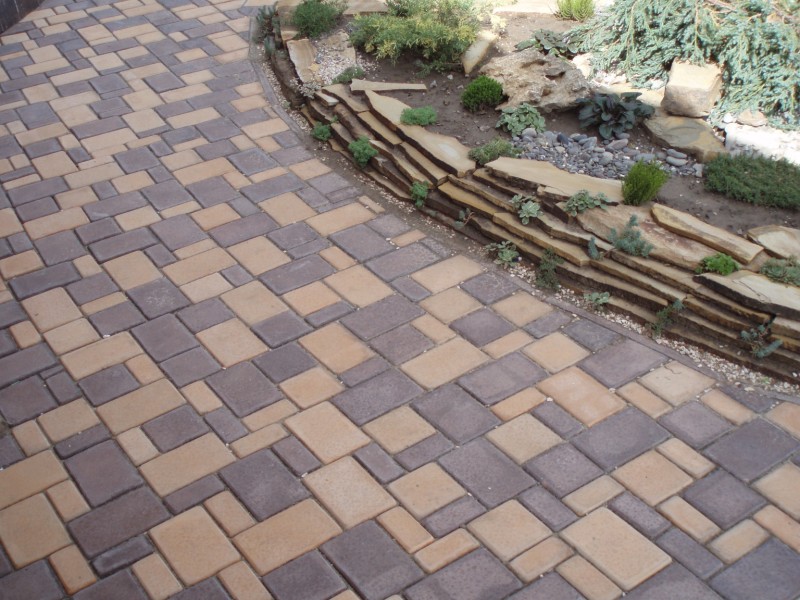
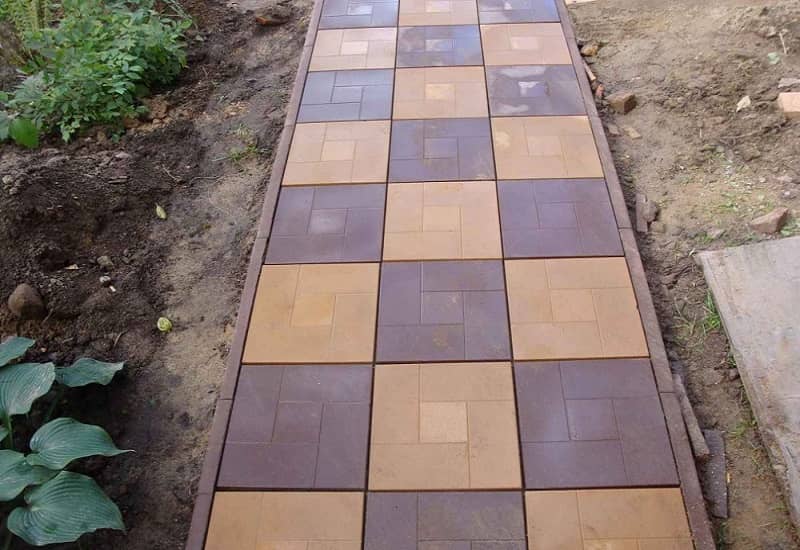
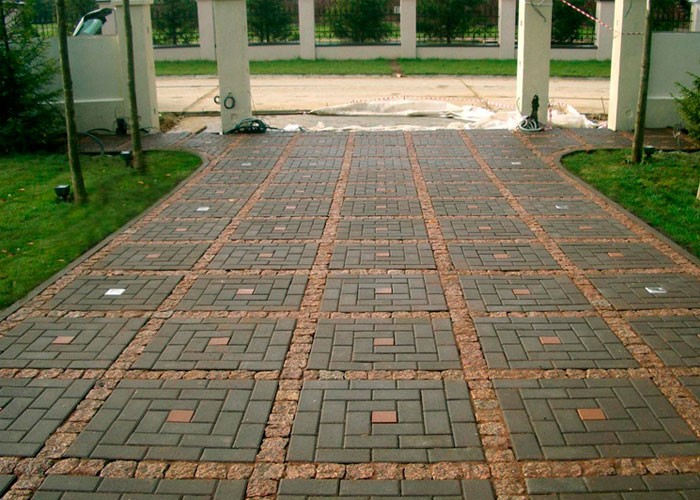
- Modular system the tile is laid in blocks of two or more parts. Variations in this method can be many. For example, the alternation of a two-element block with a single piece or a checkerboard pattern of two contrasting blocks.
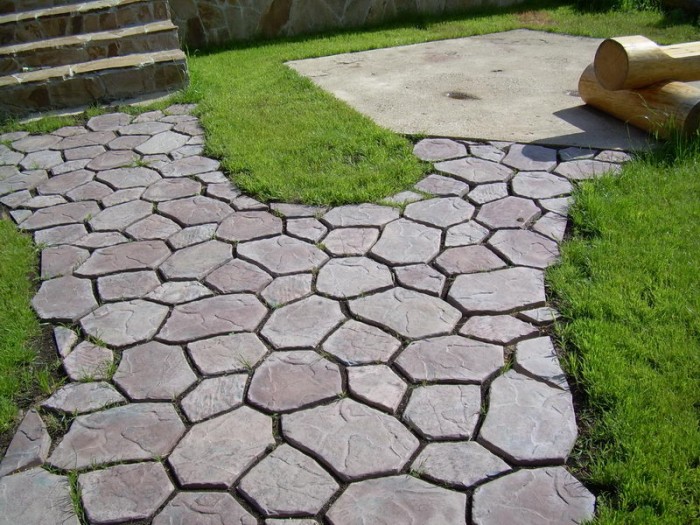
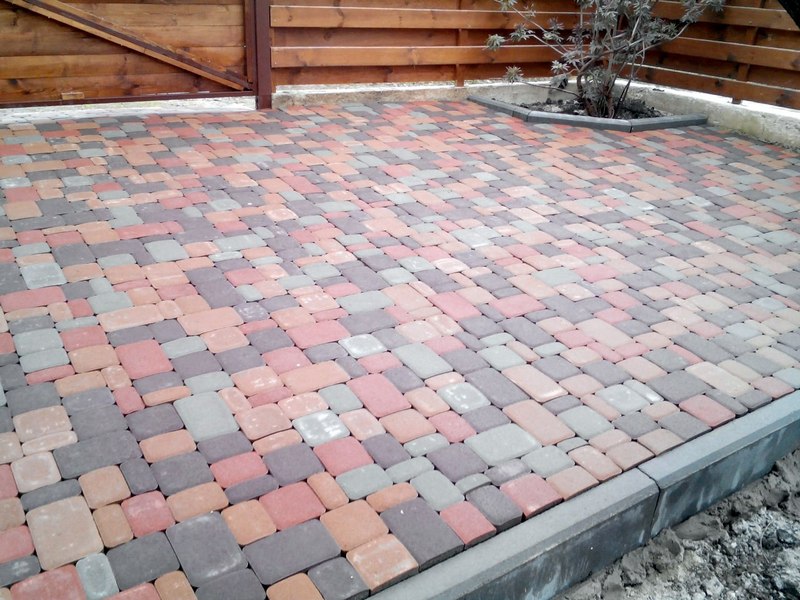
- Chaos scheme. The name here says: tiles of various colors and shapes line up in an artistic mess.
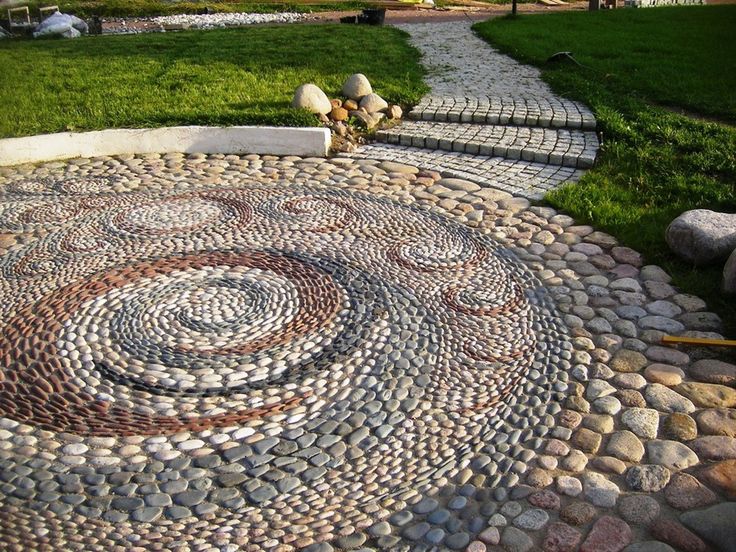
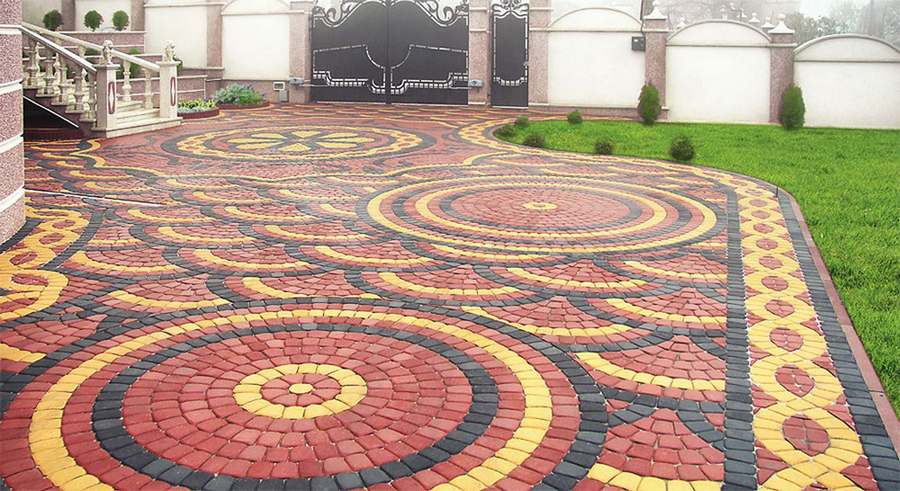
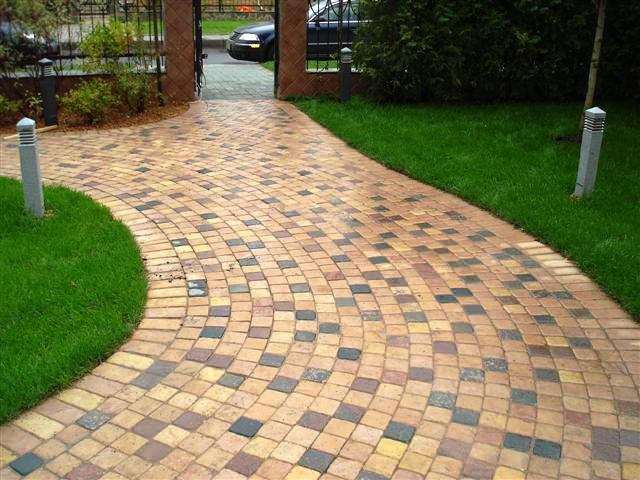
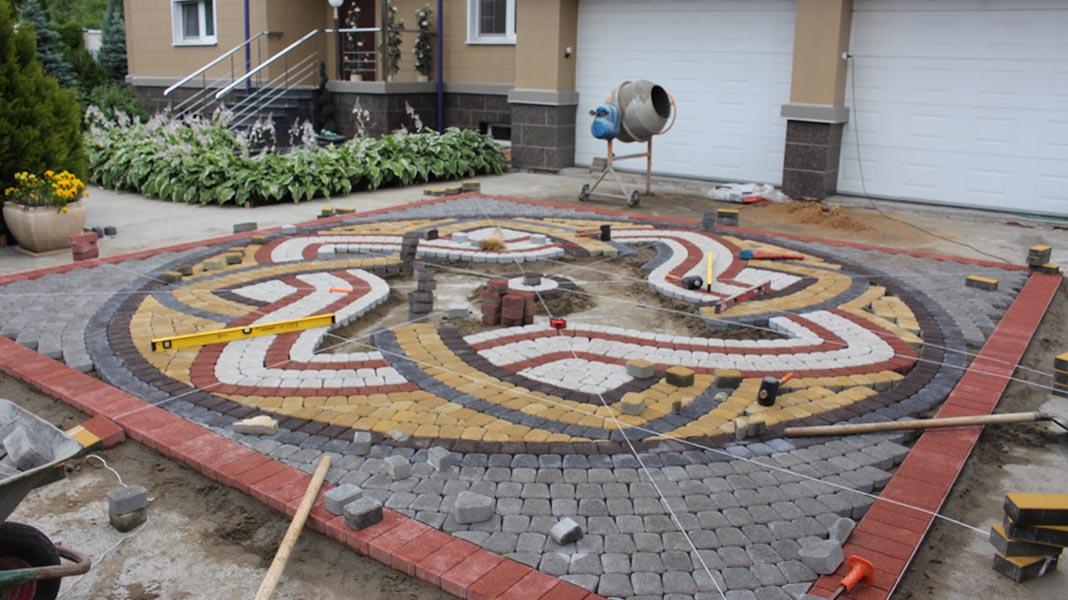
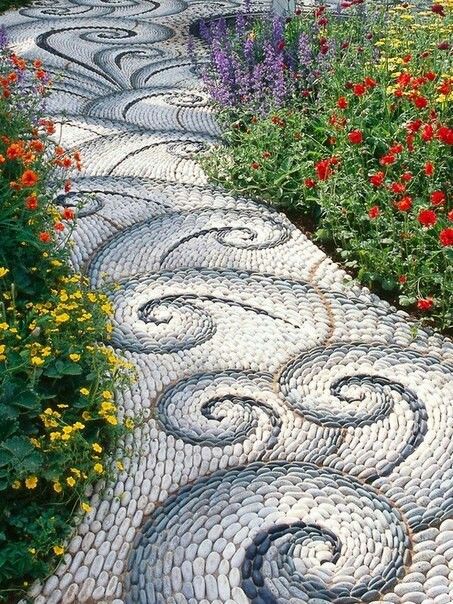
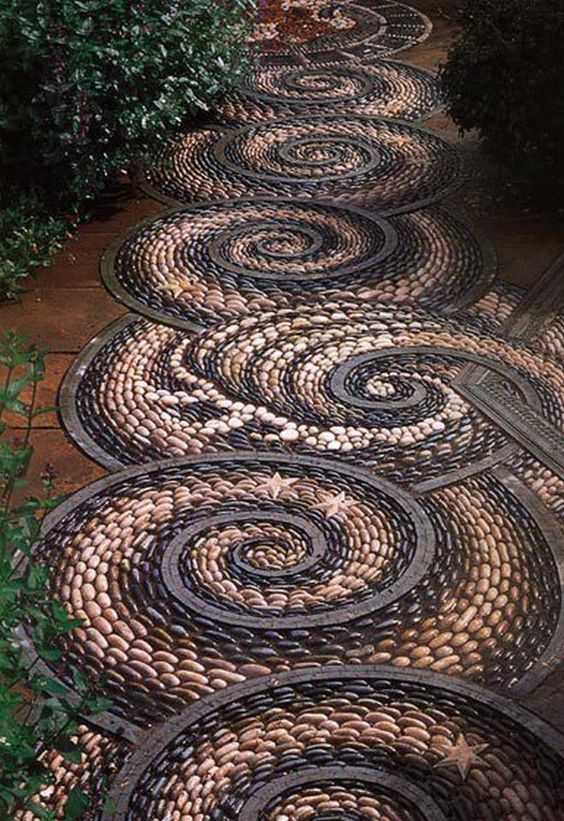
- Spiral layout provides for the beginning of laying from the center of the pattern, gradually increasing the radius of each subsequent circle.
- Circular somewhat similar to the spiral. For it is usually used wedge-shaped paving slabs. The difference is that they start drawing the picture not from the center, but from the edge, narrowing the circle.
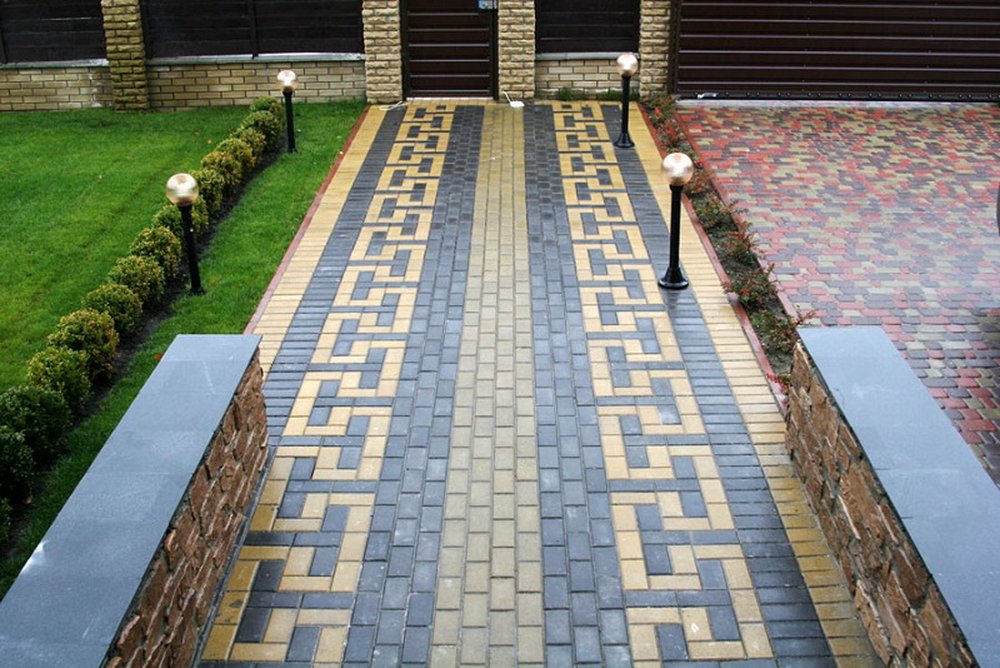
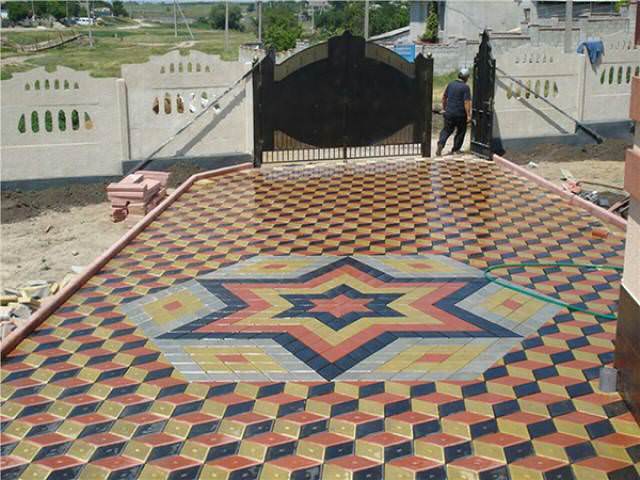
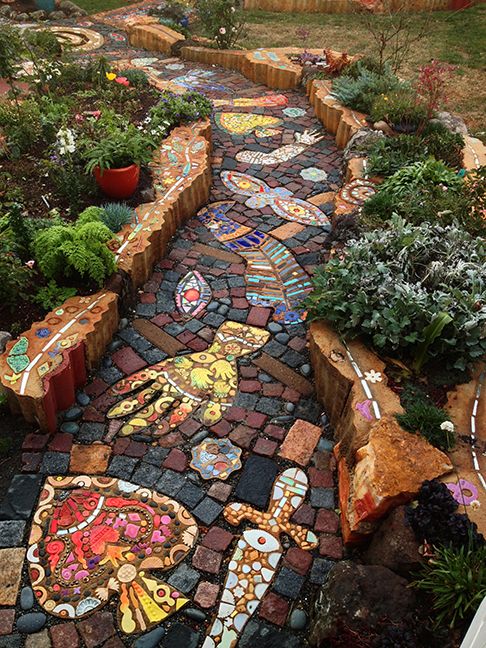
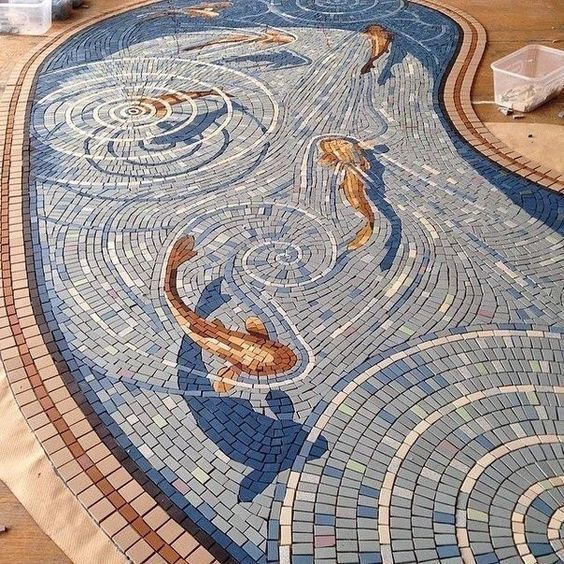
- Art scheme. It is one of the most difficult to perform and involves laying out tiles of various colors and shapes in complex ornaments and whole pictures.
Surface preparation
Proper preparation of the substrate under the tile is the key to a strong and durable coating. Basic requirements for the base:
The presence of a drainage system. The accumulation of water adversely affects the paving slabs, reducing its service life.
It is necessary to provide the following elements:
- arrangement of drainage: at the stage of preparation of the foundation, care should be taken of slopes for draining water;
- ideally equal and dense surface;
- sustainability.
The choice of a suitable substrate depends on the purpose of the future coverage and the expected load, as well as on the characteristics of the soil, the presence of slopes and other things.
In areas with a high load (these are roads, parking) and on unstable soil, the best basis will be a concrete screed. For pedestrian roads and alleys suitable sand and gravel, and for places with little load (paths, garden paths) can be limited to gravel or gravel of small fraction.
First of all, we plan the layout of the outlines of the future path or yard. Pegs are driven in along the perimeter, between which the thread is stretched along the level. After that, the top soil is removed from 15 to 40-50 cm in depth, the roots and large stones are removed, and the ground is carefully rammed. For a concrete screed it is necessary to lay a layer of rubble and tamp with a vibro rammer.
Since the grout will be used for casting, you must install a wooden formwork. The coupler is additionally reinforced with metal mesh. The whole structure is poured with concrete and leveled. Metal plates are inserted every five meters, which are removed after a few days. This will allow the formation of seams to compensate for thermal expansion.
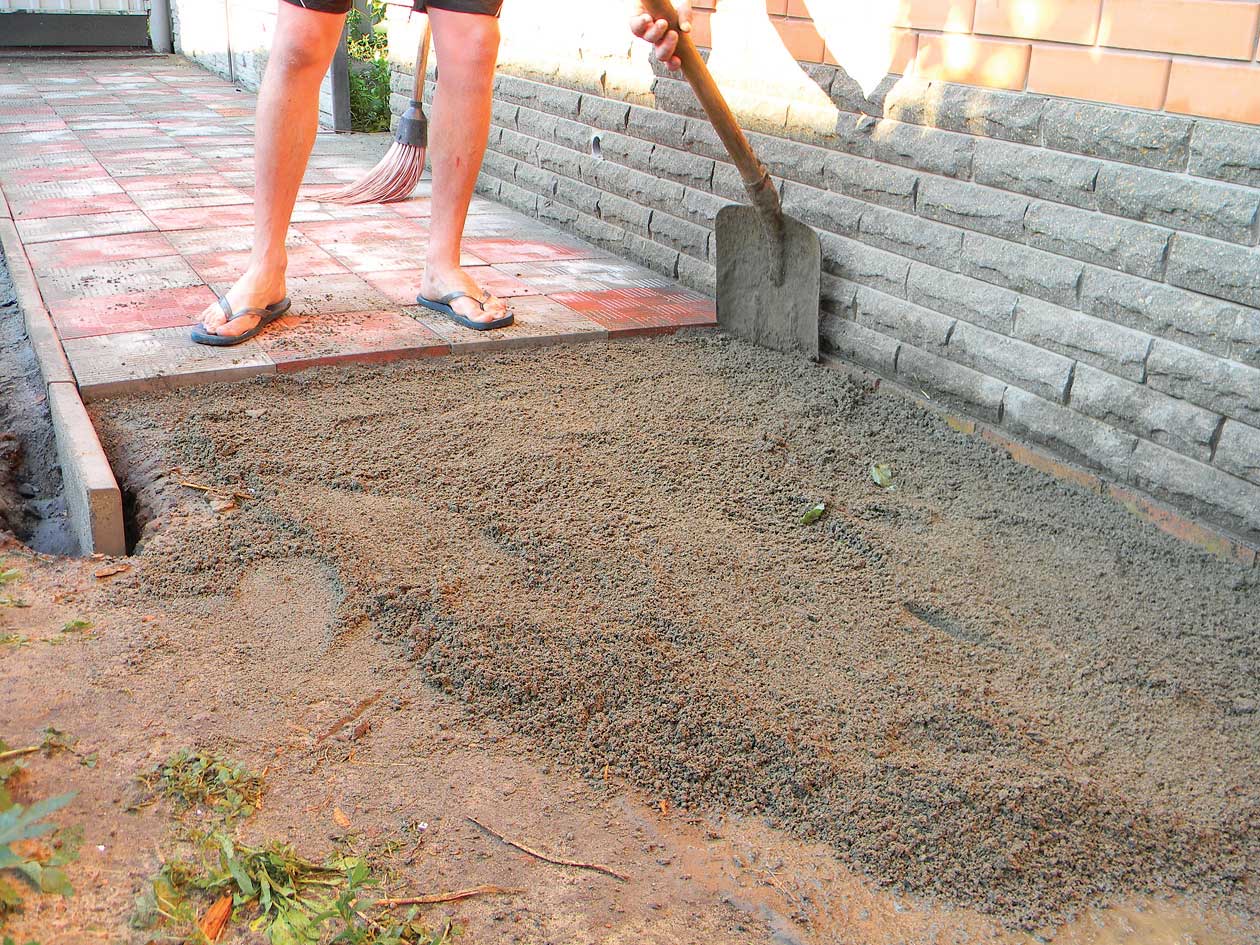
Sand-gravel pad starts with a five-centimeter layer of sandWater poured and thoroughly rammed.When the sand dries out, 10-15 cm mixture of sand and gravel are placed on it. The final layer is sand or its mixture with cement 10 cm thick.
The gravel base consists of 5-7 cm of fine crushed stone or gravel and 7 cm of sand, which is tamped and filled with water.
Many masters recommend between the rubble and sand put a waterproofing - geotextiles. This material lets the moisture down, but does not allow it to go up, which is especially important in swampy and clayey areas. It also serves as a protection against washing out the sandy layer of the base and weed germination.

Styling process
There are several ways to lay paving slabs:
- On the sand-cement mixture, which consists of sand and cement in the ratio of 3: 1 (in the case of cement brand M300). As a rule, the higher the grade, the more parts of the sand you need to add. It should be slightly wet. The best time for work is spring and early summer. Cement sets after coating watering, thereby fixing it securely.
- On a sandy pillow. This is a classic way in which the tile is laid directly on the sand. The layer of sand should not exceed 10 cm. Ideally, it is 5-6 cm. Before work, the sand should be moistened, leveled and tamped.The whole structure is supported by the curbs, which are additionally reinforced with concrete from the outside.
- On the granite screening, which is a waste from the processing of rubble (gravel dust and fragments of the small fraction). At the same time, it has less shrinkage, unlike sand. But on unstable and clayey soils it is necessary to do drainage after all.
- For a liquid solution. In this case, necessarily concrete base. Some masters put the tile directly on the still not frozen concrete screed.
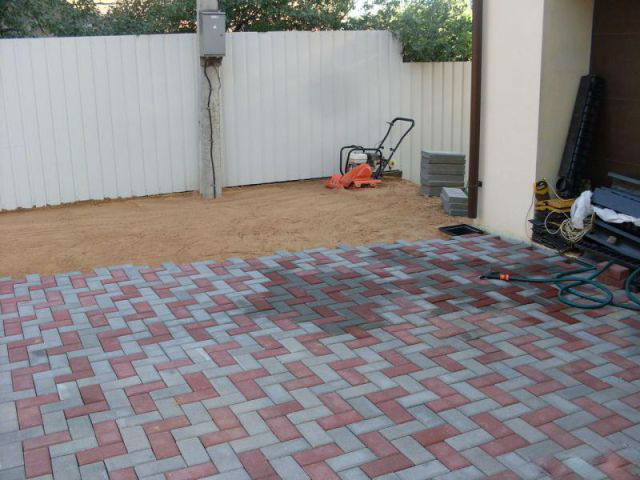
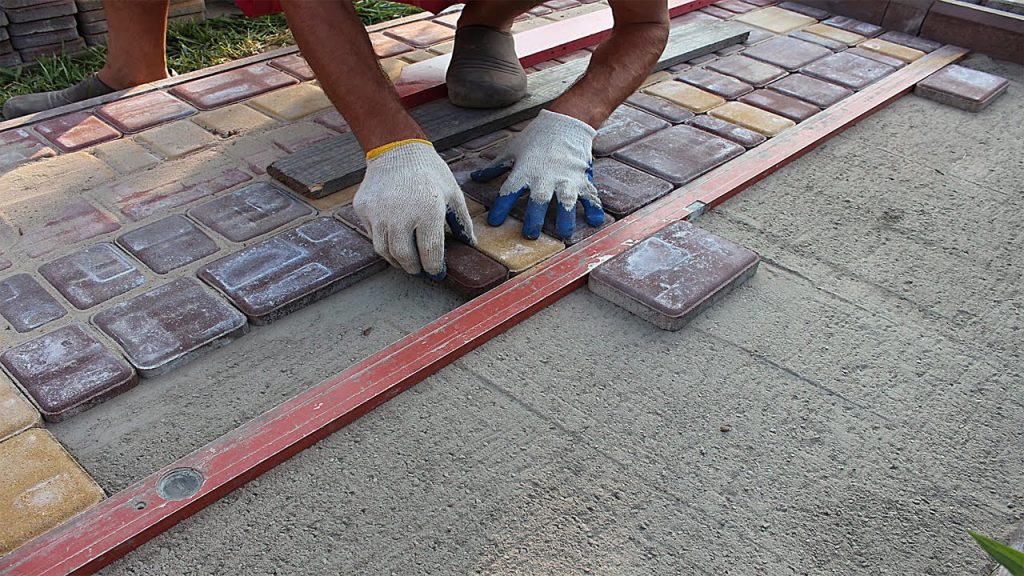
When the base is ready, you can install the tile. Correctly start from the bottom point and move upwards with the method from yourself. Thus, the stacker moves on the already laid out coating in order not to damage the substrate. At hand, you need to constantly have a level to eliminate irregularities in time. Each element is installed according to the selected pattern and tapped with a rubber hammer to immerse the part in the ground and fix it in the desired position.
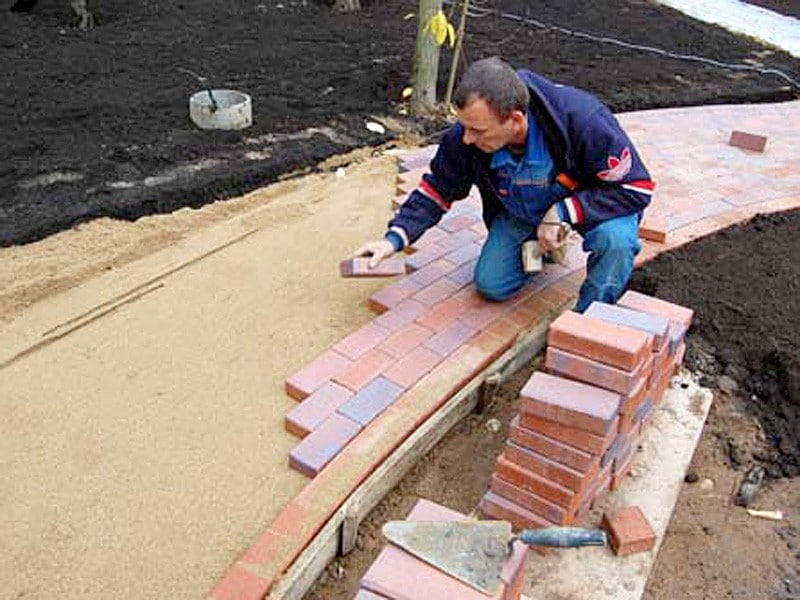
Between the tiles left a gap of 2-3 mm, which is adjustable by eye. This can be done with the help of crosses (for perfectionists) or limiters on the tile, provided by some manufacturers. Obstacles in the form of hatches and pillars bend around with whole elements.Their design is usually engaged in the final stages. The gaps left between the tiles must be passed, that is, filled with a dry mixture of cement and sand or clean sand. The latter option is preferred for colored tiles with a raised surface on which cement can leave a white patina.
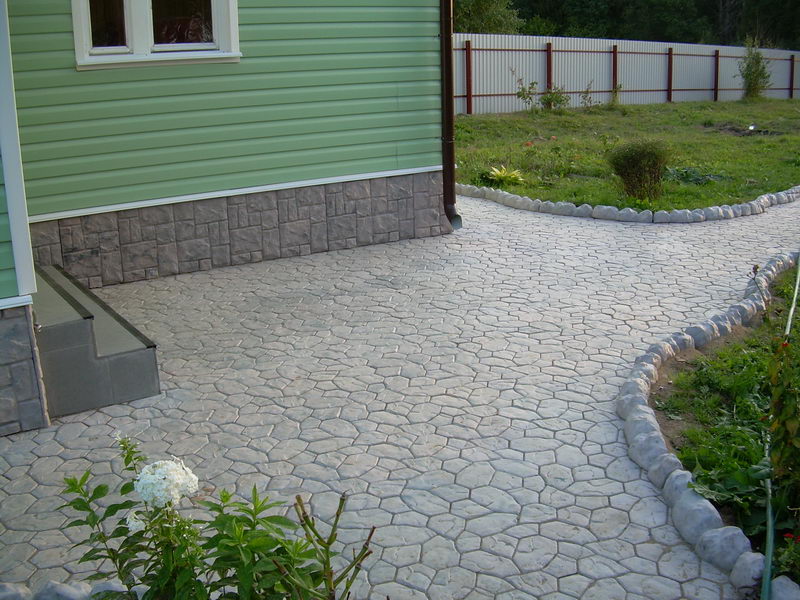
Borders finish the site. For their installation, a trench is dug along the edge, the depth of which depends on the height of the edge and on the depth of planting. Border is fixed vertically. To do this, apply a thick cement mortar.
When all the works have already been completed, you can wait for the rain or pour a lot of the area to set the sand-concrete mix.
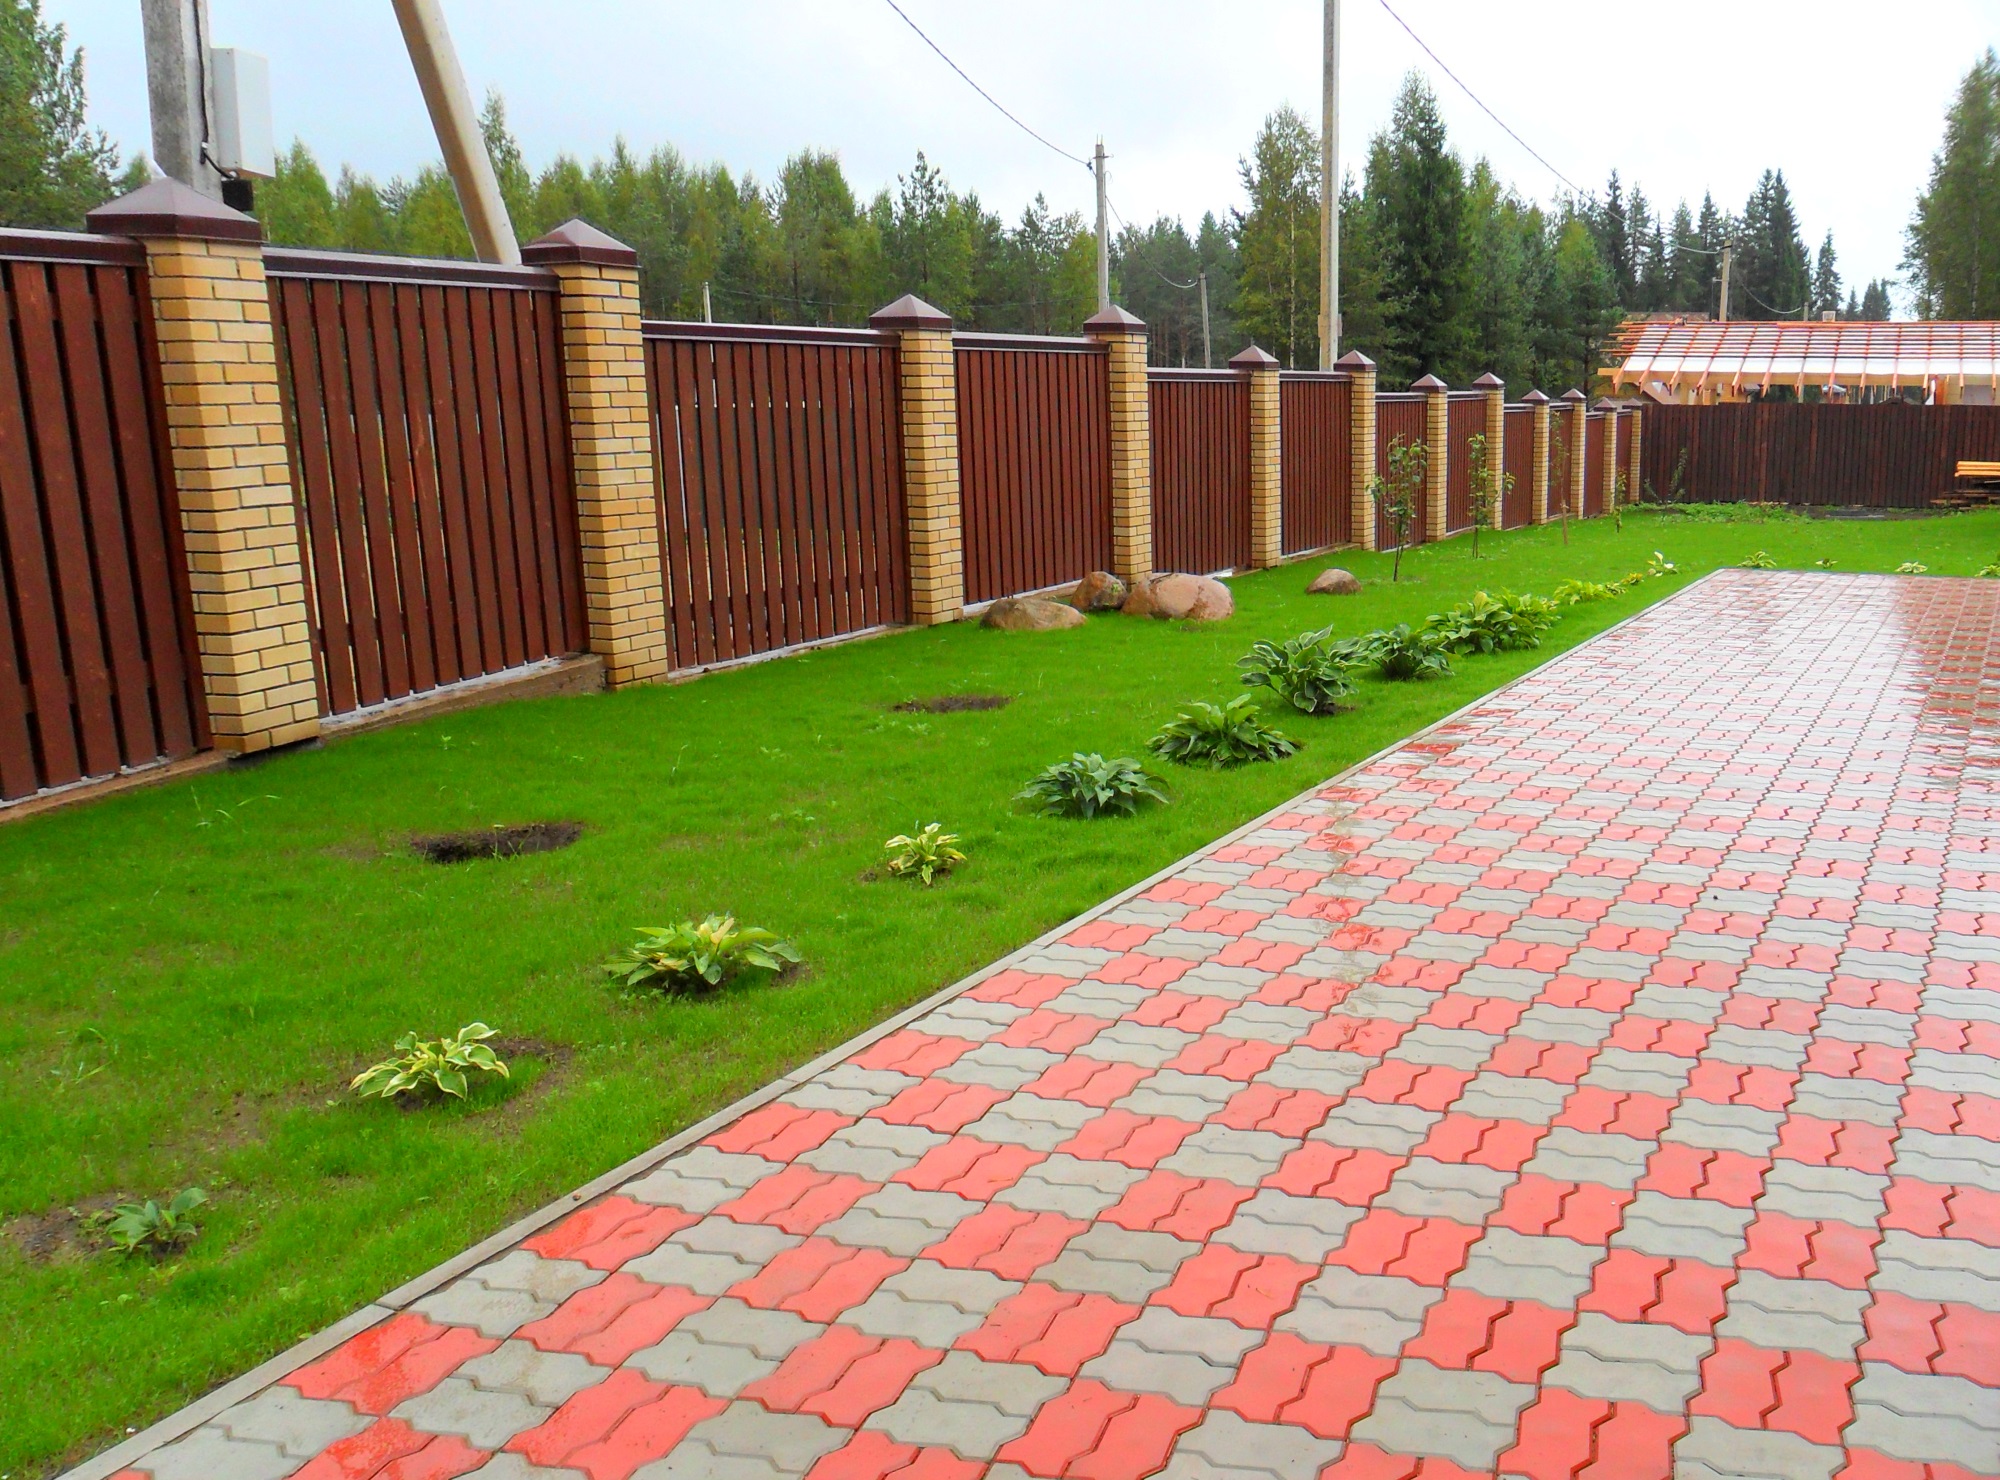
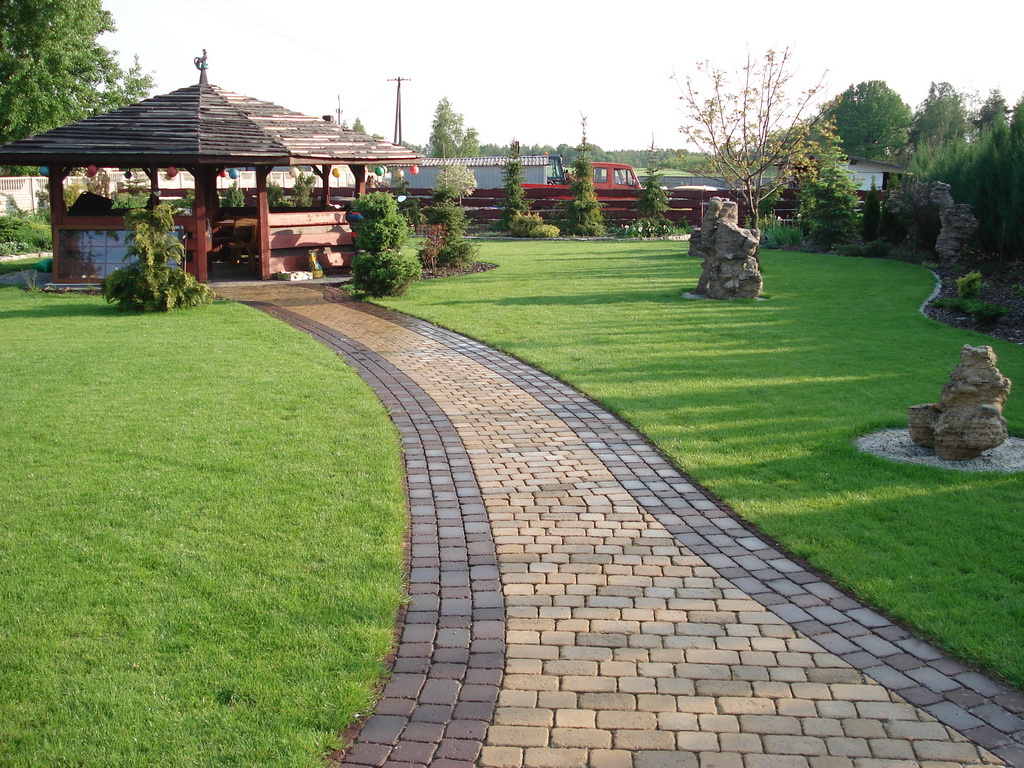
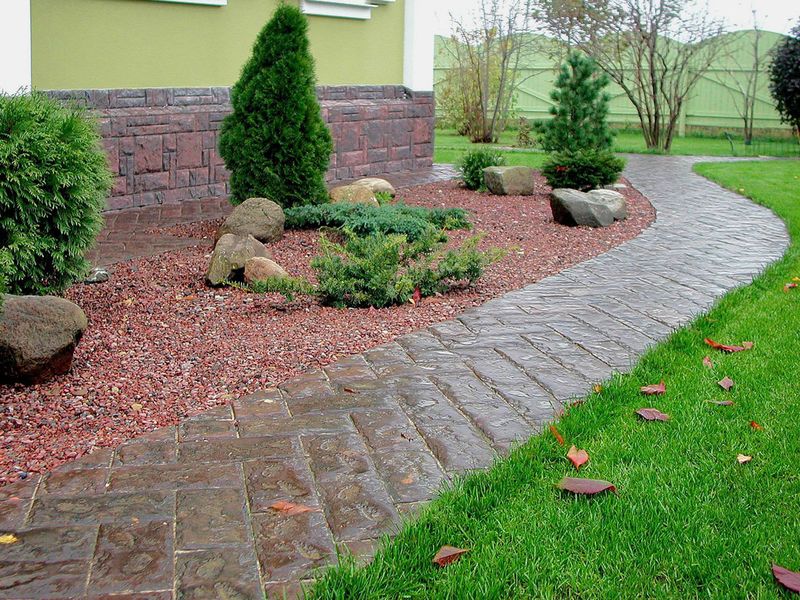
Beautiful examples
The laying patterns described in the article are standard and easy to do it yourself, but the possibilities of paving slabs are not limited to them. It is worth adding a little taste and fantasy, and exotic birds and a real aquarium will settle in your yard. No less attractive panels and tracks with an unusual pattern. The most important thing when creating a masterpiece is to comply with technological standards, then the coating will delight the owners for many years.

See the following video for tips on laying paving slabs.