How to put the tiles in the toilet with their own hands: the details of the process
Most people are afraid to take on the challenges of repairing their own home or apartment. However, many such works will not require any special abilities, here it is simply necessary to study the theoretical basis. Of course, the presence of experience and knowledge in this area are only welcome.
Special features
Doing such work with your own hands will not have to give extra money, because the need to find the right specialist will disappear. Therefore, you do not need to pay for the services of a master. Acquired skills are sure to come in handy in the future. Only when self-installing the tile will be able to create an unusual unique composition.
Usually, experts, calculating the amount of upcoming work, begin to talk about the unprecedented complexity of laying tile, several times higher than the cost of doing such work.
Doing repairs in such a room does not seem to be difficult. And yet a small area of the room can be a considerable obstacle.
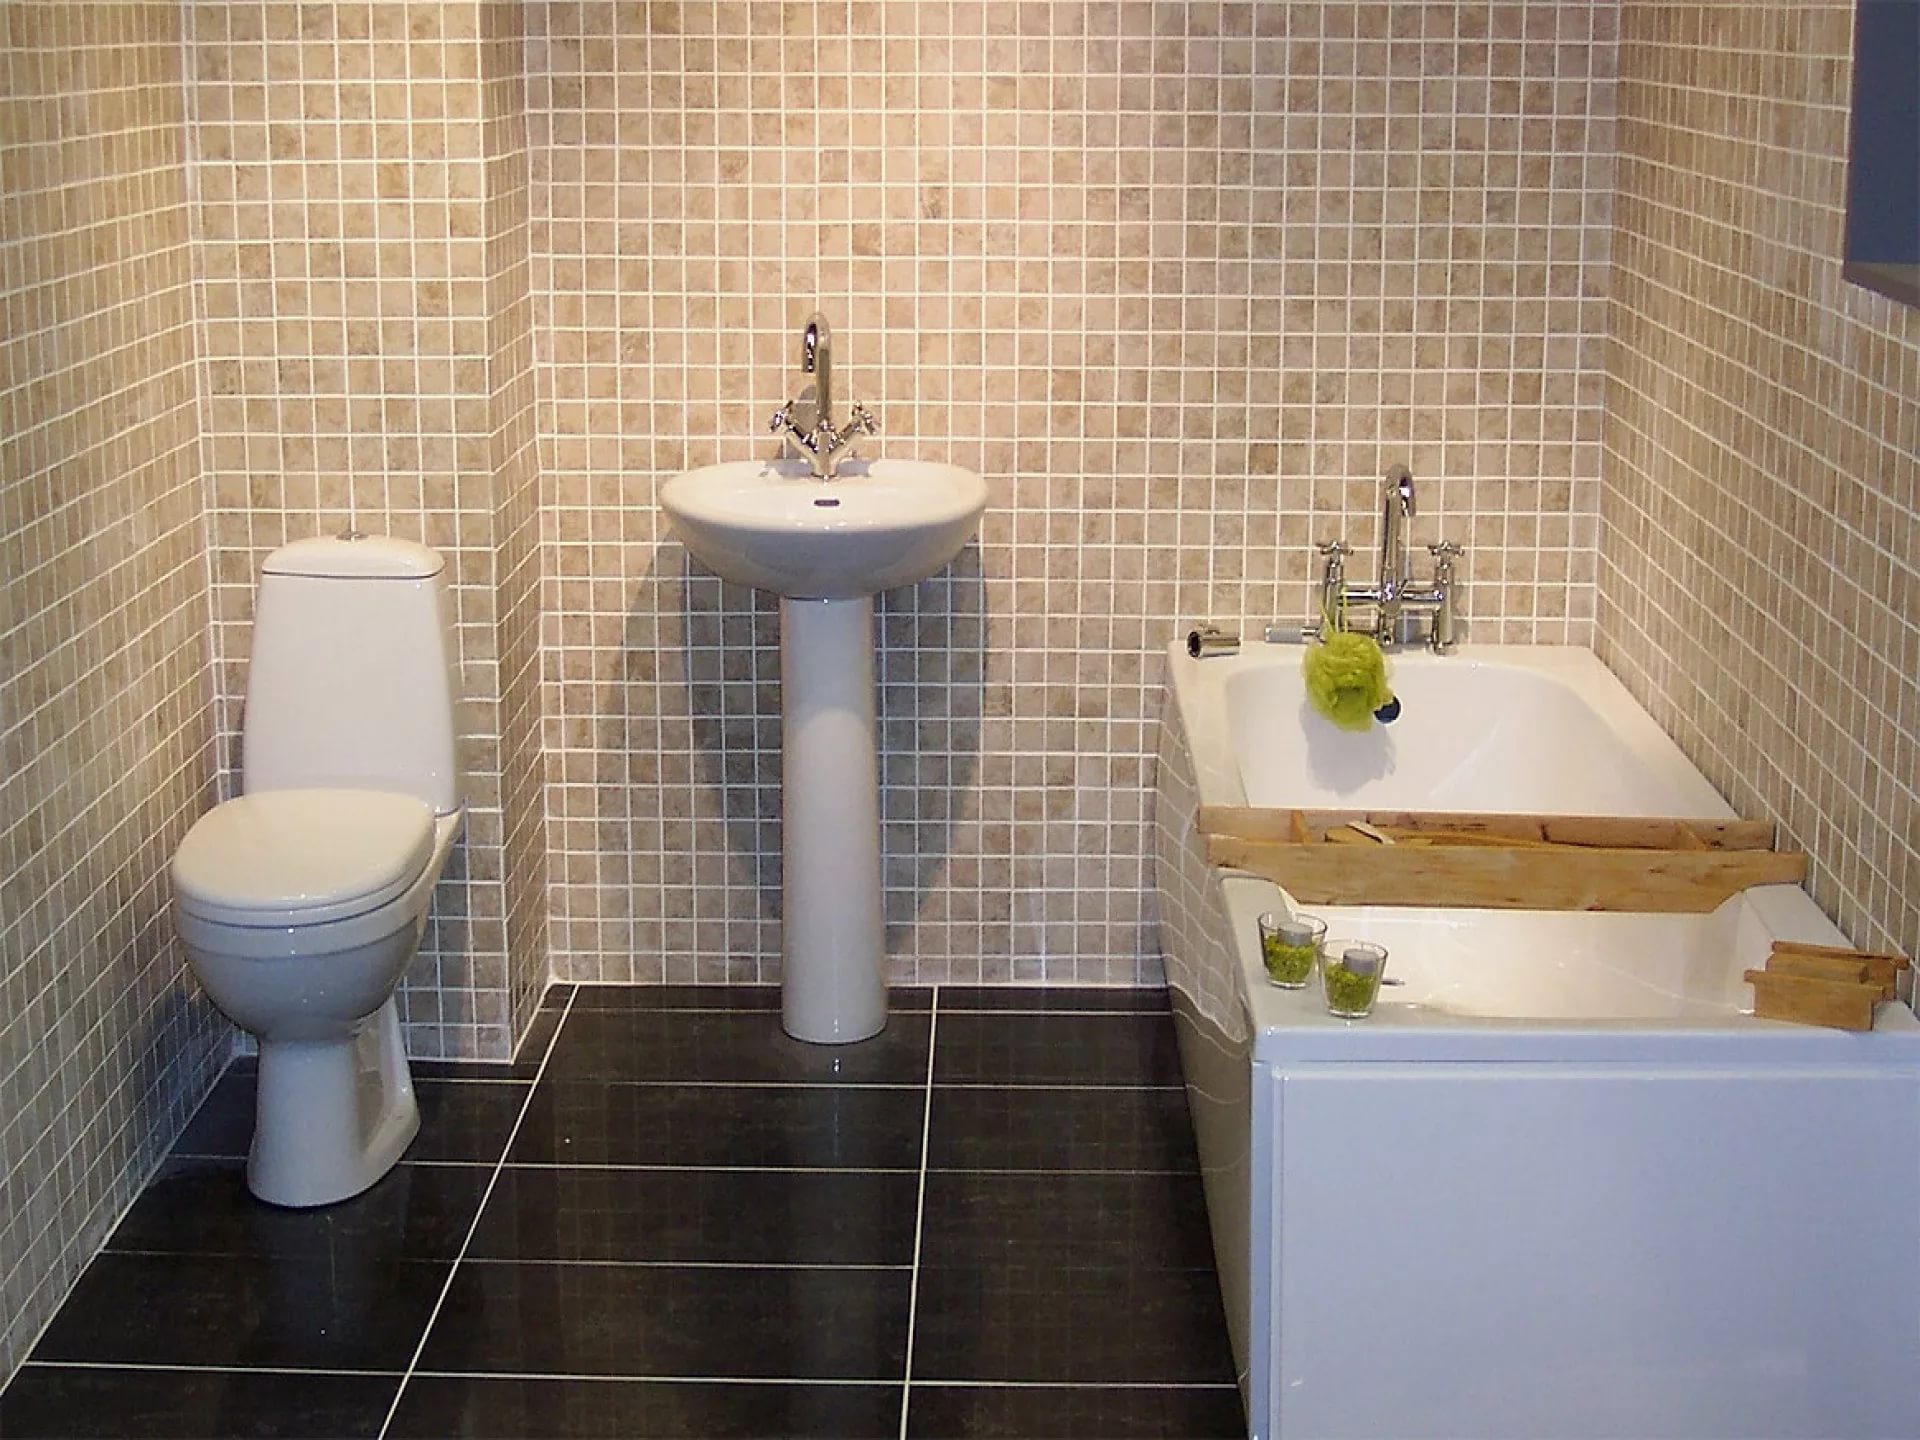
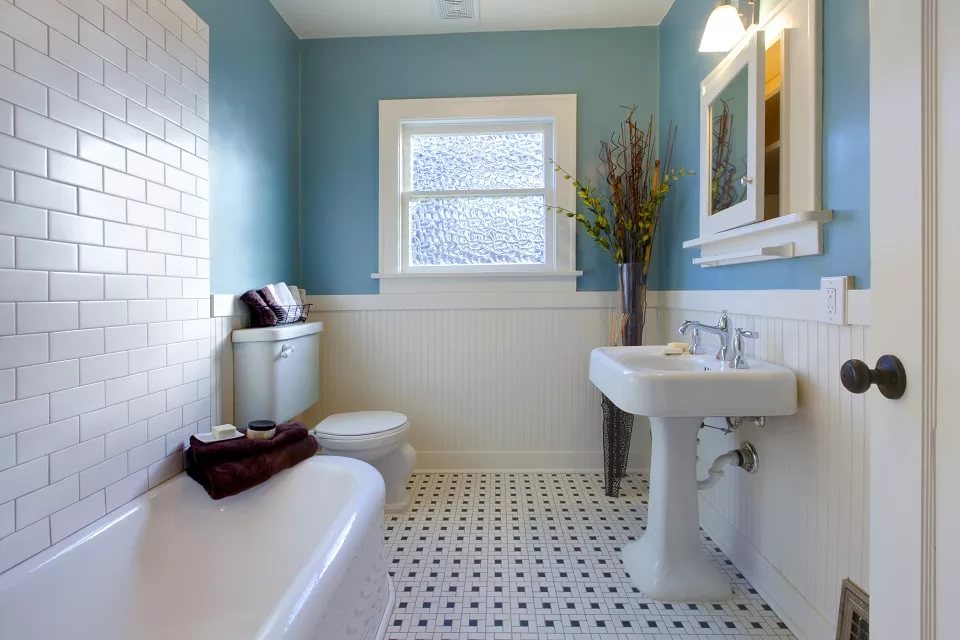
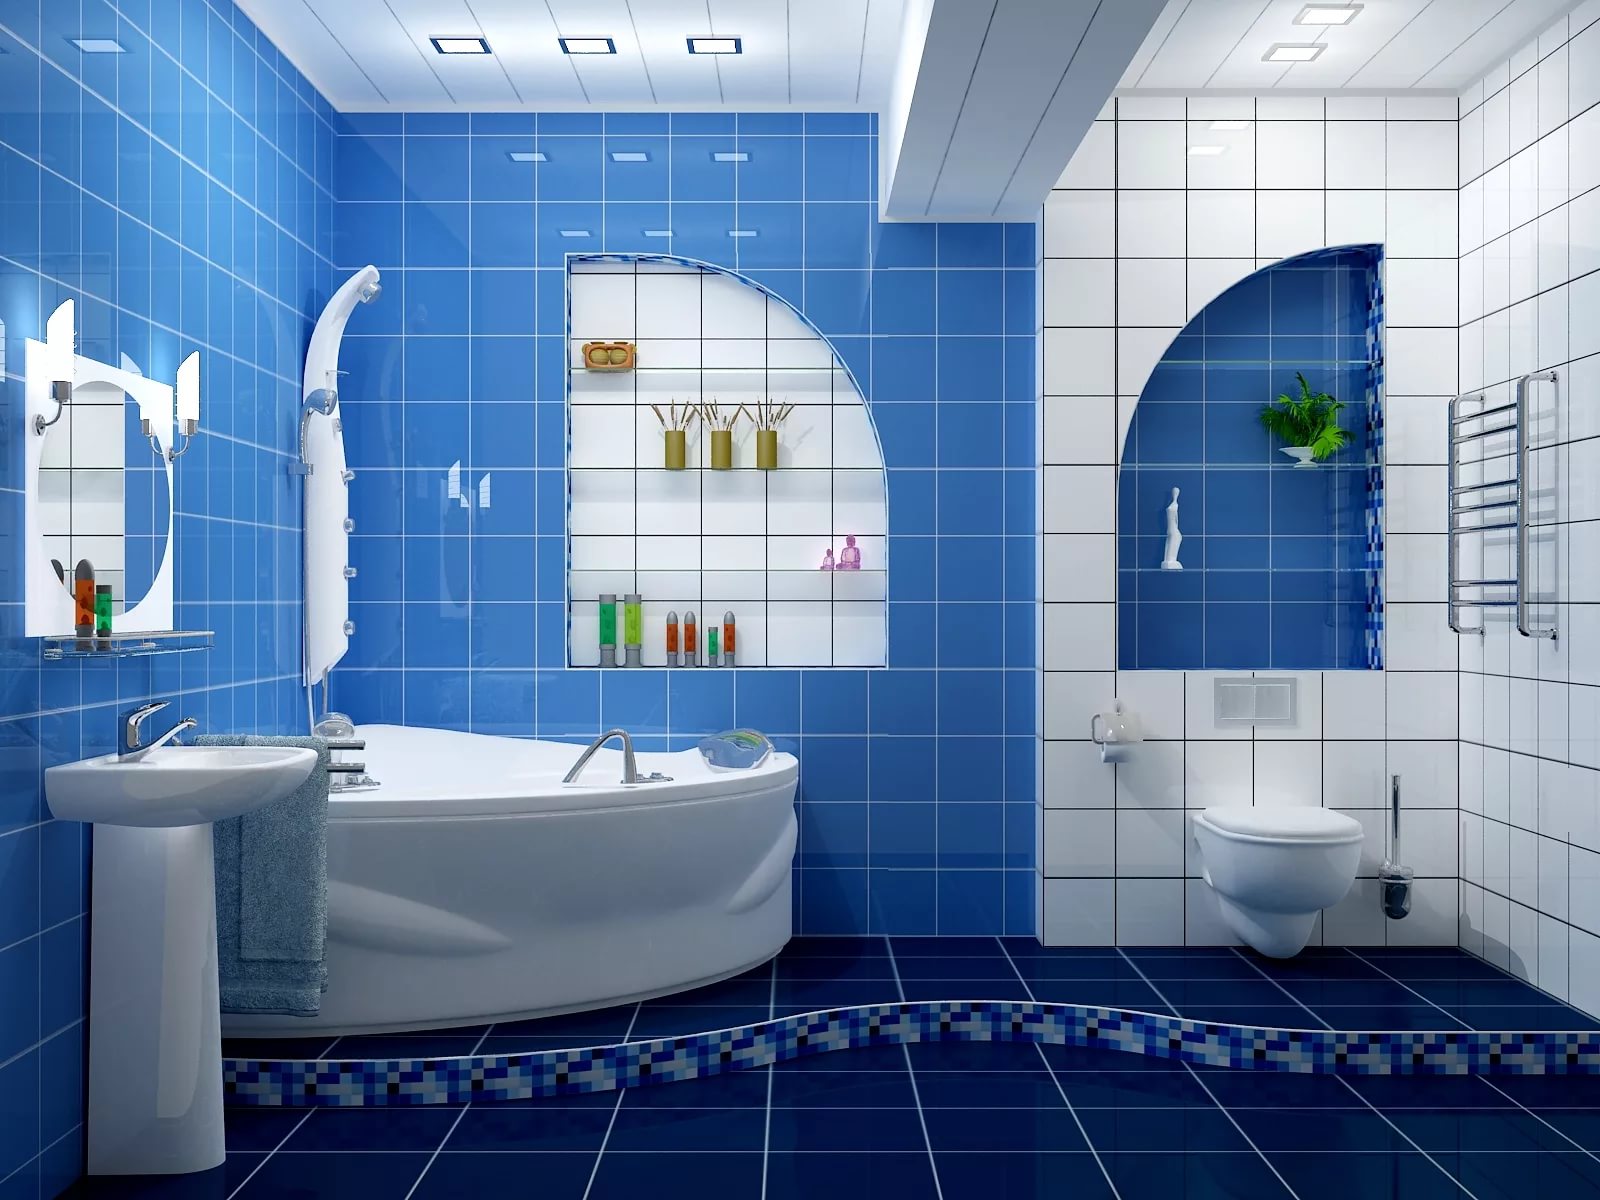
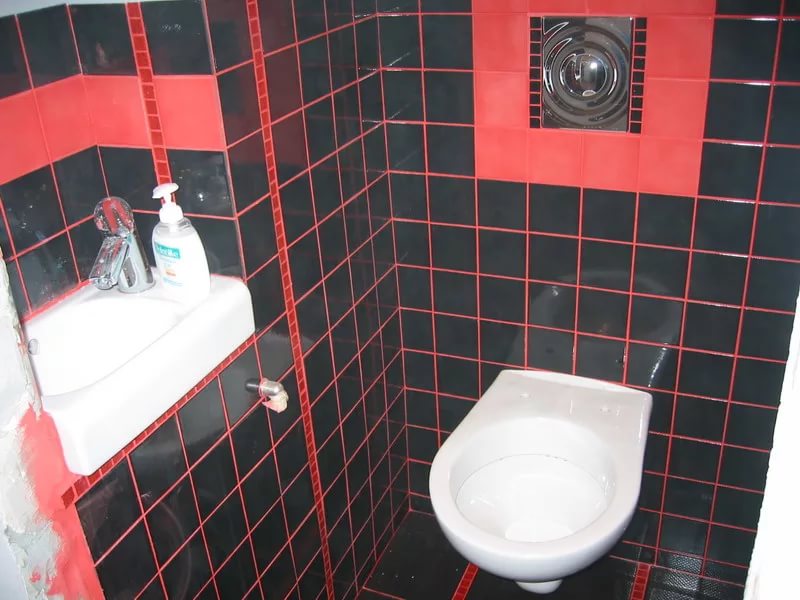
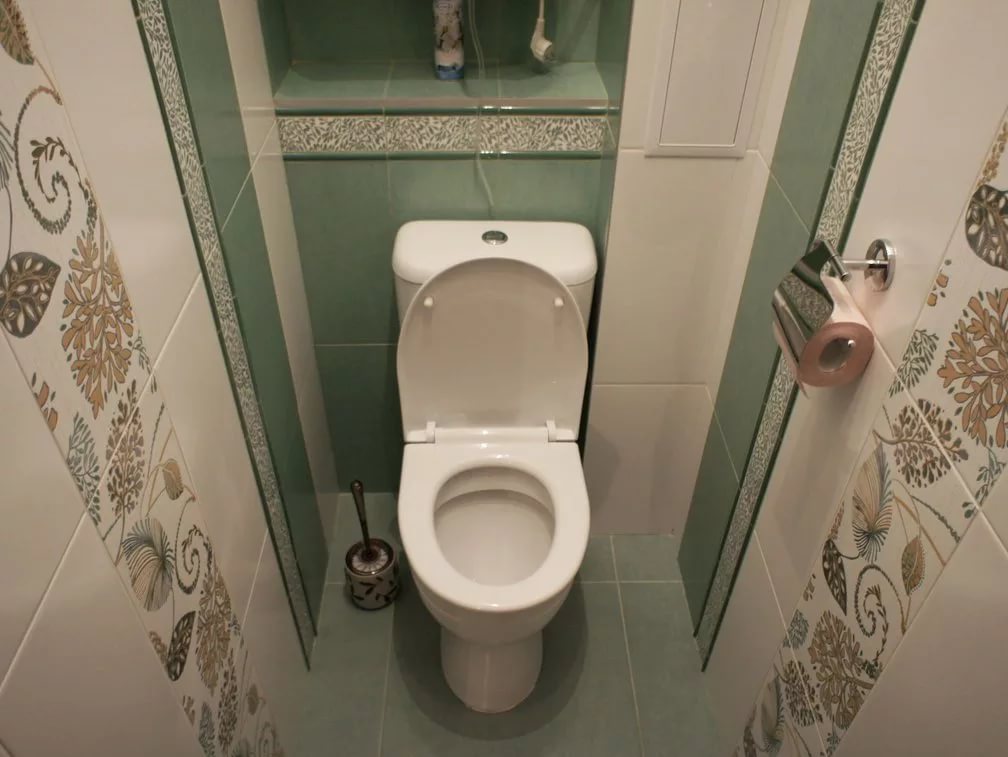
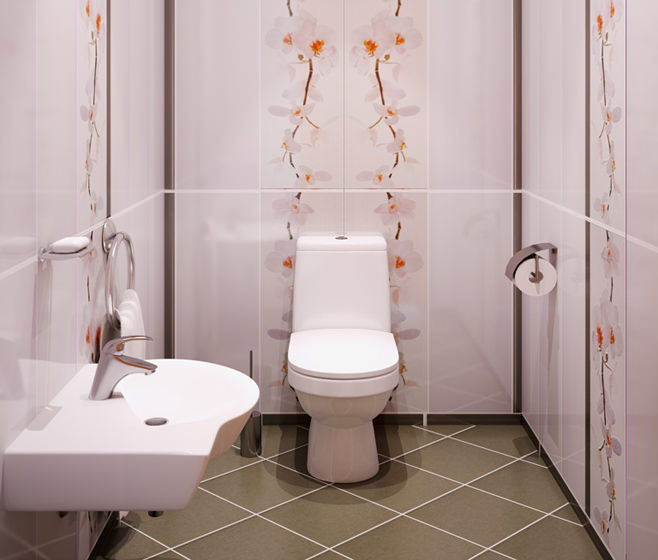
The most common type of finishing the toilet room is facing the surface tiles.
Various types of ceramics from modern manufacturers allow you to choose the necessary building material for facing work.

The high popularity of ceramic tiles due to excellent properties and, of course, the technical characteristics of the material:
- fire resistance and water resistance;
- resistance to chemicals;
- stiffness and strength index;
- long preservation of the original state during operation.
Simple technology, the availability of materials and tools - all this will help to finish the bathroom with his own hands the person who does it for the first time. You need to properly lay tile yourself, so that visually increased the space of the toilet room.
Dismantle of old finishing covering, bathroom equipment
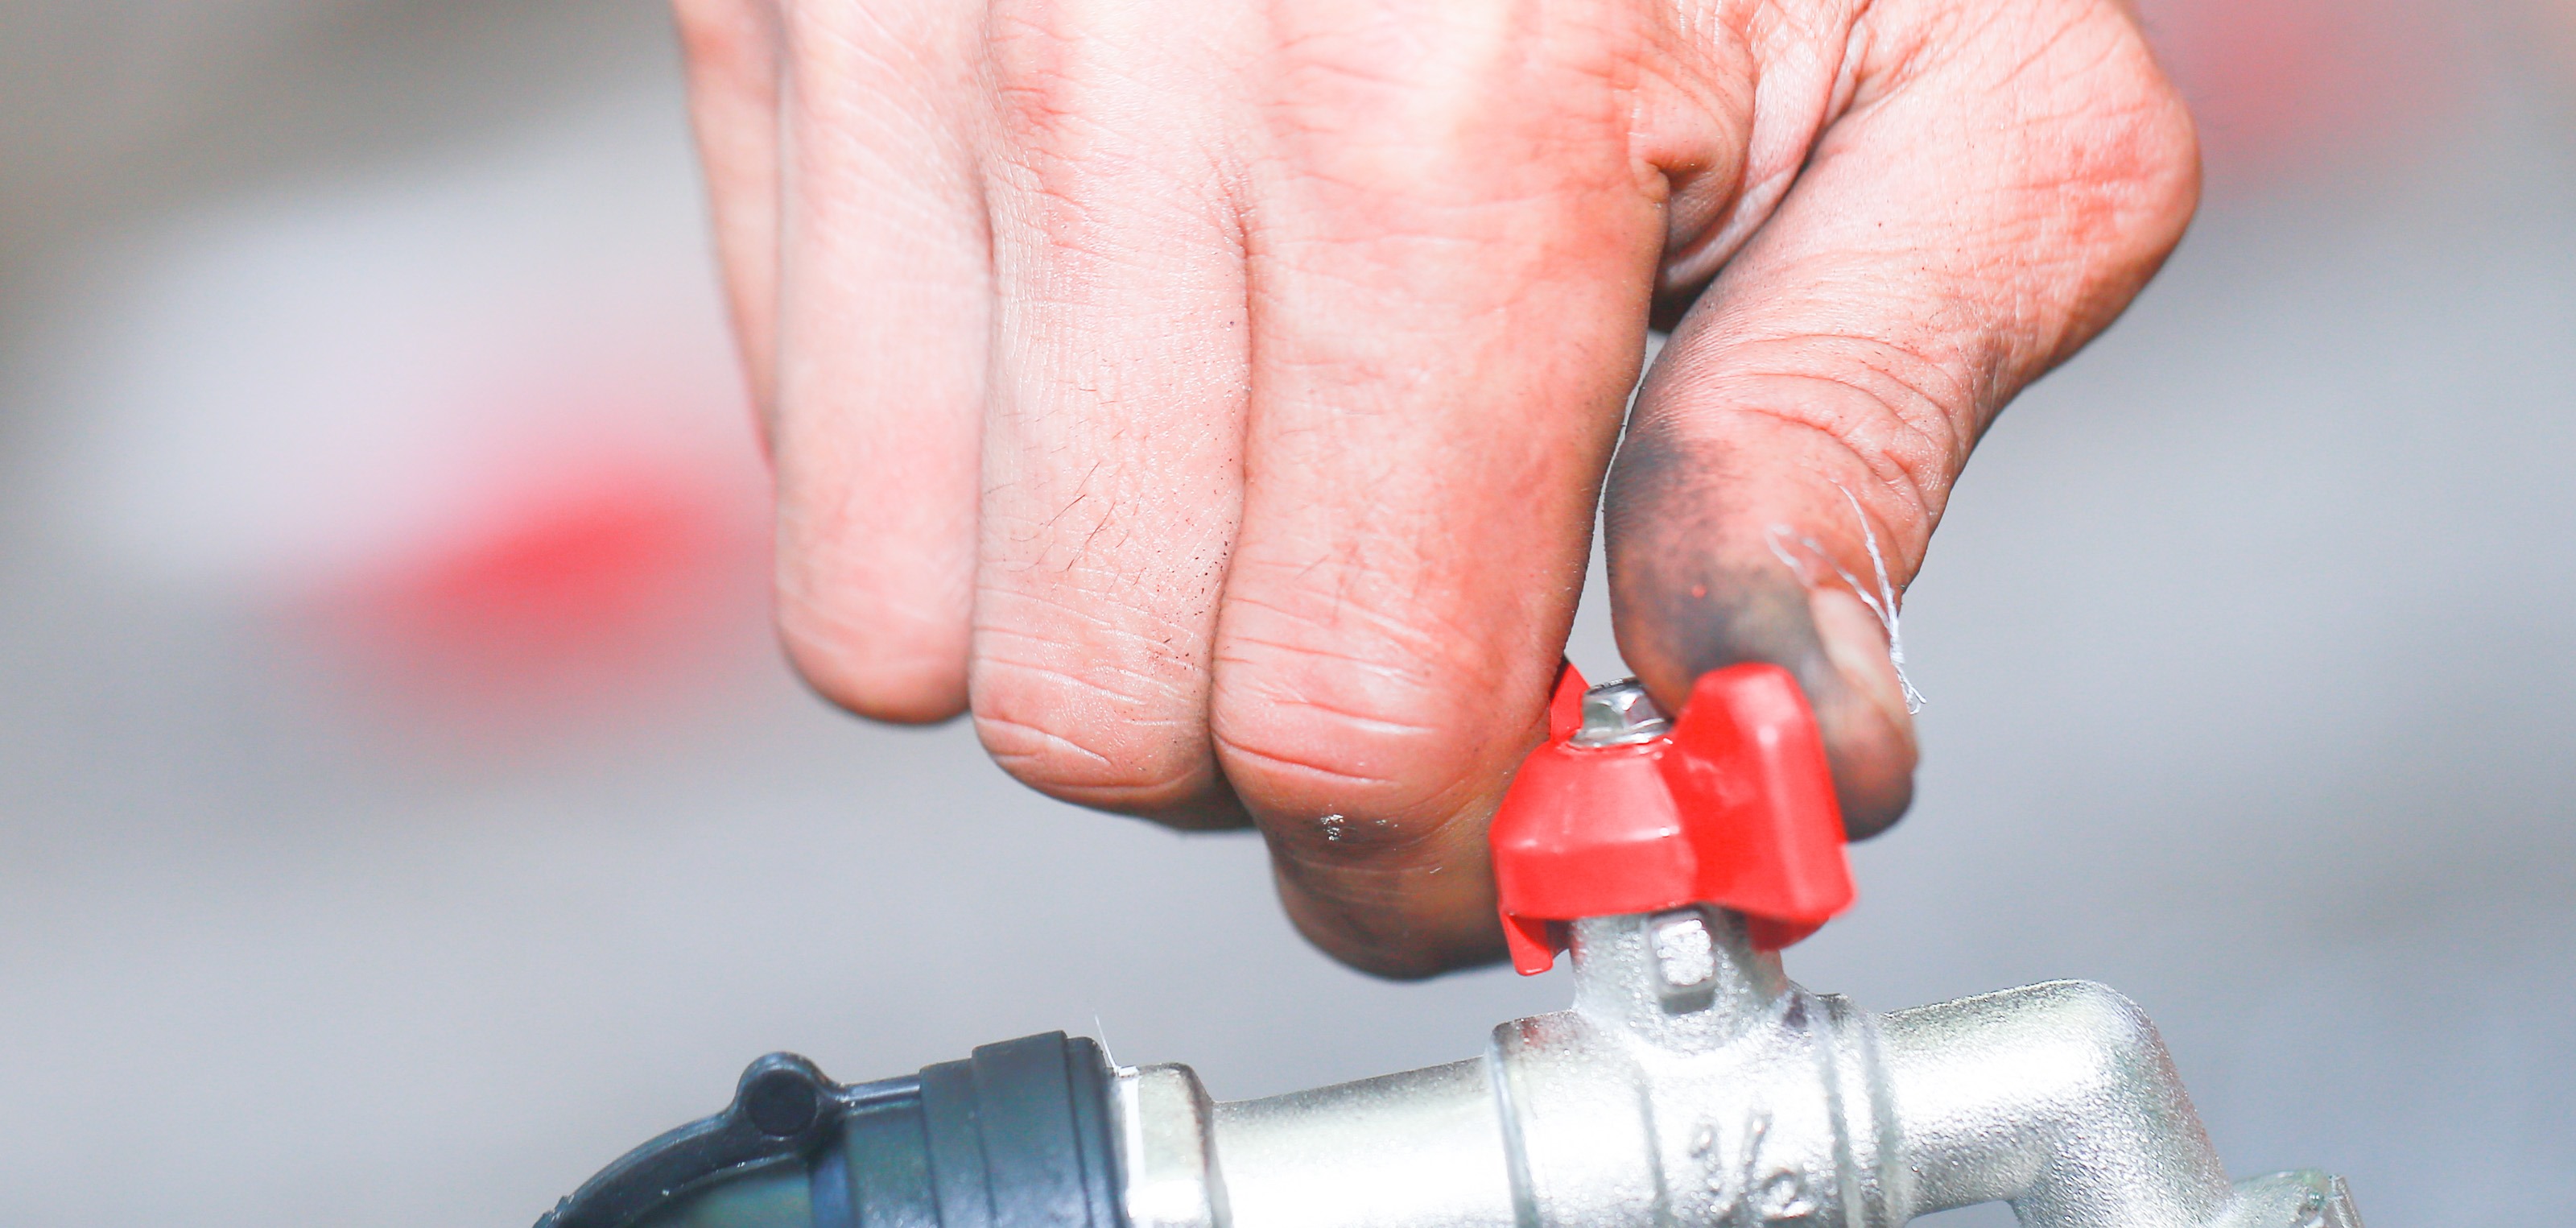
Before dismantling the plumbing equipment, it is necessary to shut off the water, and also disconnect each consumer from the plumbing system and empty the toilet tank.Next, remove from the surface of the walls all the old finish. The scale of such works will directly depend on the building material that was chosen for finishing and on the plane leveling technique.
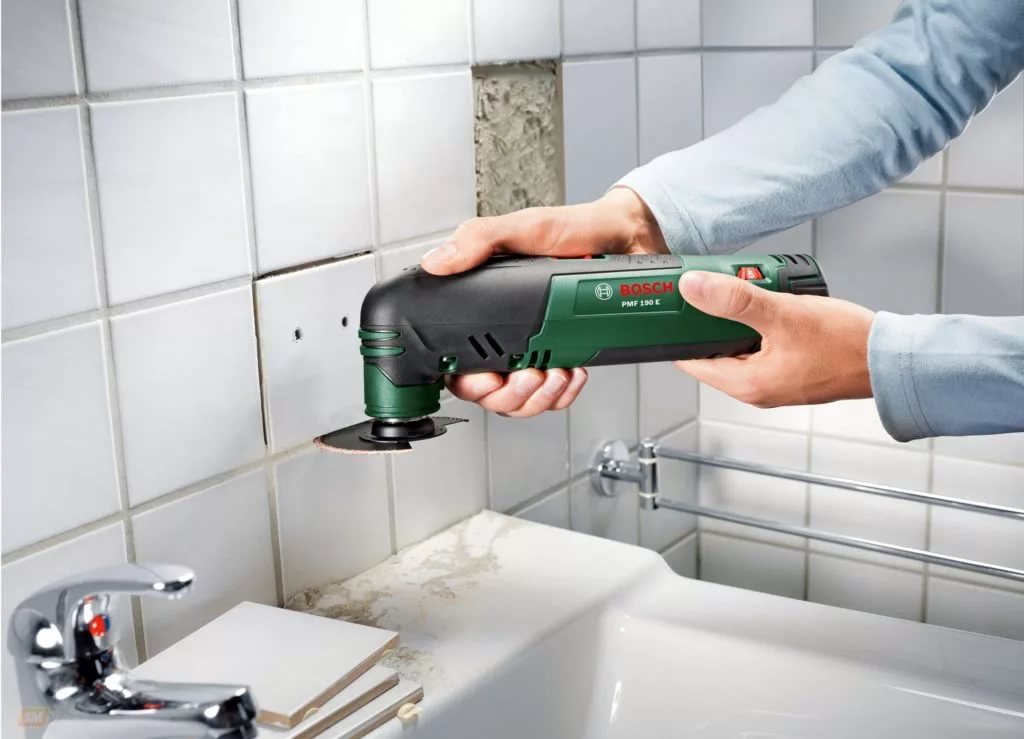
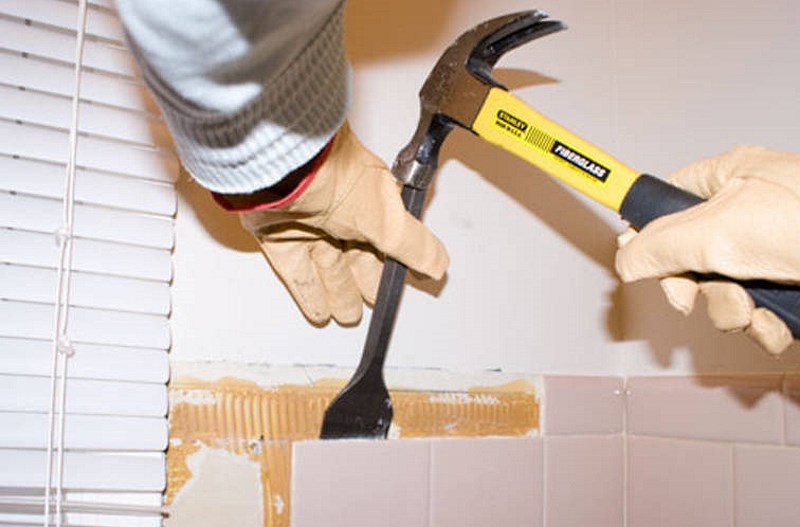
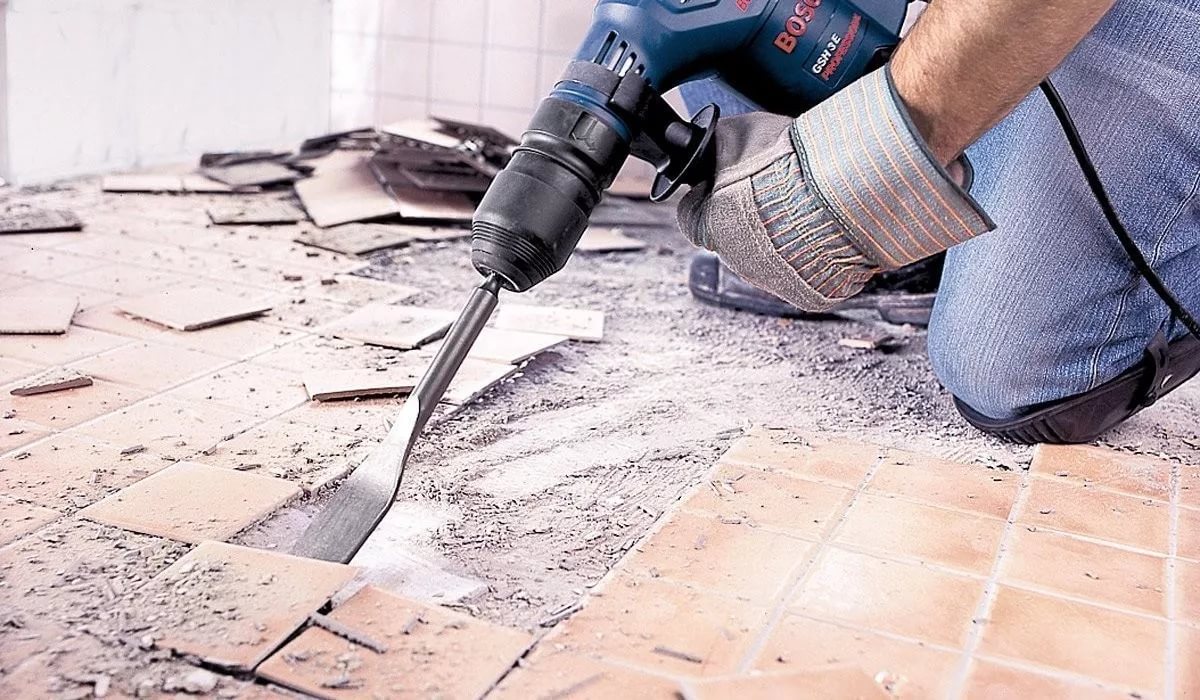
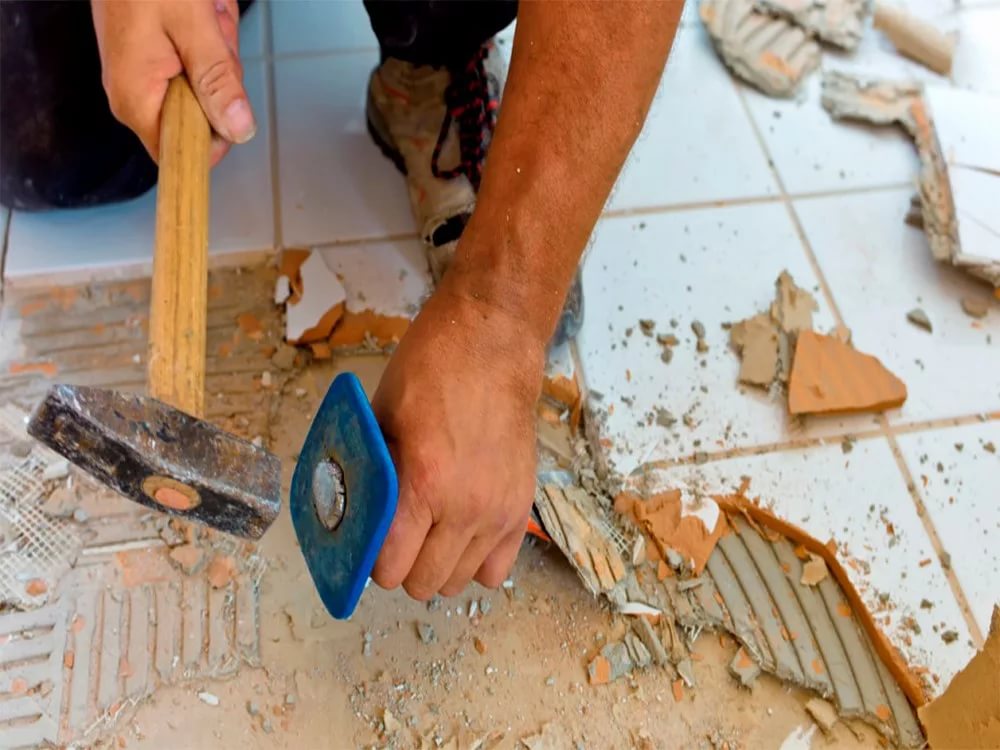
For example, an old ceramic tile is removed using a perforator. To do this, the tool is set flat nozzle - chisel. Begin dismantling the tiles should be on top. Thus, when removing the lower rows of ceramics, there will not be a fall of a large upper layer.
By dismantling the previous finish, there will be a chance to upgrade the old wiring.
Dismantling the flooring
Perforator removes the ceramic tile with the solution hidden under it.
Work with a puncher should be in special clothes and shoes, you must also use a respirator and goggles. The room must be de-energized, and repair work, meanwhile, should be carried out when lighting portable illuminators.
Thermal insulation and floor insulation
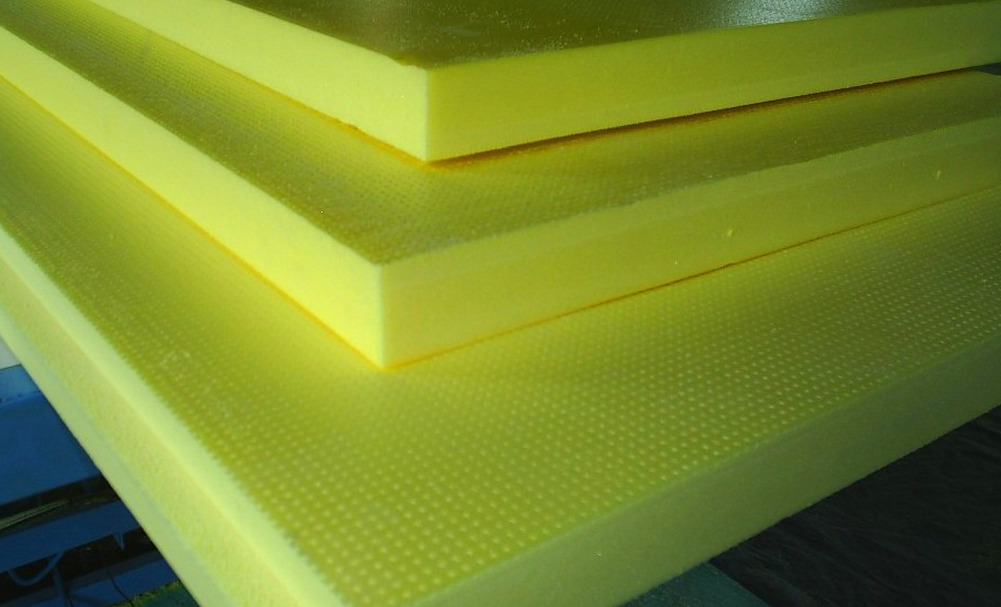
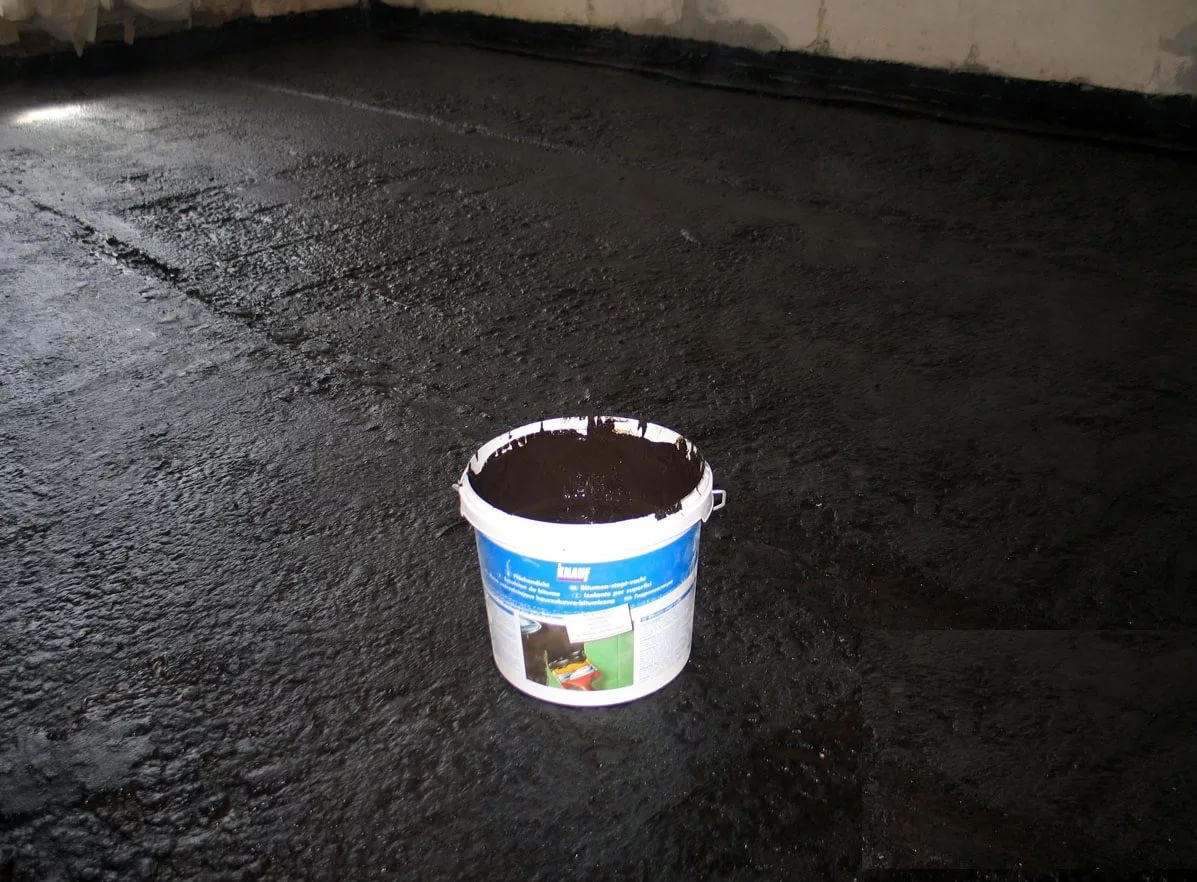
Having completed the dismantling of the flooring, proceed to the implementation of insulation and sound insulation of the base. For the insulation of the floor in the toilet using extruded foam.The fine-grained structure of this material is selected with a width of 3-4 cm. The floor base is covered with a double layer of special bitumen mastic. Each layer is applied once every 24 hours.
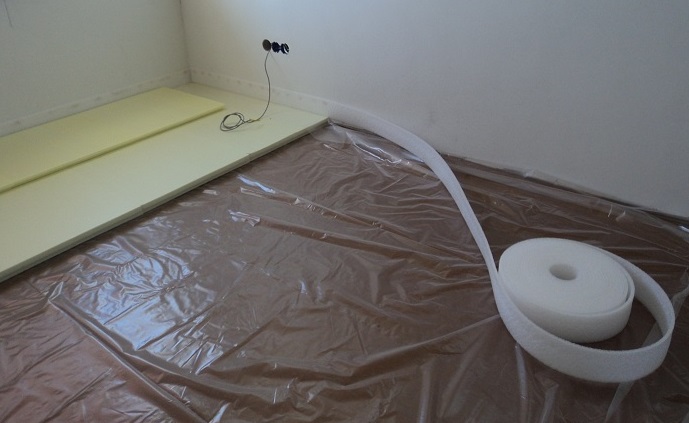
After complete drying, the floor is covered with foam sheets, and each sheet of foam plastic is laid tightly with the previous one. The entire surface and joints must be covered with bitumen mastic.
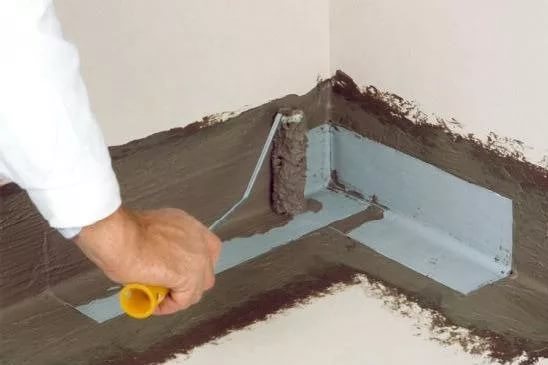
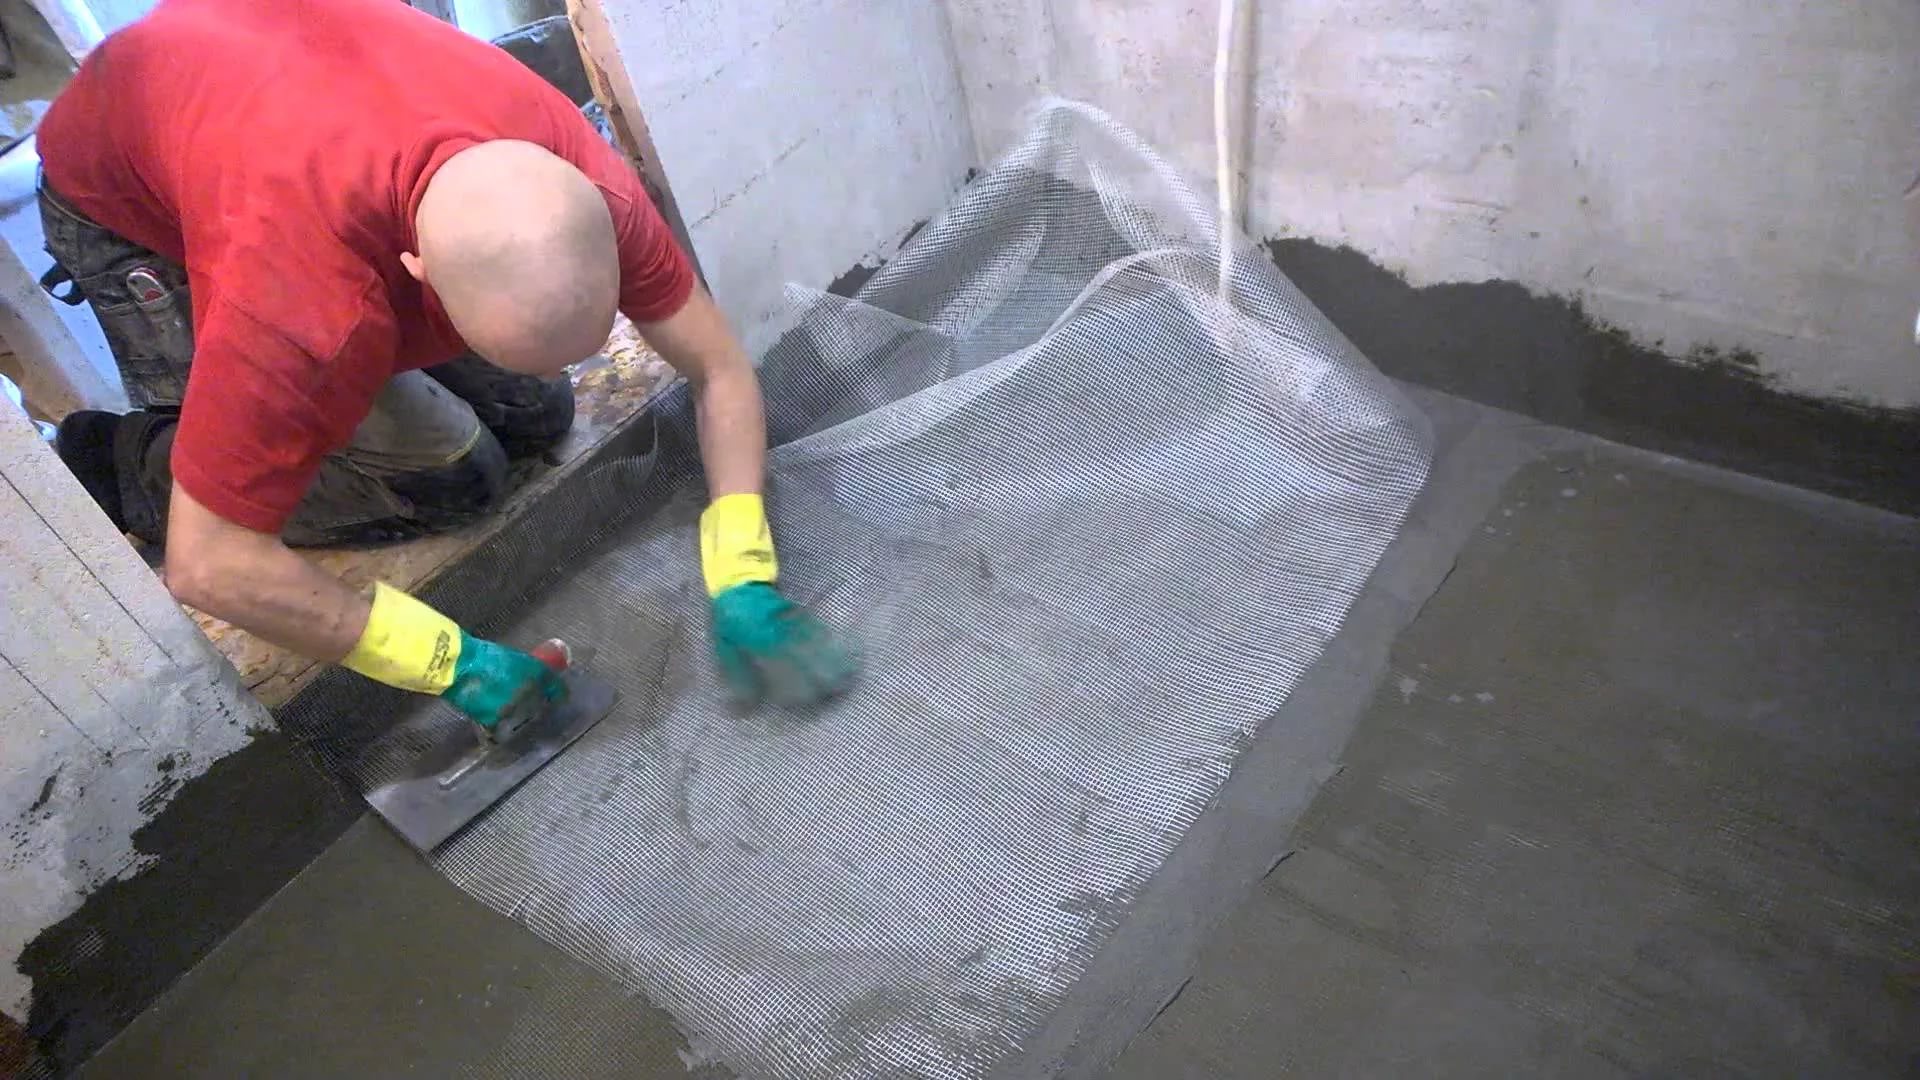
Floor waterproofing
To perform waterproofing, a dense cellophane is laid on the foam, while the overlaps on the walls should be no more than 20 cm. A small area of the toilet room is covered with solid cellophane without joints. If the area of the room is large, then the waterproofing material spreads over each other, while the width of the overlap should be at least 10 cm. The inside of the overlaps is coated with bitumen mastic, after which you can glue the cellophane pieces together.
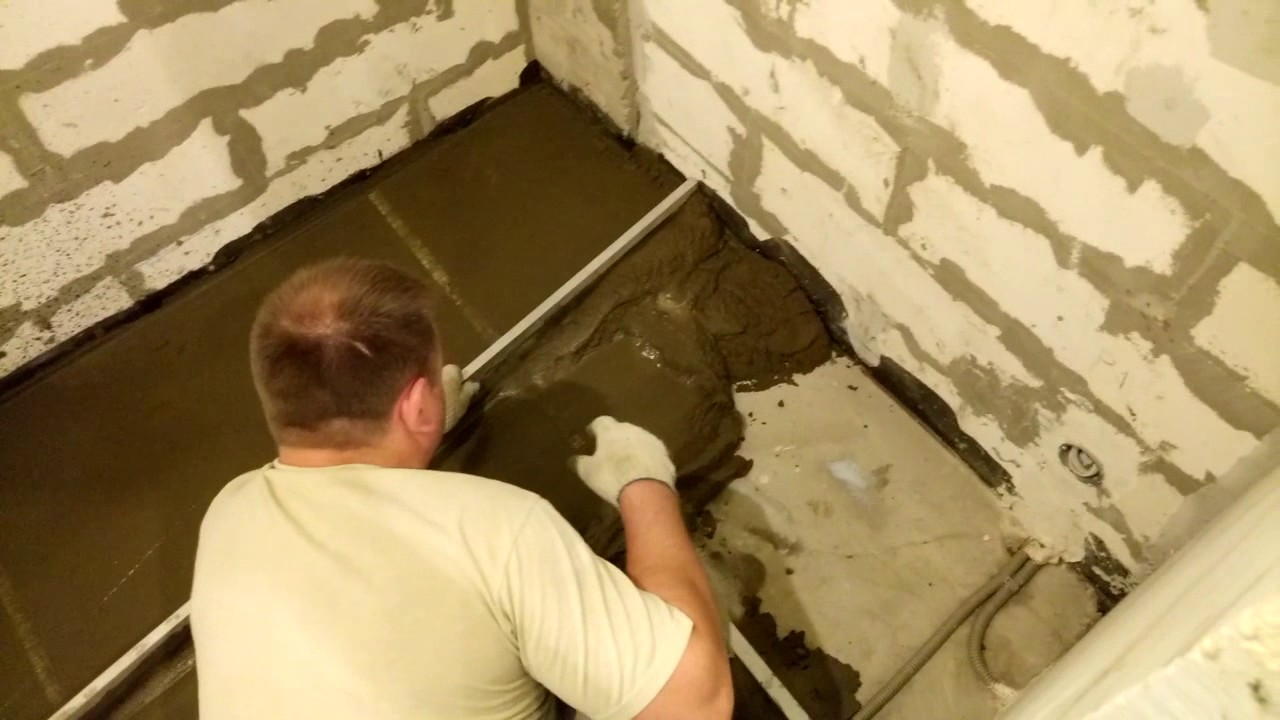
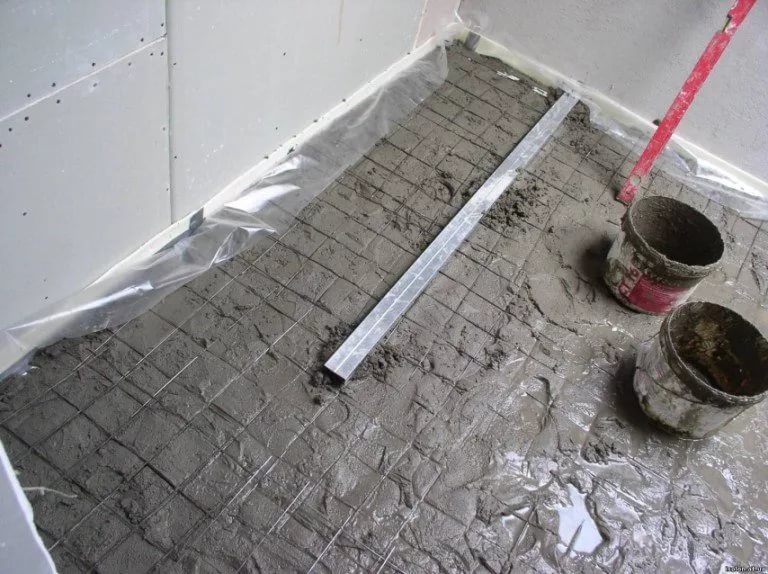
Leveling screed
On such waterproofing suit screed - specially prepared solution. At the same time, the thickness of such a cement-sand casting should reach 5 cm. It is considered correct to use coarse sand in the preparation of the mortar - this will increase the strength of the screed itself and save the amount of cement. Wherein The proportions of sand and the right amount of cement in the solution should correspond to a ratio of 1: 4.
This screed is reinforced with a special mesh with a diameter of up to 8 mm. The maximum dimensions of the cells of this element, made of nylon reinforcement, can be 12x12 cm. The reinforcement is knitted with special plastic clamps, the remaining excess length is cut off immediately after tightening.
It is also possible to use ordinary reinforcement of steel with a diameter of 10 mm, it is knitted with the help of wire. The mesh in concrete is placed closer to the lowest part of the screed surface. She will experience all the strain of stretching. Pre-exposed beacons will help to make the tie.
After 24 hours, a plastic film should be put on the coating - this will help prevent premature evaporation of moisture. Otherwise, premature evaporation can lead to loss of strength of the created base.
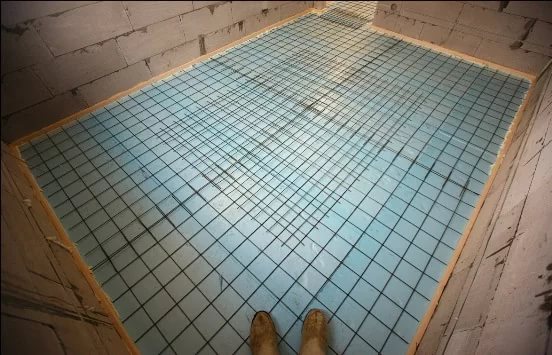
The film can be removed in a week. Then you should wait for absolute drying. A dry surface should have a light grayish tone.
Styling methods
There are two ways of laying tiles in the toilet:
- straight;
- diagonally.
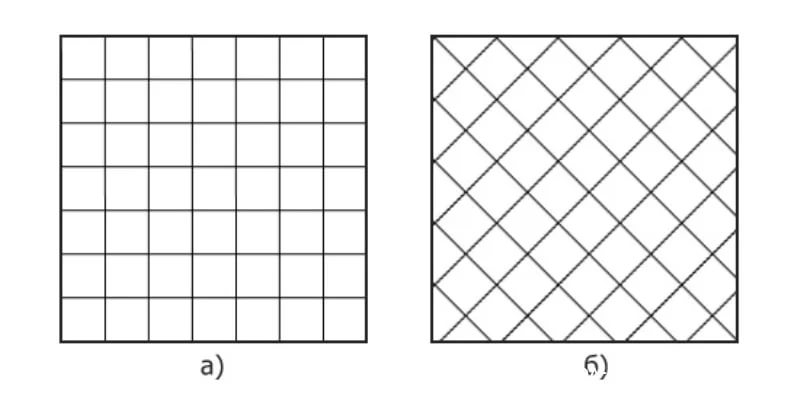
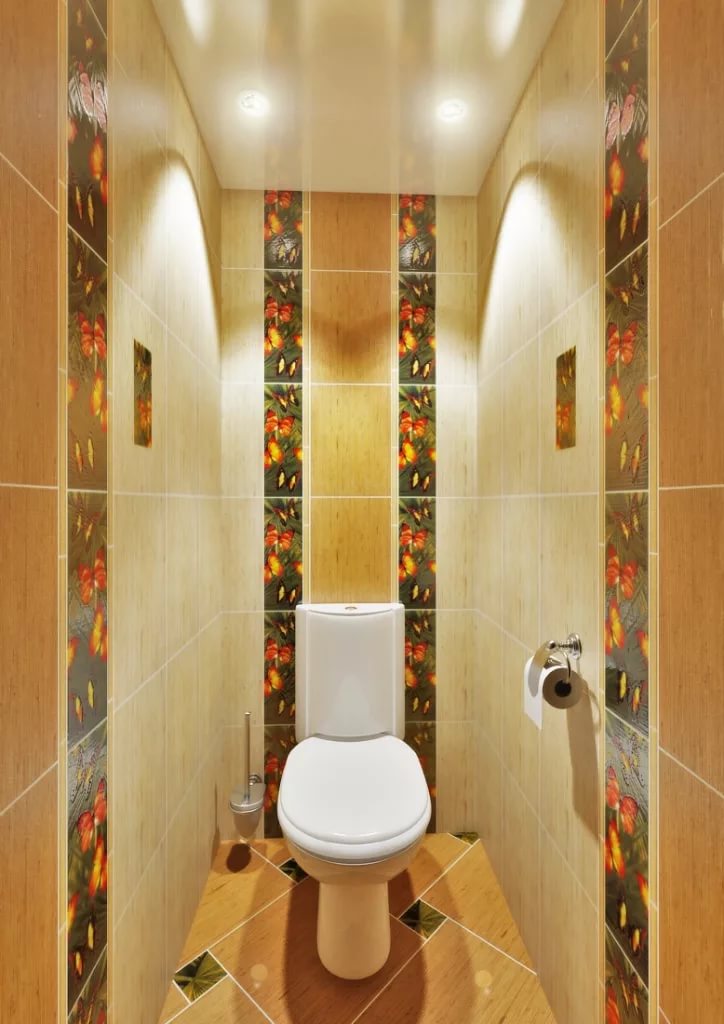
The diagonal method of laying ceramics allows you to visually expand the indoor space.
Tile selection
Even scrupulous disinfection and thorough cleaning does not always completely destroy harmful bacteria, so you should choose a tile with a smooth, perfectly smooth texture. Such a floor surface without flaws and the smallest troughs will help keep the bathroom clean.
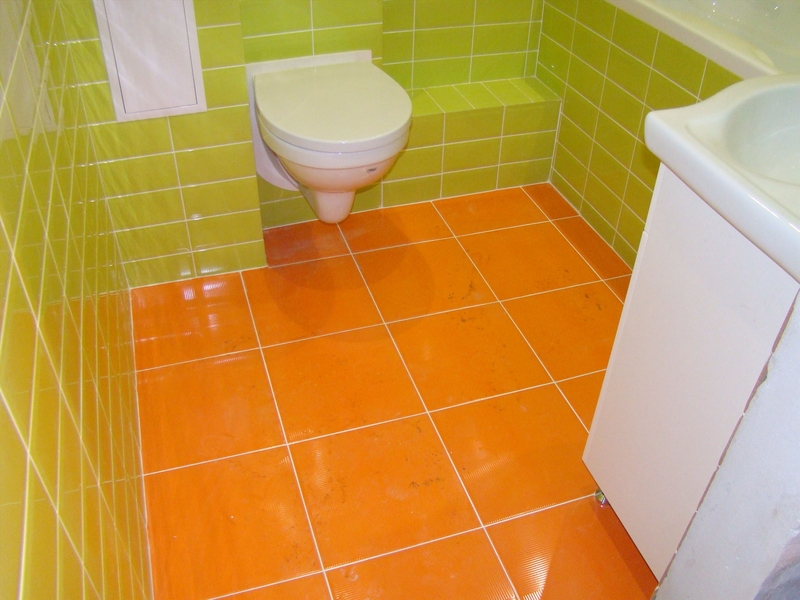
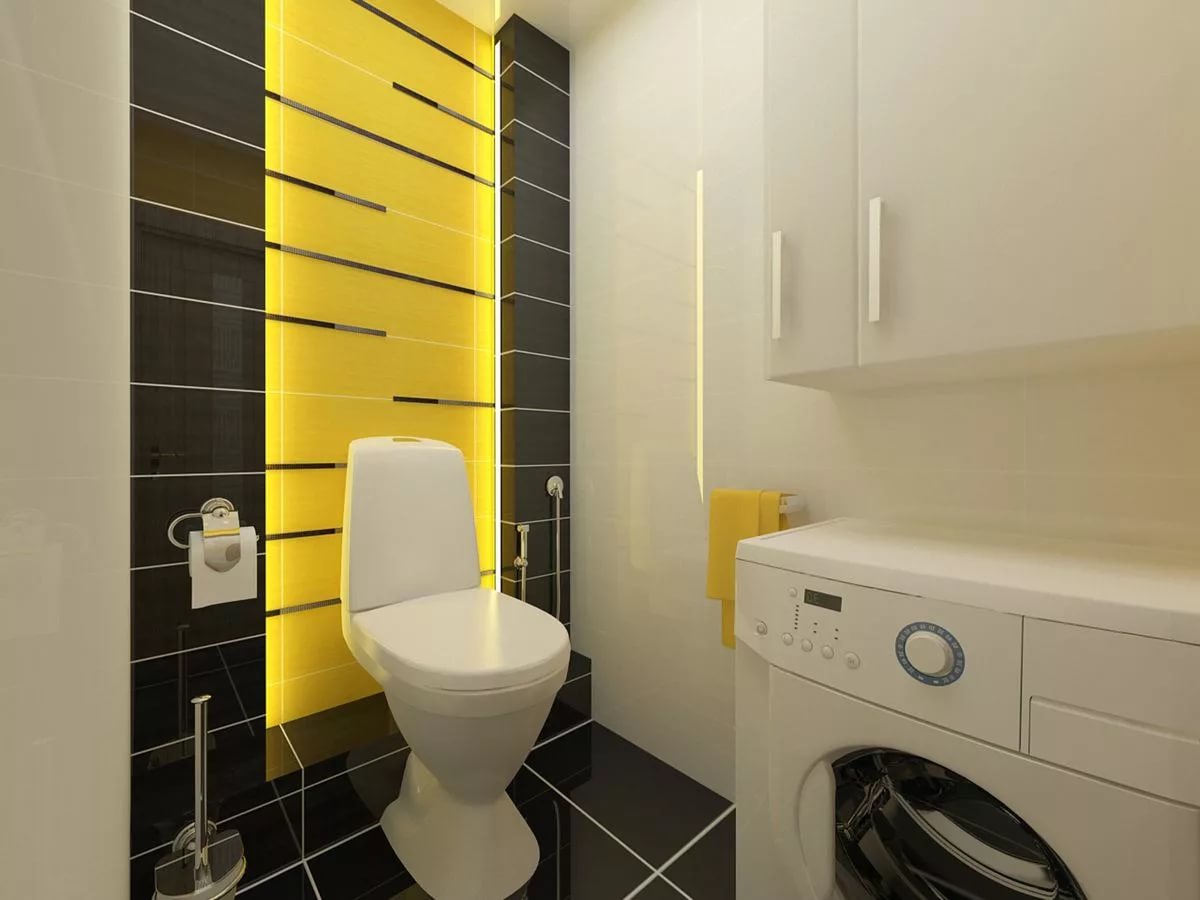
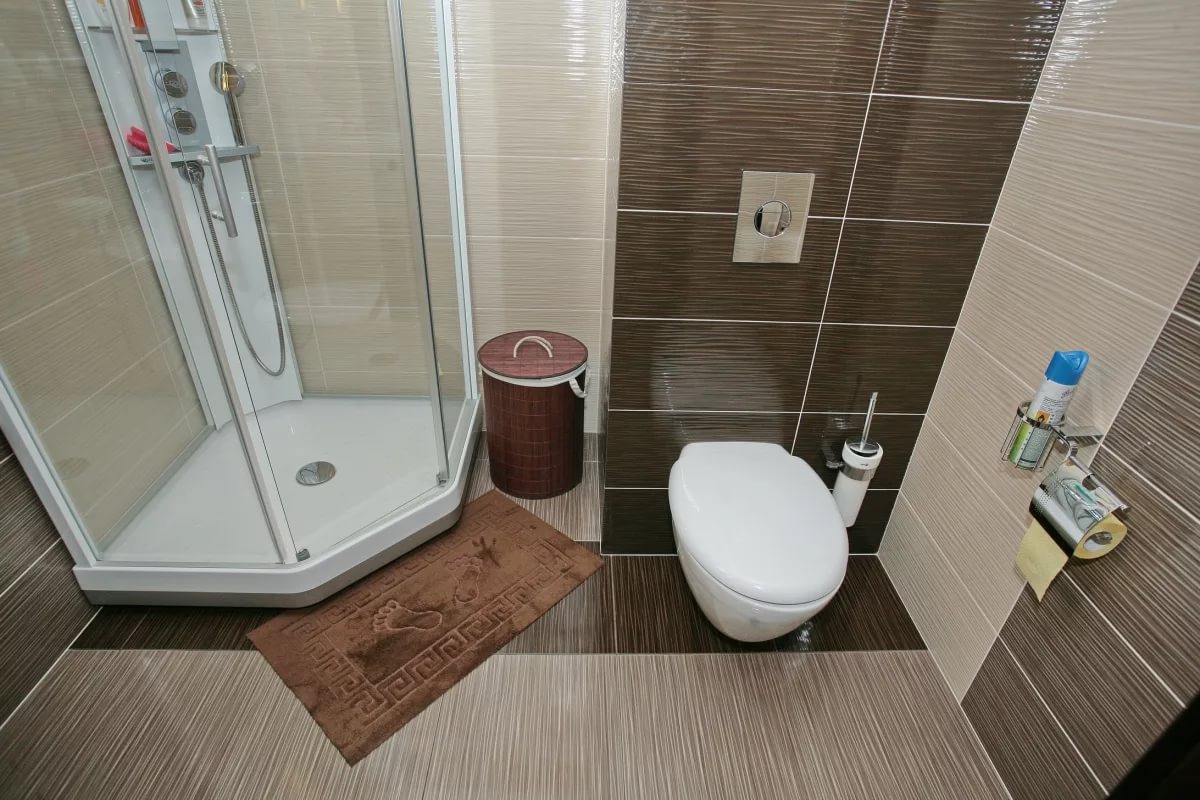
For a small room, it is best to choose a tile of light shades or you can combine several tones at once: light and dark. Grout for joints choose white or lighter floor tiles for several tones. This approach will help to visually increase the space of the toilet room.
Floor ceramic plate must have the appropriate characteristics:
- Water absorption - 3%, not more.
- Coefficient of friction from 0.4 to 0.74, with an average slip. This will ensure the safety and ease of sanitization.
- The degree of wear resistance - PEI-IV, PEI-III, PEI-II. On the back should be an image of the foot with the inscription "for the floor."
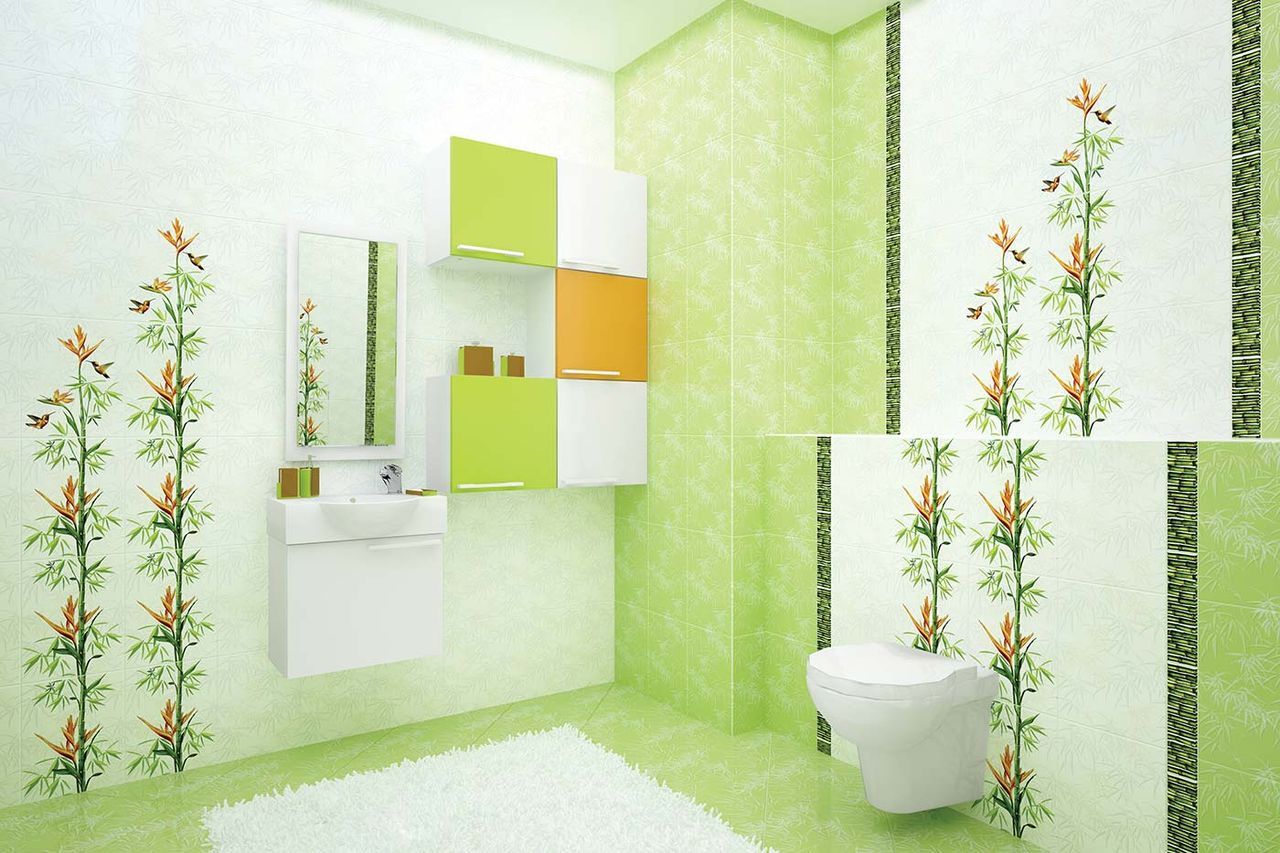
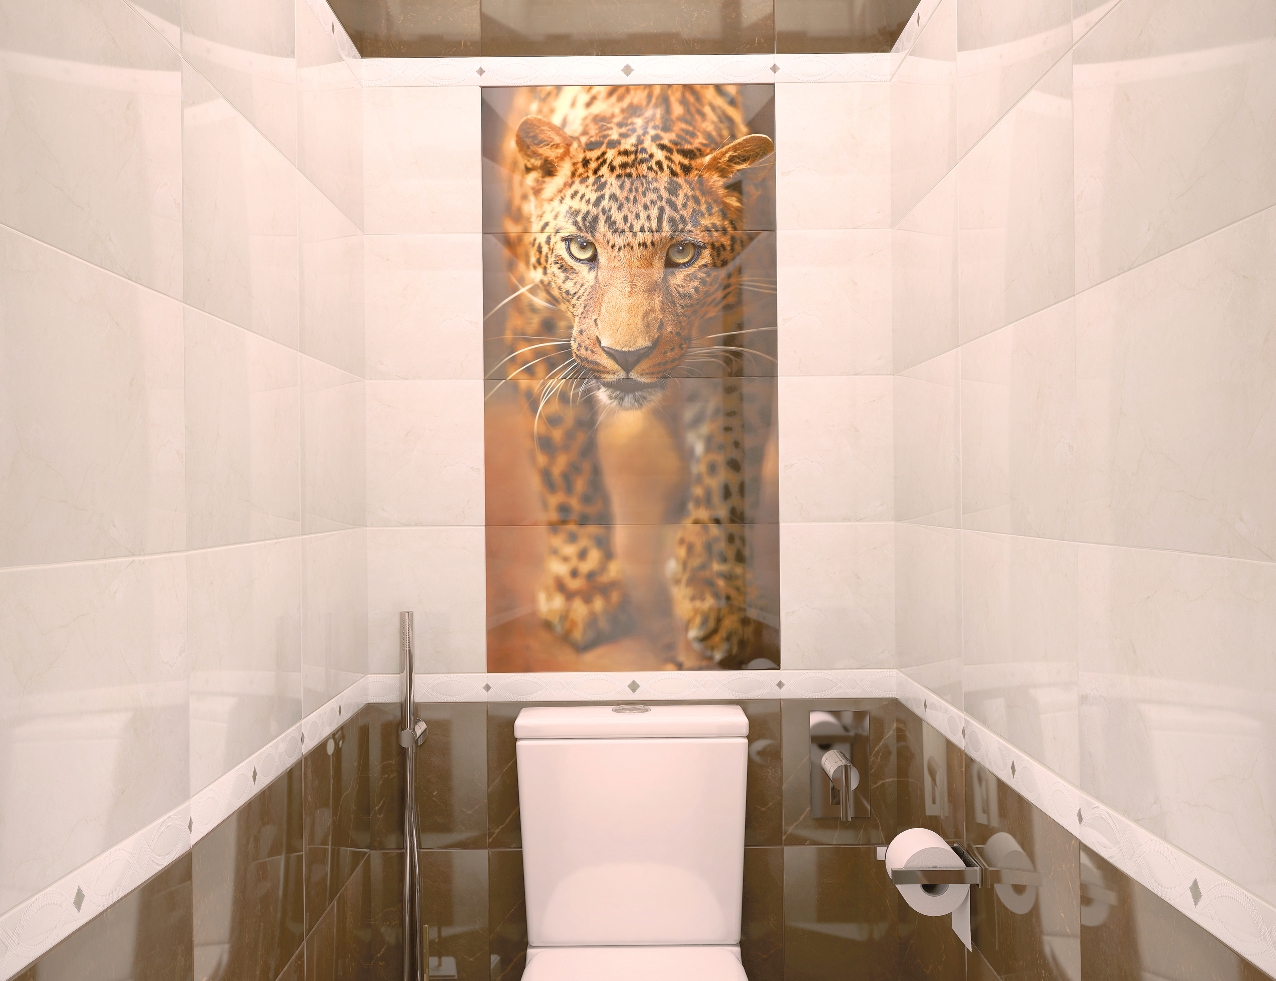
Today, everything is natural, natural and natural in fashion.The most current collection of ceramic tiles from world famous manufacturers with different textures able to display drawings and colors of nature:
- bamboo;
- leopard;
- wild stone;
- sandstone and other options.
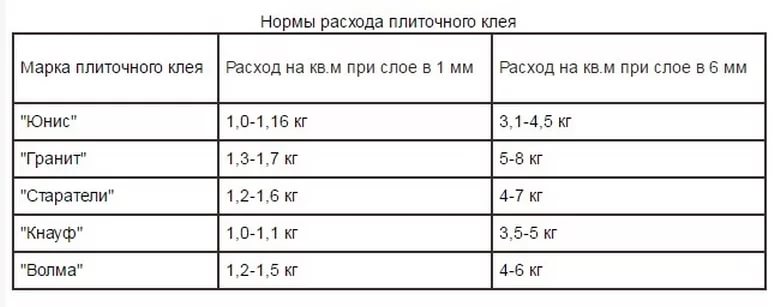
Calculation of the need for ceramics and glue
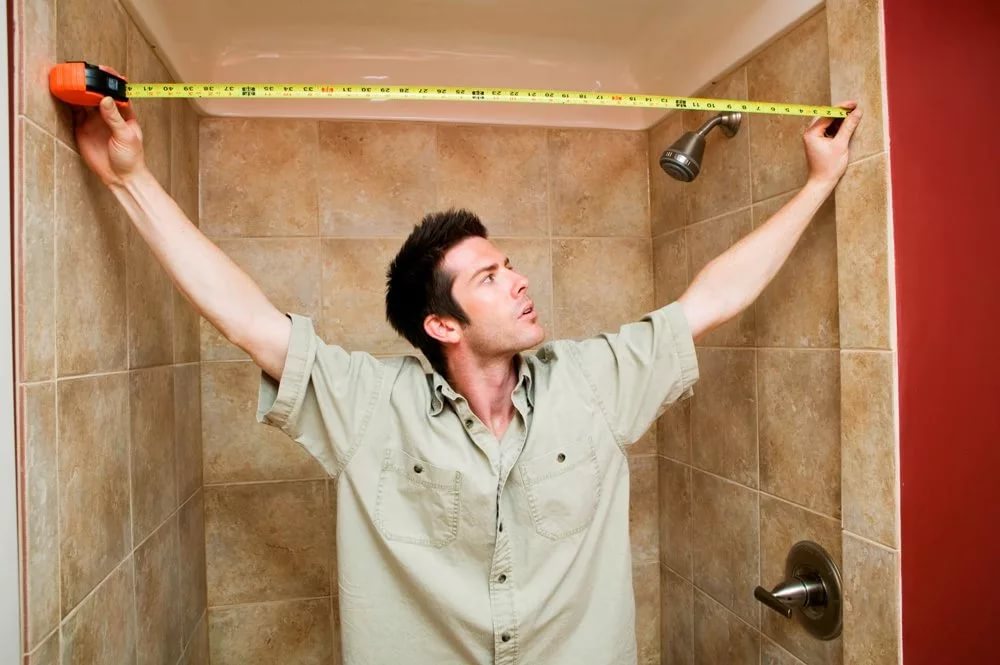
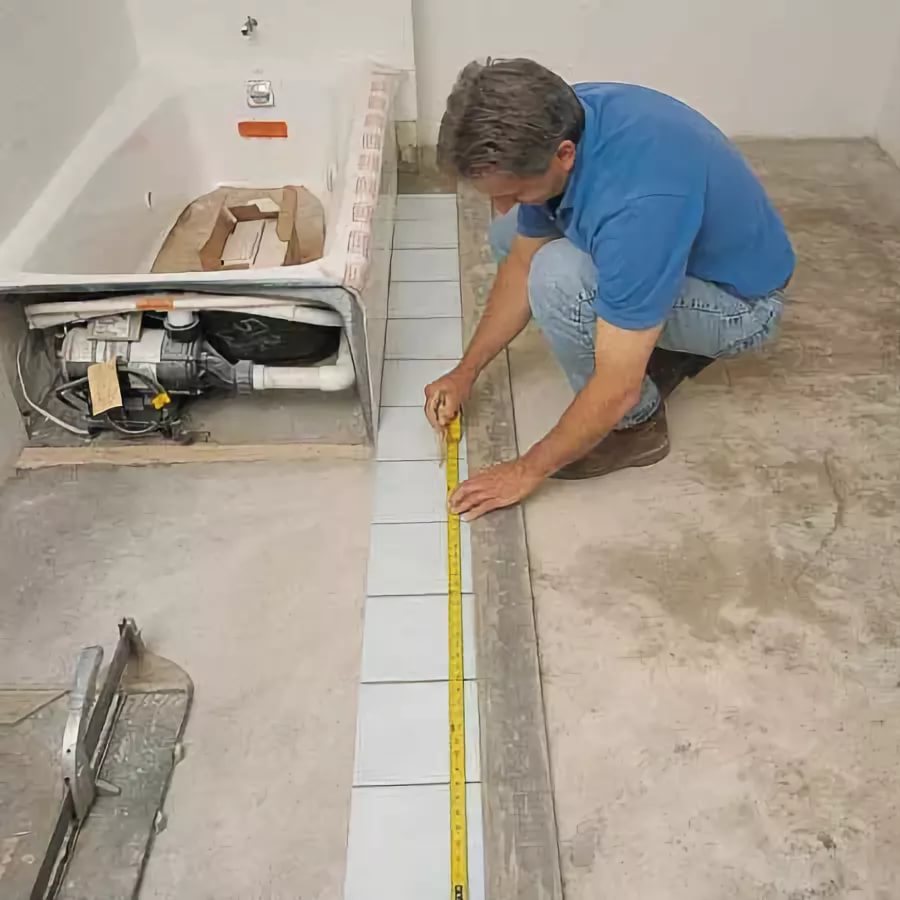
Now you need to calculate the upcoming consumption of facing material. To do this, you first need to measure the height and width, as well as the size of the doorway.
Multiplying the indicators of the length and width of the room, get the square of the entire area. 10% is added to the resulting square of the floor in order to obtain the need for a tile that will be laid in a rectangular manner. There is usually much more waste in case of diagonal masonry of tiled slabs; therefore, another 15% should be added.
To reduce the error in the calculations, the need for a material for a toilet with a small area can also be calculated by the piece method.
Usually on the package indicates the consumption of the adhesive base per 1 square. m By multiplying this value by the total square of the floor surface of the toilet, the need for an adhesive mixture will be obtained.
Foundation preparation
Before starting work, prepare the foundation itself.First, you should remove the existing flooring, remove the old lining to the screed. If there are significant drops on the floor surface, it is necessary to remove the old tie, then to fill in the new one. That is, it is necessary to completely level the surface.
If such differences on the basis of height are 3-6 mm, then use a professional self-leveling mixture for complete alignment. More pronounced drops will have to be corrected by pouring a concrete screed.
For complete drying of concrete, it is better to set aside 3-5 days.. At the same time the room should maintain a normal level of humidity. The finished surface of the base must be covered with a primer, which will help to strengthen the adhesion of the tile, prevent the appearance of fungus in the toilet room.

Instruments
To lay the tile in a diagonal or direct way, You will need to use the following building materials and tools:
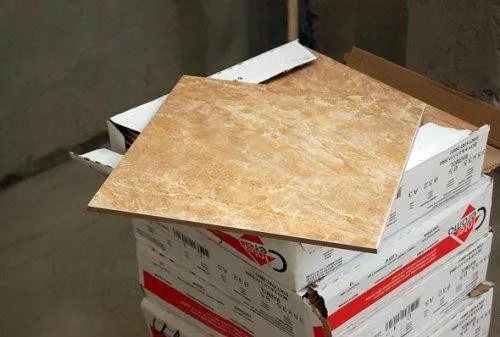
- Ceramics. It is necessary to calculate the required amount of building material. The tile of one party will exclude a tint discrepancy.
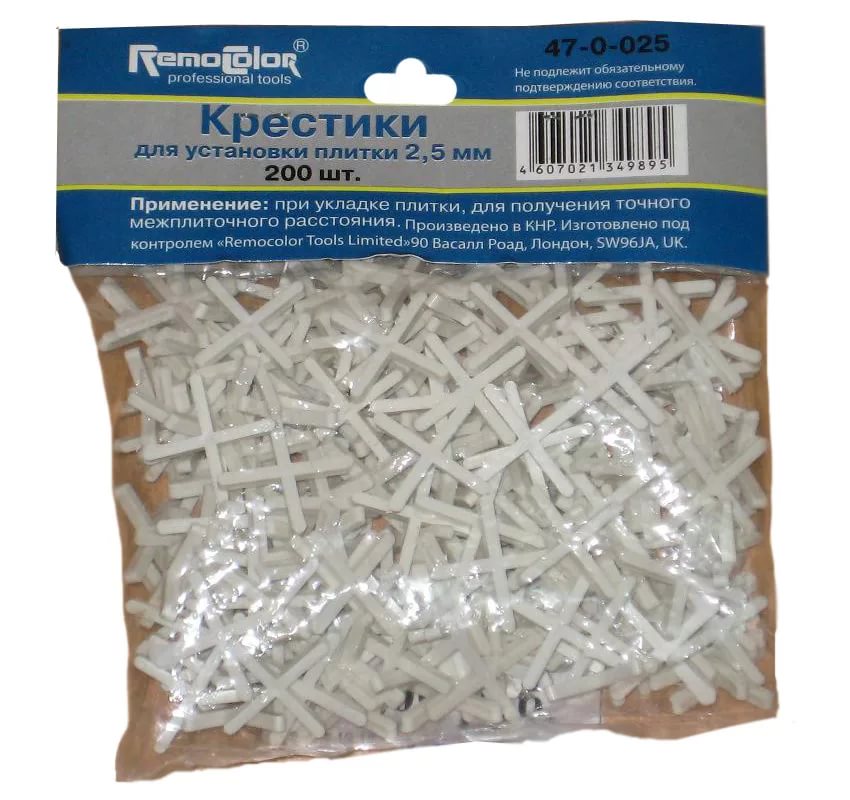
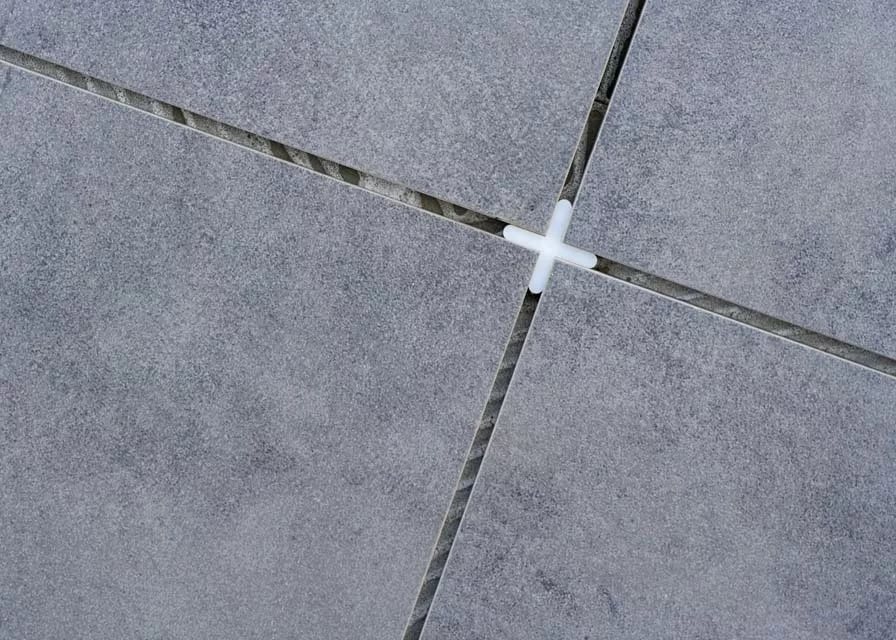
- Special crosses. In accordance with the required thickness of the seams between the tiles, the width of such a material is selectedseparately (from 1.5 to 2.5 mm).
- Glue for tile.
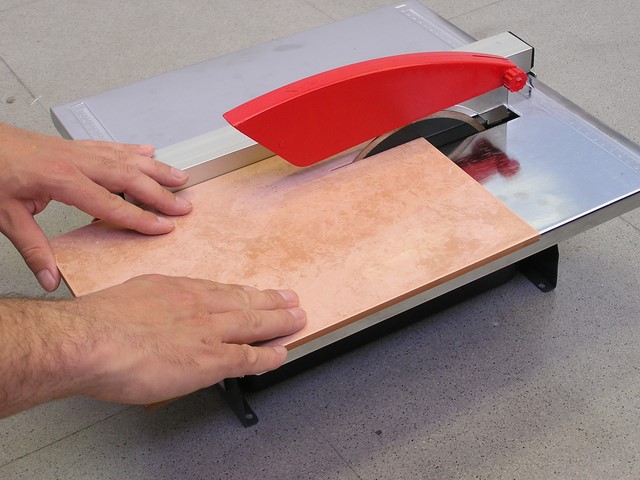
- Plitkorez or "Bulgarian".

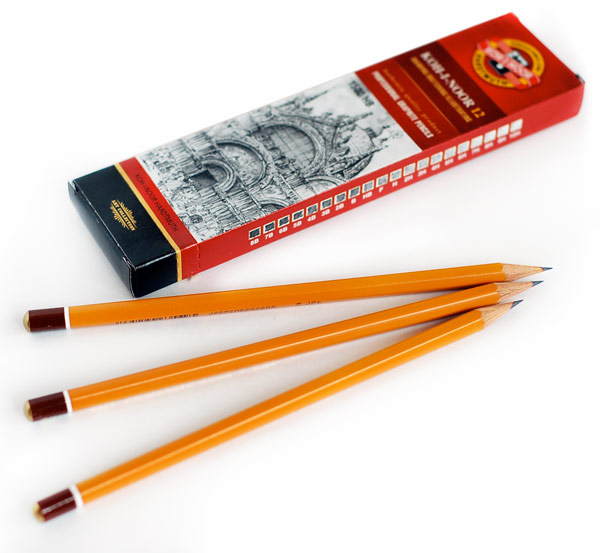
- Pencil.
- Water level.
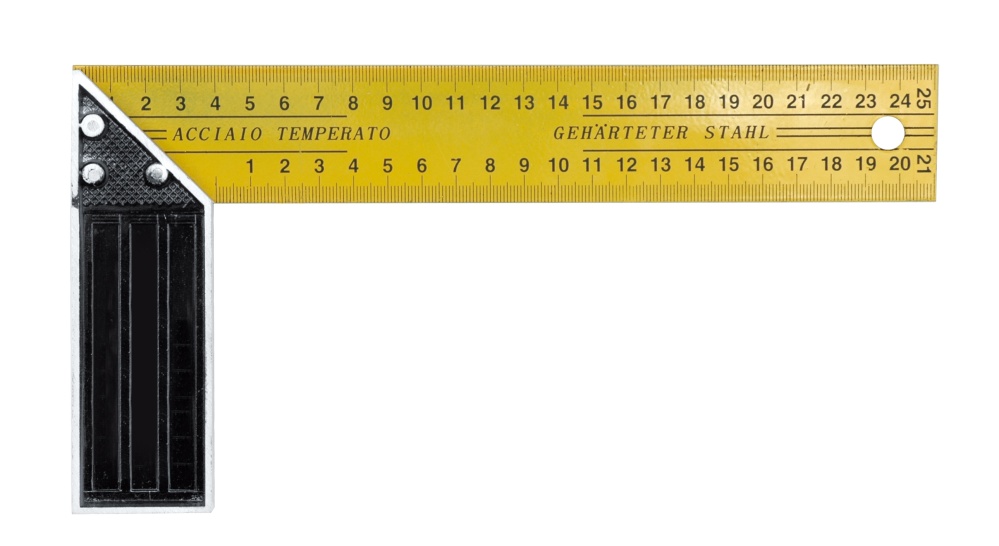
- Corner-ruler.
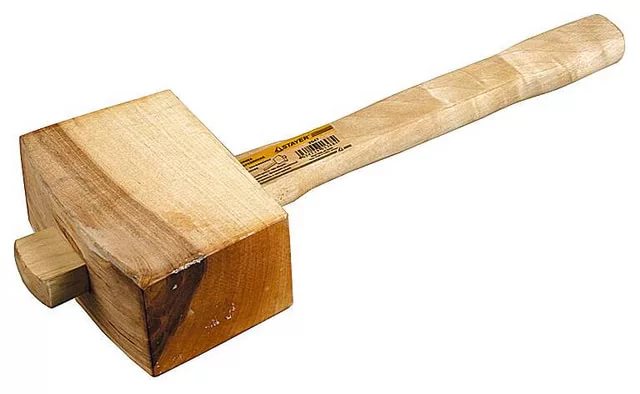
- Kiyanka

- Spatula, which will be applied glue.
- Rag.
- Grout.
Before starting work, all solid fragments should be expanded on the surface and numbered each tile. Such work must be done regardless of the chosen method of installation. This method allows you to hedge, to avoid the appearance of errors when matching shades and patterns.
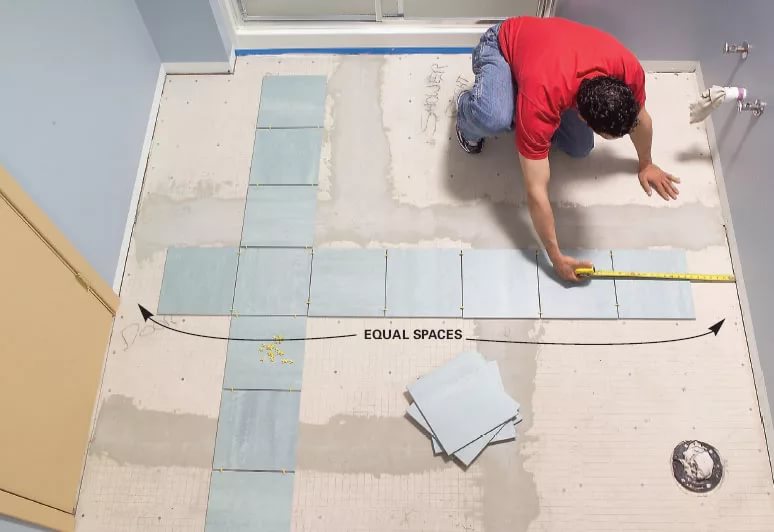
To perform work in this way, it is necessary to apply a preliminary marking on the floor surface. First you need to determine the center of the room on one of the walls and draw a line from this center to the wall opposite. The same is done on the other two remaining sides of the walls. The result should be two cross lines with the intersection in the center of the toilet room. When installing the very first tile should be repelled from these lines.
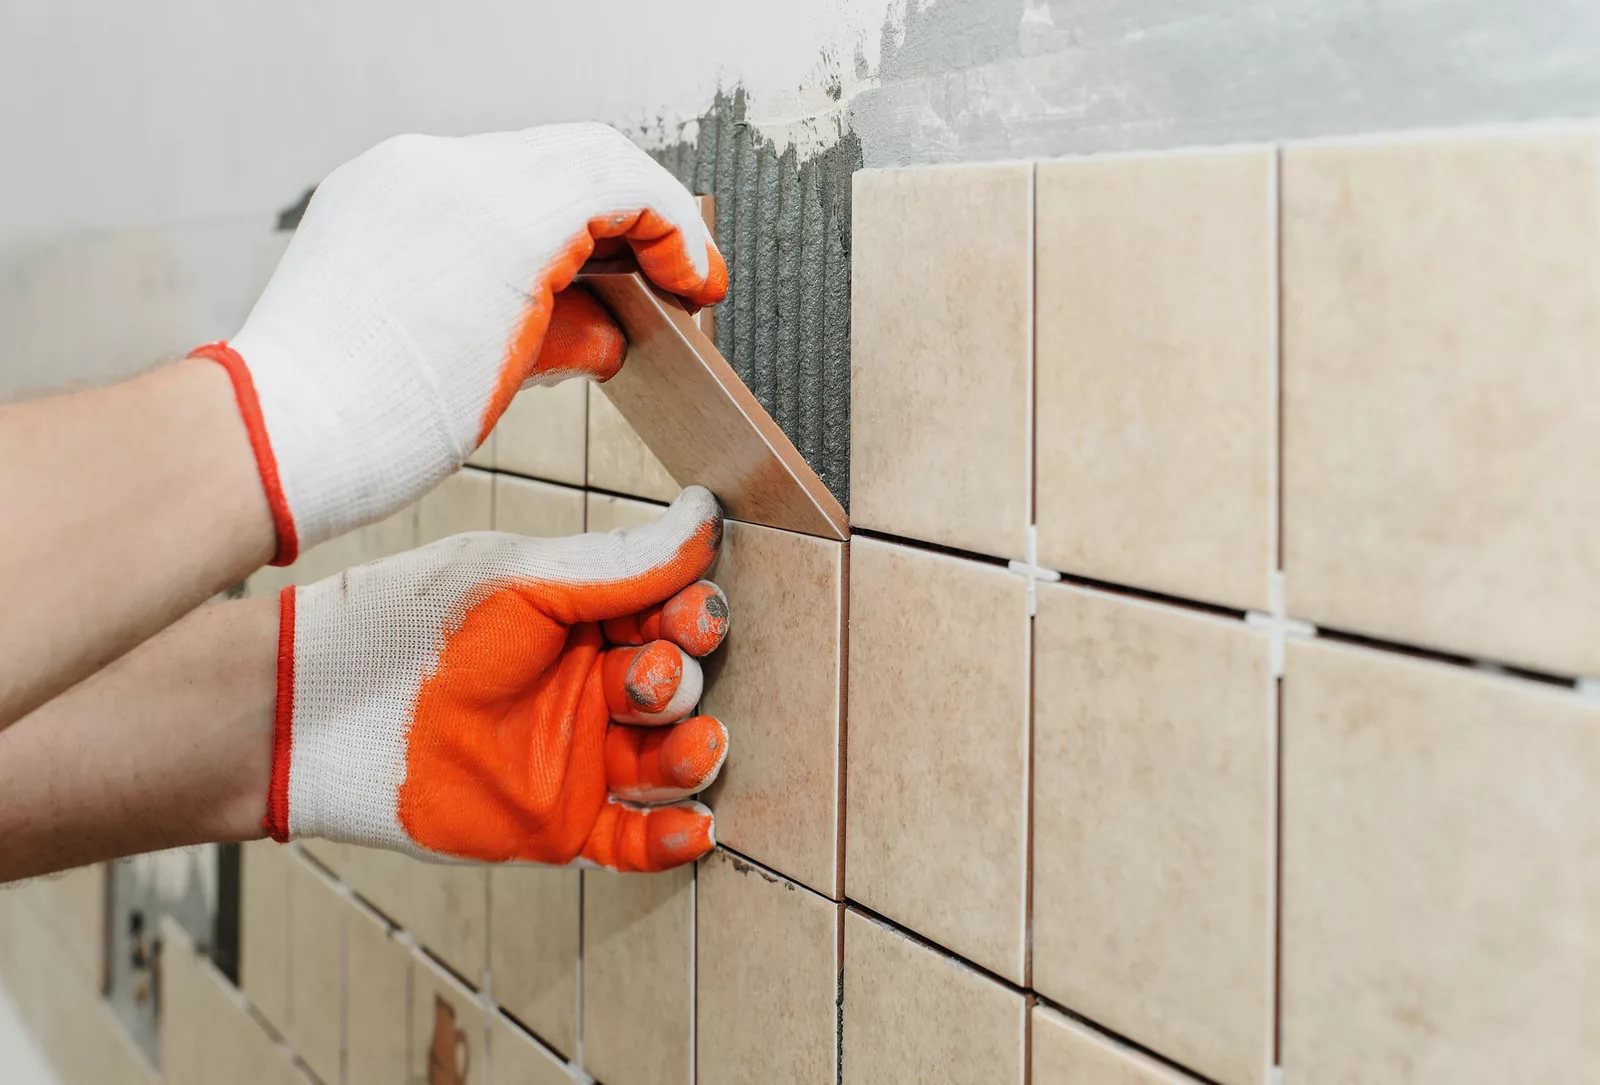
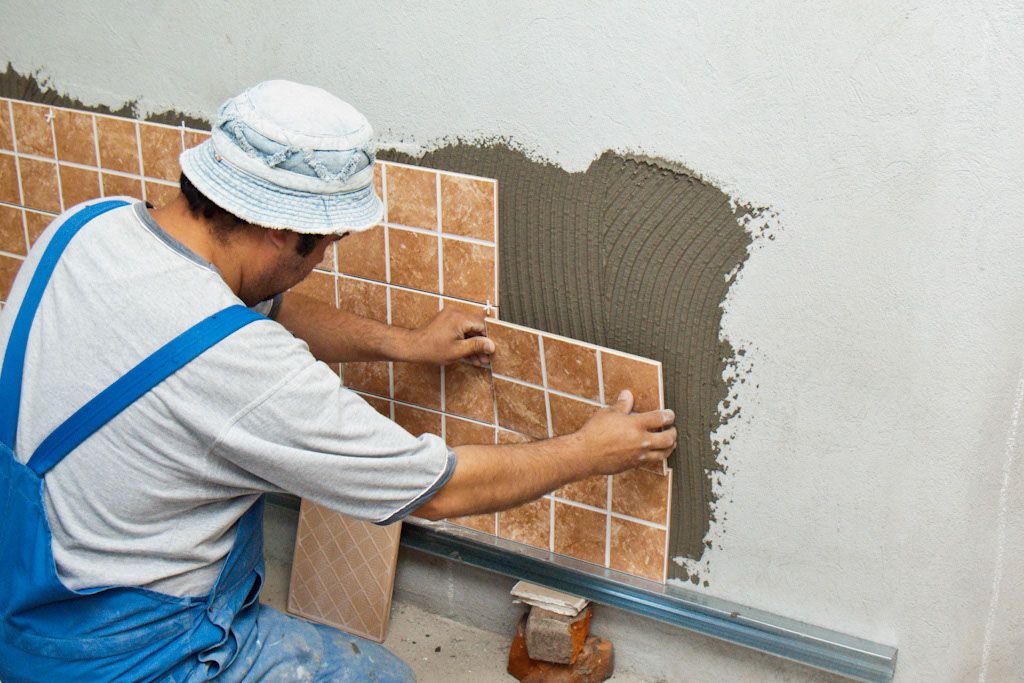
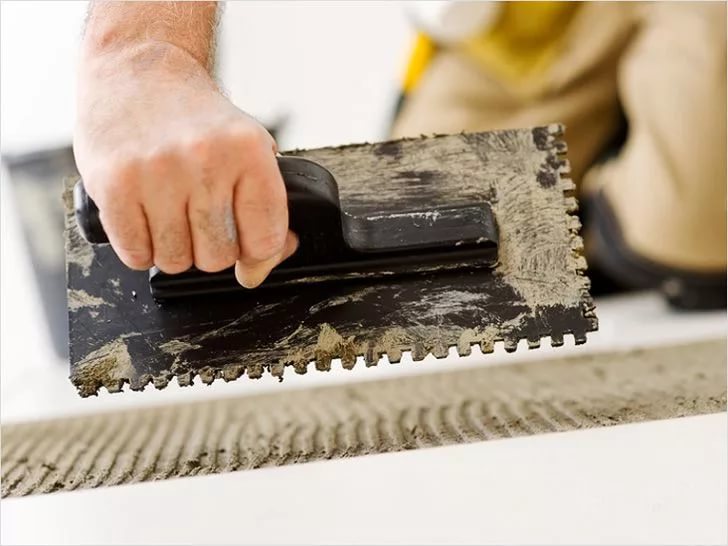
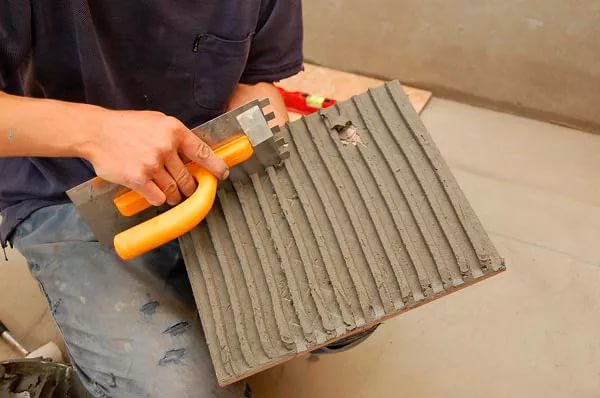
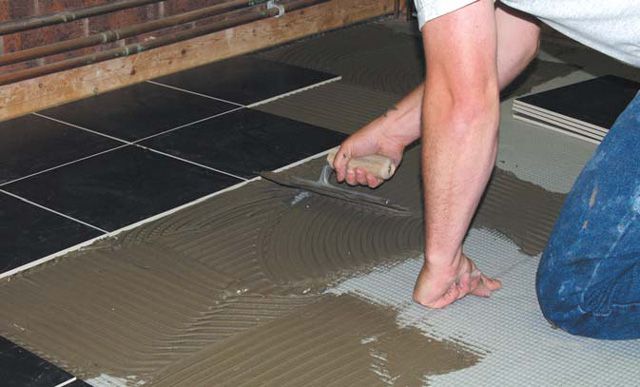
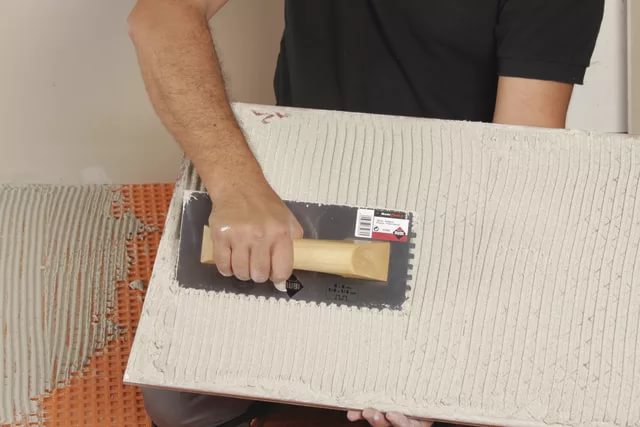
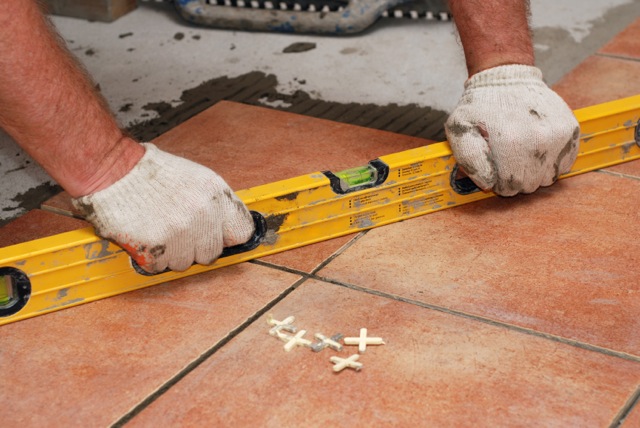
When applying glue to the tile you need to use a notched trowel. The tile is applied on the markup. With the help of the construction level, you can trace the evenness of the installation.The resulting discrepancies can be adjusted with a mallet. The surplus glue formed on the sides of the tile is removed.
The same method is used to install the next tile, and you should not forget to place crosses between the seams. So make the laying of each solid tile.
After laying all the solid tiles on the floor surface of the toilet put the necessary markings on all the remaining fragments. Mounted cut pieces as whole fragments.
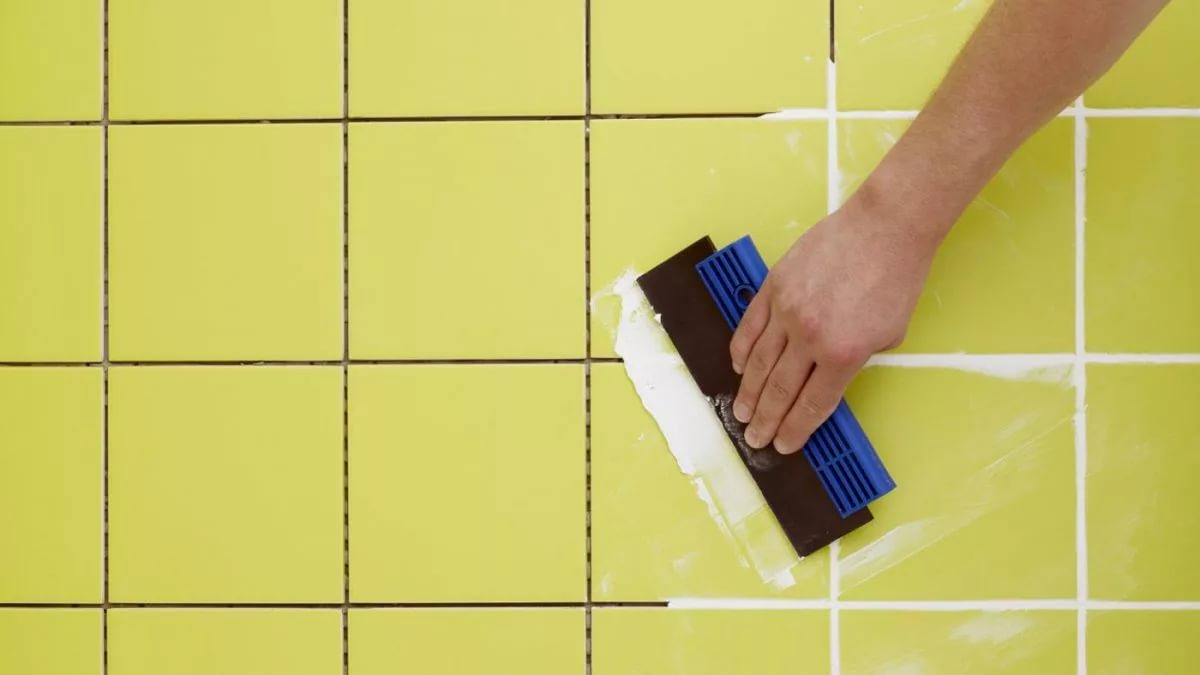
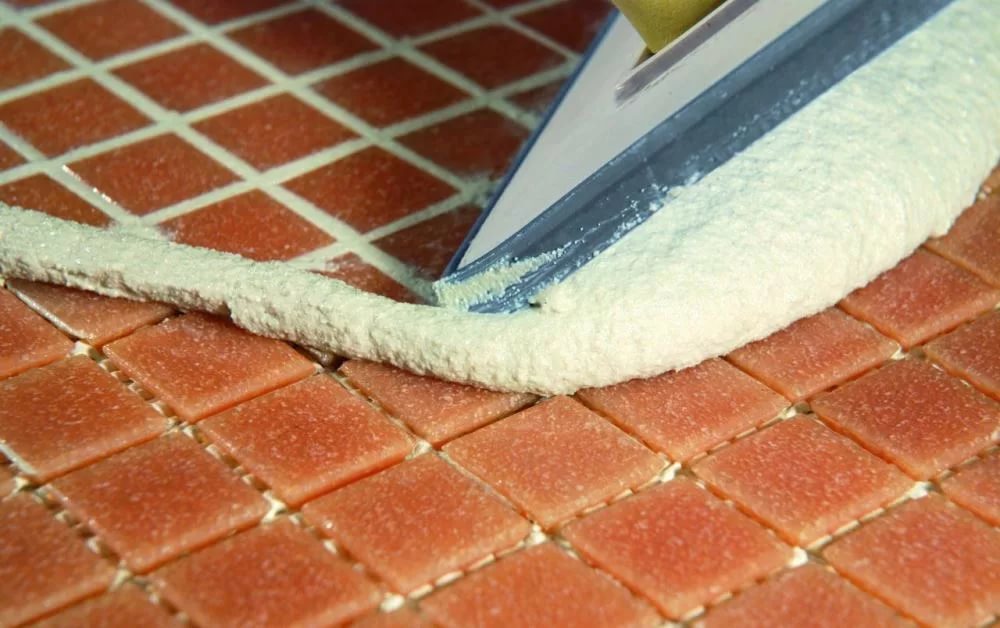
Next, you need to apply a special grout on the seams. Perform this process carefully using a rubber spatula. Existing surpluses are removed with a dry cloth.
With the width of the toilet, allowing to lay a series of solid tiles, tile should be placed in the center of the walls of the room. At the same time, the distance to a number of whole ceramic tiles from other walls should also be the same.
Diagonal installation
A little harder to lay tiles diagonally. But this task can be done rather quickly if everything is done correctly.
It is important to know that diagonal styling helps to completely hide the curvature of the surface. Often the floor in apartments has an irregular shape, for example, like a trapezoid. With the help of diagonal styling it will be possible to smooth out the existing defects that were left during the construction of the house.
There are no unusual tools to use. For mixing the glue, for example, you can use a regular bucket or basin, you can replace the special mixer with a regular drill attachment. When applying glue to the tile, you can use a regular spatula. The unusual tools can be attributed only comb comb or crosses, by means of which the tile is fixed to obtain even between the tile joints.
For proper installation, the starting point will be the center of the threshold of the toilet room. To determine it, a ruler-triangle is applied to the threshold, a pencil is marked on the coupler. Next, you need to take one tile and cut it in half, but not directly, but diagonally.
During the work, you should not rely on your own accuracy, only due to the construction level you will be able to create a smooth, ideal surface.
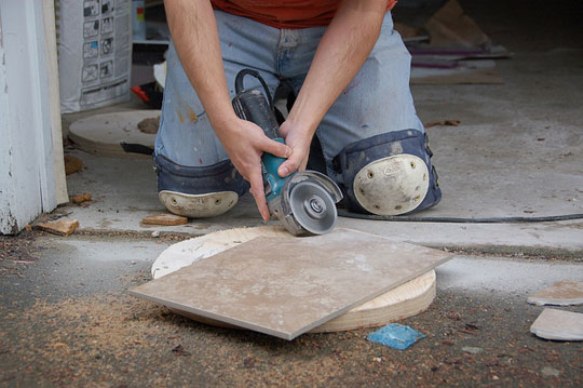
Cut tile need "grinder". During such work, the eyes should be protected by wearing special glasses.. By the way, the tile can not cut through to the very foundation. The “grinder” disc can only be deepened by 2 mm. The tile after such a notch will break along the intended line with a slight pressure.
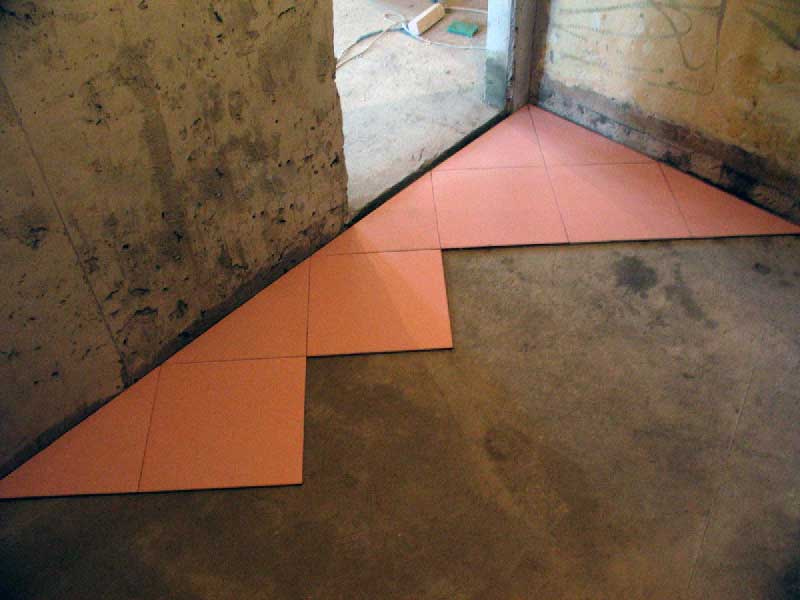
The prepared piece of tile is laid with the end towards the threshold, and the acute angle of the tile should be directed to the side. Further, on this cut tile, the remaining integral fragments of tile are laid.
Under the toilet itself and the existing joints of the tiles with the walls, accurate markings are applied directly to the surface of the tile for subsequent cutting with the "grinder". The grout is applied to the places of the withdrawn plastic crosses in the same way as in the previous variant of laying. After that, dry the surface wipe with a cloth to clean.
The result will be a beautiful, even base made of ceramic laid diagonally.
All the details of laying tiles in the toilet, see below.