The technology of laying floor tiles diagonally
Diagonal tile laying is popular due to the fact that thanks to its scheme, it turns out beautiful in any room. Of course, it will take more material and effort, but it is worth the result that will eventually turn out.
Special features
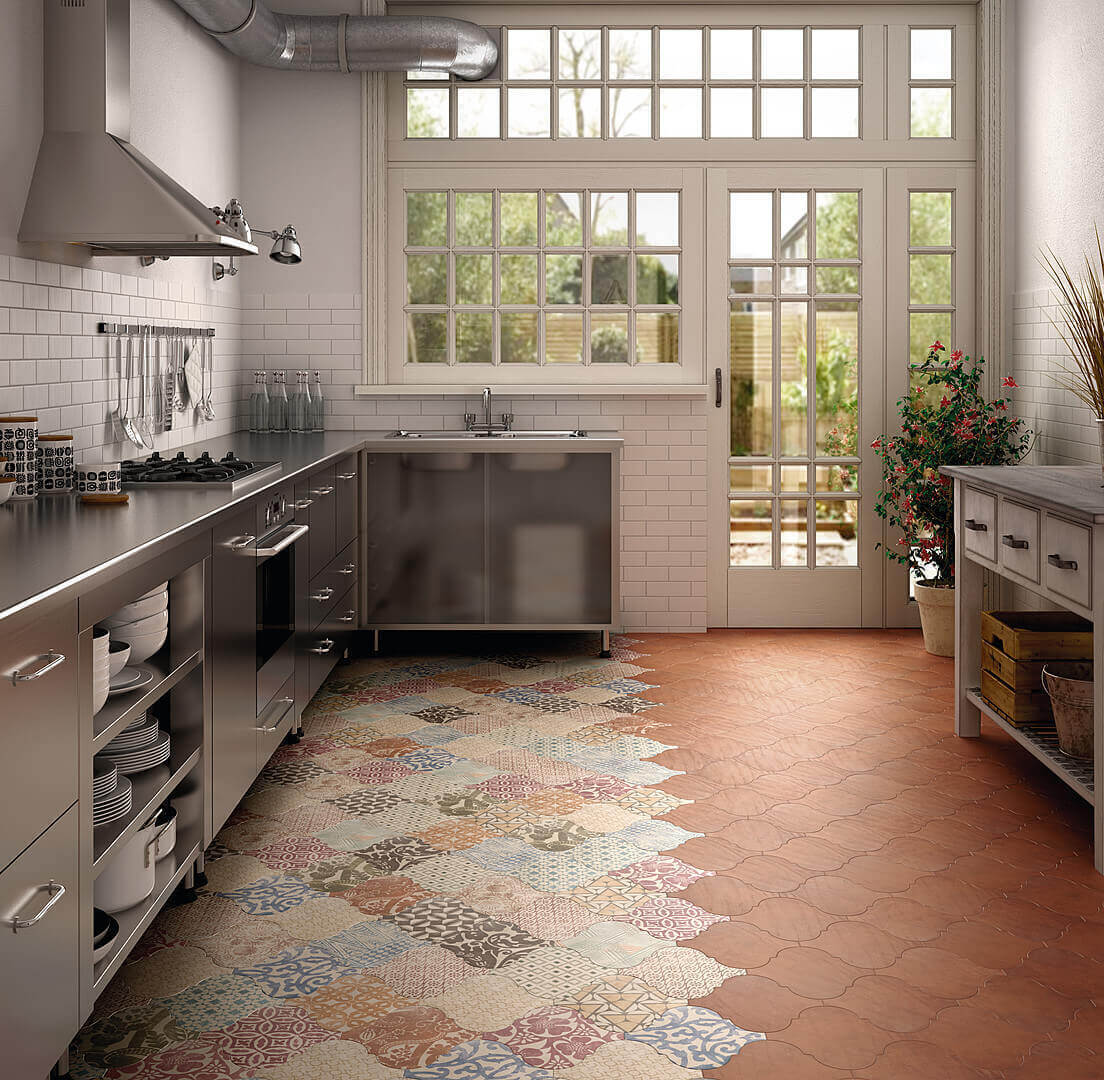
Finishing can be monophonic or different colors, with various patterns and spectacular inserts. Laying diagonal method can be made tiles of any shape: even a square, even a rectangle. The square shape of the tile is often used, since it is much easier to make correct laying of such modules, because long rectangles sometimes have to be cut several times to fit the required size of ceramics.
Mostly color details are placed in the center, creating a peculiar pattern. To properly lay tile, you must follow the step by step instructions.
Advantages and disadvantages
Before starting work, you need to explore the advantages and disadvantages of this method of installation, to accurately ensure the correct choice.
Pros:
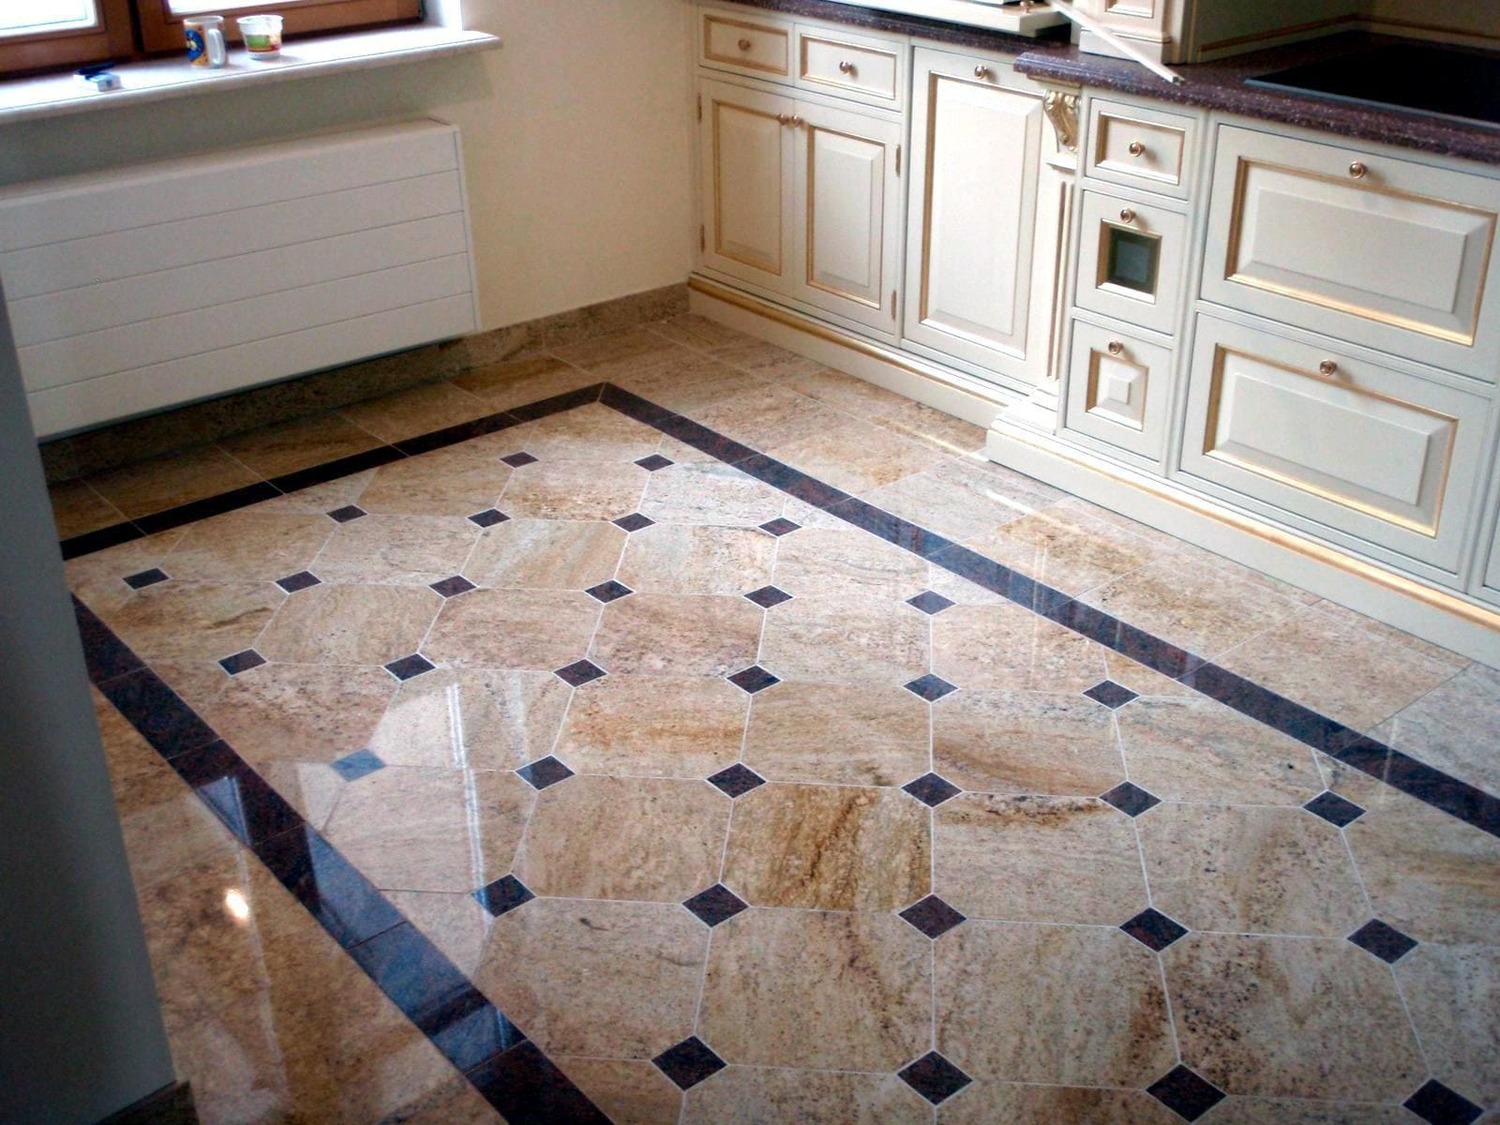
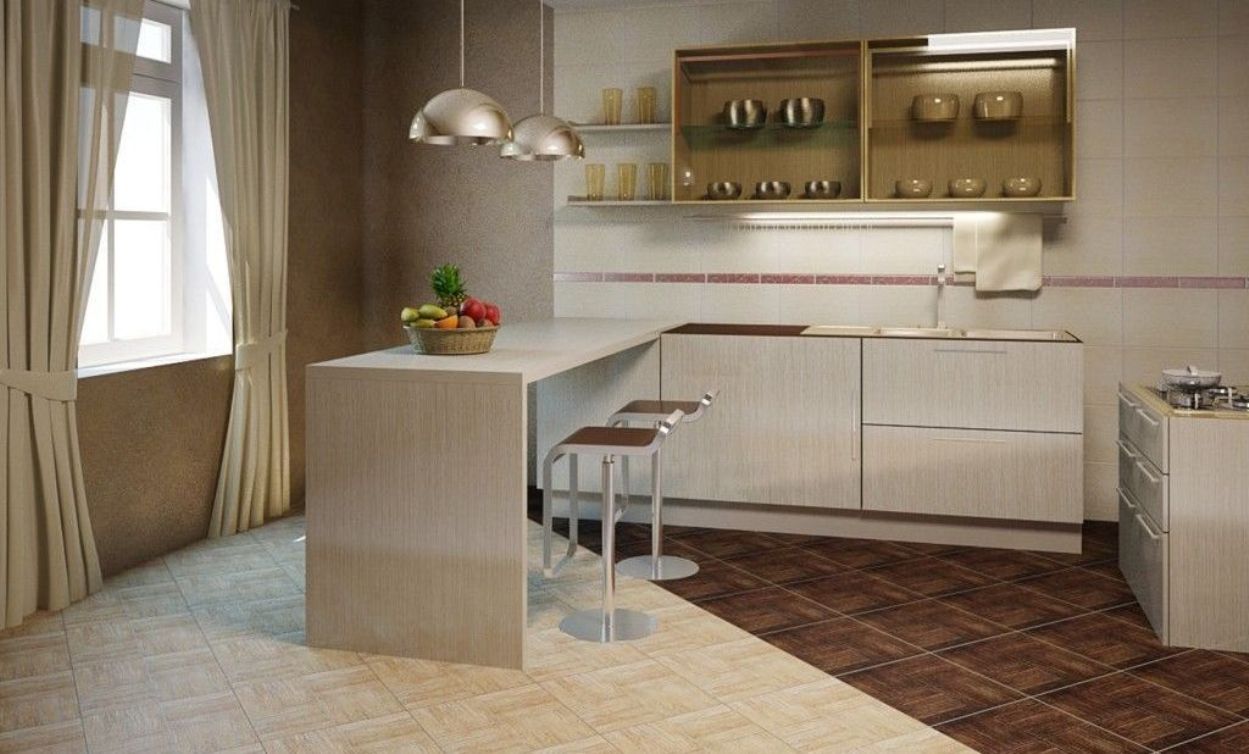
- Visually increases the space. Depending on the selected color and composition expands or lengthens it.
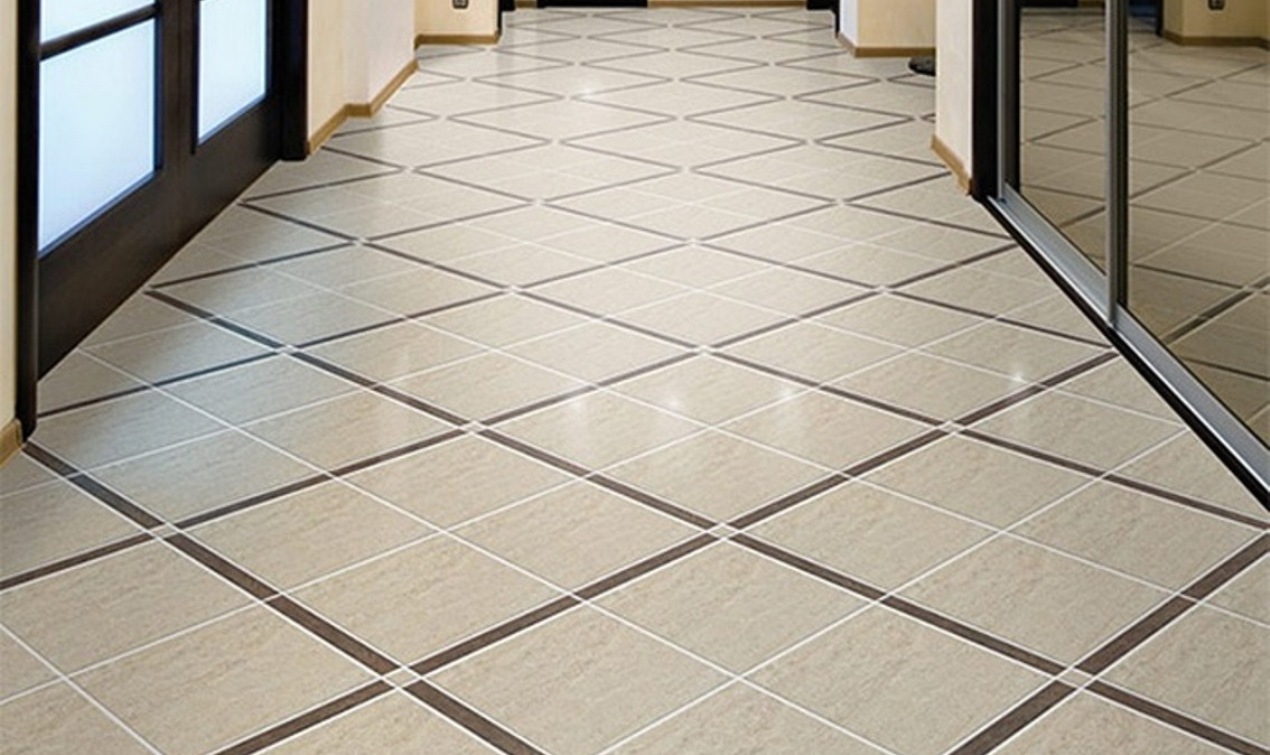
- Looks original and spectacular. The unusual is precisely in the layout.
- Allows you to hide the curvature opposite walls.
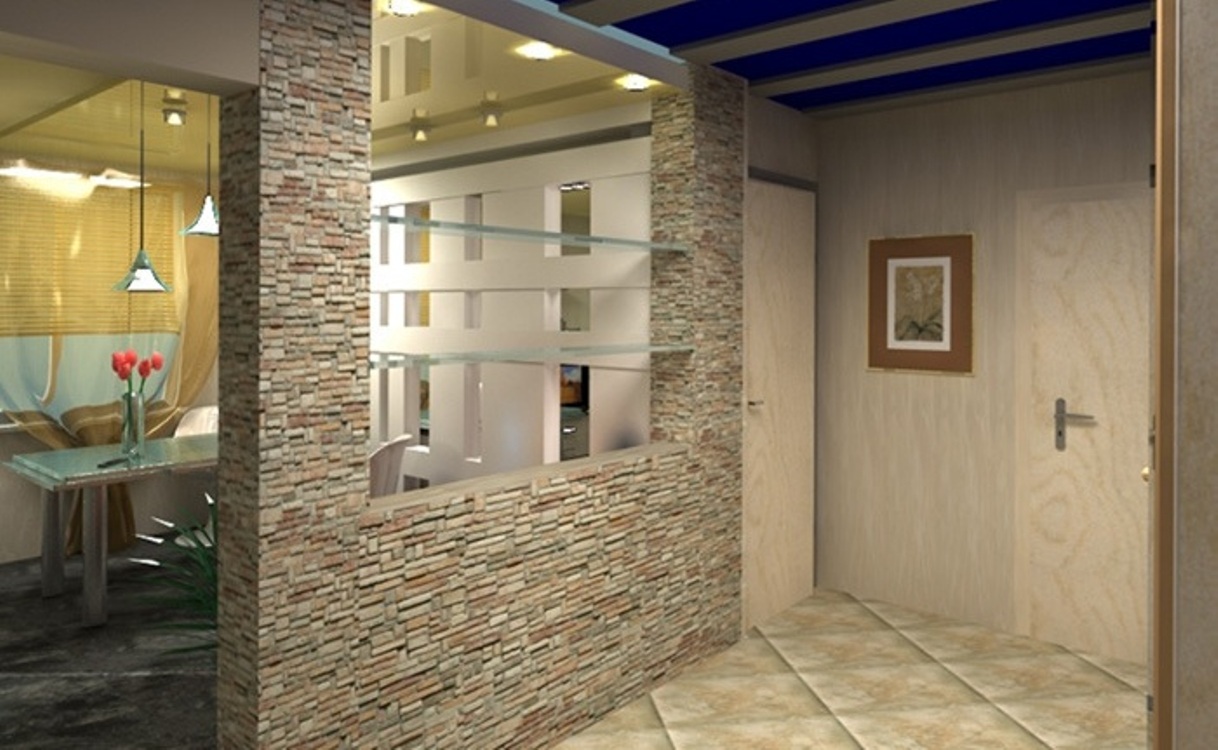
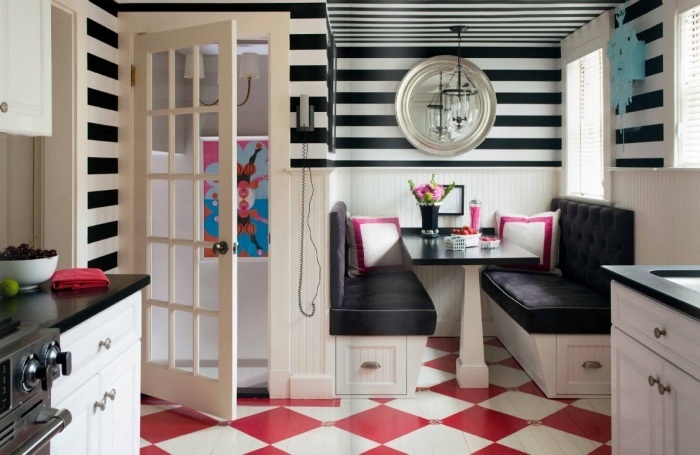
- It is possible to divide the room into zones original compositions of a particular area.
- The layout of a rectangular tile is often performed in this way..
Minuses:
- Installation of this method is much more difficult because of the difficulty of marking and a large number of cutting.
- Great need for finishing material: as a result of the cutting, the consumption will increase by 5-10%.
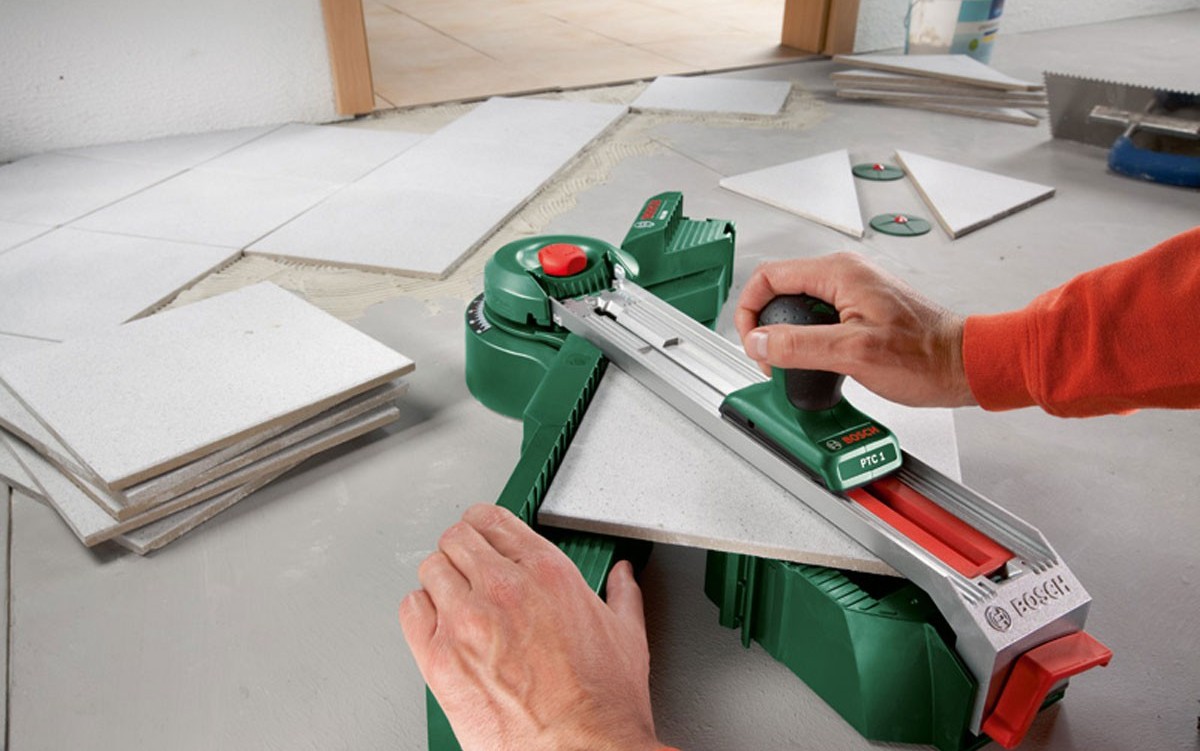
- Cutting requires precision and accuracy. It is better to use a good tool when working, which also entails costs.
Tools and materials
To start the styling process, you need to prepare the necessary tools and materials, as well as to make accurate calculations. Required tools:
- ware for mixes and glue;
- spatulas;
- grouting;
- device to check the flatness of the horizontal;
- rope;
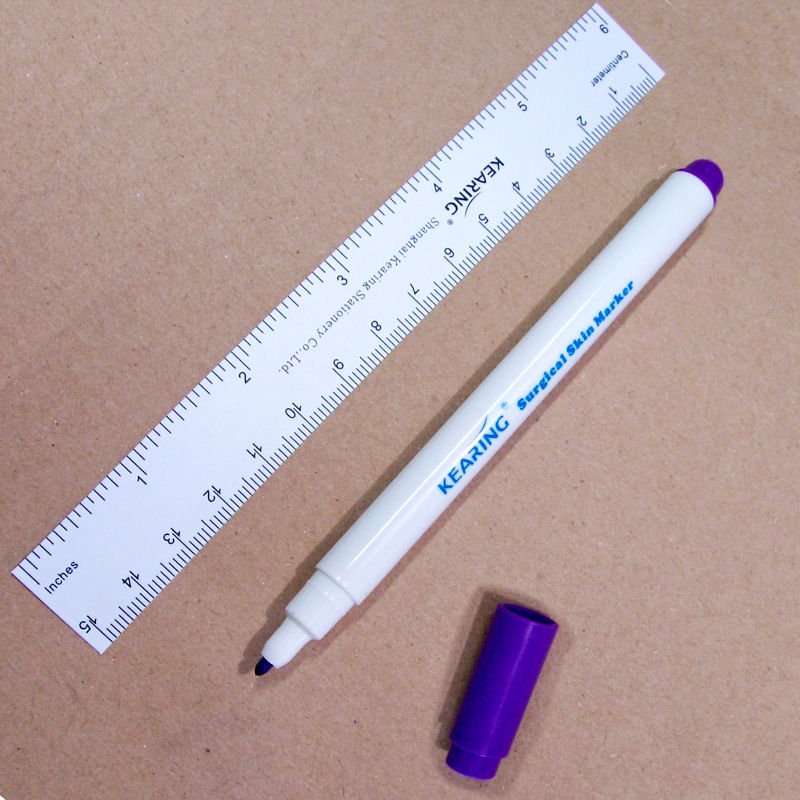
- marker;
- ruler;
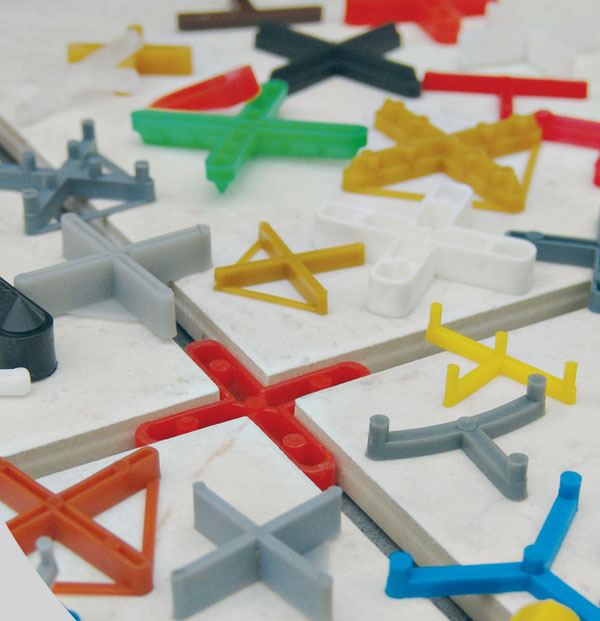
- crossbars and crosses;
- mallet;
- plate cutter;
- gloves.
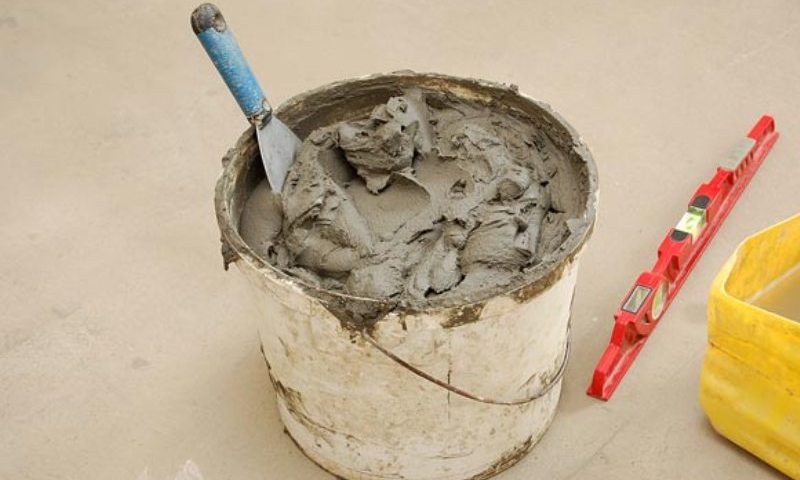

Of the materials needed will be themselves tiled modules, glue, primer, trowel paste, self-leveling compound as needed. Perhaps there will be a need for something else, but it can be purchased in the process of work or use available tools.

When selecting a self-leveling mixture, it is necessary to take into account the temperature of the room where the installation will be carried out - with the wrong choice, negative effects may occur.
The option of laying tiles on cement mortar has long been outdated. Today there is a huge selection of adhesive mixtures:
- For tile small parameters use cement-based glue. It comes in powder form and at a relatively low price.
- For modules with average dimensions suitable epoxy glue. On sale goes ready-made, does not take extra time to prepare.
- On wooden floorso that when walking on it the tile does not fall off, use polyurethane glue, it is extremely elastic. It can be used in previous cases.


An error in choosing the glue may turn out to be crumbling,crackling and peeling of floor tiles. In order to avoid this, you should consult with a specialist when purchasing.
You also need to pay attention to the quality of the tile - it is better not to save on it. There is often a size mismatch (one tile is slightly larger than the other). This will affect the evenness and symmetry of the brickwork. Wear resistance is also an important factor - if it is bad, cracks can quickly appear.
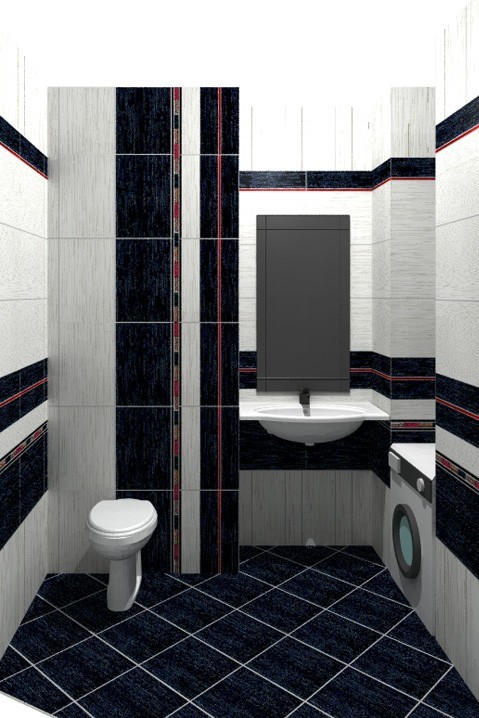
A variety of cleaning products when cleaning the floor can wipe the surface and tile pattern, if it is of poor quality. The material must be resistant to physical stress. Such situations usually occur in the bathroom and kitchen, that is, where there is always moisture, falling objects, movement of stools and the like.

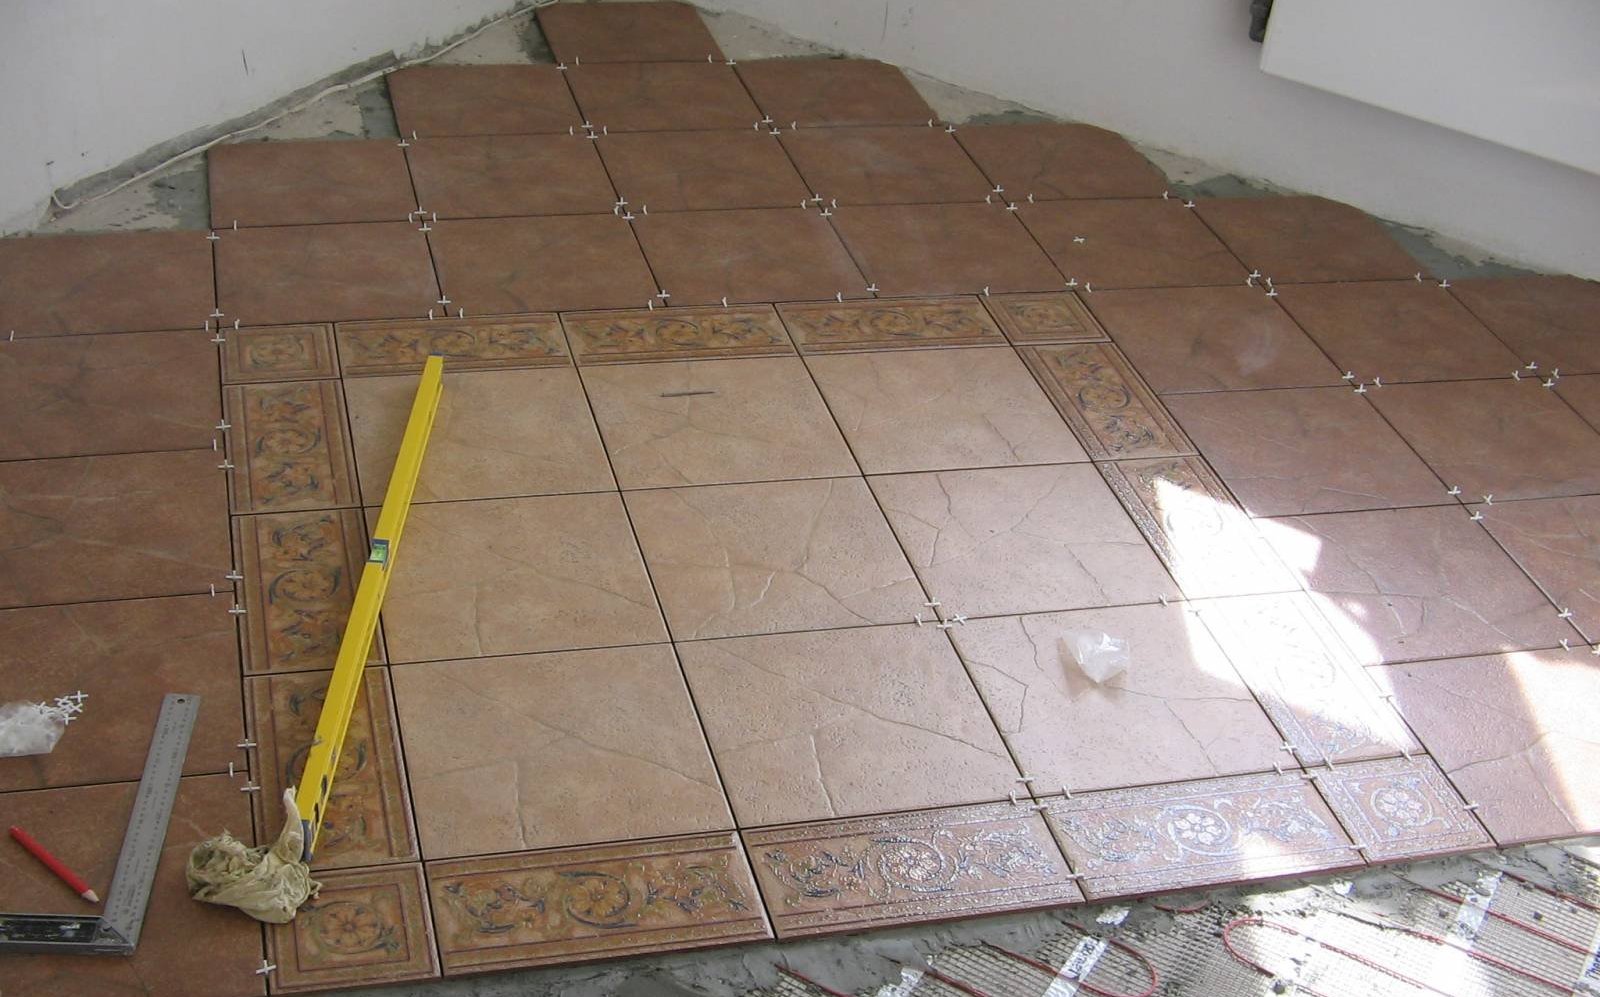
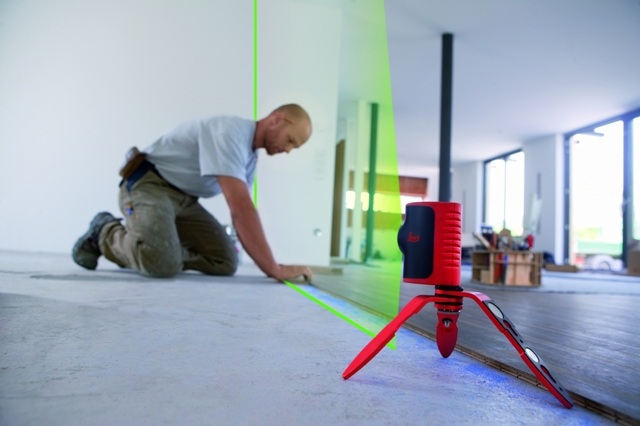
Preparation and markup
The most difficult and most important thing in such work is a well-prepared foundation. First you need to level the surface: polish the slides, and cover the pits with mortar.
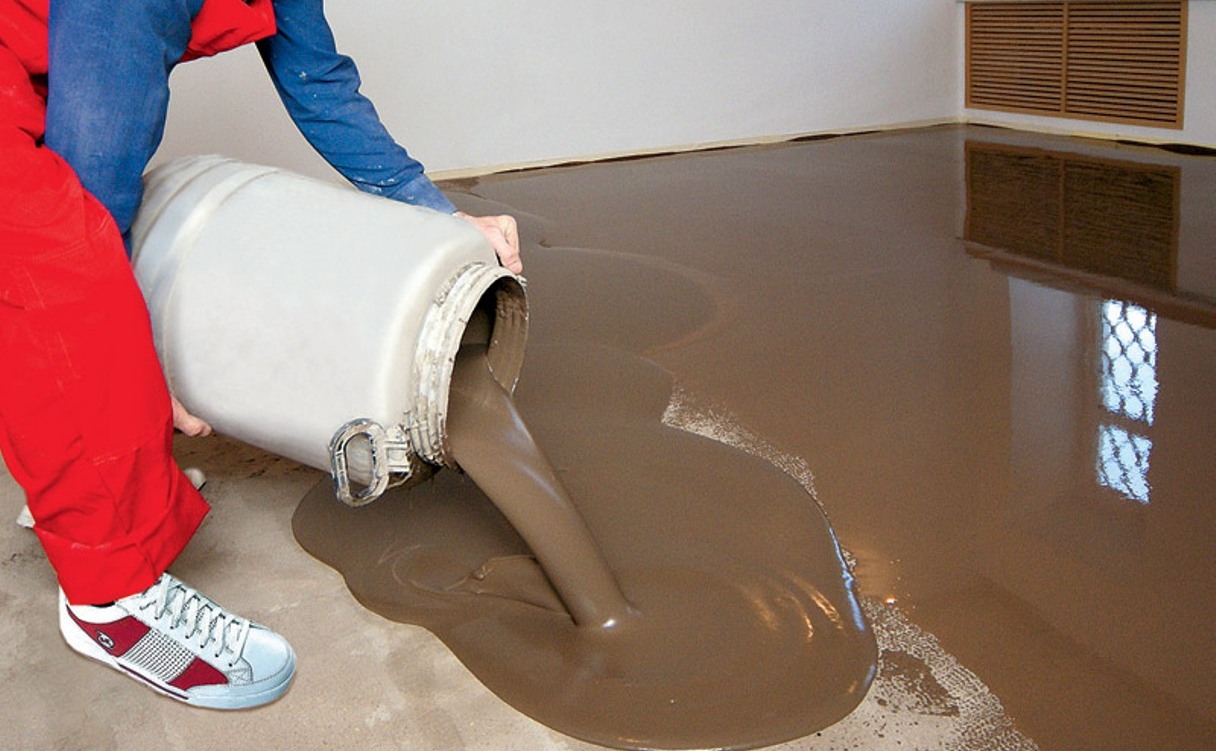
If the floor has very large flaws, it is better to completely fill its surface with a self-leveling mixture.. To do this, mix with water a special powder, bring to a homogeneous mass and apply to the area.The mixture itself takes the required level itself - it is only necessary to disperse it to the right places and ensure that there are no bubbles. When the scraper grabs, the surface must be primed with a millimeter layer of impregnation.
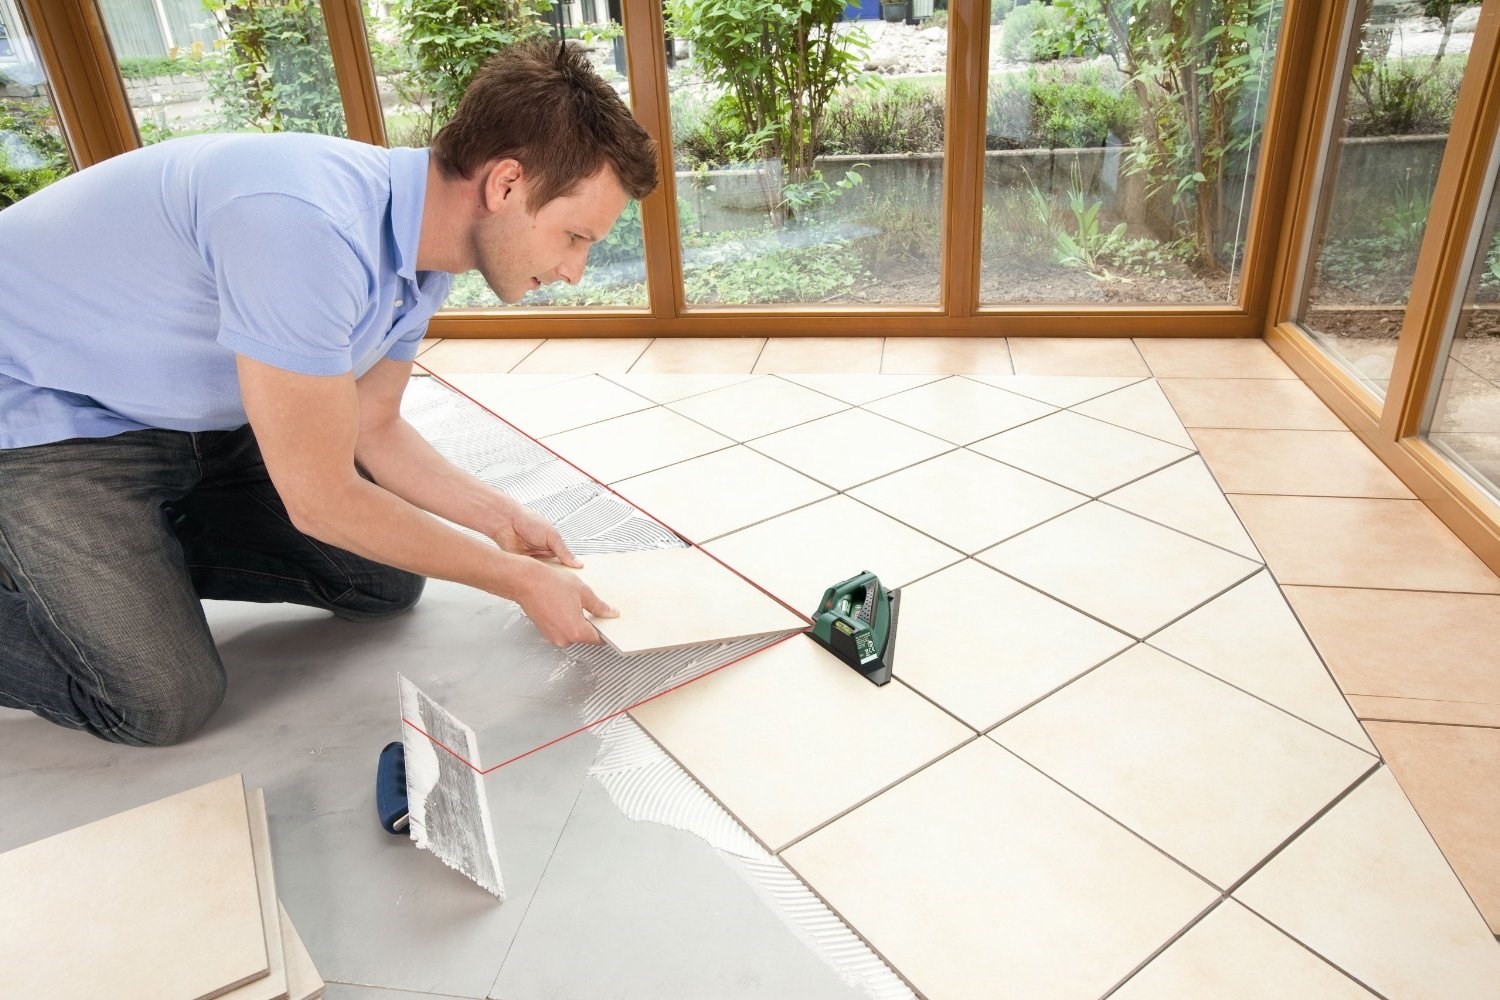
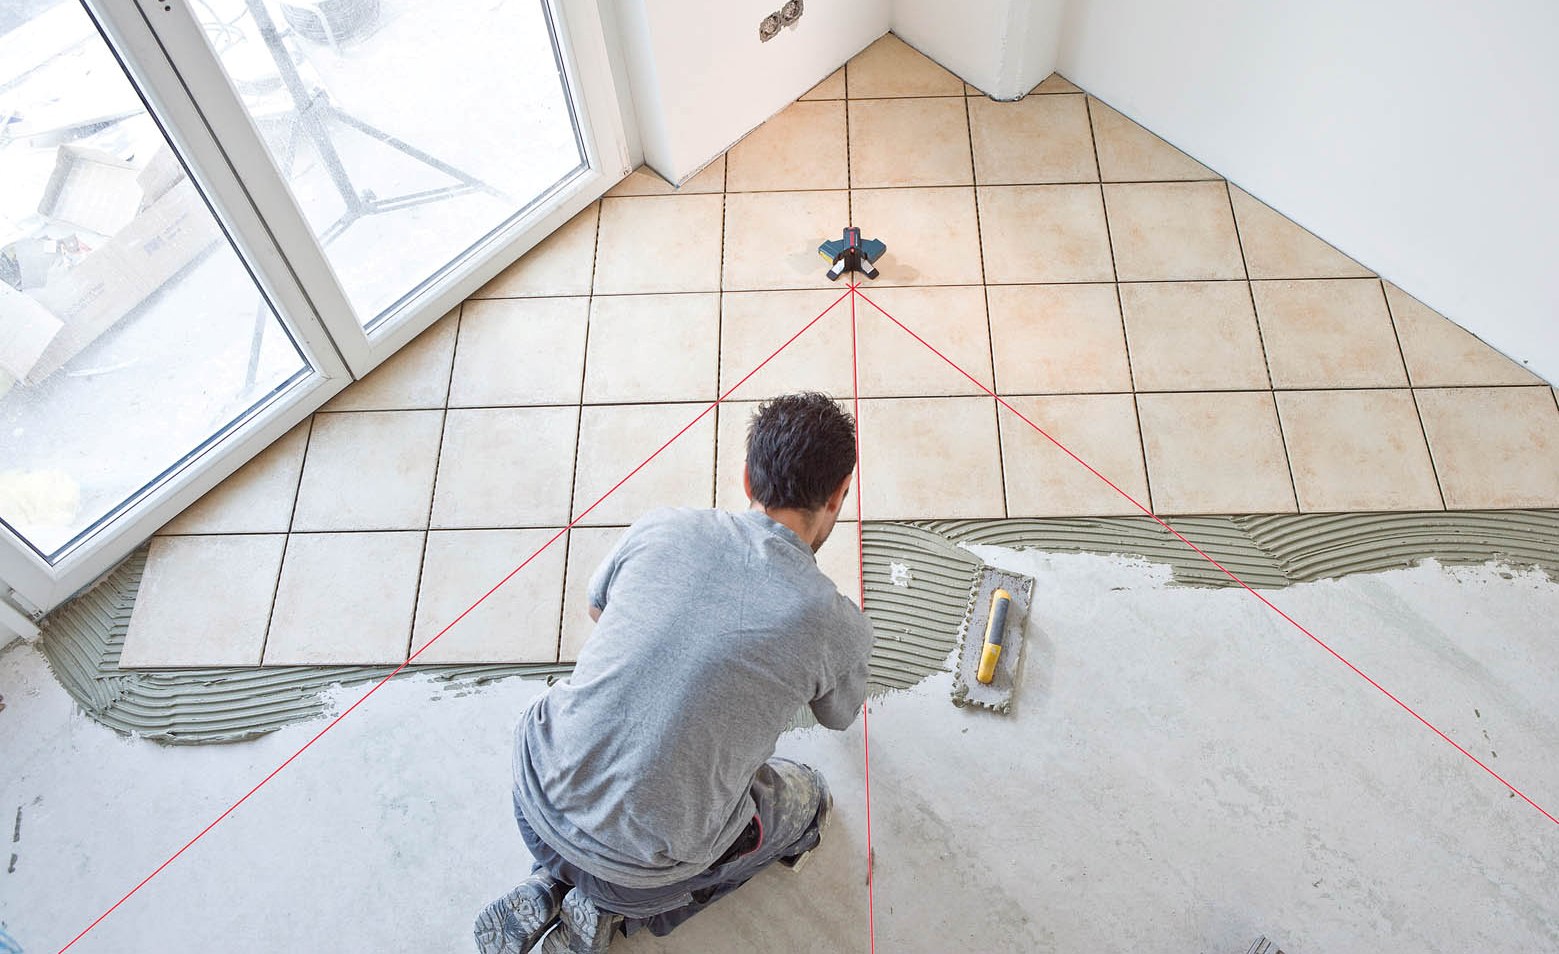
After that, you can proceed to the markup. For this:
- Using a rope, you need to designate the diagonal from corner to corner or draw a line with chalk. It is necessary to begin work with a corner of the tile cut on a diagonal.
- If the center is very open indoors, then it is better to start with it: for this you need to hold two diagonals and find the intersection point.
Material calculation
With diagonal installation should be rational use of trimming. The workflow and material consumption are also affected by the calculation.
- You can make the calculation by displaying the layout plan on a paper sheet to scale. First, the whole tiles are counted, then the number of cut elements. It is good, if from one element two trimming necessary by the size will turn out.
- To calculate the area of the room must be divided by the area of one tile. Thus, we obtain the number of required modules in a pure form. It should be borne in mind that perhaps a greater number of unsuitable scraps.
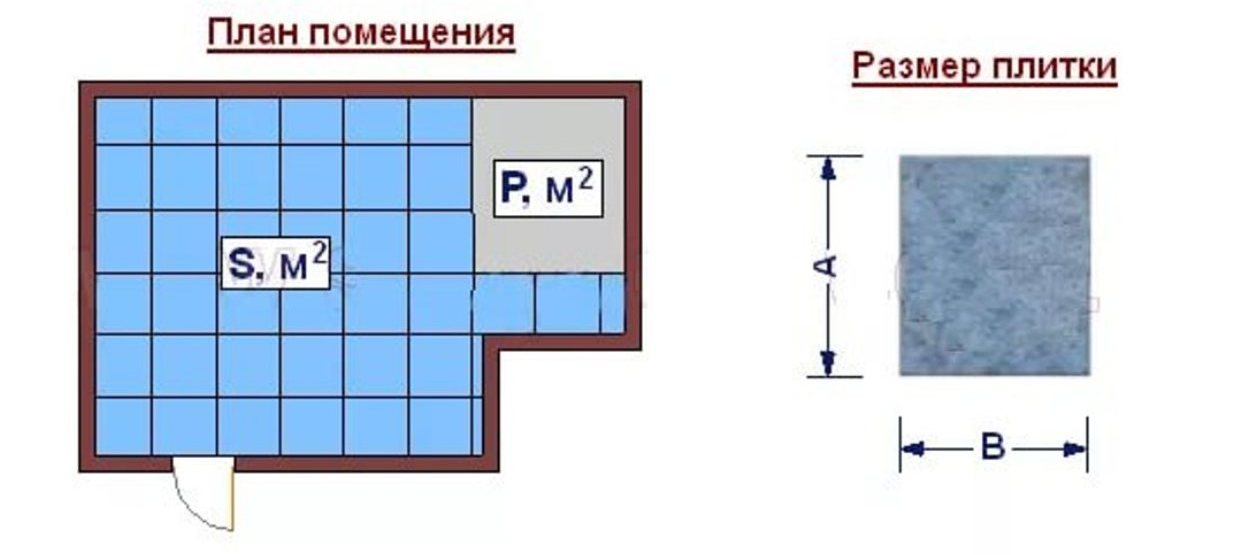
And in fact, and in another case, it is necessary to add 10-15% to the resulting result for damage, scrap and errors. The required amount of glue must be calculated by following the instructions on the package, and, preferably, do it with a small margin.
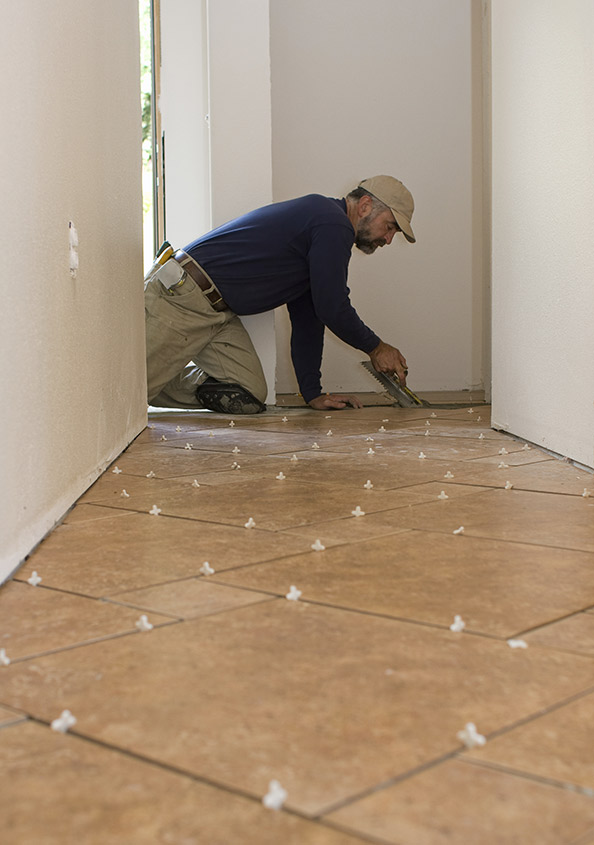
Technology
The process of diagonal styling is similar to the usual:
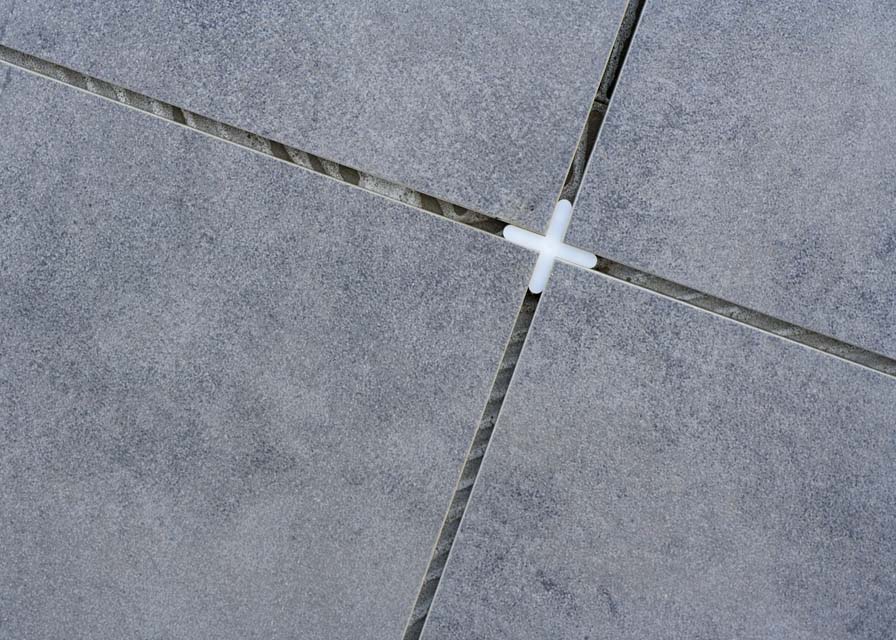
- tile must be applied, observing the gap, with the help of crosses;
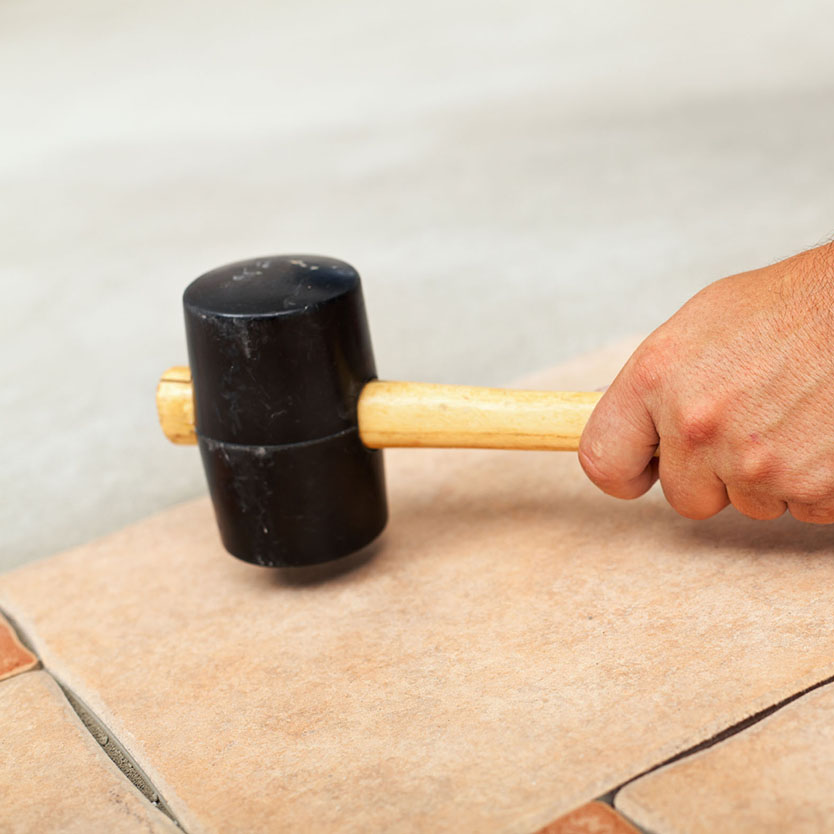
- slightly pressing and tapping the mallet, adjust the level of the horizontal;
- the styling process must be controlled: the overall horizontal level must be checked.
In the first stage, only solid parts should be used. Along the perimeter, you need to finish the circuit in 1-2 days, when the main area gets stronger, so that you can work on it without fear of deformation of the general level.
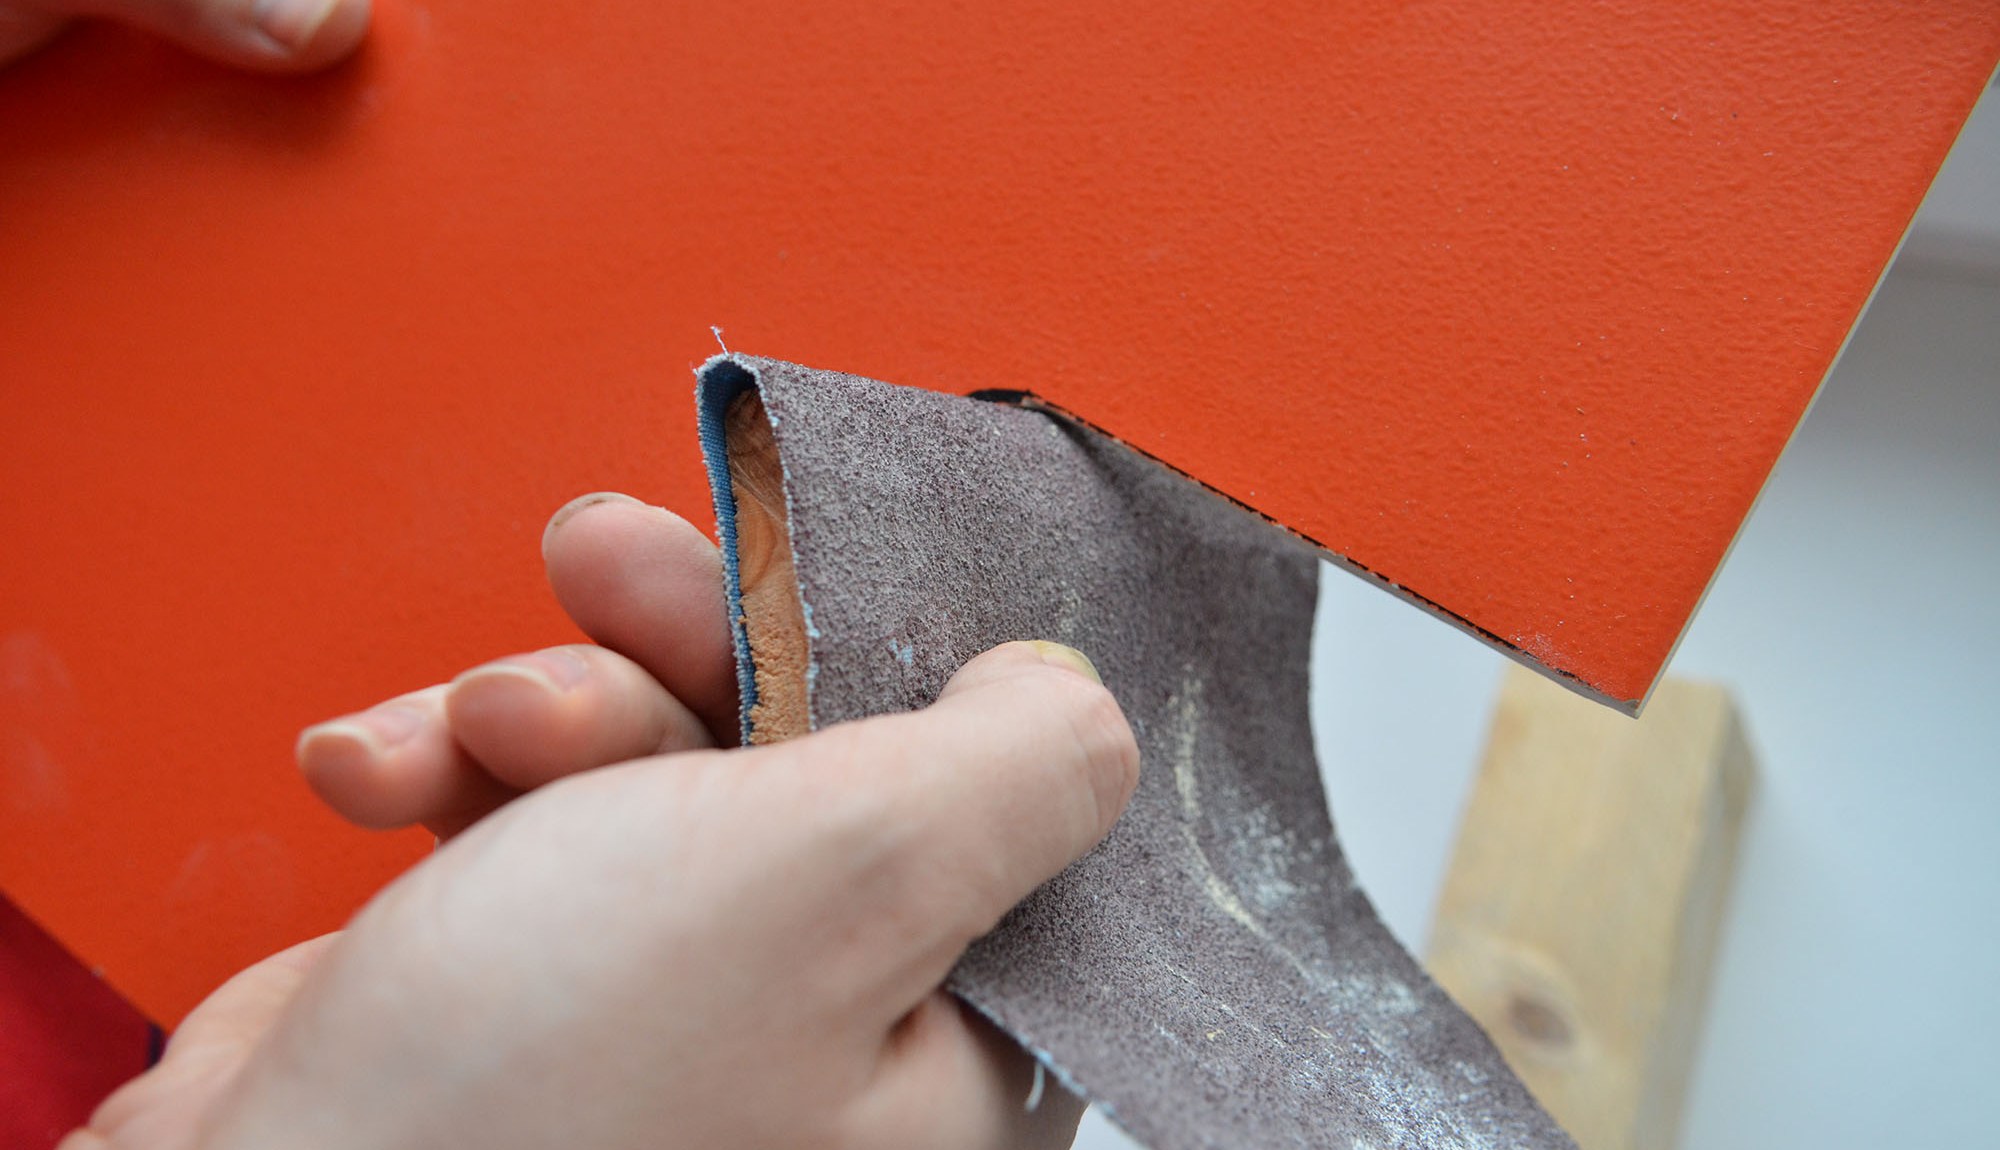
Edges from the side of the cut are treated with emery paper, and for easy cutting of the tile it is soaked in water for about half an hour.
Laying tile can be two common options depending on the nature of the area on which you want to make installation.
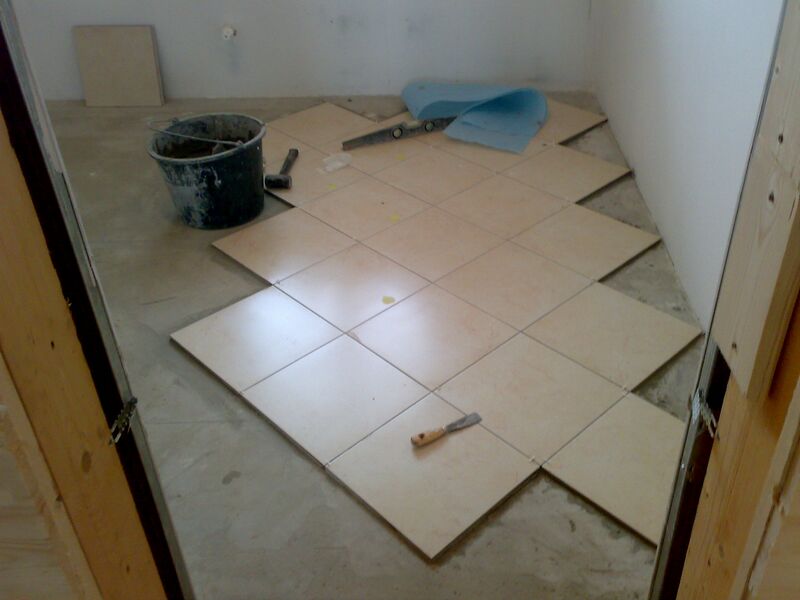
First option. If the middle of the room is in an area that is not blocked by anything (a table or other objects), then you need to stack the modules from the middle: into four separate triangular parts.
- The corner of the tile is placed at the central corner of one of the sectors where all the markings intersect and the edge is applied to the diagonal.
- Then lay out a row, finishing it in the corner of the room, and again return to the center. It is necessary to repeat the procedure in the opposite direction. After that, a completed strip of tiles is formed across the room diagonally.
- You should also do with other rows that intersect the finished diagonal. Further, it is necessary to fill in the obtained triangular parts, but only when the diagonal rows become stronger.
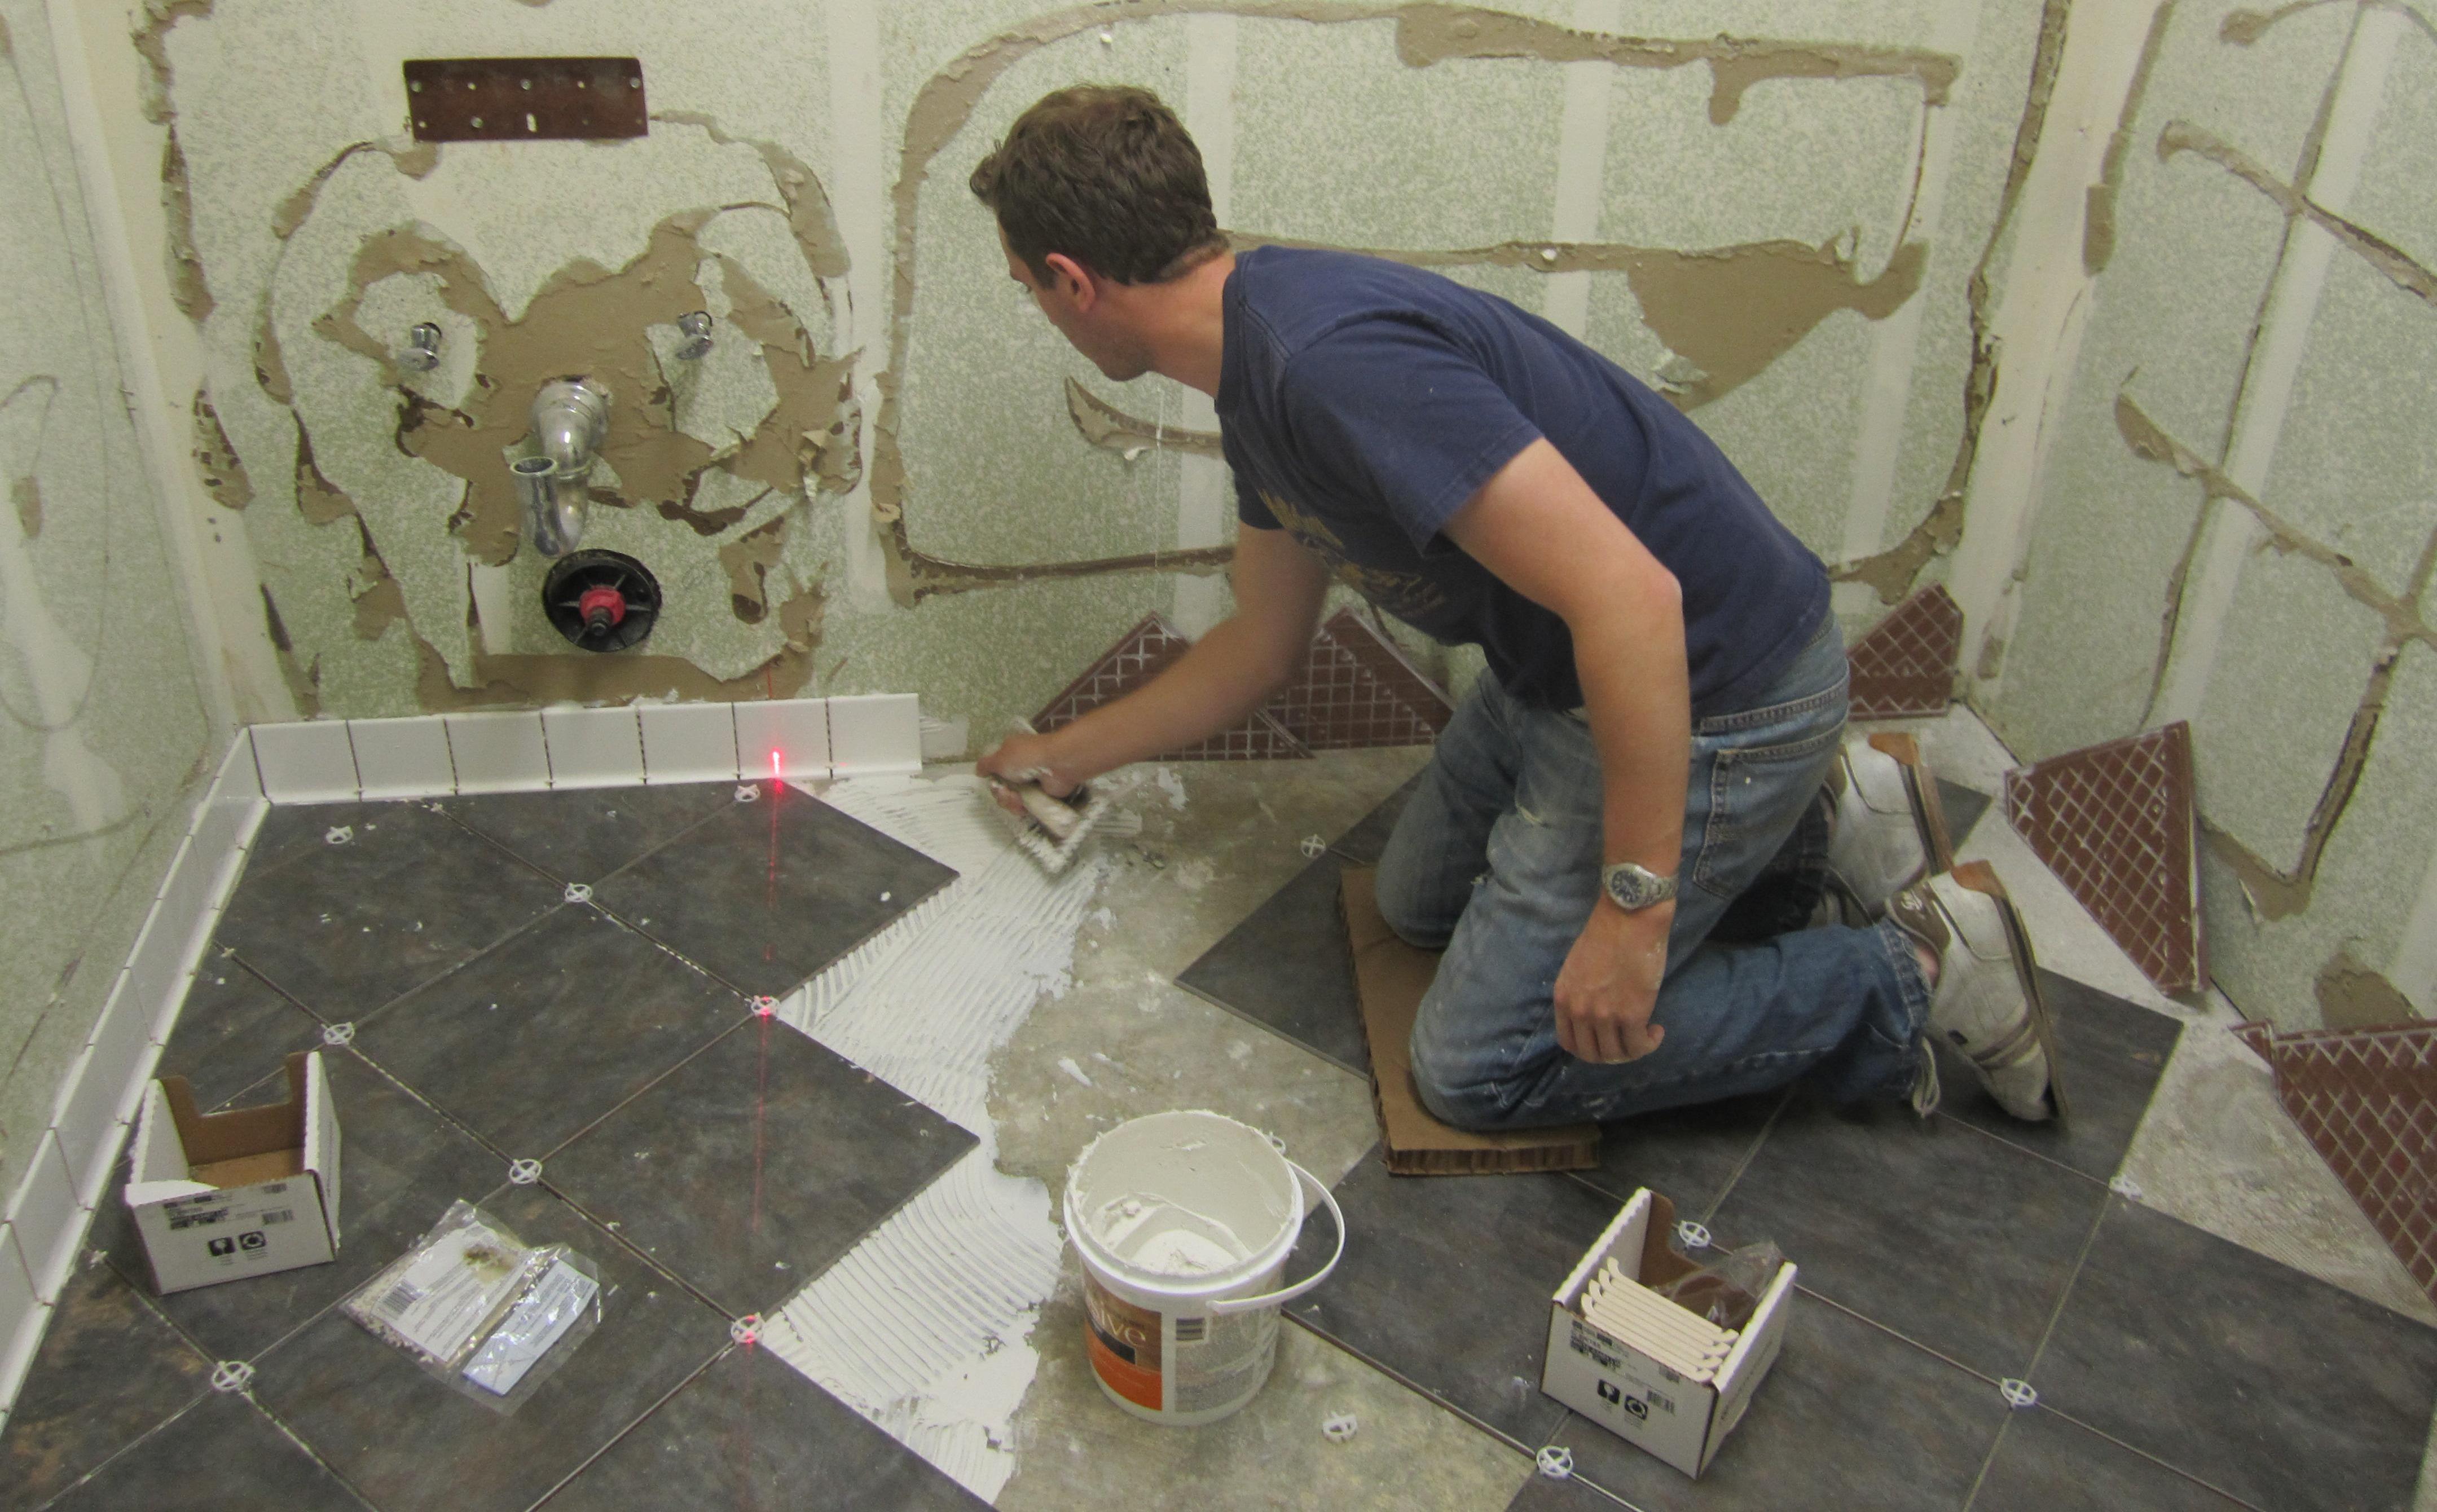
The second option. If the middle of the room is filled with something or just lightly striking the eye, then the most prominent place is the section at the entrance, which is located immediately after the doorway. Then it is more rational to use the second option, which involves laying tiles from the corner of the surface. Here, modules starting to be cut into triangles are initially started.
The main thing - it is exactly put the first row. We need to take two triangles of the tile and arrange them in the left corner of the doorway, and then in order to lay out the following rows, filling the entire area with solid elements.
If the walls are curved, the geometry of the room may be disrupted.
At the final stage, there may be difficulties with fitting the tile around the wall. It is better to use a stencil cut from thin cardboard in the form of a module. From it make the shape of the desired item and redraw on the tile detail. Then cut out on the sample and glued to the desired location.
There are other options, for example, with an offset center. But such methods are not very common and are rarely used in practice.
More information about how to lay tiles on the floor diagonally, you will learn by watching the following video.
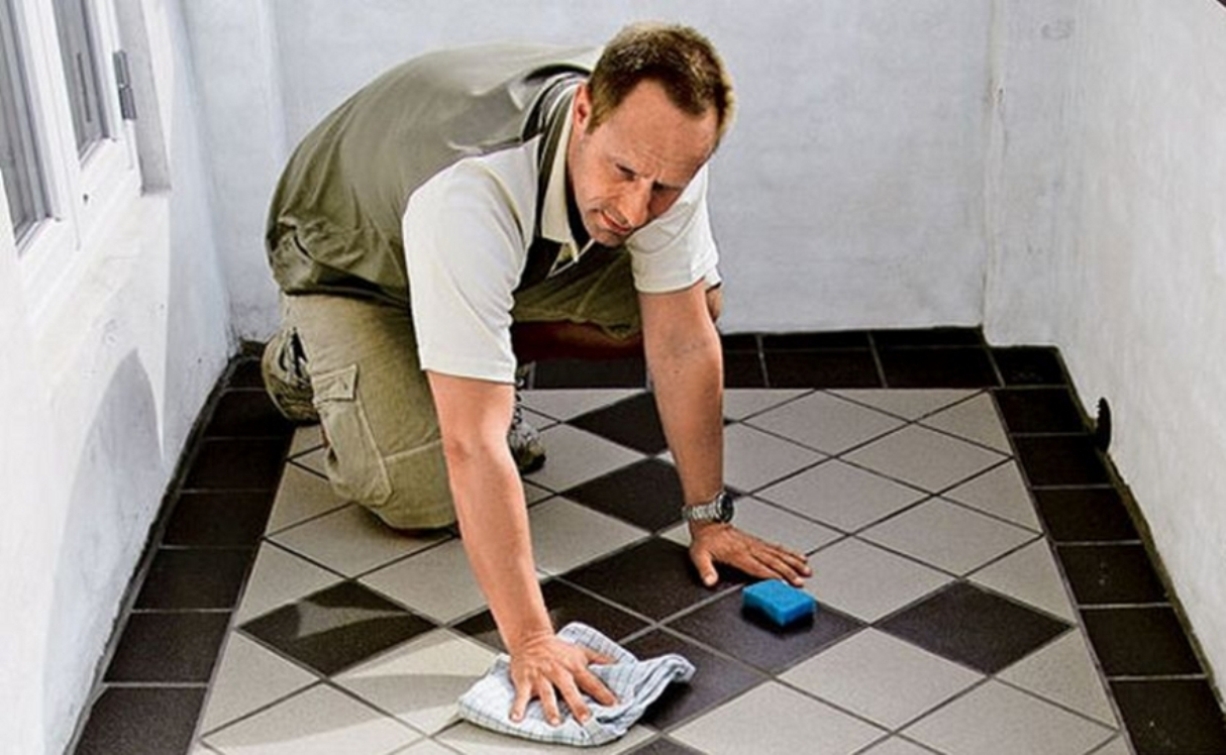
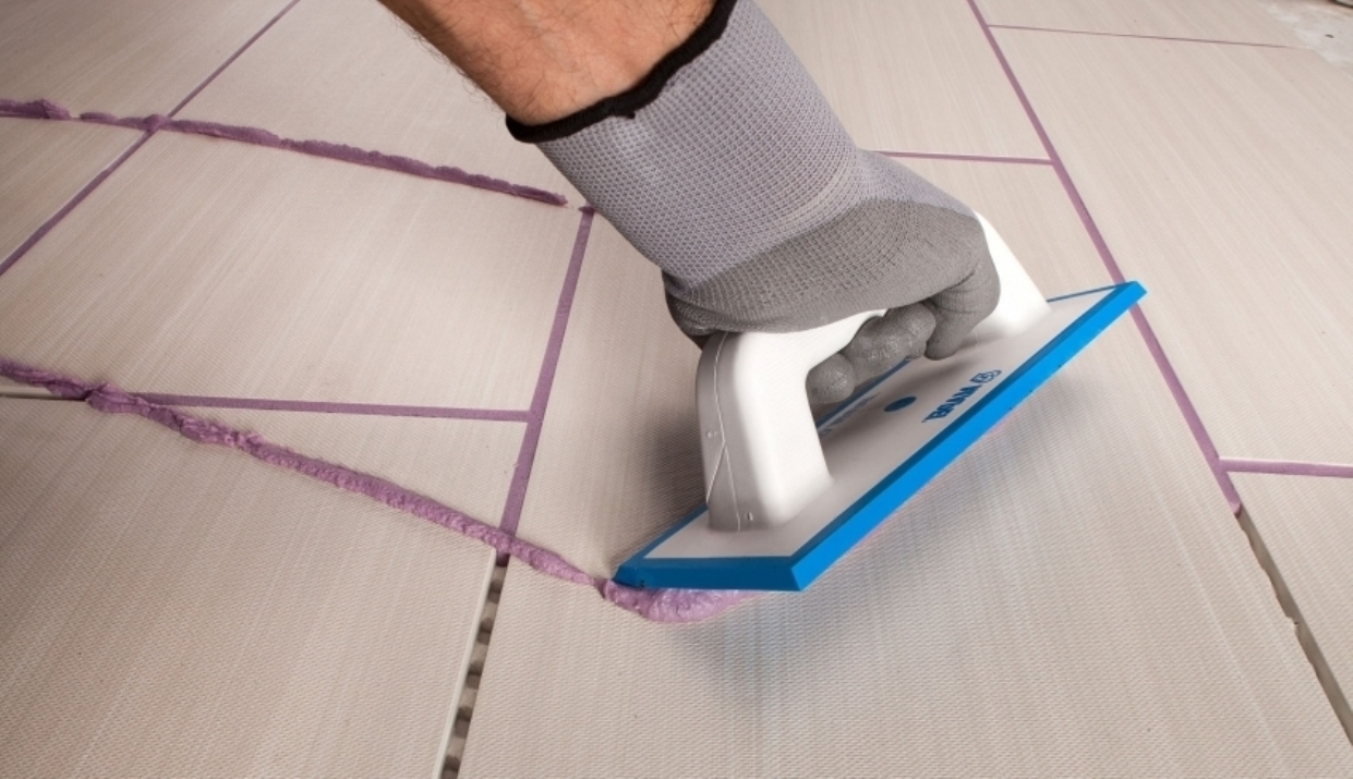
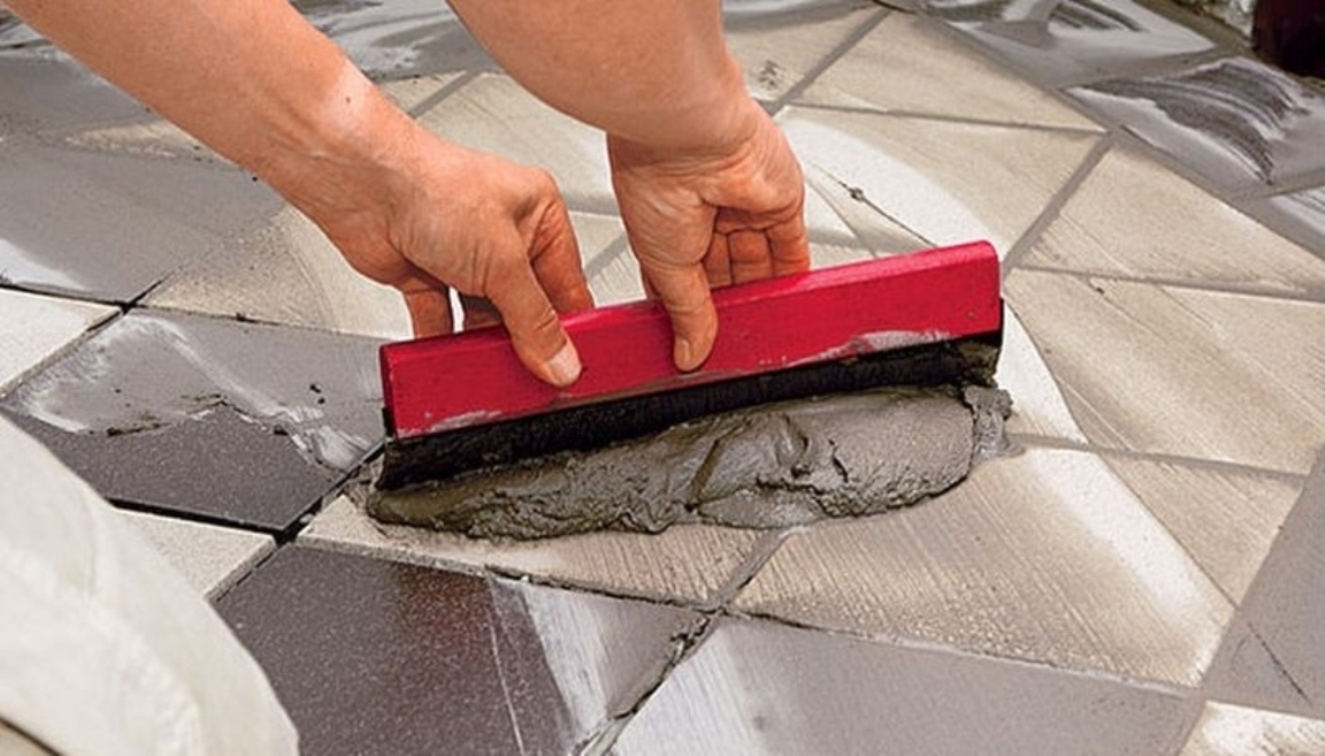
Stitches
At the end of the process you need to wipe the seams between the modules. Only after the glue has completely cured, when it will be possible to walk freely on the surface, remove all excess material from the joints and begin to grout. Pasta is diluted to a semi-fluid state and not hard tool pressed into the drab places.
It is necessary to wipe the floor in parts no more than 2 m² at a time, because there is a risk in time not to have time to clean the excess - the paste hardens quickly and then it is bad to wash off.
After the mixture dries on one part, the tile should be cleaned of its residues: better to wipe with a soft cloth to give shine and gloss. After that, proceed to the next section.
The trowel mix is selected by combination of color with the modules so as not to spoil the overall composition. You can emphasize the boundaries of the tiles, highlighting specific areas, but you can, on the contrary, make them invisible.