Recommendations for removing wallpaper bubbles after drying
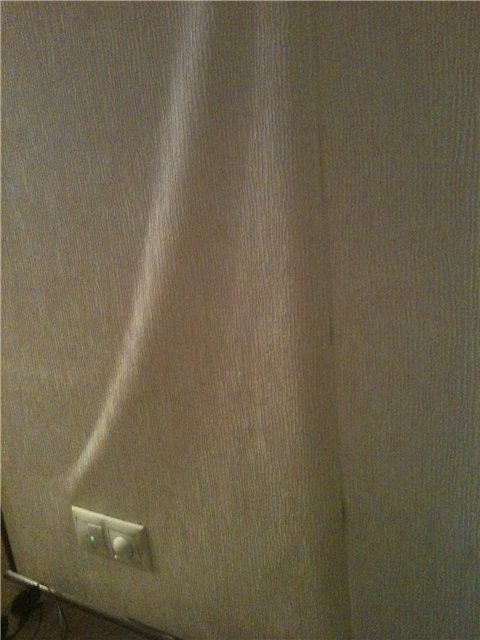
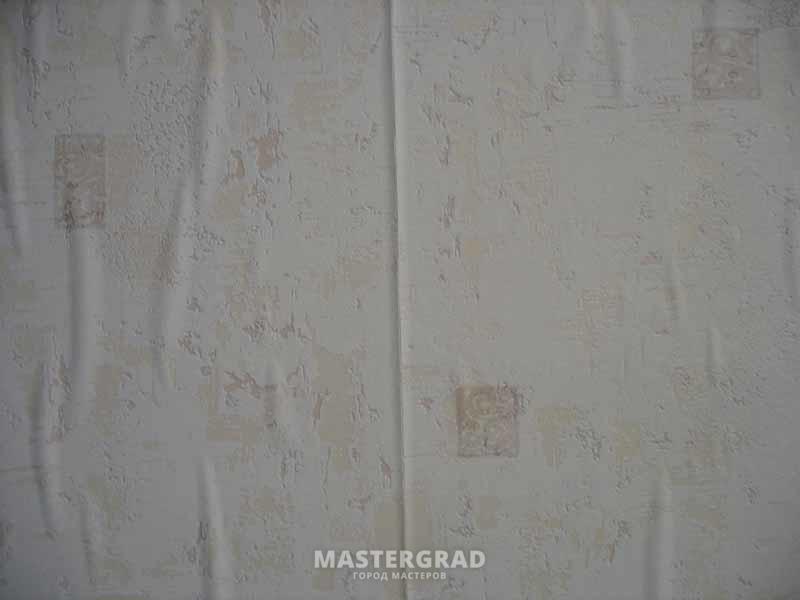
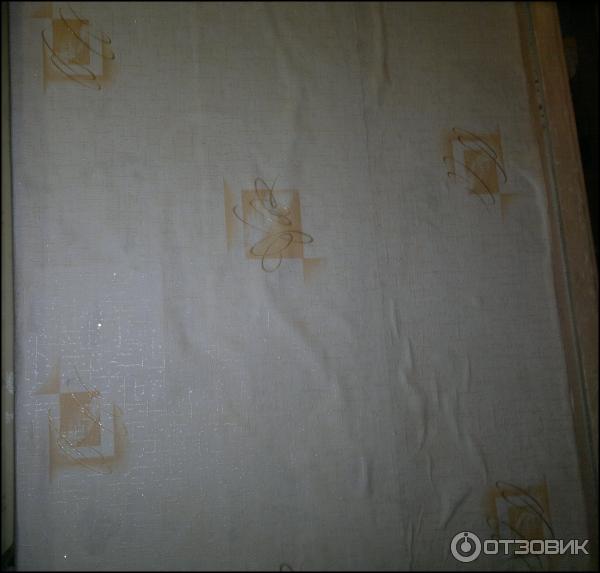
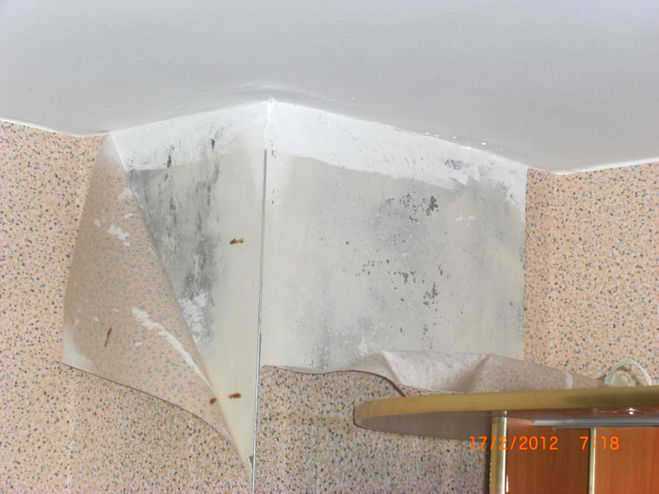
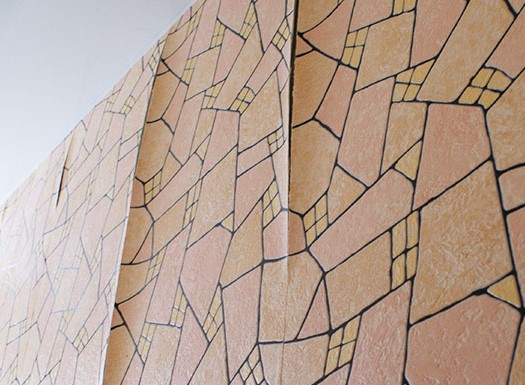
Sometimes after drying the newly pasted wallpaper, their surface swells. As a result, small bubbles and large air cavities are formed. This spoils the aesthetic appearance of the wall, serves as a breeding ground for insects, and often becomes a favorable environment for the appearance of mold and mildew.
Timely and competent measures to eliminate installation defects will help to return the attractive appearance of the wallpaper and will not require large expenditures.
Why did they appear?
There are several reasons why the wall covering in some places moves away from the wall and forms bubbles:
- The most common of these is the deformed surface of the supporting structures. Even minor grooves, cracks, chips and height differences can cause a mounting defect. In such cases, the risk of bubbles is highest when sticking.heavy vinyl wallpaper and thick cloths on non-woven base, which can not be pressed so tightly to eliminate the presence of air residue. Installing wallpaper on a dry plaster, putty and primer causes both blistering and flaking of the entire canvas.
- Unevenly applied glue also causes peeling of individual areas. This is due to poor absorption of glue in some places, which entails a small accumulation of air in these areas and their subsequent swelling.
- Improper drying conditions often cause air pockets. For the complete loss of moisture wallpaper glue takes about two days, during which a stable temperature regime must be observed without sudden drops and drafts. Direct exposure to ultraviolet rays should also be excluded.

- Improper glue and its uneven application often lead to air accumulations under the wallpaper.
- Non-compliance with the manufacturer’s recommendations is also a cause of defects: you need to follow the instructions exactly and apply glue or just onto the canvas,as in the case of light paper wallpaper, or even on the wall, as with the installation of heavy fabrics on non-woven base.
- Another reason for the appearance of air cavities is the failure of the installation technology, in which measures were not taken to tightly press the wall coverings and remove the accumulated air.
How to fix?
Methods for eliminating air bubbles on wet and dried wallpaper are noticeably different. If the use of a roller or a warm iron is sufficient to remove blisters on a not completely dry cloth, the elimination of defects from already dried wallpapers requires more drastic measures.
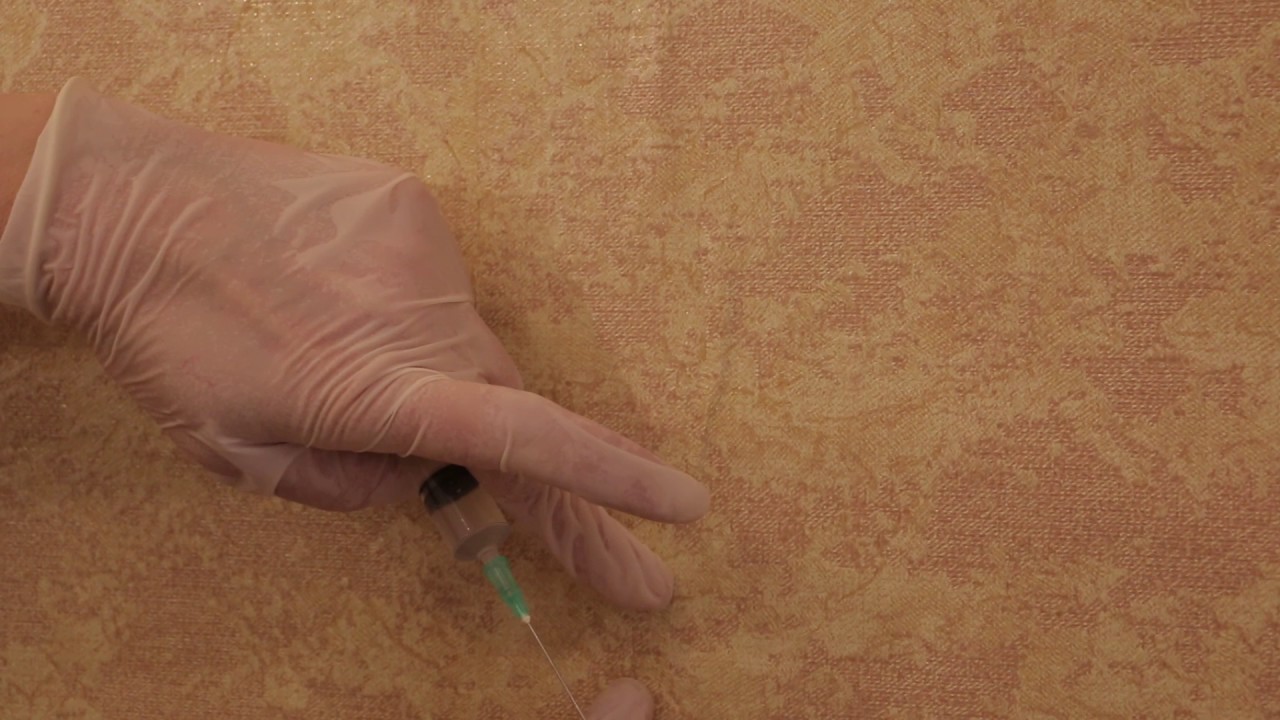
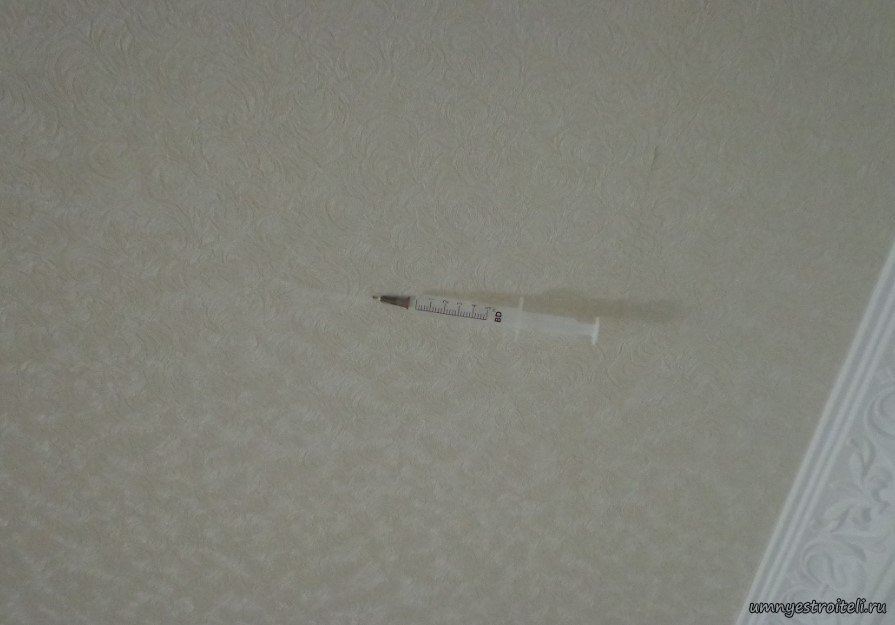
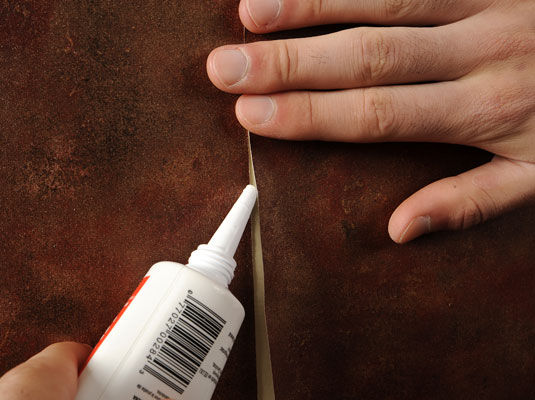
The most common way to eliminate bubbles is to piercing and re-sticking the departed section. For these purposes, you must use a syringe. The thickness of the needle will depend on the thickness of the diluted adhesive.
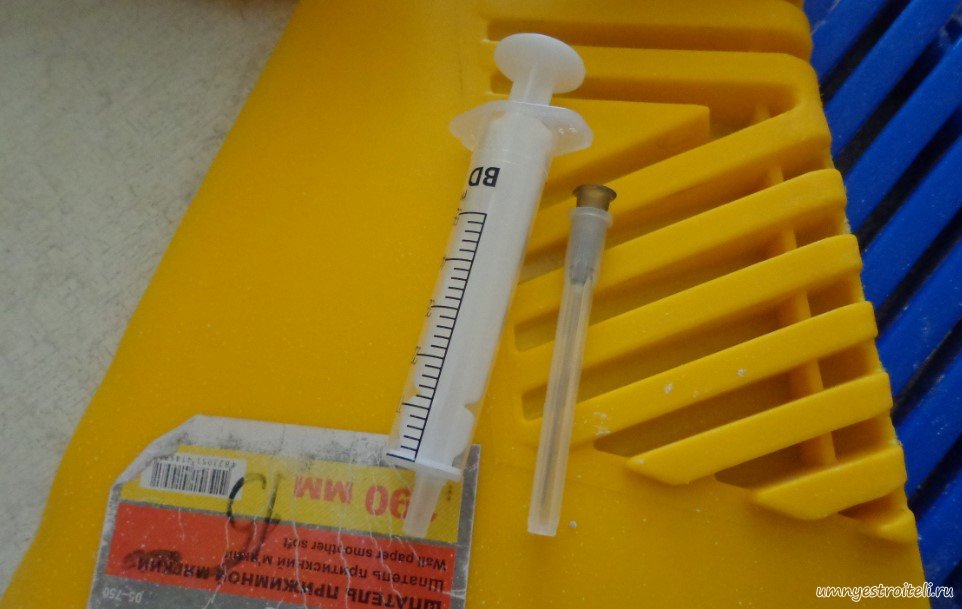
To pierce the paper bubble should be at an angle of 25-30 degrees. This will allow to get the needle almost parallel to the wall to the desired depth.
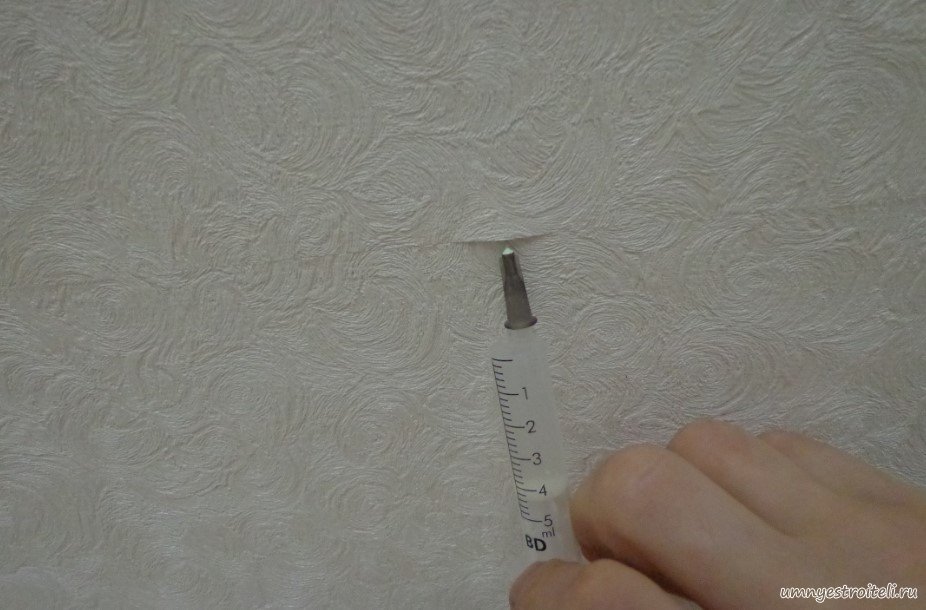
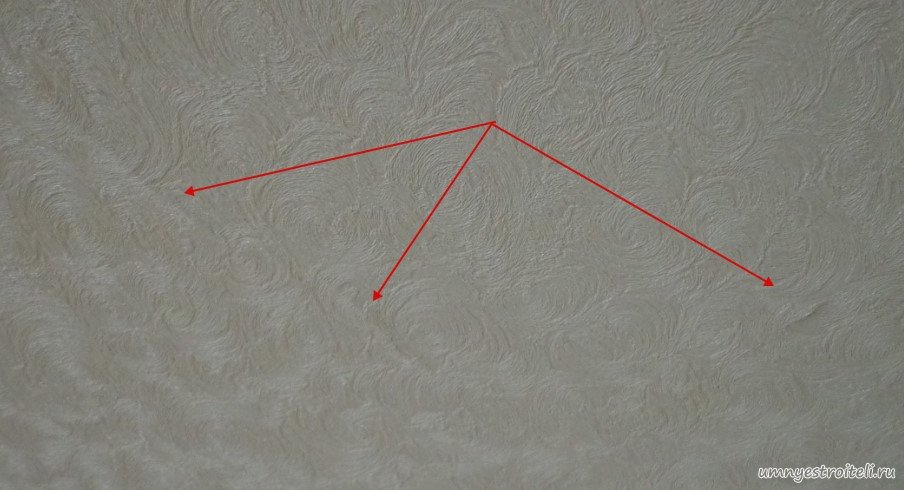
The distribution of glue in the air cavity must be made from the edges of the bubble to its center. This will avoid dry areas in your pocket,and will provide an opportunity to remove excess glue through the hole, which was a needle. Distribute glue over the entire area of the departed area should be carefully and evenly. To do this, you can use a spatula or a soft roller.
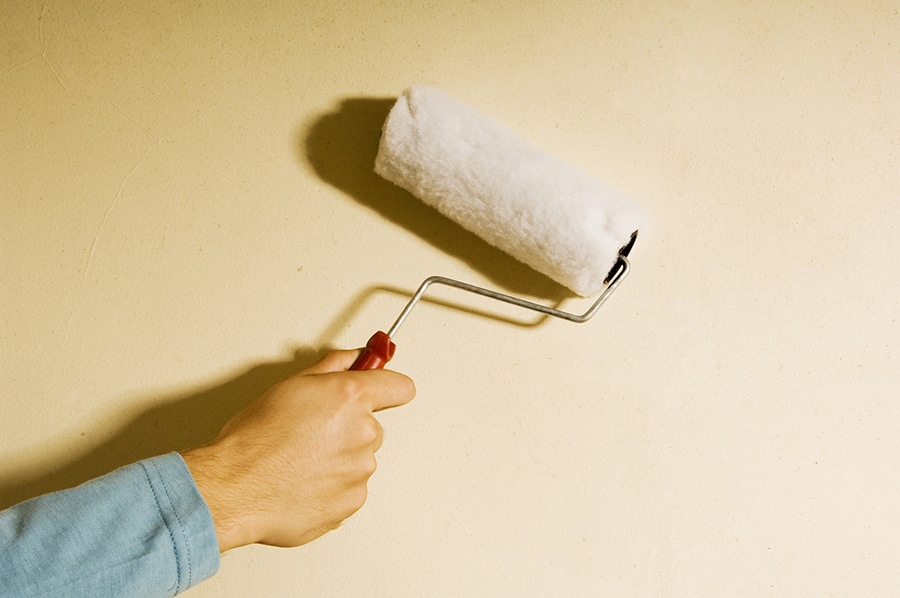
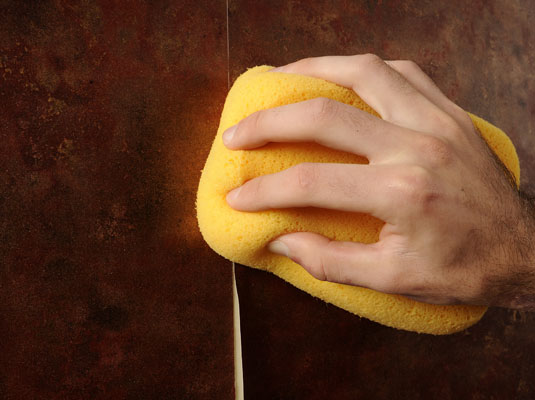
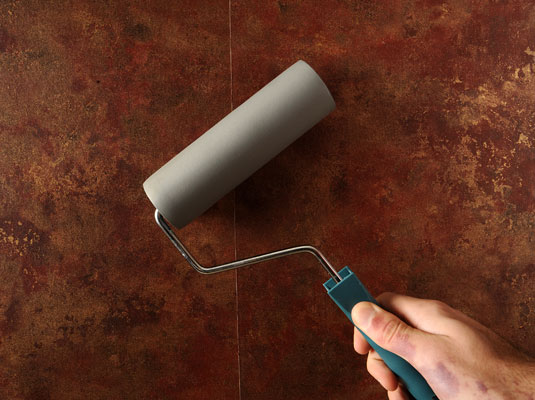
After spreading the glue and removing the excess, the glued part of the wall covering should be pressed tightly and try to level the folds. As soon as the area dries out, minor irregularities smooth out.
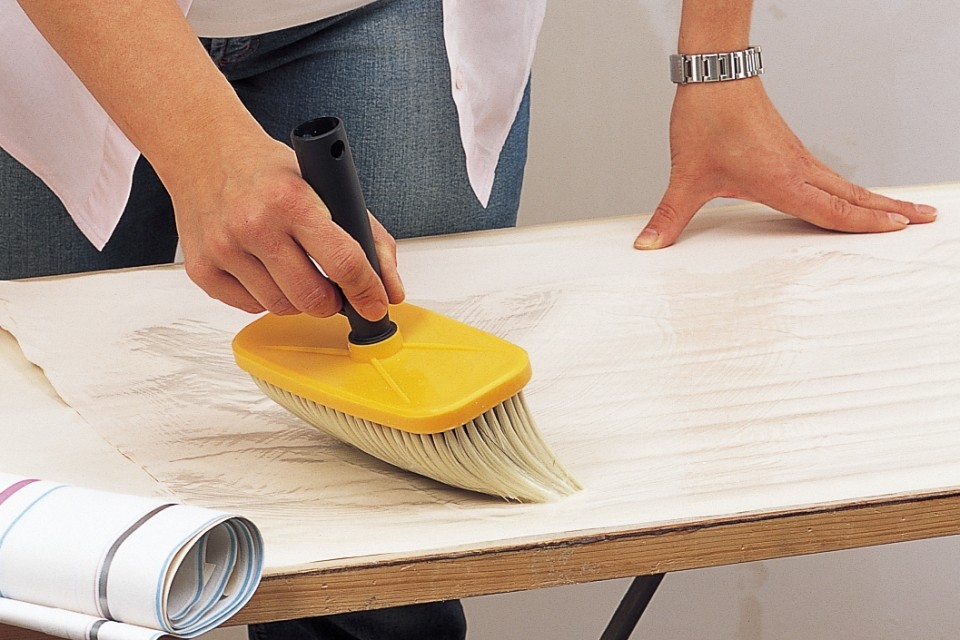
With the elimination of large air pockets single punctures with the injection of glue is indispensable. To eliminate the large cavities, you need to carefully cut the surface of the canvas with a stationery knife and bend the departed section. Next, apply a glue using a small brush, in accordance with the manufacturer's recommendations.
Glue can be applied either on the canvas or on the canvas and the wall. Then you should firmly press the wallpaper, and expel the air from under the glued area. It is recommended to use a soft dry cloth for paper wallpaper, and a rubber roller for vinyl and non-woven wallpaper.
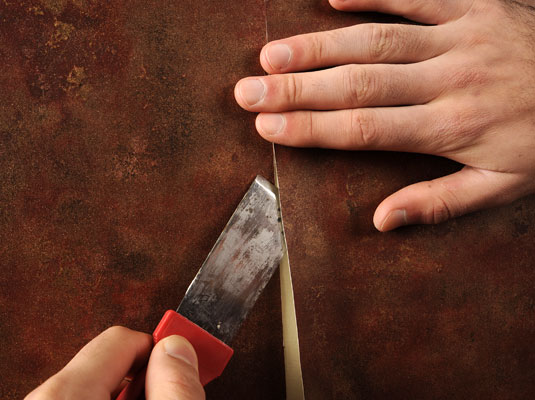
Using this method, it should be borne in mind that paper wallpapers increase in size after the application of glue and decrease after drying.It is necessary to remember about this property in order that the repeated joining of the pattern after the notch was the most accurate, and the glued parts would come over each other with minimal overlap. The method can be used only if there is a picture on the wallpaper. On plain canvases to ensure that the incision remains invisible, will not succeed.
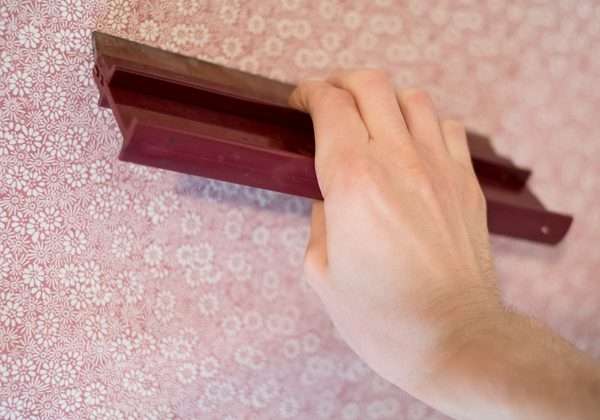
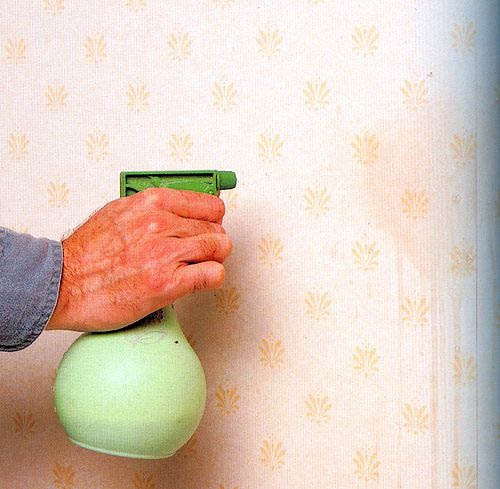
In cases of very large areas of detachment, dismantling of the strip with the further labeling of a new fragment is required. To do this, moisten the wall covering with a roller or spray gun, and gently open the adjacent strip over the entire length, if the wallpaper is overlapped with overlap. Then you need to remove the damaged canvas and, letting the wall dry out after moistening, glue a new one.
On the wallpaper, intended for self-painting, remove bubbles should immediately after drying paintings.
How to avoid blistering?
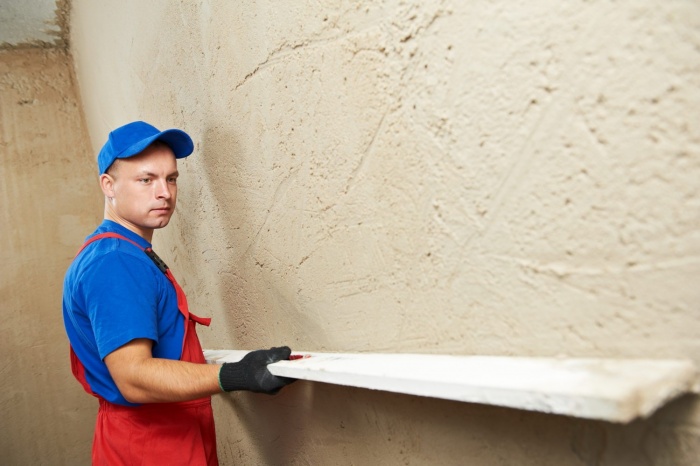
If you strictly follow the recommendations on the package and strictly comply with the installation technology, then the swelling of the wallpaper will be avoided. Do not neglect the preliminary preparation of the wall, which includes leveling and priming the surface.This will avoid the formation of voids and prevent loose material.
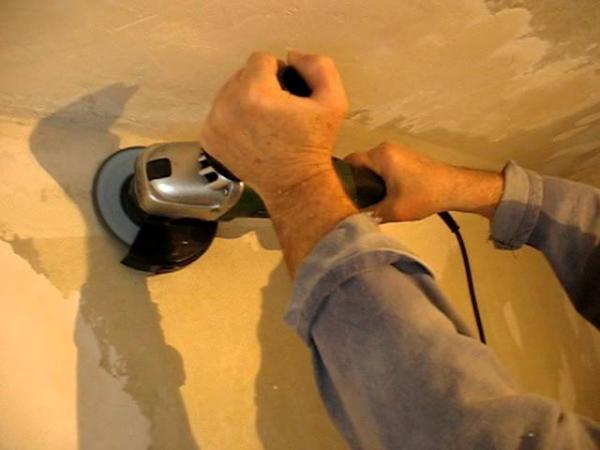
Particular attention should be paid to the corners. Strongly projecting irregularities need to be removed with the help of a “grinder”, and potholes, dips and relief folds should be plastered.
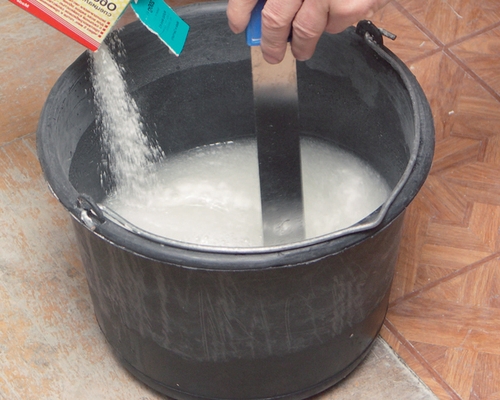
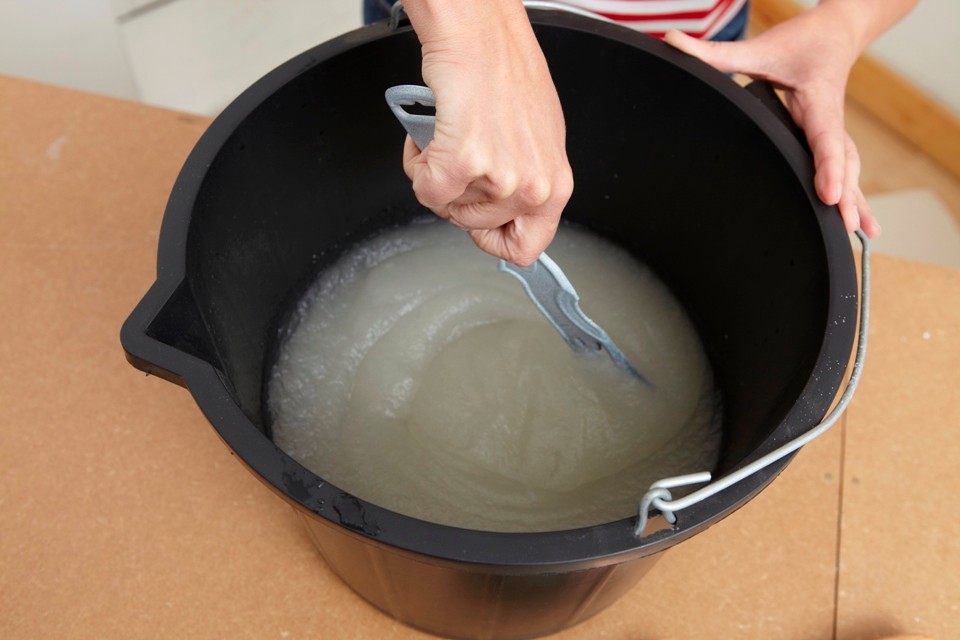
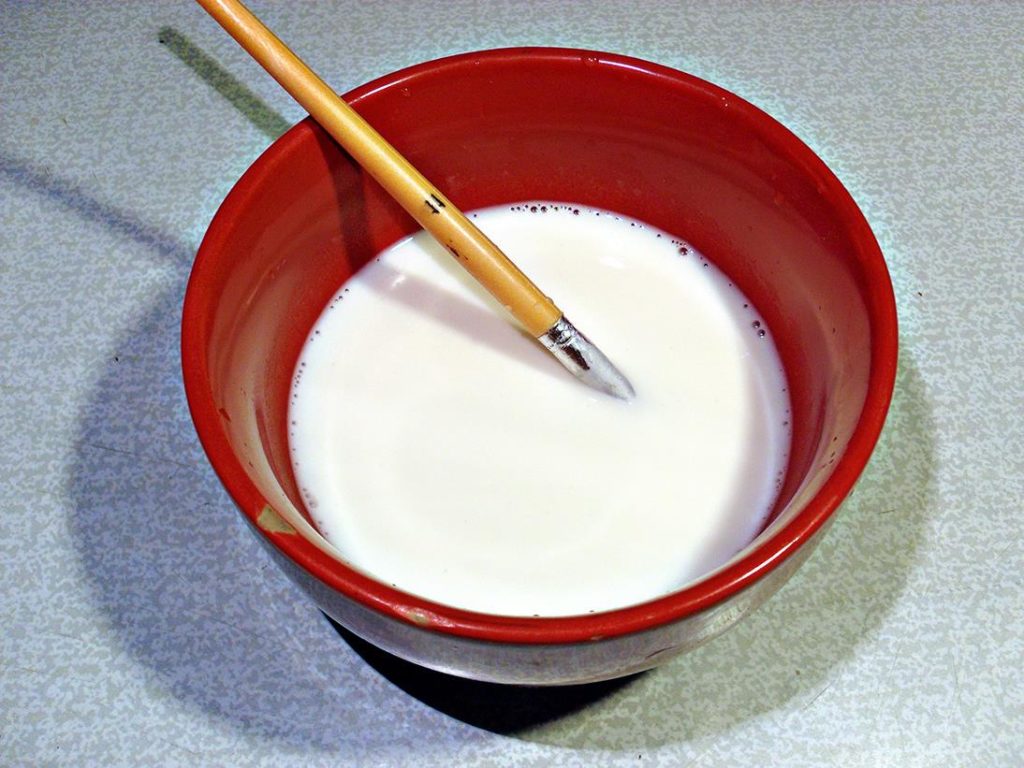
You should also pay special attention to the choice of glue. It is necessary to select the composition taking into account the thickness, texture and material of which the wallpaper is made. When using dry mixes, you need to be very careful when diluting the composition and strictly observe the necessary dosage of water. Too thin solution will not provide a reliable and uniform fixation of the cloths. and will cause blistering.
When breeding glue should not allow the appearance of air bubbles, which can later lead to the bubbling of the wallpaper. This is facilitated by too fast and intensive stirring.
When pasting corners and removing blisters, it is not recommended to use PVA glue. Even if there is no wallpaper paste, it is better to purchase a new package. PVA leaves yellow spots after drying, and does not allow to remove the glued sheets at the next repair.With it, you can only produce a primer wall, pre-mixed with water in equal quantities. This will ensure a very good adhesion of the cloths with the wall and will prevent the occurrence of blisters in the future.
Recommendations
Stick to the wallpaper without bubbles will help the following tips:
- Do not make a sticker wallpaper on the old plaster. Even sturdy in appearance, it can fall behind under the influence of moisture, and then the new wallpaper will have to be removed with it. Old paint and whitewash is also recommended to remove.
- The temperature in the room where the wallpaper is applied may vary from 18 to 25 degrees. Humidity should not exceed fifty percent. Very high temperatures will cause the fabrics to dry too quickly, which will not ensure maximum adhesion of the material to the wall.
The canvas itself dries and moves away from the wall.
- The same negative effect can occur in case of insufficient wetting of the room or direct sunlight on the newly pasted surface. Therefore, you should put a bucket of water in the room and close the windows with a cloth.The use of fan-type heaters and air conditioners is prohibited.
- When putting glue on a wall and a cloth of wall-paper, it is necessary to be convinced of its uniform distribution. Dry places are clearly visible when looking at the surface a little to the side. Such areas cause bubbles. In order to avoid such situations, it is necessary to monitor the condition of the brush and roller, with the help of which glue is applied.
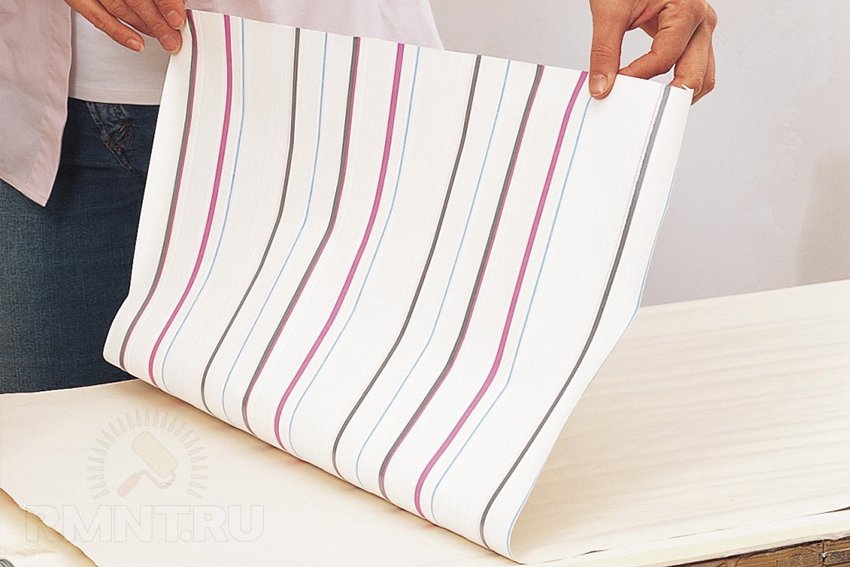
- Do not leave wallpaper with adhesive applied for a long time. The canvas swells, becomes heavy and inconvenient for installation. Paper products from their own gravity can break.
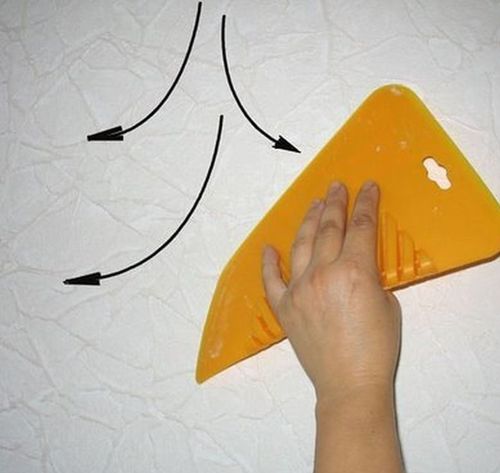
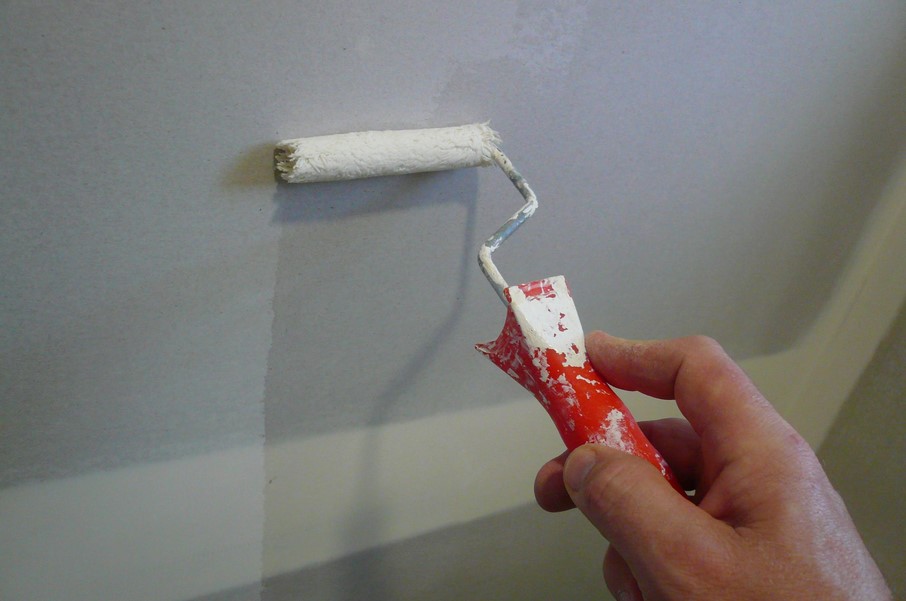
- When gluing the strip on the wall, first of all it is necessary to align the upper and side edges, and only after that you need to start leveling and pressing the canvas. Remove the air should be synchronous, from top to bottom and from the middle to the edges - "herringbone." Then roller need to go through the side joints, top and bottom. When sticking paper wallpapers, a clean and dry cloth is required instead of a rubber roller. This should be done carefully, without smearing the pattern and without damaging the delicate paper layer.

- You should not get upset prematurely if, after gluing, the wallpaper is swollen, blistering and began to peel off. Using simple and affordable repair methods, minor defects can easily be fixed by yourself.
This will allow to perform the necessary correction with high quality and in a short time, to avoid time-consuming dismantling and will not require significant financial expenses.
On how to glue wallpaper without bubbles, see the next video.