How to properly rub the seams on the tile?
Forty years ago no one knew such a word as a grout. The last squeak in the form of Greek or Polish tiles had to still manage to get, and it was not always possible to buy tiles of the same color. It was glued (it was glued, not laid) on the walls and floor in all imaginable and unthinkable ways. And what just was not added to the adhesive mixture, so that it kept in the chosen place! Glued without seams, so the grout was not needed by anyone.
But time and technology are running forward, overtaking all ideas about beauty and practicality.

Special features
Today, it is simply impossible to imagine a well-laid tile without a grout. The technology of laying tiles in our time implies that seams are made between the elements of the decor.The seams are called the indenting tile between the ends of two adjacent tiles. You need to know how to properly rub the seams on the tile.
Inter-tile seams have a purely utilitarian purpose:
- They create a thermal gap. Everyone knows from the physics course that bodies expand when heated. With very narrow seams or in their absence, ceramic tiles can crack in any direction, squeezing one another.
- Tiles from different manufacturers are calibrated differently. Calibration of tiles is the tolerance for the deviation of the size of the finished product from the dimensions declared by the manufacturer. Sometimes calibration can go up to 1 mm. When laying such unequal tiles without seams or with narrow seams, it is impossible to get a more or less decent wall.
In order for the final result to have clear horizontal lines and verticals, a poorly calibrated tile needs to be shifted and centered, changing the size of the seam for each adjacent pair.
In order to prevent gaps between water and dirt between the laid elements of the wall and floor decoration, the joints are filled with a special solution called grouting.Ceramic tiles, for the most part, have a small rounding around the edges due to the peculiarities of its manufacturing technology.
The glaze covering ceramics is applied only on one surface. Therefore, the ends of the tiles have the color of the clay from which it was made, and differ from the color of the pattern on the front side. With unclosed seams, the brown edges are visible to the naked eye and spoil the whole picture.
A common mistake of amateurs is that they believe that the shortcomings in laying tile and mechanical damage in the form of small chips can be hidden with the help of grouting. She, like paint, only emphasizes all the flaws. Therefore, it is better to replace the defective tile or lay it in an inconspicuous place.For example, for a bath or shower.
The composition and basis of grouting from different manufacturers are different. Some add special antifungal additives, others - hardening components, others try to give grout more elasticity, fourth - water-repellent properties.
The more such consumer properties of the trowel mixture, the more expensive it is.
Kinds
The basis for the most frequently used grout is usually gypsum or cement, the resulting seam is opaque, uniform in composition and color. To make the tiled surface aesthetically pleasing, the trowel is tinted (add coloring pigments) in various colors. But in special cases with such a composition it is impossible to achieve the desired result.
To obtain a transparent or translucent seam, epoxy resin-based compounds are used, which can be tinted in different colors or added to various fillers. Fillers can be finely ground silver or gold powder and fine beads, as well as small holographic sparkles, as for decorating nails.
The strength of such a grout will not be less than that of the tile itself, and the dirt will not get into the seams.
Another type of grout is based on the use of furan resin. Its feature is an exceptionally deep black color. In the grout on the basis of gypsum or cement, the darkest color is anthracite, black with a gray tint. This is due to the characteristics of the base materials, which no one has yet been able to otkolerovat subsidiary.
Today, silicone-based sealants in different colors are increasingly being used as grout in places of high loads and humidity.
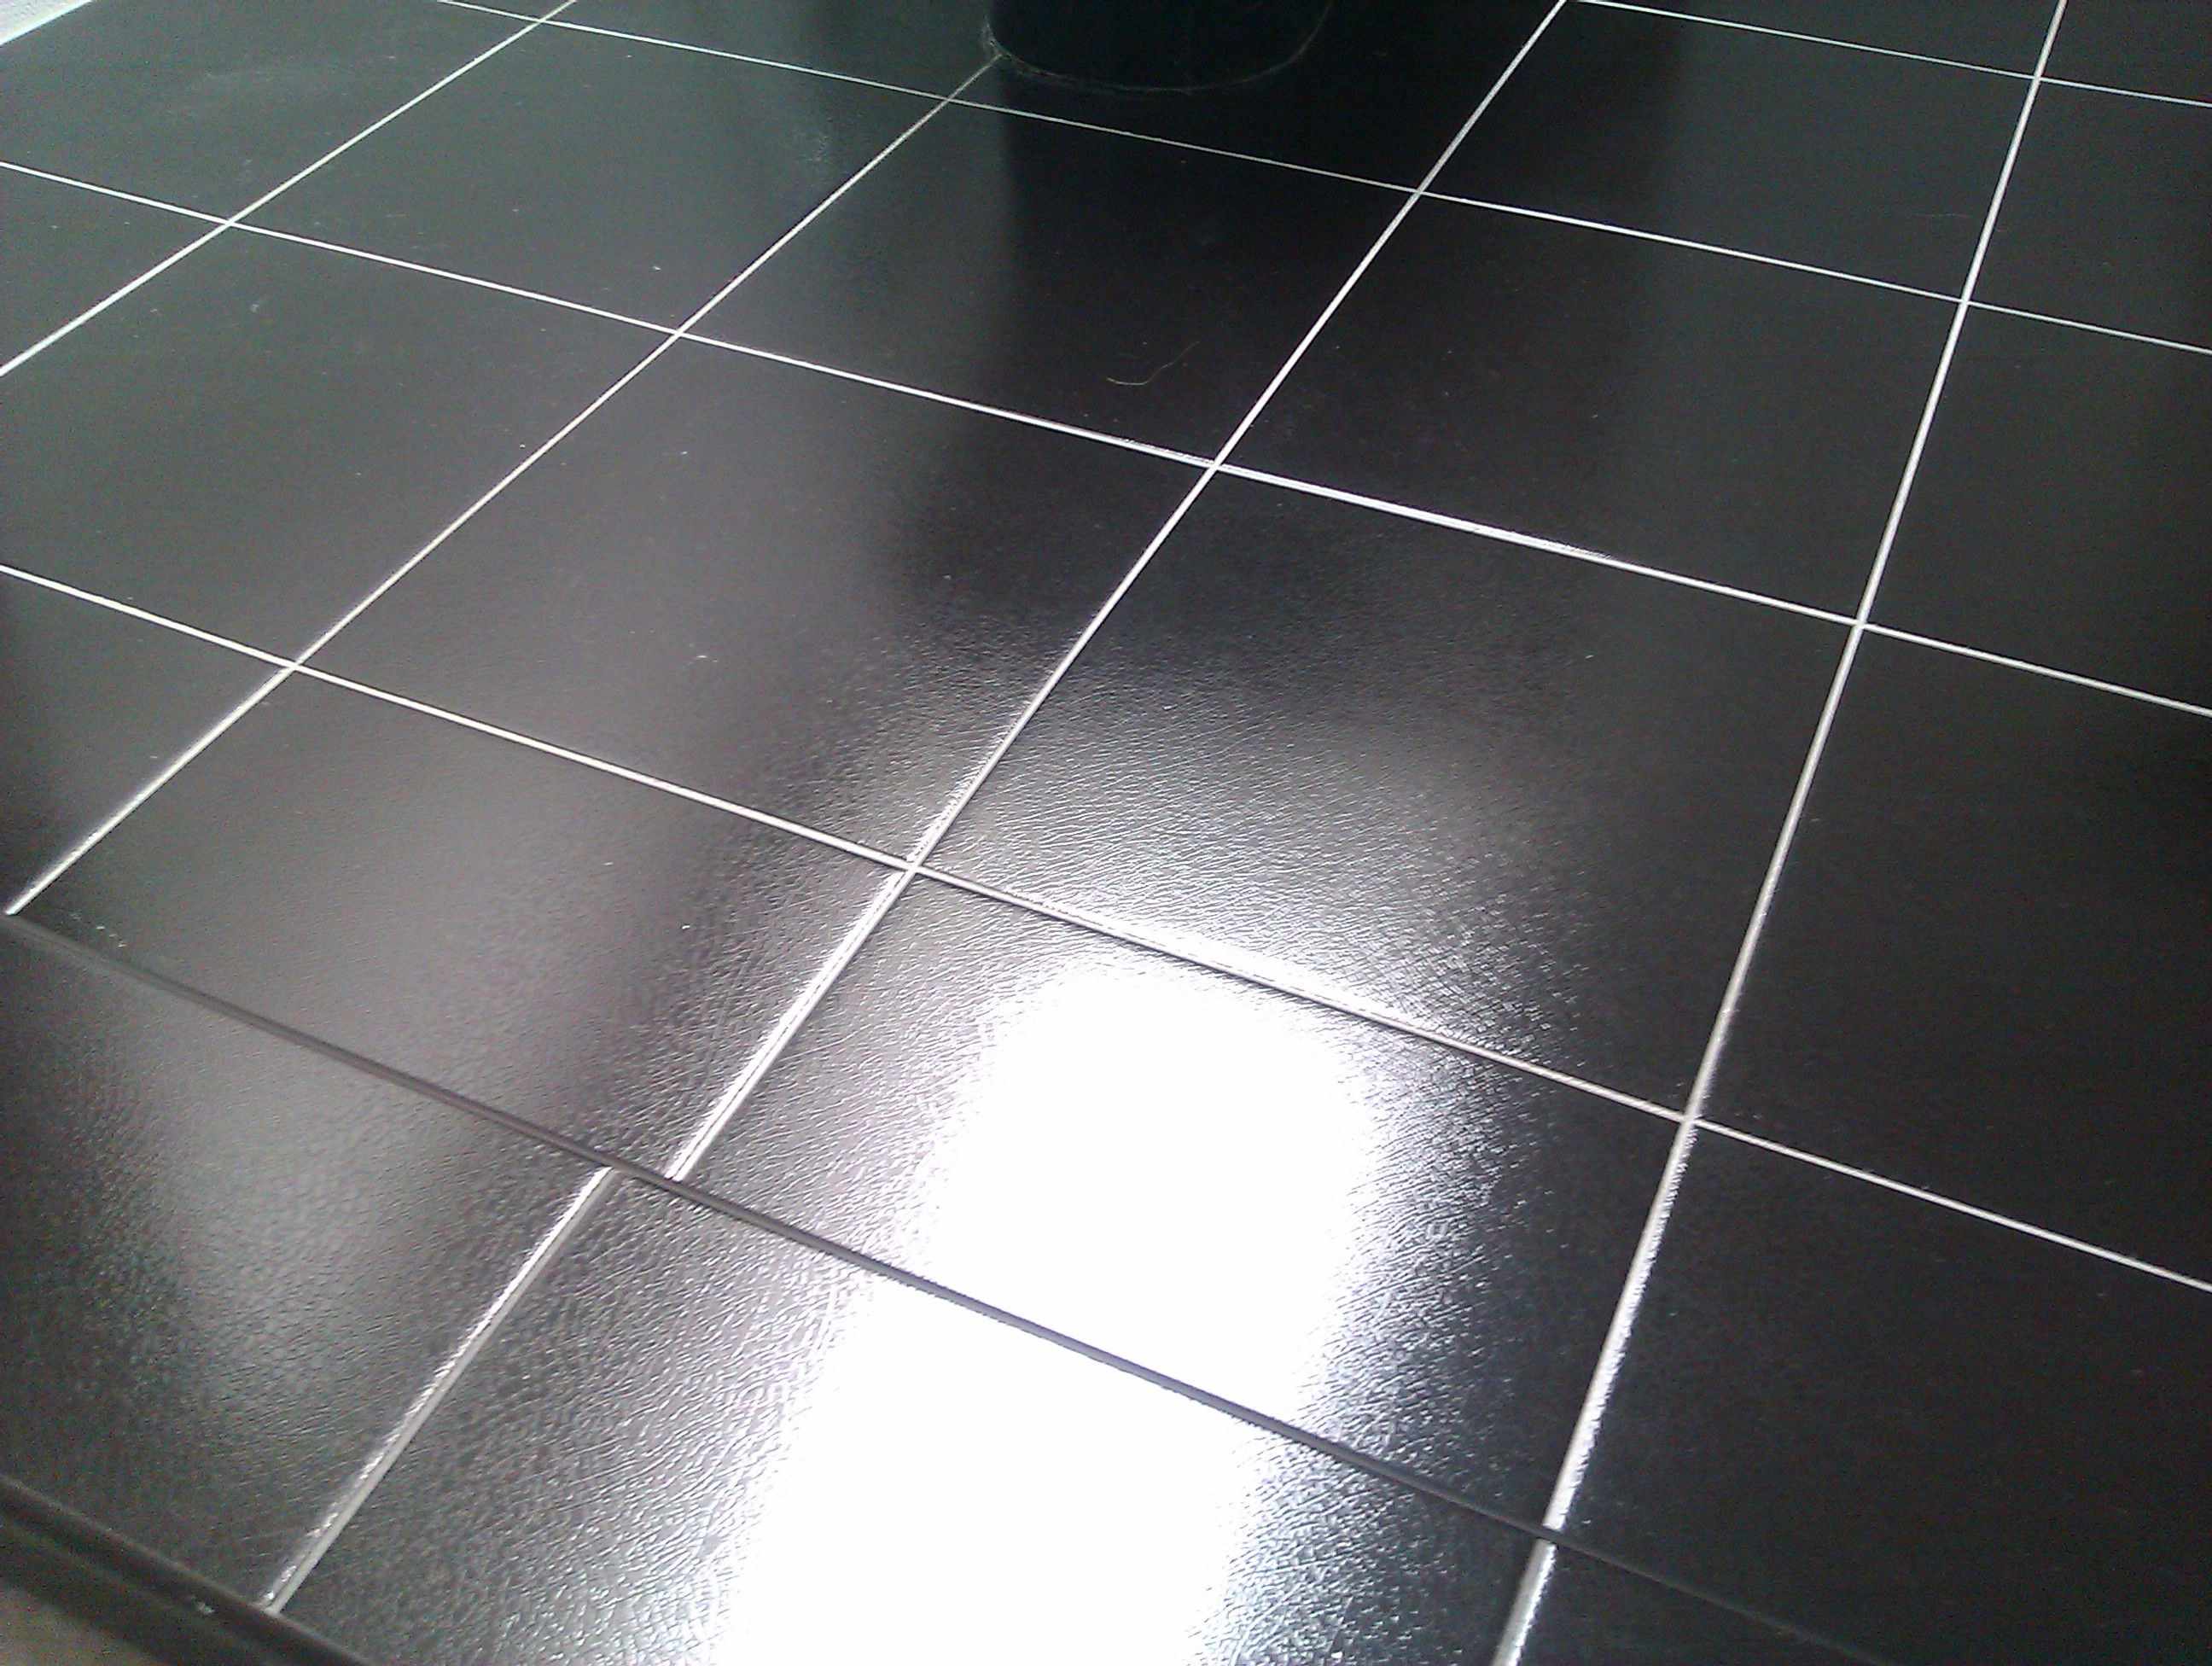
The classic material of grouting was and remains tile adhesive on the clinker. The seam is strong, its width does not matter, the color is only gray.
Grout is sold in any building supermarket both in ready-to-use form, and in the form of a mixture for preparing mortar on the clinker tile. This is an equivalent replacement.
How to breed?
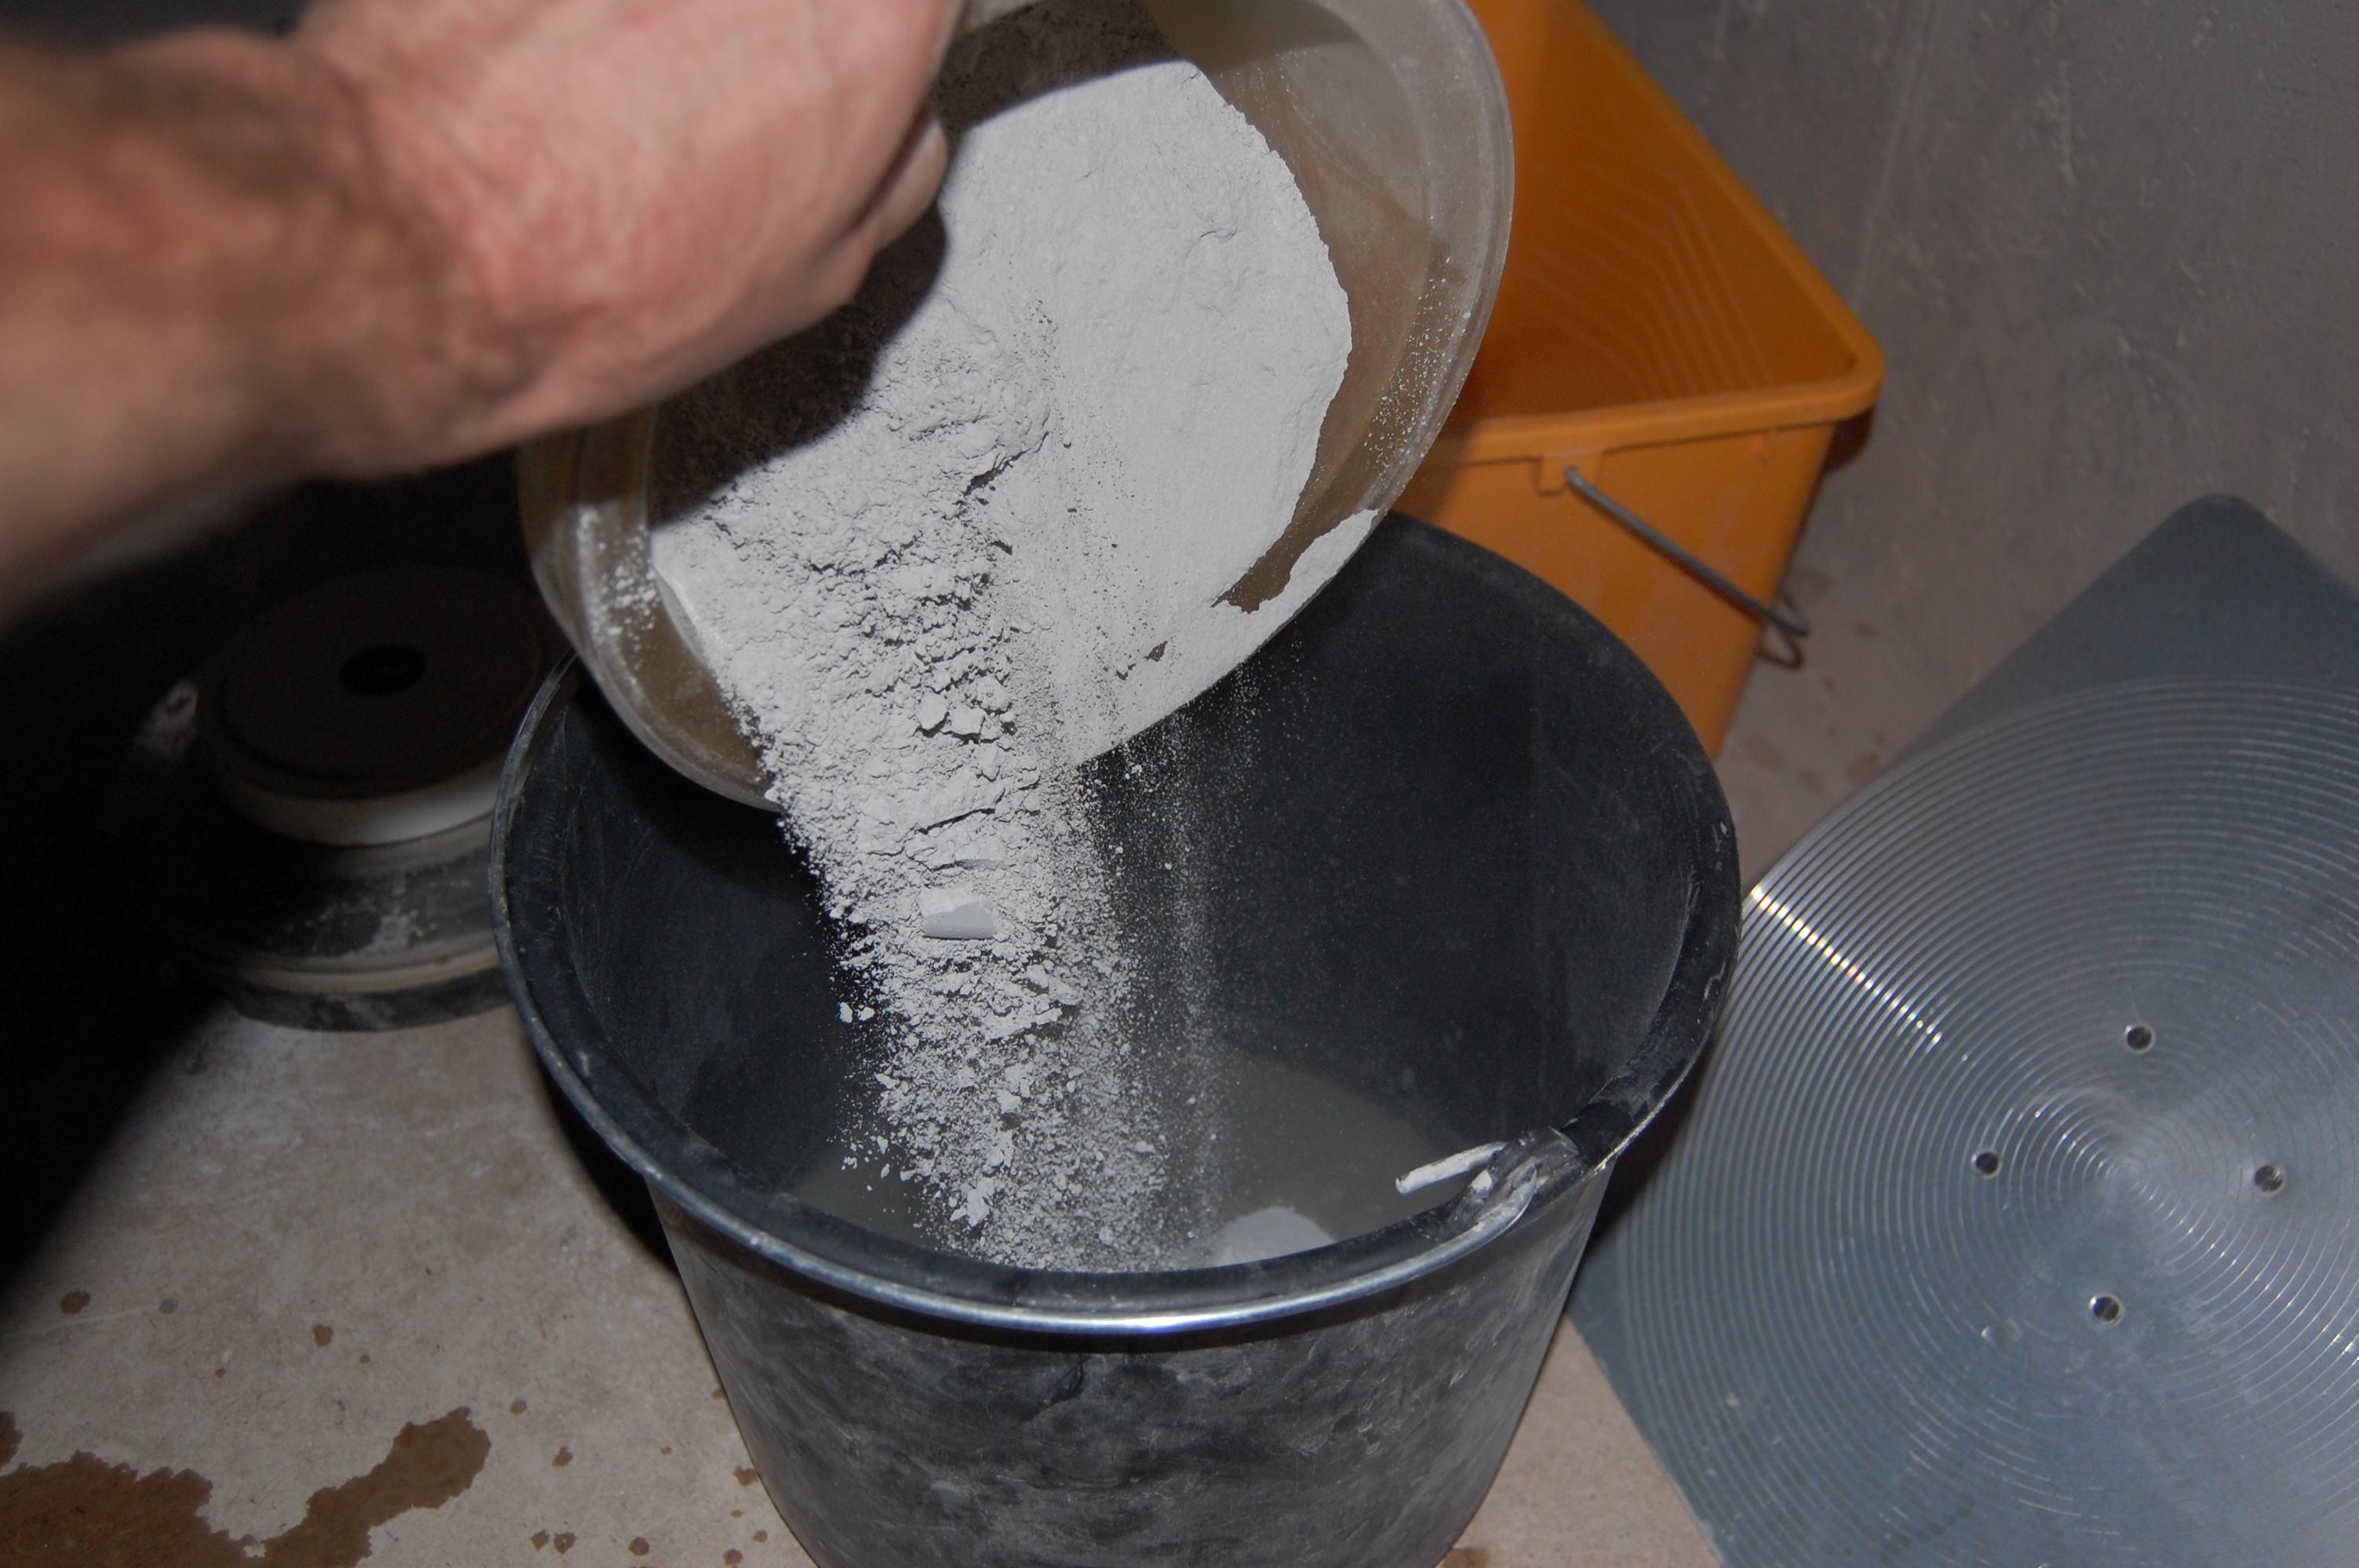
Those who make repairs with their own hands should learn the rule of making solutions from dry mixtures: the mixture is added to water, but not water to the mixture. But grouting is an exception to this rule. Since the characteristics of their composition are such that they take some water, water is added to the dry powder to obtain a solution of the desired consistency.
Water used to prepare any mortar should in no case be warm or hot. otherwise, the mixture will immediately turn into a frozen shapeless lump, with which nothing can be done. It is first necessary to correctly calculate the proportions.

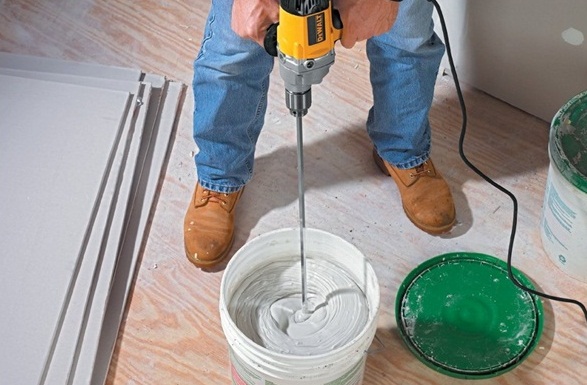
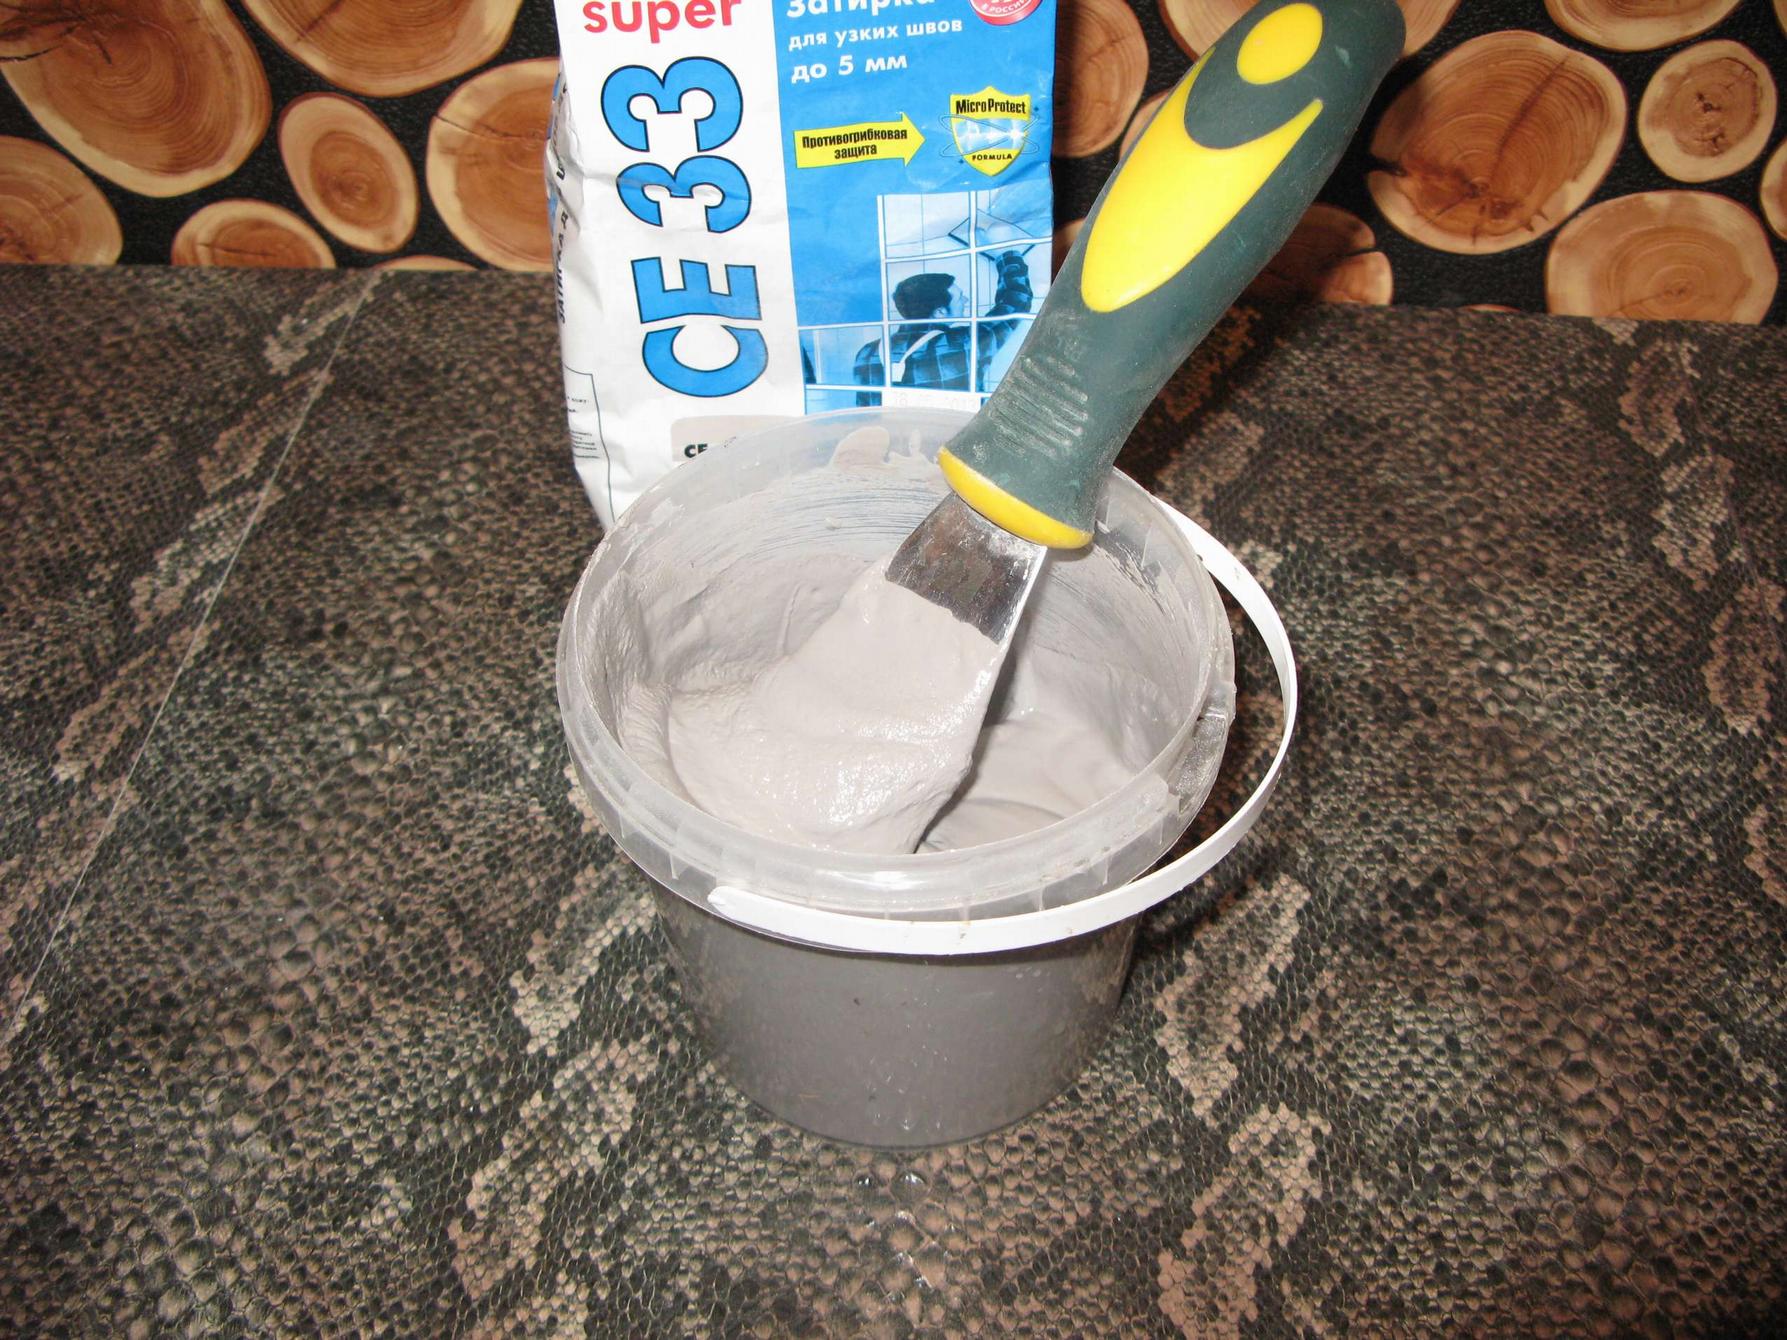
Manufacturers, as a rule, indicate on the package the recommended amount of water per 100 g or 1 kg of dry mix. But this figure is not mandatory. The density of the solution depends on the result that you want to get in the end. For the standard grouting method, the solution should be like thick homemade sour cream or tomato paste. If, while mixing, a part of the mixture remains dry, water should be added in very small portions until the solution has the required thickness.
If, on the contrary, the mixture turned out to be very liquid, similar to kefir, you can gradually add dry grout, again in small portions. And knead well, so that there are no lumps.
Some additives make grout mixes very non-hygroscopic, and the particles of the mixture do not want to get wet. Knead these compounds should be thoroughly and for a long time, until you get a thick homogeneous mass.
The life span of the diluted grout is small, on the strength of half an hour. After this time, the solution begins to harden, clump, lose plasticity, and it is no longer possible to work with it. Therefore, it is most preferable to dilute the grout in small portions.If in the process of work the composition began to thicken, you can add a small amount of water to it and mix well.
If you prepare a lot of grout, then work out it all without loss of quality is very difficult. Preparing a large amount of the mixture at once is logical only if several people work on the grout at once, each of whom performs a certain stage.

The most suitable container for diluting the grout is a rubber or flexible polymer cup with a volume of 300 to 500 ml. Flexibility is due to the fact that when it hardens, the mixture becomes very hard and it is almost impossible to scrape it from hard dishes. When you twist the soft cup, the frozen grout “snaps off” from the walls and is knocked out with a slight tapping. If you try to knock on a hard container, the cup will rather crack, than the grout will lag behind the walls.
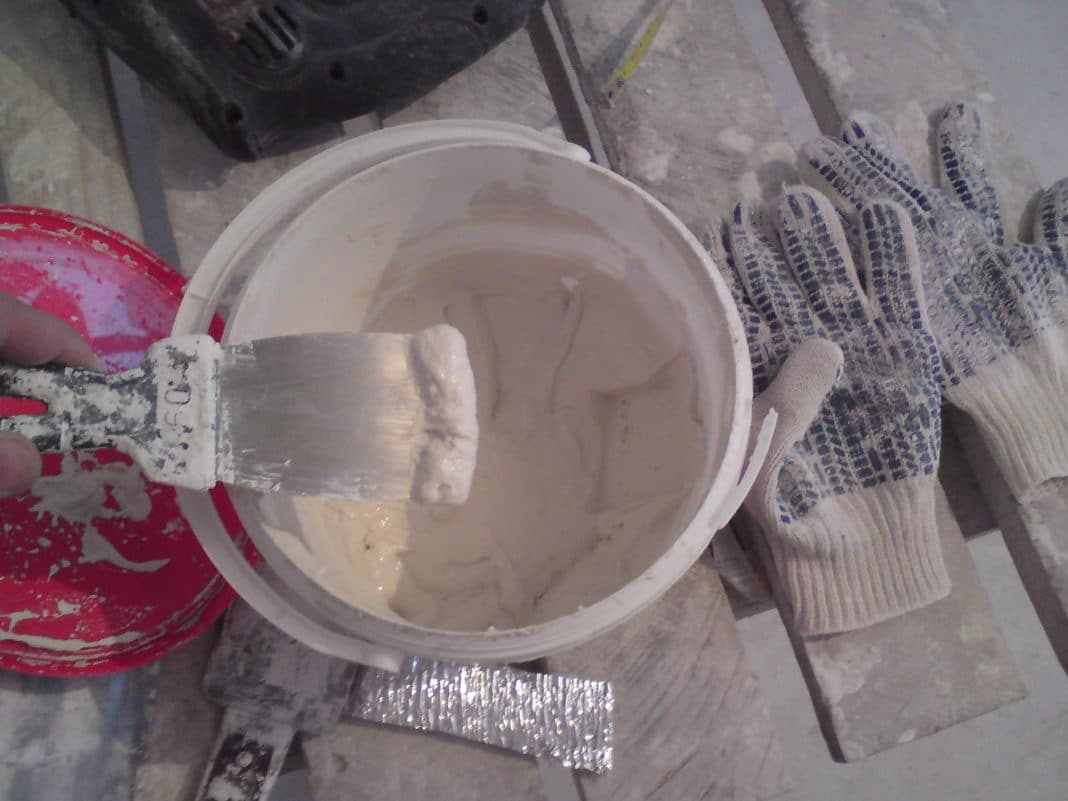
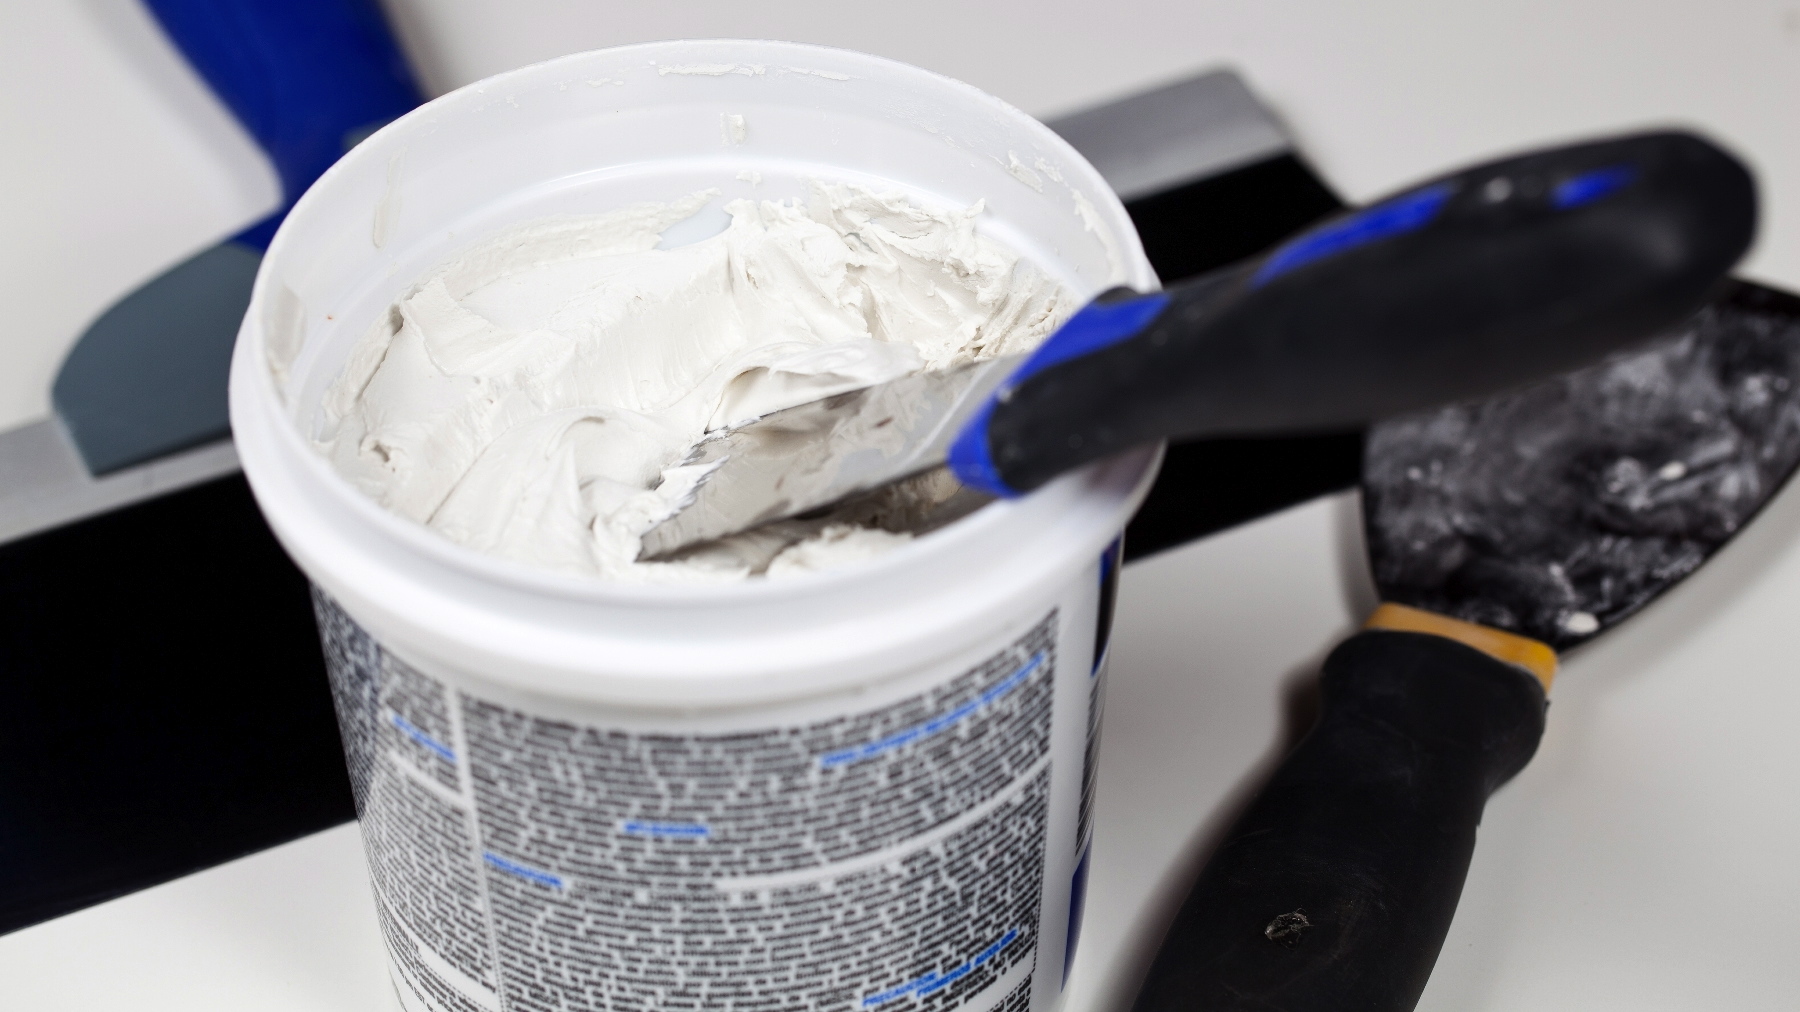
In the case of the use of ready-mixed trowels the manufacturer did everything for us. It can be used by pulling straight out of the bucket. One has only to remember to close the lid tightly so that the unused grout does not dry out. After 12-24 hours in the open air, the finished mixture is first covered with a film, and then turns into a solid, unsuitable for grouting substance.
Instruments
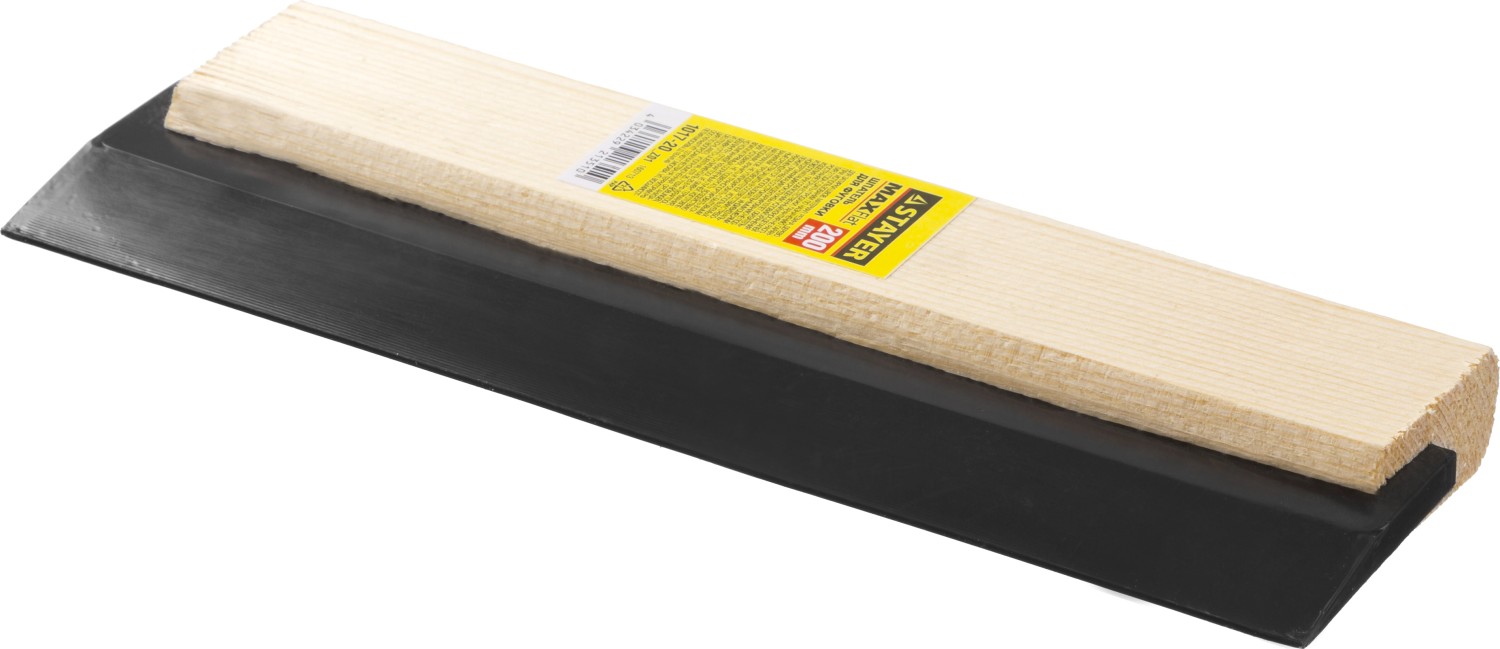
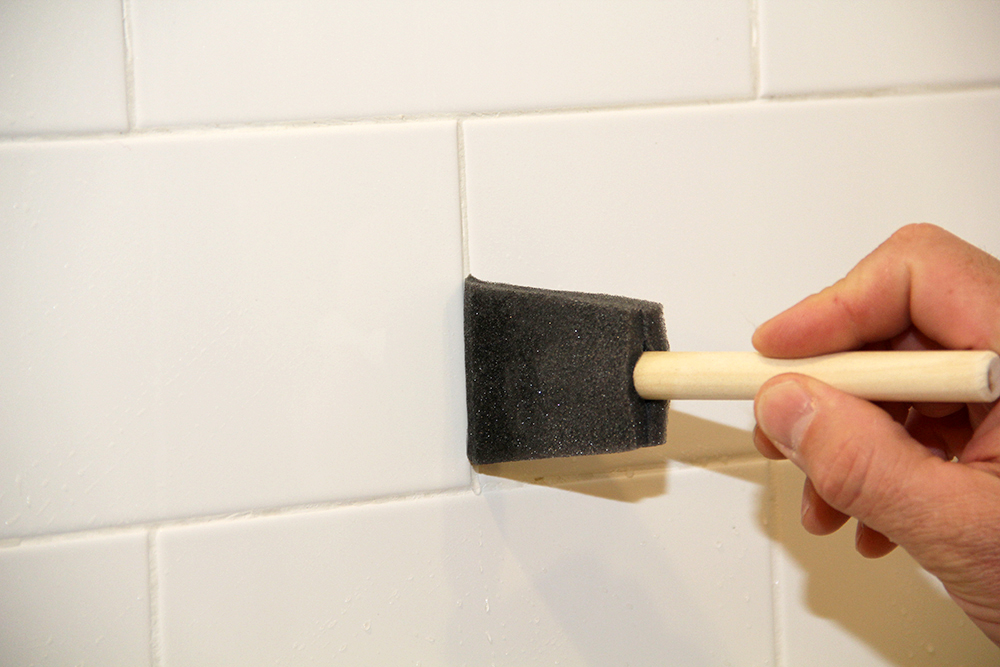
Before you begin to rub the seams, you need to prepare a bucket with clean cool water, latex or vinyl gloves and a few dense sponges (as for washing dishes) that have small pores, as well as two hygroscopic cloth napkins. For convenience, a stepladder is needed. Directly for filling grout joints, a flexible polyurethane spatula 5–10 cm wide and a container with a ready-made mortar are required.
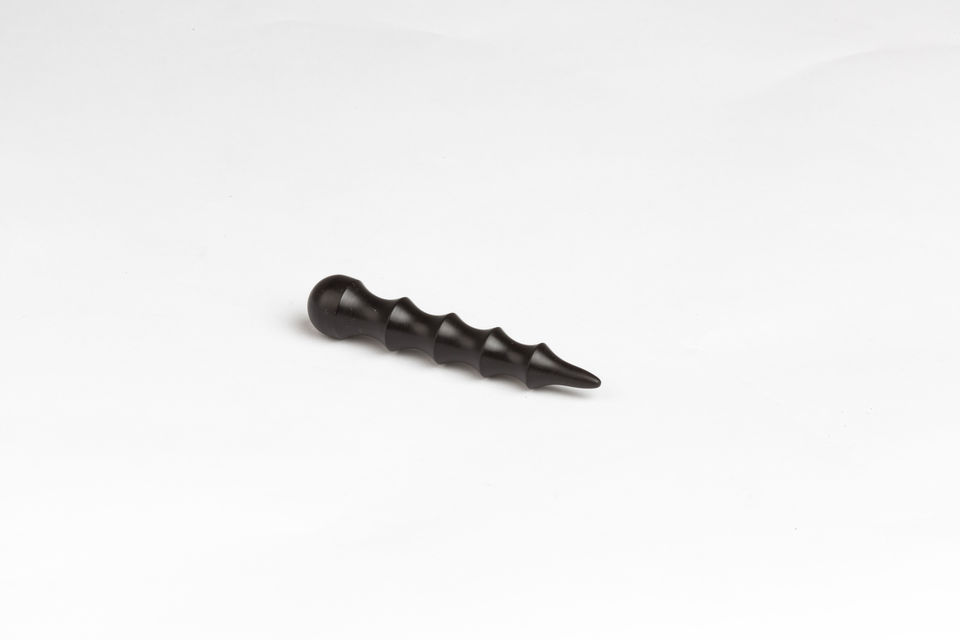
If the skills for applying grout are not worked out, it is better to take a small tool. It is also a good idea to have a painting knife on hand for partial correction of the seam. For the formation of an aesthetic seam, a round ebonite rod of small diameter is needed - 3-5 mm.

In special cases, masking tape with good adhesion may be needed. You can choose a device such as a special machine for filling the seams. It makes your job much easier and you do it faster.


How to apply?
Be sure to use gloves, so you will seal the seams without fear for the condition of your hands. The composition of the grout is quite aggressive. Without the protection of the skin of your hands, you risk earning contact dermatitis.
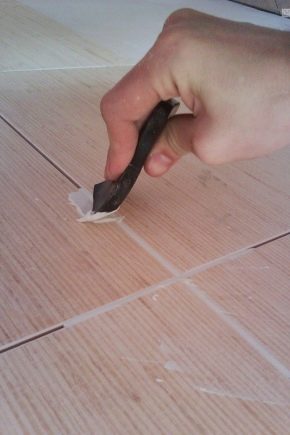
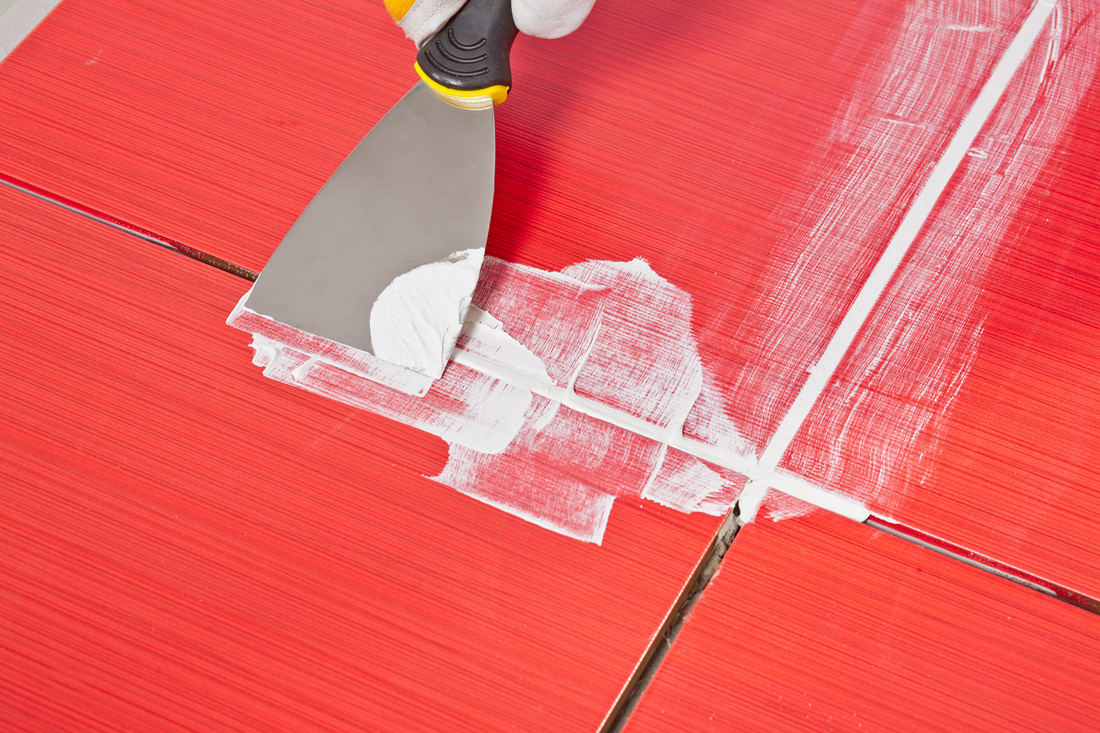
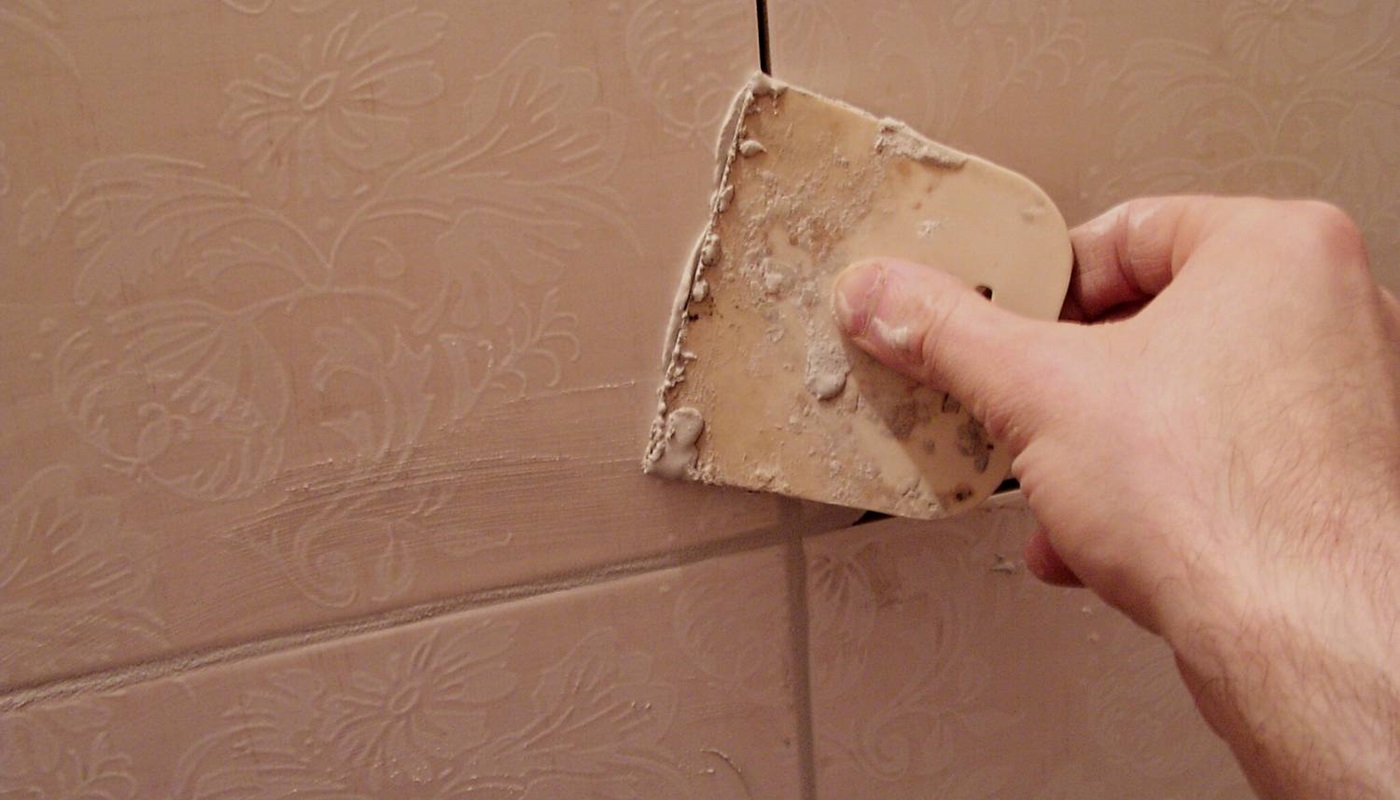
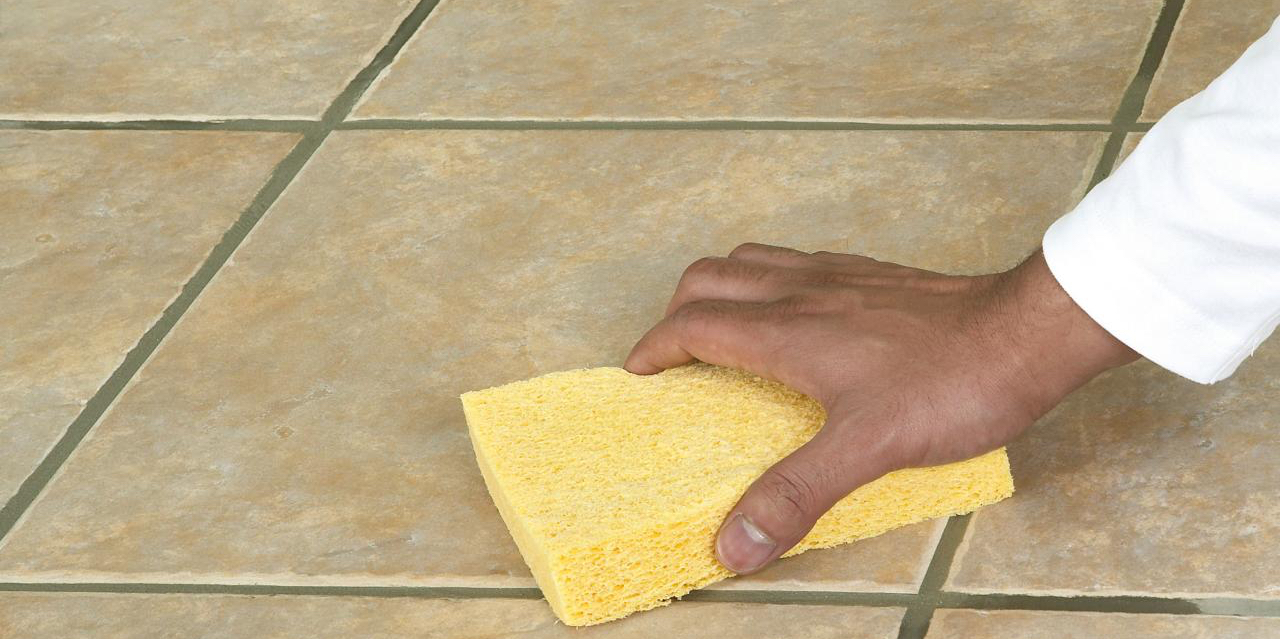
In order to make the seams neat, without any inclusions and color deviations due to the tile glue that has not been removed from the ends, it is necessary to clean them before starting work. Experienced craftsmen wash the joints with a wetted sponge right in the process of laying tiles. They do it because it is much more difficult to update a dried tile adhesive. But if it so happened that the dried glue still remained in the seams, it can be cleaned with a small spatula or a painting knife. This operation must be carried out carefully, as mechanical impact may damage the glaze of the ceramic. It turns out chips that are very difficult to repair.
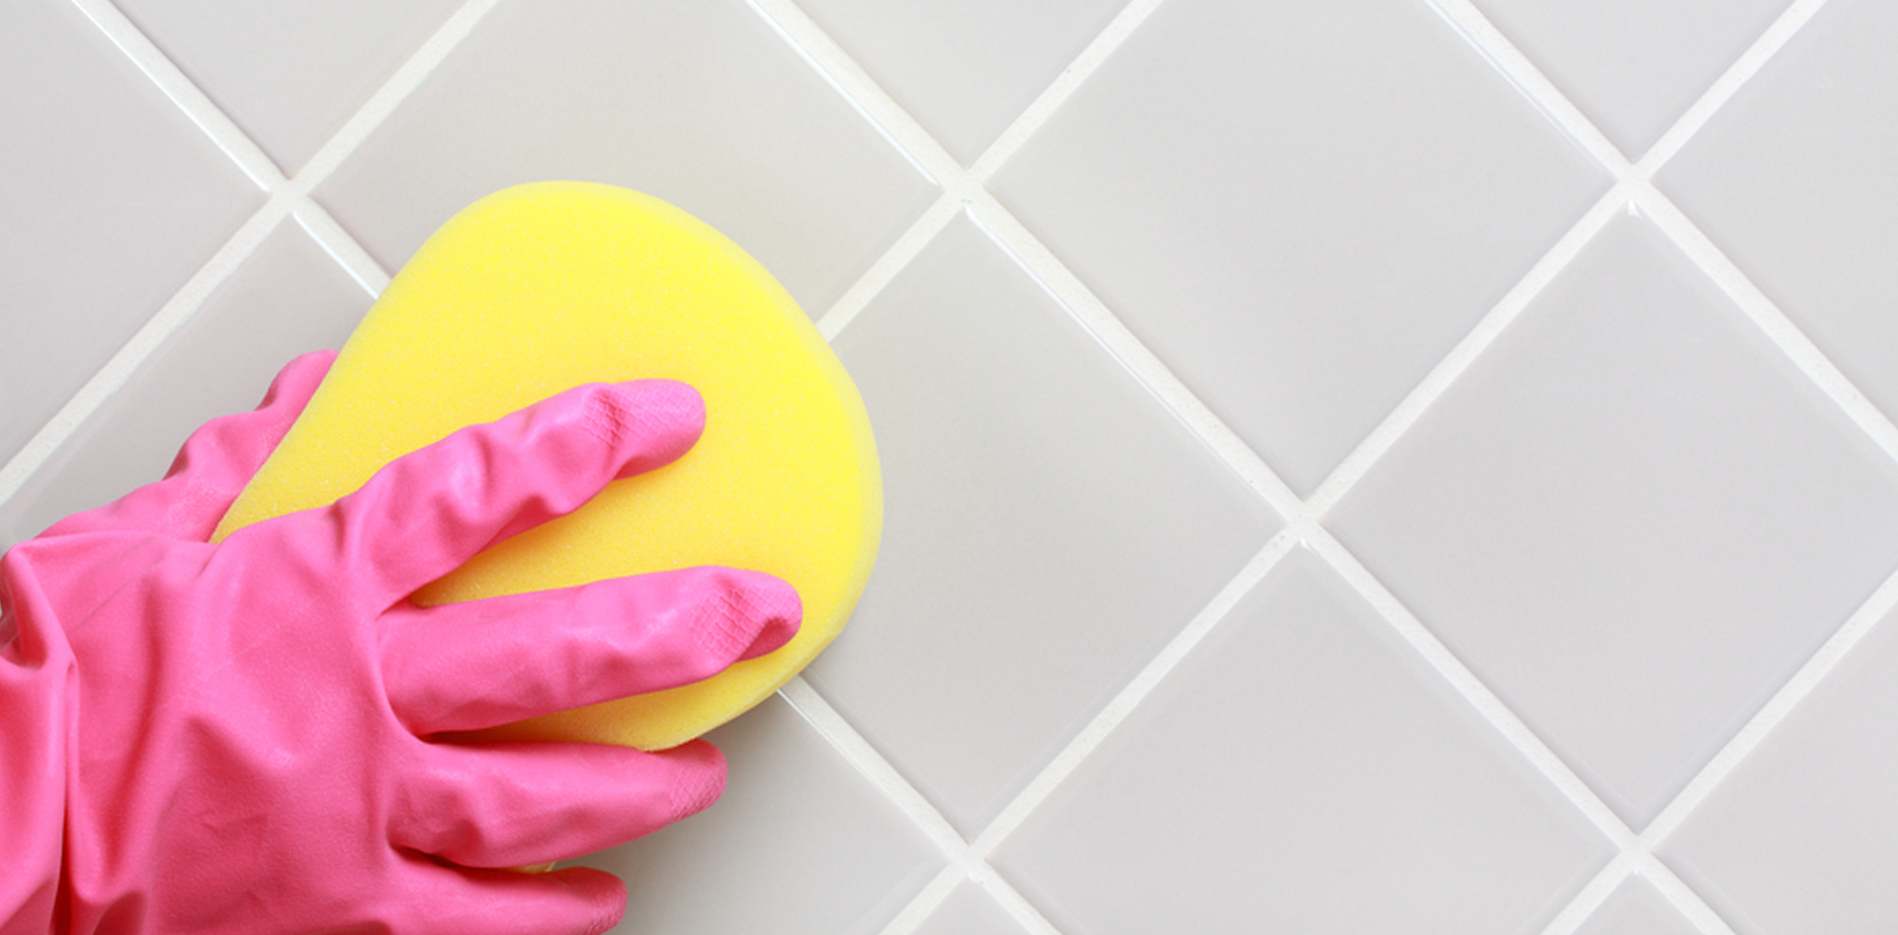
After cleaning the seams, it is preferable to rinse them with a damp sponge and scare.
You need to cover the seams as quickly as possible, apply the solution with confident movements and repair all the chips. You can also darken the stitch or repaint it. You can change the color by adding special paints.
There are several ways to get beautiful and even seams using a grout.
On the basis of gypsum or cement
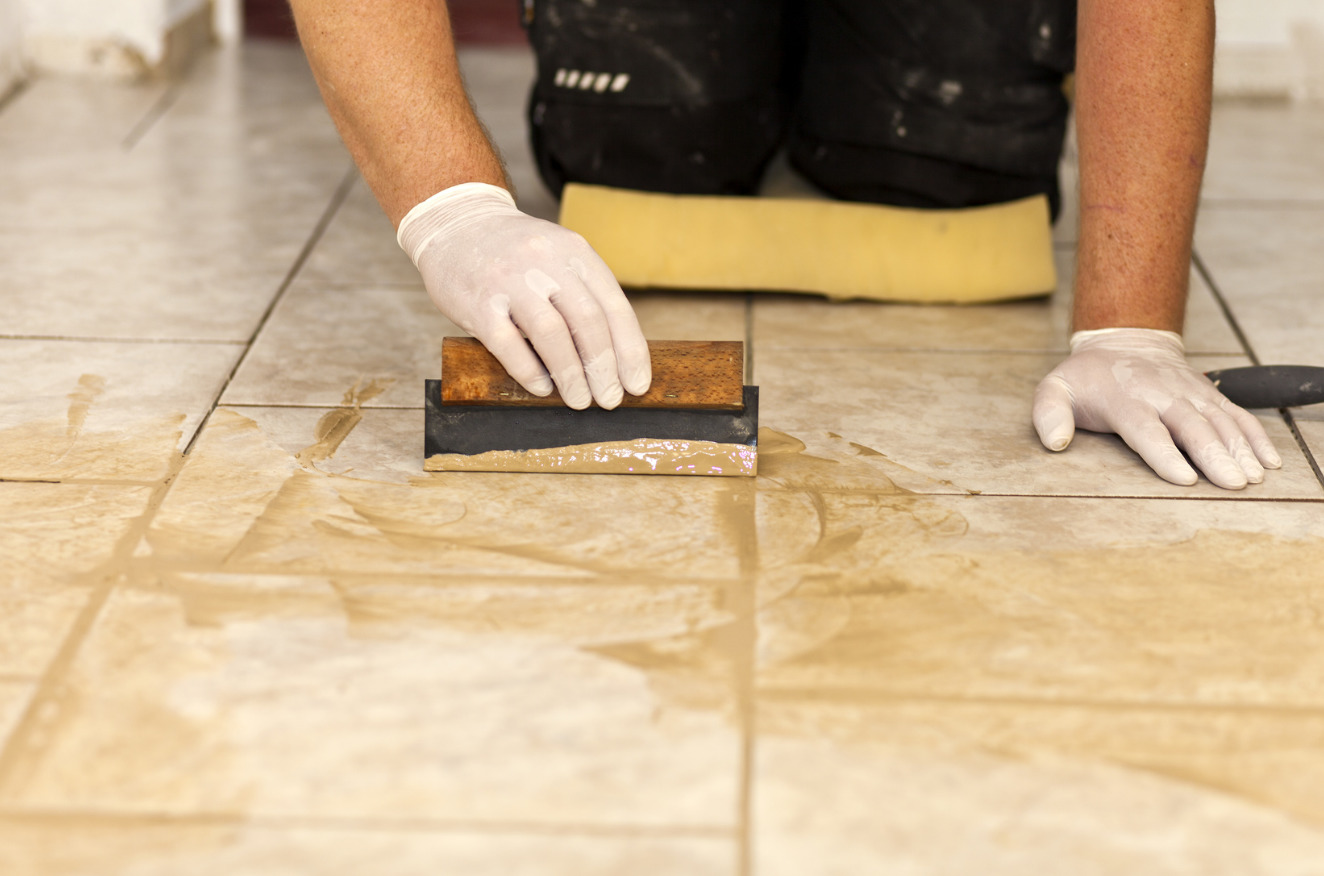
In any case, the joints can only be rubbed after the tile adhesive has lost its mobility and the tile is fixed firmly in the place intended for it.For floors, this moment is determined by the period when it will be possible to walk on the tile without pushing the tile with the weight of its own body.
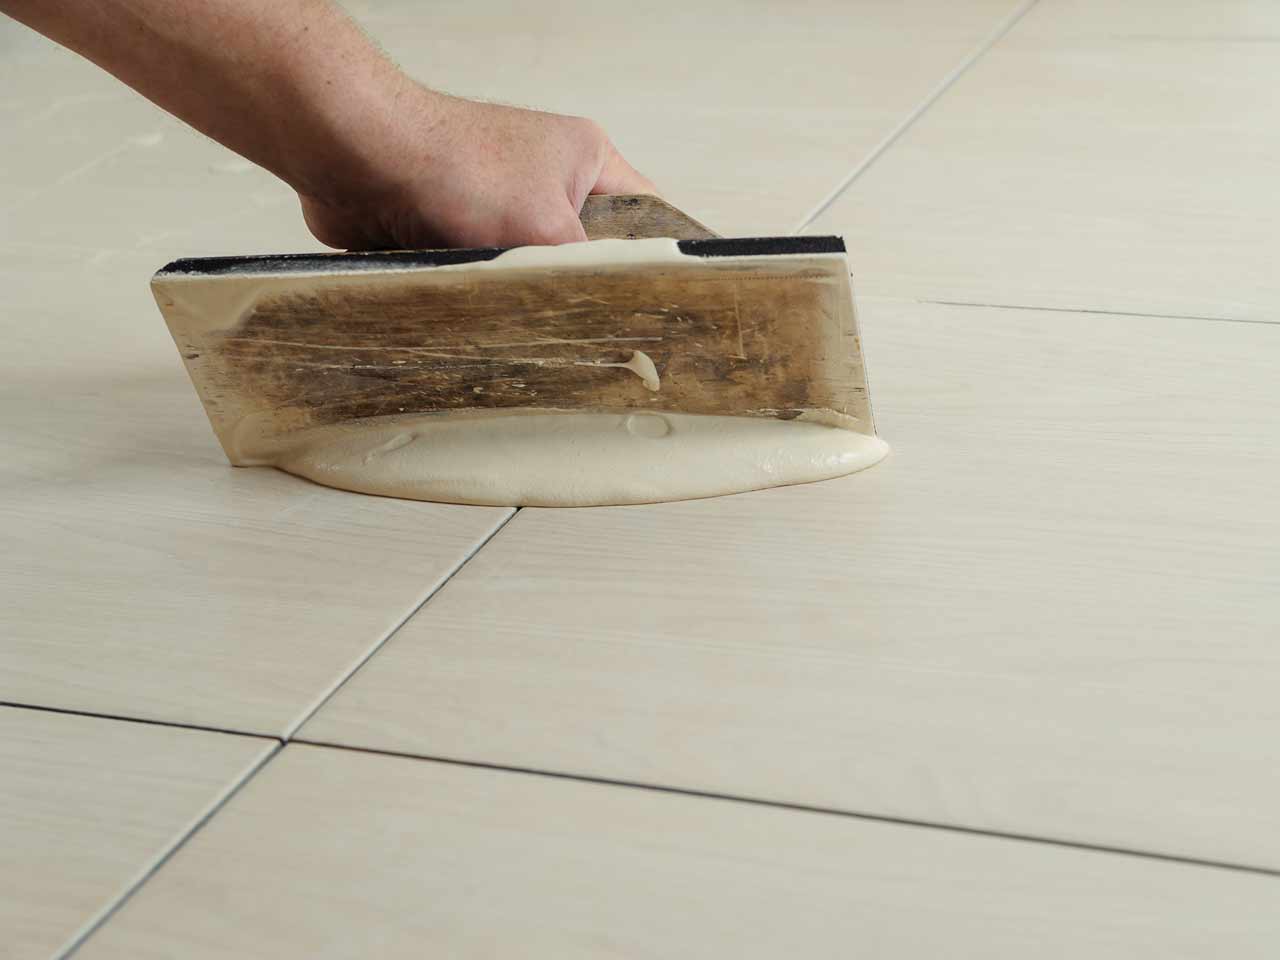
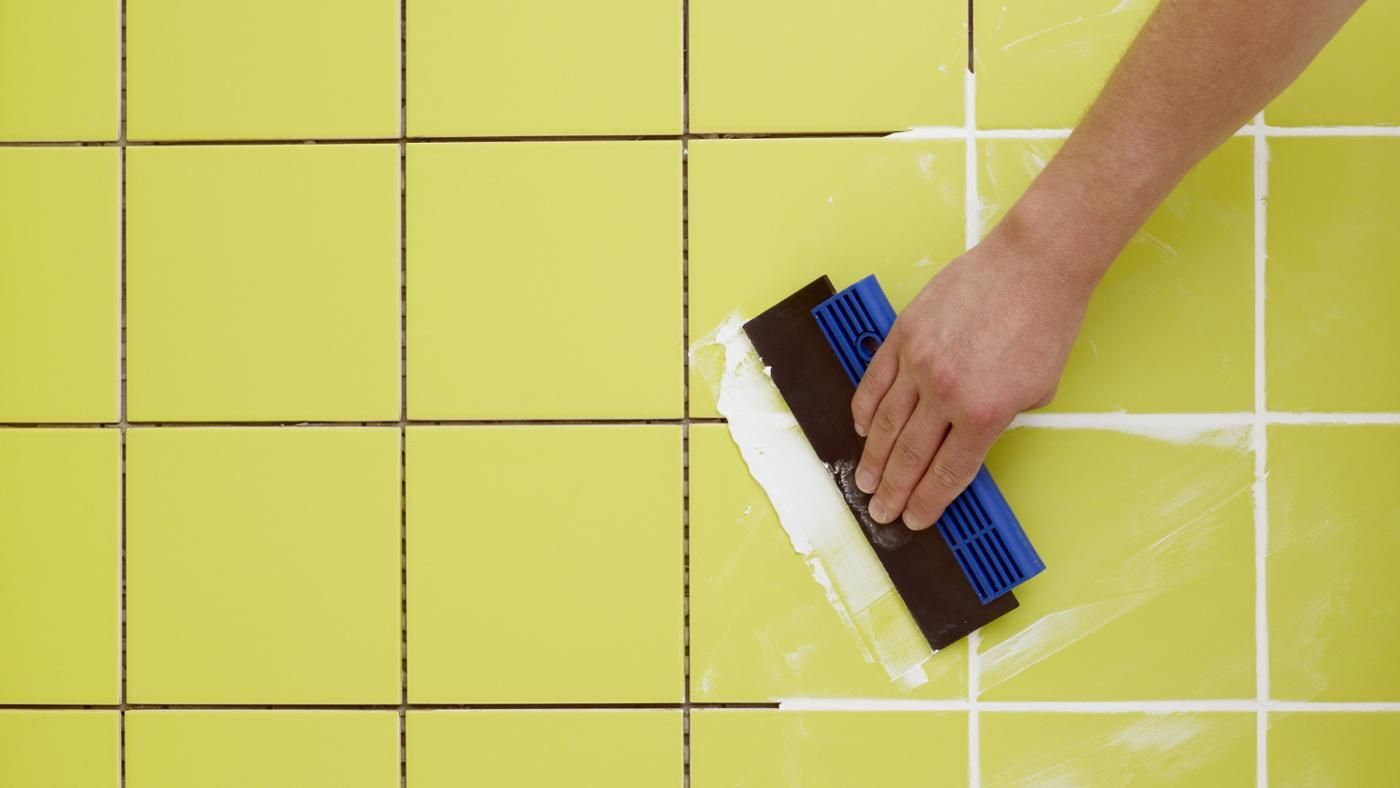
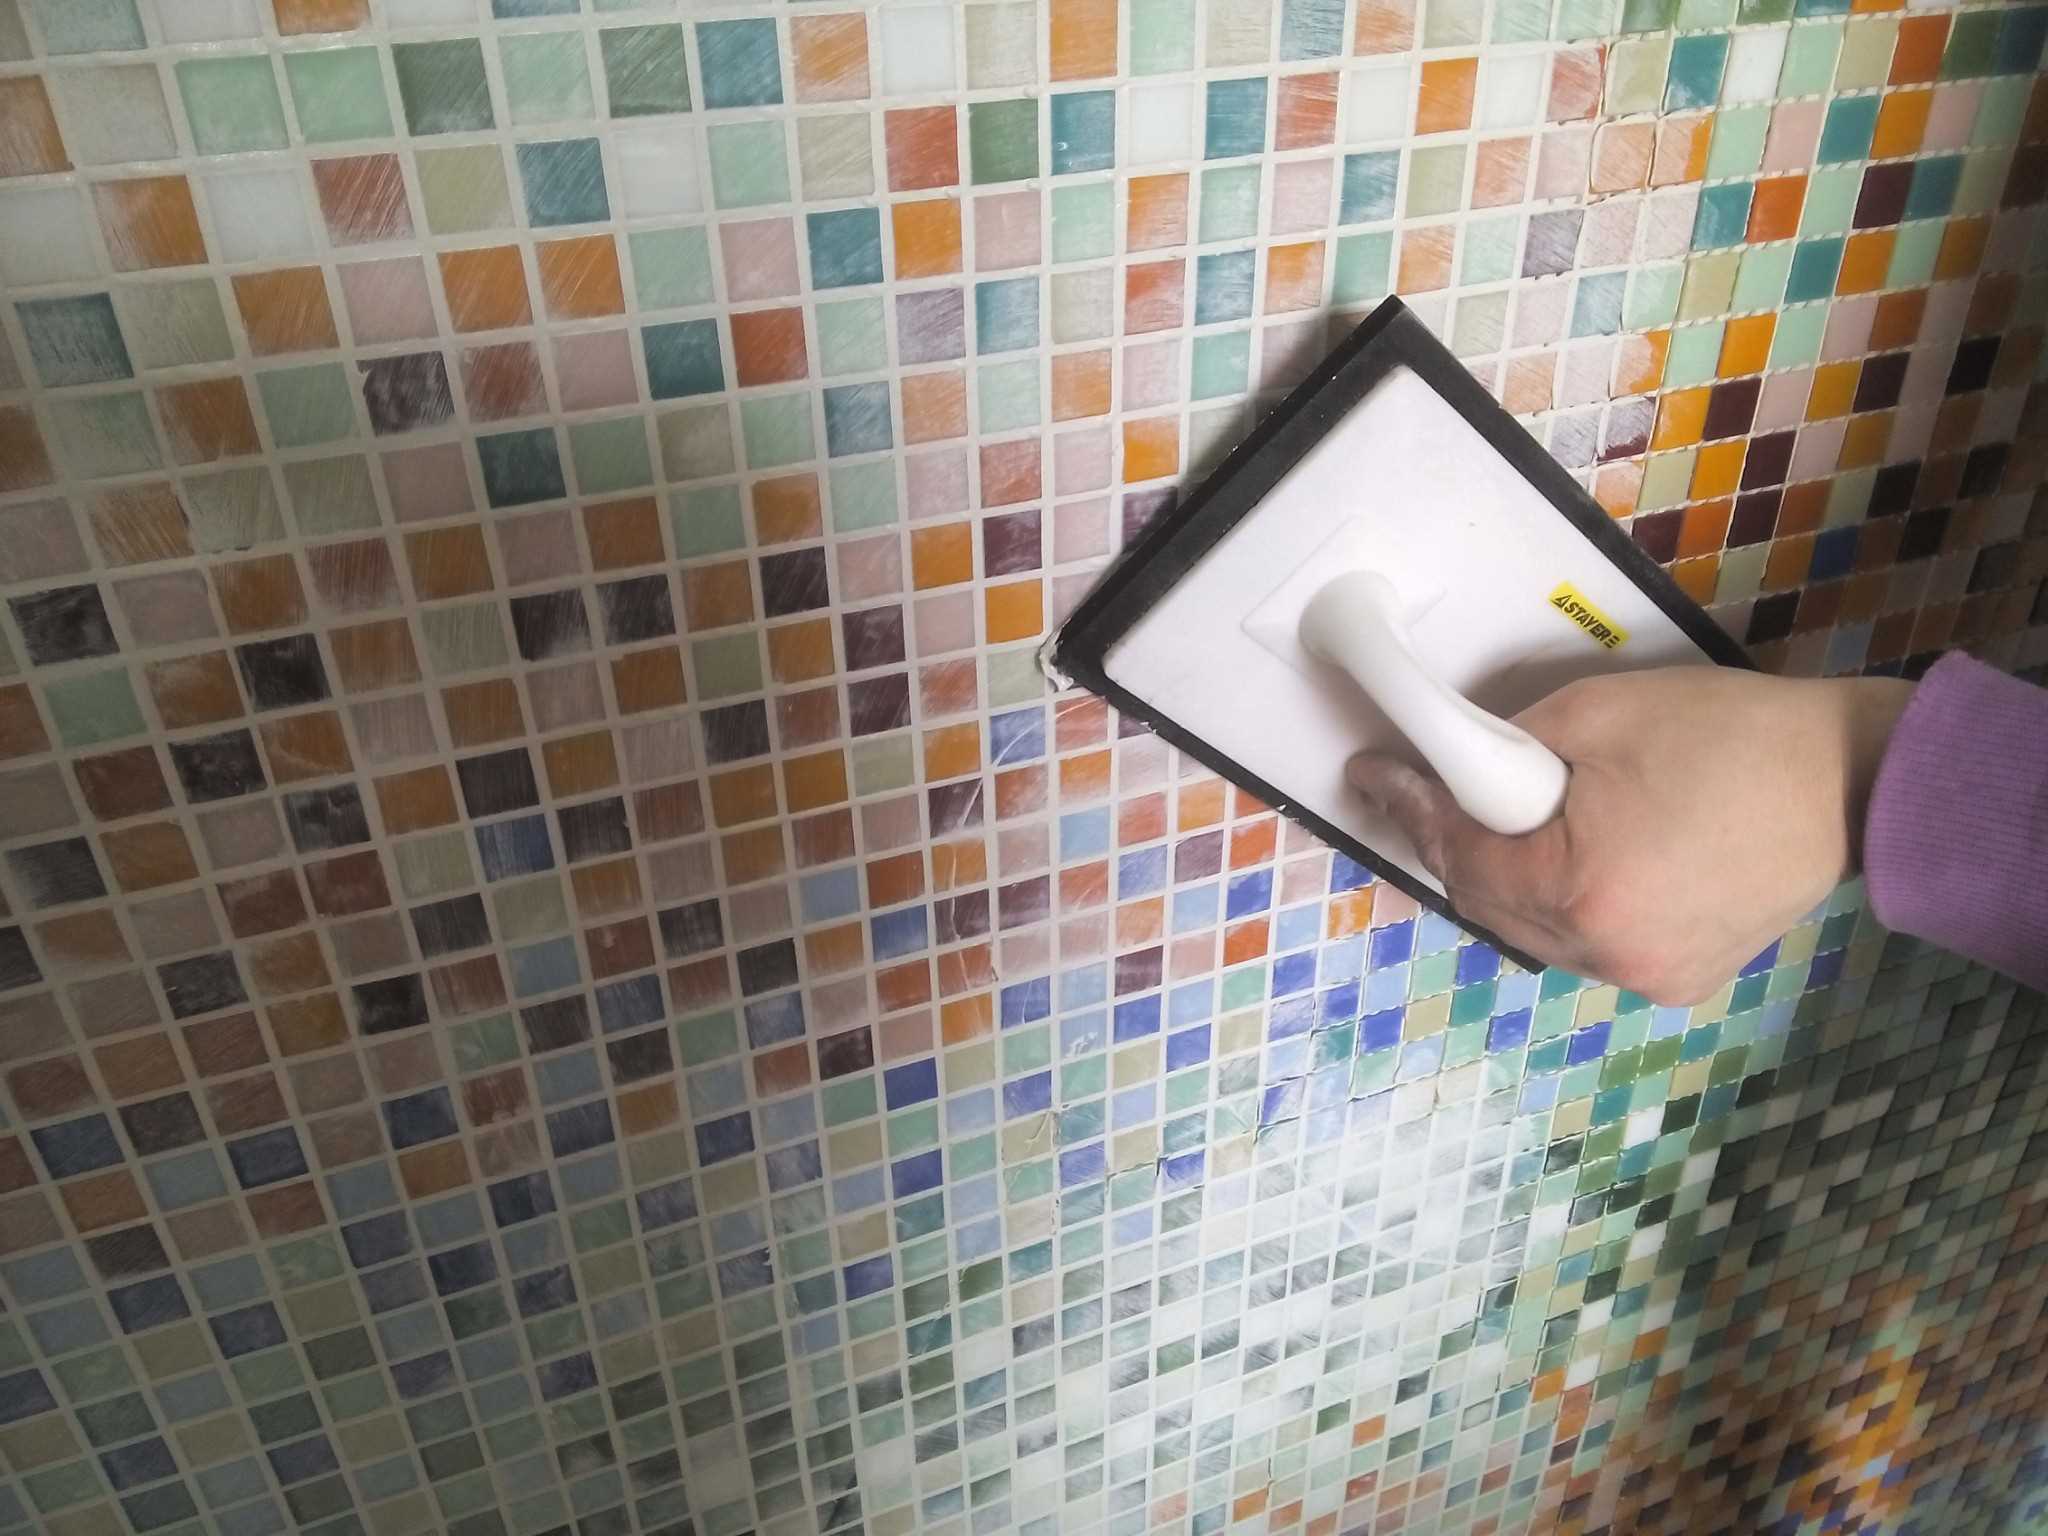
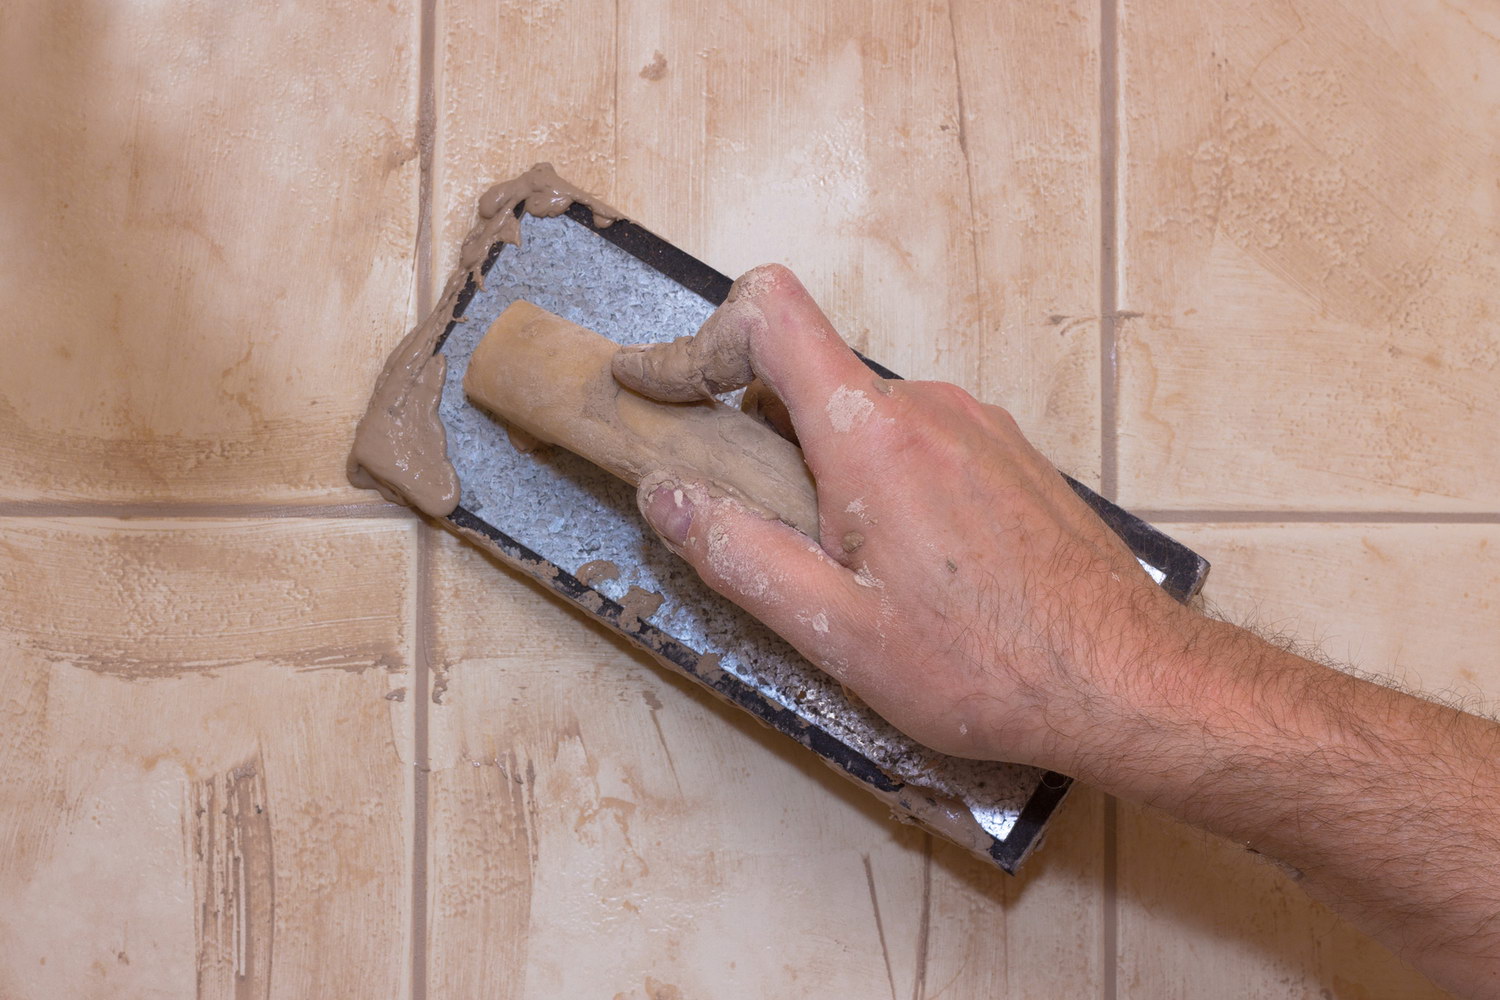
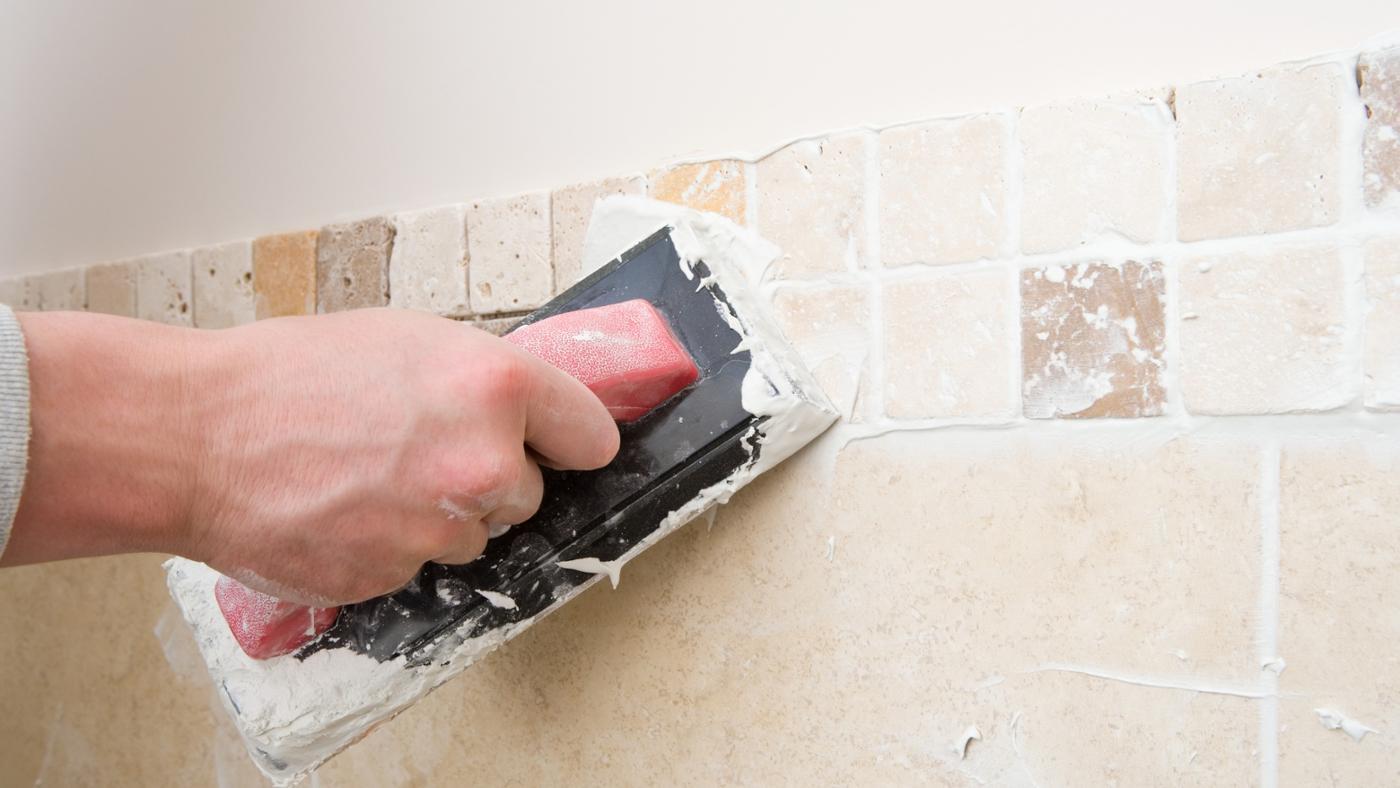
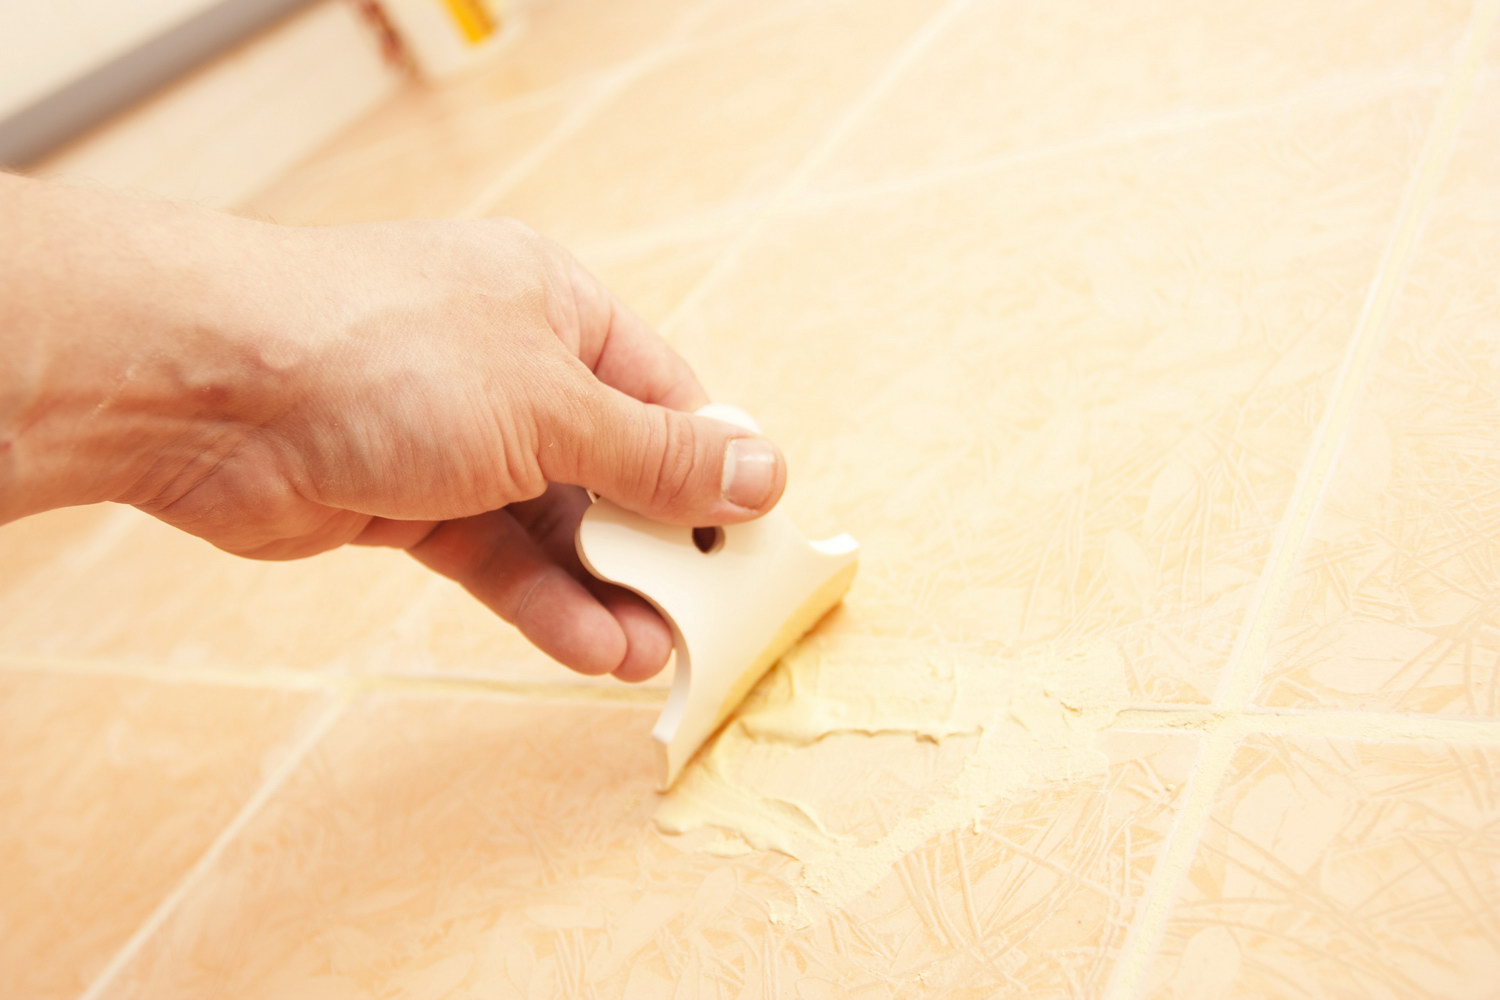
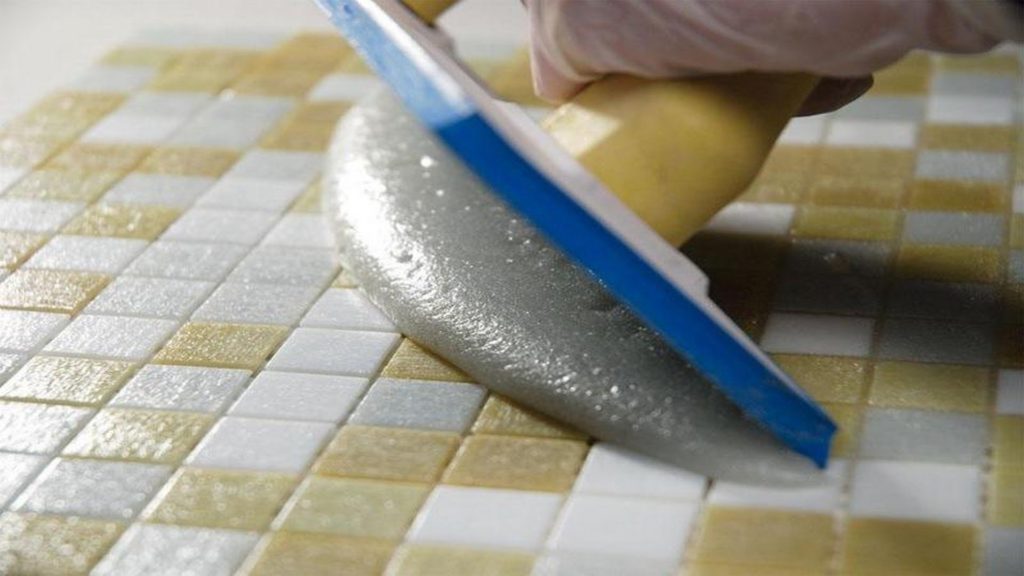
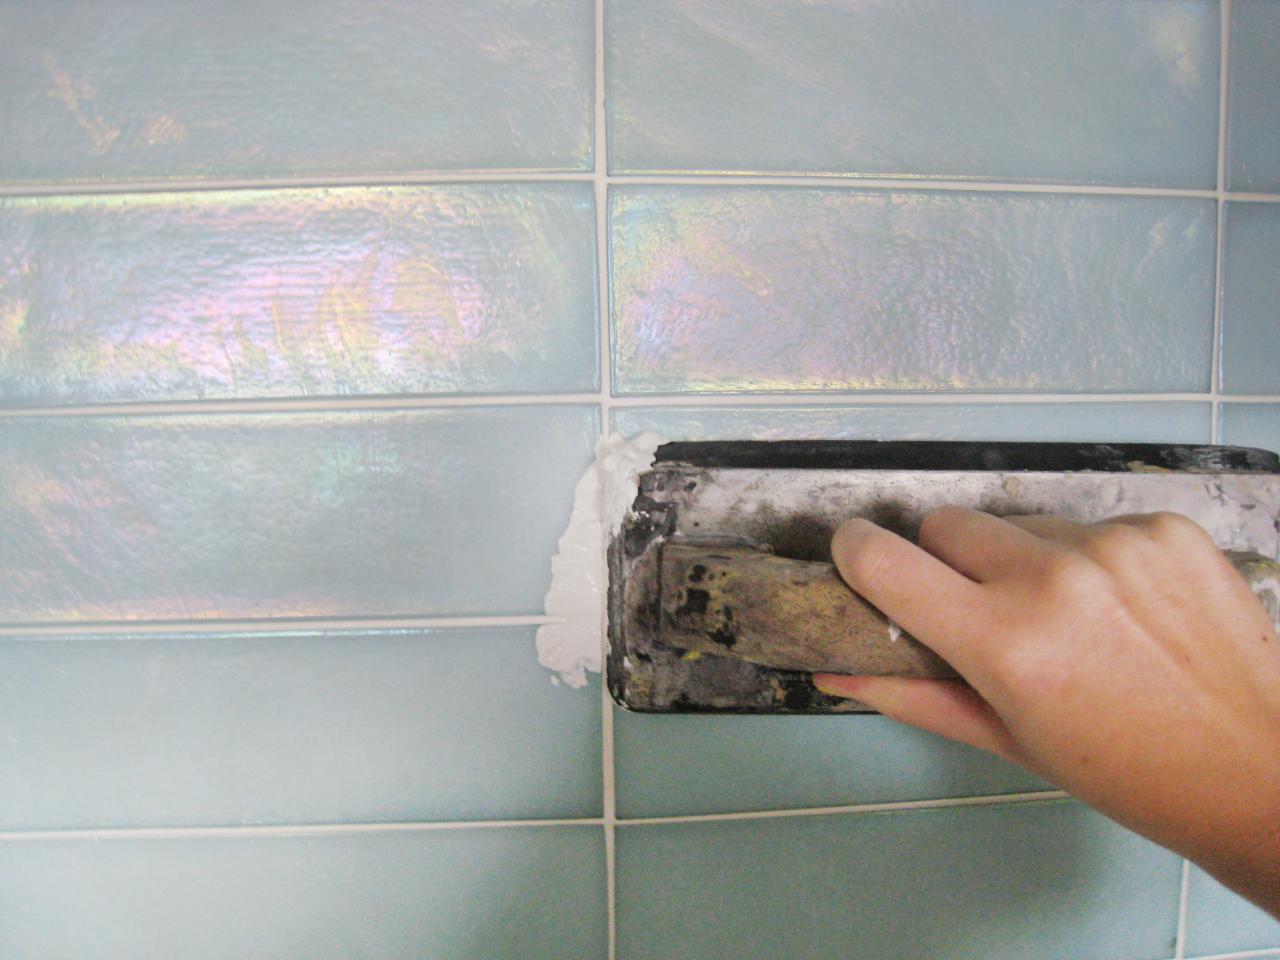
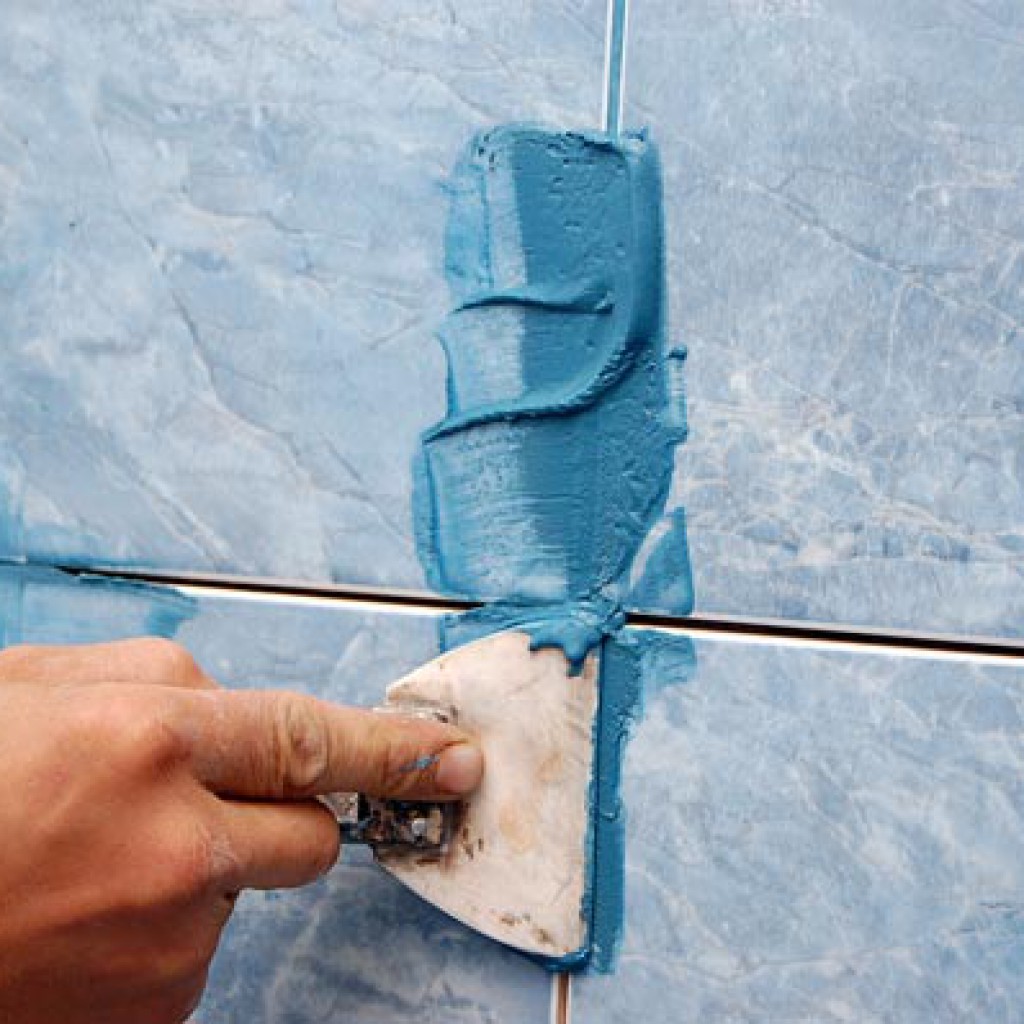
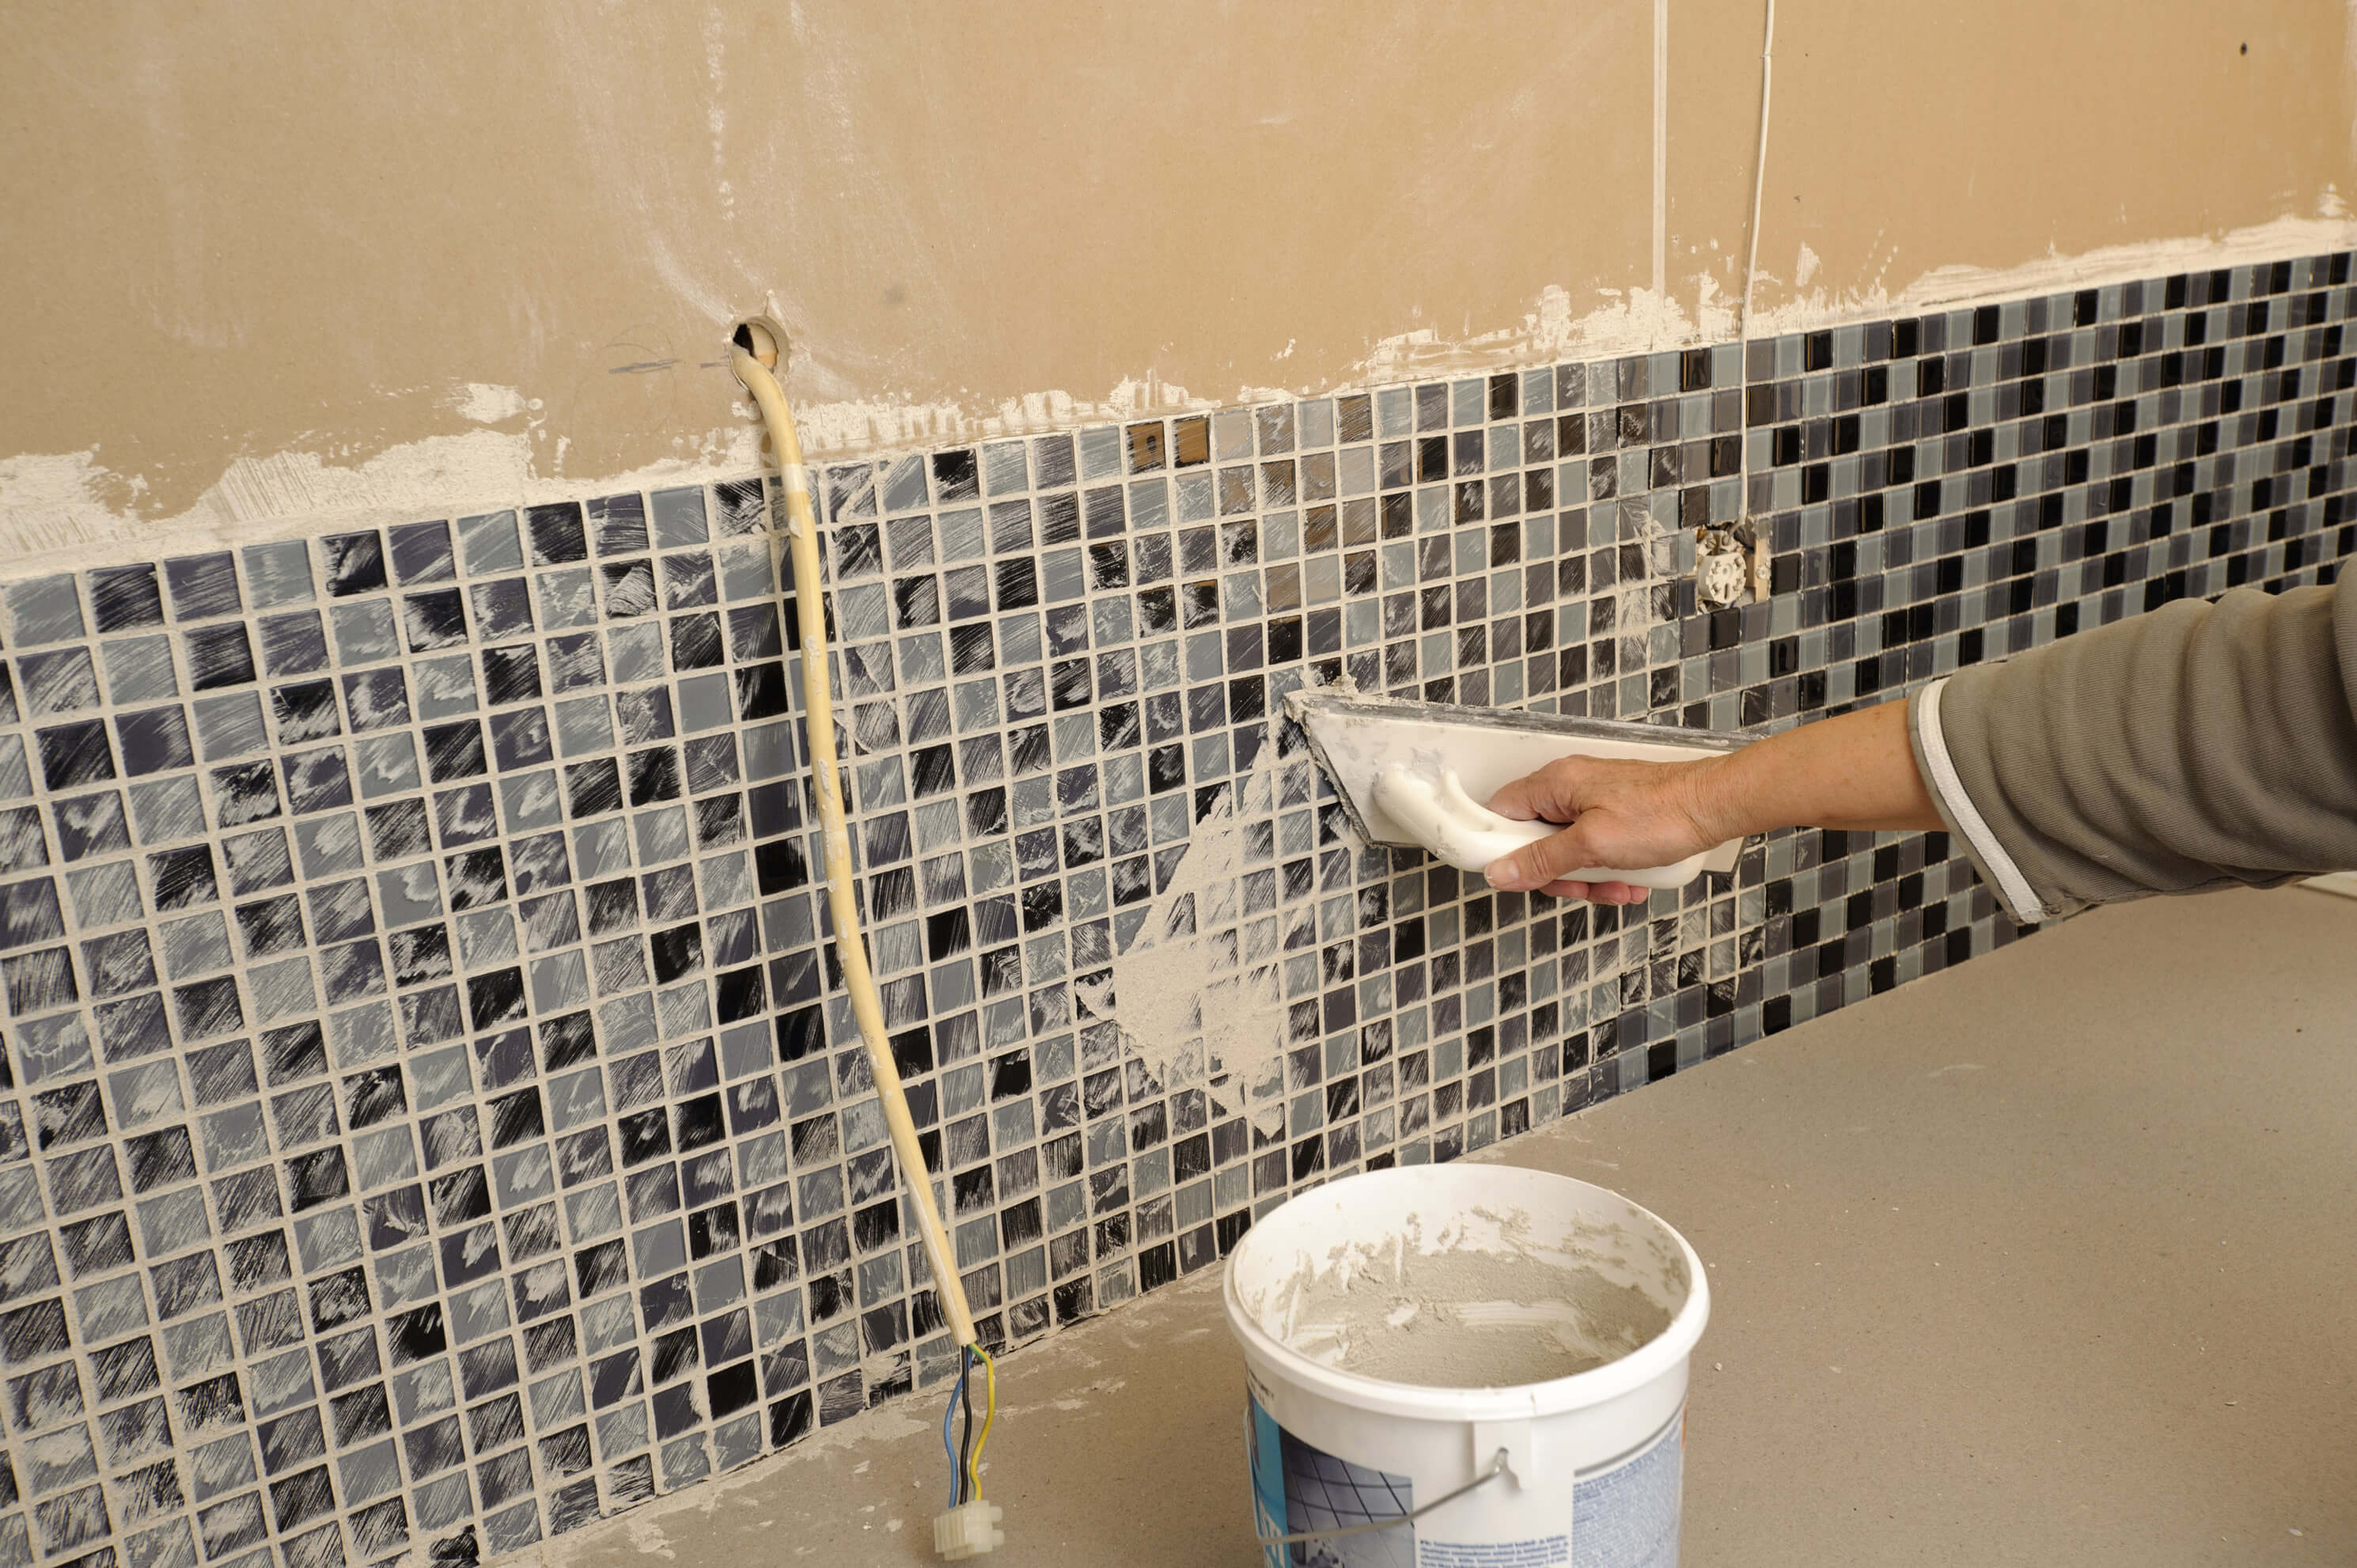
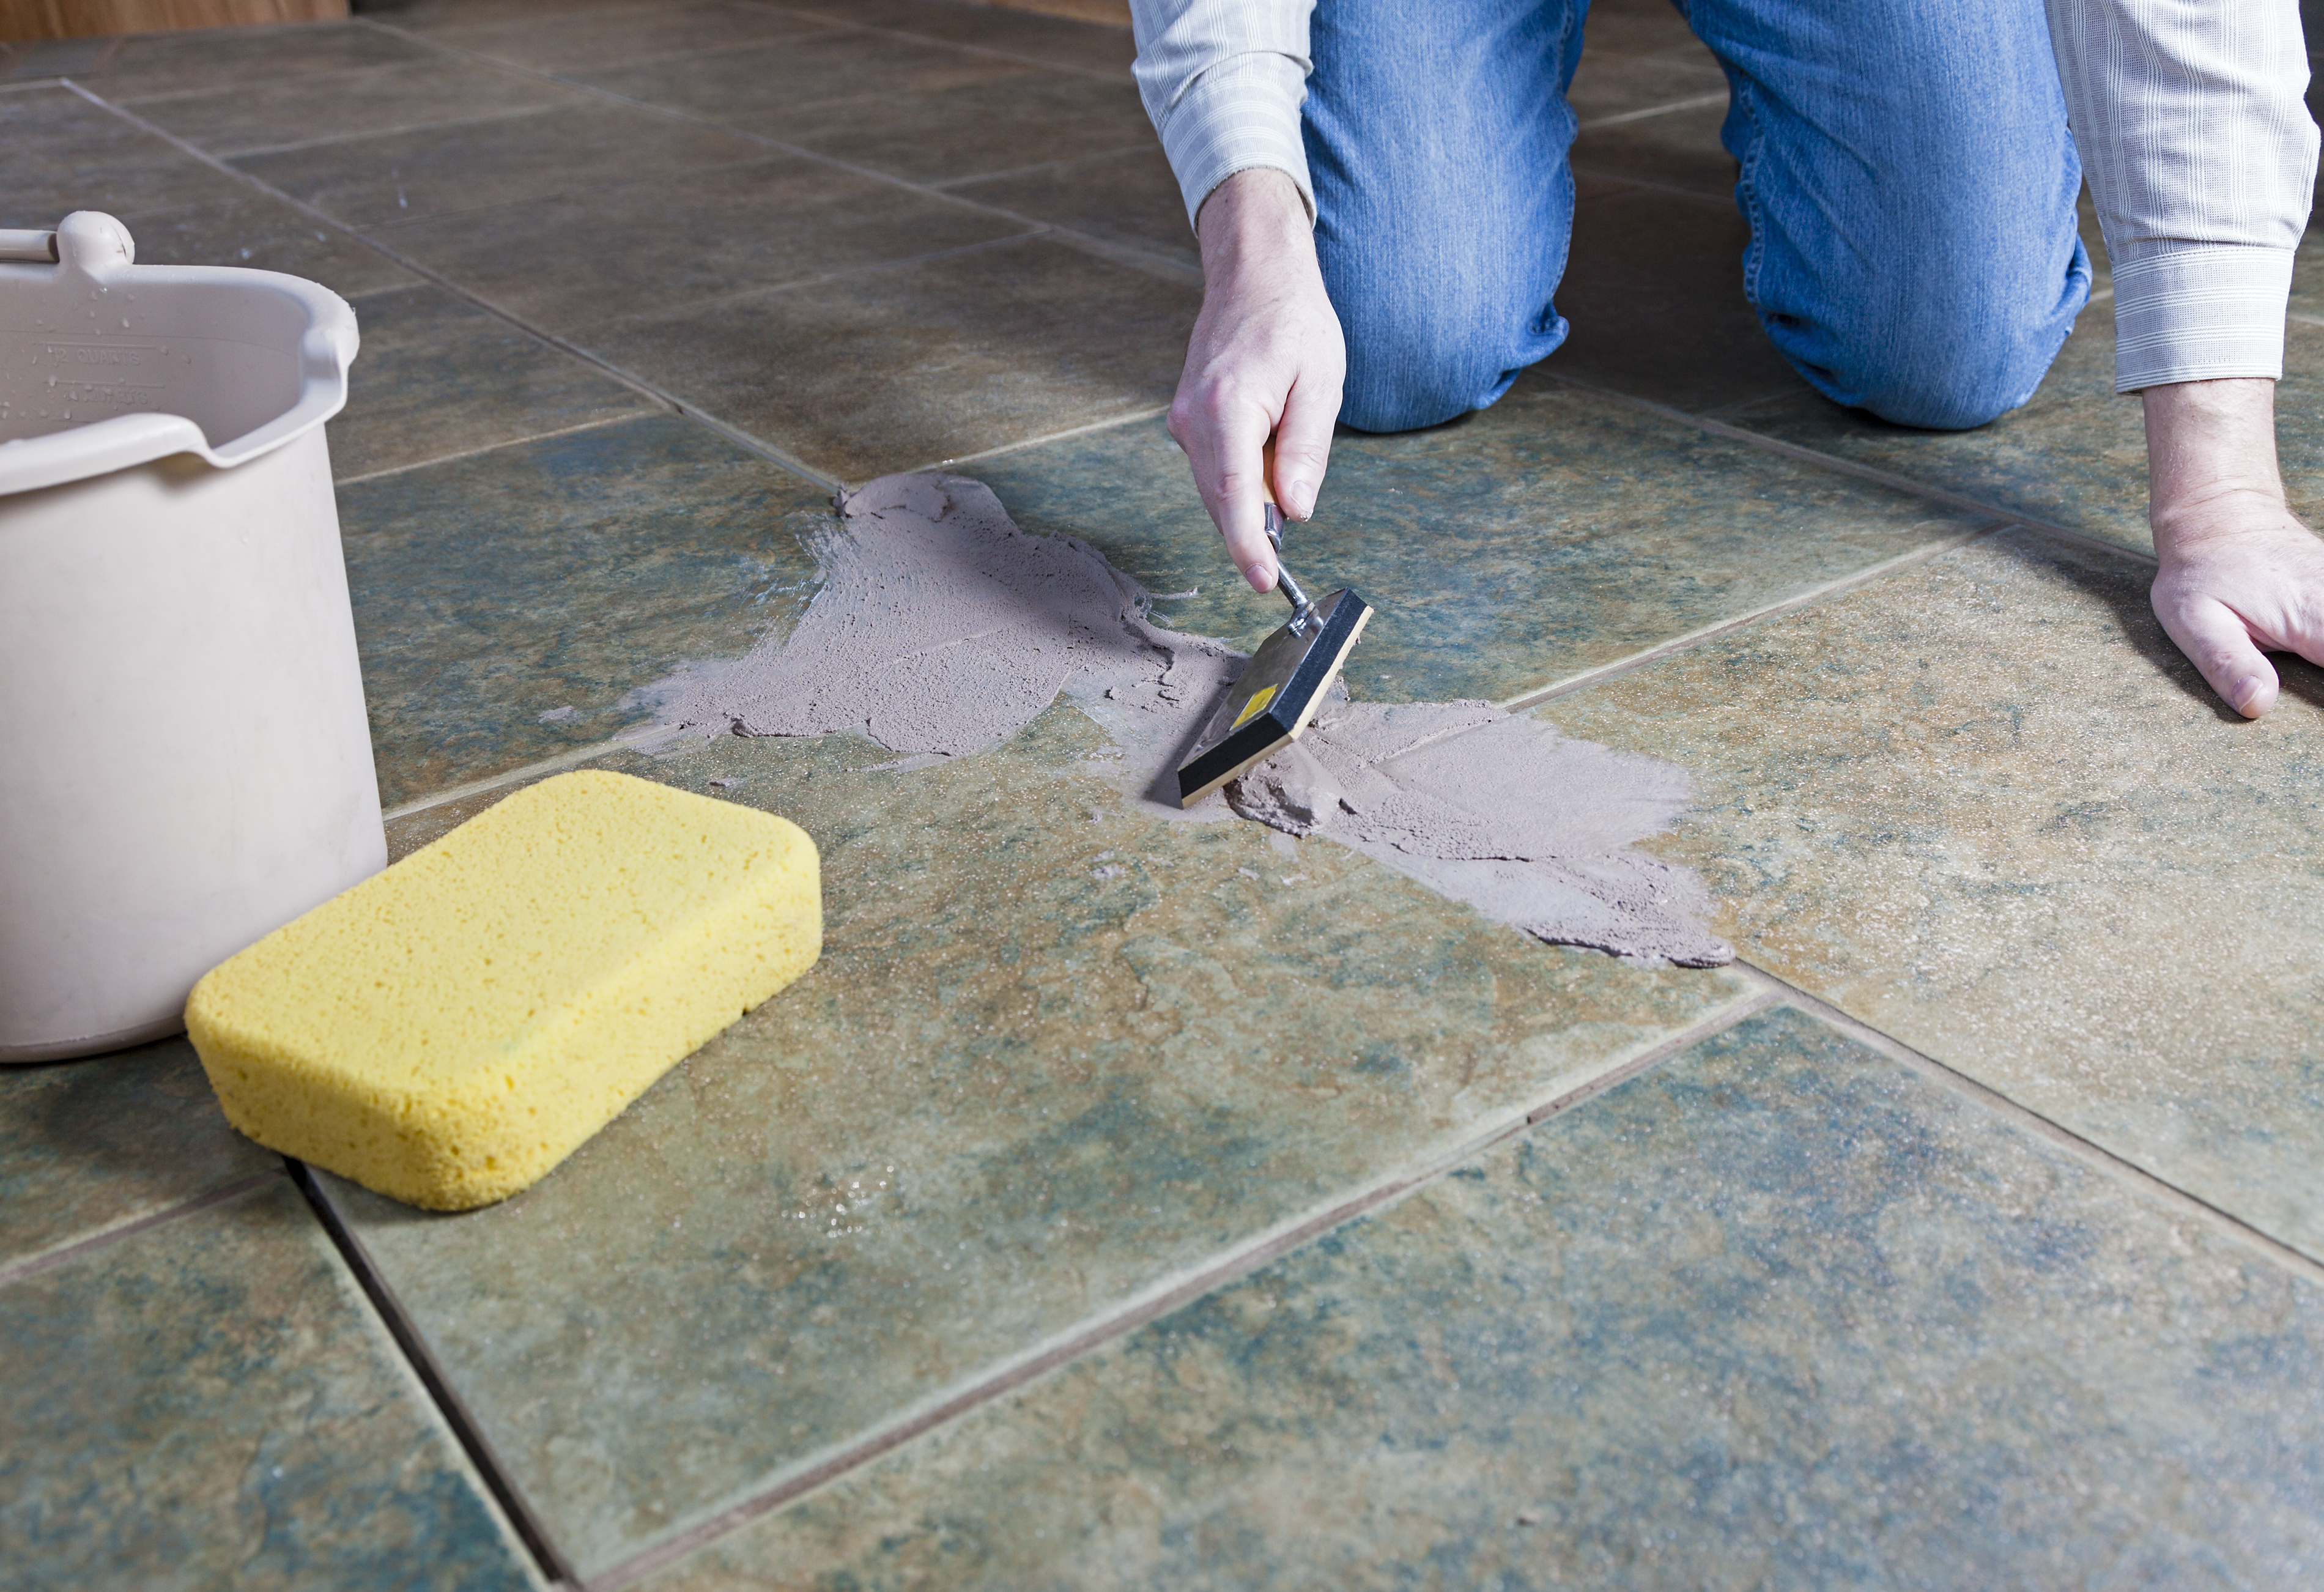
The composition is applied to a clean seam in the direction transverse to it with little effort, continuous strokes along its entire length. The remains of the grout is removed from the tile with the same trowel, passing them along the seam. The seam becomes smooth. Excess grout is sent back to the tank with the finished composition. Visually, you can immediately appreciate the full filling of the grout seam. If somewhere there is a gap (hole) or an insufficient amount of grout, these defects should be corrected without waiting for the joint to harden. Similarly, fill the seams on the entire wall. Then they return to the place from which they started, and clean the grout.
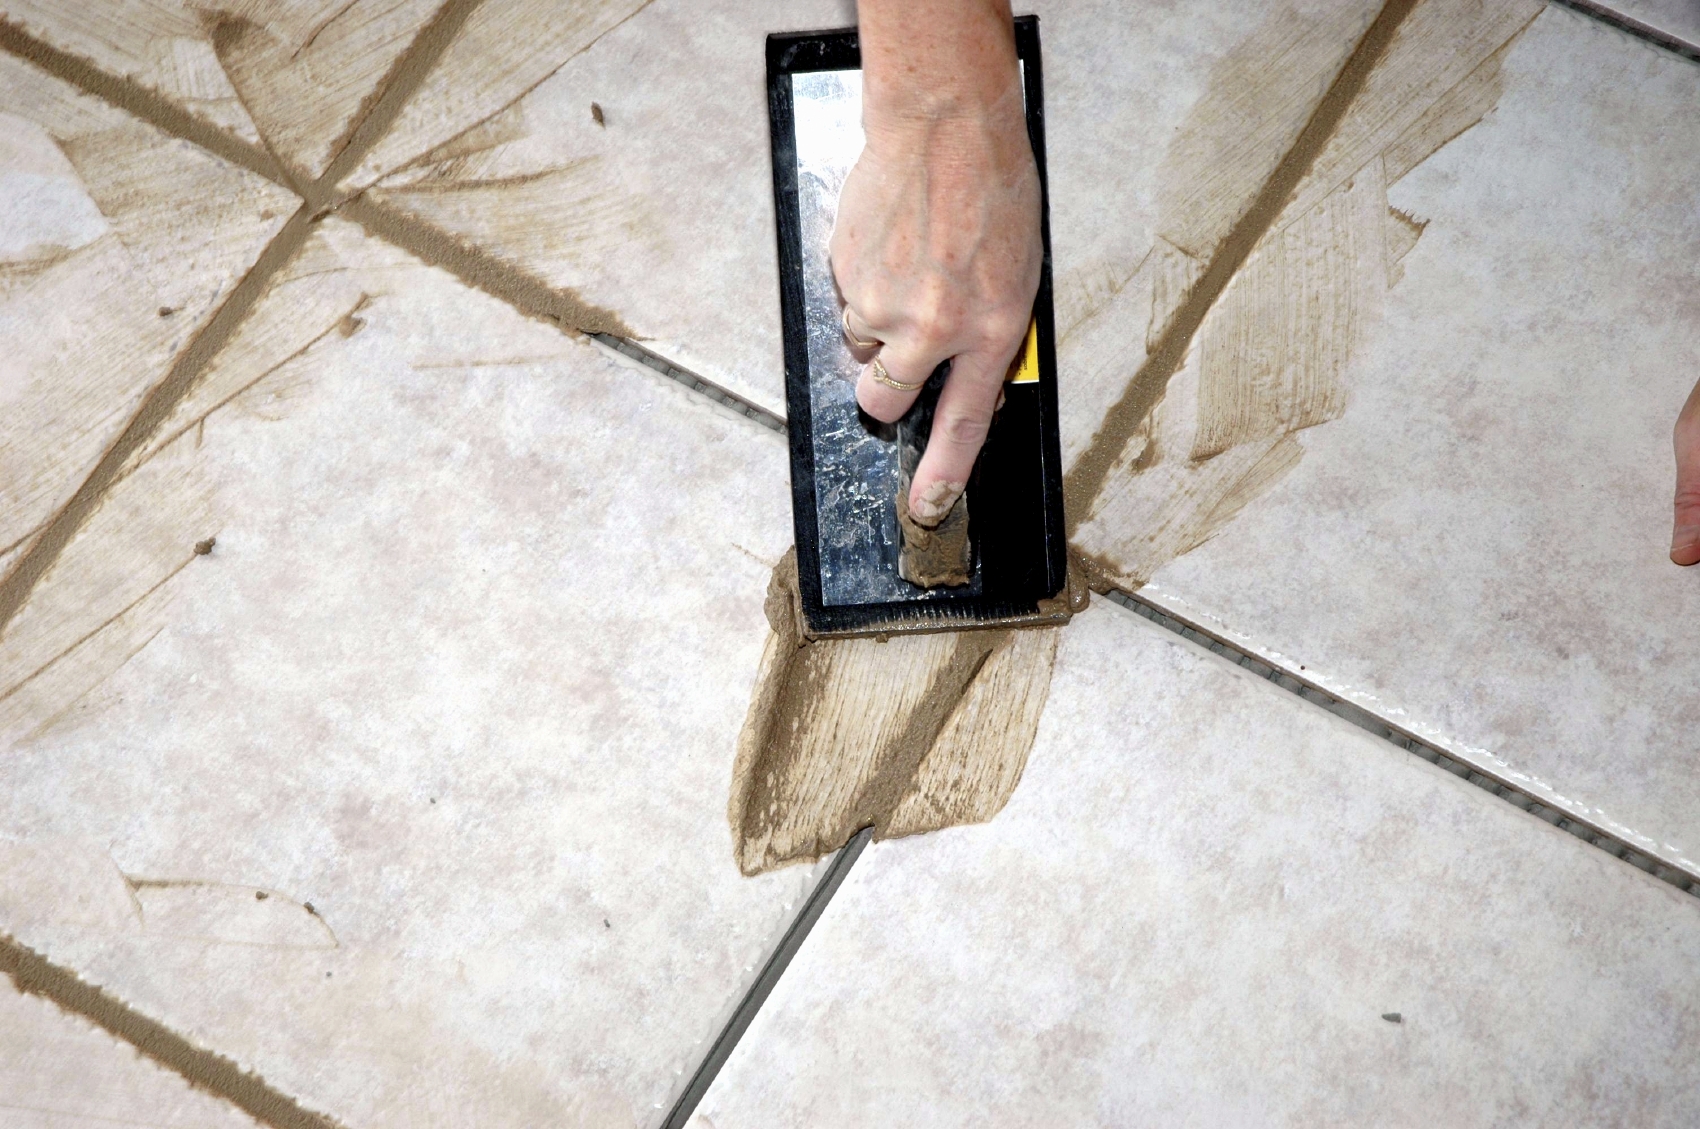
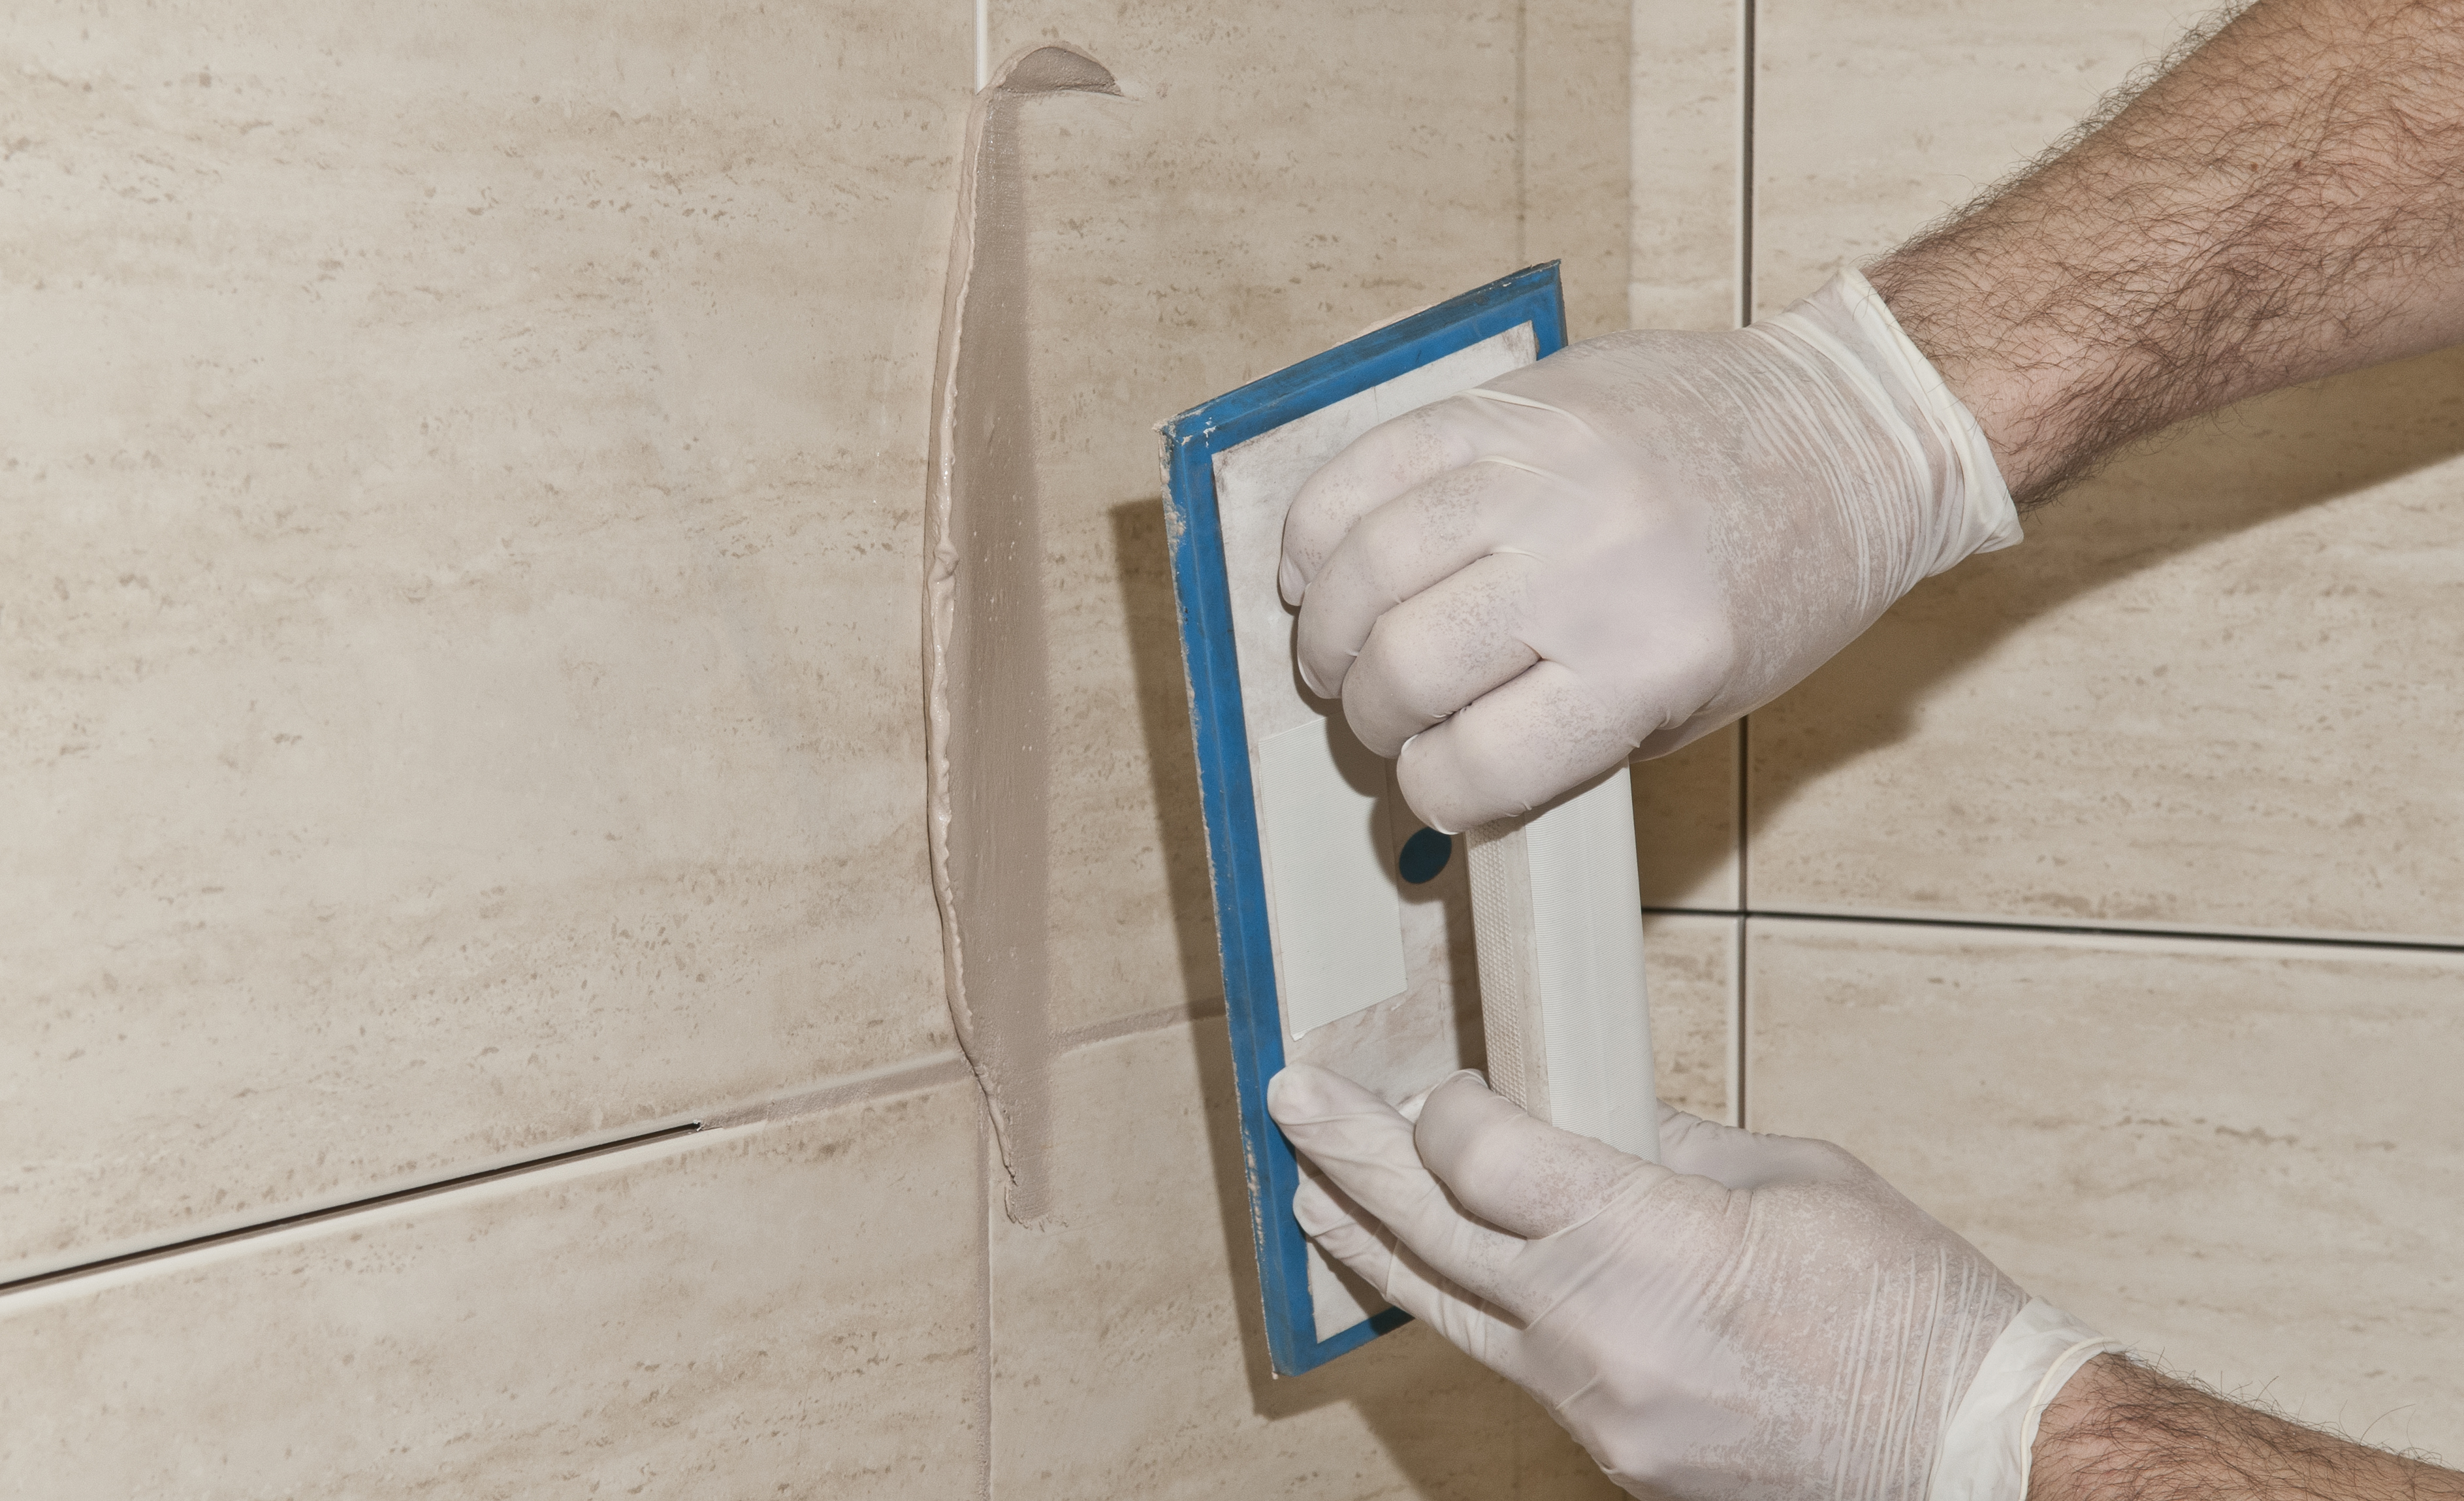
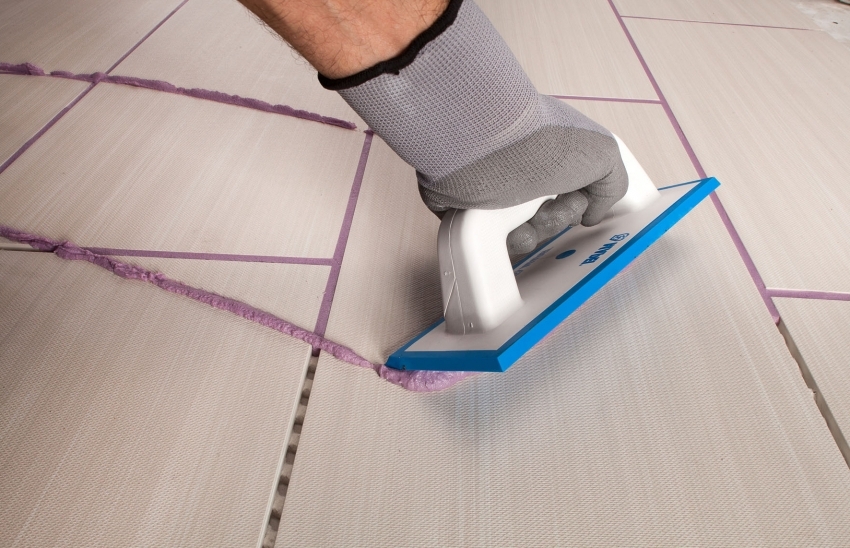
Cleaning the grout with this method of its application, aims to make all the seams equally smooth and smooth. This operation is performed with a round ebonite stick. If there is no such tool, then you can use a round pencil or an oval lighter. Using a stick along the seam with a slight pressure on the grout that started to harden, remove all the excess from the seam and form its slightly concave smooth surface.The seams are slightly recessed, even along the entire length.
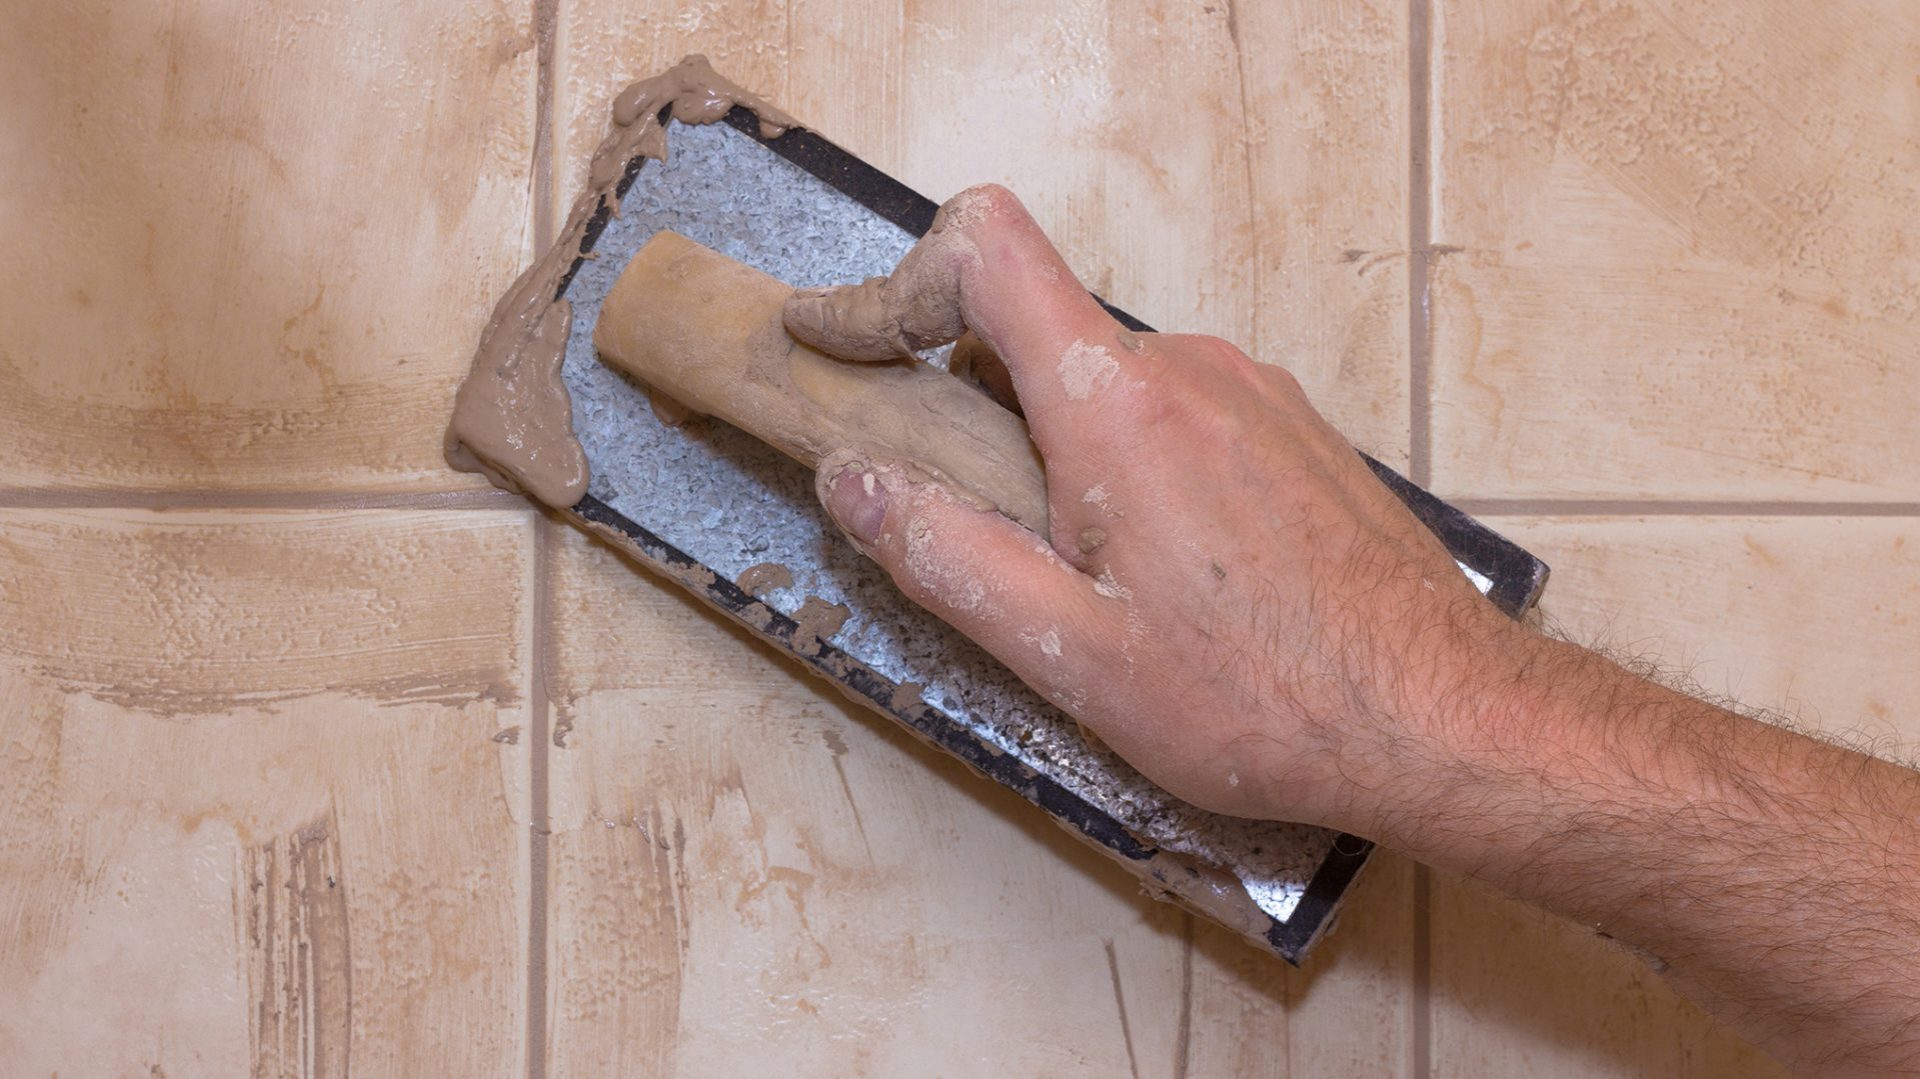
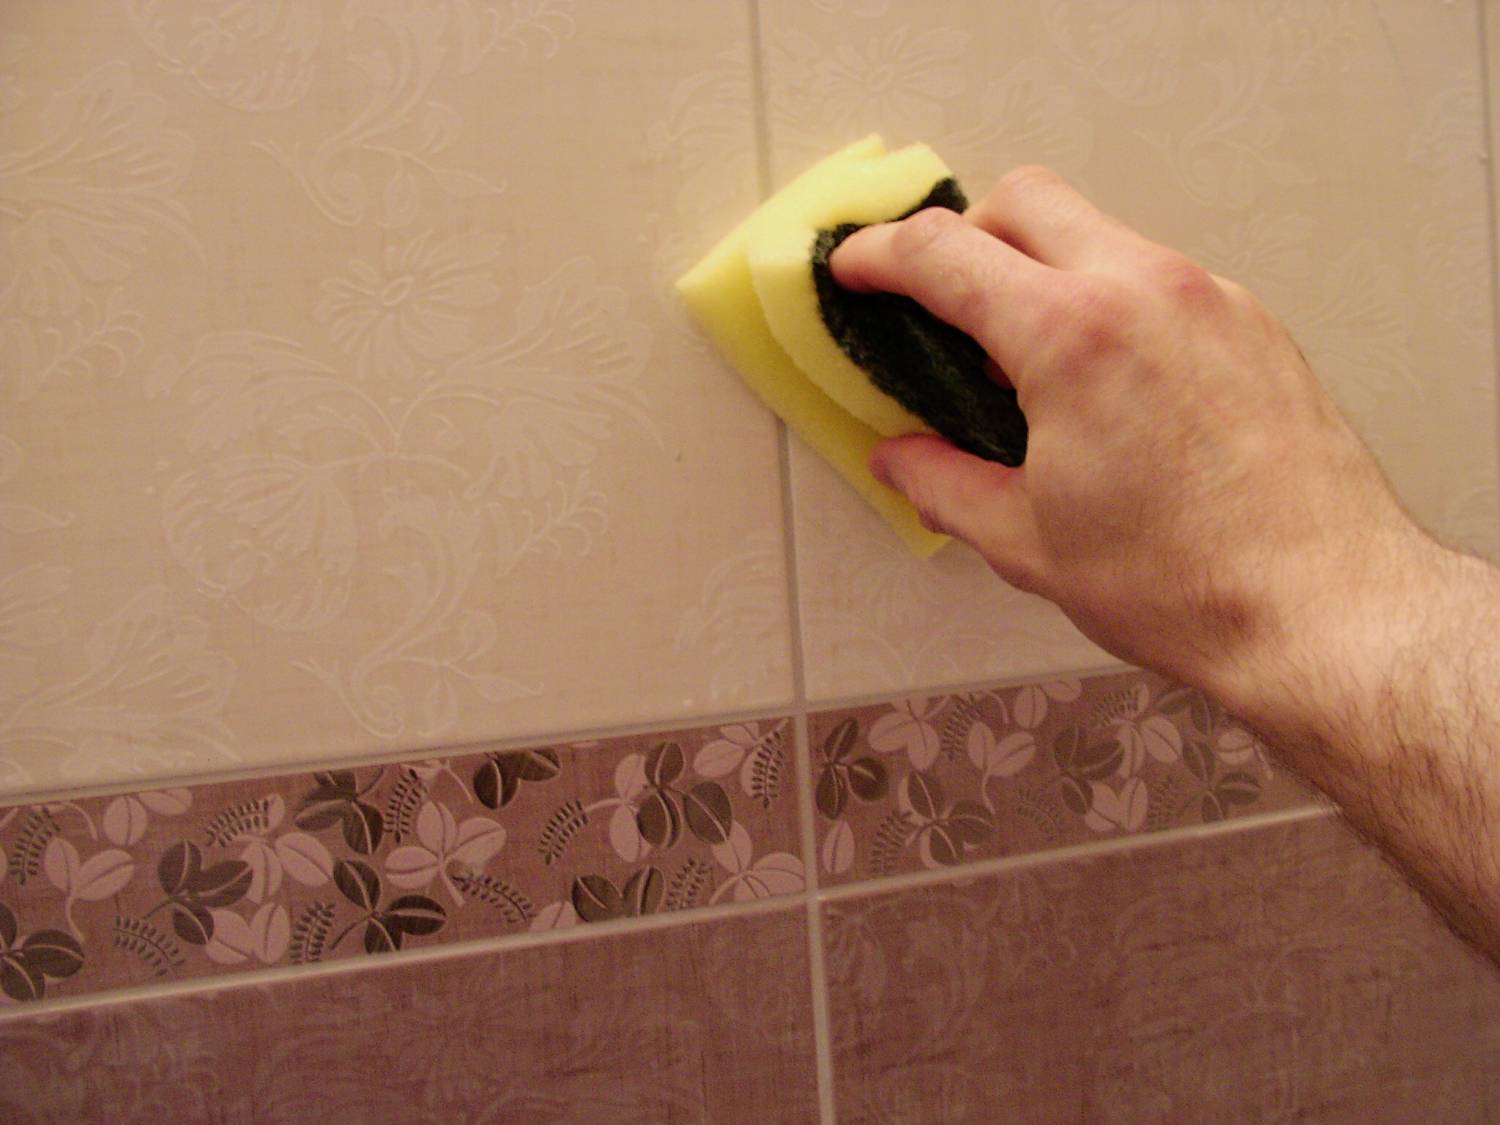
After the formation of the seam, the tiles are first wiped with a slightly damp cloth and then with a dry cloth. Here it is very important to begin the process of forming a beautiful seam before the moment when the grout begins to gain strength.
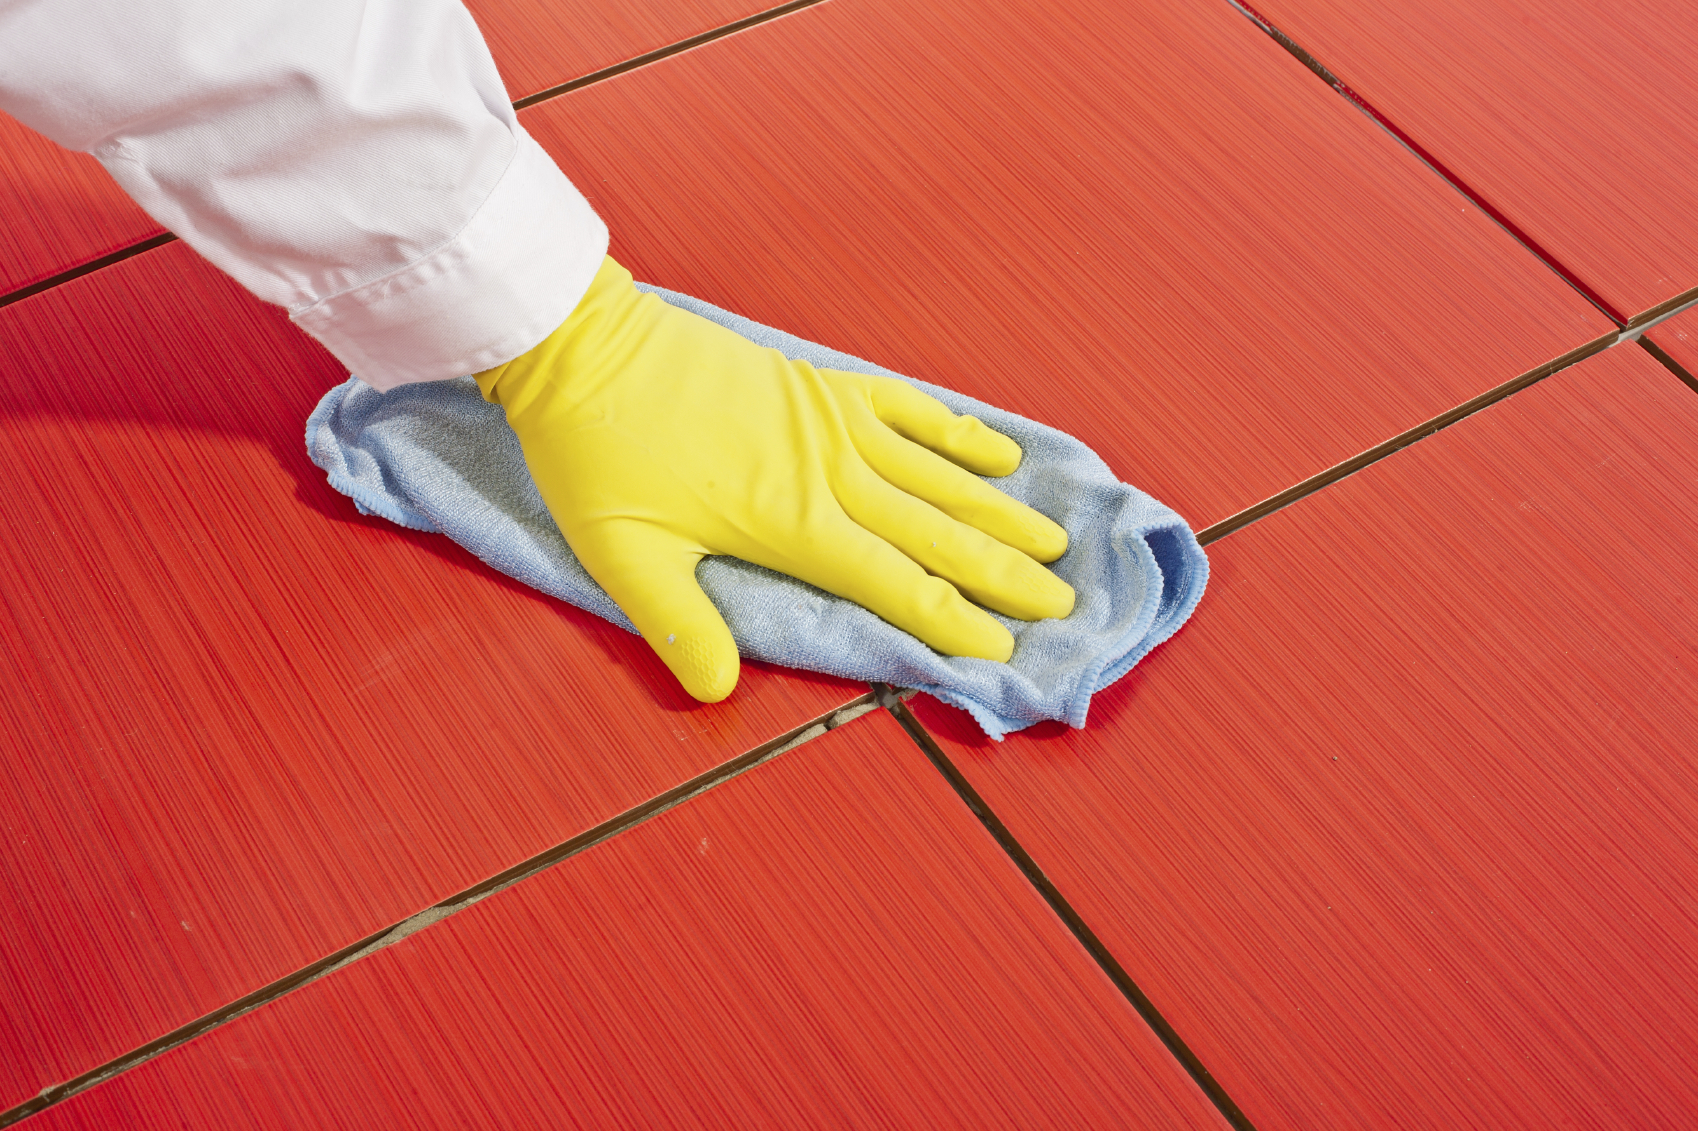
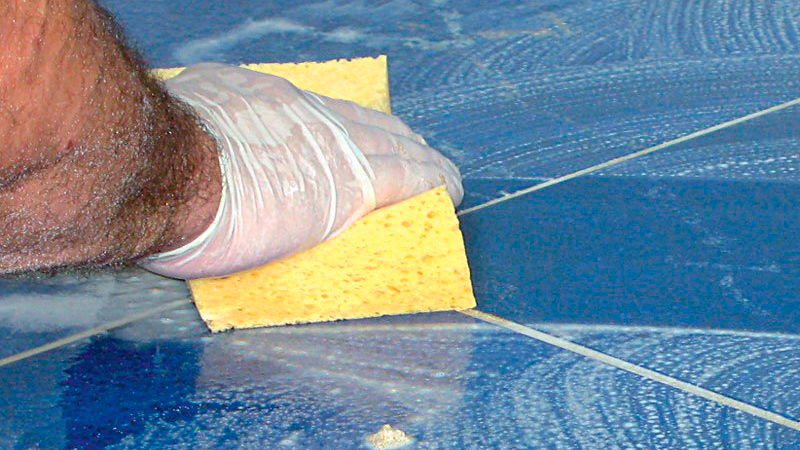
In another case, the composition is applied in the same way, only the seam is formed immediately using a wet sponge or finger, holding a fairly wet sponge with a little pressure. With this method, you will not have to return to the already worn site. In addition, the tile is washed directly during the grouting process. After drying, it is enough to wipe the surface with a dry cloth.
The finished composition is placed in a trowel bag with a nozzle of the size required for the seam. First fill either vertical or horizontal seams. When squeezing the mixture you need to carefully monitor that it fills the seam completely, without gaps. Since any mixture diluted with water, have the property of shrinkage, that is, reducing the volume during drying and evaporation of moisture from them, you need to apply grout in a slightly larger amount than it seems at the time of the joint is rubbed.
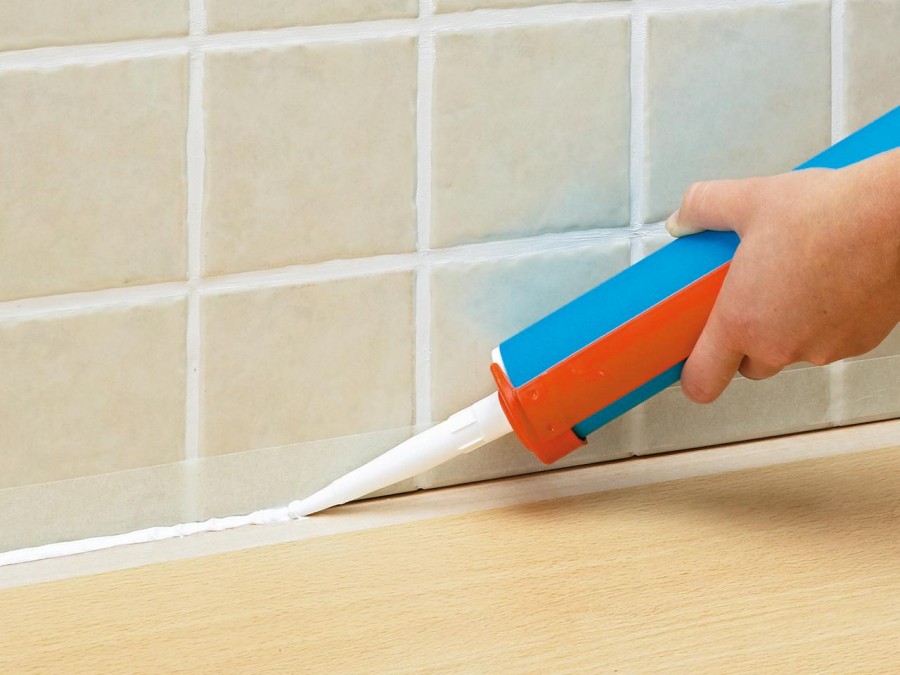
Sealant
Sealants are available in tubes and cylinders for special pistols. For the mashing of the seams used the second option. The sealed tip of the cylinder is cut off with a sharp knife, after which a conical nozzle, which comes complete with a sealant, is screwed onto it. The cylinder is inserted into the gun, the tip of the cone nozzle is cut so as to obtain the required seam width. The sealant is extruded exactly into the seam. Leveling it can be done with a wet finger or sponge. The excess sealant should be immediately washed off the tile surface with a damp sponge and wiped dry with a cloth napkin.
Resin based
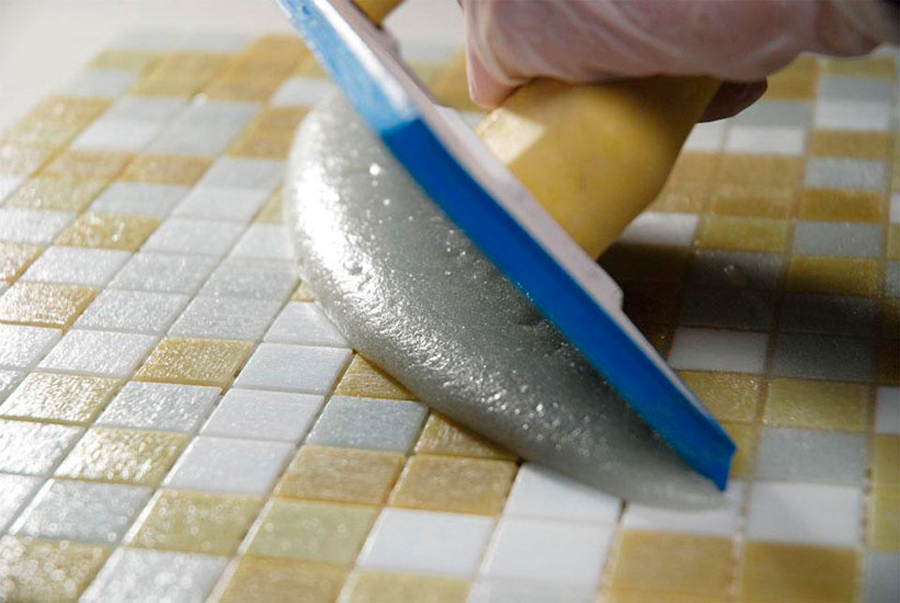
The composition usually has a two-component structure consisting of directly resin and hardener. To obtain a more homogeneous mass without air bubbles, before mixing, the resin should be heated in a water bath to a temperature of about 50-60 degrees. Add hardener, tinting paste, if required, and selected filler conceived by design. The mixture should be applied directly to the seam. You can use a cooking bag with a nozzle or buy a special trowel bag. Align the seams with the most conveniently bending plastic spatula.
If the troweling compound gets on the surface of the tile, immediately wipe the soiled area dry, then rinse it with a damp sponge and dry it again.
Useful tips
When grouting joints on a tile that does not have a smooth, but a relief surface, the mixture from the front surface of the tile must be immediately washed out with copious amounts of water. Otherwise it will be extremely difficult to bring it into a decent look. The grout which has eaten into small depressions of the relief is very poorly cleaned during hardening. You can spoil all the work.
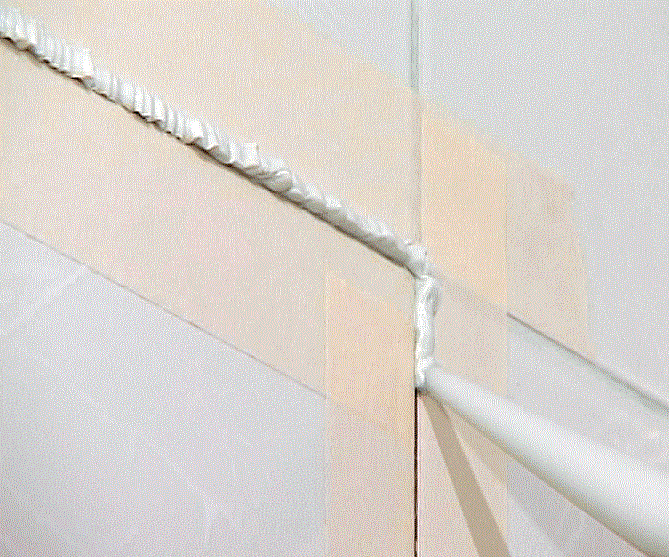
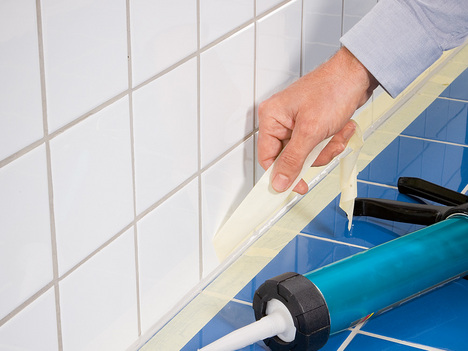
If the tile “does not fit”, then the seams are obtained in different widths in one row - vertical or horizontal. In this case, after the standard filling of seams, you can use this trick: on a dry and clean tile along the entire length of the seam, which needs to be corrected, paste masking tape on both sides. The width of the seam is chosen based on the widest. Grout diluted slightly more liquid than to fill the joints.
Carefully put the mixture on the formed seam, smoothing it immediately and eliminating defects. Scotch tape is removed, without waiting for the mixture to harden. Otherwise, the grout will begin to crumble along the edges of the joint and the edge of the joint instead of straight will become jagged.Masking tape can also be used when grouting tiles with shallow relief to protect the edge of the front surface from trowel ingress on it. In this case, do not have to spend a lot of time washing. The same applies to finishing materials with a porous structure. Here, without scotch just can not do.
After grouting all vertical and horizontal joints, do not forget to fill with a mixture all technological cuts on the tile near the heated towel rail, hot and cold water outlets, taps to connect the washing machine, and so on.
When filling seams on a tile with straight (non-smoothed) ends, the seams should be made without penetration. That is, the seam and the front surface of the tile should be a single surface. Otherwise, the brown side surface will be visible from under the grout and ruin the whole impression.
For grouting, you can buy a mixture that matches the color of the tile. But sometimes manufacturers use such colors and patterns that it is simply impossible to buy a ready-made mix of colors. In such cases, you need to buy either just a white grout, or the closest in color, and bring it to the desired shade by adding tinting paste of the desired color range.
With perfect laying and good calibration tiles, you can wipe the seams exactly in the color of the finishing material used to get the effect of a solid surface. If the tile is not of the best quality, bent (very often found on tiles with a side of more than 40 cm in size), and the laying is not done perfectly, it is better to use a grout in a contrasting color. So you can "hide" slight differences between adjacent tiles, if one of them could not be "put on the plane" and she "jumped out."
If you use the finished grout, be sure to "collect" first of all the composition, which is "smeared" on the walls of the bucket. Otherwise, this mixture will dry very quickly, the particles of the dry solution will fall into the finished composition and then stick out with splinters in the formed seam.
They will have to be removed from the already finished seams and do double work, glossing over the resulting defects.
When assessing the quality of the grout after it dries, small defects in the form of unevenness of the seam may be found. You can remove them using abrasive materials with fine grain, and in other words, polish. This should be done before the grout is turned to stone.You can still walk on such defects manually grout, diluted to the state of liquid kefir. Be sure to ensure that the seam as a result is smooth, without transitions.
Grouting on the floor is not done in a light color. Over time, after numerous washing floors and dust and dirt on it, it will darken and lose its appearance. Therefore, for grouting floor tiles, either buy a ready-made mixture of a darker color, or tint it yourself to the desired shade.
Grouting in the seams, especially if they are wide, remains soft and plastic for much longer than on the surface of the tile. After grouting on the floor, it is better to perform any operations three to four hours after it has filled the joint. Otherwise, you can push the finished seam and you will have to start everything on a new one.
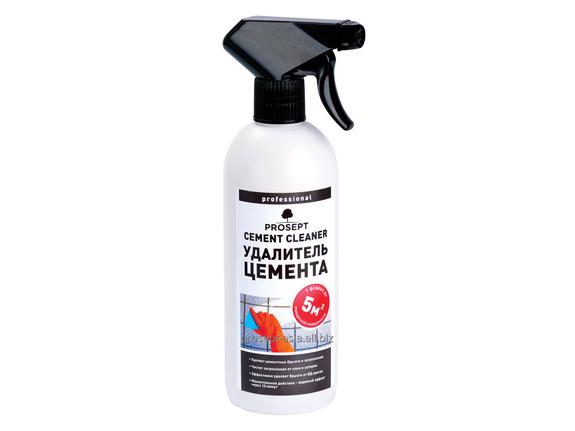
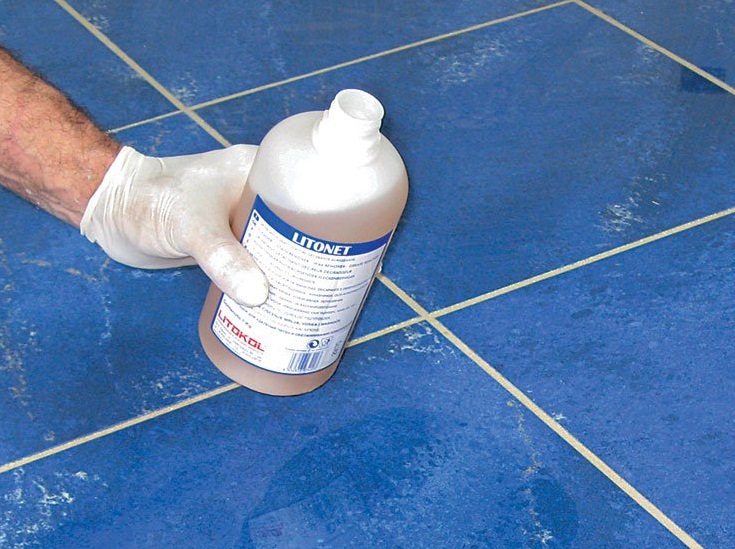
When using grout on a cement base, sometimes there are difficulties with removing its remnants from the front surface of ceramic tiles. Now in the building stores sold special solutions for flushing cement mortars, usually in the form of bottles with trigger spray. To simplify the work, you can use them.
If the selected grout does not have water-repellent or antifungal properties, you can buy these tools for joints separately. They are sold in liquid form in small bottles. The seams are processed with a small brush, carefully washing or rubbing the tiles after such a procedure, without waiting for the composition to dry.
For how to rub the seams on the tile, see the video below.