Subtleties whitewash ceiling
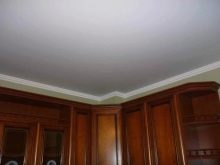
When performing a home repair, ceiling finish is considered one of the most important stages. Beautiful and neat ceiling is able to visually decorate the room and give it an aesthetically attractive appearance.
For finishing the ceilings there are many options. One of the classic technologies is whitewashing, which is quite easy to do yourself. This is a simple and economical way to freshen up the interior indoors. But for the quality of work, you should know some of the subtleties and features that are listed below.
Before the whitewash starts, it is very important to decide on whether the old coating will be removed or whitewashing will be carried out on top of it. For this, the condition of the old finish, its strength, the presence of contaminants and defects is evaluated. If the old finish is very crumbling or in many places begins to peel off from the ceiling, then it must be removed before new whitewash.
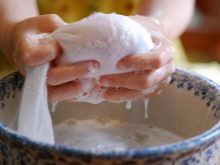
If the old coating is quite durable, then it is allowed to place a new layer of whitewash. But before it is necessary to get rid of cracks and surface contamination. To remove dust on the ceiling should go with a normal wet cloth. To remove mold, it is desirable to use special tools that are sold in hardware stores. For small accumulations of mildew, ordinary water with soap will do.
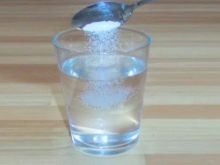
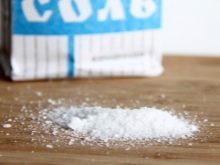
To get rid of fat, you should make a solution of salt and water.
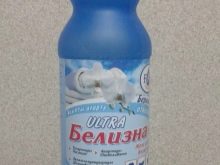
At the end of the surface treatment, soda residues are washed off with clean water. Sometimes on the old coating there are various yellow spots. You should also get rid of them, otherwise they will appear through a new layer of whitewash. To combat such stains, a solution of the “Whiteness” product is used.
What to whiten?
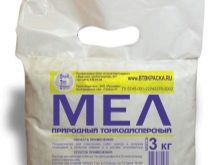
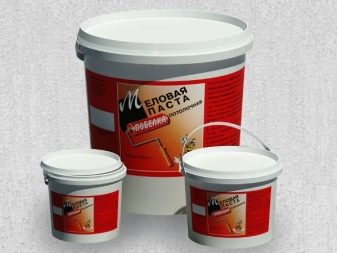
Chalk is often used for whitewashing ceiling surfaces. It allows you to give the ceilings an attractive white look. But this is not always convenient, as the chalk may soon begin to crumble. As a result, dust is generated in the room. Chalk is not recommended for bathroom surfaces,as this material does not possess waterproof properties.
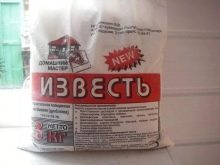
Alternatively, lime may be used. Its main advantage is the fight against fungi. Therefore, in those rooms where there is a high chance of a fungus, it is better to choose lime as a finishing material. In addition, it has waterproof properties, so it can be used in the bathroom. Other advantages include the possibility of hiding small cracks and ceiling defects.
Among the main drawbacks of lime is the possible occurrence of allergic reactions to this material in tenants. Another significant disadvantage is that, compared to chalk, it does not provide the perfect snow-white shade of the surface. In addition, it has a strong odor and dries for a relatively long time.
In the process of selecting the appropriate material should pay attention to the old layer. If it is made on the basis of lime, then the chalk for the new layer will not work. If the old layer is treated with chalk, then it is undesirable to choose lime for a new whitewash, as there may be stains that will spoil the appearance of the ceiling.
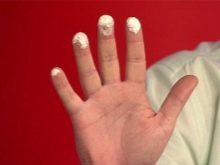
The material of the old finish is quite simple to determine. Enough to hold your finger on the surface. If the coating was applied using chalk, then finger marks will remain on it. When finishing lime marks on the fingers do not remain.
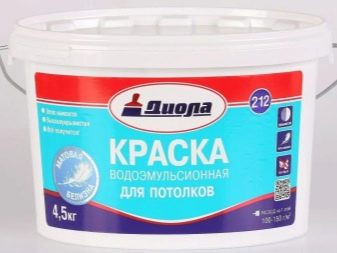
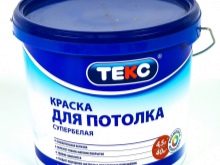
Sometimes it is advisable to opt for water-based paint. It will provide the ceiling with a great look. Such paint is remarkably applied to the old finish, even if it is made of chalk or lime. Due to its properties, water-based paint will be an excellent solution for finishing works in the bathroom.
When preparing the solution, which will be whitewashing, usually add glue. This greatly improves the strength of the coating and increases its service life.
It is recommended to add joiner's types of glue that will allow the ceiling to keep an attractive appearance as long as possible. It is possible to whitewash the ceiling with a snowball, and for the furnace a chalk mixture is often used.
Consumption
Before performing a repair, it is advisable to calculate the amount of material needed. Experienced specialists will be able to do this pretty quickly.But for beginners in advance to calculate the exact amount of materials is quite difficult, since in each case this value will be different.
For a preliminary calculation of the consumption of materials should proceed from the surface area of the ceiling. It should be borne in mind that whitewashing painting is carried out in several layers.
When whitewashing chalk or lime will have to prepare special solutions. If water based paint is used, then it can be purchased at retail outlets already in finished form. But it should be borne in mind that its consumption can be quite high. Therefore, it is advisable to buy paint with some margin to ensure a uniform shade of the surface.
When calculating the necessary materials should be included in the list and materials necessary to prepare the surface of the ceiling for whitewashing. In the process of preparation, dirt is removed, and the surface is leveled and the cracks are embedded.
The preliminary consumption of the mixture for whitewashing can be determined taking into account the area of the ceiling. 0.5 l of the mixture will be required per square meter. It is worth remembering that it can be stored no more than 1.5 days.
How to breed?
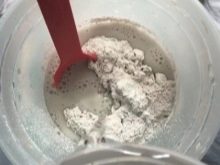
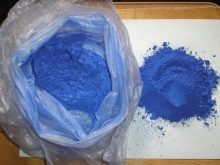
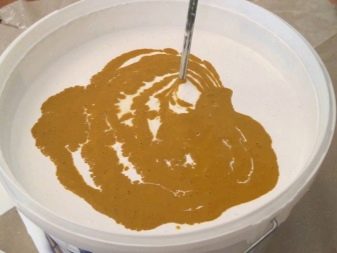
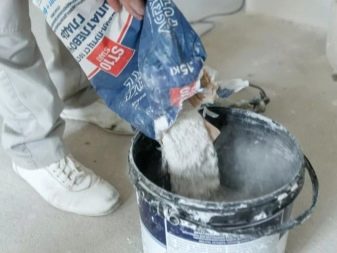
First of all, you must properly dilute the mixture and know all the proportions. To prepare the solution on the basis of chalk will need 5 liters of water. It is recommended to take warm water so that the ingredients are effectively dissolved in it. In a container with this water should be added 3 kg of chalk. Then 30 grams of glue is added to the mixture. It is advisable to add a little blue in the solution. This will give the ceiling a fresh look and get rid of the yellow shade. The recommended amount of blue is from 15 to 20 grams, depending on the desired shade of the ceiling.
For the preparation of a solution based on lime will need 2.5 kg of material. Pre-lime is diluted with a liter of warm water. Then it adds 100 grams of salt, which you first need to soak in a small amount of water. Next, add a little blue according to the principle of making a solution from chalk. At the final stage, 10 liters of water are added to the mixture.
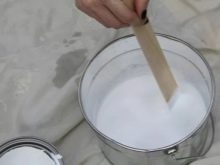
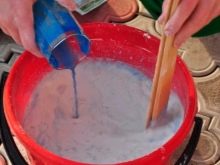
It is advisable to use a construction mixer in the process of preparing the mixture. In this case, a more uniform solution structure will be obtained. To determine the desired consistency, simply dip a knife or other smooth object into the solution.In the case when, when the knife is pulled out over it, the mixture begins to drain without lingering on the blade, the solution is considered not thick enough. Therefore, you need to gradually add chalk or lime, until the mixture becomes thick enough.
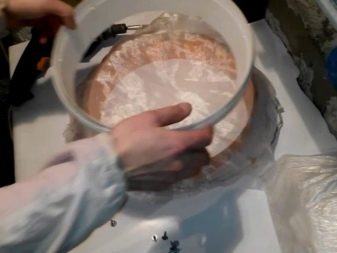
After preparation, the solution should be allowed to brew for 15 minutes, after which it should be drained using a sieve. Before starting work, the mixture must be mixed again. If you want to give the ceiling a certain color, then you can add suitable pigments to the mixture. You can also use water-based paint of the desired shade.
Instruments
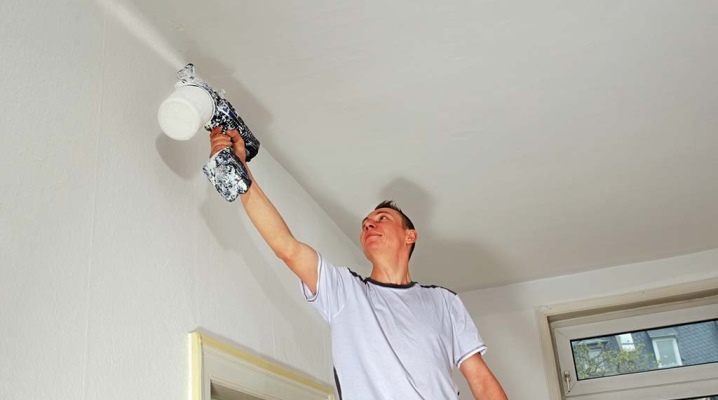
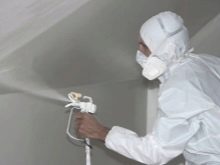
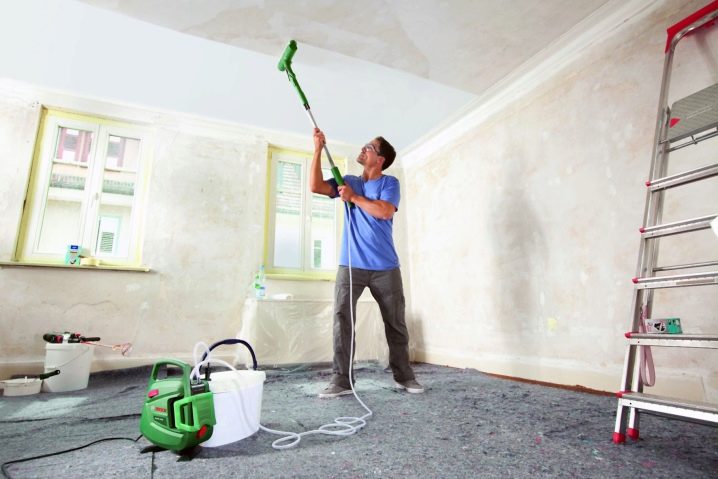
Most often when doing home repairs, ceilings are whitened using brushes or a roller. You can also for these purposes, take the spray gun or a special vacuum cleaner. But at the same time the paint will settle not only on the ceiling surface, but also on the walls and the floor. Therefore, it is recommended to cover all surfaces in the room, except for the ceiling.
The most budget option is considered a brush. It is inexpensive to buy in any hardware stores. But when whitewashing it should be borne in mind that the solution will spray, therefore it is necessary to protect the eyes and body.
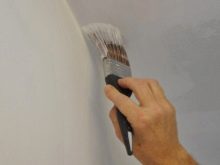
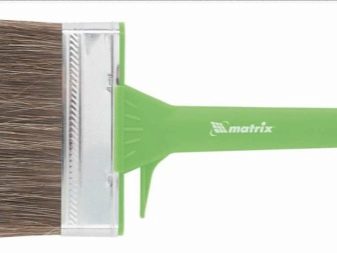
When choosing a brush should follow certain recommendations. First, you need to pay attention to the bristles. It should be made from natural material. The width of the brush should be more than 15 cm. Before performing work, it is recommended to place the brush in a container with water so that it swollen.
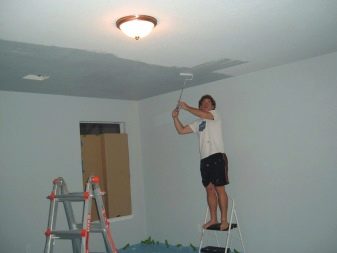
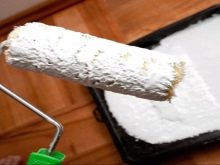
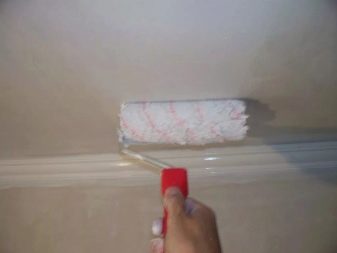
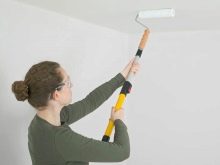
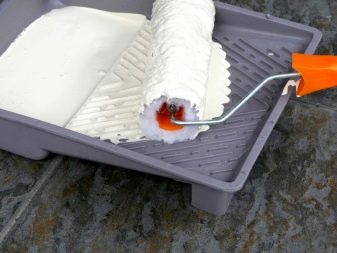
If you plan to use a roller, then you need to additionally pick up the tray in which the tool will be wetted. It will provide a smooth and uniform application of the solution on the surface of the ceiling. It should be borne in mind that with the help of a roller it will be very difficult to whiten surfaces in hard-to-reach places and corners. In this case, you will need to use a brush.
The spray gun also allows you to whitewash evenly and effectively. But in this case, you want to ensure that the structure of the solution was more liquid compared to mixtures for a brush or roller.
For whitewashing you will need a ladder, a bucket in which the solution will be mixed, a cloth for wiping surfaces and spatulas to remove old finishing materials. You should also take care of containers with warm water and personal protective equipment.
Subtleties of work
Making repairs in an apartment is always difficult, but you can just upgrade it. To do this, you need to clean off the old coating on the walls and just whiten them. Such a washout today is quite popular and its price is small.
Before starting work, you should carefully prepare the surface. Often, a new whitewash is applied over the old one. But the ideal option would be to clean the ceiling from the old finish with a further leveling of the surface.
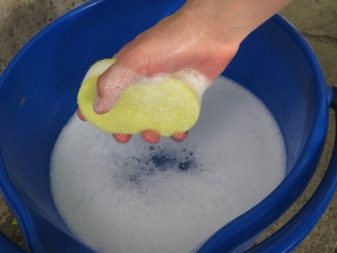
To remove the old coating of chalk, you should use a foam sponge. It should be regularly wetted in water and carried on the surface of the ceiling. Similarly, you can gradually remove all layers of the old chalk. Then the surface should be wiped with a regular cloth, which should also often be moistened with water.
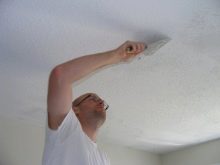
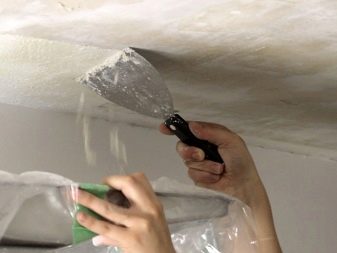
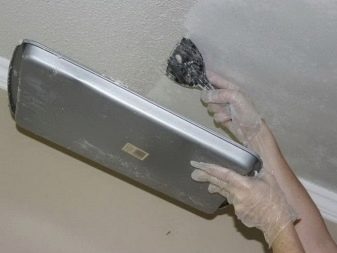
If the old coating consists of lime, then it will be a bit more difficult to remove. To do this, you first need to wet the surface of the ceiling to lime limp. For this it is recommended to use a spray. Then the layers of the old finish are cleaned with a spatula. After completing the work, it is recommended to rinse the ceiling surface with a cloth to remove any remaining lime and dust.
Now in retail outlets there are special tools for washing off the old whitewash. These funds are sprayed onto the surface of the ceiling with a sprayer. After some time, the surface is covered with a crust, which is removed with a scraper. Then the ceiling is washed with a cloth or sponge.
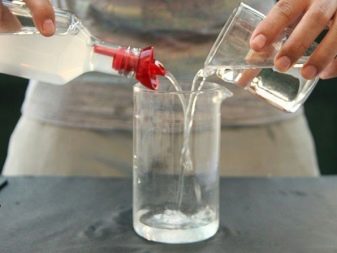
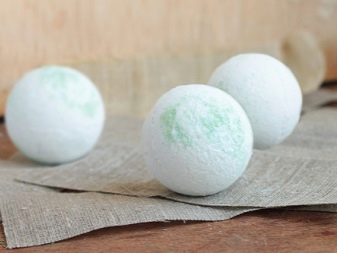
You can prepare a tool for removing old whitewash and at home. For this you need a tablespoon of vinegar diluted in 5 liters of water. Next, you need a foam bath in the amount of 50 ml, which is also added to the mixture. Then all this is stirred and applied to the surface. After 20 minutes, the old finish can be easily removed with a scraper, after which the ceiling is washed out with a wet rag.
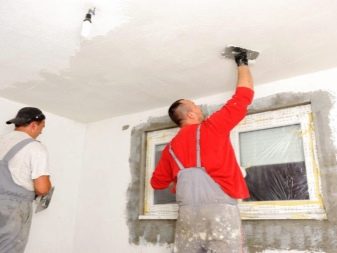
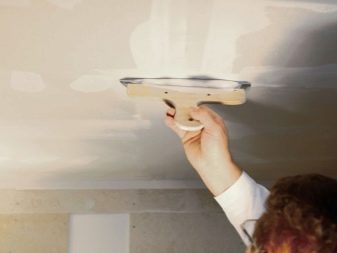
After the old finishing covering has been removed in full, it is necessary to clean the surface of the ceiling from dirt and stains. Next, you should conduct a visual inspection of the ceiling for defects in the form of cracks and various recesses. All defective places should be plastered, for which you can make your own putty on the basis of glue.
For the preparation of putty will need 1 unit of chalk and 2 units of gypsum and glue. All this is mixed in water, after which the resulting mixture should be applied to defective places on the ceiling.When it dries, the surface should be treated with sandpaper. Further, the ceiling surface is subject to priming, thereby simplifying whitewashing, and moisture-proof characteristics are improved near the ceiling. The treated surface should dry out during the day.
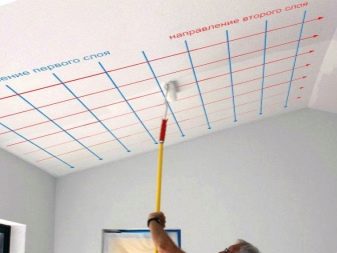
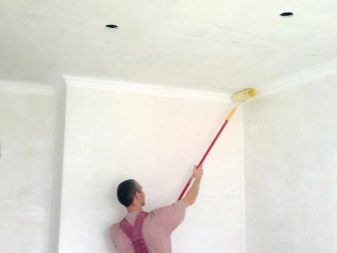
Technology whitewash includes two stages. At the first stage the preliminary layer is applied. In this case, whitewash should be made in the perpendicular direction with respect to the main light source (usually with respect to the windows). The next step is to apply the second layer, which will be parallel to the direction of the rays of light. If necessary, you can apply additional layers. It should be borne in mind that the new layer is applied only when the previous one is completely dry.
When performing whitewash it is advisable not to allow exposure to drafts or sun rays. This will lead to the fact that soon the material will begin to flake off.
Tips and tricks
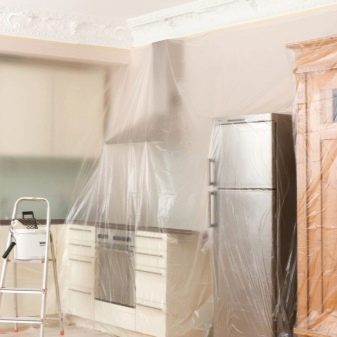
Before starting work, it is recommended to take out the interior and furniture from the room. Dimensional objects and other surfaces should be covered with something, so as not to stain them in the process of whitewashing.If there is a tile on the walls, then you can not cover it. At the end of the work, it can be easily cleaned of dirt.
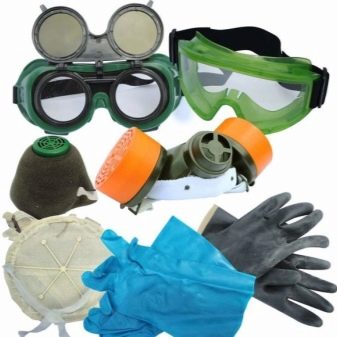
Before you start whitewashing, it is advisable to wear gloves on your hands and cover your head with a hat. Eye protection is recommended. Sometimes it is advisable to use a respirator. If you do not use these security tools, the mixture can get on the skin and mucous membranes, causing an allergic reaction or chemical burn.
In the process of whitewashing it is desirable to periodically change the lighting. First you need to whiten in natural light, and after a while to work in artificial light. Due to this, it is possible to quickly identify possible deficiencies and make the necessary adjustments.
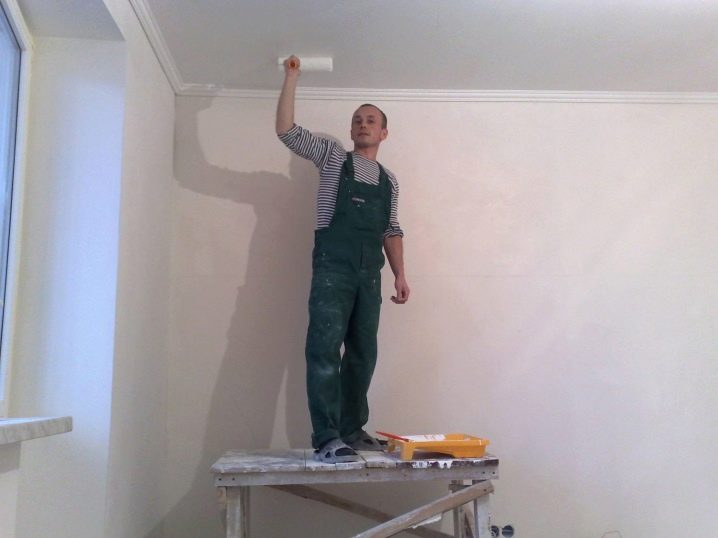
In the absence of experience in whitewashing ceilings, it is better to perform work using a roller. It will provide the best whitewash results. At the same time the process itself will be more convenient, easier and faster. Move the brush or roller on the surface should be confident and even. In this case, the highest quality of work will be ensured.
It is recommended to divide the ceiling into separate strips, which will be applied whitewash layers.On the connections of the bands are carried overlaps. This technology will prevent the appearance of undyed places.
When the work is completed, all stains from the whitewashing on the walls or the floor, it is desirable to wipe with a cloth. But sweeping is not recommended until the surface of the ceiling dries. Otherwise, the dust will rise and settle on it, as a result of which dark spots will appear. If you do all the work correctly in compliance with all the above tips, the next time you need to whiten the ceiling no earlier than three years.
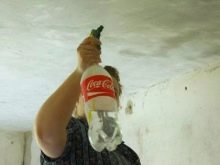
On how to make your own spray gun for whitewashing the ceiling of the vacuum cleaner, see below.
