Whitewashing the walls: how to do it right?

Decorating the walls with these or other materials has many features and nuances, which should not be forgotten. This fully applies to such an option as whitewashing. The apparent outer simplicity of the layer, its homogeneity is deceptive - there can be many mistakes.
Special features
The whitewashing of the walls has been known for a long time, one can even say that it has a long history. This technique provides the "breath" of the wall, that is, gas exchange through it. The antiseptic properties of whitewashing improve the sanitary condition in the home. All work can be done with their own hands, the involvement of hired builders is not necessary.
Therefore, whitewashed surfaces are created quite economically, if amateur builders know how to work correctly.

How to prepare a solution?
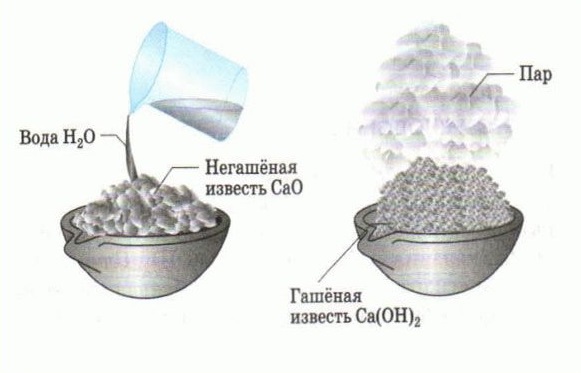
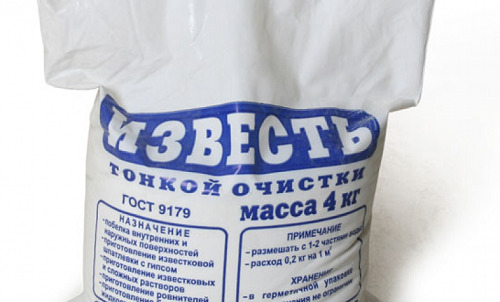
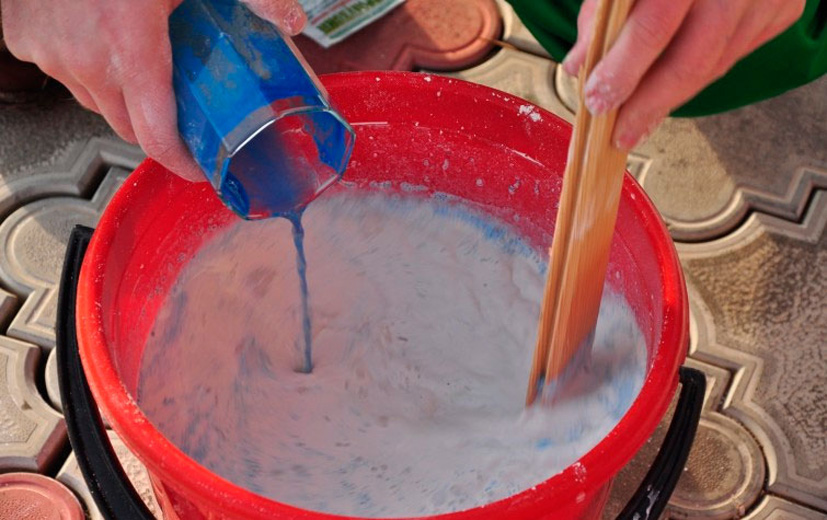
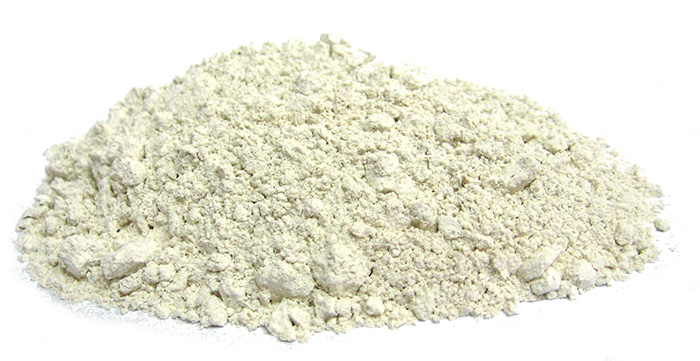
Along with the use of chalk, lime is also widely used. To cover the walls it is allowed to use only hydrated lime, extinguish at home with your own hands quicker composition should be as follows:
- take water and the same amount of lime in volume;
- prepare clean utensils made of metal without mechanical defects and corrosion;
- after adding cold water, immediately cover the tank with a wooden lid blocking the path of splashes;
- at the end of a violent reaction, the container is again covered with a lid, then removed to a dark cool corner for 20-25 days;
- when this period passes, the composition is supposed to mix.
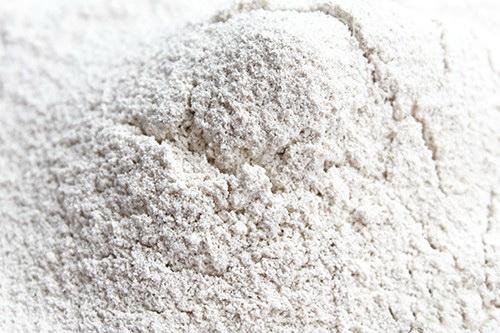
To properly dilute the lime, it is necessary to achieve a 100% dissolution of the granules.
This is recognized by the dense white film that remains on the wooden blade. It is recommended to dilute the mixture with cold water without any impurities until a homogeneous opaque liquid appears. In most cases, from 1 kg of quicklime, 10 l of the working solution is obtained. It should be borne in mind that these figures are suitable only for evaluation, the final consumption is determined in practice.
Another recipe is:
- 1 l of water;
- from 2 to 3 kg of lime; 0.1 kg of salt;
- 0.2 kg of aluminum alum.

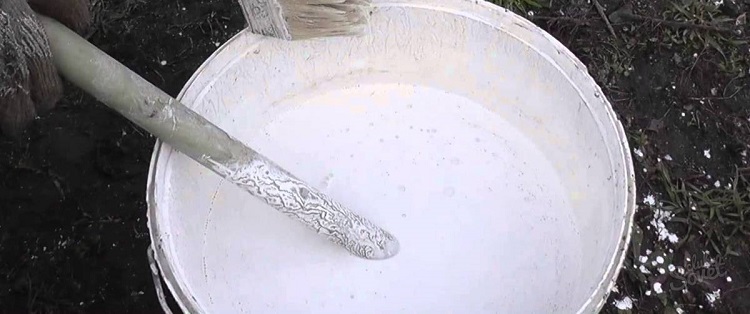
All this is mixed, diluted with warm water, if desired, is painted with various pigments.
Quenching requires complete dissolution of lumps and granules in water. But in order to be safe, before applying the liquid is mixed again and passed through a metal grid. If you plan to work with the spray gun, you need to filter the lime mixture through gauze. Then even the very small remaining inclusions will be deleted. Adding laundry soap, wallpaper glue increases the solution life.
The whitewashing of the facade walls with lime requires strengthening the protective properties of the reagent. To compensate for the harmful effects of precipitation and erosion of them helps adding drying oil. There are special additives that do not allow lime to crumble from the walls.
The admixture of salt (10% by weight of the solution) reduces the stickiness of lime to various objects and simply to hands. But besides this reagent for decoration, there are others.
How to whiten?
Although there is a very long history behind lime, this is not its only advantage.In any case, should be whitened on an evenly prepared base. If it has already been whitewashed by another mixture, that substrate is required to be removed, and only then proceed to work. Lime is much better chalk protects against harmful bacteria.
In addition, it seems to be dragging its own, closing minor defects itself. Chalk should be used in the case when it is known about the allergy to lime. The difference in color (in purity and saturation of white tone), if any, is not caught with the naked eye. lime is usually lime and applied, then the appearance of ugly spots will be excluded.
The solution, which cause chalk whitewash, is done like this:
- 0.03 kg of wood glue, 0.015 kg of blue and 3 kg of chalk are added to 5 liters of water;
- use this mixture to cover 10 sq. m;
- readiness is assessed with an ordinary knife - the solution should neither flow freely nor stand on a steel blade.
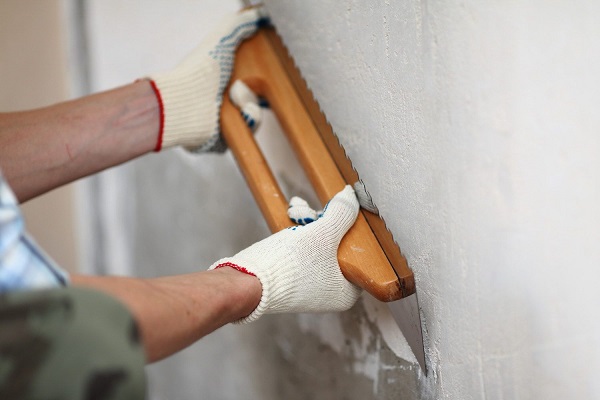
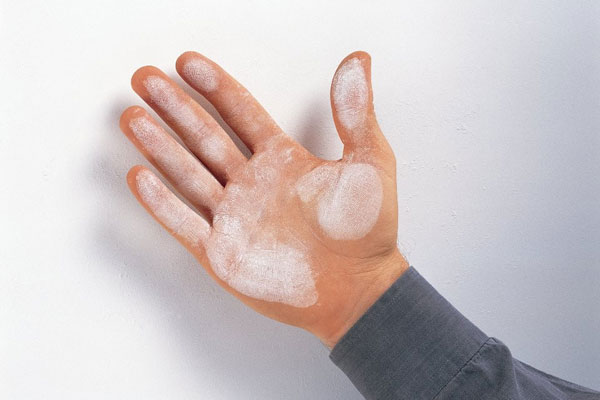
Moisturize the wall a little before applying lime. Then the whitewash will be even and will not leave a single divorce. A very important point is to determine what the walls whitened before, especially in newly acquired housing.Under the action of water, the lime will darken; rubbing the checked place with your finger, you will immediately see that it is not painted. Of the required tools when working worth mentioning rollers, brushes and vacuum cleaners.
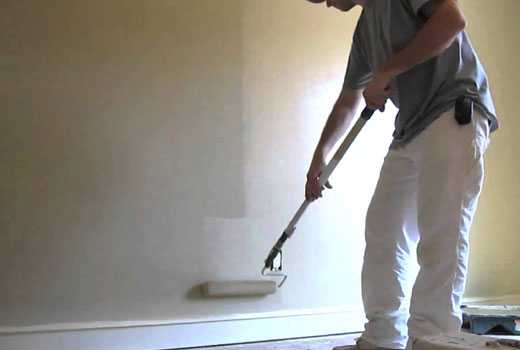
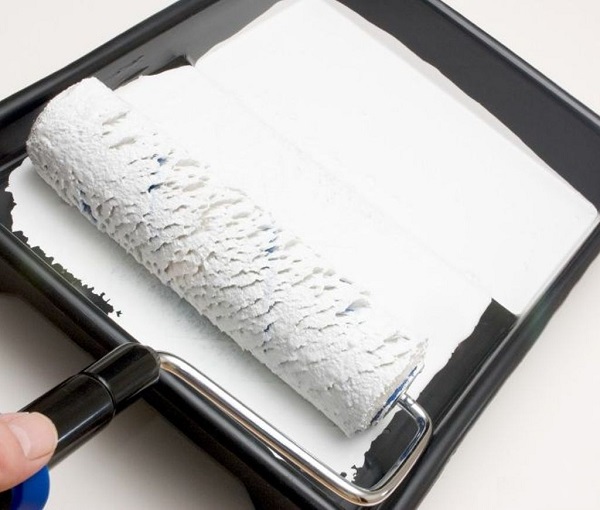
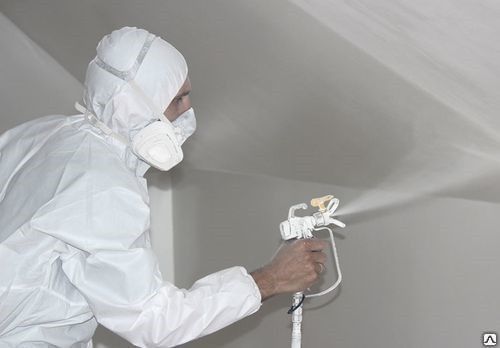
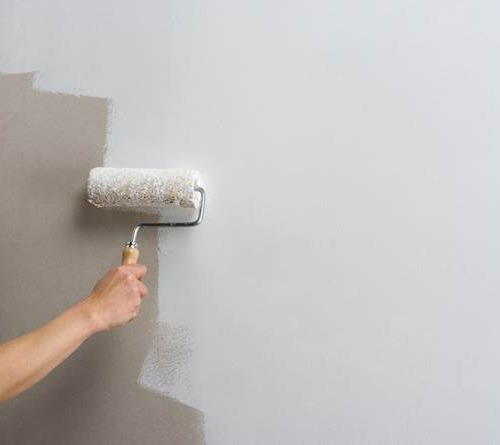
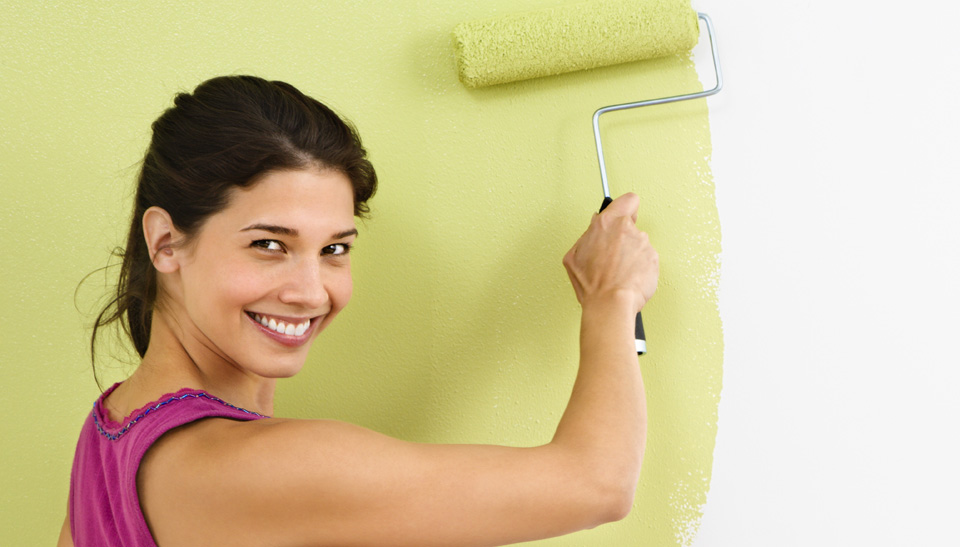
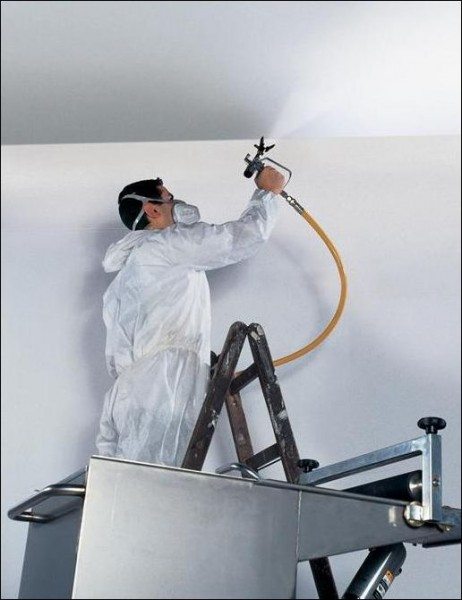
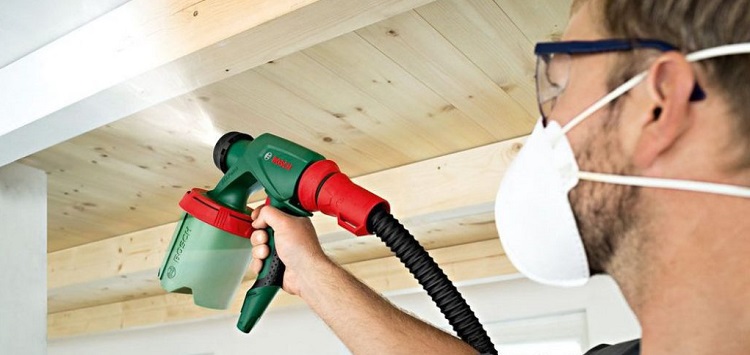
It is easiest to apply the mixture with a roller; leveling the surface is noticeably easier. Experienced people still have to take a brush or a vacuum cleaner in their hands, such options are not suitable for beginners. Whitewashing should be applied with a roller in at least two layers, and the initial pre-dried. With sufficient experience and knowledge, a vacuum cleaner or sprayer can help you do all the work very quickly.
Attention: not all models of vacuum cleaners are suitable, but only those that can drive air outside and are equipped with a plastic cover with a set of tubes.
This cover is put on the jar, after which the nozzle is connected to the outlet. The running airflow in the sprayer will suck in the prepared compound. Leaving it through the tube will be accompanied by spraying over the surface.
Important: to control the incoming solution, you need an additional hole, depending on the specific situation, it opens or closes with a finger.
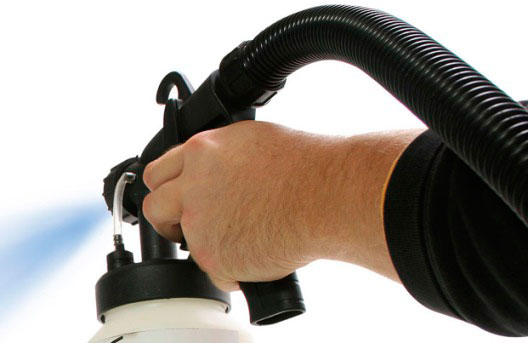

Uniform display of whitewashing is achieved by careful circular movements, in which the spray nozzle is kept 0.8 - 1 m from the wall surface.
Multiple repetition of this procedure is allowed if you want to achieve the ideal result. The application of lime or chalk whitewash implies the observance of certain precautions. So, you should definitely wear protective clothing, a gauze bandage, goggles and gloves.
To make the whitewashed walls more attractive, water-based paint is used for painting. First you need to make sure that the whitewash layer is durable, it is fairly smooth and has no cracks. Water-based paints are the best solution, because they are ideally combined with whitewashing, do not require sophisticated surface preparation.
To use all other paint and varnish materials, you will initially have to remove the whitewashed layer, and apply the coloring composition only on the rough substrate. Paint using a roller can be carried out both vertically and horizontally. It is impossible to apply decorative 3D plaster over the whitewashed layer, only surfaces from natural or artificial stone are suitable for it ordrywall. But this coating effectively cope with the alignment of the surface.
Finishing options
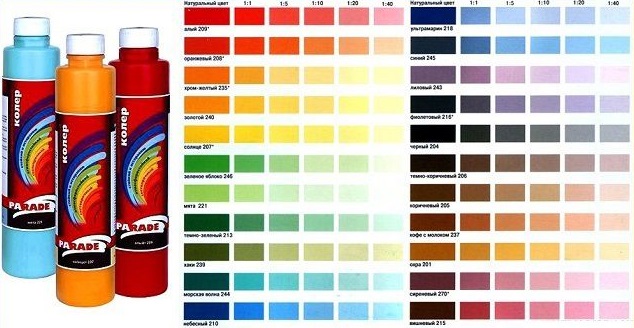
When repairing can be used a variety of whitewash, but contrary to the name, they differ not only in chemical composition - there may be a variety of colors. 99% of the walls, however, such mixtures are applied in the usual white tone. Traditionally, only ultramarine was used, and then only to give shade, and not for pronounced staining.
It should be taken into account that it makes sense to add only dry, alkaline-resistant pigments to the slaked lime. The only exception to this rule is the universal liquid mixtures recommended specifically for this purpose.
Such dyes are added to the fully prepared lime:
- for green tone - chromium oxide;
- for yellow, ocher;
- for brown - umber;
- for black - soot and so on.
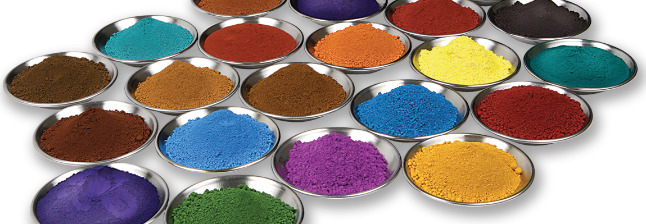
Important: Do not add an excessive amount of pigment. If you enter it more than 5% in relation to the mass of lime, the coating will be too weak and will quickly lose its useful qualities. Therefore it is necessary to come to terms with the insufficient saturation of the color created.In fact, color whitewashing is always painted in weakened tones of the main colors. But no one can call it overly catchy in design.
Chalk is allowed to tint with almost any liquid and dry pigments. In the same way, they will have to be added to the composition prepared for use. Wet whitening with a coloring additive looks darker than after drying; The real tone can only be obtained from a test sample. The disadvantage of colored chalk is that it can only be used on the internal walls in a dry room. But also such a finish will inevitably soil hands and clothes, nothing can be done about it.

Its subtleties are when applying whitewash on brick walls. It is necessary to approach this work as thoroughly as possible, otherwise removal of the covering without dismantling the wall will be almost impossible. Brick absorbs any substances that are applied to it. The base is pre-free from any visually noticeable defects using a brush with a hard pile. If there is paint on the surface, it is removed with a solvent and then cleaned.
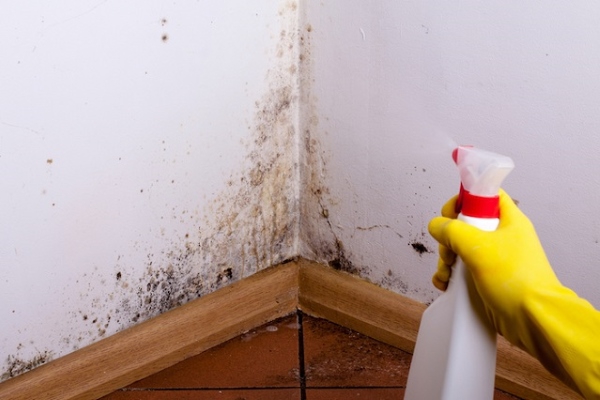
Fight against a mold or a raid is made by specially intended solutions.After using them, the wall is washed with clean water. The processing after a certain period of time is duplicated in order to ensure that the problem is not returned. The found cracks should be covered with cement, and it should be dried for at least 14 days. Premature whitewashing may result in nests of mold or other fungi; it is desirable to prime the base.
It is not recommended to work at air temperature less than 25 degrees. Whitewashing is applied from the top right, systematically moving down. The formation of incompletely covered places and hillocks is unacceptable. If the brick is whitewashed in several layers, each must first be completely dry. Salt exits on the brick surface must be washed out beforehand and mechanically removed. The tools for the job are the same as in other cases.
Whitewashing can be applied not only in the apartment, but also in the basement of the house, in the cellar. This is one of the best ways to suppress parasites and improve appearance. To achieve the best effect, the underground room should:
- to dry;
- free from all things;
- air out;
- disinfect.
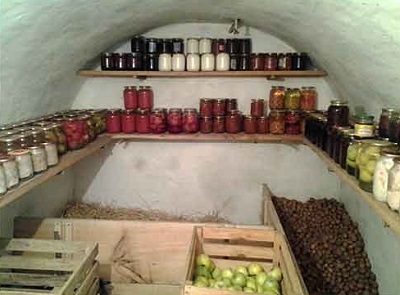
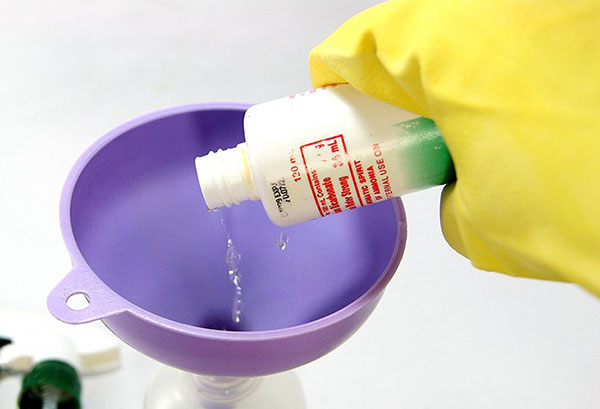
If you miss at least one of these moments, already in the coming winter you can face the development inside the pathogenic organisms. Lime is best suited for whitewashing underground premises, if only because it effectively suppresses harmful microbes. To it add 0.03 l of iron or 0.1 l of copper sulphate. Do not deviate from these proportions to keep a thin line between inefficiency and toxic effect.
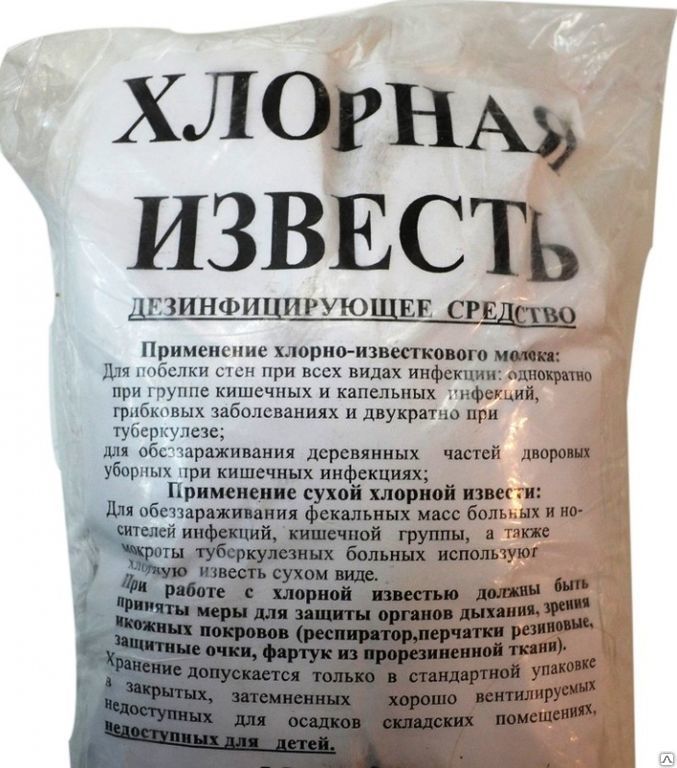
The use of bleach for pre-disinfection should be made in the most tight clothes, be sure to wear gloves and respirators (you can even wear a gas mask). Directly decorative treatment is often carried out using lump lime (one part of which is diluted in three parts of water after thorough grinding).
It is important: to mix such a composition should be only after getting wet and dissolving. After all, quenching is accompanied by the release of heat and splashing of caustic substance. It is better, generally, to stand at a distance and not look in that direction.
Brush for work soaked in water.
Large basements and cellars are finished using sprayers that allow the solution to be applied in a uniform layer.It is recommended to hold the spray nozzle approximately 0.3 m from the surface. In this case, the coating will turn out perfectly even in just a few minutes. The trimmed surfaces should be cleaned of greasy deposits, oil products, glue and any other dirt. It is advisable to coat the rust with a primer, if it is impossible to remove such marks.
Whitewash is applied from the top line of the wall to the bottom, while it is impossible, as in the open air, to leave at least one free space. Theoretically, one layer is enough, but whitewashing the cellar or basement two times, one gets the brightest and tidiest surface. After finishing wait about 48 hours, this is enough for everything to dry thoroughly. If you have a time reserve and good weather, you can open a dungeon for 6-8 days in a row.
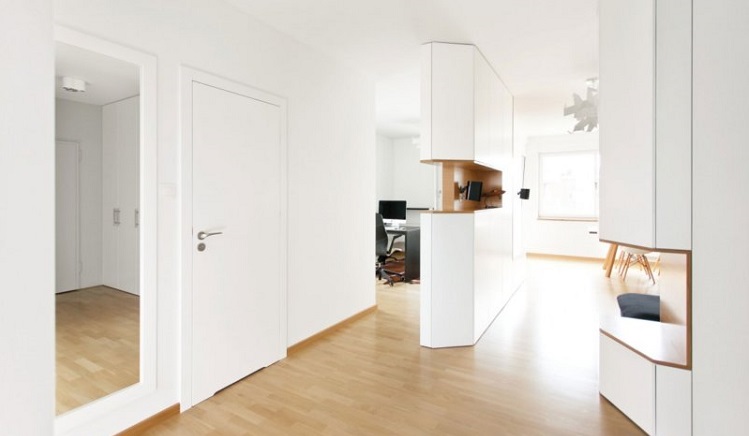
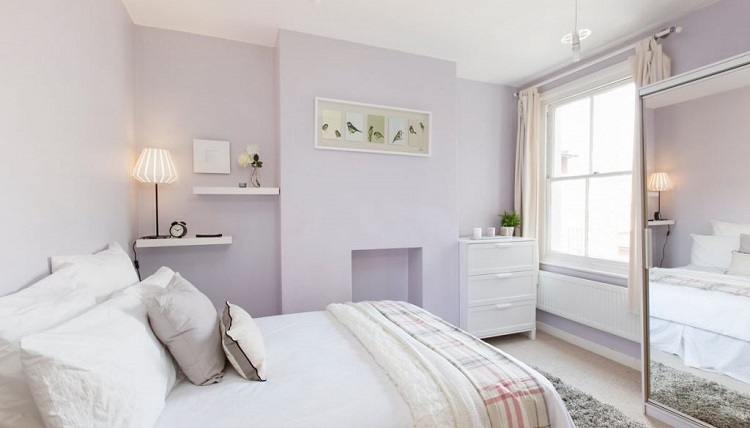
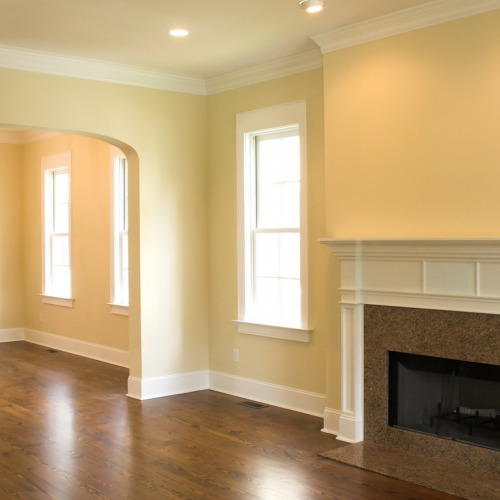
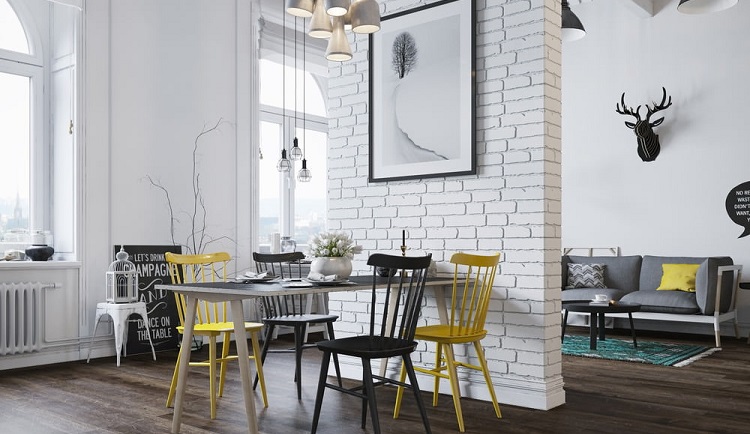
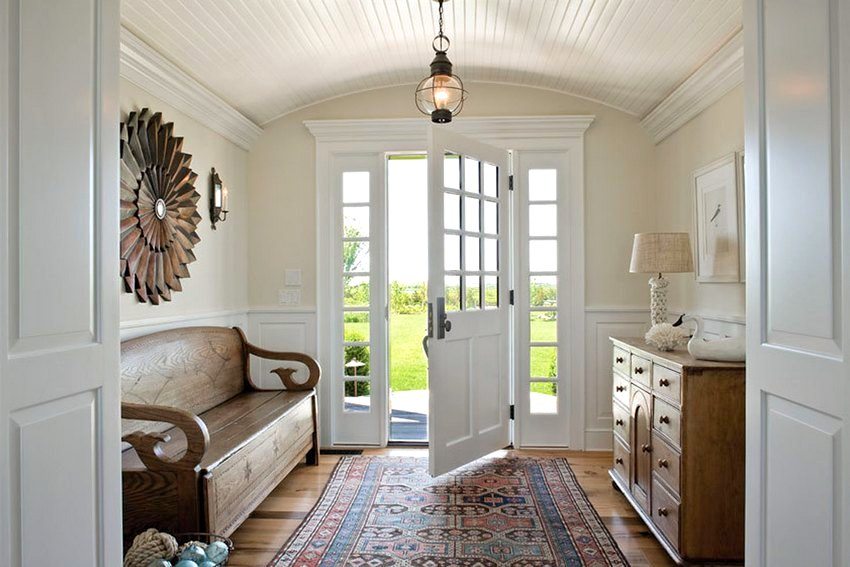
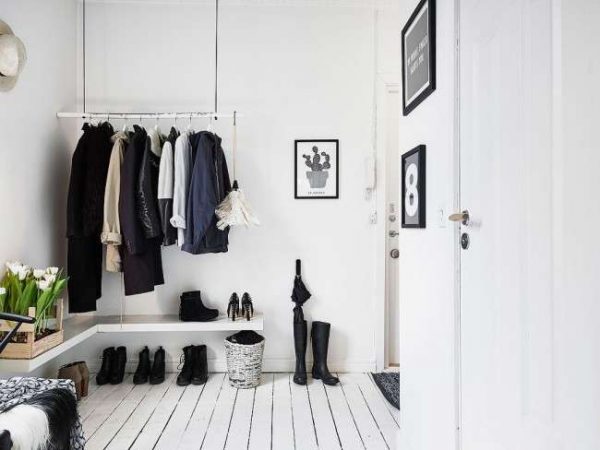
The modern technique of whitewashing allows you to confidently decorate not only the external walls and underground parts in the house. There are a number of advantages of such a way to decorate your own bedroom, kitchen, hallway or guest room. This is a cost savings, and ease, and accuracy. The whitewashed wall is 100% environmentally and sanitary friendly. Not without reason, even against the background of more modern design methods, this is actively used in educational and medical institutions.
Preparation begin, removing furniture and equipment as far as possible. The fact that it is impossible to move or there is no place, is covered thoroughly with polyethylene or unnecessary matter, wrapped with adhesive tape. Before whitewashing, the faults of up to 10 mm are puttied, and for more serious (10-50 mm) deformations, plaster is required. If the problems are even larger, you should first repair the wall, and only then take up its decorative trim. All preparatory compositions are leveled either with a spatula, or (if the surface defects are large) by the building rule.
Useful tips for all occasions
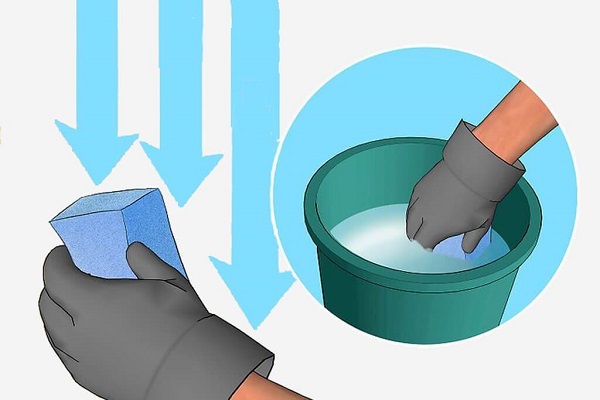
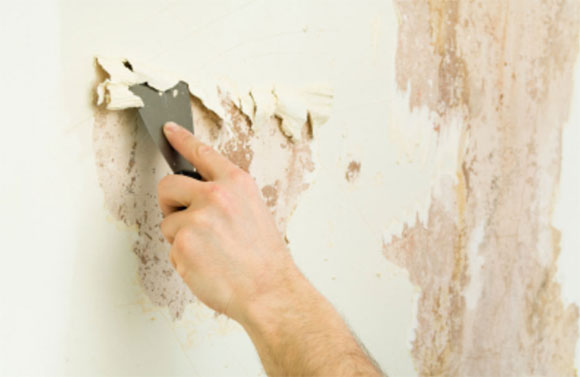
Sometimes you need to quickly remove the old or poorly applied fresh whitewash. The simplest means for removing such a coating is a roller and a trowel. Attention: such work implies a major overhaul, invariably there is a lot of dirt and debris. In addition to protecting furniture, they also take care of covering the floor with newspapers. The surface is soaked with a sponge and stripped off the lagging layer with a spatula.
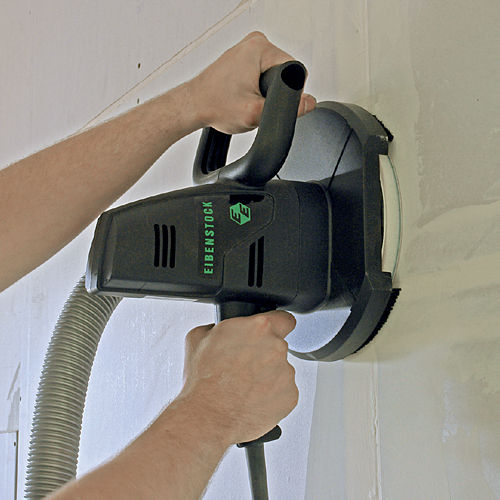
A faster, but very noisy and dusty method is the use of a grinder. If you want to remove the whitewash from the high parts of the wall, you need to take care of a reliable support. Using a grinder, it is worth pre-spray the surface of the spray. Very resistant coatings are cleaned under the action of an aqueous solution of soap and baking soda.
An alternative to these solutions is the use of paste.
In the next video, you will find whitewashing of the cellar


