Foam ceilings: advantages and disadvantages
Ceilings from polyfoam are a popular type of decorative furnish. The use of this light and beautiful material will allow you to update the interior of the apartment and make repairs without the involvement of specialists.

Foam features
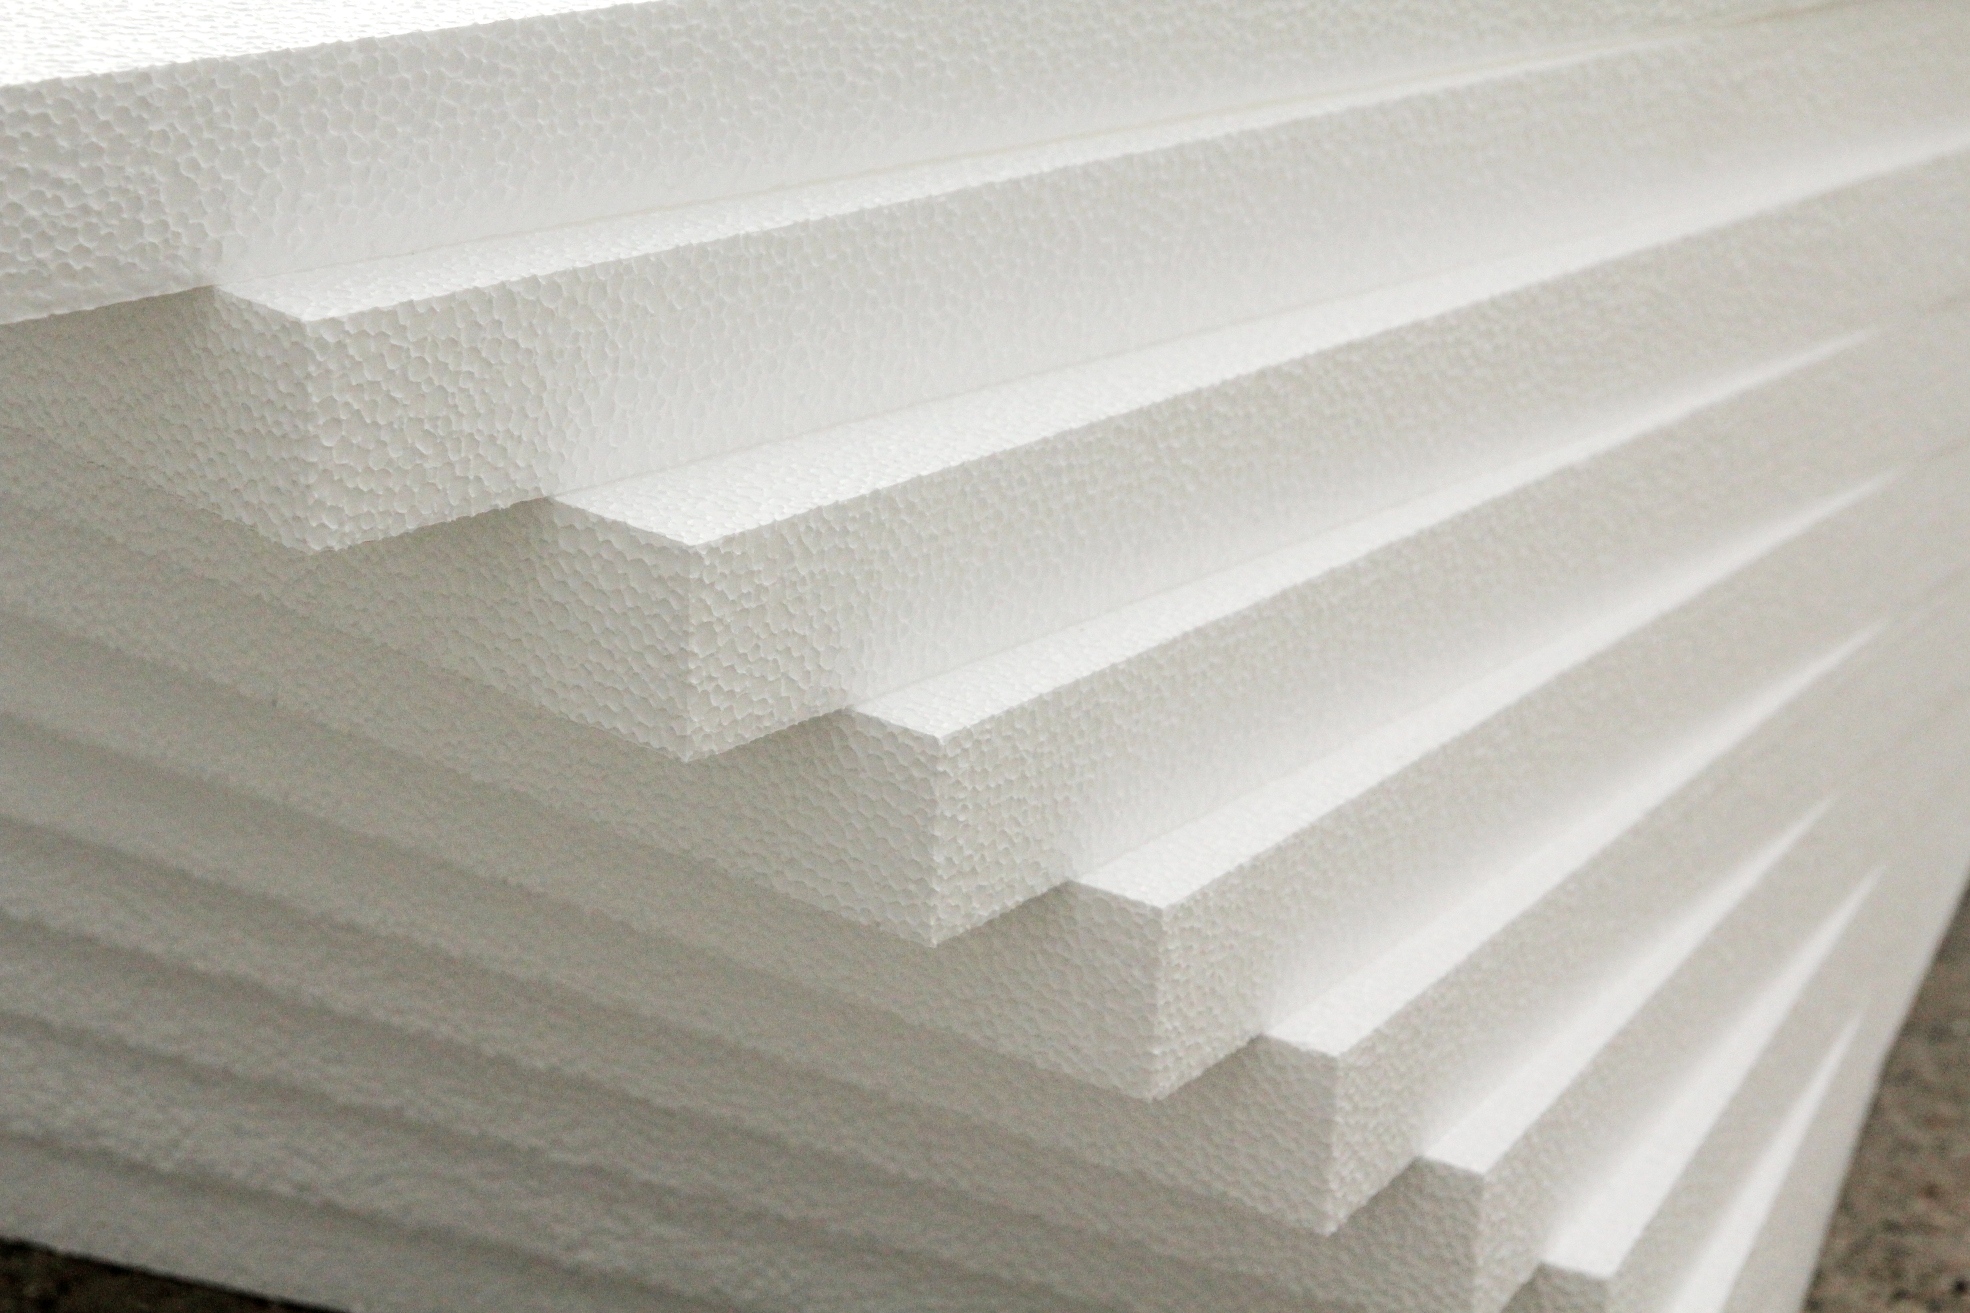
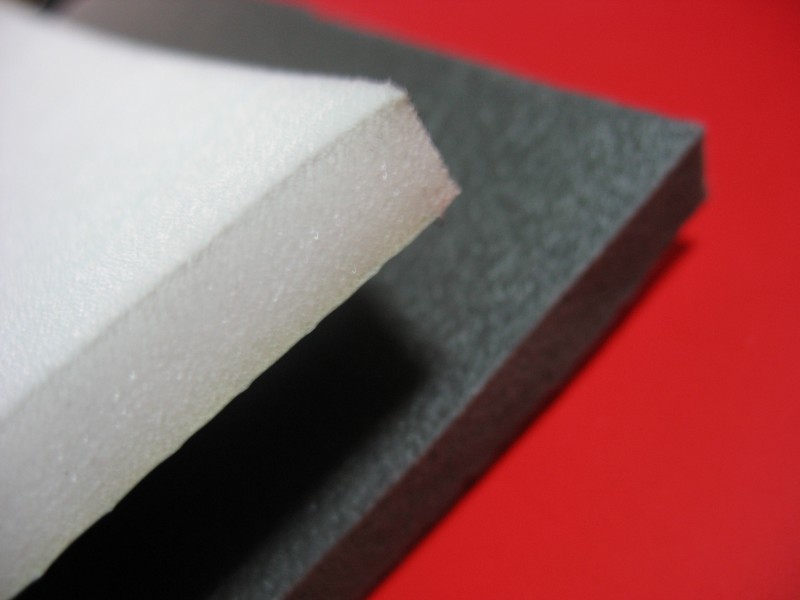
Polyfoam is of three types:
- Polystyrene type represented by separate interlinked balls. It is prone to moisture penetration and has in its composition styrene, which, when burned, releases toxic elements into the environment.
- Polyethylene version made in the form of translucent flexible sheets, it is durable and completely safe. In its manufacture does not use toxic and toxic substances, so this type of foam meets all sanitary and hygienic requirements and is used for the manufacture of ceiling tiles.Despite a number of positive characteristics, the material is quite flammable, which implies a strict ban on its use close to sources of open fire.
- The safest of all kinds is polyvinyl chloride foam.. According to its operational properties, it resembles a polyethylene look, but, unlike it, the material is absolutely non-flammable, and also has the effect of self-extinguishing in case of accidental ingress of a spark or fire. The material corresponds to the fire resistance index B2. This indicator suggests that due to the anti-peroxide additives used in the manufacture of plates, the flame goes out on its own within 4 seconds. In the case of a large fire, foam tiles emit heat eight times less than natural wood.
Species
The classification of ceiling foam plates is carried out according to several parameters.
According to the method of manufacturing products are:
- injection;
- extruded;
- stamped.
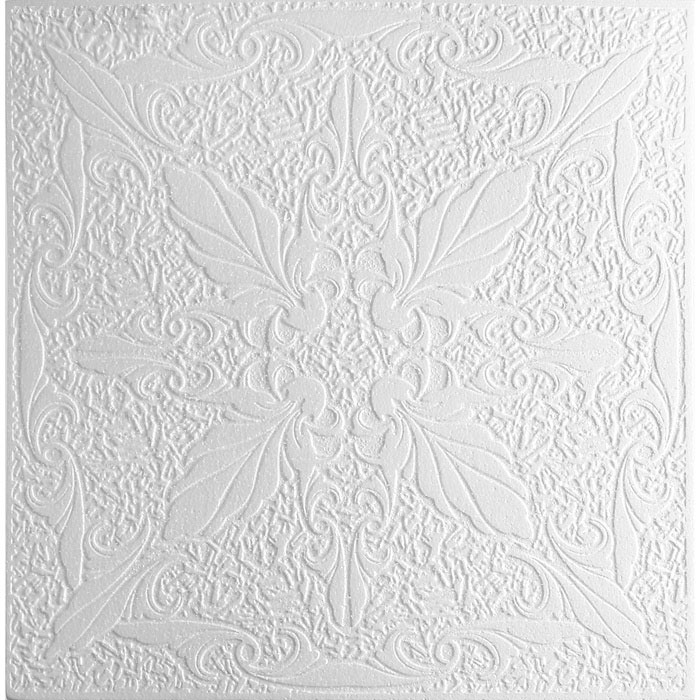
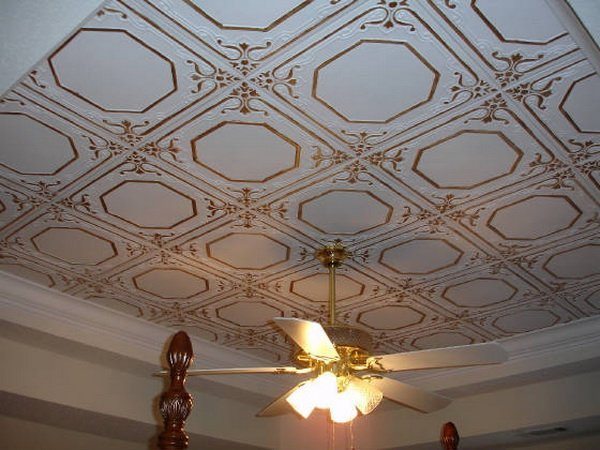
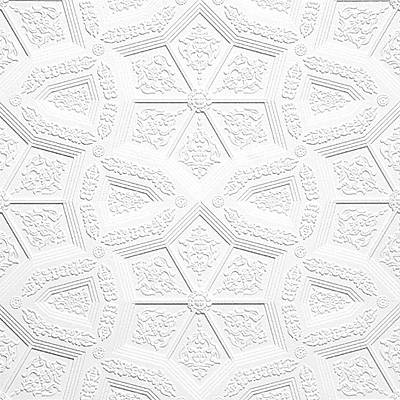
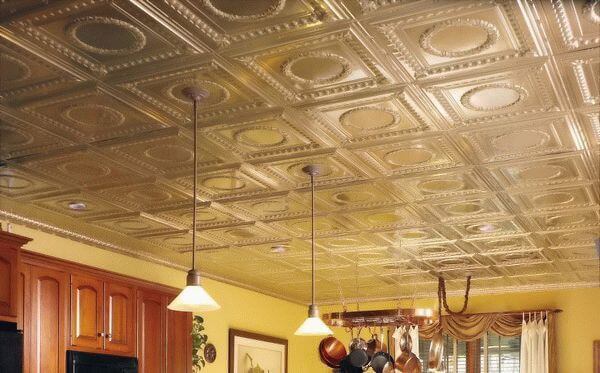
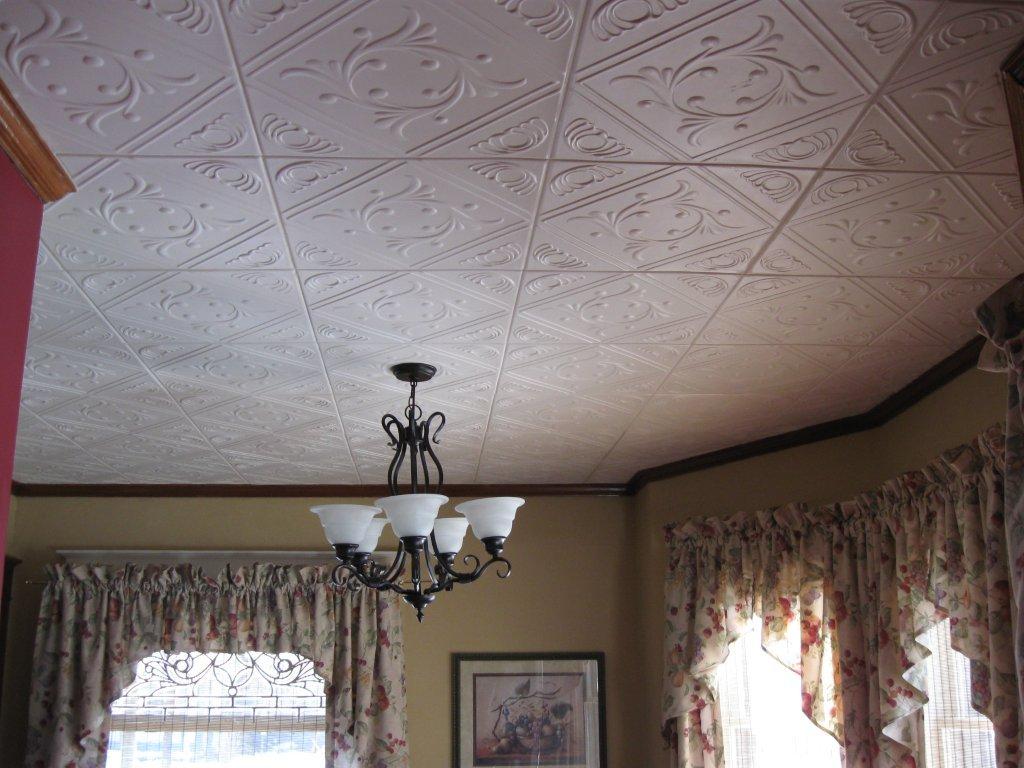
Injection models are produced using the technology of thermal interfacing of foam plastic, which consists in pouring liquid raw materials into a heated form, and in the subsequent roasting of the material under the action of steam.The thickness of the products reaches 14 mm, the plates are not painted, which is why they are only available in white.
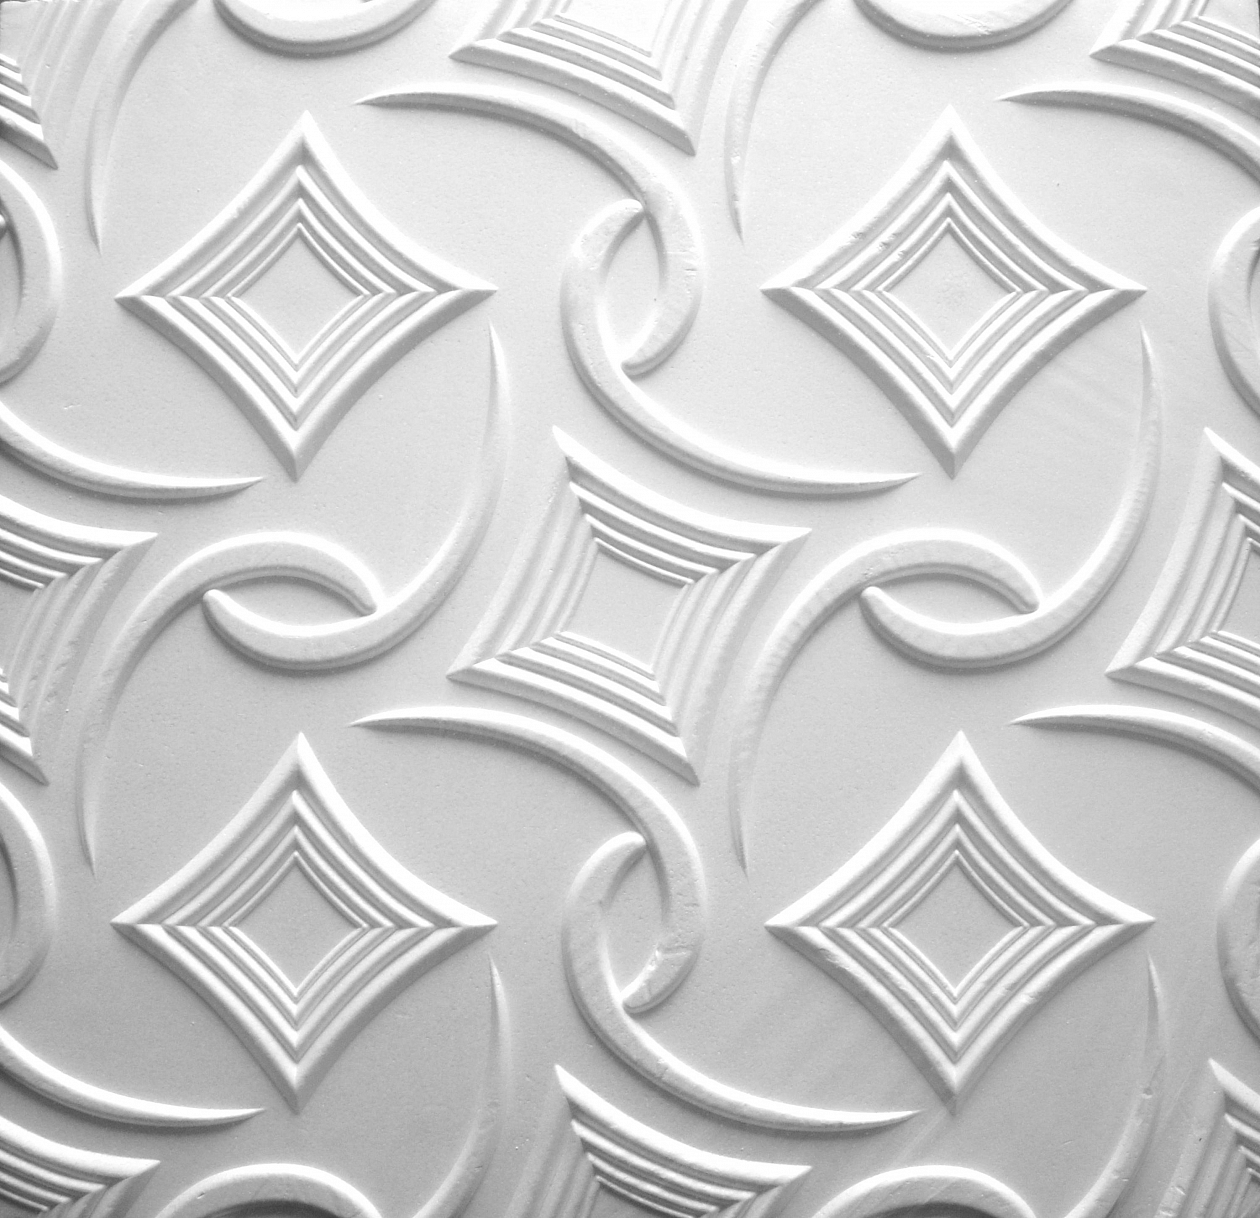
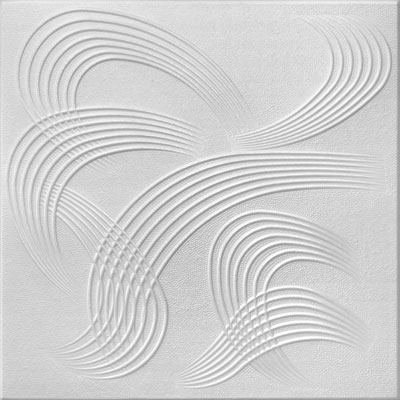
The material has a beautiful deep relief, smooth surface, and is a product with an optimal ratio of price and quality.
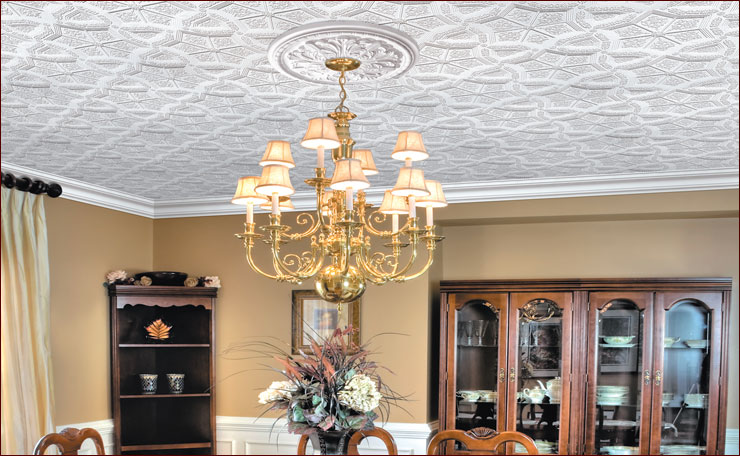
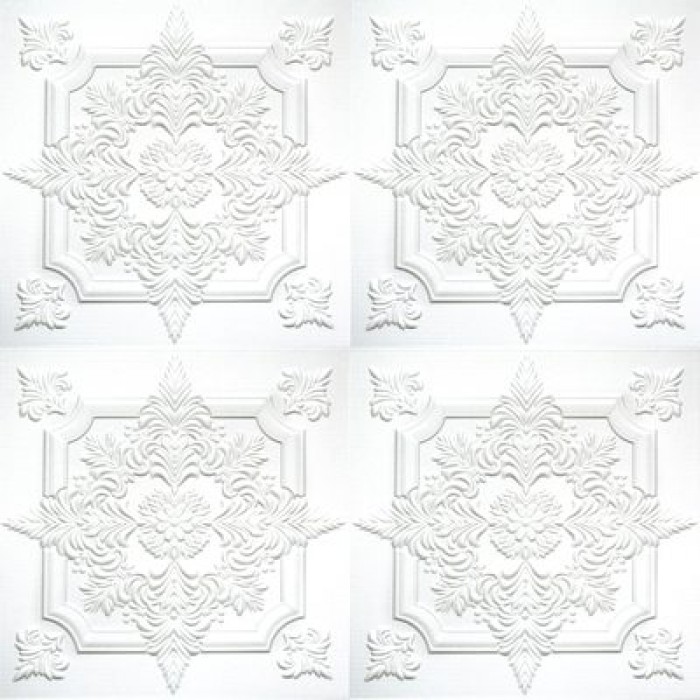
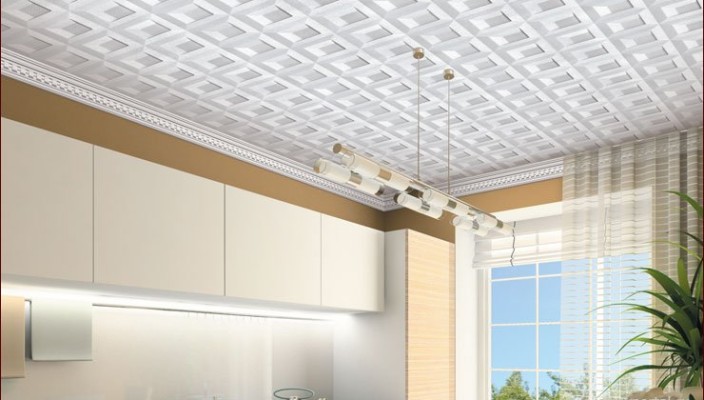
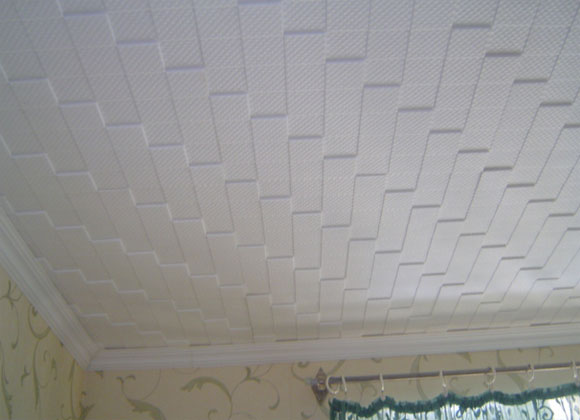
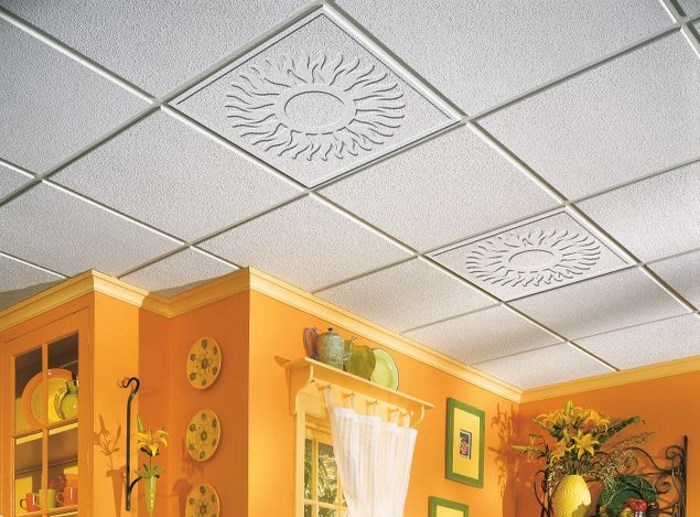
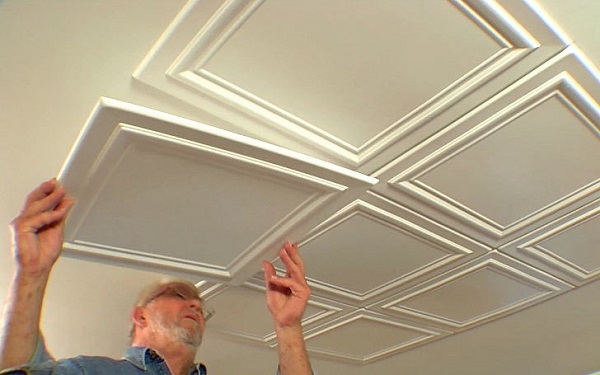
Extruded models are made using the technique of extrusion of polystyrene masses, at which vacuum formation of the foamed substance occurs. Then a film coating is applied to the workpiece. The tiles have a smooth shiny surface, as well as a large model range with a huge variety of embossed design and ornament. The PVC film applied to the tile perfectly imitates the pattern of wood fibers, natural stone, fabric, stucco molding and wood carving.
The disadvantage of this model is too noticeable inter-tile seam, high cost, and also impossibility of coloring of plates in desirable color because of the laminated surface. The advantages include ease of maintenance, a large assortment of colors and textures, long service life and high material strength.
Also, models are not prone to the appearance of yellowness and are able to maintain their original appearance up to 10 years.
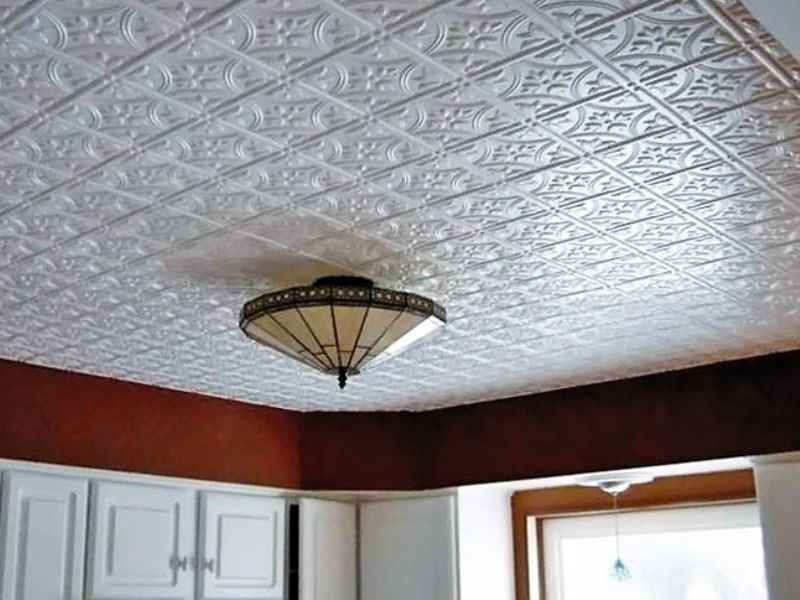
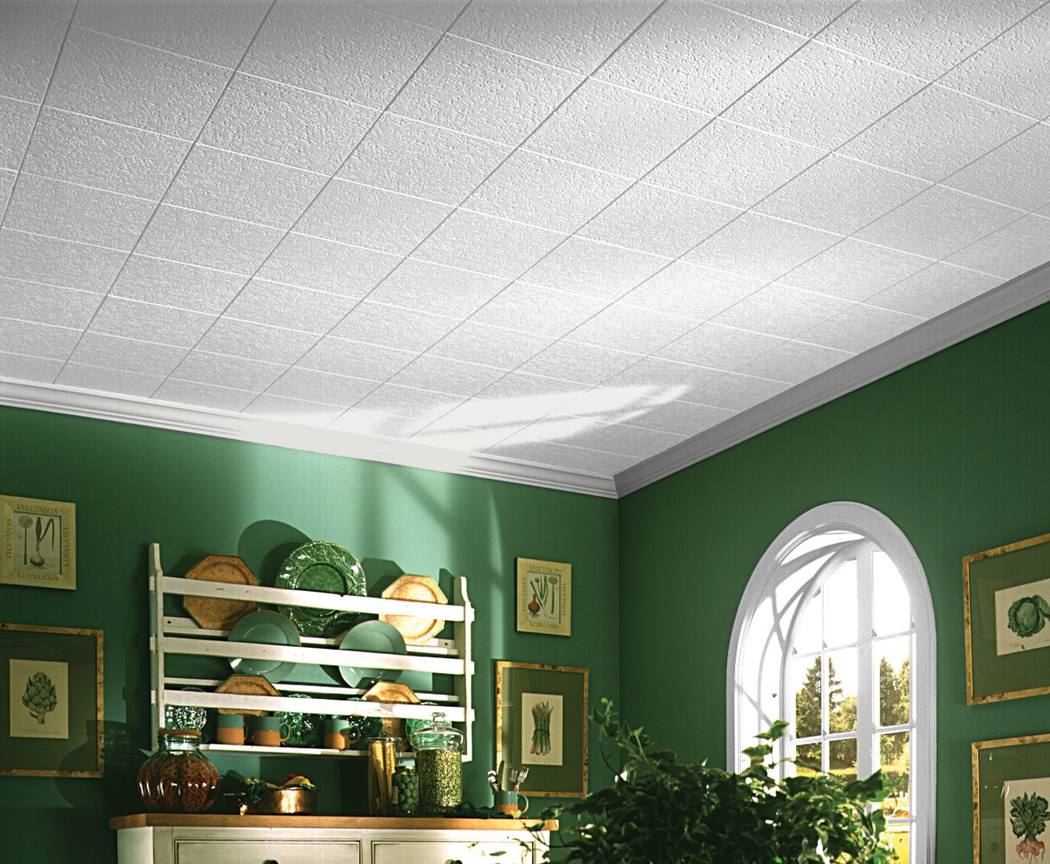
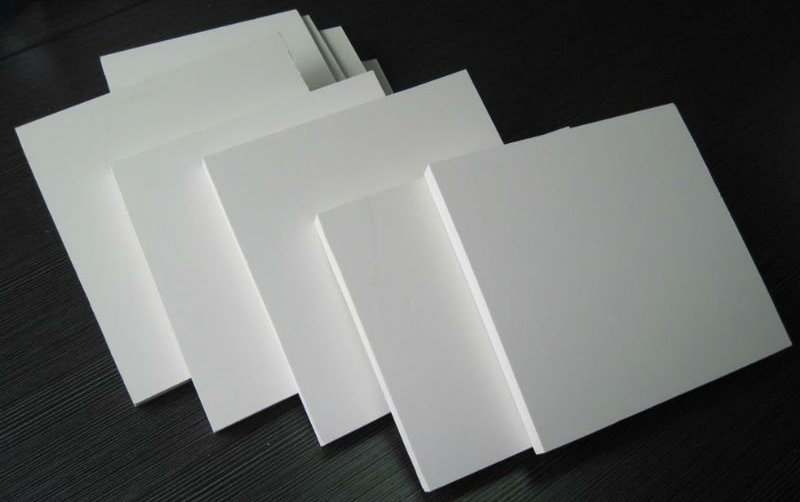
Stamped models are products with a thickness of 7–9 mm, they are characterized by flat surfaces and elastic edges, due to which the interlayer joints are almost invisible. The plates are made by stamping blanks of foam plastic, have a white color and a coarse texture.
Products can be painted in any color using water emulsion provided that this model does not have a protective film applied to certain types of stamped products. The disadvantages include low strength and the presence of casting scars and flash, which require careful trimming before installation.
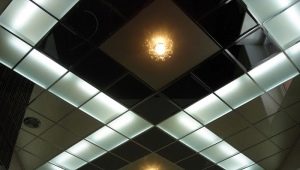
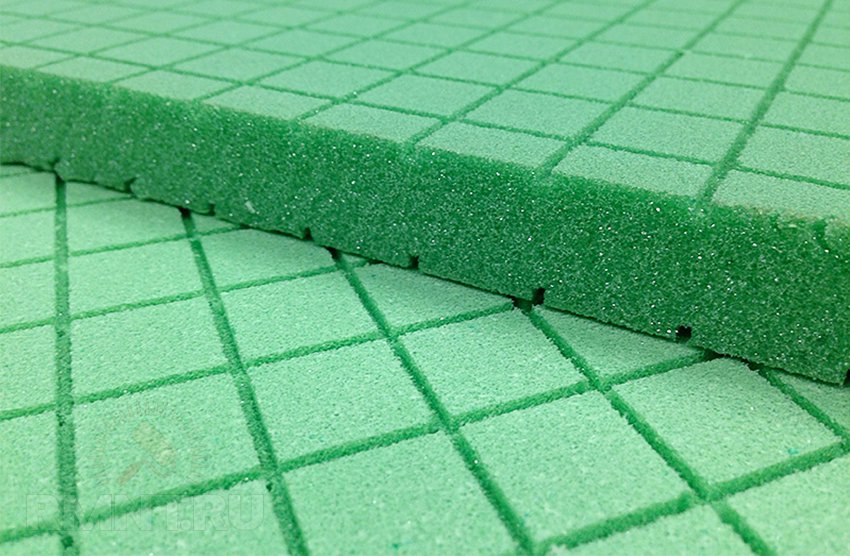
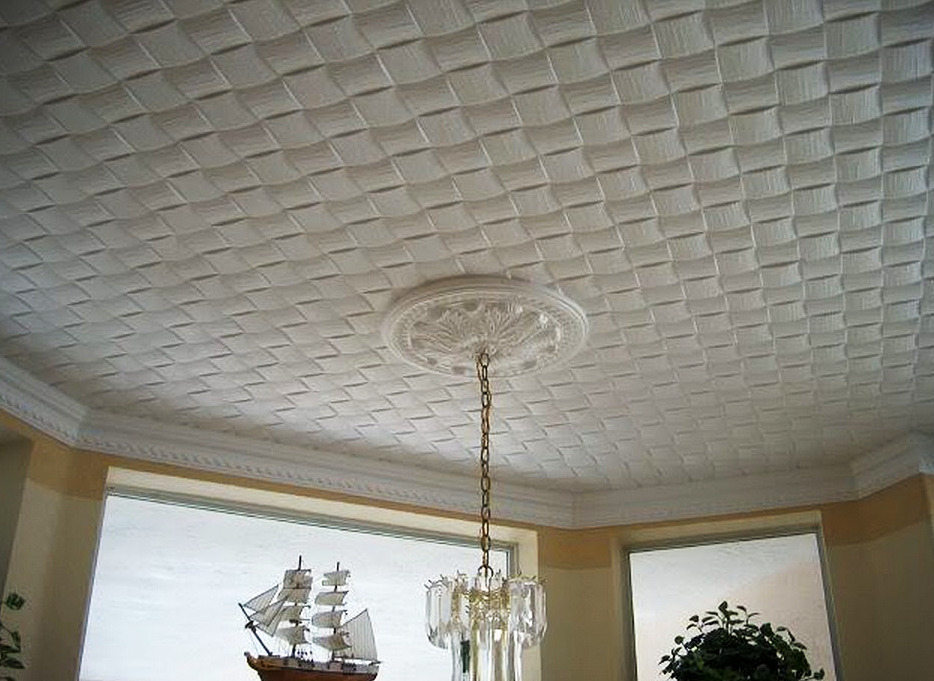
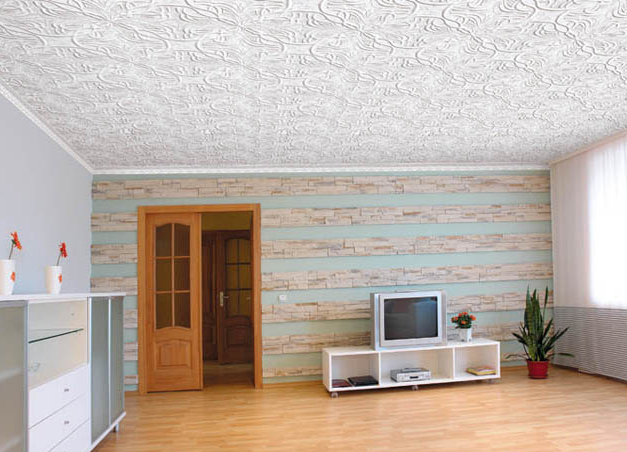
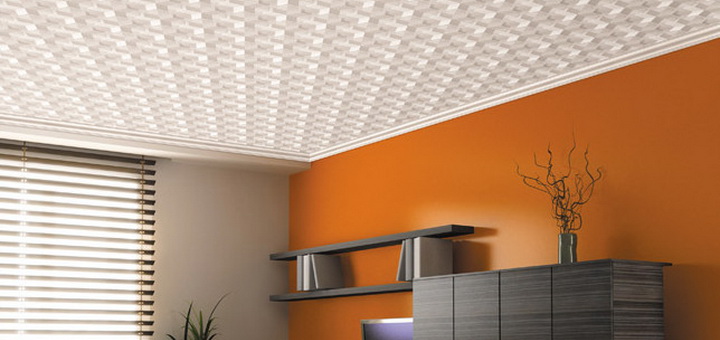
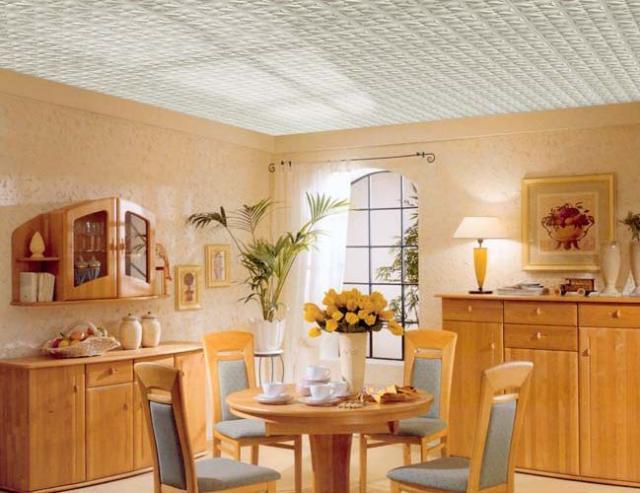
Different products and surface structure. The front side of the plates can be smooth, embossed, seamless, mirror or laminated.
Mirror models visually increase the room and “raise” the ceiling, seamless - create a perfectly even, uniform surface, and laminated samples are perfect for finishing the ceiling in rooms with high humidity: kitchens, bathrooms and bathrooms.

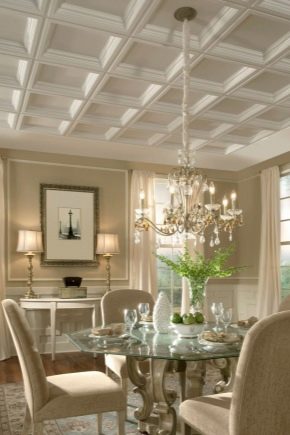
Size and shape
The most common are square products with a side of 50 cm.The advantage of such models is the ease in calculating the required number of plates and simple installation, which does not require special skills of finishing work.
The edge of the plates can be straight and beveled (at a 45 degree angle) version. The weight of one square meter of foam plastic tile is about 400 grams.

The sizes of models with a side of 25 and 30 cm are considered less common.. Rectangular, diamond-shaped, pentagonal and hexagonal products look much more impressive, but to mount them is a bit more complicated: the formed geometric pattern requires a precise fit of all elements. Otherwise, the pattern will look asymmetrical, lose its attractiveness and lose the correctness of the forms.
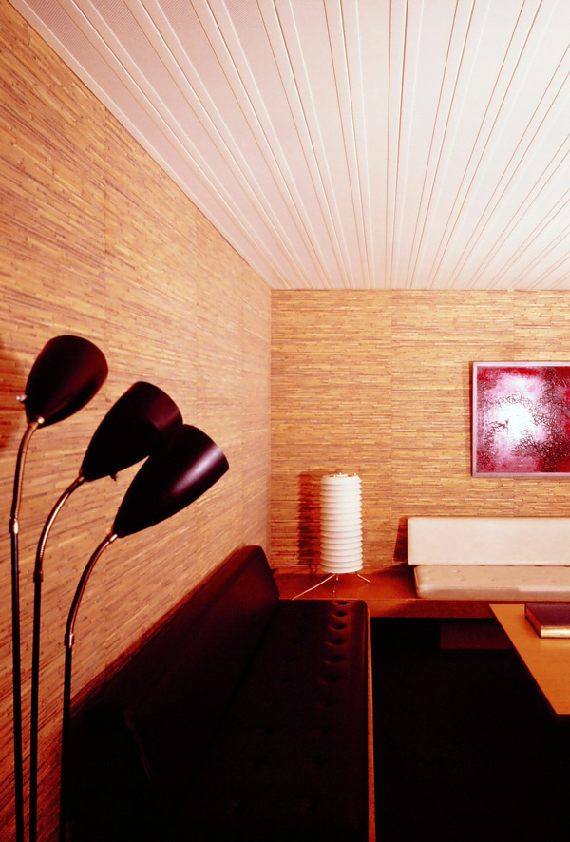
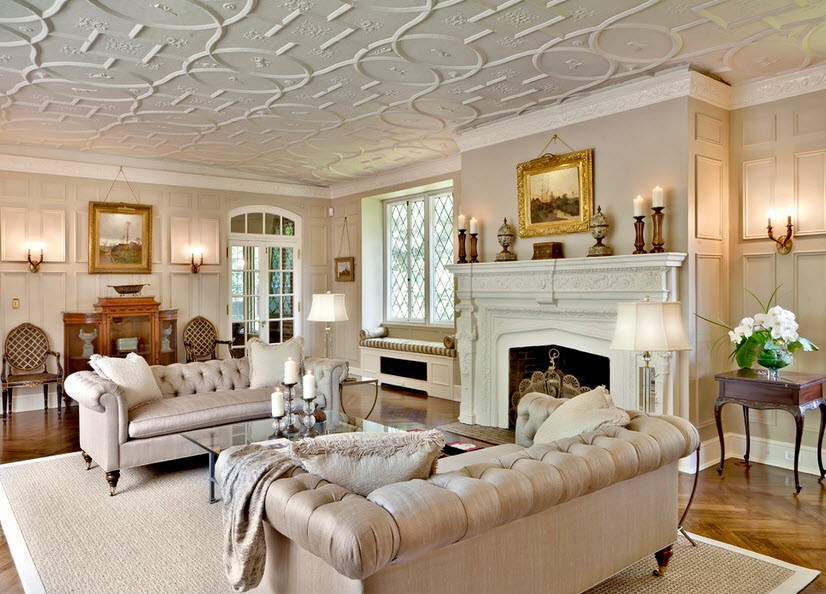
The model imitating lining is very popular, it very accurately conveys the wood texture and shape of the panels.
Advantages and disadvantages
The popularity of foam models is due to a number of undeniable advantages of this material:
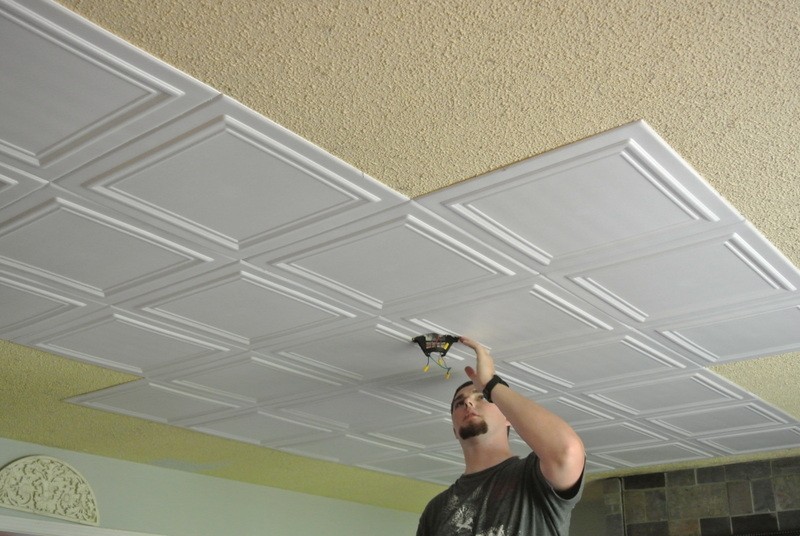
- Easy installation. To finish the ceiling tiles under the force of any person, not even having the experience of finishing works. The large size of the products allows you to quickly paste over the surface and significantly reduce the total duration of the repair.
- High heat resistance and moisture resistance make it possible to use the material in kitchens and bathrooms. When placing a tile in a container with water, the material absorbs only 2% of moisture per day relative to its weight. It is allowed to install the tile near the pipes of heating and hot water supply. The only condition is to ban the use of material near sources of open flame.
- Excellent sound and heat insulation properties material will minimize heat loss through the ceiling, protect from extraneous noise. In terms of its sound-absorbing characteristics, foam plastic is significantly superior to brick, concrete and wood.
- Low weight allows you to use glue that does not have a high strength index, which significantly saves costs.
- The foam has good resistance to salt, cement, lime, alkaline, acid and gypsum solutions, as well as silicone oils, alcohol and water-soluble paints.
- Environmental Safety foam is confirmed by the toxicity index, which corresponds to a value of 0.027 mg / m³, which does not exceed the maximum permissible values established by the Rospotrebnadzor.
- Wide color range and a variety of textures.
The material has some drawbacks:
- The seams and air cavities formed during installation between the surface of the slab and the ceiling are a favorable habitat for cockroaches and ants.
- The foam does not tolerate any organic solvent, for example, gasoline, kerosene or acetone, and has low resistance to the action of nitro-enamels and oil paints.
- The material is not among the premium class finishes, so the ceiling, pasted over with foam, will look somewhat rustic. But for a quick and inexpensive repair material is quite suitable.
- The most budgetary models are prone to the appearance of yellow spots and loss of appearance under the influence of dampness. To prevent such trouble, it is recommended to immediately paste the glued tile with any water-based paint.
- Attention should be paid to the poor vapor permeability of the material. If the walls in the room are well ventilated, such a ceiling will not significantly affect the overall humidity of the room. If the walls are covered with vinyl wallpaper or covered with another material that is badly breathable,This combination with a foam ceiling can cause mold and mildew in the room.
- Due to the presence of some models of styrene and ethylbenzene, it is better not to use stamping and injection modifications in bedrooms and children’s rooms.
The safest is extruded polyvinyl chloride foam, which can be used in all types of premises.
- The tendency to melt arising from closely located incandescent lamps, obliges to place the lamps at a distance of at least 20 cm from the surface of the plates.
Tips for choosing
Before you start buying ceiling tiles, you need to accurately calculate the required amount of material that will be needed to finish the room. If you plan to purchase squares with a side length of 50 cm, then for the calculation you need to multiply the area of the room by 4. The resulting number will mean the number of slabs that is necessary for decoration. To this value should be added 15%. This is necessary in order to ensure a supply of material, part of which will be cut off during assembly or accidentally damaged. When calculating the number of products in the form of rhombuses and honeycombs, the ceiling should be drawn on a convenient scale, and the layout of all elements should be marked on the drawing.
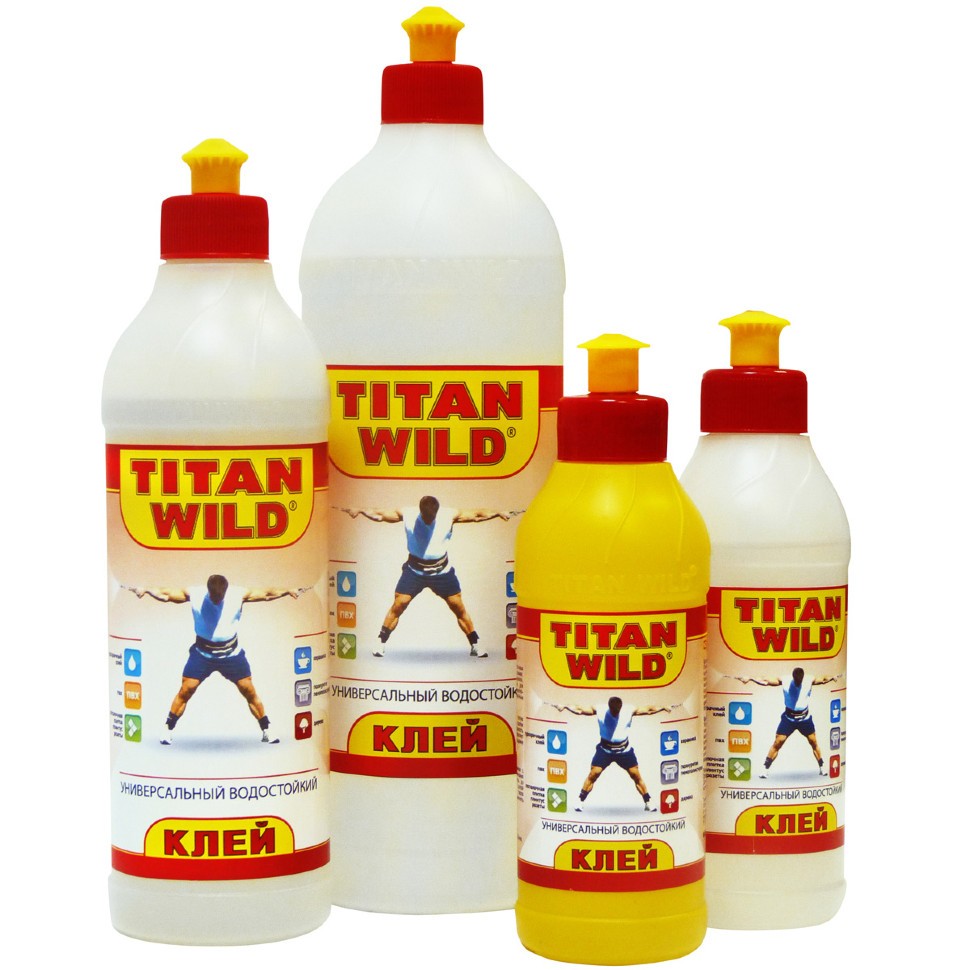
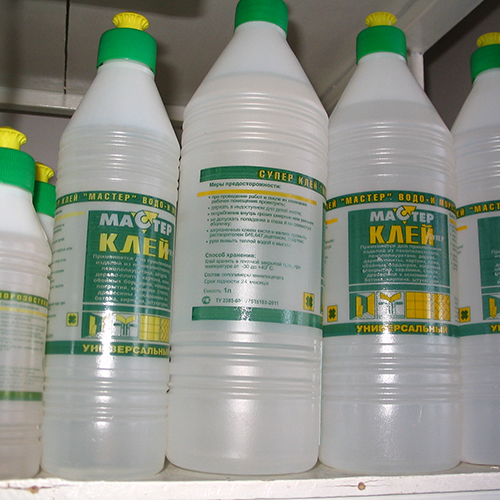
Among the tile adhesives, the Titan has proven itself well.. It has high strength and good adhesion. Affordable Dragon, Eltitans and Power compositions They can also be used to install polystyrene, however, these tools have a long setting period, which requires that the board is pressed tightly and held in that position for some time. PVA glue eventually turns yellow and shrinks.
Subtleties of installation
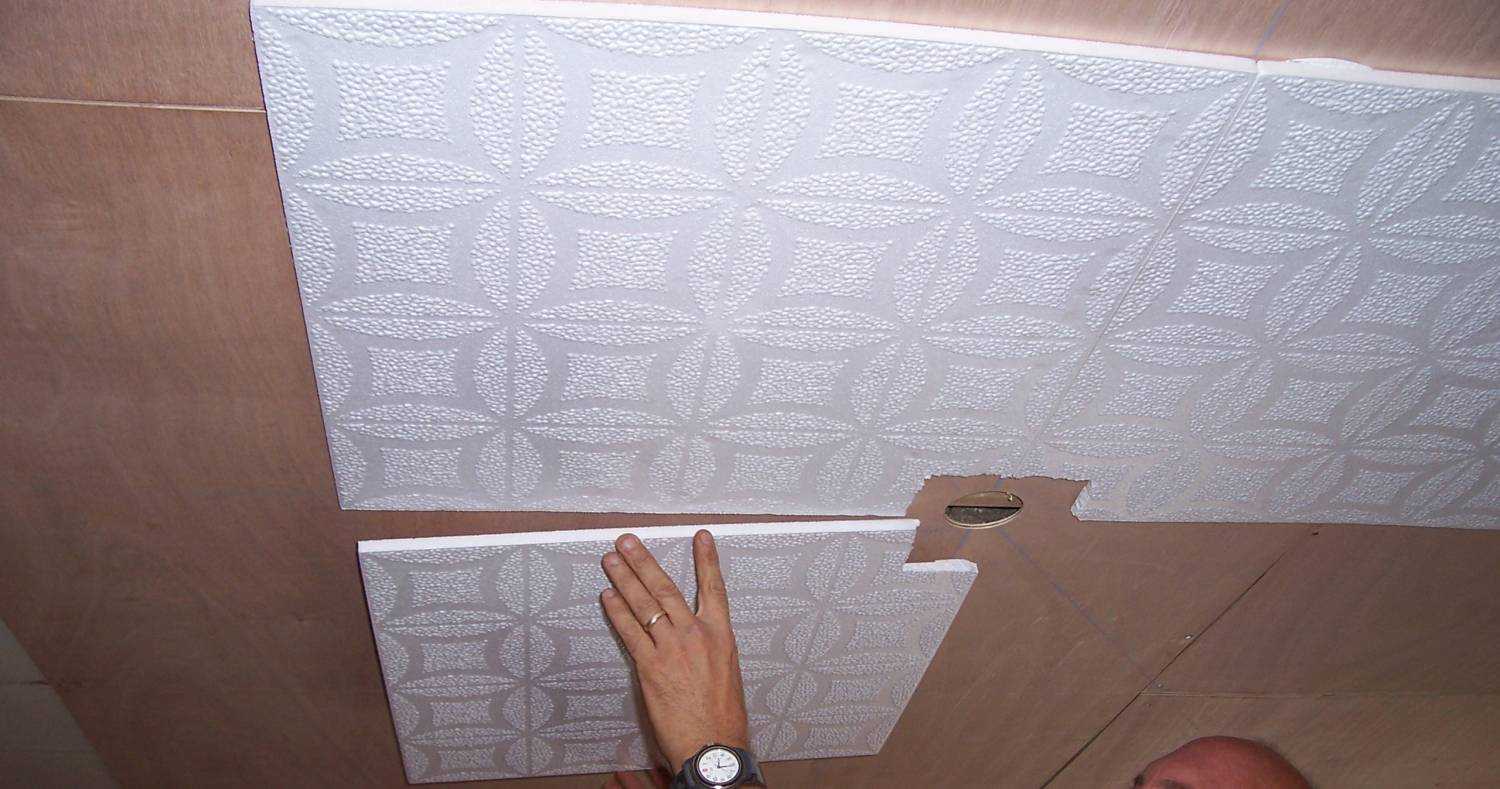
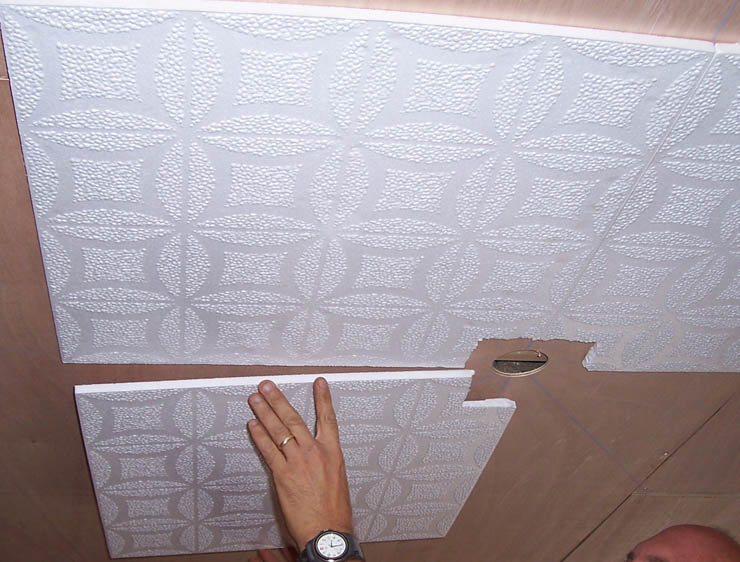
The first step should be a thorough preparation of the working surface. To do this, remove all protruding elements from the ceiling, level out large protrusions and irregularities with the help of a grinder, and remove deep chips and cracks. Then you need to prime the surface and wait until it is completely dry. The purchased tile should be freed from plastic packaging, let it lie down and finish it.. If there are burrs at the edges of the plates, they should be cut with a sharp knife.
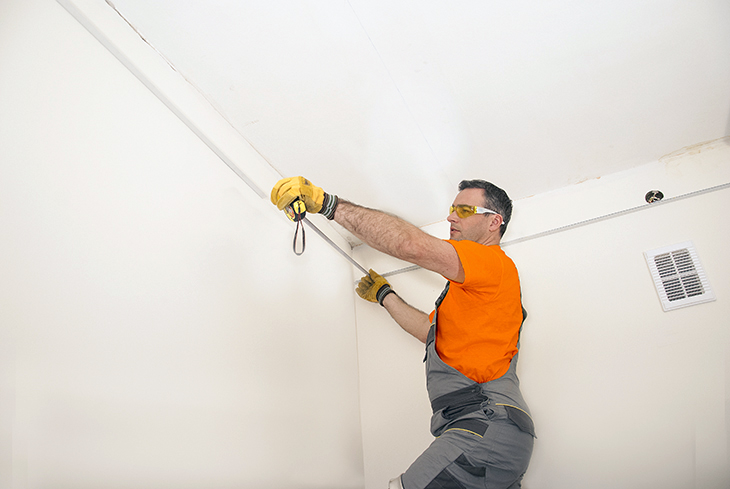
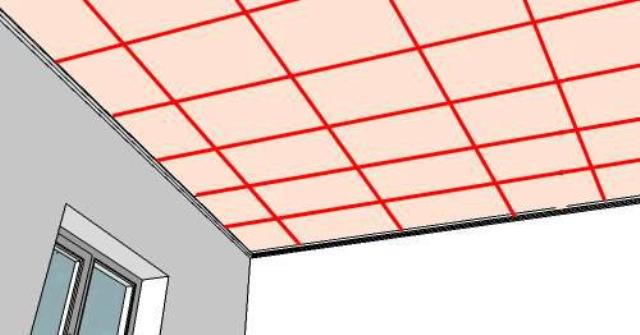
Then you can start marking the ceiling. To do this, you should hold from opposite corners of the diagonal and mark the place of their intersection. Then it is necessary to mark the middle on each wall, and to stretch between the opposite walls a thread connecting their centers, and always passing through the center of the room, noted earlier.Straight lines should be outlined along the stretched threads, which will serve as a guideline for the installation of plates.
After the preparatory work can proceed to the label, which can be carried out in the form of straight rows, rows with a shift or diagonally. You need to apply glue strips, the distance between which should be 2 cm.
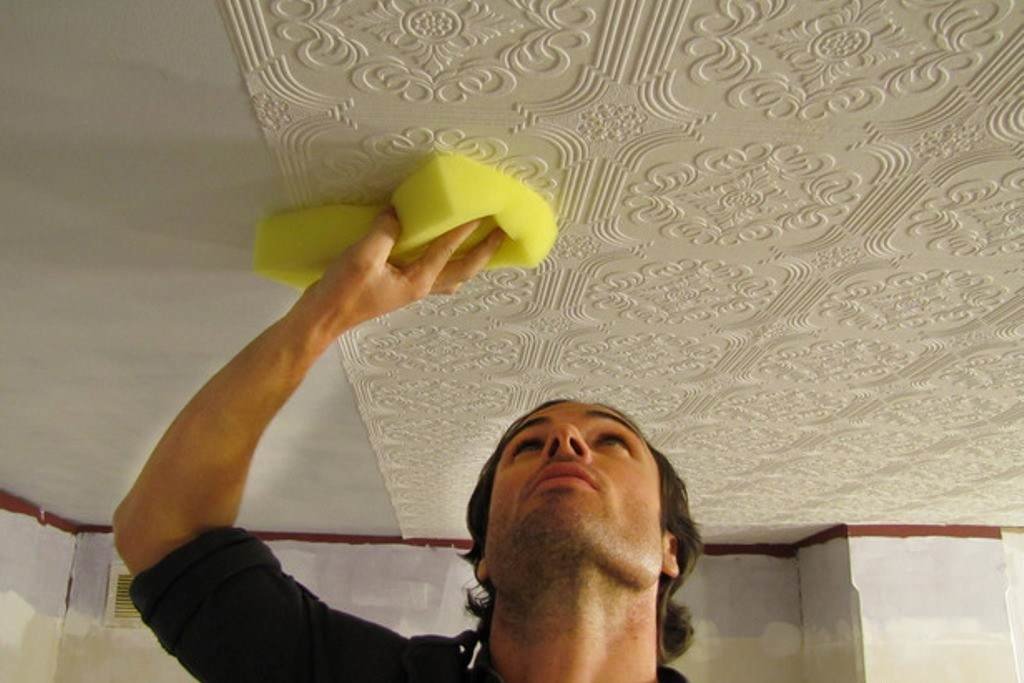
The tile is pressed tightly to the ceiling and held until the glue sets. Speaking of excess composition should be wiped off with a soft, dry cloth.. Installation should begin from the center, gradually moving along the delineated lines running parallel to the wall. Inter-tile joints are masked with an acrylic sealant.
It is possible to paint the ceiling a day after the completion of the work.
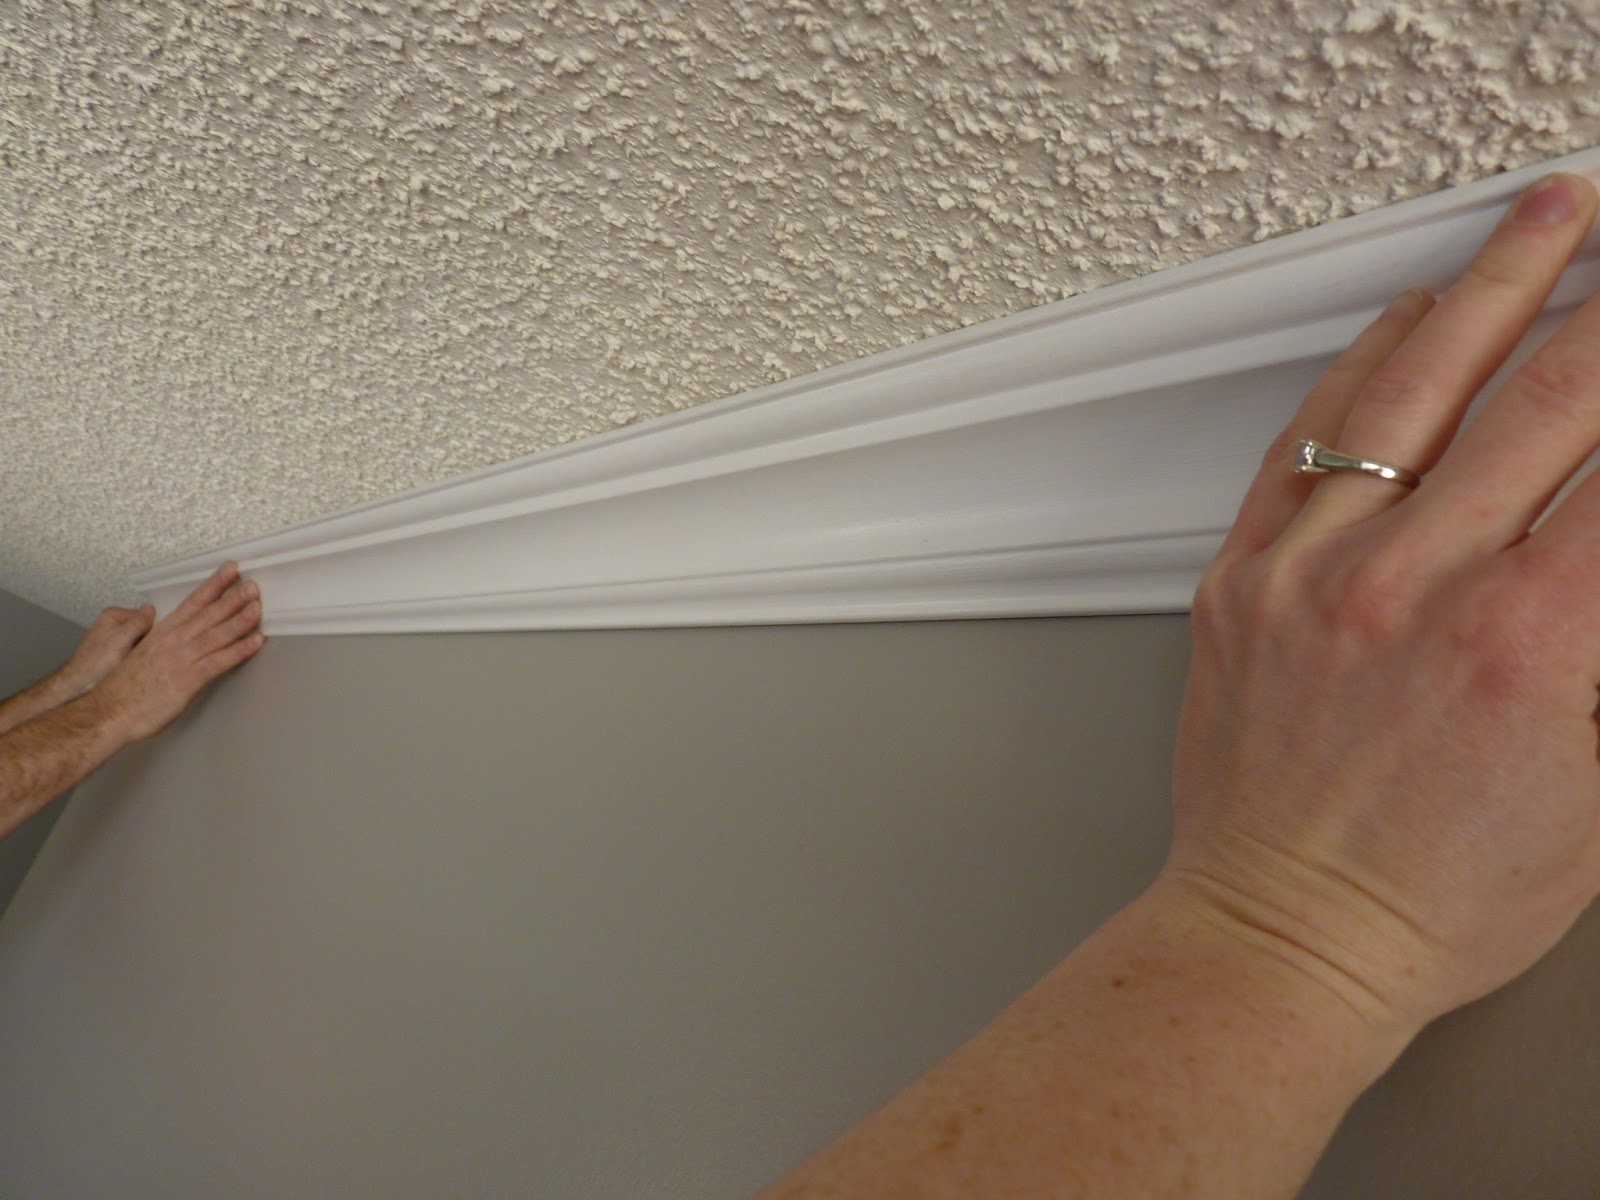
The final stage of installation is the installation of plinths. To facilitate the task of holding the long baseboard, waiting for the glue to set, it is recommended to fix it with small studs.which are driven in at a distance of half a meter from each other, and perfectly hold the material. After 24 hours, the cloves should be removed., and the remaining holes from them and connecting corners, cover with acrylic sealant.

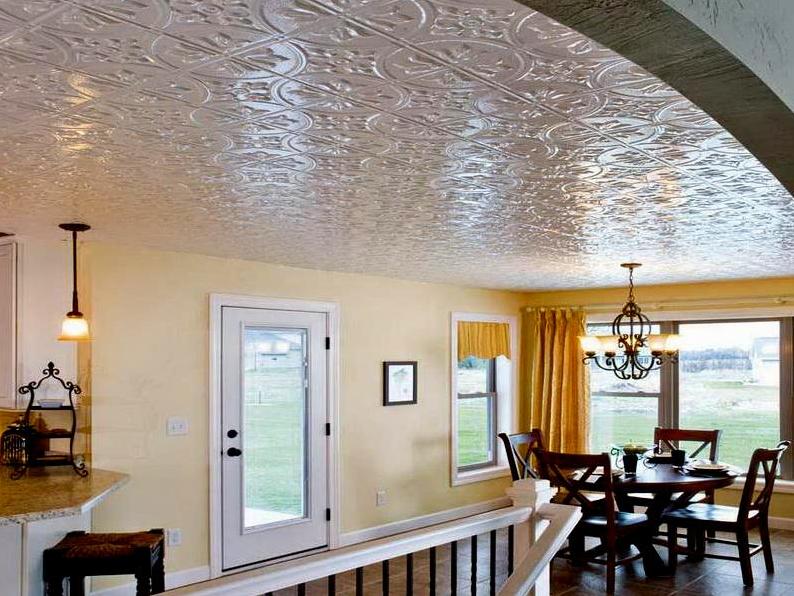
Finishing the ceiling with foam ceiling tiles is an excellent solution for both temporary finishing of new housing and creating a clean and neat ceiling cover when performing budget repairs.
How to quickly glue the ceiling tiles, see the following video.