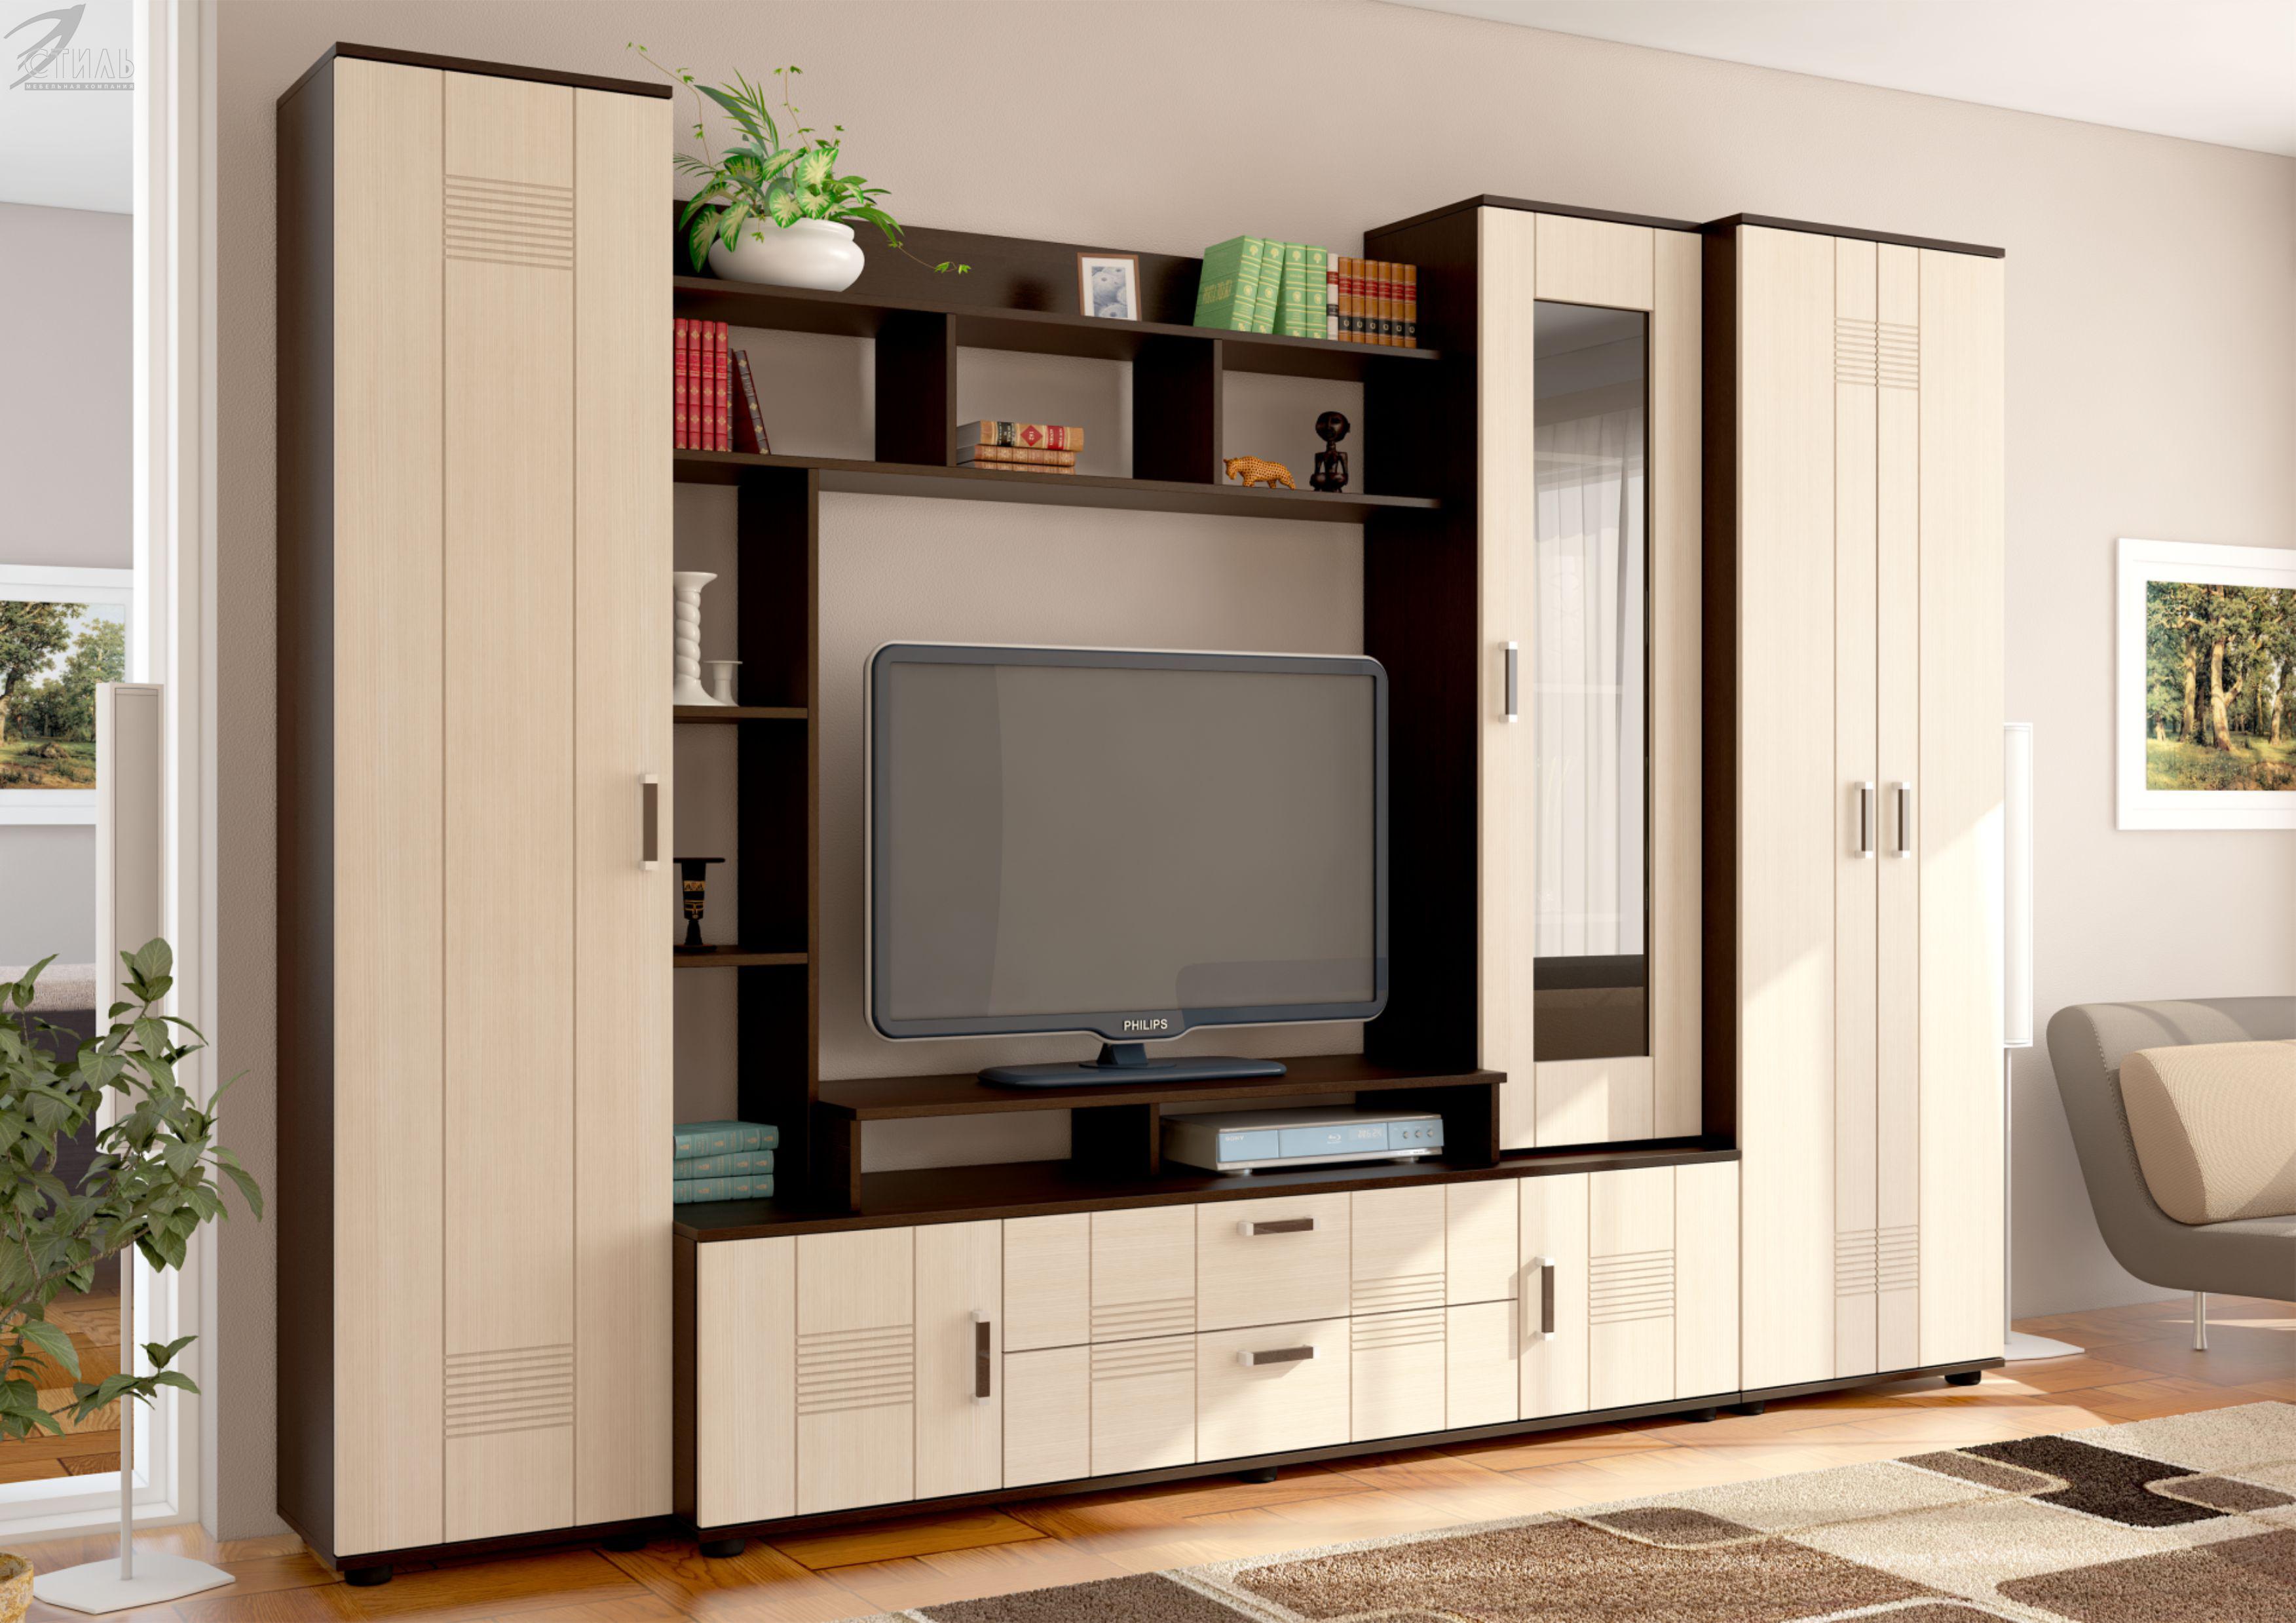
How to assemble a cabinet?
Services for the professional assembly of furniture today are available to everyone. However, many men want to do everything on their own, and not so much from saving as from interest. Detailed instructions on how to assemble a cabinet are very useful in this situation.
Furniture features
Before proceeding with the assembly, you need to know the features of the cabinet with which to work. By type of construction cabinet can be:
- Whole collection. It can be put anywhere. It has walls, a bottom, a back wall and a lid;
- Inline. It is placed in a niche. It may be missing walls, cover and floor. Their role is performed by the walls of the room;
- Partially embedded. He may not have a couple of parts, but not all. For example, a full-wall wardrobe, in which the floor and ceiling of the room play the role of the bottom and the lid.
By the type of doors are distinguished:
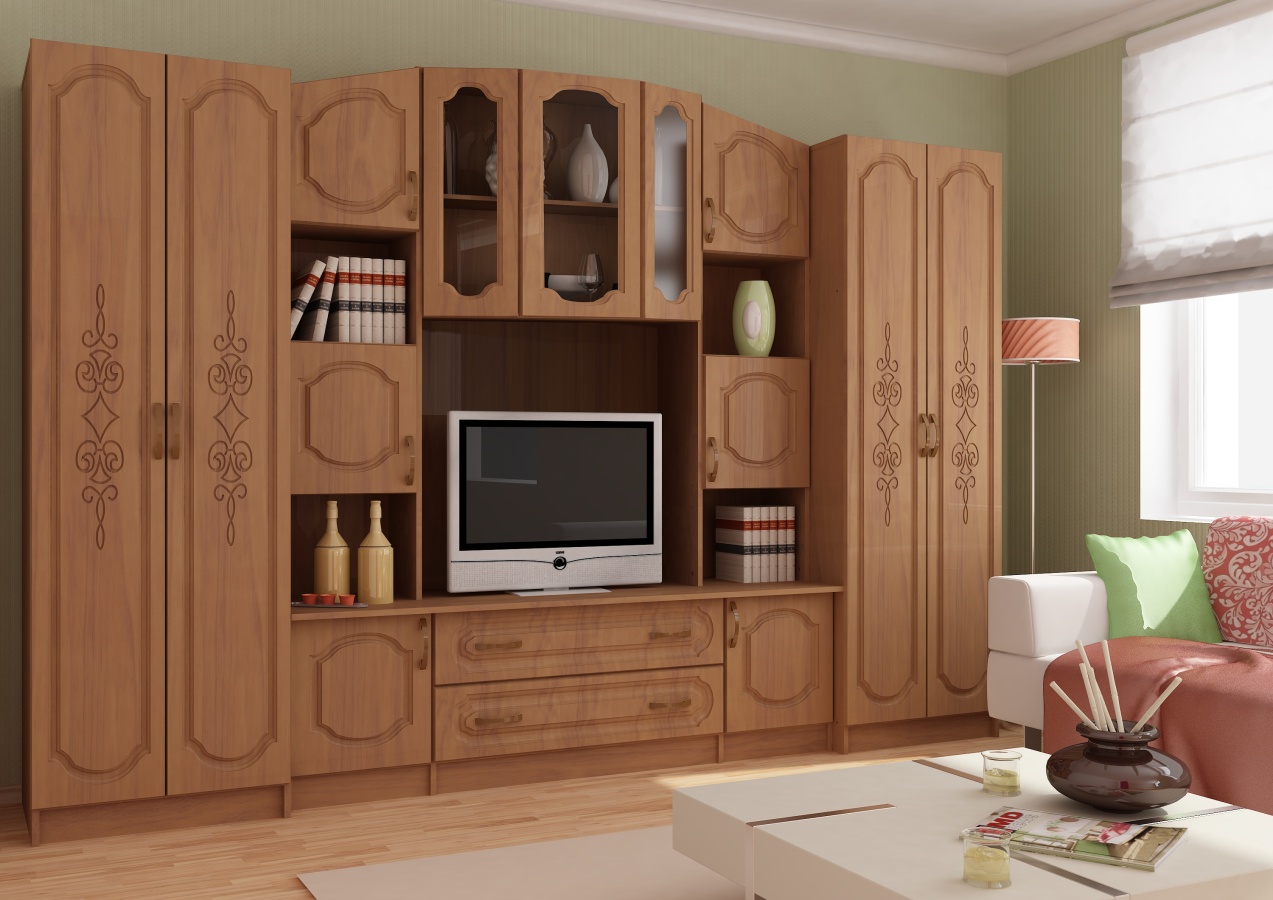
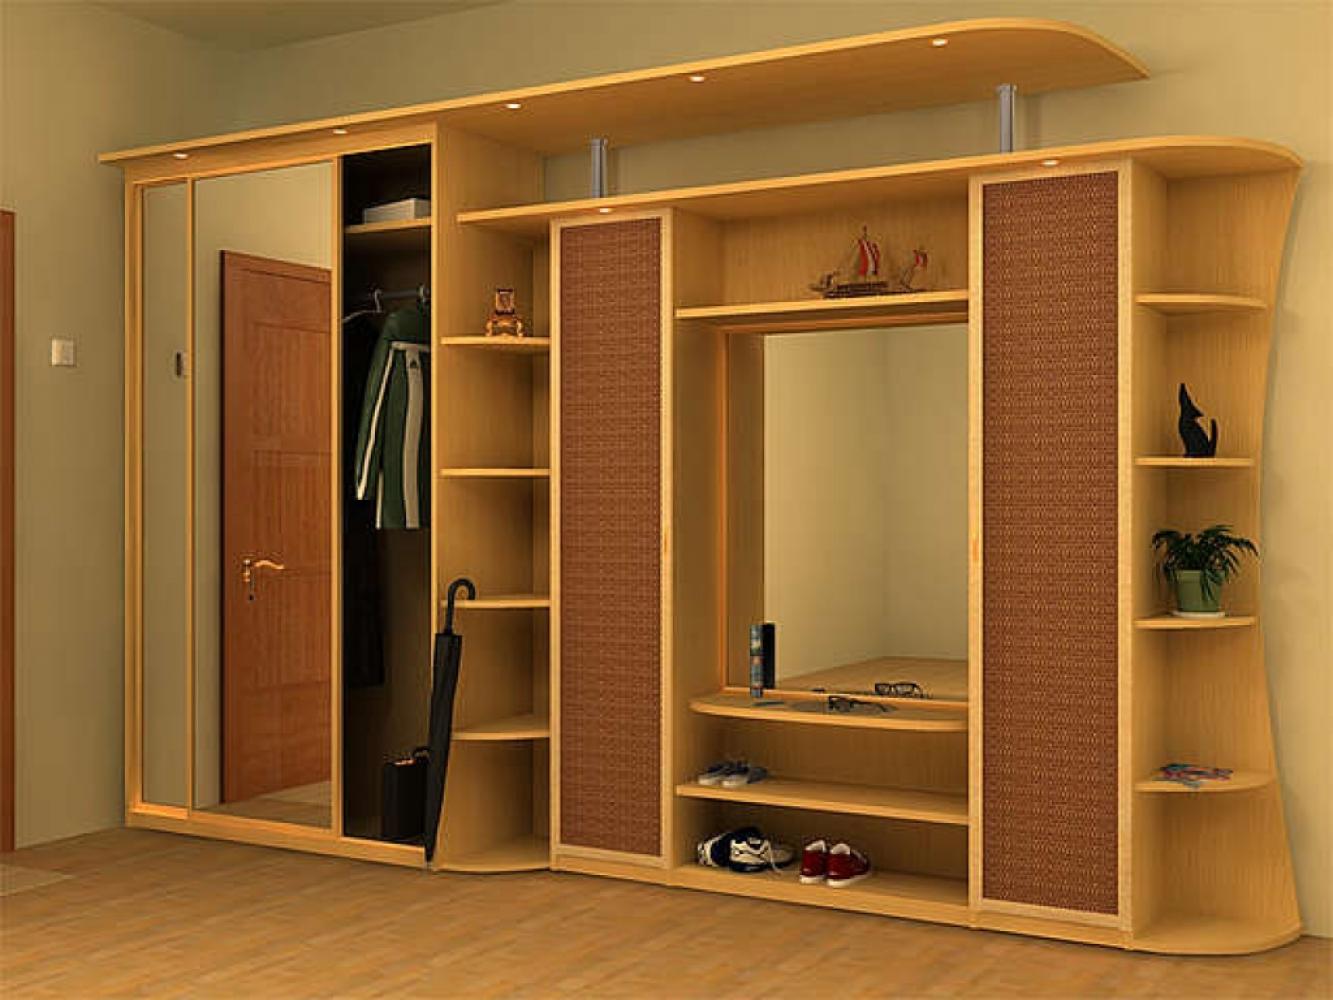
- traditional wardrobes;
- wardrobes;
- models with lifting doors;
- models with accordion doors;
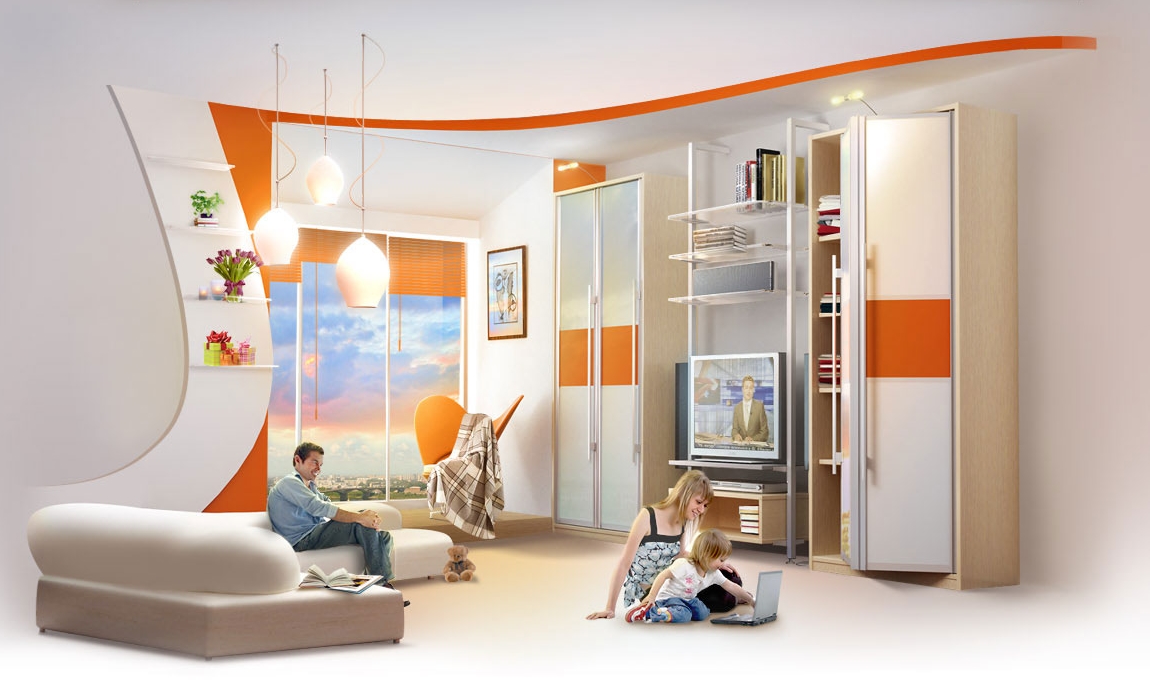
- wardrobes without doors.
In the form of distinguished:
- straight;
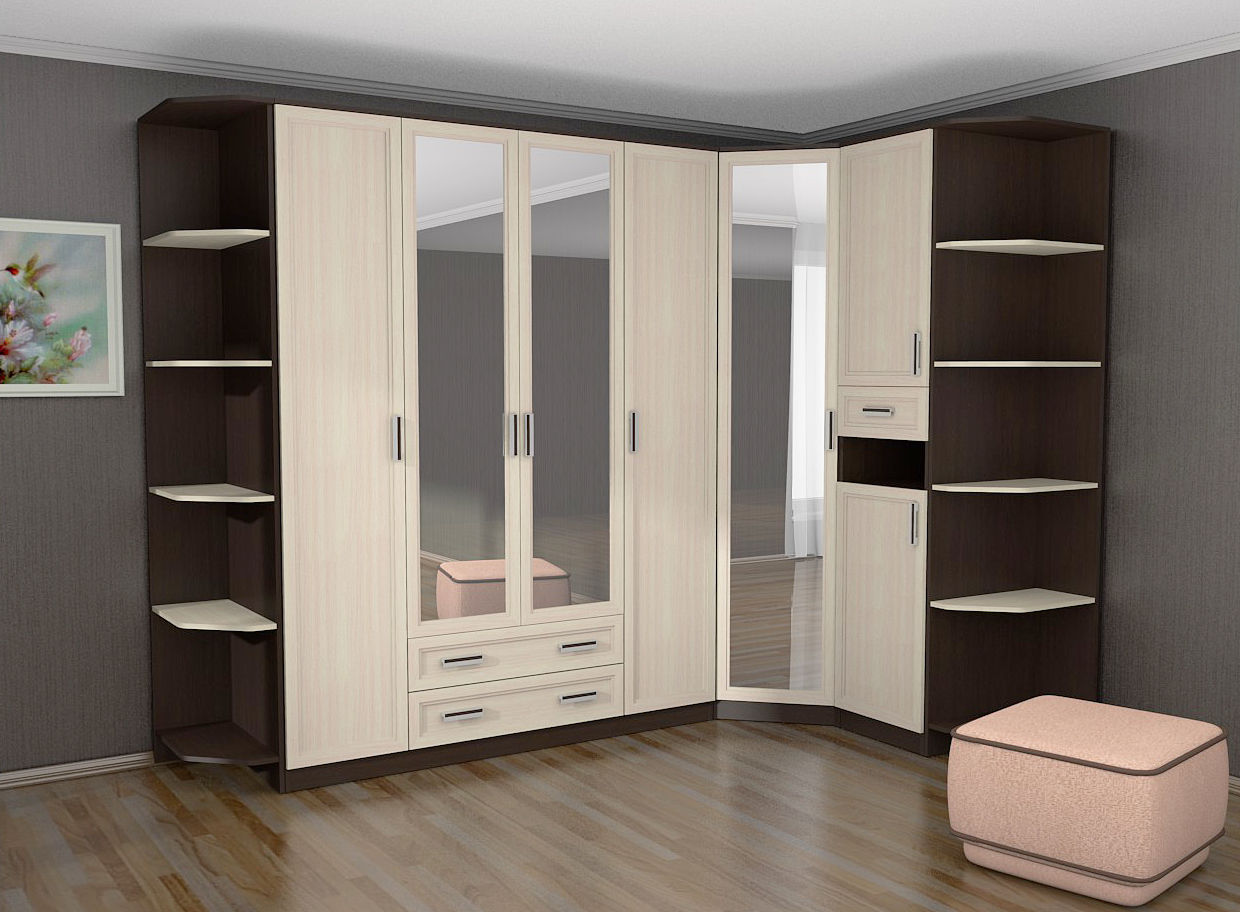
- corner;
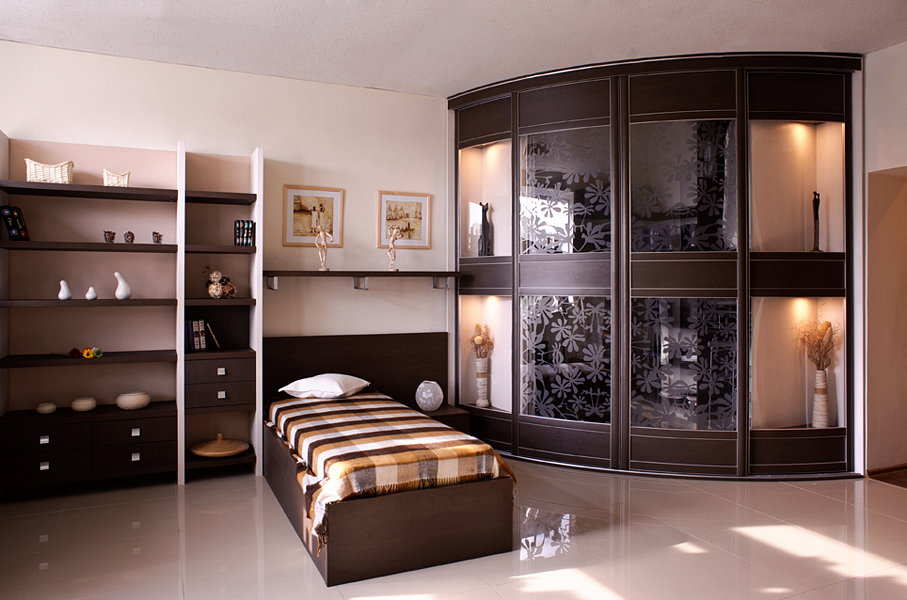
- radius cabinets.
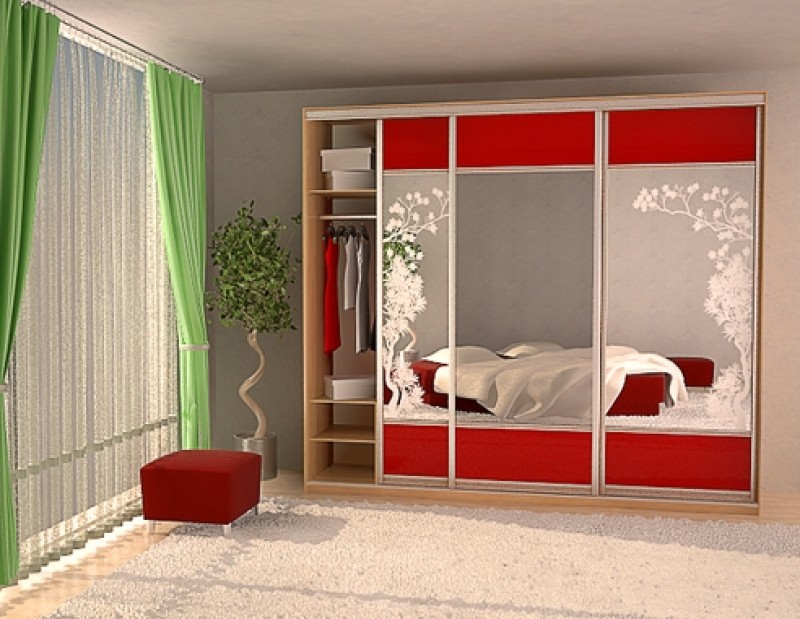
Your future cabinet can be standard, made to order or assembled from different modules. It can have glass inserts, mirrors or decorative panels. Each of these models will have its own assembly features that need to be considered.
Training
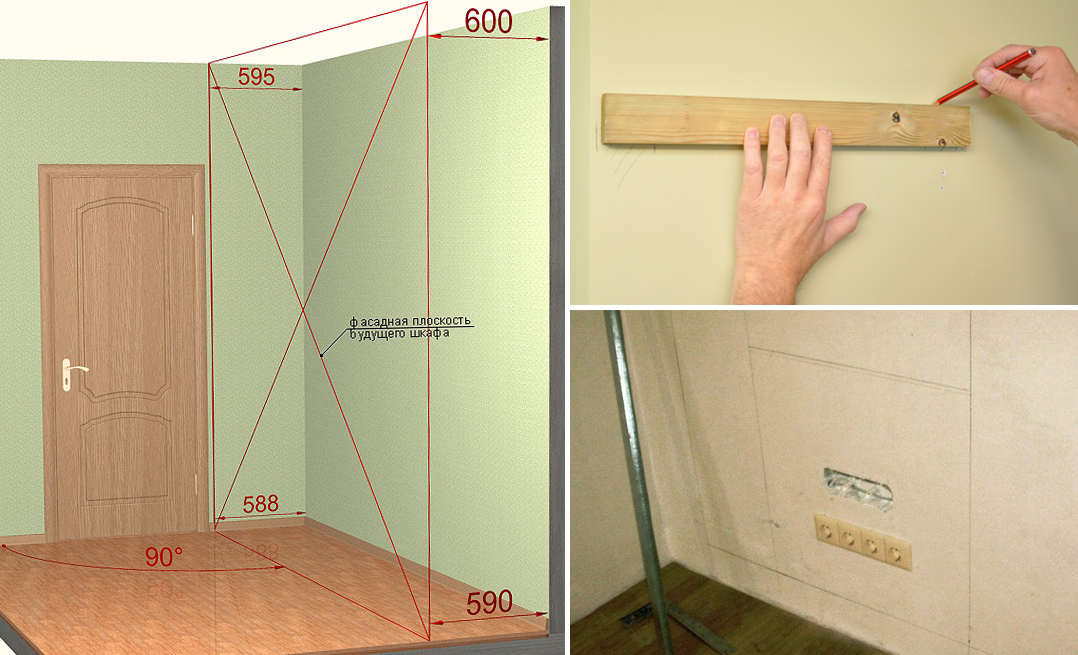
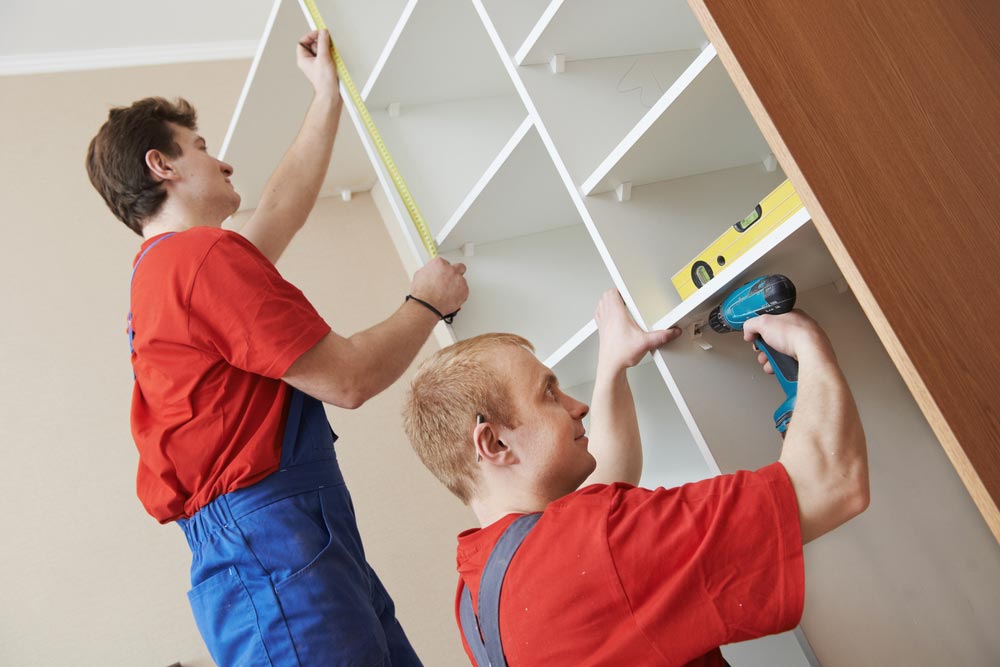
Before assembly, you must carefully inspect the installation location of the cabinet. With the help of the construction level, evaluate whether the floor and walls are even in this place. If possible, eliminate the drawbacks: the smoother the surfaces, the more secure the cabinet will fall into place.

Be sure to resolve the issue with the plinth. If your closet has rear skirting environments, that's fine. If not, either make it or remove the baseboard so that the furniture is exactly at the wall.
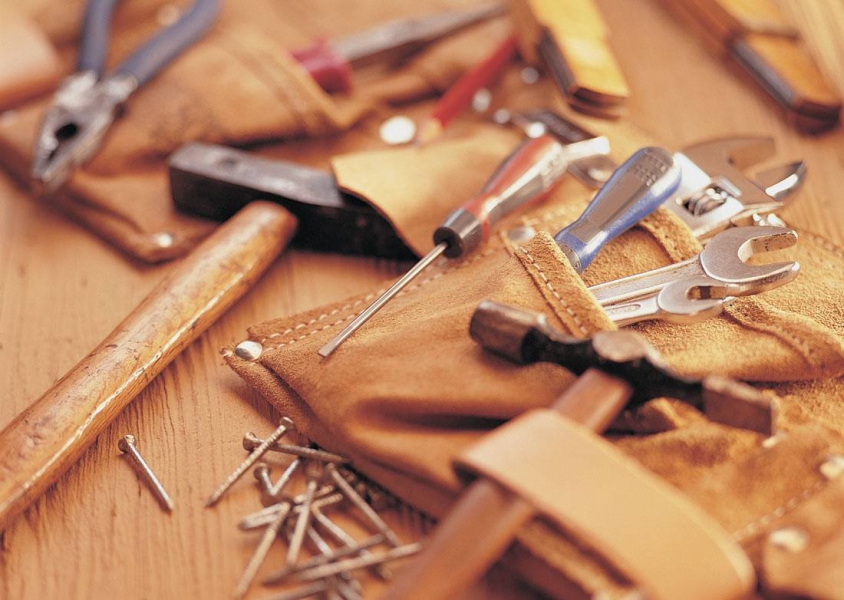
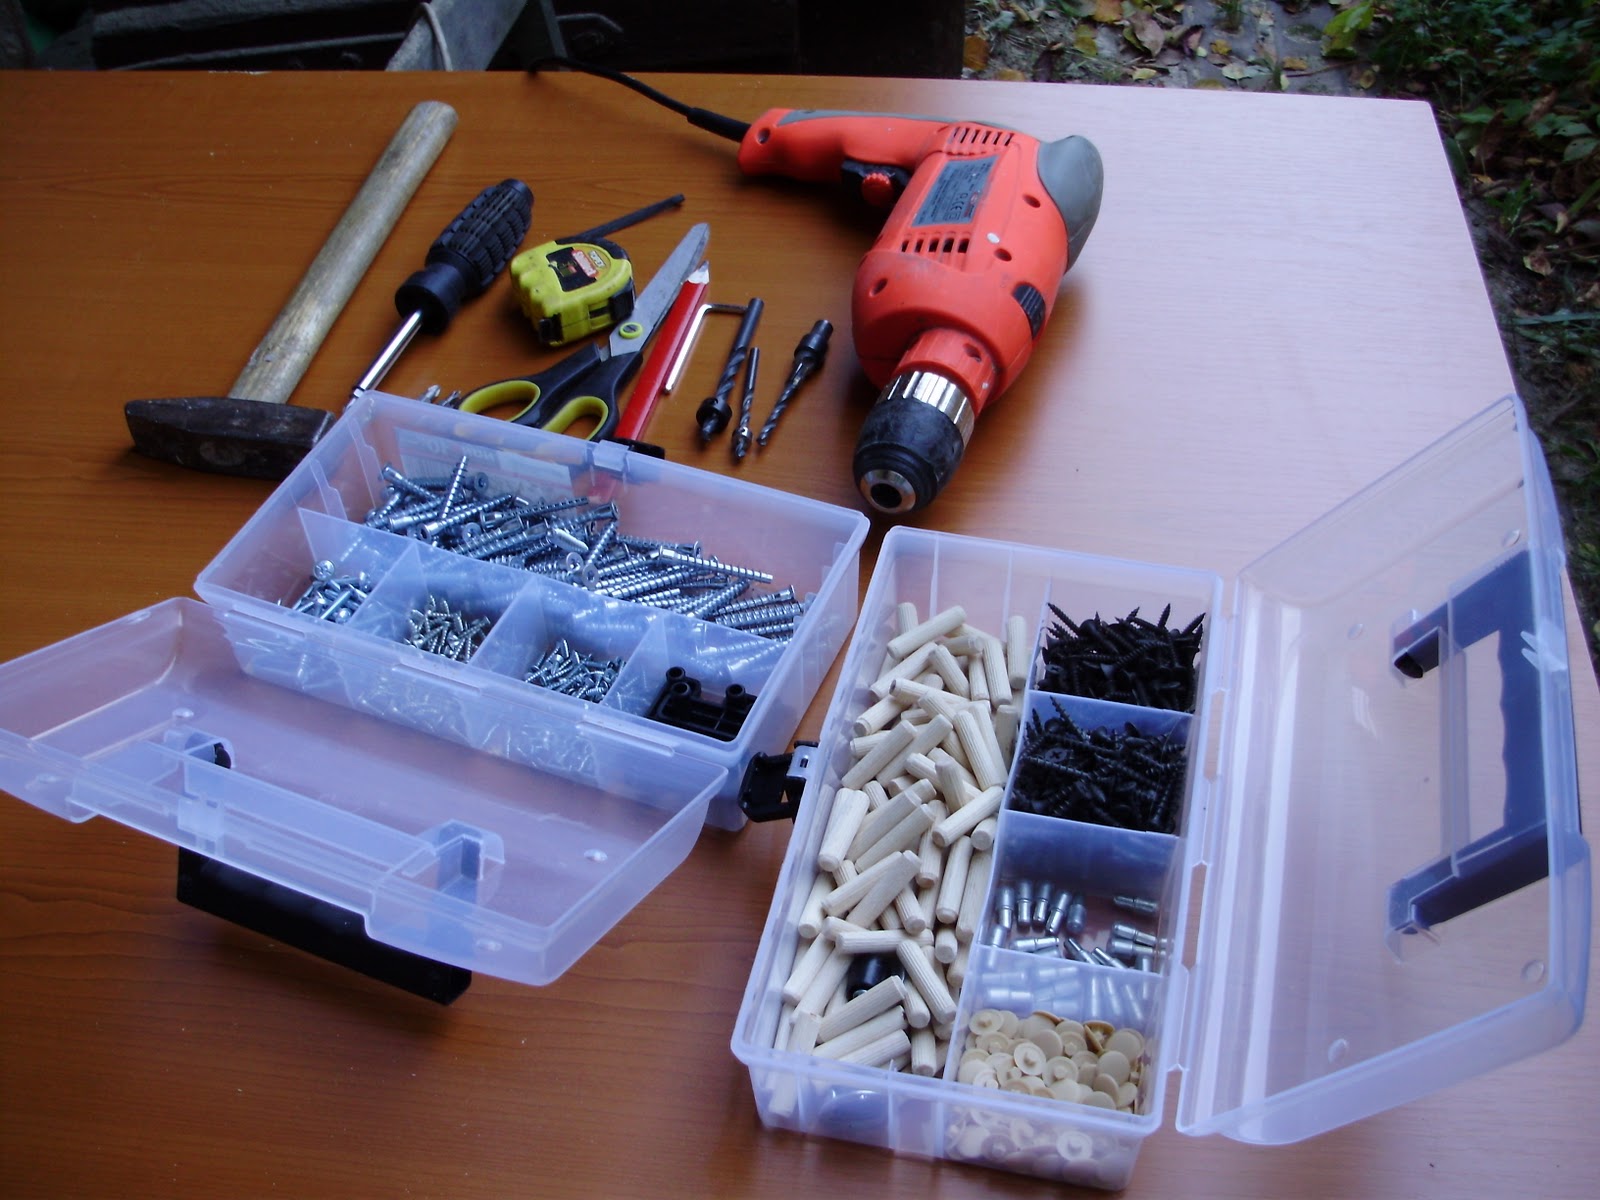
Prepare the necessary tools for assembly:
- Screwdriver, screwdrivers of different types;
- Perforator (may be needed for installation of built-in cabinets);
- Ruler, roulette, building level, "corner";
- Pencil or felt-tip pen;
- Hammer;
- Fasteners: nails, bolts, screws, dowels, plugs, etc. For fastening parts from furniture panels, confirmatories (euro screws) will be needed if furniture made of chipboard or chipboard - screws will be useful);
- For fastening a number of parts, you will need glue, and for mounting the finishing edge - an iron.
It is advisable to have on hand was the circuit assembly cabinet with a description of all the details. If you have a factory instruction, read it carefully.
General work sequence
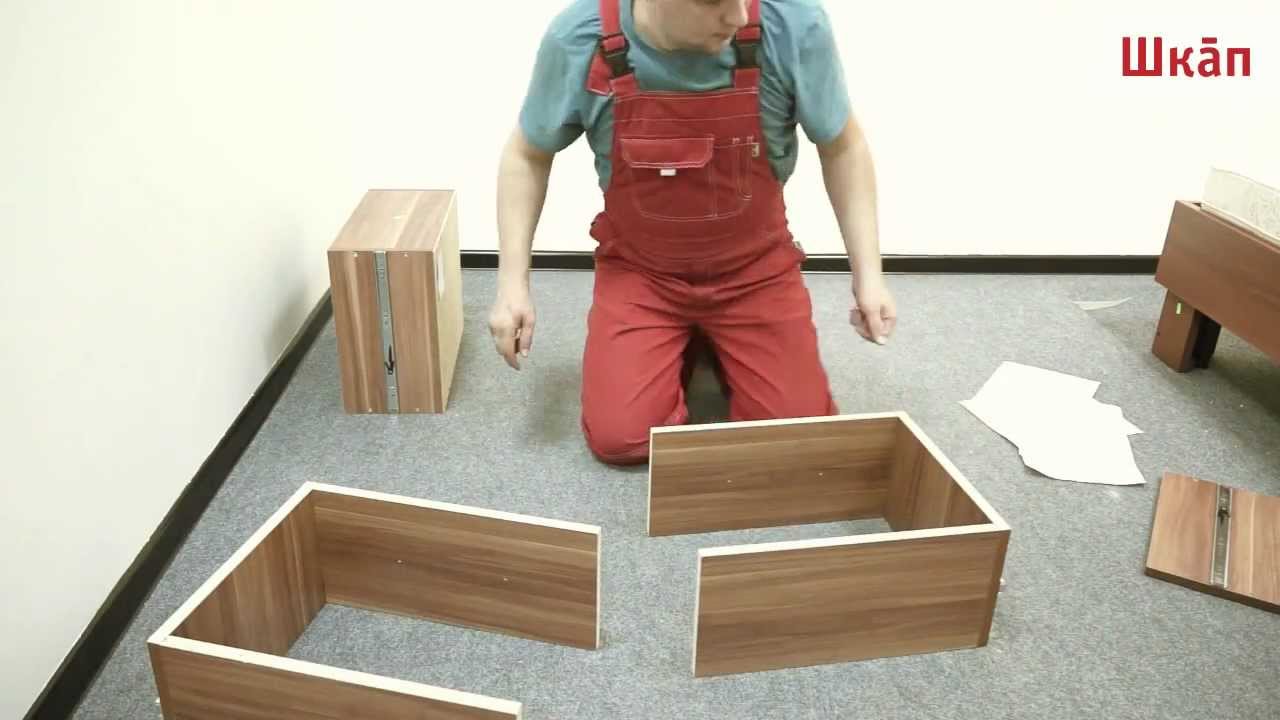
To assemble the cabinet correctly, it is best to get down to business with an assistant. An ordinary wardrobe can be assembled directly against the wall, and you can assemble the box on the floor. Experts recommend the second option, because it turns out smoother. True, not every room is enough for this place.
First, the bottom, side walls, and lid are interconnected. Then the rear wall is fastened (usually it is made of a thin sheet of fiberboard).

Next are going to shelf. Usually they are fixed on special corners and collected from the bottom up. If the shelves are complex (for example, with partitions), it is better to assemble them on the floor, and then assemble them into a cabinet as a finished product.
In the wardrobe, kitchen or wardrobe there are often mobile shelves that roll out forward for ease of use. For them, there is a special hardware. Usually it is guides with small rollers. A rail is fastened to the side walls of the cabinet, and a roller part is attached to the shelf.
The most important thing is that the guides should be fixed exactly at the same height, and that guide that goes into the depth of the cabinet should be strictly horizontal.
In a similar pattern, metal baskets are fastened (for linen, accessories or shoes), if they are advanced. If the baskets are stationary, a metal holder is installed for them, and then they are hung with hooks.
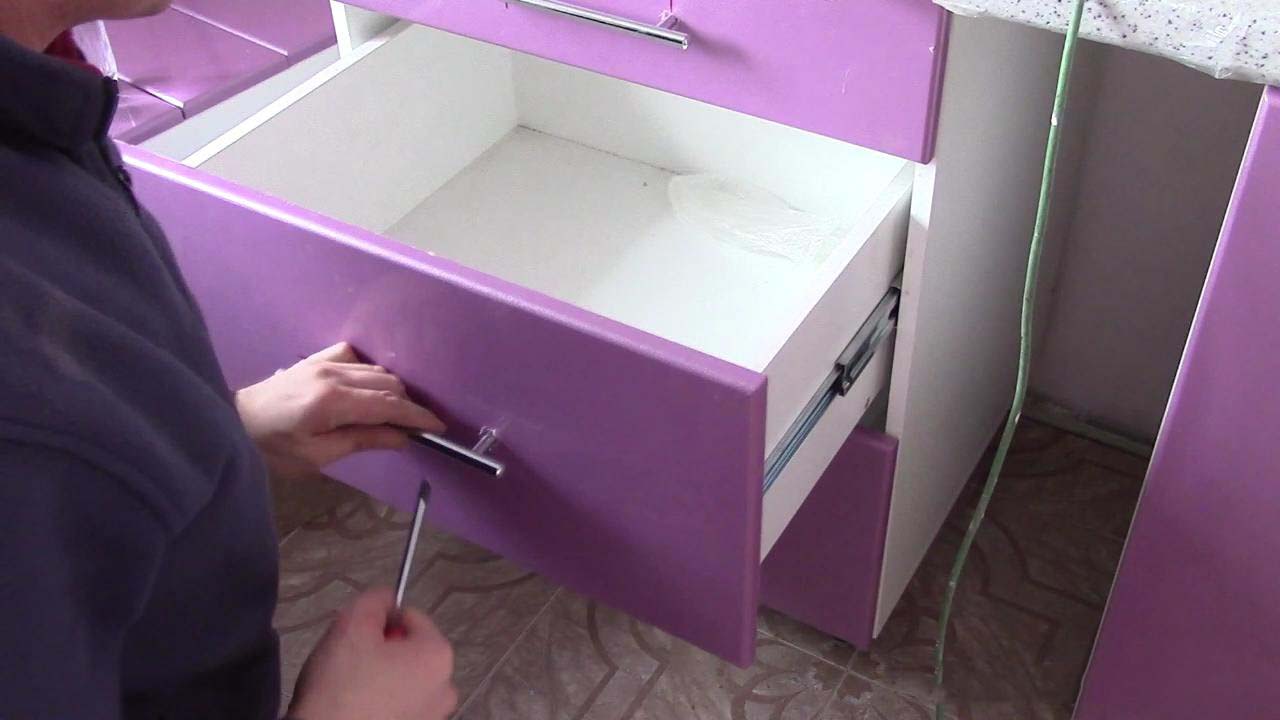
Drawers - a separate topic. The frame of the box is assembled outside. To do this, side and back walls are fastened together. Then attached bottom. Then a handle is attached to the facade of the future drawer, and then everything is connected to the drawer.
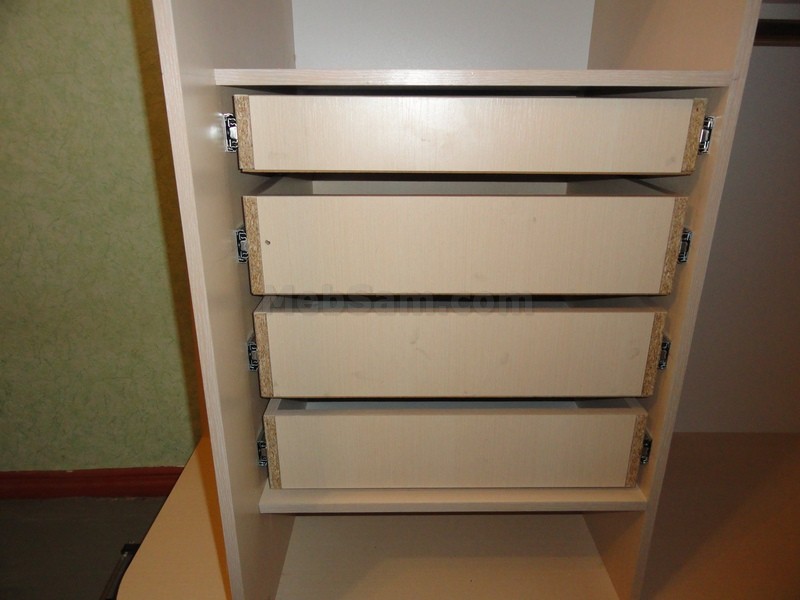
A metal rail is installed on the side walls of the cabinet to which the drawer will be attached. The second part of the rail with a small wheel joins the side walls of the box at the required height.
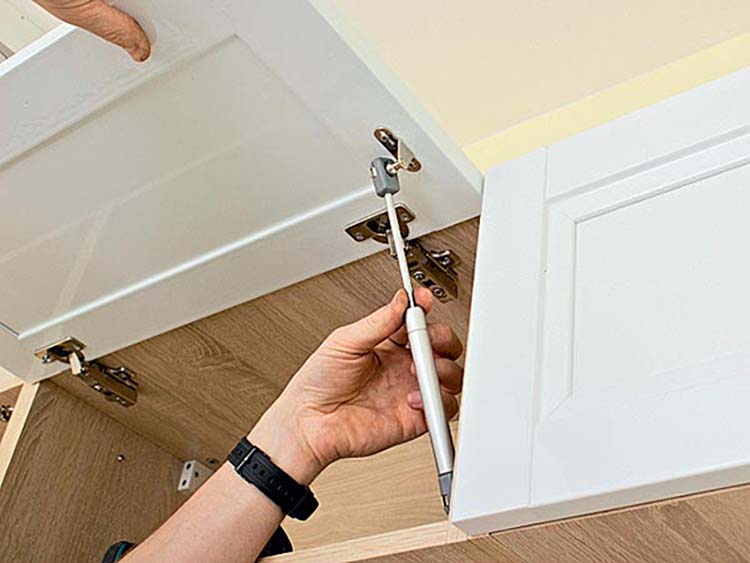
A box with a hinged lid is made using the facade and gas lift. First, a handle is attached to the facade, then fittings are installed. Most often a round part with a sleeve is fastened to the sides of the future drawer, and hook-shaped fasteners are attached to the facade.
Experts unanimously recommend placing gas lifts on both sides of the box. If you do it on the one hand, the facade will eventually “go” to the side.
Skill of installation of sliding and folding boxes will help you to make a case with a bedside table.The built-in drawer at the bottom is usually made up of large width shelves, which are closed with hinged or hinged doors.
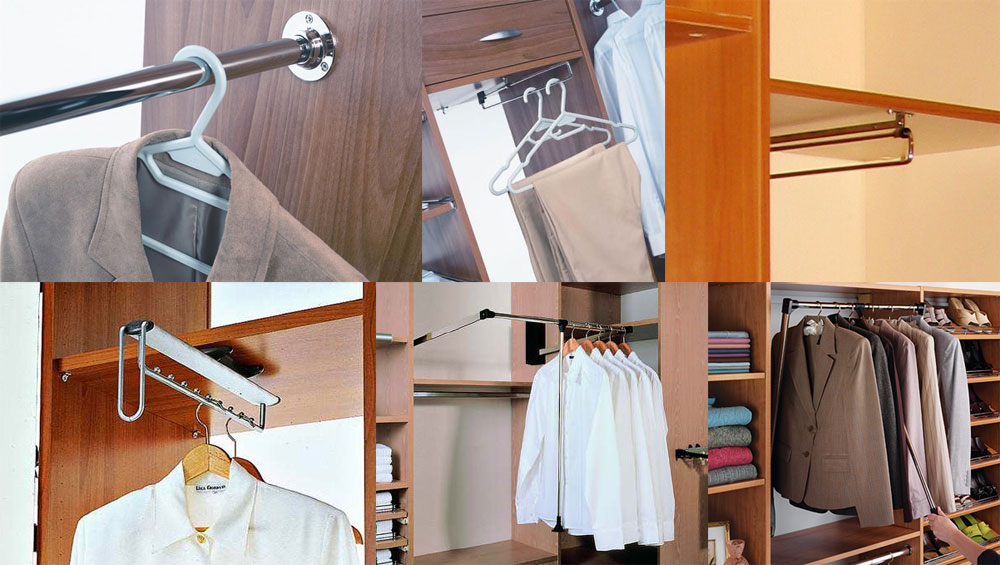
After the shelves and drawers can be installed in the closet bar, if they are provided by the scheme.
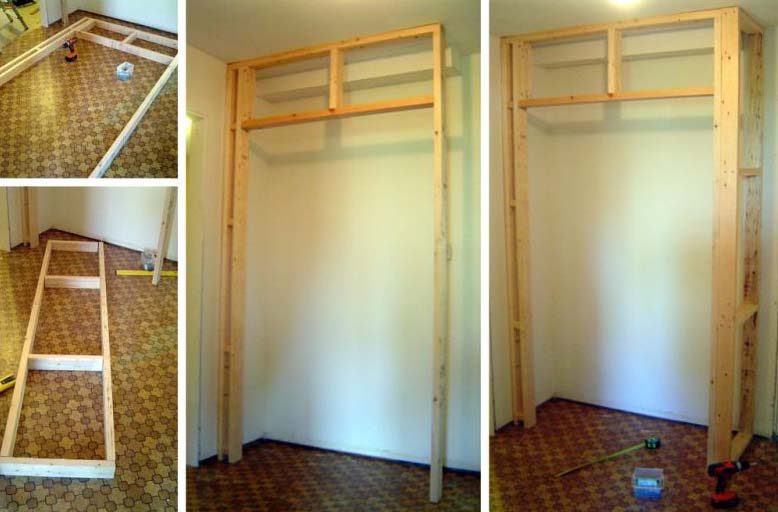
If you assemble a built-in wardrobe, most of the fixtures will be fixed directly to the wall. You can make it without a back wall - then you just need to attach the sidewalls (if you do not have a niche) and shelves to the walls. If you want the built-in locker to look more solid, make the back wall of a sheet of hardboard.
When the entire cabinet is assembled, you can proceed to the installation of doors.
Door installation
Even at the design stage of the cabinet is to think about the number of doors. This is a very important point in terms of ease of use of furniture. If the doors are hinged, the wardrobe will be divided into sections. For each section "responsible" or a separate door, or a pair of doors. For example, a four-door wardrobe can have 4 narrow sections, and can have two wider ones. To open the entire section, you need to open two doors at once. This is convenient for wardrobes, since in a wide section you can place, for example, a long bar for clothes.
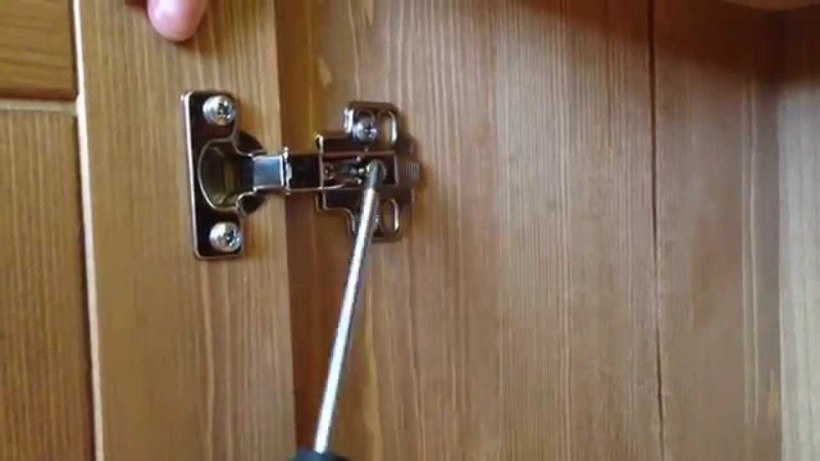
Oar doors are attached vertically to the side walls of the cabinet. For their installation will require a loop. Today there are several types of door hinges for sale. They are designed for different materials and work differently.
If you have factory fittings, use only it. If you designed your wardrobe on your own, it’s best to consult a specialist furniture fastener store. The fact is that the number and type of door hinges is determined by the material from which the canvas is made, as well as its weight and length. For example, for an average-sized facade with a length of 1.5-2 meters, you will need 3 loops, which will need to be fixed at an equal distance from each other. In order not to overload the vertical supports of the cabinet, it is not recommended to make the doors wider than 65 centimeters.
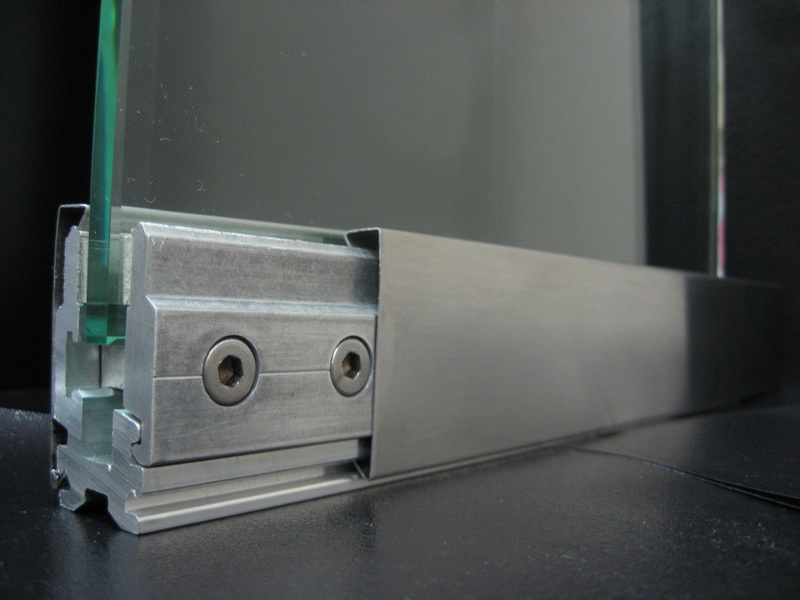
If the cabinet has glass doors, they need to pick up a special fastener. There are loops that require drilling glass, and there are those that just clamp it. For heavy doors it is better to prefer the first option.
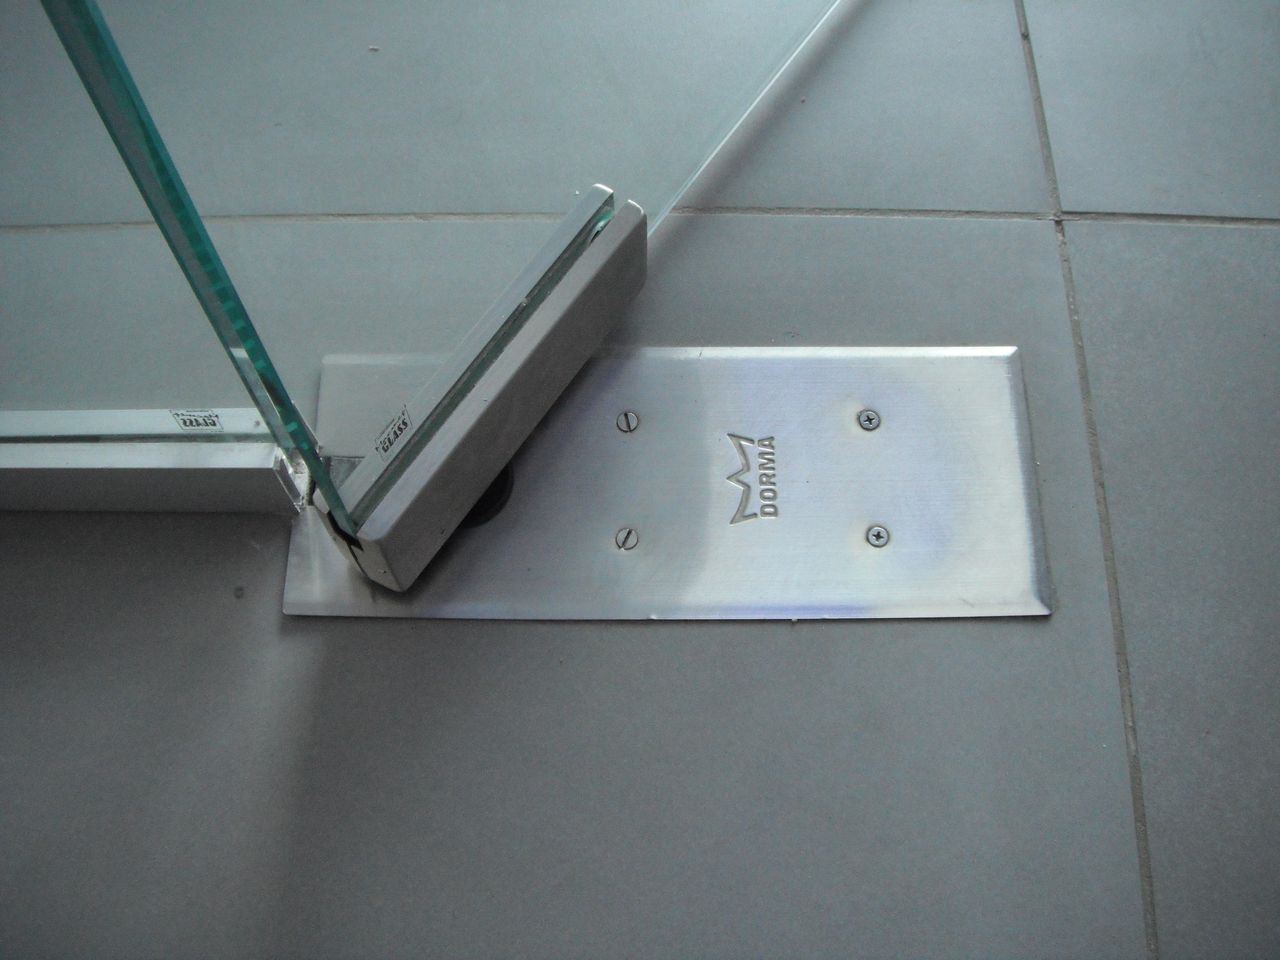
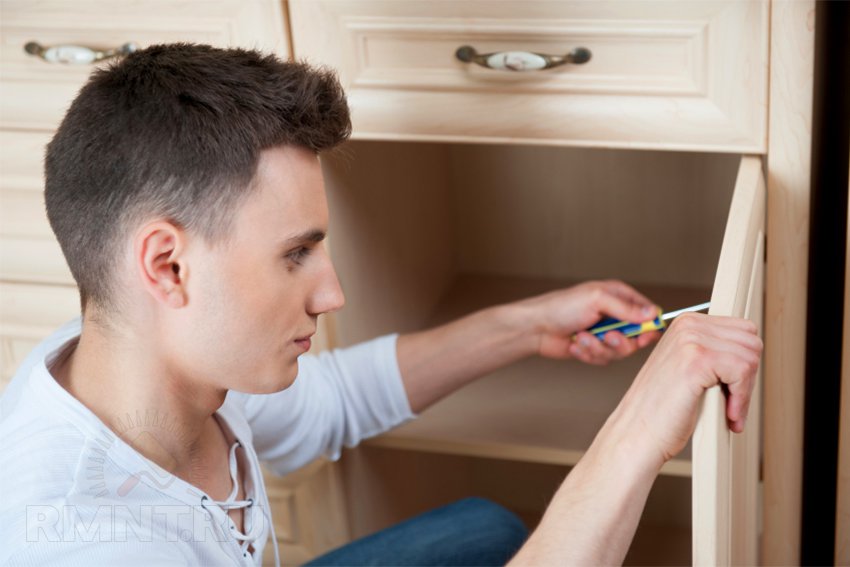
When installing it is very important to accurately measure the attachment points on the door and on the wall of the cabinet - only this way the door will fit perfectly smoothly.First, the hinge is fastened to the door, then the door is inserted into the cabinet and a mark is made on the side wall where the hinge plate will be attached. It is very convenient to do this if the loop mechanism can be disassembled: both parts are attached to the wood separately, and then the loop is connected.
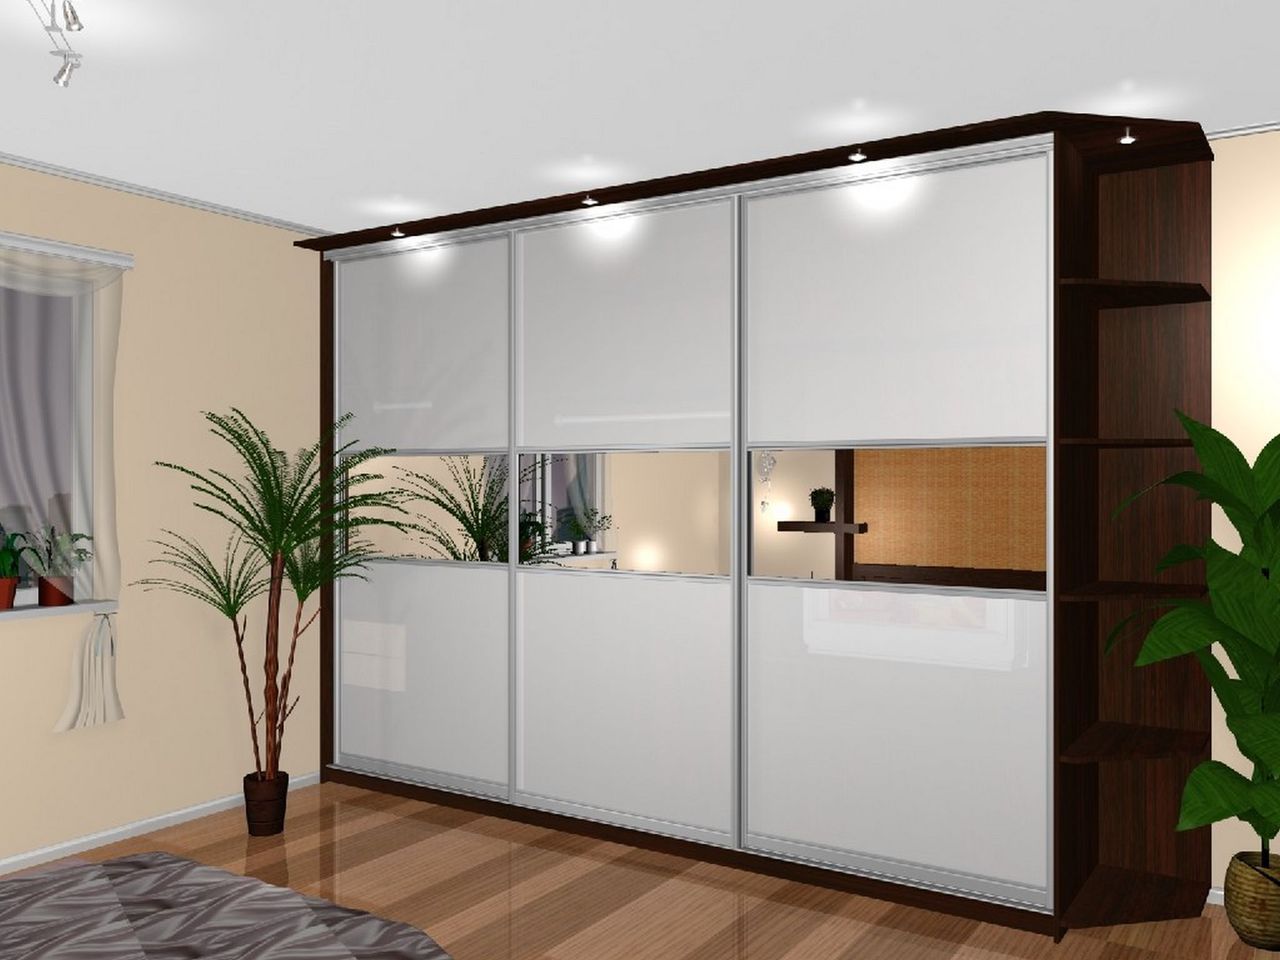
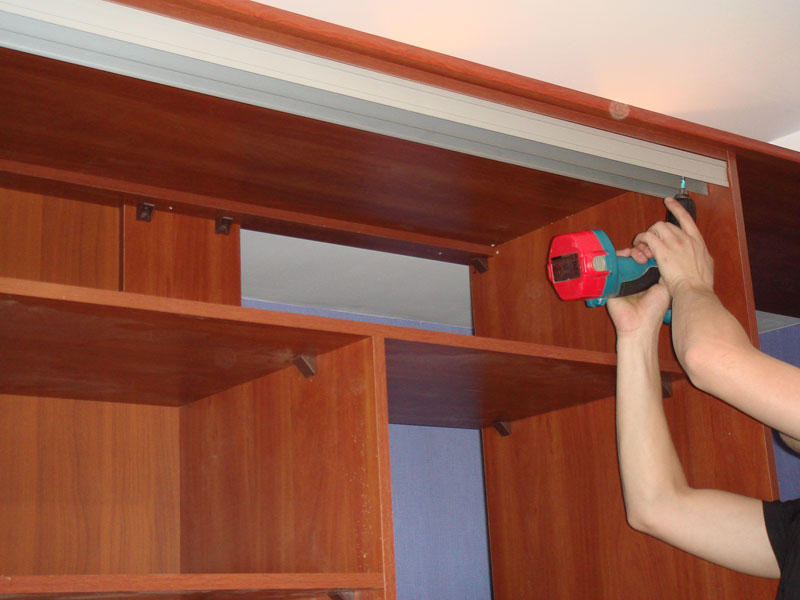
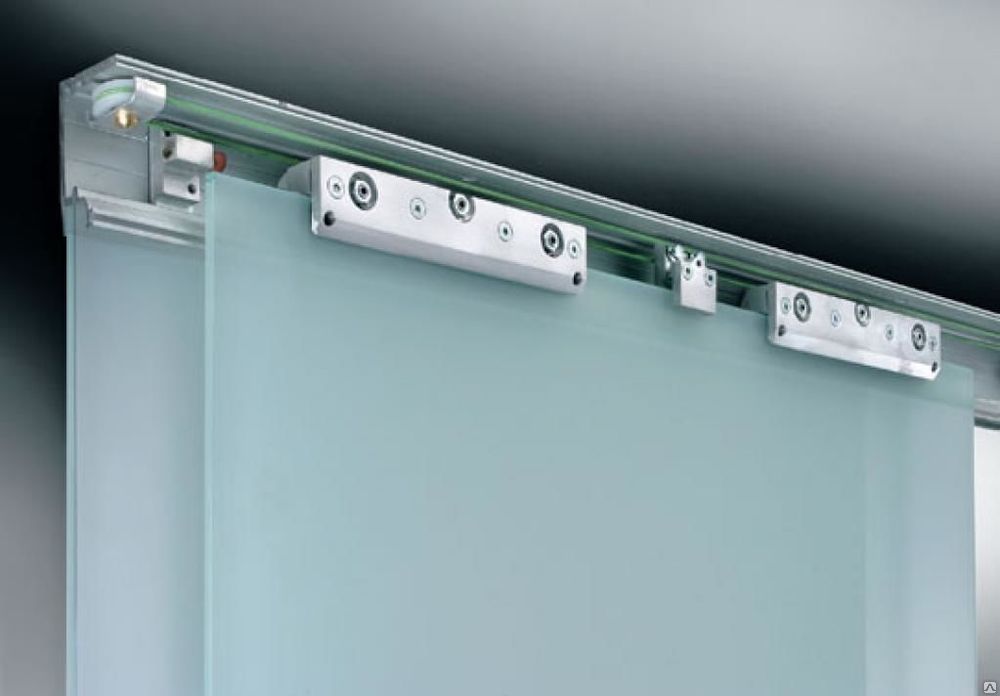
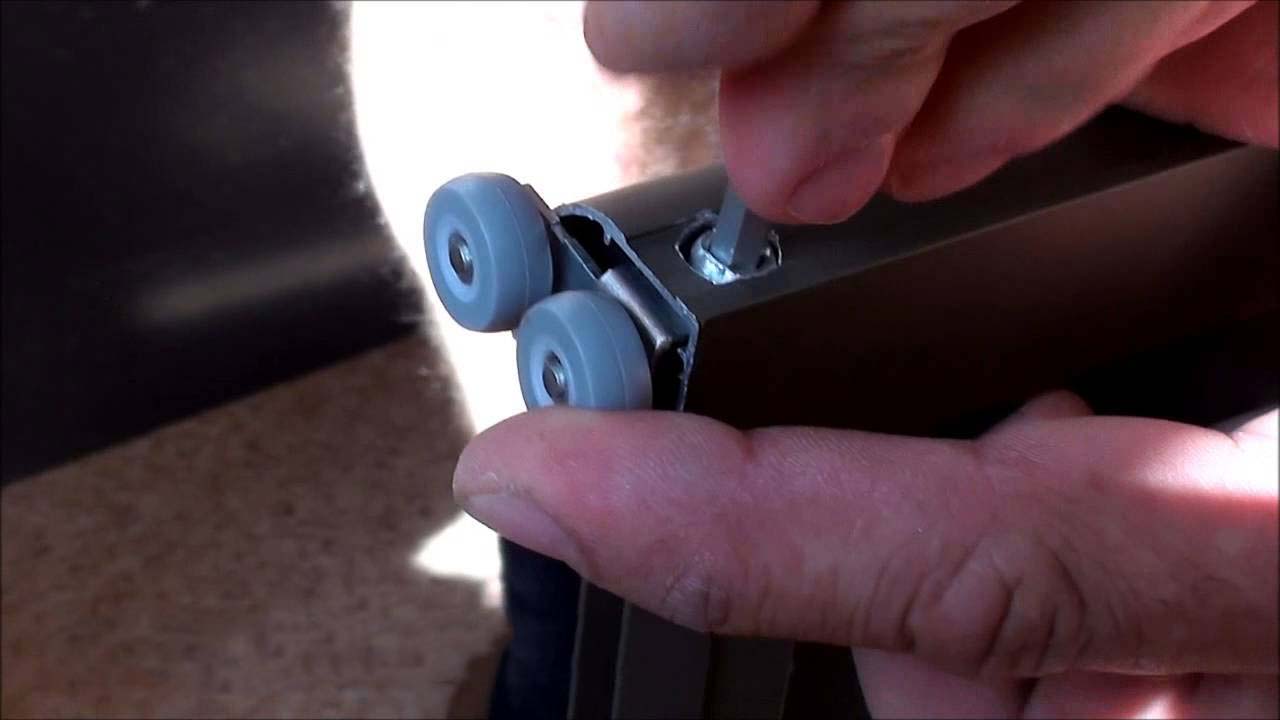
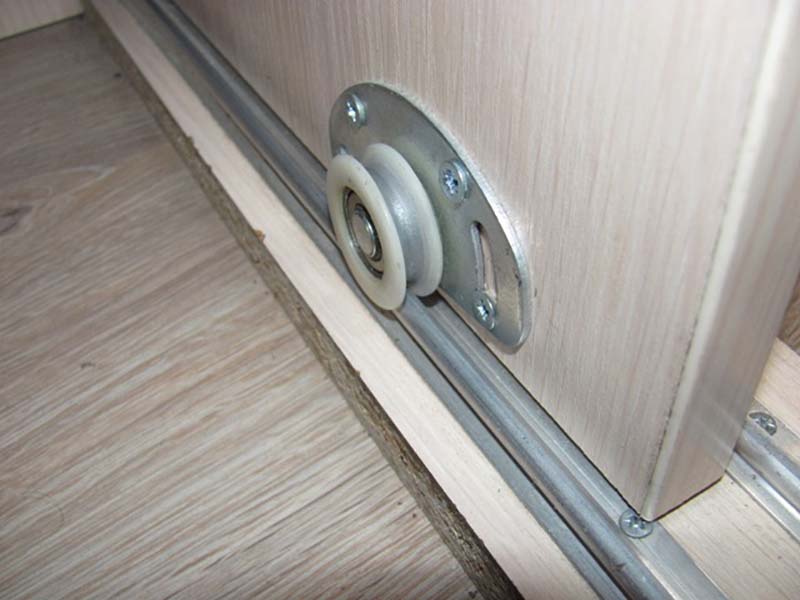
Coupe doors are a little more difficult to install. There are different sliding mechanisms. The most common option is this: rails are mounted on the top and bottom, and rollers are attached to the doors at the bottom and top.
First you need to cut off the top aluminum profile. In shape, it is W-shaped. This is done exactly along the width of the cabinet opening from edge to edge, regardless of the width of the flaps. Next, you need to drill holes in the profile for fasteners at equal distances from each other (4.5-6 cm). After that, the profile is attached to the cabinet lid.
Further along the width of the cabinet it is necessary to cut off the bottom profile. It should also be drilled holes for fasteners. Then in the corners, on the left and on the right, the stoppers are inserted into special grooves.
These special mechanisms will keep the door from slipping away when the cabinet is closed. On the left side they are mounted in the recess on the profile on the left, on the right - on the right.
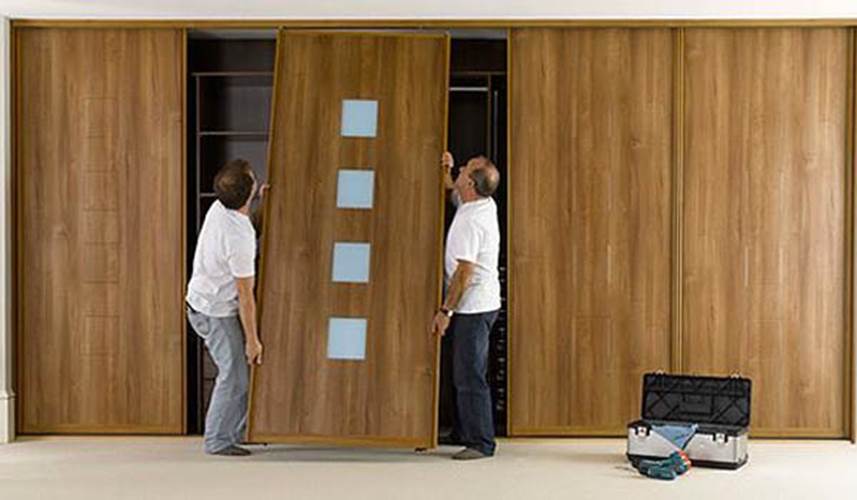
Next, the lower profile is applied to the bottom of the cabinet (and if the cabinet is built-in - directly to the floor). Attach it is not necessary. Together with the assistant, insert the first door into the top profile. It should start with the sash, which will "ride" behind. The upper wheel of the door should fall into the rear "rail." Then you need to gently press the lower wheels with your hands and insert them into the rear groove of the lower guide. The second (front) leaf is inserted similarly.
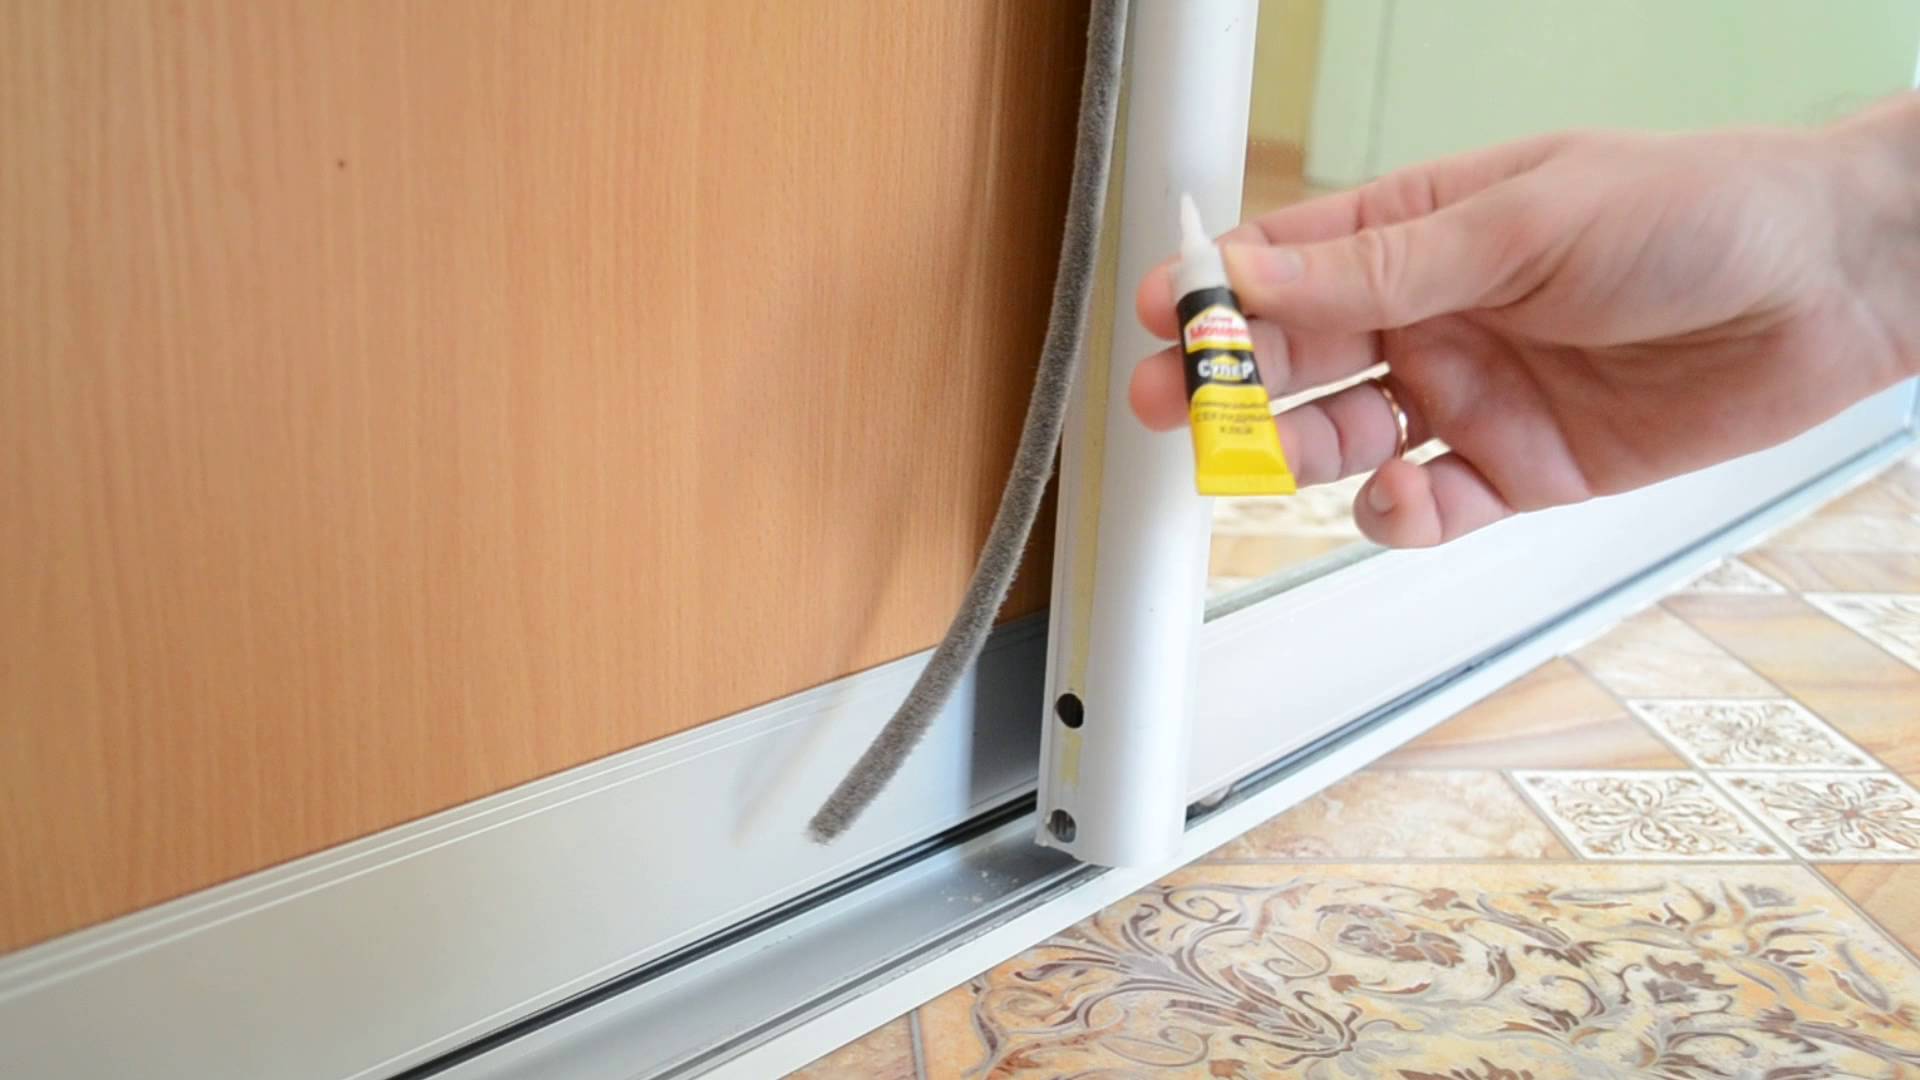
When both doors are in place, make sure they are level. If necessary, adjust the position of the lower profile. After that you can fasten the lower guide. The final touch is sticking to the doors on the side of special brushes that will soften the impact of the doors on the cabinet walls.

Tricks from the masters
Enumerate in one article all the nuances of the assembly of the cabinet is impossible. Much depends on the design of the product. However, there are a number of life hacks that furniture assemblers often use to cope with a task quickly and accurately.
If the cabinet has a large back wall of fiberboard sheet, it will have to be fixed not only to the lid, bottom and walls, but also to some shelves. Since nails have to be driven in from the back,they often "go away" to the side. Masters advise, before attaching a sheet of fiberboard behind the cabinet, put marks on the side walls and shelves. And then, attaching the fiberboard, move the mark on it. It is possible to hammer in a nail safely on a mark, without being afraid that it "will move out".
If there is a cabinet at the bottom of the cabinet and it was decided to put something heavy on it (for example, a TV set), it is important that it does not bend under the weight. In this case, the cabinet should be disassembled and placed inside the partition. Inside the cabinet there will be two compartments, but the top cover will receive an additional stiffener. The facade at the same time can be one.
When assembling furniture, one often has to work with confirmatories, which are twisted with a hex key. This device is very small and uncomfortable to hold it in your hands. To keep your fingers from getting tired, the masters advise you to cut a piece of the tube from the marker and put it on one of the ends of the key.
Aluminum profiles are usually sold in plastic wrap. Furniture assemblers recommend removing it only when the profile is completely installed in the cabinet. It’s best to drill and cut parts right on the film — less likely to scratch a metal surface.As a result, aluminum inserts will not only be the basis for sliding doors, but also a shiny metallic finish on the cabinet.
On how to assemble a wardrobe at home, see the following video.