All the secrets of making lining
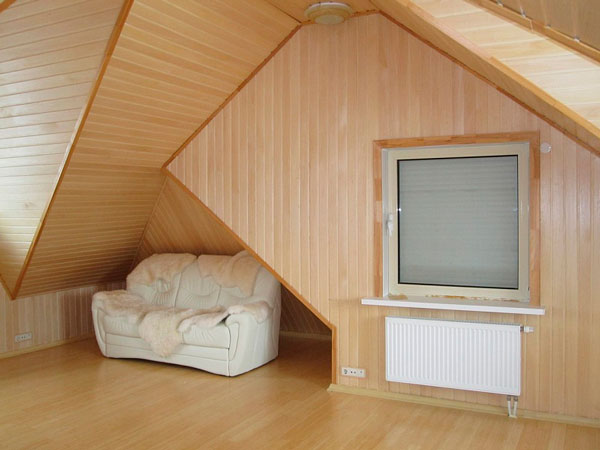
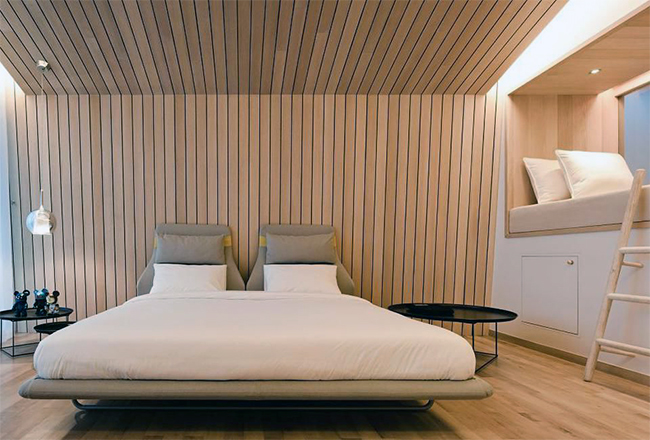
Currently, wooden lining is in great demand in the field of interior decoration. Considering the growing popularity of products, only specialized trademarks begin to engage in its manufacture. To save material resources, many decide to do the lining with their own hands. With basic skills, raw materials and tools, this is quite possible. This article will discuss how to make at home a reliable and stylish finishing material.

Special features
Before proceeding to the description of the manufacturing process, it is necessary to understand what is this product.
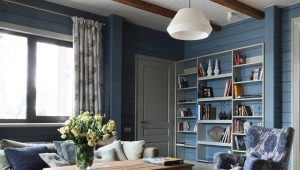
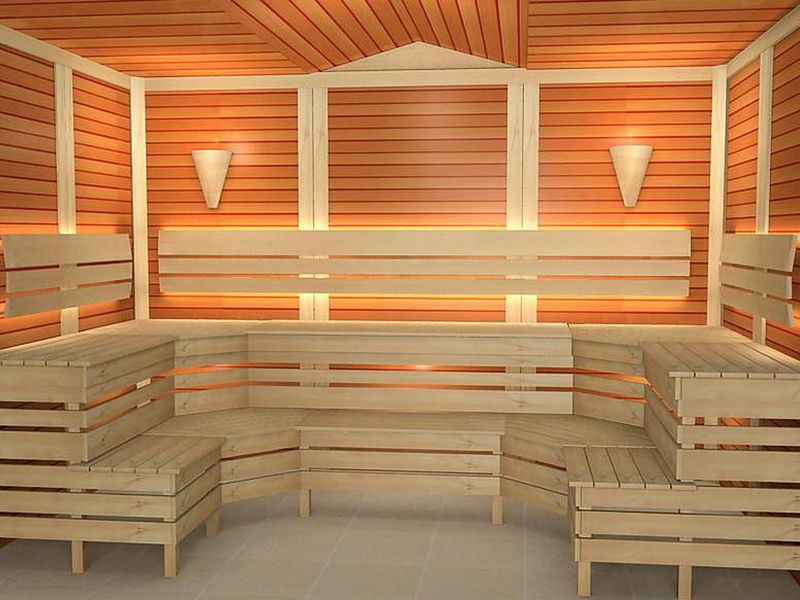
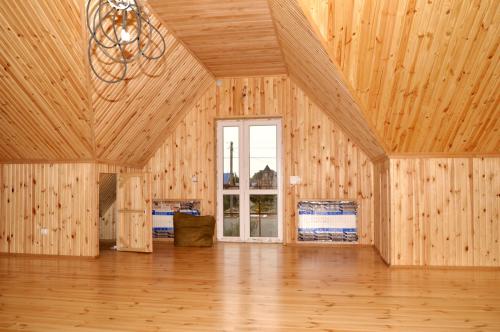
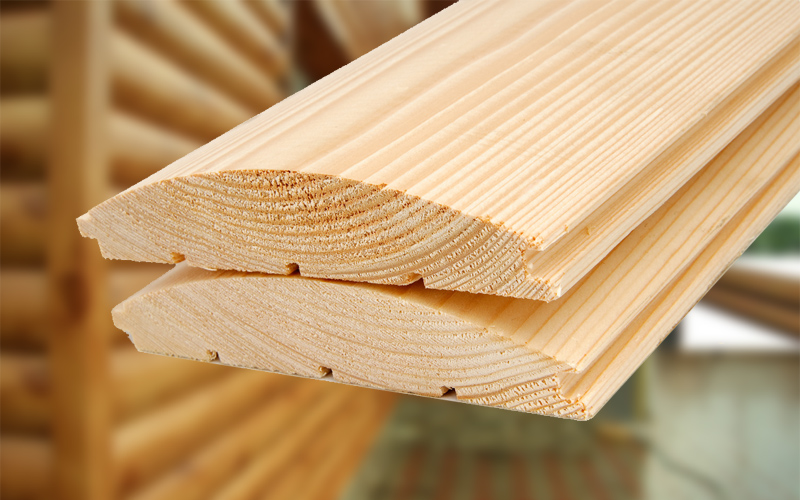
Lining is a type of cladding material, which is a product of natural wood processing. It is used to design both simple (rectilinear) and complex structures.Depending on the technical characteristics of the products are used for exterior or interior decoration. Externally, these are flat panels that have special connections around the edges.
In the production of lining used various types of wood, both deciduous and coniferous: alder, cedar, ash, pine, beech and much more.
Products are divided into separate segments based on various characteristics. One of them is the form of the profile: panel, eurolining, “calm”, “American”, block house.
Wooden finishing combines excellent performance and aesthetic qualities. Due to these characteristics, finishing is widespread. Lining is used for external and internal facing.
Advantages of lining:
- esthetic appearance;
- a rich product range, differing in color, texture and performance;
- it is an environmentally friendly product, safe for health and the environment;
- quality material has excellent practicality and durability;
- wood finishing material is a classic that is always relevant and in demand;
- simple installation process;
- Natural finish creates a comfortable atmosphere in the room.
Disadvantages:
- high price;
- requires careful care.

Production technology
The information listed in this section is sure to come in handy if you decide to make your own lining. The process of making plating is divided into such steps.
Phased process:
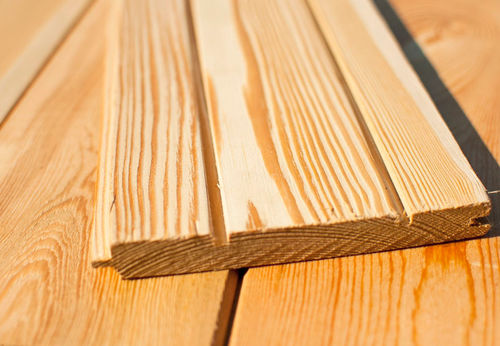
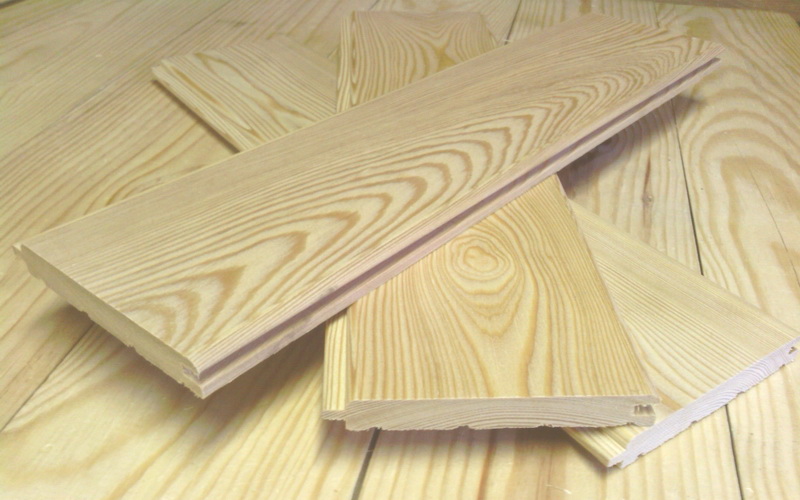
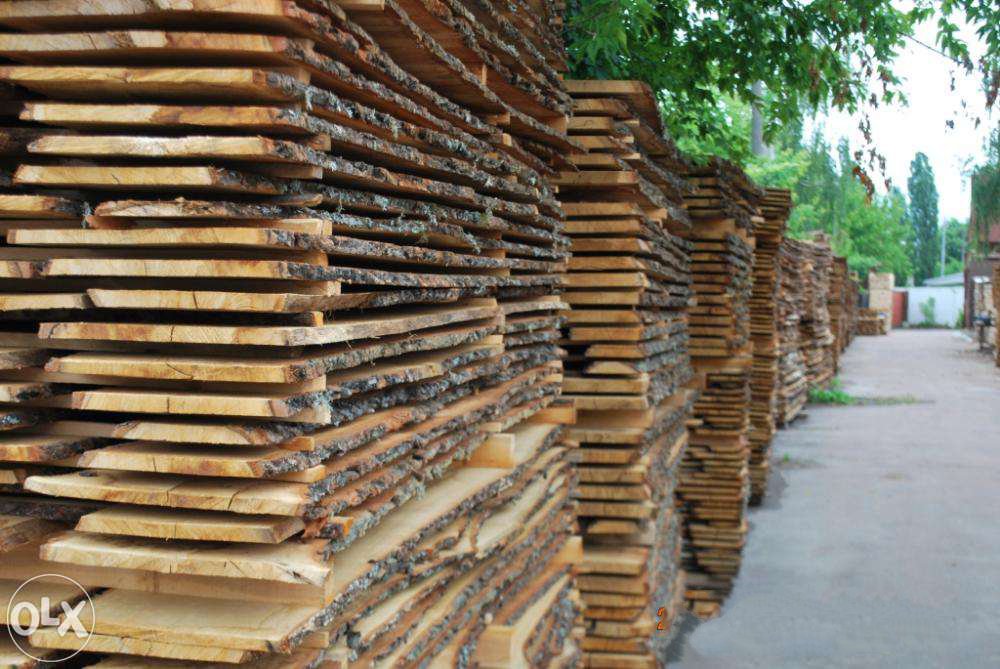
- Board making. The trunks of the trees are sawn into boards with the help of disc or band saw. Thickness varies from 15 to 25 millimeters, width - from 100 to 150 millimeters.
- Drying. In special chamber dryers, the material is processed under the action of high temperatures. After this, the risk of cracking and torsion of the boards becomes minimal.
- Sorting. Depending on the quality of raw materials, the material is carefully sorted. In the production of lining boards are used, the quality of which is not lower than the second grade.
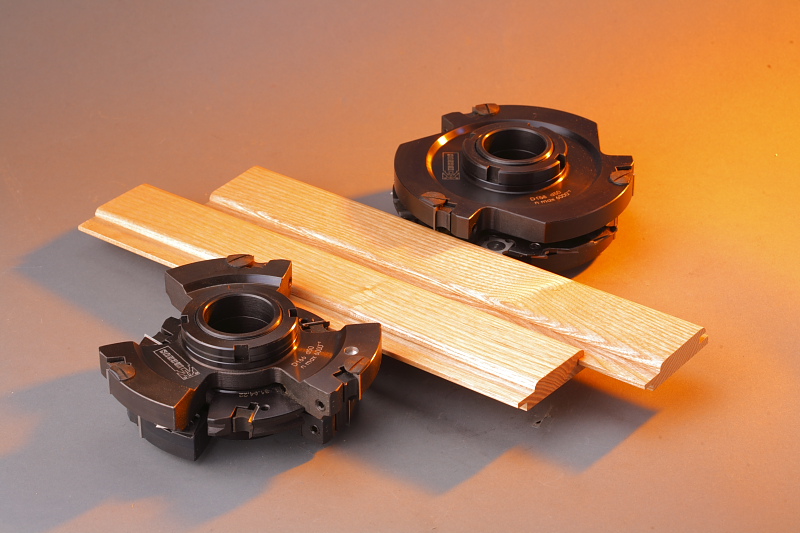
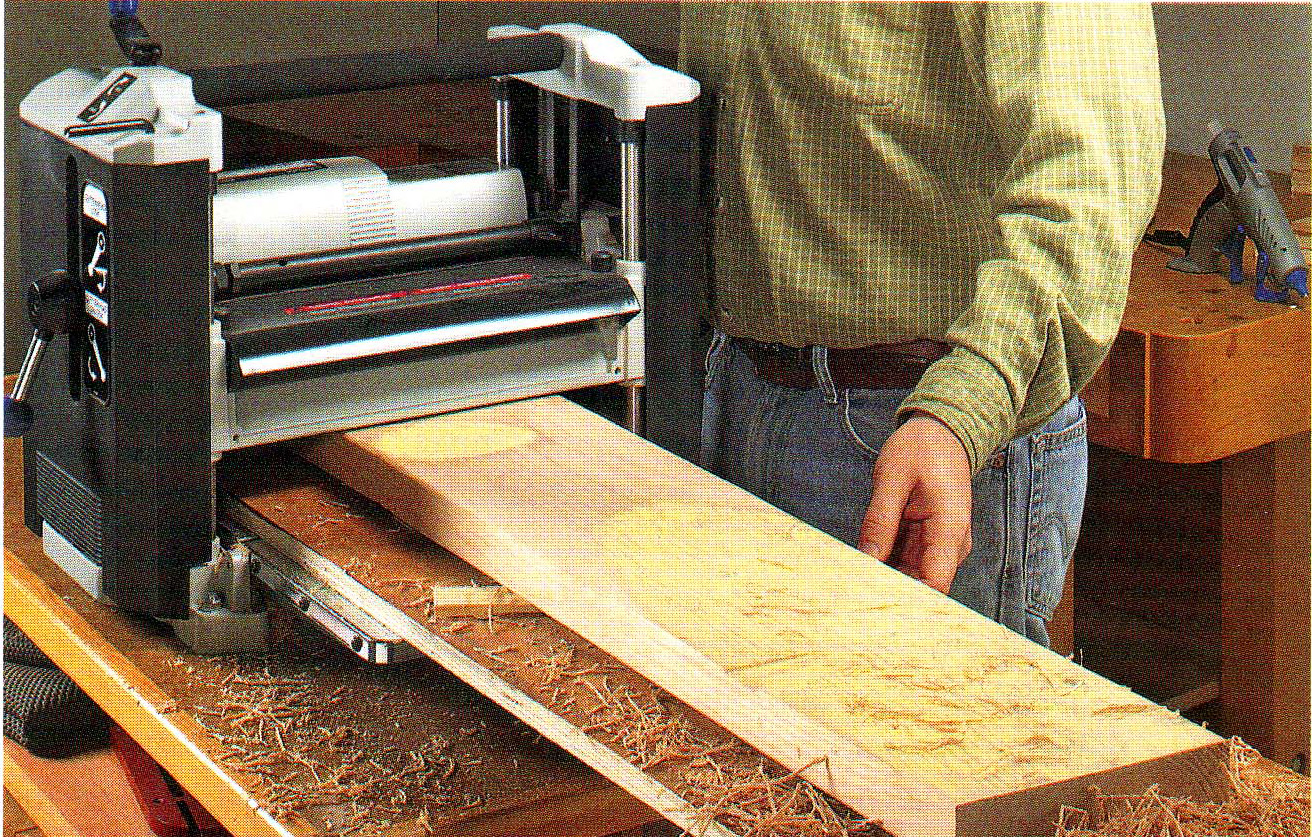
- Manufacturing. The finishing material itself is made on special equipment. Companies use a four-side planer. In just one pass, all the planes of the panel are processed thanks to the selection of knives and cutters. In the process of creating the necessary profile.
- Treatment.To preserve the natural beauty of wood and extend the life of the finish, the panels are processed. The clapboard is covered with a mashinker or special lacquer and enamel compounds. Another way is brushing. The technique is used when it is necessary to give the product the effect of antiquity.
- Check. At the end, the finished product is tested for strength, durability, reliability and other technical characteristics.

Where to begin?
First you need to find a separate room for work. Remember that machine tools and woodworking equipment in the process produce a lot of garbage and noise. Also consider the condition of the electrical wiring. It must be able to withstand long loads. Otherwise, the wiring may simply burn out.
Experts assure that with the availability of the technical base, certain skills and consumables, it is possible to make a panel of various types, differing in shape, size and type of connections.
General requirements
Regardless of the complexity of the work, as well as the functionality and power of the equipment, you must comply with the following requirements.
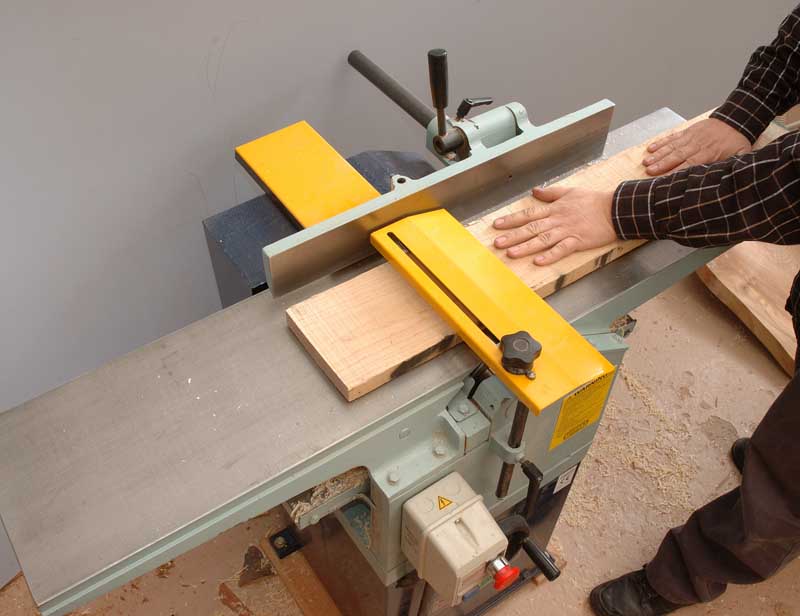
Consumables used in the manufacture of cladding, must comply with the following characteristics: identical sizes (thickness and width), exclusively cut boards. It is recommended to pass wide elements through the surface gauge at least once on each side. This task perfectly cope two-sided surface gage. If it is not at hand, use a standard jointing machine.
Experts claim that for excellent results, you can only use boards with a relative humidity index of no more than 24%. If this value is higher than normal, the material should be dried. Do it in a ventilated room or placing boards under a canopy. To make the process take less time, ensure large gaps between the piles.

For drying, fold the wood gently to prevent the shape from being twisted. Do not forget to firmly press the upper tier using any large cargo.
It is important to fully comply with safety regulations. Statistics indicate that the equipment for processing wood is the most dangerous to use. The use of special working clothes and protective equipment is mandatory.You can buy everything you need in hardware stores.
Check equipment for proper operation. The use of broken equipment is fraught with negative consequences. If you find violations in the work, be sure to call a repair specialist or adjust it yourself if you have the necessary experience.
The above aspects will help you carry out the work on making the facing material correctly.
Stages of work
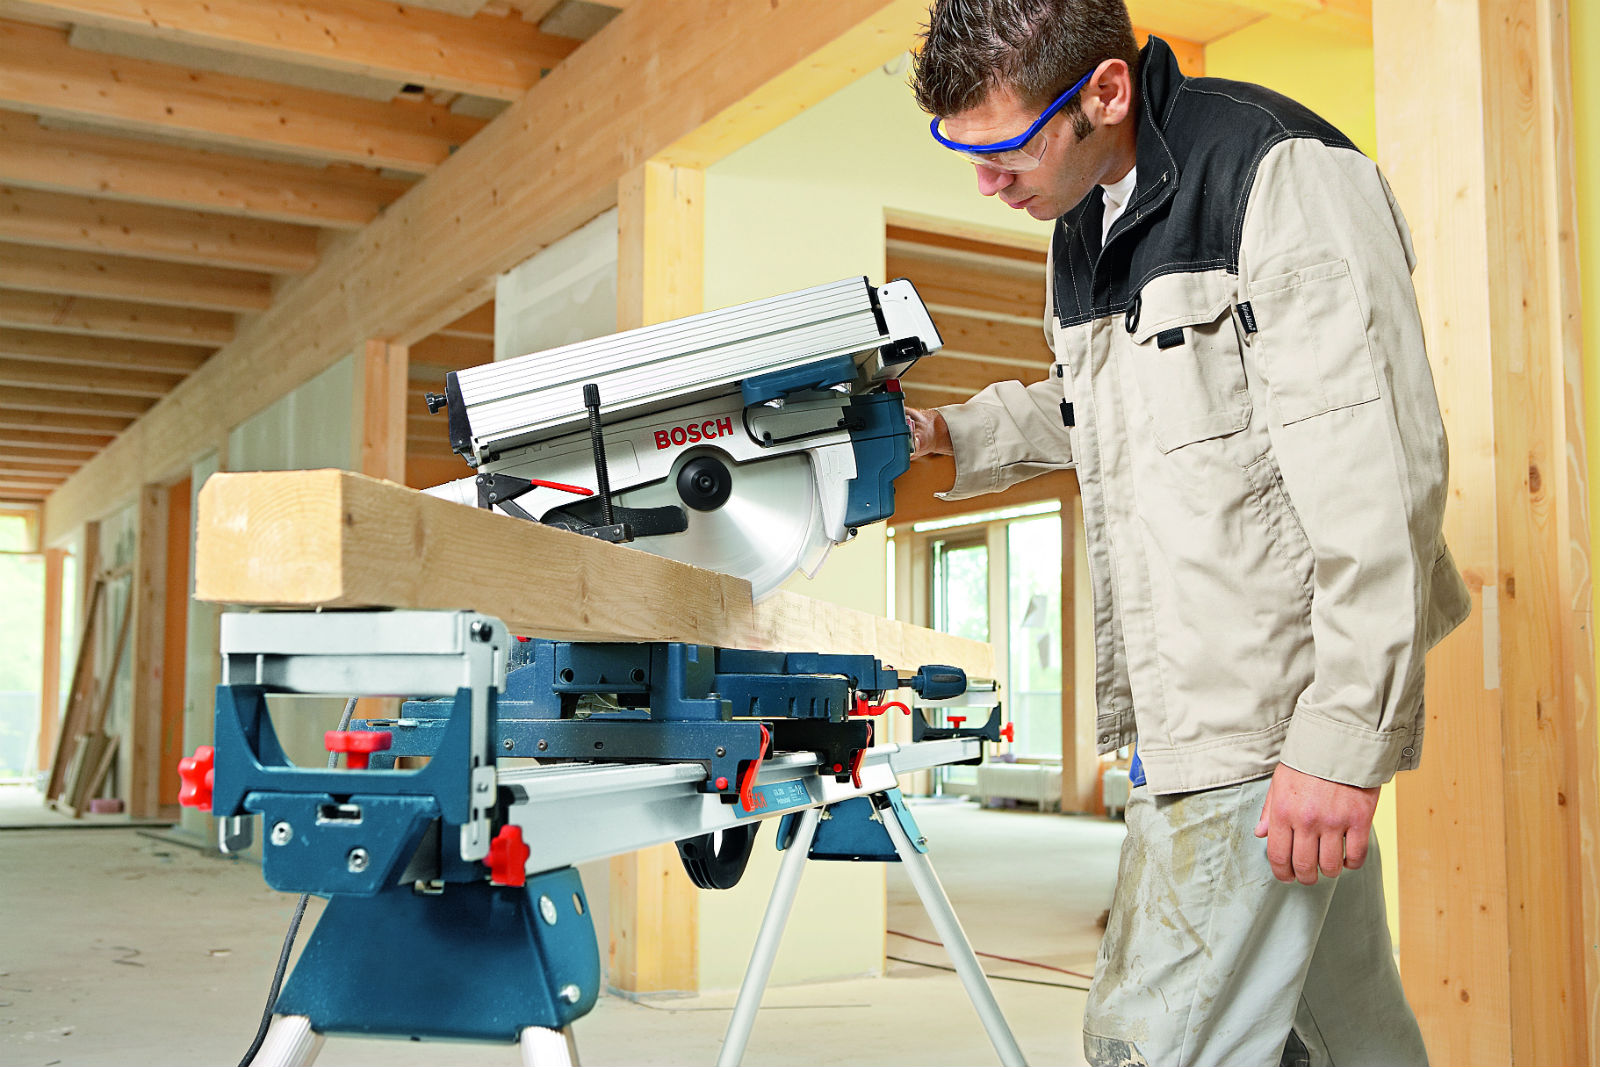
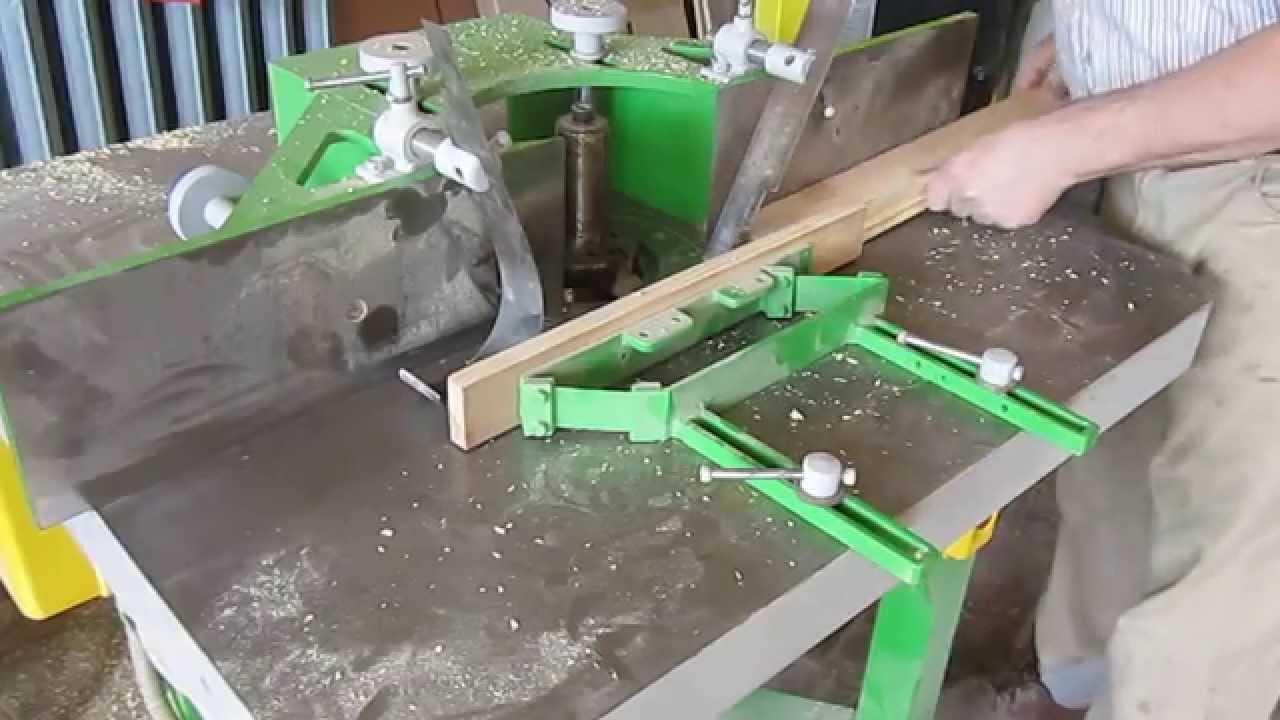
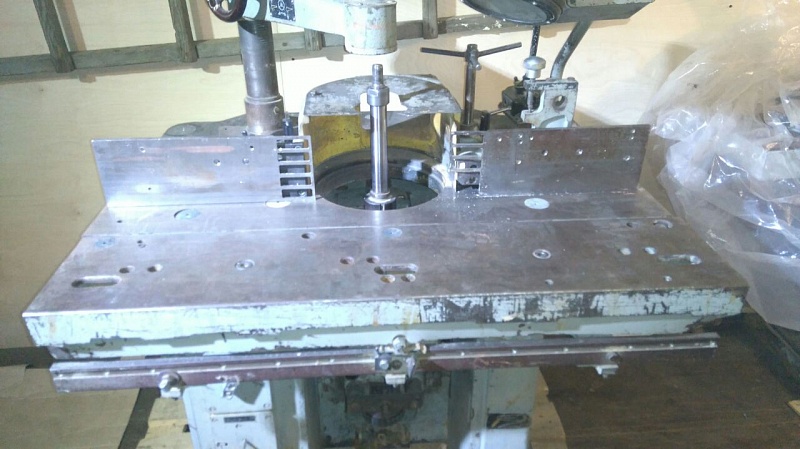
Consider in more detail the common option for the production of cladding at home, using a circular.
Work begins with the preparation of consumables and cleaning the working space. You must accurately determine the amount of lumber. For the manufacture we need planed boards, the width of which does not exceed 10 centimeters, and the thickness is from 1.5 to 2 centimeters. The use of larger boards is not recommended due to the type of connection between the lining boards.
In the process of work, place the lumber on one side of the circular saw, and the finished product on the other. This will help maintain order and cleanliness in the room.
All boards should have the same length. If this is not the case, the material must be trimmed.Also carefully inspect the boards and evaluate the condition of their surface. If there are rotten, black knots, send the raw materials in the trash. Get rid of such defects in the home will not work.

Pay special attention to the storage of blanks. Watch not only for the direction of wood fibers, but also for the location of various defects of natural material. Each specialist will say that these are the most difficult elements to process.
In the work place the material as to the location of the fibers and flaws coincide with the course of rotation of the cutting device. If this rule is not followed, the surface finish of the material will be unsatisfactory.
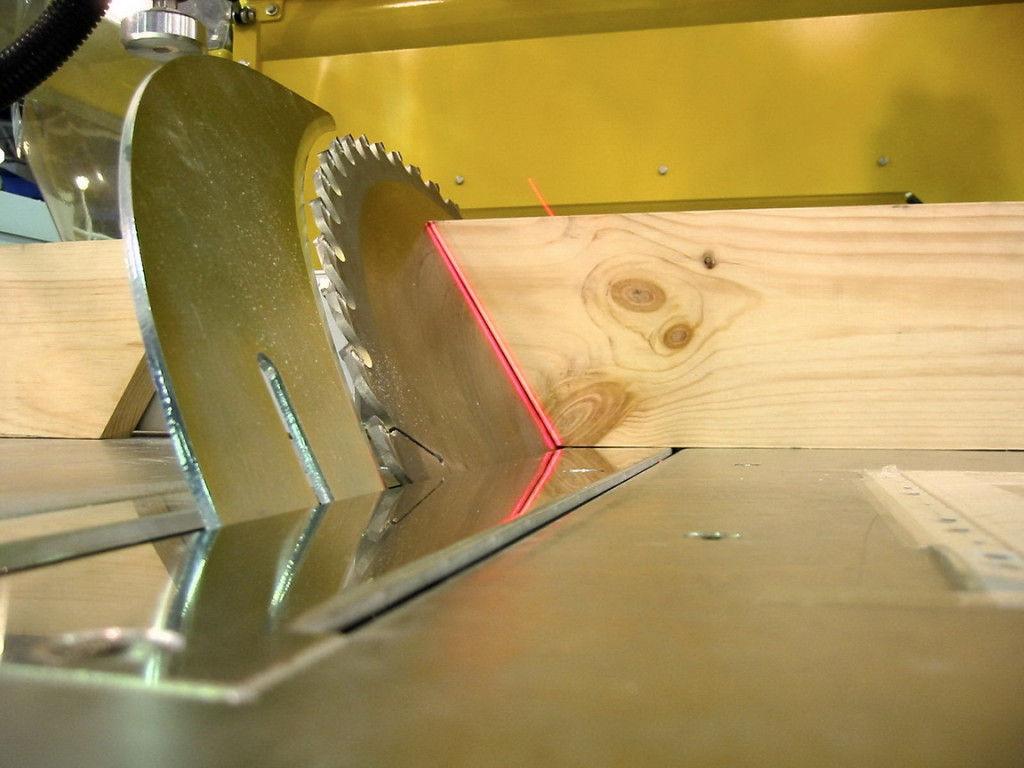
It's time to expose the circular saw. If there is a discrepancy in the width of the boards, it is necessary to level the lumber. To carry out this procedure, place the ruler at the desired distance from the teeth and securely fix the element.
Important: the ruler must be located parallel to the saw. For homemade machines, you must use a special square. Factory settings have such marks. Also, the equipment settings should be checked with a small piece of board.


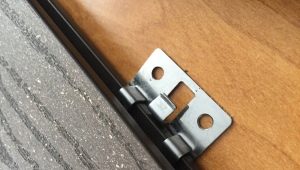
Standard lining is equipped with a “quarter” connection. To make such a grip is possible using a conventional circular saw. It is necessary to adjust the height of the table and the distance to the ruler. Mount the second element must be lowered and moved to the saw. When working carefully, make sure that the planes are parallel. Distance - 1 centimeter. The ruler must be secured firmly and securely.
Adjust the position of the table so that the teeth of the circular saw are located at a height of one centimeter at the maximum point. As a result, the height of the saw and its distance to the ruler should be 10 millimeters. Verify that the parameters are correct using part of the board. Adjust the position of the elements, if necessary.
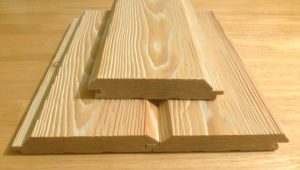
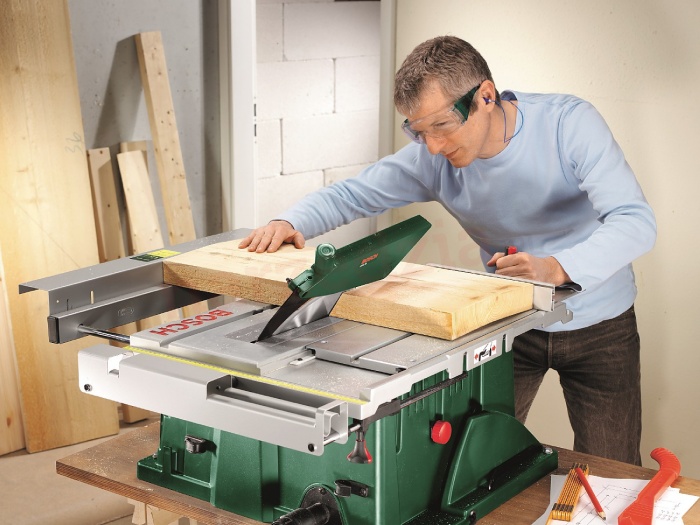
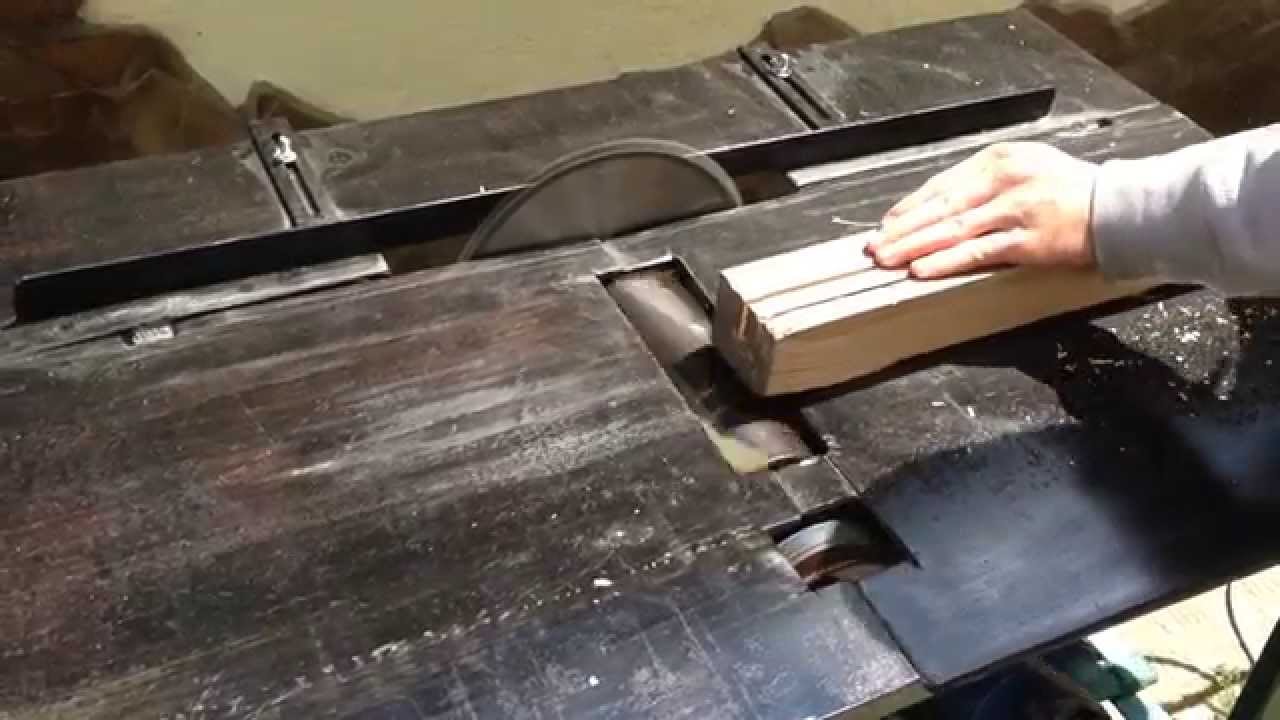
Next you need to make out the above type of connection. The first pass is carried out - the board is placed flat, the side plane is pressed against the ruler as closely as possible. If everything is done correctly, then a cut of a characteristic type should appear along the entire length of the product.
Never press the lumber by hand. Use for this a separate wooden bar, otherwise it is fraught with injury.It is also forbidden to lean on the end of the board.
After place the material on the edge. Propyl is made from the side of the line. In this way, you cut out the “quarter” necessary to connect the panels. Remove cut parts from the work surface immediately, so as not to litter the working space.
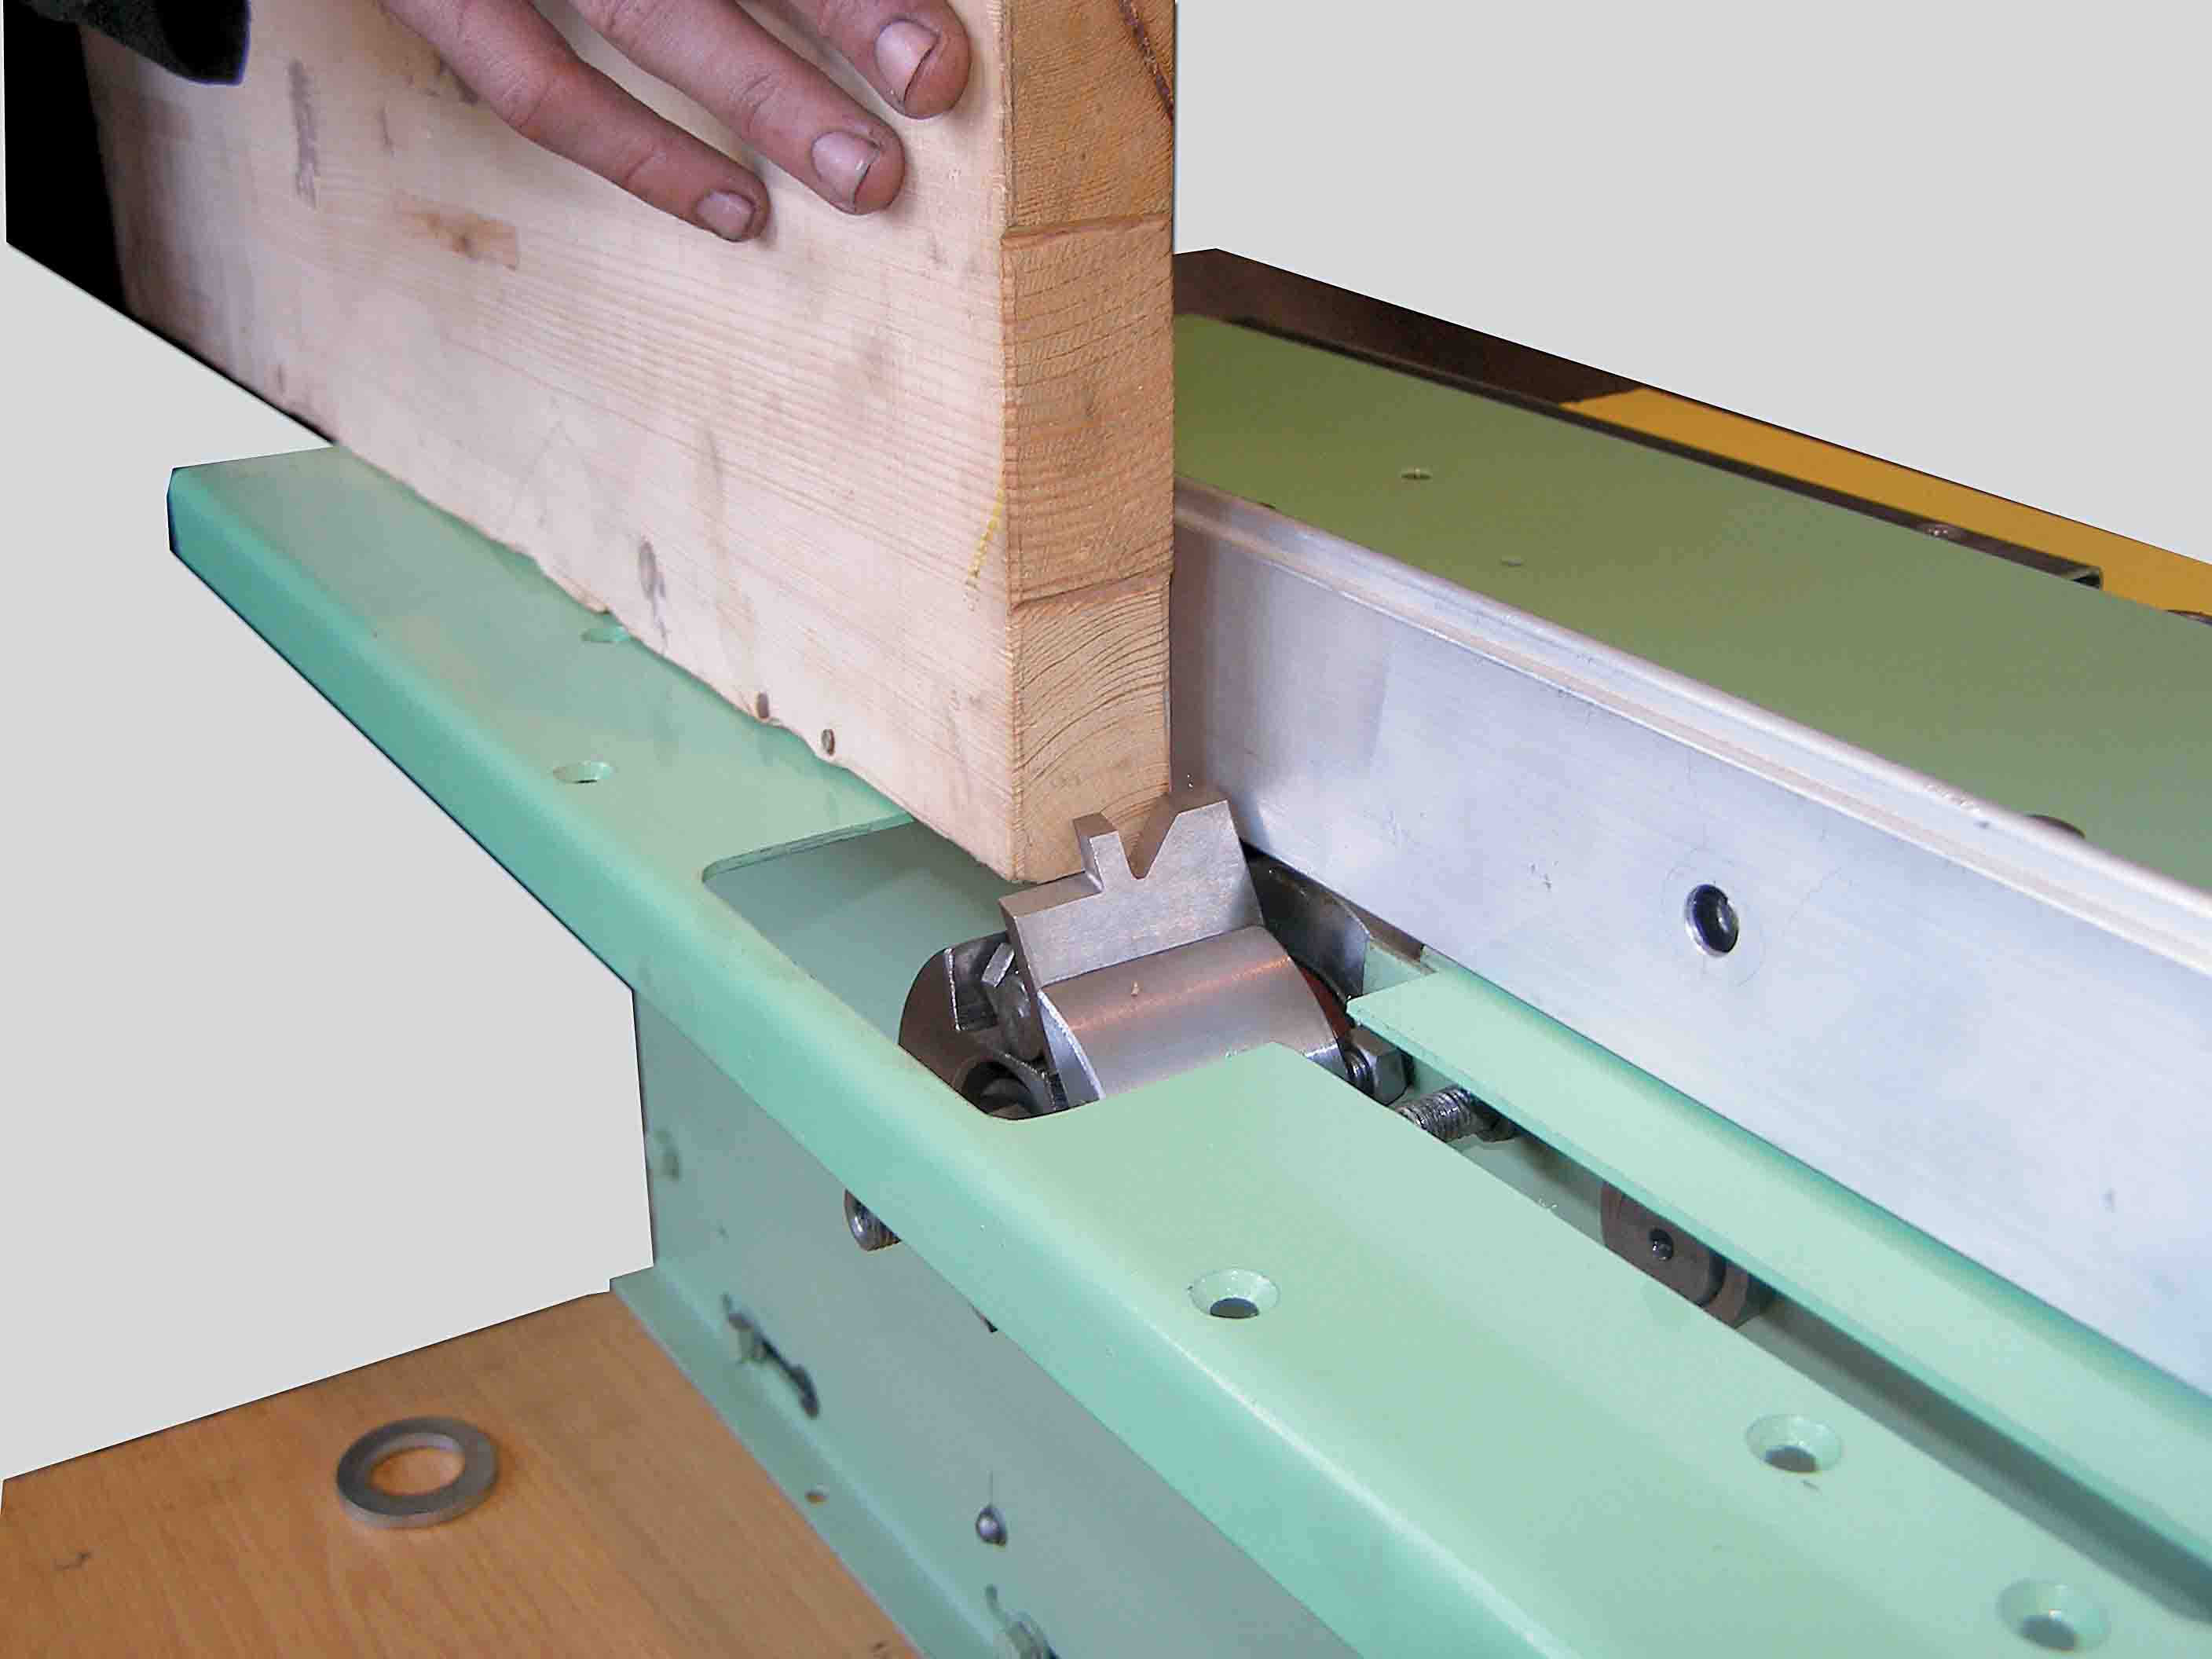
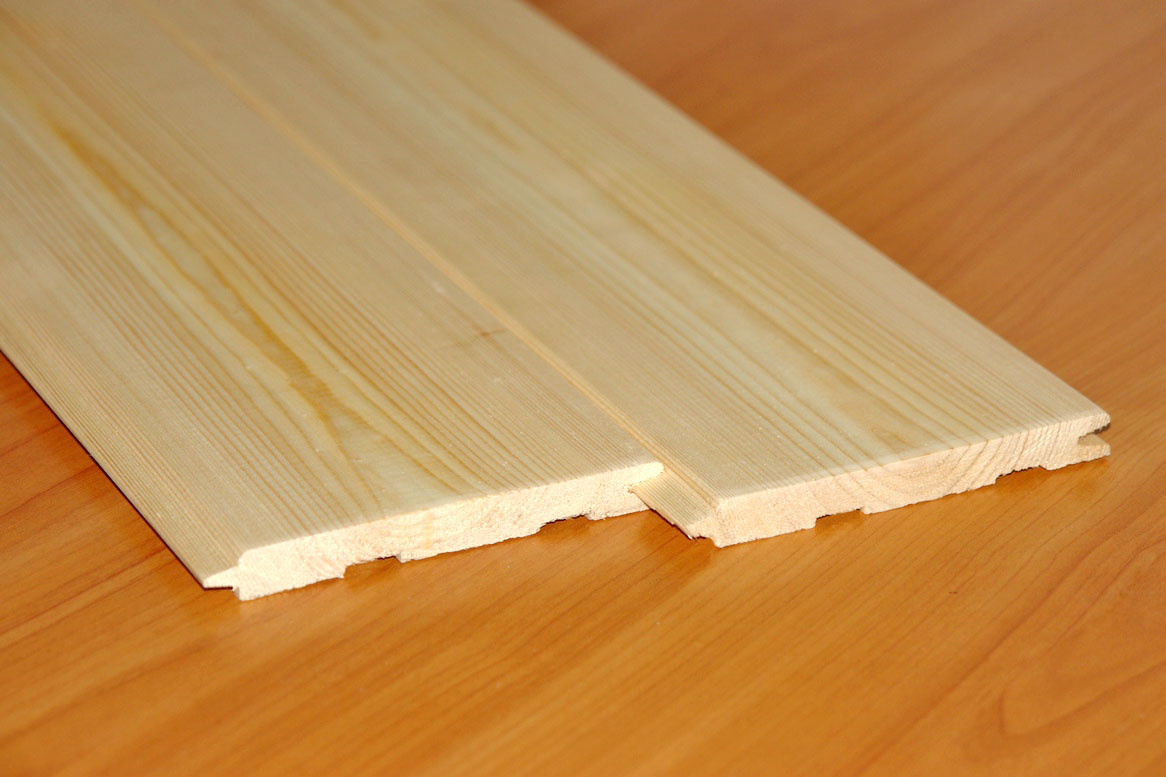
To complete the connections, turn the board 180 ° and do the above procedure on the other side. "Quarters" on the clapboard should be placed mirror, that is, on one side of the panel grooves are on top, and on the opposite - on the bottom. When mounting the finishing material, the connections are overlapped, overlapping the joints between them.
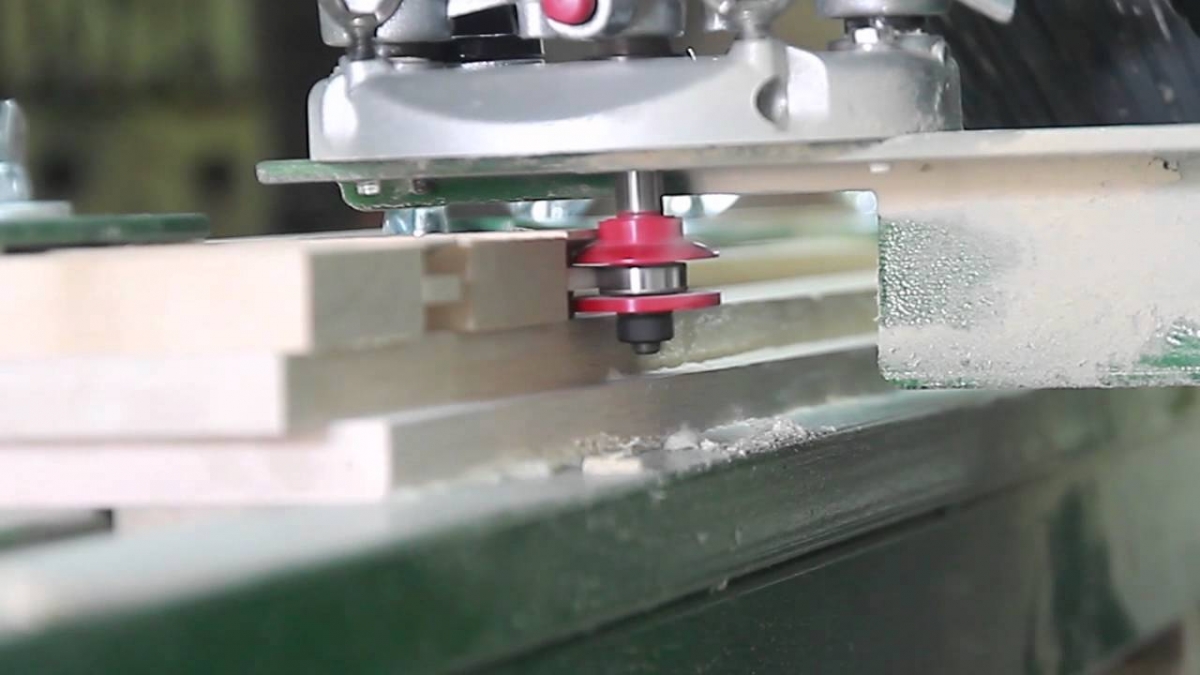
Masters recommend to process the visible side faces of the wall panel using a manual router. The equipment you need is a standard milling machine.
To work, you should choose a profile, install it vertically, fixing the paneling, and walk along it with a tool.
Tips
- Even while working at the machine, do not remove the special protection from the saw (wedge and casing). Many people mistakenly believe that these elements are necessary to protect the eyes from sawdust.Their main purpose is to prevent the wooden panel from flying back. The impact force can not only harm the master, but even penetrate the abdominal cavity.
- In order not to be distracted while working on extra items and garbage, remove all the excess not only from the table, but also from the floor. All attention should be fully focused on the working equipment or instrument.
- If the length of the boards is more than a meter, it is not recommended to work alone. In this case, you risk not only your health, but also the quality of the wall paneling. If you do not press the material to the ruler firmly enough, the linearity of the milling is broken.
How to make a wallboard with your own hands, see the next video.