How to make a wooden grill for a gazebo?

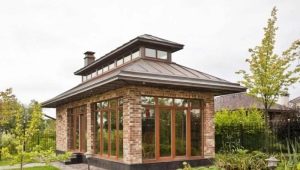
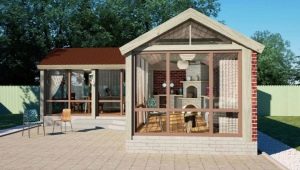
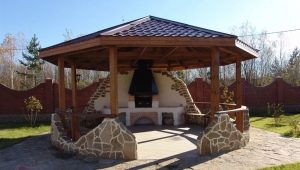
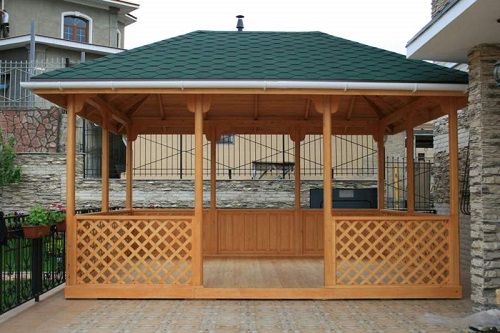
When traveling to a country site I want to make the rest as comfortable and convenient as possible. Unfortunately, weather conditions do not always accompany our desires. In order not to depend on the vagaries of the weather in the form of too hot a day or precipitation, it is better to think about the method of protection. For this purpose, a gazebo installed at a cottage or a personal plot will be suitable.
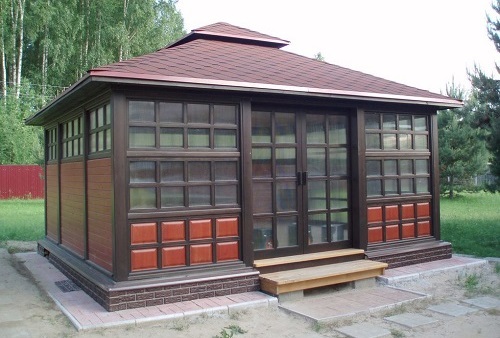
Since lately everyone has been trying to create something original in nature, a huge number of various arbors from all kinds of materials have appeared on the sales market. The choice is not difficult to make. True, these designs are expensive. If you want to make a summer house to your own taste, you can take up the cause with your own hands.
Types and features
It is not difficult to assemble the frame, sheathe it and install the roof. But to decorate the gazebo with taste is the next question.
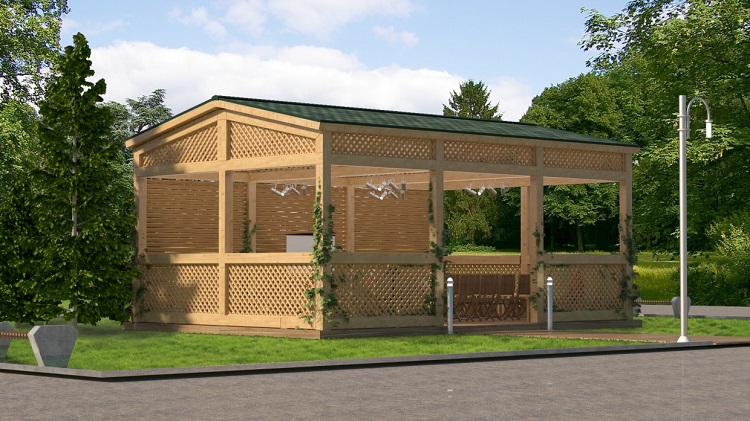
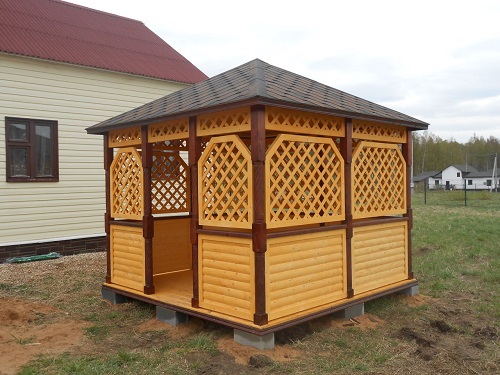
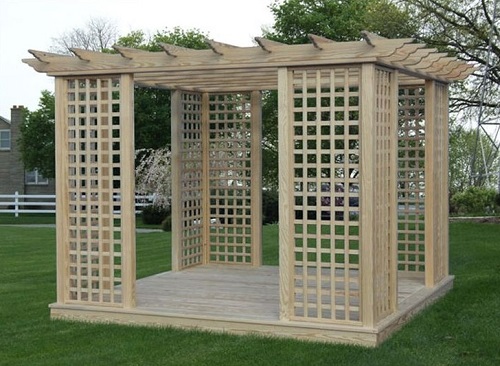
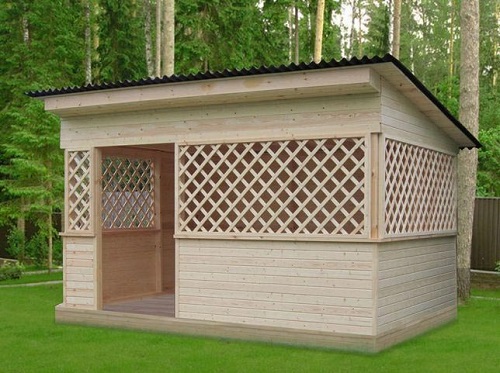
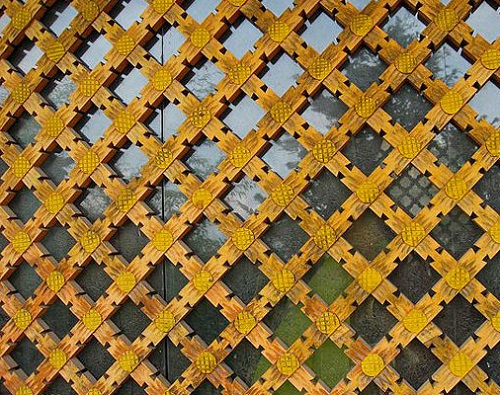
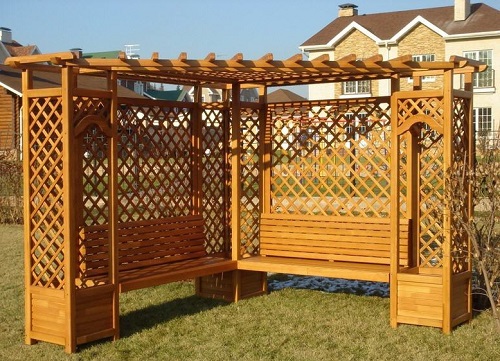
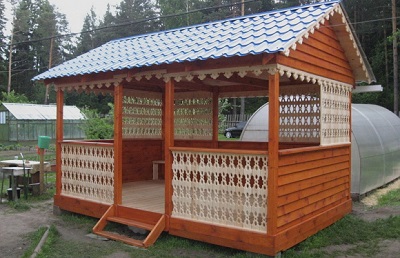
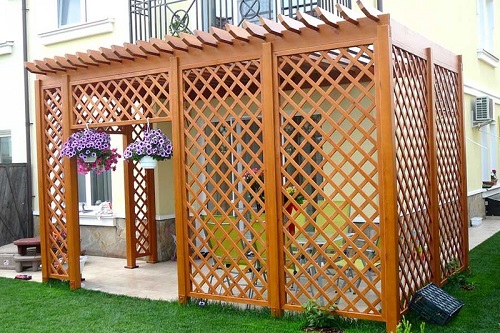
One of the most affordable and simple solutions will be the use of a wooden lattice. It will serve as a fence and will become an element of decoration. It seems to be a simple element, and the gazebo will get an aesthetic and elegant look. Moreover, it is not difficult to make it on your own and at your own discretion.
First you need to decide on the choice of material, and then apply fantasy and creative imagination.
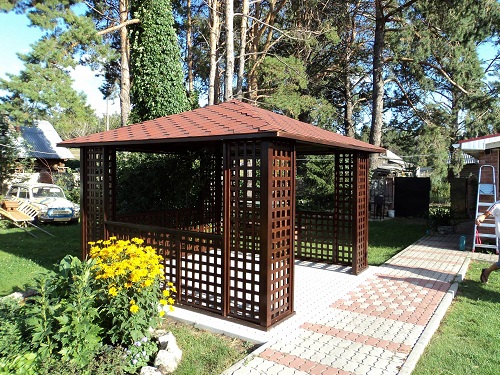
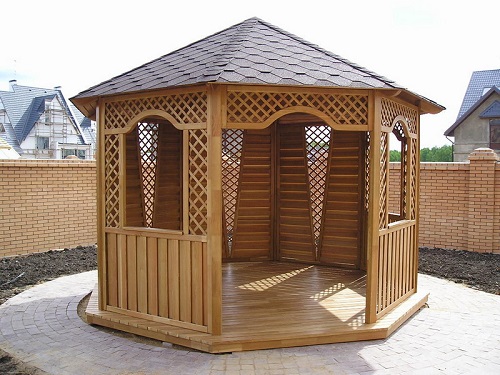
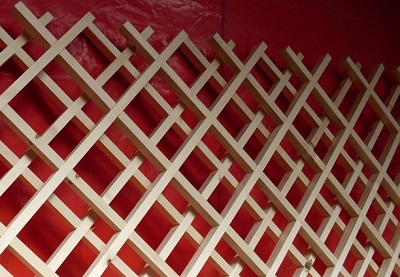
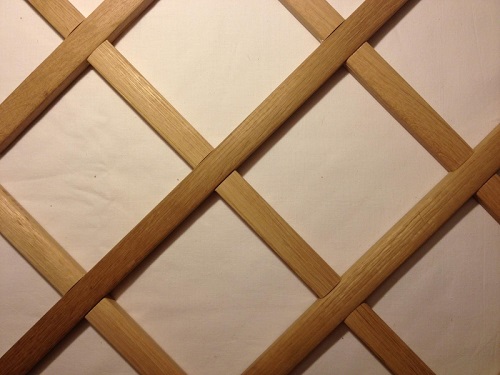
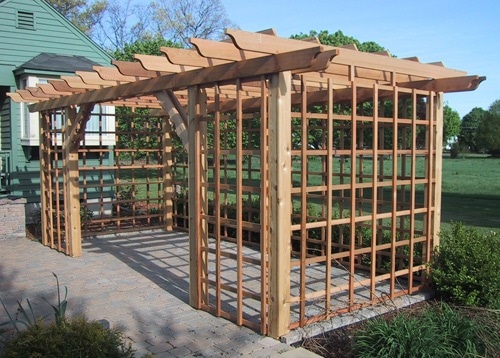
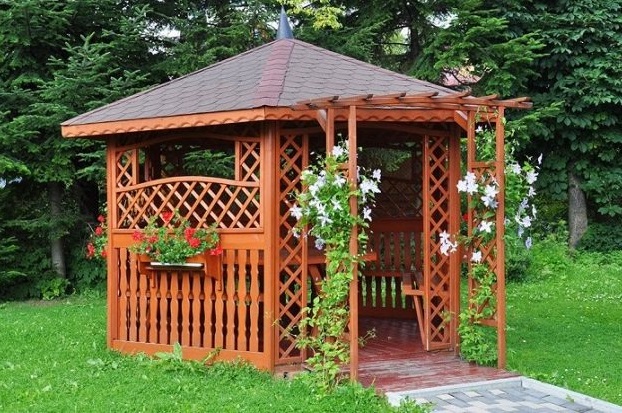
Openwork lattice parapets look light, give the whole structure a grace, do not block the light. Therefore, they can surround the pergola with a pergola.
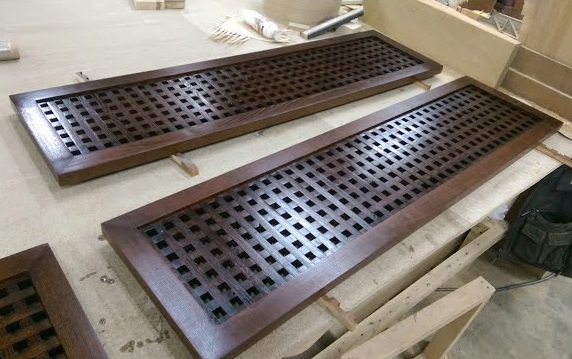
It consists of these elements: the two frames firmly hold the whole structure, between them inserts of crossed rails.
By combining slats and decorating figures in various ways, it is possible to create types of wooden grids:
- open and closed;
- with interlaced bars;
- with the connection into the grooves.

Location
Different ways of stuffing slats will lead to pictures:
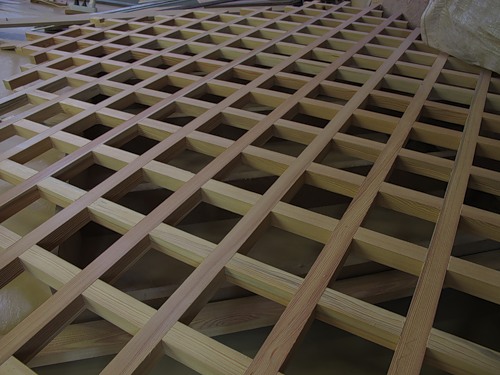
- in the form of rectangles;
- in the form of a diagonal.
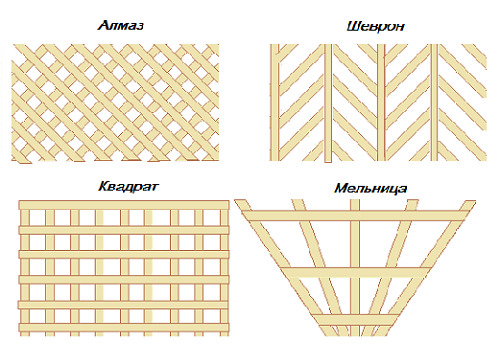
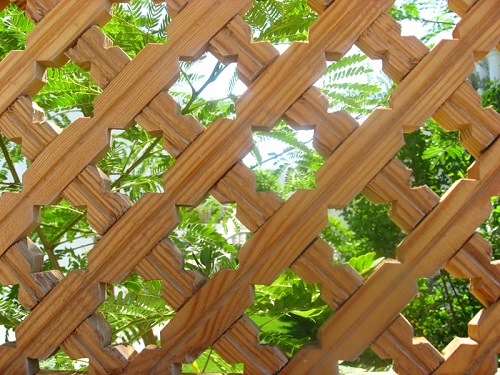
Very beautiful picture is obtained by crossing the narrow slats. The impression can be increased by cutting out different patterns: in the form of teeth or waves. Their implementation at the edges of the slatted strips creates an excellent design.
If you can not make patterns due to the lack of suitable tools, you can order them to the carpenter. You can buy in the store ready-made patterns.
Materials and tools
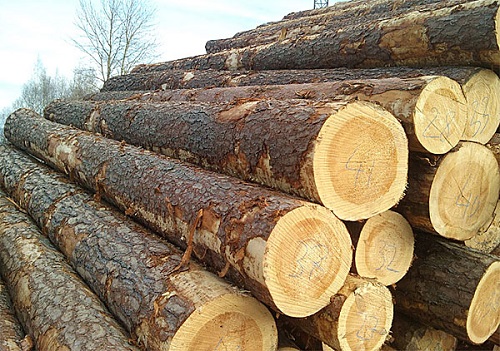
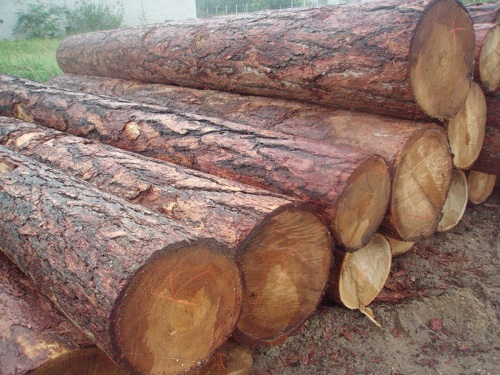
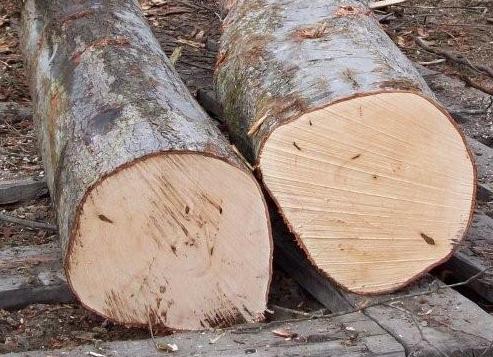
For the manufacture of lattice experts recommend different types of wood. You need to opt for one of them, which is durable, reliable, easy to work and suits the price:
- Pine has good flexibility and endures weathering conditions;
- oak known for its durability and excellent texture of the material;
- larch it is easily processed and is the most reliable material for the service life;
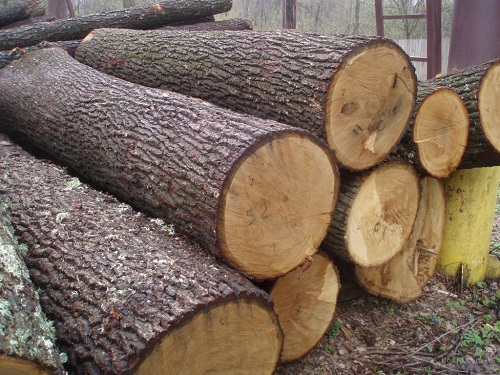
- ash not inferior to oak for durability and has a light color;
- beech attracted by the beauty of a pinkish tint, flexibility of texture and impact resistance;
- Birch tree easiest to handle, but inferior to the rest in durability and strength.
Among the listed tree species can be noted as the best oak, beech, larch, but they are the most expensive ones.Ash is next in price, followed by pine and birch. If the financial side requires savings, the best option would be pine. Birch does not have a long service life: it is easily destroyed and rots from temperature fluctuations, under the influence of bacteria and fungi.
The first step is made - the material is selected.
The second step will be the preparation of the necessary equipment. The set of tools depends on the type of grille that they decided to make.
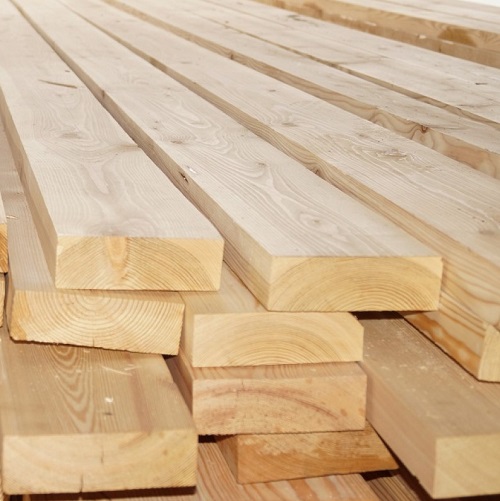
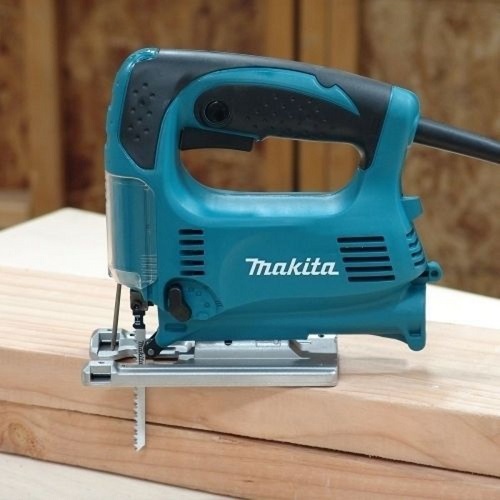
If the grille is simple, you need materials: wooden bars 25x40 mm, slats 20x10 mm, screws and screwdrivers, nails and hammer, sawing or electric jigsaw, impregnation and painting materials of choice, ruler, waterproof glue for wood, mosquito net.

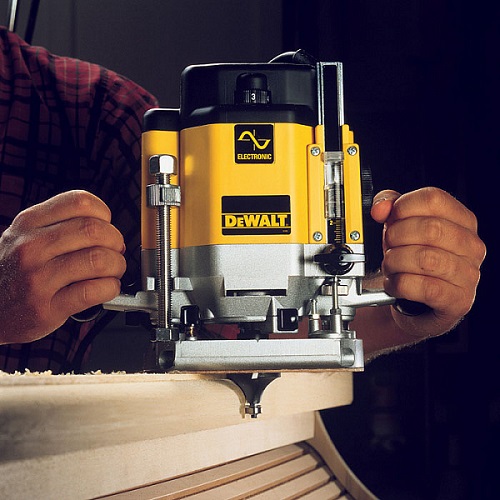
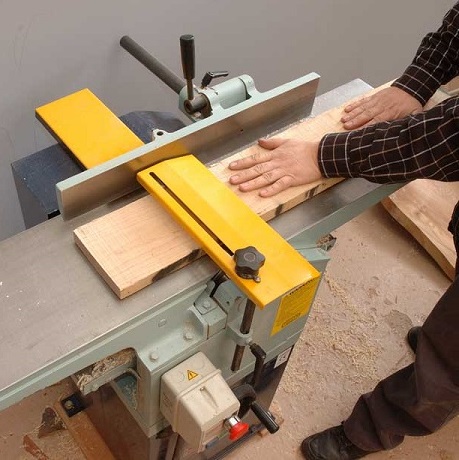
Trying to make a complex type of lattice is desirable for those who have experience with wood. For such work, you will need a more complex set of tools: a milling machine, a circular saw, a carpentry table, a thickness gauge and abrasives for working with finished slats.

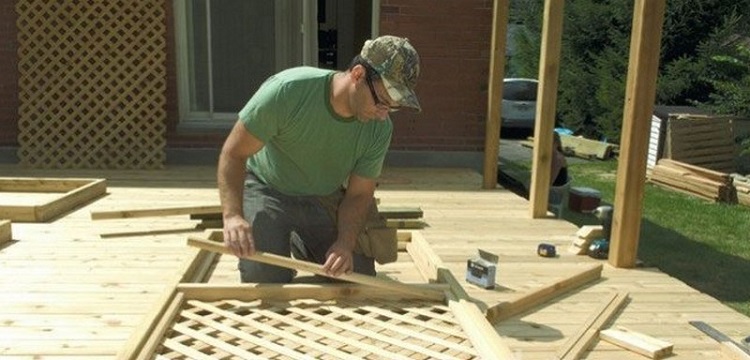
Do it yourself
Consider in more detail the procedure for the manufacture of the lattice.
Frame making
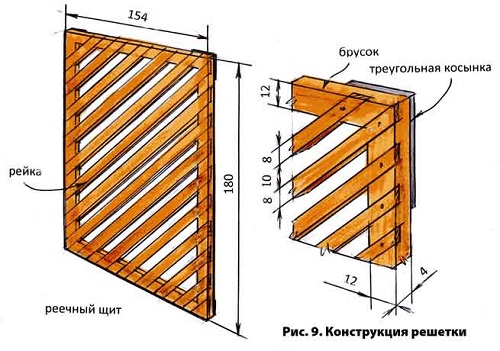
The best working material will be a bar of 20x45 mm. It is not massive and visually looks aerial, which can not but affect aesthetics, in contrast to creating a skeleton from wider and larger bars.
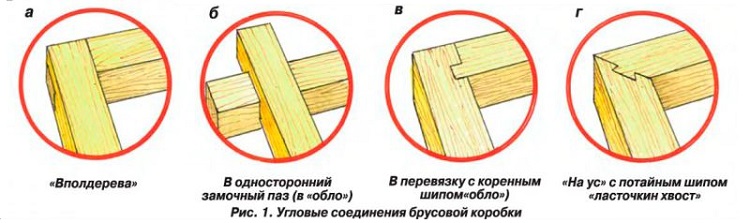
If the lattice is small, it is enough strips 20x10 mm. It is recommended to fix the frames into a complete product with the following techniques:
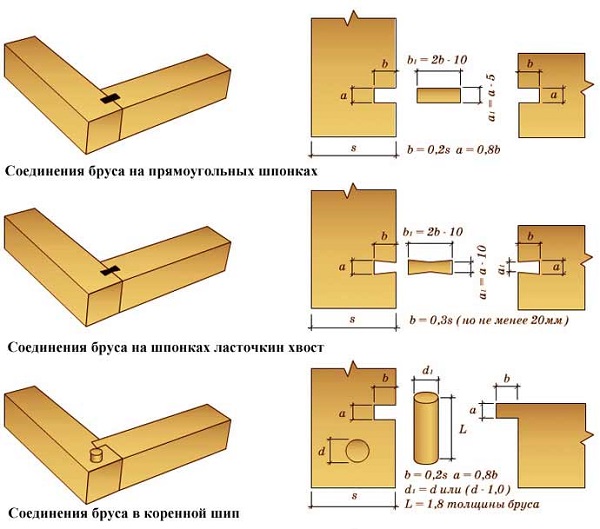
- in "thorn";
- sawing grooves;
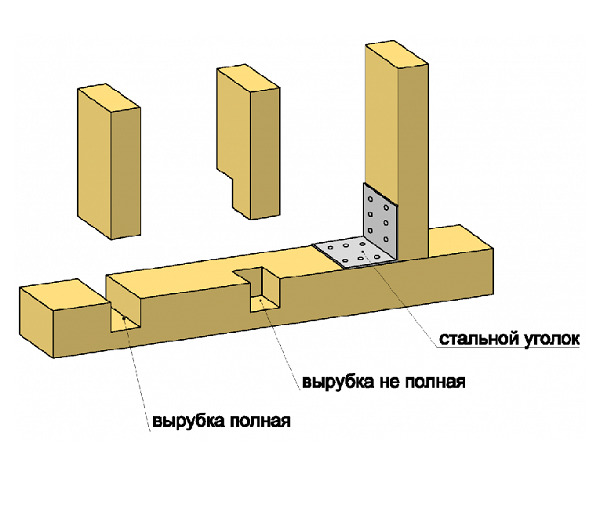
- using metal fasteners (use nails, screws);
- using plug-in slats "on the mustache".
Assembly
It is safer to mount "in the spike", although this method requires a certain experience.
You can make grooves at the ends of the bars and join them with glue. For full fastening, drive the carnations into the corners, first cutting off the caps so that they do not spoil the overall look.
In the second case, grind all the bars at an angle of 45 degrees, then perform the grooves and insert a “mustache” - an additional rail to fasten the bars and slats. “US” fix with glue and nails prepared in the same way as in the first case.
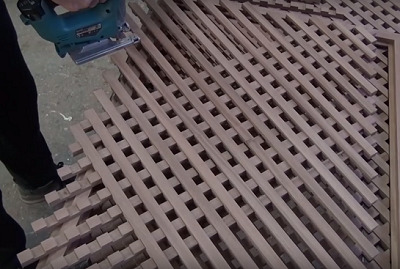
Having assembled the main frame, you can proceed to the execution of the folds, making the necessary grooves or nailing slats of the same kind that went onto the grille. The grooves are best done on the machine: manual processing may not give the desired accuracy. To simplify the work, you can fill the planks facing the frame, cutting down the corners. This will help close the ends of the batten, thus making the design more beautiful.But if the ends go into closed gaps, folds are not needed. One grille consists of two identical frames.
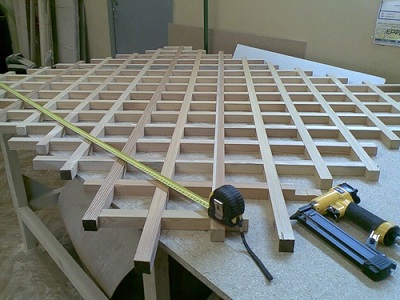
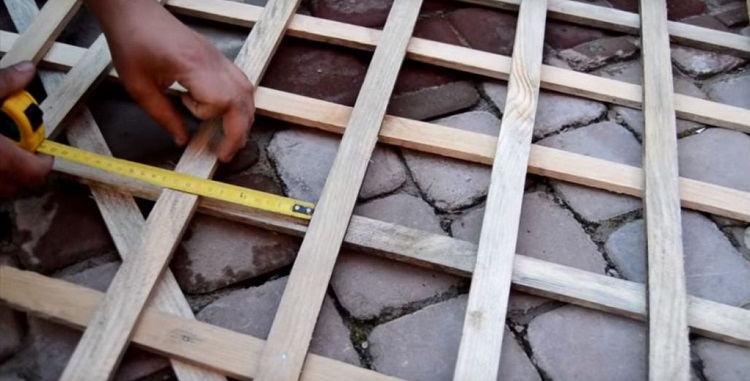
Creating a grid with a diagonal intersection is not difficult - the slats are packed onto the frame, and both frames are joined.
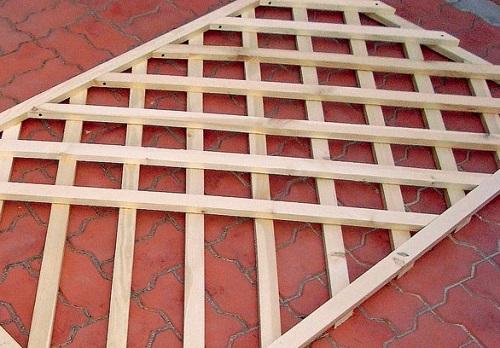
If a rectangular intersection is selected, the slats are nailed into two halves in different ways - vertically and horizontally.
You can create a rhombic lattice by placing the slats diagonally. Then between them and the frame will remain a distance of 45 degrees. To avoid such gaps, it is first easier to put labels on the frame, folding the slats at the same distance.. Work needs attention. Having fixed the slats, cut off the excess ends with a saw-jigsaw or jigsaw. Do another part of the frame in the same way.
The finished frame to impose a mirror image, turning the folds inward. So, the slats are crossed, creating a weaving in the form of a diamond. Before fixing the frames, it is advisable to fix a mosquito net that will protect against insects.. Both bases are fixed with glue and additionally with screws in the corners. For reliability at regular intervals nail nails without caps.
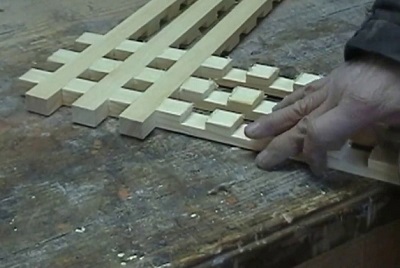
It is more difficult to make a one-piece lattice connected in grooves.It requires fastening the slats into a complete frame by making the grooves. It will come in handy tools prepared for a complex type of work: carpentry table, circular, machine.
Half-thickness grooves are worked in the slats.. After cooking, sandpaper them and fit them together.
If the strips are not wide, prepare the grooves on a utility board of a suitable thickness, and then cut it into the necessary pieces.

To facilitate the work, suitable template blank from bars and plywood. Set the finished template with an allowance of 1 mm in relation to the thickness of the strap. Align all wooden parts with a surface gauge.
Finished strips are easy to assemble by installing the grooves into each other. This is how the grid is formed. Between the slats usually leave a distance of 5 cm. If the lattice design is intended to cover the entire wall of the gazebo, between the slats you can allow a distance of 10 cm. It remains to align the entire workpiece and secure in the frame. If before it to cut grooves in it, appearance will save beauty. After all, the place of attachment of the lattice to the frame will not be visible, and the whole gazebo will look light and elegant.
If you approach the case creatively, it is easy to arrange the upper parts of the lattice curved, broken or arched form.
Option "to sweat"
This is another type of lattice fabrication.It is considered more difficult, so it would be good for him to have some working skills. With this option, the slats do not overlap, but are embedded into each other.
The procedure is as follows:
- slats are laid out according to the planned design of the lattice in a rhombic or square form;
- separately on each plank, the markings are made by hand or on the machine, the grooves are half the thickness of the wood;
- the strips are inserted one after another into each other, the effect of a continuous web is obtained in the form of a rhombus or a square. Externally, the grille has a sophisticated look.
Remember! For durable and reliable gratings, use larger bars and slats.
The advantages of the “sweat” method are:
- getting an elegant lattice;
- do not prepare the second frame.
The disadvantage is the extra work of sawing the grooves.
Design
A beautiful trellis is already a decoration of the infield. If you want additional decor, help paint, climbing plants.
Wood has a unique, unique structure. It is decorated with natural patterns that are sufficient to highlight with varnish or impregnation. They also protect the tree.From the varieties of wood is better to choose the color that is more like or suitable for the rest of the site design.
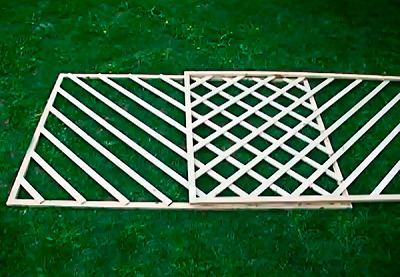
There are many forms, patterns of wooden lattices.
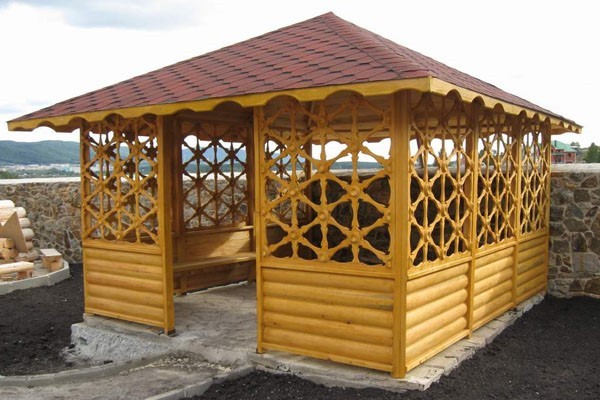
For example, diagonal (diamond-shaped). The most beautiful design, but glazing is impossible, which means it is a less practical option. Rectangular shapes resemble a regular window, with larger cells for glasses. Or the crate may consist of various patterns - these are Asian exotic motifs. But, having no experience in woodwork, it is too difficult to make them yourself.
Another option may be the manufacture of double diamonds: the location of the rails in the middle of the frame more often than at the edges, or in reverse. It turns out a very original look.
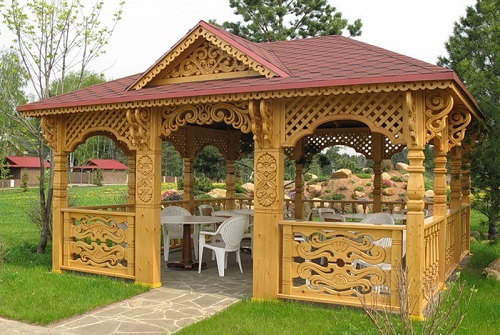
Look beautiful double wooden mesh. There is an option - cut cloves at the edges of the rails. It will look like lace, especially if you managed to make the cloves smaller. Craftsmen decorate the lattice with carvings or figures, which is an interesting solution. But here it is important not to overdo it with the amount, so that beauty does not turn into coarseness.
At the end of the work, the ready-made arbor is varnished in many cases.But with fantasy, an additional touch will be coloring. Designers recommend turning to white paint, which will give the design style and modern look.. Coloring in different colors of the arbor and gratings will also be original if the color solution is well chosen.
To improve the design of the carved arbor, you can plant creeping plants near it: wild or homemade grapes, lemongrass, decorative ivy, curly rose hips or roses. In a few years they will weave a gazebo, shading it from the sun's rays, and will delight with the smell of flowers.


Wood care
To saturate the frames and grilles, apply antiseptic agents and paint preferably until the time of assembly. It is also better to paint the frame before fixing the grille into place. If you paint the assembled design, it is difficult to manage with large volume. In addition, the places of superposition of parts on each other can remain unpainted. This will worsen the appearance of the gazebo.
The durability of the structure will also suffer due to unprotected processing places. Now there are enough antiseptics on the construction market, the use of which during processing will retain the color and patterns of wood.They can also be used before painting gratings.
It is important to consider that it is possible to cover the grilles with varnish or use oil for exterior work. It has the following advantages: it tolerates different temperatures well and is not afraid of moisture.

It is not difficult to make a lattice from the tree of the selected grade on your own. Even if the lightest types of designs are chosen. Handmade with love and diligence, the products will be a great decoration for a garden gazebo. In the same way in the future, you can decorate and an open veranda.
In addition to the pleasure of his own work, each master will provide a significant savings in the family budget, because he saved money on the production of decorative items in the carpentry workshop.
How to make a decorative wooden lattice with your own hands, see the video below.