Laying tiles on the floor: the subtleties of the process
The choice of flooring is currently a rather complicated process. The range of building stores is extensive - any buyer can find everything they need. The stores presented a fairly large catalog of various colors and textures. However, practical people prefer floor tiles. First of all, because the material looks great, washes quickly and has a long service life.
Special features
The floor tiles are recognized by special markings on the packaging - usually a black square with a white shoe. In order for ceramics to serve for a long time and bring joy to their masters, it is necessary to approach the issue of its selection correctly.
The tile possesses a large number of various characteristics. Hardened versions or more wear-resistant models are on the building materials market. These are ideal options for laying the floor in any room.
Purchase
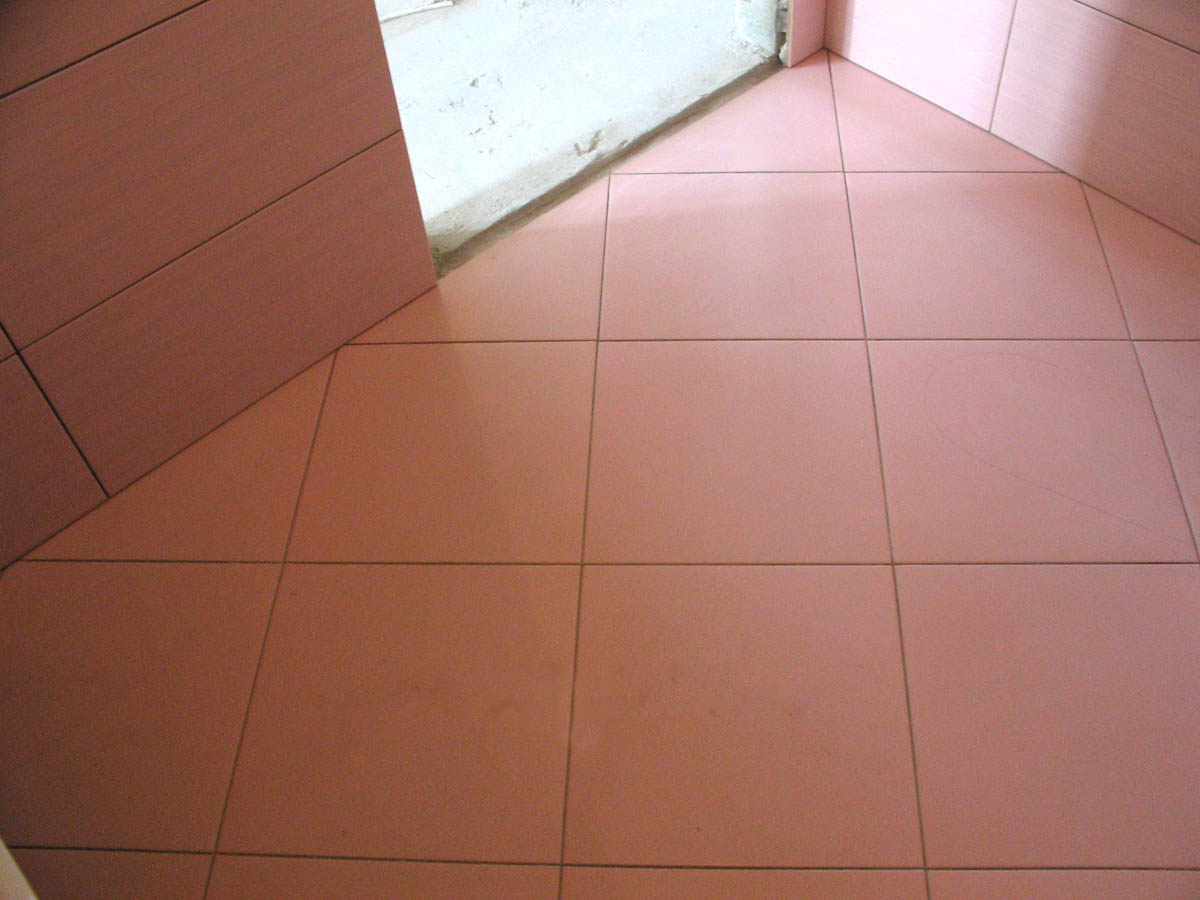
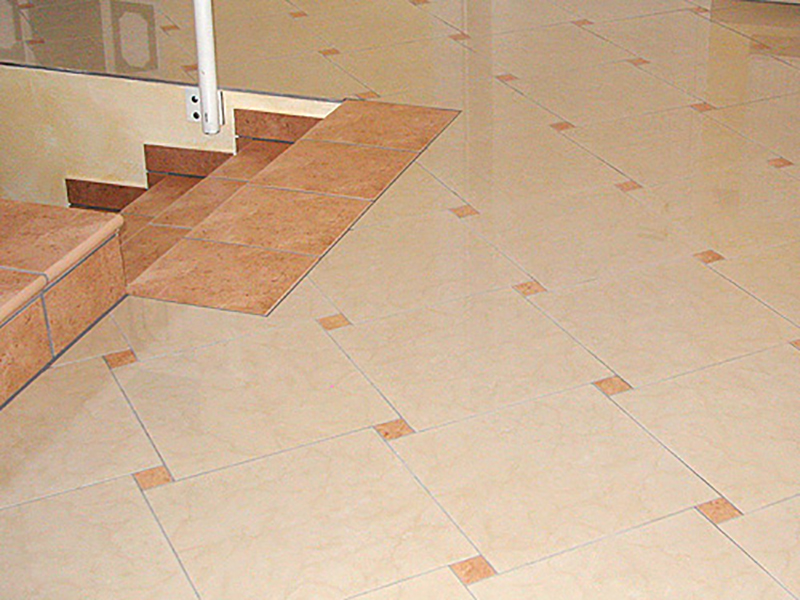
An important point when choosing tile is to study its appearance. For laying tiles on the floor is best to choose a model with a matte surface.: this option will be less slippery. When choosing a gloss it is very easy to fall and get various injuries. The matte surface is also more resistant to various means of household chemicals.
You need to choose the material in accordance with the area of the room. A large tile will look alien in a small room and, conversely, from small tiles in a huge room can begin to ruffle in the eyes.
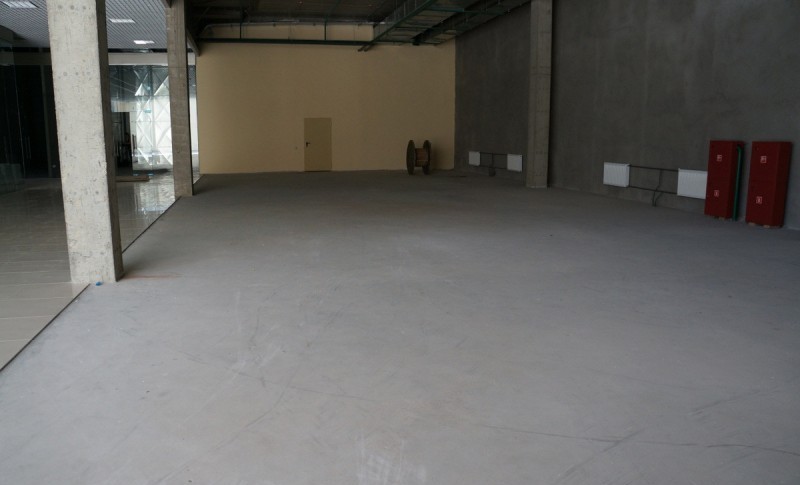
Surface preparation
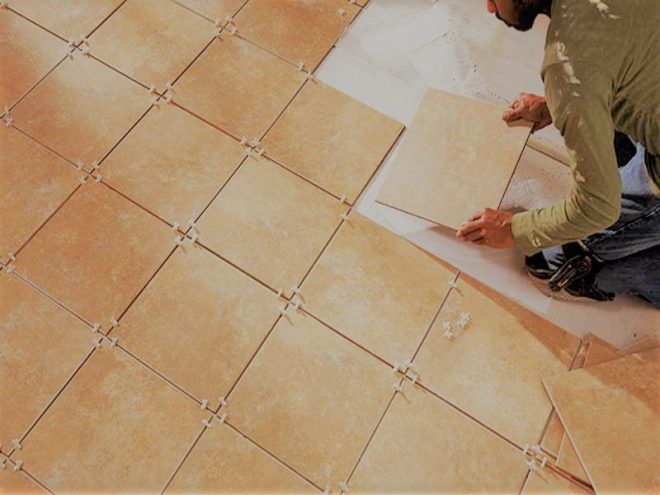
To put a tile on the floor requires sufficient experience and skill in the construction business. In addition, you need to know the rules of laying tiles, choose the right tool and be prepared for everything that awaits you in the process.
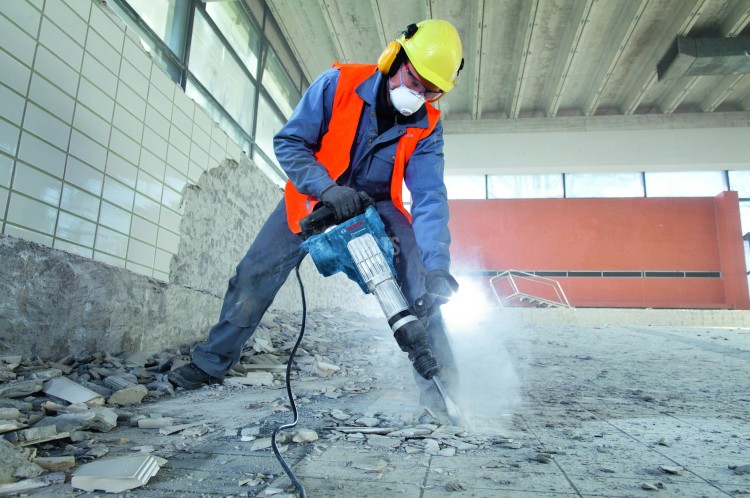
The floor on which the laying work will be performed must be properly prepared. It should be smooth, firm, clean and dry.. To do this, it is necessary to remove all old coatings to concrete or cement screed, which is done in any case before work begins. Then it will be much more convenient to lay tiles.If the products are planned to be laid on an old basis, then other preparatory work is needed.
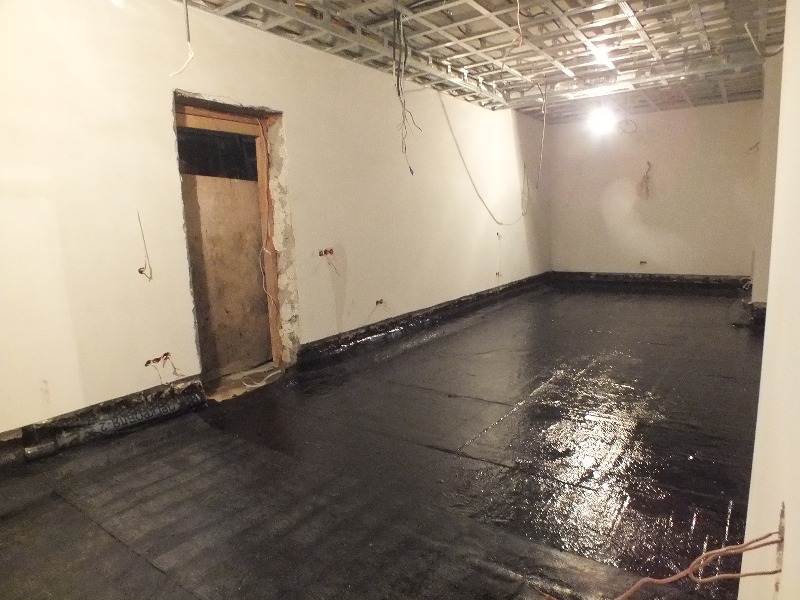
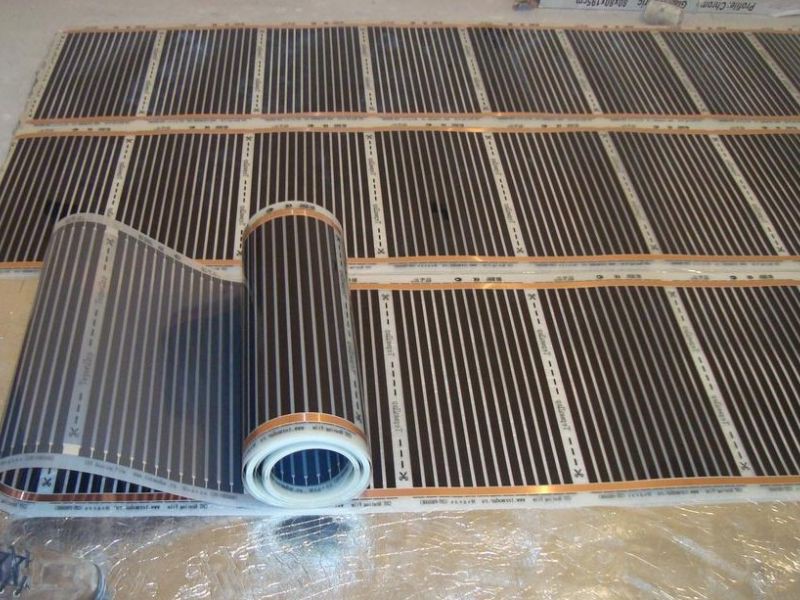
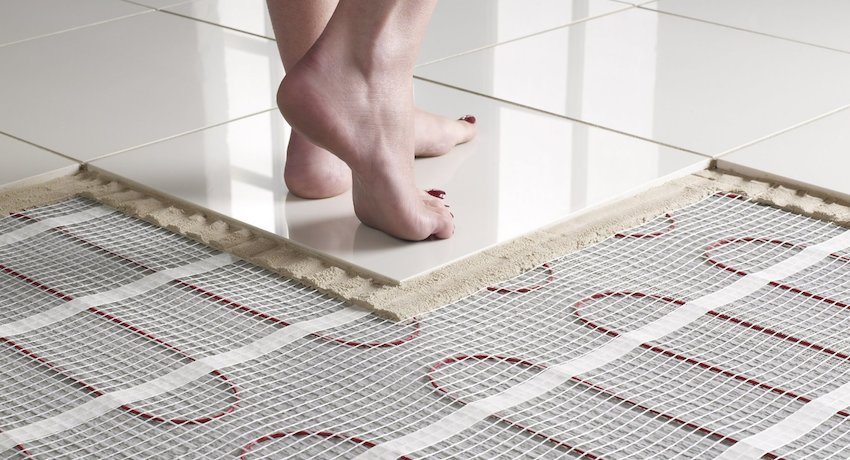
For rooms and rooms with a high proportion of moisture, waterproofing agent must be applied. Still very often after laying the floor tiles, the owners complain about the cold under their feet. Therefore, in the first stage, it is not too late to take into account the installation of a system called “warm floor”.
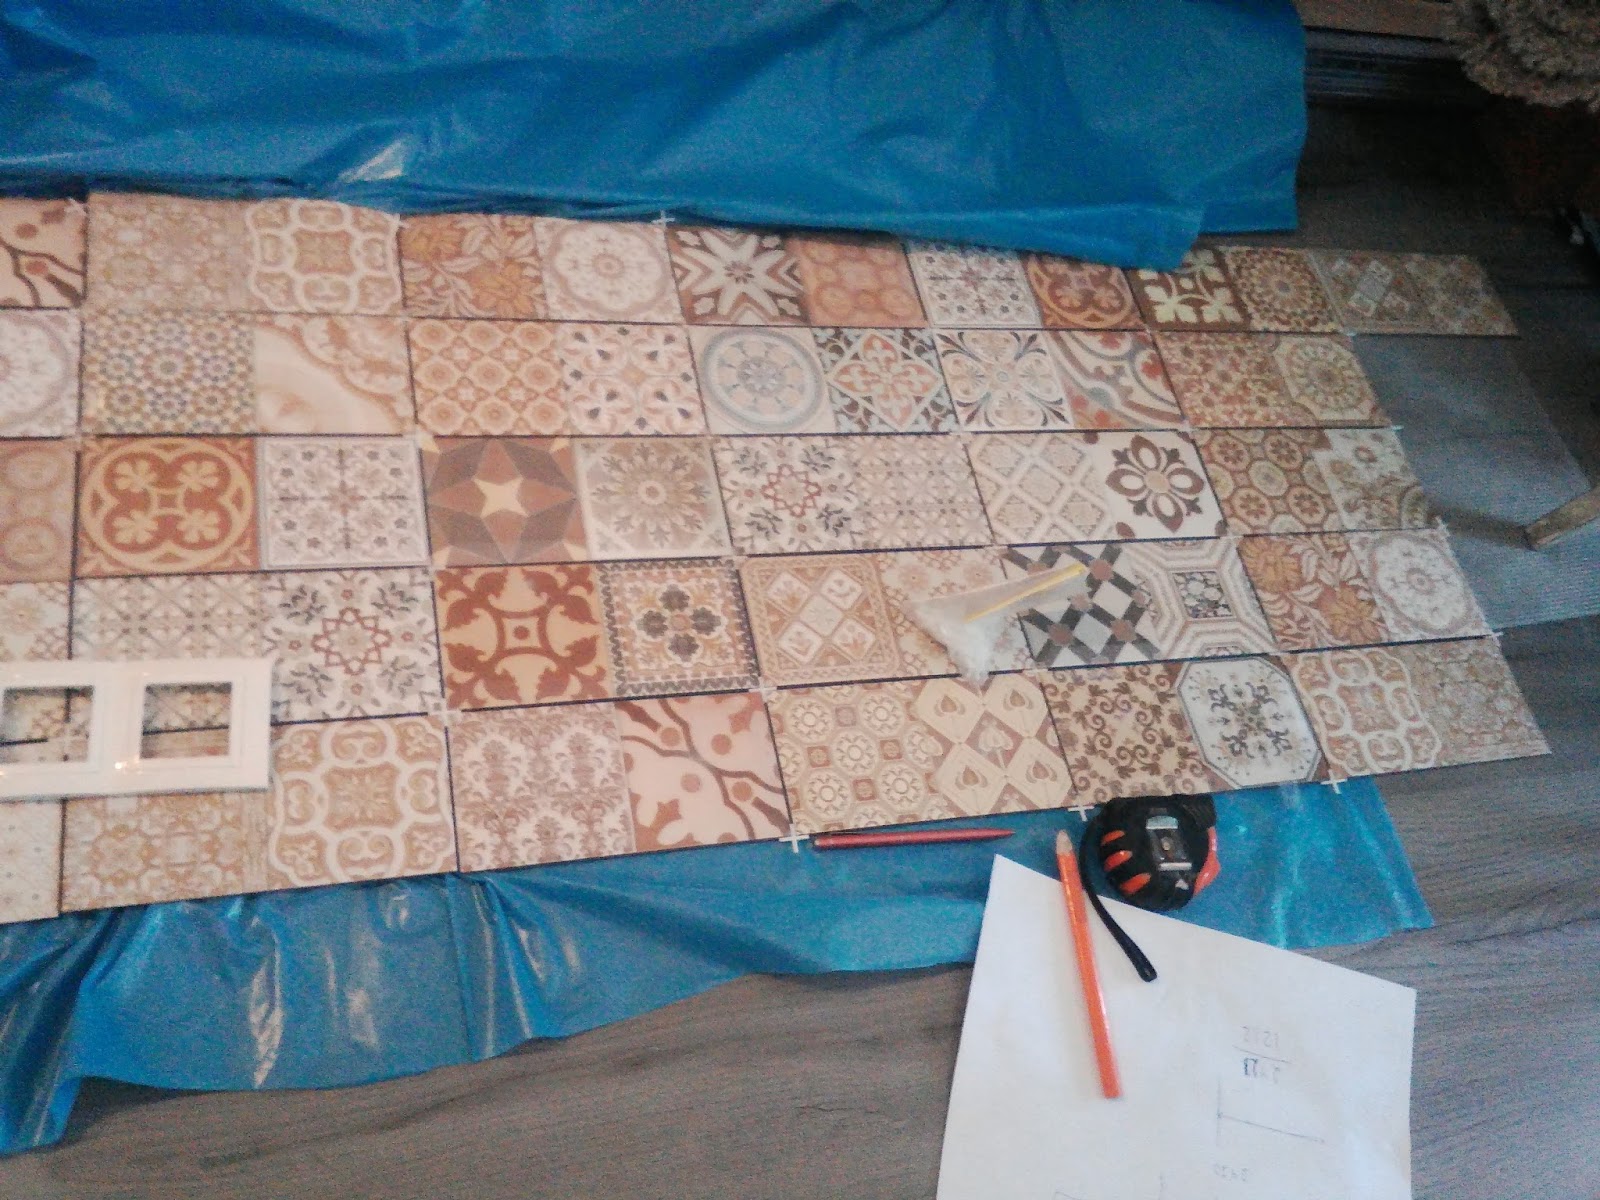
Fitting
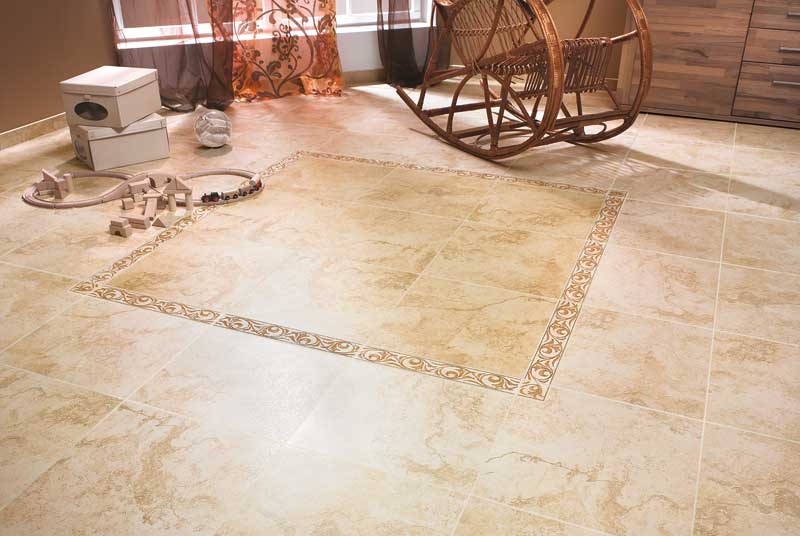
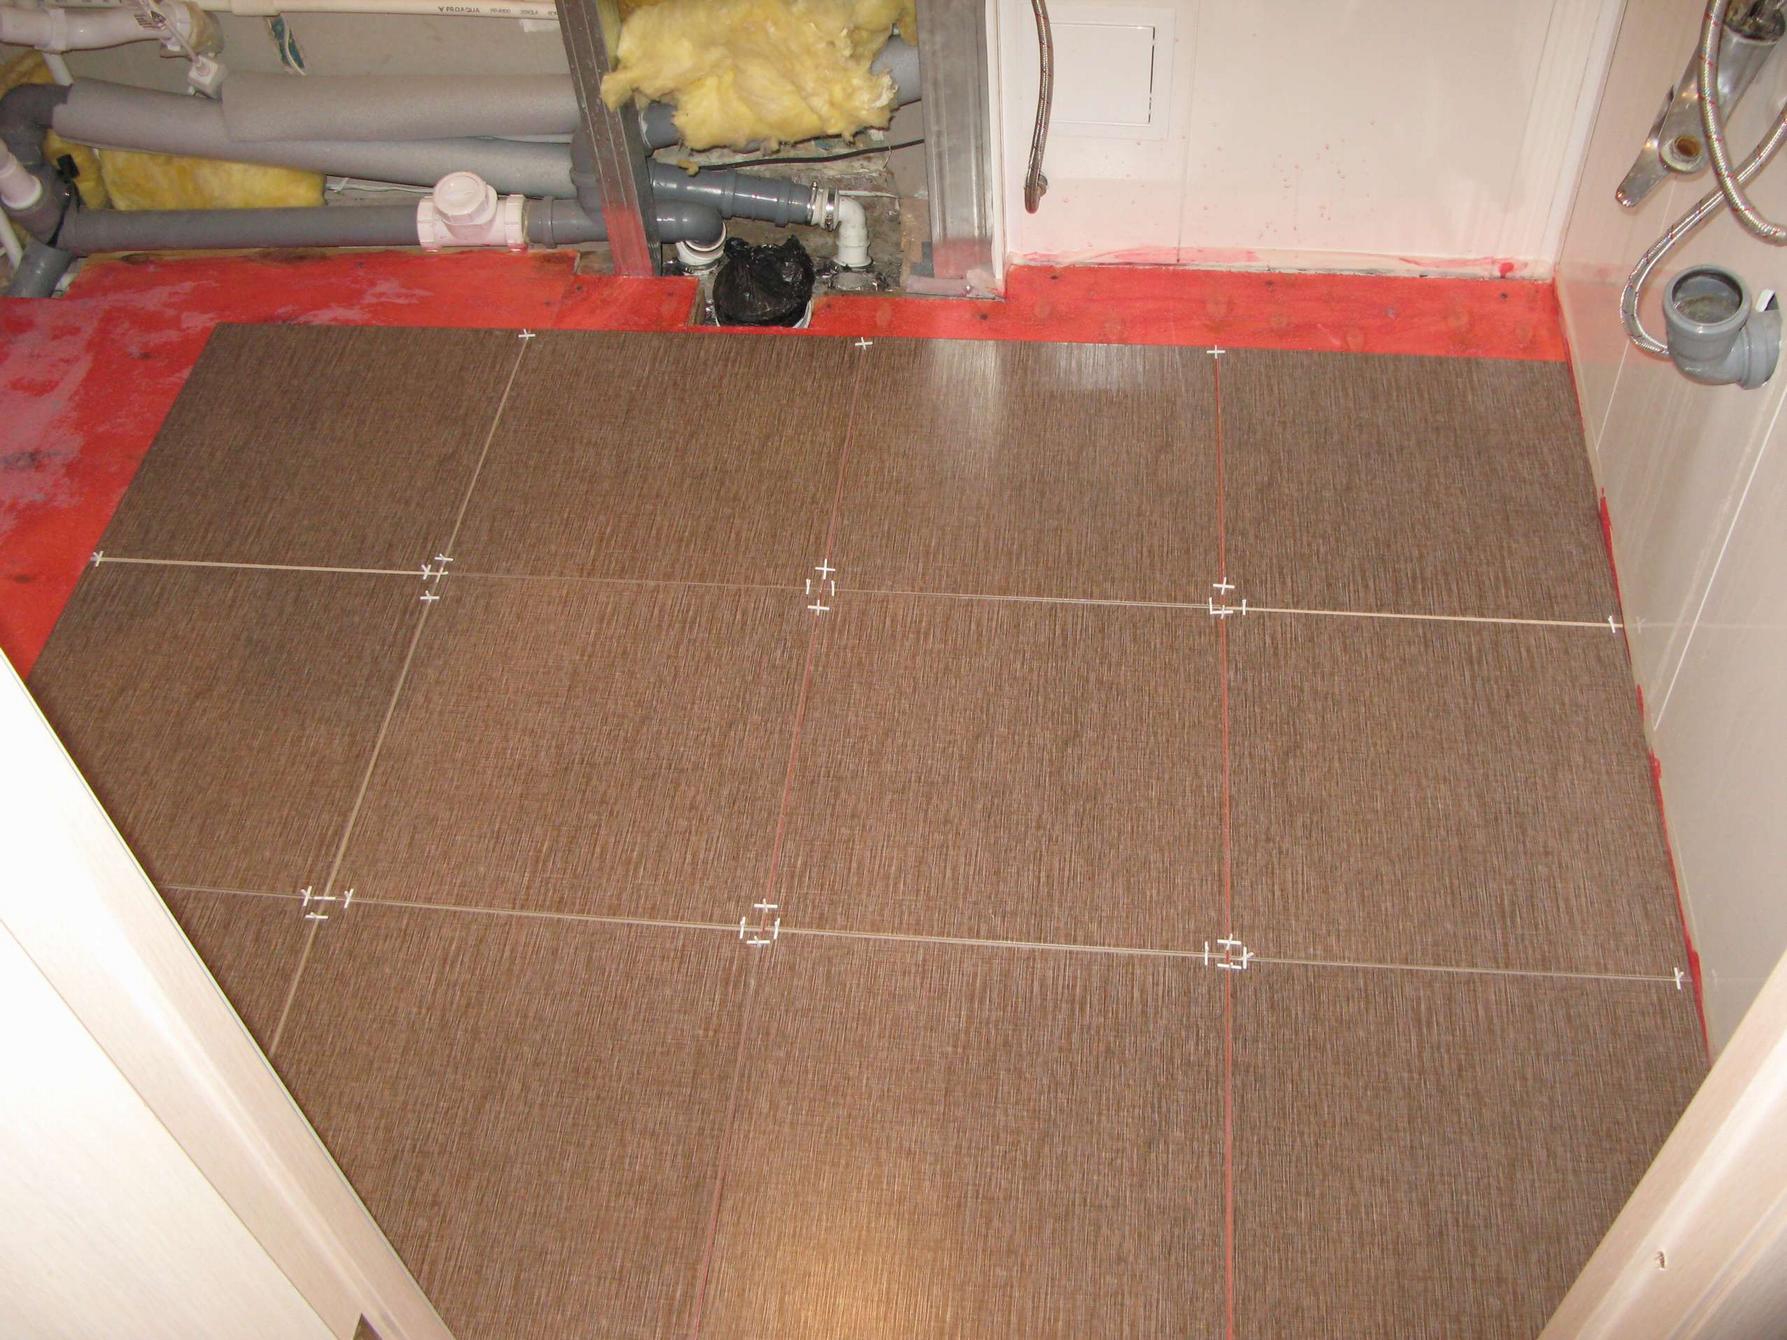
After completing all the work on the screed and waterproofing, you need to lay out some fragments of tile on the floor. This technique is particularly useful for those masters whose tiles have an ornament or a clear pattern.
Pre-layout will determine the location of the pattern. In addition, some batches of tiles may differ in color and when there is no possibility of return or exchange, such forethought will help to choose the best combination option.
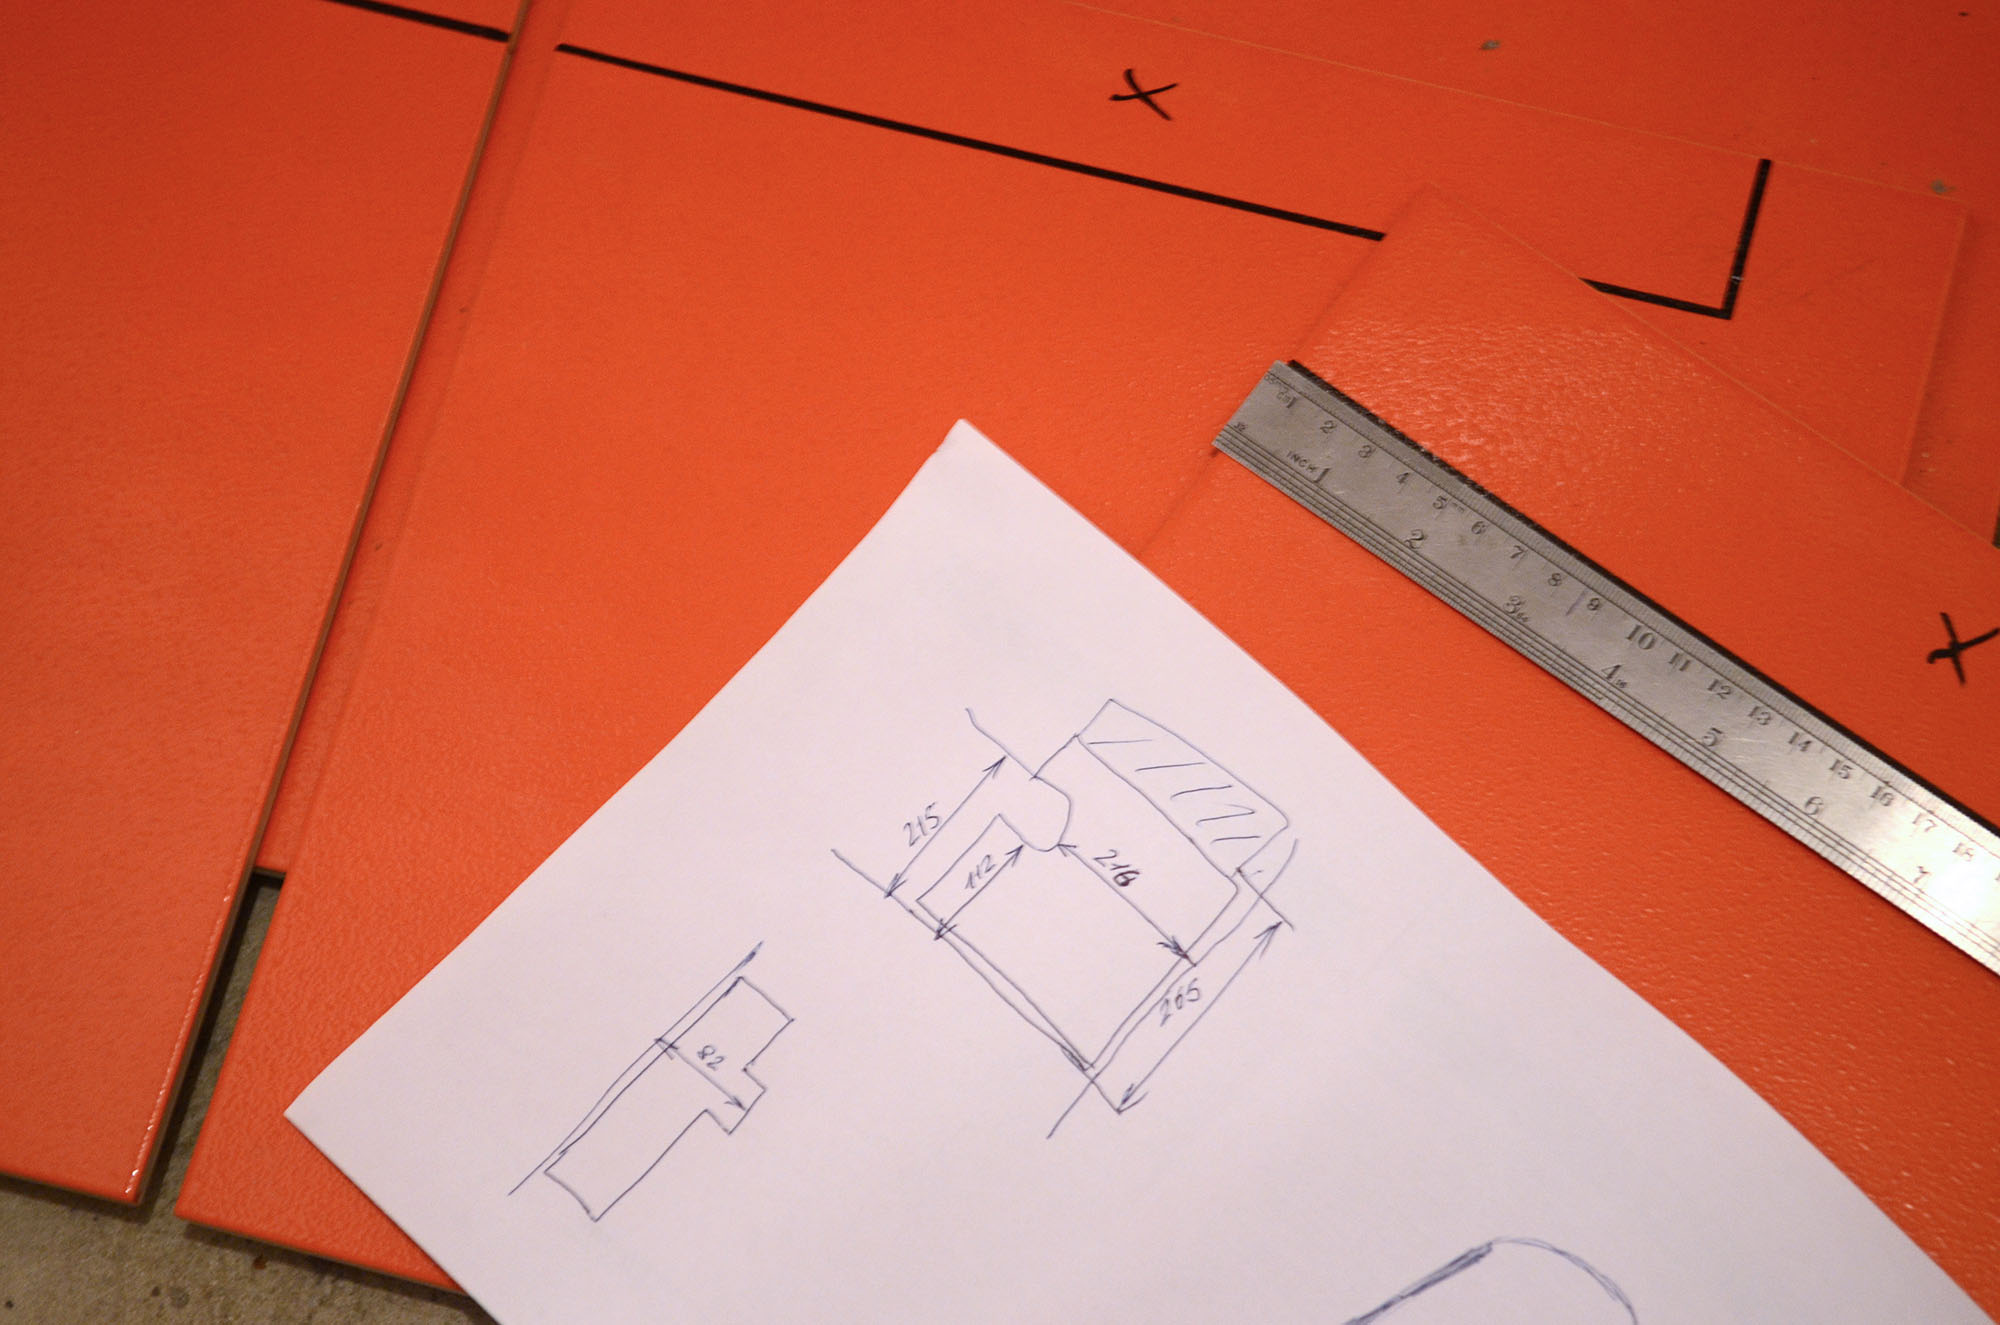
It is important to put a marker on each tile. Then in the process of work it will be much easier to lay out the picture.
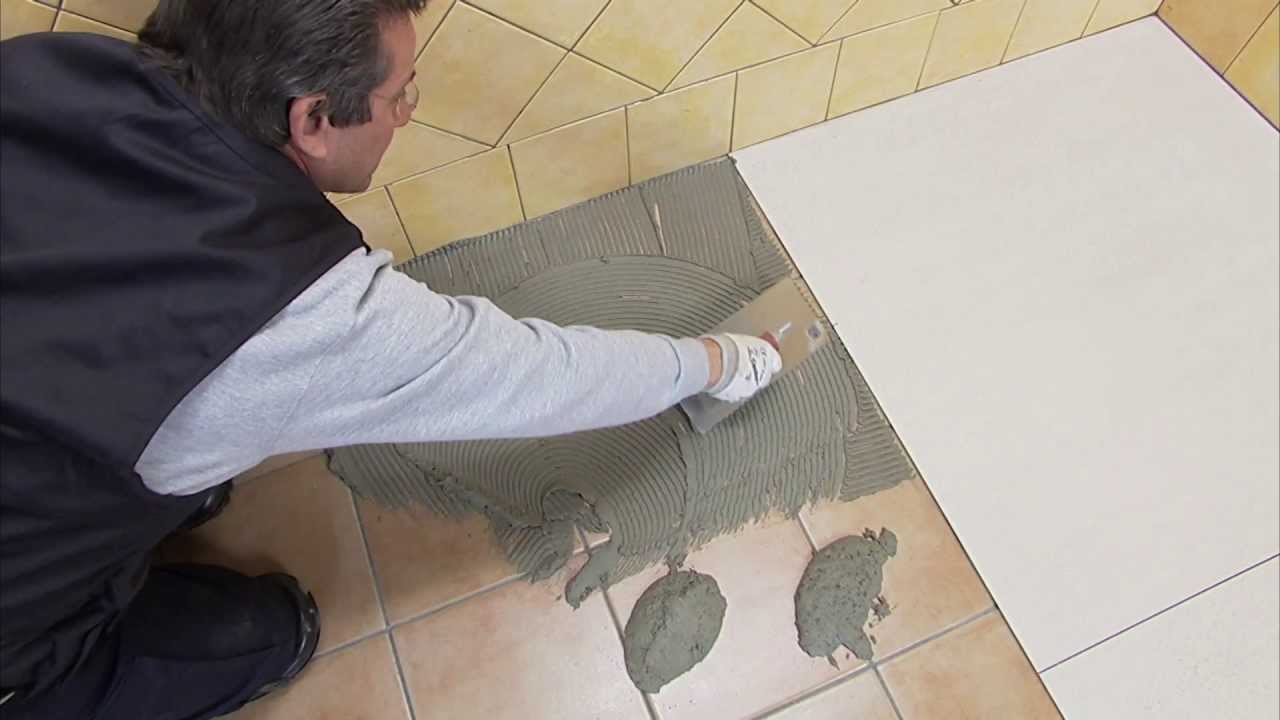
Piling
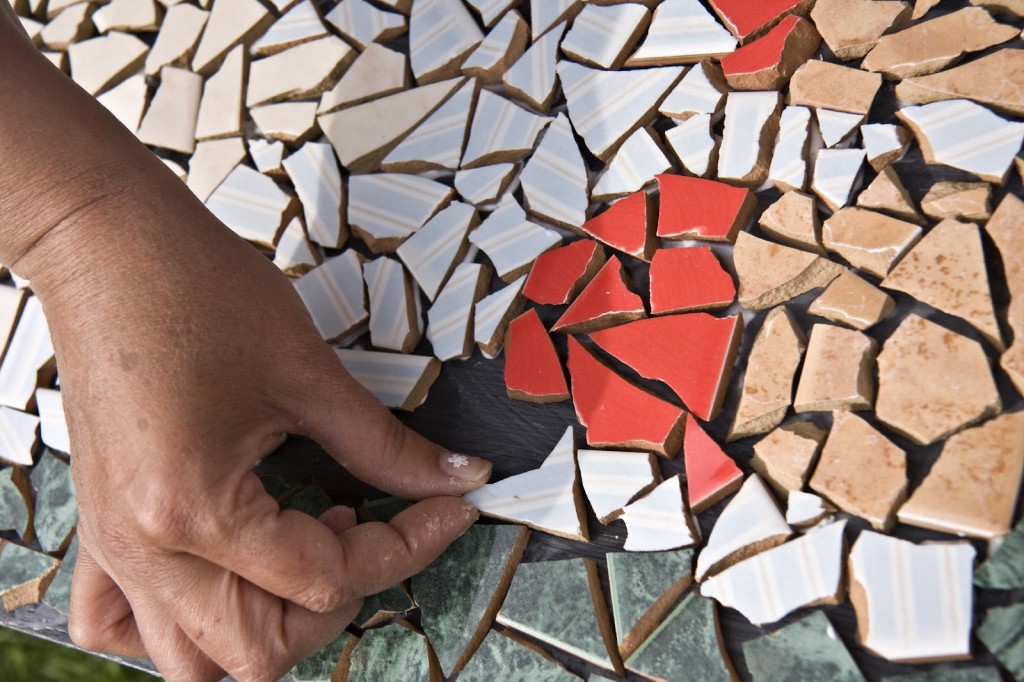
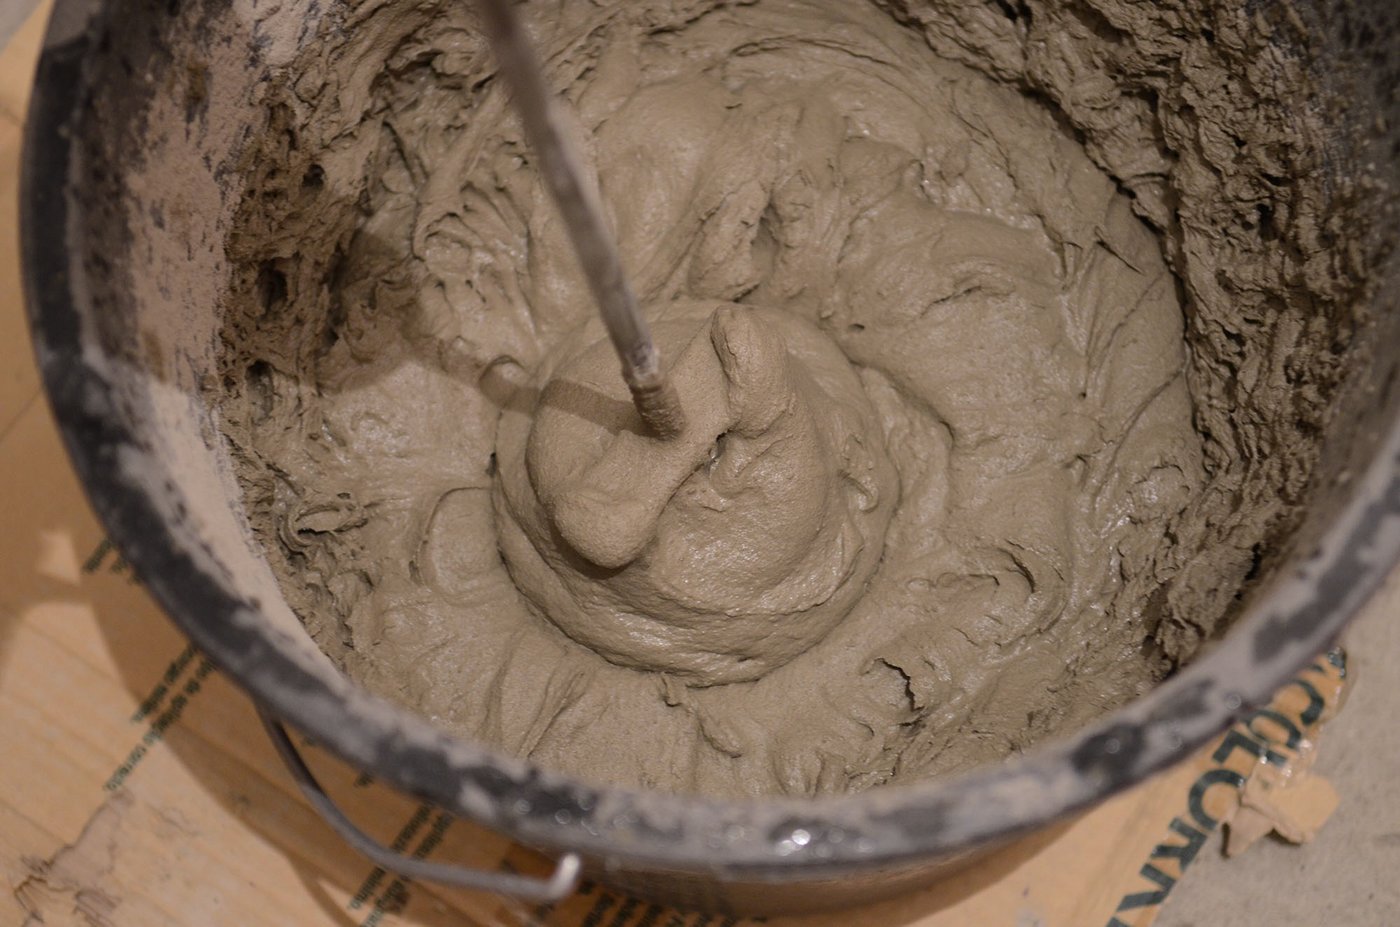
Much attention is paid to the mixture for laying the flooring. It should be homogeneous. Too thick or liquid mixture will not work.If in the process of work the master broke the tile and it is impossible to purchase a replacement in the store, then the professionals have a proven reception to this effect. It is necessary to crush the old tile and lay it in the form of a mosaic.
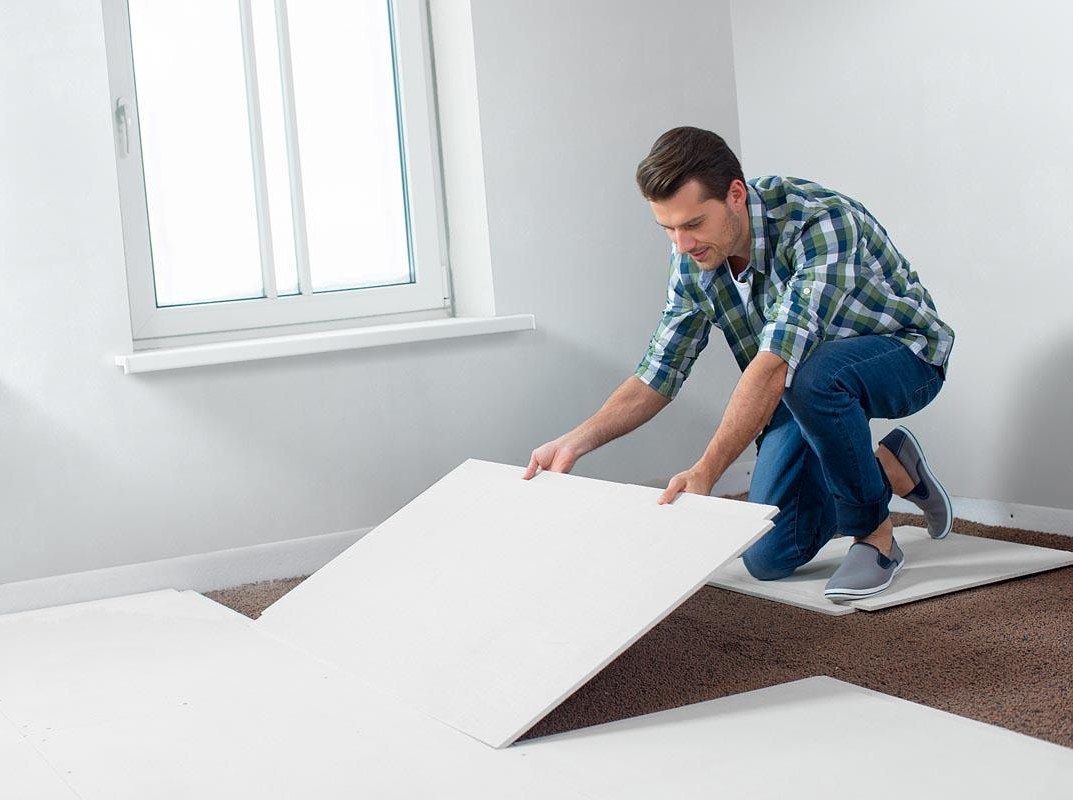
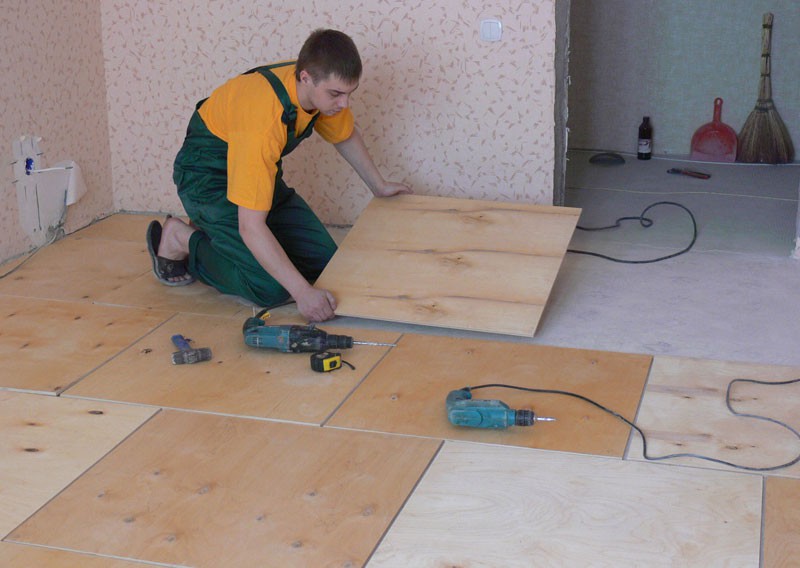
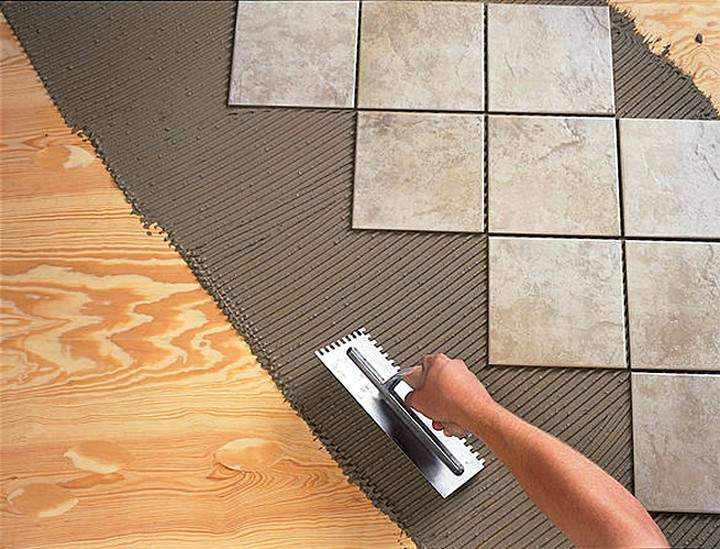
You need to know that the whole tiles are laid first. And only at the very end is the assembly of the missing halves. Scraps begin to spread after the main fabric is dry. Then put sheets of plywood on the finished part of the floor and begin to lay out the missing parts.
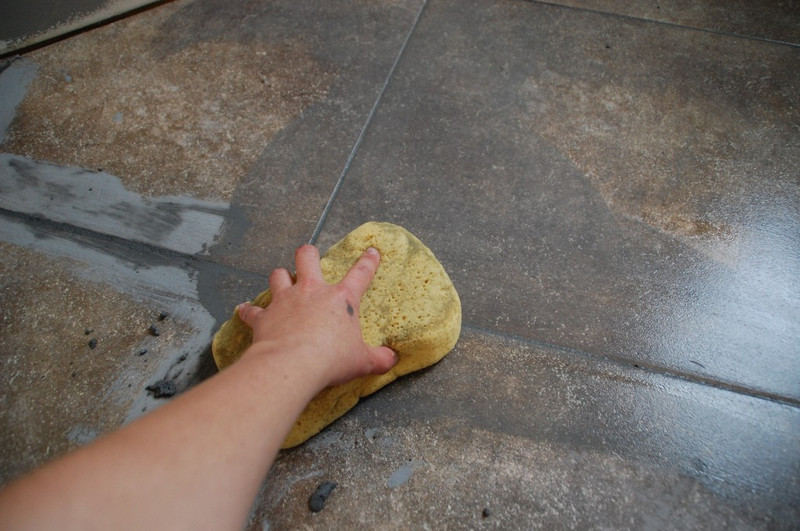
Remove excess mixture must be removed with a cotton cloth. If you do not completely remove it immediately, then after completion of work, all surplus must be removed. This will help special chemicals or plain water and rags.
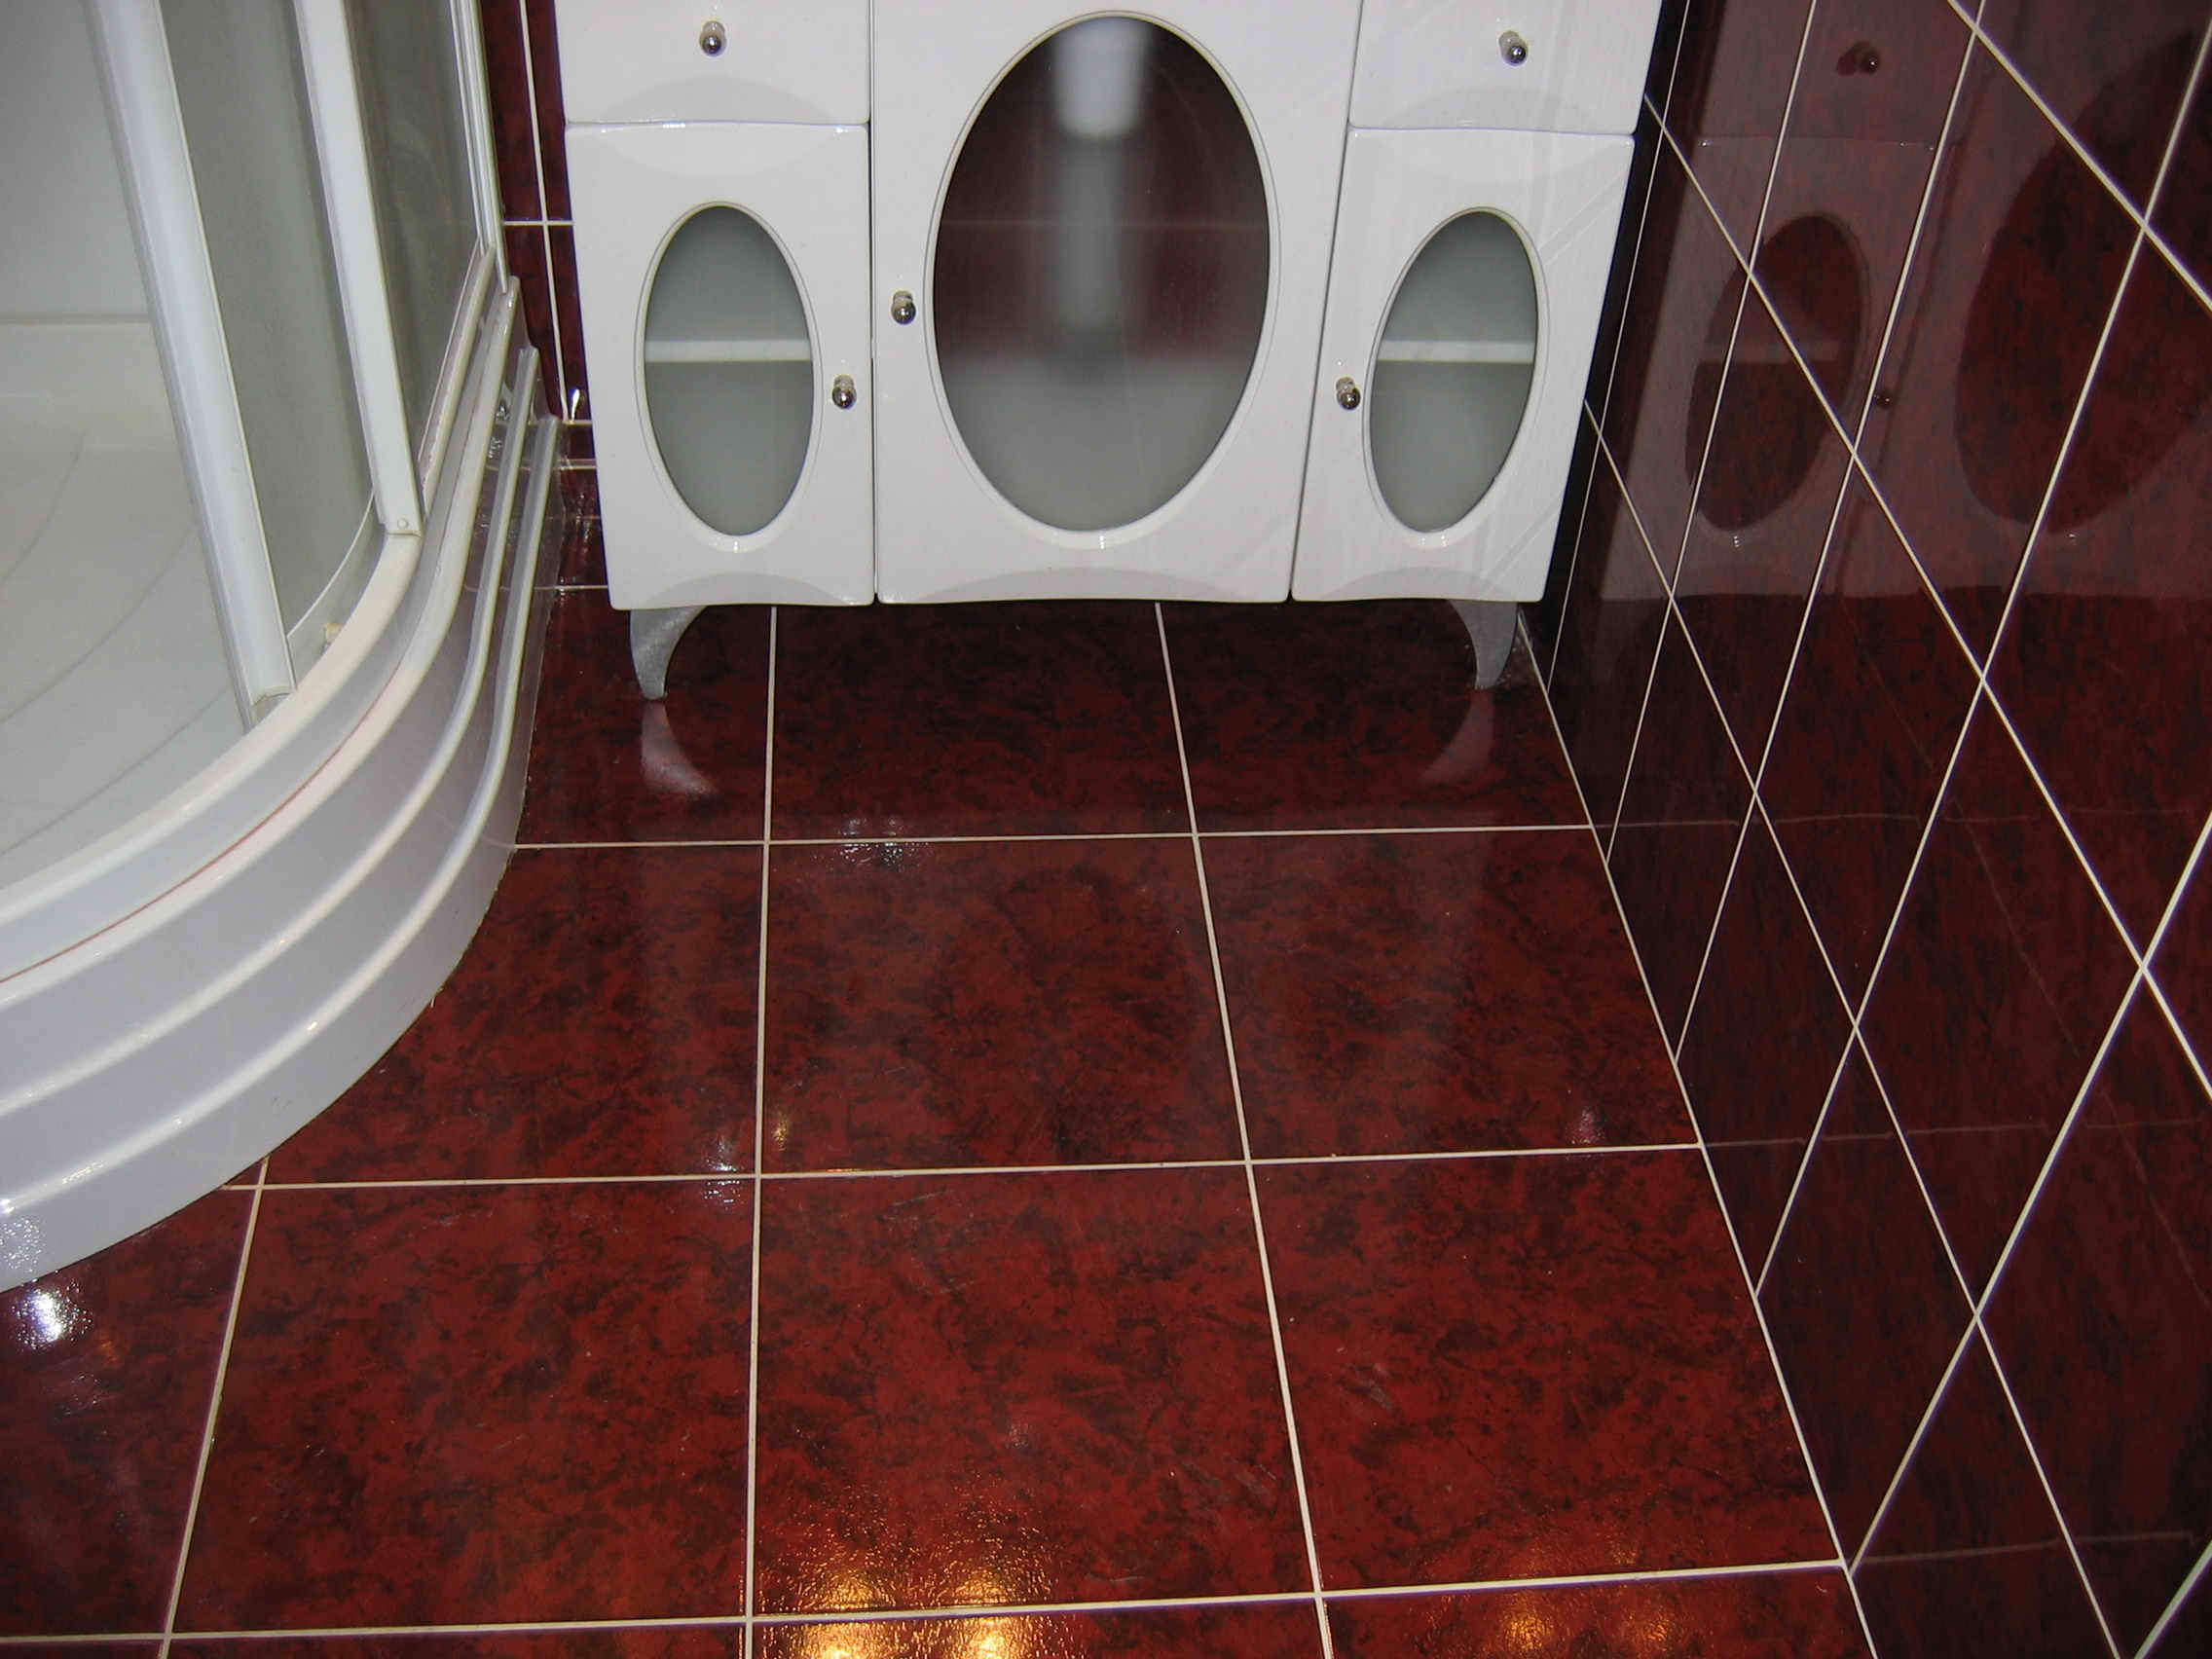
When working in the bathroom, you need to use a special grout that does not let moisture through. For any raw premises such material is very relevant.
Check
It is important to check the quality of the work performed. This is especially true of the owners, who hired a team of repairmen. The floor is considered to be flat, if on an area of two meters the difference is no more than one millimeter. To check this, it is enough to use a long ruler and determine the width of the gaps.
The size of the tile can be varied, but the width of the seams in any case ranges from two to five millimeters. If these positions are not met, then this floor will not last long. The consequences of a malfunction may be tile swelling or cracks.
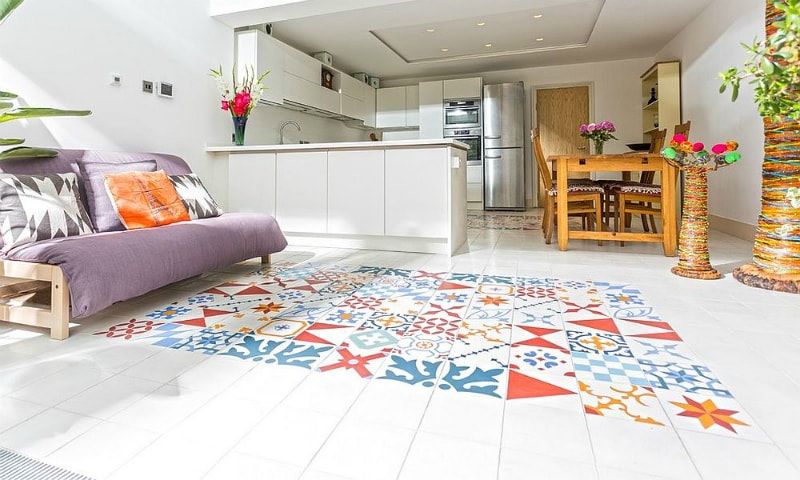
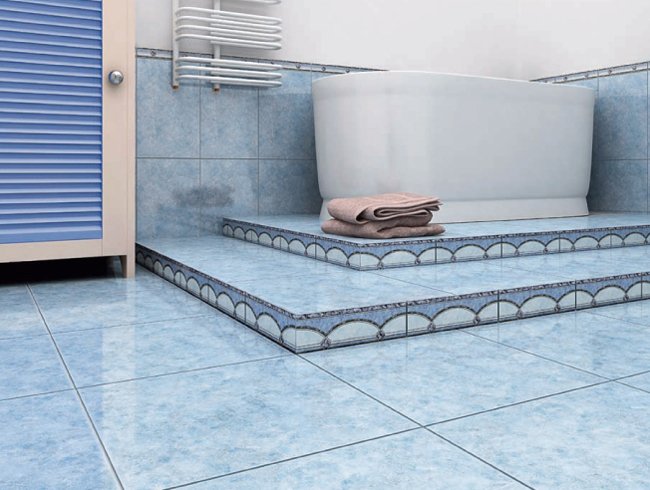
With the help of a tile you can arrange the division of a dwelling into special zones. This is especially suitable for a studio apartment or kitchen combined with a room.
Advantages and disadvantages
Ceramic tile has its advantages and disadvantages. It is necessary to understand the characteristics of the selected material. This type of tile has a large number of advantages and is appreciated by consumers in the construction market for many years.
Ceramics - an environmentally friendly material in its composition. It is made from sand, several types of different clay and numerous natural additives. These substances are hypoallergenic and non-toxic. This tile is quite durable and is excellent as a floor covering, can withstand heavy loads.
Ceramics is a moisture resistant material.Due to the dense surface, fat and water are not allowed through. Also, due to moisture resistance, mold will not be able to appear on it, unpleasant odors will occur.
This tile is quite durable and will last more than a dozen years. A special method of processing the surface of the tile allows you to avoid scratches on it or other minor damage. Ceramic finish fire resistant, does not melt with a significant increase in temperature.
Such floors are quite practical, unpretentious in cleaning. The choice of colors and patterns will satisfy the most demanding taste. An additional advantage is that they do not fade.
In addition to the undeniable advantages, ceramics has several disadvantages. You should not forget about them when choosing the flooring option. The tile surface always remains cold, which is not very useful for constant contact with women and young children. In such a situation it is better to additionally use the “warm floor” system.
In the process of transportation and laying to the tile you need to be extremely careful. It is very fragile and easily broken. It is necessary to avoid contact with sharp and heavy objects from a height.Due to its fragility, cracks and various chips are instantly formed on its surface.
Ceramics has a rather poor sound insulation. In the process of laying a separate item of expenditure is to provide for the purchase of sound-proof materials. In addition, it is quite slippery. Especially traumatic it becomes wettherefore, it is better for the kitchen and the bathroom to choose not a smooth tile, but with a special rough surface. Another alternative would be a tile imitating a natural porous stone.
However, in recent years, tile continues to gain popularity as a floor covering. Ceramics have a good value for money compared to other floor design options.
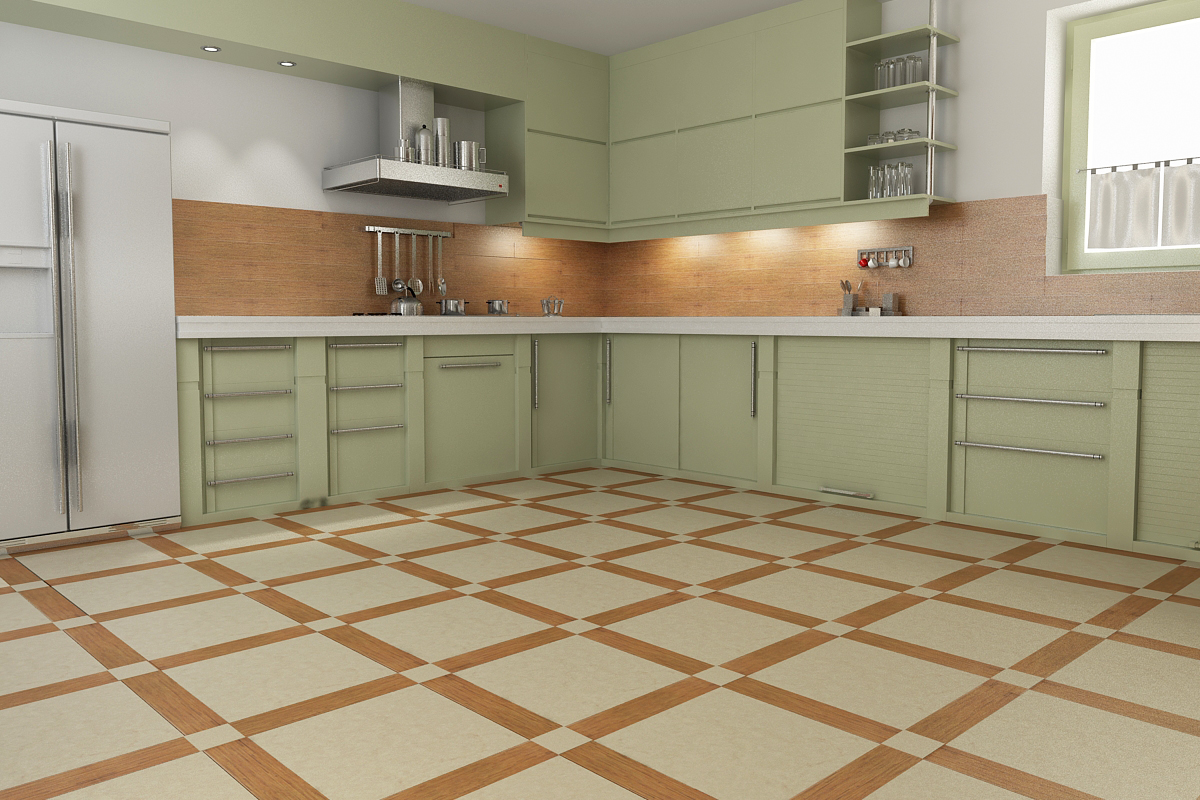
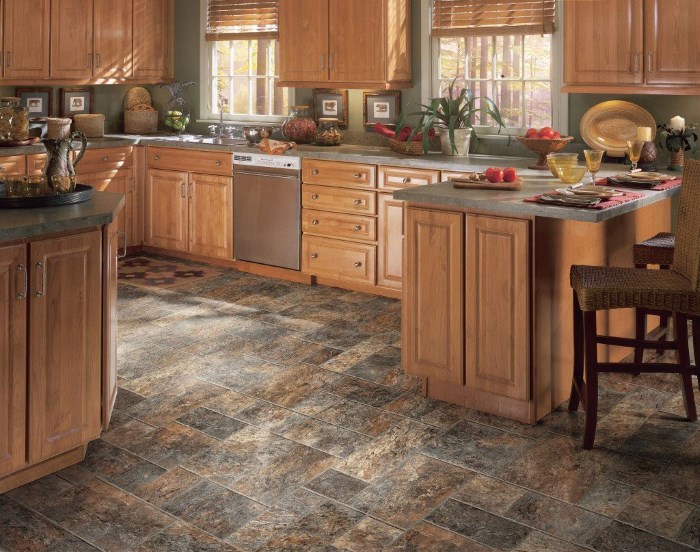
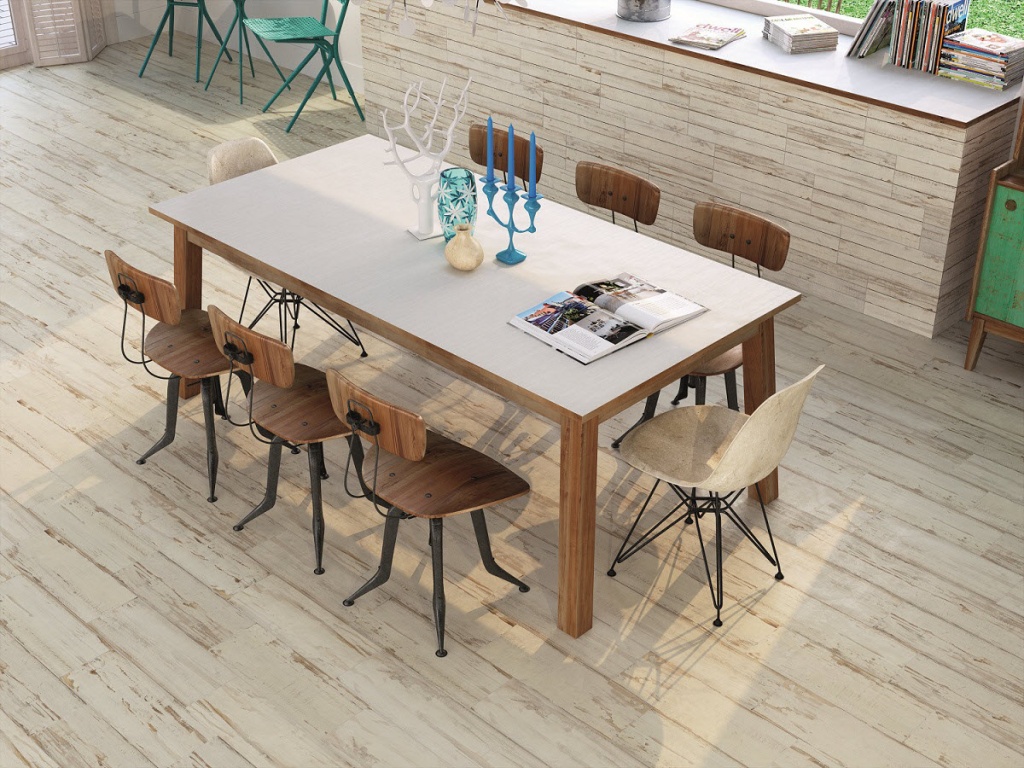
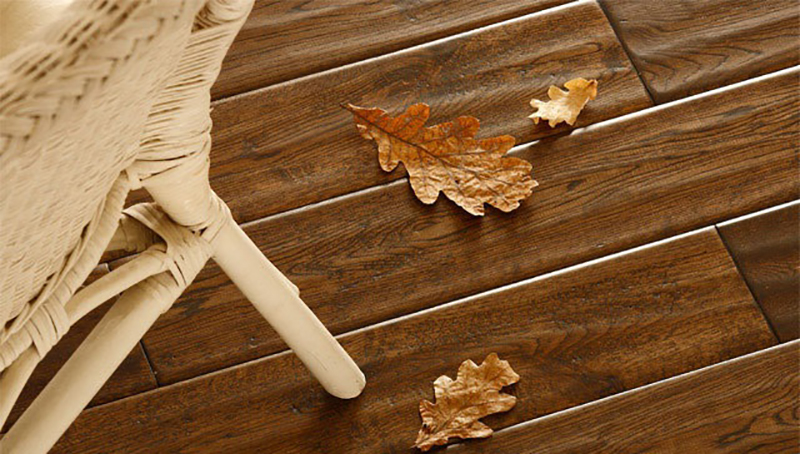
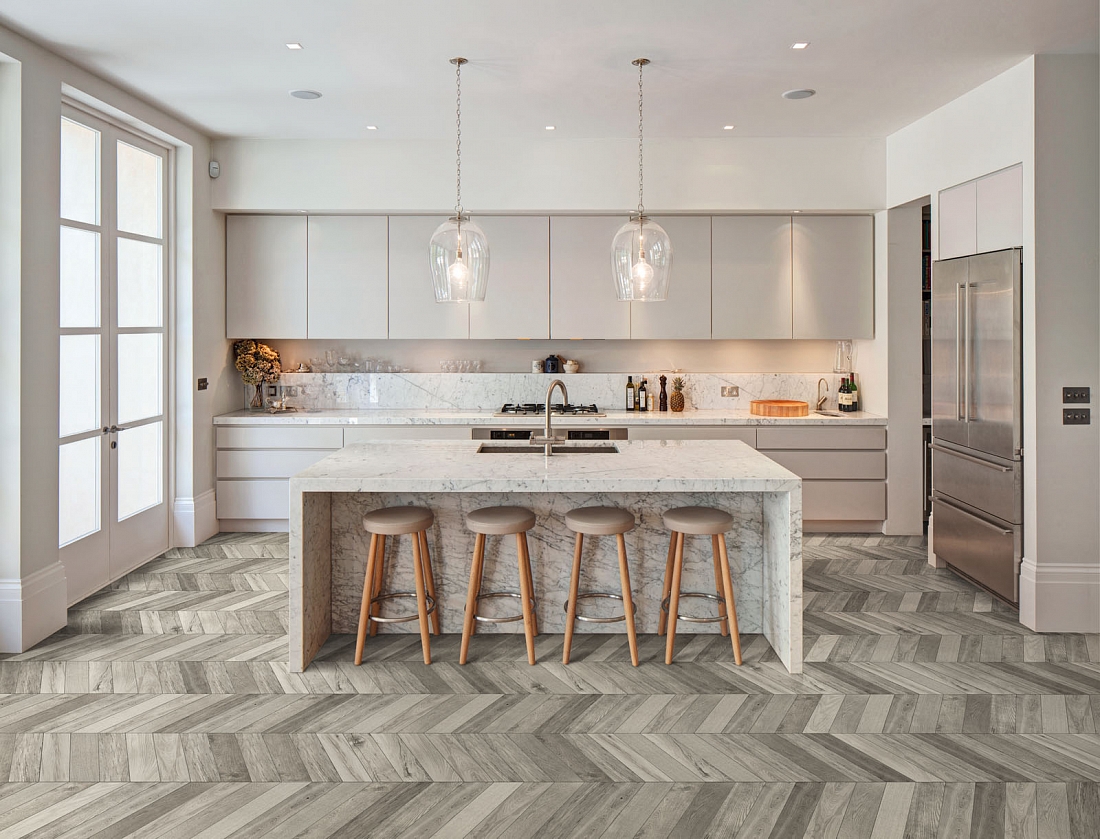
A significant advantage is its diversity and ability to imitate various natural structures: metal, leather, tree species, types of stone. For example, for the design of the kitchen space, ceramic parquet or a wood imitation pattern serves as a popular finish.


Layout Types
Before starting work, it is important to choose the color, pattern and the main size of ceramic tiles, suitable for the volume of the room. Due to different types of layouts, the material is worth taking with a margin.This is usually ten percent of the total.
Do not forget about the distance between the seams and be attentive to the uniformity of laying. There are several basic schemes.
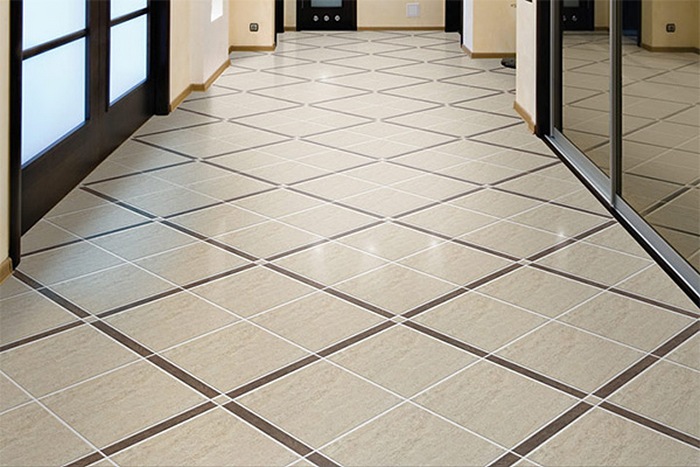
Simple
This is the most common pattern. Implies the location of the tiles in smooth rows and tightly adjacent to each other. For it use a square-shaped tile, and rectangles are permissible. Installation technology is quite simple and does not require much skill, and therefore suitable for beginners tilers.
Facing in a simple version may seem to some and somewhat boring, monotonous. The laying will look more original if the master uses several colored tiles in his work.. However, this method poorly hides minor defects that may occur during installation. In the presence of small factory marriage or ill-considered layout of the plates, everything will be immediately noticeable.

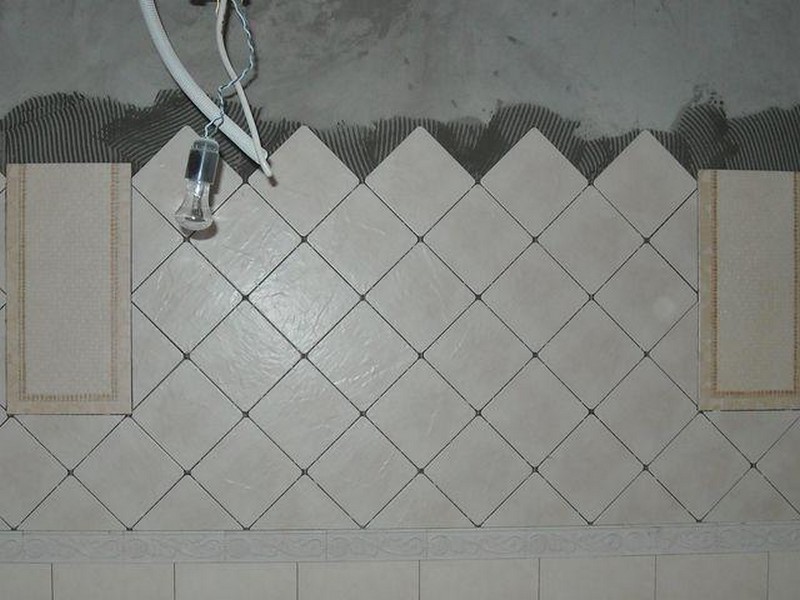
Diagonal
Serves as a good disguise in the presence of uneven floor, visually expands the space. Often used for rooms with a small area or a non-standard layout.
This option of laying is considered one of the most beautiful and complex, but also the most expensive in terms of the quantity of consumable material. It also leaves a large amount of waste. The master will need an exact calculation of the scheme and all its concentration in the process of obligatory cutting of tiles.
During installation, the drawing is located at a certain angle. It is usually forty-five degrees. The best option for such an assembly would be a square tile.. The first row put on the traditional pattern. The second row - in advance prepared triangles from a tile. Then all the other rows are laid horizontally from the diagonal line.
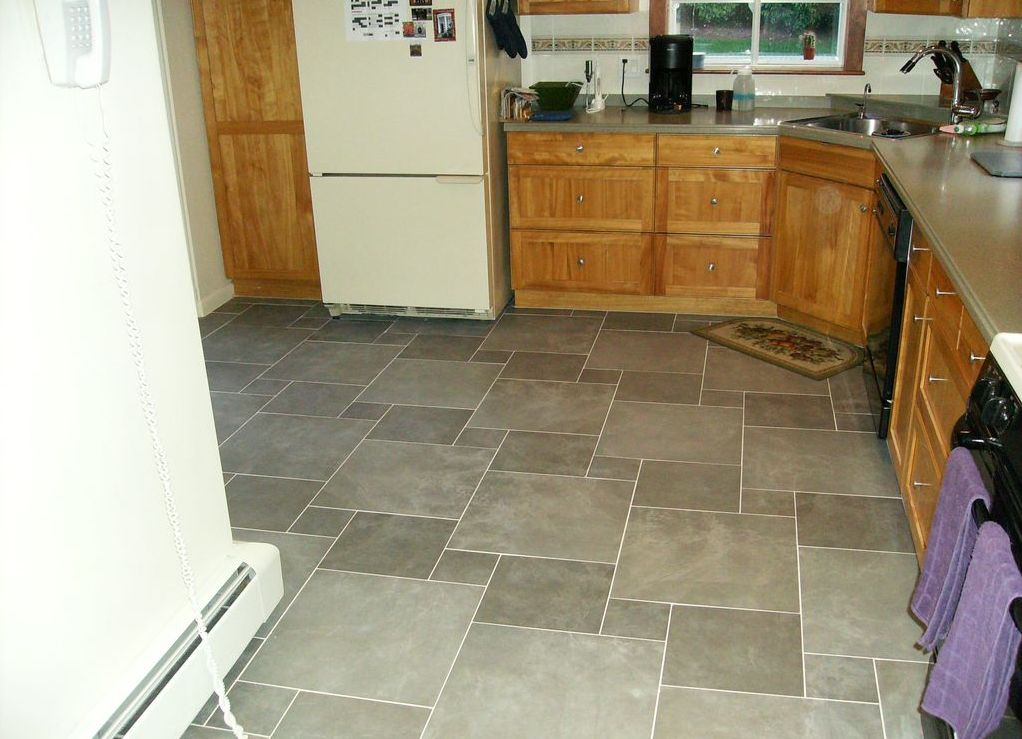
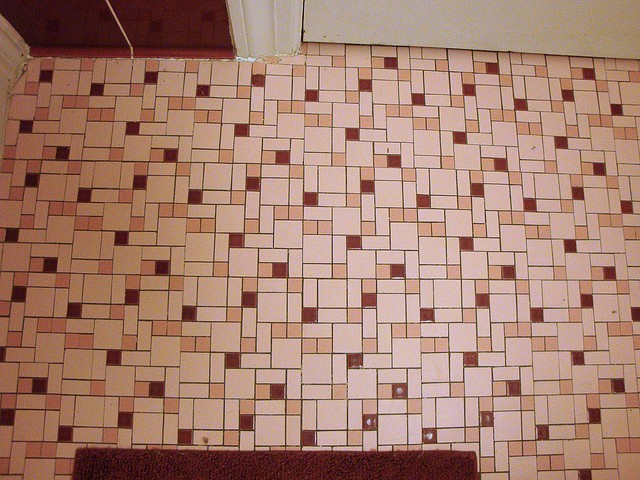
Masonry with offset
This is often used pattern in laying out the floor tile is also called "scrambling." This technique will add originality and a touch of history in the room. A great way to get away from monotony or hide small defects in the kitchen or in the hallway. For him, it is best to choose a monochromatic, rectangular, slightly less square tile.
The scheme resembles the laying of a brick house, that is, each element is located in the center of the seam of the previous row.You can arrange brick chains at an angle to the wall. The thickness of the seams must be strictly the same size, any defects are not allowed.
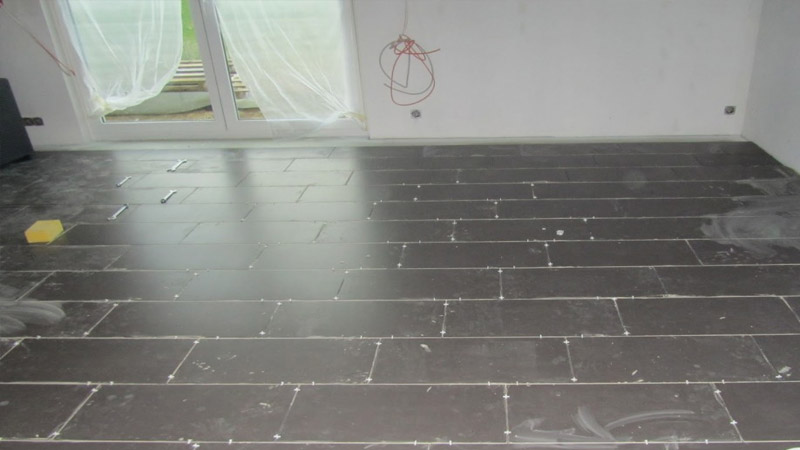
It should be noted that the surface of the subfloor should be perfectly flat when installed, otherwise the protrusions will not allow creating clear lines of the pattern. For this type of installation you need a special device - lighthouse plates. With their help, you can determine the level of curvature.
Before laying the beacons are laid in the corners. Then the layer of cement base is moistened and “blocks” are laid on the wet surface, focusing on the lighthouses. Then the rows are leveled off with a light hammer. When the floor will find the perfect smoothness of the landmarks can be removed. Stitches are made after the floor is dry. It usually takes two to three days.
Parquet
Another interesting solution will be laying floor tiles in the form of parquet. This is a very original and stylish solution for any dwelling or office. For this type of assembly it is customary to use rectangular tiles.
To achieve the desired effect in two ways:
- standard parquet;
- masonry with attachment.
In the second case, the master additionally uses small mosaic tiles or tiles of a different color.

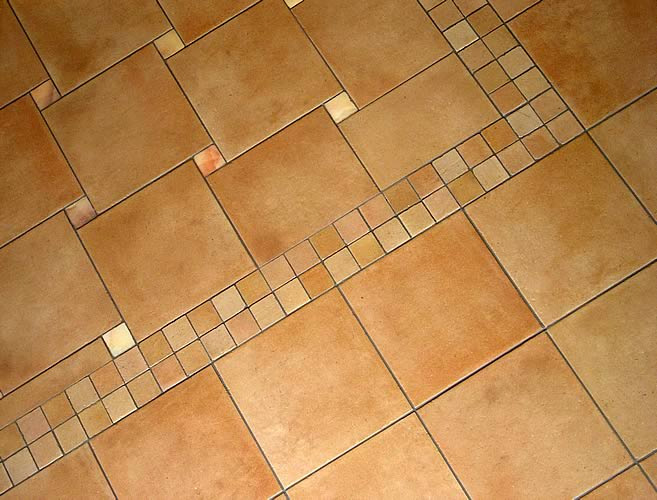
Modular configuration
It is a compilation of large fragments of tiles of different sizes. Modules are compiled in a clear pattern, which is repeated from module to module. To facilitate the work need a drawing, which indicate the size of each tile and seams.
A simpler version of this laying will be the use of a large slab framed with small tiles. In some stores they sell ready-made kits with the laying scheme attached to the kit. The work is simple, a good option for a beginner master.
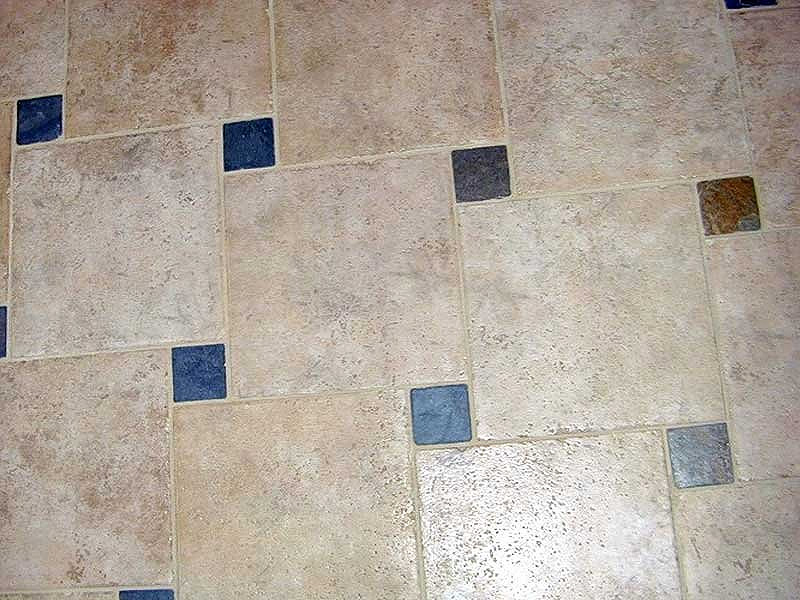
Shift masonry
This option is suitable for large rooms with a perfectly flat floor. The pattern is similar to a modular one, but with a clear rhythm and without the use of a central element. Tile is selected or cut square and rectangular shapes of different sizes.
Inside one large fragment, the largest elements are laid out first.. The diagonal is formed due to the displacement of each tile in relation to the next one by half of its size. After the module is filled with a possible number of diagonals, the remaining space is filled with small elements of the composition.Rectangular tiles are needed to align the shape along the edges of the module.
Tools and materials
In order to lay the floor tiles need a great skill and good performance. Such a specialty is well paid and in great demand. For high-quality and professional work necessarily need a special tool. The quality and speed of the work performed depends on the correctly chosen tools.
Basic tools
Professional masters of laying tiles offer to stop at six main positions.
A special mixer will help create the necessary consistency of the solution, while at the same time there is no excessive pressure on the motor. There are imported and domestic samples. An ordinary drill can then quickly fail. Although to prepare a small amount of solution, it is quite suitable.

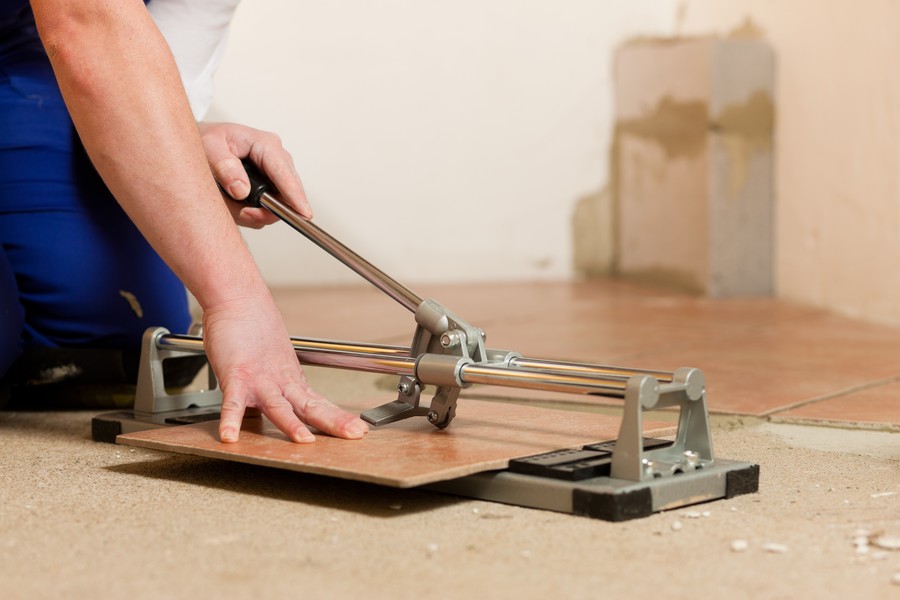
Tile cutter - the second important and necessary tool. Its main part is the wheel that cuts the tile.
Manufacturers produce this tool on the construction market in three versions:
- The tool for beginner tile handlers has many drawbacks.It is not suitable for large areas: cut tile is - no more than 40 cm. The undeniable advantage of such a tile cutter is perhaps that low cost.
- The second version of the instrument costs about five times more than the first. Its cost ranges from twenty to thirty thousand rubles. Professional tile handlers recoup the cost of such a tool in less than a year. The main producers are Italian and Austrian companies.
- The third option - Bulgarian.
All three tools make up about ninety percent of the total cost of a tiler's tools.

Nippers - must be made of high quality metal. Their main goal is to break the tile over the cut that the cutter did. For breaking tiles under the sockets and pipes use thin nippers.
Tools for filling the joints with mortar are also needed in the wizard. They are:
- two-liter plastic capacity;
- spatula for grouting;
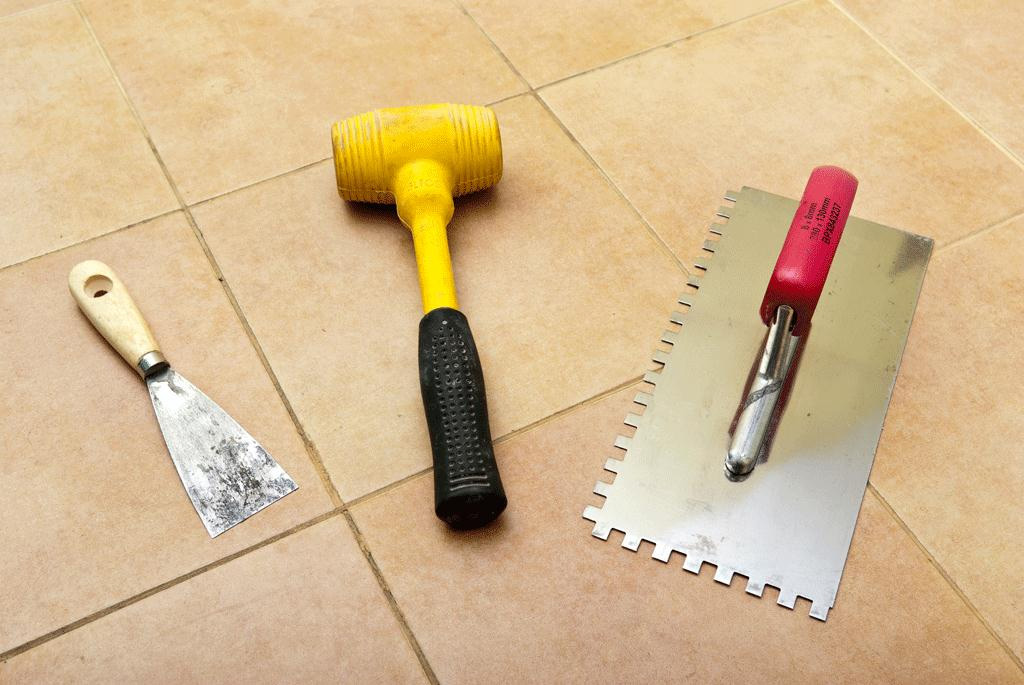
- rubber hammer - important in the process of tapping tiles, should not be heavier than one kilogram;
- two pairs of mittens - felt and rubber;
- roller for laying mosaic tiles;
- metal sponge and foam sponge - used to remove excess solution.

Additional
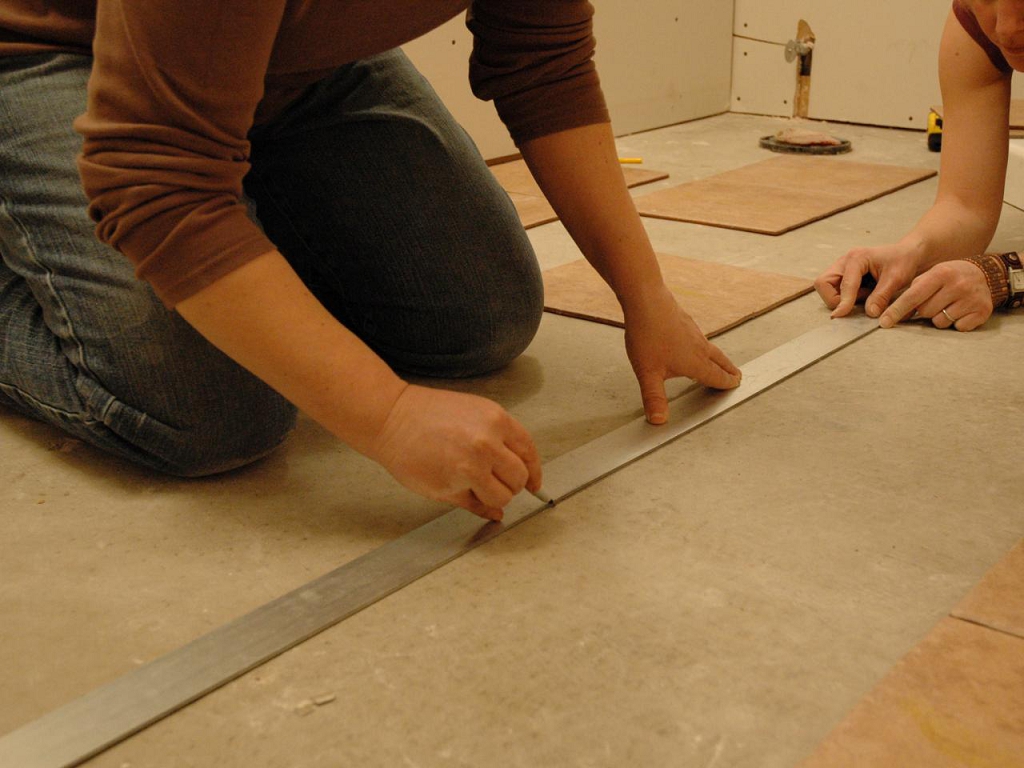
There is also a set of additional tools. At first glance, they may seem insignificant, but will be needed in the process. In order for the corners to be straight it is necessary to have two rulers. One is big and the other is very small.. A large coal ruler is used when marking the tile on the floor.
It is better to choose metal rulers with values imprinted on them. Paint numbers are quickly erased.
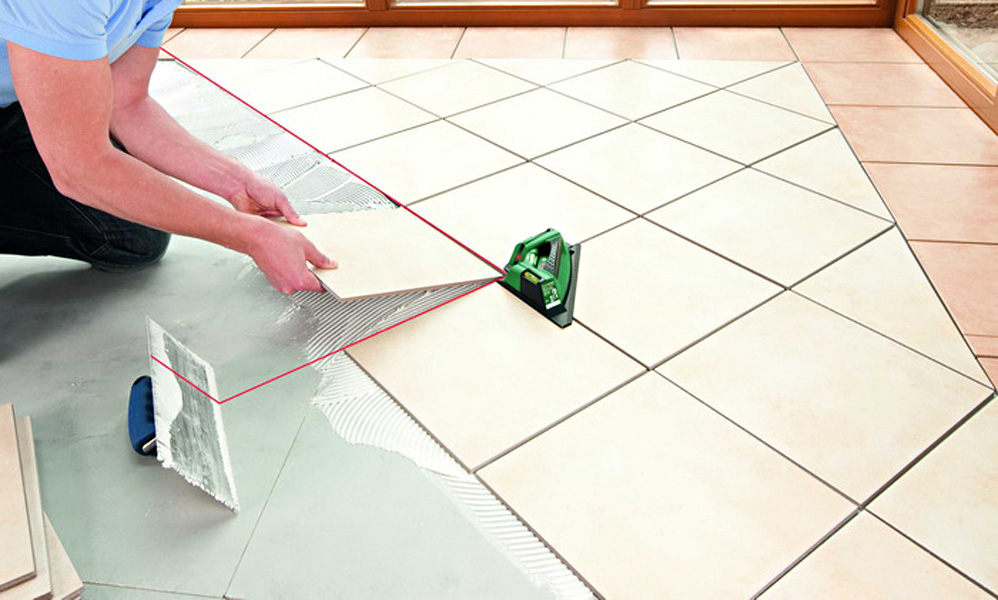
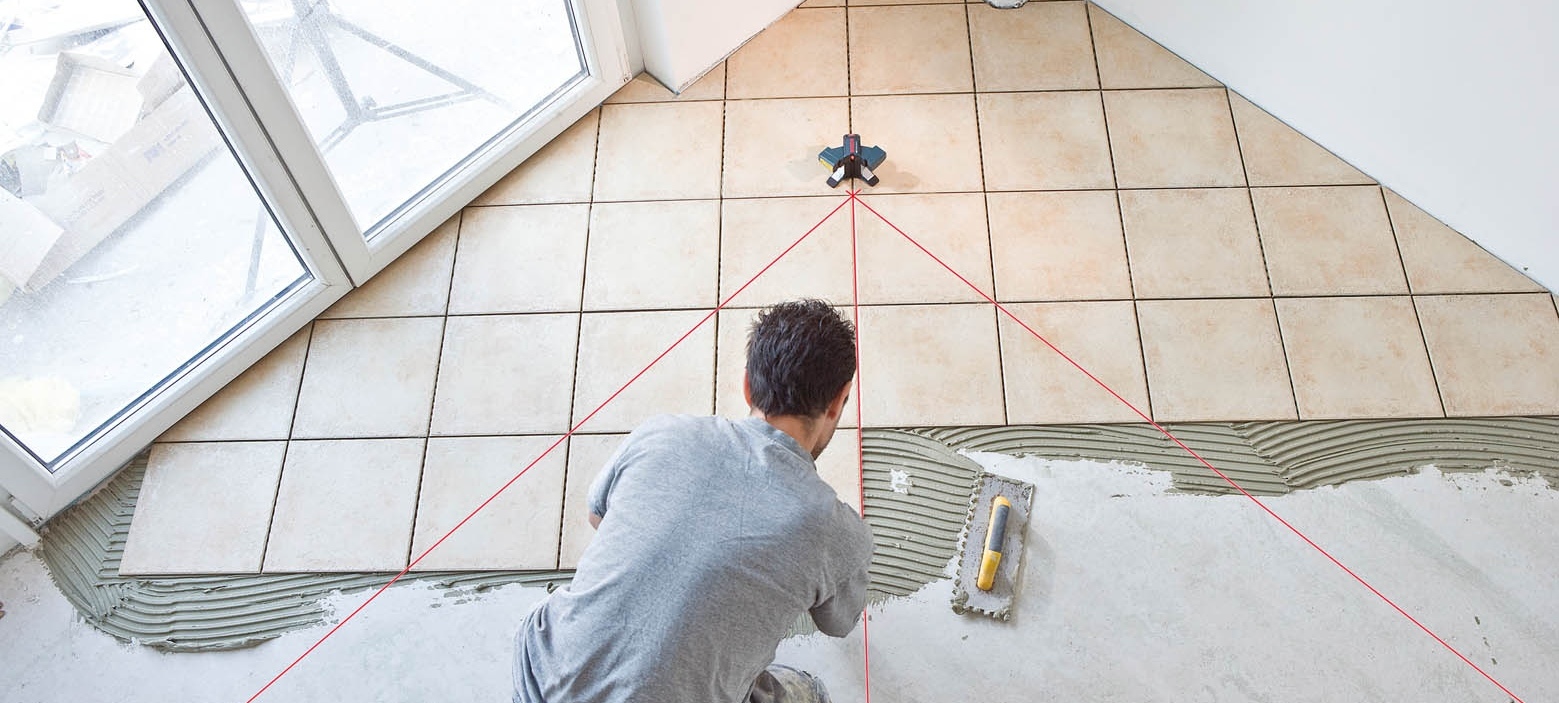
For laying floor tiles you will need a fishing line. It is indispensable when working in a large area. With the help of the molar line the very first tile is laid. Instead of fishing line you can purchase a laser level.
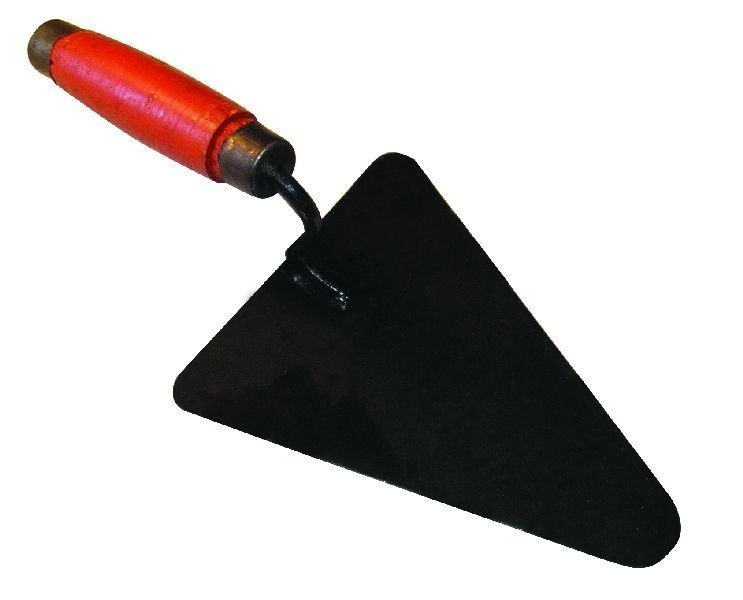
Wedges will need to perform screed and plastering. The trowel will help in installing the tile. To clean dried building materials you should use a scraper. It is important to purchase plastic crosses and wedges. In your arsenal, you must have a tee about thirty meters long.
It is important to remember about safety during the work.The master of laying the floor tile will need goggles, they are indispensable in the process of cutting tile. The respirator will help to quickly lay the tile, but it must be replaced in time so as not to harm the health.
Preparatory work
It is worth starting with measuring the entire perimeter of the room. Need to check the angles for different discrepancies. To assess the scale of the proposed work, remove the old flooring. The entire area should be cleaned from paint, linoleum.
If the floor has already been laid tile, then it must be removed along with cement mortar. Sometimes a punch is required for these jobs.
At this stage, it is important to determine the size, color, texture of the tile and the way of laying. It is necessary to make a list of all the necessary tools and materials.. They may include: self-leveling compound, glue, tile cutter, primer, trowel, protective composition and cleaning products after all the work is completed. The preparation process may take a different time.
It is necessary to assess the quality of the floor. For uneven with a large number of slots and a slope will require additional materials. Identified deficiencies should be corrected as soon as possible.. In order for the result of the work to please the master and owners of the premises, it is necessary to strictly observe all the technology of the process.

Screed
Preparation of the base is the initial stage. The cleaned surface must be prepared and impregnated with antifungal agents. After the impregnation has dried, you can proceed with the installation of waterproofing. Then make a screed and, waiting for it to dry, proceed to the primer. Self-leveling compound is used for uneven floors..
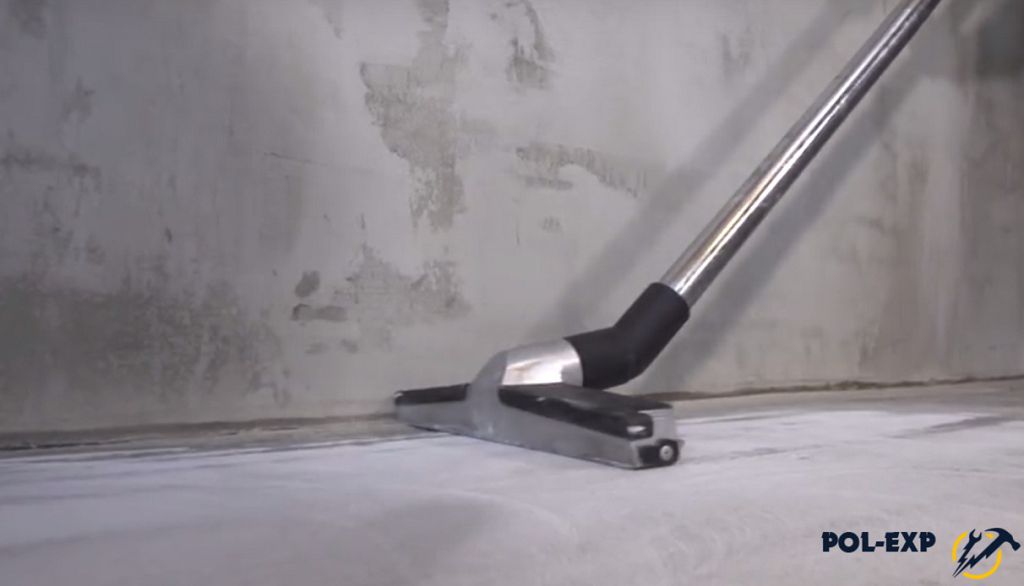
For concrete, there are other ways of preparation. A special device is used, which marks the projections of more than three centimeters and remove them. All gaps and joints are treated with soil, and then put a layer of cement. After it dries all the dust and debris must be removed with a vacuum cleaner. The surface is treated with antifungal agent.
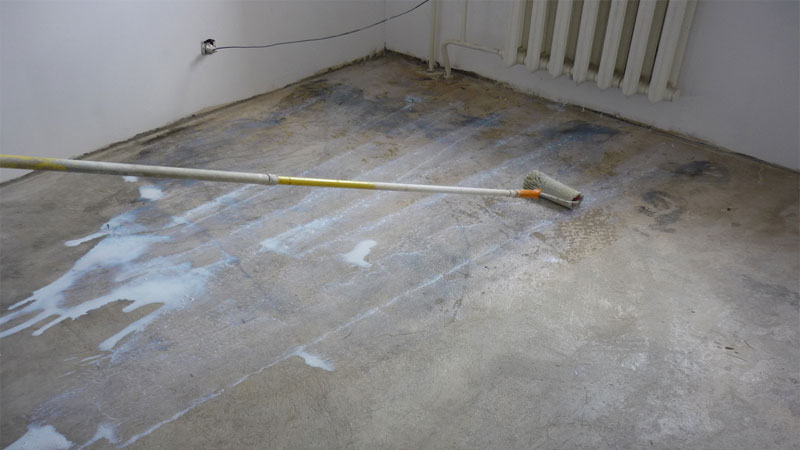
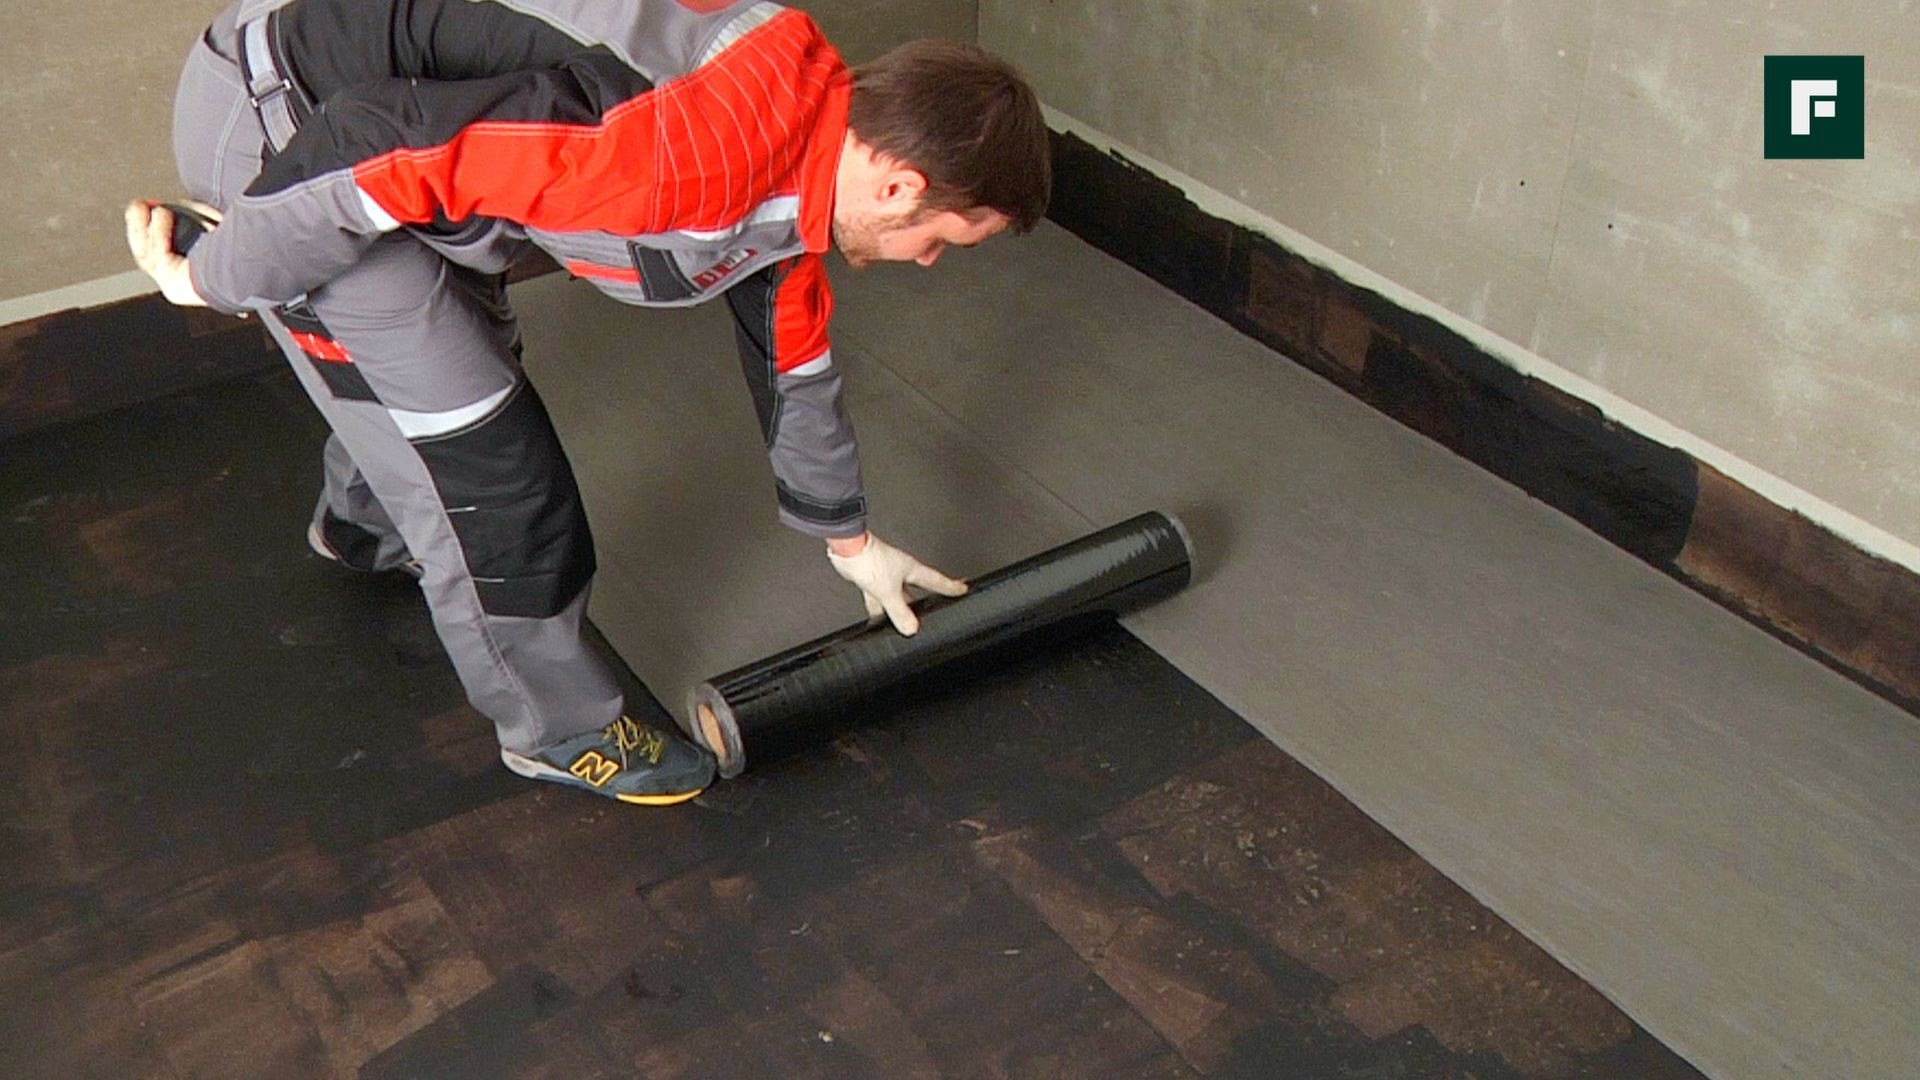
Layer waterproofing in the bathroom and the kitchen should be given special attention. As it can be used plastic film, waterproof varnishes and paints.
Type of screed is selected depending on the slope or the most protruding part.Swings higher than three centimeters can be corrected with glue.
In the presence of a wooden floor assembly foam is poured into all the cracks. Some prefer to additionally put plywood.. A reinforced mesh with cells is placed on top of it and filled with a special solution for wooden materials. Drywall is also used to level the surface with differences of more than six centimeters. Then, the remaining construction mixtures are applied.
The tile is beautiful material with long service life. Therefore, in order to please the final version, the case should be approached carefully and scrupulously.
Floor leveling
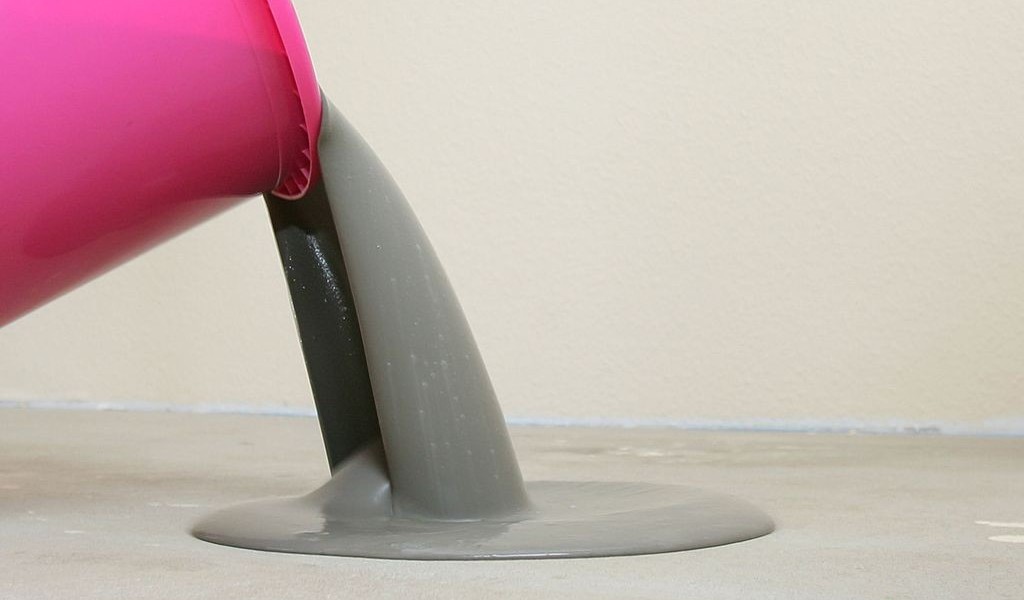
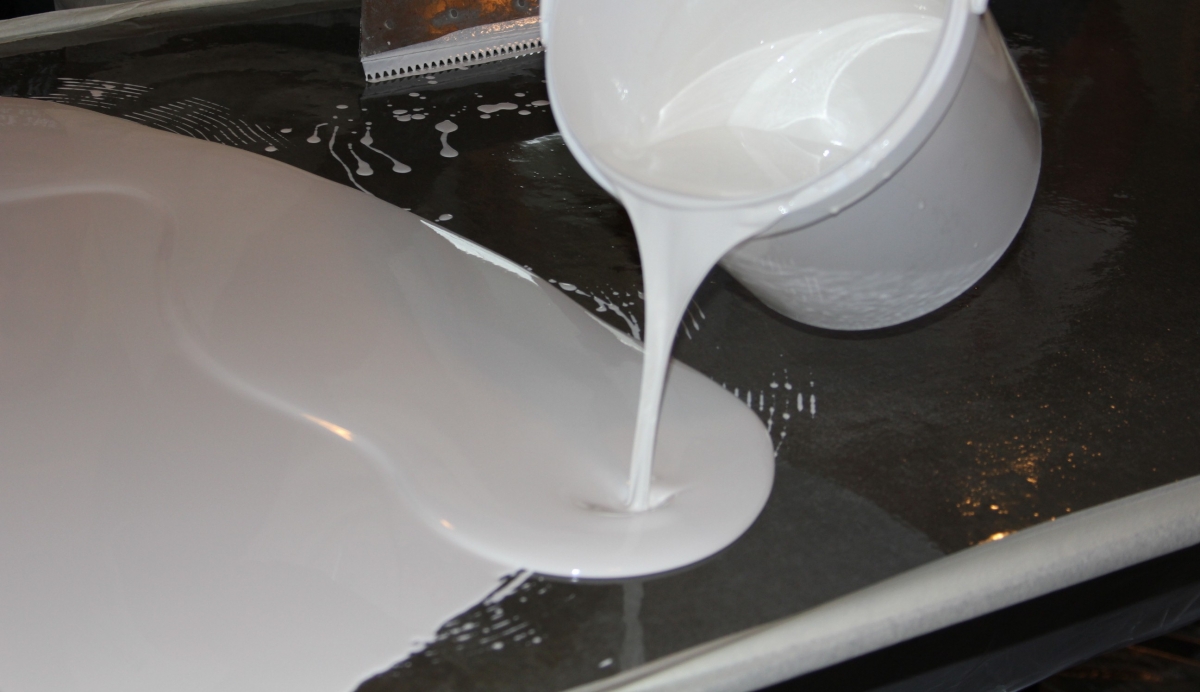
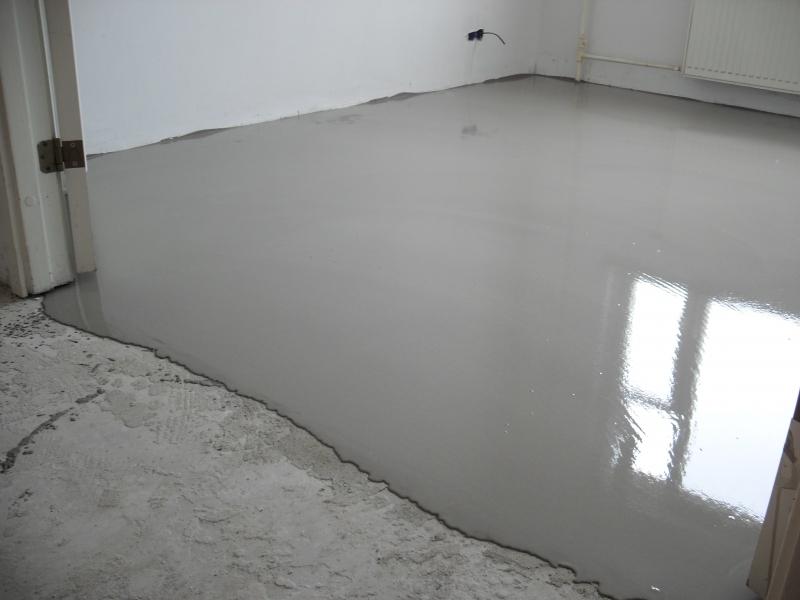
To level the floor in the apartment or house itself, you need considerable experience in the construction business. For those who do not have sufficient skills or time, self-leveling mixtures will come to the rescue. They easily spread on the floor and, filling in all the cavities, form a flat surface.
This mixture consists of a very fine filler, to which plaster or cement has been added. Other special components accelerate the process of solidification and promote leveling.The solution can be used for work on concrete and wooden floors.
- Gypsum mix. They have a greater degree of strength and durability, suitable for all rooms, regardless of their size, where there is no excess of the humidity level. An excellent choice for the system "warm floor". This coating has a number of undeniable advantages. It is not dusty, has a strong wear resistance, dries quickly and weighs little.
- Cement. Cement based mixtures are a bit more expensive. They are best used for the bath and kitchen, as the composition is ideal for damp rooms. It is important to remember that the cement leveling leveling is about five centimeters. If an alignment of much greater height is needed, then work should be done in two or three steps.
In the building stores there is a huge selection of such tools. It is best to get acquainted with the composition before buying and contact a specialist in the store. If there is a need to connect two different mixtures, then you need to use a damping tape.whose thickness is no more than one centimeter. This is necessary in order to avoid cracking due to different thermal expansion coefficients.
The flow rate of the self-leveling compound will depend on the thickness of the screed.To do this, multiply the area of the premises by the average thickness. For large rooms it can be quite expensive.
Drawing
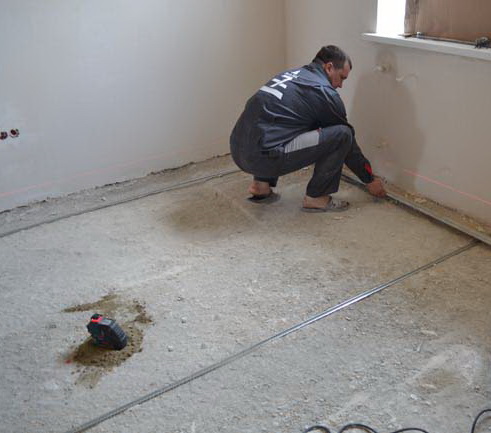
Self-leveling compound applied on the already dried screed. It must be remembered that before starting work it must be primed, after having cleaned it of dust. After fix the level beacon screws. They will become a guideline for the thickness of the layer - usually it should not exceed five millimeters.
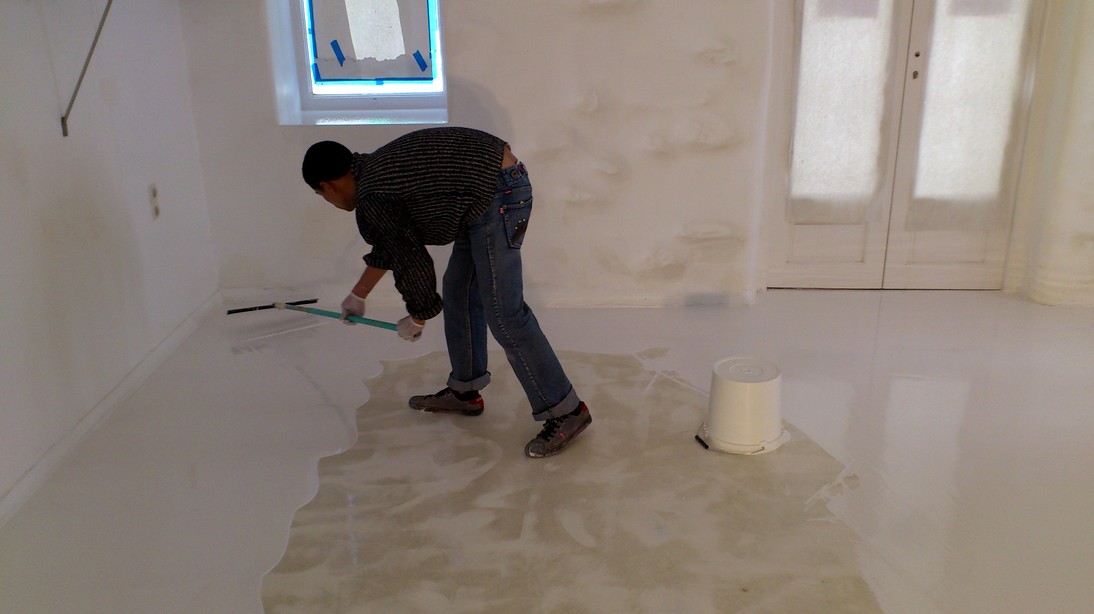
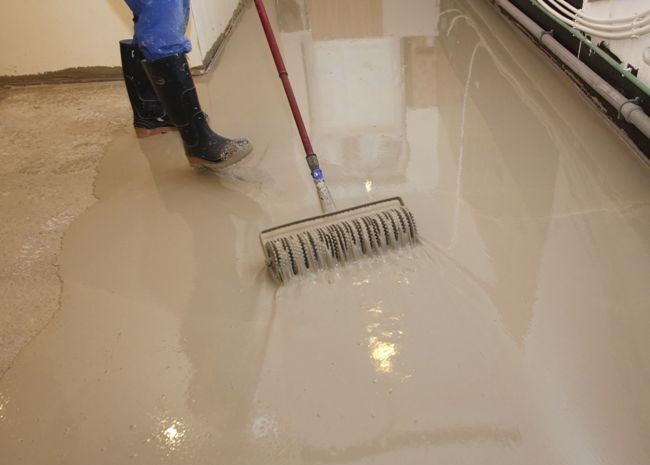
Then the floor is covered with a mixture and spread over the surface with a spatula. To remove air bubbles, the composition is aligned with a needle roller.. Drying lasts from 6 to 12 hours, but you can start work on tile laying only on the third day.
For the bath, a slope is envisaged so that water in case of contact with the tile flows down towards the door. It is better that the level of the floor was lower than in the room where the door goes and you must be equipped with a high threshold. These are the precautions against flooding the apartment.
This is not the finished floor, but the preparatory process, after which you can begin to lay the floor covering.
Rules laying on complex surfaces
These types of coatings include floors with old tiles or with a base of plasterboard. In the case when it is not possible to dismantle them, it is necessary to provide some features for laying a new tile.
On the old tile
First of all, Old floor must be cleaned and degreased with an alkaline detergent. The glossy surface of the tile is also puncturedto ensure a closer grip with the new material. Then cleaned of dust and debris. At any option put a primer.
Further events can unfold in two scenarios. In one case, using a special, for such cases, glue is laid a new layer of tile. In another, with a curved surface, the floor is first leveled with leveling mixture and then proceed to the installation.
The peculiarity of this installation is that the seams of the old and the new coating should in no way coincide.
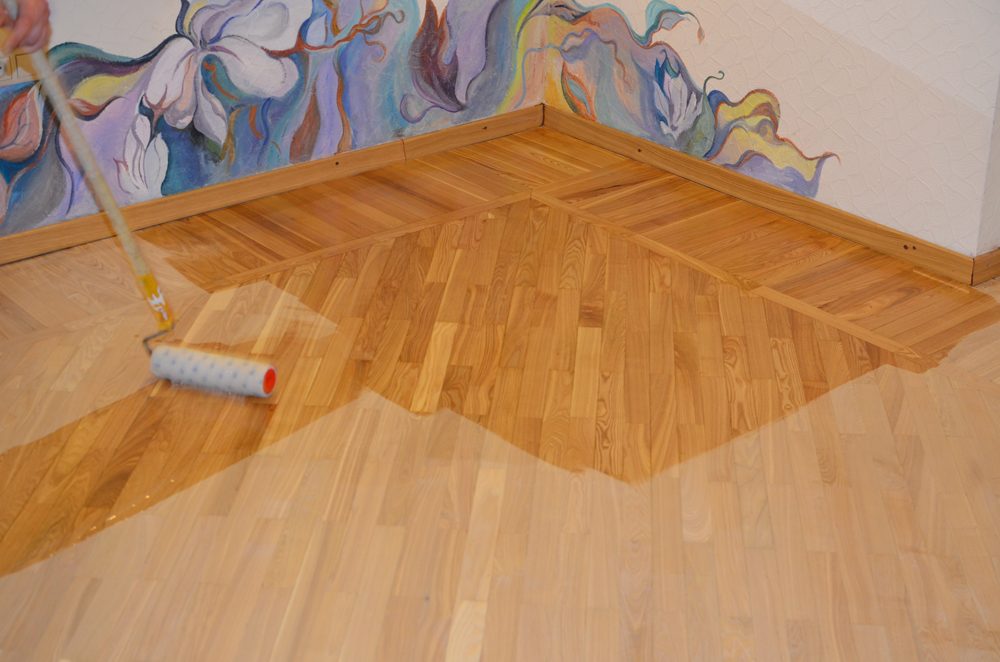
On the floor of chipboard or wood
The surface is also degreased, remove dirt, apply a primer on a dry basis. If there is a need to correct irregularities, use self-leveling mixture. Primer and screed must be performed very high quality.
It is very important to use only special glue for wooden floors or with appropriate additives. For grouting also need a special composition, more plastic than usual.
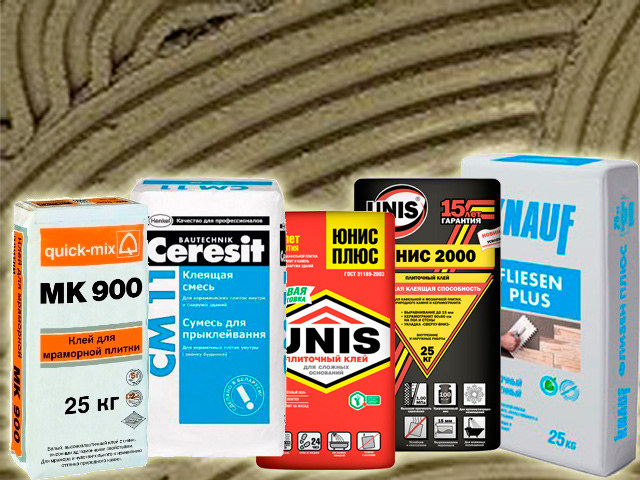
Glue selection
It is important to familiarize yourself with the composition and characteristics of the adhesive and for standard situations. For large-sized floor tiles, it is worth choosing with the strongest characteristics. The mixture itself must adhere well to the rough base.. The price is influenced by the size and type of tile.
It is worth paying attention to the level of moisture absorption. Laying tile on a balcony or porch will require a special glue composition that withstands low temperatures.
All types of tile glue can be divided into groups. The first includes standard formulations. They are made on the basis of cement and are usually used for indoor work. In the second group - slightly improved options. Whatever glue you choose to use it wisely, you need to study its characteristics and pay attention to the expiration date.
Markup
The preliminary marking of the tile is an important stage of work. The quality and durability of the coating will depend on this in the future.The basis will serve the centerline of the room. By species, it can be divided into simple and diagonal.
Simple
Suitable for any beginner. It is important to properly observe the geometry. It is necessary to measure the floor area in the room, count the number of tiles, the joints between the tiles and the total number of mixtures. You can start assembly from the farthest corner from the door. Usually, attention is immediately drawn to him when entering the room.
That is, always start with the site that is most noticeable., and trimming is less visible areas. The most important wall in this sense is selected and a preliminary layout is made from it.
It is worth remembering that the first row is incorrectly laid, it will fail next. No need to strive so that the seams of the floor and wall tiles must be the same, any mistake, a slight curvature then will be evident.
With this method of laying it is better to pre-lay the whole tile in the center of the room, and then all the rest were distributed from it towards the corners. In the bathroom, the center is defined between the place of bathing and the opposite wall.Sometimes, in order to avoid trimming tiles, the center is intentionally shifted.
Diagonally
Visually increases the space. But this method of marking and masonry is the most difficult. It is important to choose the right reference point, which will be laid tile in the future. The diagonal passes at an angle of forty-five degrees, so the cords should be tensioned in two diagonals, which form a right angle at the intersection.
For building it is worth using an isosceles triangle. His draw along two nearby walls. Mark the same segments, and connect their ends with a third party. This third party will serve as a guideline for laying tile on the floor.
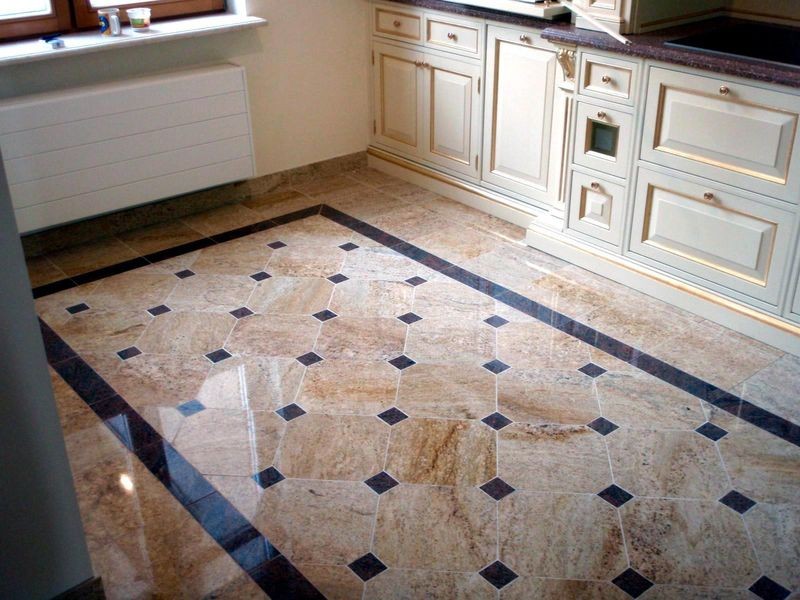
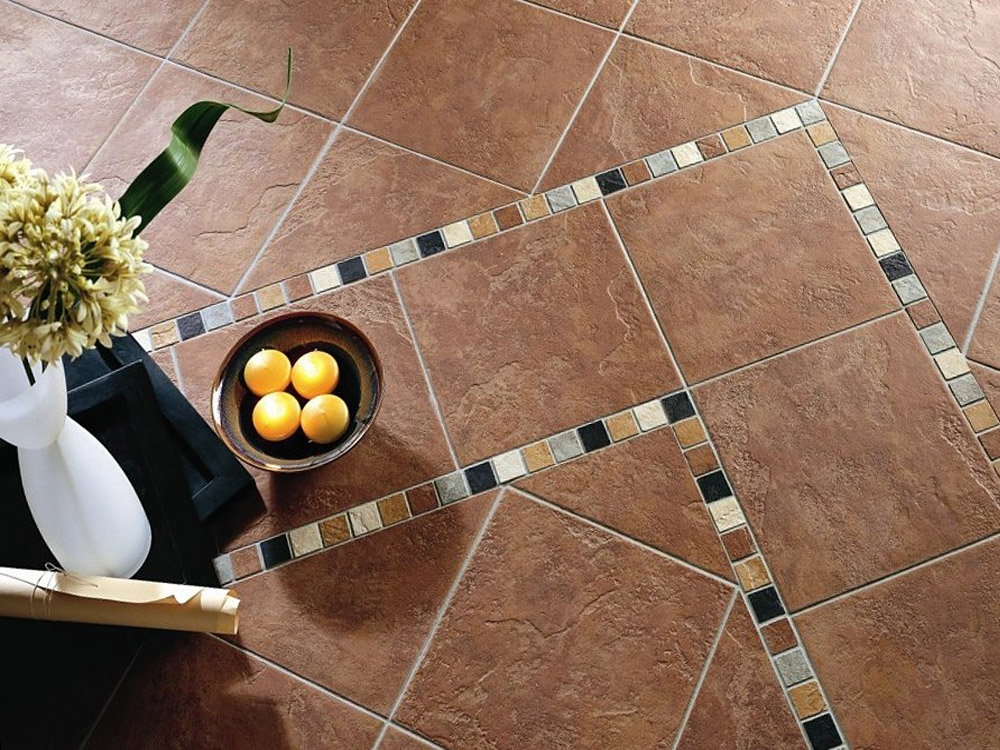
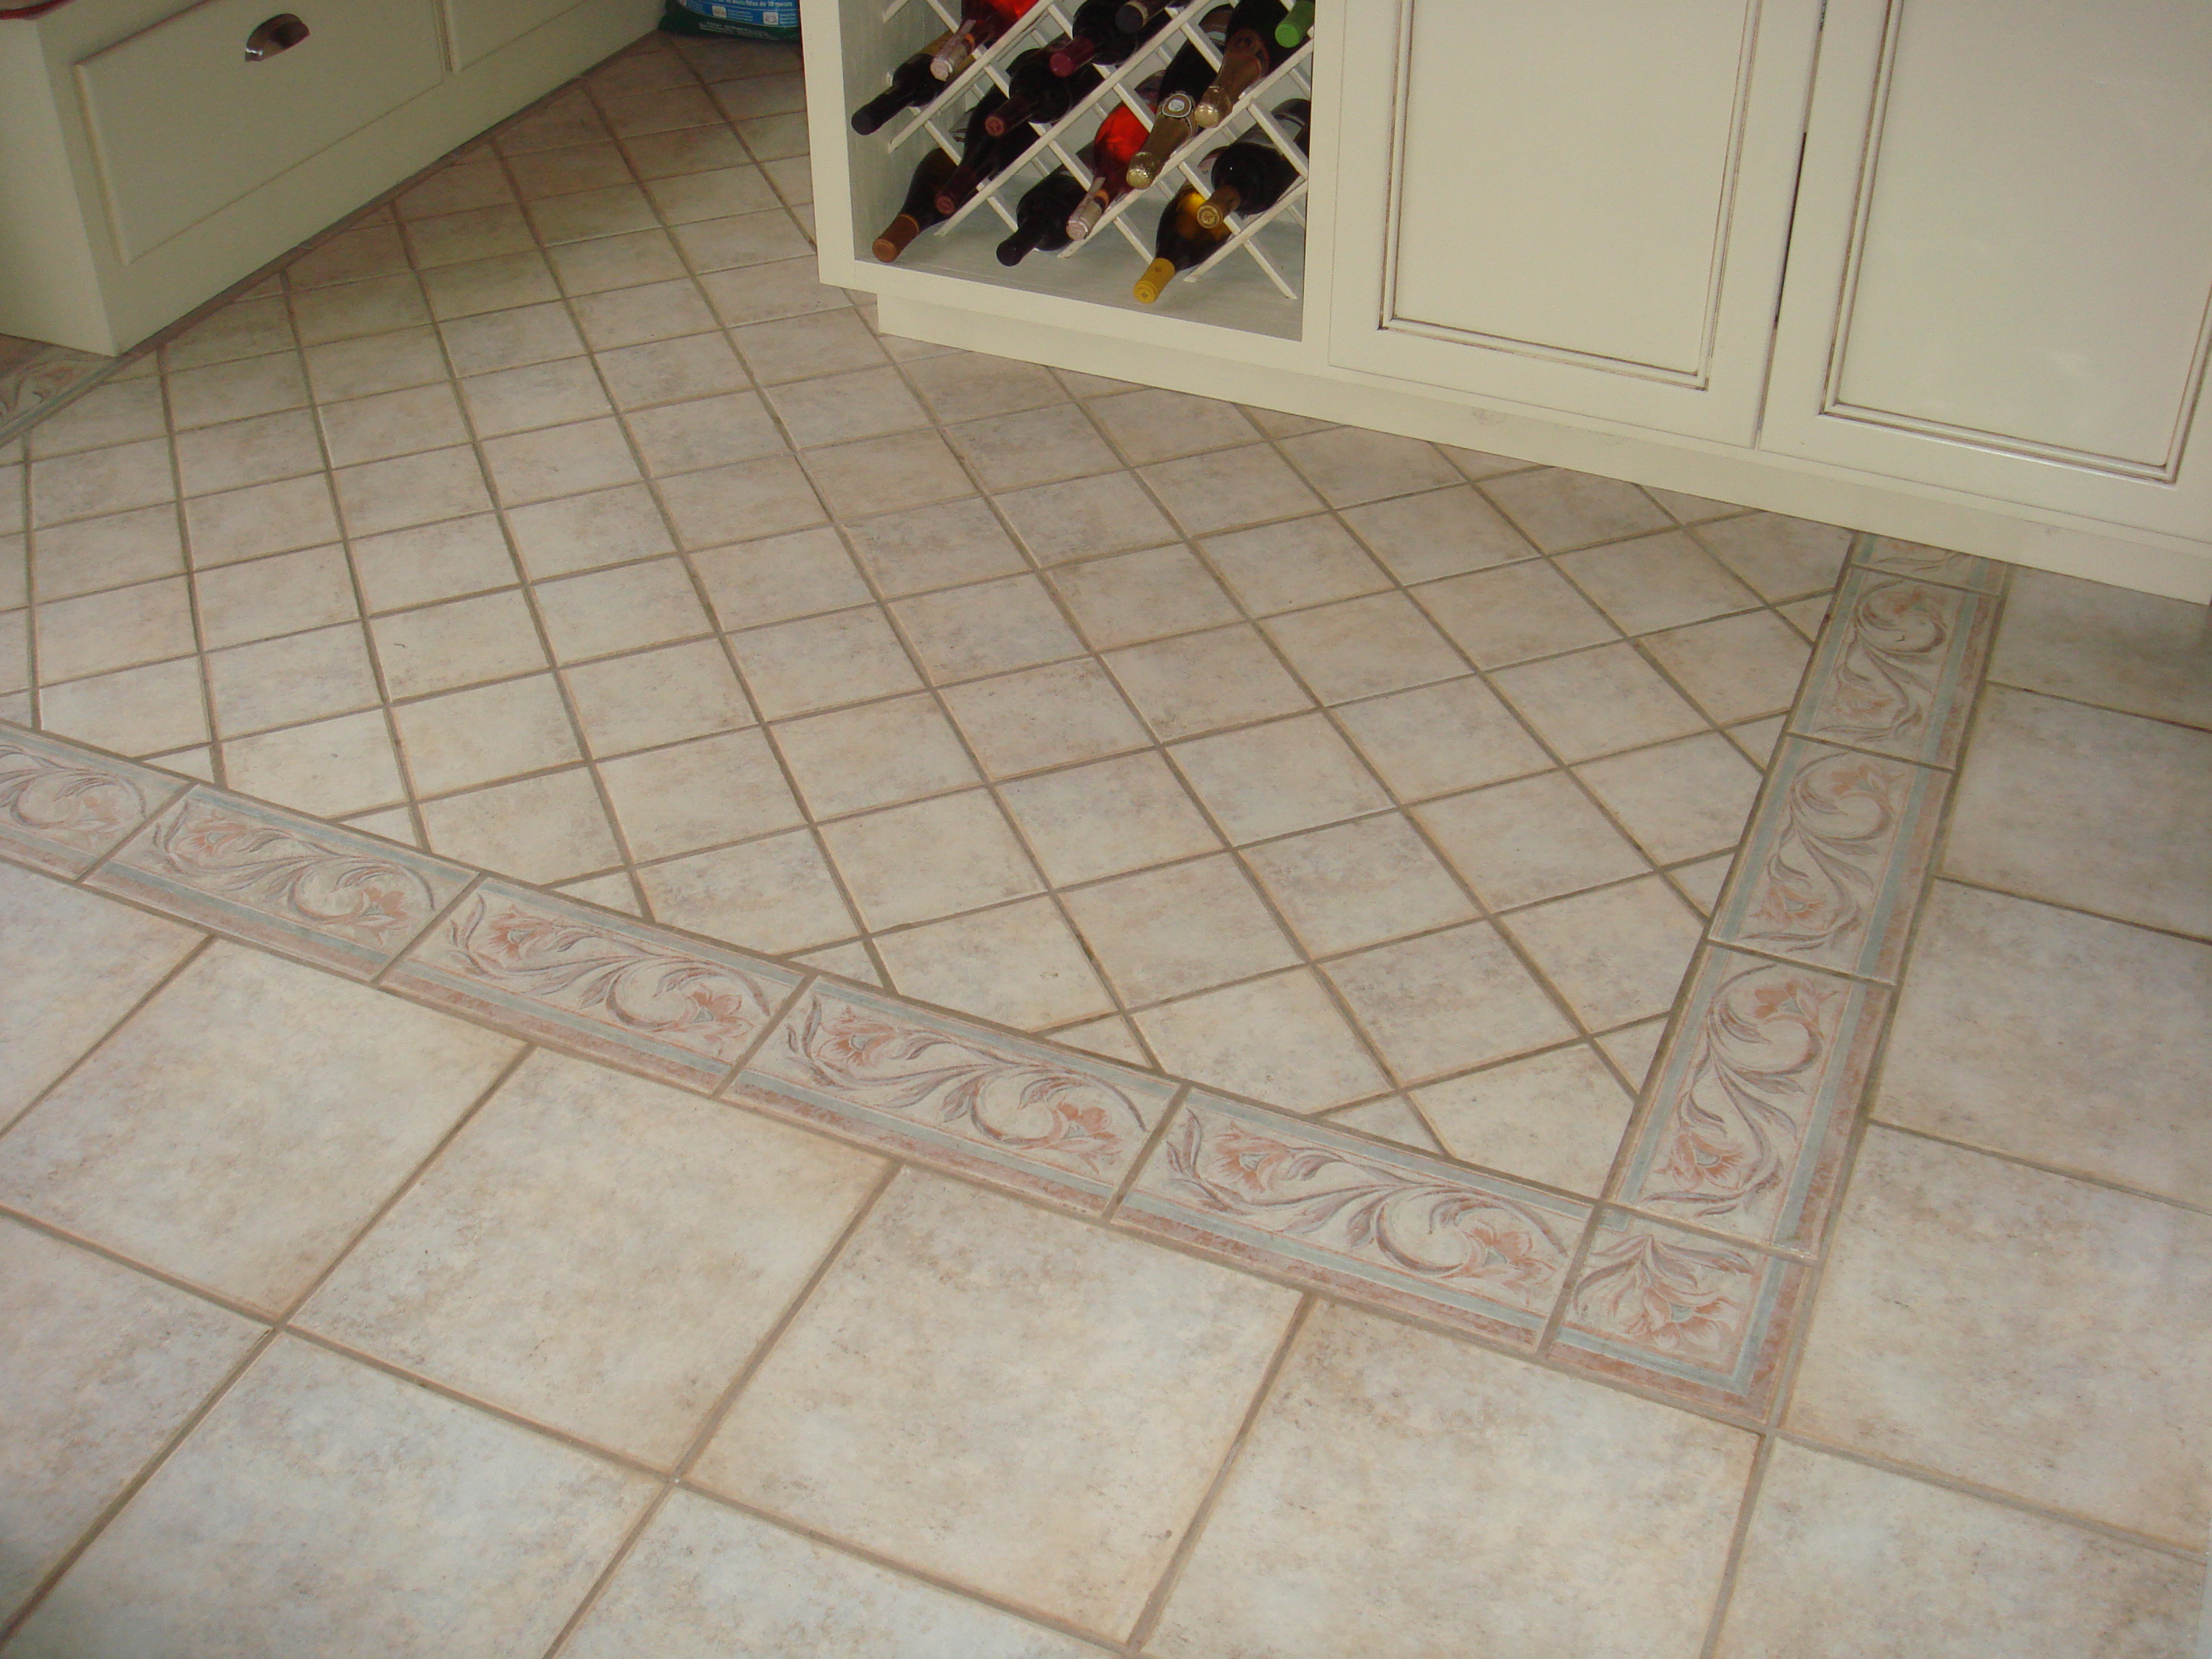
It often happens that the angles in the room do not have 90 degrees, the walls are curved and the trimming along them will have different sizes. It does not look very aesthetically pleasing. To divert attention from the problem, designers recommend creating a frame or border on both sides for the central part of the room.. You can perform it using a normal tile or a frieze.
In this case, the central rectangle is created using guide cords and tape measure.The opposite sides, the diagonals, must be parallel and have the same size. Having laid the frame with a tile “seam in the seam”, having checked the accuracy of its corners and lines, they begin to lay out the main pattern of the diagonal from the most viewed area.
In the inner part of the rectangle, whole plates and halves will participate in the creation of the diagonal. In this case, the master should pay special attention to the clarity of the cut edge of the cut tile.
Cutting
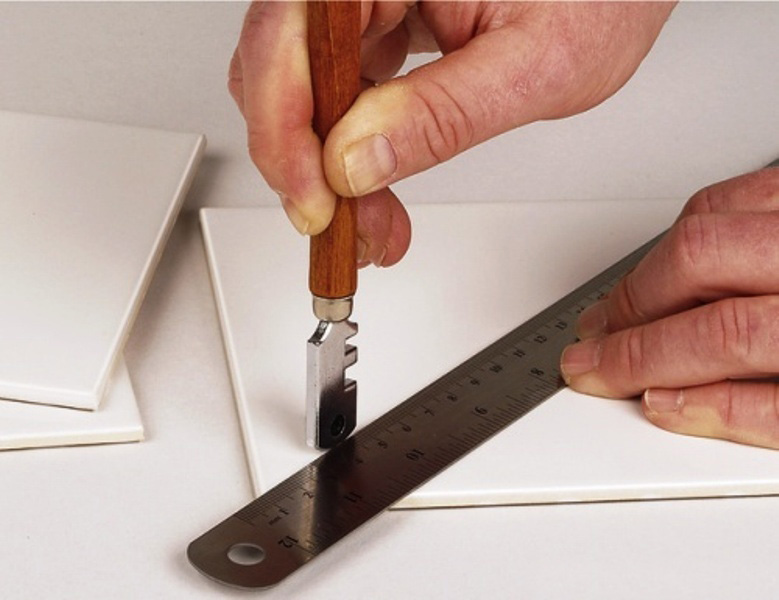
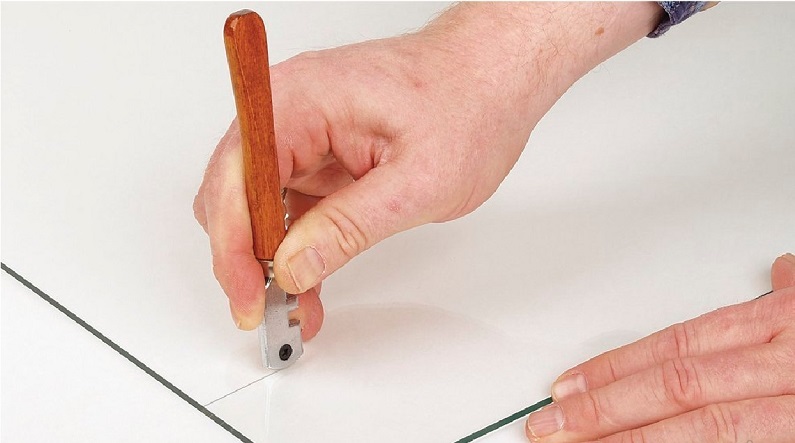
This is a simple matter, but it requires skill and special tools. Types of tiles are different, each of them requires its own set. For tile with a porous structure you need to use a glass cutter. Such a device will not be able to cut the rest of the ceramics, for it there are special types of electrical appliances.
There is a special scheme for the use of a glass cutter at home. First marked the cut line. Tile should be laid on a horizontal surface to avoid slipping. Then the tool with a ruler is held straight. Strongly pressing the tile during this work is not recommended.
Then you need to knock on the other side of the plate along the cut. The next action is to cut the tile off the edge of the table with the cut end and press down on the edge of the tile. If all the technology is observed, then ceramics will break away strictly according to the mark. Uneven ends can be fixed with forceps or sandpaper..
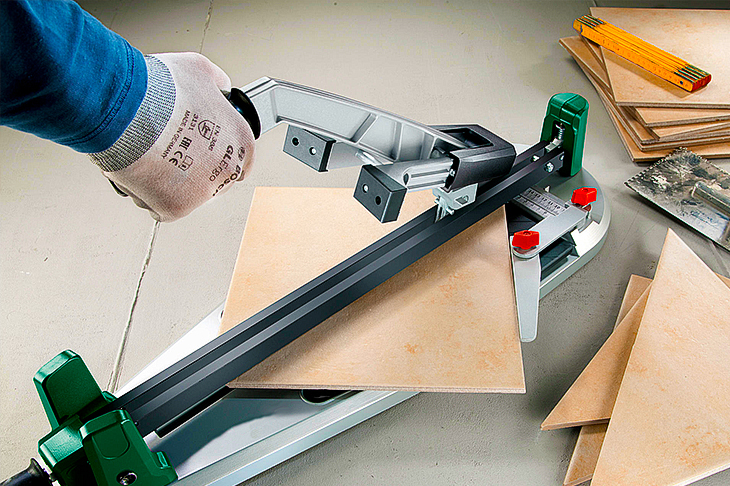
The pattern of using the tile cutter in working with tile is somewhat different.
The tile is laid on the base of the tile cutter. After that, the blade tightly pressed against the plate and stretches the handle tool. Close attention should be paid to the correct direction of the blade in relation to the tile. All these manipulations need to be done at once, so that all edges come out smooth. As a result, the incision is broken open by hand.
If all the work technology is observed, then the tile will break off exactly along the cut line.
Styling rules
When the screed and leveling the floor behind and the surface is treated with a primer, you can proceed to laying tile. Before installation, you need to make a neat and competent marking of the floor. If you plan to lay it out in the simplest way, then you need to set the right direction anyway. It is better to have step by step instructions and a diagram for each row..
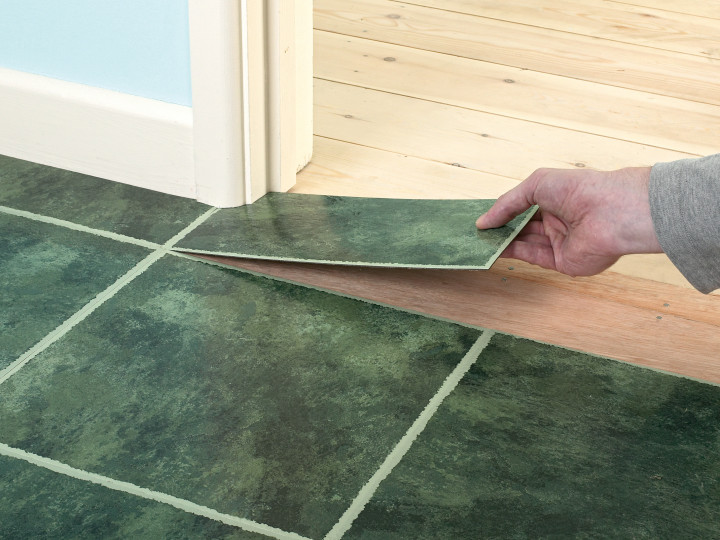
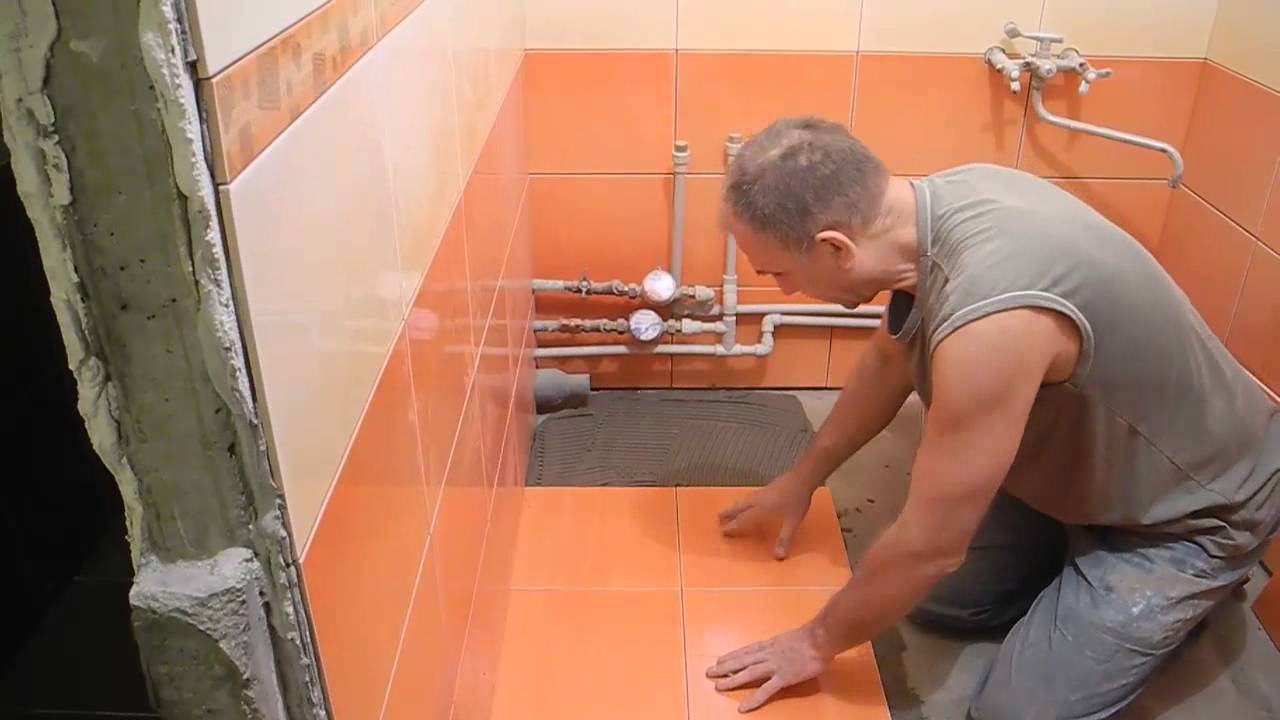
Experienced craftsmen advise putting a couple of rows on a dry surface. This technique will help to see the future picture of the work. It is important that the first row was from whole tiles. So lay tile and in front of the door.
Do not do the glue yourself. Do not soak the tiles before laying in water. Such treatment with a tile on the contrary will spoil all work. After all, tile adhesive is made specifically for applying it to dry ceramics.
First of all the master lays out the whole tiles. After that, you need to wait a certain time and remove all the excess with a dry cloth. When the main canvas dries, proceed to laying edges around the perimeter of the room.
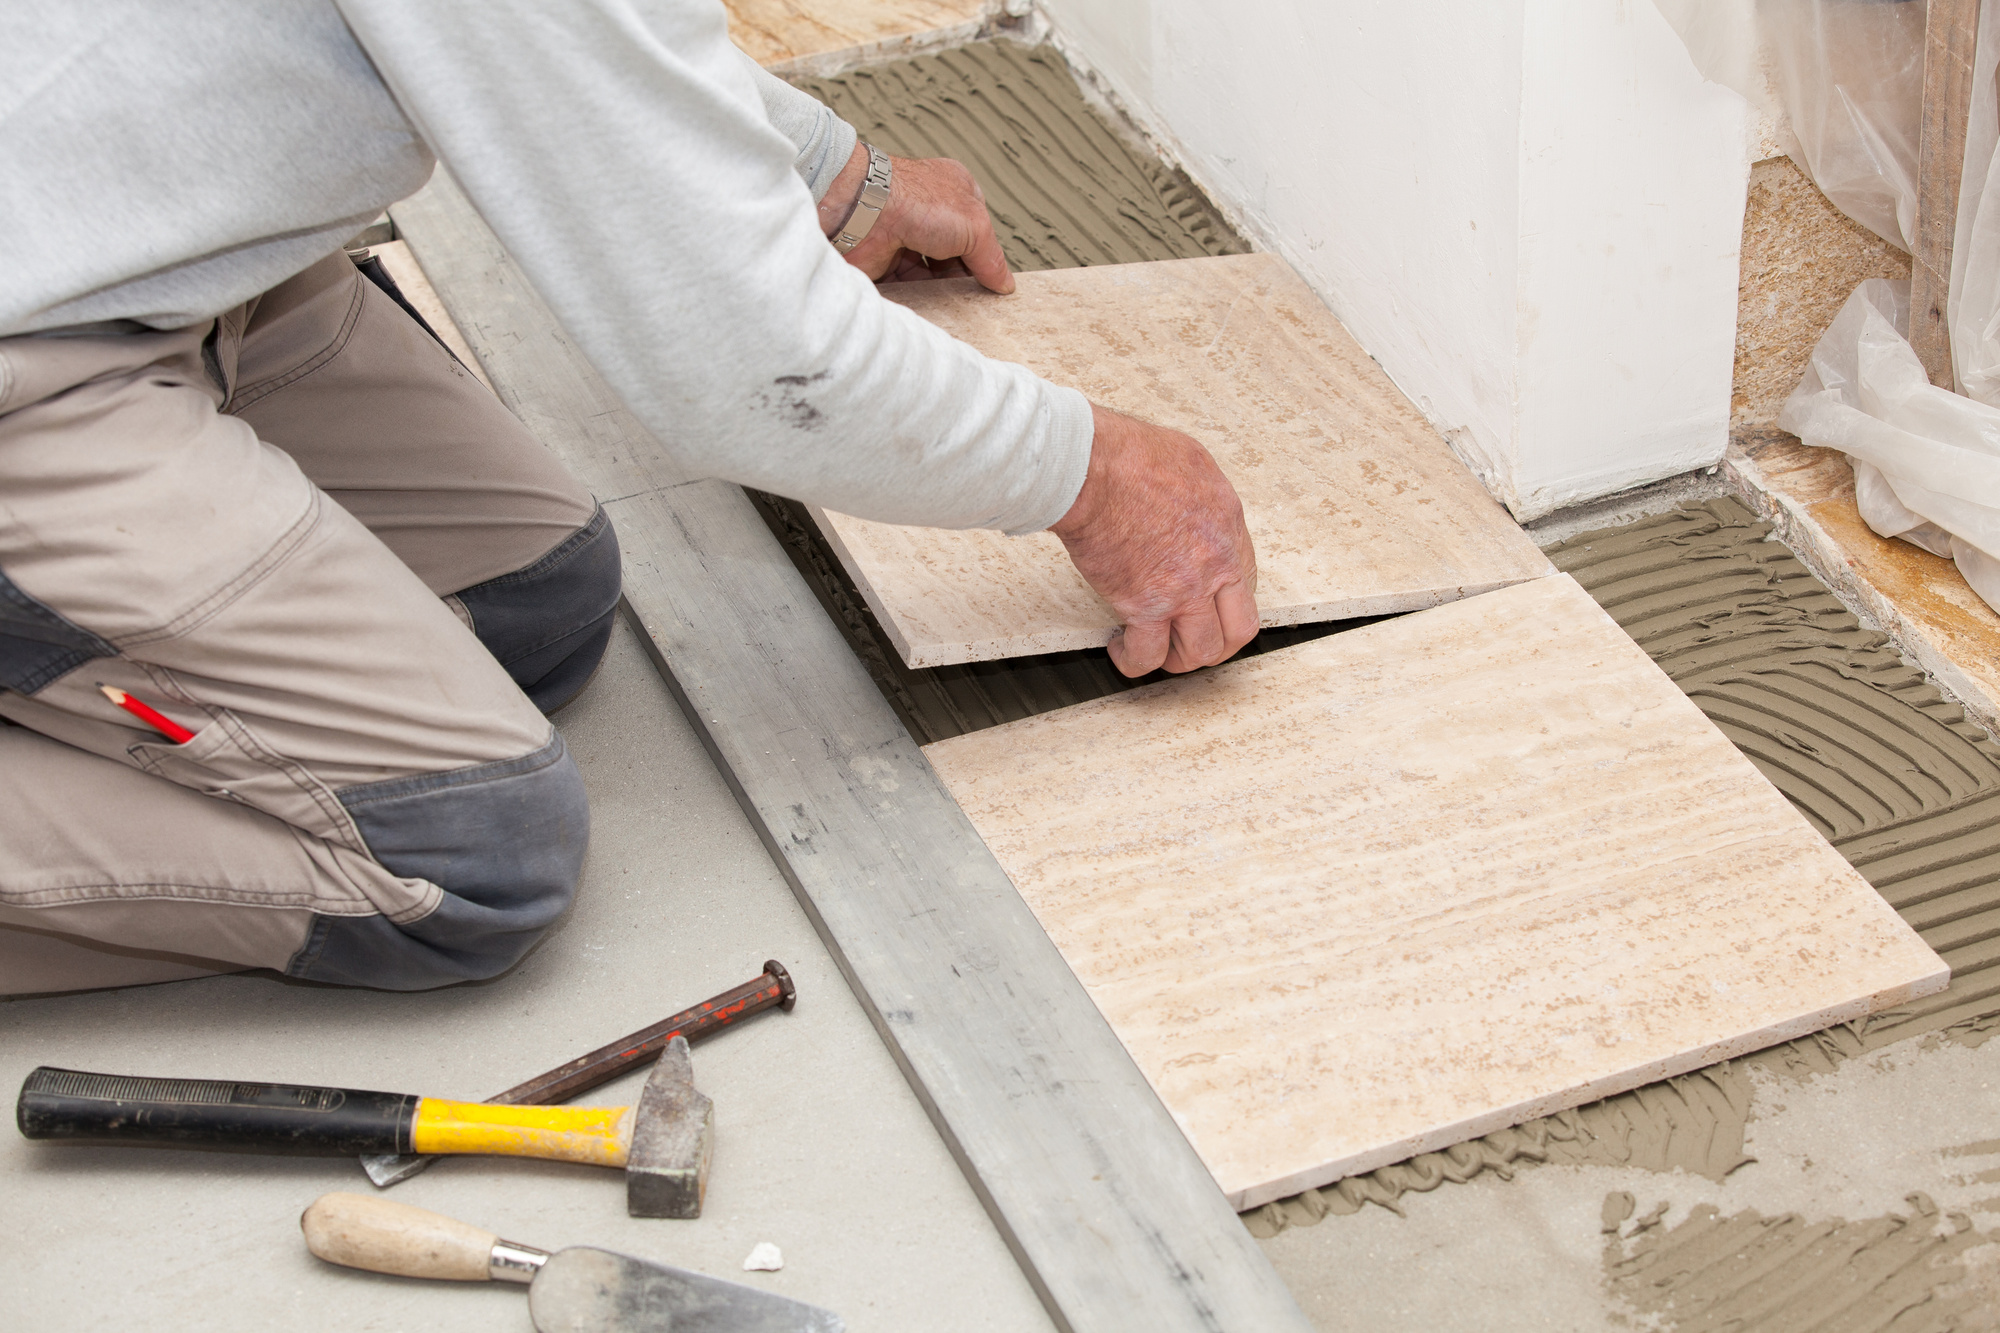
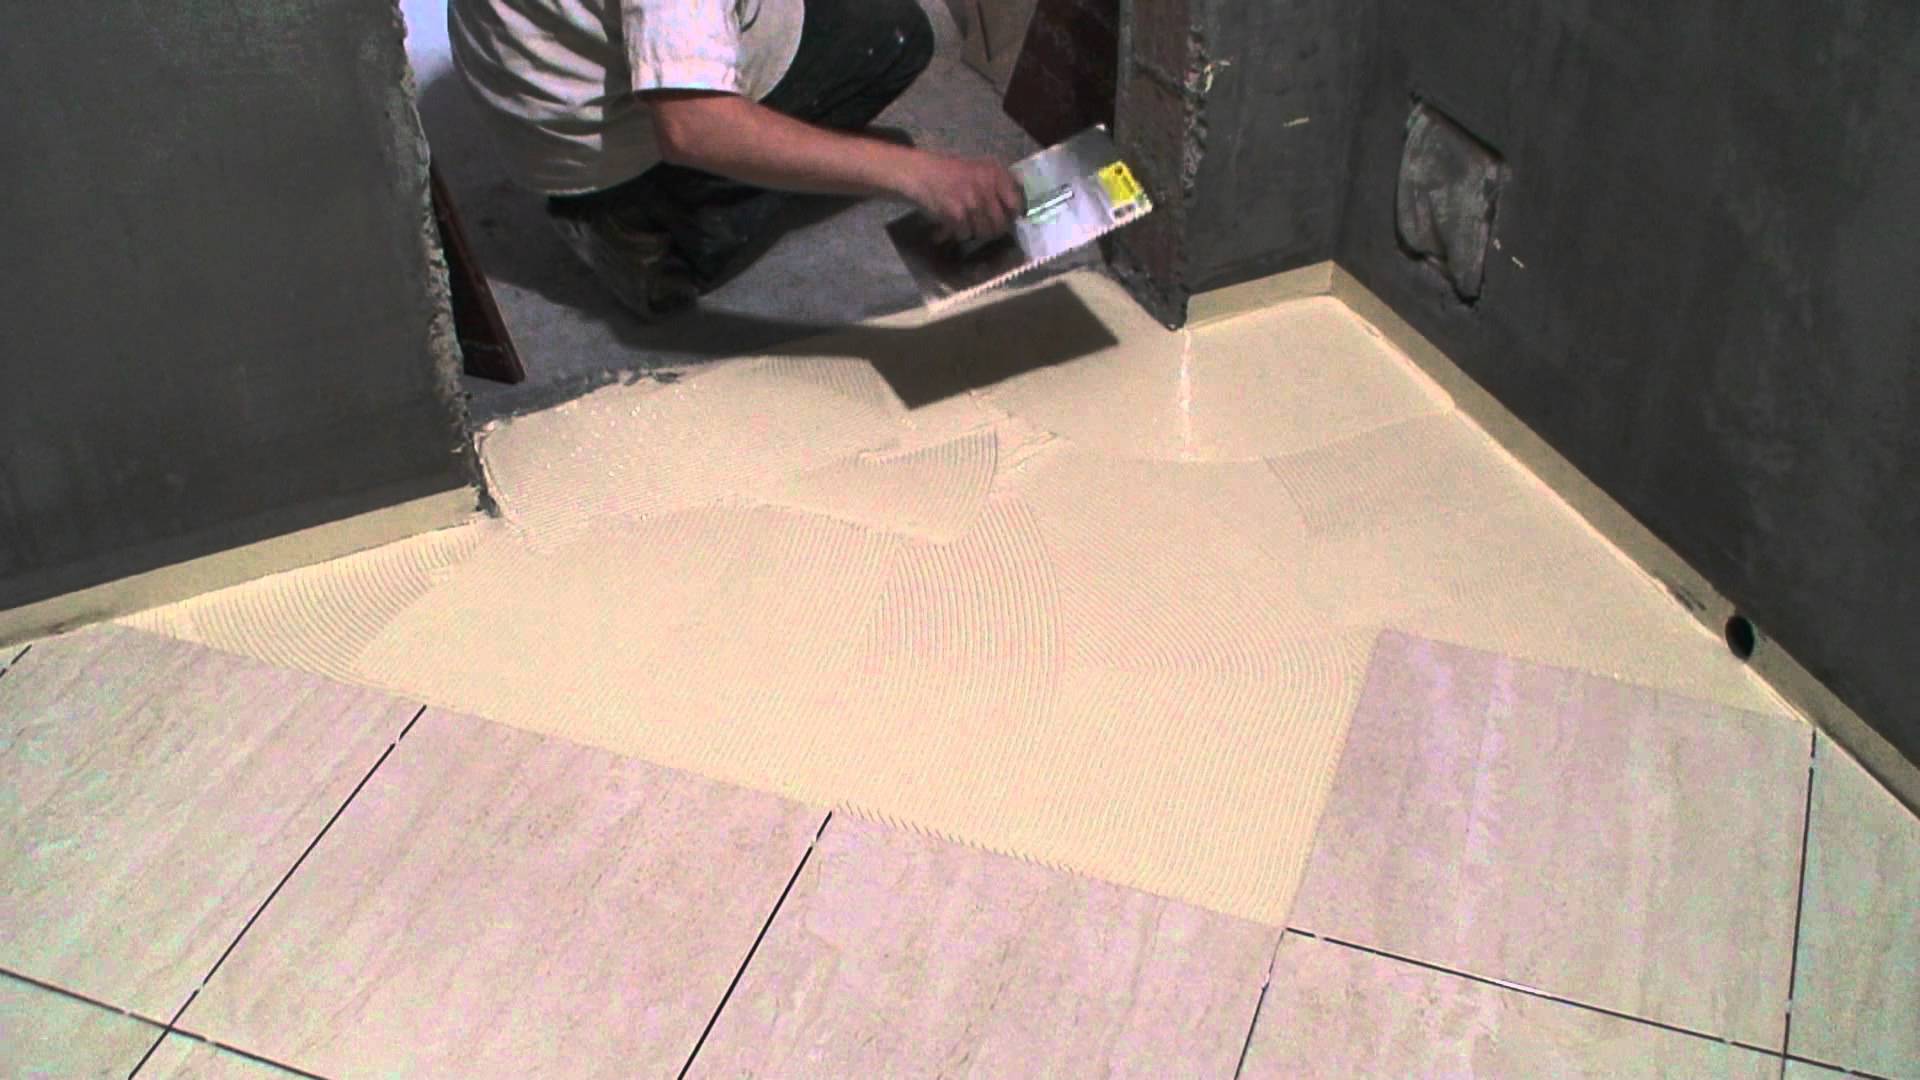
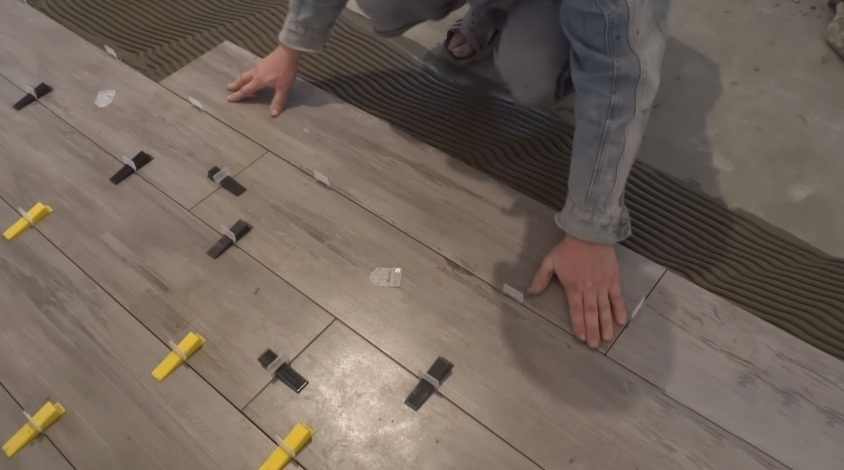
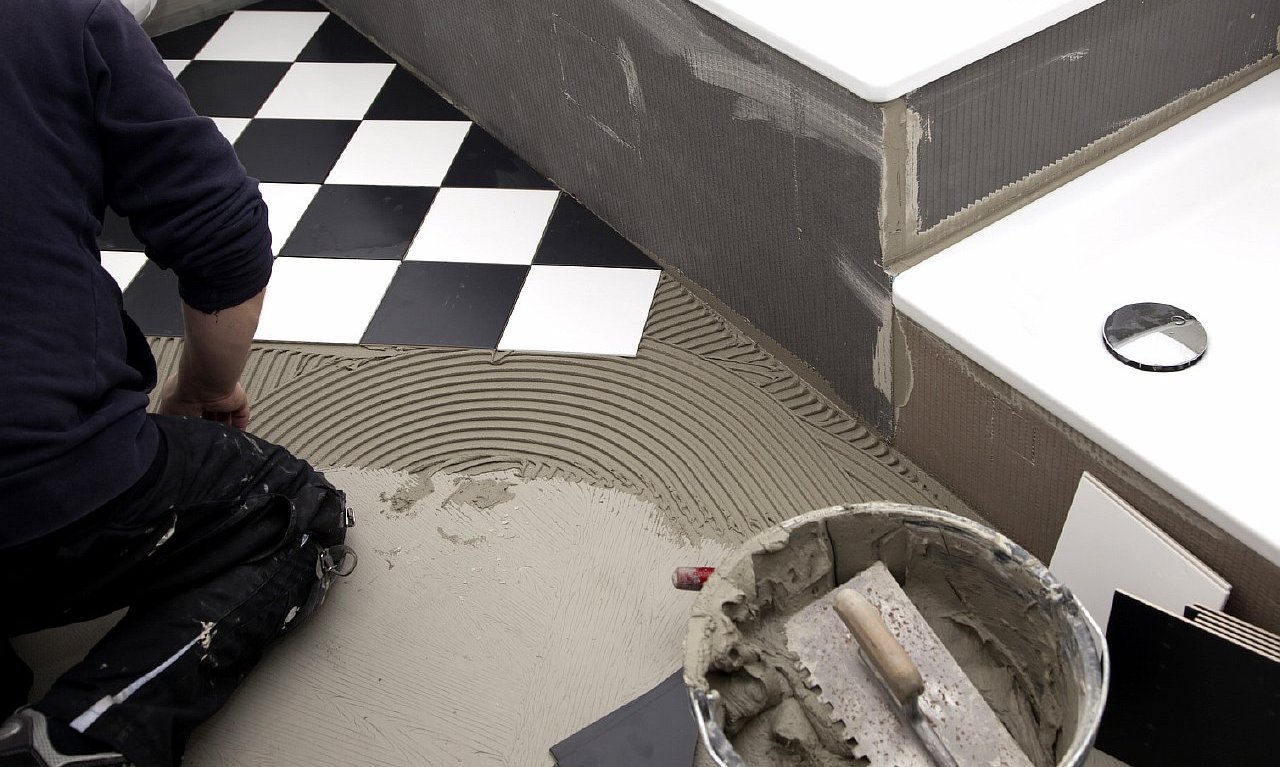
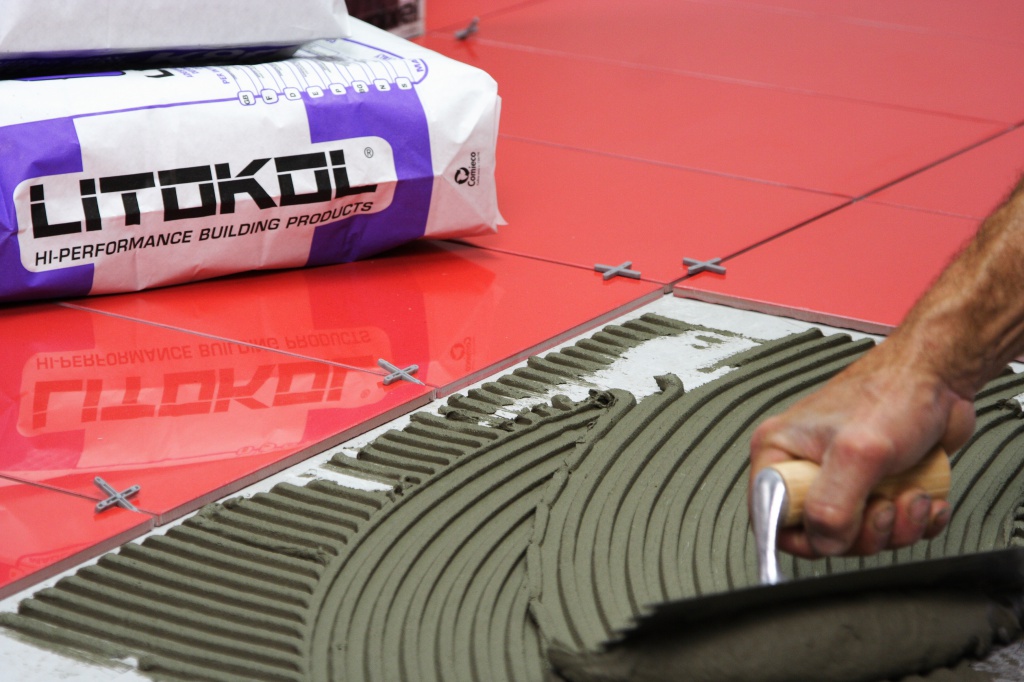
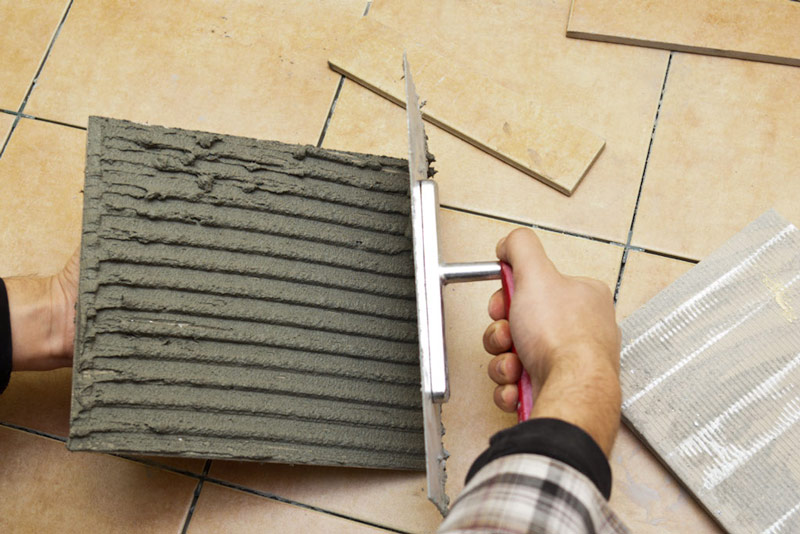
When laying, experts recommend applying a glue base with a notched trowel on the floor and the tile itself. The strips should be perpendicular to each other: with this technique, optimum grip is achieved.
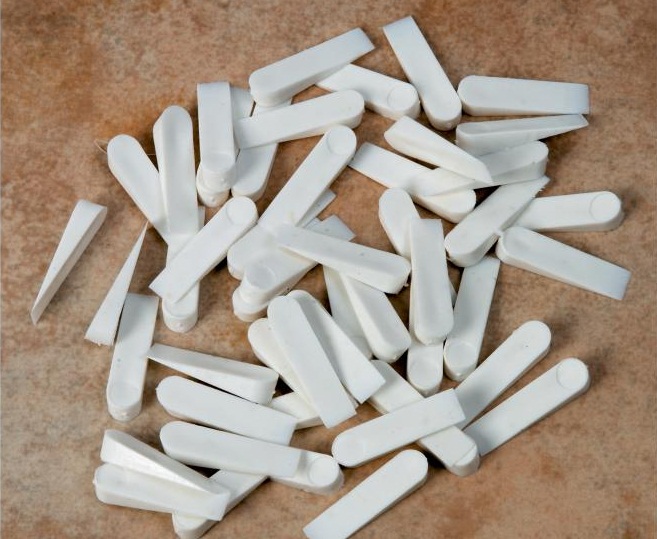
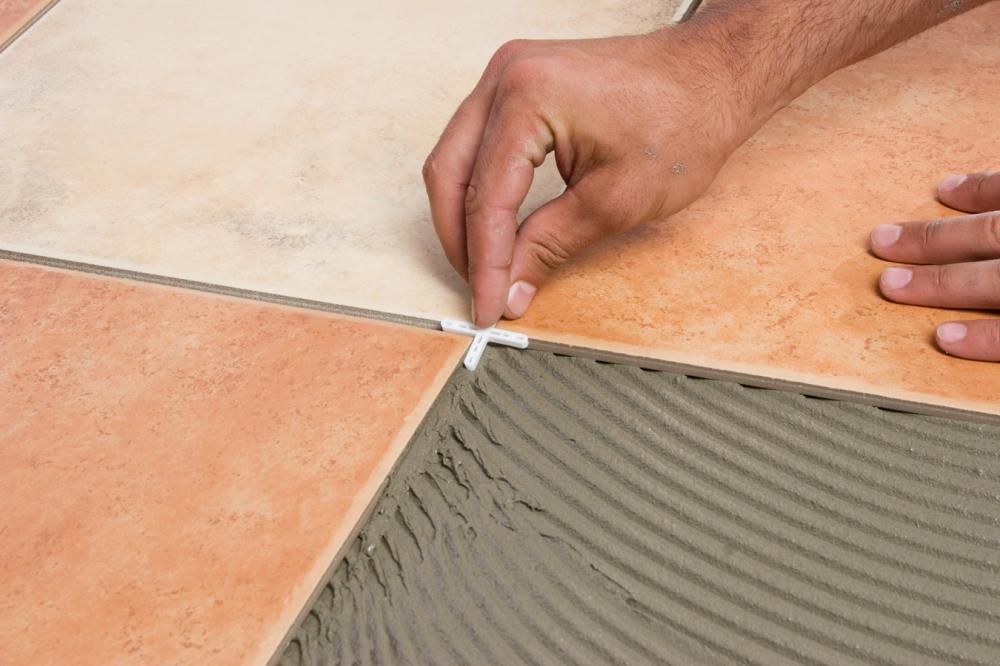
There must be a distance between the tiles. To make this distance the same, special plastic crosses are used.. Before laying each tile, you need to check the flatness of the surface. Such control will help to replace the amount of glue at an early stage.
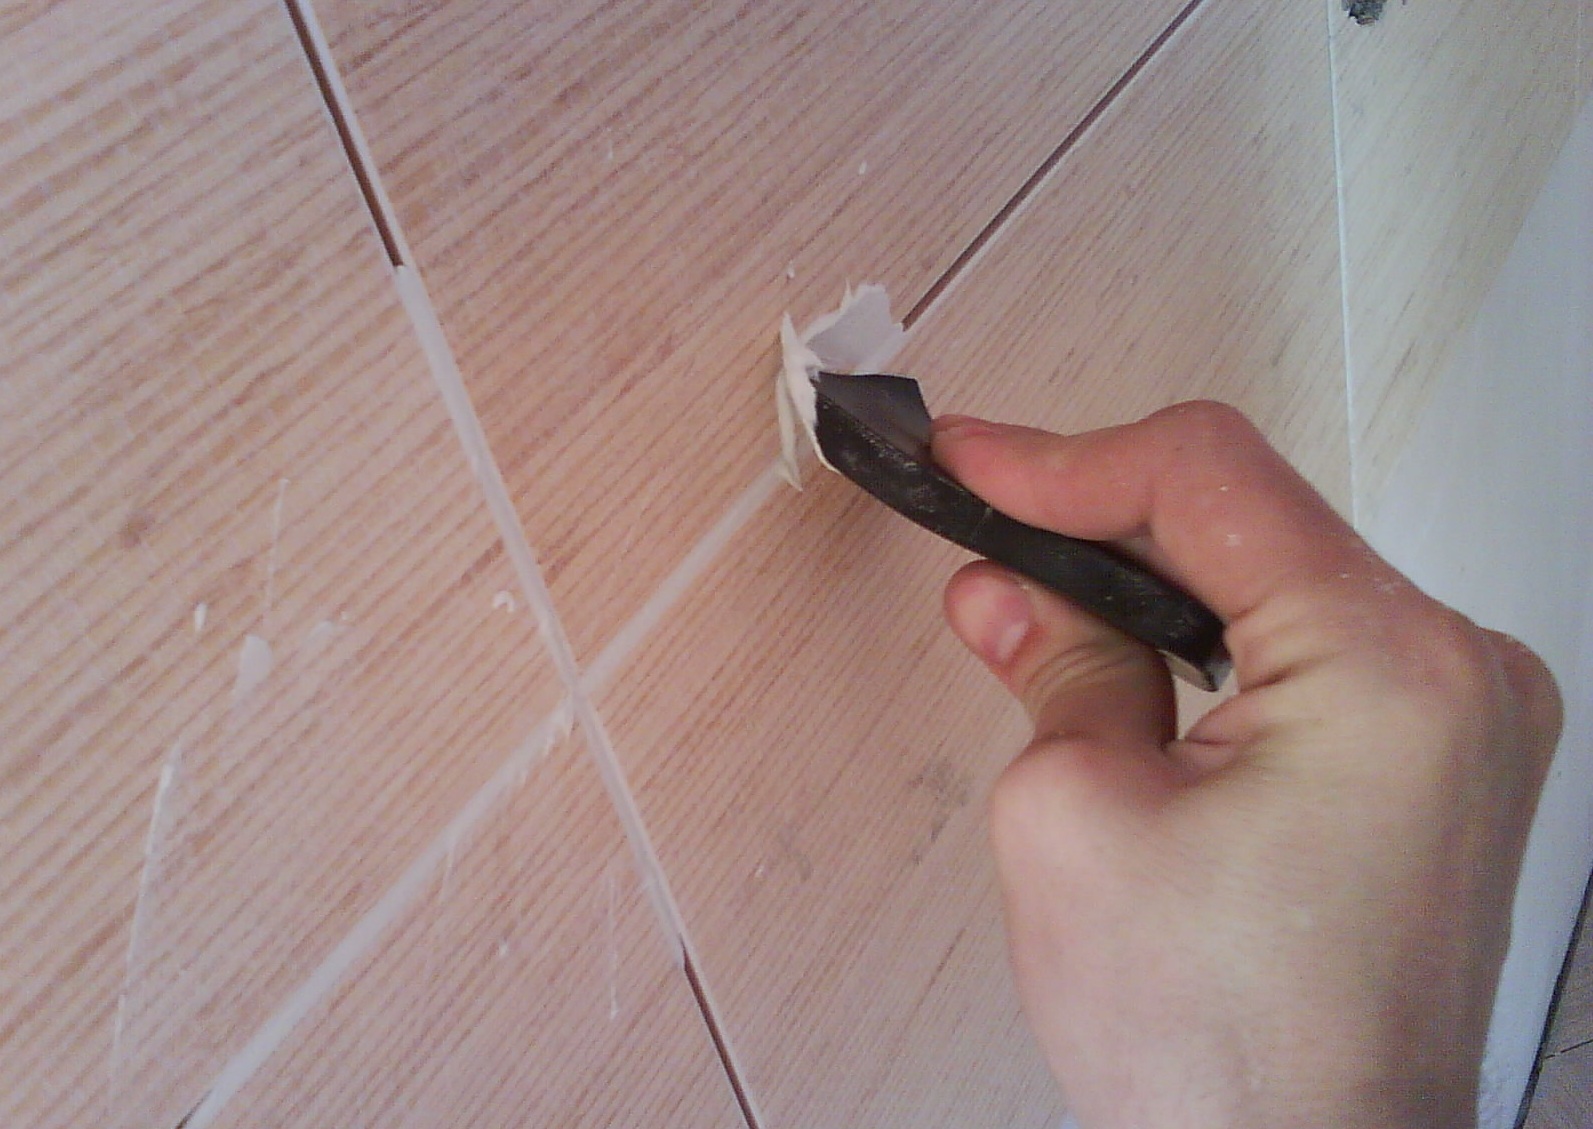
The seams should not be completely filled with glue. If this happens, they must be cleaned.. At the same time you can remove the remnants of the solution from the outside of the tile. If you leave the surplus for later, it will be almost impossible to remove them.
In order to secure the already laid material, it should be covered with a protective layer of plywood. After finishing laying the cuts and removing the plastic crosses, the tiles are left to dry until fully set. In this matter, you must clearly follow the instructions. It usually takes forty eight hours. At the very least there is a cleaning of the finished surface from building dirt.
Grouting
This is the final stage in laying tile on the floor. Before you start work, you need to wait twenty-four hours after installation. Experienced craftsmen advise to wipe the seams with a damp cloth before starting, in order to increase the uniformity of application and the adhesion of the paste to the edges of the tile.
The mashing process is carried out with the help of a special composition - the fugue.It should be chosen, taking into account the features of the room and selecting the appropriate shade under the tile.
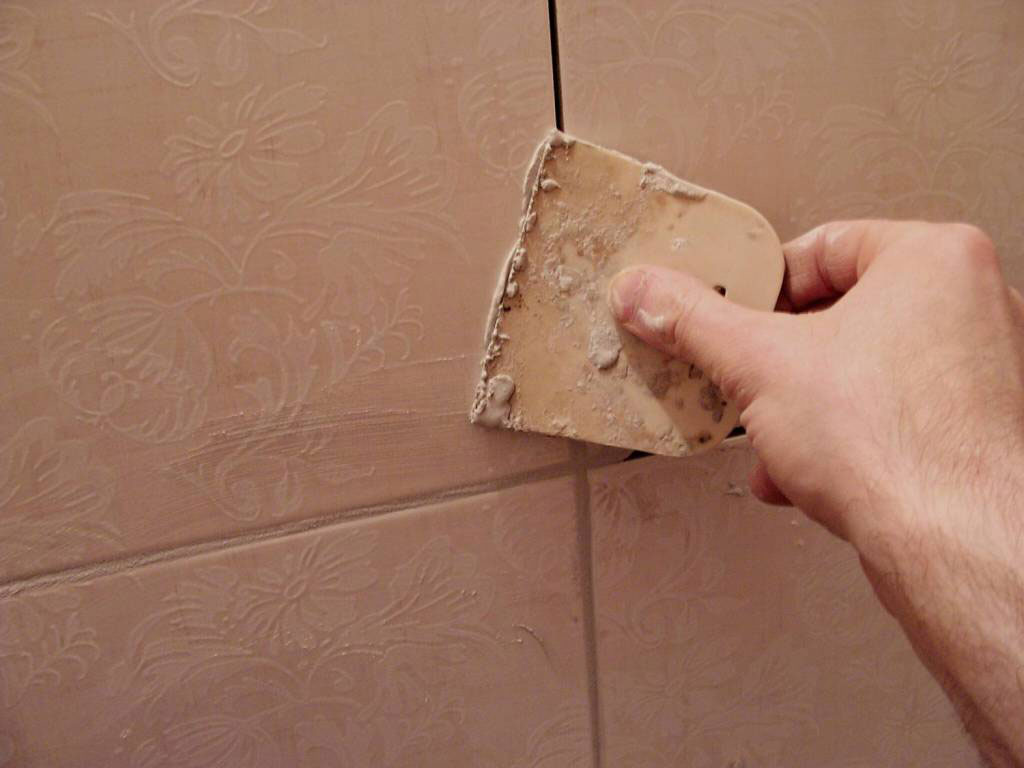
The fugue is applied to the rubber spatula, then the seams are filled with diagonal movements. It is necessary to grind, press the composition into the seams, as if you want to make it with a tile one piece. Large excess paste is easy to remove with the help of the same spatula.
Do not forget about cleaning dirty tiles. For this you need a bucket of warm water and a foam sponge. After adjusting the cleanliness in one area, you can begin to grind the next section of tile. Correction of inaccuracies can be started only after twenty-four hours..
It often happens that the seams can be of unequal height. This indicates the presence of surplus. Clean them with a sponge, keeping it strictly at one angle to the surface. After grinding, the remaining debris is removed with a vacuum cleaner.
For grouting in the bathroom, experts recommend using a special sealant. This will save the flooring for much longer and will prevent the appearance of fungus.
How to carry out tile laying on the floor, see the following video.
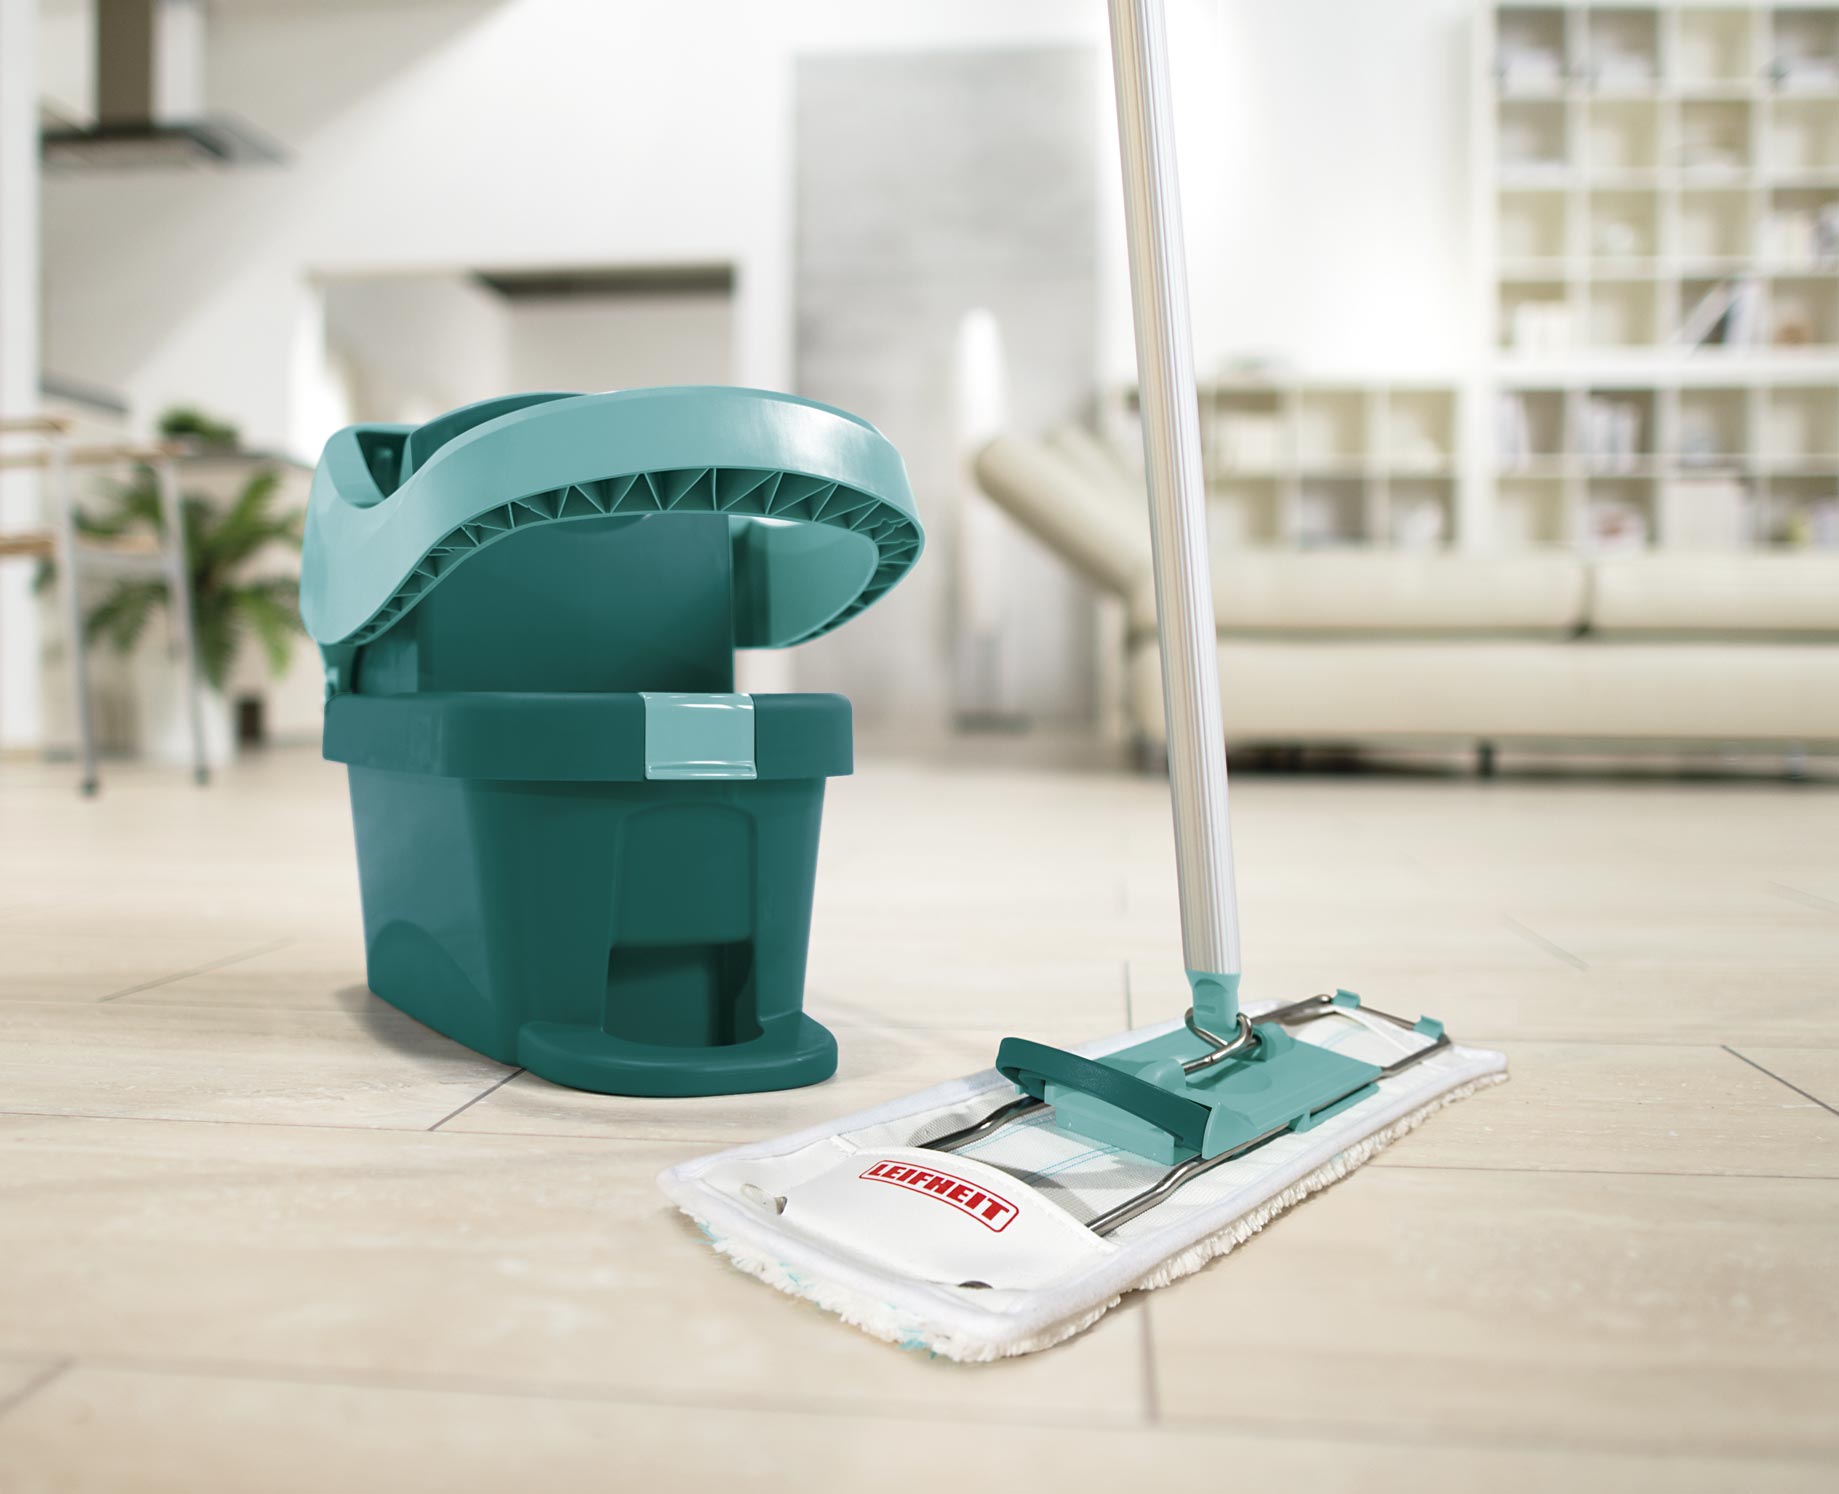
Care Tips
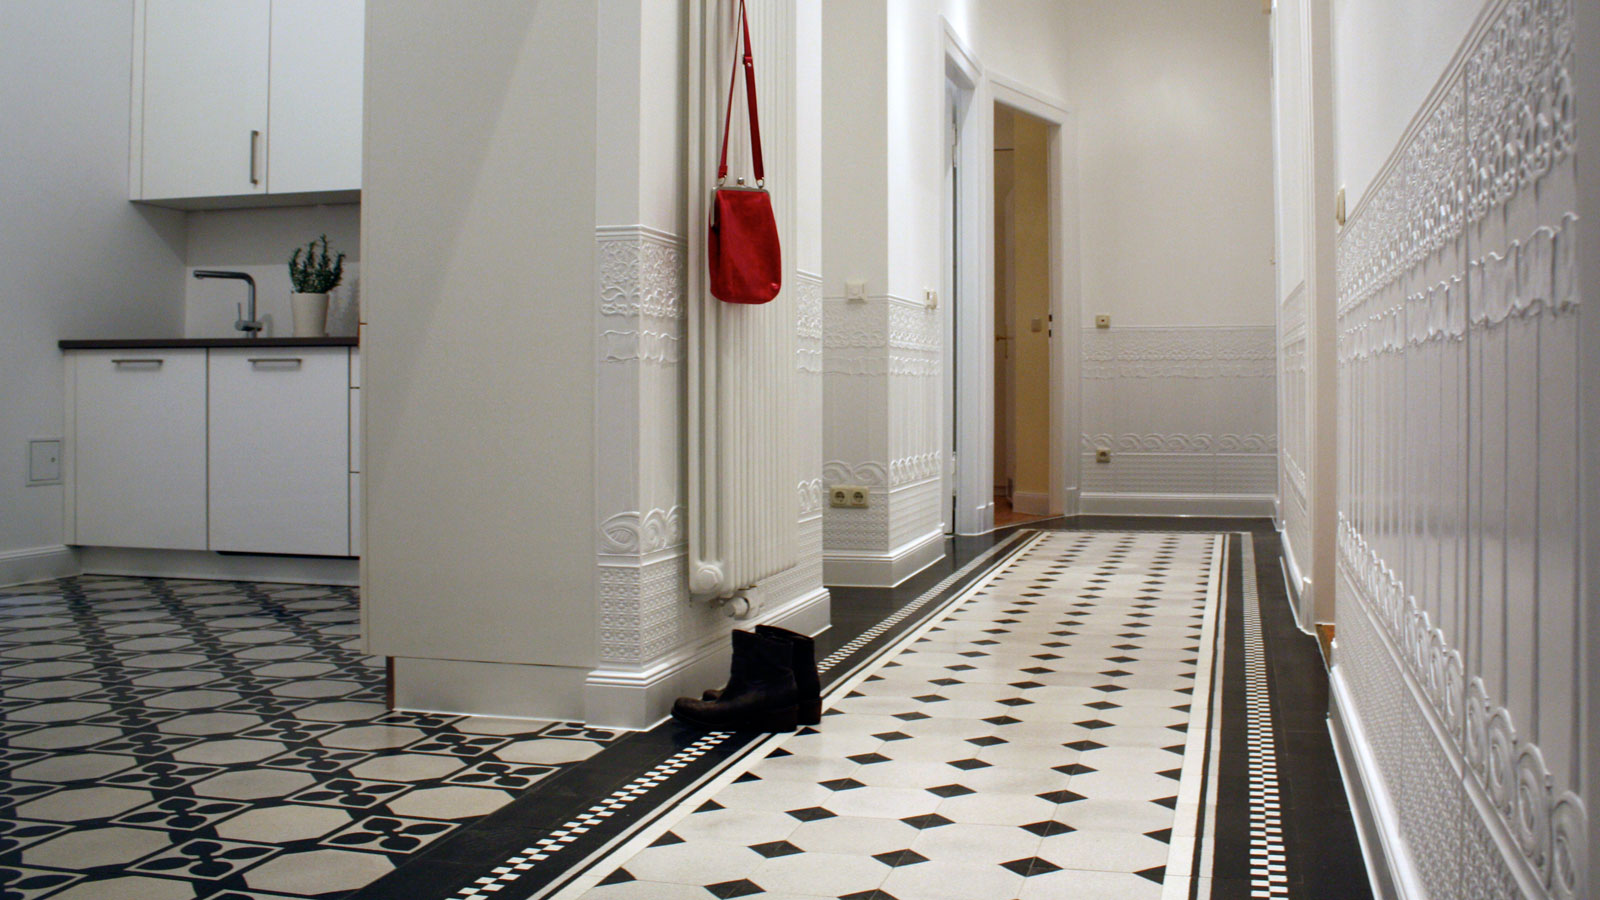
Although the tile and unpretentious material, but it requires careful maintenance. If in the corridor it is enough to wipe the tiles with a damp cloth, then the kitchen and bathroom need more thorough cleaning. In the bathroom it is worth using a disinfectant to prevent various microorganisms from appearing.
Often for the care of tiles used abrasive sponge. With it, you can remove all the pollution, especially the kitchen space. But besides pollution, the top protective layer of the tile will also be easily removed. Therefore, you should pay attention to the large selection of household chemicals.
It is better to use liquid formulations, because the powder can also act as an abrasive.. Popular and popular folk remedies. Conventional soap solution will cope with minor pollution.. To remove rust, you can use food vinegar.
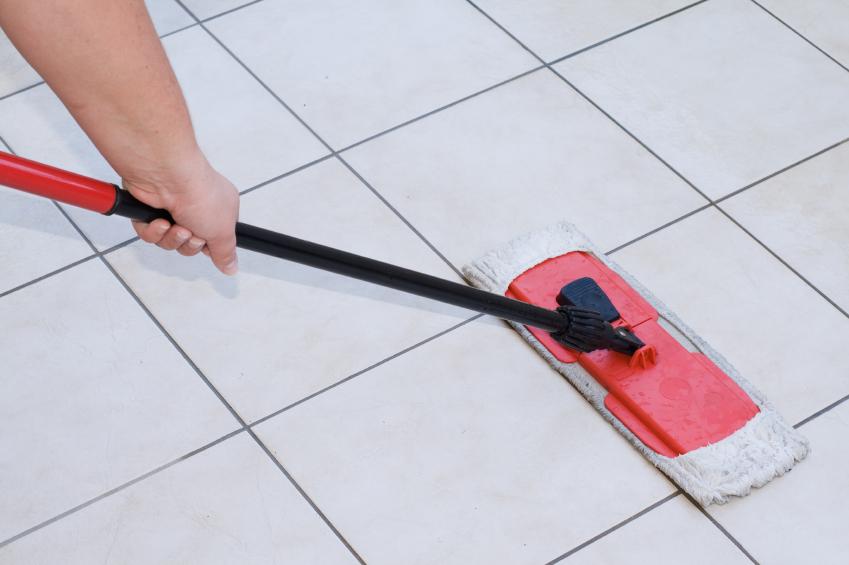

When using strong and aggressive cleaning products, hands should be protected with gloves. After the floor is dry, in addition it should be washed with clean water. The tile dries rather quickly and cleaning the floor will not take long.The main thing to remember is that walking on wet tile is traumatic.
Many experts recommend at the end of a large repair contact the cleaning company, which will make a professional cleaning of the entire required area.

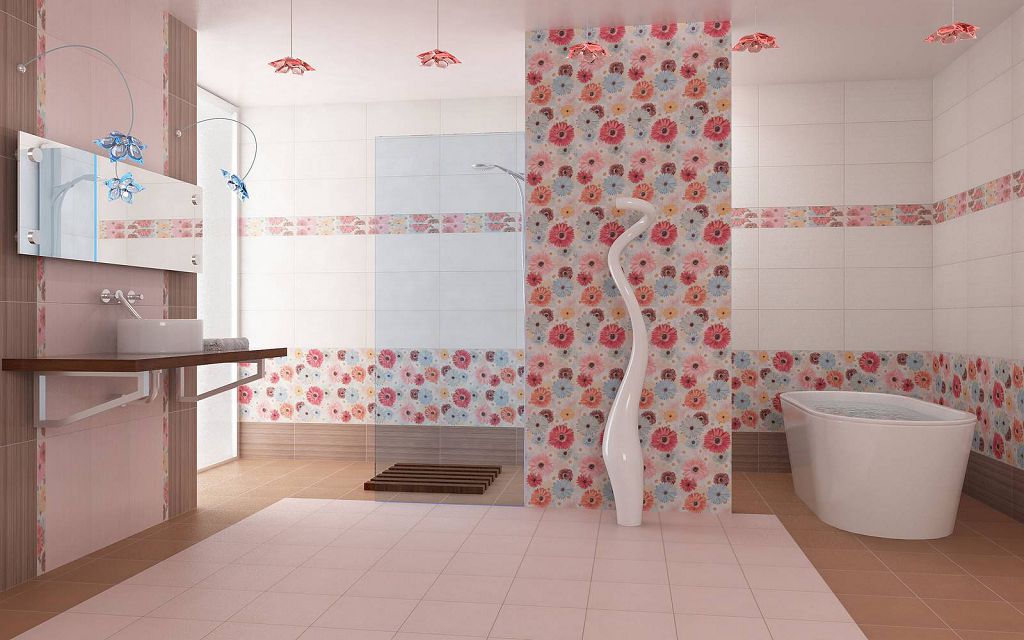
Beautiful examples in the interior
Anyone wants his home to be the most beautiful, functional and stylish. Creating a floor design with a tile requires great skill and patience. Currently, there is a huge amount of different tiles, with which you can create a beautiful and original interior.
To design the floor look stylish, you should not use a different texture on the tile. Due to the difference in characteristics, a tile that is different in structure cannot coexist together.
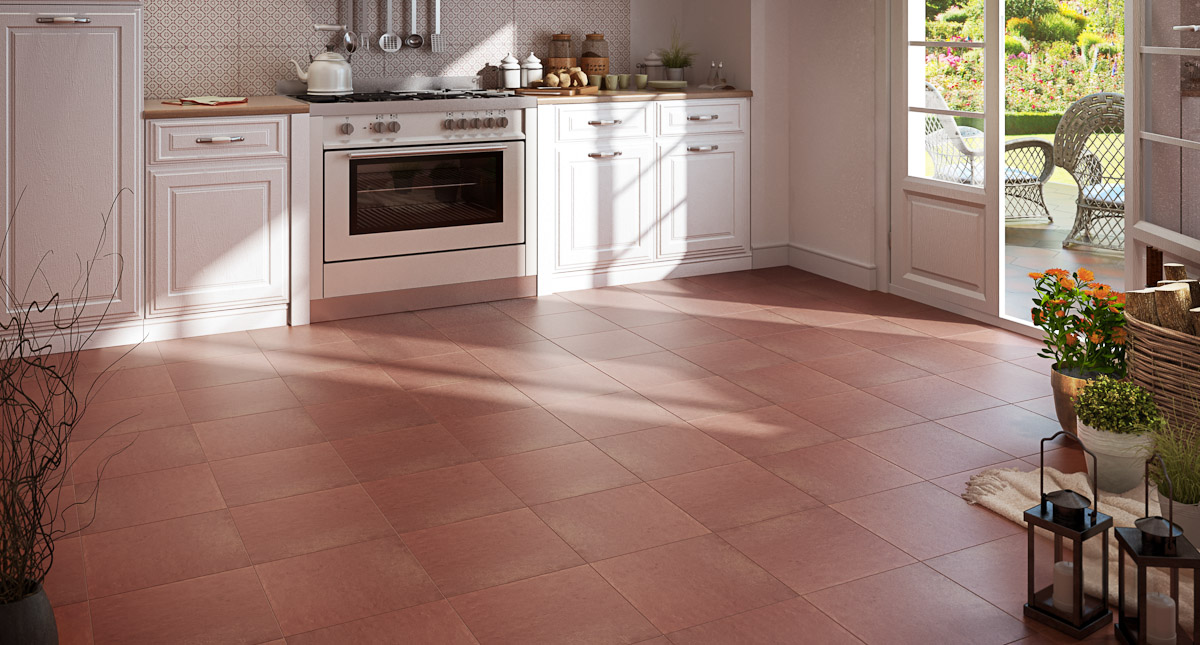
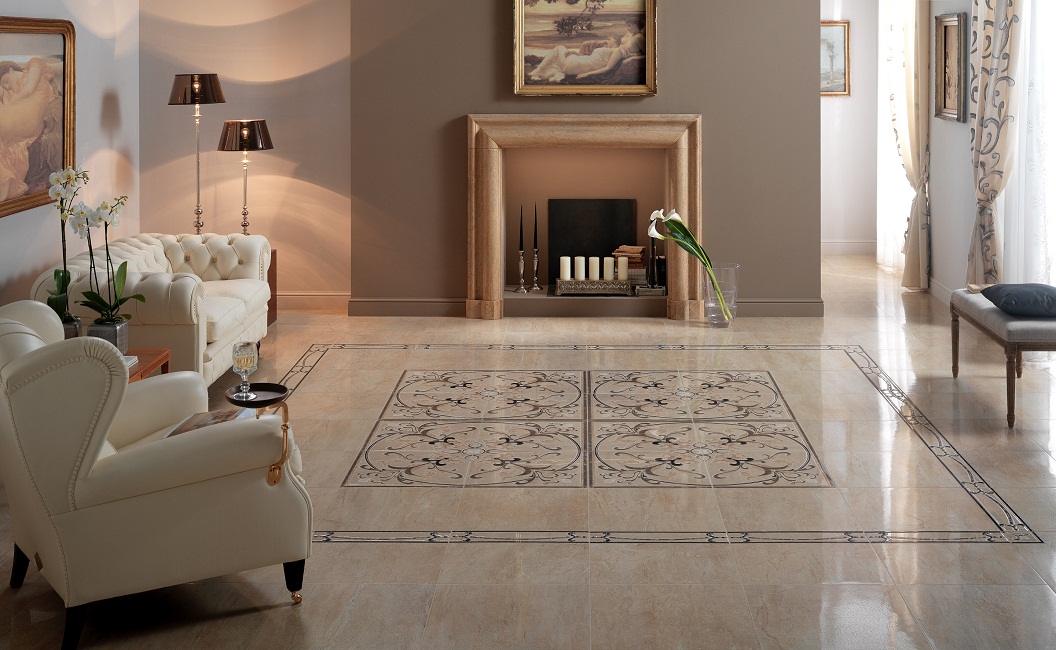
- For classic style A good solution would be to use tiles of the same type, but of different sizes. Also a great solution would be to finish the bright colors with a florid pattern. A good solution is to copy a parquet or laminate pattern on the tile.
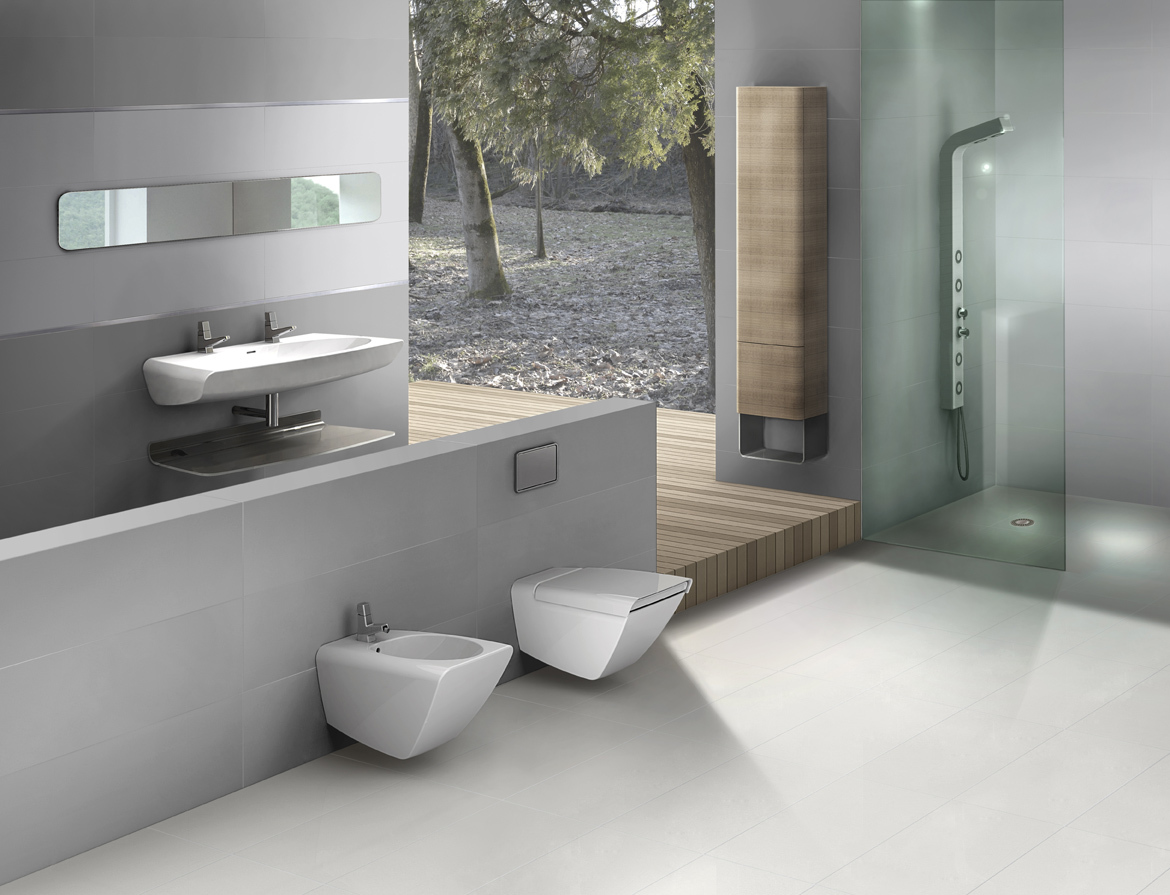
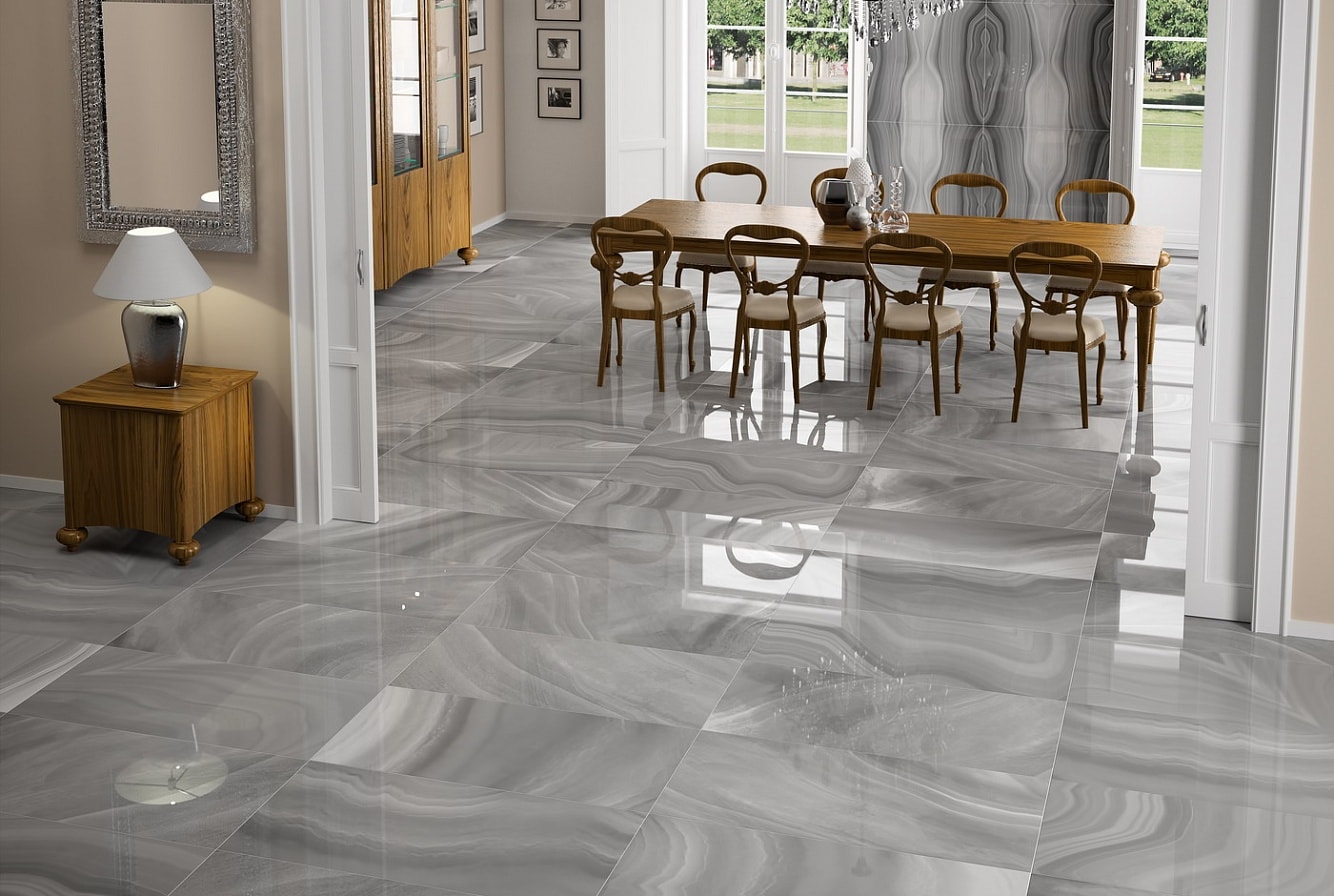
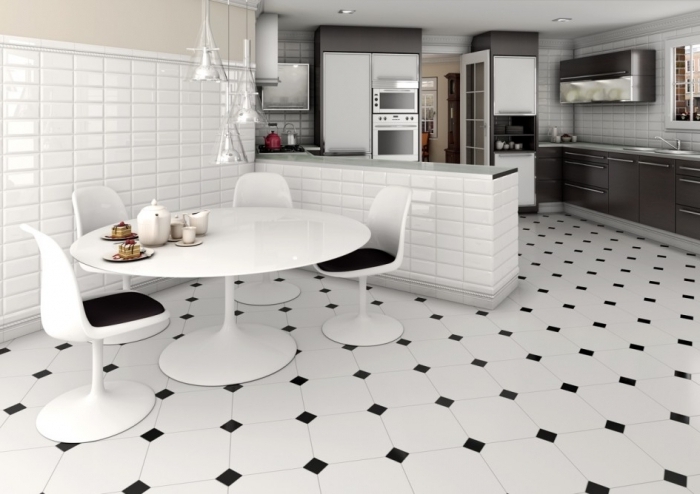
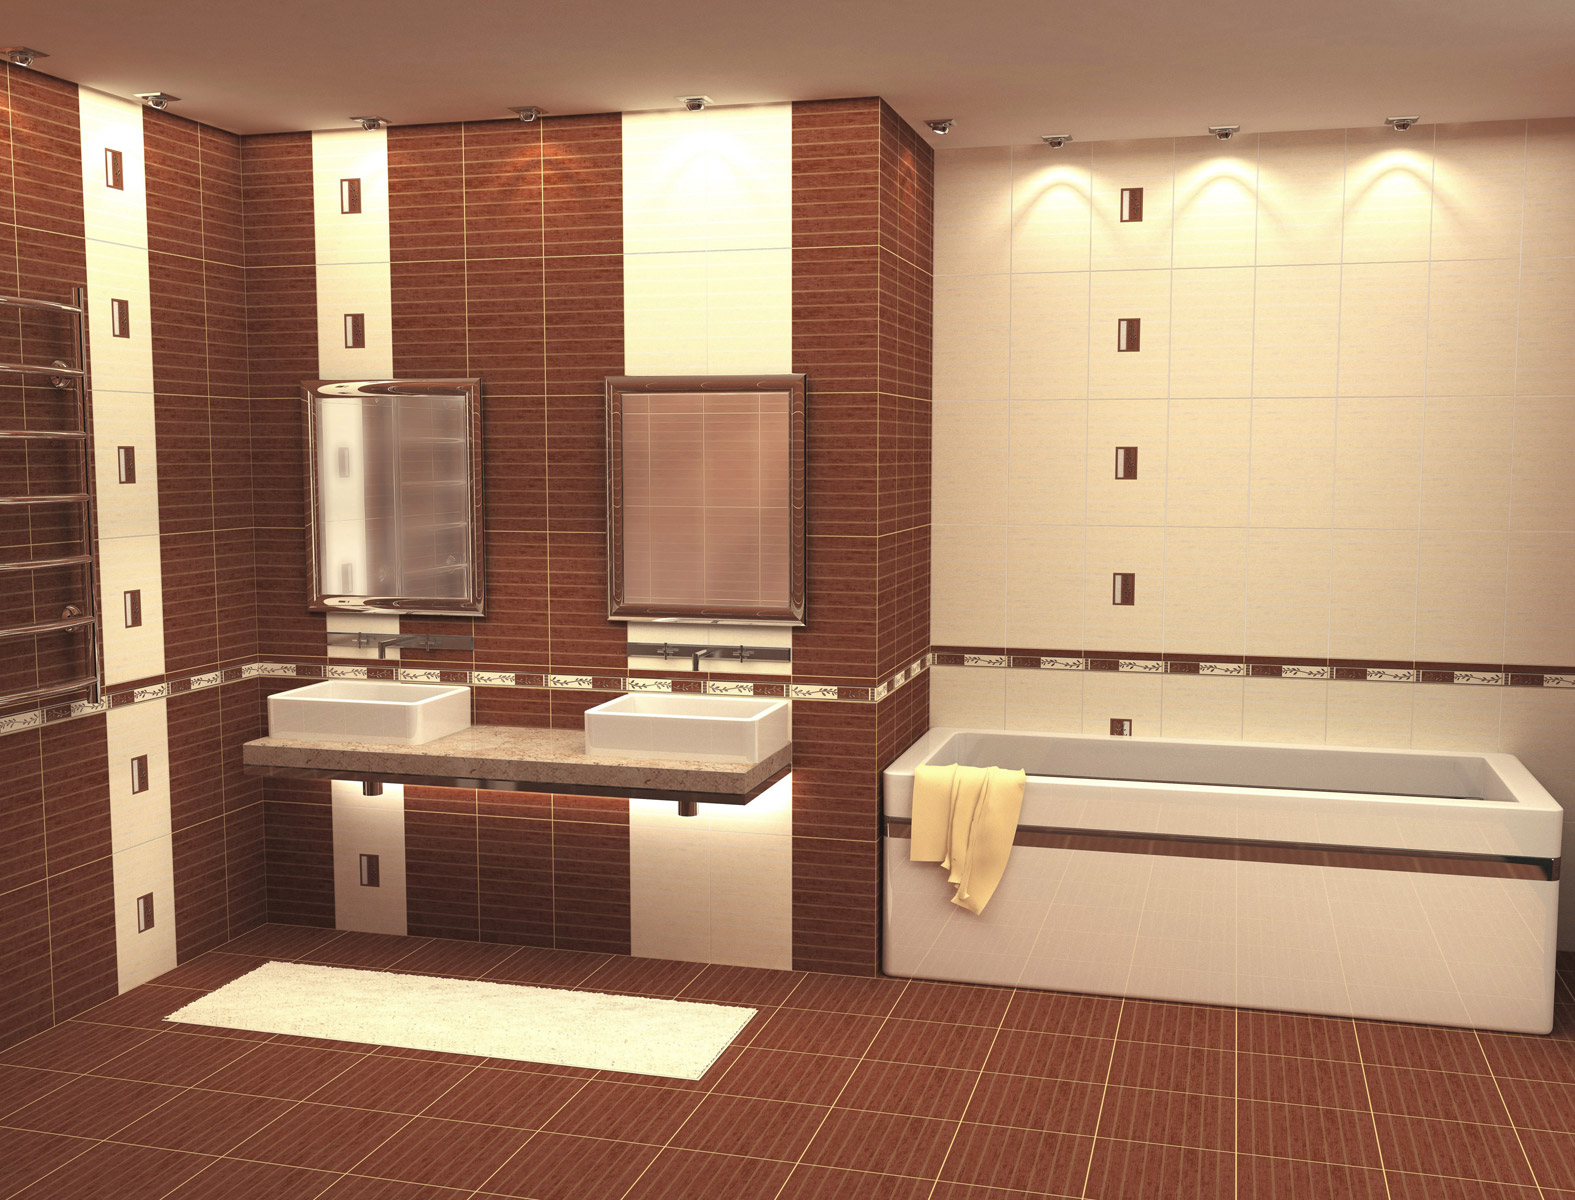
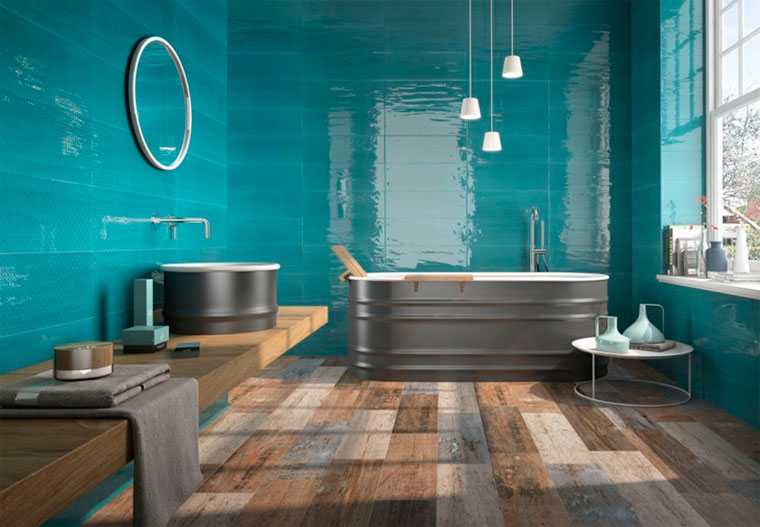
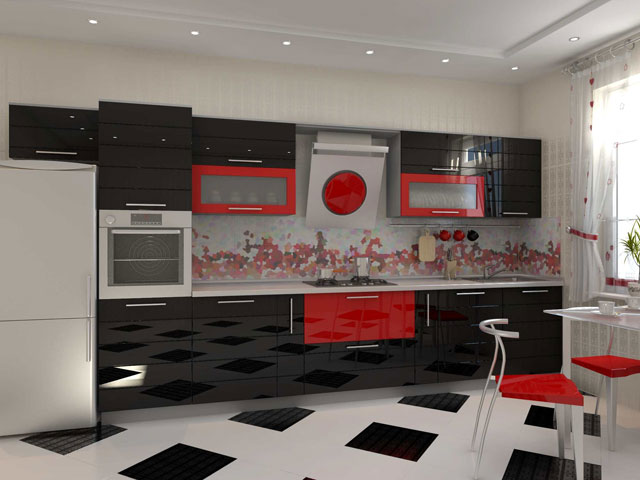
- High-tech style the dark tile imitating stones perfectly will fit. The glossy tile in dark colors looks spectacular and stylish.But here it is worth thinking about security, given the slippery surface of the floor. A good option would be a combination of two colors in the bathroom and in the kitchen.
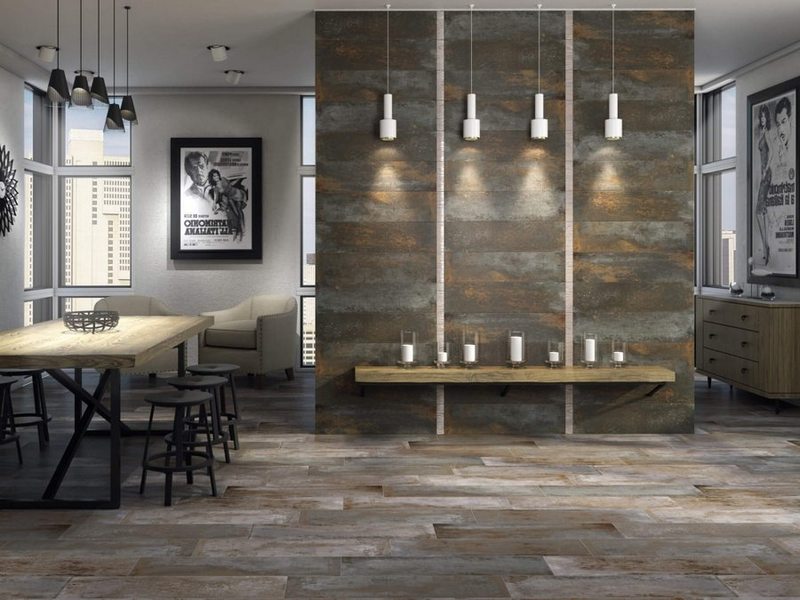
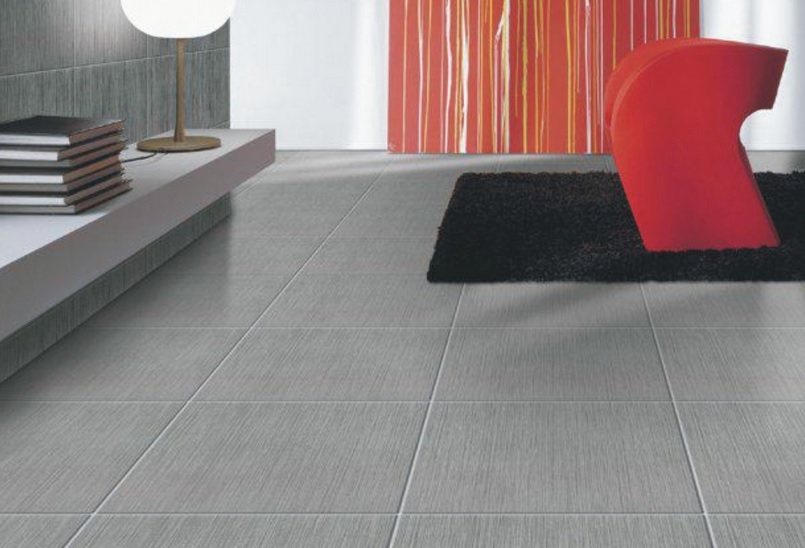
- For the interior in minimalism style An excellent solution would be a tile of medium size and light colors. Due to this, there will be a feeling of air and volumetric space. For the loft - tile imitating dark laminate. Laying tiles under brickwork will be an original solution. Such a floor will be in harmony with a similar design of the walls and the general concept of interior design.
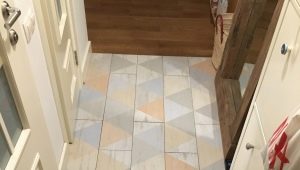
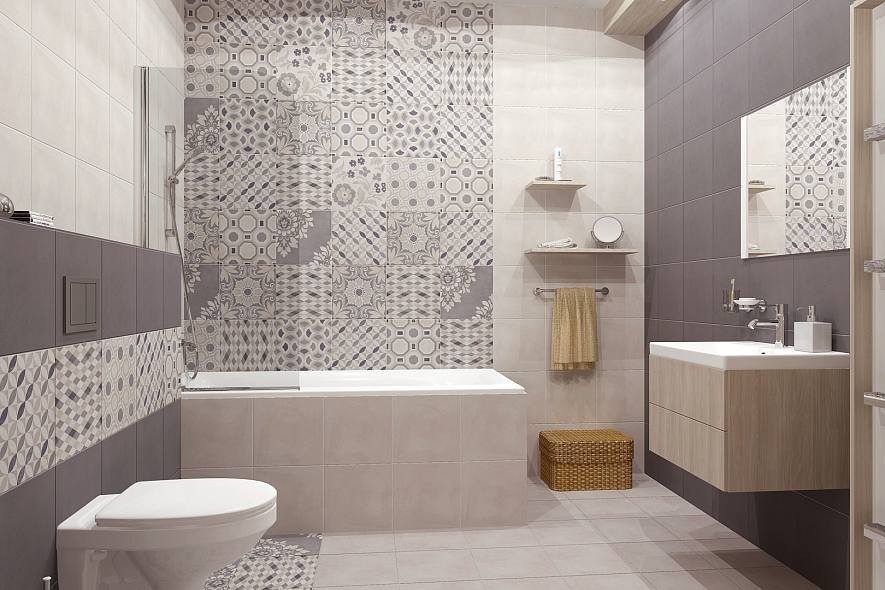
- Apartment Provence style will decorate a tile with a pattern. It will add extra charm to the room and help create a complete image of rural serenity. If there are small volumes of the room, an interesting solution will be laying tiles of a small format. This tile will add extra simplicity and charm to the rustic style.
Whatever tile the owners choose, the main thing is that it should be properly laid and coincide with the design concept of the entire room.