Preparing walls for wallpapering
One of the main stages of repairing an apartment is wallpapering. This type of room decoration requires some knowledge, as the preparation of the walls takes an important place in this process. To obtain the desired result, it is necessary to properly prepare the surface for sticking. The peculiarities of this process will be discussed in our article.

Process features
The process of preparing the walls for wallpapering can never be ignored, because it is always important how well the canvas is glued. Do not think that under the new expensive wallpaper will hide all the flaws, so in no case do not miss the alignment step.
The reasons for preparing the walls for wallpapering are numerous, but I would like to mention the main ones:
- The porous surface will not be able to hold wallpaper for a long time.
- Uneven basis will directly affect the final result.
- A smooth, prepared surface will provide good adhesion to the coating.
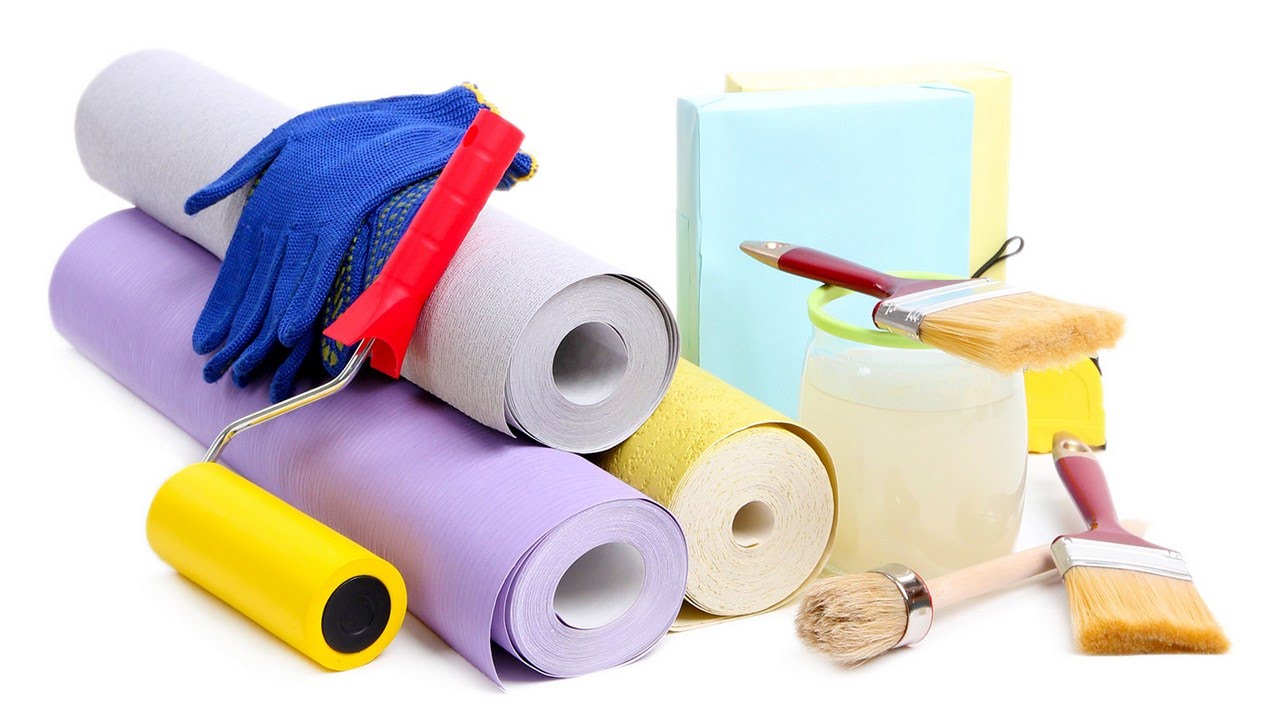
In the process of preparing the surfaces, you will need a lot of tools, such as a roller, knife, brushes of different sizes, primer, putty, glue, sandpaper.
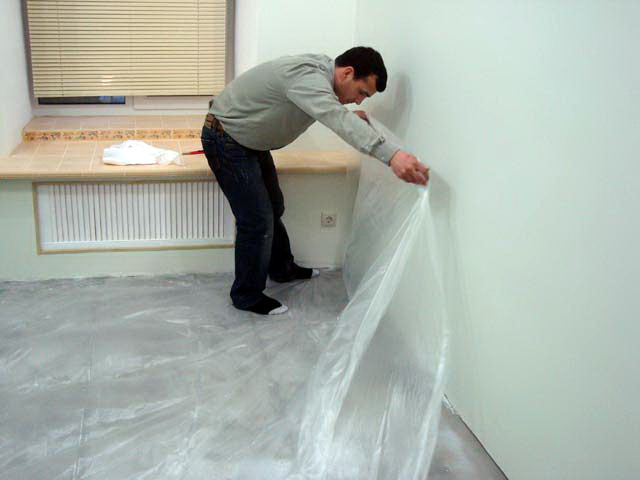
An important stage in the work is the creation of a working space. To protect the floor from various substances, it is recommended to cover the film. In order to avoid drafts, it is necessary to close the room and keep the temperature between eighteen and twenty degrees. It is important to make sure that there are no foreign objects on the walls, such as old nails or wood screws. It is important to know that you should not leave the old wallpaper and glue new ones on them, otherwise the old pattern may appear, the appearance of a swelling of the canvas is also possible.

Work with different surfaces
Before starting to glue the walls with wallpaper, you should determine what type of surface you will have to work with:
- If the wall is made from plasterboard, despite the fact that the surface in this case is quite smooth, it is distinguished by porosity.It is required to perform additional smoothing of the plasterboard wall, while taking into account the existing numerous seams in the joints. It is recommended to use putty, but with a minimum consumption of material.
- For processing concrete wall will take more time. It uses primer, plaster, and in some cases, putty. Primer mix improves adhesion of materials. The problem of processing concrete surfaces is the dark color of the base, which is not very good if you are going to glue light wallpaper. Use of putty will come to the rescue.
It is not recommended to glue paper wallpapers on concrete bases:
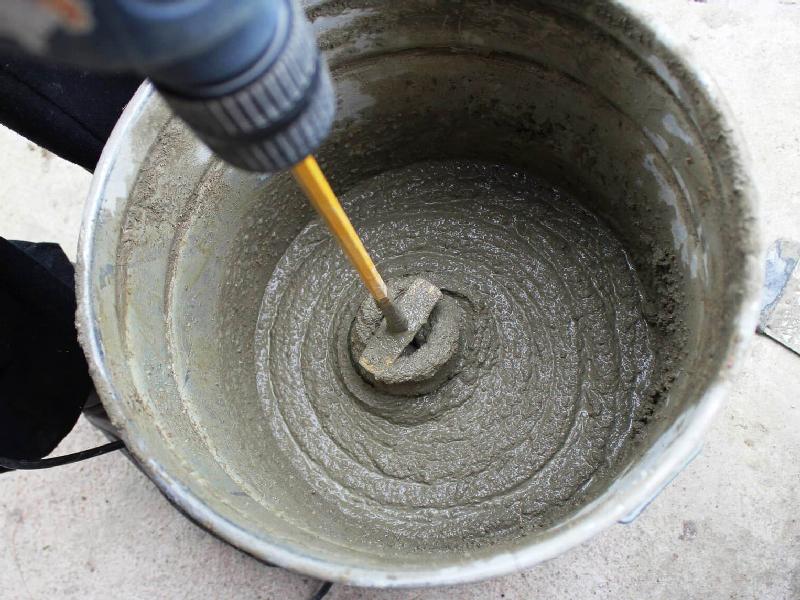
- Brick surfaces do not differ evenness, so their preparation will take much longer. A long work is ahead, which includes the steps of leveling using plastering, applying a primer solution, puttying. Mixes for plastering are sold in finished form in specialized stores. To obtain a quality solution when diluting a dry mixture with water, it is better to use a mixer. The use of plaster is not always necessary.If the wall is dry and without irregularities, then you should not spend money and time at this stage.
As for the putty, it will help the proper fixing of the wallpaper. After this stage of processing is completed, wall grinding is performed.
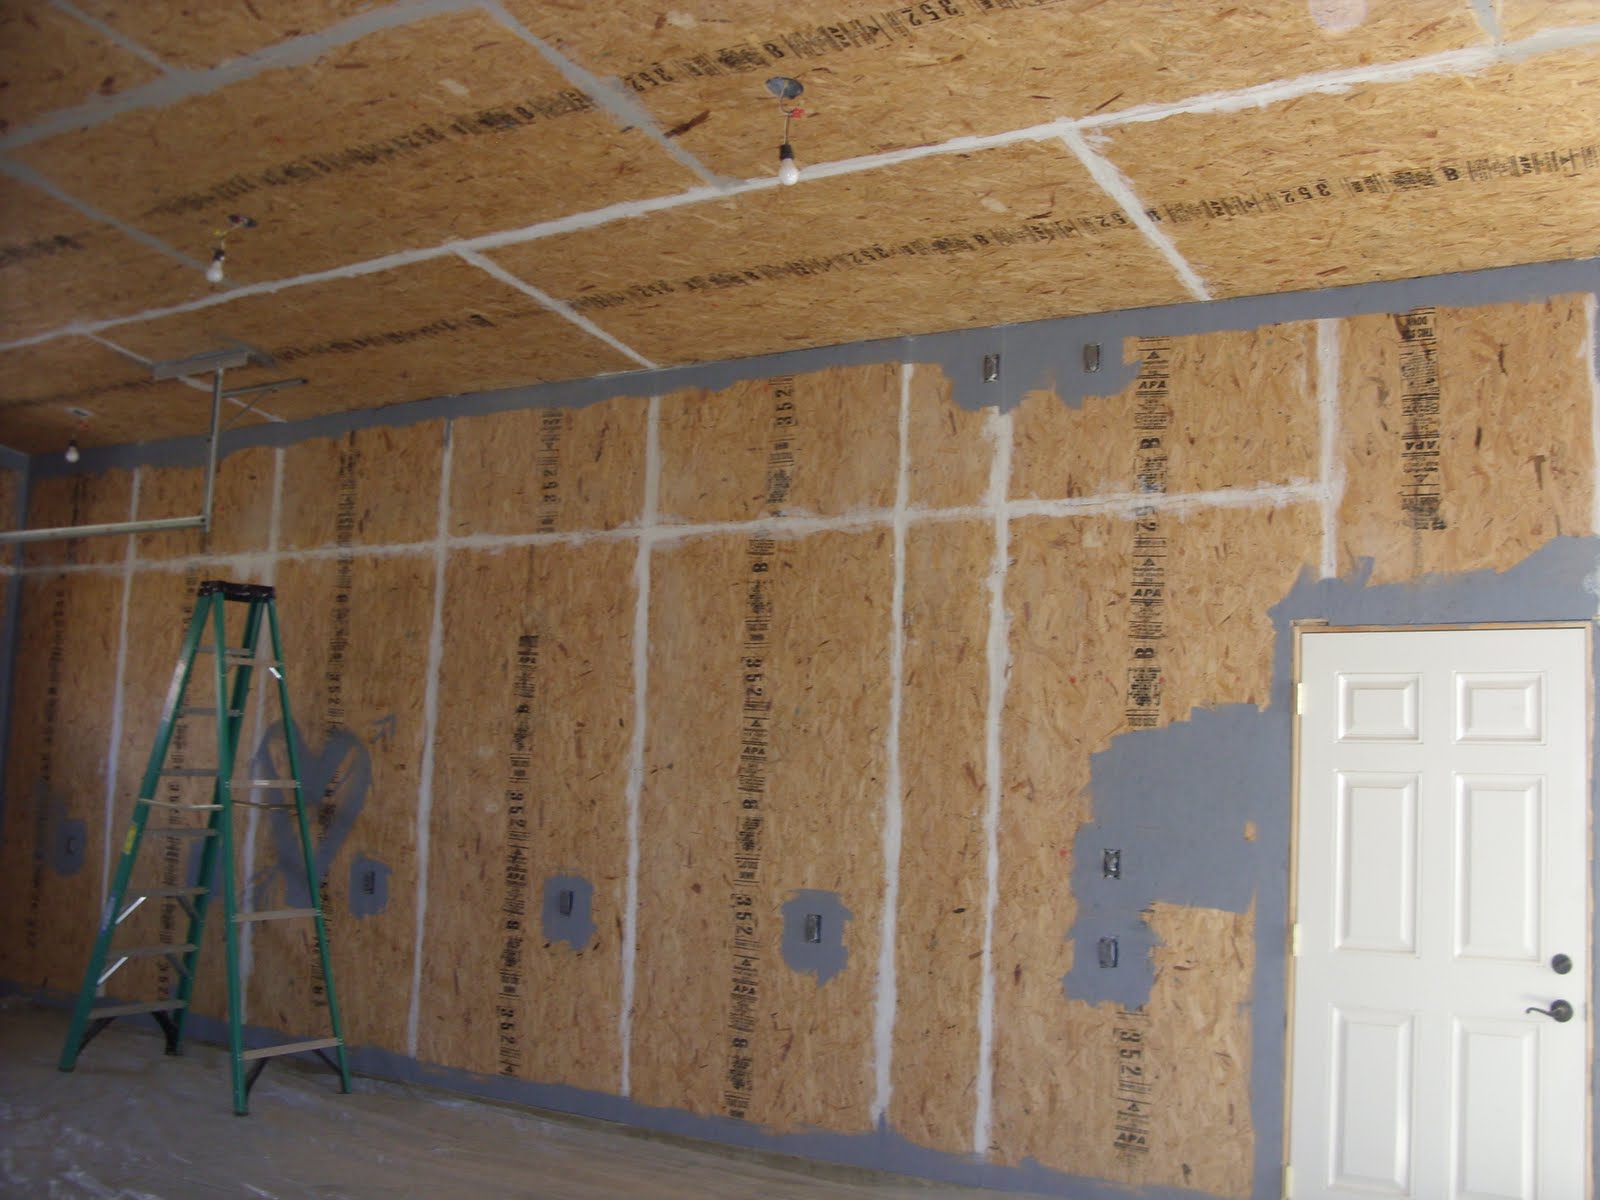
- OSB plates similar to the previous type of base, so they should be processed in the same way. This also includes the finishing of the joints between the plates. The preparation of walls from OSB and DSP is carried out by a special type of putty. Renovations in the new building are not always of a high quality, therefore owners of housing in a new panel house often face the same problems as the residents of old buildings. It is often found that the sides of the panel are not even enough. Experts recommend using several layers of plaster before you begin to glue the wallpaper.
There is a variant of wallpapering on plywood. In this case, the preparatory work will consist of a preliminary application of the primer.
Next you should pay attention to the seams between the canvases. It is important to putty them, otherwise defects will appear through the wallpaper.. It is best to glue non-woven wallpaper on this type of surface, since their density will make it possible to hide possible minor irregularities and roughness.

How to clean the surface?
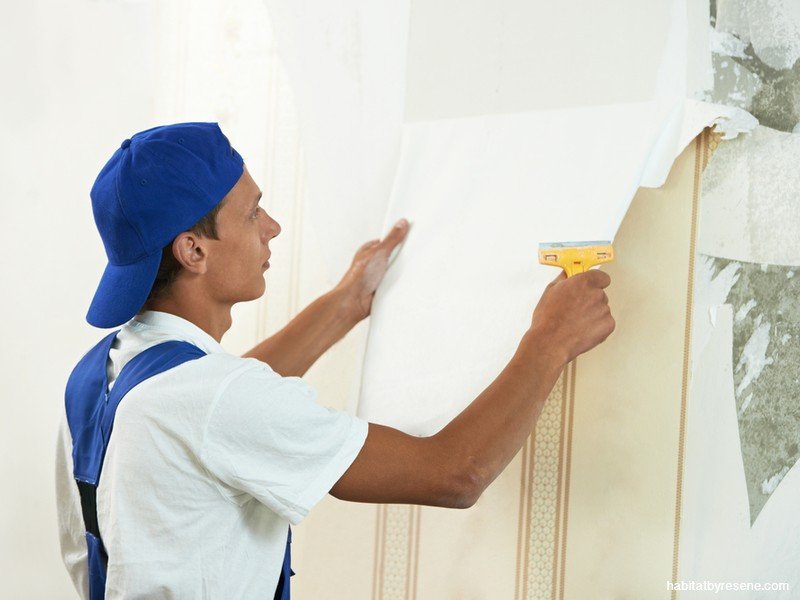
An important procedure before sticking new wallpapers is getting rid of old coatings. Here you will need a number of cleaning tools that are easy to find in hardware stores. Clearing the base for a new wallpaper is not so difficult if you follow some basic rules:
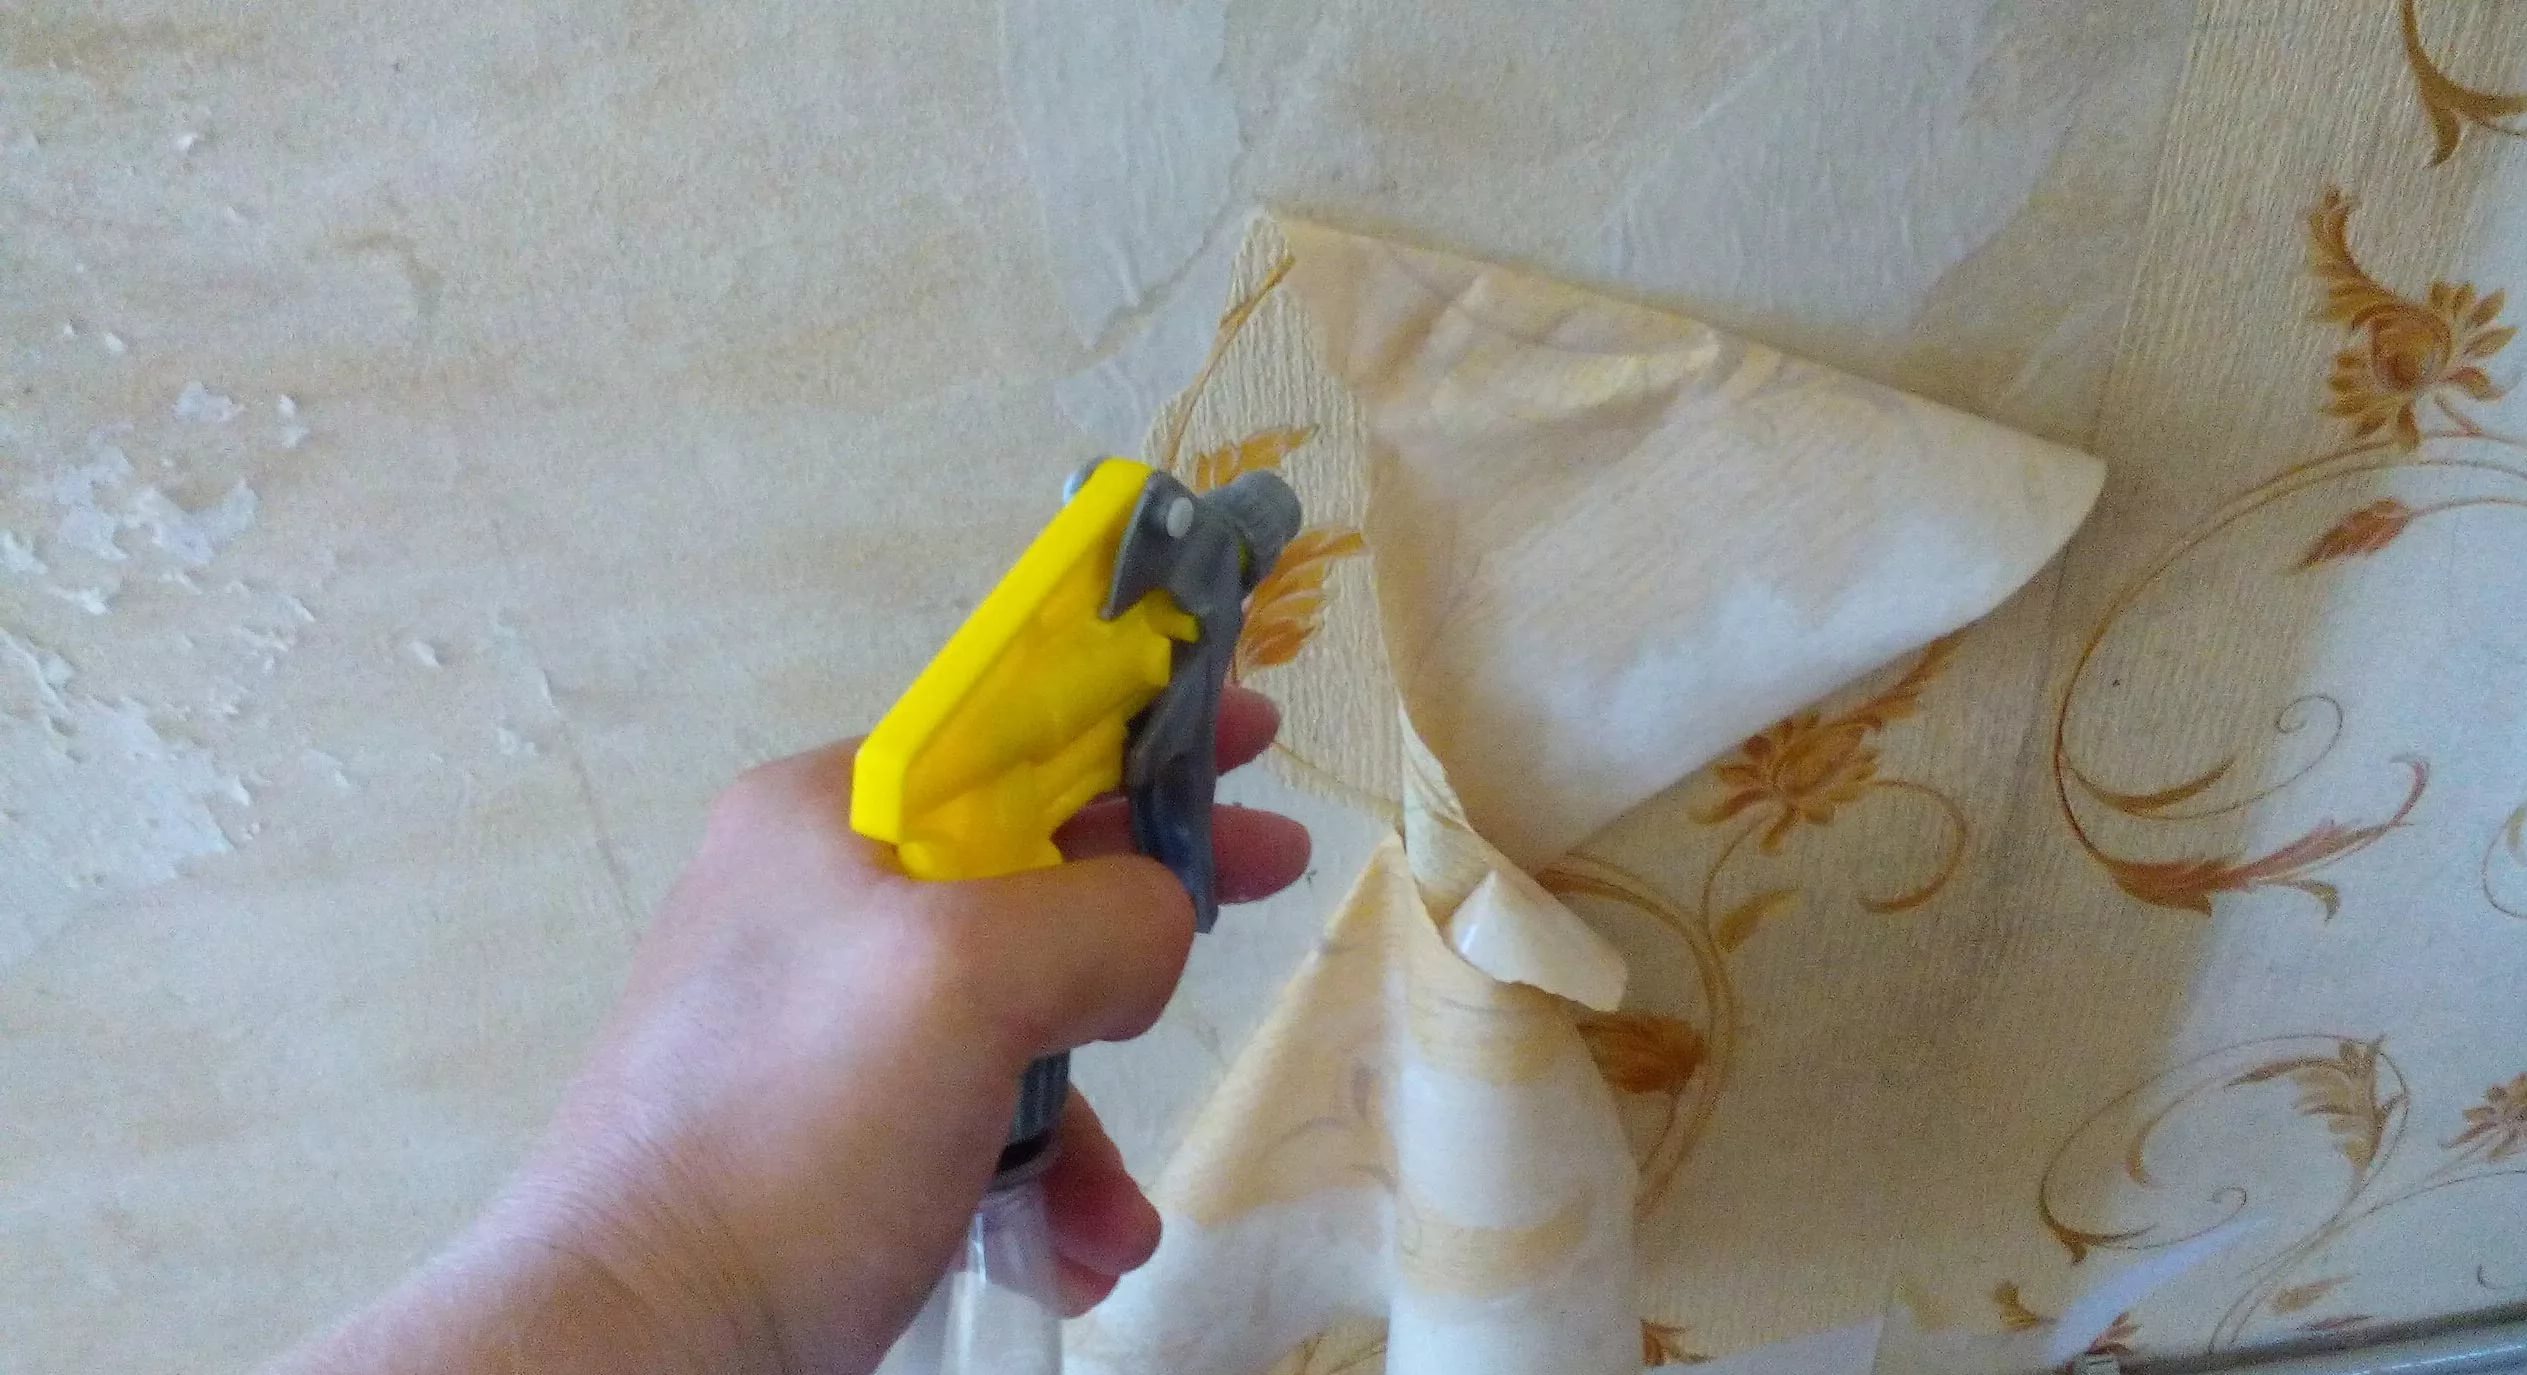
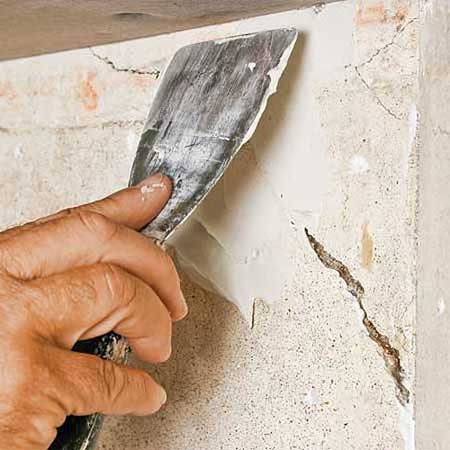
- It should be remembered that near the heating devices and near the windows the wallpaper is quickly moving away, and for this process a lot of energy is not expended. If it cannot be done the first time, the wall is soaked with water and then the remains of the wallpaper are removed with a spatula.
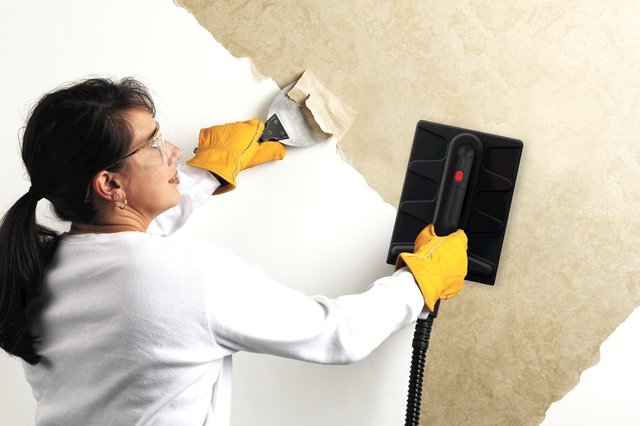
- If you have to remove old vinyl wallpaper, in this case it is important to first remove the vinyl layer, and only then the paper itself. Remove non-woven wallpaper will help hot steam. Thus, the old canvas is removed very quickly.
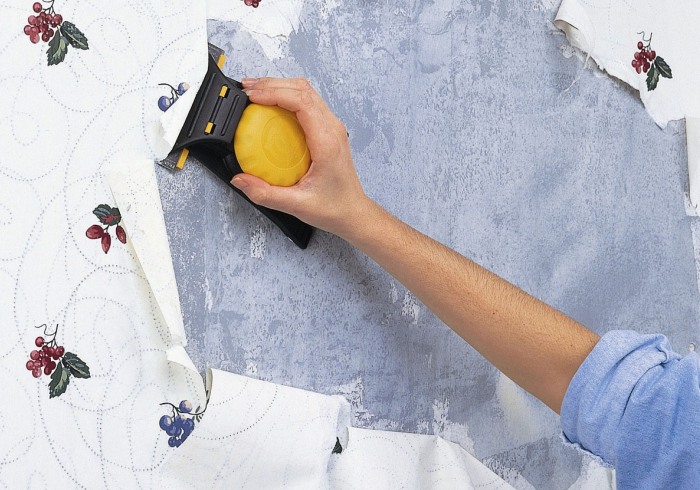
- If the task is to get rid of old washable wallpaper, then this can be done only in layers. First, a thin layer is removed, then a paper one. Here, too, the use of a steam iron or steam cleaner is excellent.
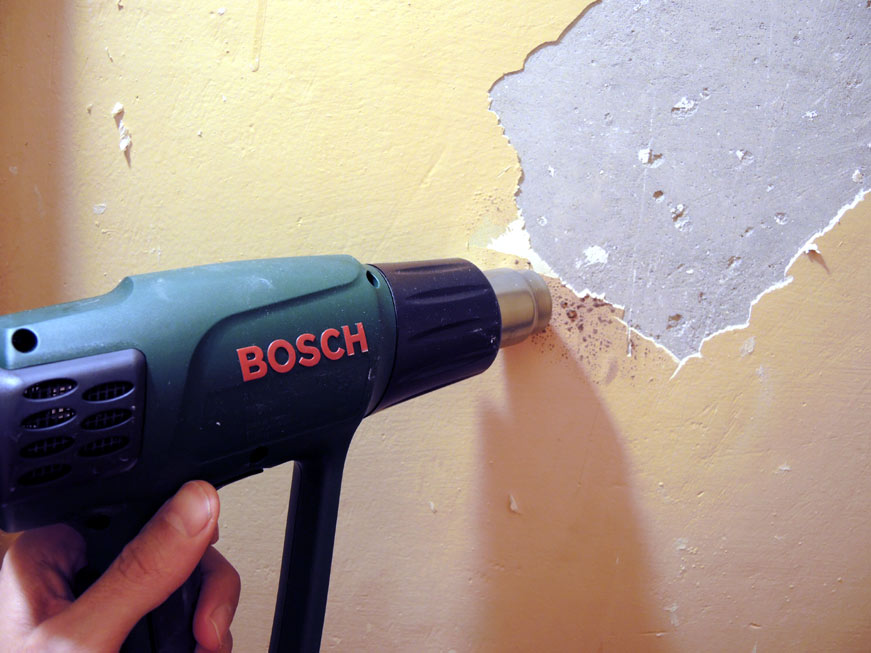
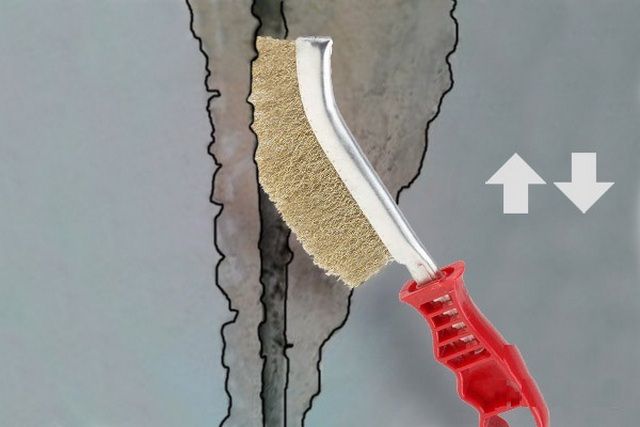
- Another problem in the cleaning phase is paint stripping. In this case, you can resort to several methods of removing the coating. You can try to clean the base with your hands and with the help of tools.An ordinary hammer or metal brush works well.
An alternative would be the use of chemicals, the list of which is extensive and available for sale. After this method of cleaning it is necessary to wash the wall, preferably two or three times:
- If there is whitewashing on the wall, then it should be of high quality, also without cracks and chips. On this basis, new wallpaper will keep well. However, whitewashing is not always of good quality and can crumble. In this case, it should be cleaned in order to avoid further problems.
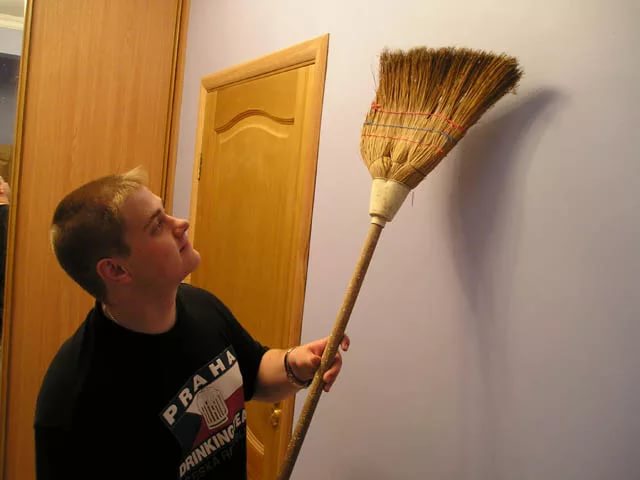
- Next, you must clean the wall to get rid of debris and dirt with a vacuum cleaner or a broom with water.
- At the end of the base stripping, it is proposed to evaluate how ready the surface is for pasting.
What you need to pre-process?
From the correct processing of the walls before sticking depends on how long the new wallpaper will last. In this regard, it is necessary to carefully process the base, so as not to miss important points, especially if you are going to do everything yourself:
- It is already known that the surface must be leveled and properly cleaned.The cleaned bases are checked for the presence of dents, scratches. There should be no dirt on the base. Using putty helps to prepare the surface more thoroughly.
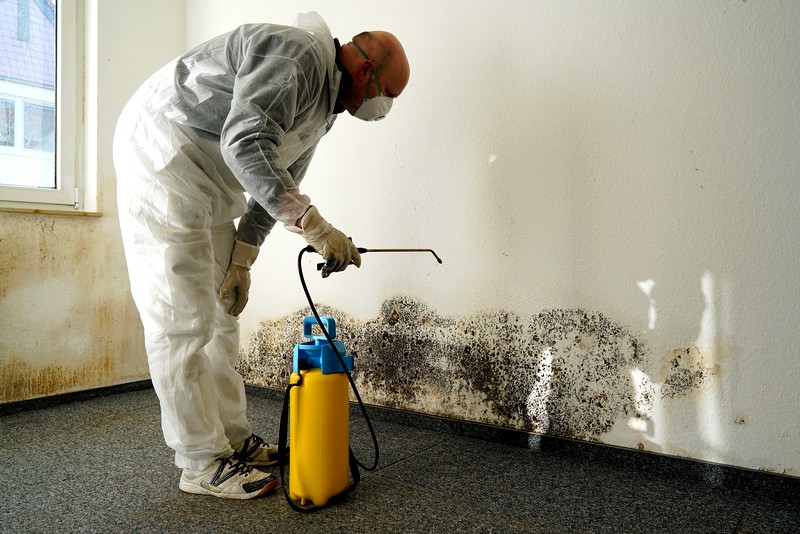
- A fungus can appear on the wall, in order to avoid this, the base should be smeared with special antifungal compounds. It is important to know that you need to prepare the base for puttying after applying a means to protect against the fungus.
- If you plan to cover the liquid wallpaper, the processing technology is almost no different from preparing the surface before sticking paper wallpaper. In this case, the foundation for wallpaper must be smeared with a primer mixture. Usually the surface is covered with primer in two layers.
- It is important to remember that if the walls are strewn with irregularities, then no treatment and further plaster will not save. Here drywall comes to the rescue.
The order of work
The stages of the preparation of the walls have already been considered, however, now it is necessary to define in more detail the sequence of preparatory work before pasting. Preparing the base for sticking is as important as processing it for painting.

Remove the switch
During the preparation of the walls it is recommended to remove the cases of electrical outlets and switches. There are various types of electrical devices, and therefore it is not always possible to determine how to remove the switch correctly. The network can be connected via circuit breakers. In this case, you have to disable all protection.
There are two types of switches. They differ in types of fastening. The switch can be attached to the wall with screws. Also there is a switch of the hidden type, the box of which is under the wall.
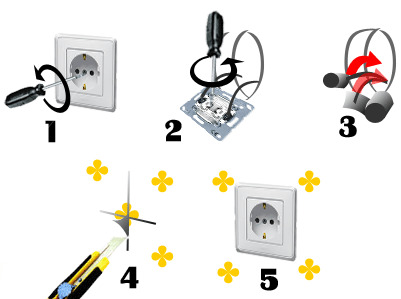

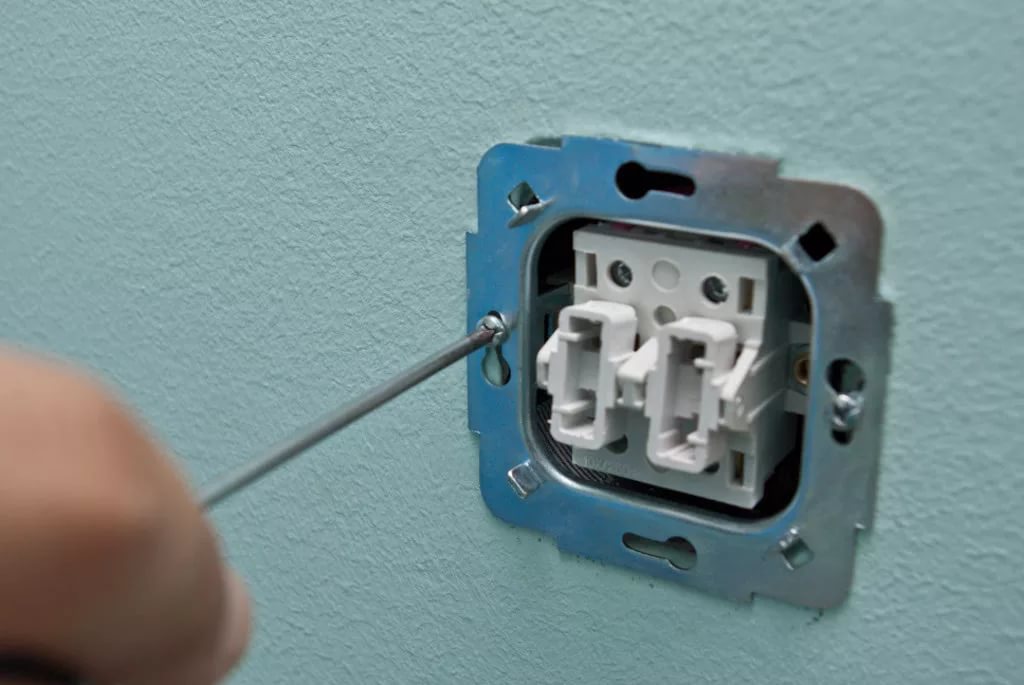
The modern switch has a smooth surface, the mount is hidden. The first step is to remove the fastener keys. If you manually failed to do this, you should use a screwdriver. After fixing the switch is removed, check the absence of voltage on the wires. Next, you need to disconnect the wires.
To avoid electric shock, all the internal parts of the sockets and electrical switches, which were left without external protection, you need to glue tape or other similar material.
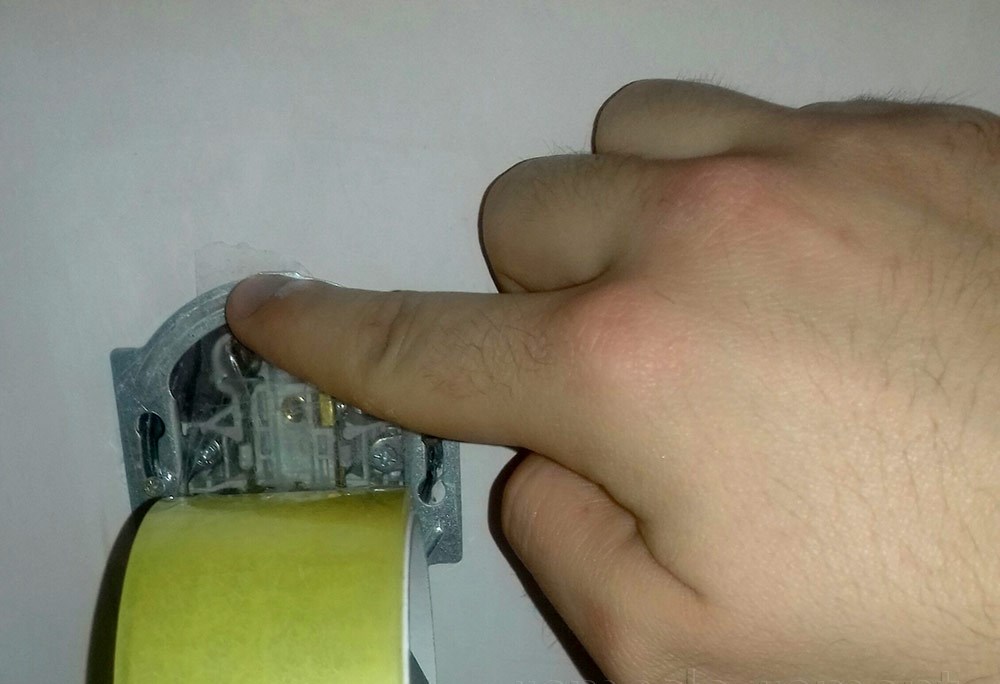
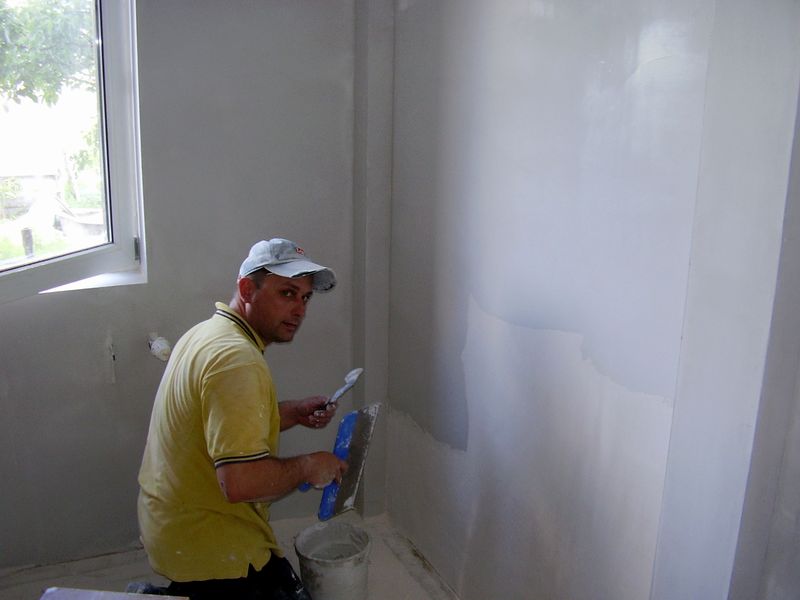
Treatment
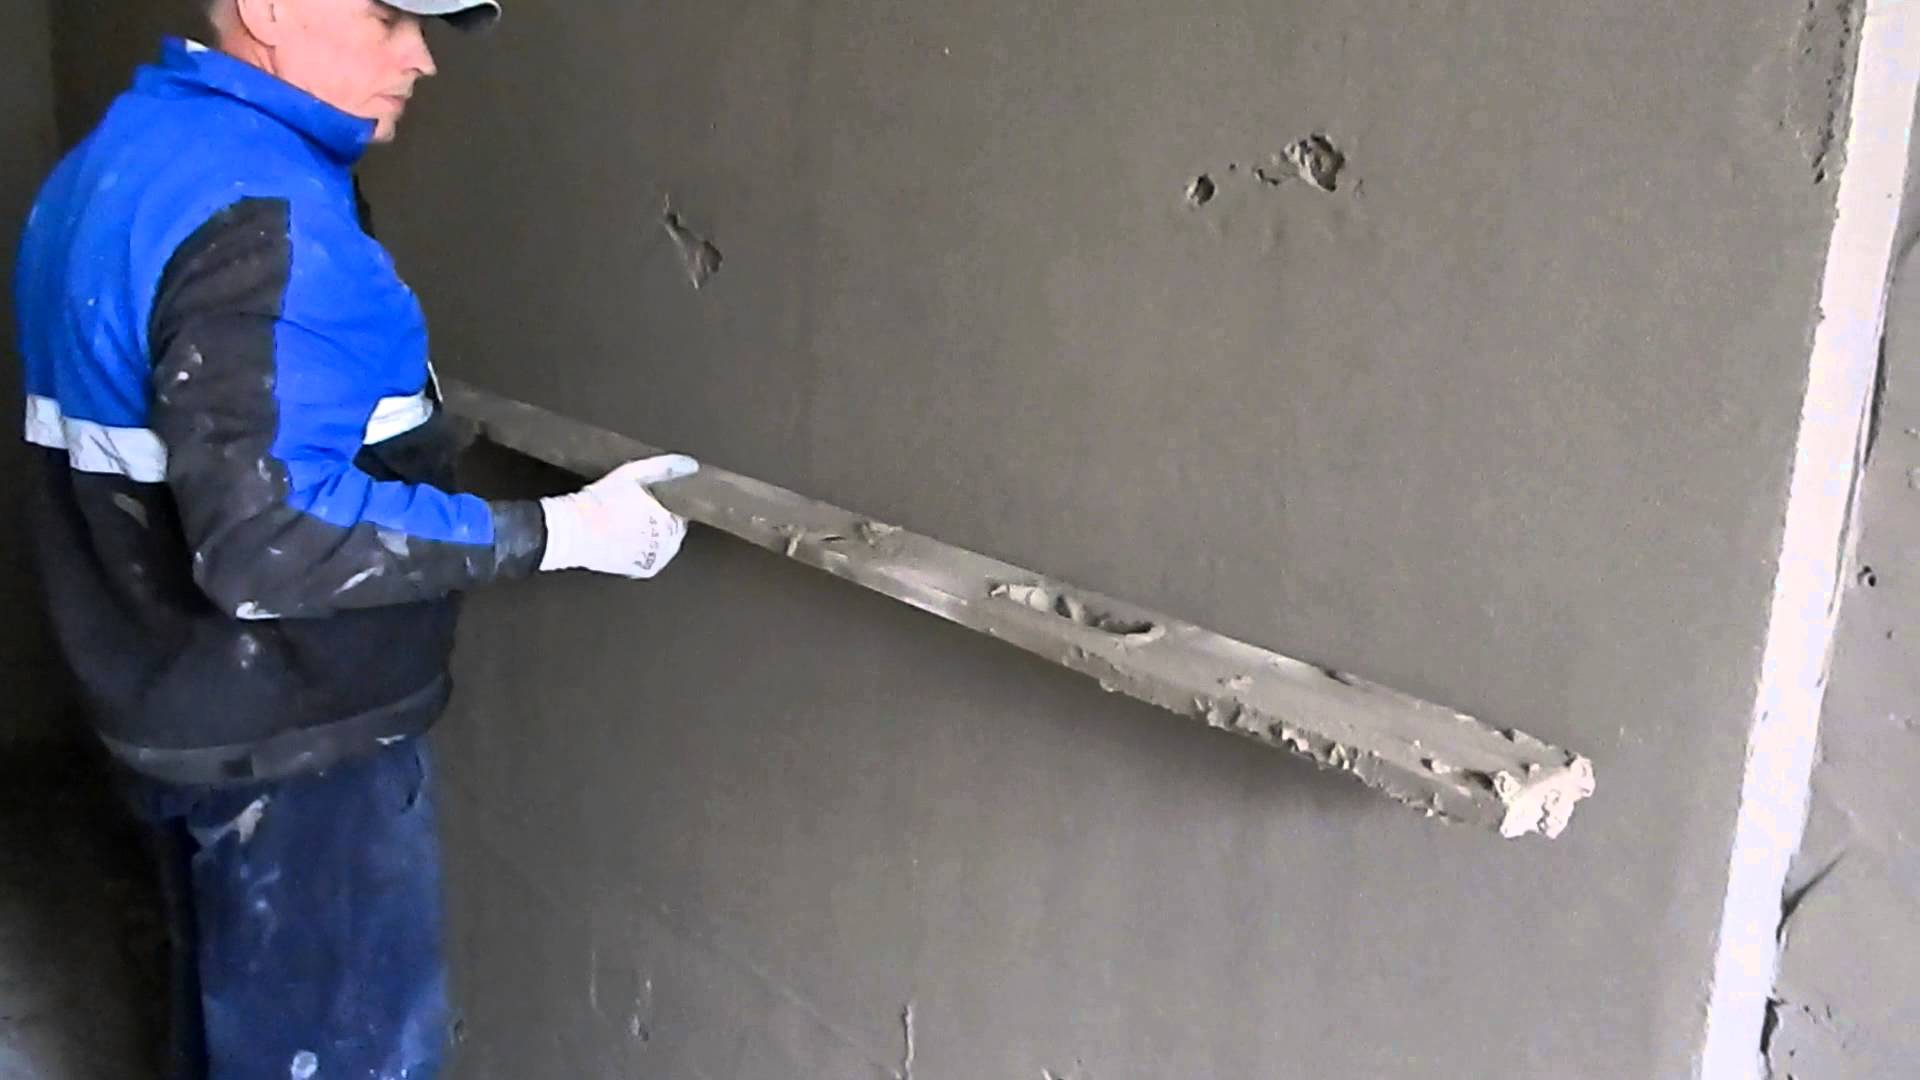
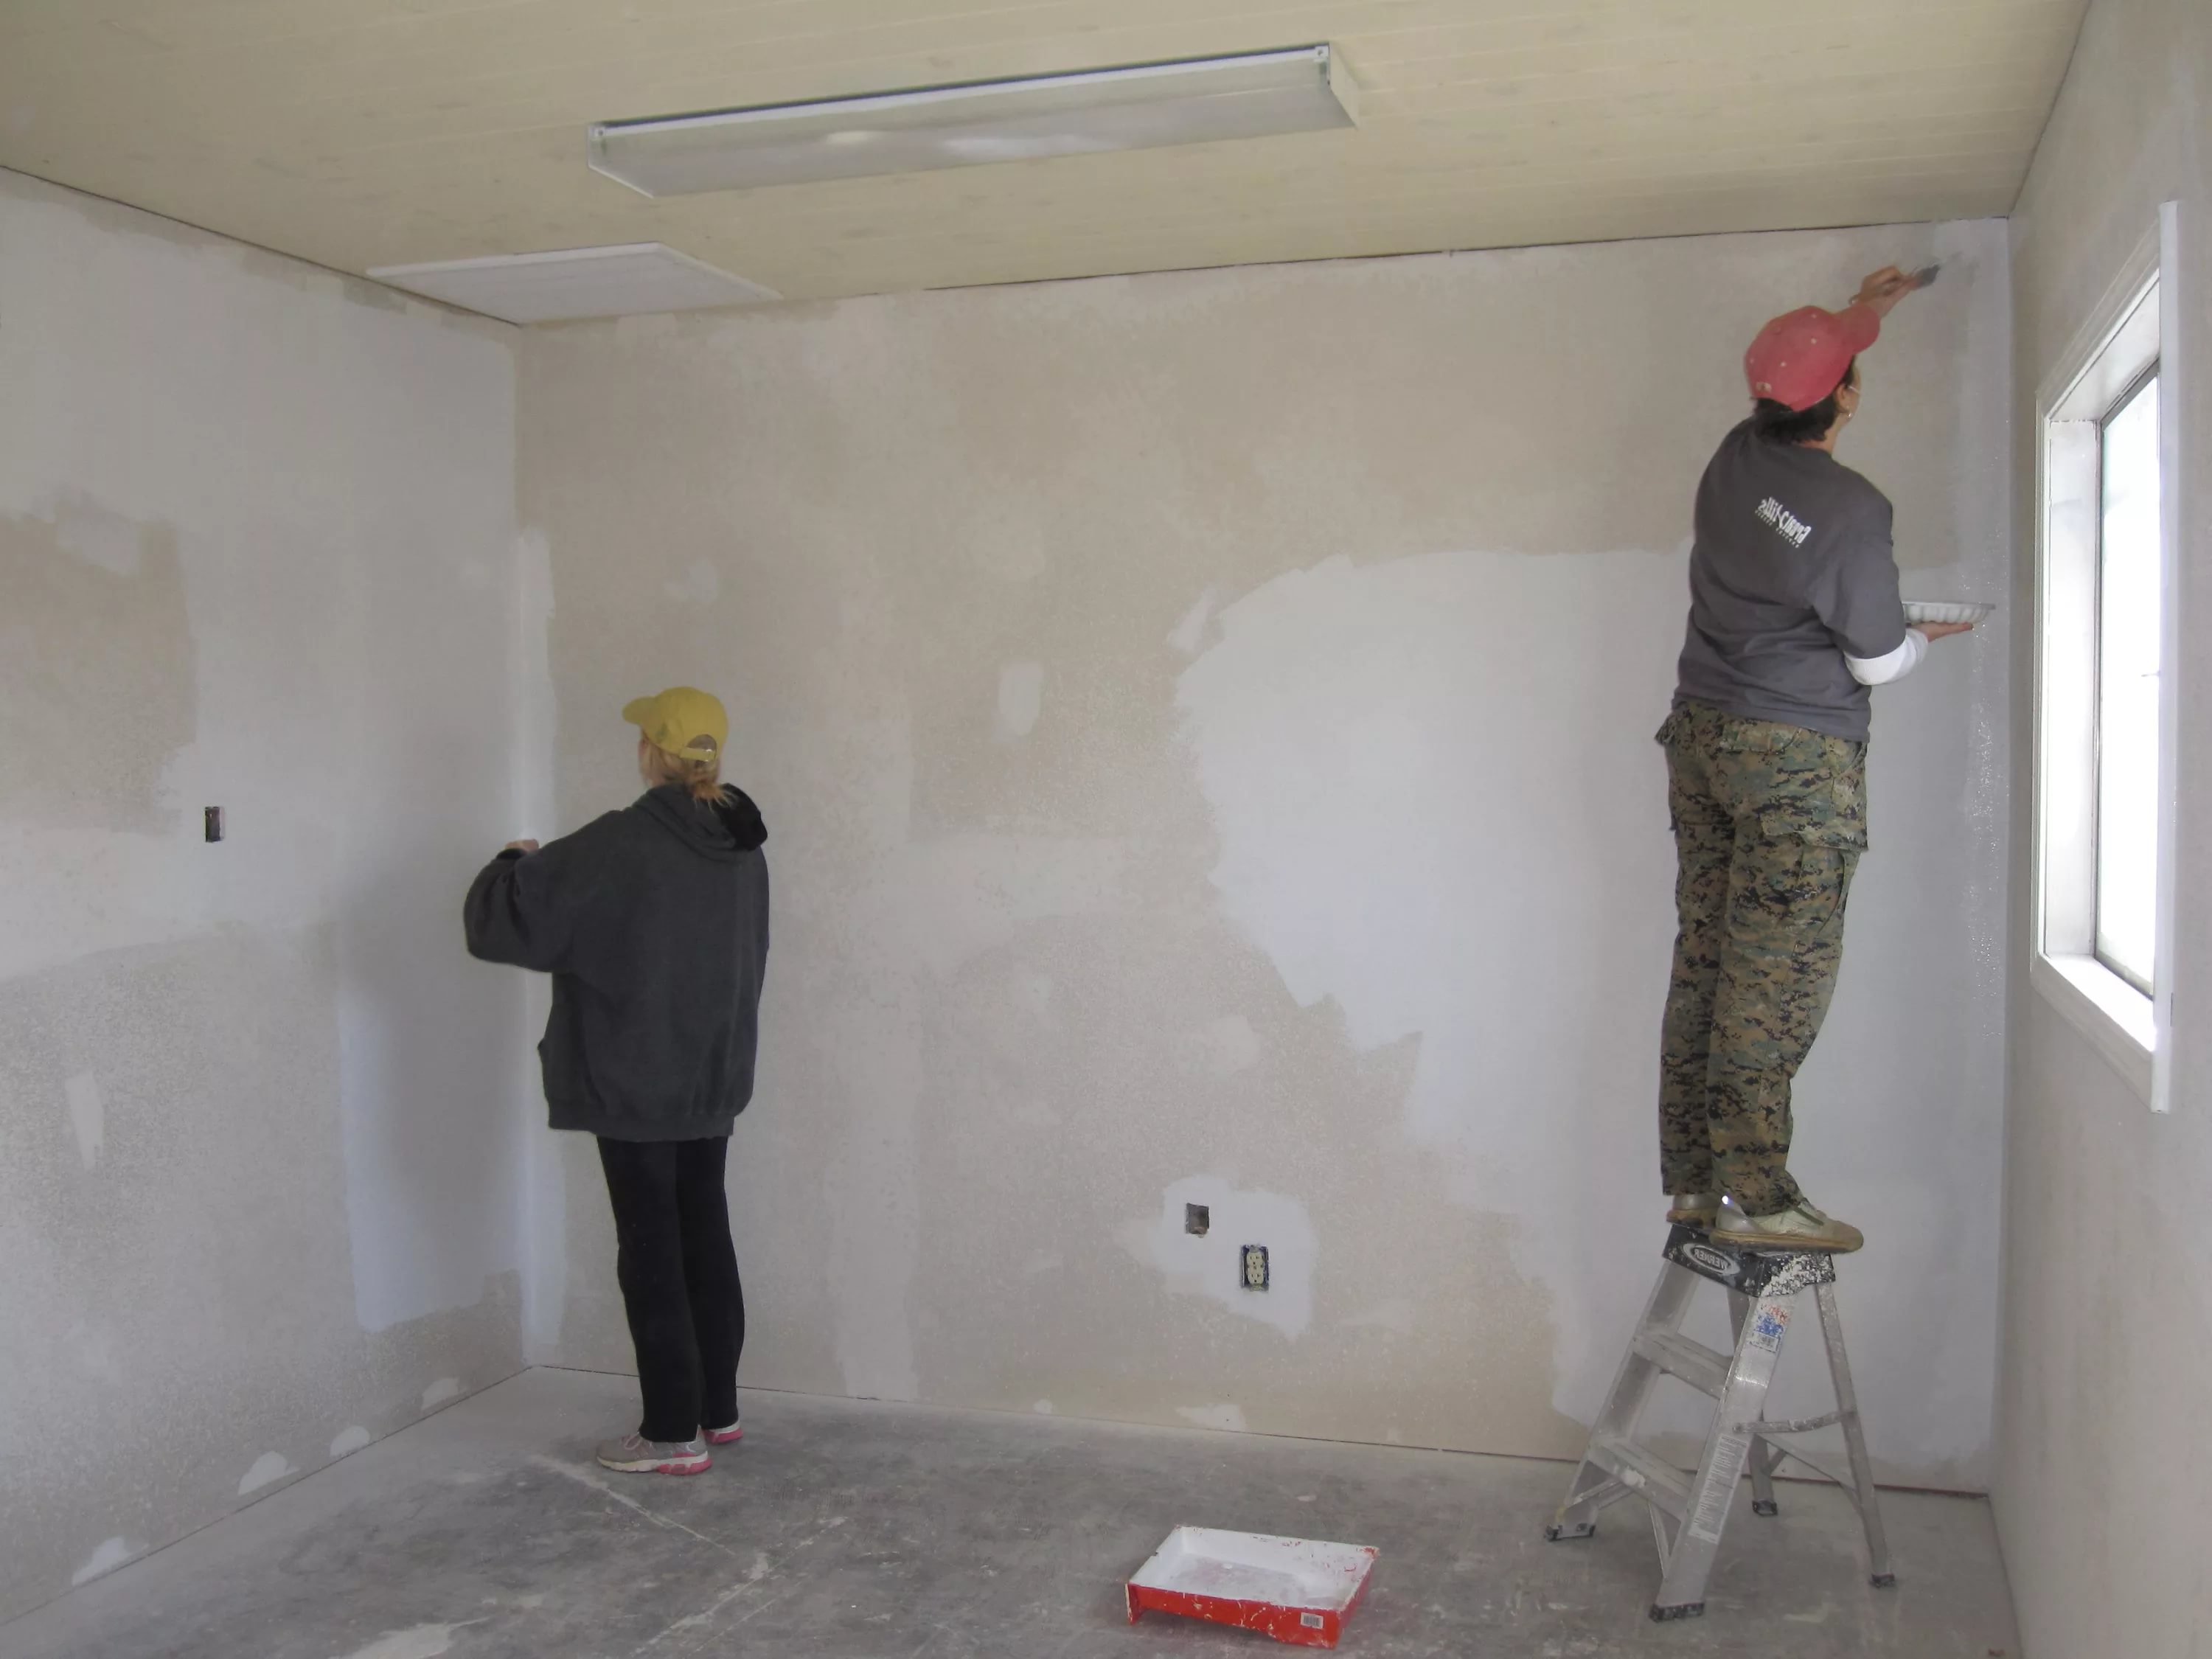
If bumps are found on the wall after removing the wallpaper, plastering should be resorted to. Plaster mortar is easily made by hand with the help of sand and cement. The mixture is slowly stirred and water is gradually added to it.
Putting plaster is made in three layers. The first layer should be no thicker than three millimeters. The second layer is aimed at aligning the plane of the wall and can not be more than six millimeters.
The finishing stage of plastering is a so-called covering that needs to be done very thinly.
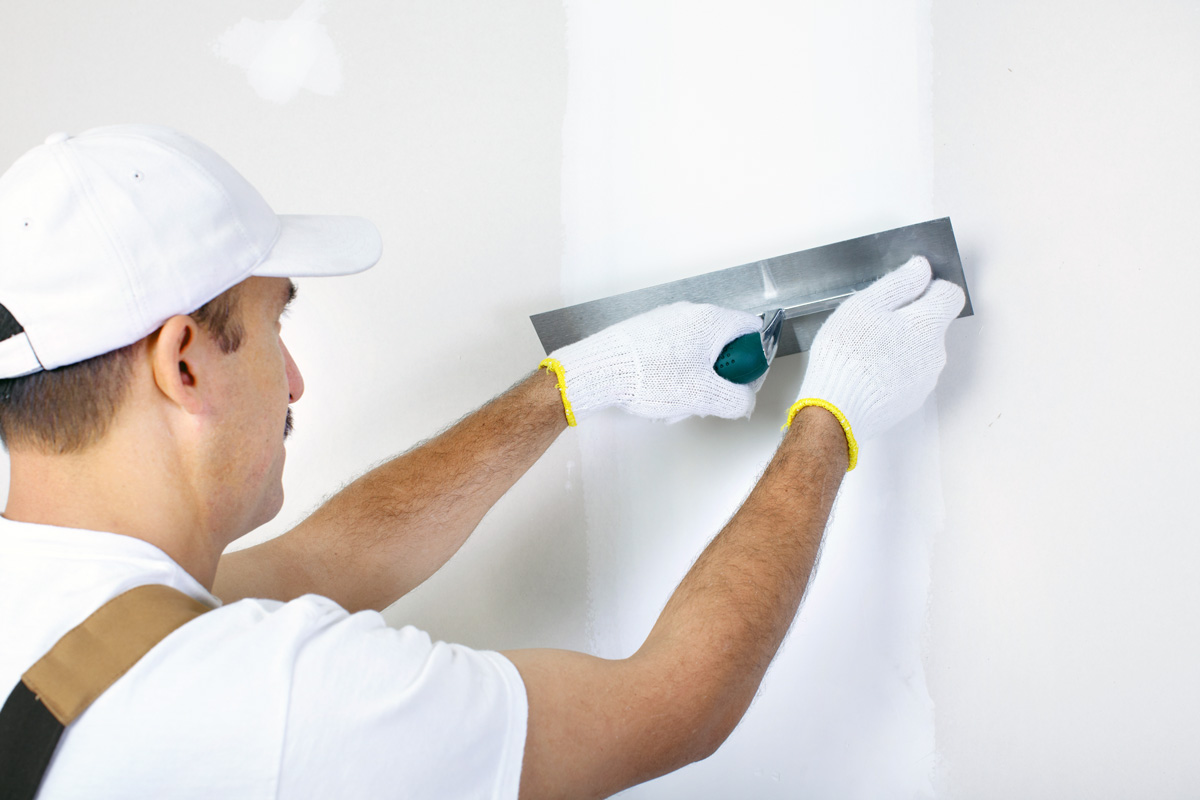
Do not proceed to the next stage of processing until the plaster is completely dry. Do not count on the quick drying of the plaster, as this may affect the quality of the material and its service life. The normal time for drying the plaster is about one day. After that, the wall is cleaned with special tools to level the surface and remove all defects.
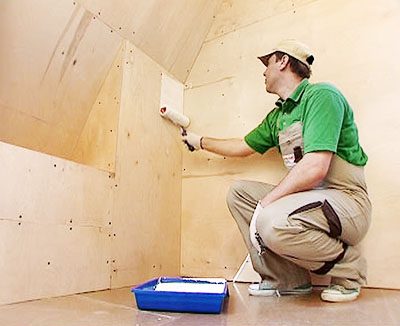
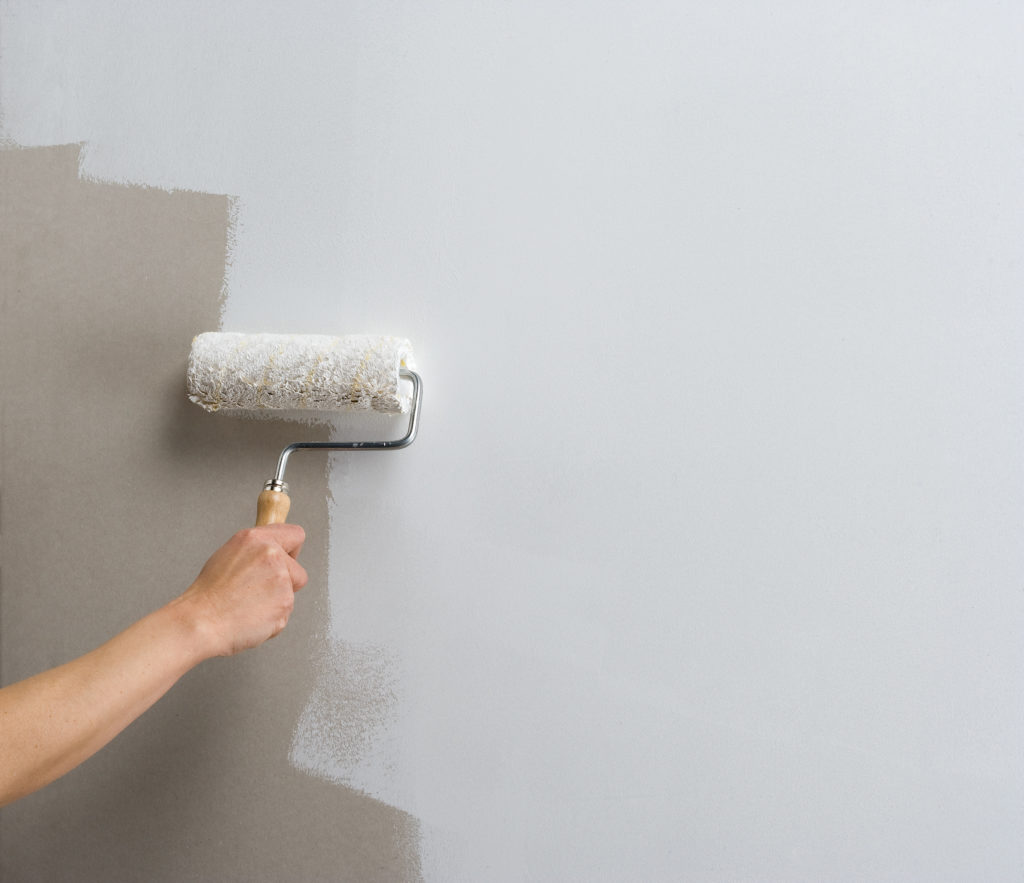
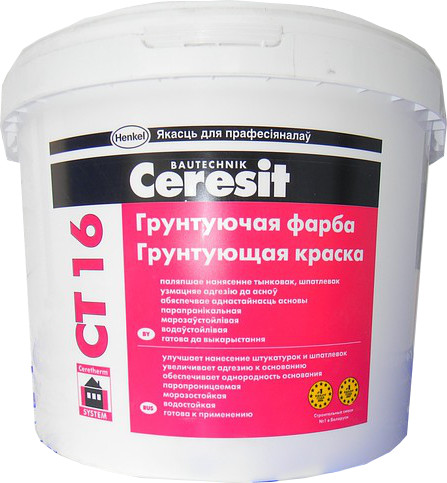
Next is the primer walls. In the process of pasting wallpaper all went without problems, you must use the ground. The importance of this stage is due to several reasons:
- Priming helps to bond the surface and prevents further destruction and flaking of the finish parts.
- The mixture of soil composition prevents rapid absorption of moisture.
- Primer helps to cope with dust.
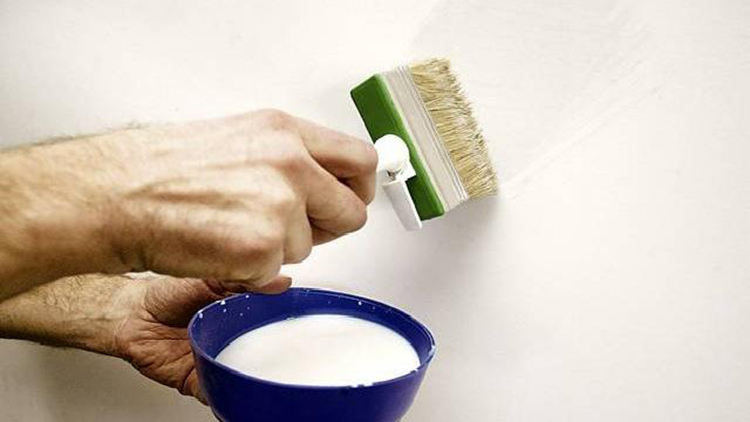
- The soil composition easily penetrates any thickness. To apply a primer, use a brush or roller. When applied to the surface, the ground mixture forms a protective film, moreover, it aligns the plane, cleans the base of small debris.
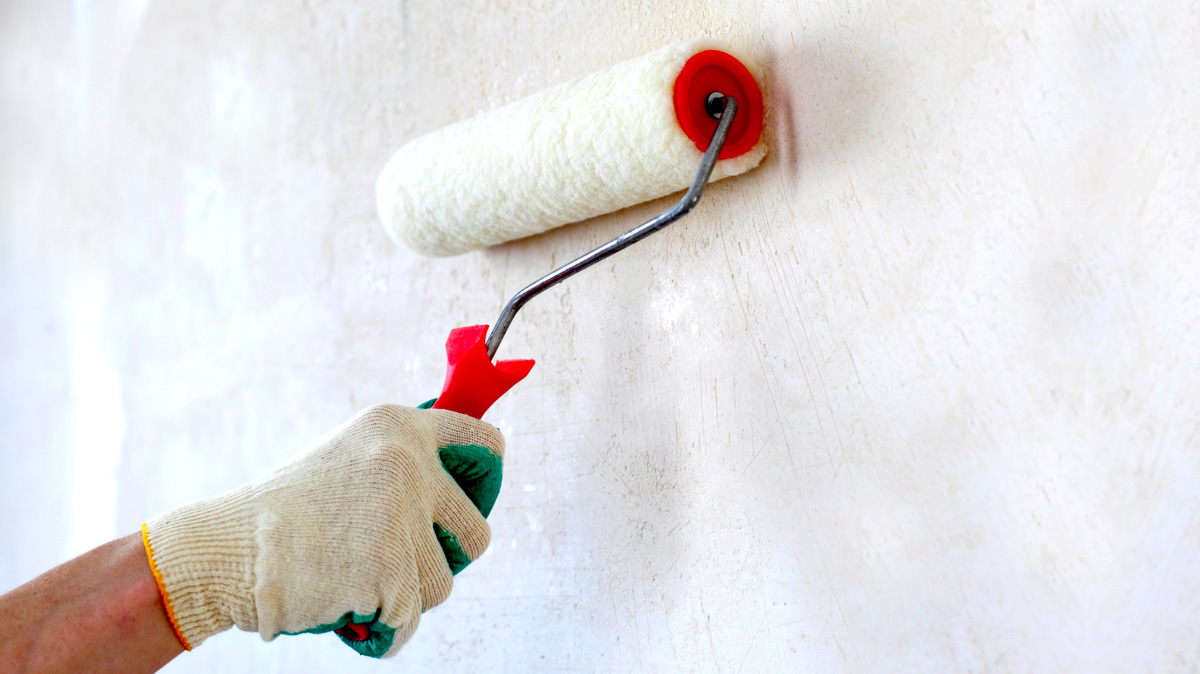
Before glueing the wallpaper, the walls are primed for:
- formation of a smooth plane;
- strength;
- protection against fungus;
- guarantees of sustainability.
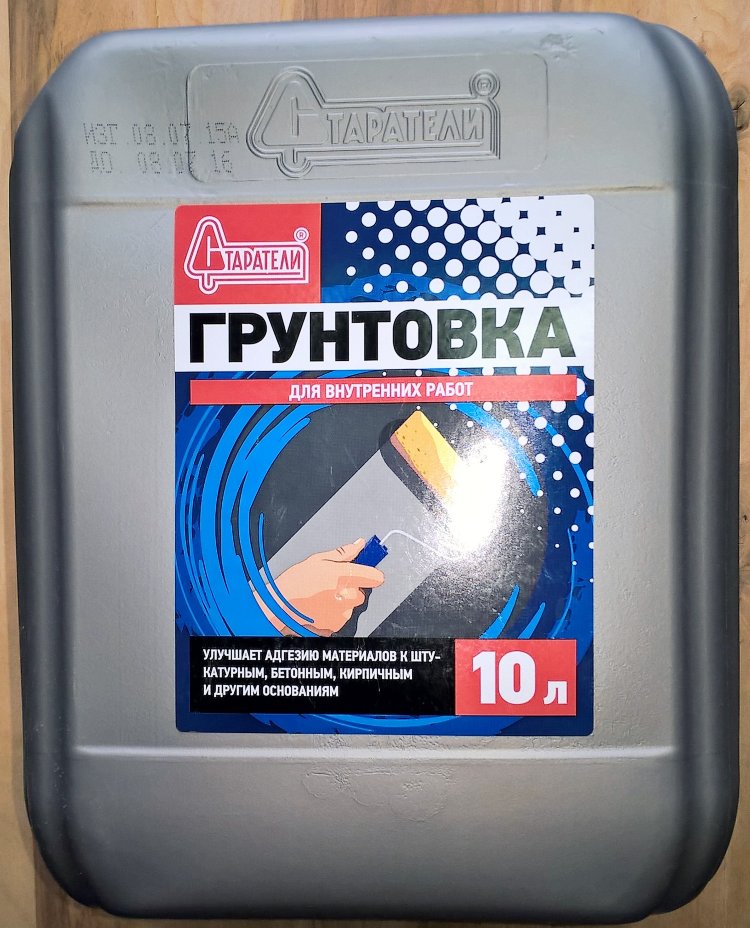
Today there are several types of primer:
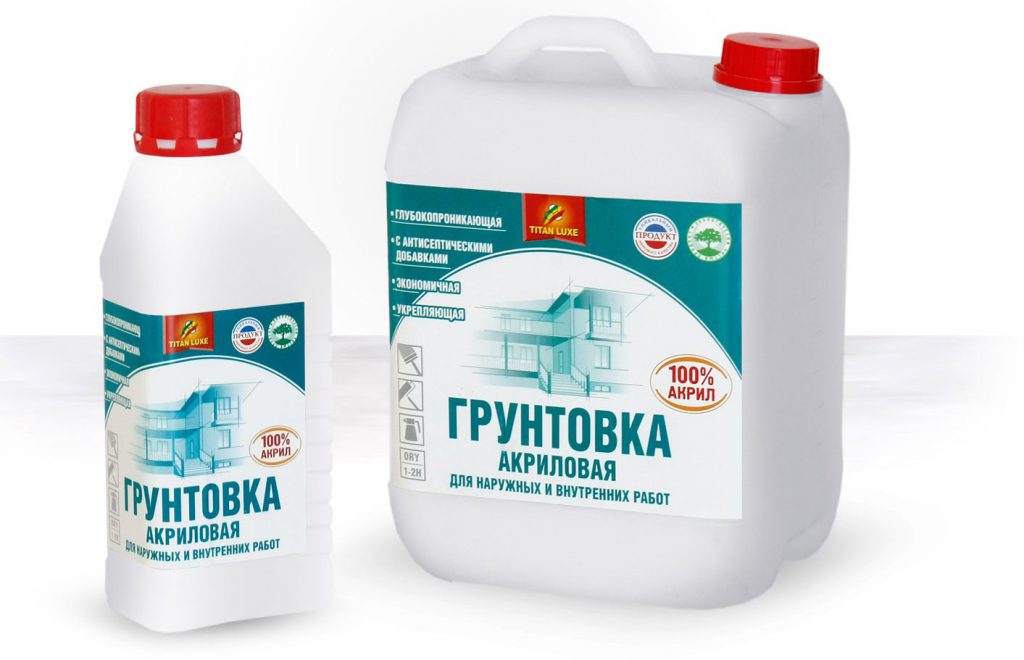
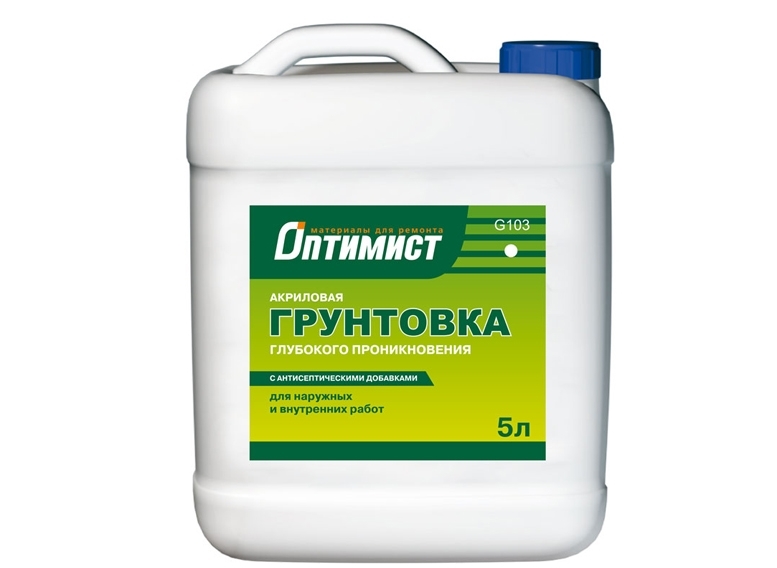
- The most famous of them are acrylic. They can be used on any surface. They have a high drying rate, do not have a strong smell.
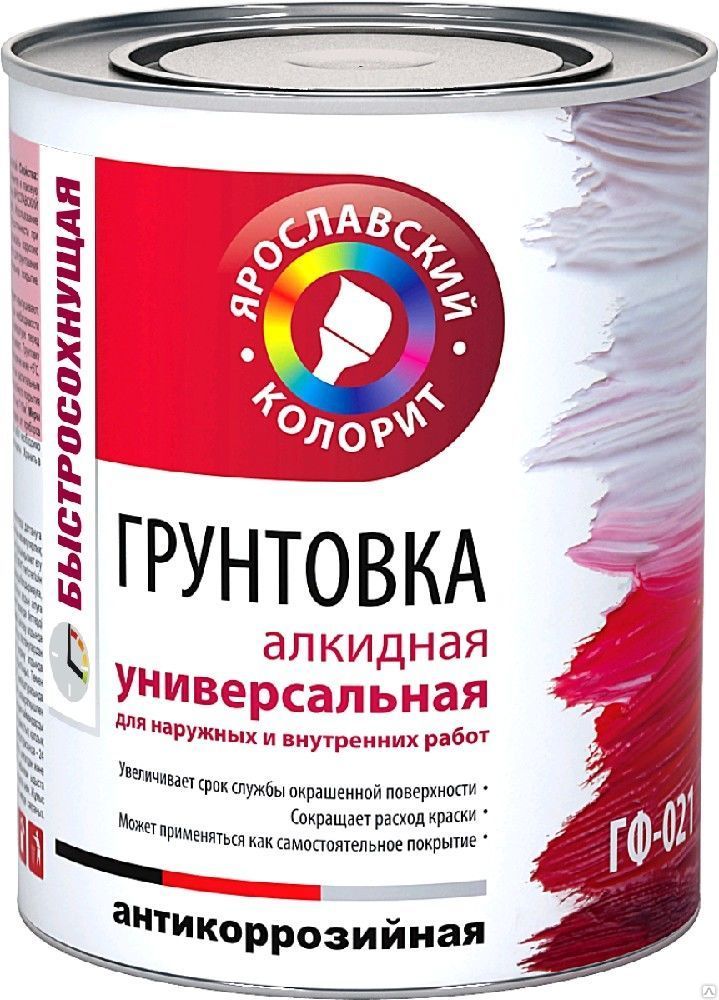
- The next type of soil solution is called alkyd. It is suitable not for all bases, more often it is treated with wooden surfaces. Dries this solution longer than acrylic.
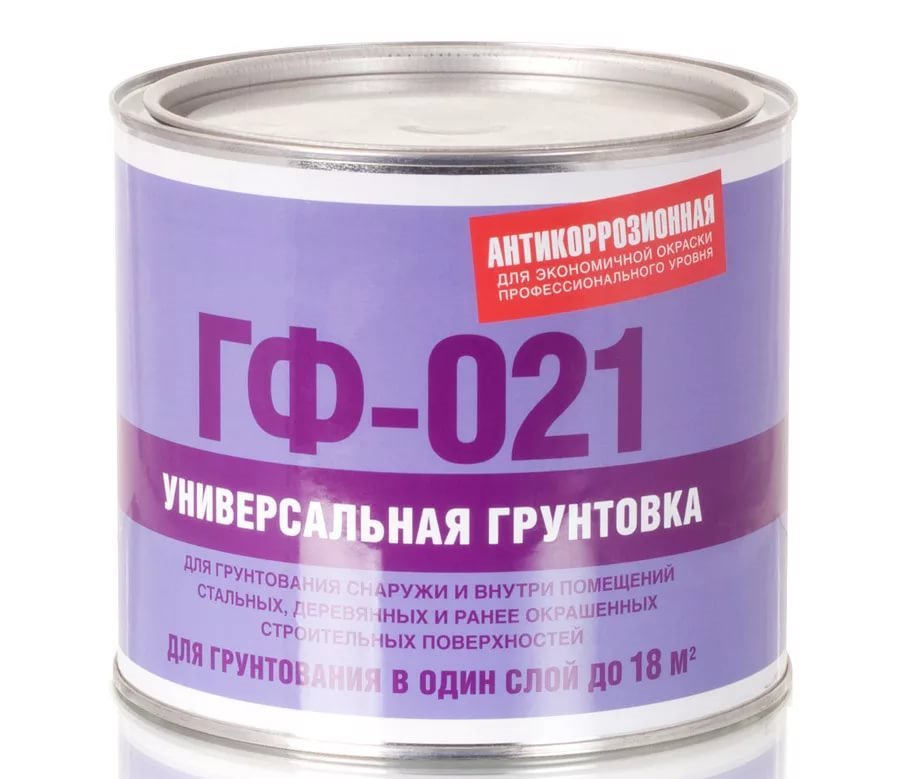
- Another equally common type of priming is the treatment of the walls with a glyphtal mixture. This type is suitable for metal substrates.
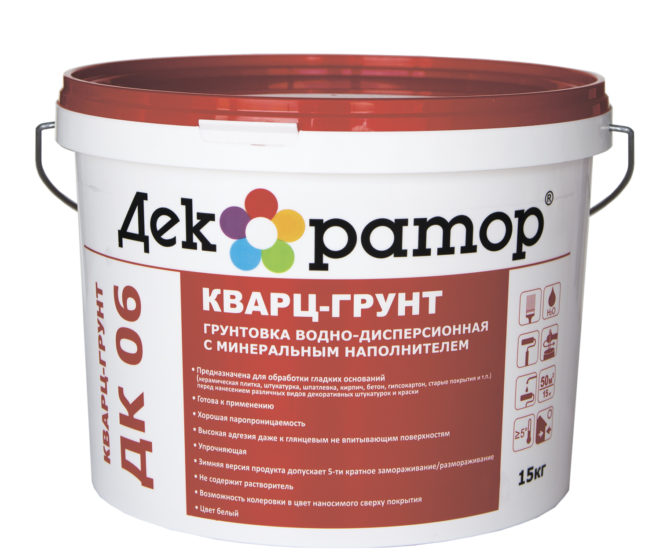
- Mineral primers are good for brick or concrete walls.
- Deep penetration soil mixtures are used to further strengthen the planes. This type of primer can penetrate inside the surface from five to twenty millimeters. Often these types of soil solutions include substances that protect the base from fungal formations.
- There are compositions with coloring pigments. Such primers are suitable for processing walls before sticking light wallpaper.
- Quite often in the repair of apartments there is a need to bond different materials. In this case, a special type of primer called concrete contact comes to the rescue. Such a solution changes the surface of the base, which makes it possible to fix the materials on the wall. There are many advantages to this composition: it serves for many years, has an insulating effect, dries quickly.

Behind a primer there is a seal of seams, cracks. Deep cracks, as a rule, increase, process with soil and close up by means of cement mortar. It is imperative to check Does the remaining plaster lag behind the wall?. Most likely, it will have to be removed with a hammer in order to avoid re-leveling with plaster.
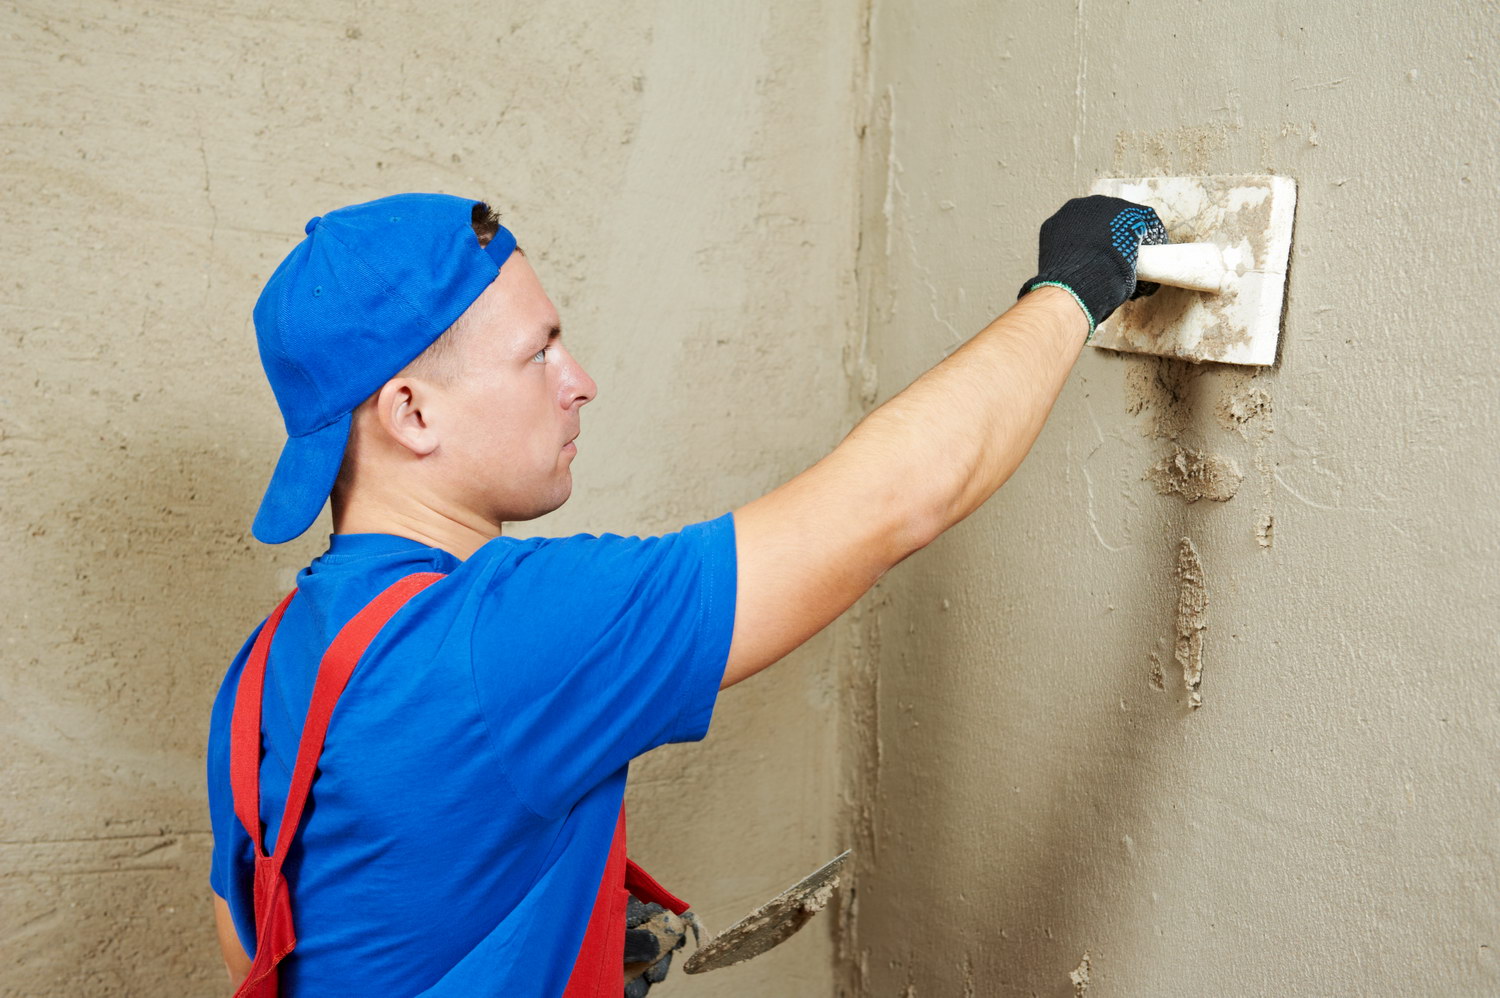
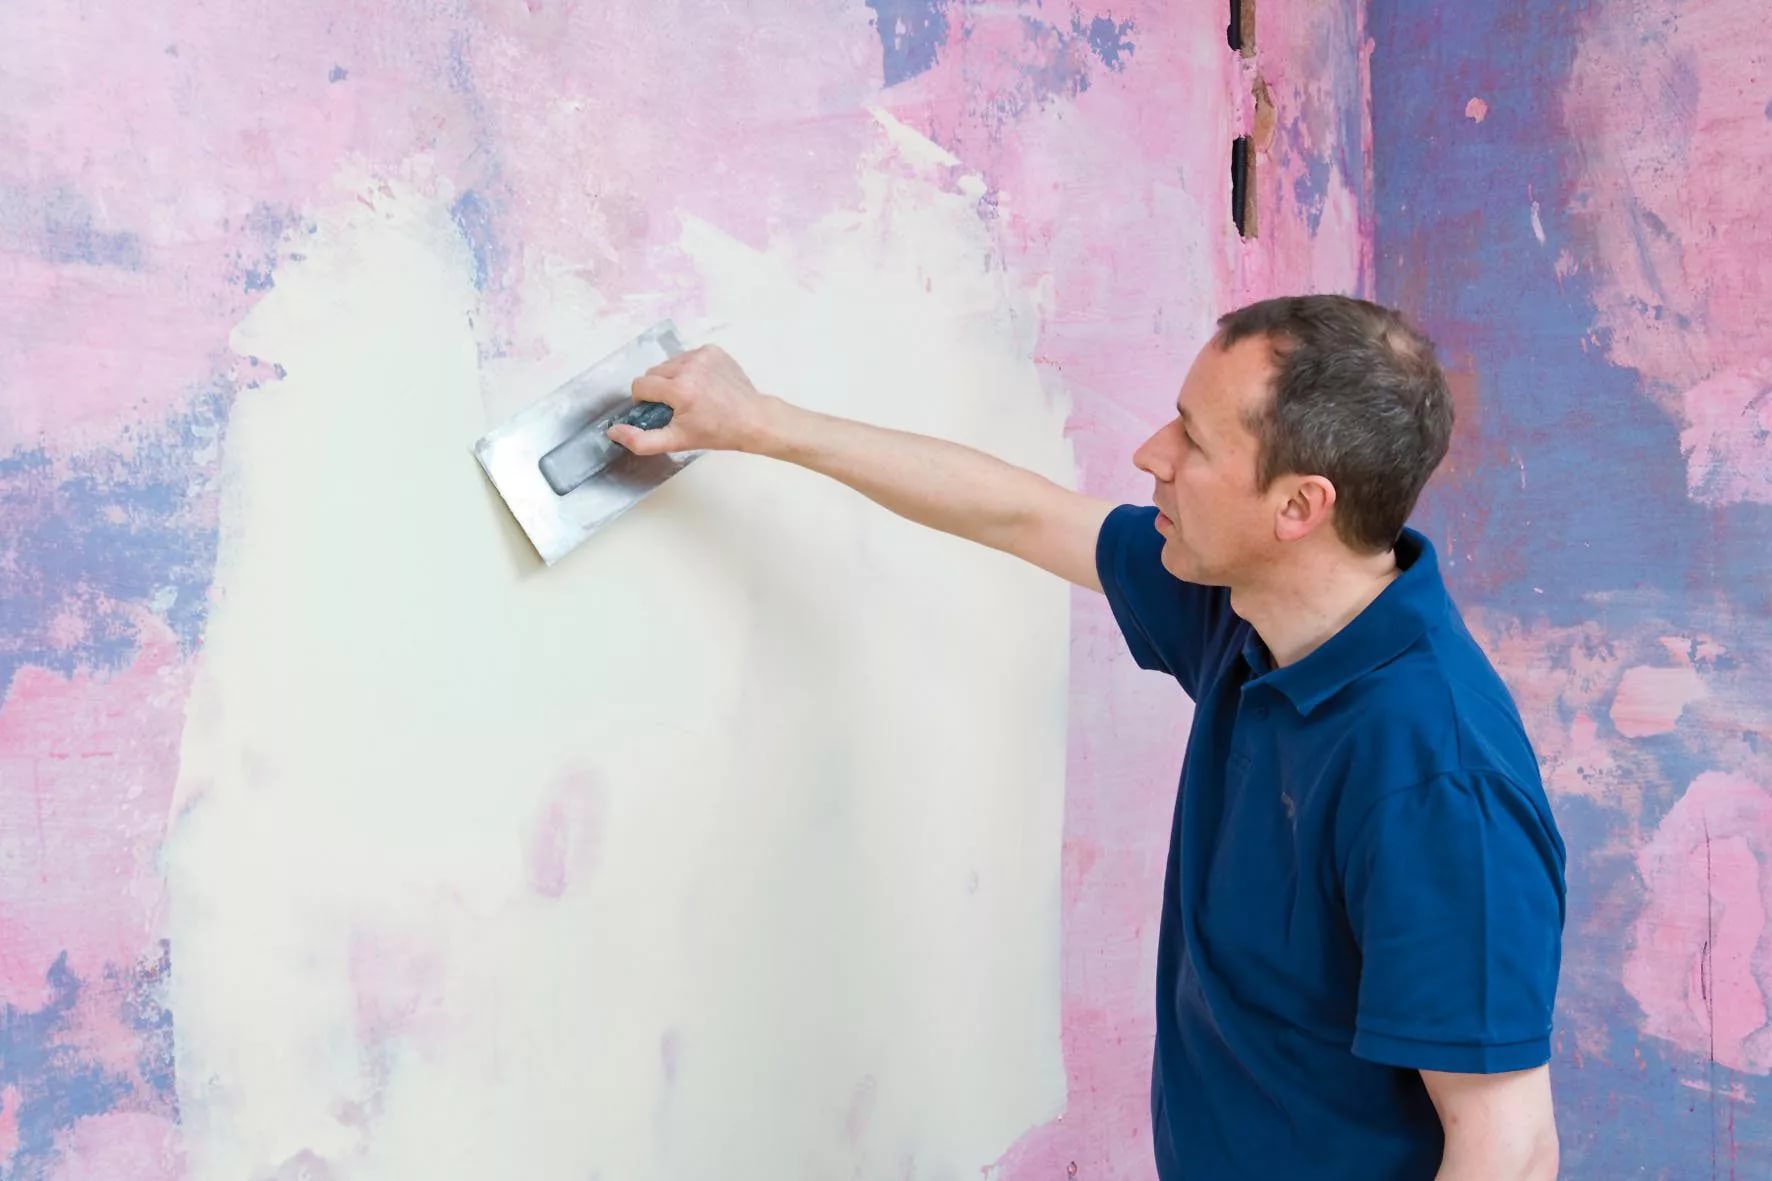
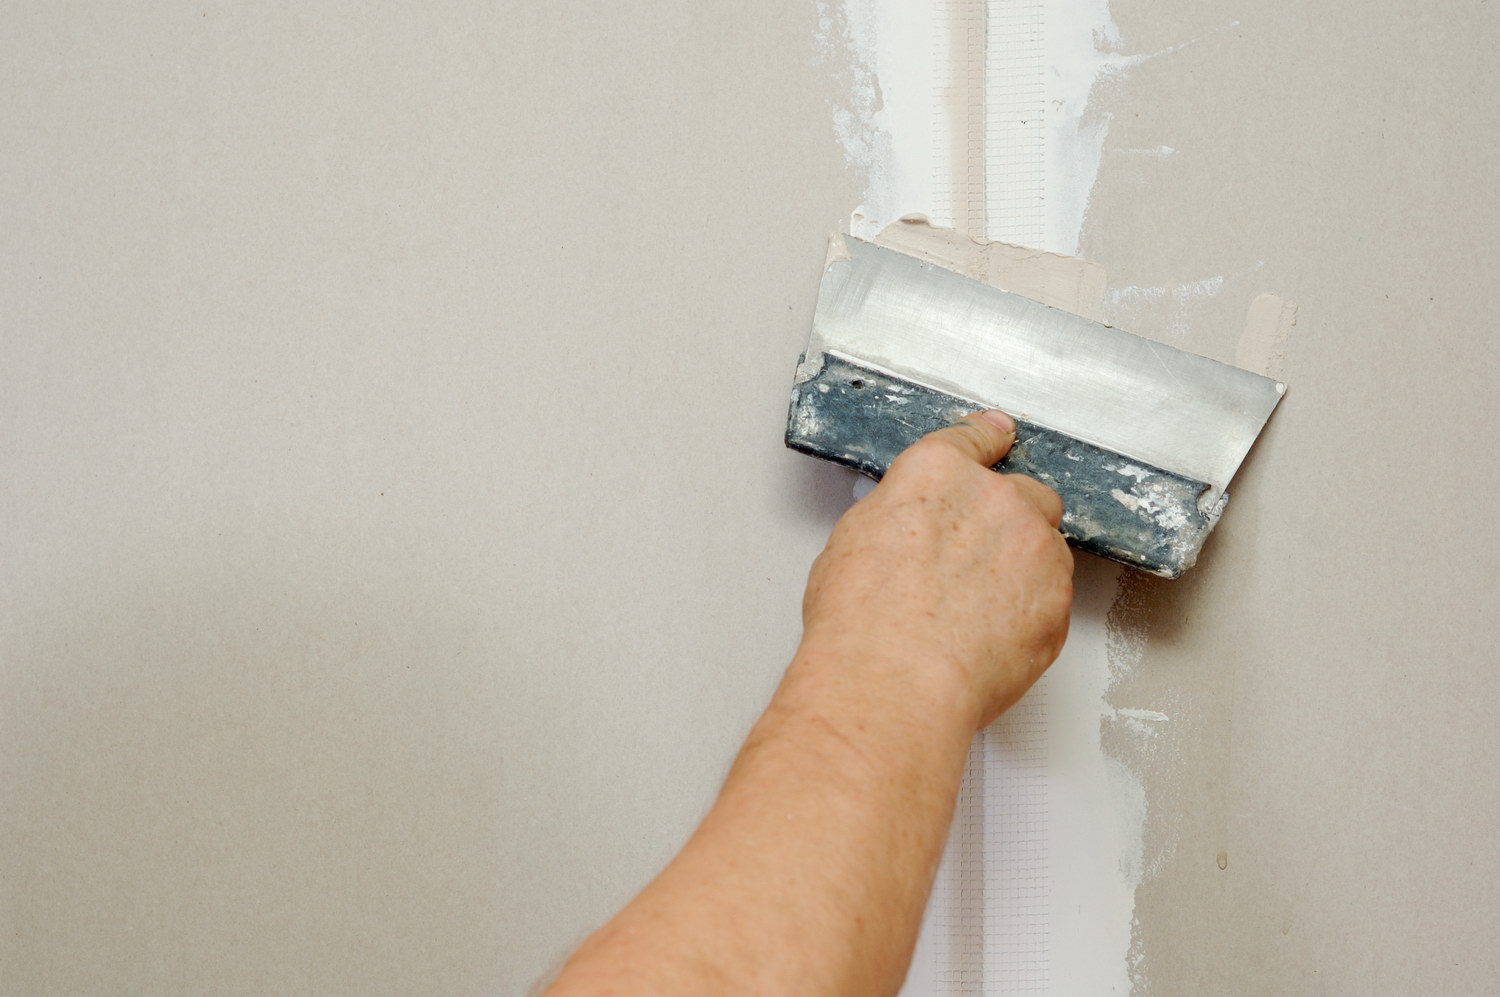
The next step will be putty. This process does not take much time, it is quite simple. Minor defects and irregularities of the wall are easily eliminated with a putty and trowel.
All the necessary materials and tools for this are sold in any hardware store and are inexpensive.
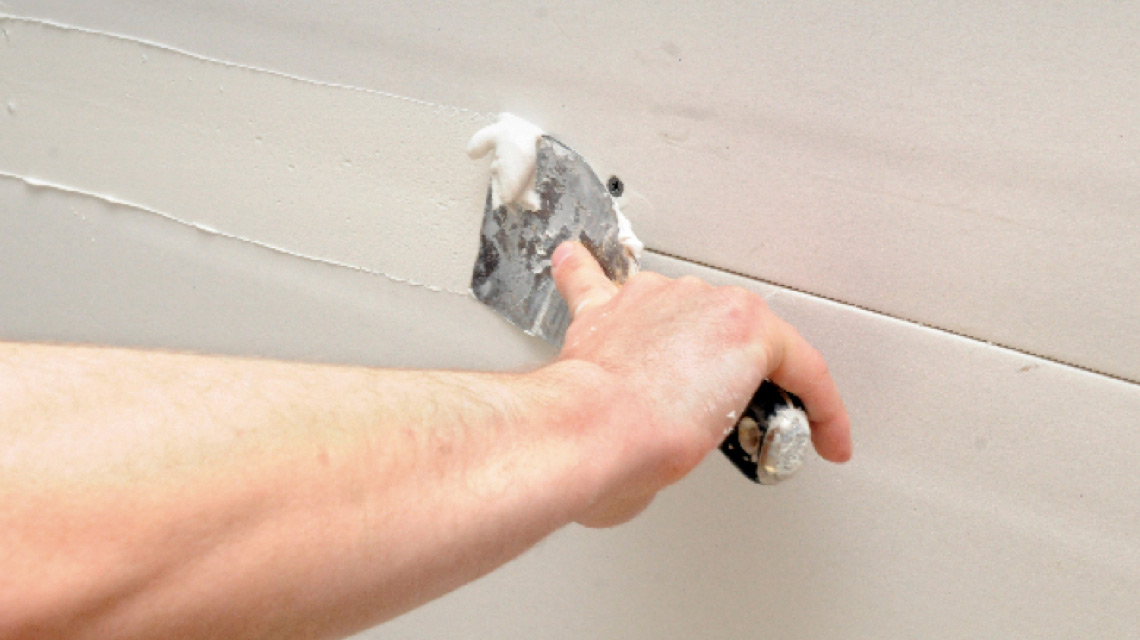
It is recommended to apply putty to plastered walls in case the walls are not very curved. Putting is a mandatory step, as it allows to significantly reduce the level of roughness of the base. With the help of a putty tool, in a few runs all irregularities are eliminated. To achieve a perfectly flat wall will have to putty at least three times. It is important to note that the last layer (finish) should be the thinnest.
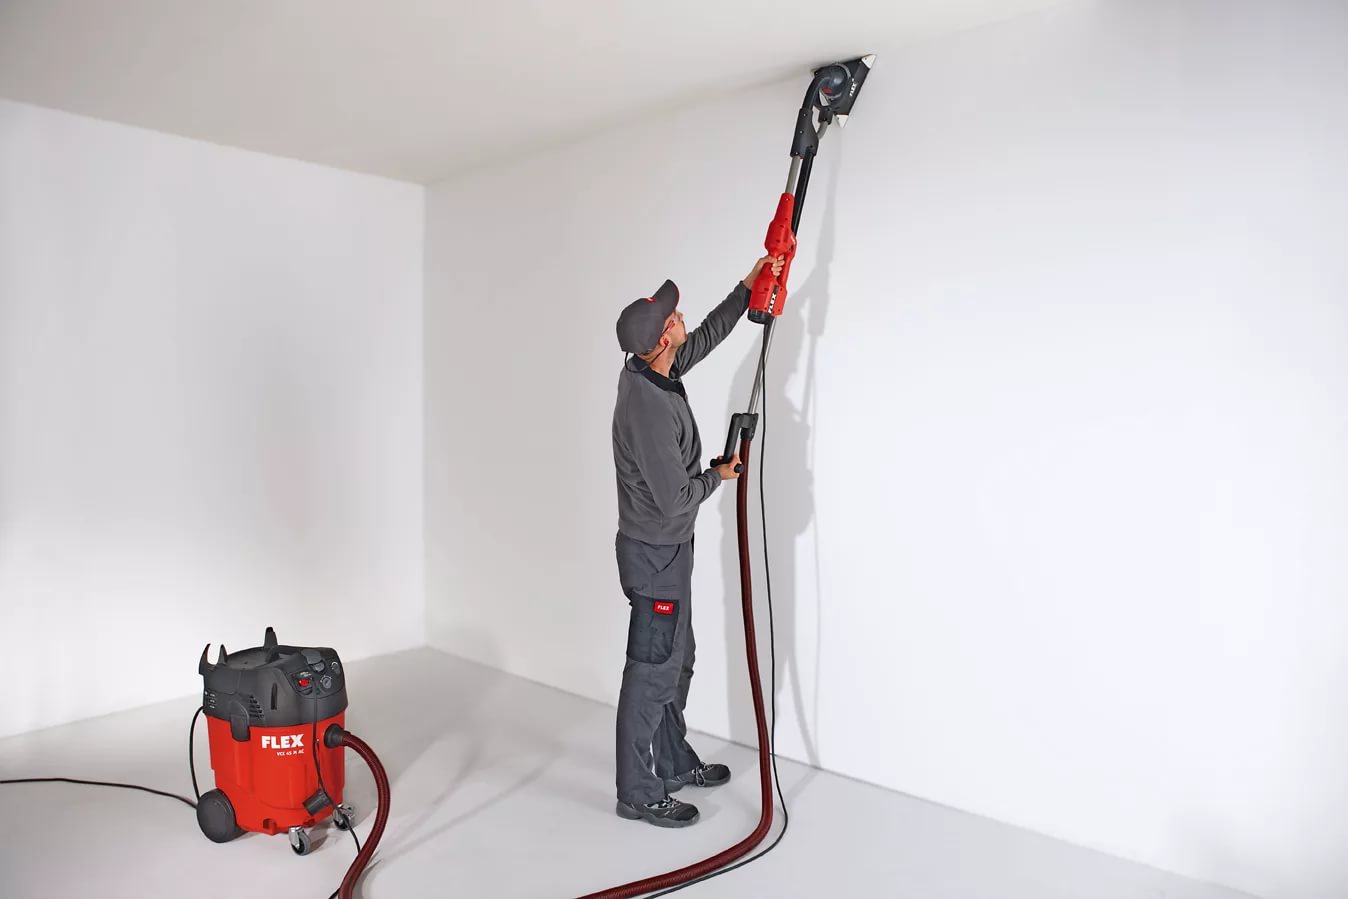
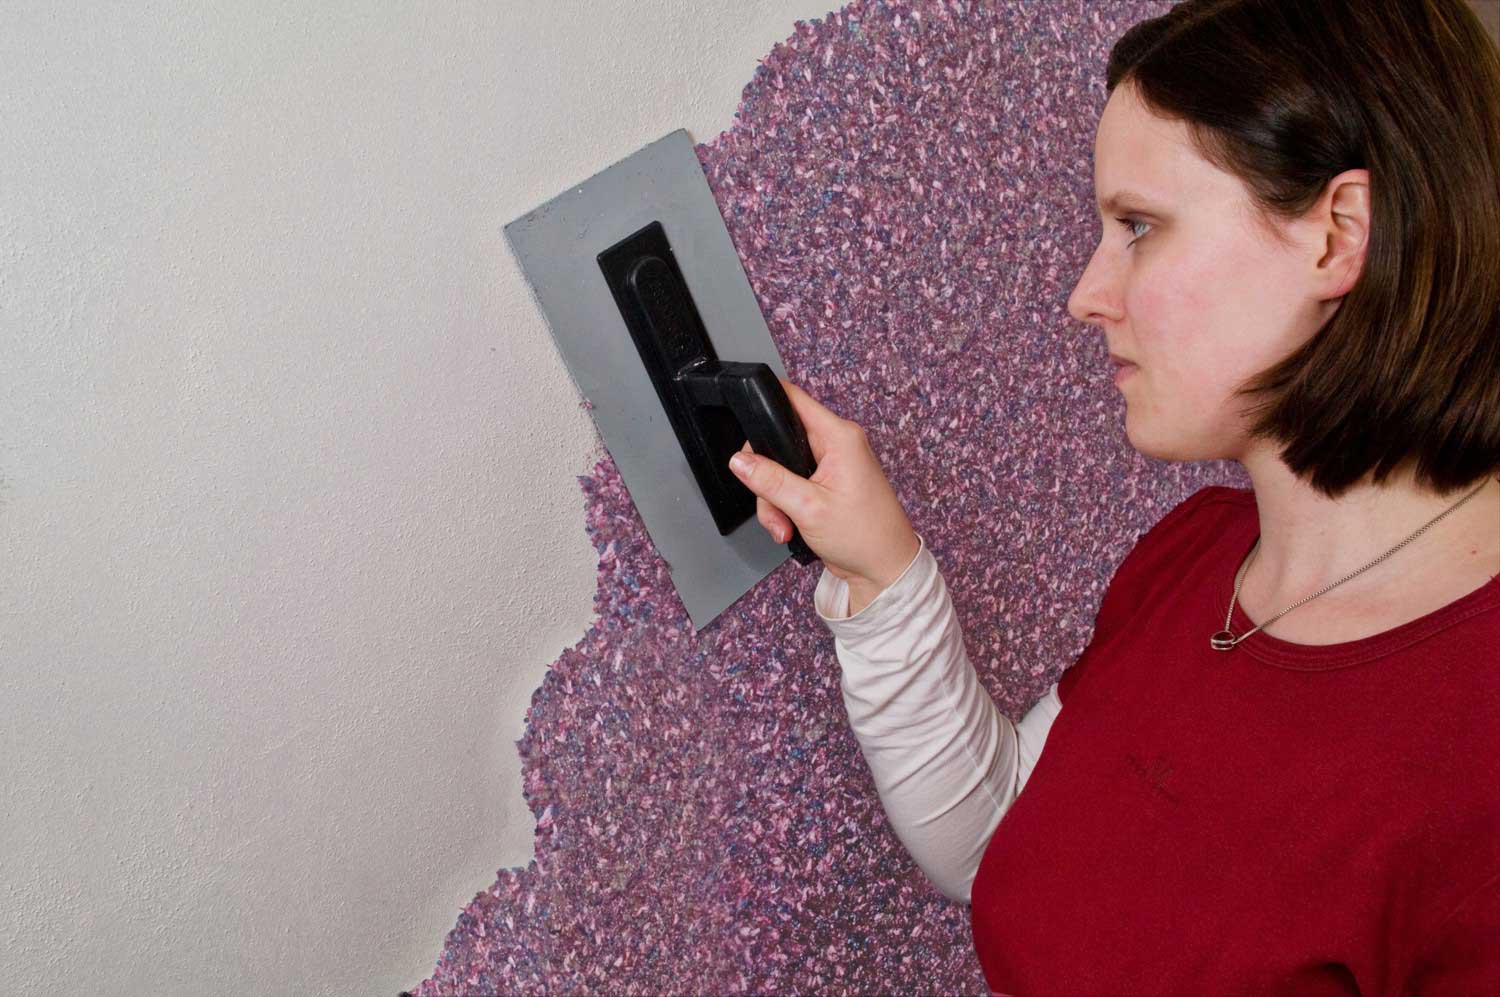
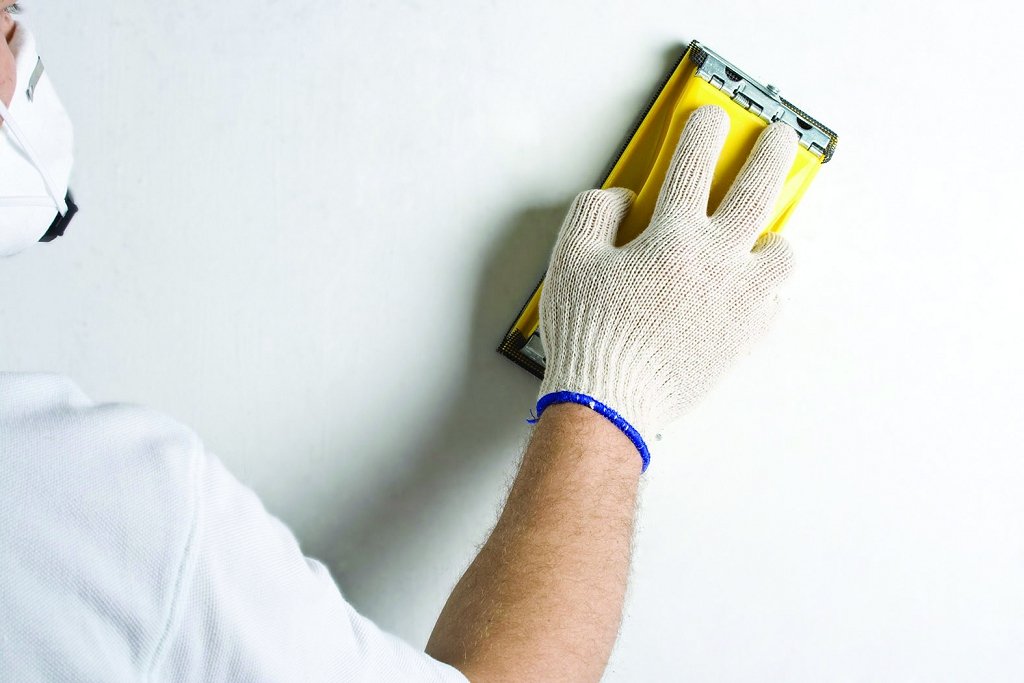
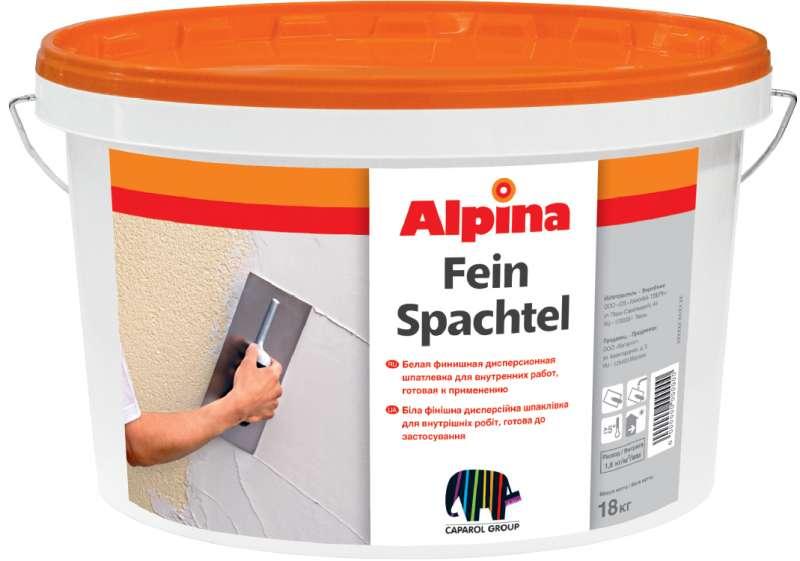
It is necessary to pay additional attention to the need to sand the surface both before the start of the putty, and after it dries. You need to grind the wall until it is perfectly smooth.. An important point is the choice of putty solution, which is made from different ingredients. Experts believe that the best option is an acrylic blend.

The spackling process may involve several steps, depending on the condition of the walls:
- Initial coverage. This is a coarse finish, which allows you to align all kinds of pits, chips, cracks. With this method, you can use a lot of gray. Putty is best done using beacons. They will help make the surface more even. Can be made of different materials.
- Topcoat. This is the layer that prepares the base for sticking wallpaper.
- The last stage of treatment is re-impregnation primer. In essence, the same thing is done as before the filler. The only exception is the volume of spent mixture. It will need less because the base is almost ready. Before you begin to glue the wallpaper, you should definitely wait until the ground solution is completely dry.

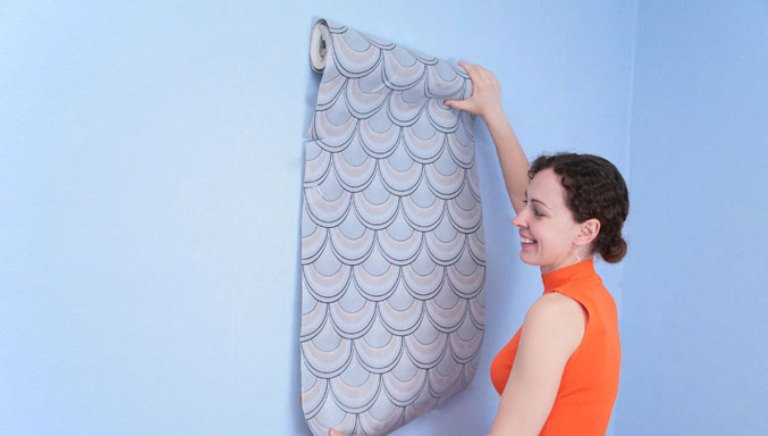
Sticking
At exact observance of all stages of preparation, the wallpaper sticking itself will not cause any problems. The main thing is to follow the instructions exactly, depending on the type of coatings, to ensure an optimal indoor climate, use appropriate adhesives, etc.
Recommendations
The main features of the preparation of walls for wallpapering, we considered. It remains only to take stock and give some useful recommendations to those who have decided to do the preparation of the surface on their own.
Important tips:
- In order for the wallpaper to last for many years, you should not ignore the instructions of the technological process, which includes putty and primer basis.
- The finish will never fix on the gloss paint, however, if the base is treated with a special tool, it will become rough, which will allow the glue to adhere well.
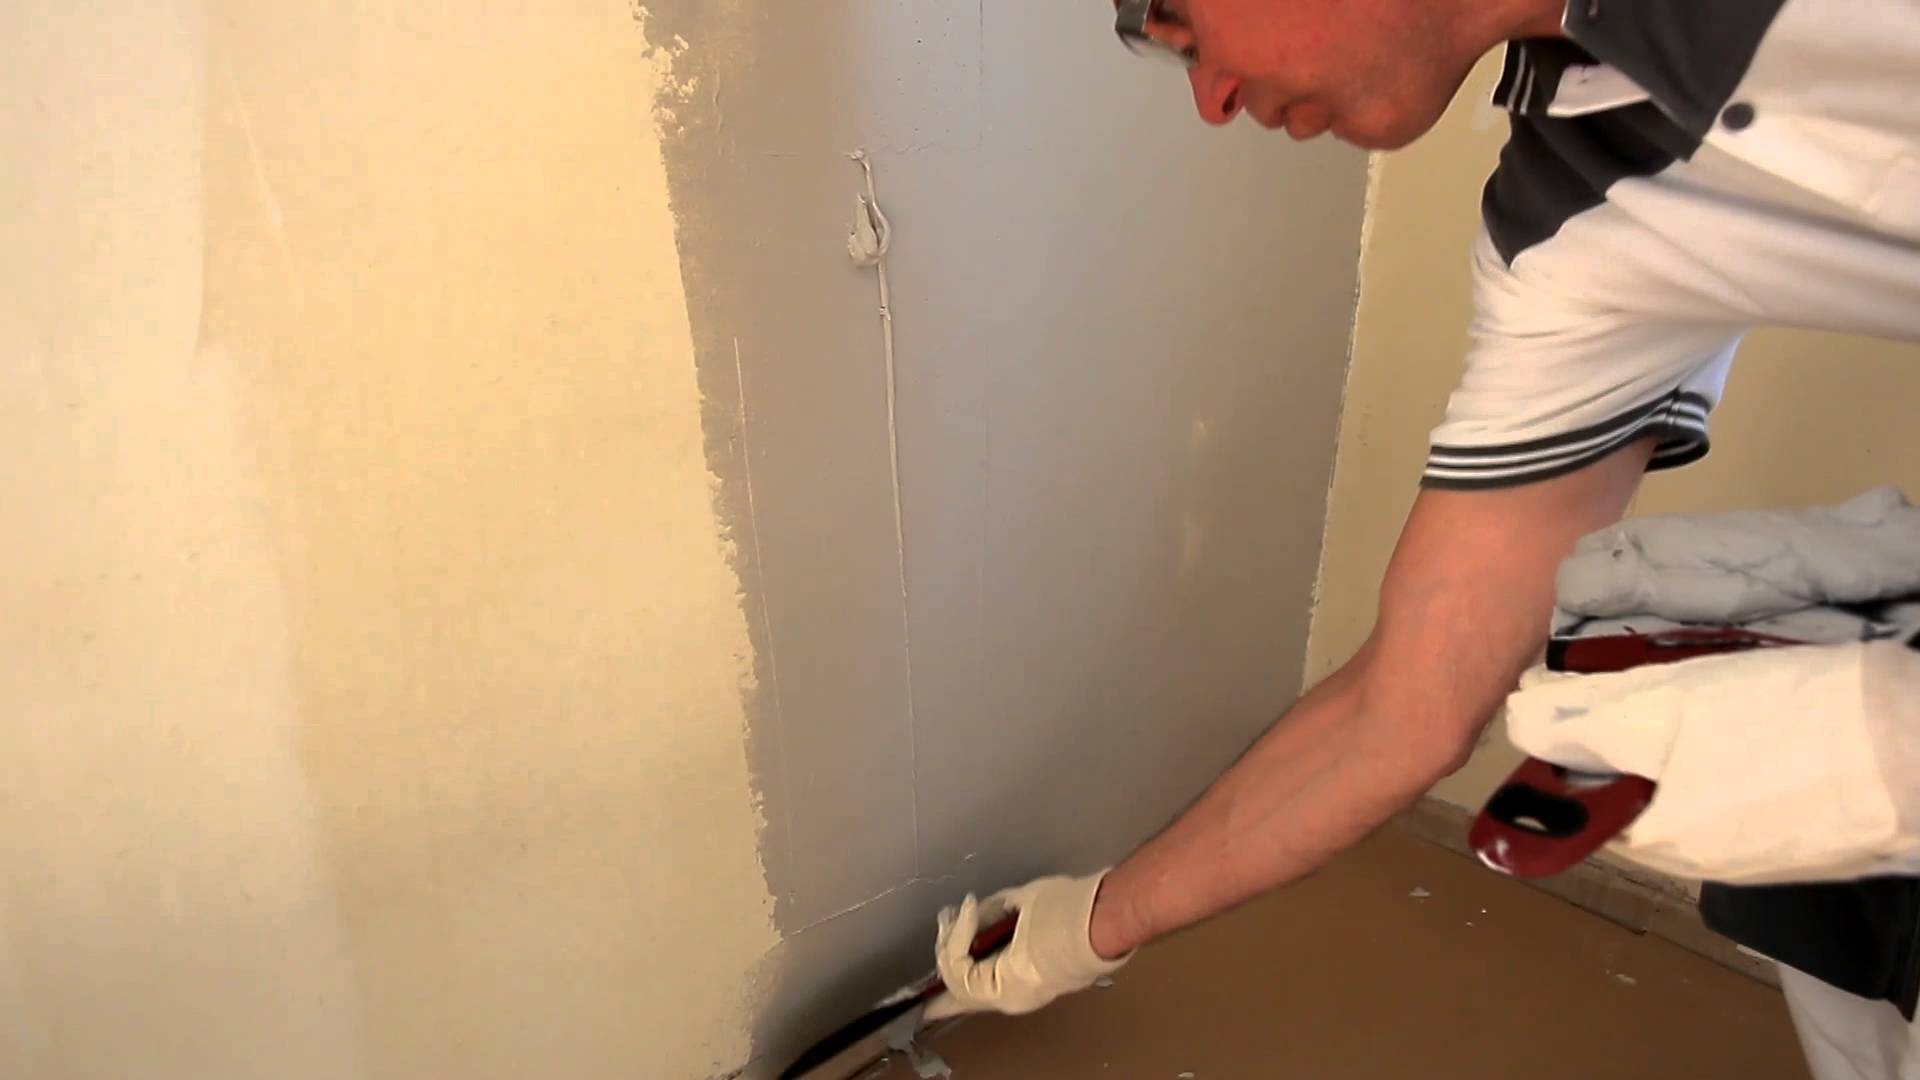
- It is best to clean the joints between the wall and the plinth and pour a solution of gypsum, wait until it dries, then remove the remnants of the dry mix.
- It is important to treat the seams on the surface of drywall with puttying, it is desirable to paint them with oil paint.
- In order to not see the marks from the nails that fasten the plasterboard sheets, if possible, they should be deepened into the material.
- If you skip the stage of priming the wall, as a result, the finish will not be able to last for a long time.
- During the spackling process, those parts of the walls where metal reinforcement is visible are carefully processed.This should be done to avoid the appearance of yellow spots on the wallpaper in the future.
- After each stage of processing the walls should be thoroughly dried surface. It is better to do this naturally without the use of artificial air heating devices. If the wall is not well dried, it will lead to the appearance of dampness, and subsequently to the appearance of fungus.
- During the filling of the walls, the spatula tends to leave noticeable stripes. To reduce the surface roughness, two thin layers are applied horizontally, and the next layer should be made in the vertical direction. You can also do this work diagonally. This will give the putty layer a smoother look.

- When choosing a tool for puttying its dimensions are taken into account. The most optimal spatula will be from thirty to forty centimeters wide.
- When choosing glue for wallpaper worth paying attention to its important characteristics. First, the focus is immediately on a trusted manufacturer. Repair is always planned to do not for a year, so the quality of the adhesive should be at a high level. Secondly, be sure to make sure that the glue is suitable for the type of wallpaper that you have chosen.For each type of canvas is a separate type of glue.
We should not forget that no matter how high-quality the wallpapers are, there is no guarantee of a successful end result. It all depends on how the walls were prepared for the wallpaper.
For more information on preparing walls for wallpapering, see the following video.