How to lay tiles on a wall and other surfaces?

Tiled flooring - the perfect finish in an apartment or a country house. It is suitable for interior and exterior. The tile has a beautiful, aesthetically appealing look, so the finish of this material is often preferred by fans of interesting and modern design solutions.

Special features
All types of repair and finishing works have their advantages, features and disadvantages.
This article will describe all the details of facing of walls, floor and other surfaces with tiles of all kinds, starting with the preparation stage and ending with successful examples of finishing in various rooms and on the street.

First of all, when deciding to choose tiles for repair and work from all building materials, you should take into account the peculiarities of working with this type of lining, not knowing which to do quality work with your own hands will not be easy.
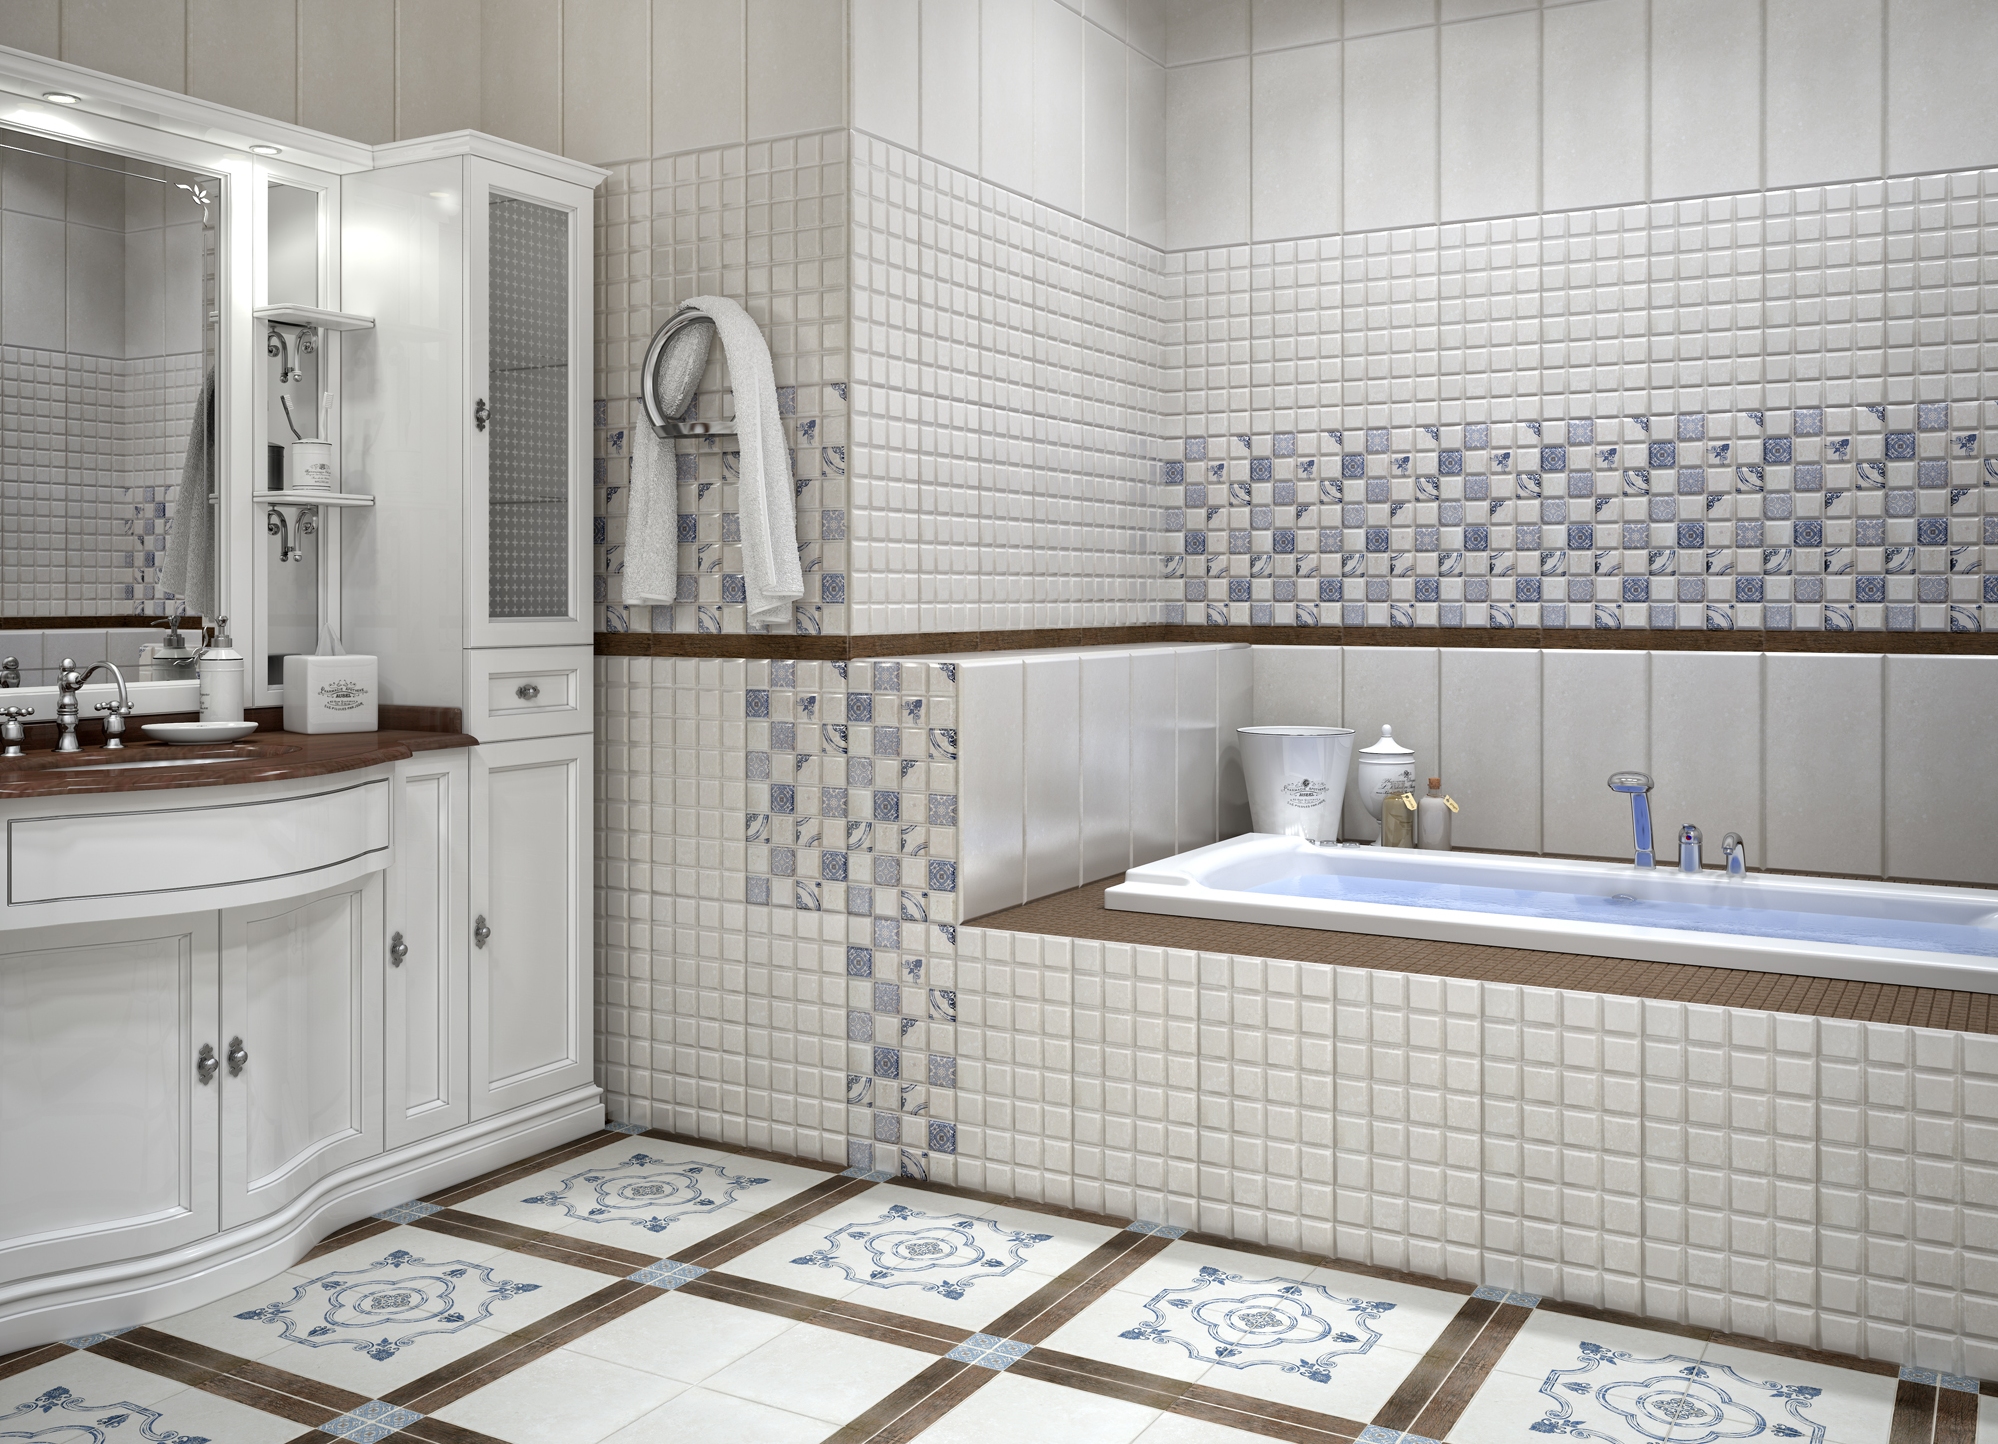
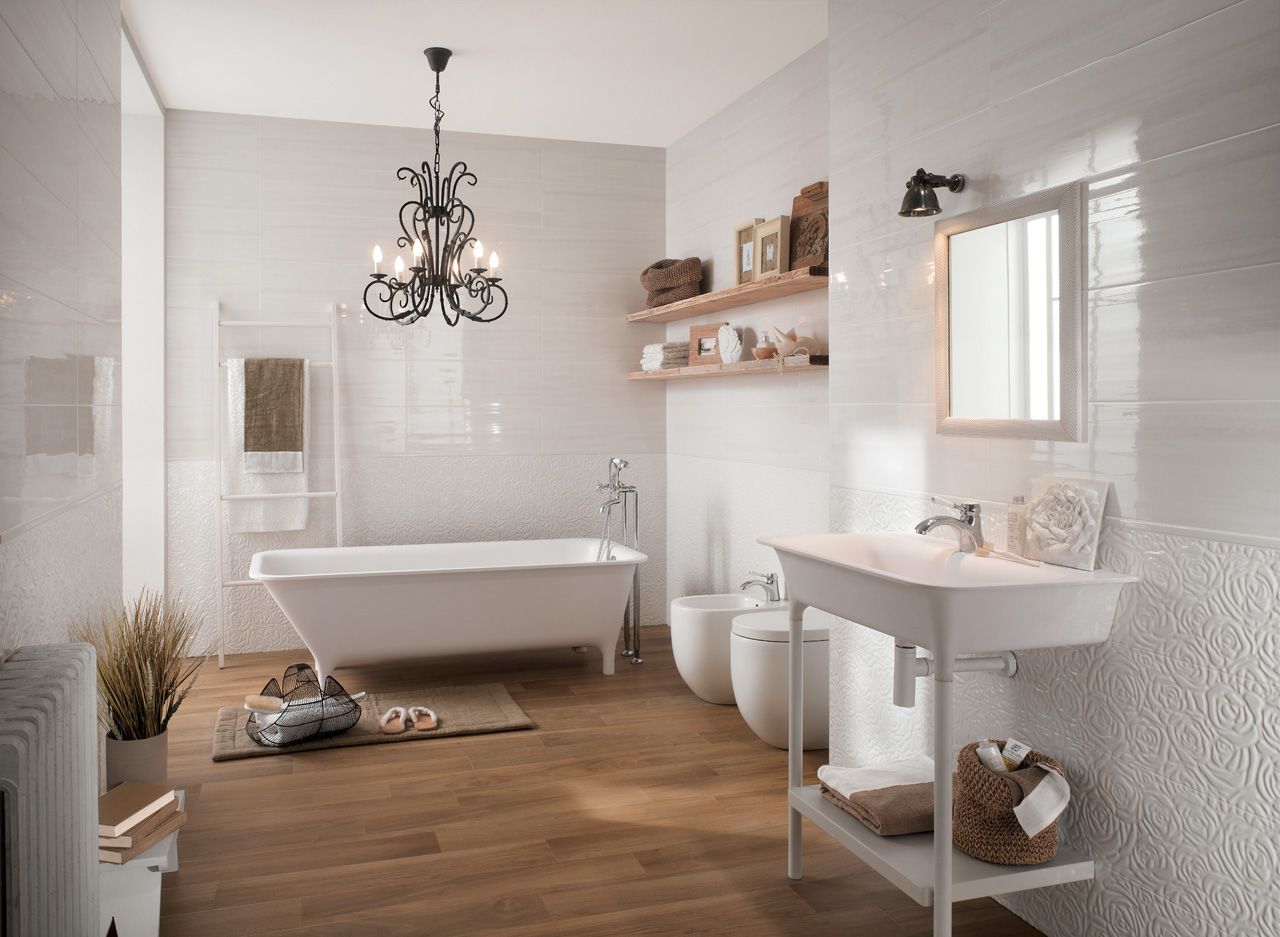
Tile - a material that can withstand high humidity, so it is most often chosen for the decoration of bathrooms and kitchens.
Also tiled lining gives the room an aesthetically attractive look, conciseness, elegance, solidity.
It is necessary to pay attention to the choice of a suitable material from the whole variety offered. That is, the type of material that will be used.
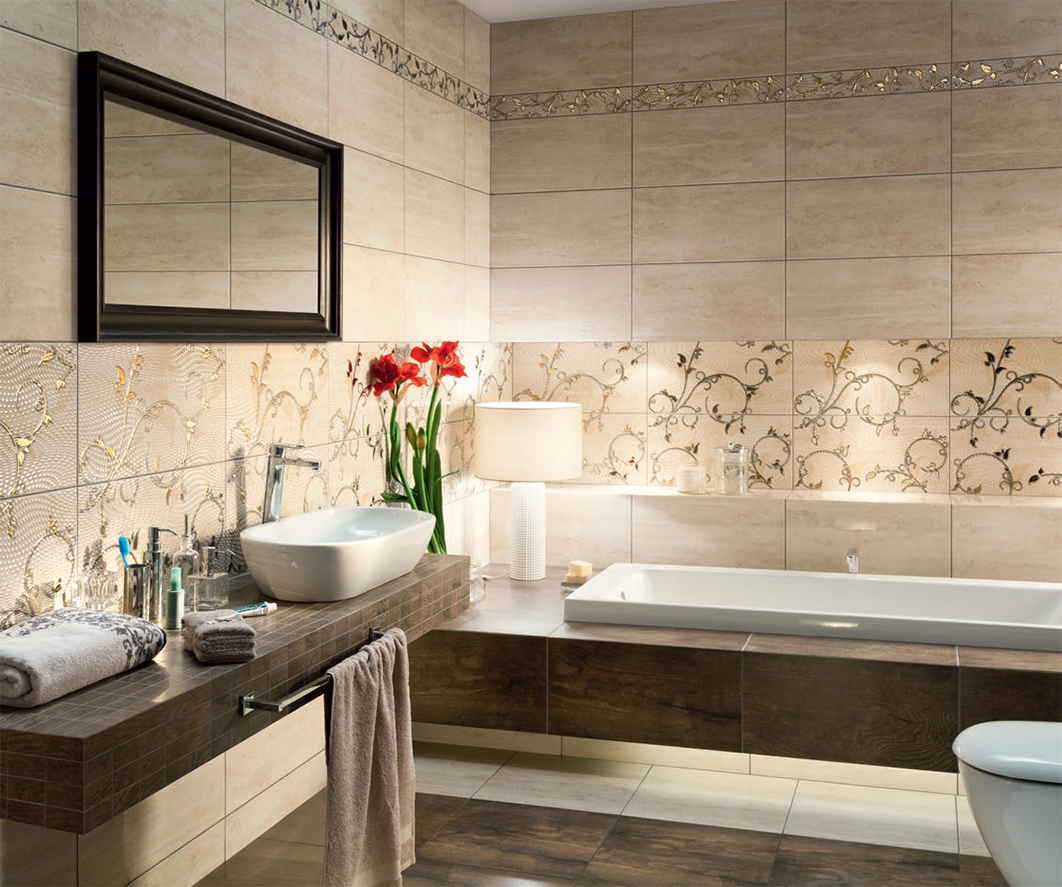
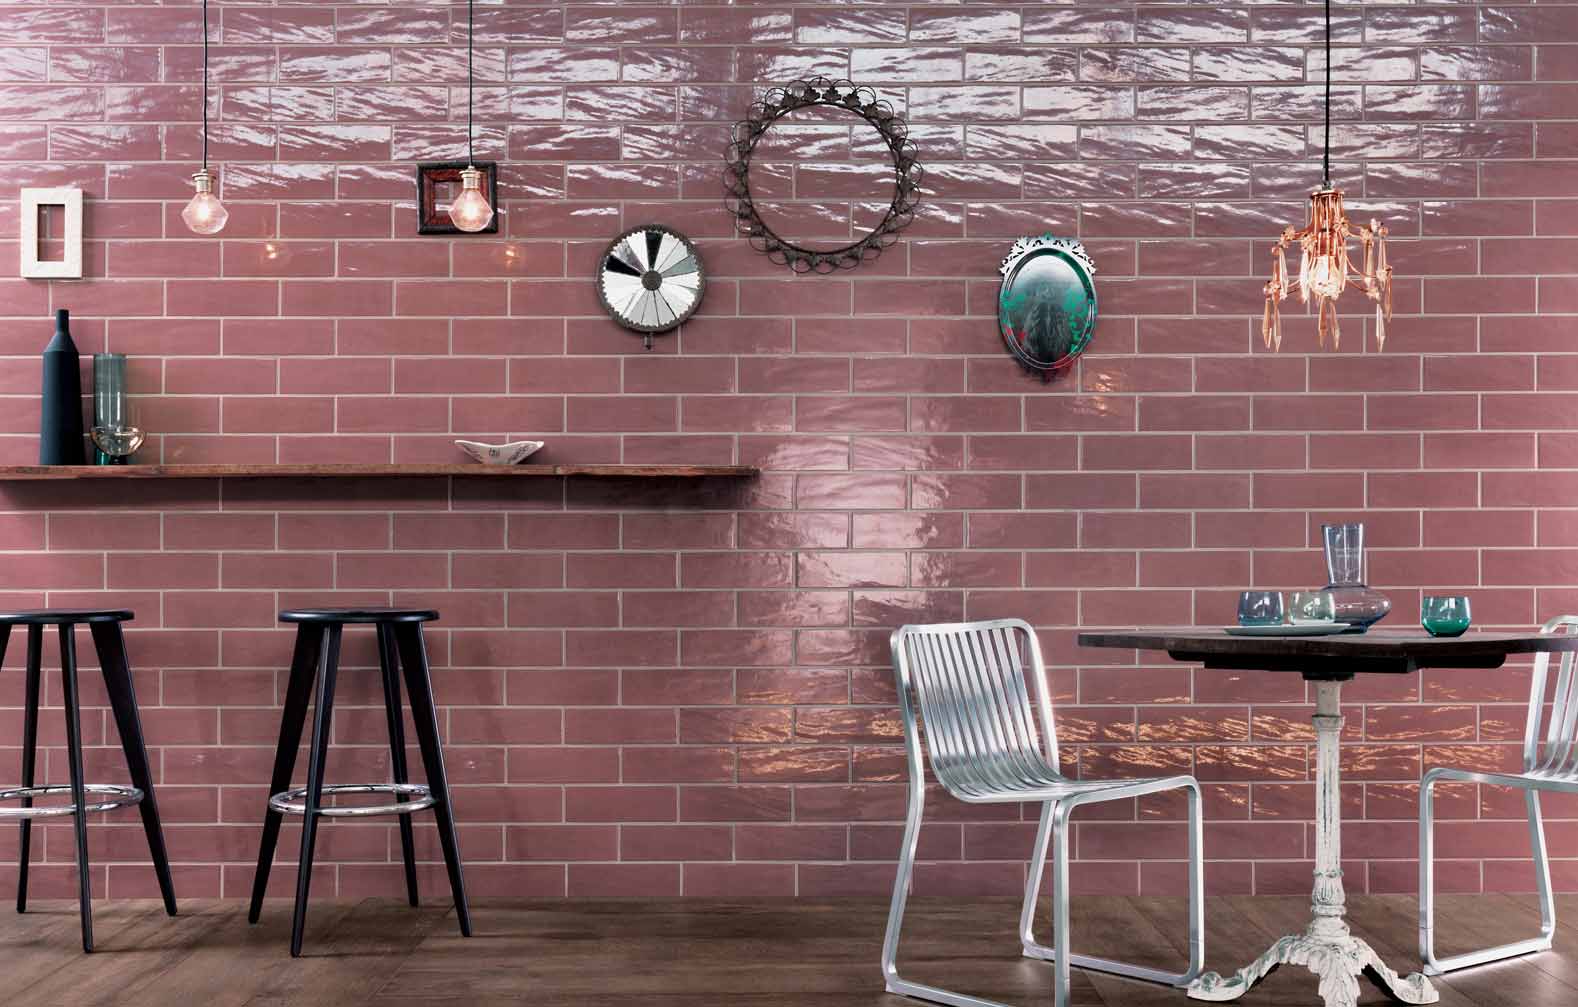
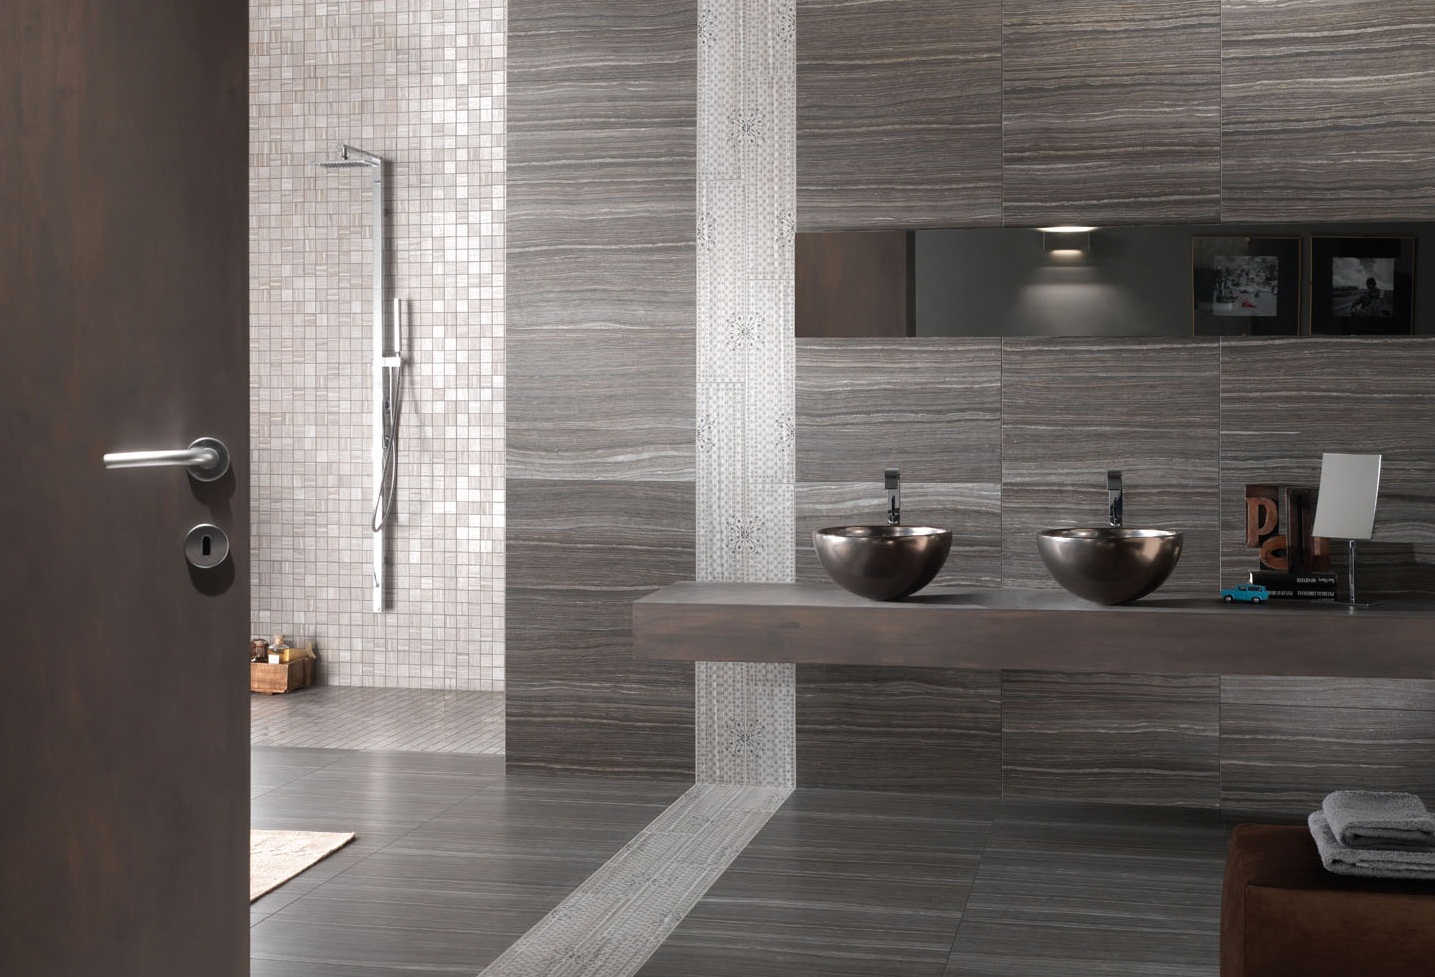
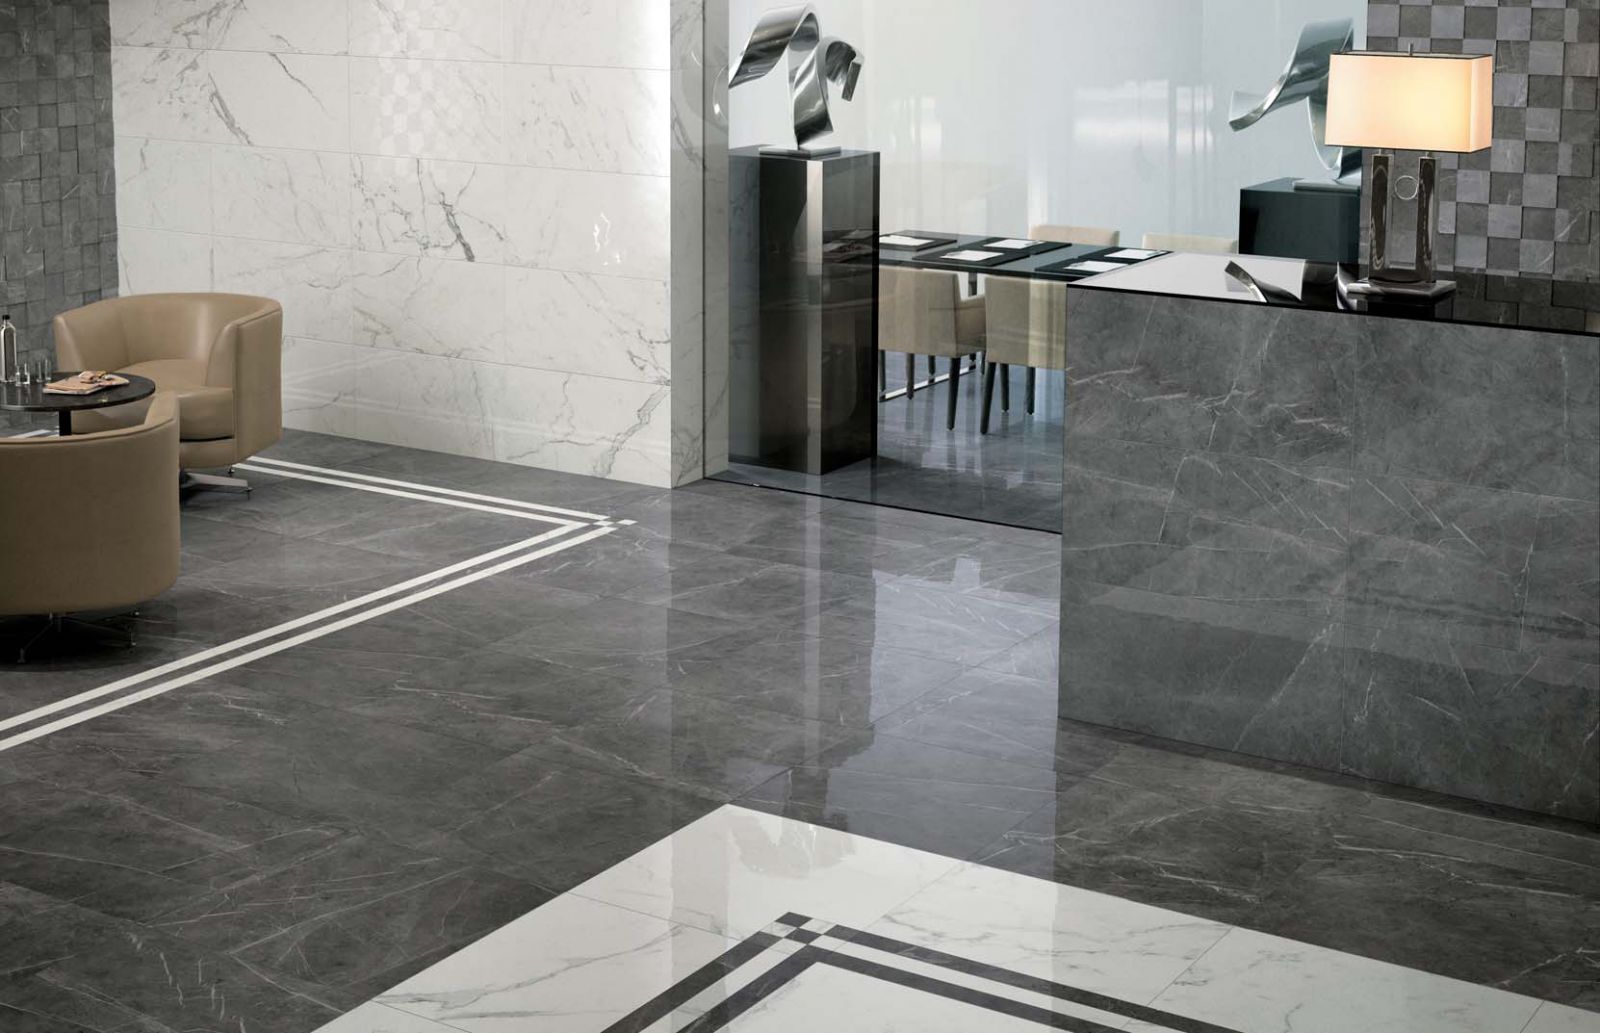
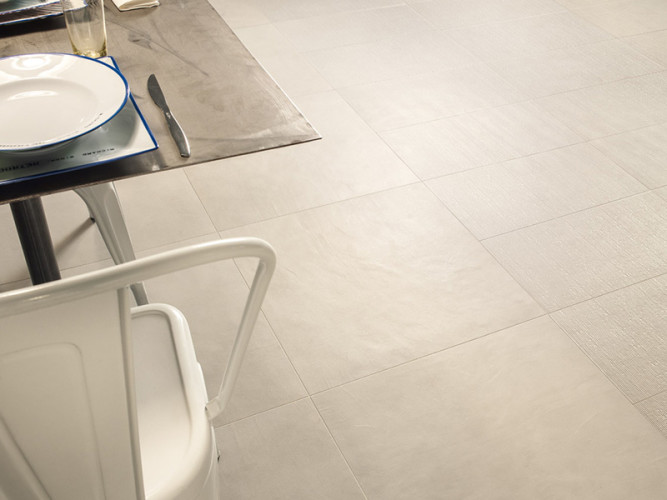
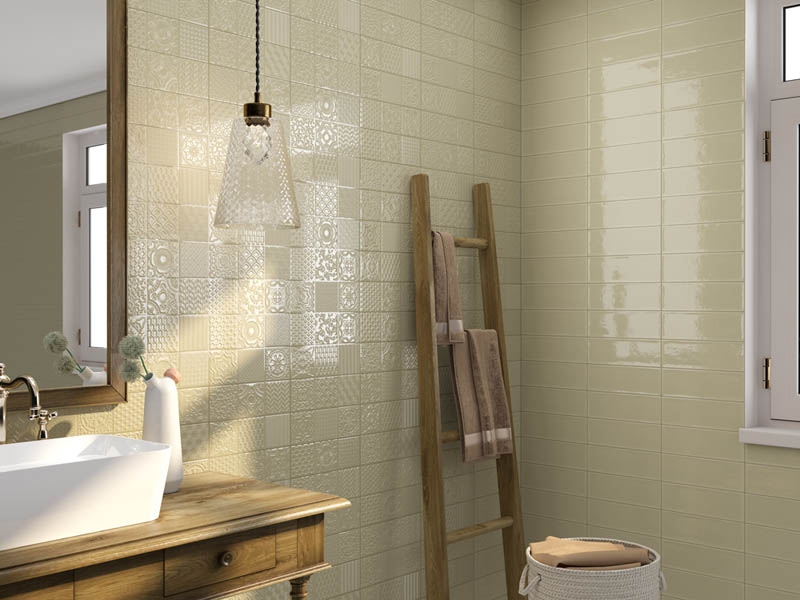
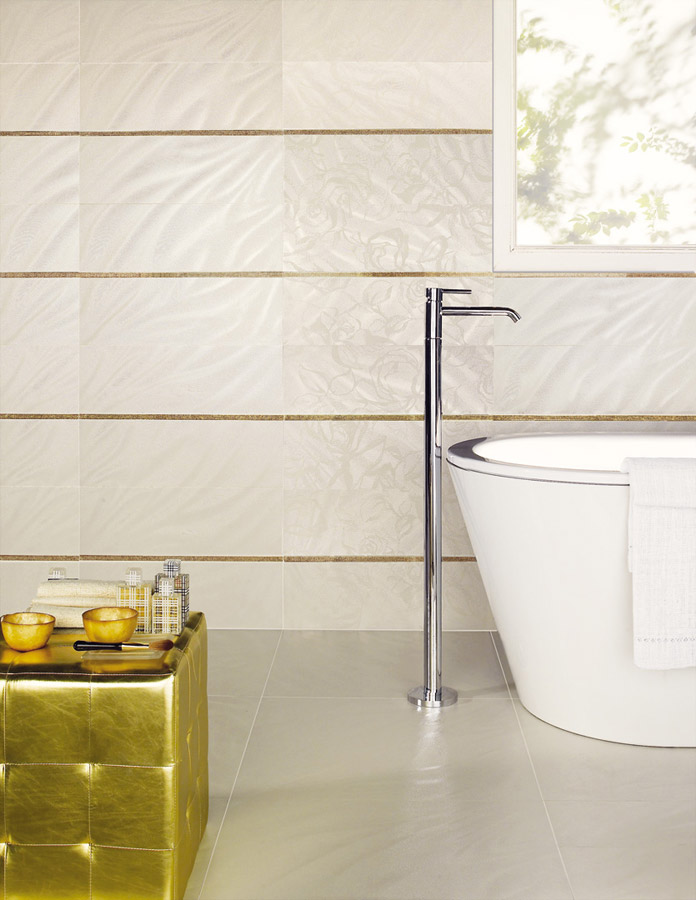
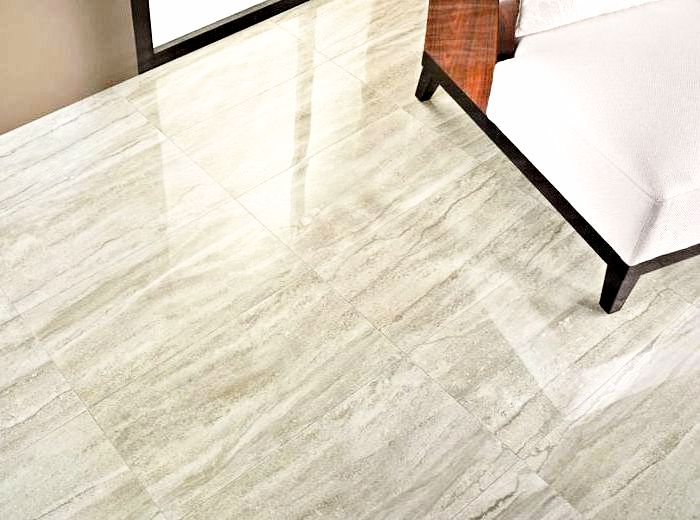
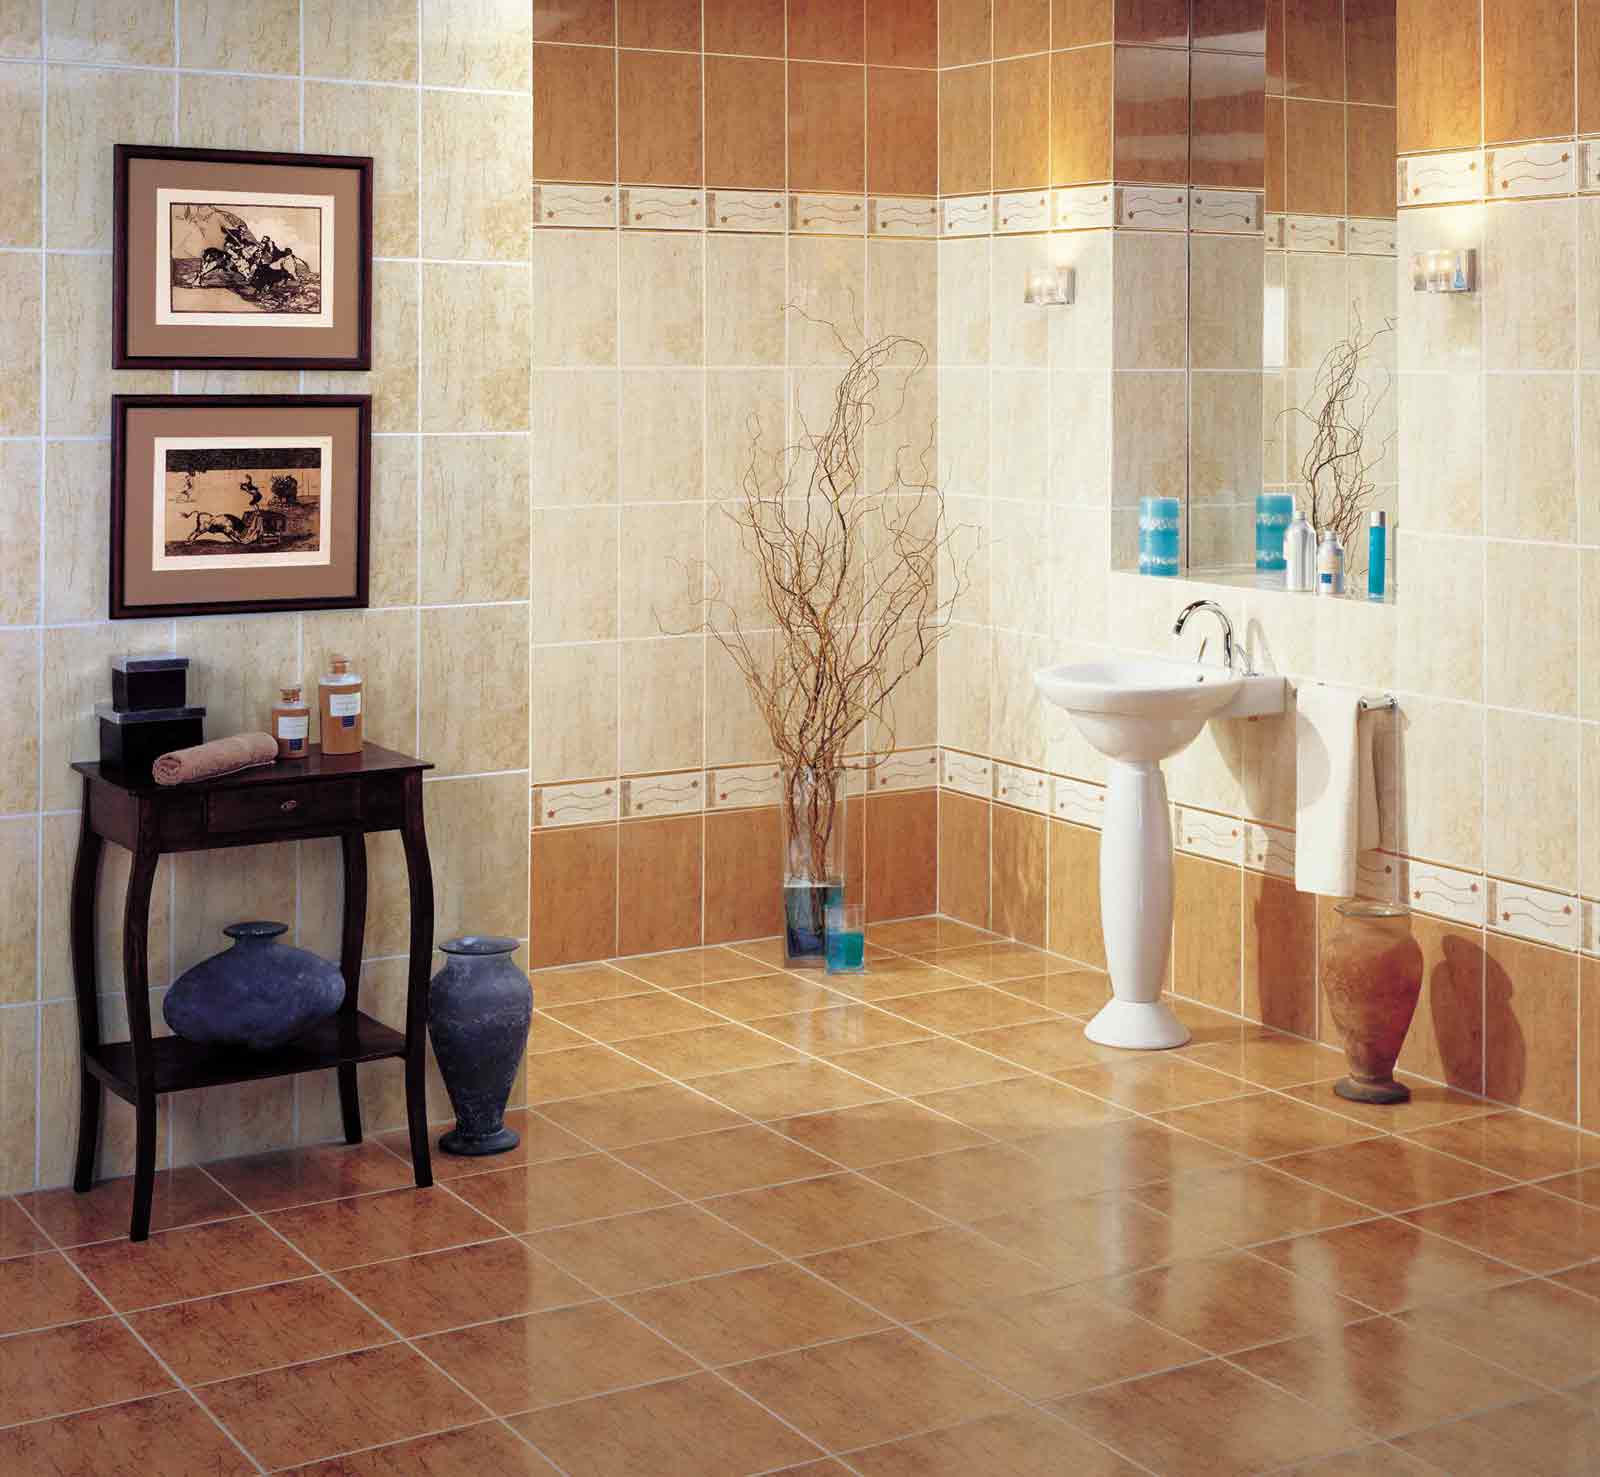
If the work is done indoors, for example, in the bathroom, then the tile for the walls will have a glossy surface and all sorts of colors and ornaments. The same floor tile is heavier and more durable, with a rough surface.
Another feature of the tile material is its density and high price, so you need to work carefully and use special tools for trimming, which are not always available even for the most haughty owners.
The main specifics of working with tiles is as follows:
- determination of the purpose of the work performed;
- thorough preparation of the working surface;
- analysis of working conditions (room or street, season of works).
Advantages of tiling:
- high moisture resistance;
- beautiful view;
- durability (in rooms with high permeability, tile as a floor covering is the best option);
- strength;
- chemical resistance;
- does not fade (if facing is made on the surfaces contacting to ultraviolet rays);
- high environmental friendliness, natural composition;
- resistance to high temperatures, it does not ignite;
- easy care of the surface.
Disadvantages of tiled surfaces:
- Rather, a feature than a disadvantage in tile laying is that it is a laborious process, requiring accurate marking and careful measurement of all surfaces from walls to floor, certain tools, knowledge and skills, and, most importantly, more time to work from the initial stage. before the final.
- The inability to quickly correct errors in the work, in difference, for example, from painting or sticking wallpaper.The laying surface must be carefully leveled. Wall preparation is 80% of tile success.
- Error when using tile glue - it is necessary to clearly fix each laid tile so that the glue does not “float” at the end and the whole row is even.
- High thermal conductivity. The tile material is always cold, so if it’s not the walls, then the best option is to lay the tile on the “warm floor”.
- A tile is a slightly porous material, even if the tile is matte, therefore it has a slippery surface, especially when wet, which also needs to be taken into account when working with it.
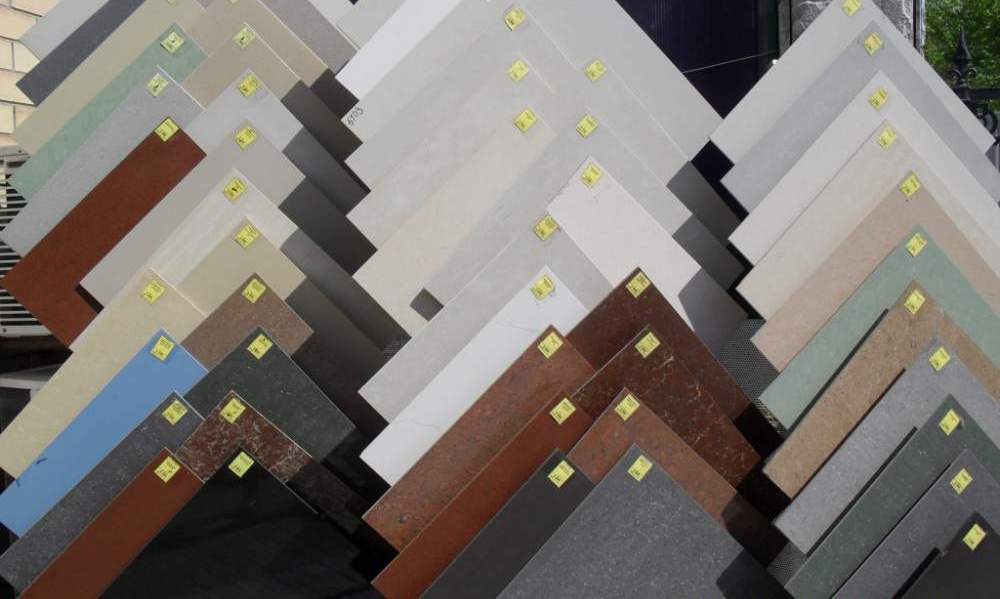
Kinds
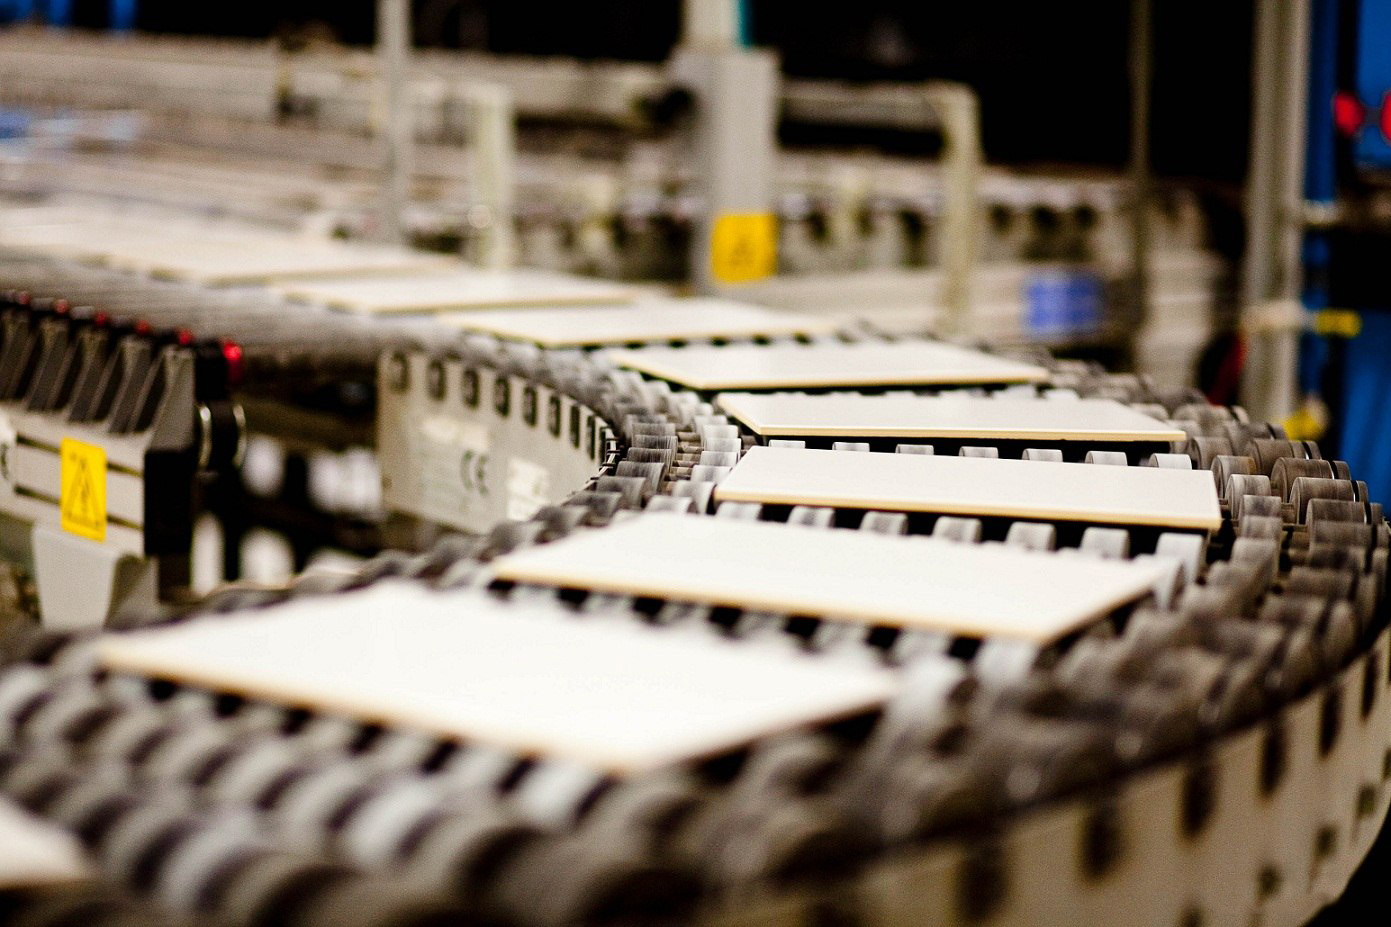
In order to have an idea what kind of material to choose for repair or finishing, first we will understand what kind of material is ceramic tile, having considered the technology of its production.
Basically, this building material is made in two ways: by the method of "squeezing" out of natural rocks - slate or clay, as well as by pressing the finished crumb, which is close in consistency to the powder.
The main characteristic of a facing tile - its moisture resistance. Moisture absorption occurs directly by the “body” of the tile, and not by its surface. The most water resistant material of all types of tile is granite.. The moisture absorption coefficient of this material is 0.5%. The ability to absorb moisture tiles should be considered when laying on the street, as well as in winter.
Thus, according to the type of tile, you can distinguish ceramic tiles and porcelain tiles.
According to the method of heat treatment tile double and single firing. This characteristic can be determined by the "flame" on the packaging with tiles.
Single-fired tile is more durable and is suitable for flooring. Double-fired tile is less durable; it can be used for walls and decorative finishing of desired surfaces, including the ceiling.
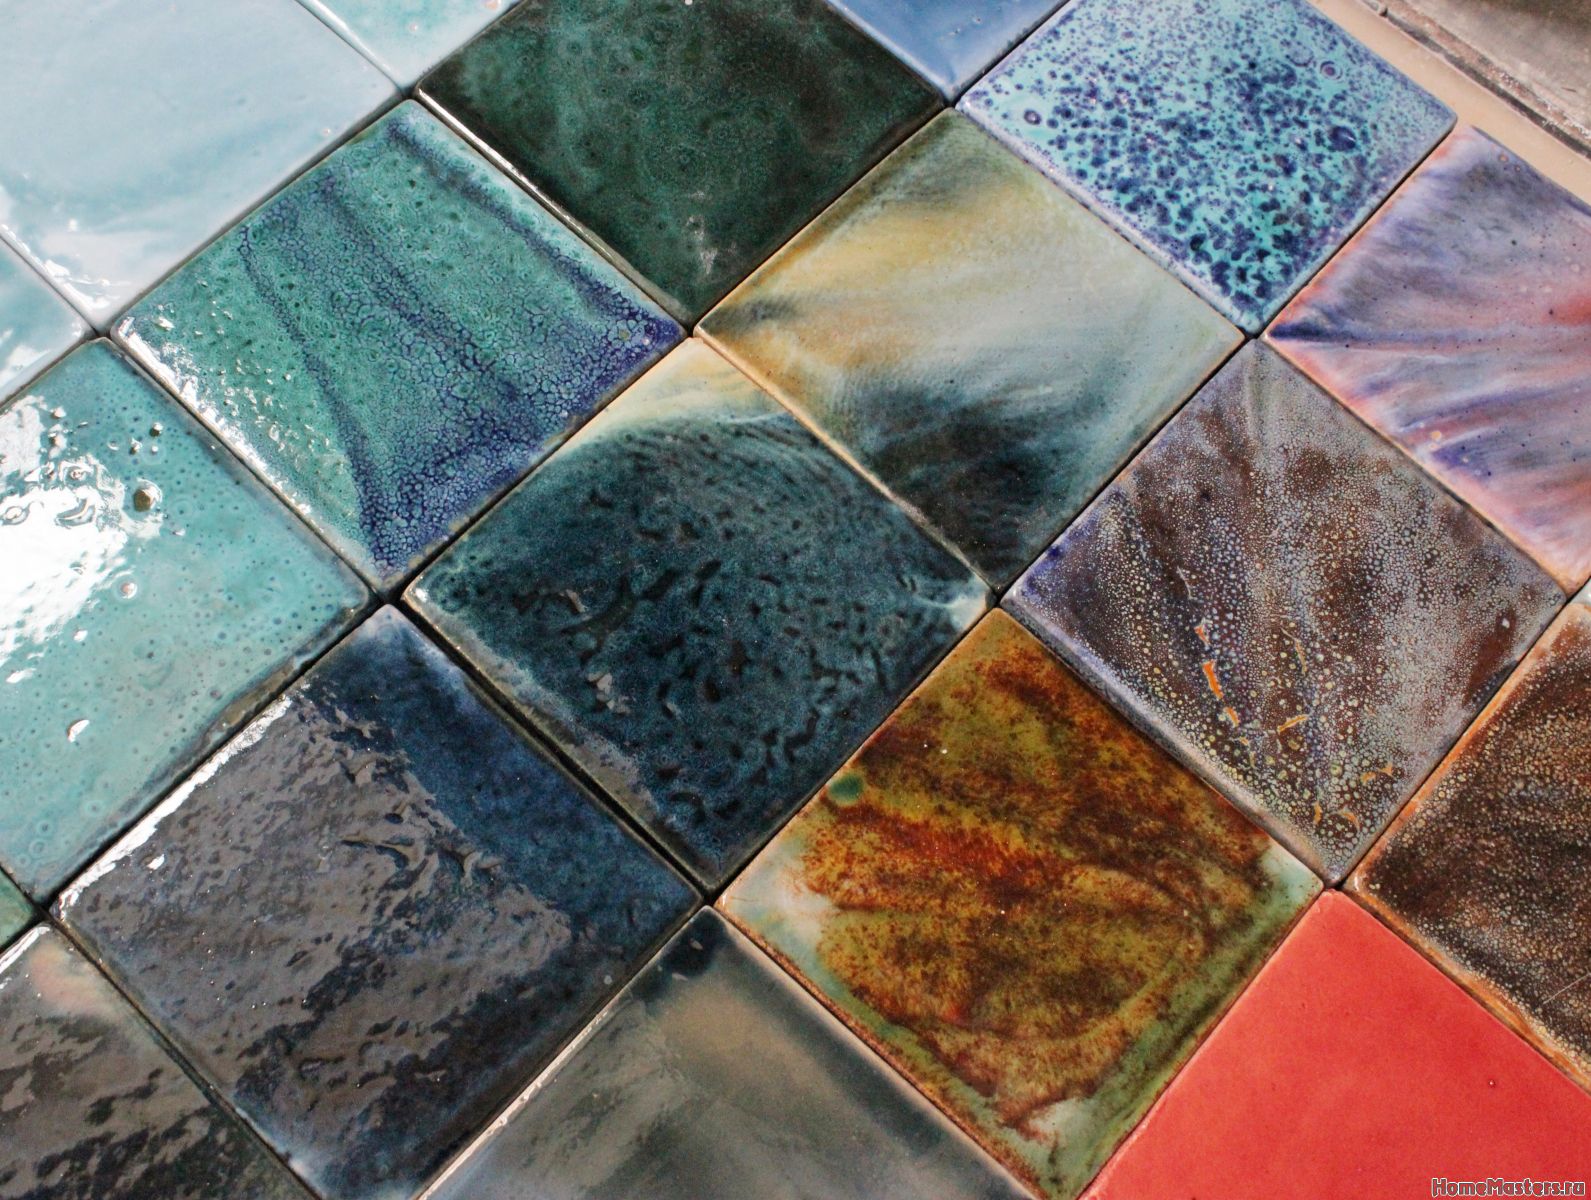
Material can be classified according to the type of ceramic surface:
- glossy;
- matte;
- smooth;
- glazed;
- lapatirovanny;
- rectified;
- raised;
- polished - homogeneous porcelain.
Glazed
Tile gives the walls a beautiful decorative appearance due to the beauty of the underglaze pattern or ornament. Glossy tile creates a visual lined surface.Smooth tile - the most unpretentious and easy to use.
Matte finish
Tile is most often used for flooring. It can also differ in the design style, as well as the relief tile.
Laped
The tile differs in a method of its polishing which is made not up to the end, only the first top layer. Due to this, the surface acquires a matte-glossy texture that looks very nice in the design projects of the lining, and also carries a functional feature - such tiles, laid on the floor, slips less and maintains a greater load on weight, while maintaining the original appearance.
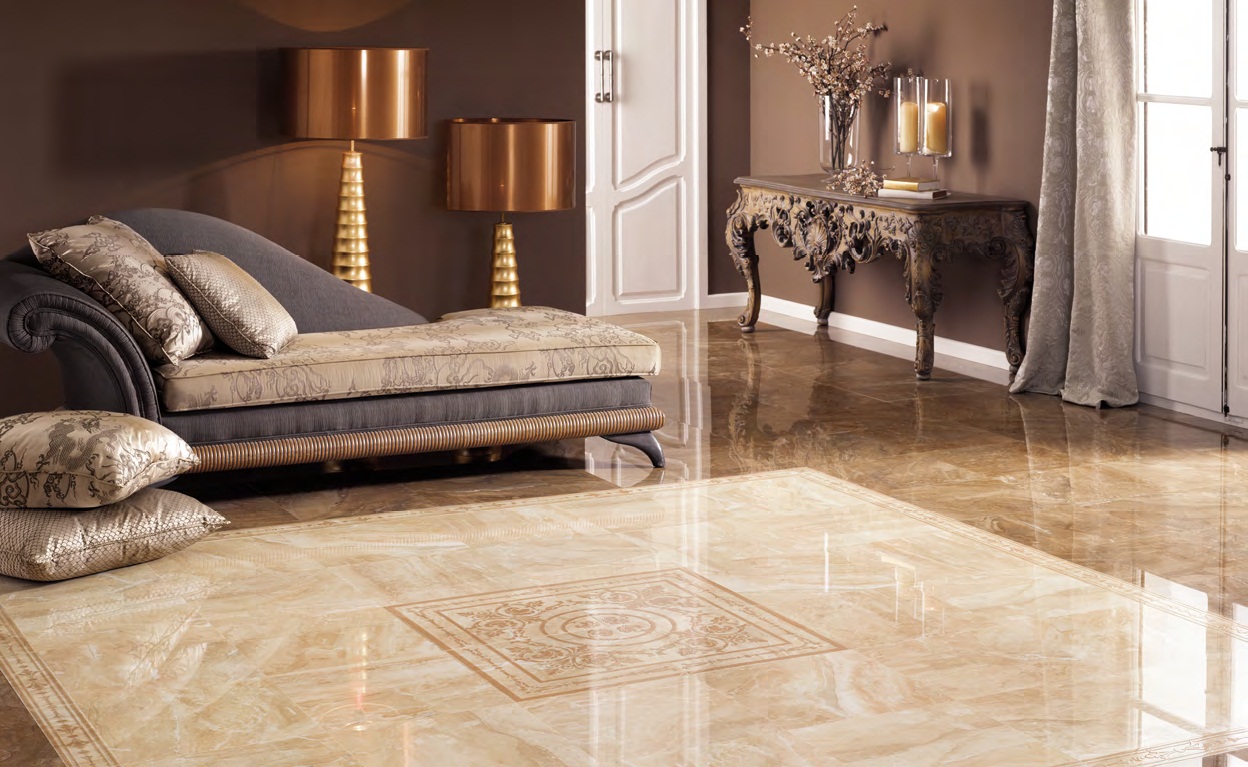
Homogeneous porcelain tiles
Often used in the decoration of modern apartments and private houses. It has a rich color, natural natural pattern. Such tile will decorate any interior. The tile is produced by cutting from natural stone and its further polishing, therefore this building material has a high price category.
Rectified tile
It is edged, it is seamless - a modern material, featuring a considerable price. The main and very important feature of such a tile is a smooth cut edge.Plain tiles have rounding edges that imply gaps between each tile, i.e. tile seam.
Rectified tile can be laid by joining one to another. This pottery, laid out on any desired surface, will look like one beautiful smooth canvas. Also, the laying of such material will take less time, and the coating will have a very small, almost invisible gap, which will create a hygienically stable surface.
The rectificate is produced in the same way as porcelain stoneware - clay, granite chips and mineral additives are based on, only at the stage of grinding the edges are very carefully cut and adjusted in size to each subsequent tile. Moisture resistance of this material is very high.
This tile has a diverse design - from simple plain tiles to relief design and large plates that can be used to make a solid worktop in the kitchen, finish tracks on the street and the walls of houses.
When choosing porcelain stoneware rectified tiles, please note that:
- the surface of the coating should be perfectly flat,otherwise, as humidity increases, it may deform and the tile will simply fall off, since there are no gaps between the squares that prevent shrinkage;
- for a perfect result, you need to carefully select and adjust the tile one under the other;
- on the horizontal plane, the flaws of the material will be particularly visible;
- work needs to be done as quickly as possible;
- the complexity of the lining is increased due to the maximum care when fitting the tile.
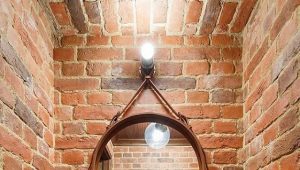
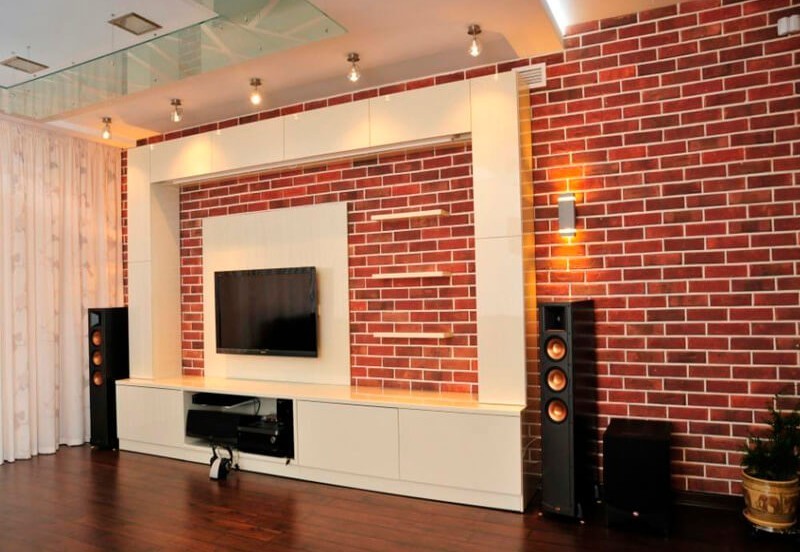
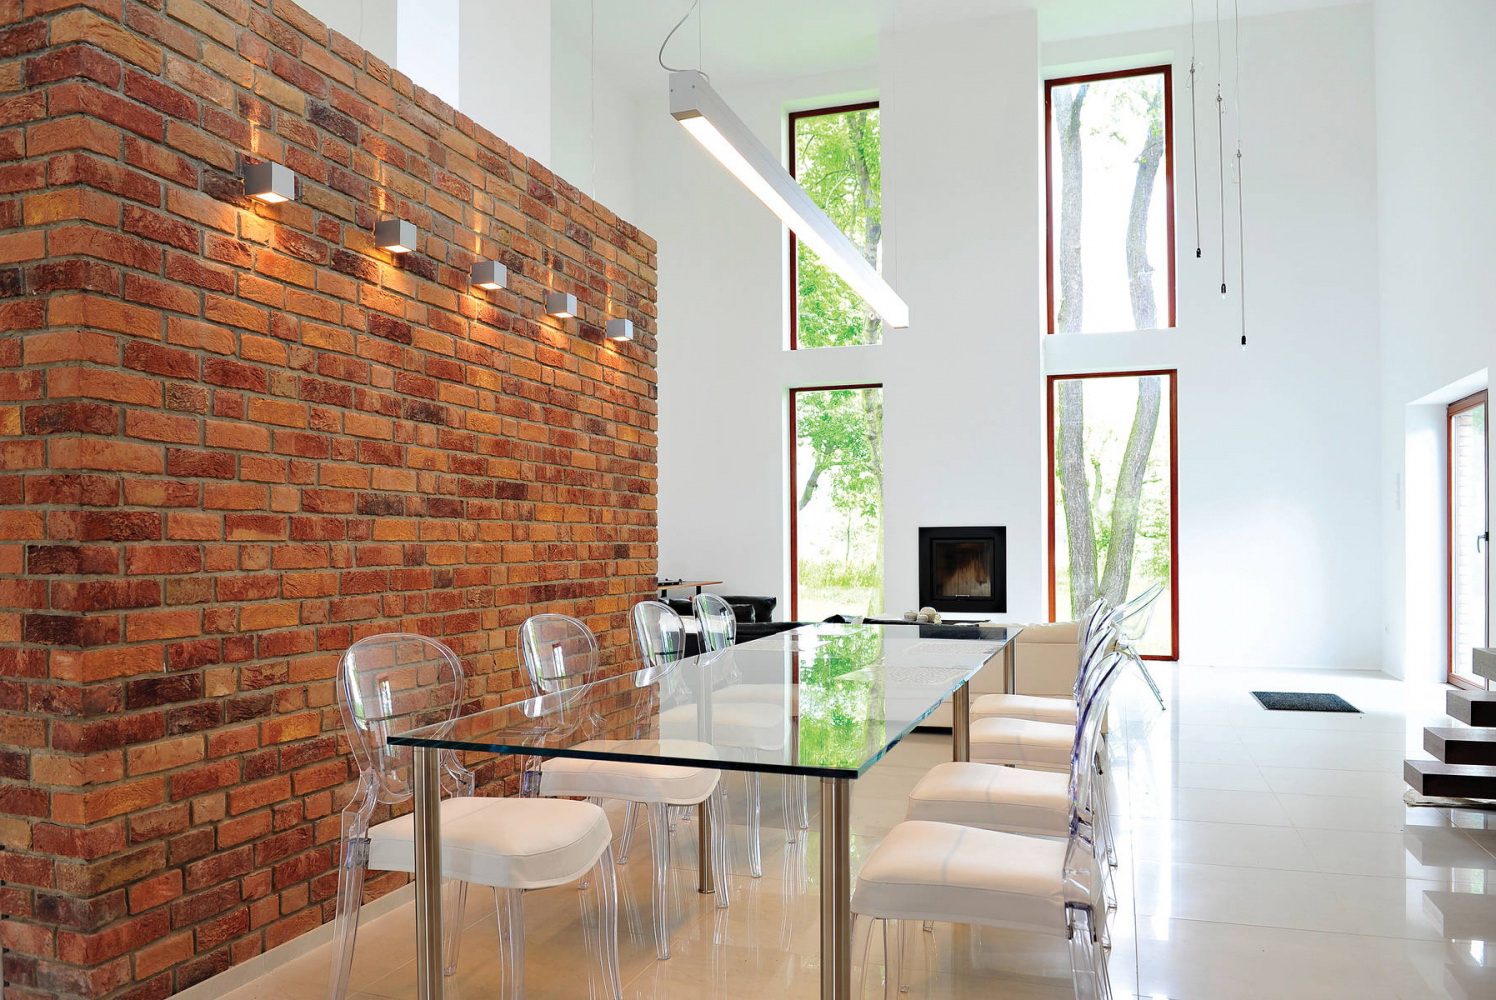
Clinker tiles
A special type of lining, which is made of clay by pressing. This tile makes out interiors in premises, most often imitating a stone laying. Also, clinker tiles revet the walls of houses.
This type of tile is resistant to low temperatures, moisture and bacteria. The tile can be both opaque, and with glaze drawing, color of a tile can be picked up for every taste. Another advantage of this tile is that chips are not so visible on it.
You can also consider facing tiles based on its purpose:
- for outdoor coverage;
- for interior cladding - wall and floor;
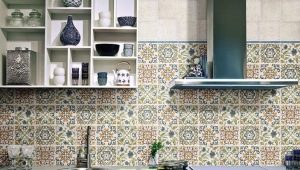
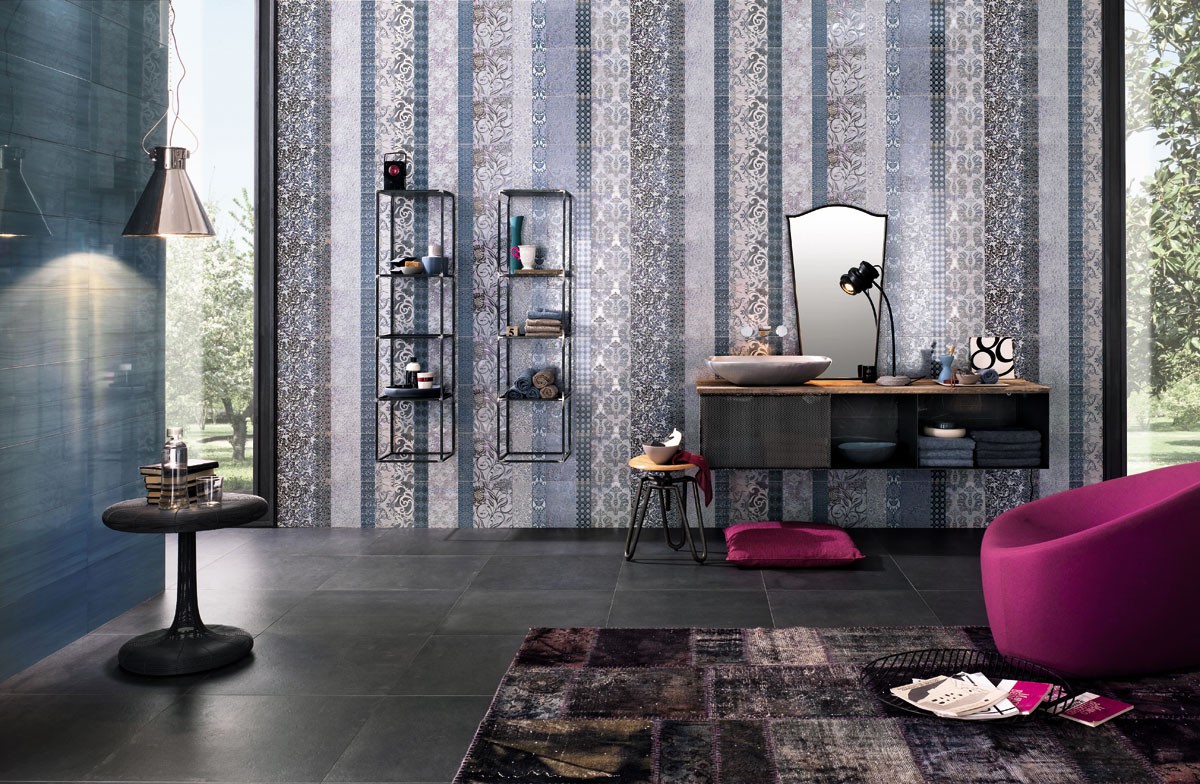
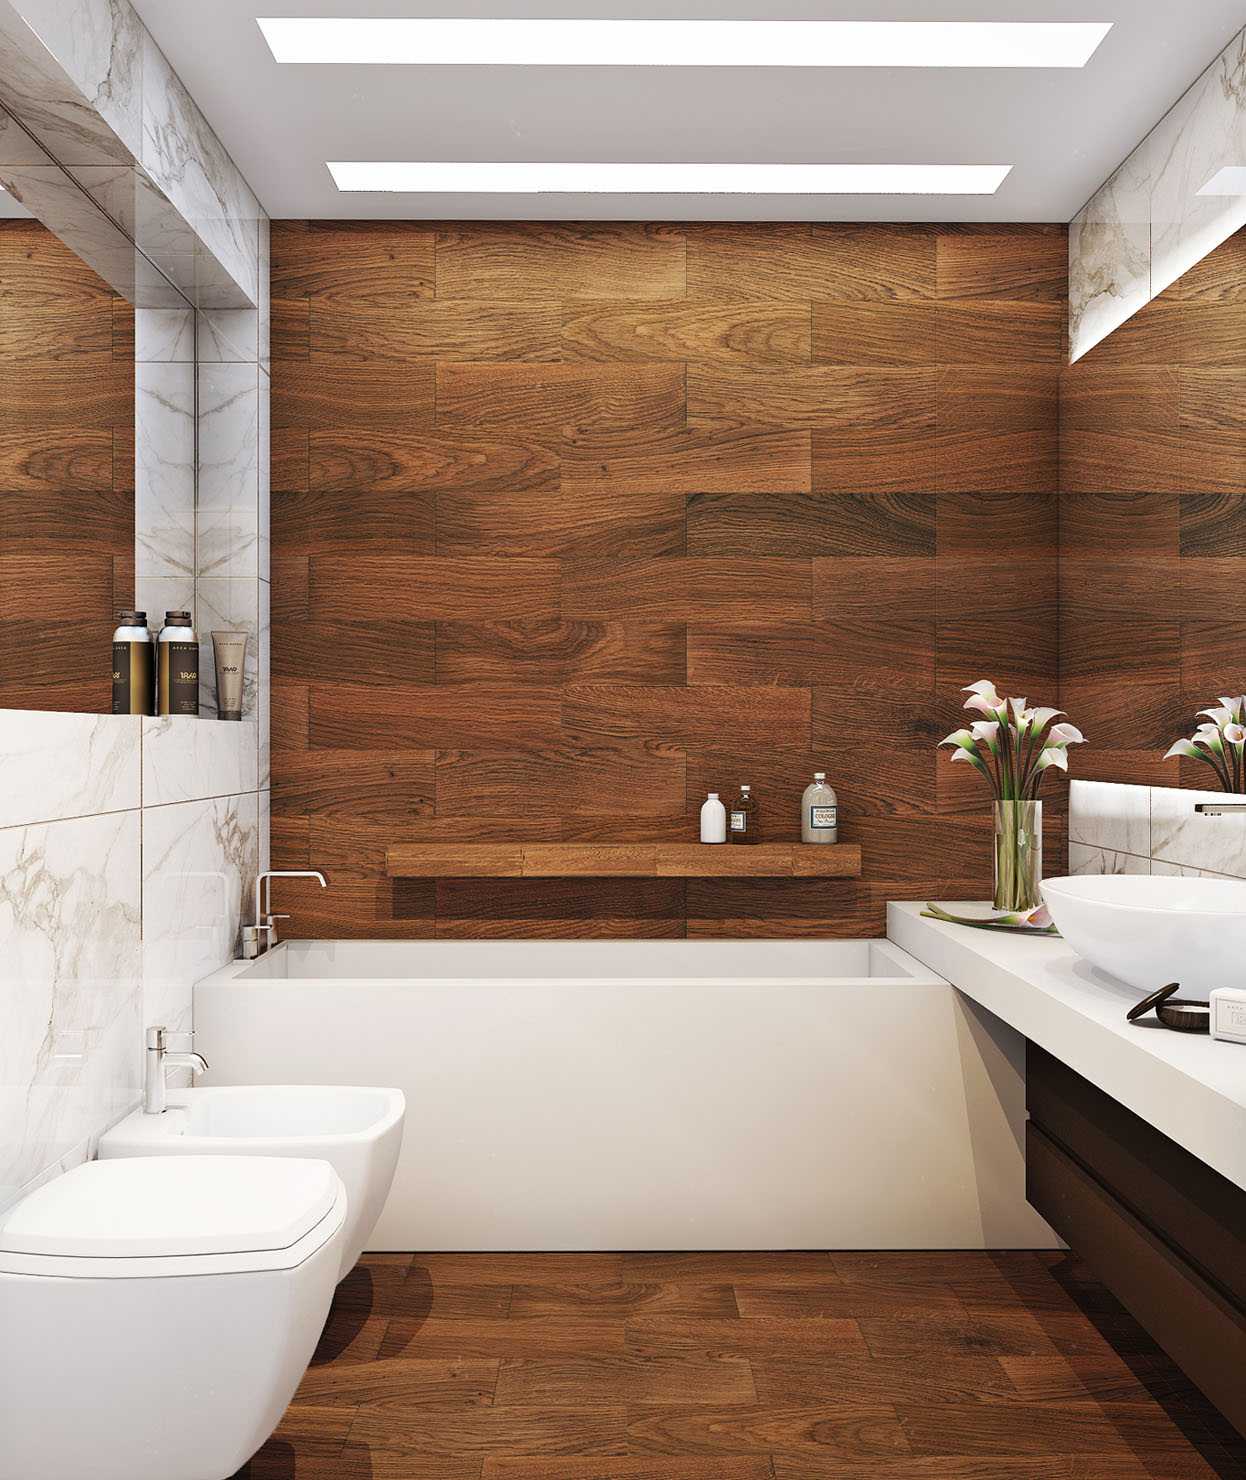
- decorative tiles (clinker, woodgrain, plywood, metal, mosaic, glass, smalt, cut into patterns, and so on).
Depending on the task of a particular type of lining, a specific type is selected.
Among the modern methods of tiling various surfaces there are three main types of installation:
- staggered (chess-diagonal method);
- diagonally;
- the classic way;
- seam in the seam;
- using curbs;
- with offset.
Before choosing an affordable and pleasant way, you need to consider the main aspects that should be taken into account:
- room dimensions - laying tiles in a certain way can narrow or expand the available space;
- how the furniture will be arranged in the room where the veneer will be made;
- the level of illumination of the area so that there are no areas that will gleam and glare, as well as places where the tile will be particularly darkened;
- quality of the prepared surface. If improperly prepared, mistakes can lead to a decrease in the height (width) of adjacent surfaces, laying tiles in a certain way can visually increase the space, for example, the height of the ceiling.
Before facing, it is necessary to completely update the future surface for tile laying - if necessary, make a new tie, which should smooth out all roughness and unevenness.
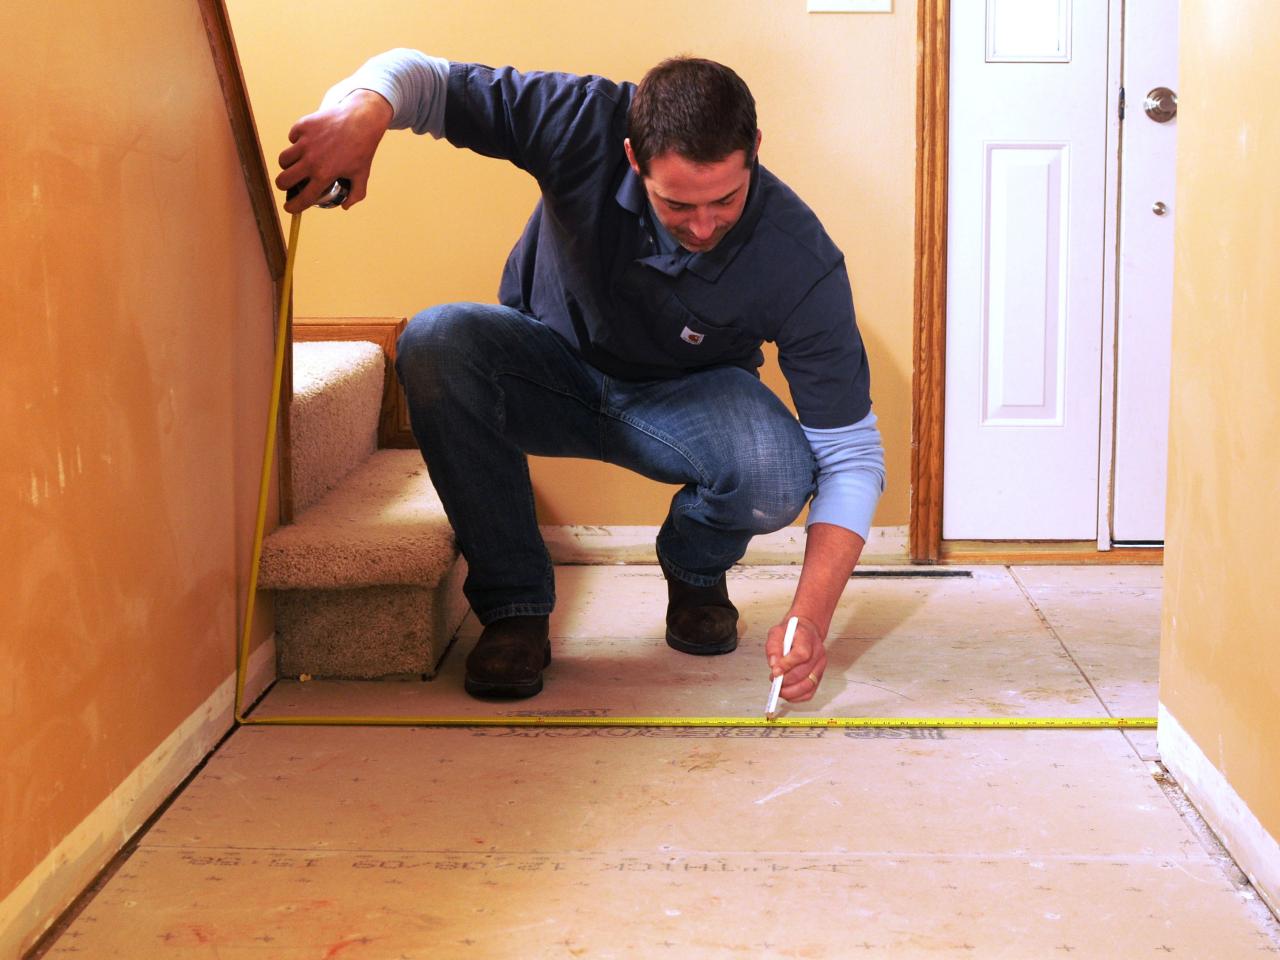
When the lining method is chosen, it is necessary to calculate the surface to be coated.
Here the main unit of measurement is the dimensions of the tile being laid. It should be noted that the wall tile is significantly smaller than the floor tile in size. Tiles on the wall can be square and rectangular, from 150x150 to 500x600 mm. Standard - 200X300 mm. Tiles on the floor can be of any size, up to 1000X1000 mm.
You also need to know that the thickness of the floor tile is somewhat larger than the wall. Standard is 7-9 mm for wall specimens and 8-14 mm for floor specimens.. Thicker tiles can also be used for walls, but its use for floors is not allowed - it is quite fragile.
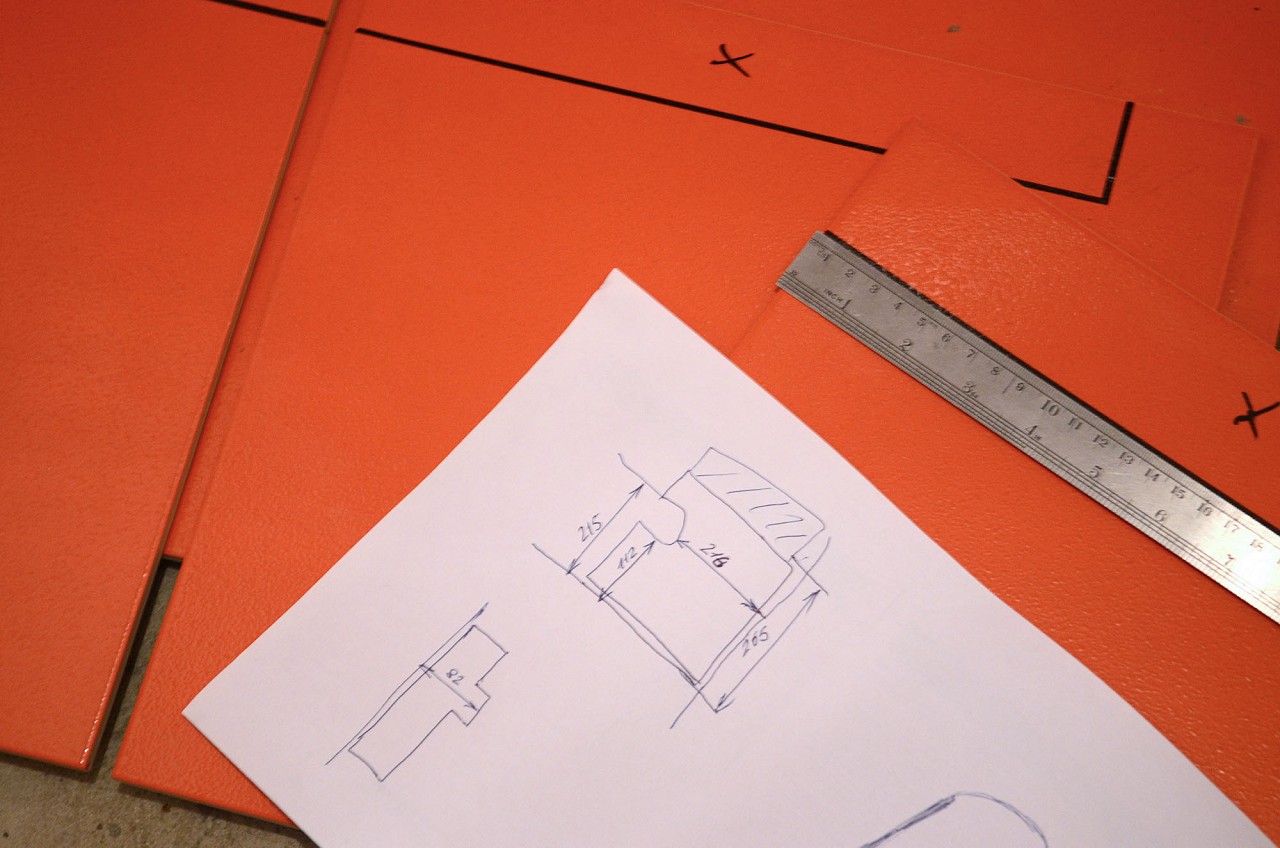
For the calculation, it is necessary to measure the parameters of the surface as accurately as possible - the length and width (height). If this is a wall, then the length should be divided by the size of the tile - this will be the number of tile elements in the row, and then the height divided by the size of the tile - this will be the number of rows. Next you need to multiply the indicators. The final result - this is the right amount of ceramic tiles.
In any calculation of the material, it is necessary to add another 10% to the final result for errors and defects, as well as for trimming tiles. If the surface is non-uniform (doors, pipes, additional pieces of furniture), it is better to make a sketch on graph paper taking into account the size of the tile or to make 3D modeling in a computer program.
It is better to do the wall laying from the bottom up, but in order to make the cut surfaces look beautiful, you can use the tips of the masters:
- measure the initial tiled row on the wall;
- measure the small length of the edging tile that remains at the end of the row;
- add this small length to the length of the whole tile and divide the resulting figure by two;
- The final result is the optimal equal length of the cut tile, which will need to be measured at the beginning of the row and at its end. In the middle there will be even beautiful whole tiles.
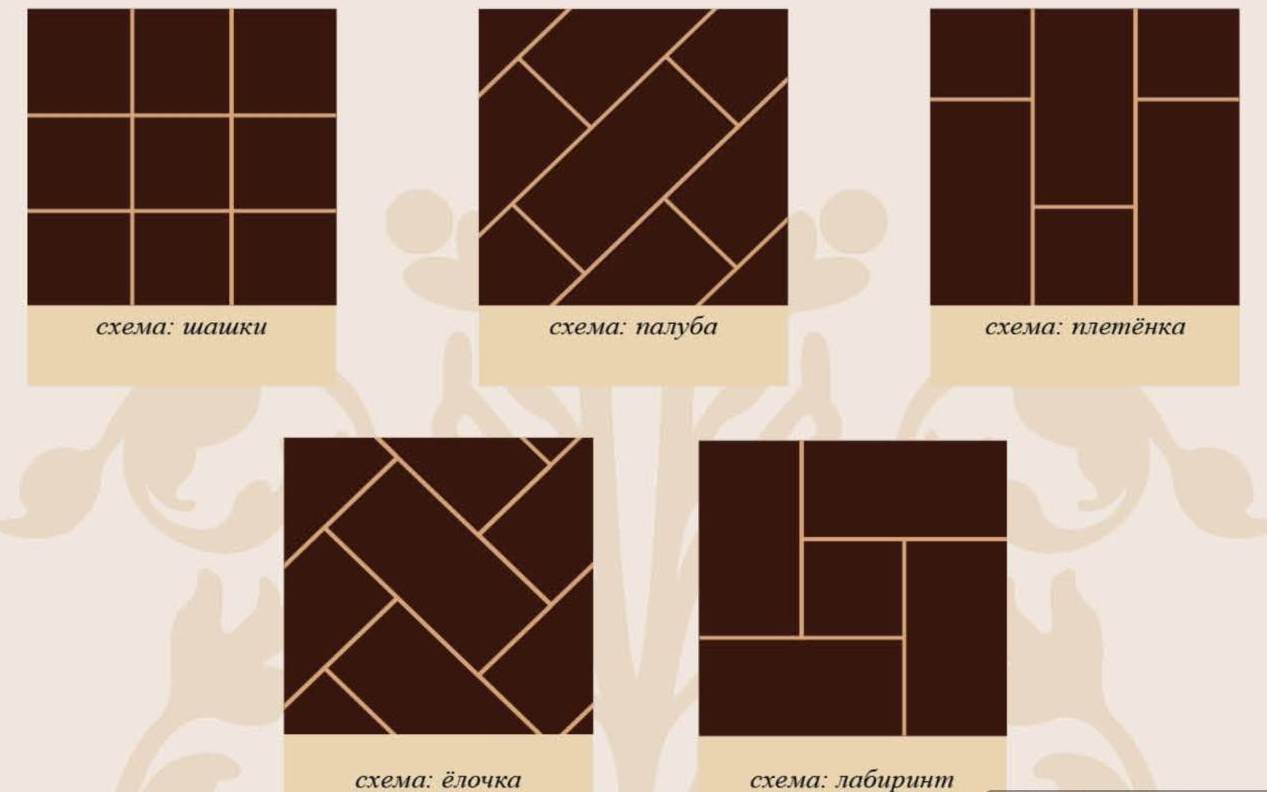
Next, we will consider the main methods of laying tiles:
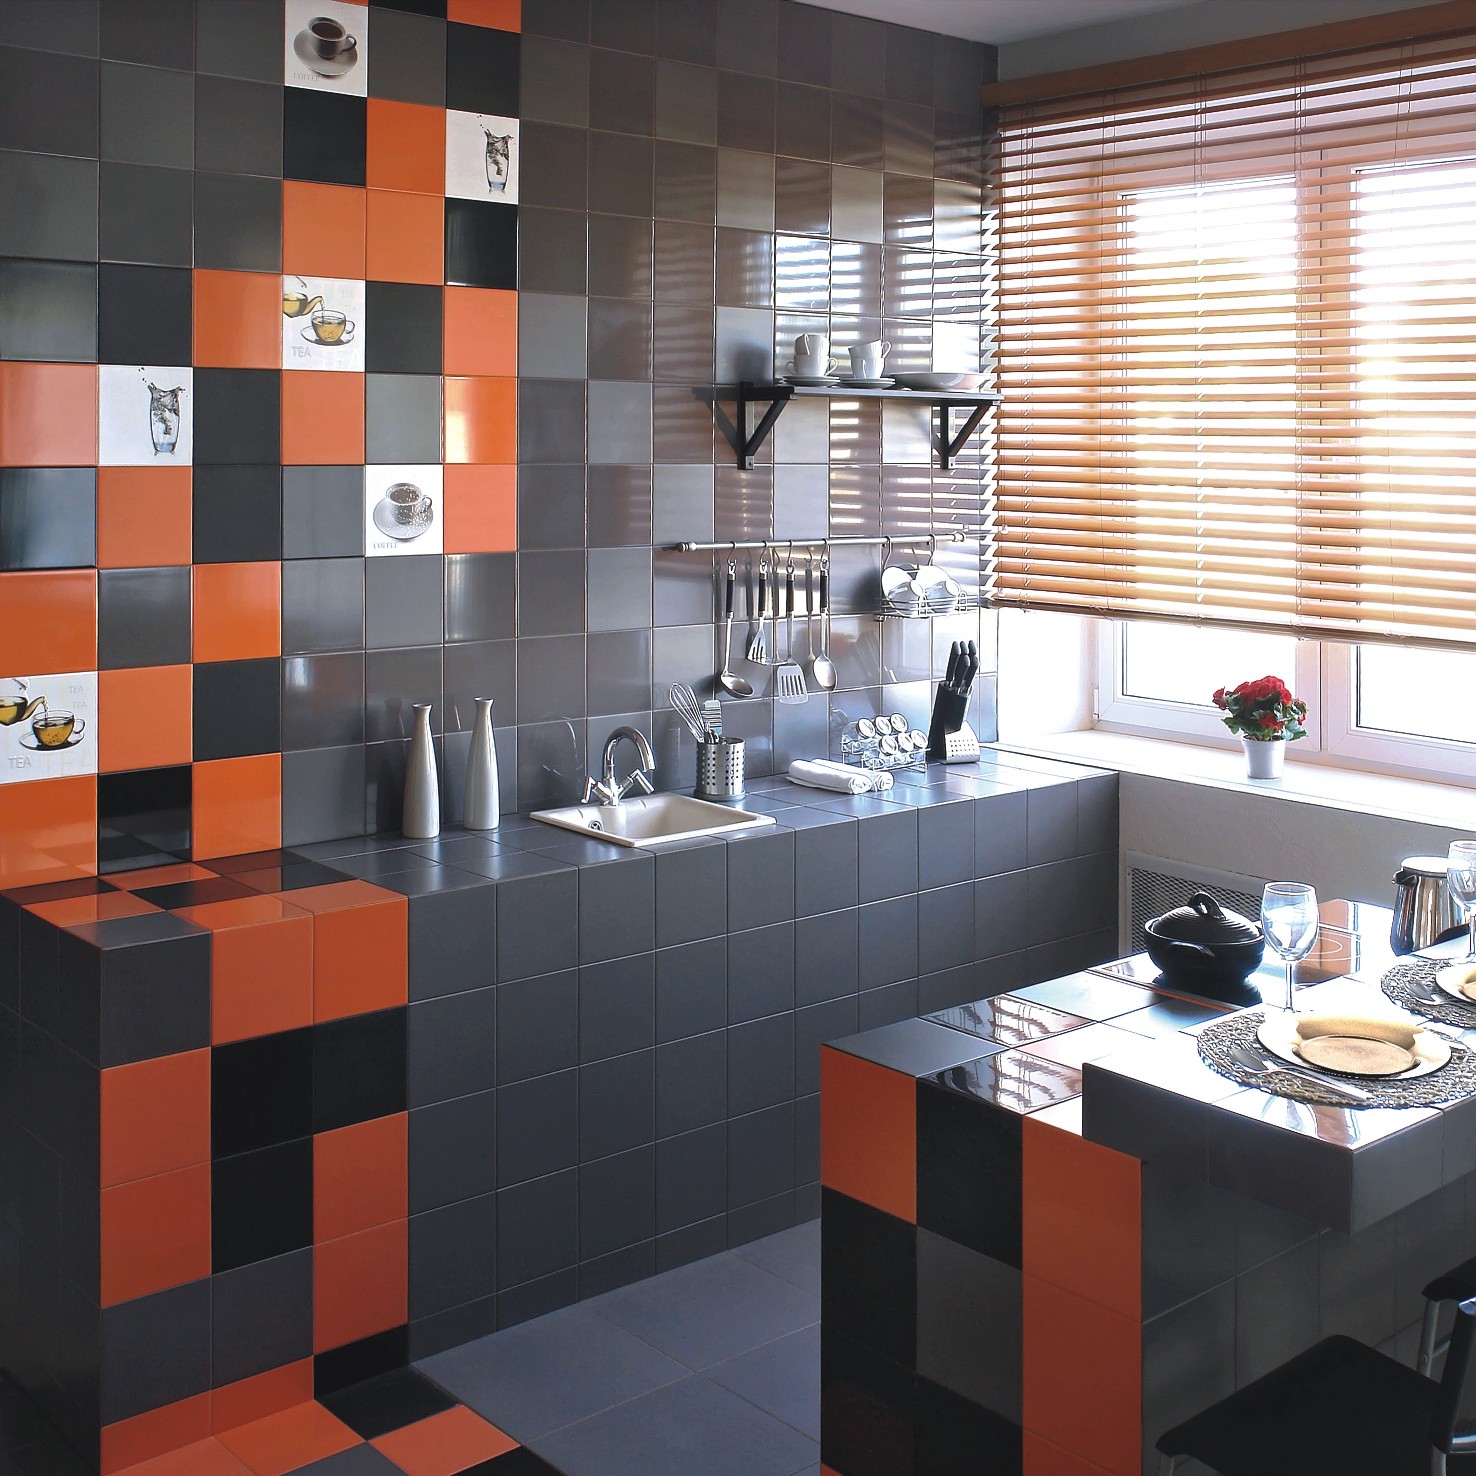
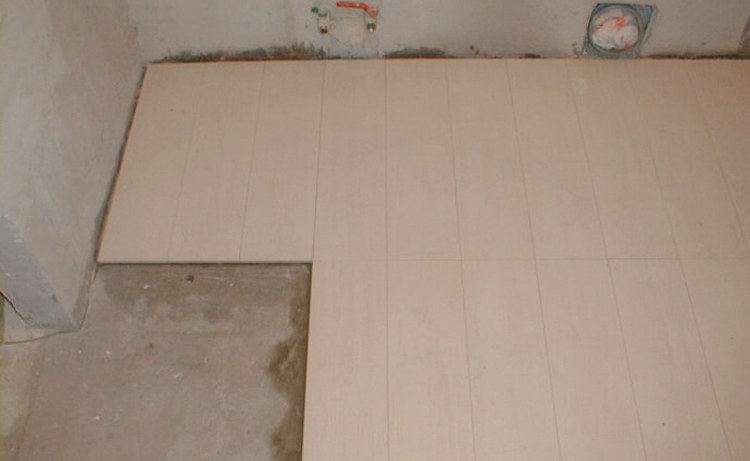
- Standard tile laying method. This species is the easiest and most common. It consists in parallel placement of a square or rectangular material seam in the seam.Even with this method of layout, you can improve the aesthetic end result by making the ornament of a tile of a different color. It should be noted that such a layout is better to do from the bottom row.
- Diagonally. The main nuance of this type of installation is that each element is laid at an angle of 45 degrees. In this case, it is better to use monochromatic and square tiles to achieve the best result.
- Layout with offset. For laying in this way, you can use tiles of square and rectangular size. The tile in the next row should be aligned in its middle with the junction of two tiles in the top row. This type of masonry makes it possible to create a beautiful floor design in the bathroom, hallway or on the kitchen wall. The same method can also be used diagonally, but in this case, the percentage of cut tile will increase significantly, and in this case it will be necessary to closely monitor the thickness of the seam during installation.
- Modular placement. This type of installation depends on the selected module, tiled in different sizes or in a specific order. Laying consists in consecutive repetition of the selected pattern - module.You can also purchase ready-made tiles with a pattern and lay it out on a modular basis.
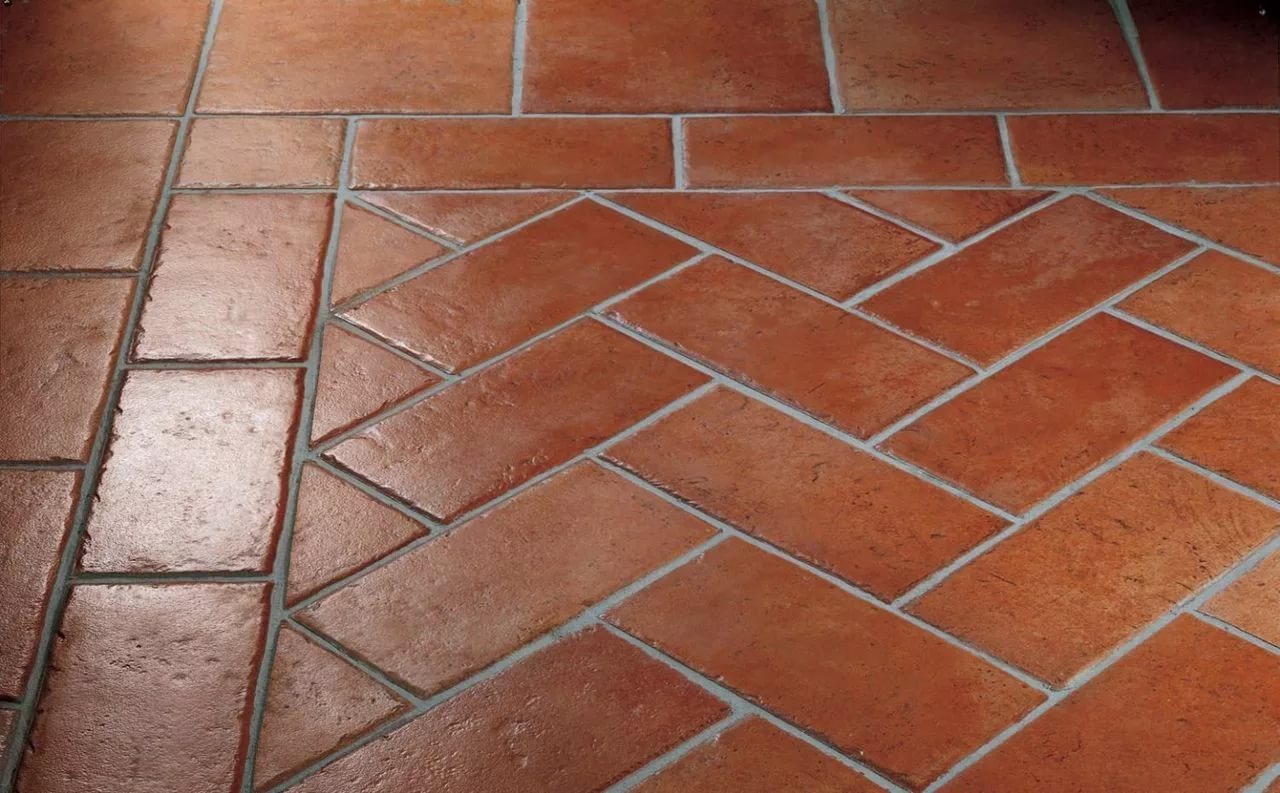
- Facing imitating parquet flooring. This method is also called herringbone. It can also be alternated with additional ceramic mosaic inserts. Most often, this type of layout is used for floor tiling. The tile should be of rectangular size for optimal results, most often such a tile is chosen “under the tree”. The principle of laying is to place each tile at an angle to each other in the form of a standard parquet pattern. This option assumes a minimum amount of waste.
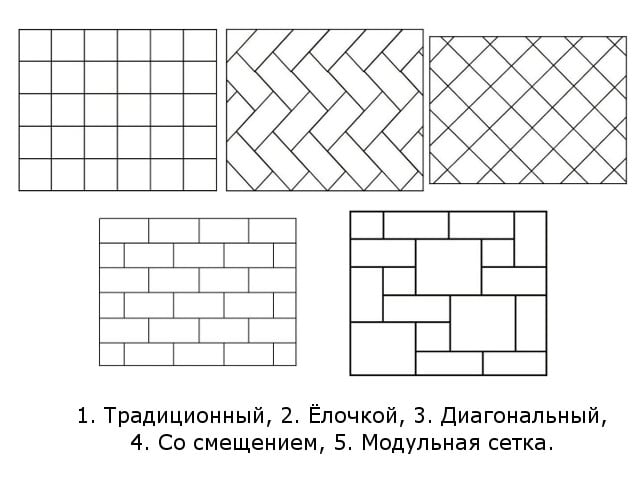
- Seamless lining. This tiled wall may be available with ceramic tiles. This type of tile can be laid seamlessly, as the edges are already polished properly.
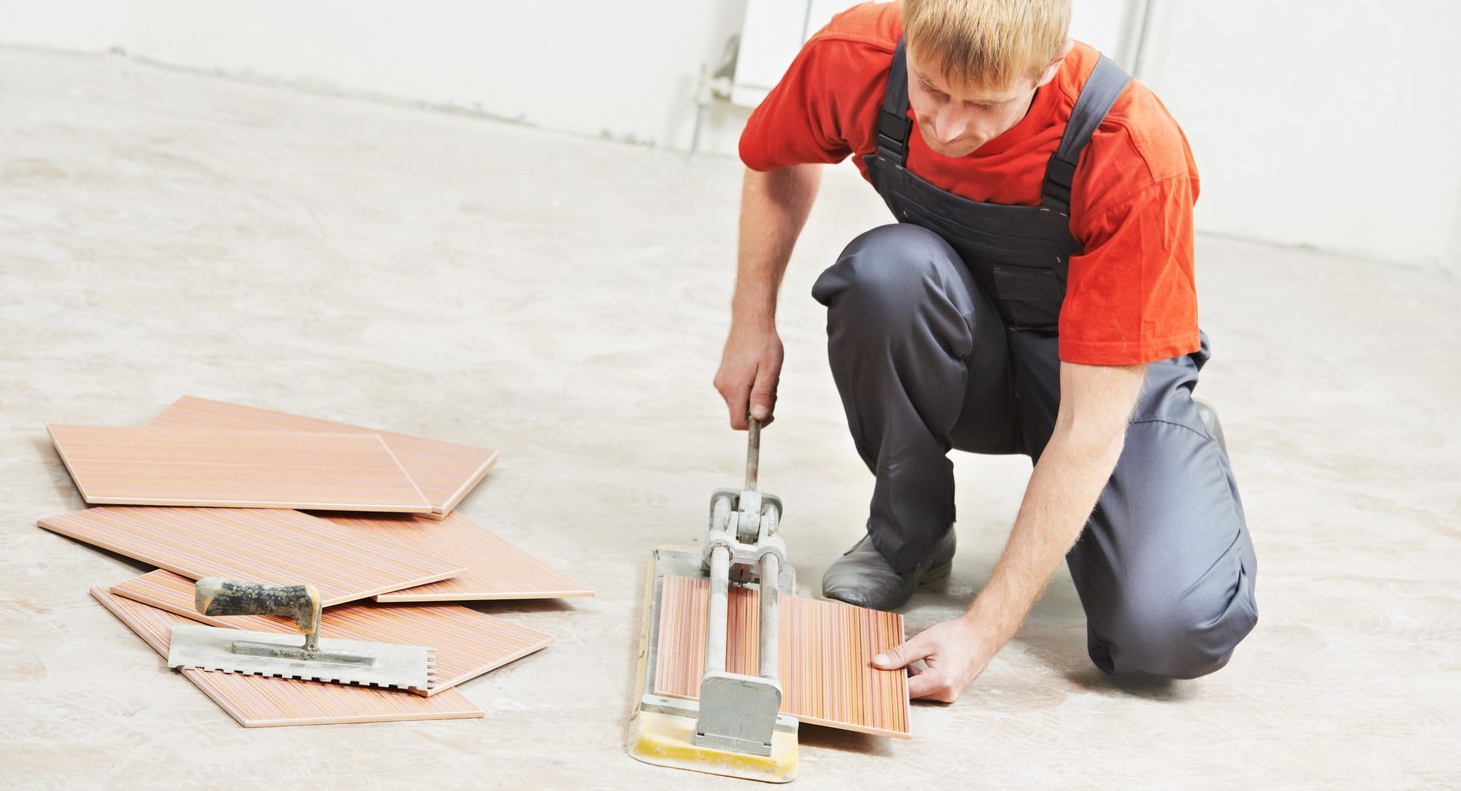
Required tools
When all the stages of repair and facing works have been thought out, the material has been selected, the design project has been compiled, it is time to prepare all the necessary tools for the surface renovation process. To have an idea what to use when preparing the surface, as well as directly facing it, you need to familiarize yourself with the detailed description of the necessary devices.
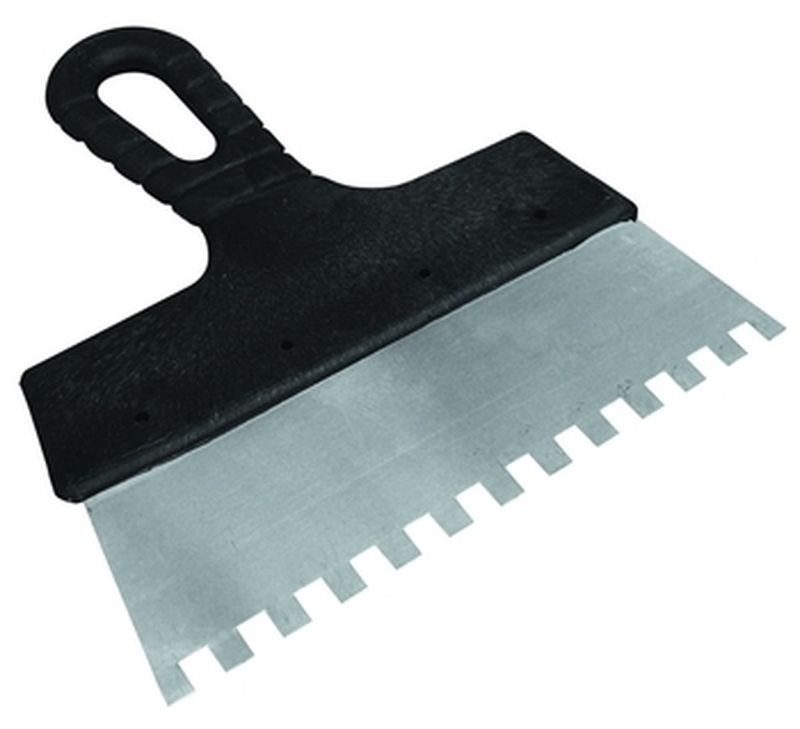
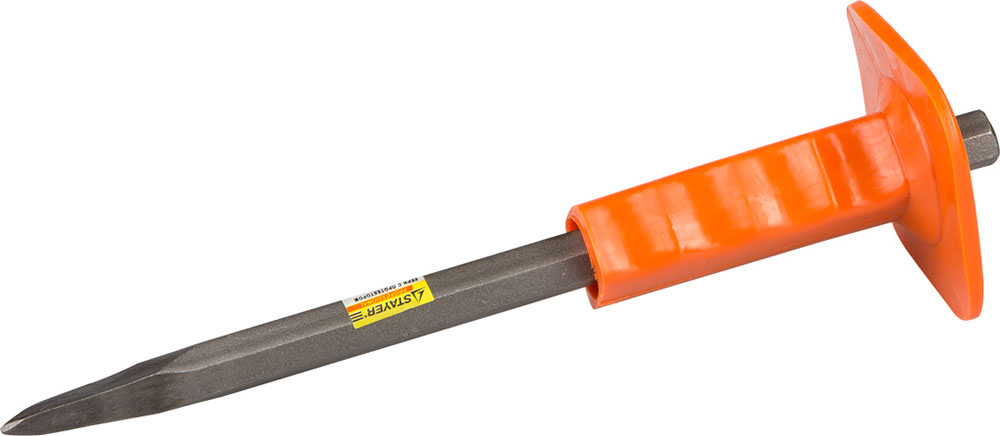
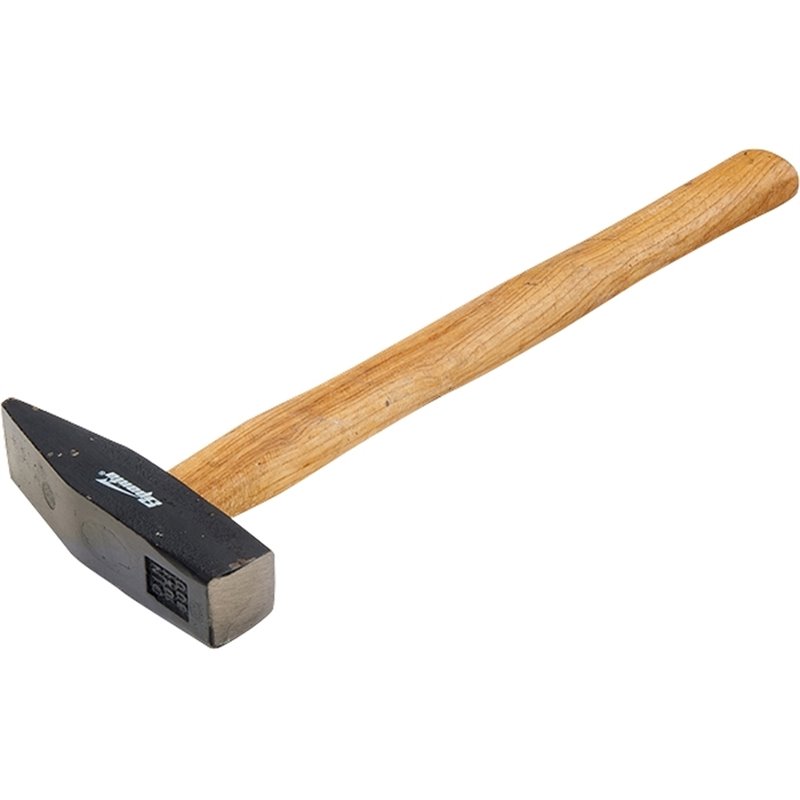
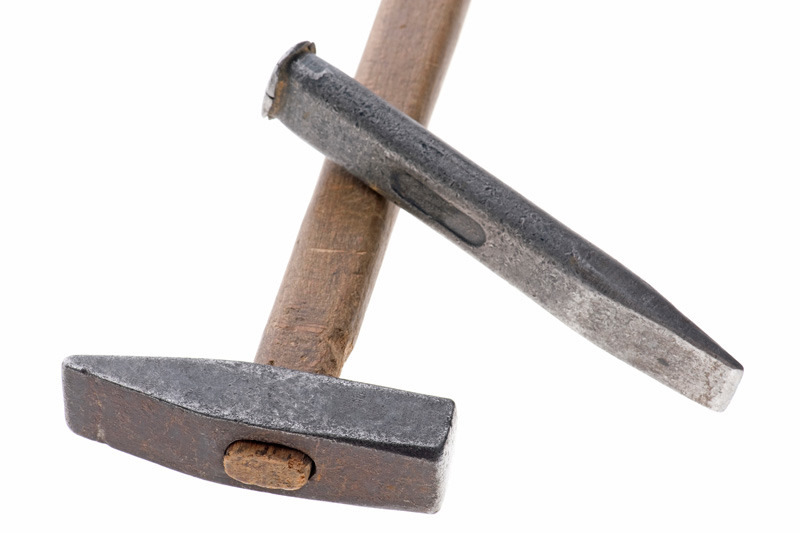
You can completely do without expensive modern tools, if available will be the main set of consumables: a large notched trowel, chisel and hammer.
Surface preparation
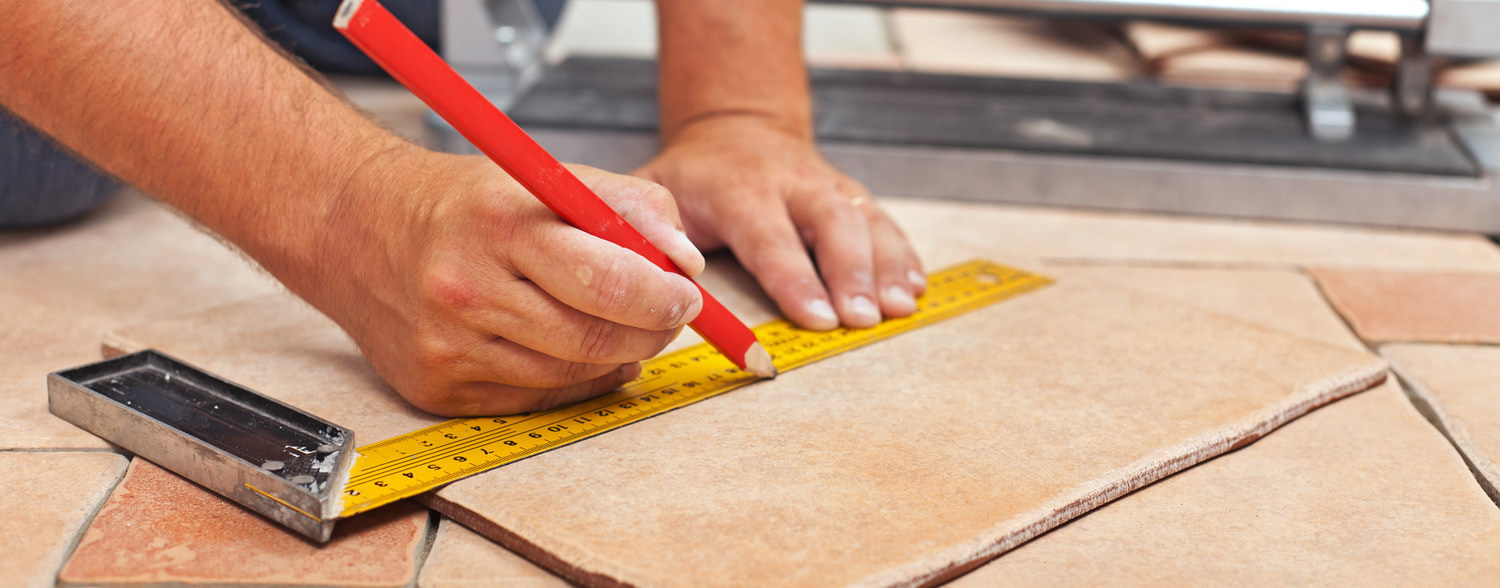
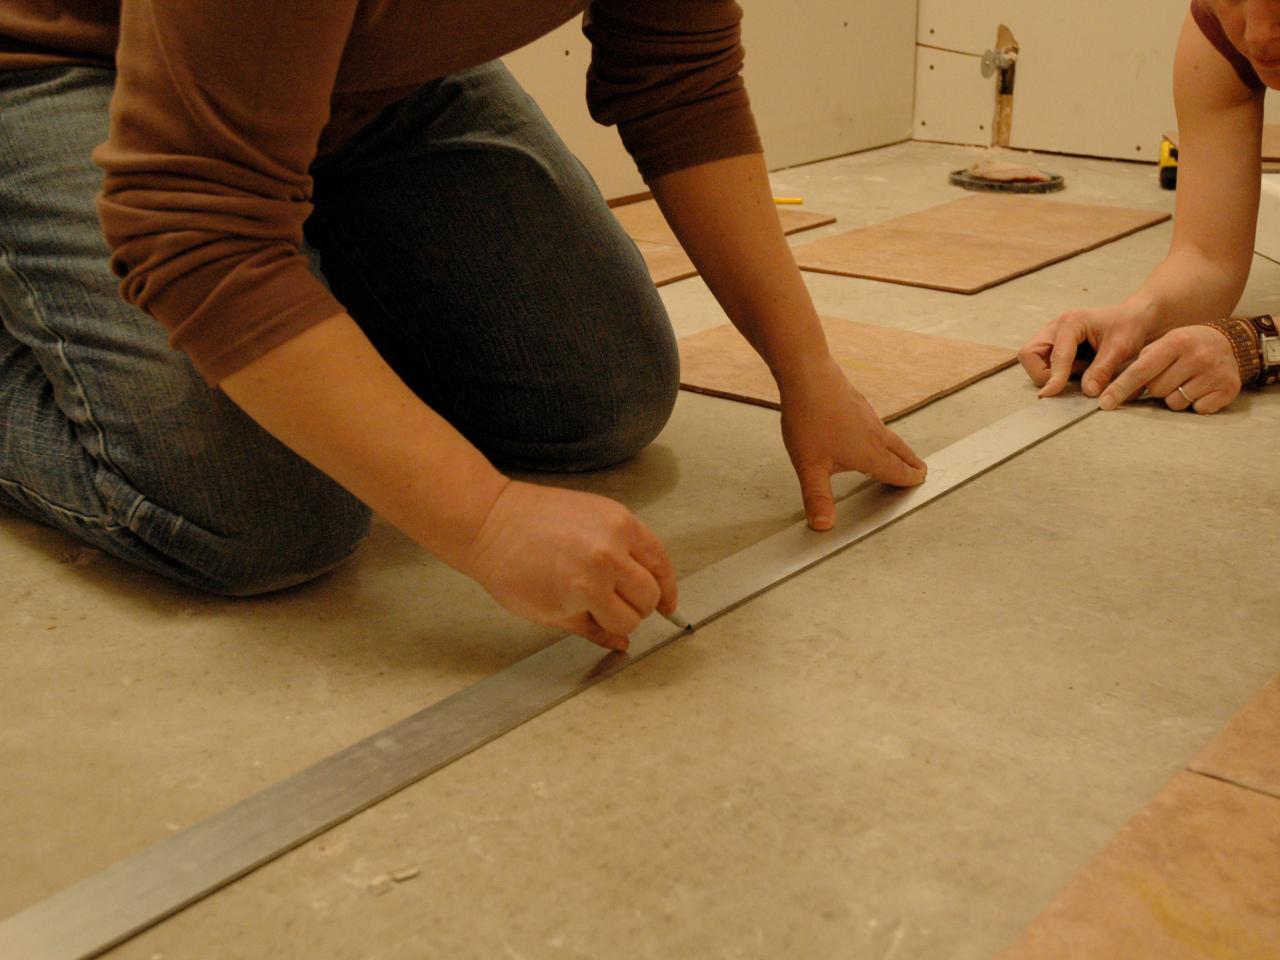
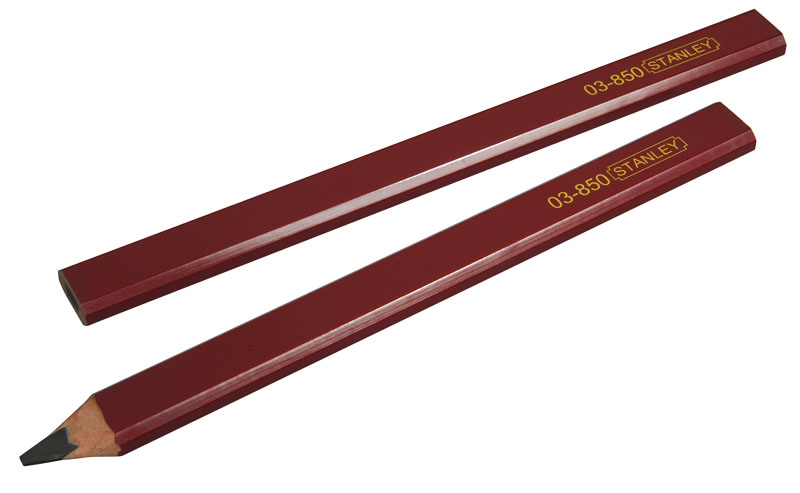
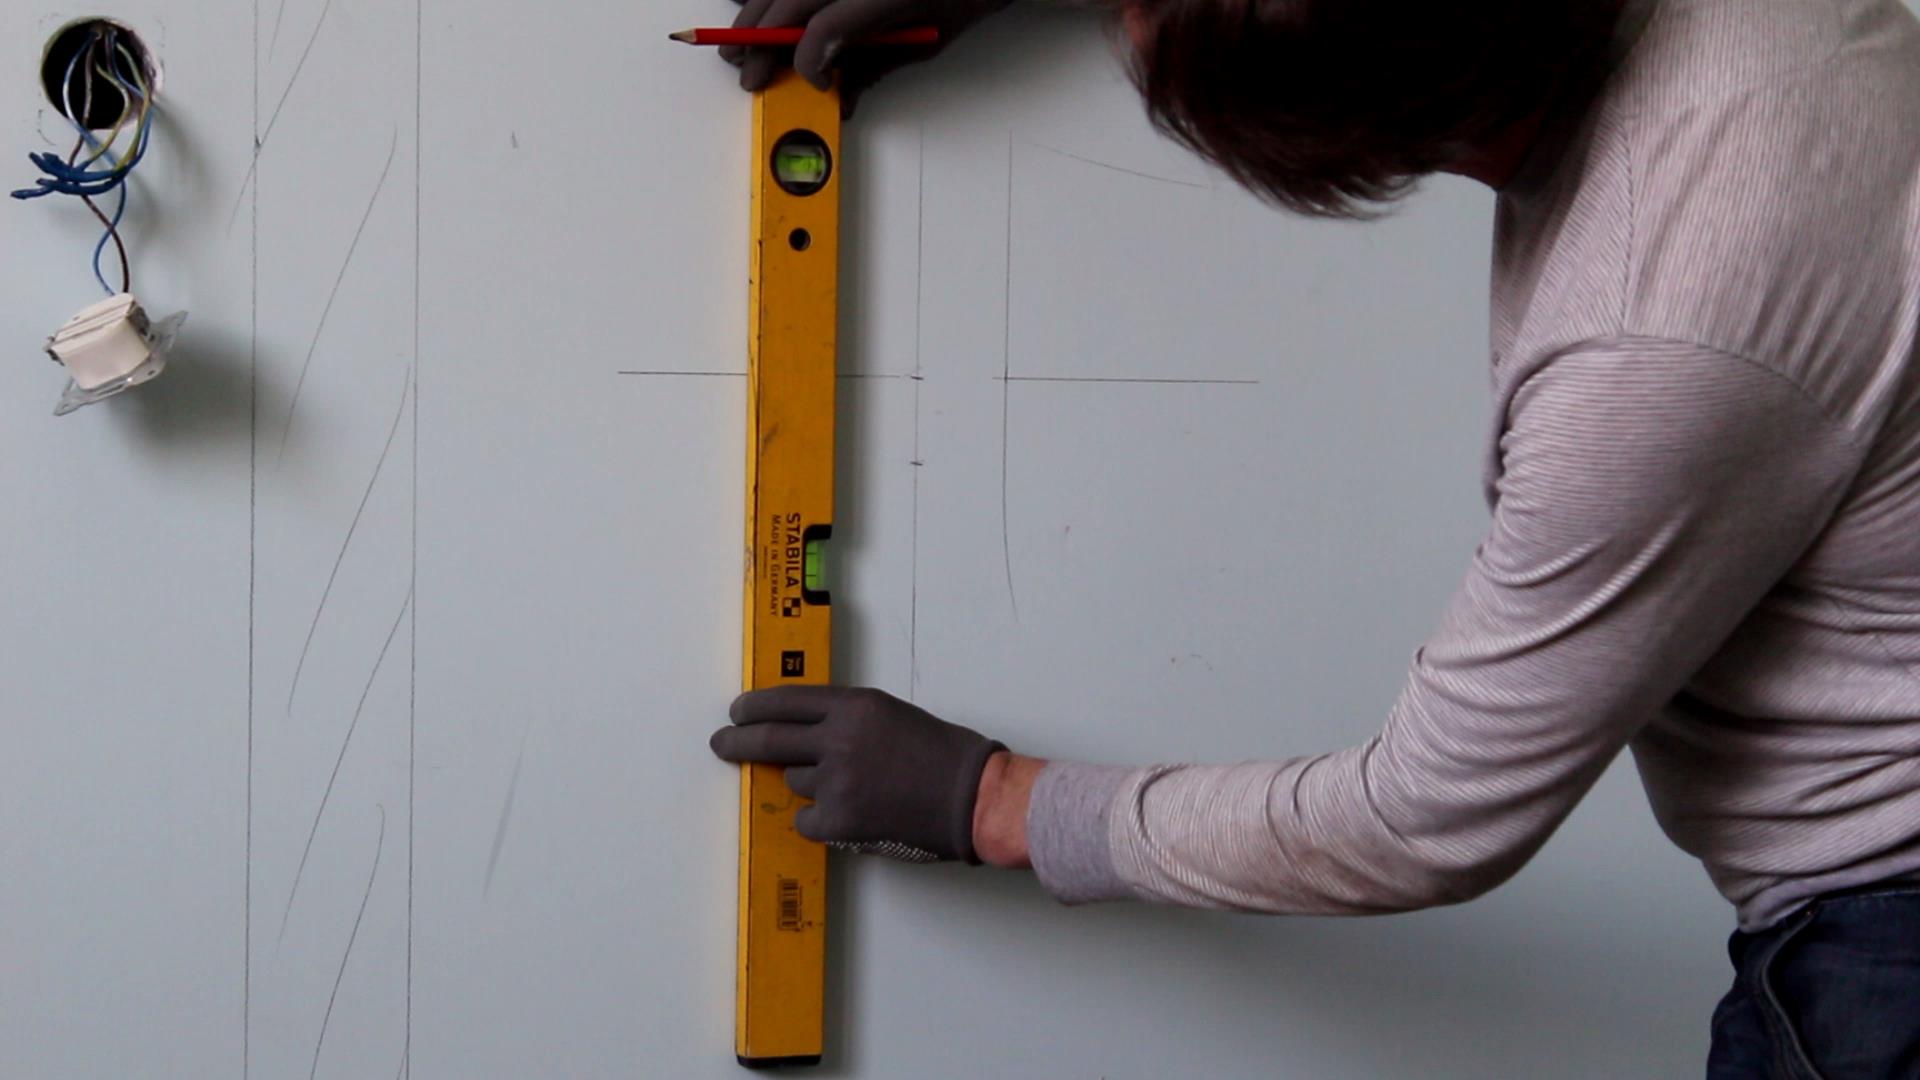
At the stage of measuring the surfaces, you will need a plumb and level. Plumb can be done manually by tying a round sinker to a small rope. The level can be purchased laser, - so use professional builders, or use the usual. Also, to measure the rows of tiles on the surface, you will need a strong large construction pencil with a soft large stylus, a metal curved ruler, and certainly a tape measure.


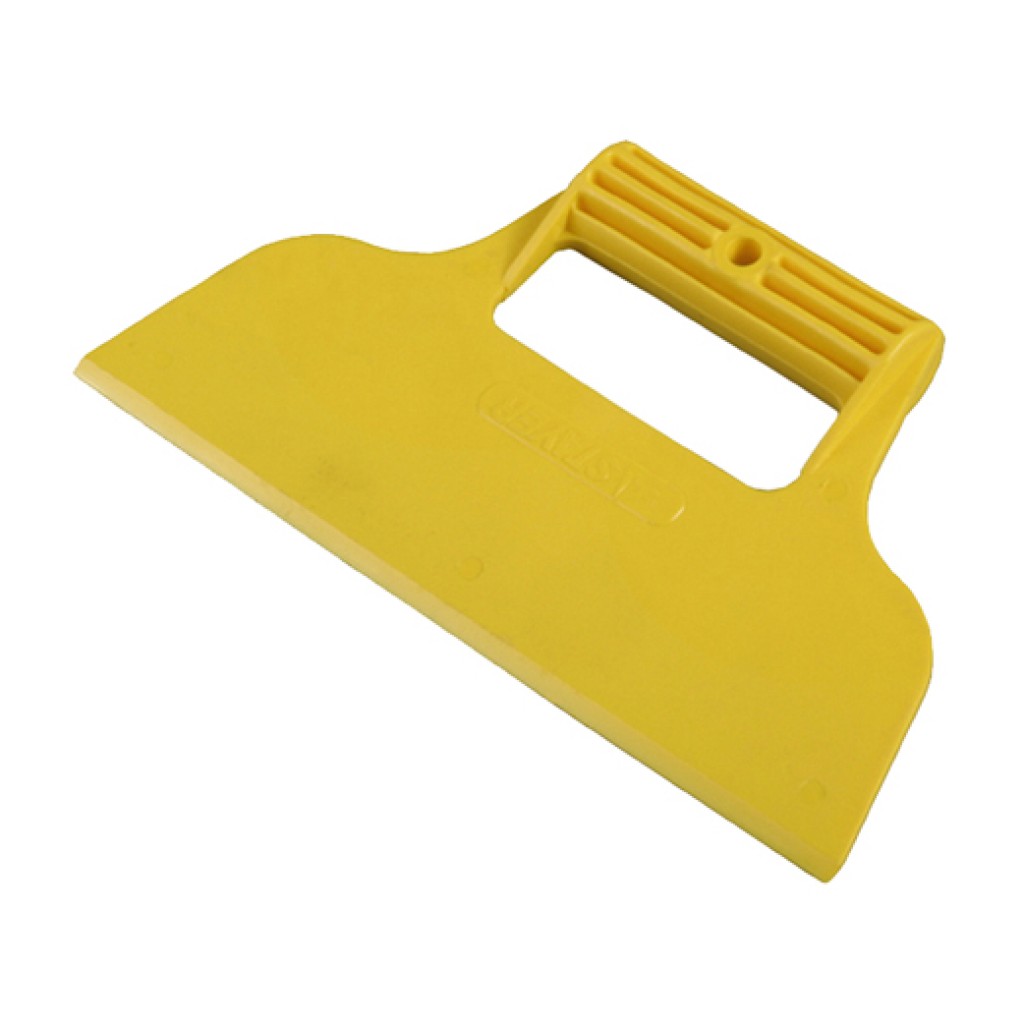
At the stage of removal of old building materials from the surface, you will need either a hammer with a chisel or chisel, or a hammer drill with a special nozzle. Old primer and glue scrape grinder. A new soil is placed on a flat concrete surface with wide spatulas or a self-leveling mixture is poured, here you will also need a level to fill accuracy.
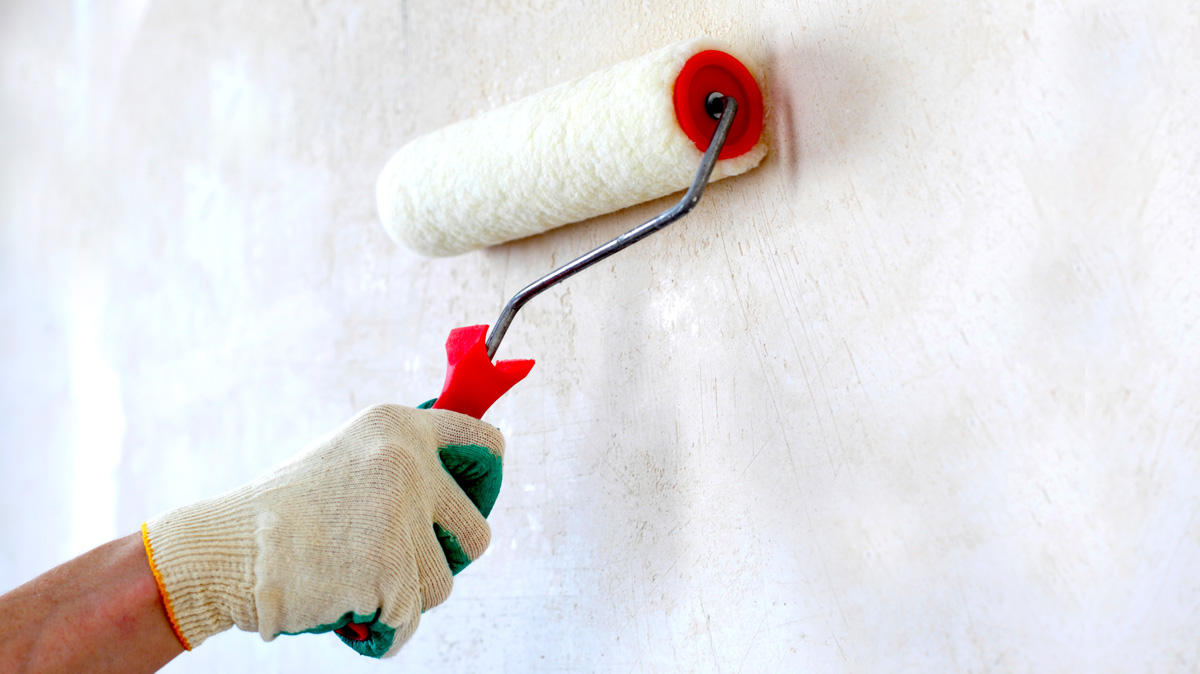
Next, a solution of the primer is applied to the completely dry surface, which is leveled with a special roller with a needle-like surface. The length of the needles should be greater than the height of the primer layer.
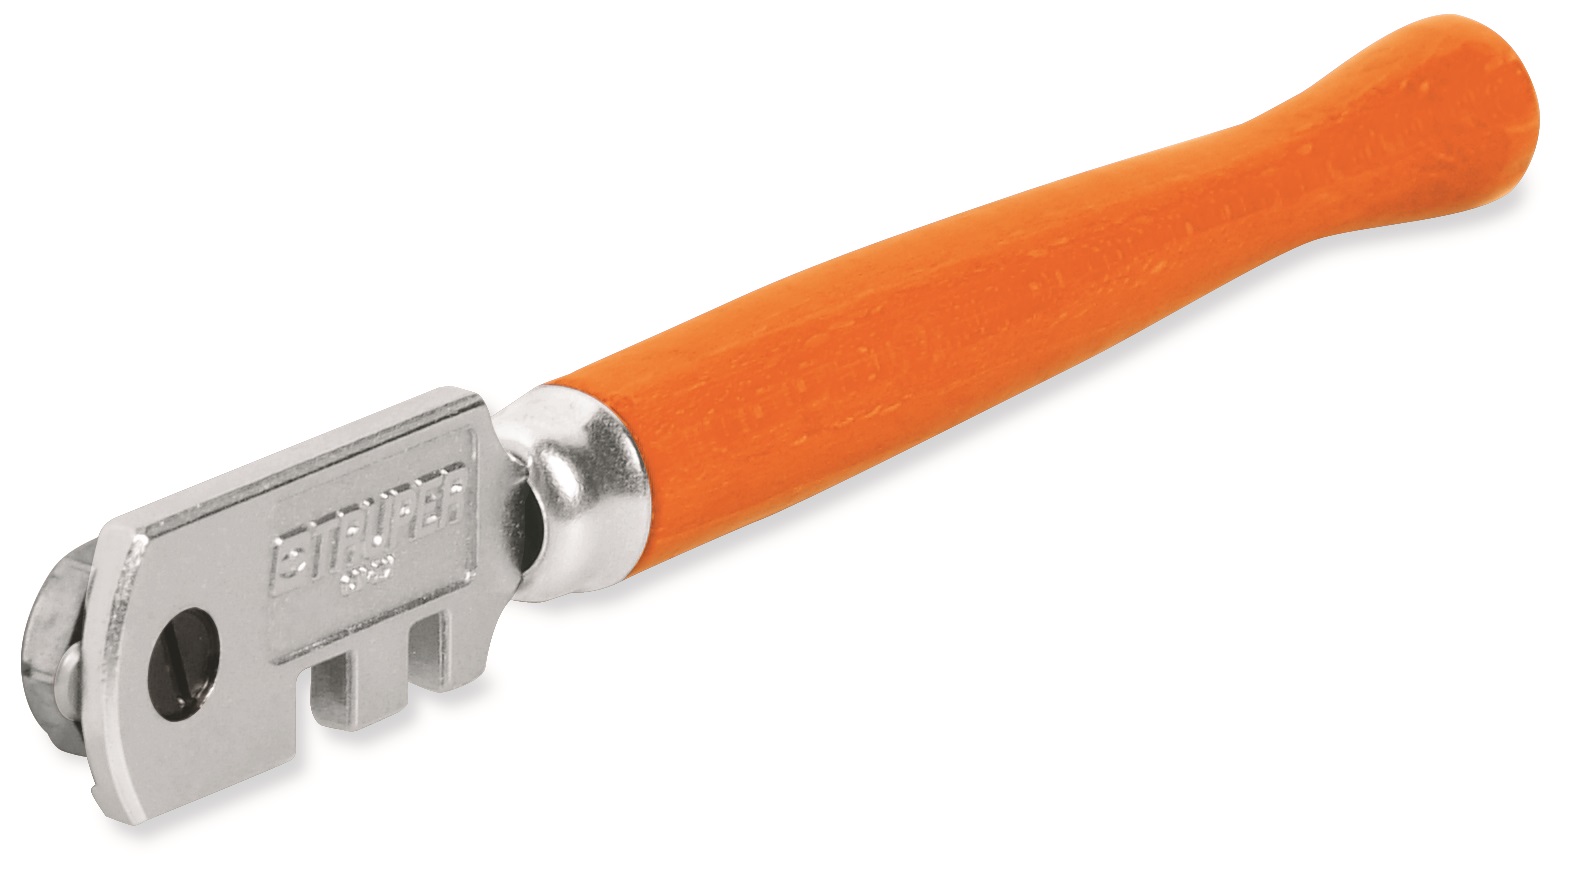
Marking tiled material
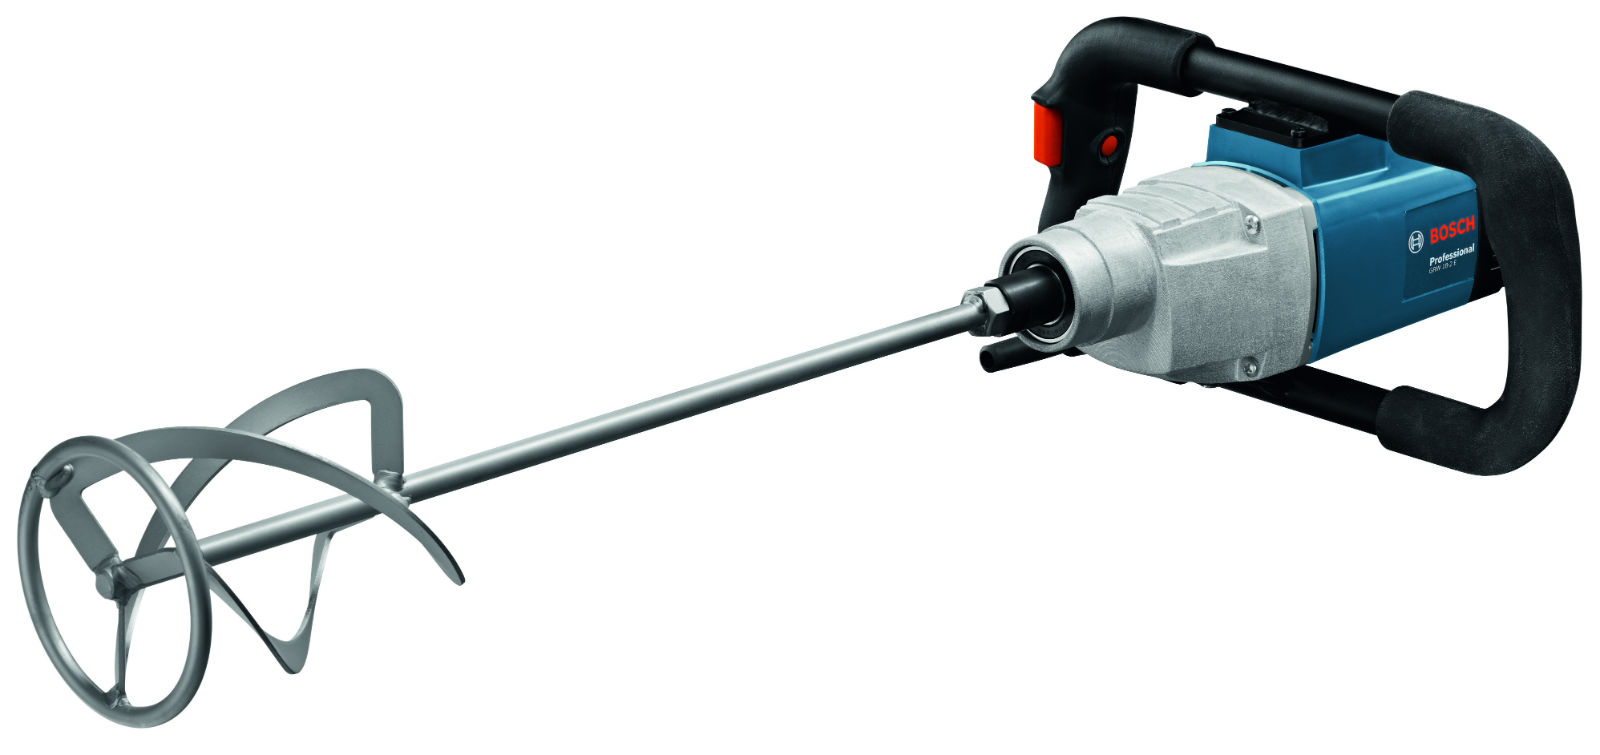
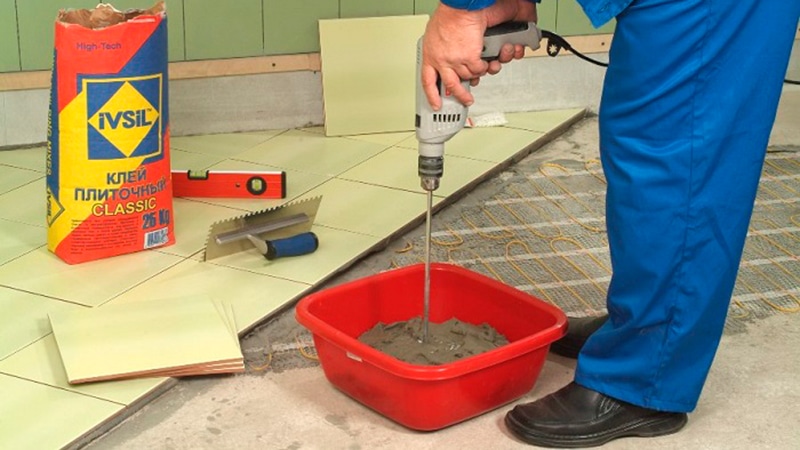
At this stage, pliers will be needed to remove unnecessary trimmed parts of the tile, glass cutter, tile cutter or grinder for thick thick tile. You may also need a spatula to pick up the glue mass, a handheld construction mixer, if you need to mix the dry mixture, a bucket to dilute the mixture with water. At this stage, you need to learn more about adhesive solutions for tiling.
Types of tile glue:
- Based on a mixture of cement and sand. The most budget option glue. It is also possibly more environmentally friendly if the composition and properties of the original cement are known. Depending on the tile, the solution is made thinner or thicker, and PVA glue is added for better adhesion. The proportion of cement and sand is 1: 5 (if the cement is less durable) and 1: 6 if the cement is more durable. It is better to sift the sand before mixing, and when buying cement to pay attention to the date of manufacture, it is better to take a new one. If there is no date, you can check the quality of the cement by squeezing it in the palm of your hand - it should not be collected in a lump.
- Dry adhesive mixtures. An important advantage of such mixtures is that all the ingredients for the glue are already prepared in the right proportion, you just need to add water.All adhesive mixes for tiles on the construction market are distinguished by their properties, special additives and price. But not always the high price indicates high quality. The main thing here is to follow the instructions on the package in detail, and, of course, you need to buy a fresh mixture.
It should be noted that quick-drying adhesive mixtures for ordinary masonry are not recommended, as in this case there is a high probability that the tile will fall off in the future.
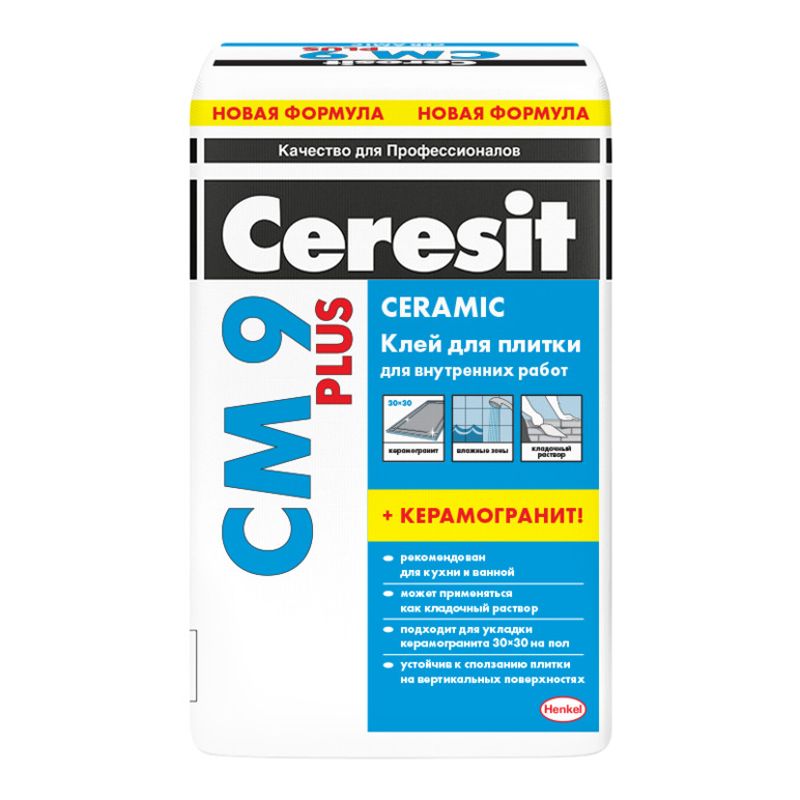
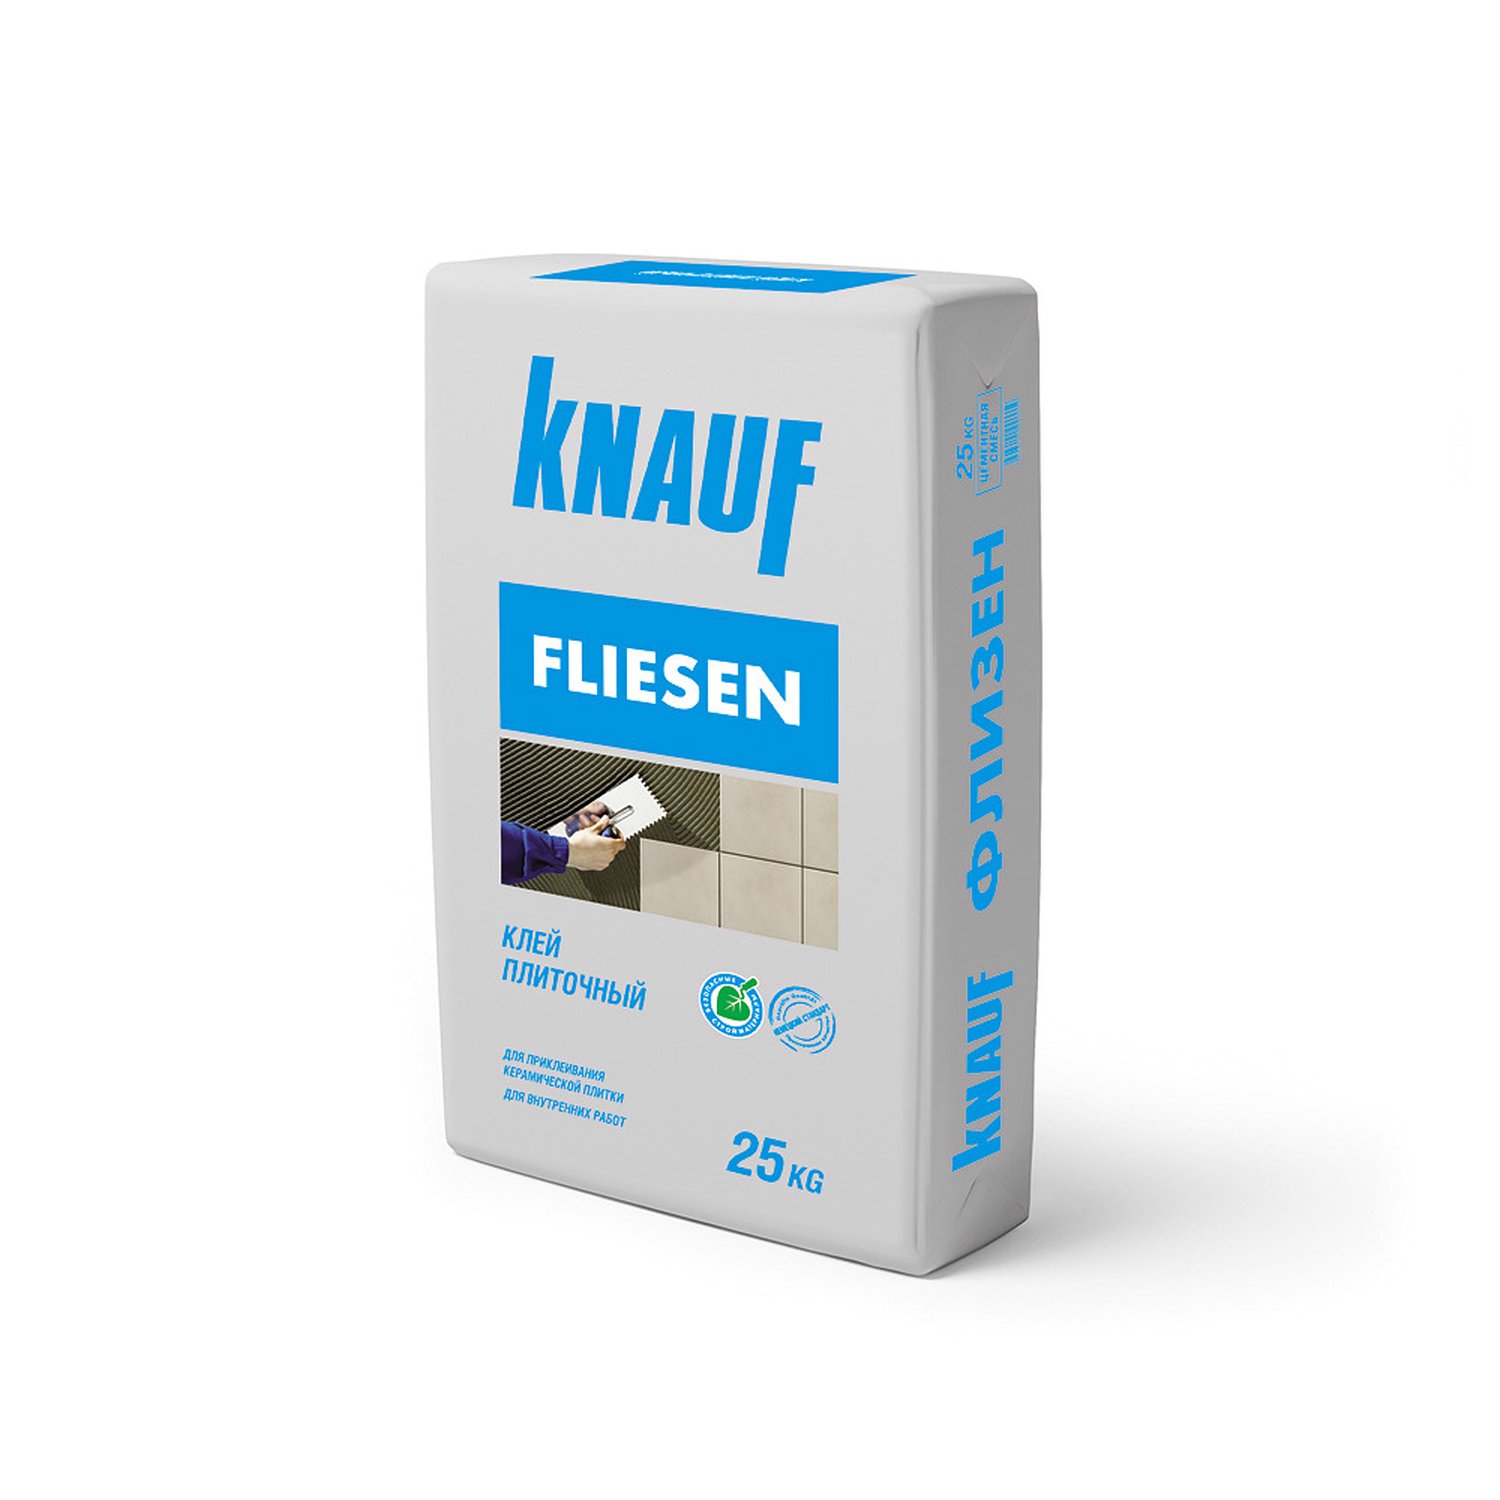
Among the universal adhesive mixtures can be noted ceresit formulationsIt is suitable for small tile sizes, up to 100x300. For tiles of larger sizes, it is better to take reinforced glue that will stand firmly with heavy loads of furniture weight and pressure. For example, Knauf brands.
- For rooms with high humidity produced a special moisture-resistant adhesive.
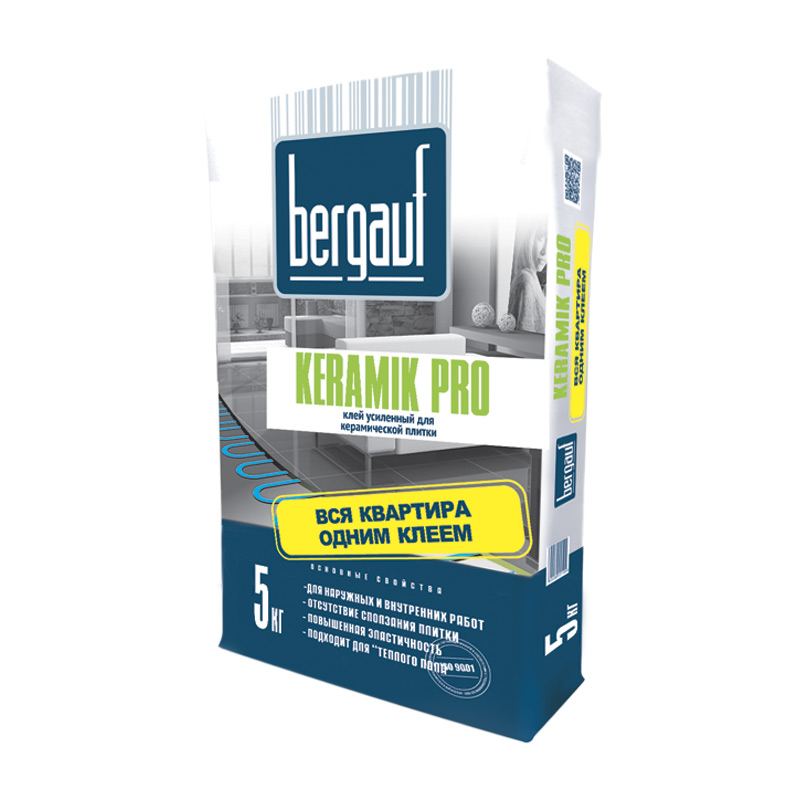
- Glue brands bergouf suitable for transparent and translucent tiles, as well as mosaics. It consists of a special white cement.
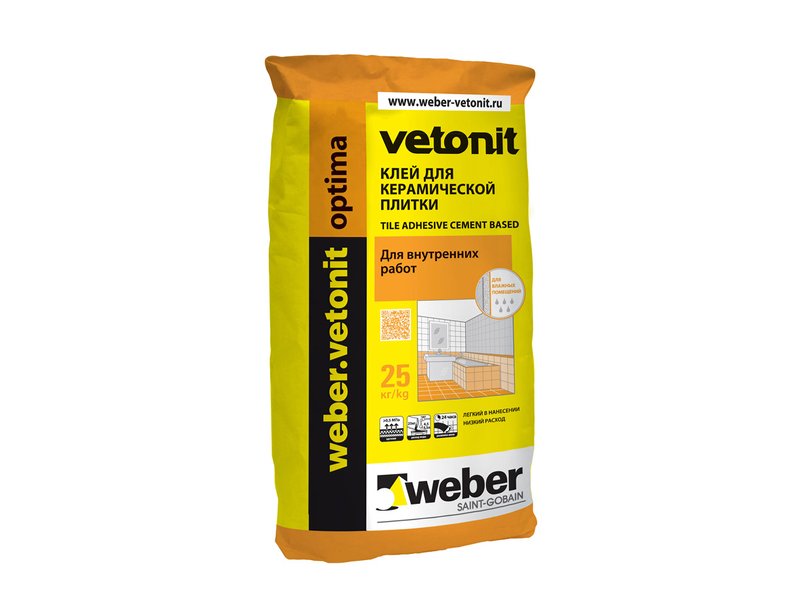
- For exterior work suitable brand glue Vetonit.
- Also, ready-made adhesive mixtures are available in liquid and pasty form.
When choosing an adhesive, you should pay attention to its future consumption and drying time, as well as take into account possible defects in masonry when choosing the wrong type of adhesive.
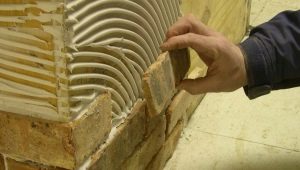
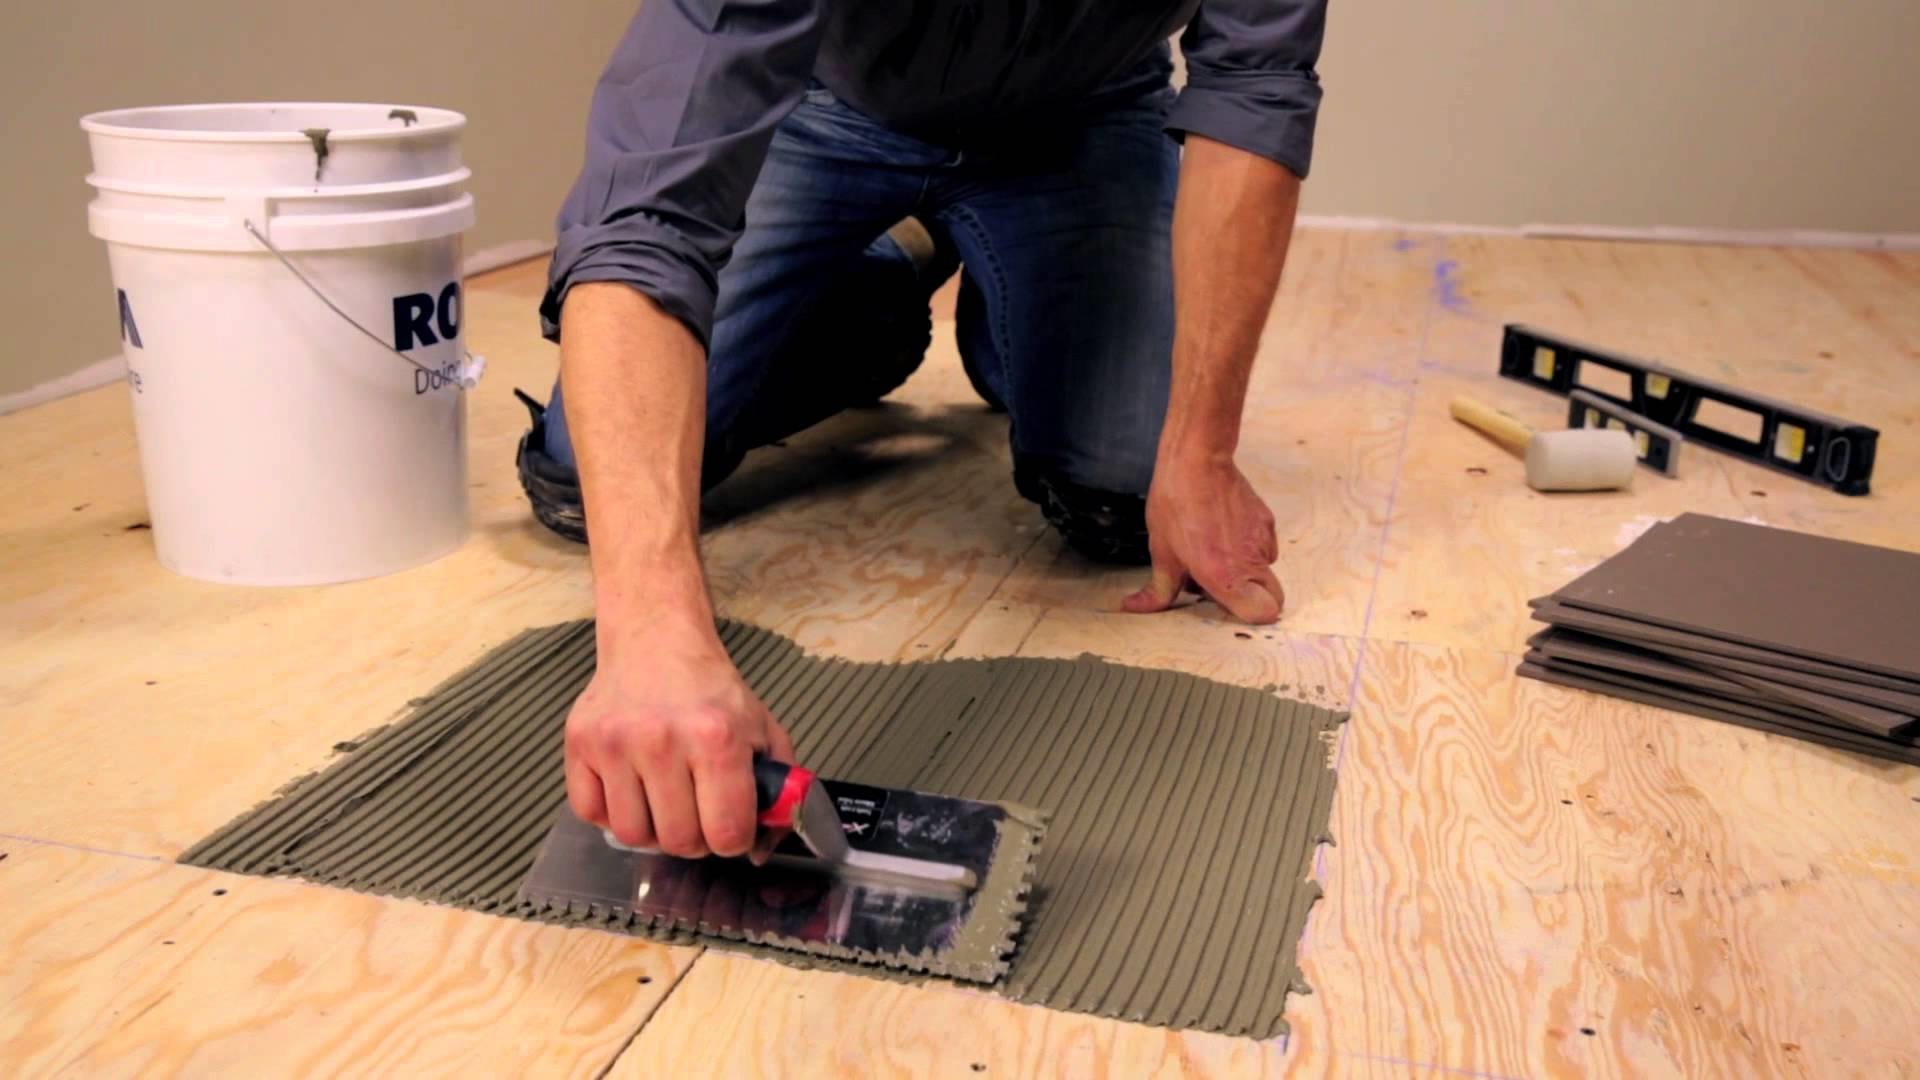
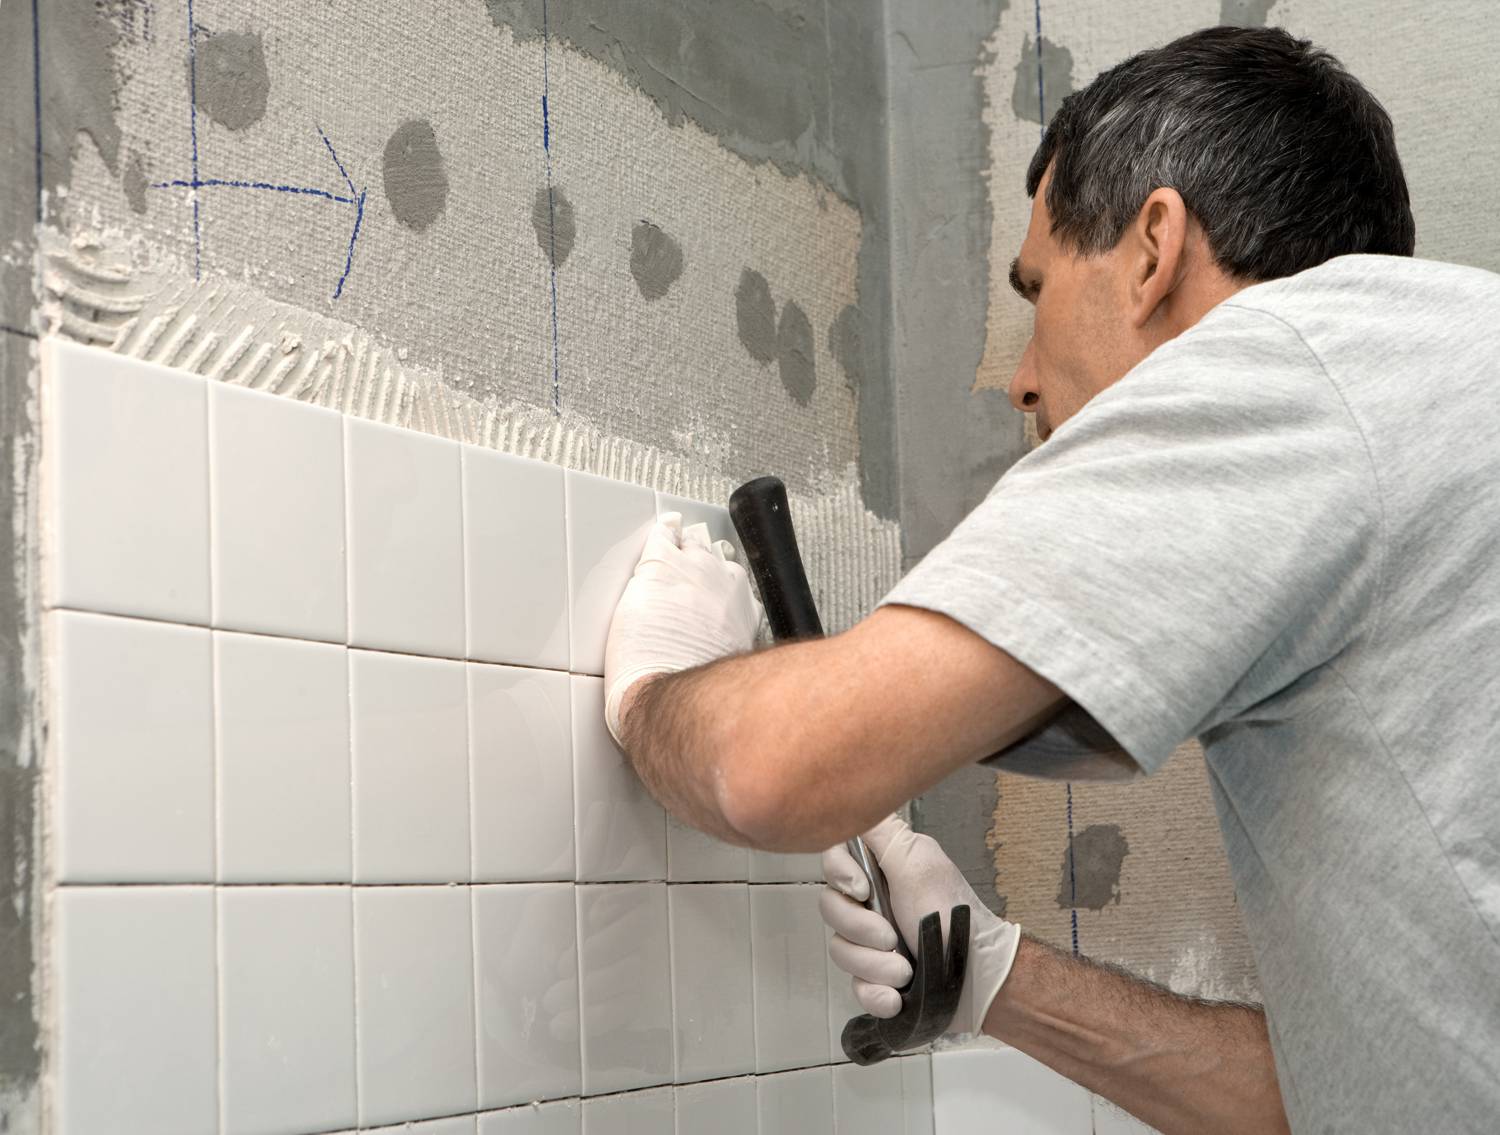
Piling
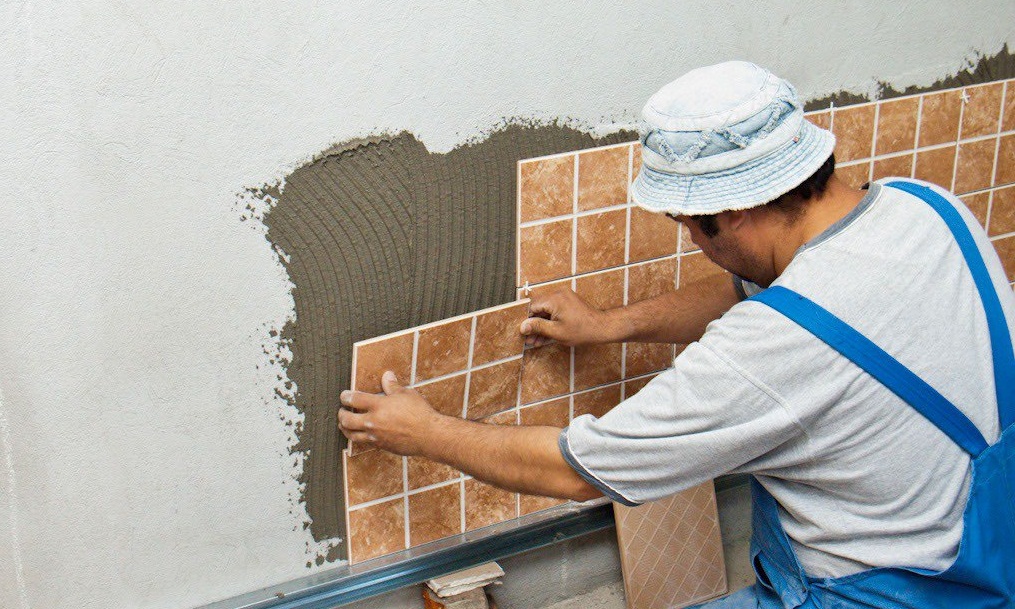
At this stage, you will need a wide toothed spatula to apply and level the adhesive mass on the tile, as well as special crosses to mark the correct and even width of joints in all places. Wedges and struts are also used for this purpose, if the installation work is carried out, for example, on the floor. You may need a small wooden board or rubber mallet, on which you need to knock a little, putting it on the tile on the sides and on top for a more dense setting of the adhesive solution.
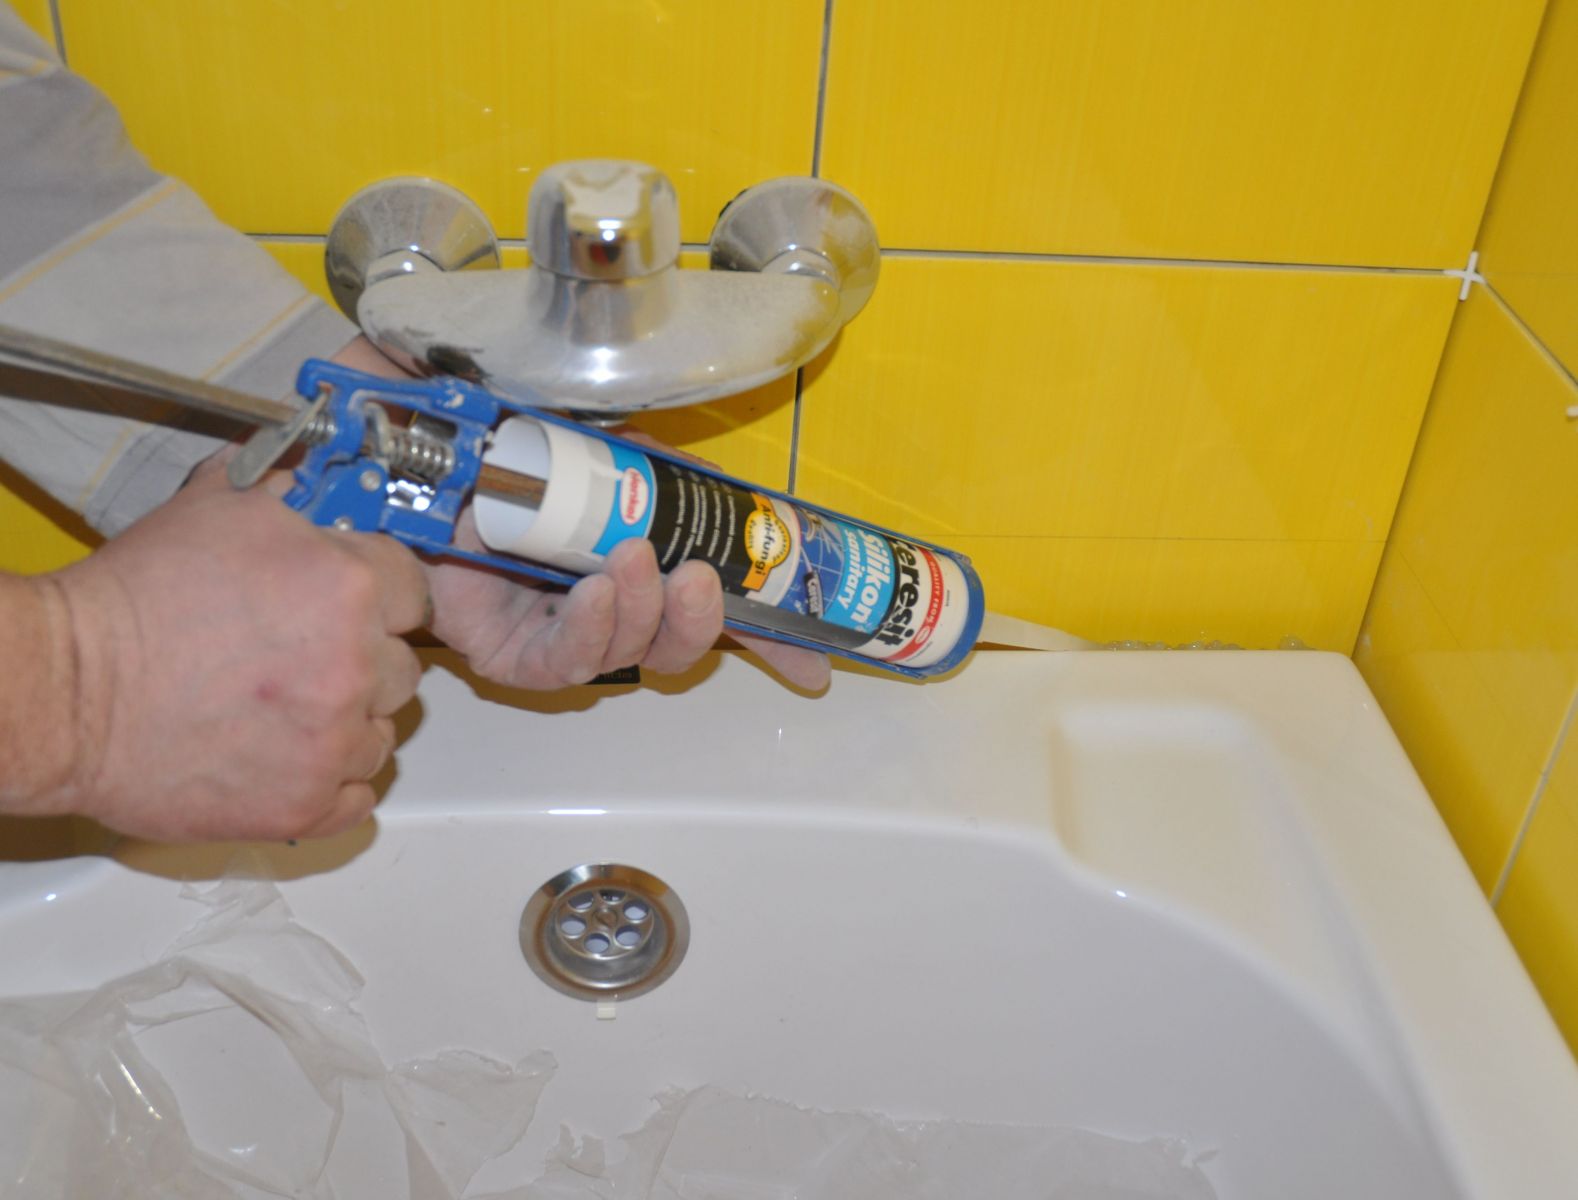
If the tile is laid on the surface of the door or on the protruding surface, you will need silicone sealant, it is also sanitary silicone glue to fill the empty space under the sheer layer of the tile. Masking tape may be necessary to protect the treated surface.. Drill with a special nozzle is needed for cutting the necessary holes in the tile, for example, under the socket.
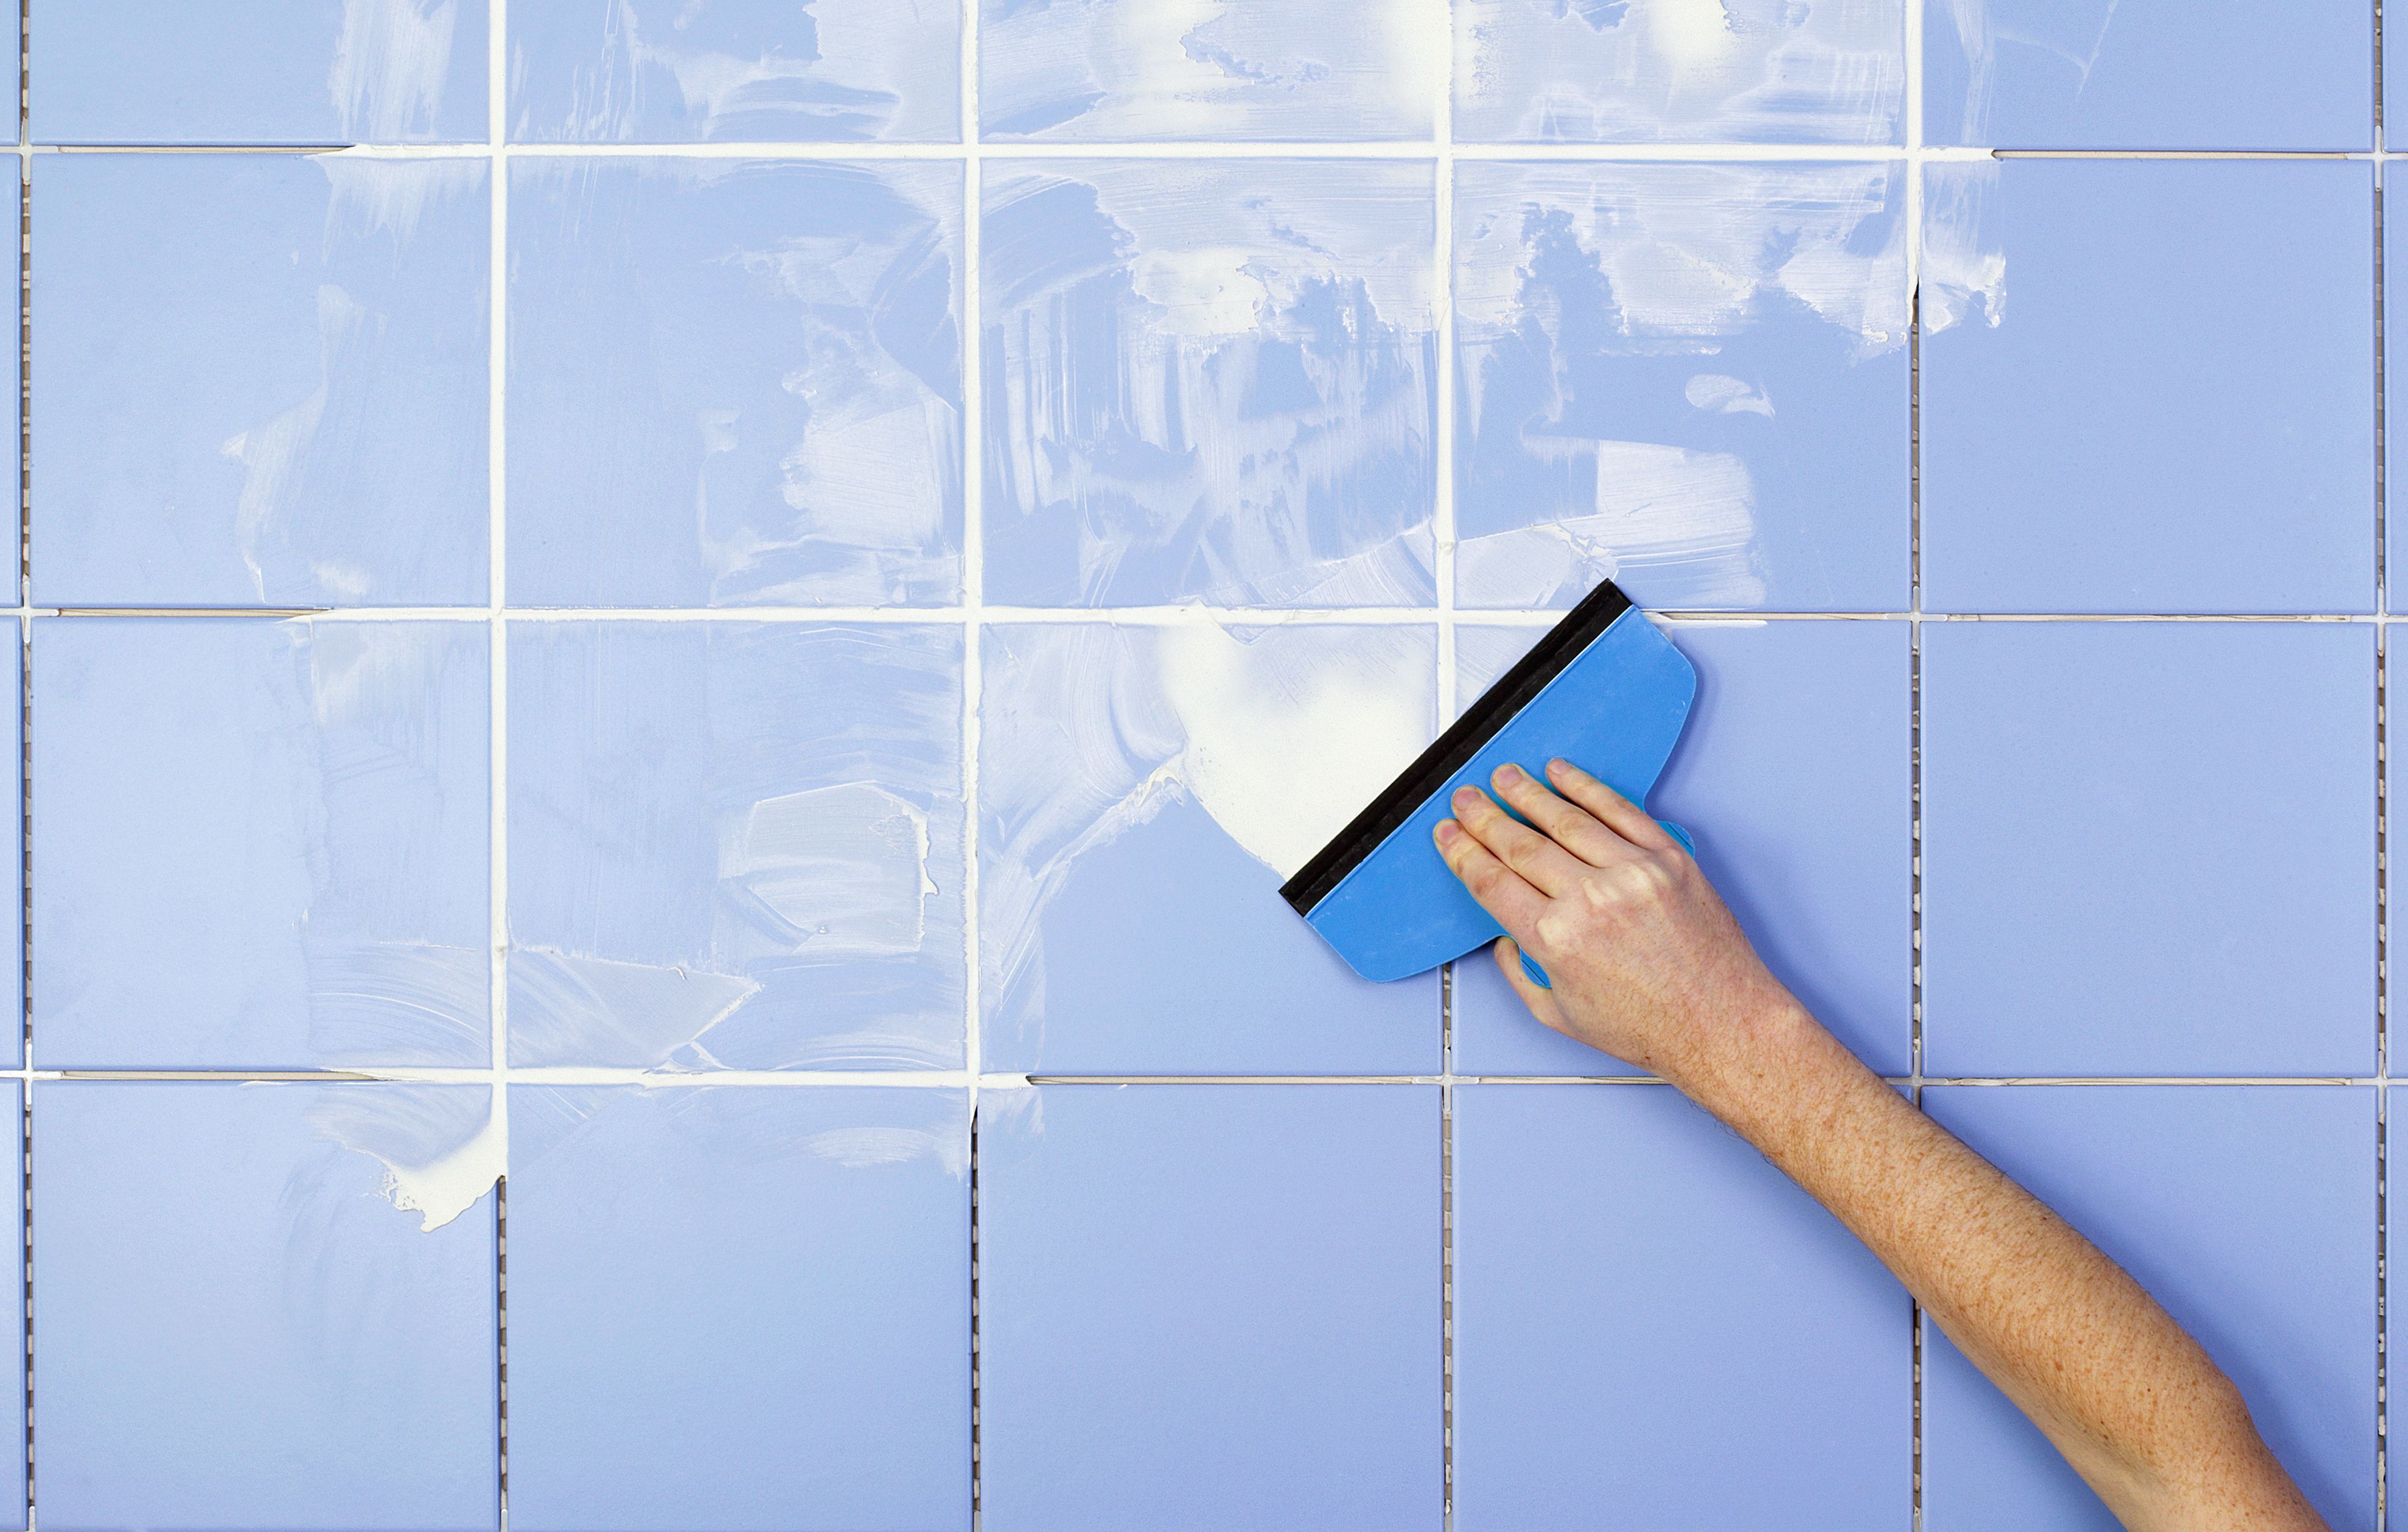
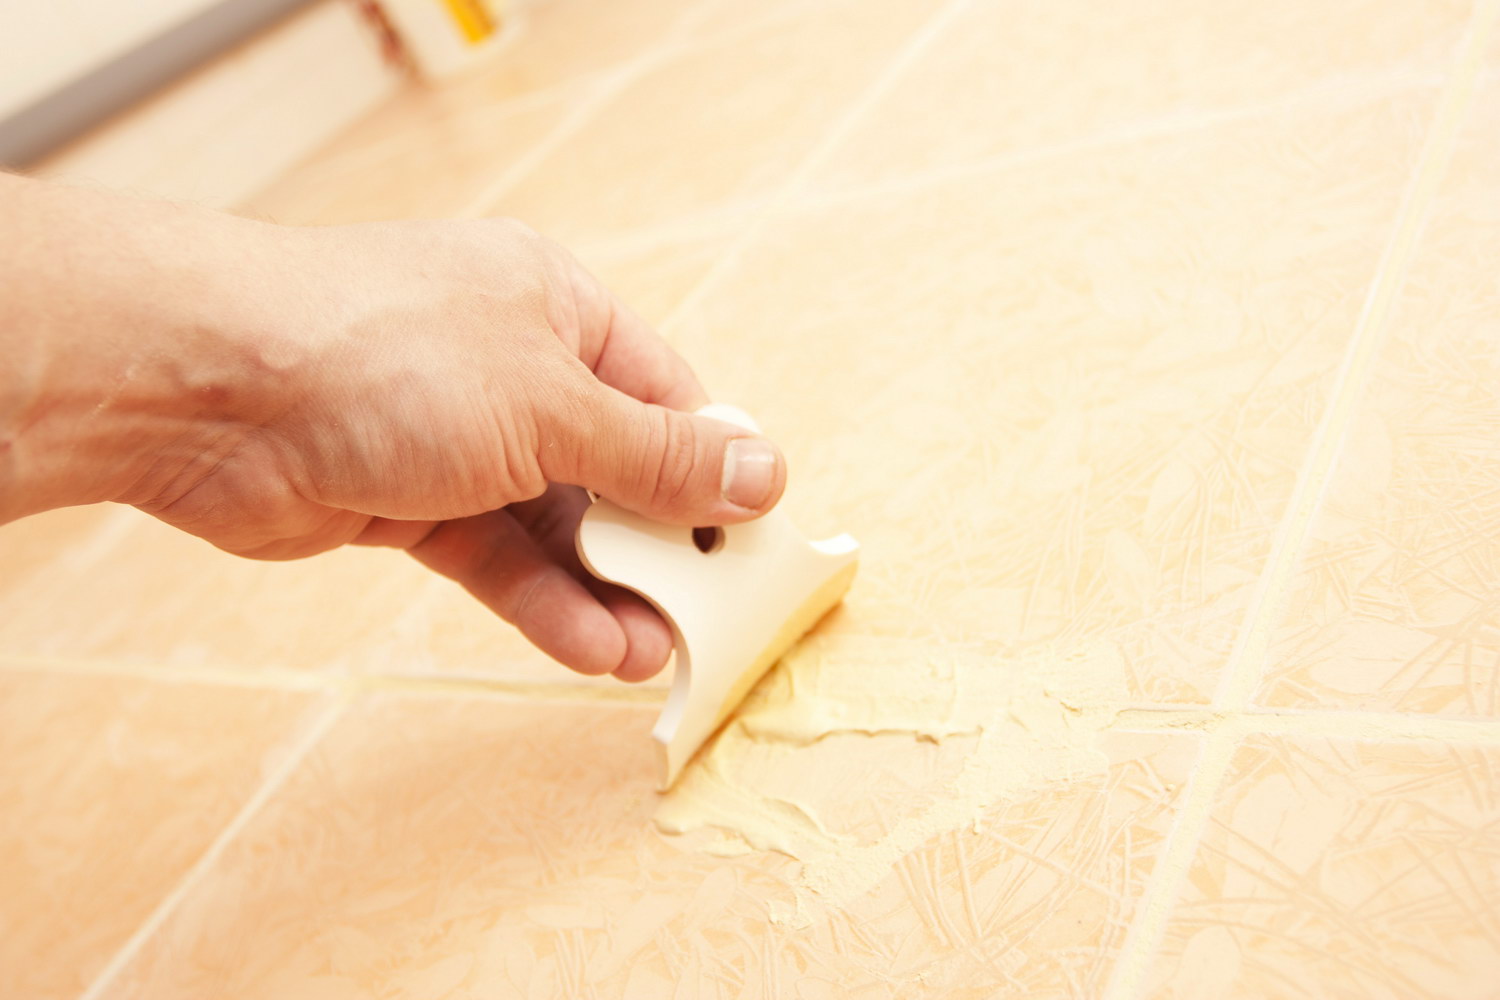
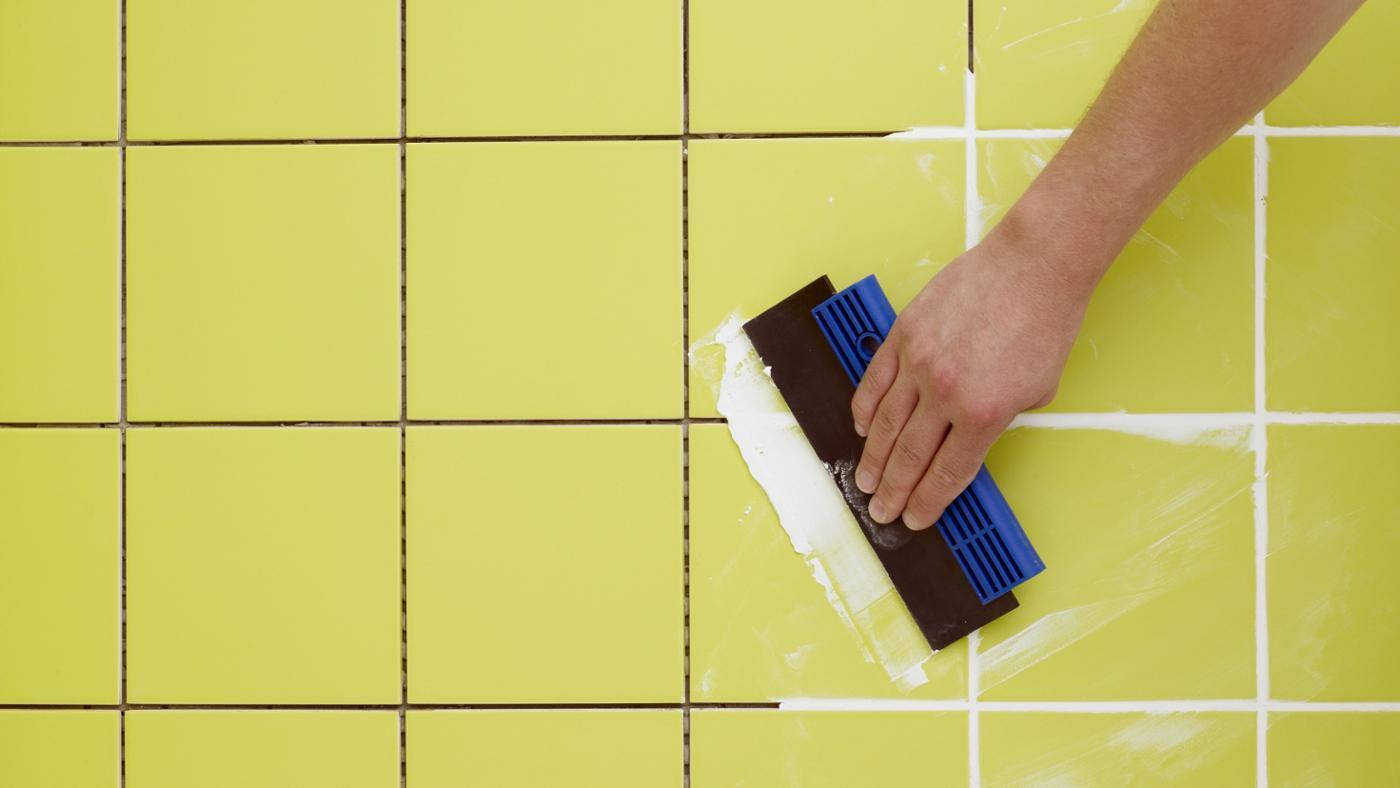
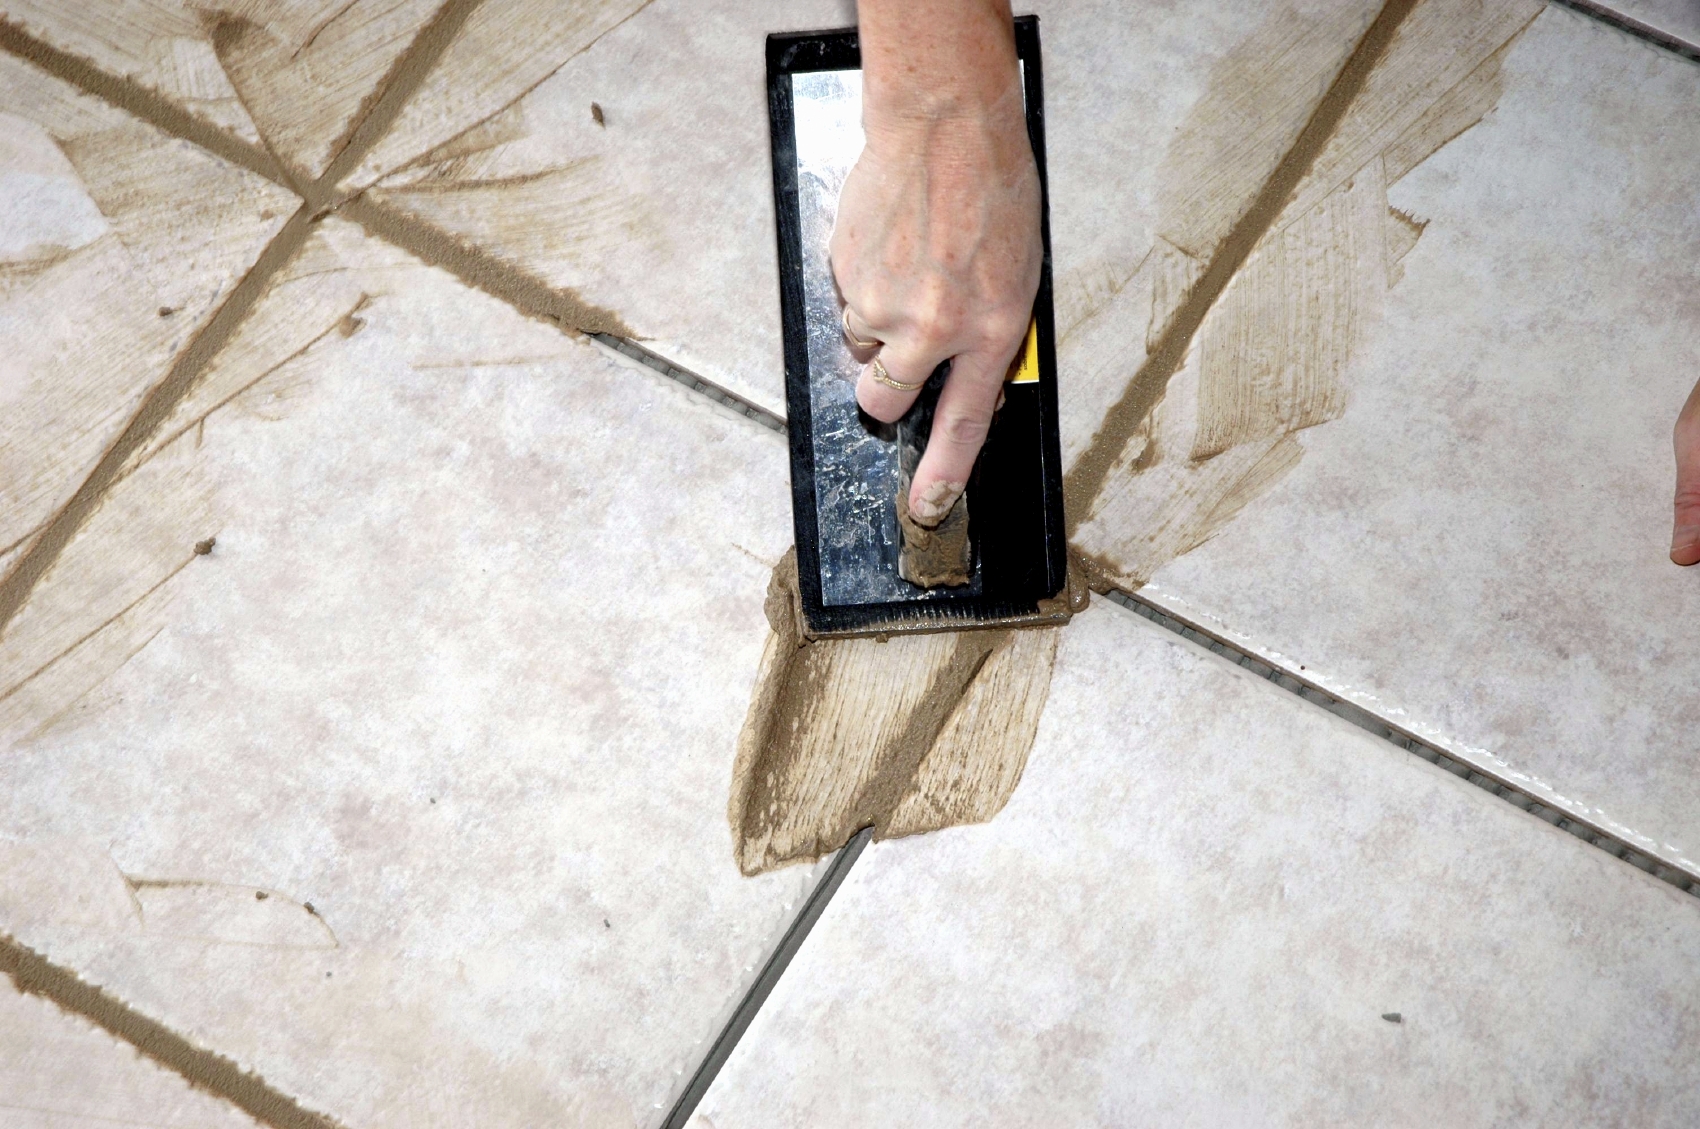
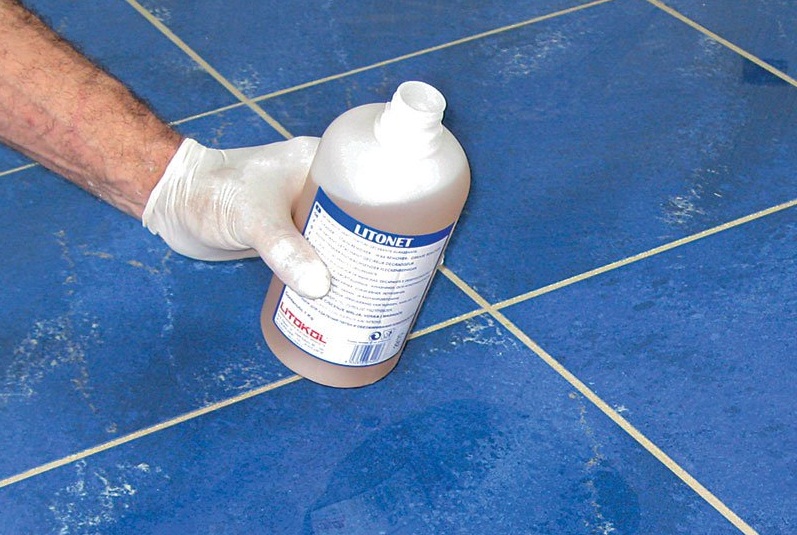
Grouting
Here you will need mastic and a rubber spatula. If you need to make seams with an aesthetically beautiful recess, use a special rubber spatula tube. For a relief tile, a building syringe can be used to more conveniently apply and clean the adhesive.
Mastics can be used any, including based on epoxy resins for more expensive tile materials.
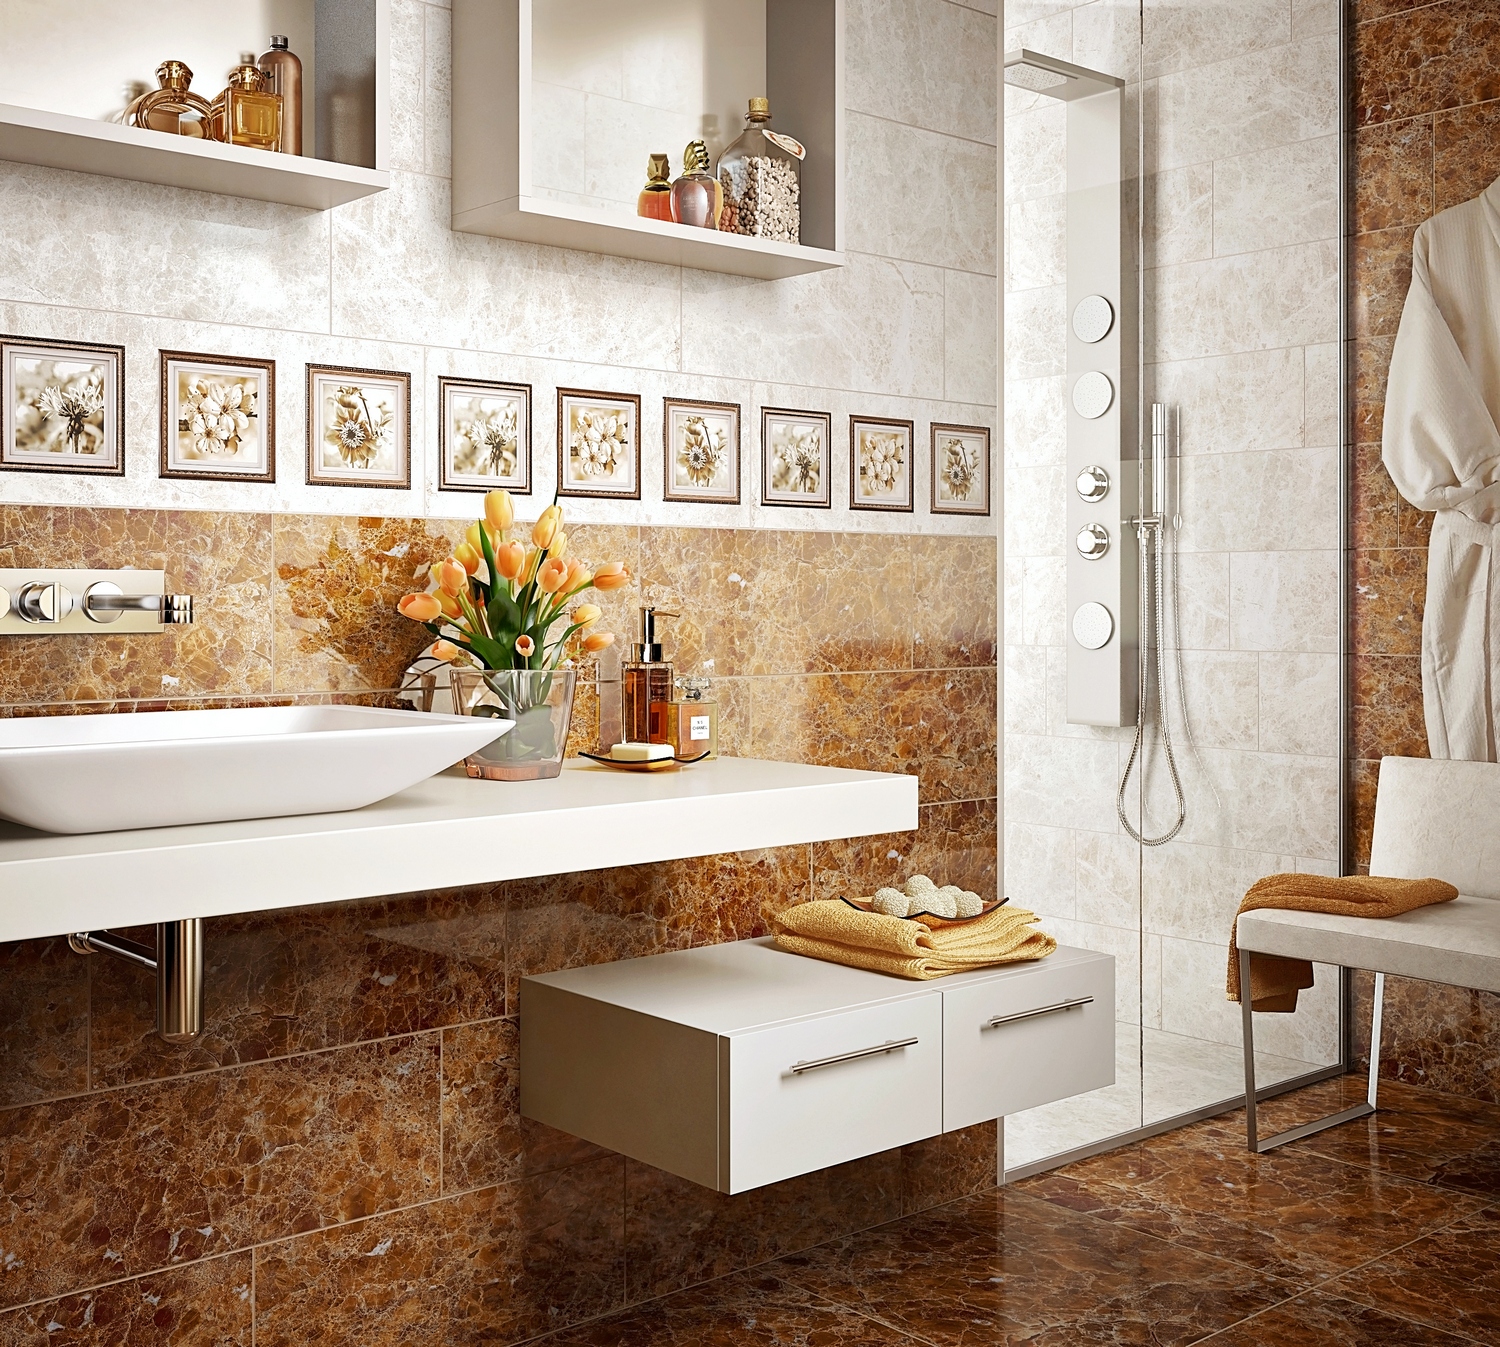
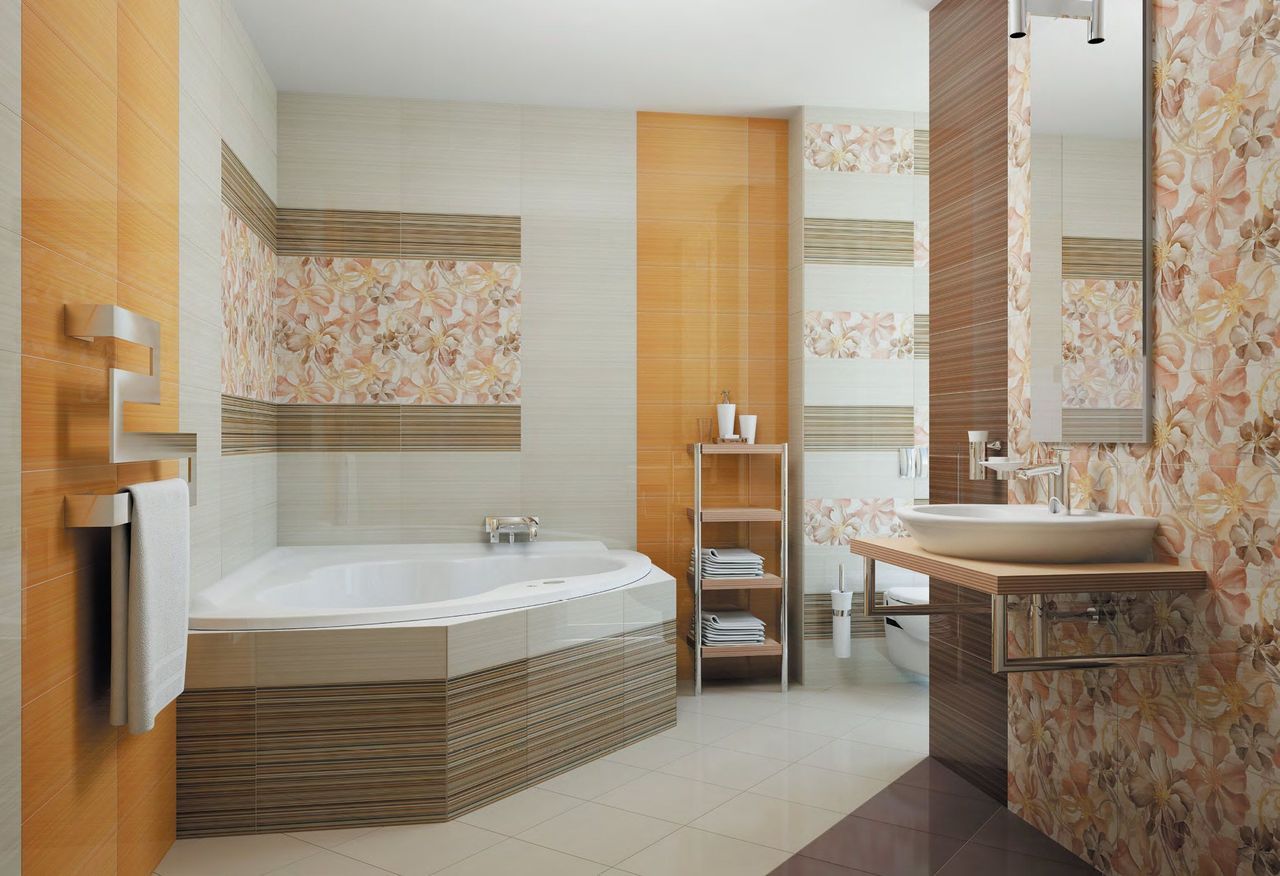
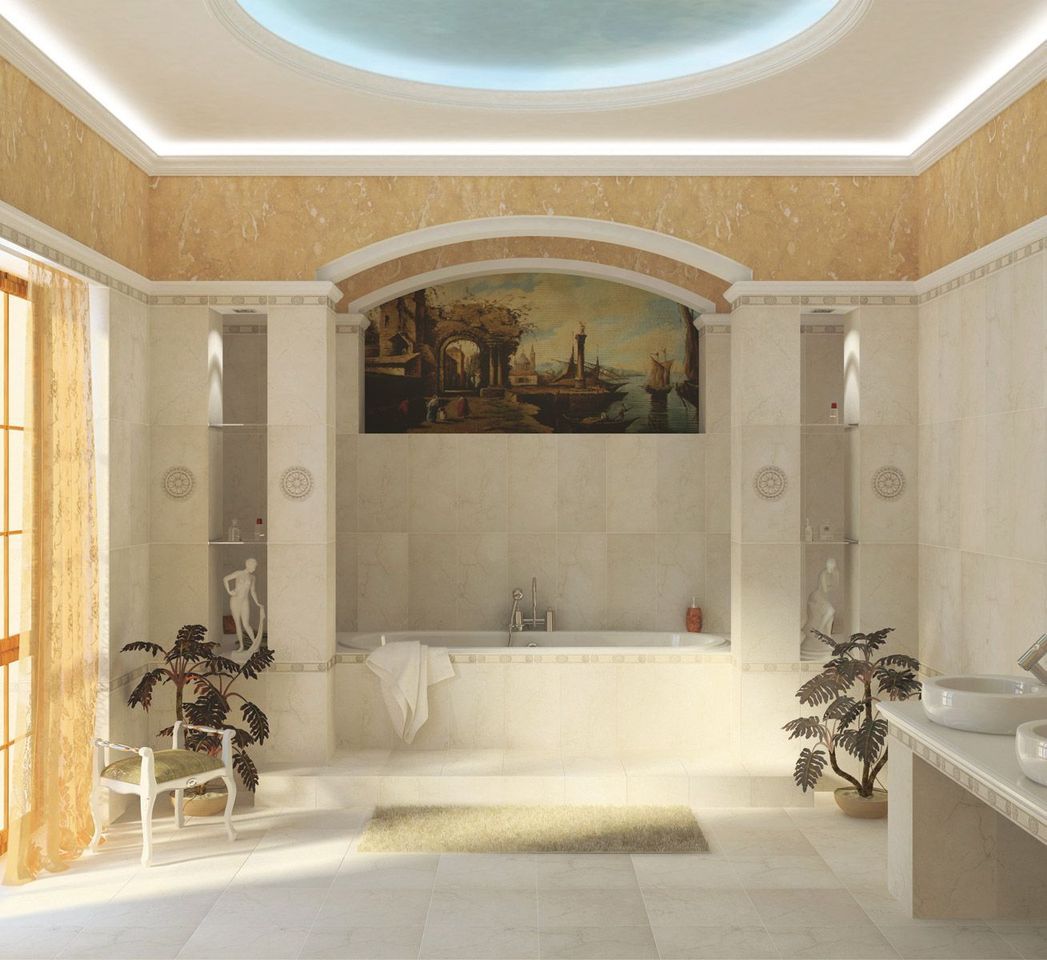
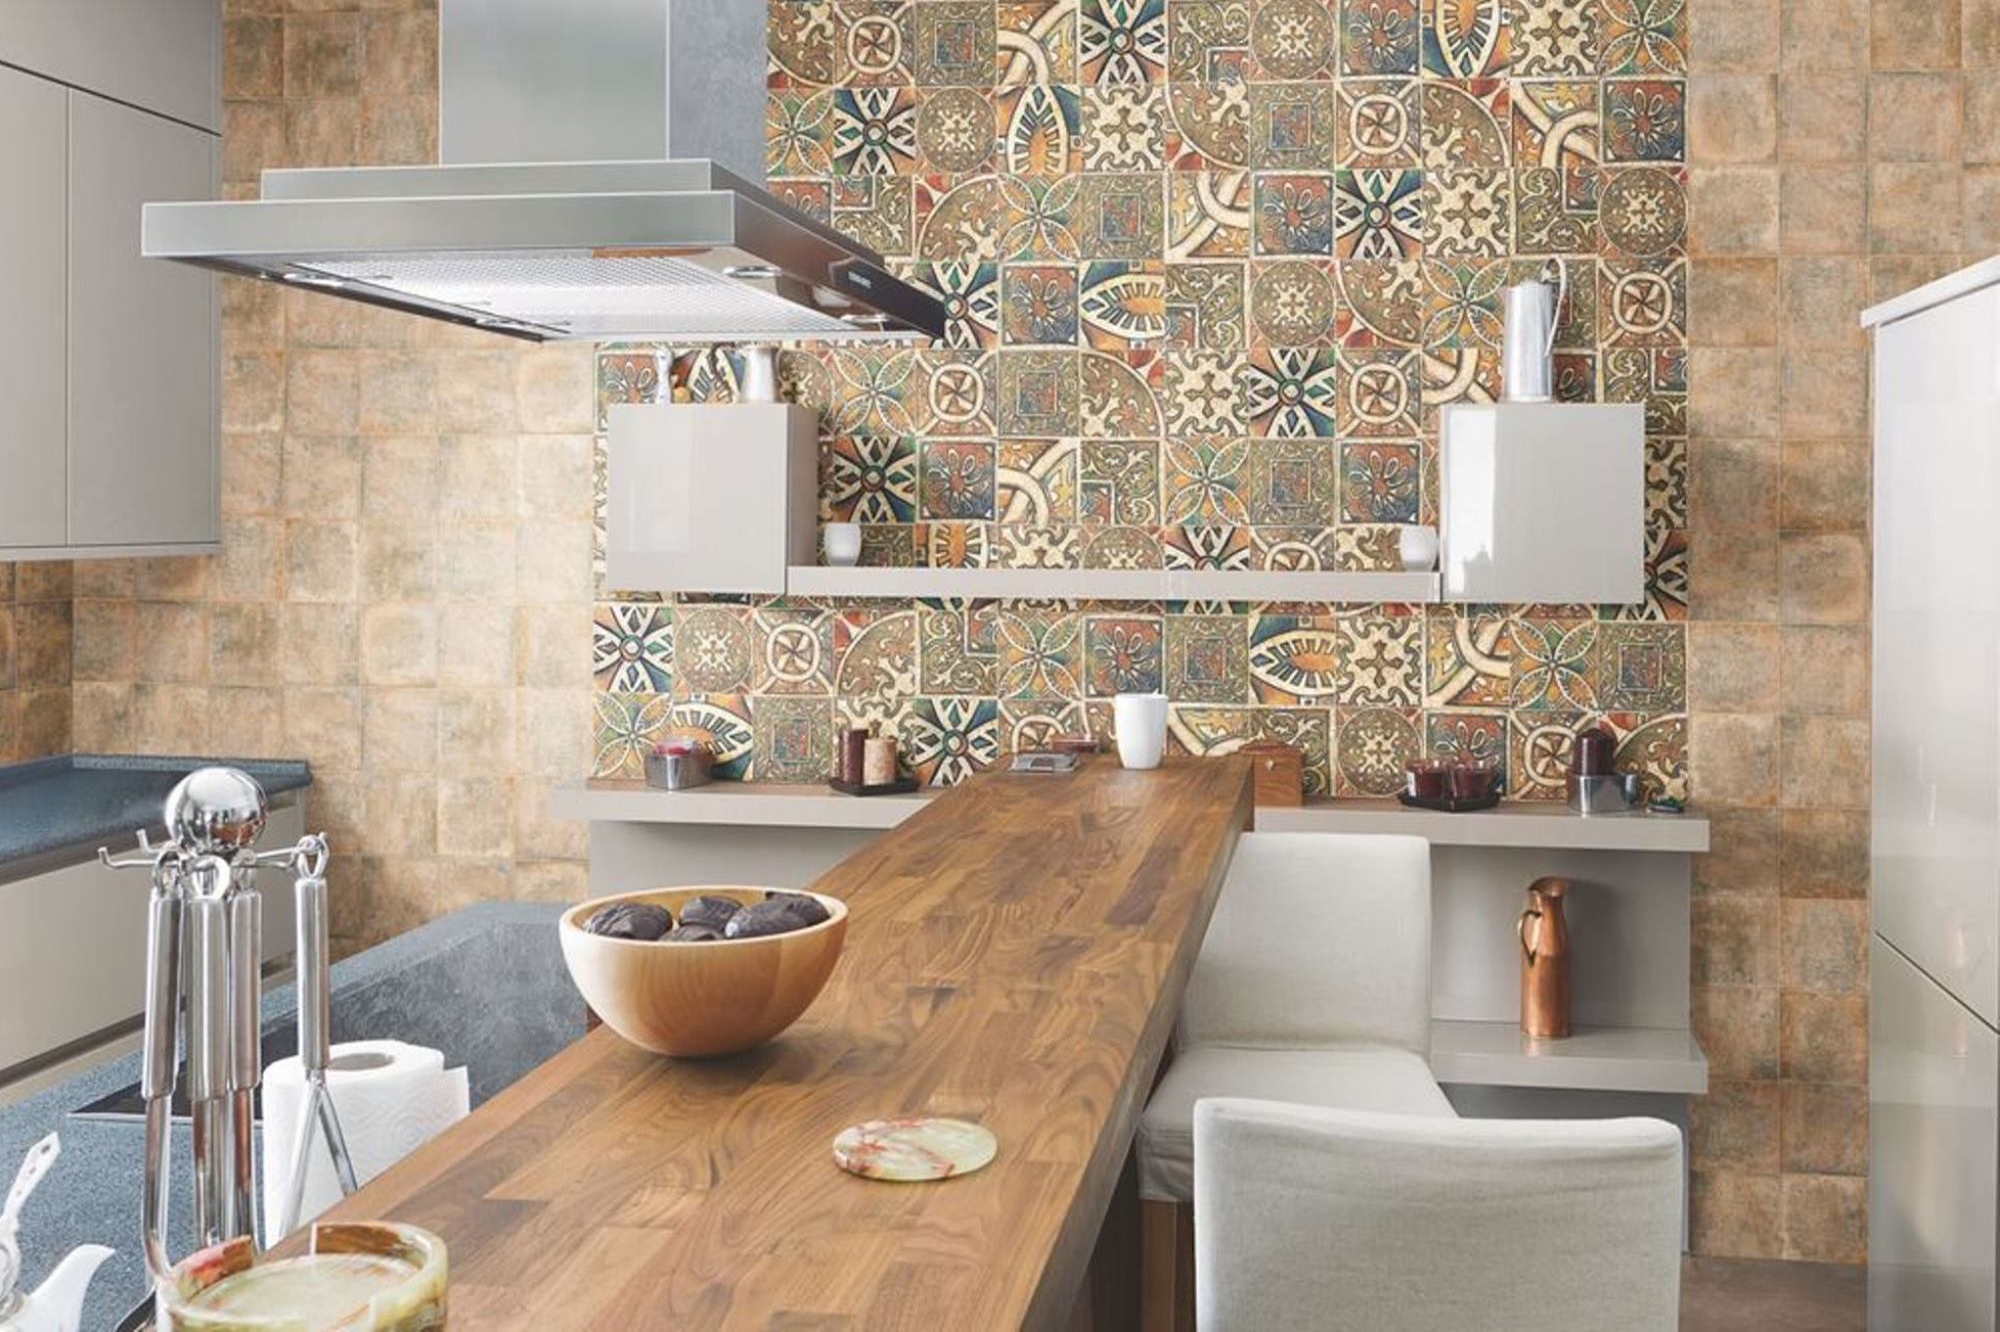
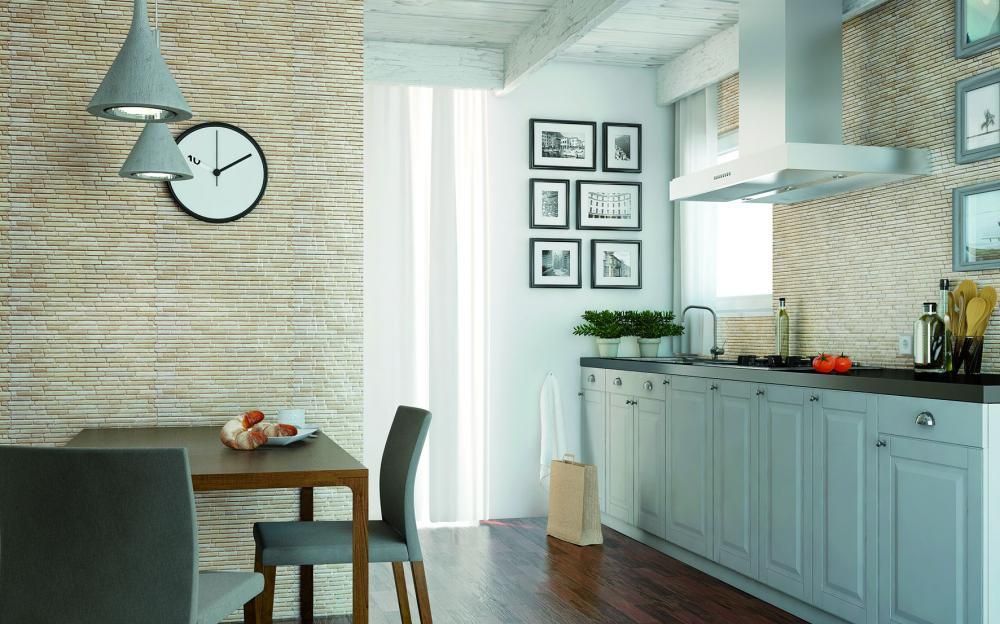
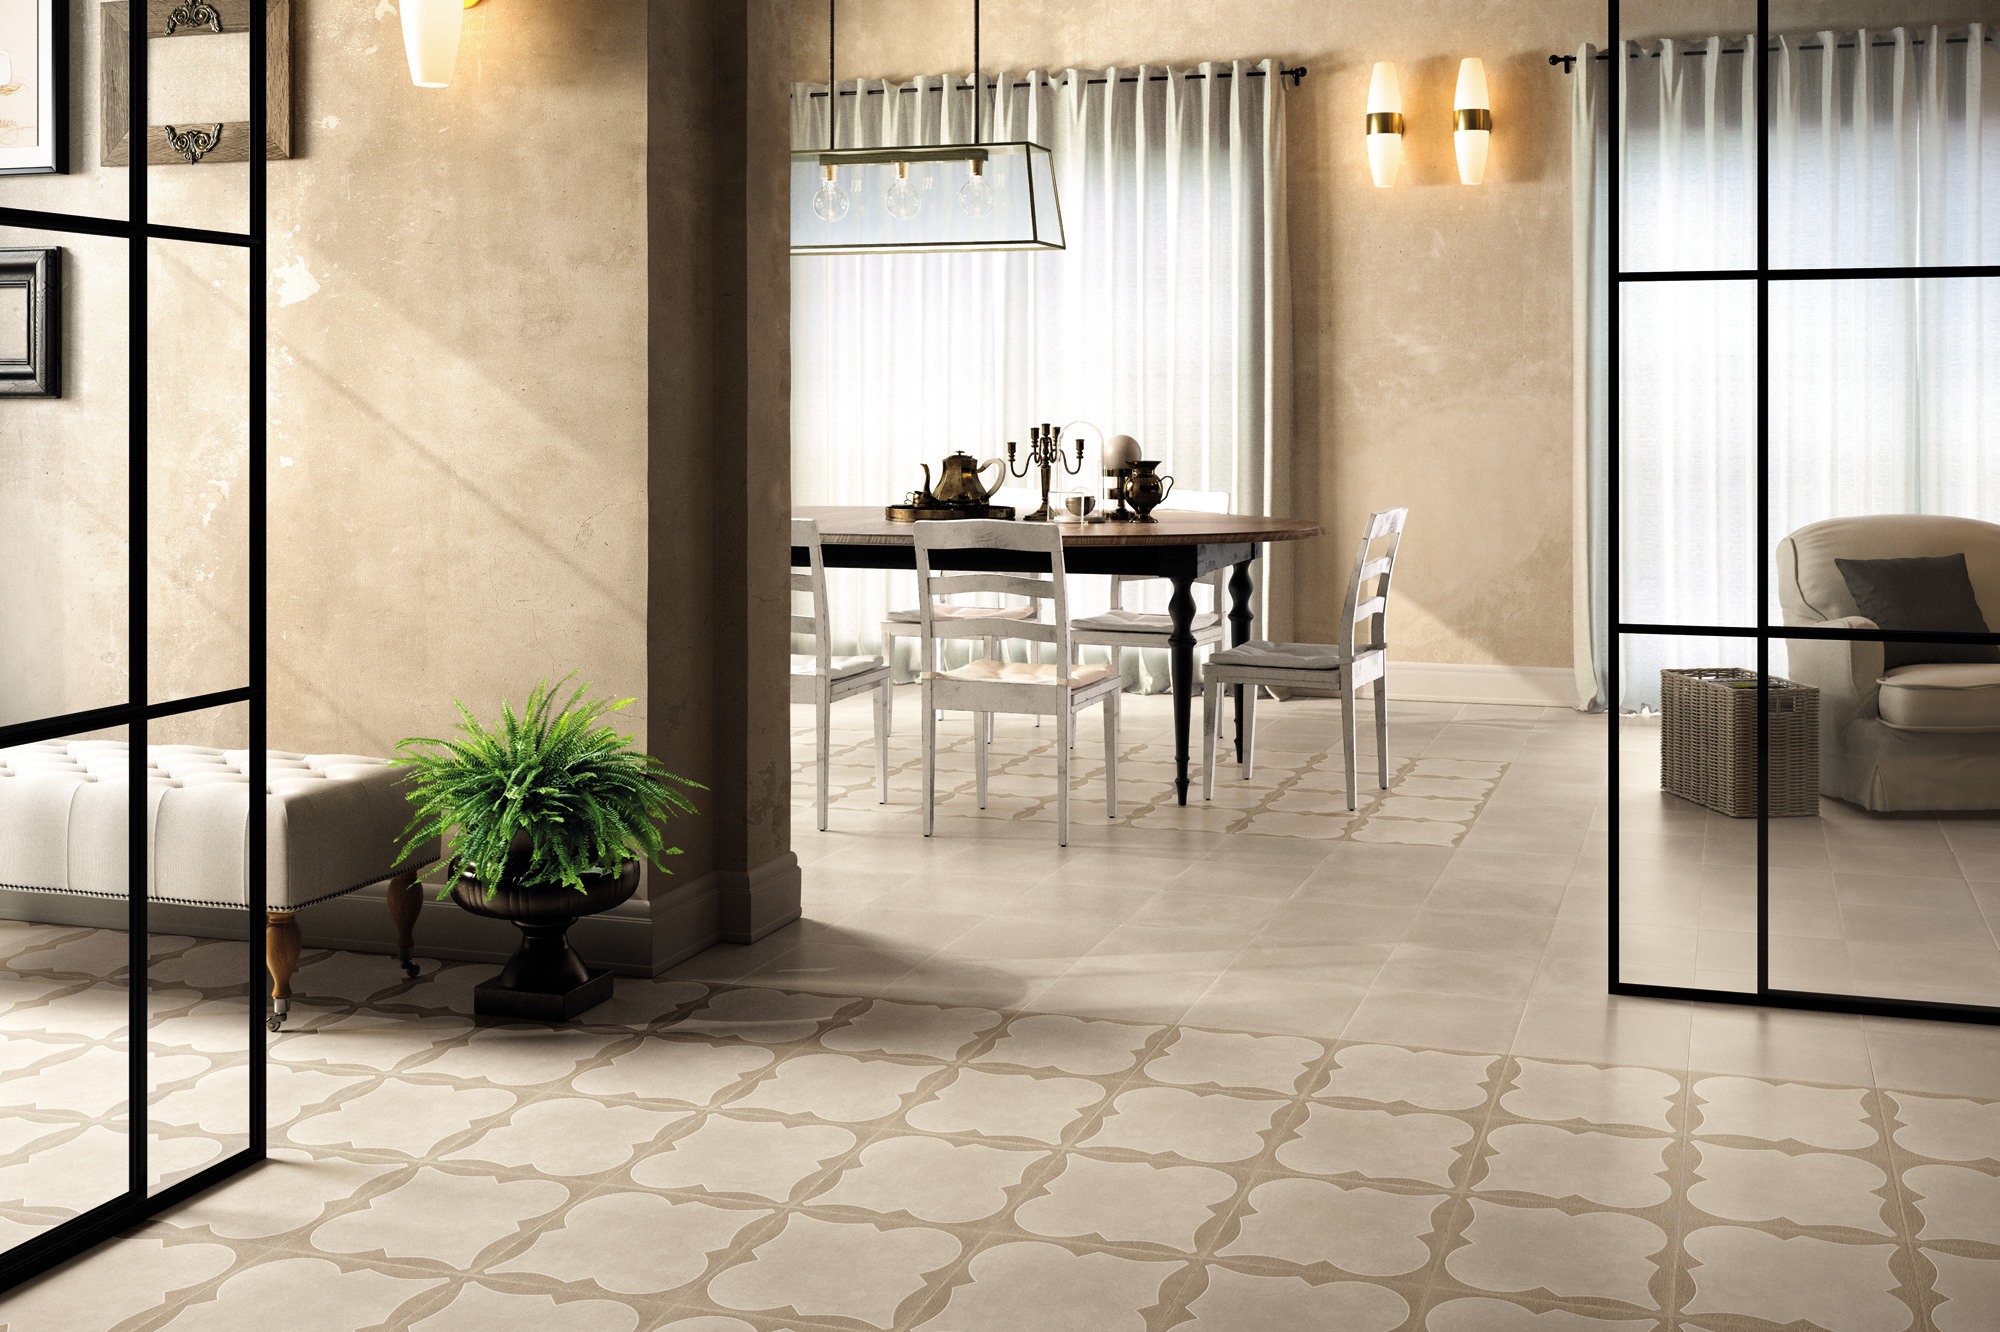
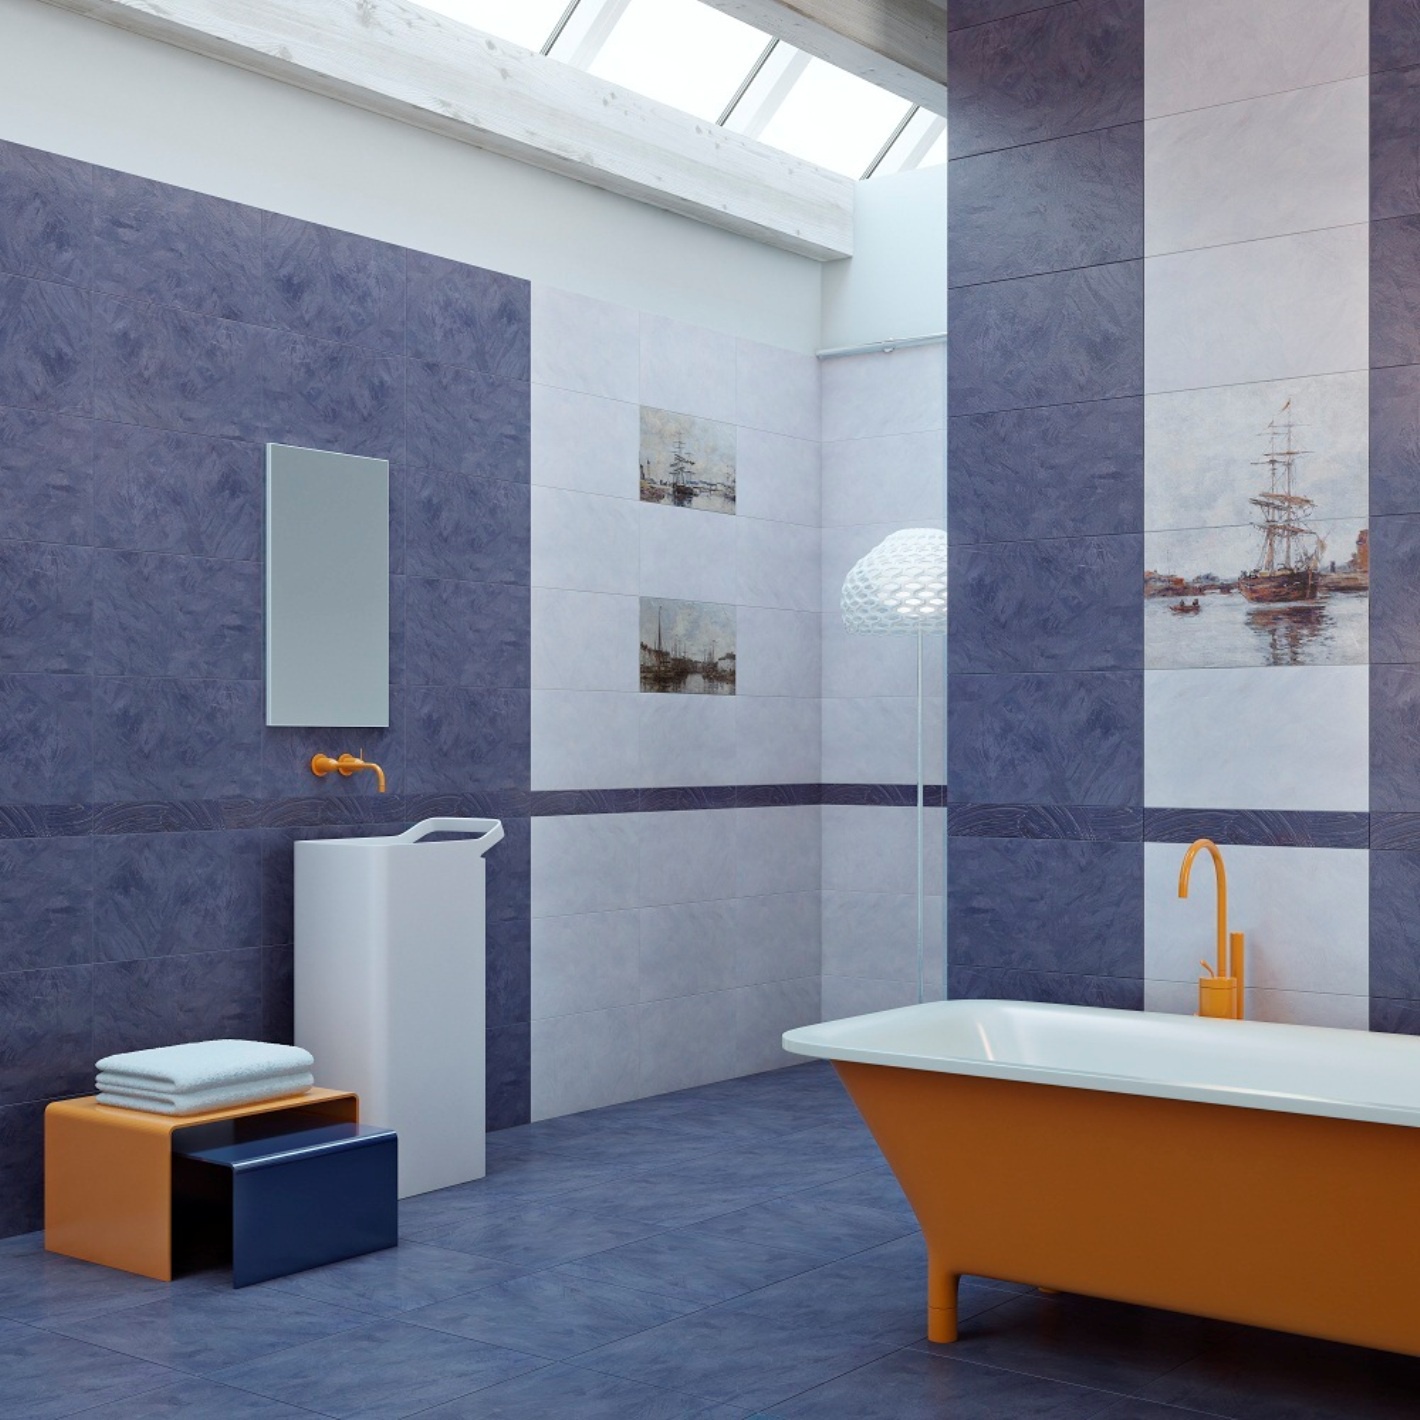
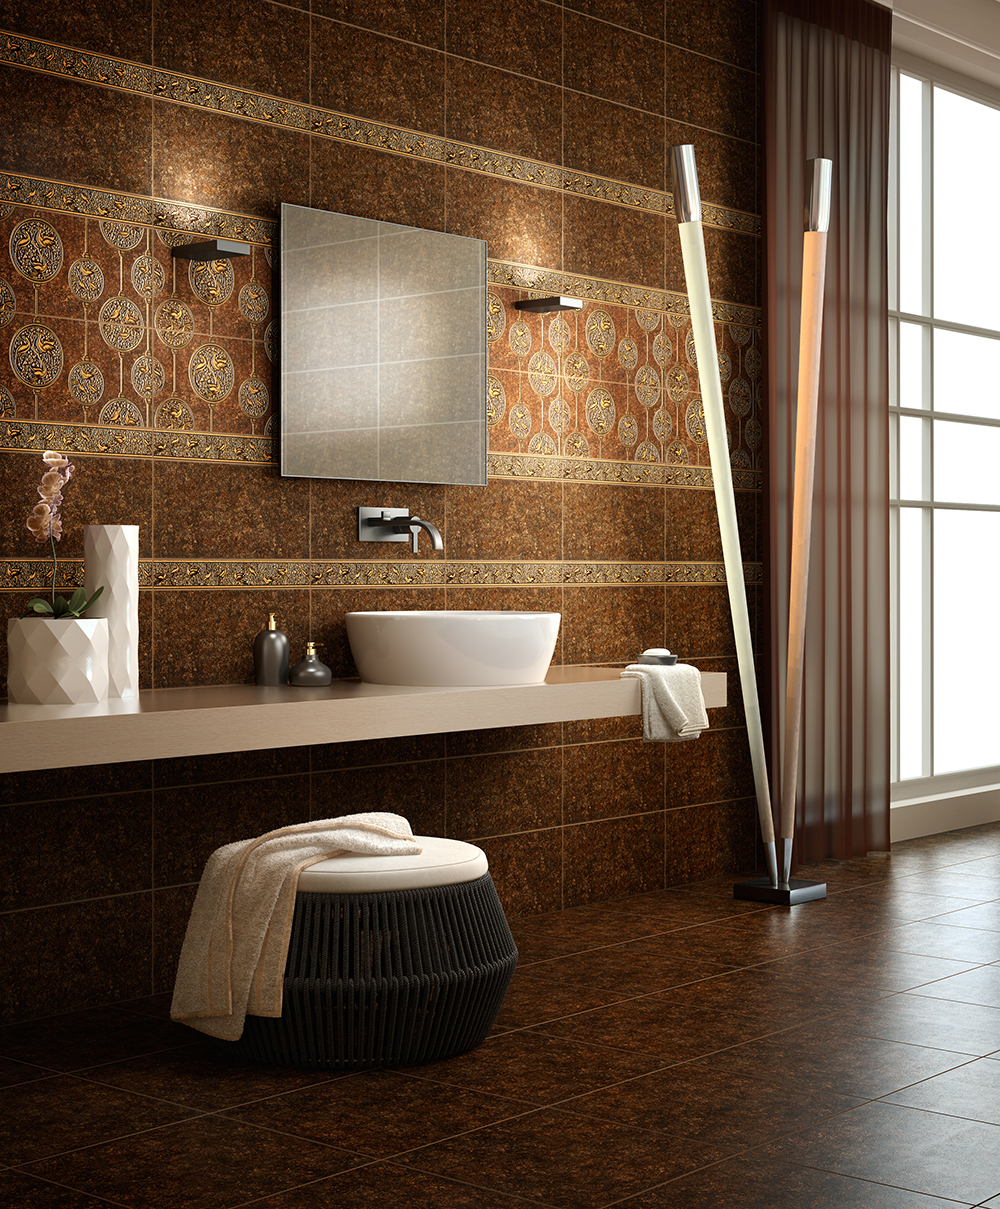
Ceramic tiles can be used to refine the surfaces both indoors and outside, starting from the walls, floor and ceiling and ending with decorative elements in the kitchen, in the hallway, in the hallway, on the fireplace, stove, and worktop.
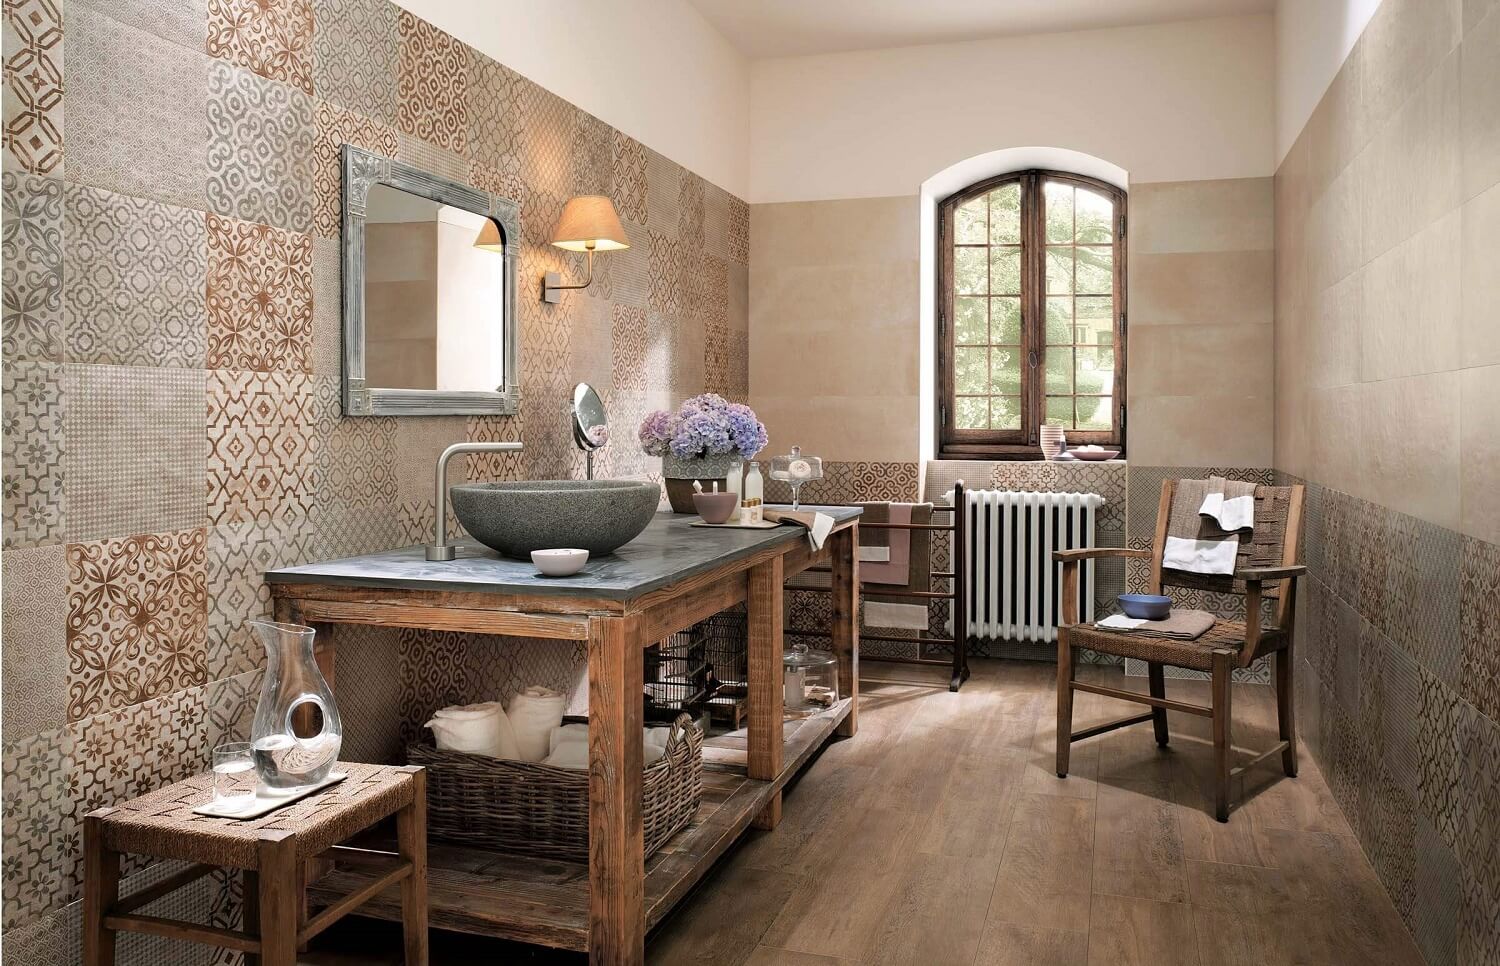
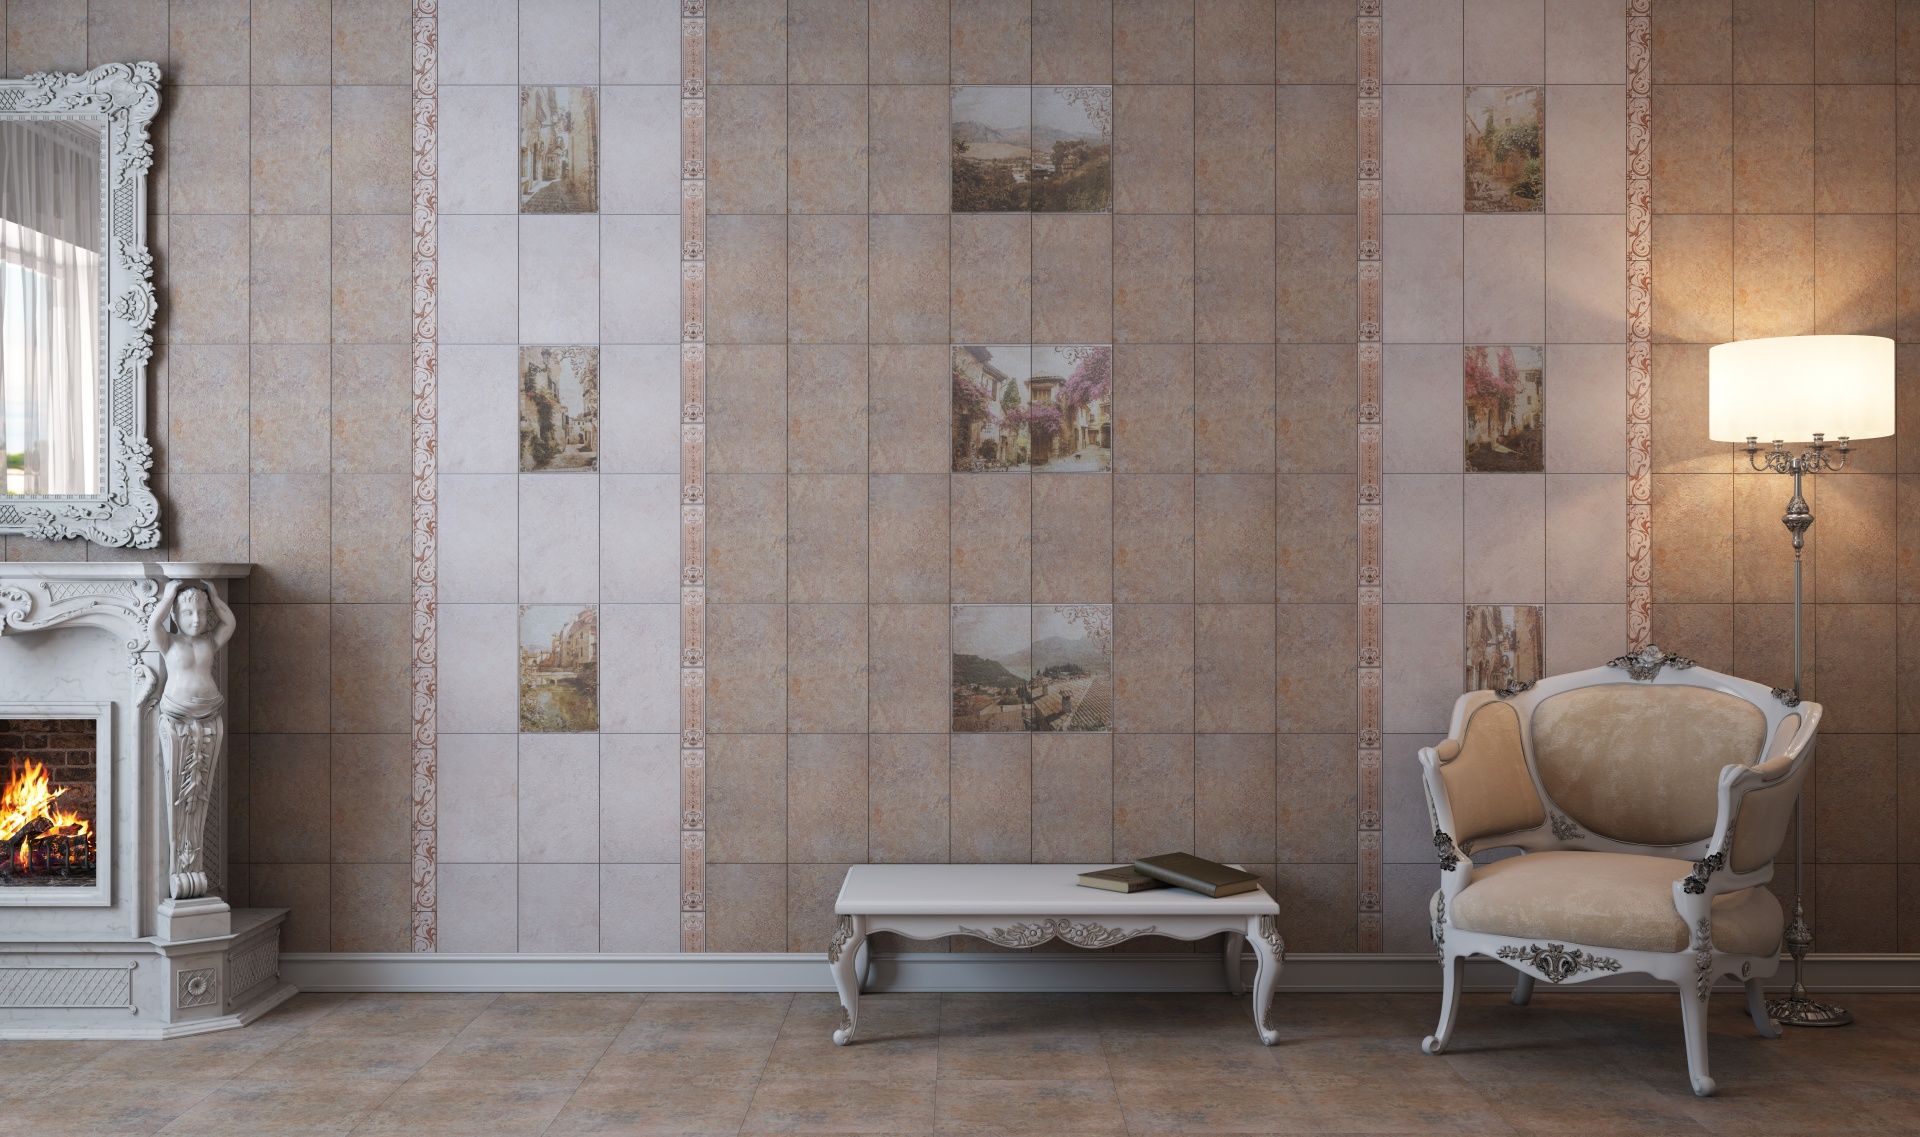
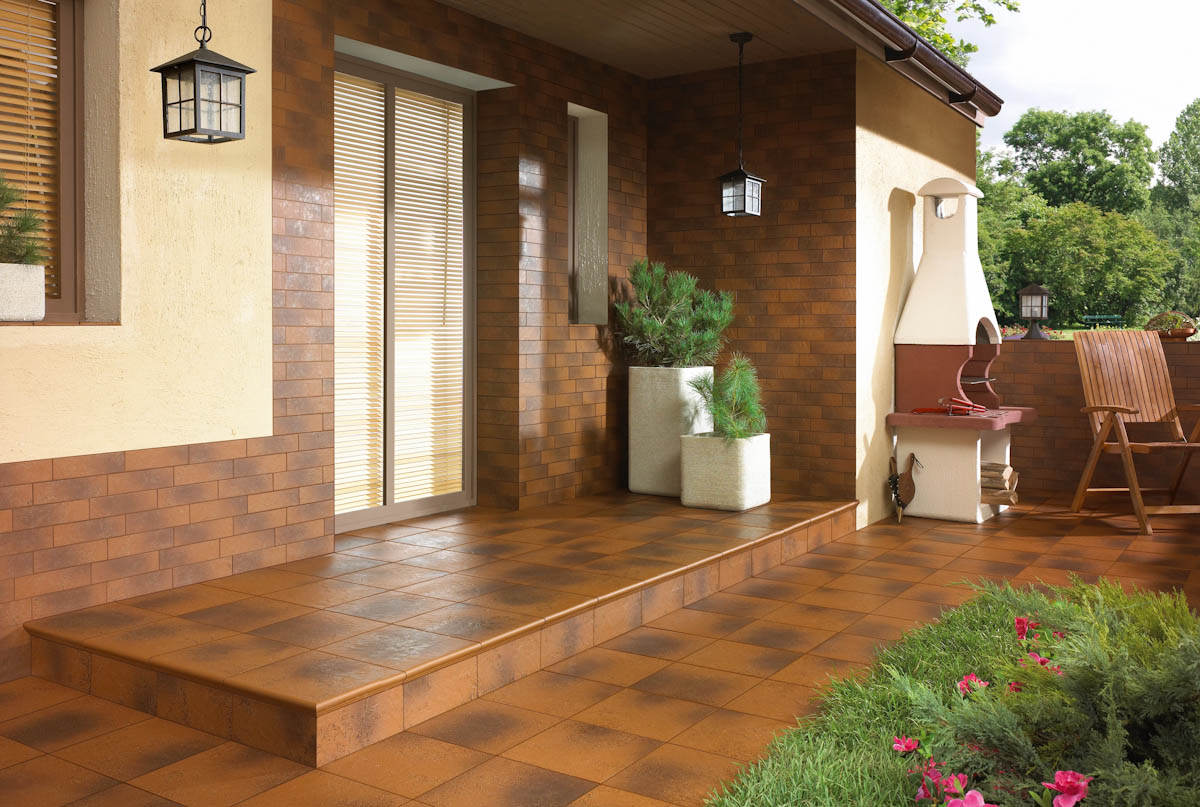
Outside, tiles can cover the balcony, porch, veranda. Tiled lining gives a neat beautiful look to all surfaces, can be laid out on the finished drawing with beautiful patterns or even imitate a wooden floor.
Before performing facing works, when the amount of material has already been calculated and purchased, it is necessary to prepare the desired surface for the start of work. This is the most time-consuming, complex and lengthy process necessary for the further implementation of tiled work.
General rules for preparing all surfaces:
- antibacterial treatment;
- waterproofing;
- new primer.
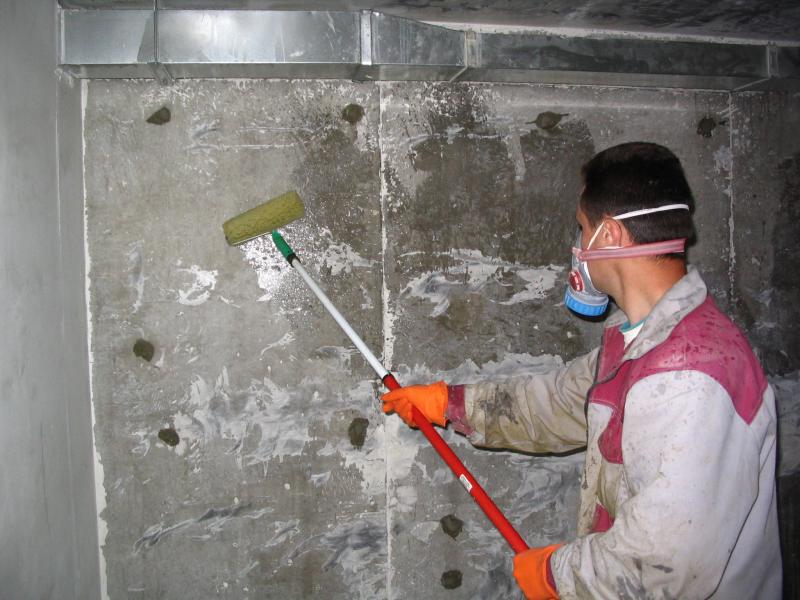
Ideal for tiling works, the coating should be absolutely flat, smooth, protected from moisture and fungus. When laying the tiles there should be a good grip,therefore, at the final stage of preparation, it is necessary to carefully remove and sweep the surface, remove all unnecessary particles of dirt and debris, and remove any extraneous stains.
Consider the phased preparation for finishing different types of surfaces:
Flooring
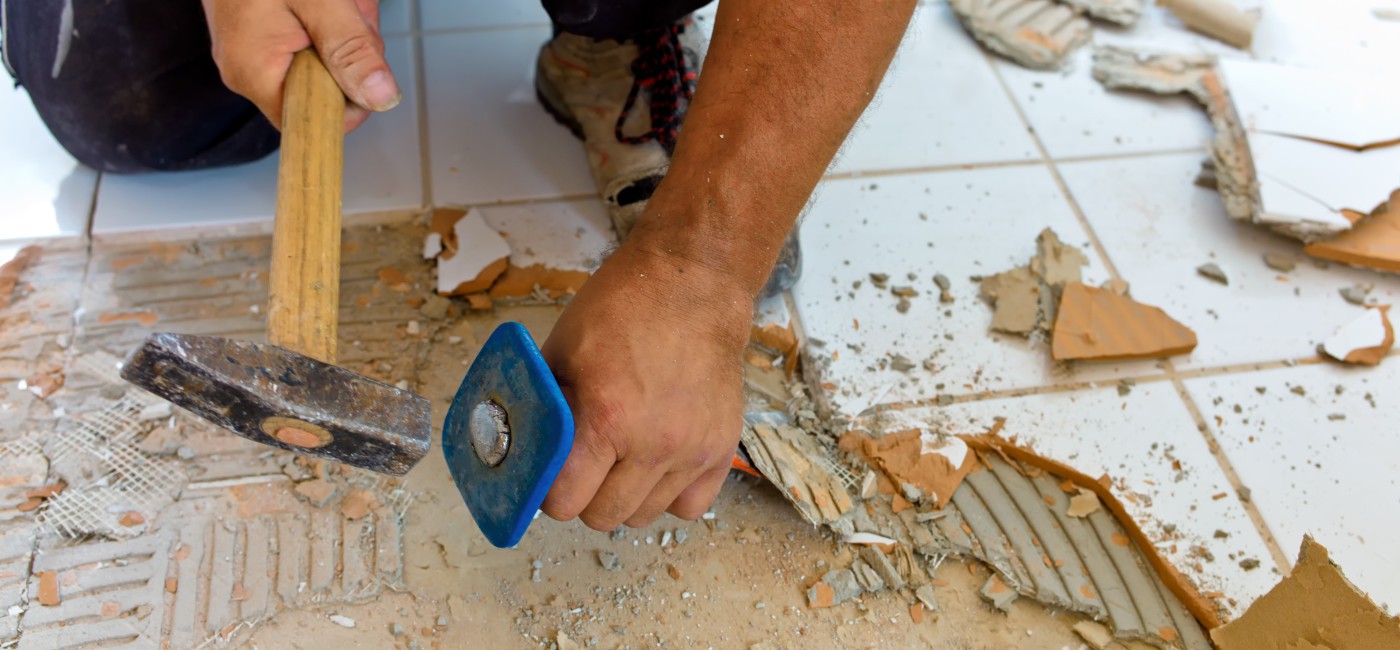
The first thing to do is remove the old coating. Summarizing all types of floors, you can conditionally select concrete and wood. But since the surface is horizontal, it is not so easy.
For the process of removing the old porcelain stoneware, you can use a chisel and a hammer or, more effectively, a puncher with a special bit chisel. With ordinary concrete floor and laminate will be much easier.
For all types of floors, regardless of the initial state, you need to make measurements of the highest possible point and focus on it when leveling and sealing up cracks and cracks.
The floor in new homes can also be uneven, but in this case, all work will be carried out immediately, without removing the old coating.
Step by step preparatory work:
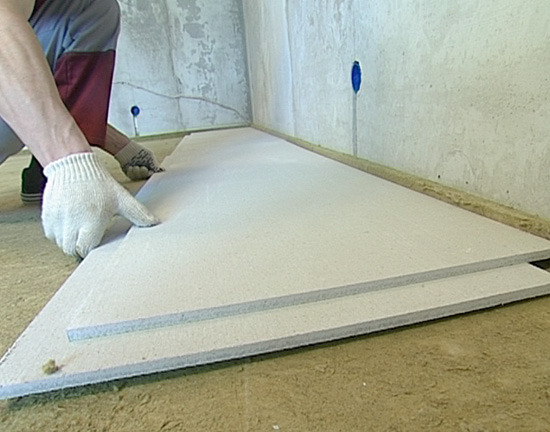
- When the magnitude of the unevenness of the floor is clarified, the necessary material for leveling should be prepared.If the uneven surface is large, about 10 cm, the screed will need to be made on expanded clay; if the average - pouring can be made of cement with sand; if very small - up to 3 cm, a simple self-leveling screed, which is also called “self-leveling floor”, will do.
- Next, you need to check the floor for cracks, bumps, roughness. If there are elevations, they should be broken off and polished, the cracks and cracks should be expanded, primed and treated with a special ground solution.
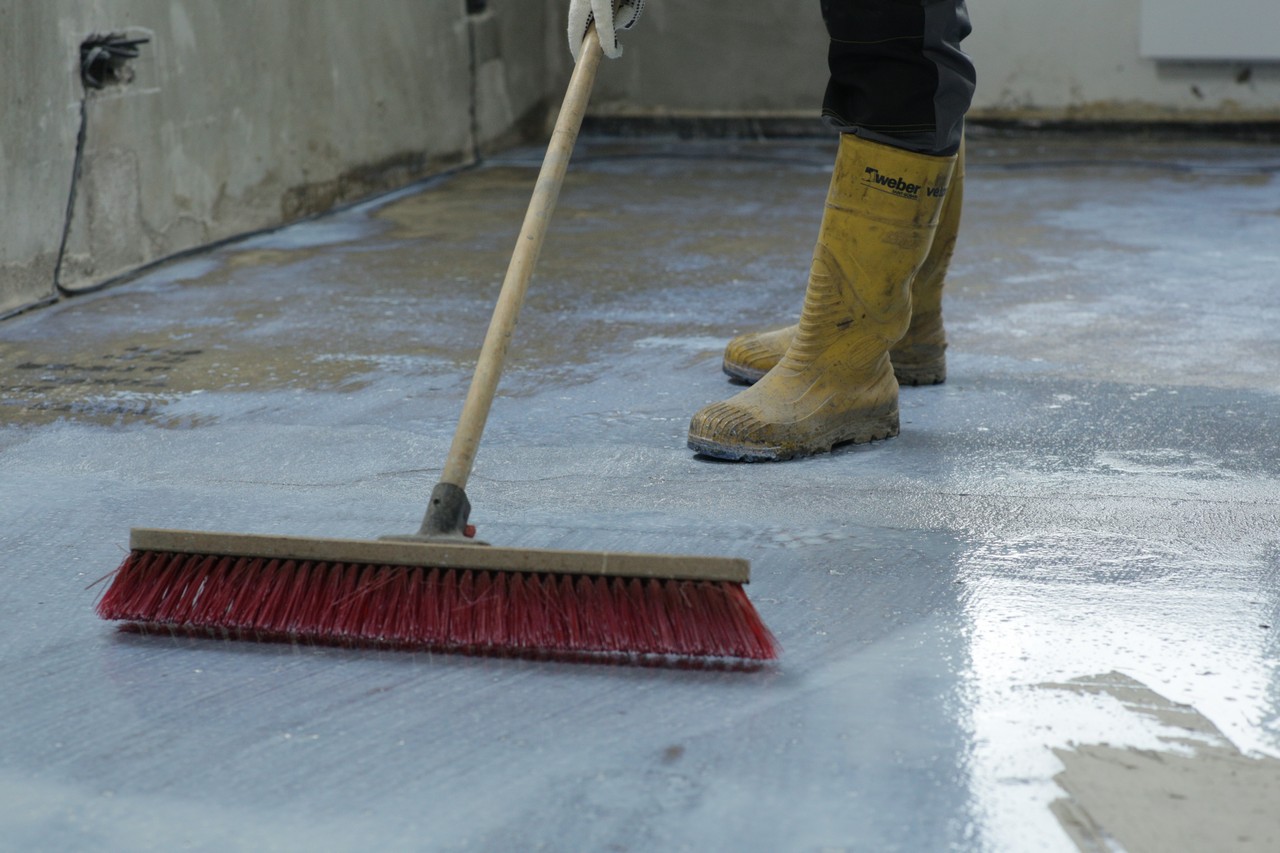
- Remove all dust and debris from the floor surface, even foreign spots, so that adhesion is maximum.
- Next is the process of preparing protection against moisture. Most often, special mastic is used for this, which fills the places where the floor and walls form corners, the space under the pipes, as well as all the available slots. Also for these purposes, in the same places a special polyethylene substrate is used, they often cover the entire floor space, leaving large overlaps against the walls - such a waterproofing method will be good, for example, for a bathroom.
- At the last stage, the floor is filled with a properly selected screed.After it dries, you can lay the tile, starting with a comfortable side, taking into account all the features of the pattern.


It should be noted that each type of screed has its own drying period. It should also be noted that when the screed "grabbed", you can walk on it, but this does not mean that it has completely dried. Typically, the full drying time is indicated on the packaging with building material, but if there is no such information, then you can use the following formula for calculating the drying time.
This formula depends on the screed material:
- Gypsum screed. If the thickness is less than 40 mm, it dries a week, sets in 3-4 hours, i.e. 10 mm dries 42 hours. If more than 40 mm, then for every 10 mm you need to add 90 hours;
- Screed cement and sand. If the thickness is less than or equal to 40 mm, then every 10 mm is 7 days. If the screed is greater than 40 mm, then for each 10 mm, add 14-15 days. That is, it will take two or even three months to dry the cement-sand screed with a thickness of 80 mm.
After the new screed has dried, for better adhesion the floor must be coated with a primer using a special roller. When the primer dries out, you can make the layout of future tiled rows and start laying tiles.
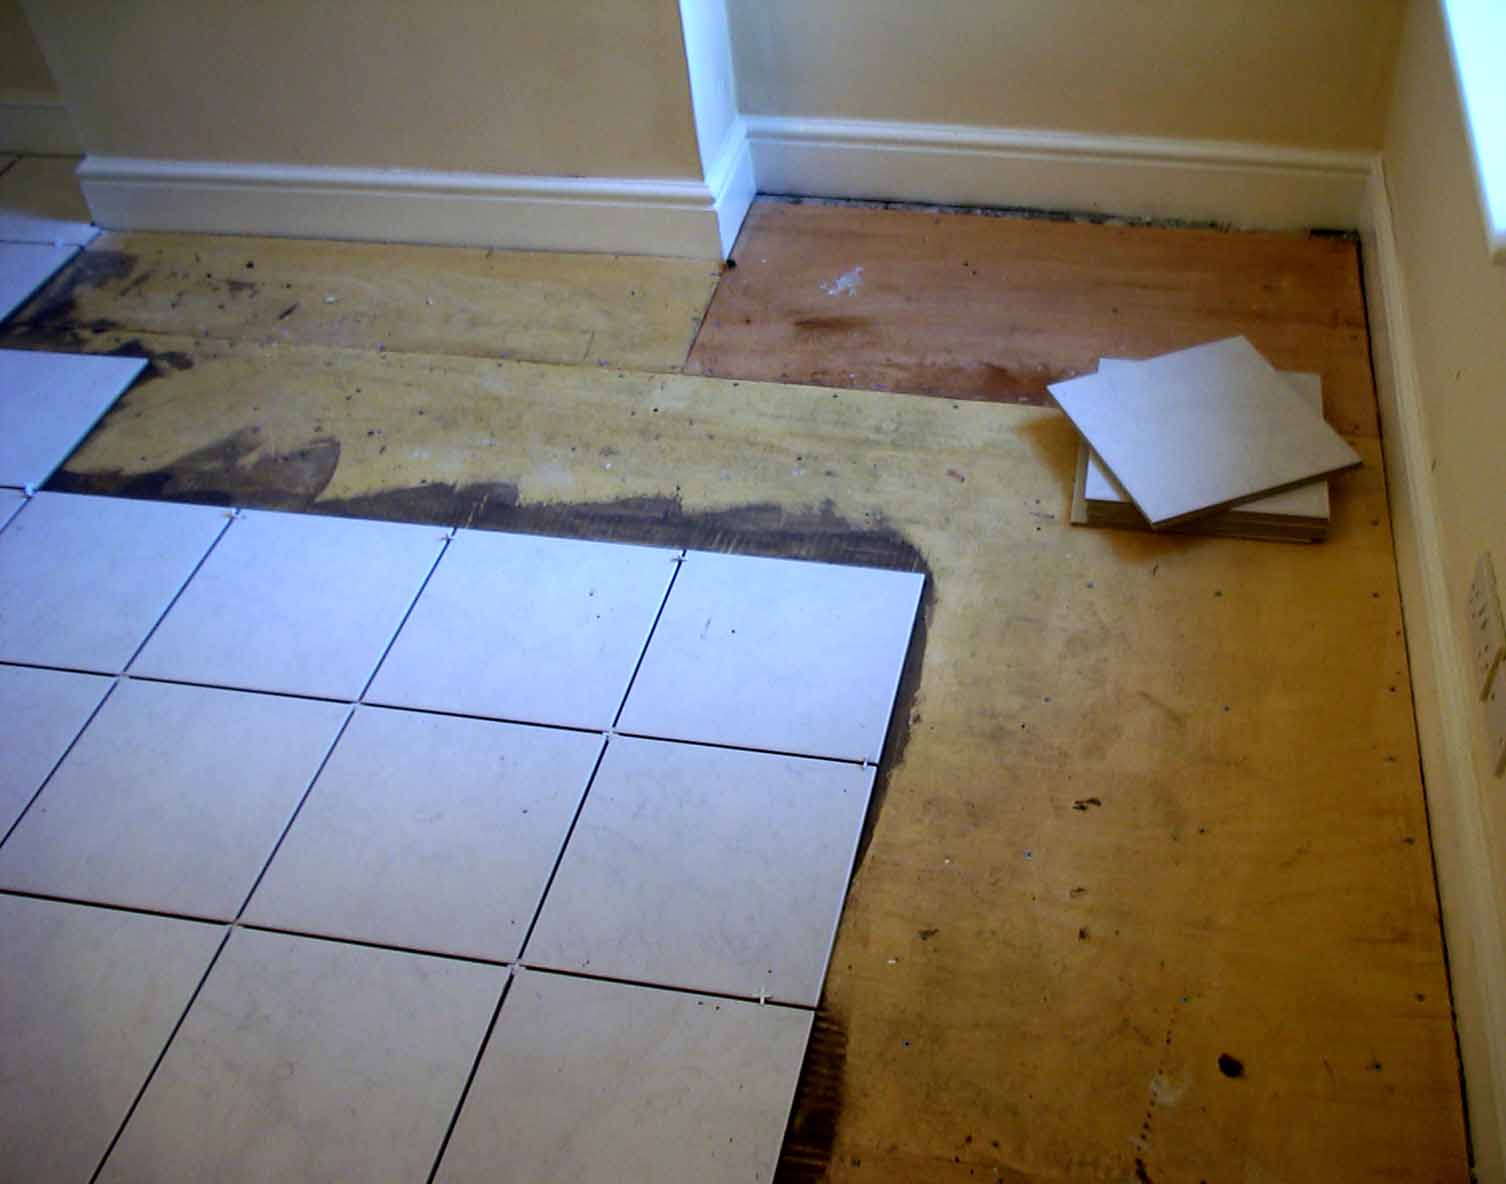
- Old wooden floor. In this case, there are two options for preparation - remove the old wooden flooring, if it is uneven, and work with a concrete base, or if the parquet flooring is durable, work with it, taking into account the additional load on the floor.
If the parquet is durable, then for preparation you also need to think about the level of "raising" the floor, then pour all the gaps between the boards with foam, then cover the floor with a special waterproofing solution.
After drying, put the reinforcement mesh, top apply a special composition for wooden substrates, which is leveled itself. When the solution is dry, you can lay the tile.
If the parquet bends, you need to remove all the boards, leaving strong lags that need to be treated with flame retardant. Fill the spaces between them with insulating material or expanded clay.
Next, the flooring is made of a vapor-insulating material, then two layers of GVL sheets are fastened with a minimum distance from the walls for possible thermal deformation. In the end they will need to be sealed with construction foam. Next, the gypsum-fiber flooring is primed, the soil dries out, after which you can proceed to tile work.
- Old concrete floor. At the preparatory stage, you need to assess the condition of the old screed and calculate the height of the future floor, taking into account the layer of glue and the height of the tiled masonry, taking into account the height of the door sill. Next, you can wipe the existing minor cracks with a tile adhesive, ready to even a smooth tie primer and get to work.
If the floor screed falls apart, it must be dismantled using a perforator, leaving the floor, and then follow all the same steps of the preparatory work.

Wall preparation
Any walls before laying tiles need to be washed and degreased thoroughly. If there is a layer of old paint or wallpaper, plaster, as well as old tile, all these materials must be carefully removed, cleaned and level the surface with a level, then plaster carefully.
If the wall is brick, carefully wipe all the cracks so that the surface is smooth.
Further along the surface, special notches should be applied with a chisel, which will increase the adhesion of the tile adhesive and the surface.
All types of plaster walls need to be further carefully primed.. If it is drywall, then the joints between the elements must first be expanded, then filed at an angle of 30-40 degrees to the middle of the width, then be carefully primed.
As soon as the surface is ready for tiling, you can proceed directly to the most important stage of the work.
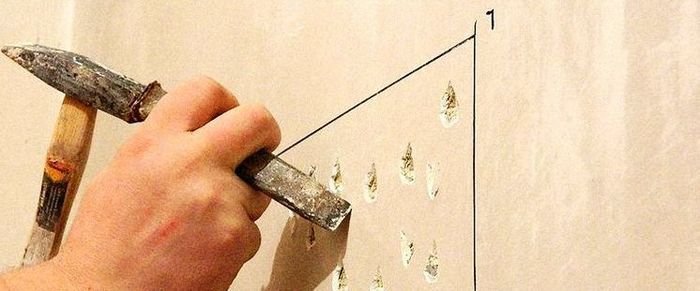
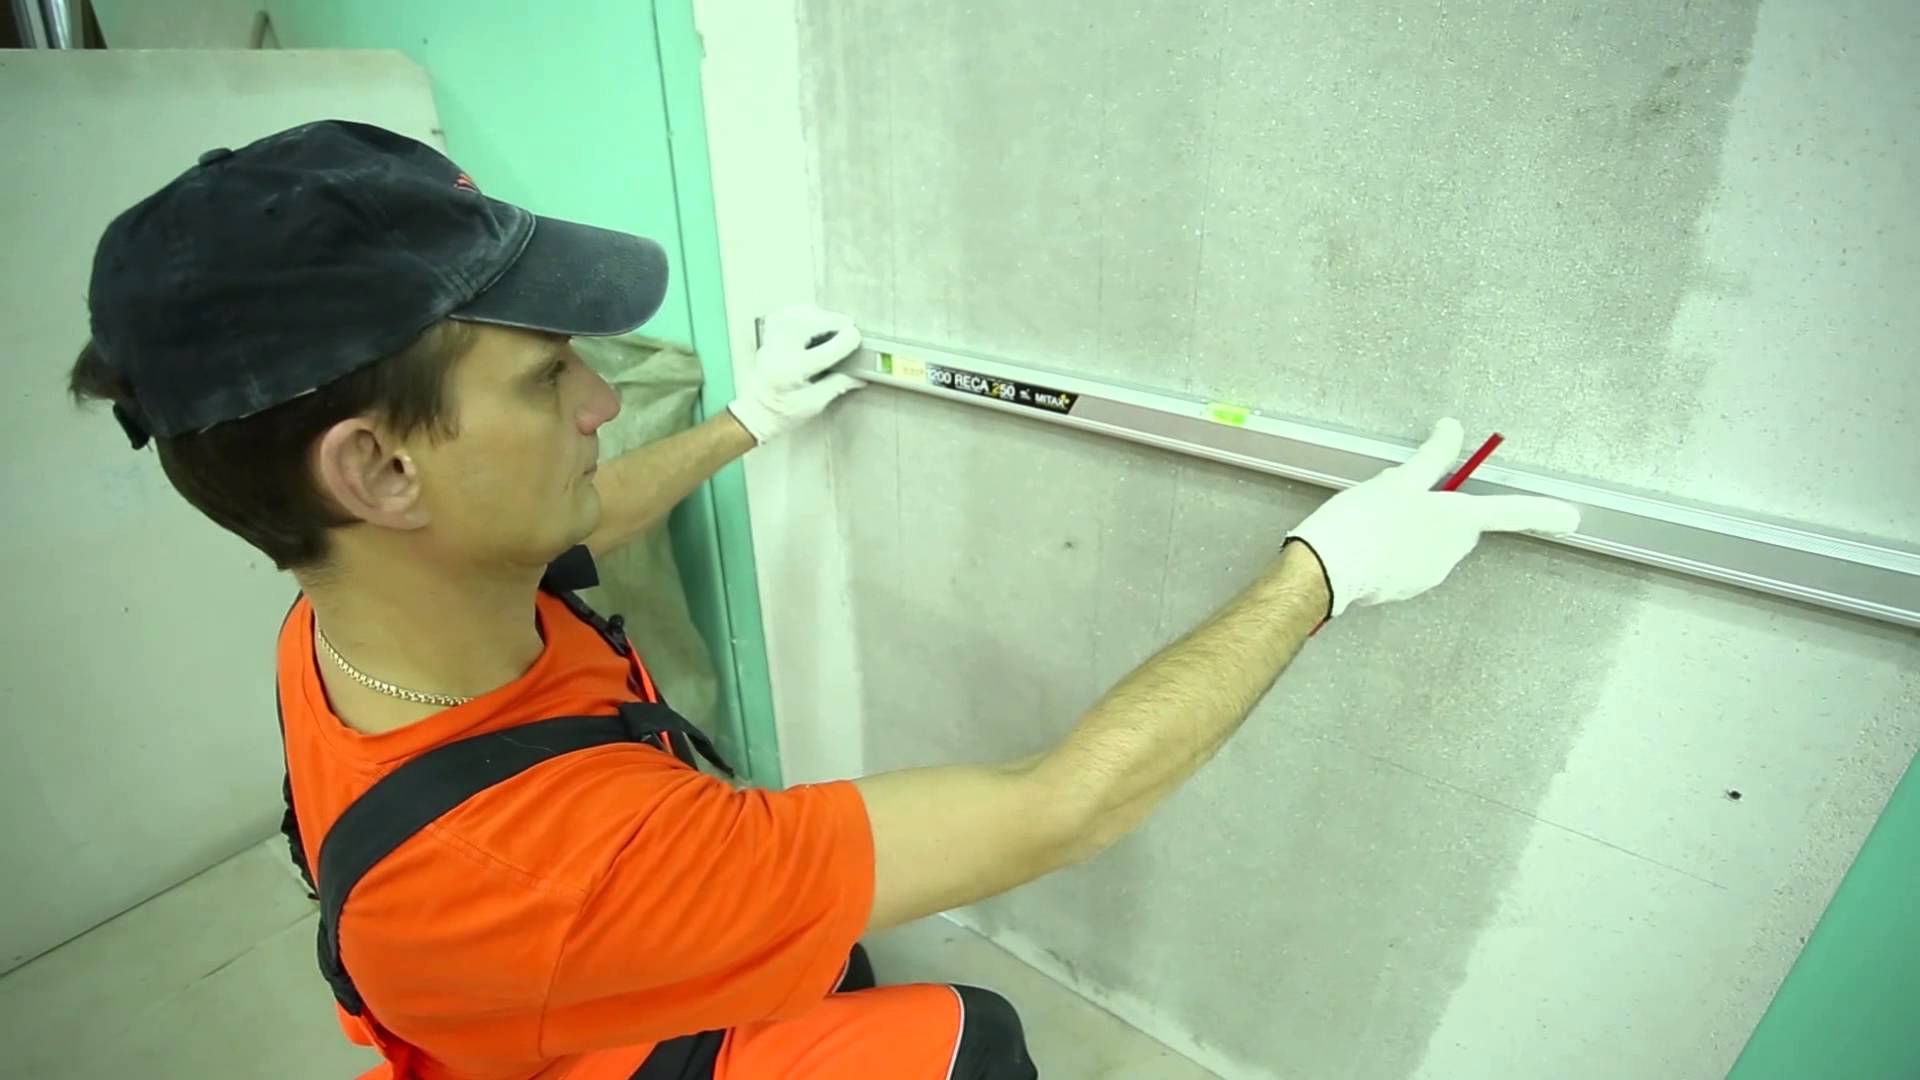
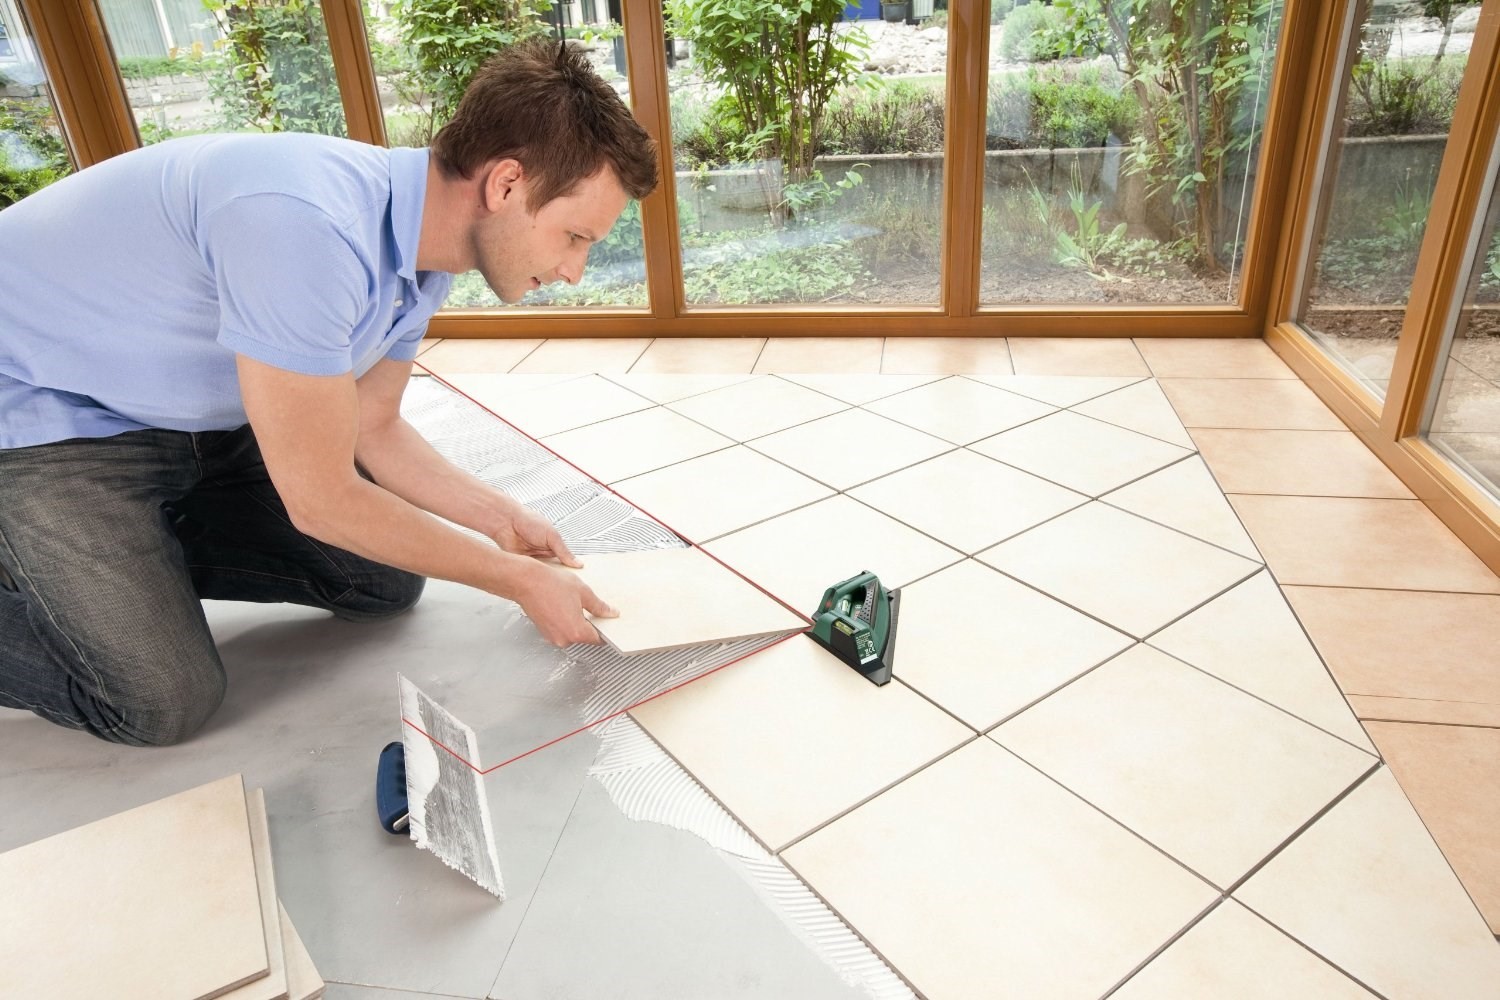
Regardless of the future cladding surface, prior to installation, it is necessary to make a marking and fix a special metal, plastic or other support along which the first row of tile will be laid.
Algorithm for laying tiles on the wall:
- mark the first row of tiles on the wall with a simple pencil and fix the stop along the bottom edge of the first one;
- make beacons - mark on the wall of the place where a large tile will be fixed in size or weight;
- tile in the bathroom to start to lay out from the bottom corner;
- for beginners doing their own hands for the first time, it is better to make the first bottom row all along the wall;
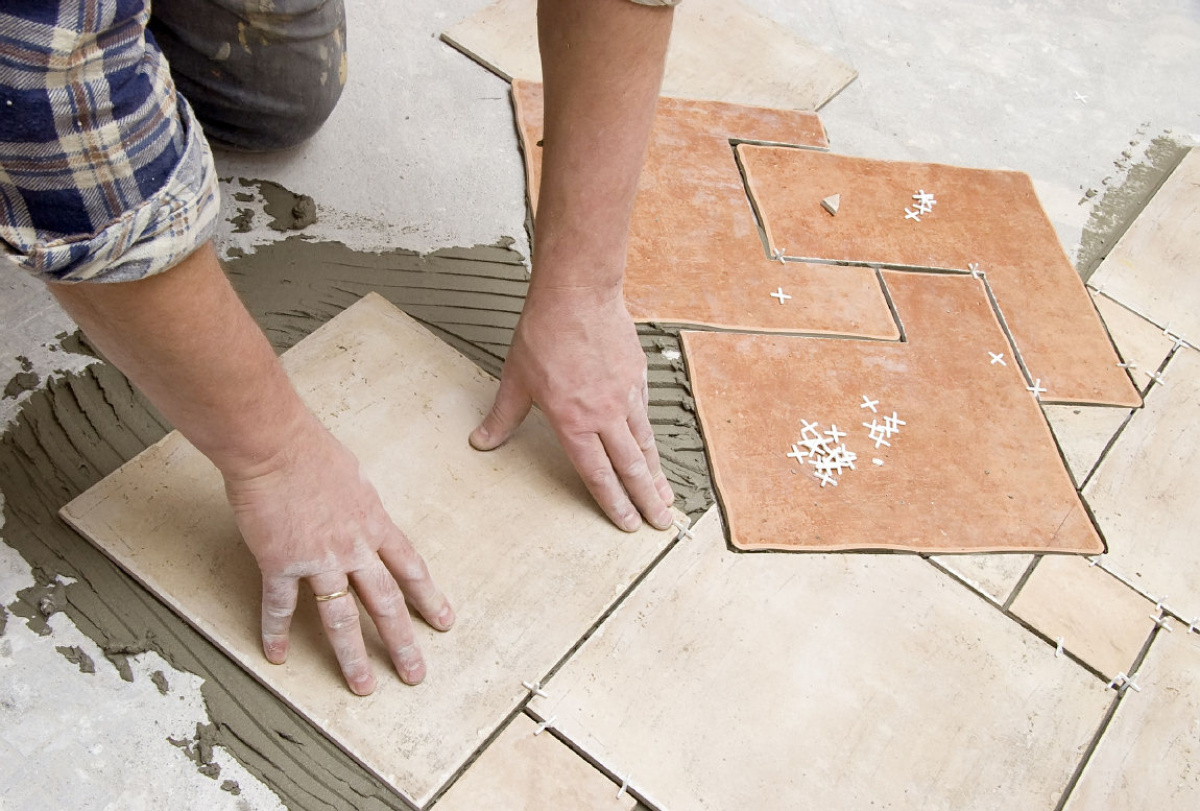
- all seams need to be consistently fixed with special crosses; the joints between the tiles themselves are necessary so that it does not crack and does not fall off the wall when dried;
- each time it is necessary to check the placed tile horizontally and vertically;
- if there are trim elements of the tile, they are best laid at the end of the work;
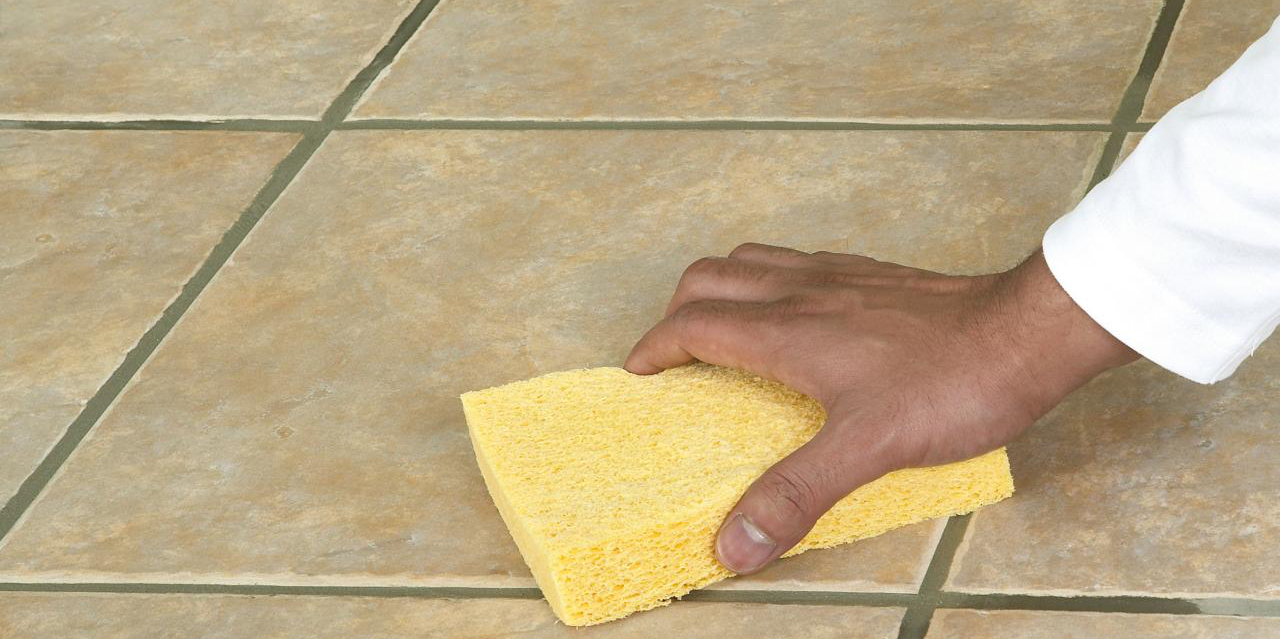
- after completion of the laying you need to waitwhen the glue grabs (usually 10–12 hours is enough), then remove the crosses and clean the tile, then grind all the joints between the tiles, immediately removing the excess with a sponge from the tile surface.
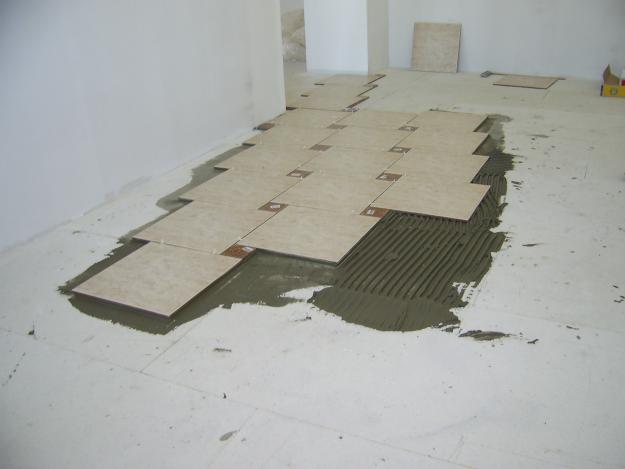
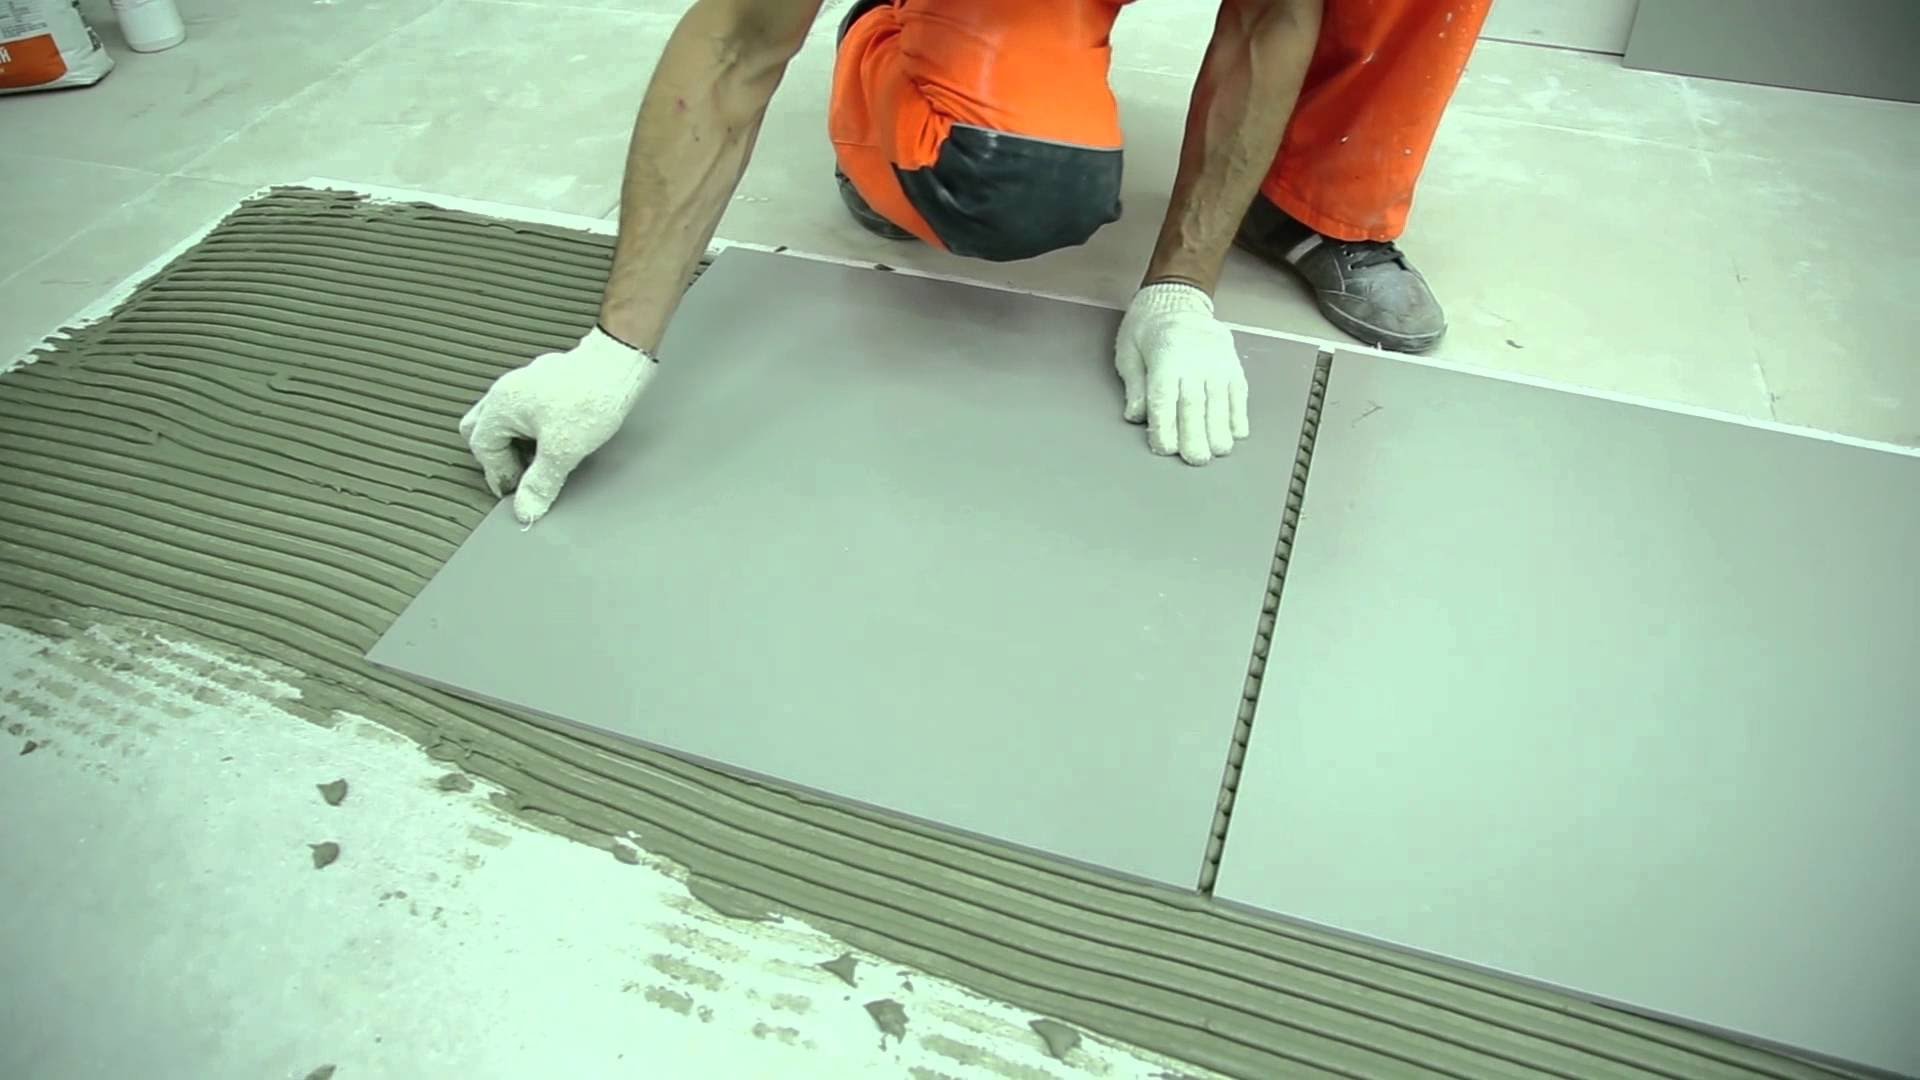
Laying tiles on the floor somewhat different from wall mounting. Starting to lay the material on the floor in a simple way is better from the first row. If you plan to make a picture, you need to determine the center of symmetry, drawing two lines from the middle to the middle of two opposite walls, and start with it. From the second row laying should start in small spaces.
After pre-marking the tiles of the lighthouses, you can apply glue with a wide spatula with teeth at an angle of 60 degrees. The area of application should be slightly less than a meter so that the glue does not have time to dry.
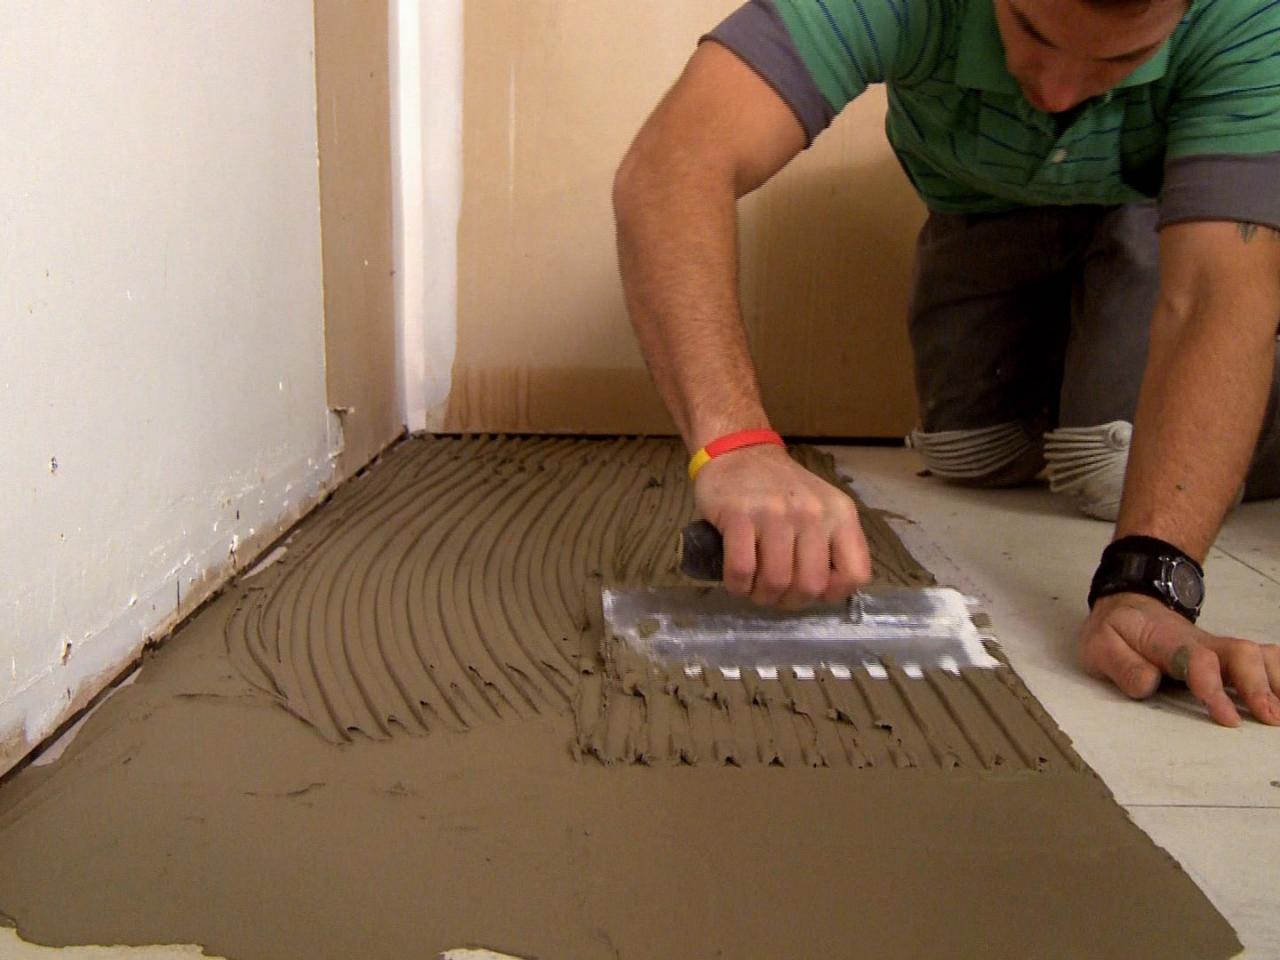
If the floor tile is large enough, then the glue should be applied to the very surface of the tile, then lay it on the adhesive solution and lightly tap the wooden board laid on top for better adhesion.
The seams are also marked with crosses. Their maximum width is usually not more than 4 mm.
When laying it is necessary not to forget to check whether the tile is evenly laid down and, if necessary, it must be joined.
After all the floor tiles are laid, you need to immediately remove all crosses until the mortar has hardened. Further you must wait twenty-four hours for the glue to dry. Then you need to carry out the grouting and clean the tile. The total glue drying time is usually indicated on the package, usually 24-48 hours..
However, if the room is wet or works are carried out in winter, then the total time should be added about another 12 hours.
You should not walk on just laid flooring. Masters advise to wait at least seven days before the adhesive solution is completely dry.
How to lay your own tiles, see the video below.
Tips and tricks
If the task is to lay the cover with your own hands, it will be useful to know some useful information that will help in this difficult matter.
For example, for stronger adhesion, glue should be applied both to the surface and to the tile itself with a notched trowel. You need to glue it so that the grooves on the wall and on the tile are in a perpendicular position.
The correctness of the application and future adhesion can be checked by gluing the tile with the applied adhesive to the surface and pressing it slightly, and then removing it.On the inside, the adhesive should occupy 90% of the surface.
The thickness of the adhesive layer can often be used to adjust some unevenness of the base, but only not more than 1 cm.
For large tile there is a special set of devices for precise styling. It includes a pistol, caps, pressure plate. All tiled elements are fastened exactly along the seam while the glue dries, and then aligned with the help of sliding caps. Heavy tile elements of special materials can be fixed with a special elastic glue of particularly strong fixation.
The side edges of the seams of the tile in the bathroom can also be treated with a special waterproof silicone sealant, pre-gluing the tile itself with building tape. Such a composition dries quickly enough, about 20 minutes, so the tile should be cleaned as soon as possible from residues.
Next, wash the seam with the usual soap solution.
If the walls under the tile have old paint, it can be knocked down with a chisel or a special paint remover, which is left for 10-15 minutes on the surface, then the remnants are removed.
After the entire tile is fixed, and the glue solution under it is completely dry, the entire surface can be treated with a special water repellent.
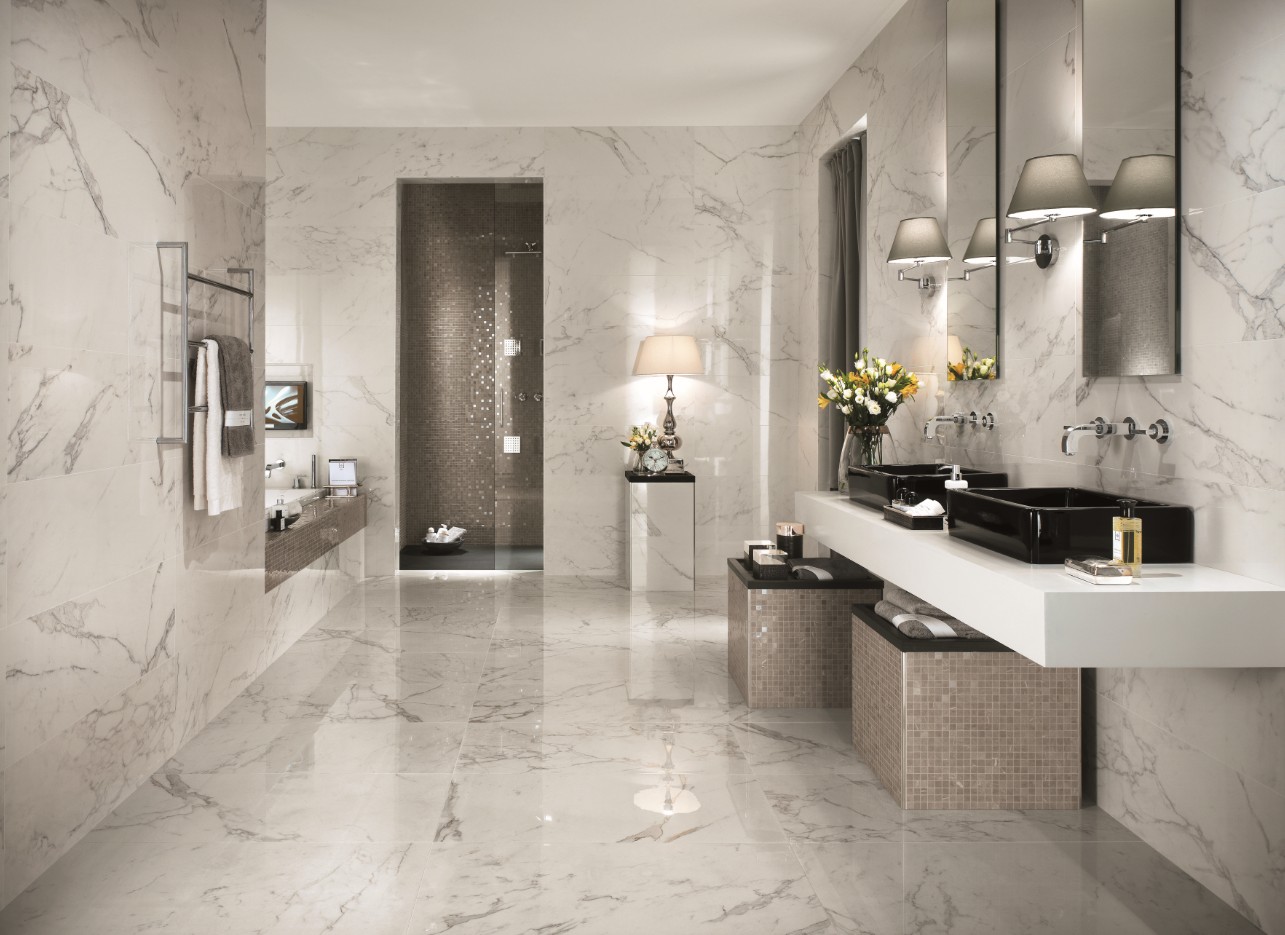
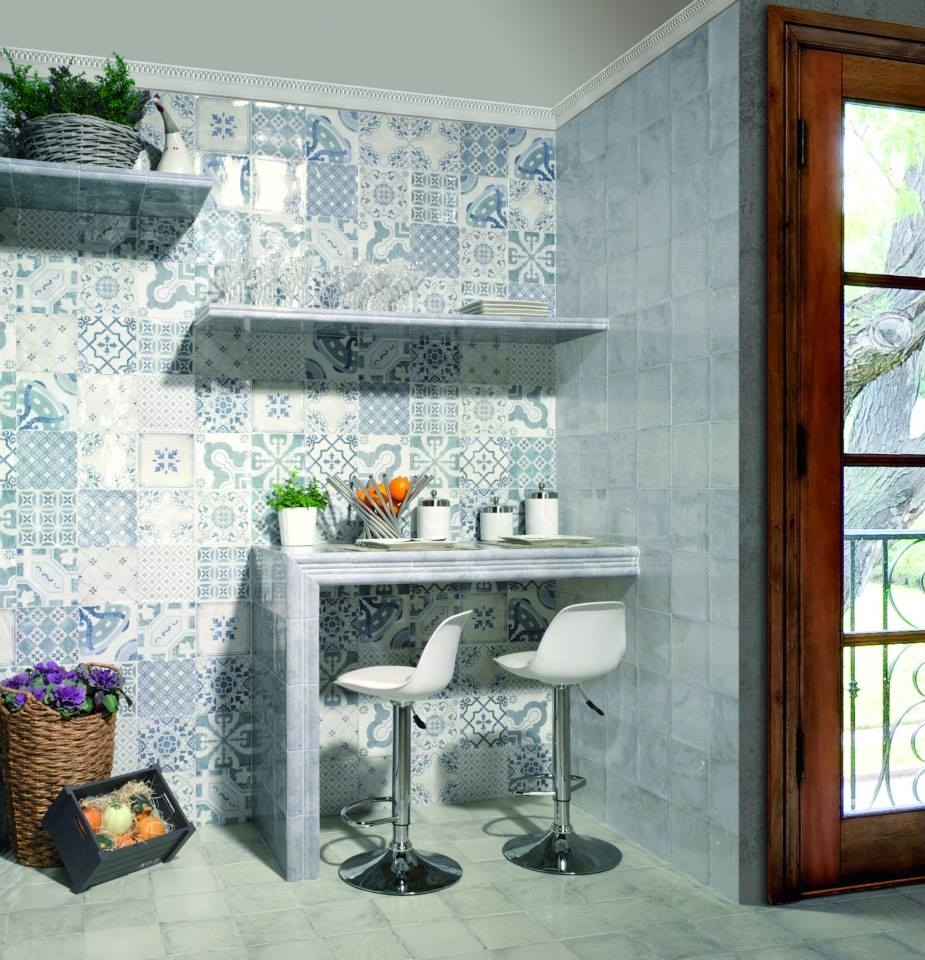
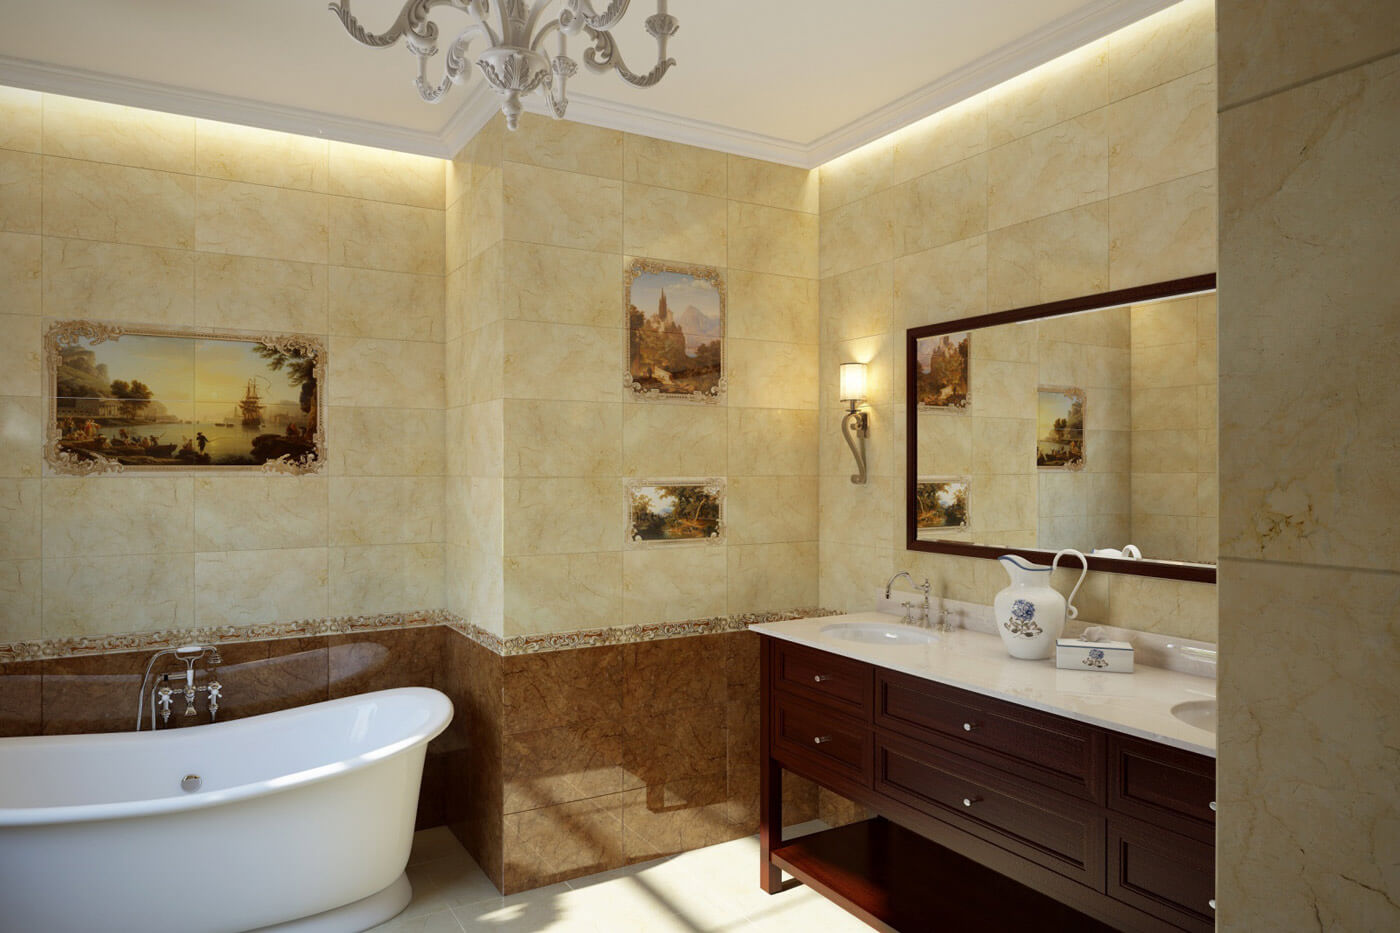
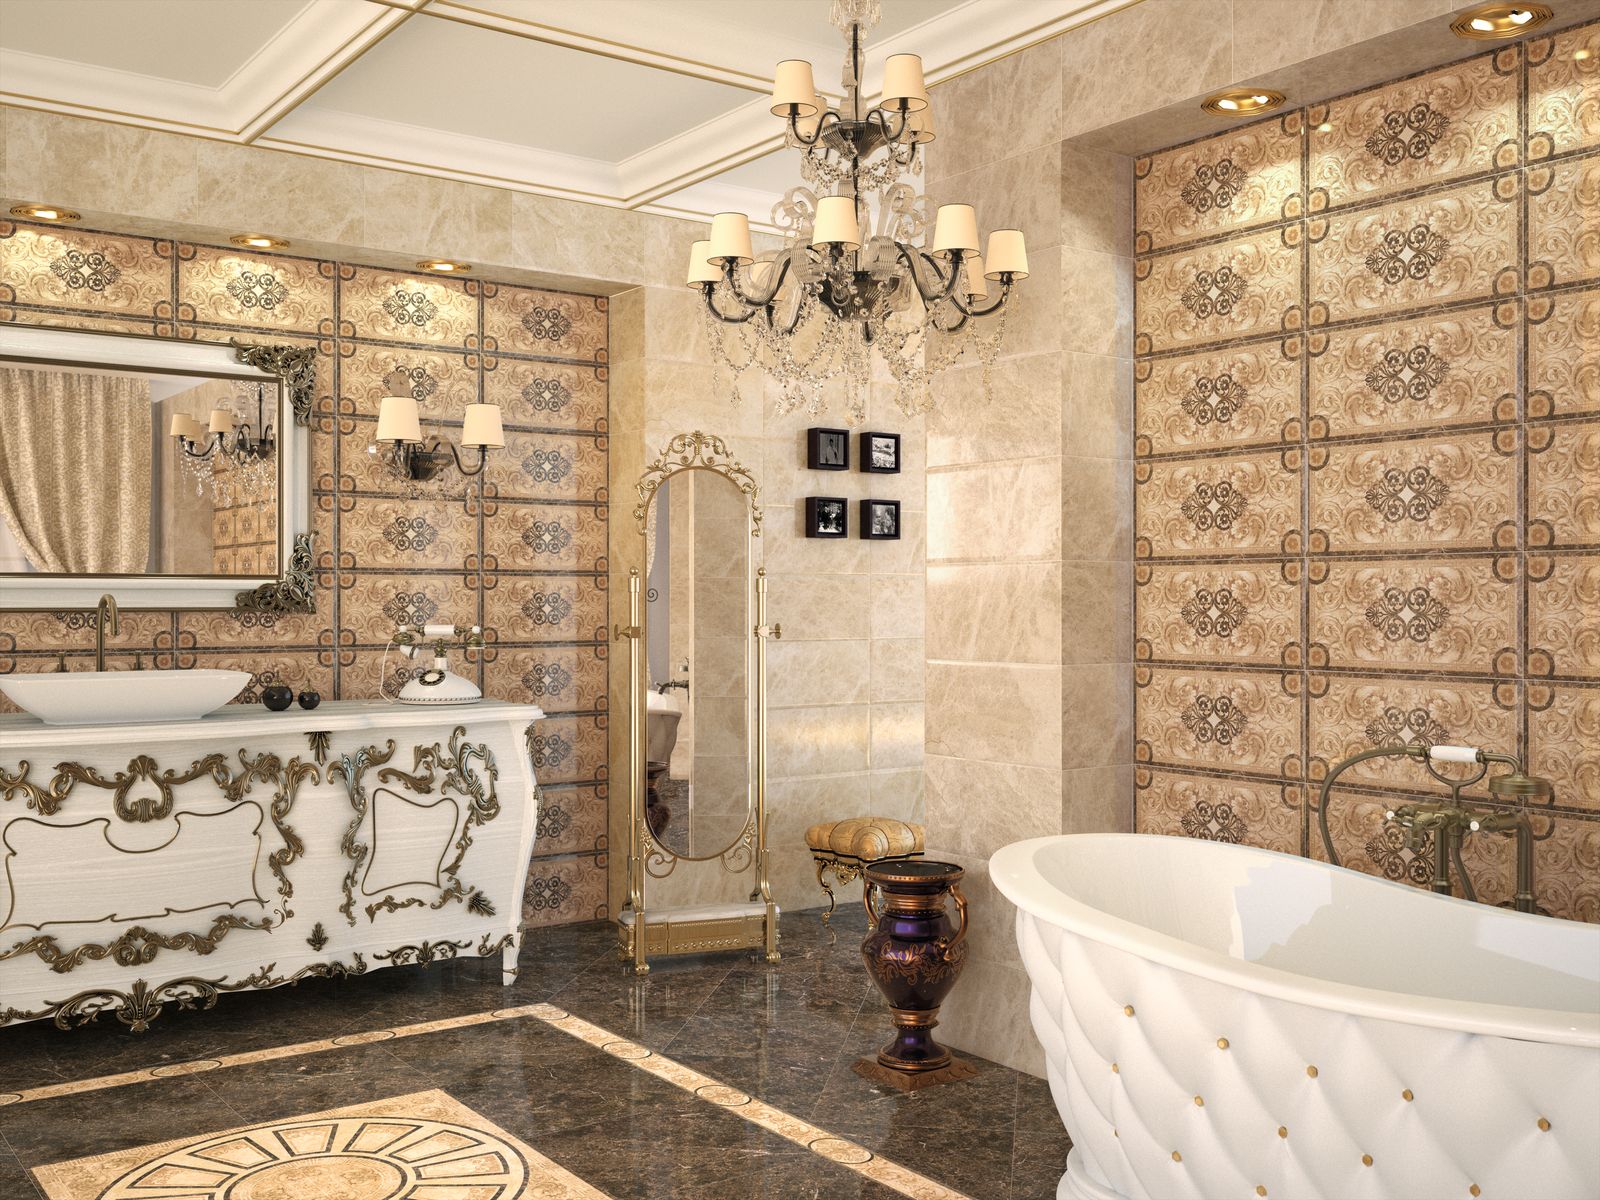
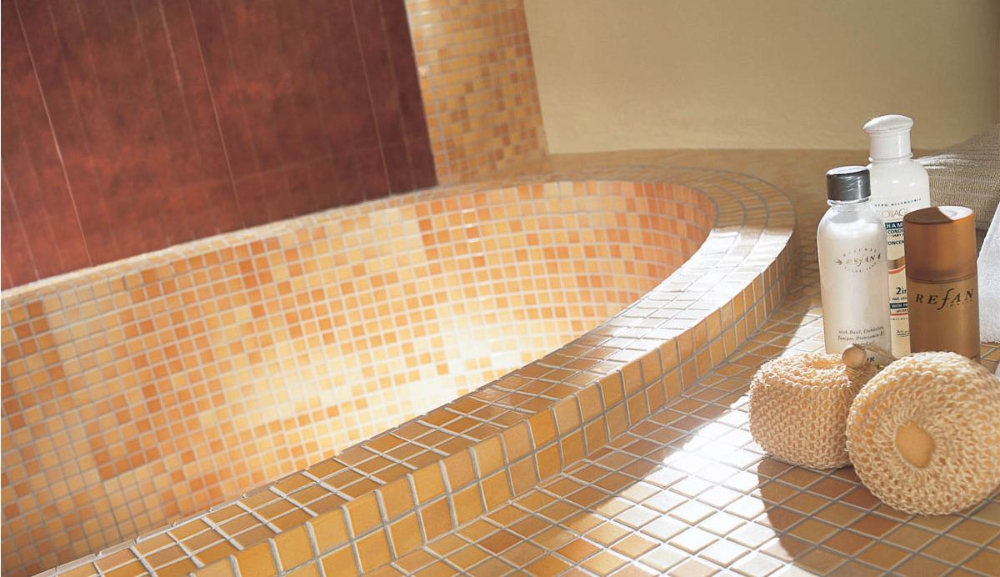
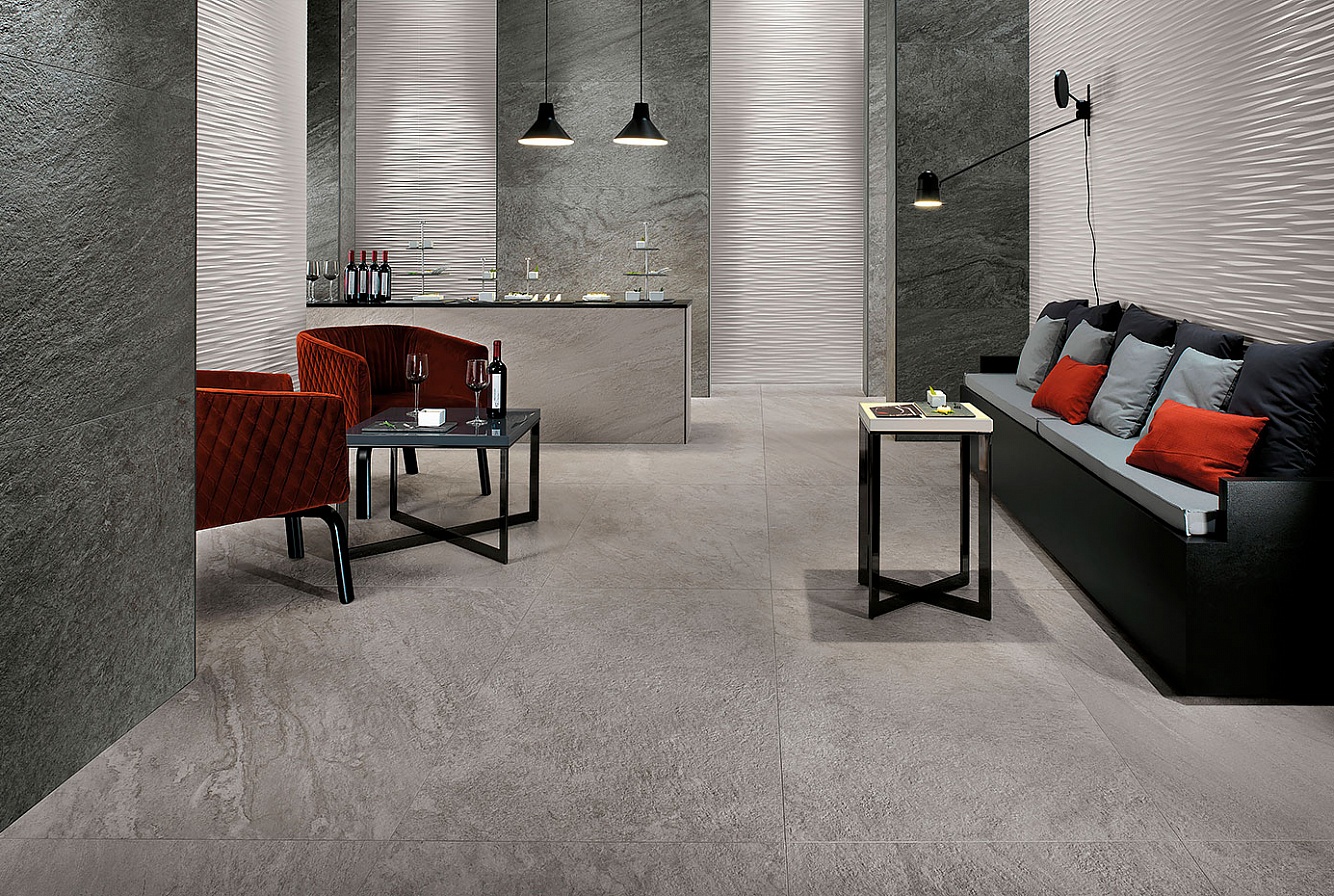
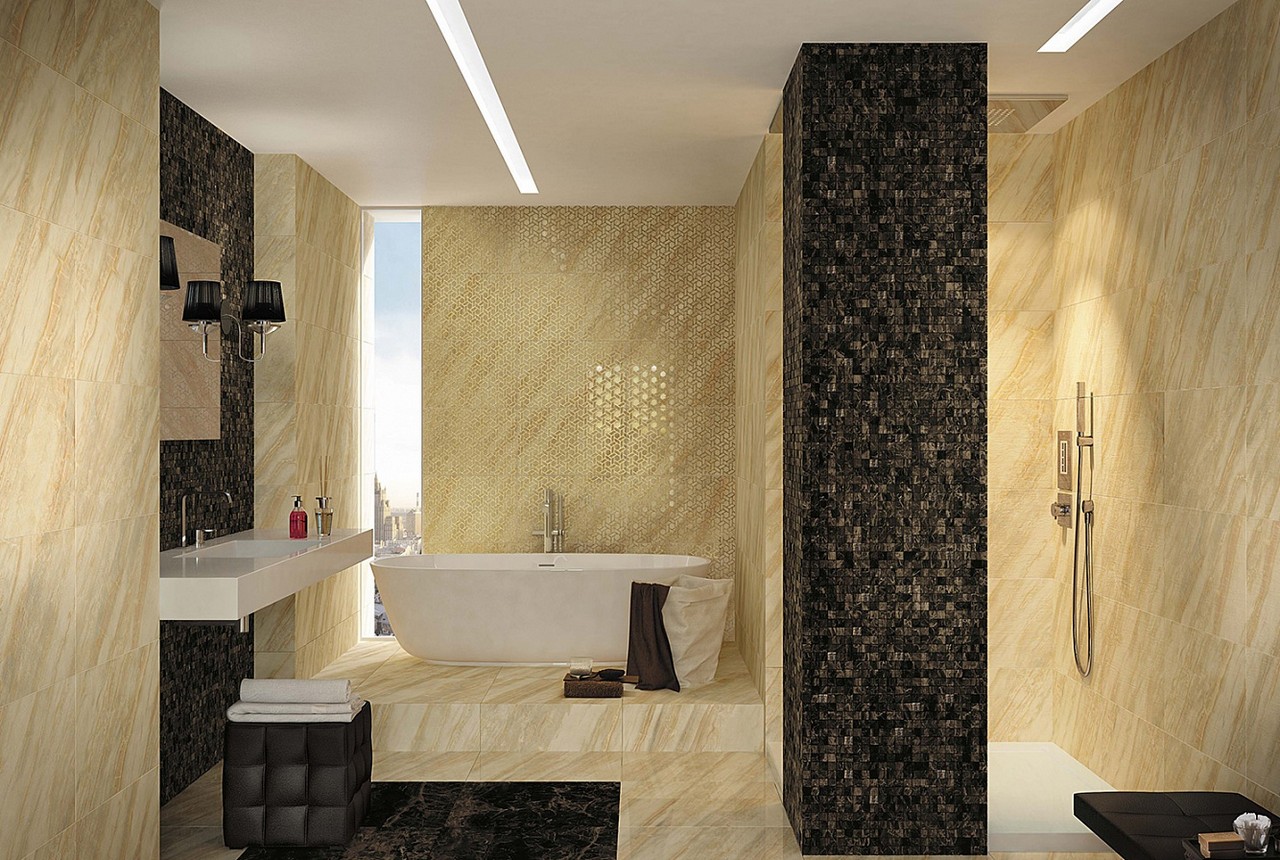
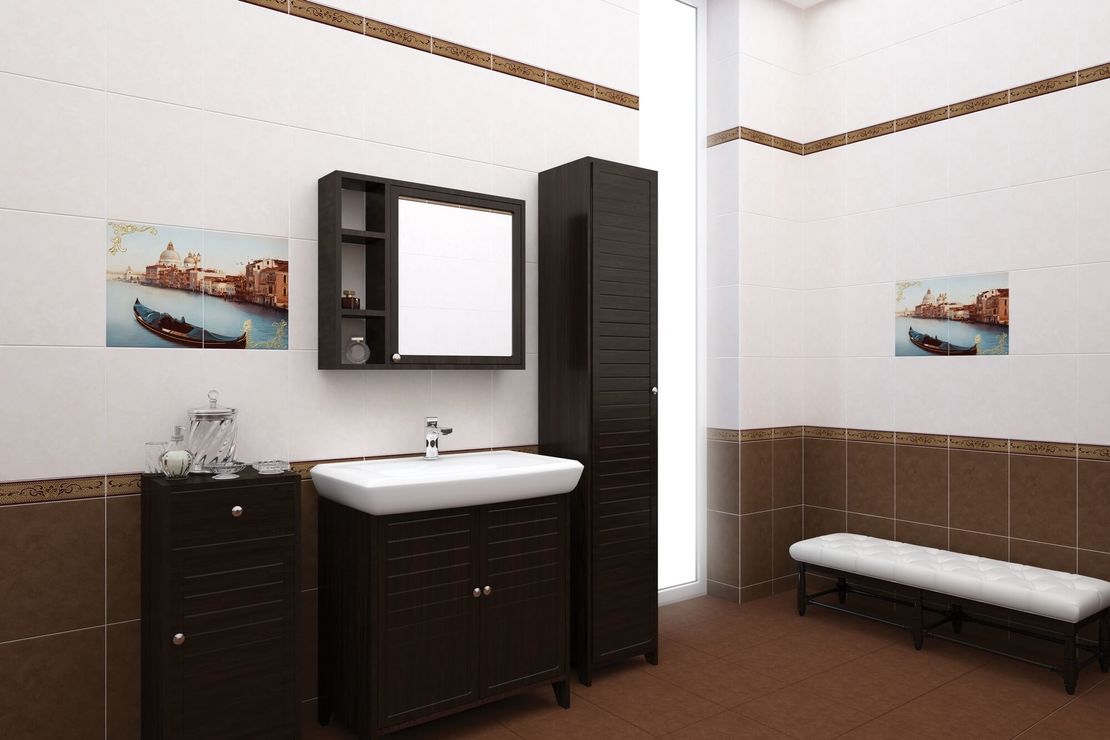
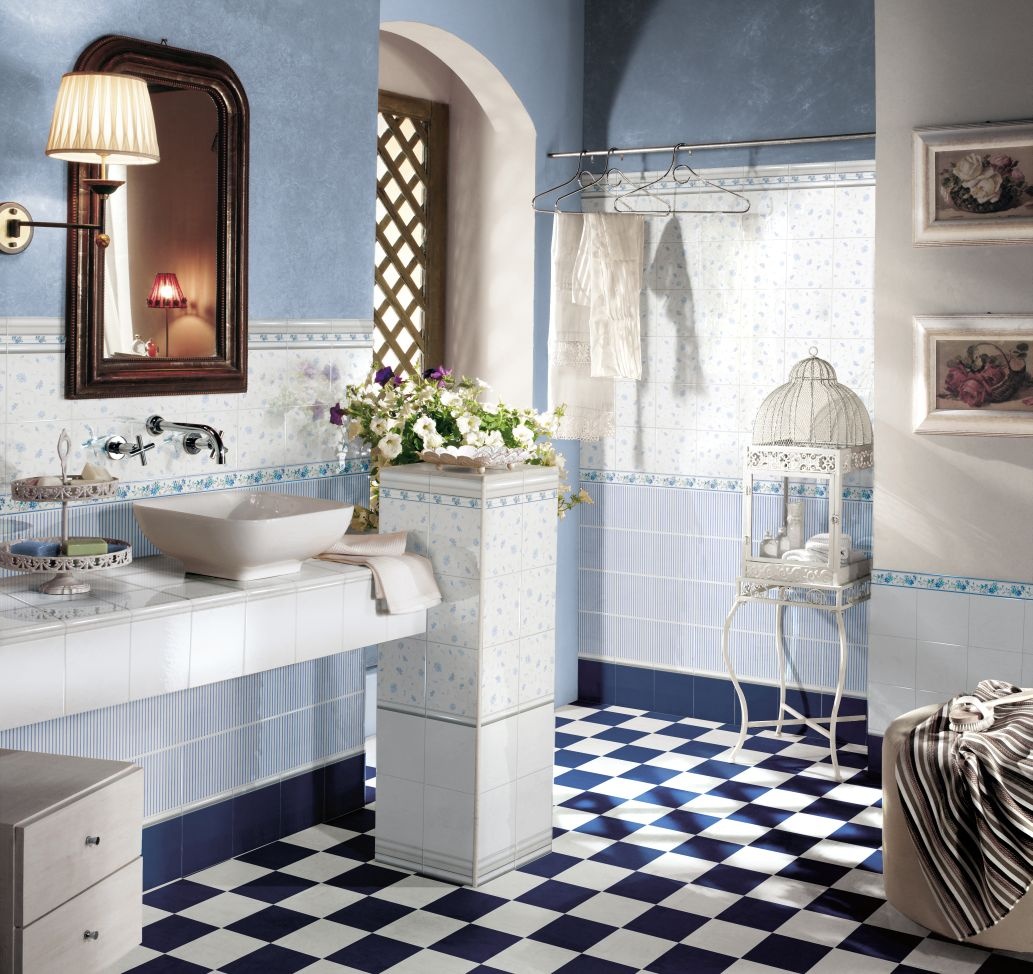
Successful examples and options
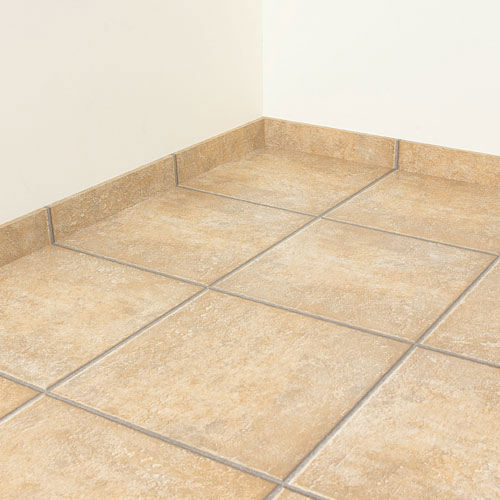
- In addition to the usual decoration of the walls and floor with ceramic tiles, this material can be used to make beautiful baseboards. For this purpose, suitable plates of large size, they will withstand possible shocks and will not fall off. Such a plinth will look spectacular on a tinted wall and protect its lower part from contamination.
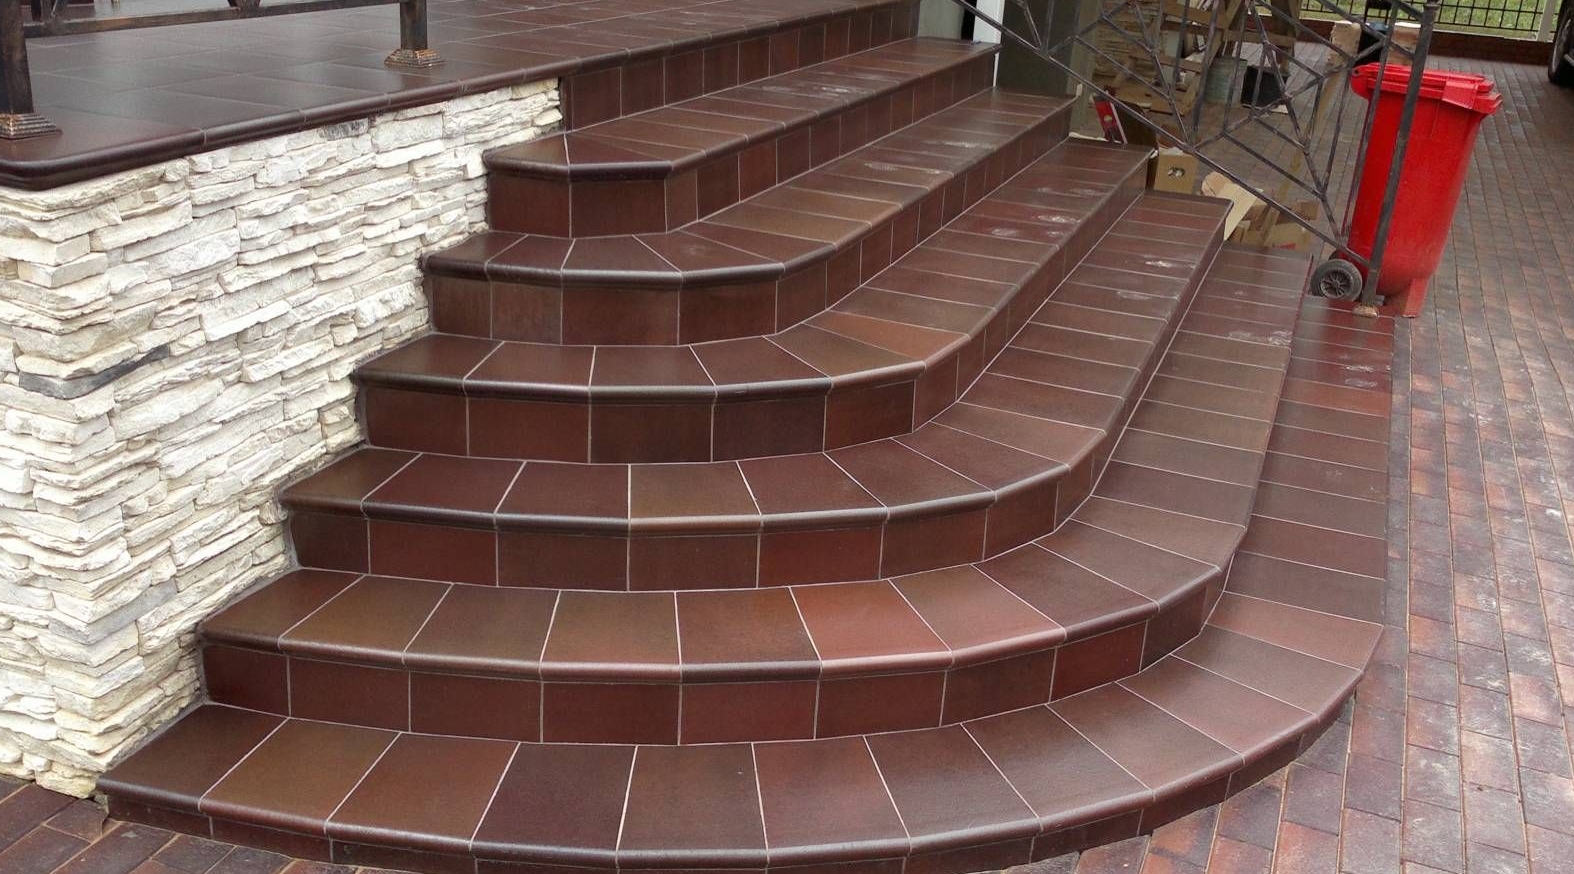
- Another finishing option can be used in a country house for cladding the steps on the veranda - a beautiful pattern will highlight each step and give the stairs a stylish look.
- Special moisture resistant clinker tiles can be used to decorate the place next to the garage.
- You can also make a magnificent decor for a glass vase or table lamp from smalt and fragments of ceramic tiles left over from the repair of the main surface.