Stretched ceiling lights with LED strip: features and installation
Stretch ceilings provide great opportunities for designer creativity and the creation of complex multi-level shapes. There are many options for lighting rooms with such ceilings. One of the most popular and interesting - using LED strip.
Kinds
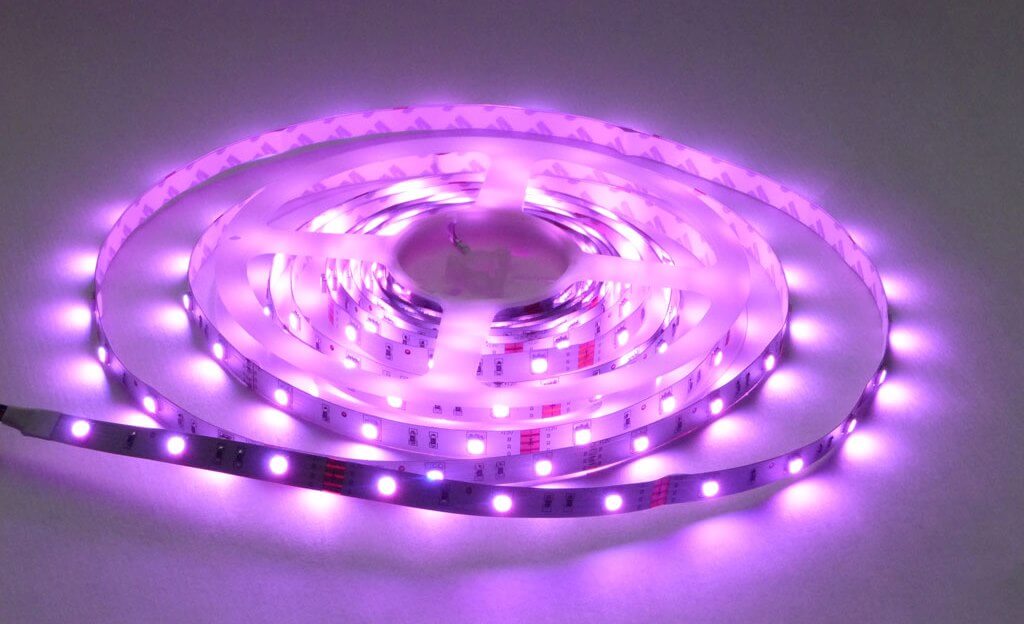
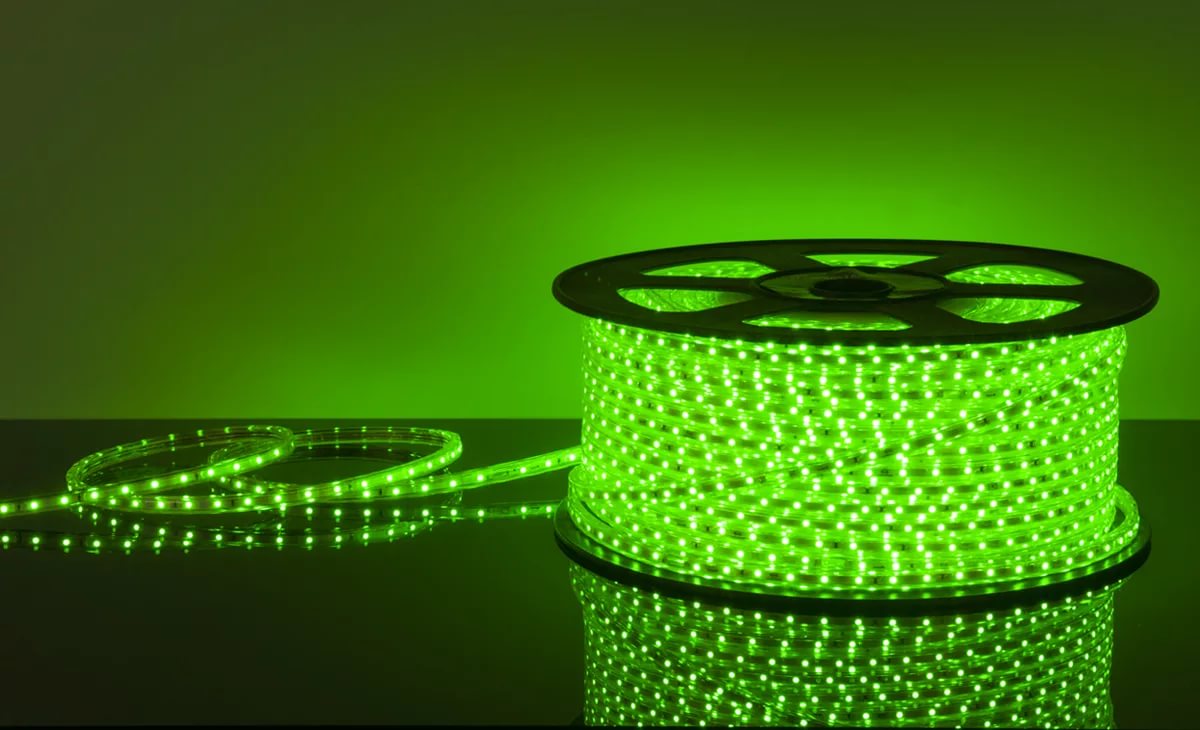
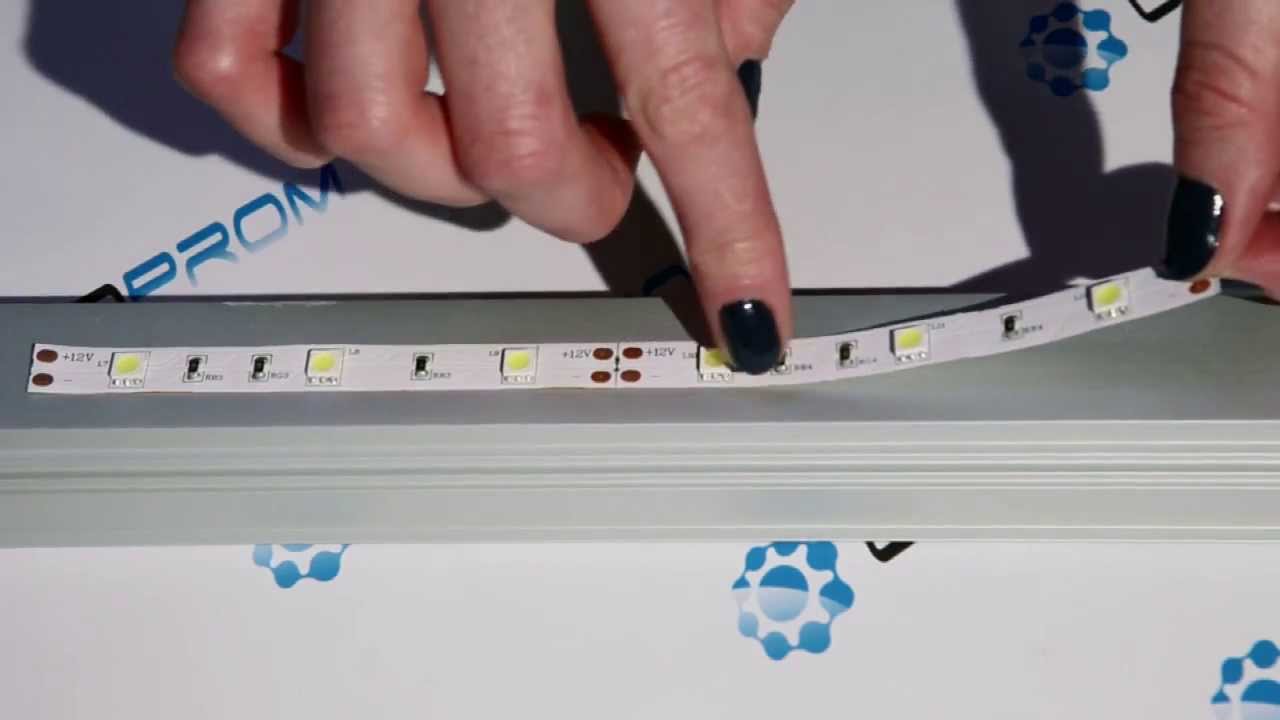
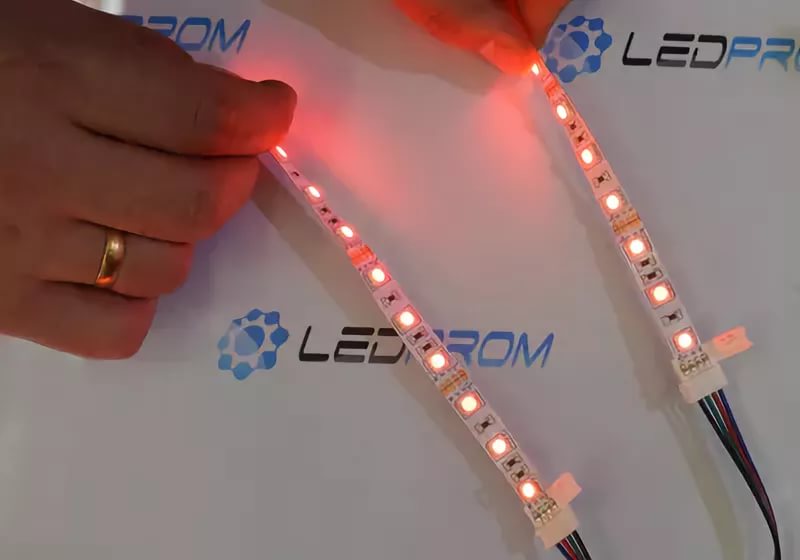
The LED strip is luminous crystals located on a special flexible printed circuit board with a thickness of 3 mm, a width of 10-20 mm and a length of 5 m. For ease of transportation and storage, the LEDs are rolled into a coil. Such a luminaire operates from a normal network of 220 V at a constant current of 12 V.
The different number of luminous crystals placed on the board determines the power consumption of the circuit and the scope of application. A diode tape with 30 or 60 LEDs per meter is used for illumination and requires less power. More powerful bands with 120-240 crystals shine brightly and can act as the main lighting of the room.
Moisture resistant boards are available that can be fixed and used in rooms with high humidity, as well as tape without a protective coating. Moisture resistant boards are more durable.
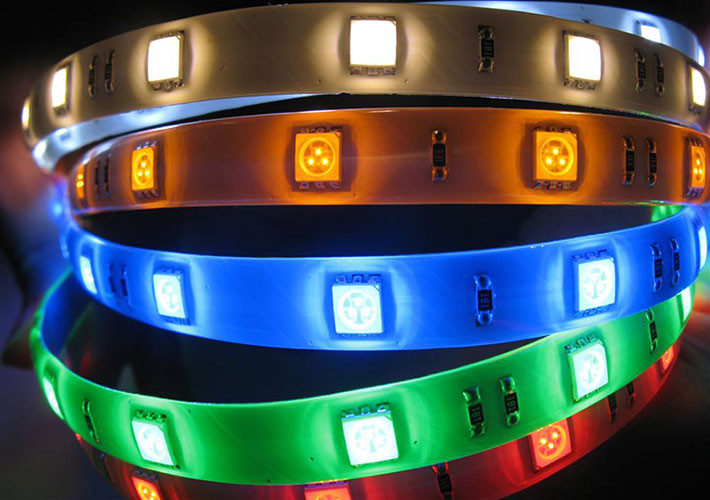
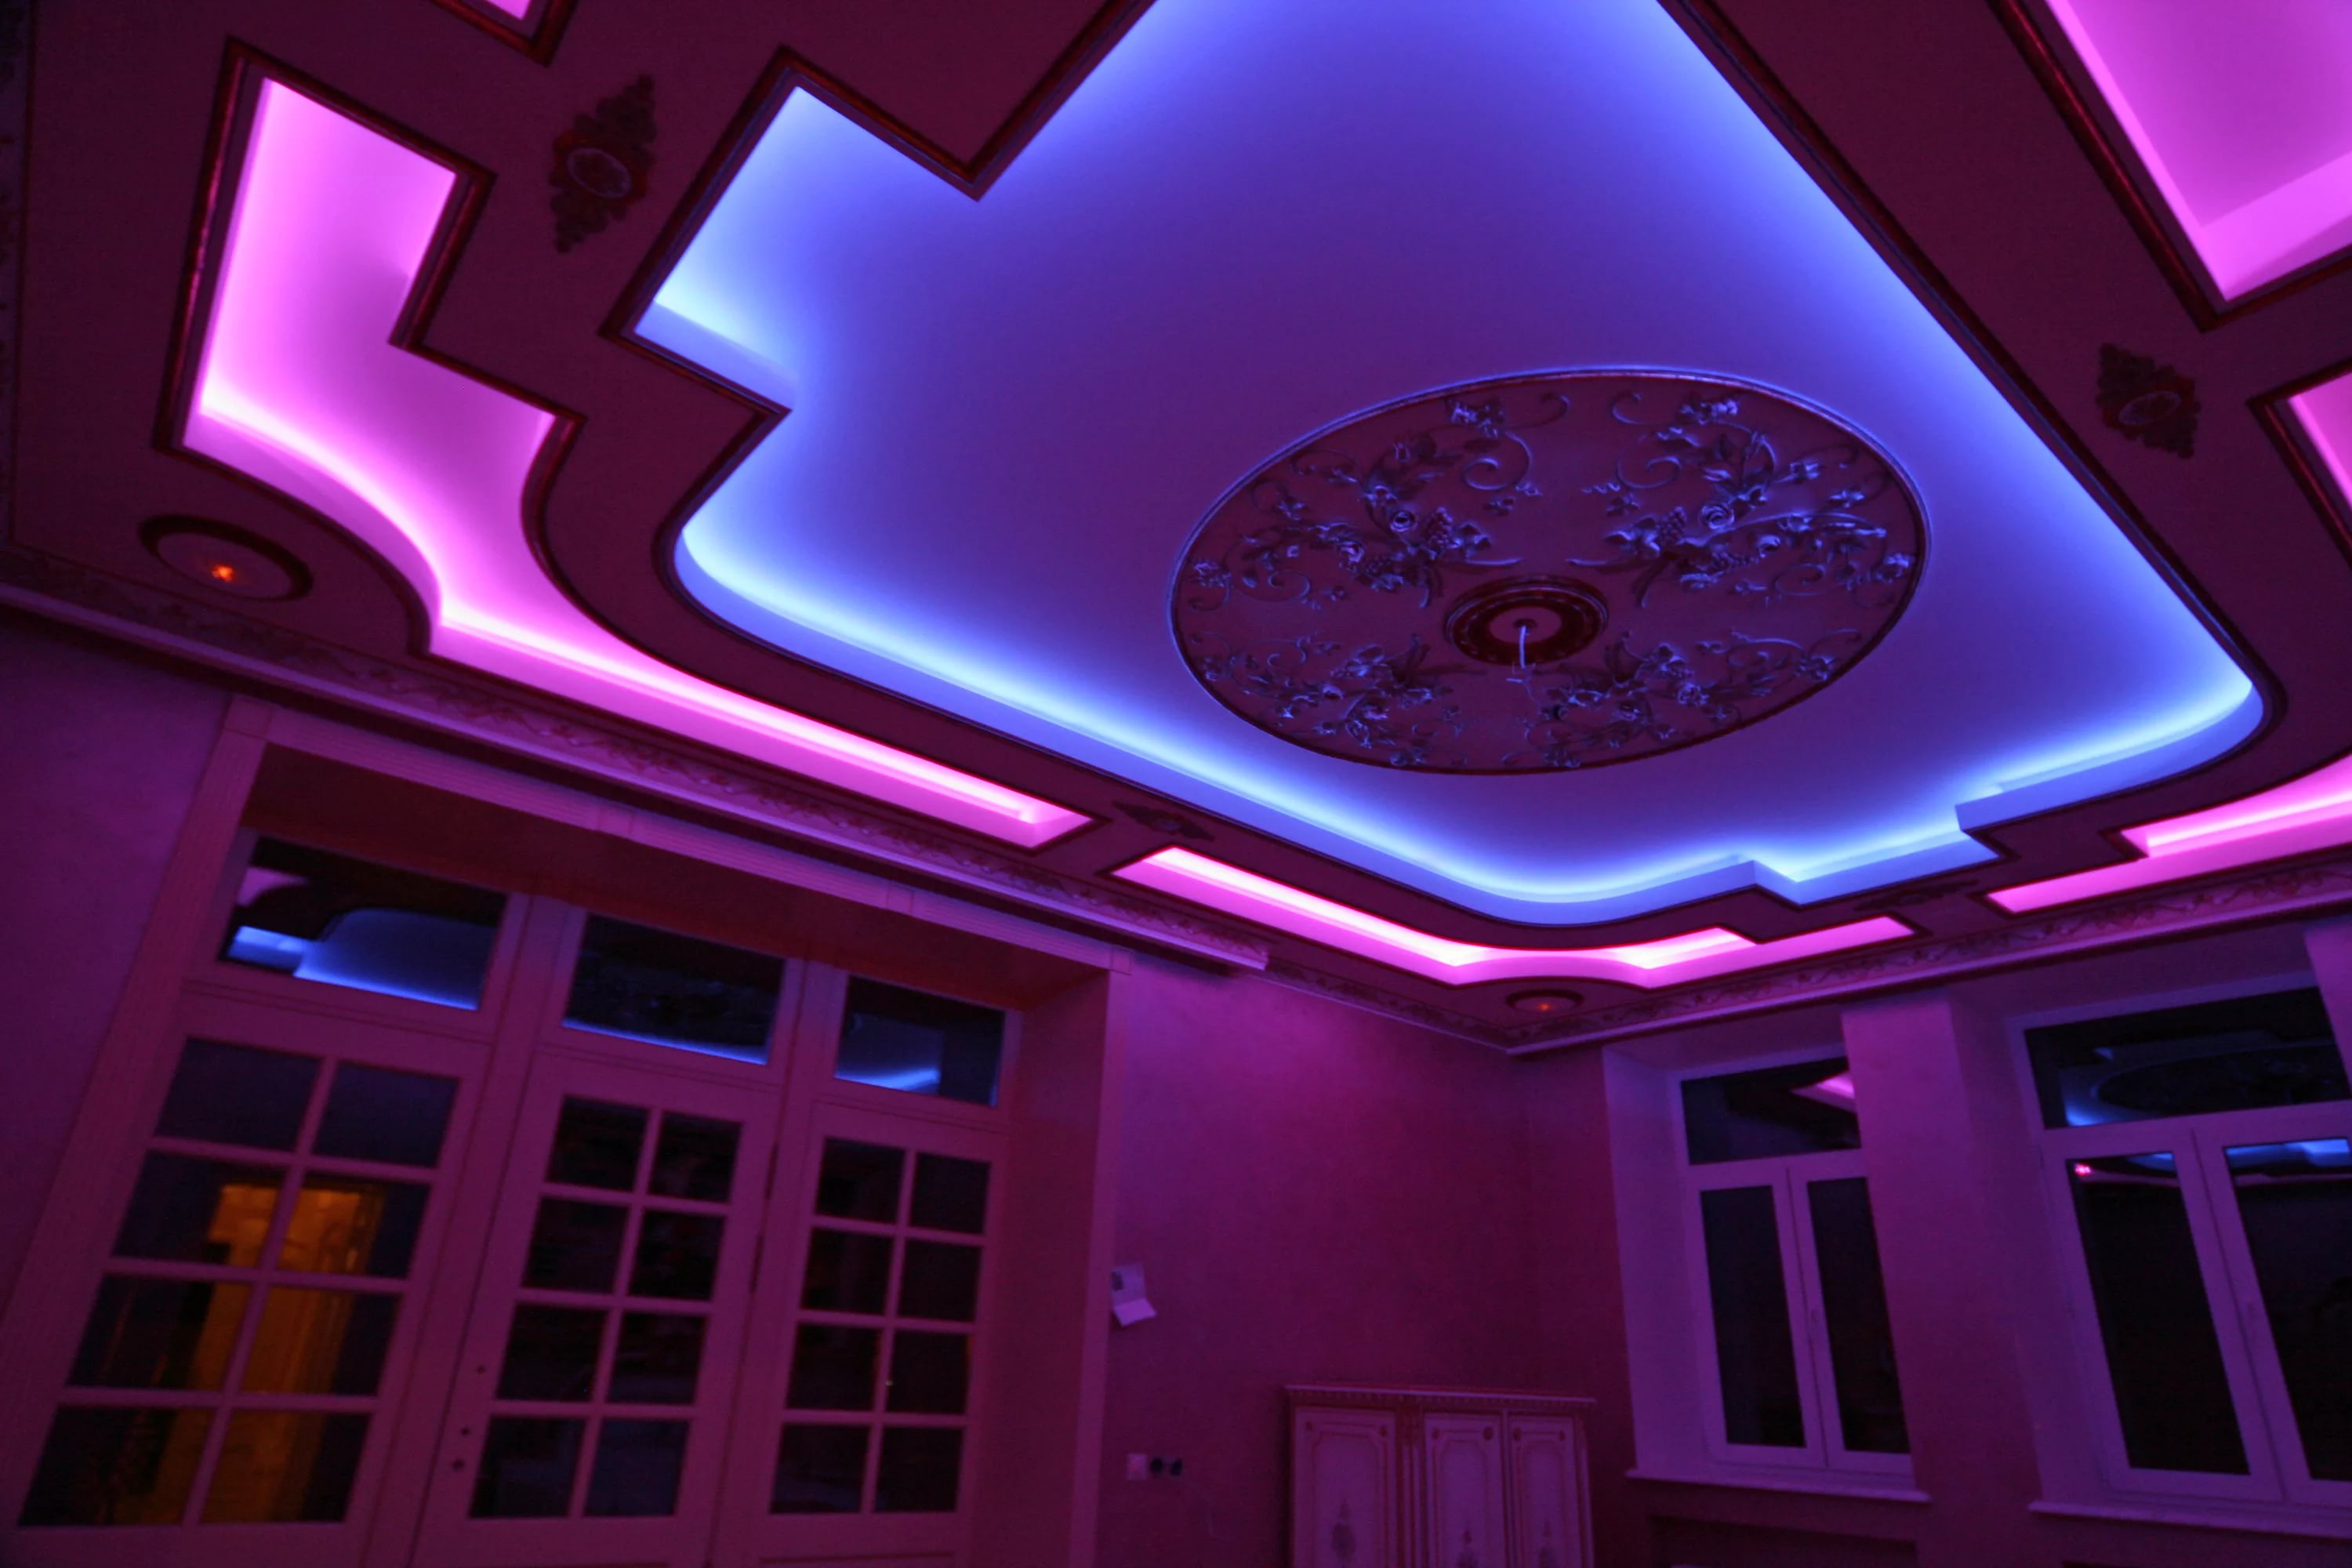
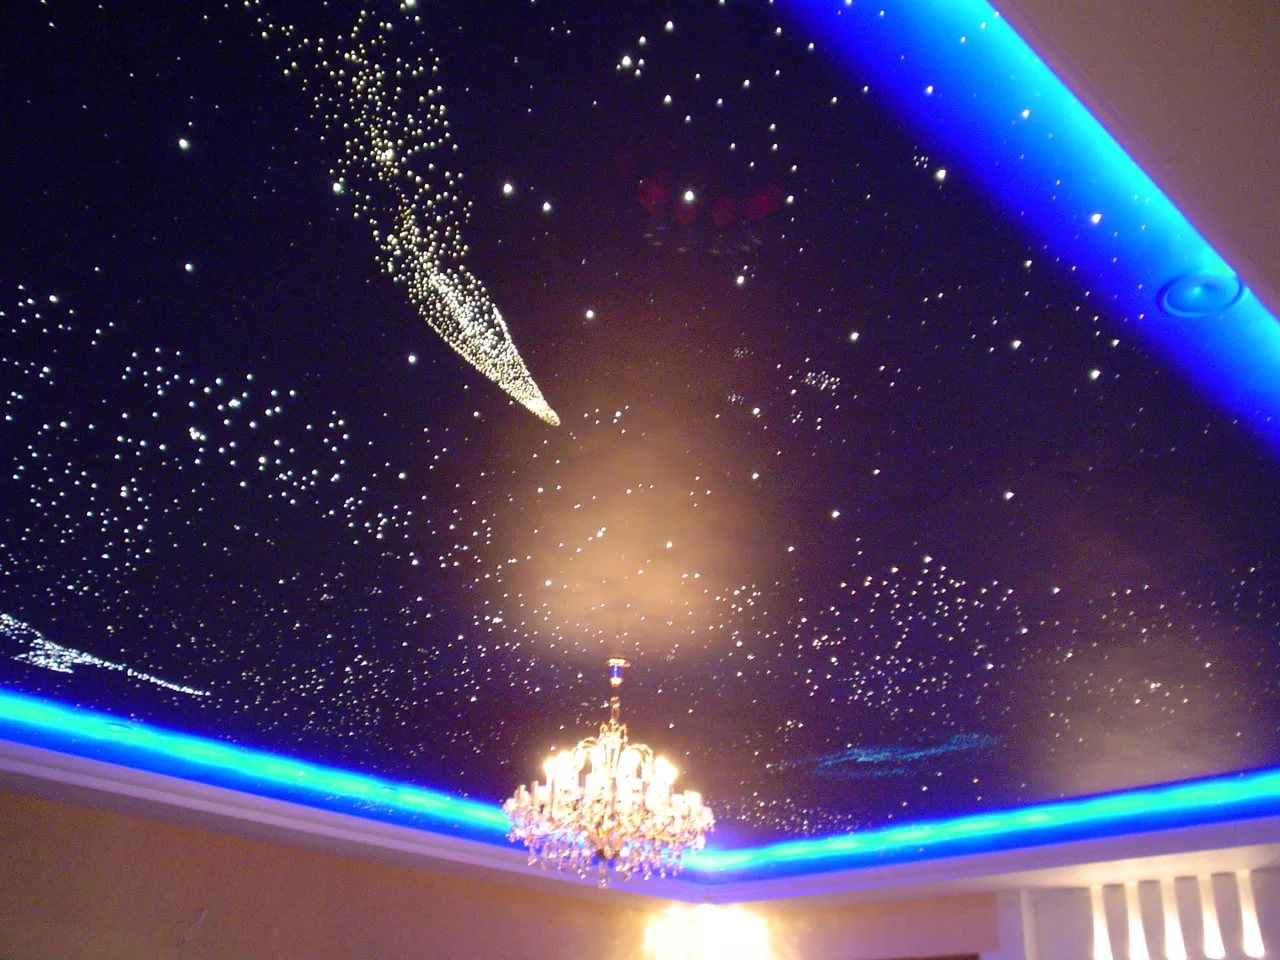
The luminescence of LEDs can be multi-colored, adjustable at the request of the owner, but it can be monochromatic, for example, white or red. With the help of LED-lamps can be arranged in the children's lumiere or colored 3D-paintings on the ceiling.
Advantages and disadvantages
This innovative material has properties that Ideal for ceiling lighting:
- low weight and compact size makes it easy to attach the tape to the base in any hard-to-reach and narrow places, to make a hidden slit illumination;
- the flexibility of the strip makes it possible to create complex patterns and contours on the surface;
- low power consumption allows you to not turn off the lights in the nursery all night without damage to the family budget;
- LEDs are durable, with continuous operation every day for 12 hours, they will last more than 20 years;
- the crystals do not emit heat when glowing, so they are excellent for stretch ceilings made of PVC, which are afraid of excessive heating;
- the ability to change the color and brightness of the glow with the help of controllers, dimmers and remote controls;
- ease of installation is amazing - on the back of the tape is an adhesive layer that you just need to press to the surface of the base;
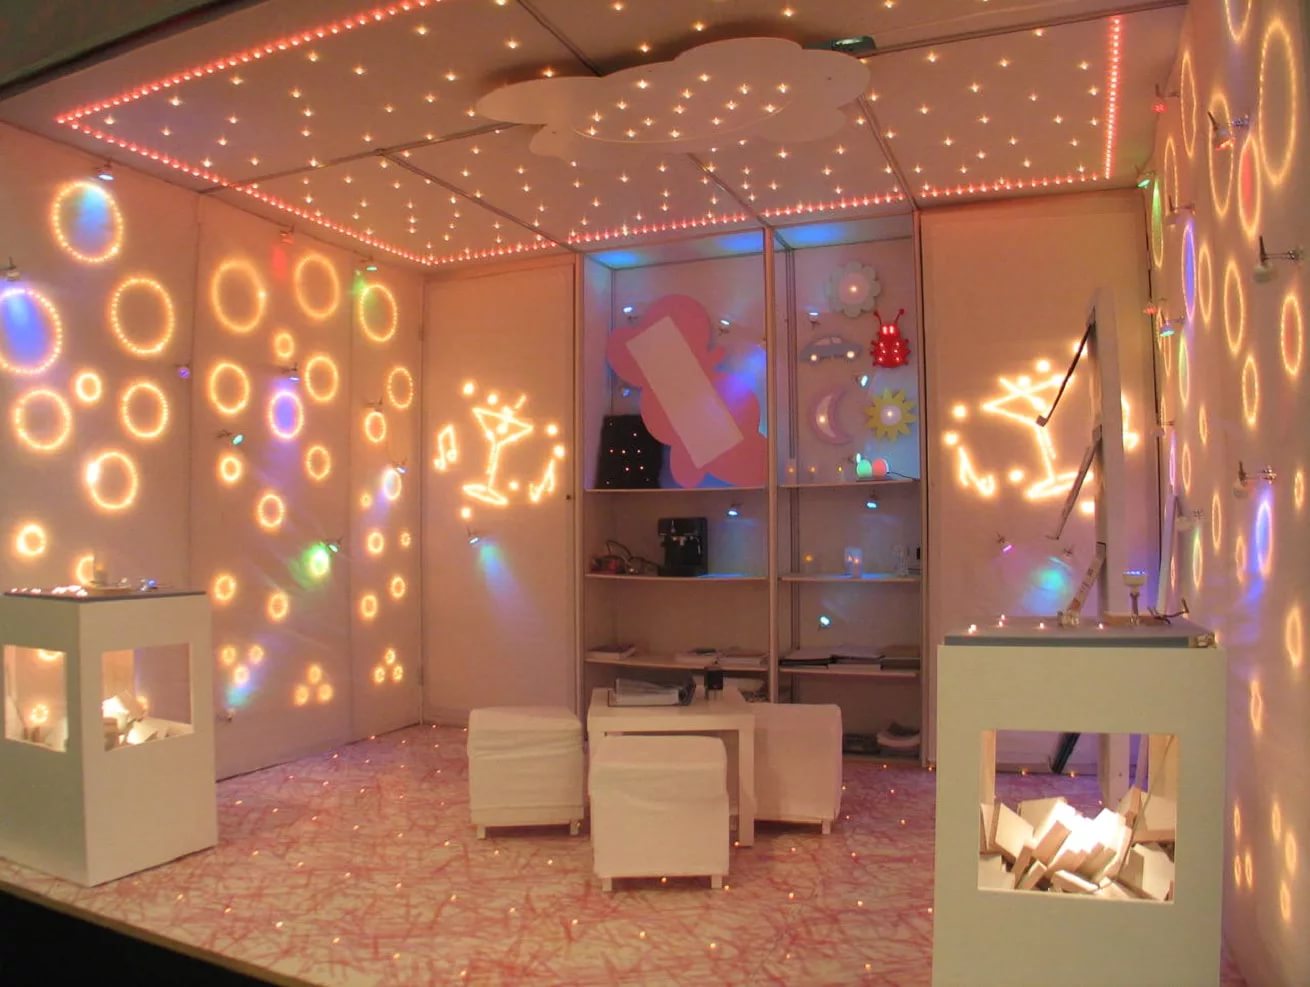
- Such a solution has a high decorative effect: a floating ceiling, exuding an even shine, a luminous ornament or a night sky with a myriad of stars will become the central object of the interior.
The only relative disadvantage of this material is its high cost, but the beauty of the visual effects and the cozy soft light it brings to the rooms are worth it.
Mounting methods
There are several ways to install LED strips, thanks to which the same ceiling will look different. These methods can be combined, and especially impressive lighting with the allocation of zones on complex multi-level ceilings. First you need to draw a plan of the ceiling and select a sketch of the figure, shape, outline of the ribbon. If the length of the circuit is more than 10 m, it is divided into two parallel-connected parts.
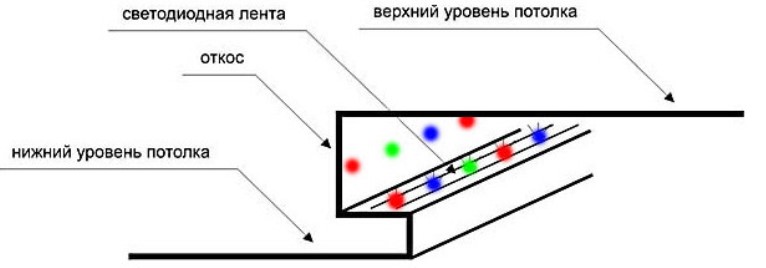
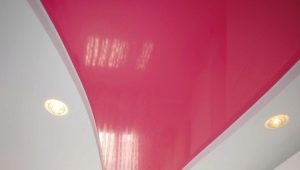
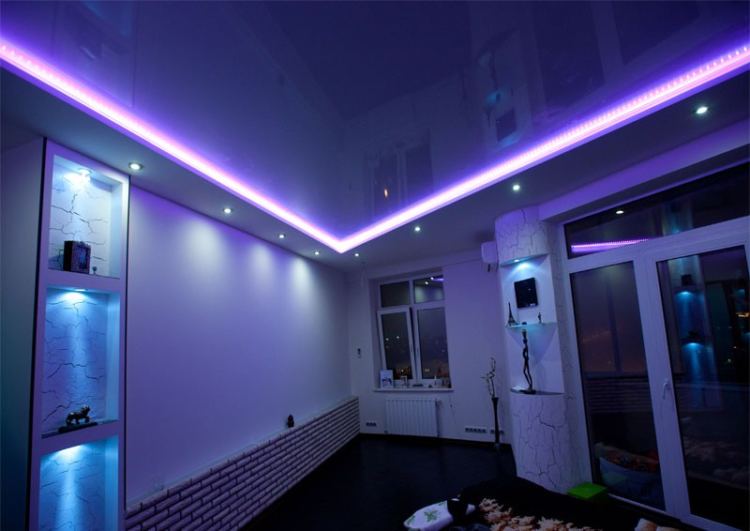
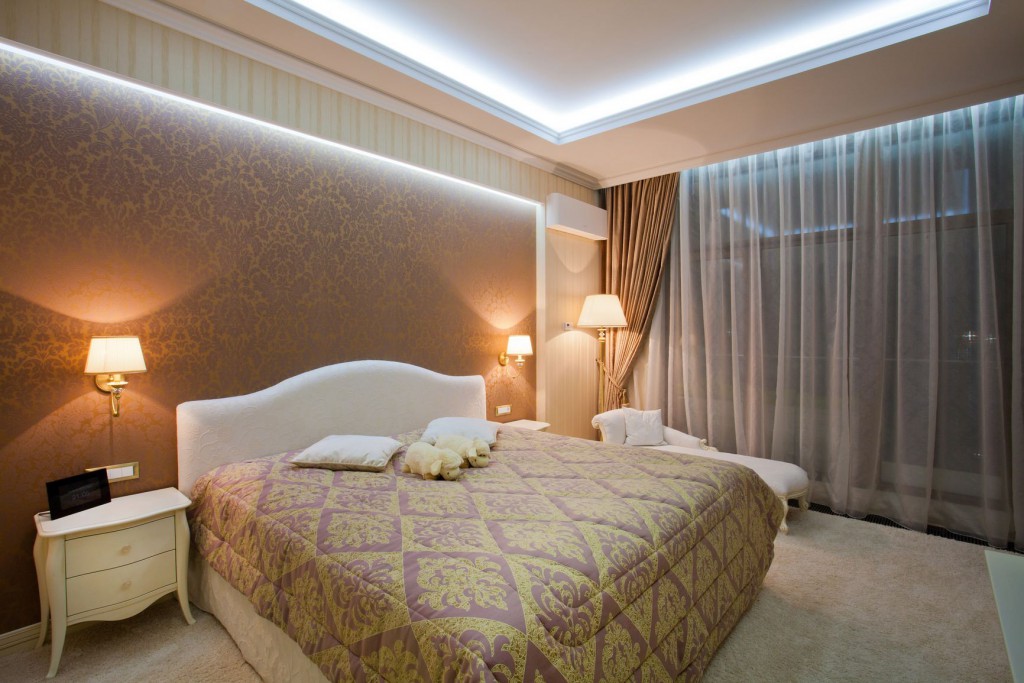
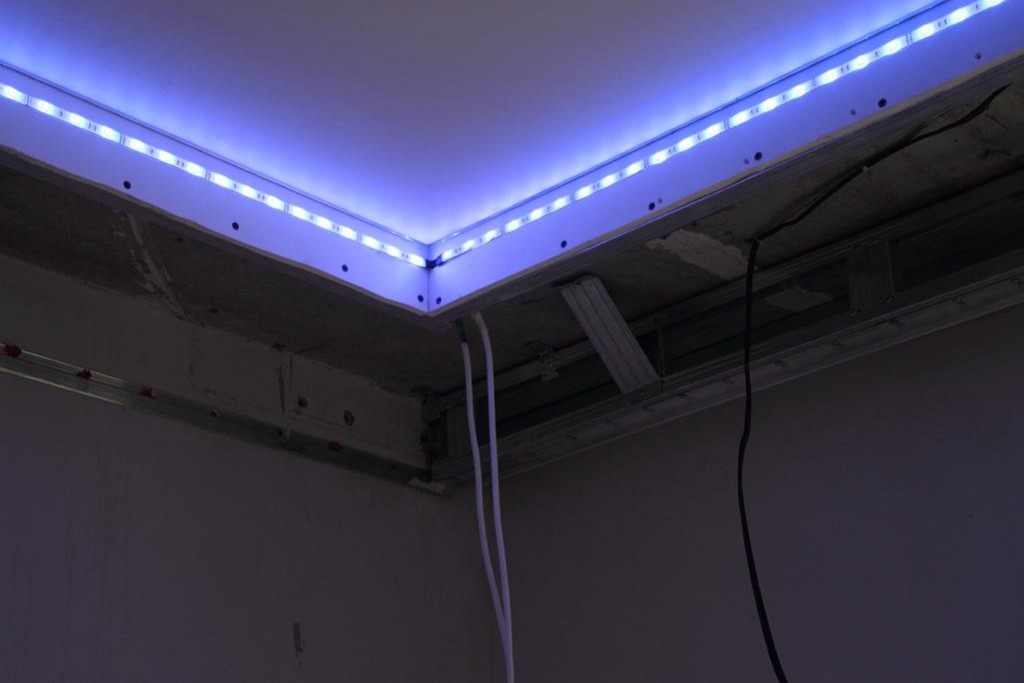
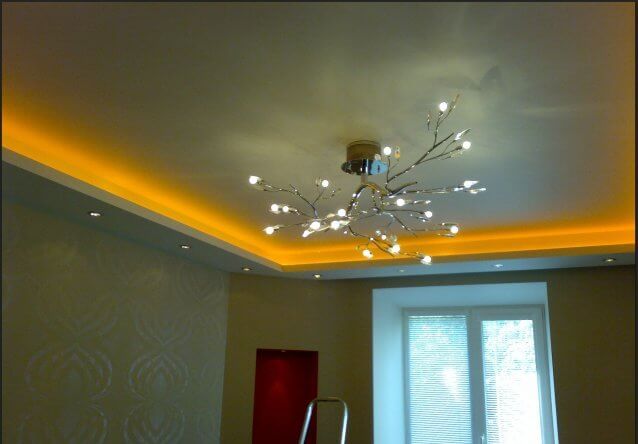
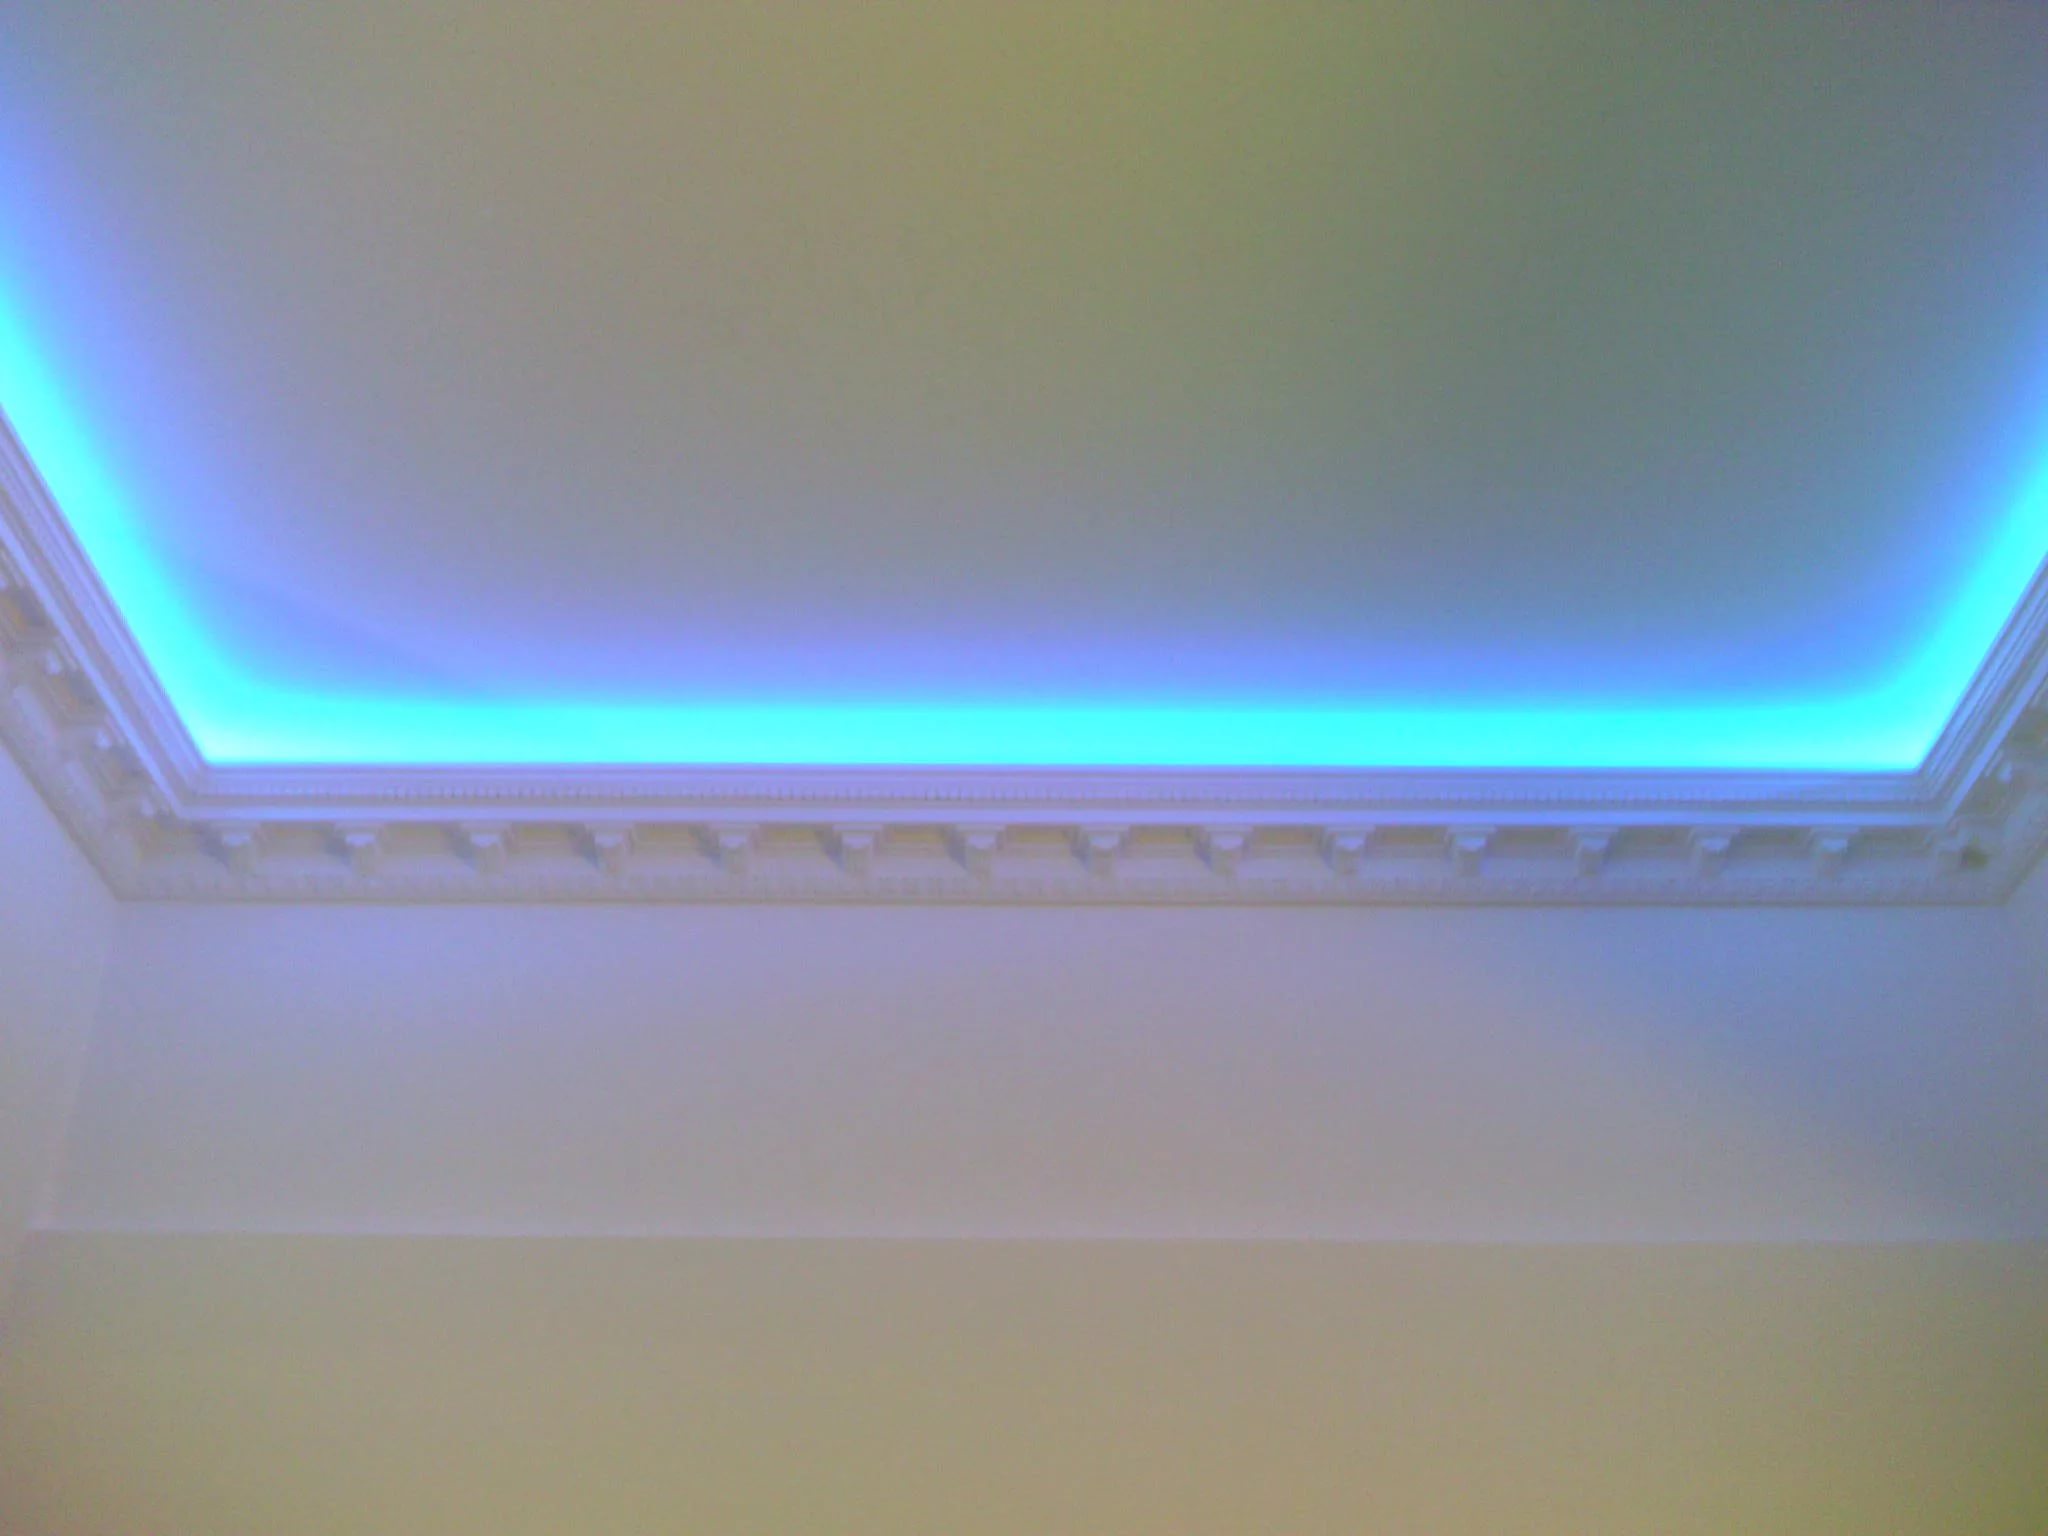
You can install the LED-tape around the perimeter of the ceiling, closing it from the bottom with a plinth or a drywall box. You’ll get hidden lights that can be hidden in niches or ledges, emphasizing and highlighting them, zoning the room. You can also hide all wires with power supplies in a drywall box. By sticking the LEDs to the edge of the tension fabric, you can get the effect of a soaring ceiling.
The canvas with color printing, illuminated from the inside, looks unusual and original.
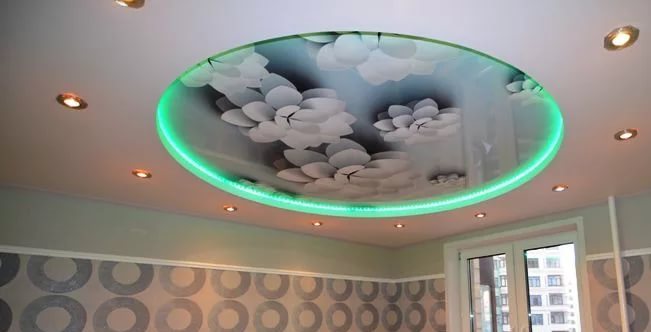

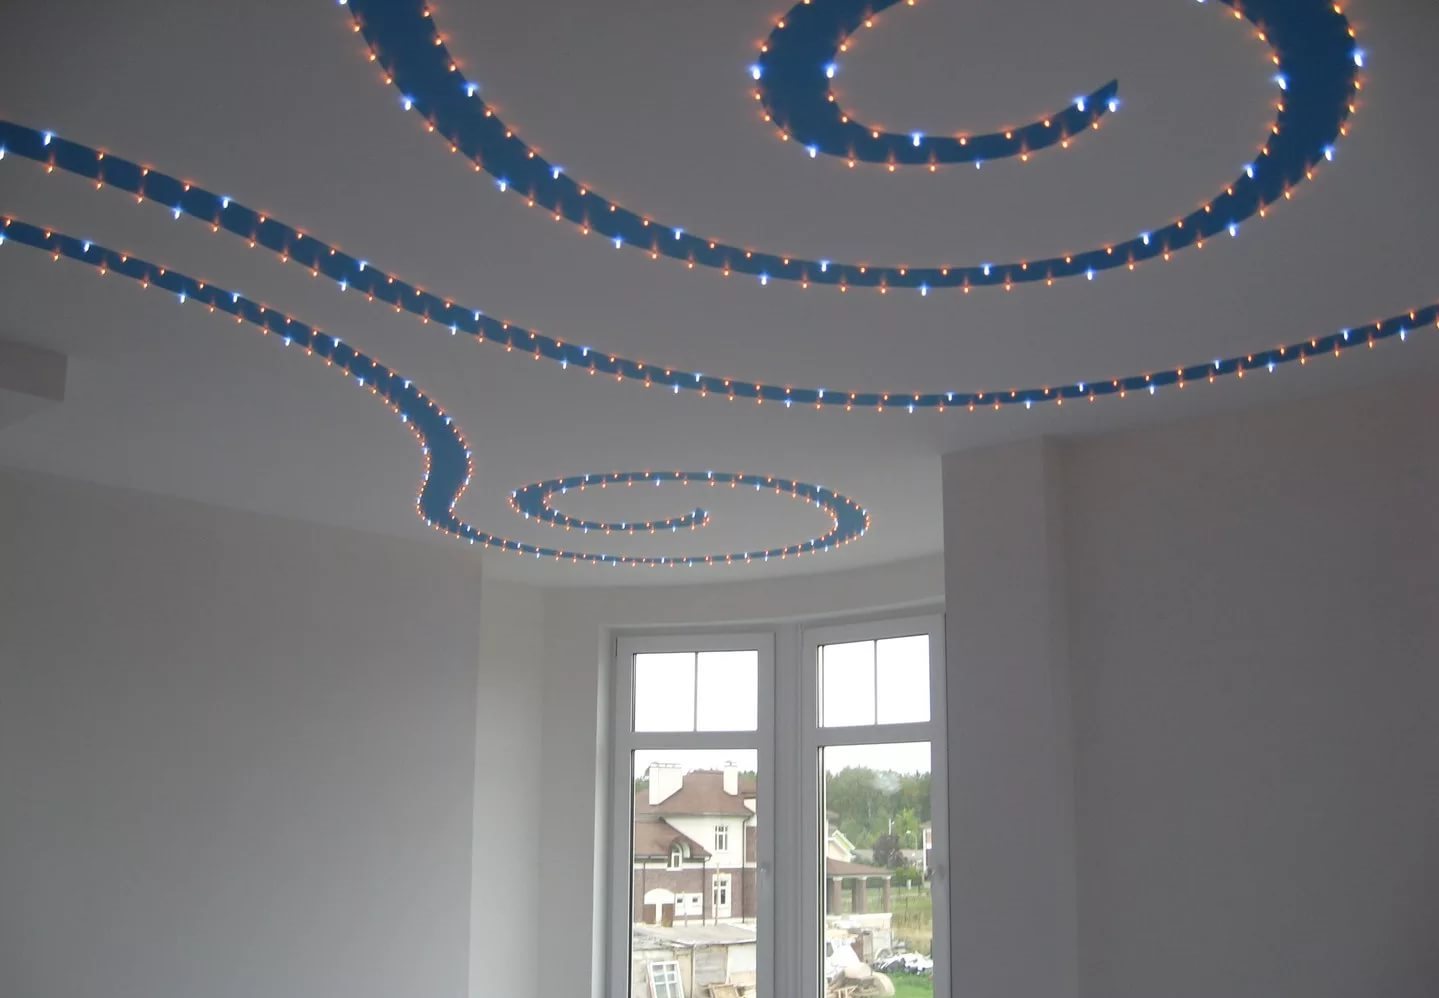
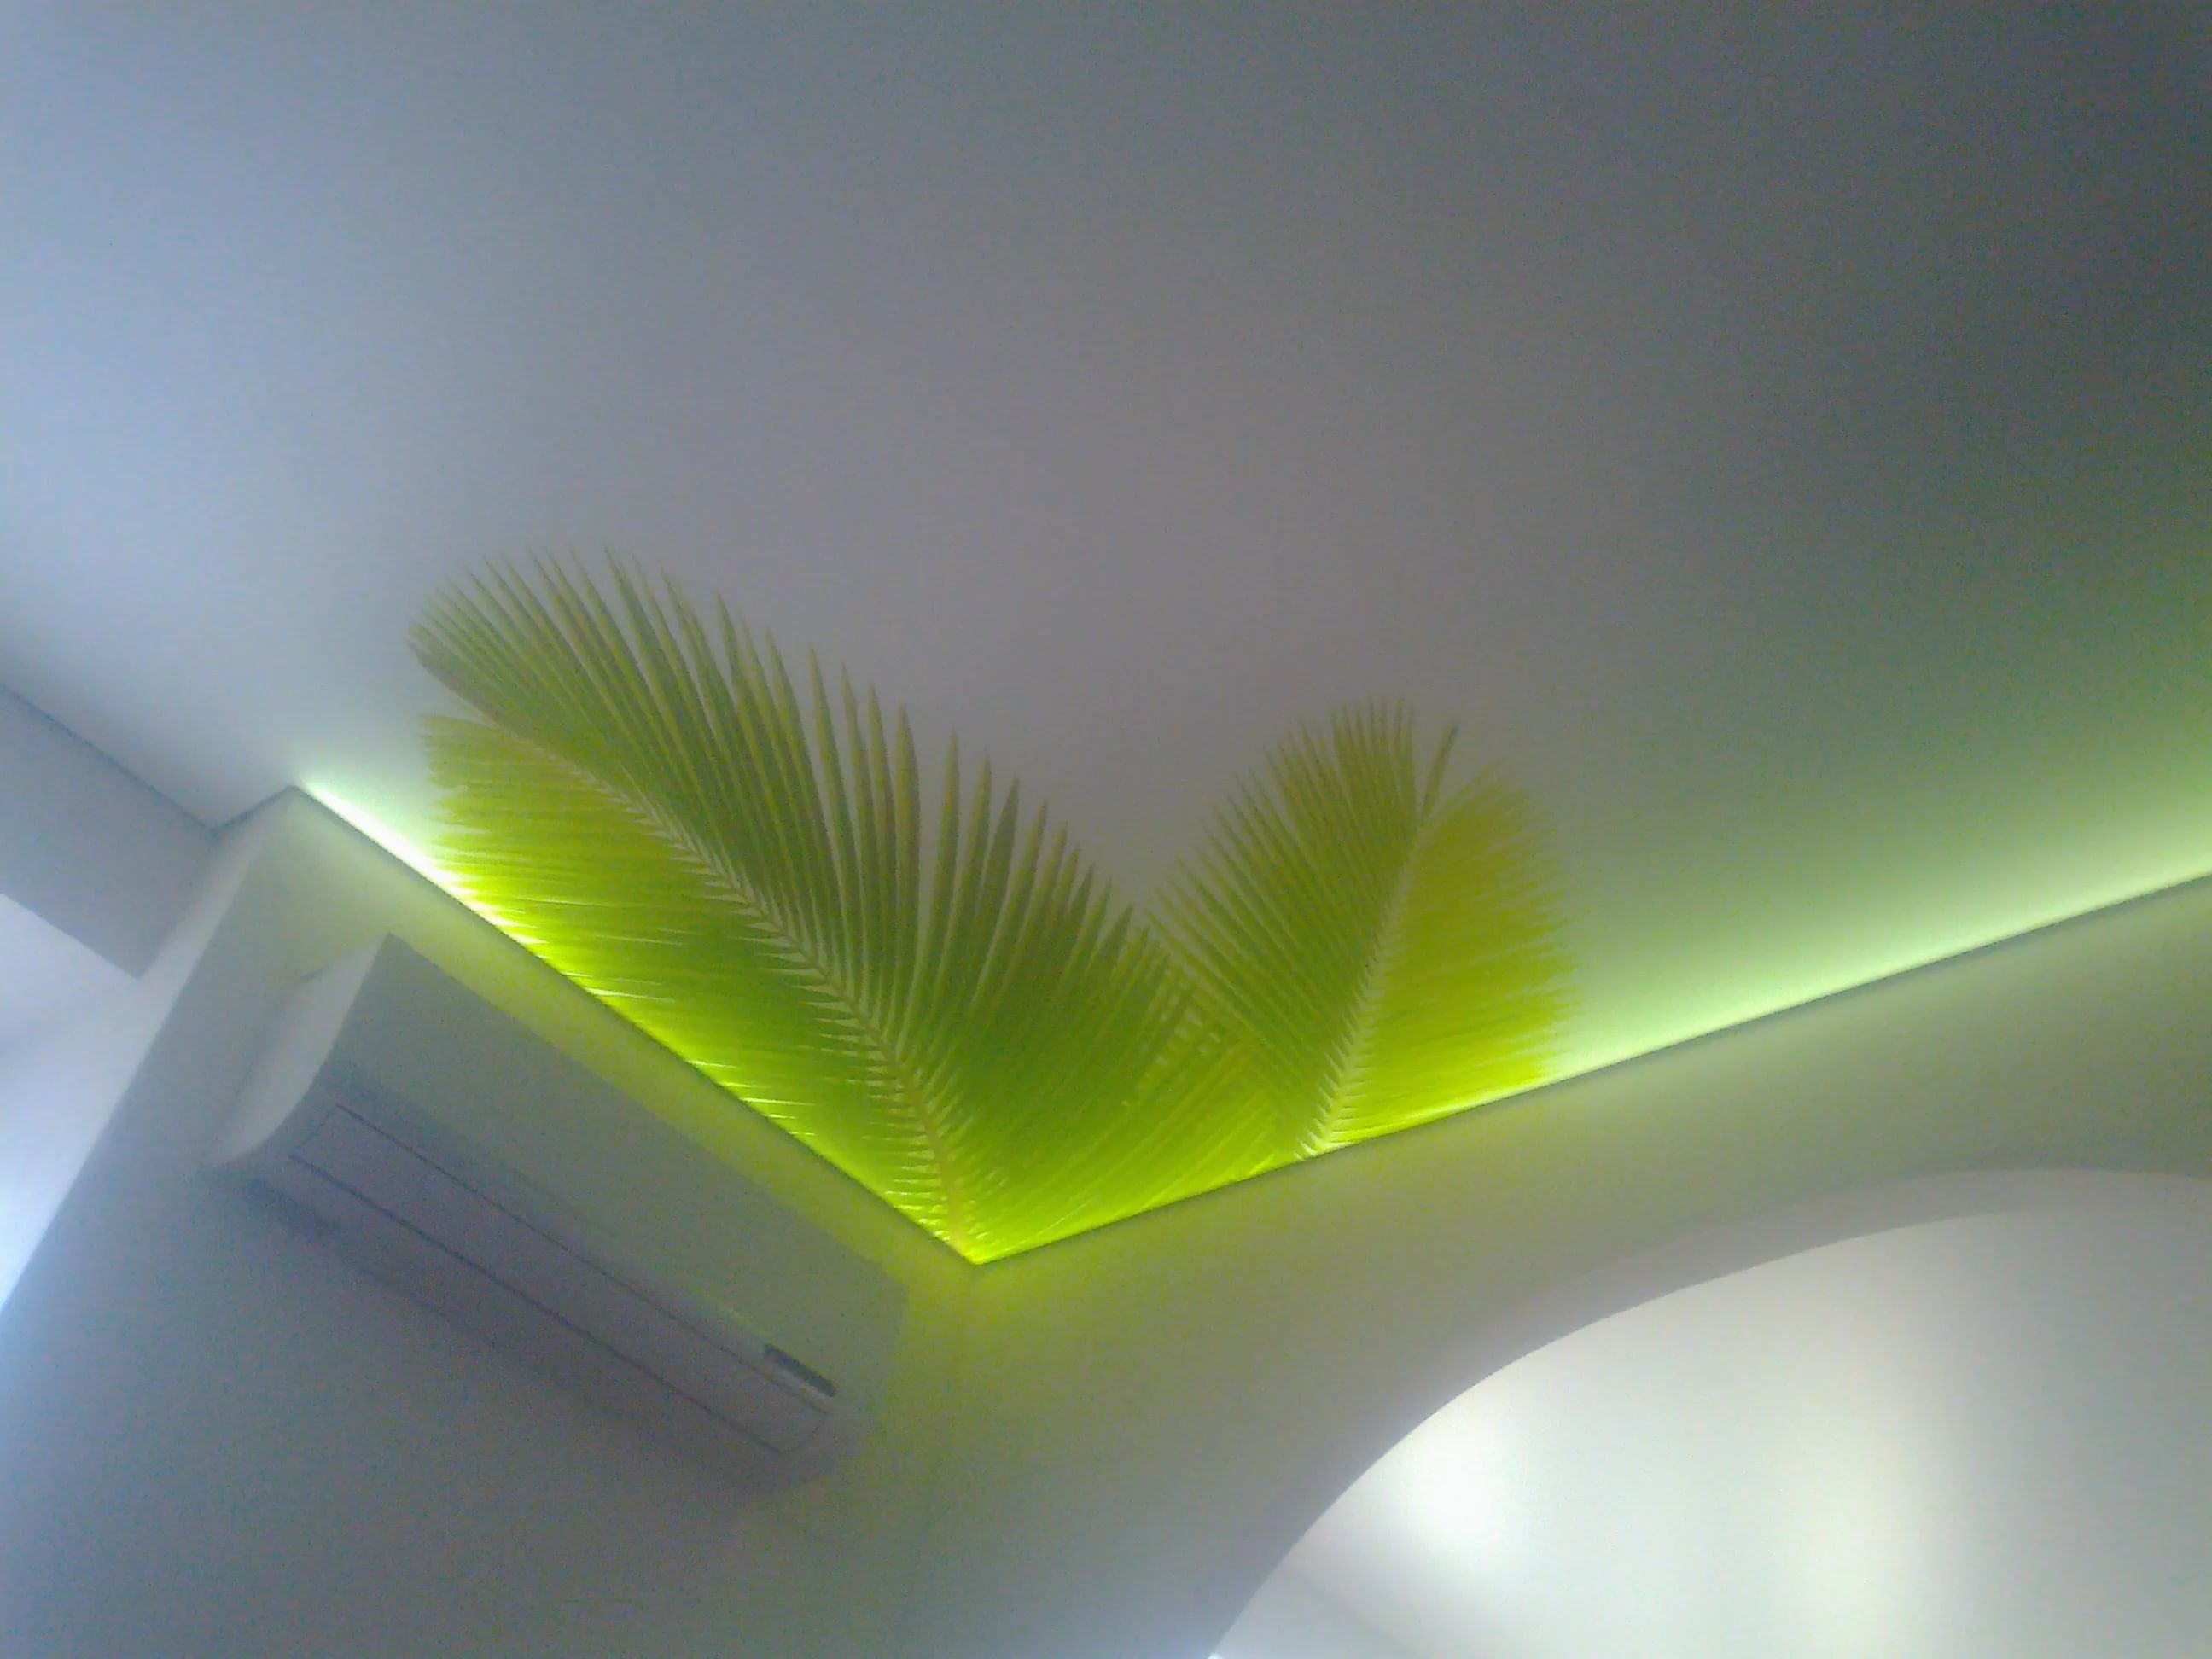
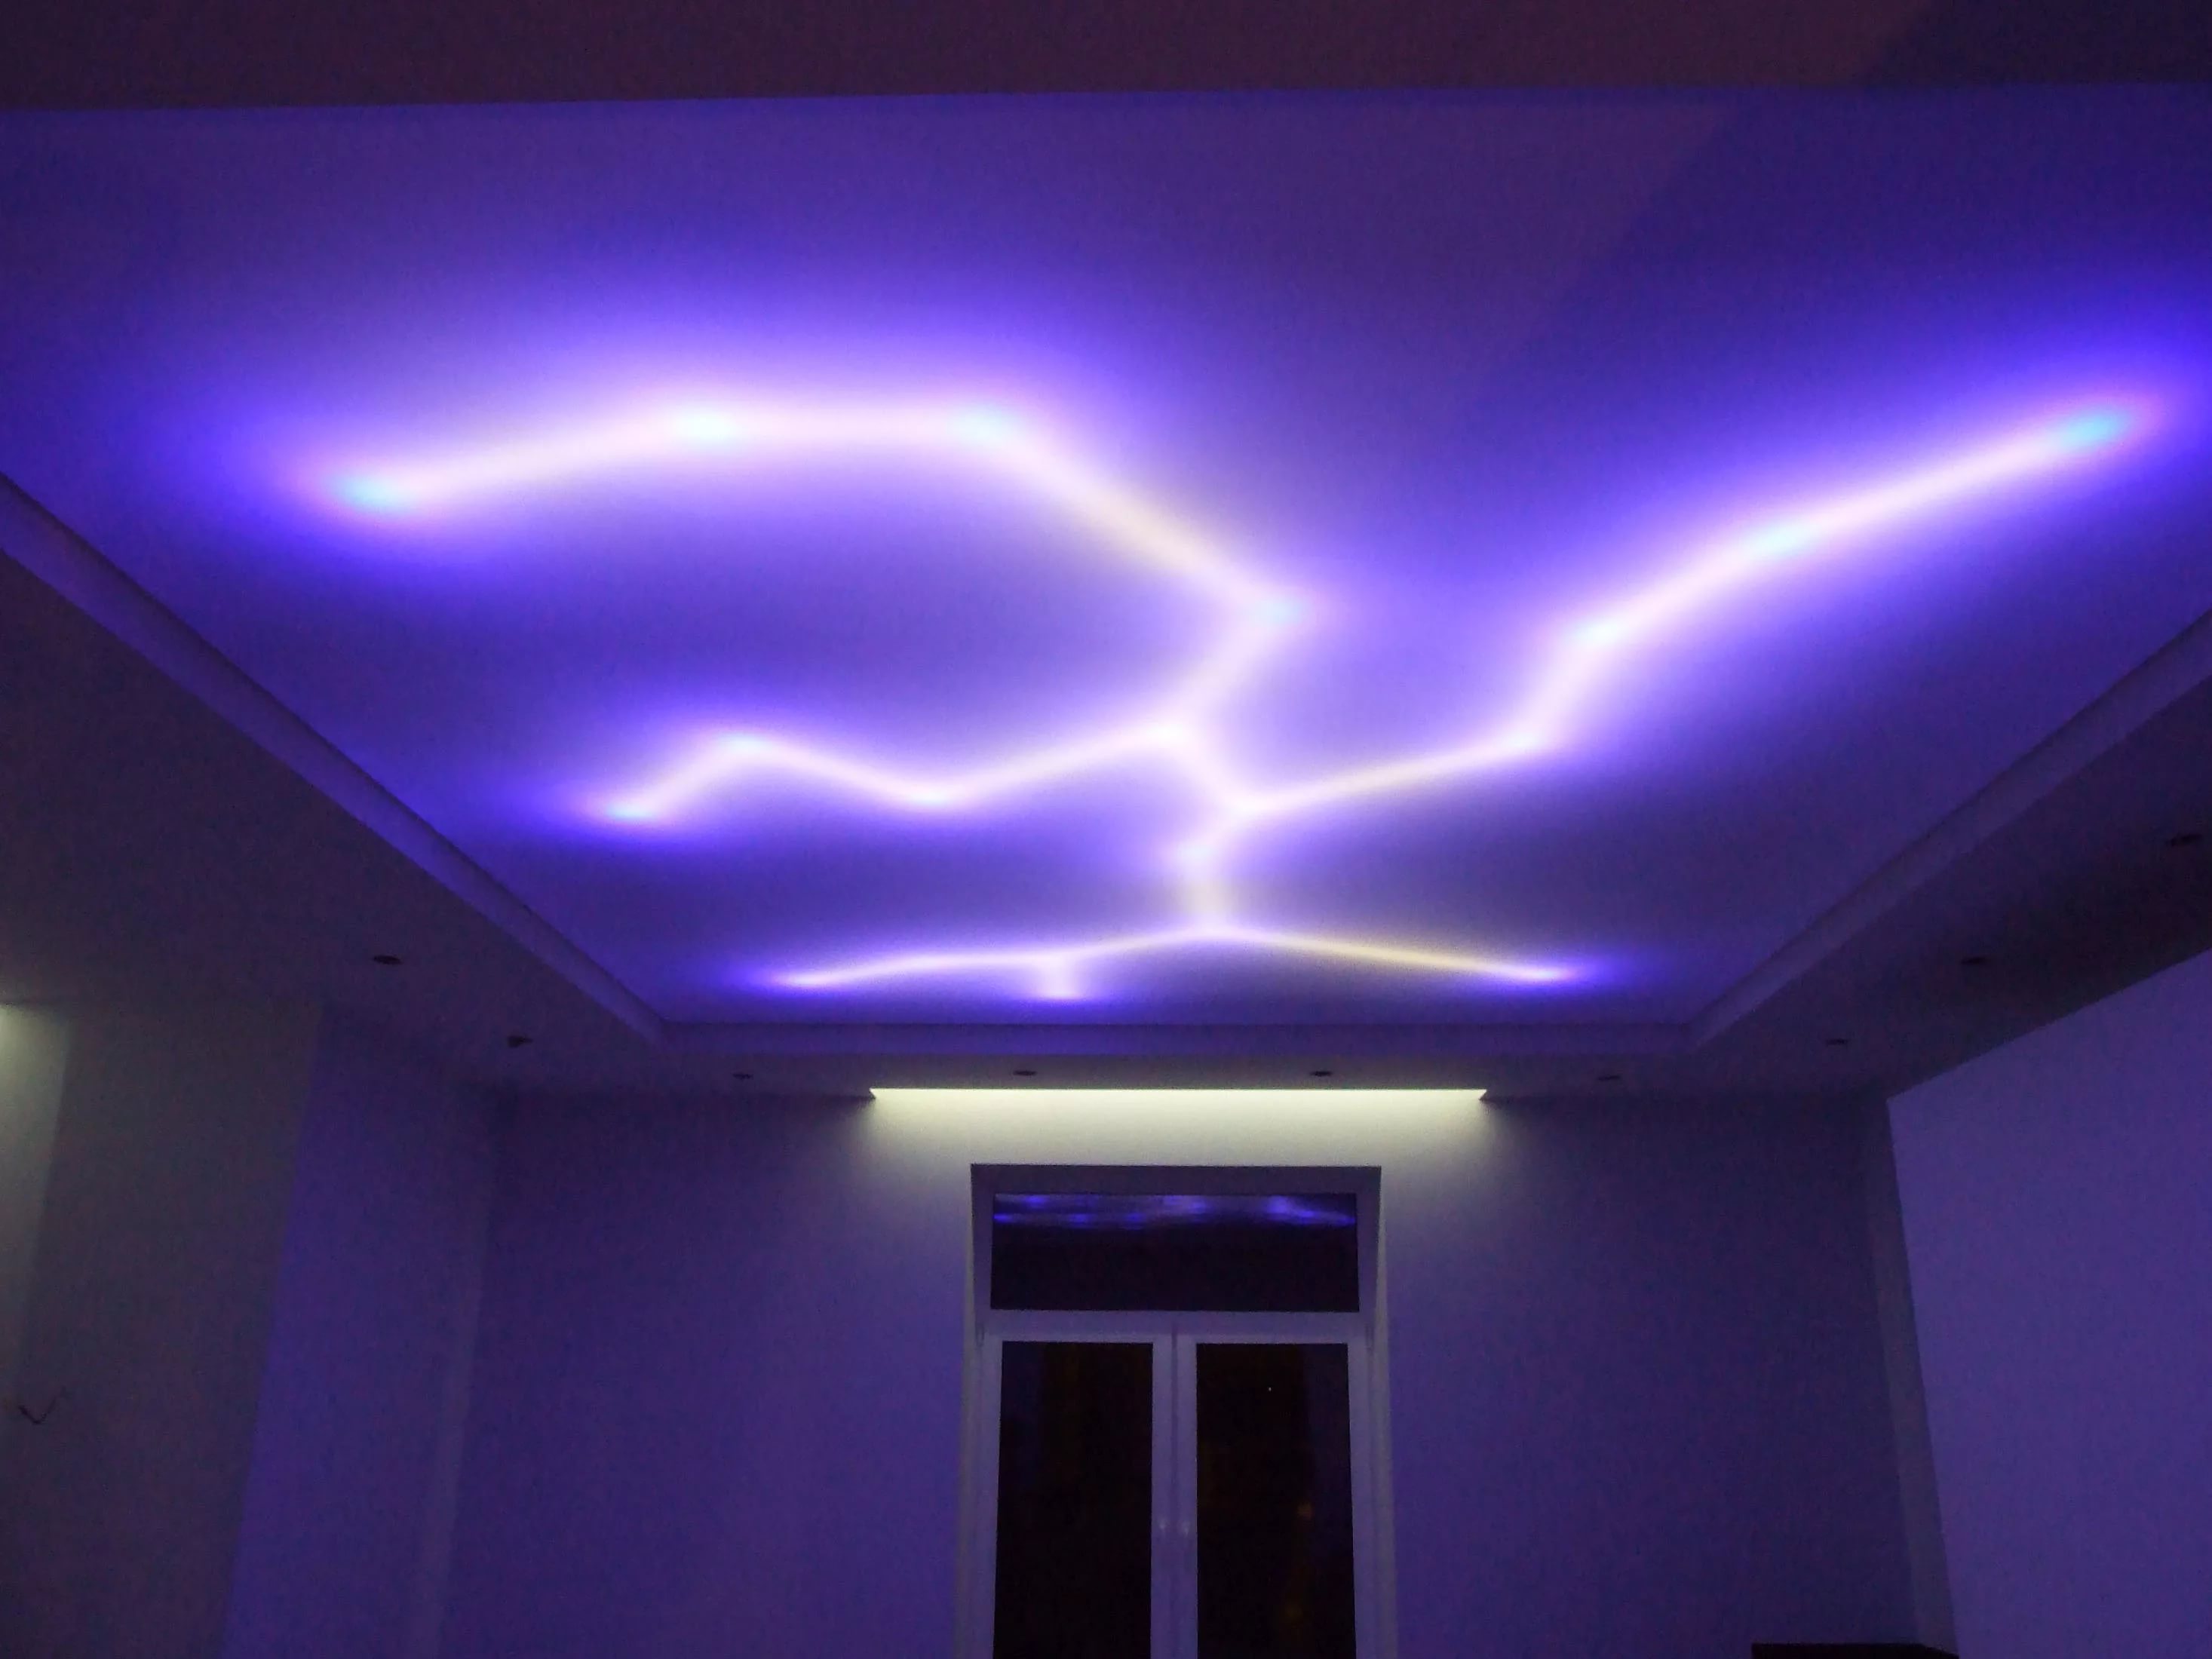
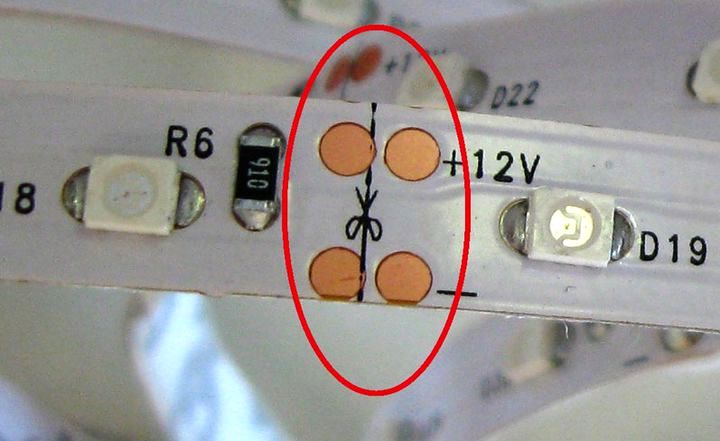
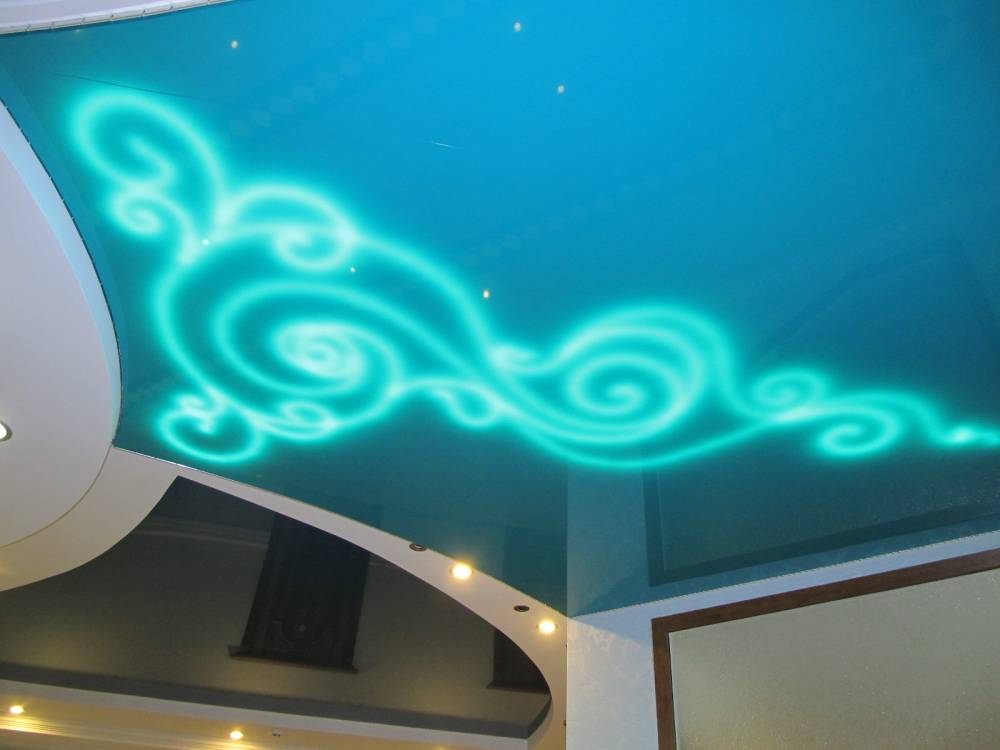
You can lay out various shapes and glue the contour from the inside to the ceiling - thanks to the translucent surface, the light strips will softly shine through it. The ceiling in this case looks magical. To cut the tape, you need to find on it special tags with scissors, in other places it is impossible to cut. You can connect the board using connectors. When laying out the picture, please note that the minimum bend diameter should be 2 cm.
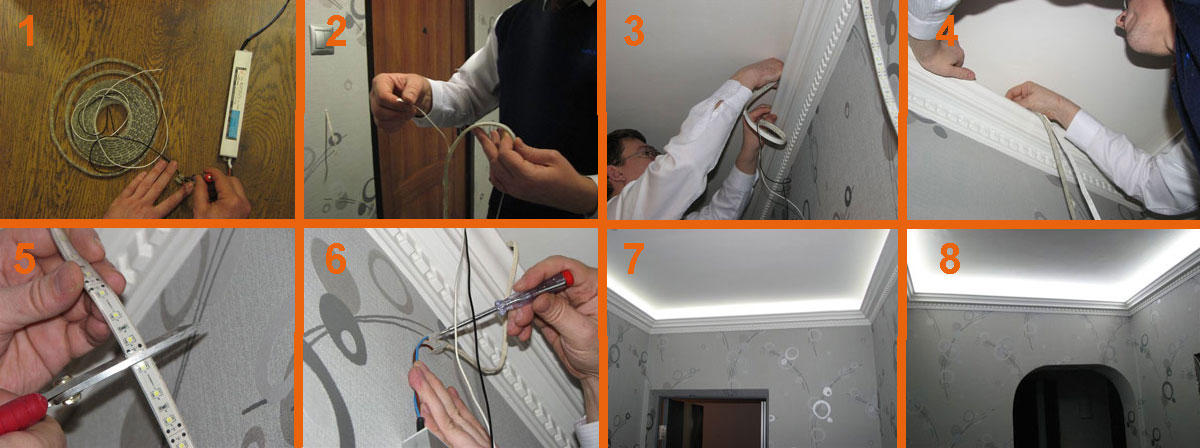
Before gluing the tape, it is necessary to clean and degrease the surface of the base. Then gradually remove the substrate and press the adhesive layer to the ceiling. When the entire circuit is glued, you can connect it to the power supply and the controller, because only through the power supply is connected to a common network.To adjust the intensity of the light is a dimmer. At the ends of the board, four different-colored wires stick out, which are connected to the connector of the corresponding color.
Power supplies of different capacities are sold, so it’s easy to find the right one. The tape shows the required power for 1 meter, multiply it by the number of meters and get the total power consumption. If the result exceeds 40 W, the circuit should be divided into parts and power supply units should be connected to each of them. To change the colors used RGB-controller. All power supplies have a shorter service life than the tape itself, so for easy replacement it is necessary to arrange the devices in an accessible place.
After connecting all the parts, it is necessary to check the work of the luminaire and only then mount the ceiling sheet, since then it will be impossible to remove it if necessary, with the exception of ceilings with harpoon mount.

Recommendations and Tips
Attaching a LED ribbon with your own hands is easy, using the helpful recommendations of experienced professionals and observing the details of the technological process.
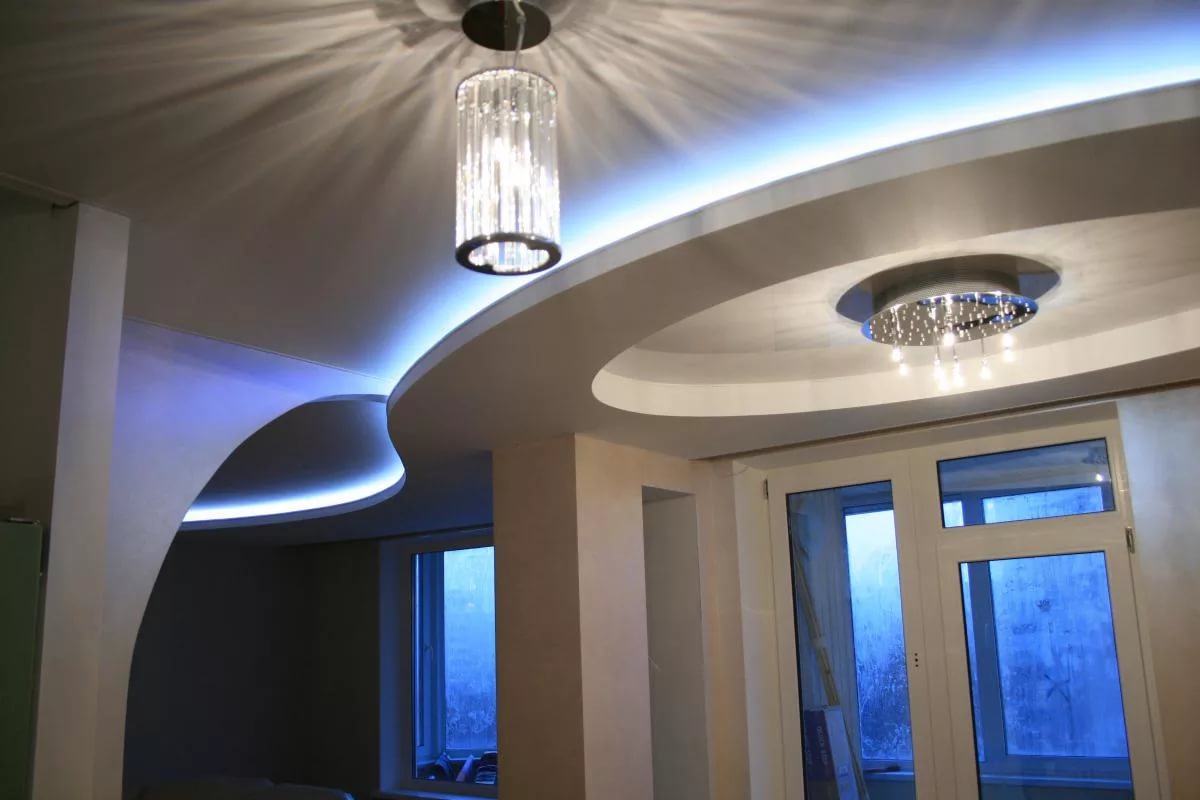
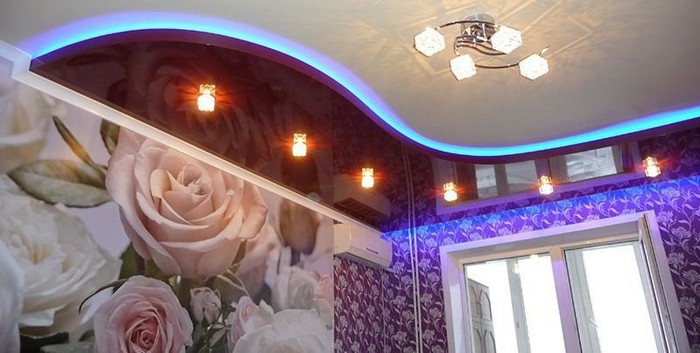
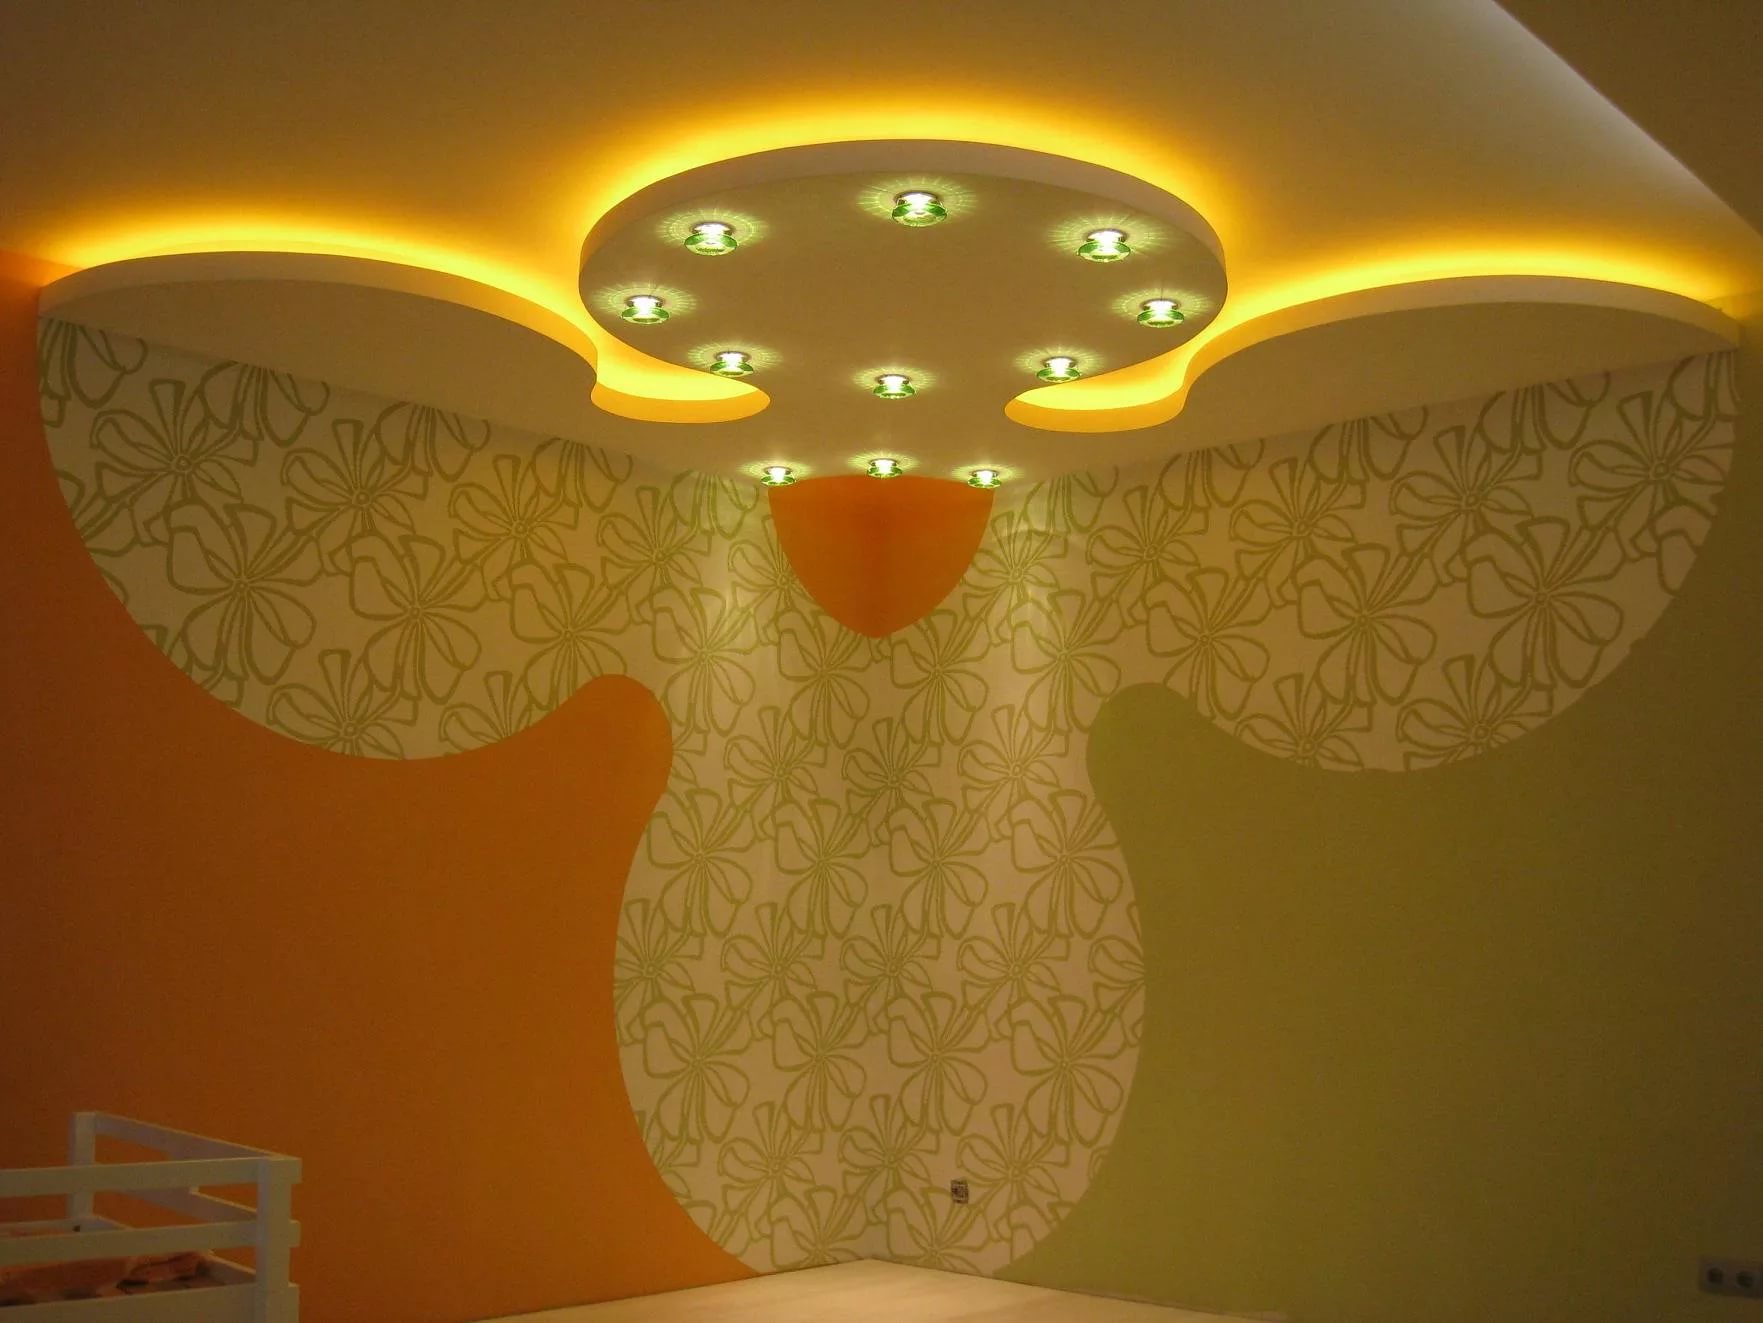
- Illumination with LEDs hidden behind the ceiling plinth will be a great addition to the main lighting with spotlights or a chic central chandelier;
- the distance from the luminous crystals to the PVC-cloth should be at least 3 cm in order to avoid overheating;
- LED lighting, especially color, can change the colors of the surrounding objects and the ceiling - you should take this into account when choosing a ribbon;
- if there is no adhesive layer on the LED strip, double-sided tape or glue can be used;
- LED strip is first connected to the controller, and only then - to the power supply unit, observing the polarity;
- the tape should not be damaged, cut out of specially marked places, bend strongly;
- the power of the power supply must be 25% higher than the total power of all tapes connected to it;
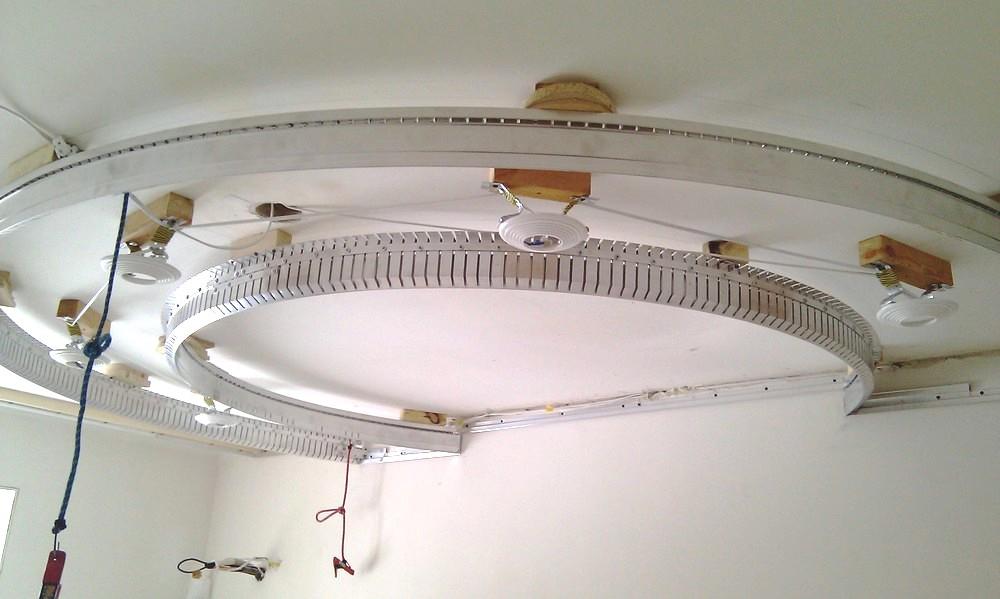
- To mount a pattern from a strip inside the ceiling structure, it is necessary to create a frame from a profile or baguette.
Examples in the interior
This lightweight and flexible material is very popular with designers, as it allows them to show creative imagination and taste, to highlight the necessary zones in the rooms, to highlight the ceiling niches and ledges, to diversify lighting solutions.
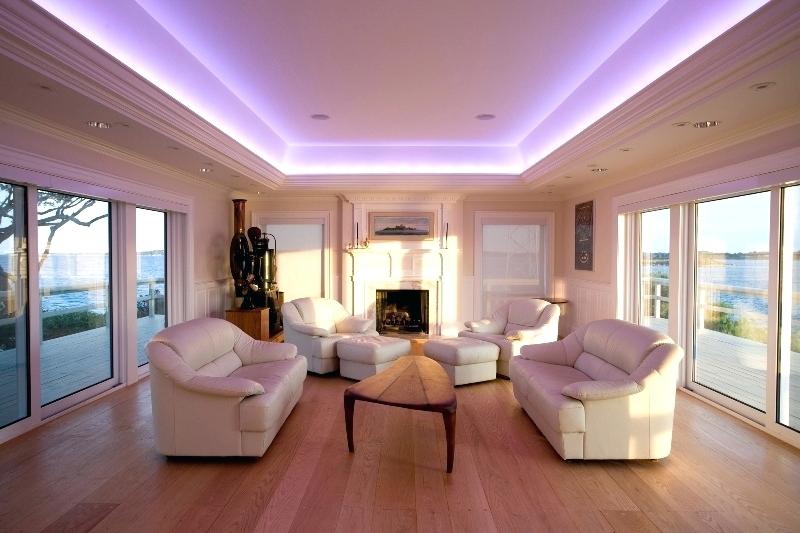
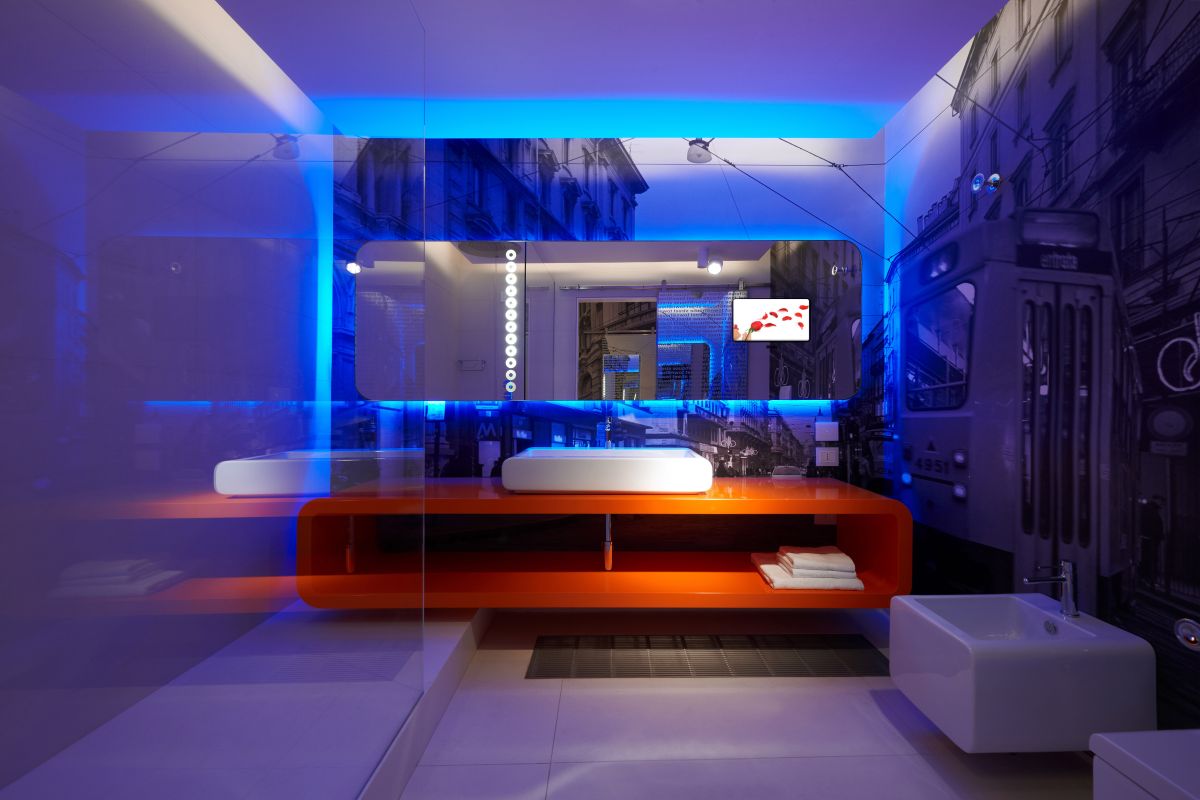
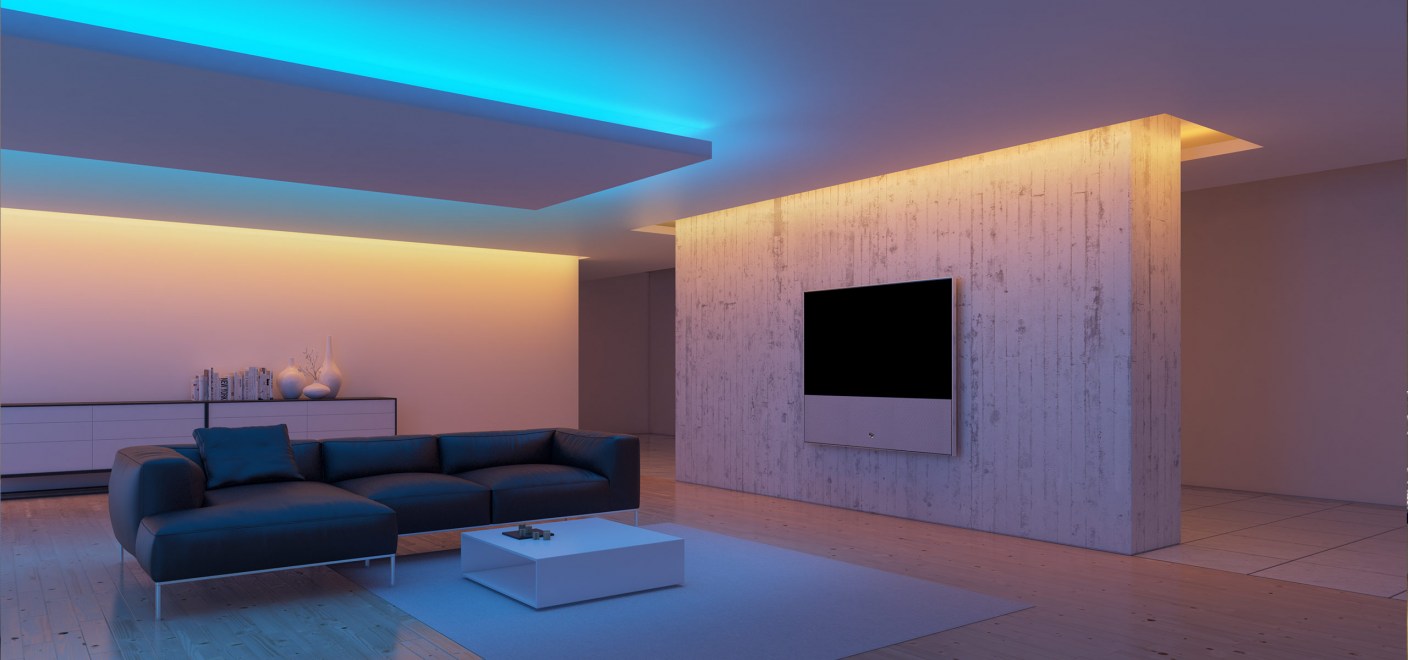
In the living room in high-tech style, the soft lighting of the walls and the complex ceiling looks great. It emphasizes the perfect geometry of the walls, gives originality and complexity to the general lighting of the room, the walls acquire delicate shades.The light flows smoothly and gently, does not hurt the eyes, the room has a comfortable and cozy atmosphere of peace and relaxation.
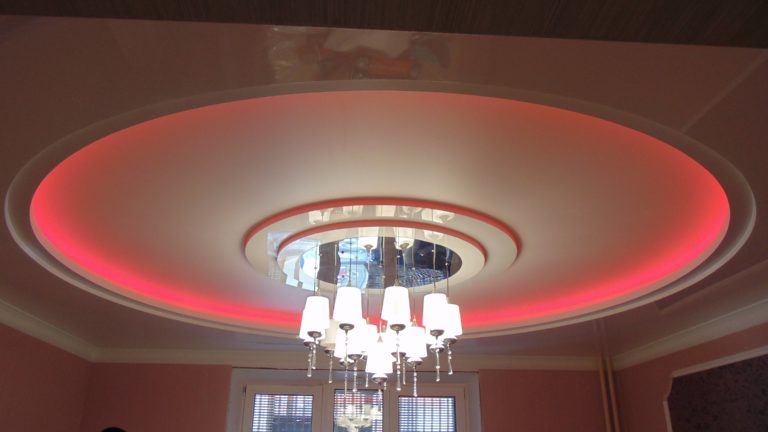
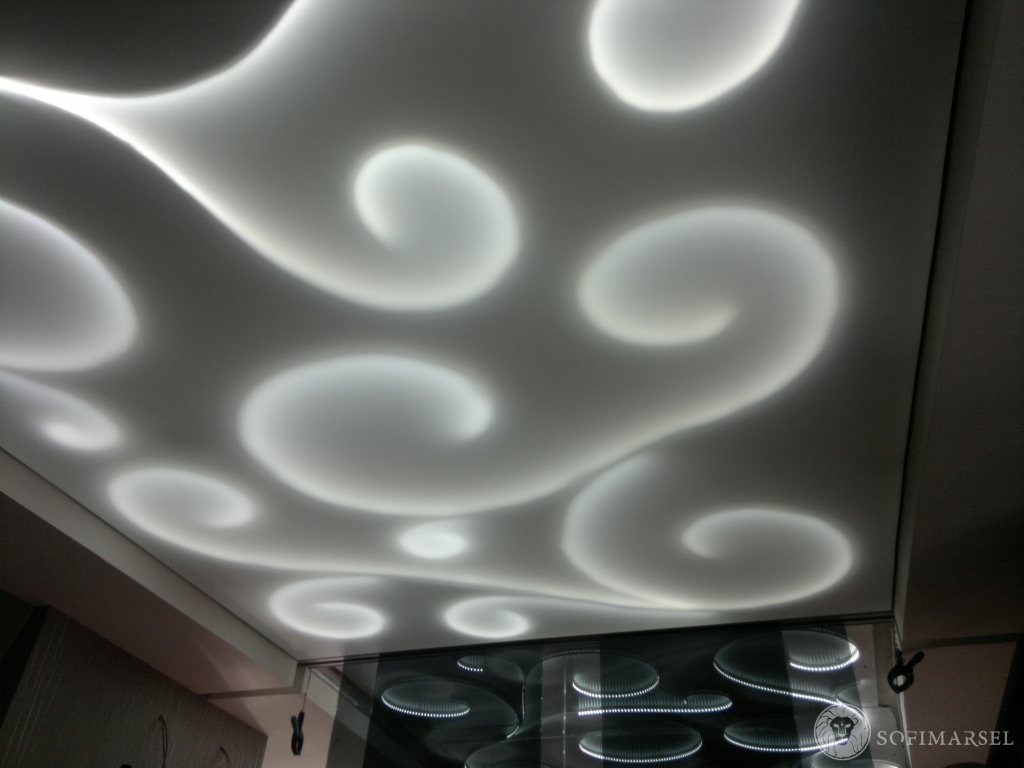
Due to the translucency of the ceiling canvas, the LED contour laid in a pattern above the surface of the ceiling shines through it with a dull and muffled light, drawing amazing ornaments over the head. It is necessary to press the switch button - and the room is transformed, plunging into the atmosphere of magic and romance.
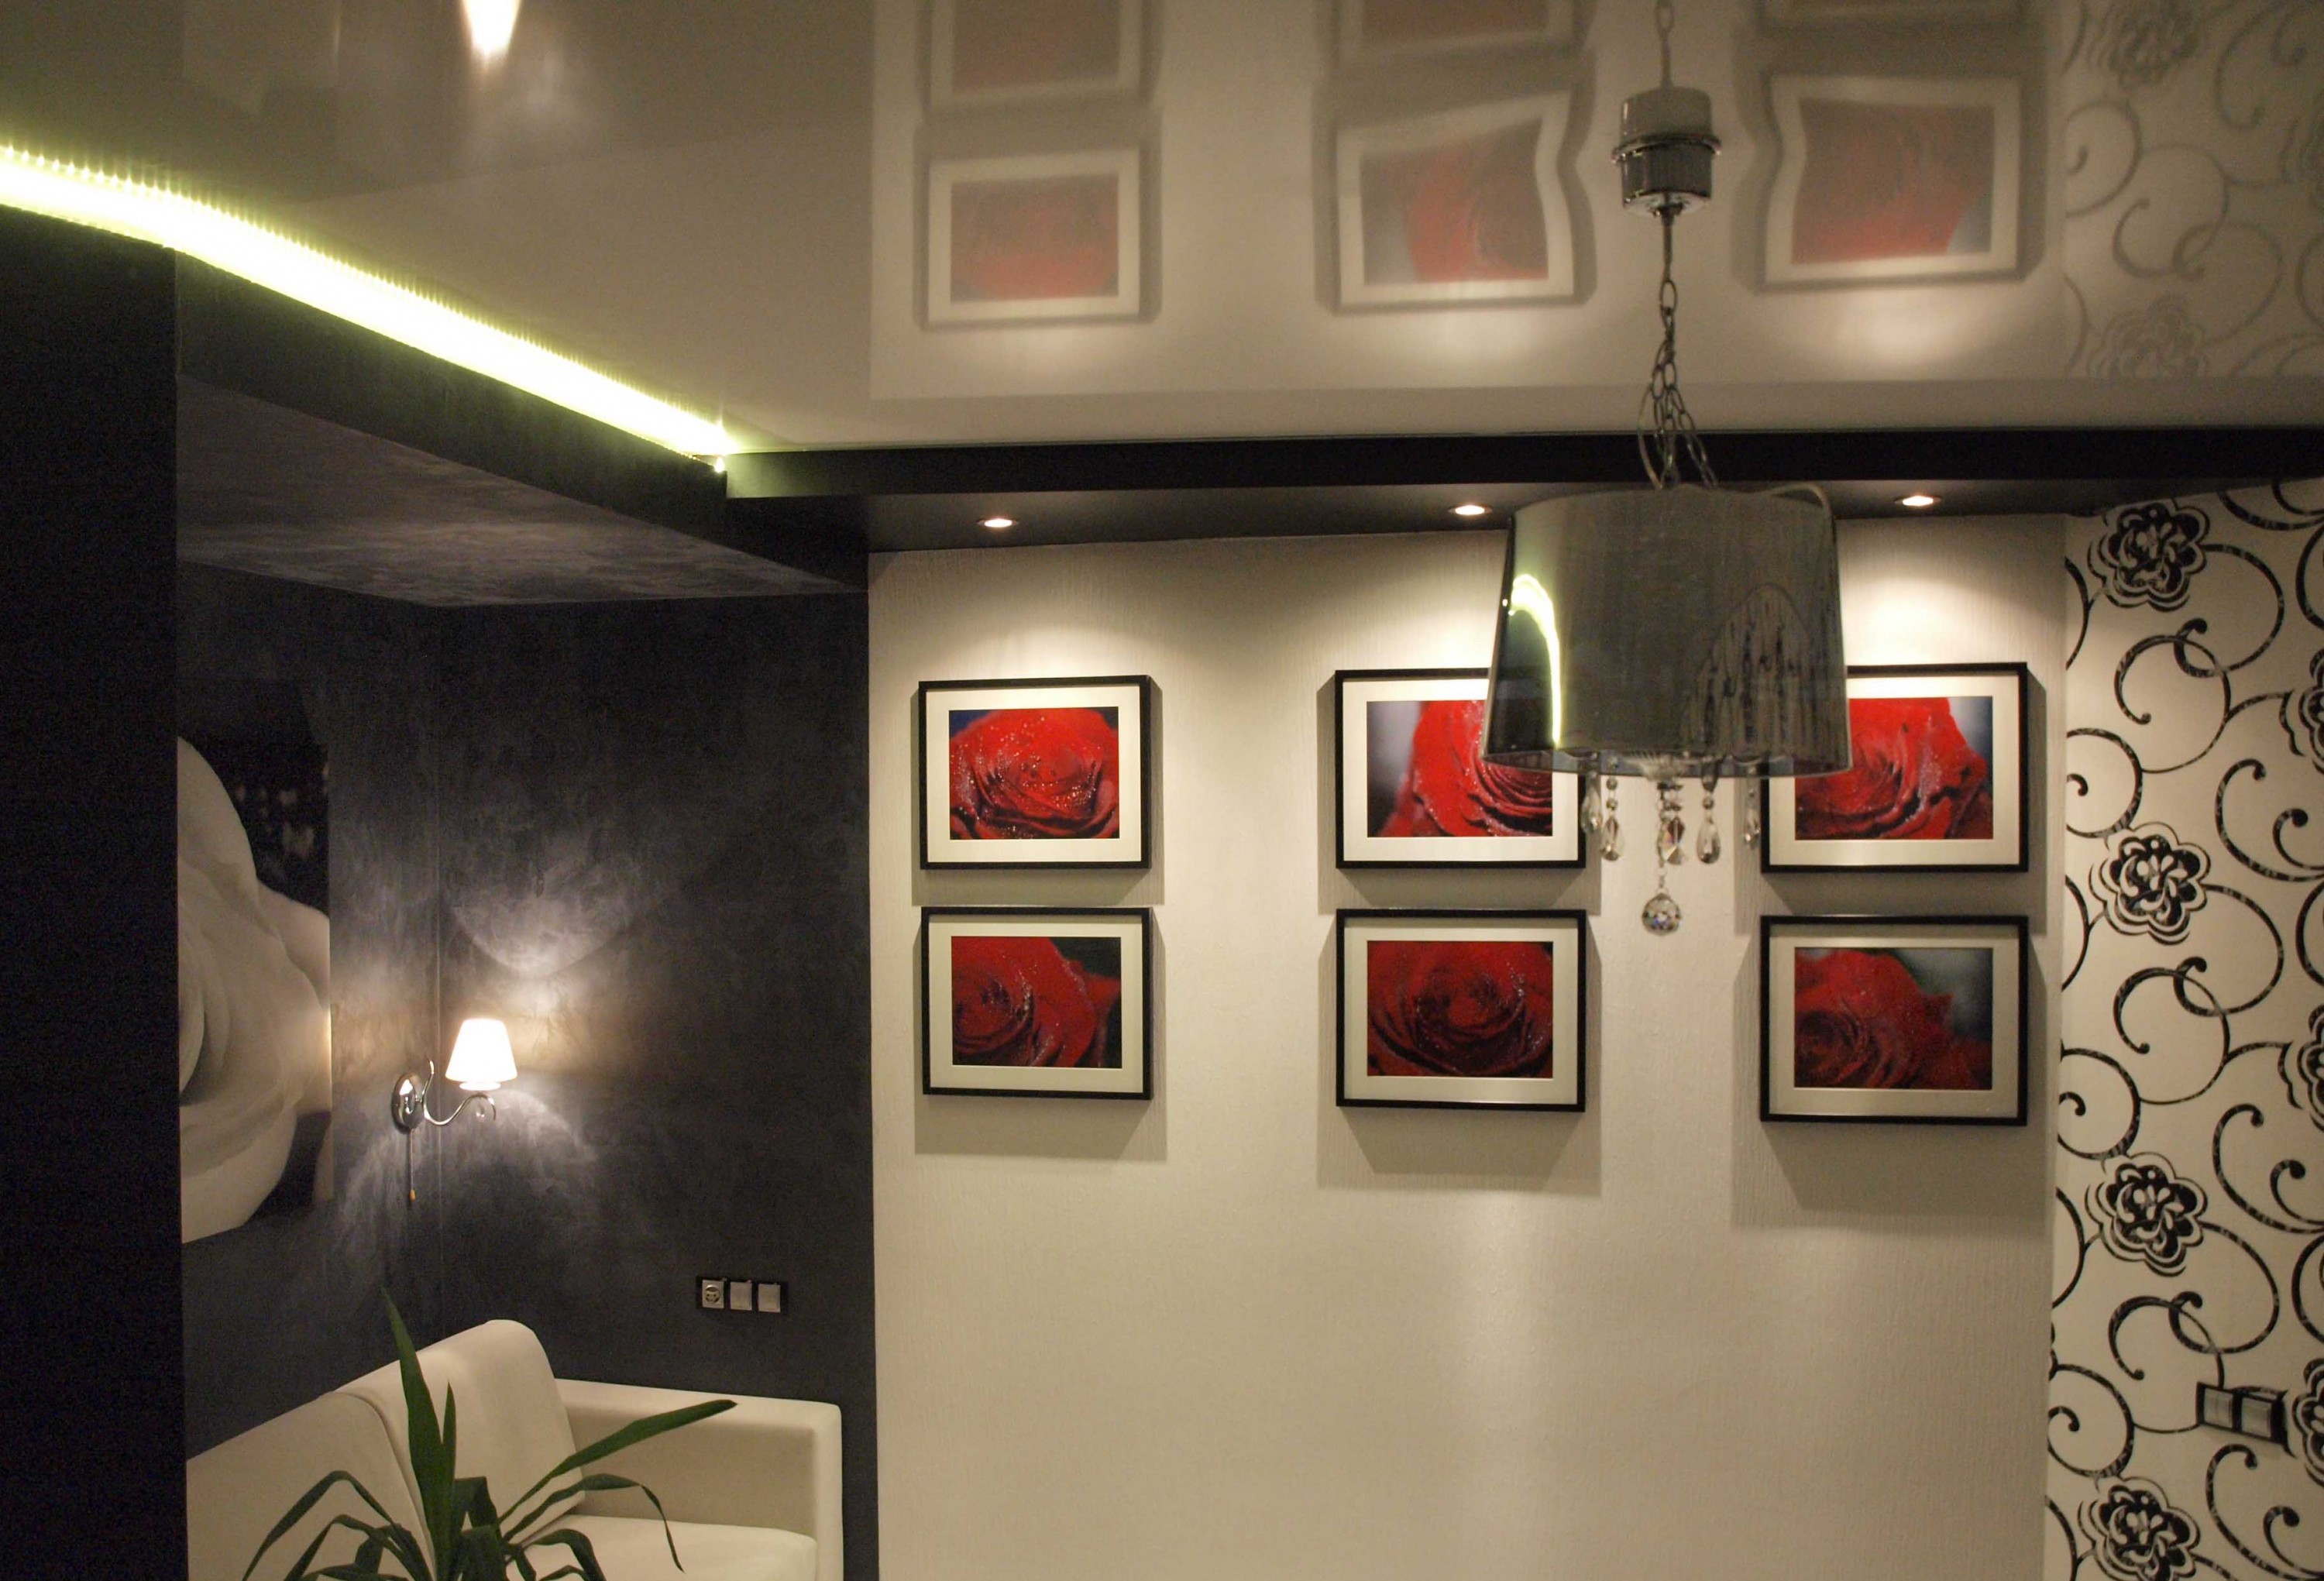
Diverse lighting includes luminaires located on the ceiling and walls, a ceiling chandelier and a slit illumination of the tension fabric. Together, they emit the central zone of the living room interior with light. Drawing attention to the bright elements of the decor and placing visual accents, lights create a single ensemble and emphasize the luxury of the interior.
How to mount the LED strip on the stretch ceiling, see below.