How to glue the ceiling tiles from foam?
The ceiling tile from polyfoam entered life of the modern person as the fashionable and inexpensive solution of design of the room. Due to the abundance of forms, patterns and color palettes tile will help to create a unique finish of the coating. And because of the prevalence and ease of installation, this finishing material is widely used for decoration not only in industrial and administrative buildings, but also in the decoration of residential, commercial and office premises.
Special features
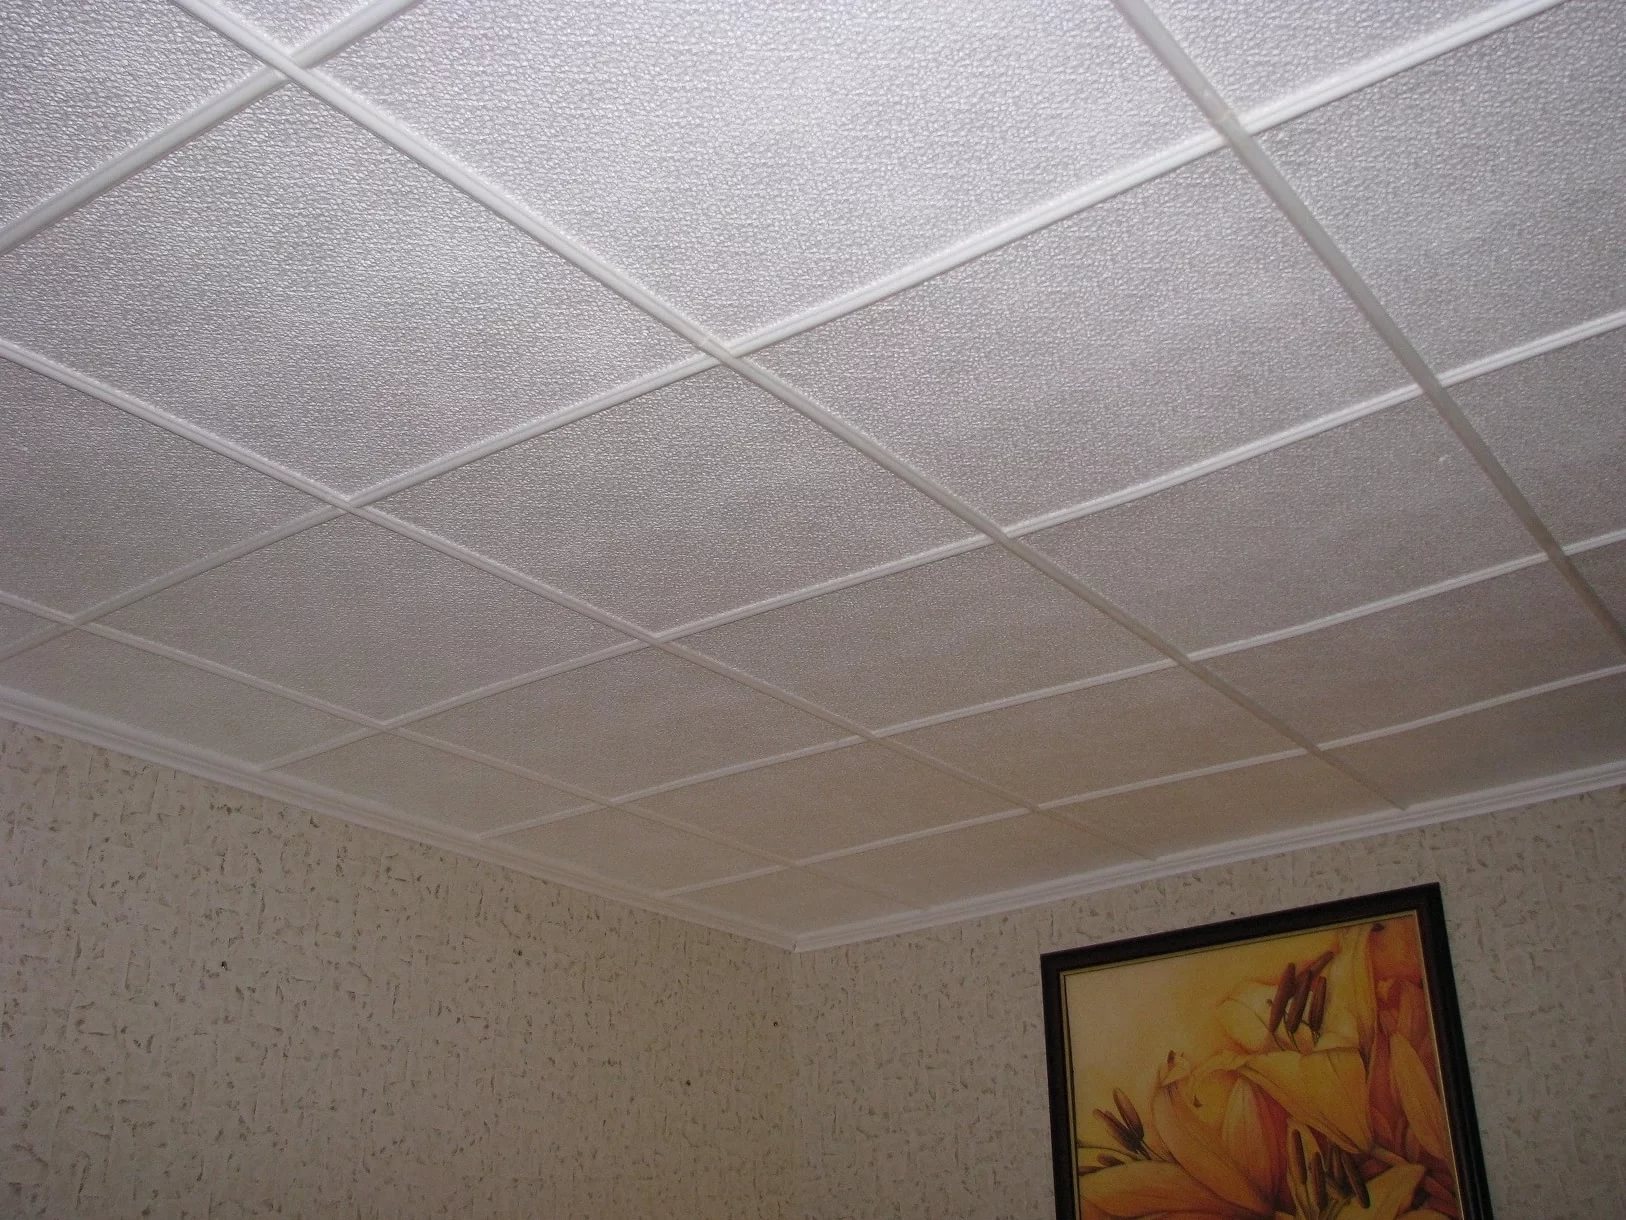
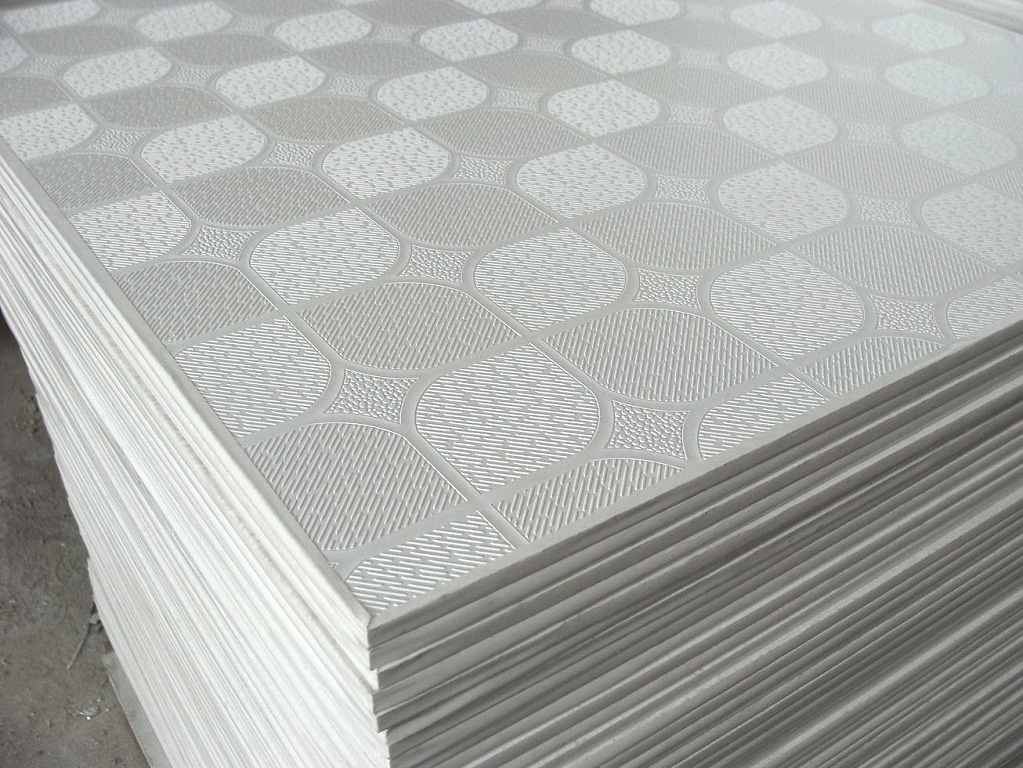
The modern building materials market offers a huge selection of foam slabs for decorating the ceiling surface. The thickness of these plates varies from 6 to 14 millimeters, depending on the method of manufacture and the raw materials used. The standard size of the ceiling tile is 50x50 centimeters, which allows for careful installation without unnecessary loss of material due to its fragility.

On the geometric form of tile is:
- square;
- diamond-shaped;
- rectangular;
- hexagonal;
- with rounded edges.
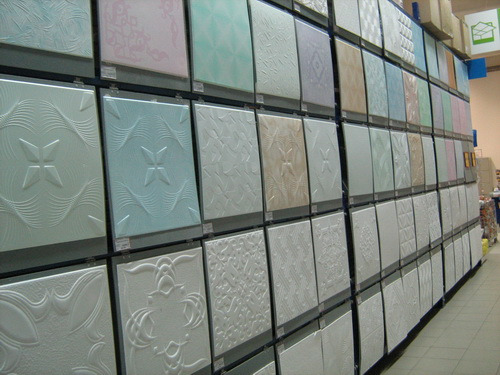
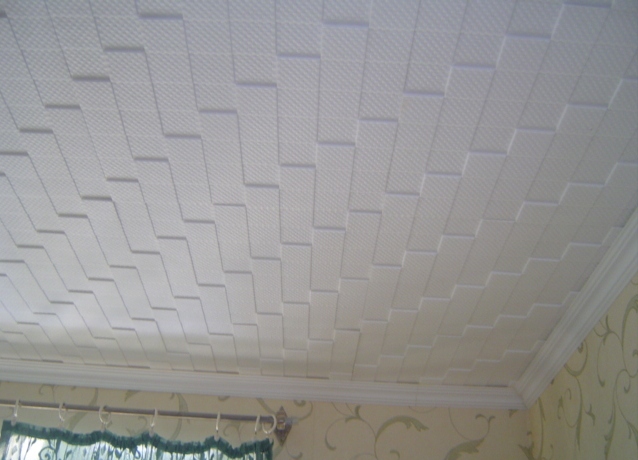
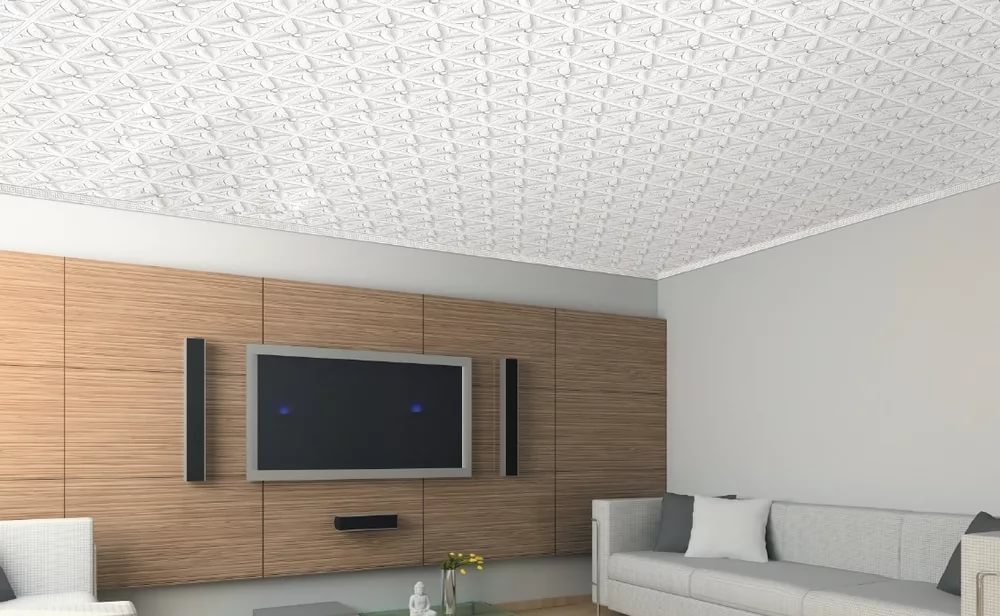
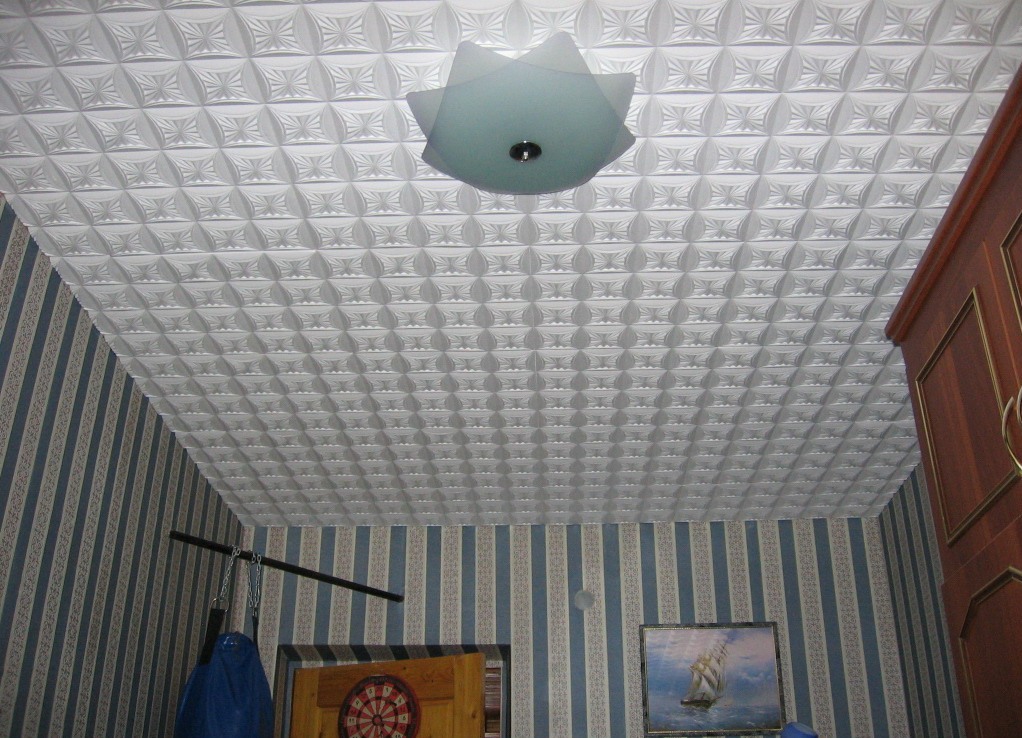
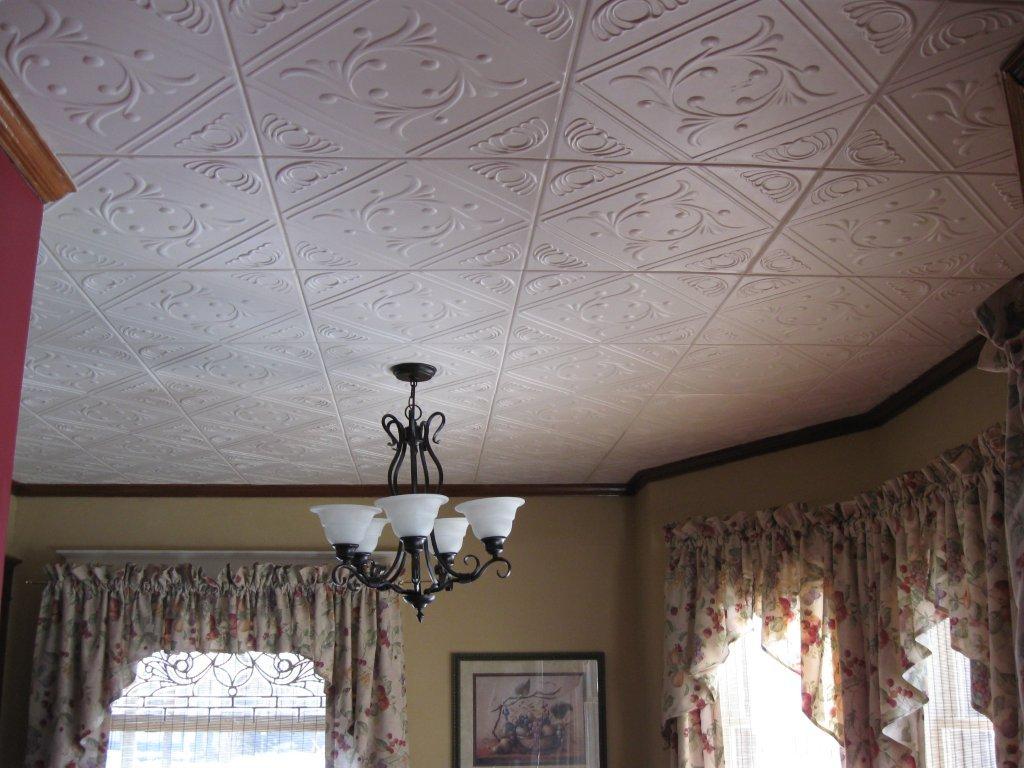
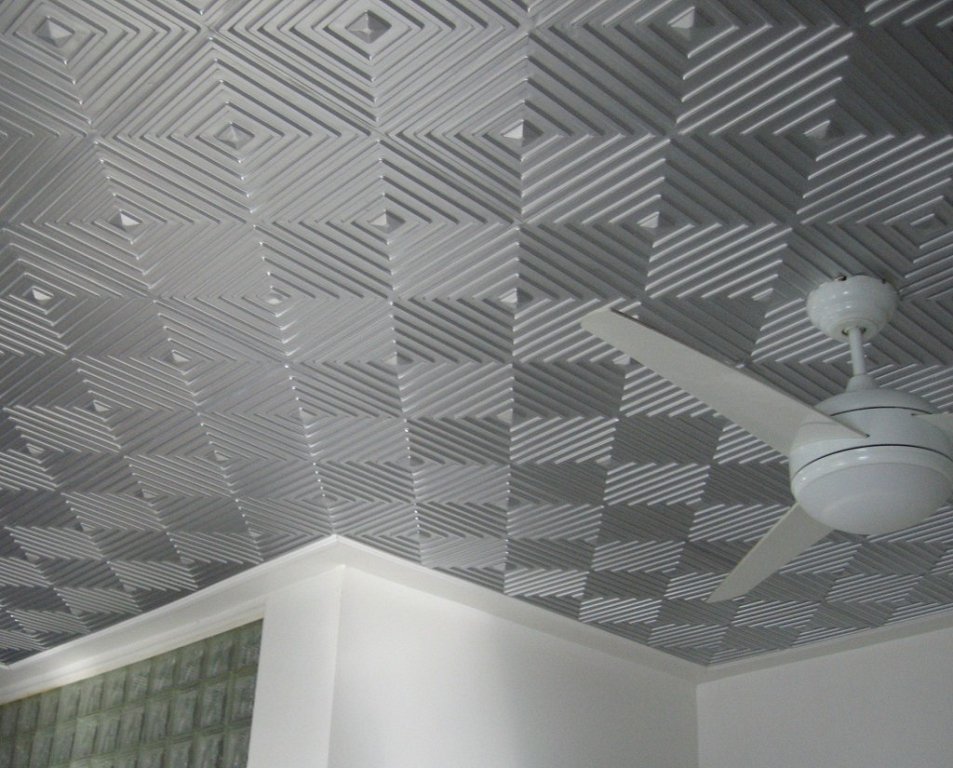
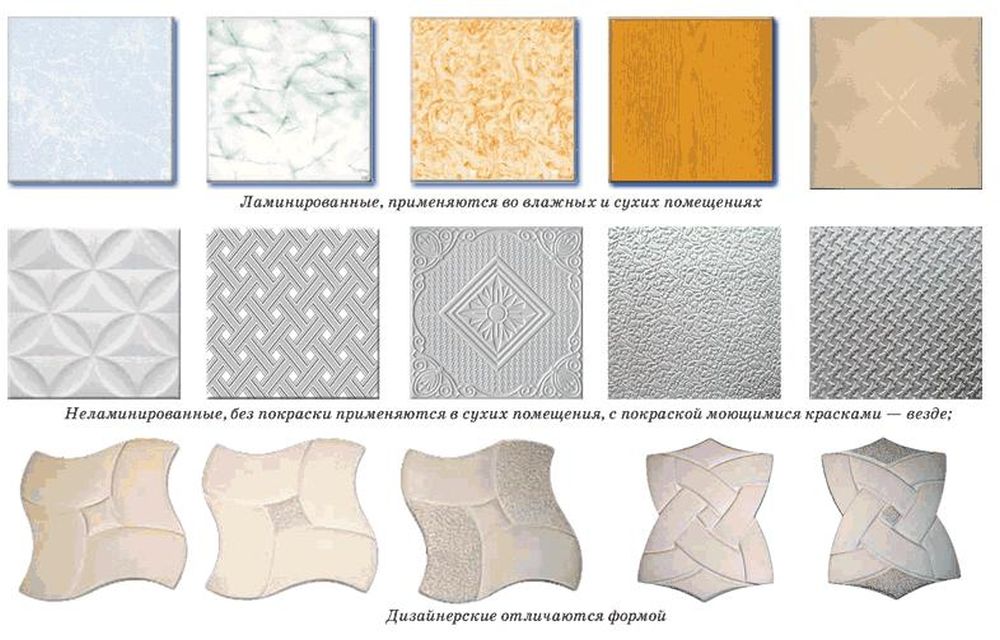
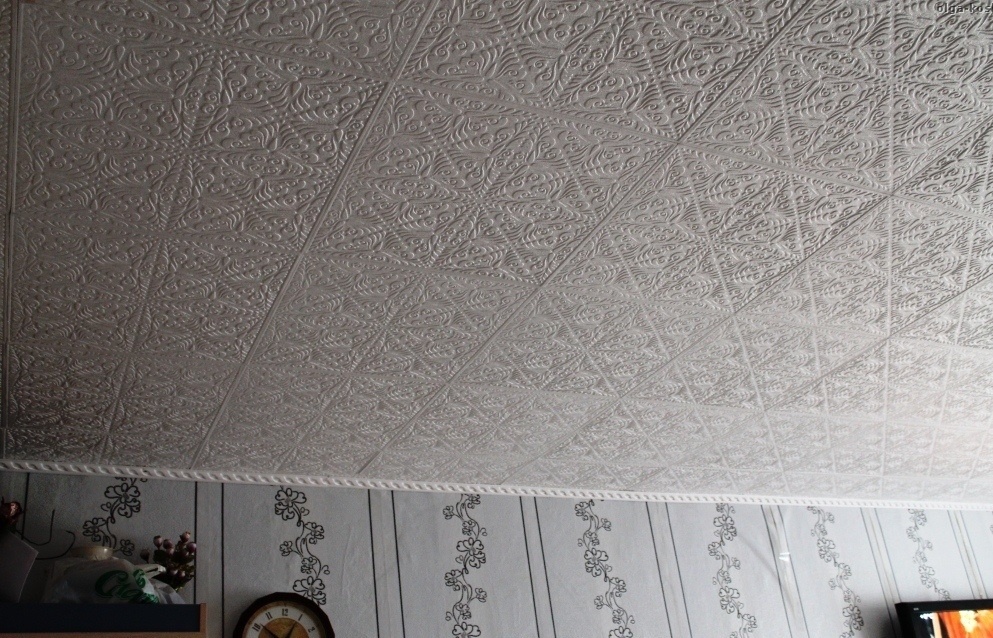
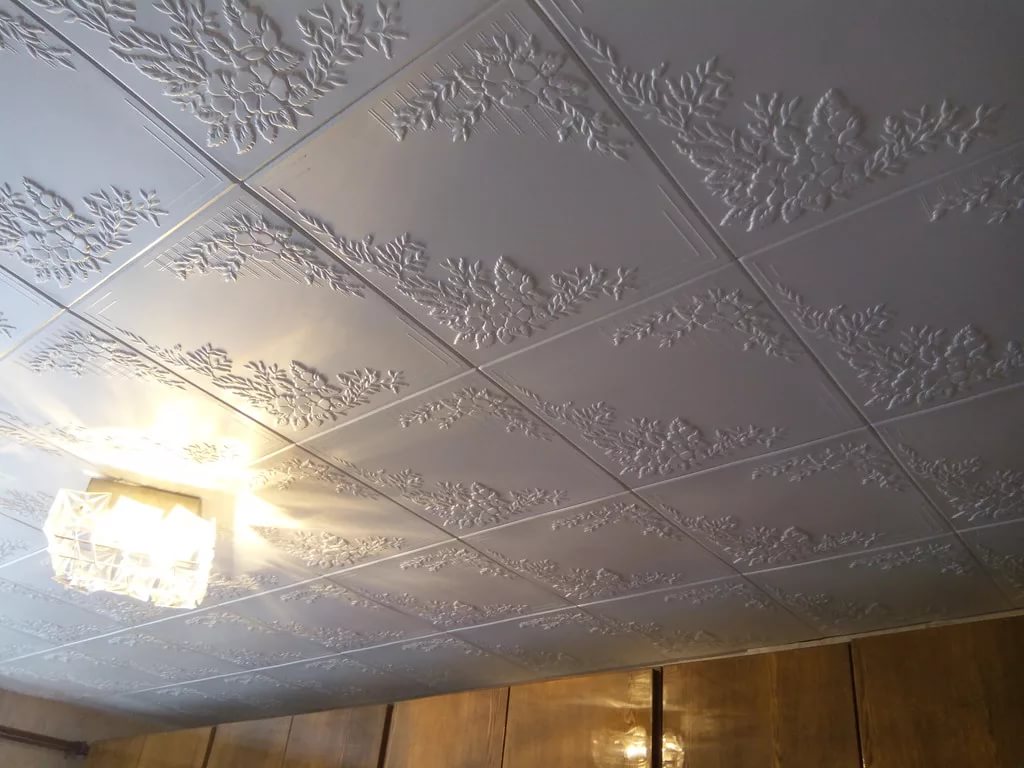
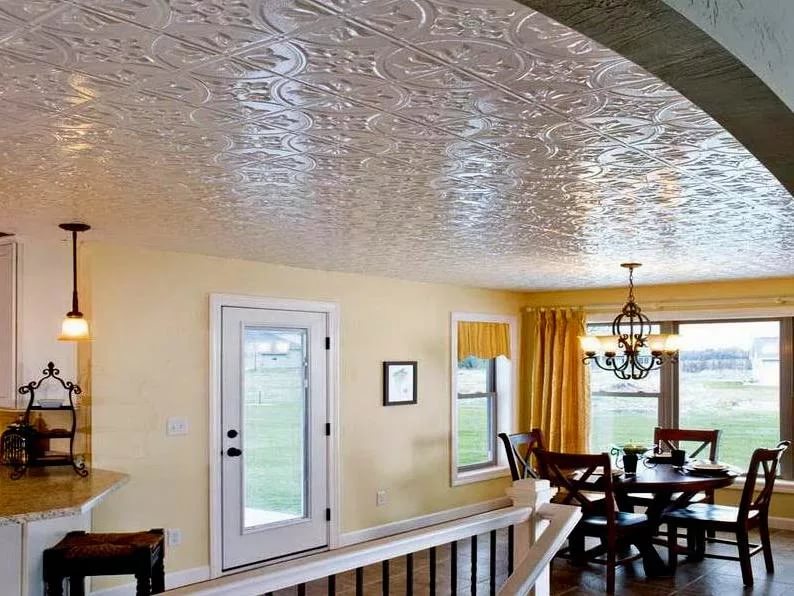
According to the design of the front surface, this type of material is divided into smooth and embossed. The relief pattern of a tile can be patterned or imitating such natural materials as wood or stone. The surface of the tile can be matte or glossy, laminated film or with a simple rough texture. Therefore, when choosing a finishing material according to its characteristics, it is necessary to understand what the atmospheric environment of the premises under repair is.
So, for finishing rooms with high humidity (bathroom, kitchen) you should choose the type of ceiling tile with laminated coating, and for drier ones, you can also choose a simple tile with a porous structure.
Advantages and disadvantages
Like all finishing materials, ceiling tiles have their strengths and weaknesses that beginners need to know.
Pros:
- Finishing of any surfaces. Polyfoam is a fairly light material, therefore it rests on any flat surfaces.
- Ease of installation.Finishing the surface of the ceiling does not require special skills and tools, it is enough to familiarize yourself with the instructions and follow the planned algorithm step by step.
- Various decorative options. A variety of shapes, patterns, textures and color shades will help to create an original design of the room.
- The budget cost of the material. Both the tile itself and the auxiliary materials have a low cost in the market.

- Heat and sound insulation properties. According to its structure, the tile does not have air permeability, and this ensures the preservation of heat, which is produced in the room. The foam has soundproofing properties, as it easily absorbs noise and vibration.
- Durability. With proper care and operation, products from expanded polystyrene have a long service life, which will help to maintain a decent appearance of the room and budget.
- Easy care of products. If the surface of the finishing material is laminated, then it is enough to wipe it with soapy water and water as it gets dirty. If the surface of the tile is porous, then you need to use a dry rag or vacuum cleaner.If yellowness is formed during prolonged use, it is possible to coat the surface of the tile with aqueous emulsion paint.
Minuses:
- The fragility of the material. Due to the soft structure and the lack of a large thickness of the product, polystyrene foam has a large brittleness. This is important to take into account at the stage of transportation of the material.
- Lack of vapor permeability. If a room with a damp environment is tiled, good ventilation is important. Otherwise, there may be a risk of mold, which will adversely affect the microclimate.
- Poor resistance to atmospheric factors. Due to direct sunlight, the tile burns out or takes on a yellowish tint.
Technological process
In order to properly glue the foam tiles you need to follow the following algorithm:
Calculation of basic materials
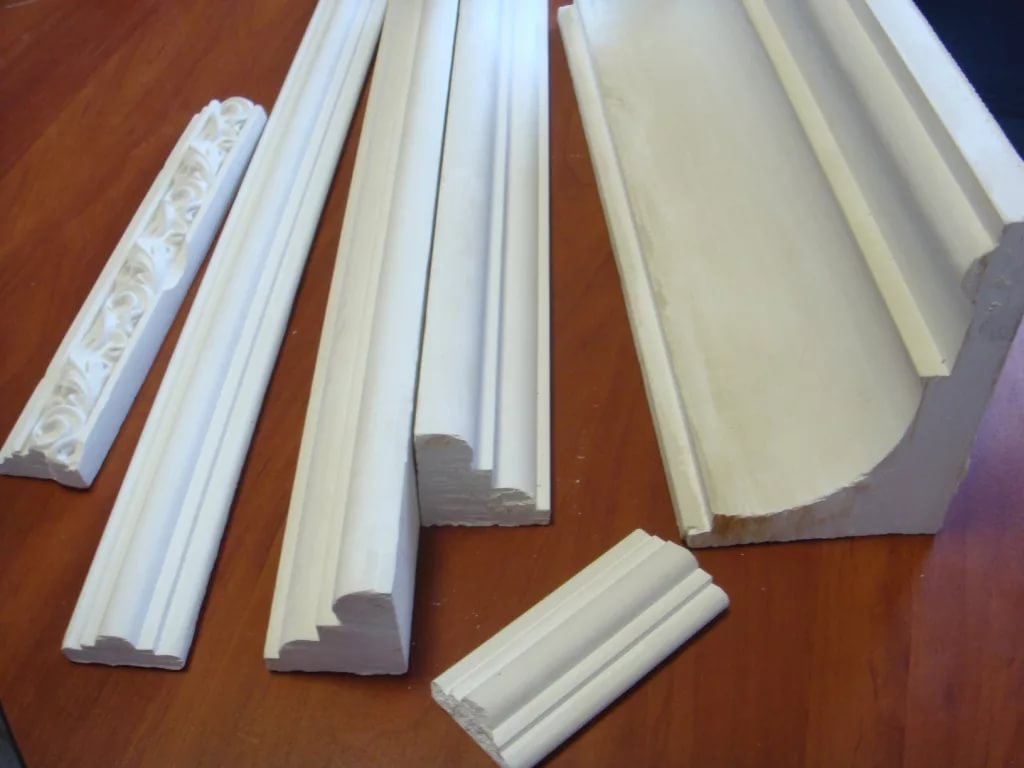
The main materials for this type of finish will be: foam tiles, ceiling plinth and glue.
The calculation of the required amount of materials is made by a simple method:
- It is necessary to measure the linear parameters of the room (length and width), then multiply them together. This determines the area of the room in square meters.For example, the room has the following dimensions: length - 3 meters, width - 2.5 meters. The total area is 7.5 square meters.
- The area of one standard ceiling tile measuring 50x50 centimeters corresponds to 0.25 square meters. To obtain the required quantity, the total area of the ceiling should be divided by the area of one tile, which in the example is 30 pieces. To this amount you need to add 10 percent - 3 pieces - in the case of scrap or damage to the material.
- The length of the ceiling plinth is determined by the perimeter of the room. In the example, the perimeter is 11 meters. It is necessary to add to the resulting volume of 10 percent - 1.1 meters, and the total number of baseboards will be 12.1 meters. However, it is worth noting that in the store ceiling plinth is sold in pieces or arrows. In one hand - 2.5 meters of plinth. To determine the required amount of plinth in pieces, you need to divide the total volume in meters by the meter of one plinth arrow. In the example, 4.84 pieces are obtained.
This method of calculating the number of ceiling plinth is applicable if the walls of the room are perfectly smooth. If there is even the slightest curvature of the walls, then the baseboard should be purchased slightly more than the calculated amount. Thus, it is possible to avoid shortage of material during installation.
- Glue consumption for tile installation is strictly individual for each type of this product. Typically, the manufacturers of glue on the package indicate the rate of glue consumption per square meter. Therefore, when the calculated total area of the premises in the store will be easy to determine the required amount of glue.
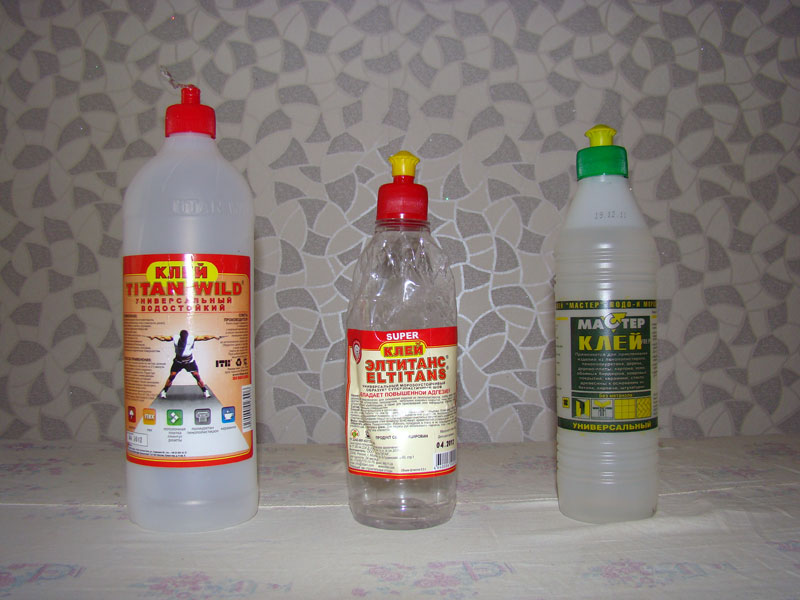

Material selection
When buying the necessary materials in the store should pay attention to the following details:
- The edges of the ceiling tiles should be smooth, without sagging. Otherwise, it will not be possible to exactly connect the tiles, and the formed inter-tile gaps will look unaesthetic and will cause additional difficulties in their elimination;
- Since the drawing of a tile can visually enlarge or reduce the room, at the selection of material it is necessary to make a preliminary layout of at least four tiles;
- When choosing an adhesive or a special mastic for gluing tiles, it is worth looking at the time of adhesion of the adhesive to the surface. Otherwise it will take a long time to press the material to the ceiling, and this can lead to mechanical damage to the tile.
Choosing the right tools and fixtures
To quickly and easily glue the ceiling base tiles with foam plastic,The following tools and fixtures are required:
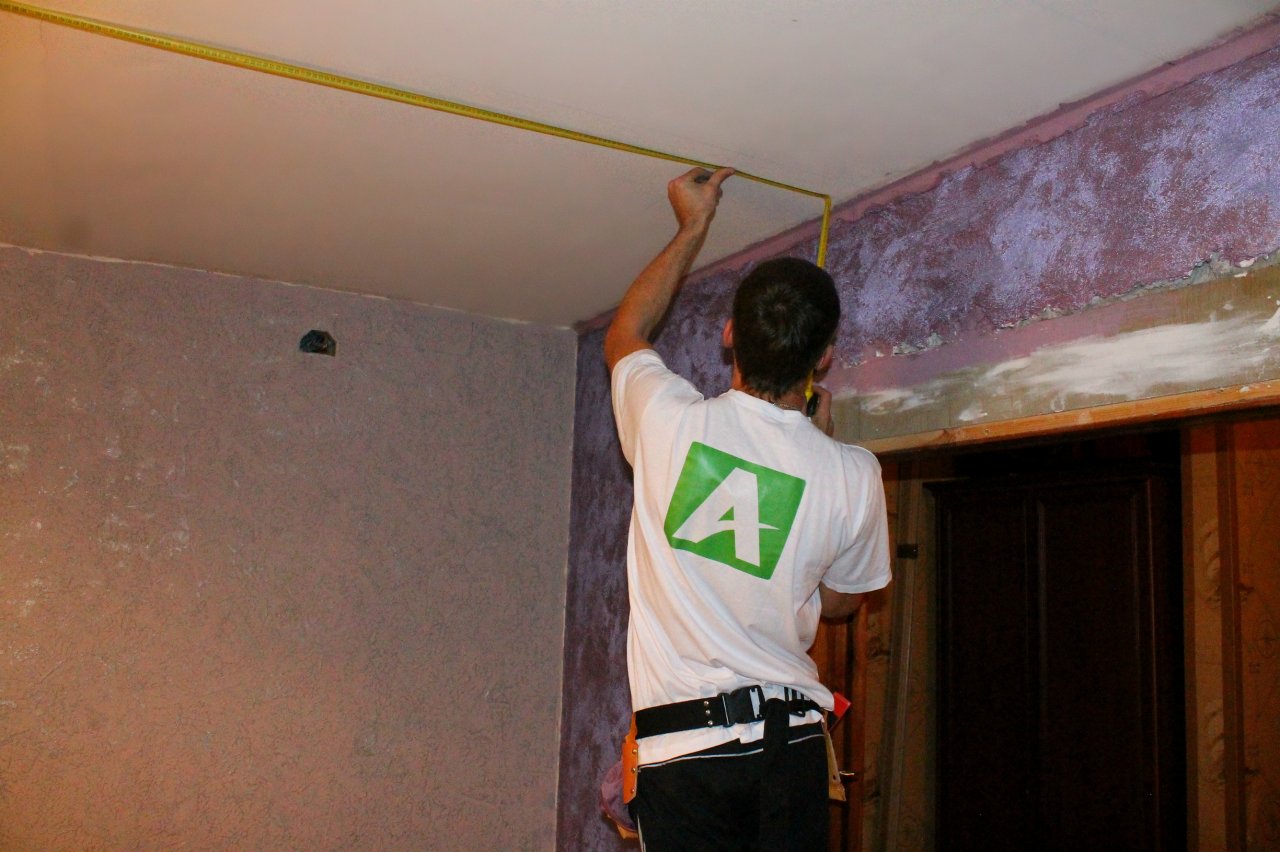
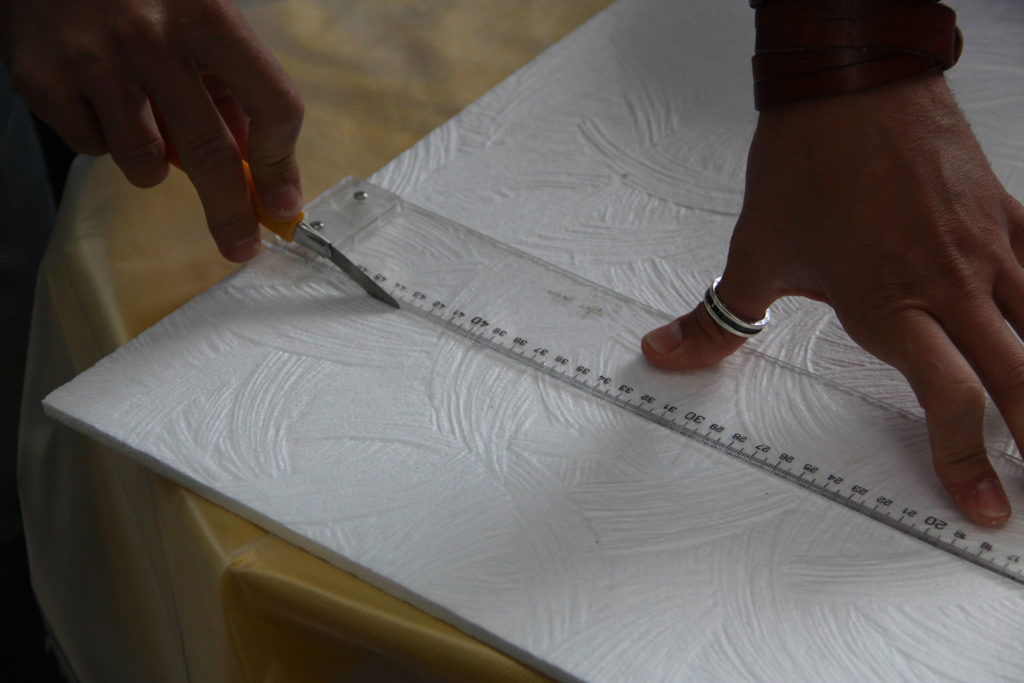
- roulette 5 meters;
- cutter;
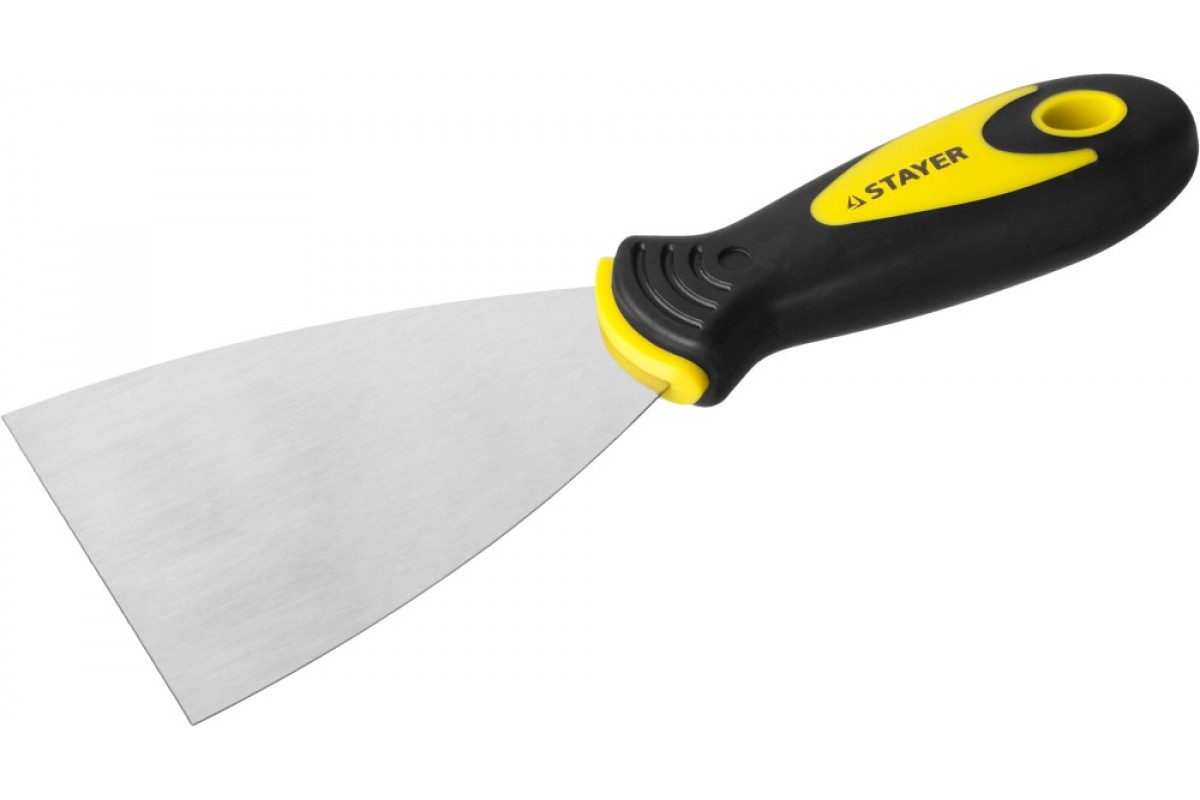
- putty knife;
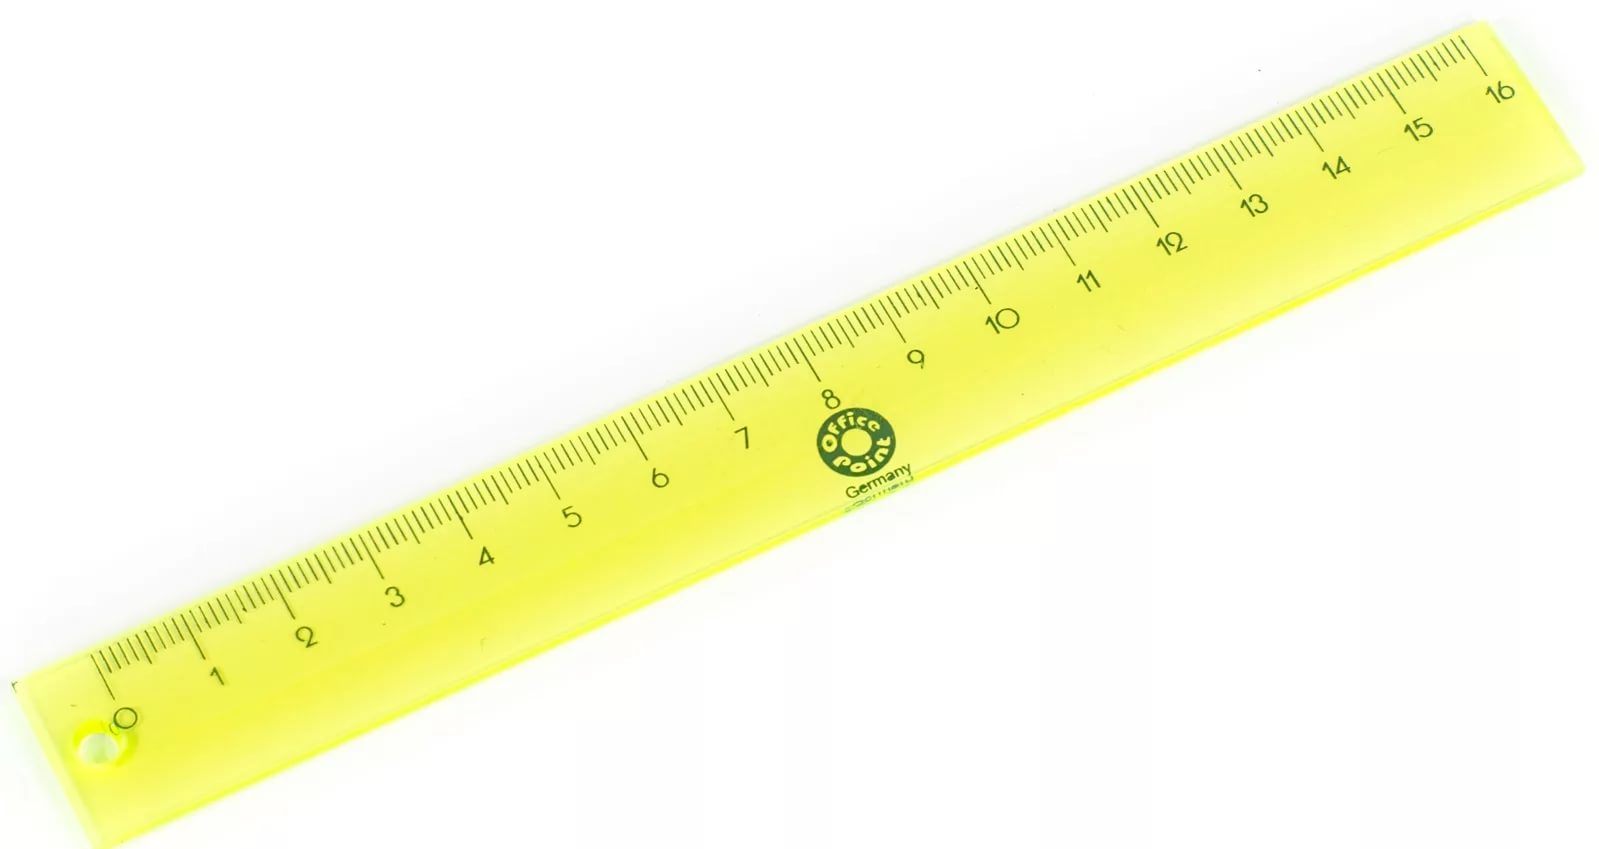
- ruler;

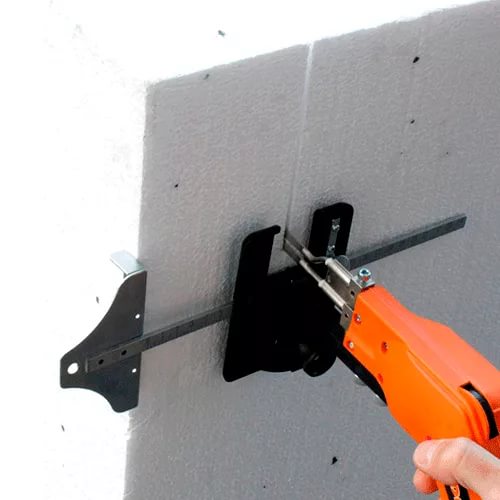
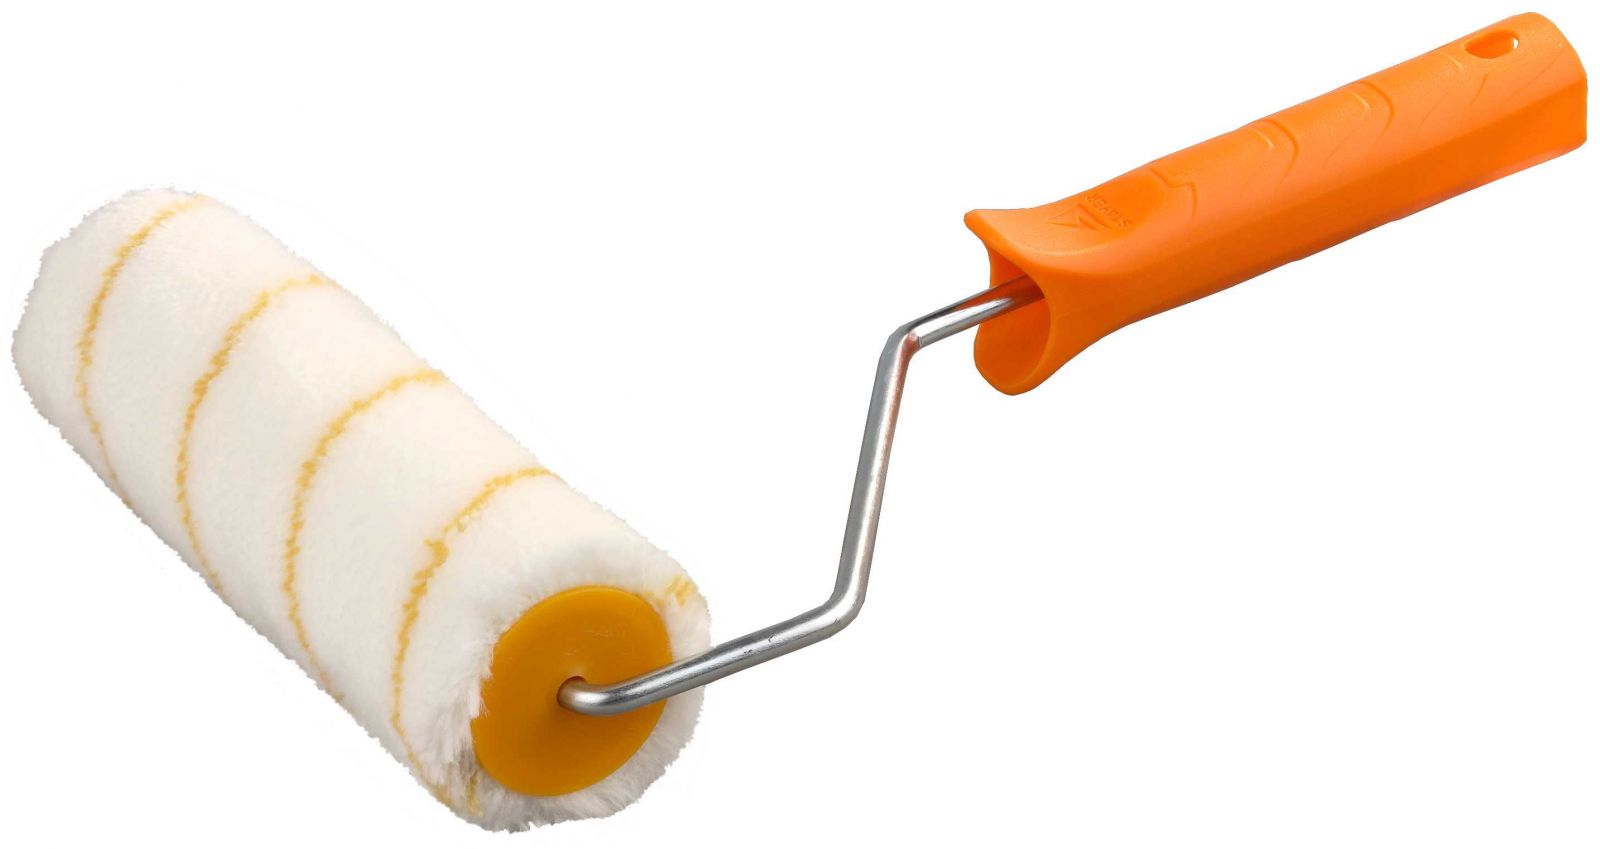
- roller;
- pencil or marker;
- ladder;
- table.

Cutter or the so-called construction knife for convenience is better to choose a larger size. So you can prevent the breakage of the tool and mechanical damage to the material. Also included is to purchase additional blades.
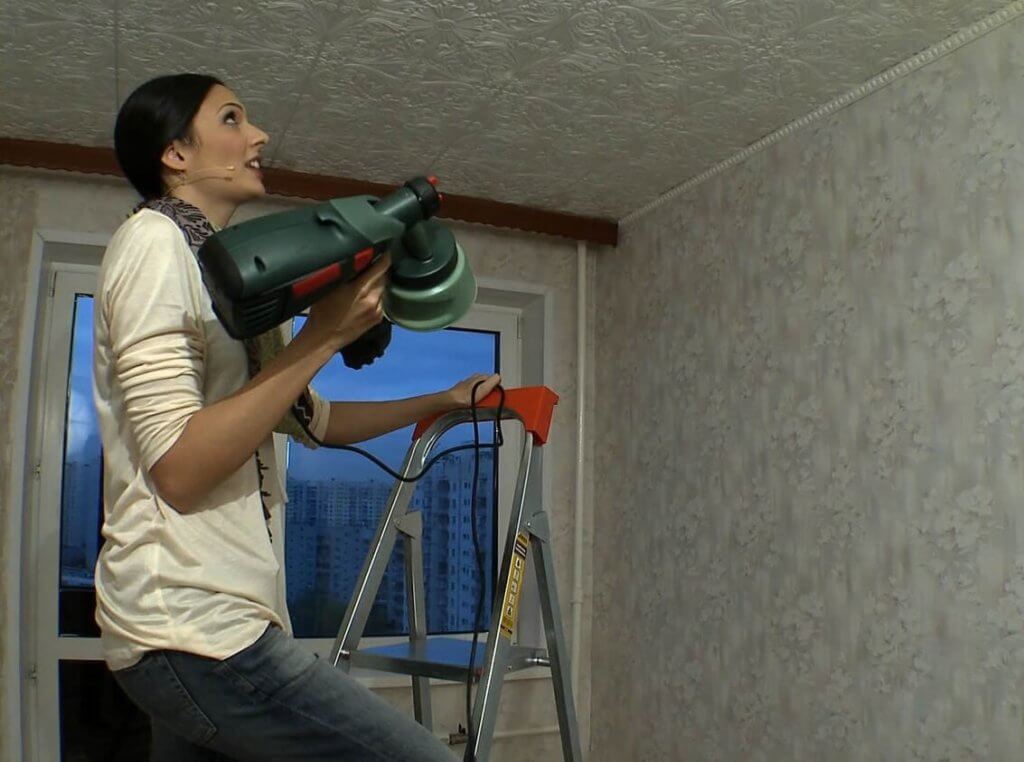
Surface preparation
Preparing the ceiling surface before decorating it is an indispensable technological condition.
For this, the following actions are taken:
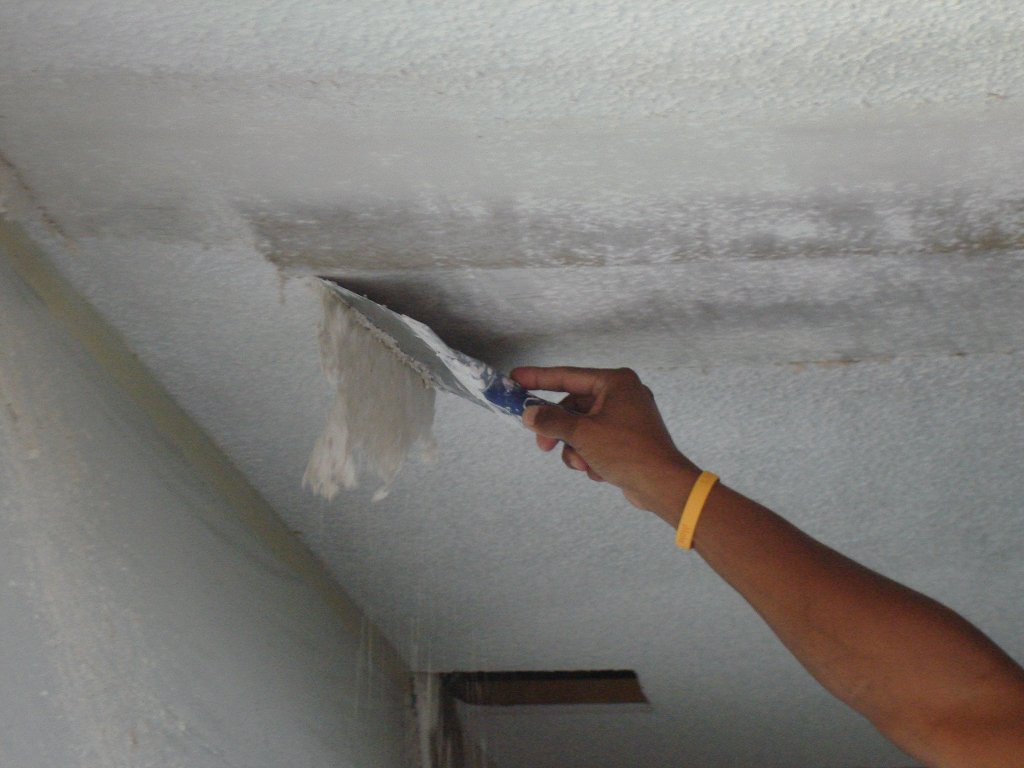
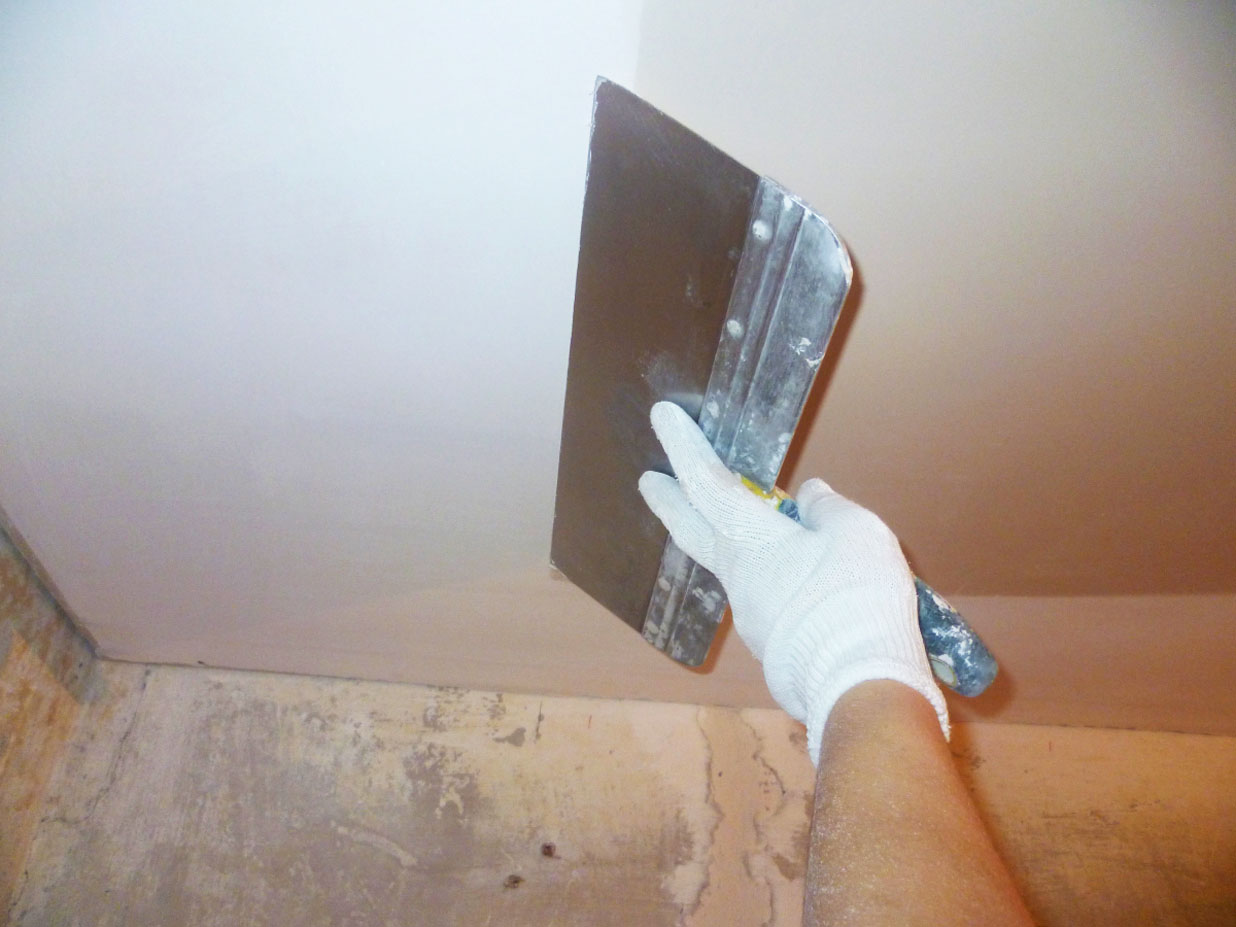
- cleaning the surface of the old finish. It is necessary to remove with a spatula a swell of old paint or peeled-off whitewash, and then wash the ceiling;
- if the surface of the ceiling has a curvature, for example, due to the overlap of the floor slabs, then it is necessary to level the surface or seal up the dents and chipped with putty;
- For better adhesion between the ceiling base and the adhesive composition, the surface of the ceiling must be treated with a primer.
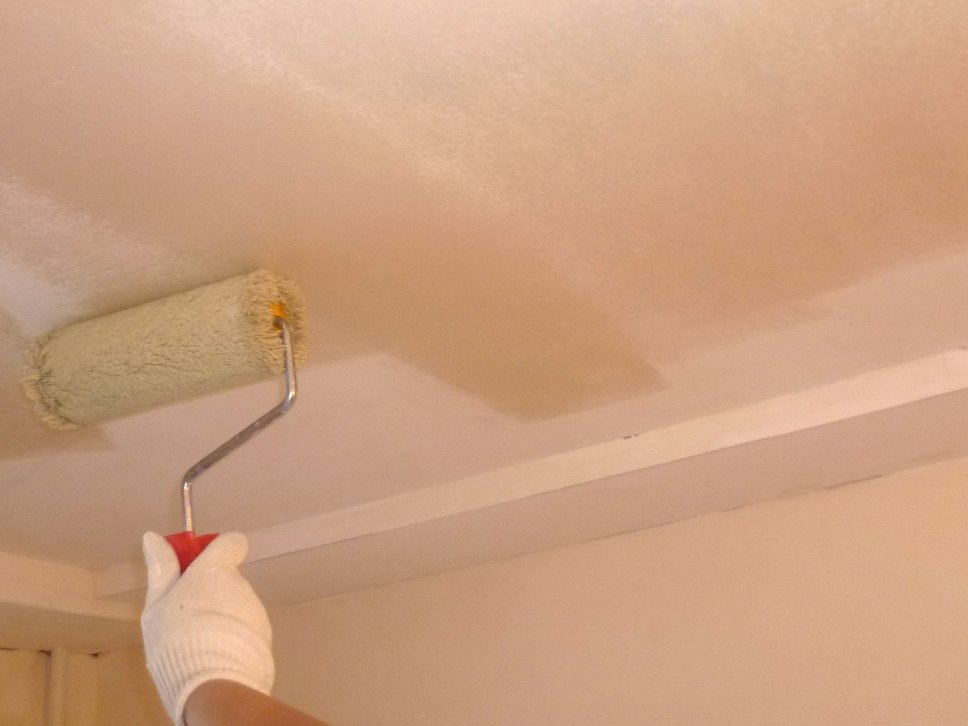
If the room has high humidity, it is better to treat the surface with antiseptic compounds before finishing the ceiling.Otherwise, a mold may form under the tile, which will degrade the performance properties of the material, the aesthetic appearance of the coating and the microclimate of the room.
Tile technology
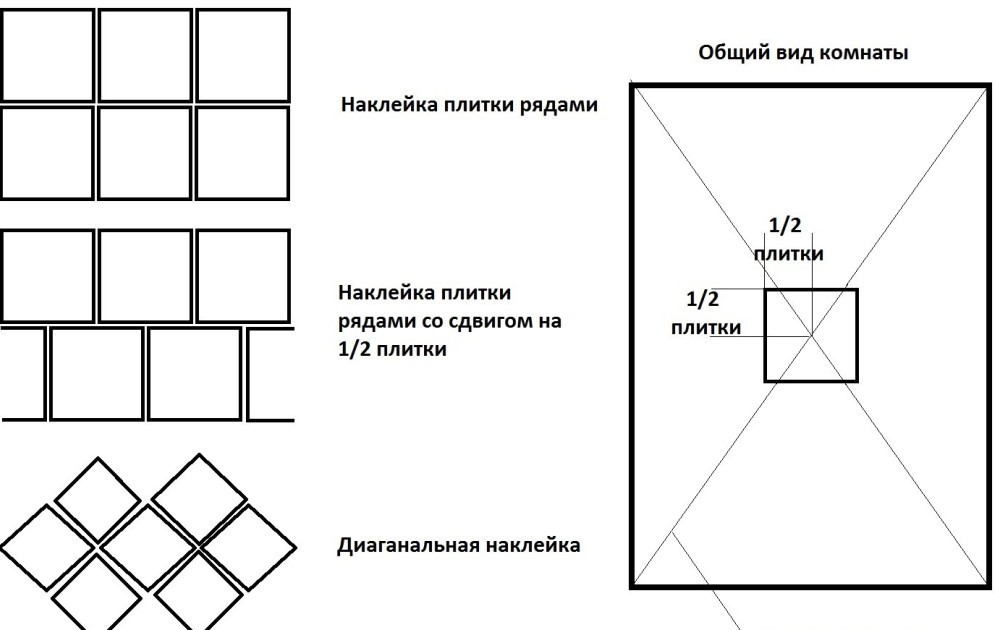
Before you begin to glue the tiles, you must first draw a ceiling layout pattern and tile layout.
There are two main options for facing the ceiling surface: parallel and diagonal. With the parallel method, the tile is laid square from the center, parallel to the walls. With the diagonal method - from the center diagonally at an angle of 45 degrees.
After determining the method of laying tiles, it is necessary to determine the starting point. With the help of a ruler and a pencil on the ceiling, the center is determined: a cross - if the layout of plates is parallel, X - if the layout of plates is diagonal. It is important to draw this designation correctly, because the whole constructive of the decoration and the composition of the drawing will depend on it.
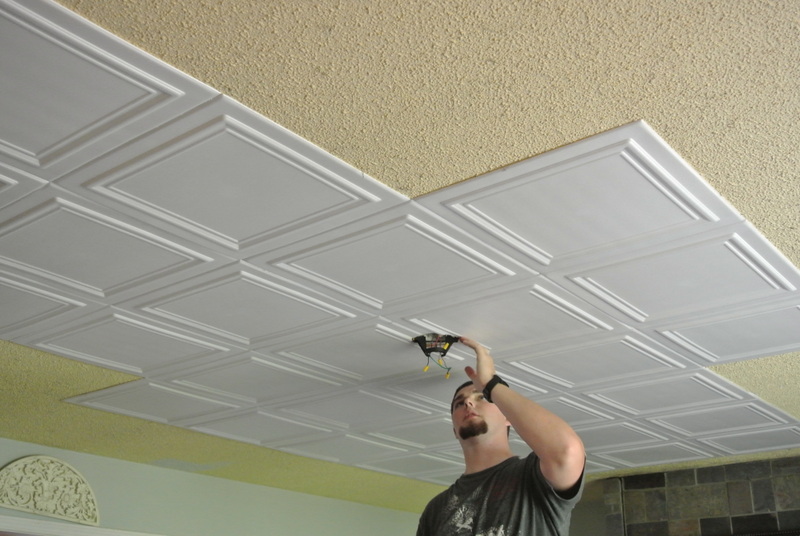
Better center or starting point to choose a chandelier or lamp. This will help to avoid the difficulty of cutting in the tile holes for the lighting device, as well as additional costs for the purchase of a ceiling outlet with unsuccessful cutting holes.
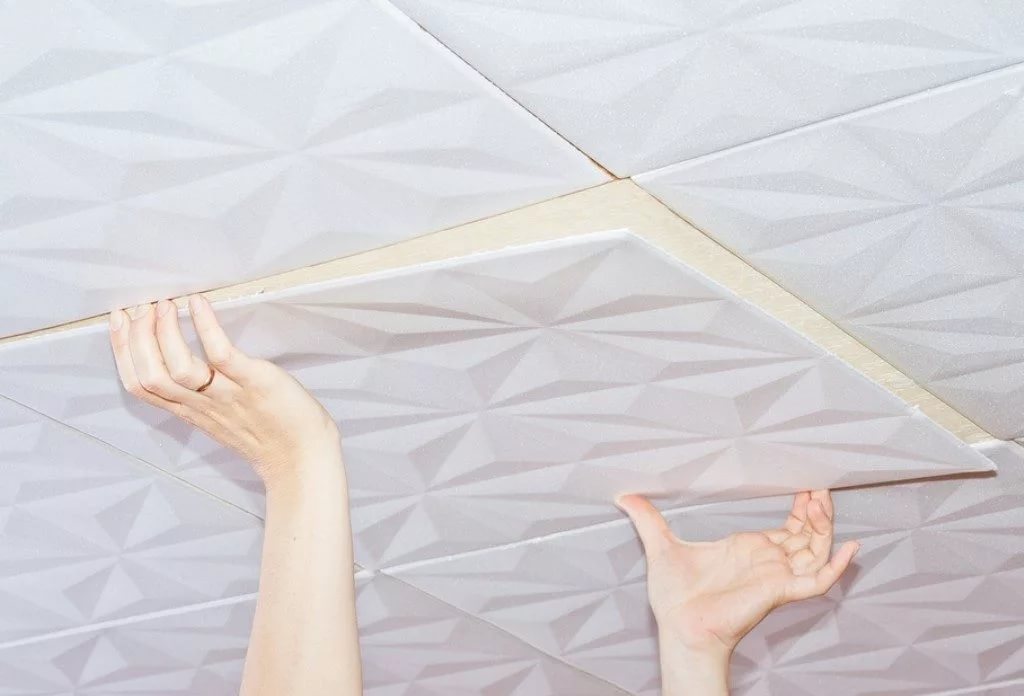
Gluing tiles as follows:
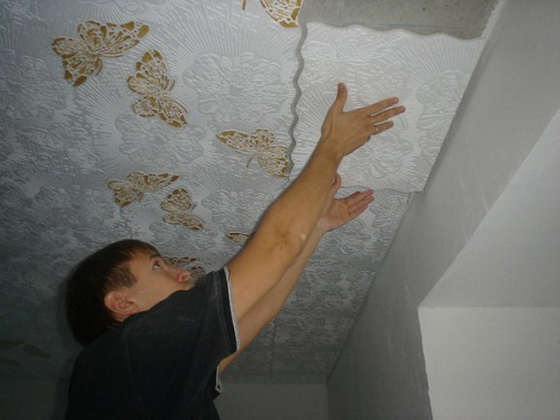
- An adhesive is applied to each panel in the center and along the edges, either dotted or continuously. It is better to apply the glue at a short distance from the edge of the tile in order to avoid material falling onto the front side;
- The foam panel tightly pressed to the markup drawn on the surface of the ceiling and held for 20-30 seconds. It is advisable to calculate the force of the clamp so as not to damage the fragile product;
- At the beginning of work, it will be more correct to glue the center of four tiles, so it will be easier later to orient yourself on the surface, producing a consistent pasting of the tile according to the intended pattern;
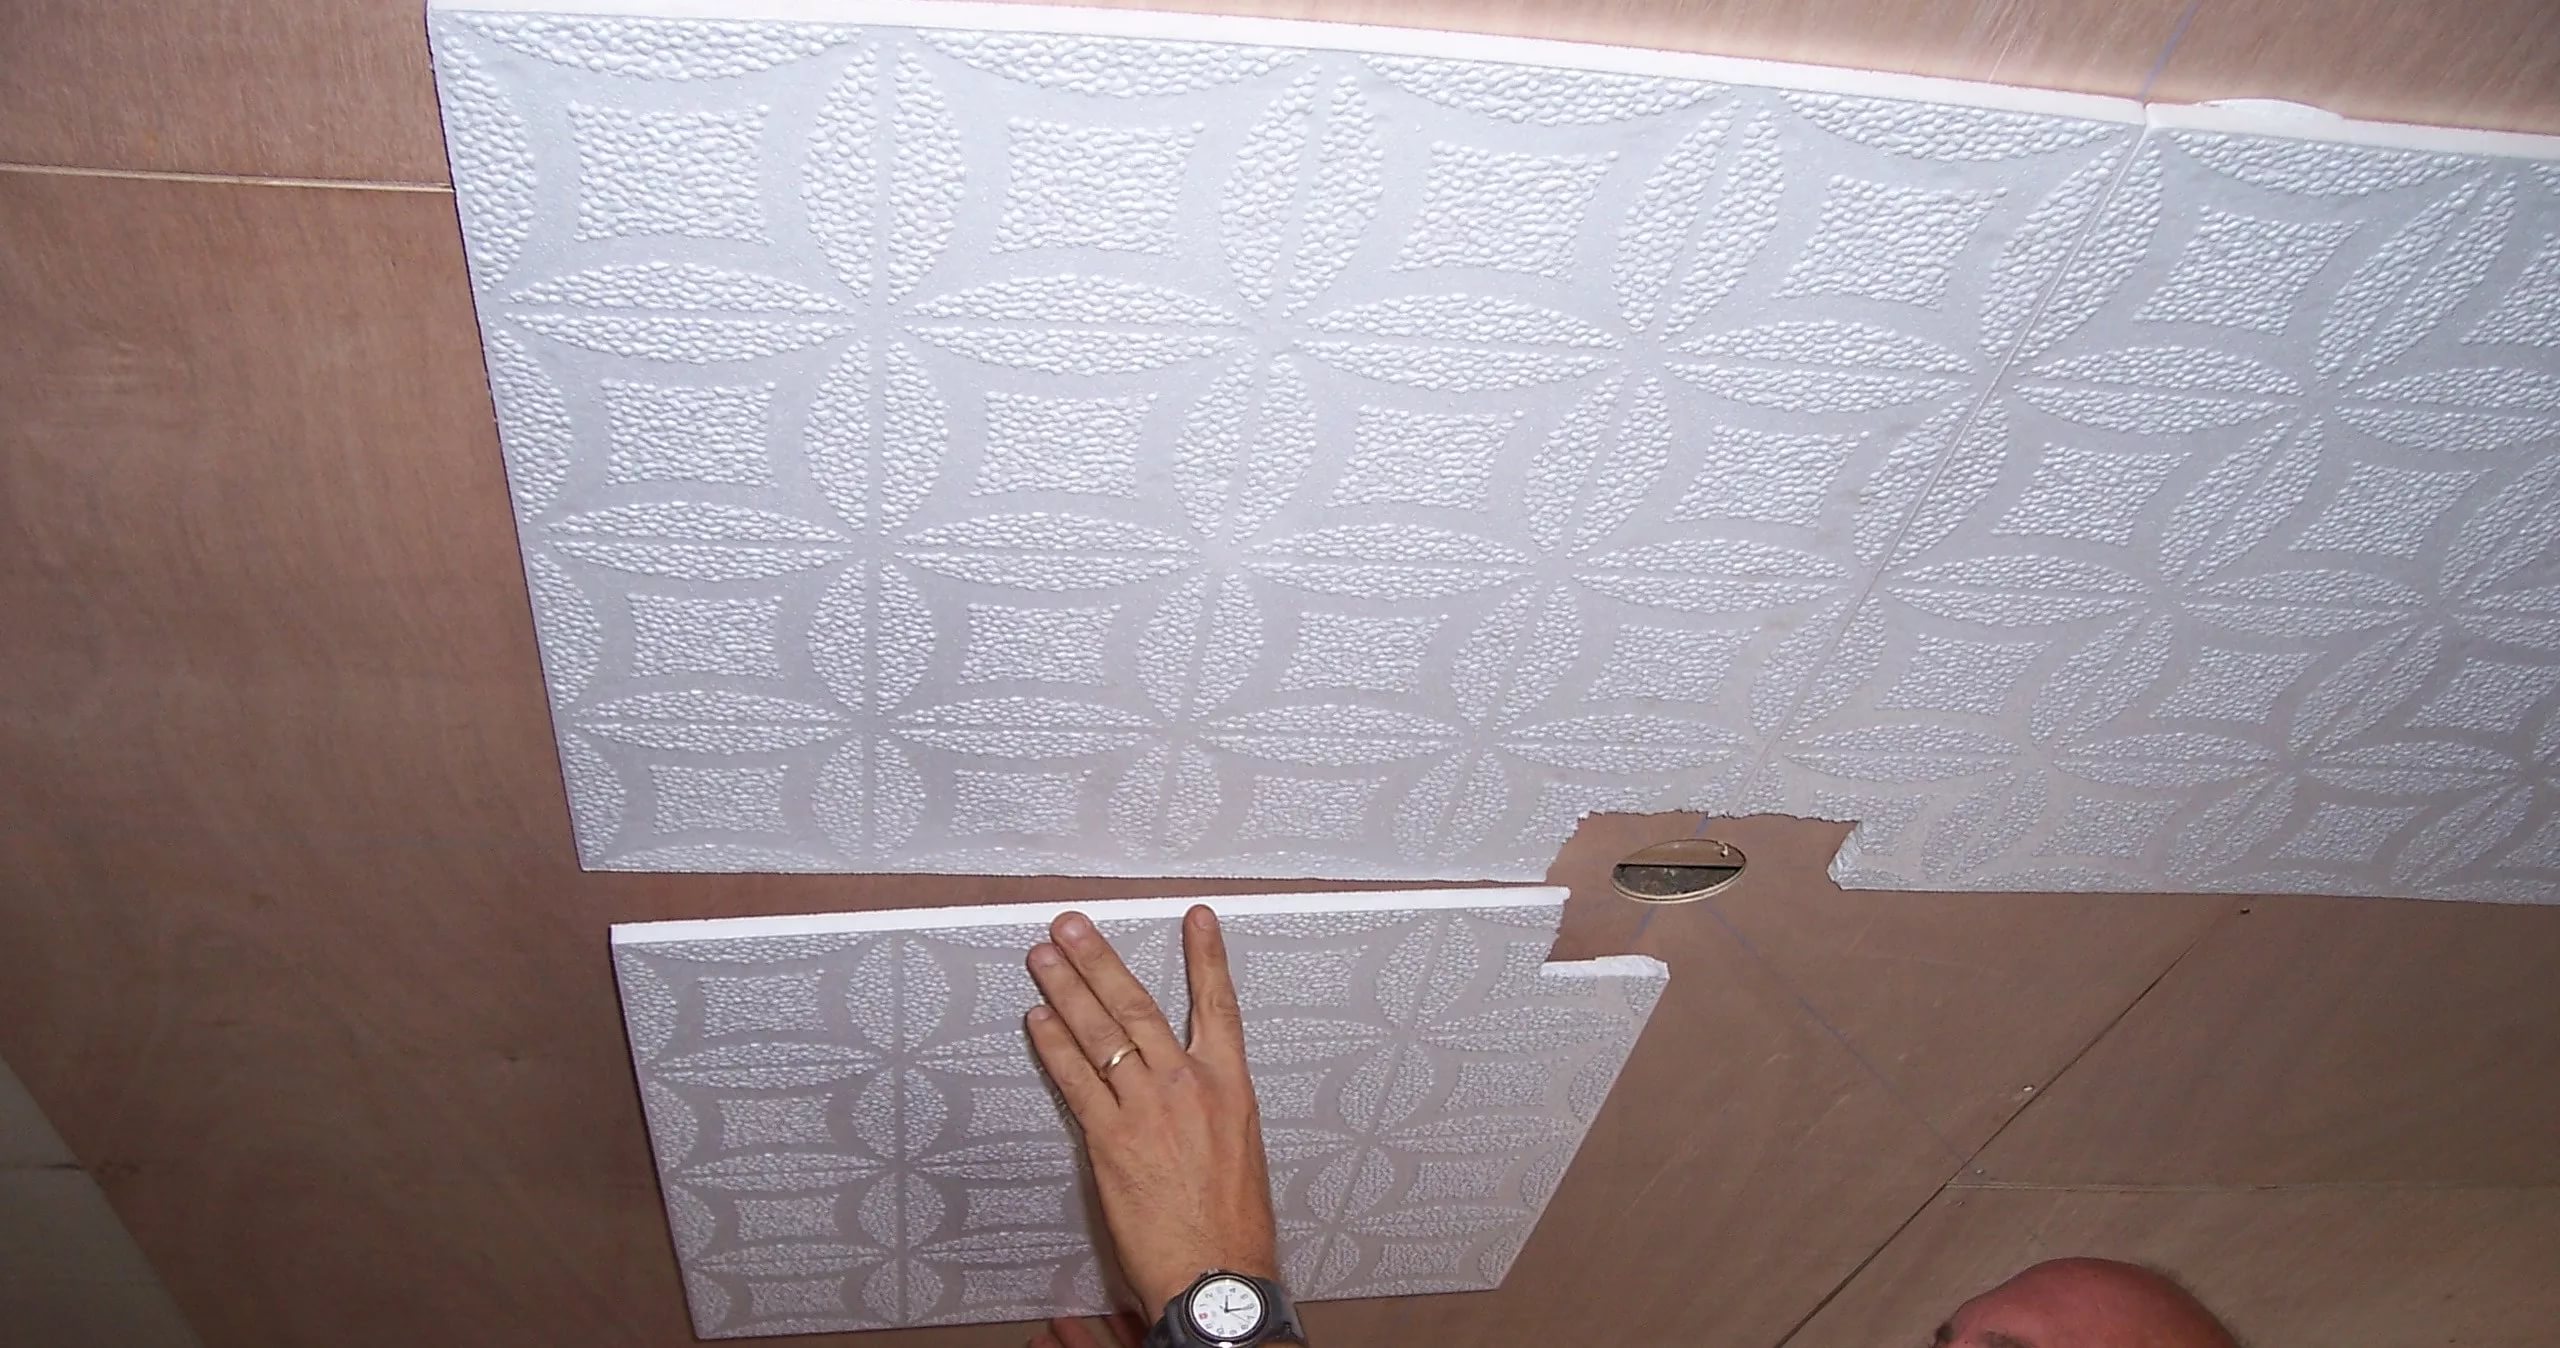
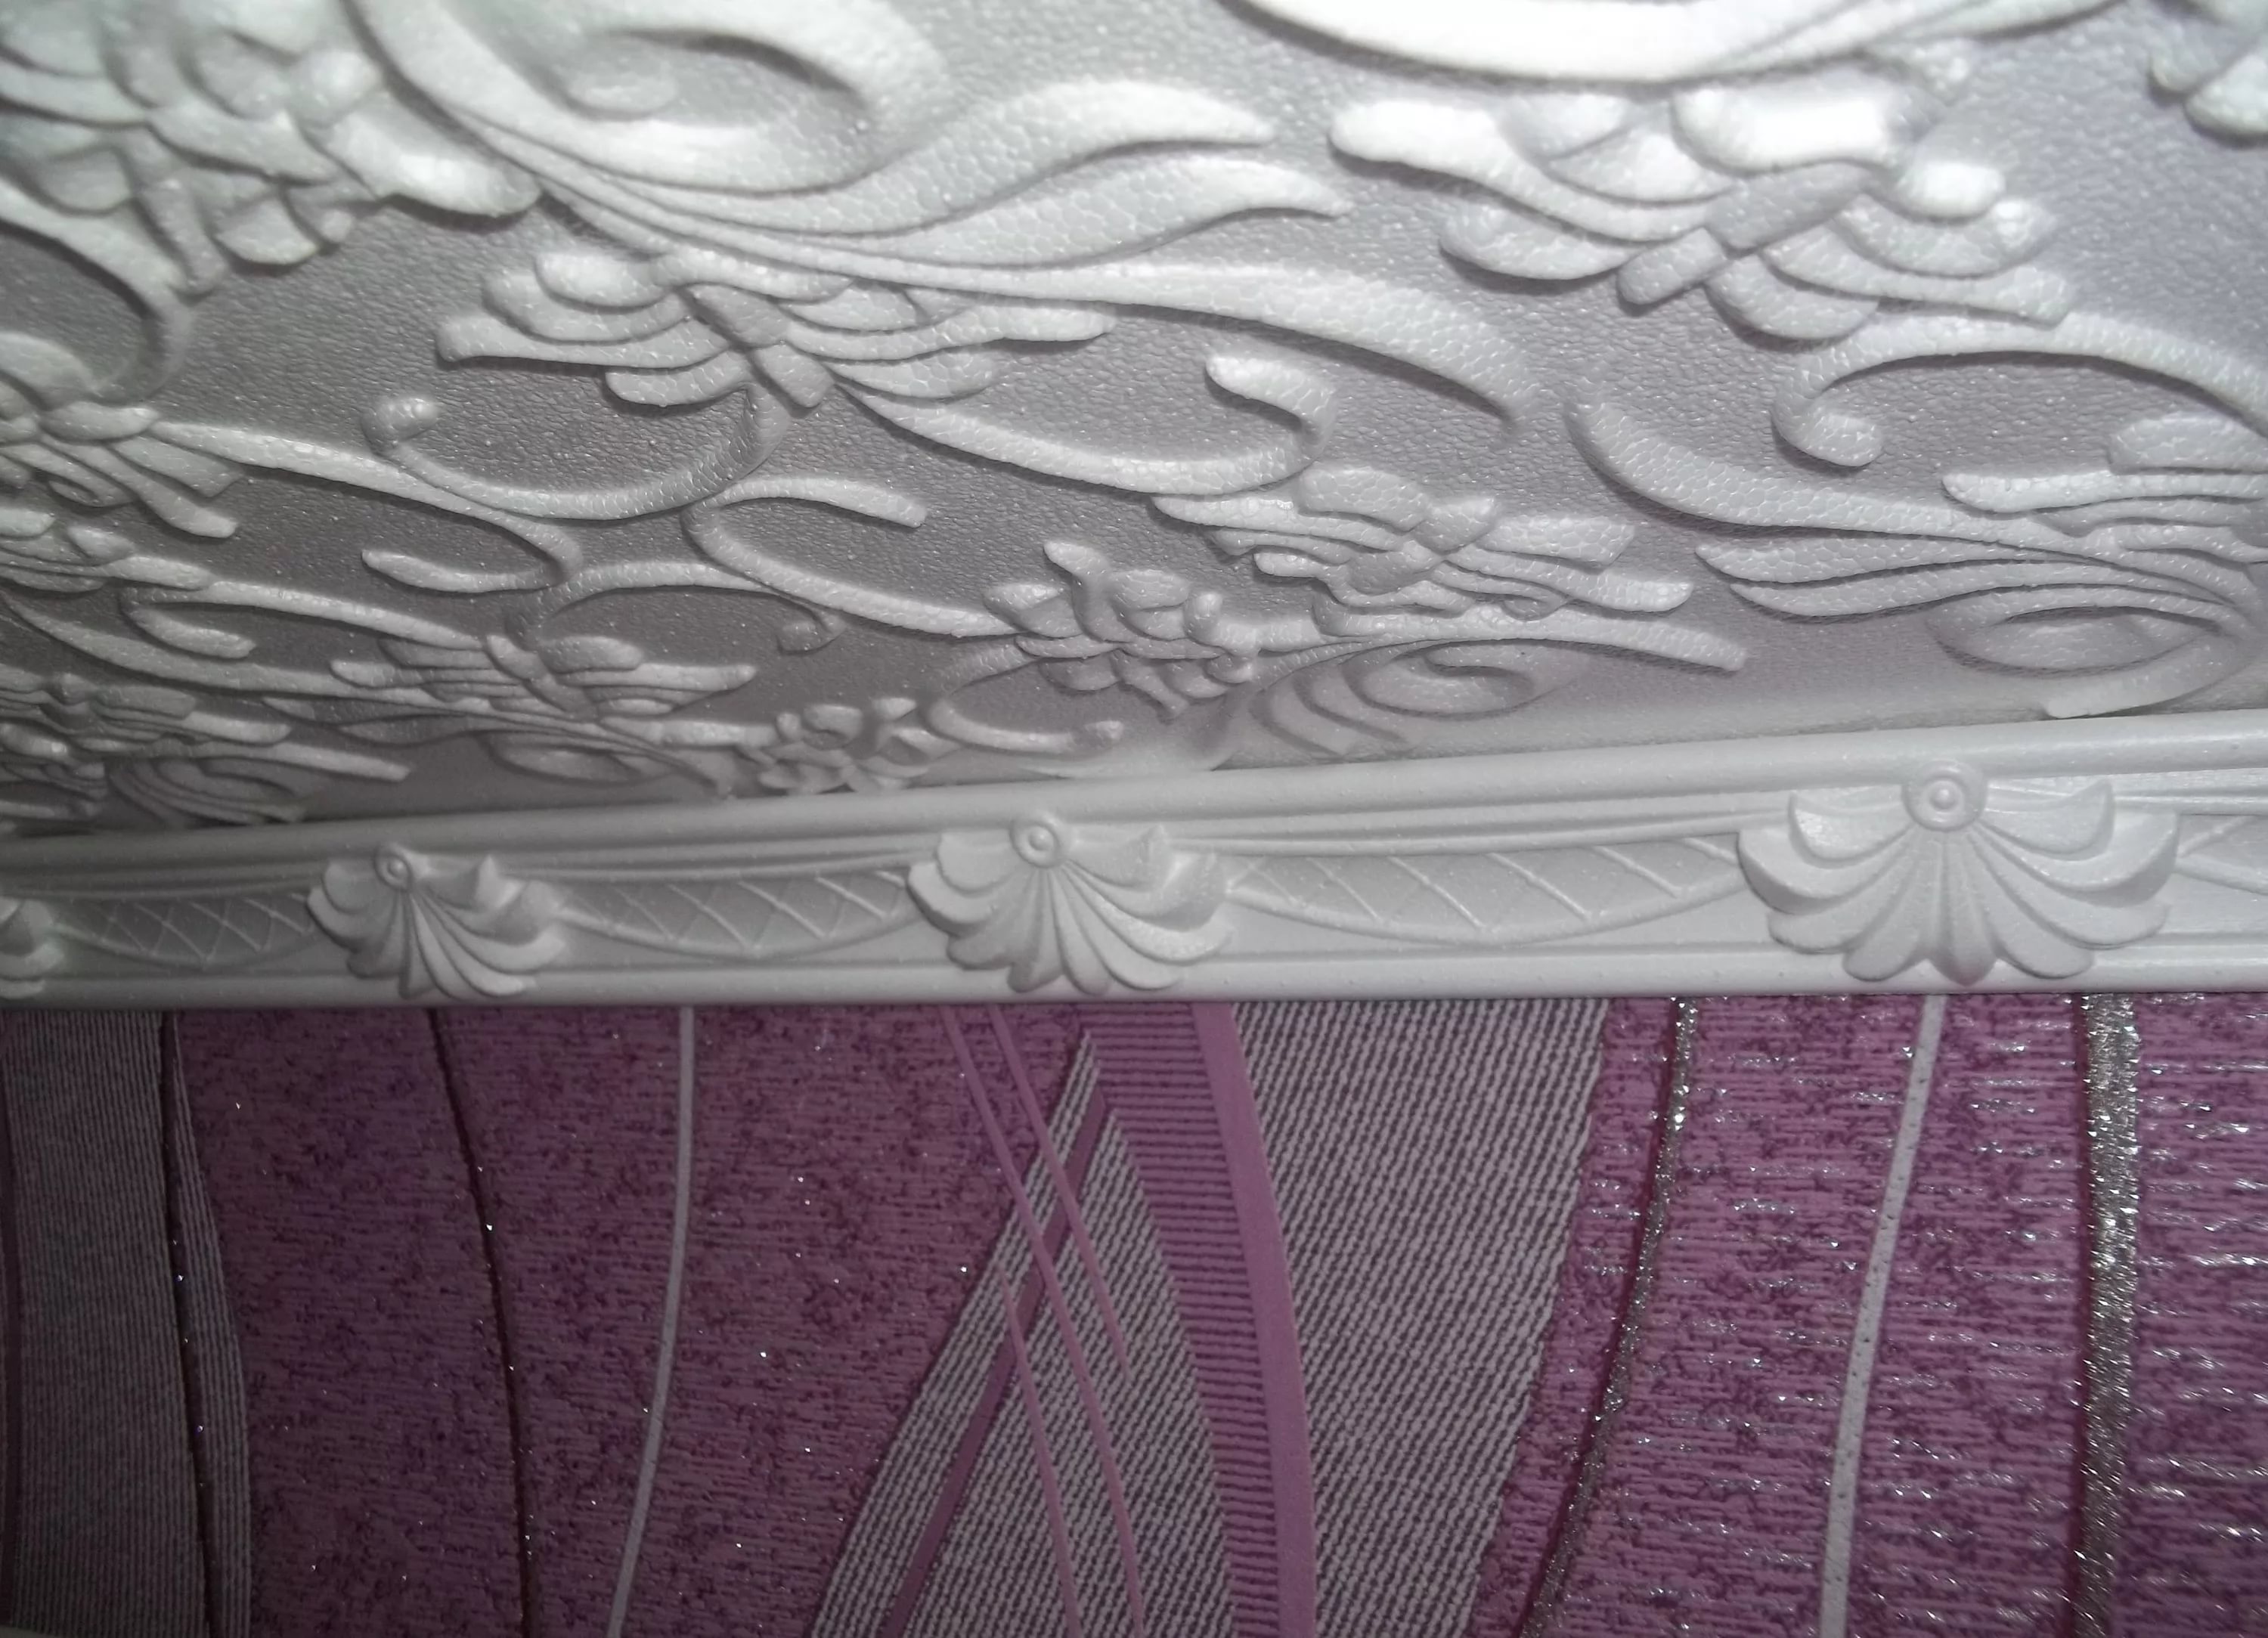
- The tile, which will be laid close to the wall, must first be cut with a sharp blade on a flat surface, so as not to spoil the facing material. If the cutting edge turned out to be not quite flat, you should not be upset, because along the perimeter of the room all the irregularities will be covered by the ceiling plinth;
- If inter-tile slots have formed, then they can be sealed with an acrylic sealant;
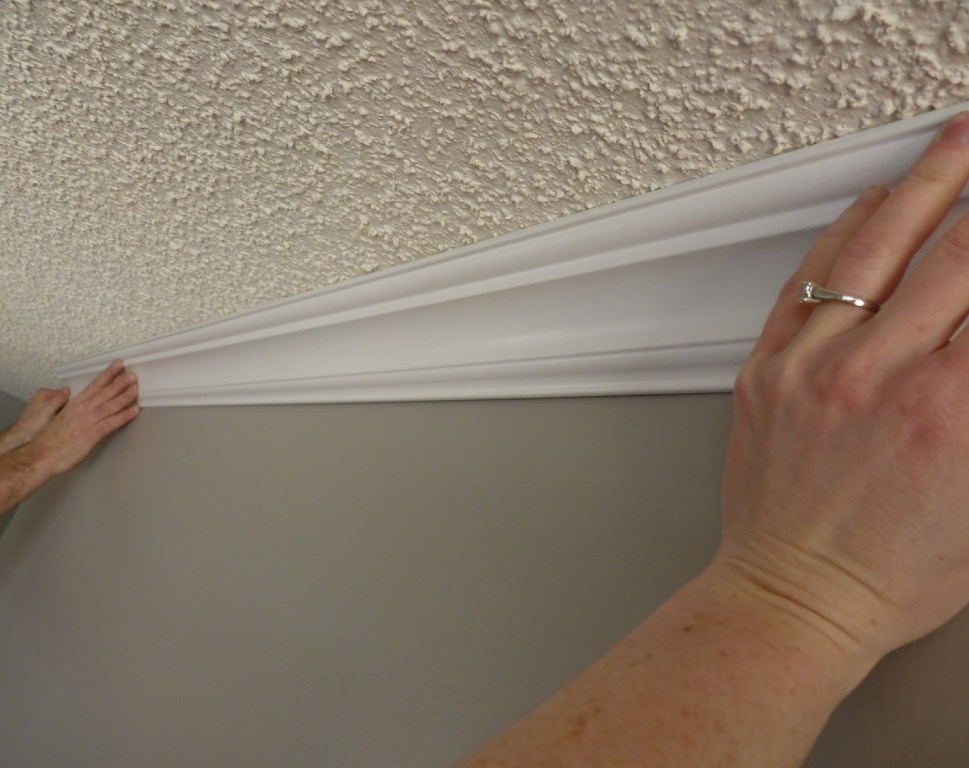
- To finish the finished look, you need to paste the ceiling plinth around the perimeter of the room.

See how to quickly and efficiently glue the ceiling tile, see below.
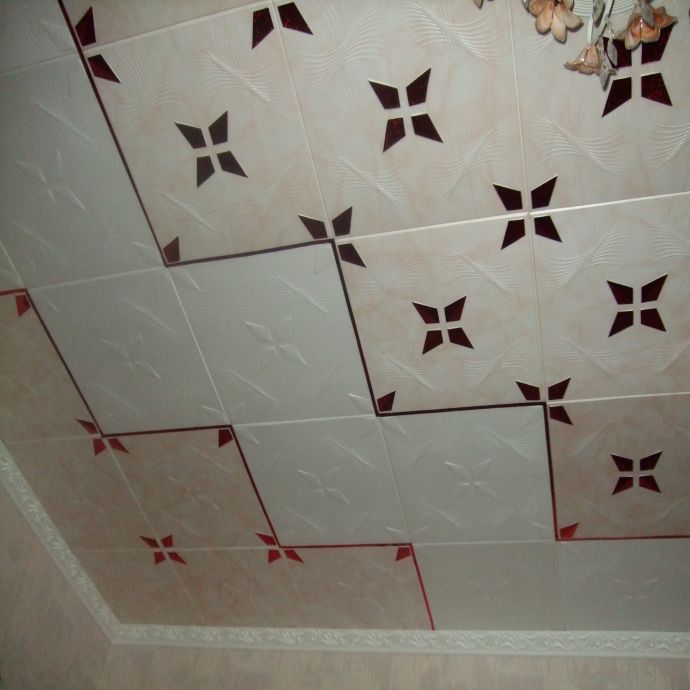
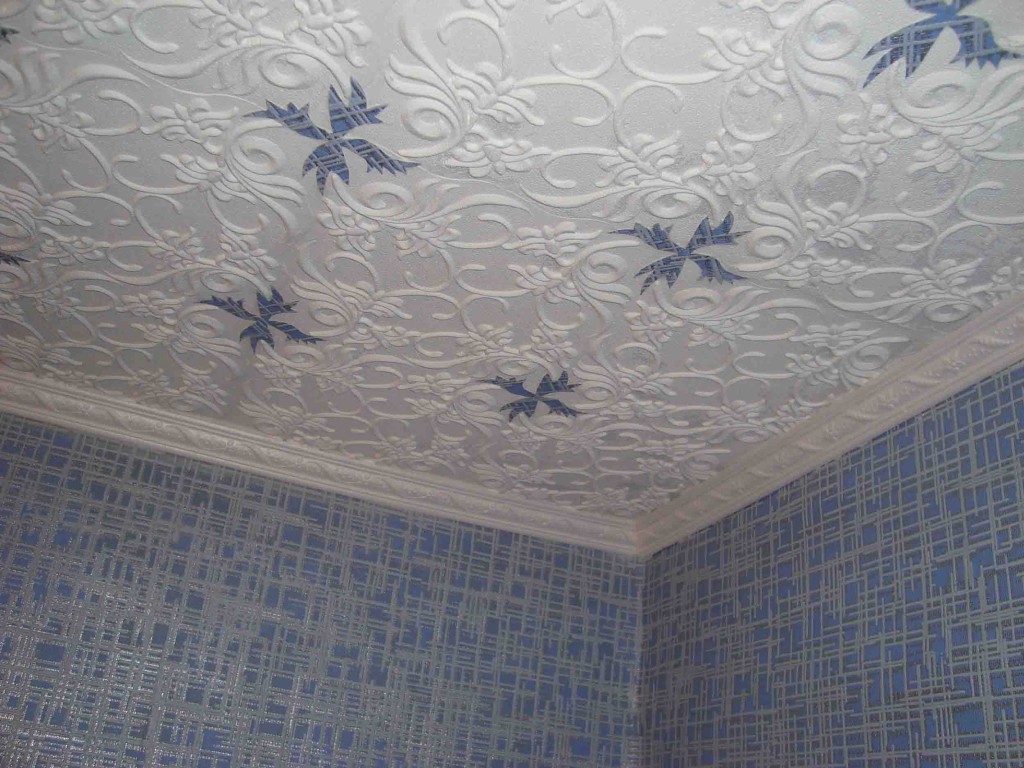
Design solutions
The tile from polyfoam - one of materials thanks to which it is possible to express the design idea and to issue any rooms in an original way. This is the most common and budget way to bring warmth and comfort to your home.