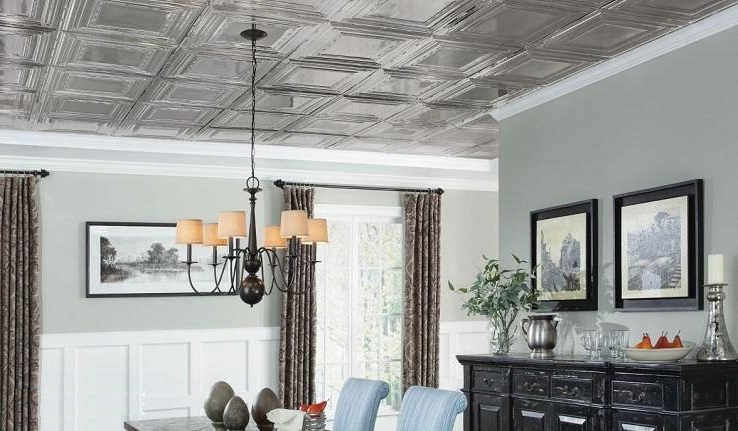
How to glue a ceiling tile: the details of the process
One of the most economical ways to finish the ceiling is sticking ceiling tiles. This process has a number of nuances, so it is important to learn the basic rules of gluing tiles with your own hands, as well as how to lay it.
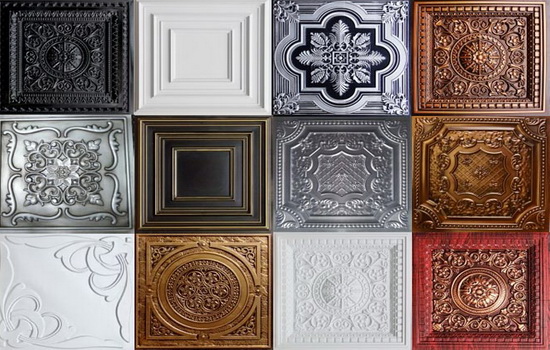
Types of tiles
All models of ceiling tiles differ in their density, texture, and composition. Consider the main types.
Plastic
Plastic tile is quite durable and of high quality, but it is far from environmentally friendly. It is easy to look after such ceiling: plastic can be washed and cleared in the different ways. It has the ability to fade, so this material is not suitable for rooms filled with sun.

Extruded
Such a material has a smooth surface without particularly convex relief elements. As a rule, extruded plates have a thickness of not more than 3 mm, although the material is dense. Manufacturers are models of different colors. Some of them imitate marble and wood.
Extruded tile is not customary to paint, because the paint does not fit well on the surface. The stores offer a wide range of models with different patterns in different colors. Extruded tiles are made from foamed polystyrene. It is easy to care for her. It does not create difficulties in the process of sticking.
The only disadvantage of extruded tile is its high price.
Foam plastic
In another way it is called stamped or PVC. In composition, it is more loose. The surface of such a tile is granular and porous.
The presence on the surface of a large number of pores makes it difficult to care for foam tiles. They are clogged with dirt, the color of the tile fades. To avoid this problem, such material is often coated with paint. But water-based formulations are not suitable.It is advisable to use acrylic dispersion paints to paint such ceiling tiles.
The thickness of each plate is from 6 to 8 mm, depending on the specific model. The pattern on it is extruded by the technology of a large press. This tile has a huge drawback: it is loose, breaks quickly, deteriorates, shines through. Difficulties causes her cropping. Therefore, such models should be purchased with a margin. The big advantage of foam tile is low cost.
Injection
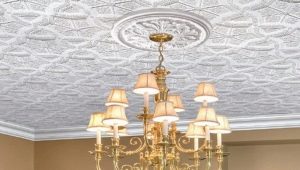
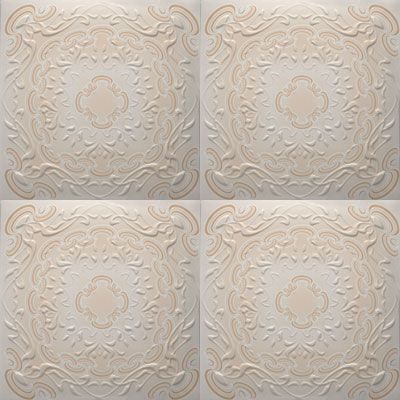
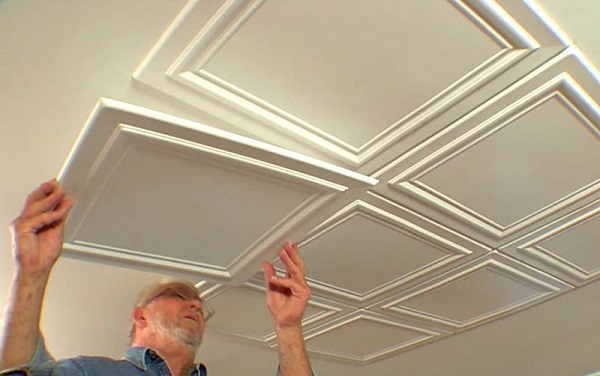
Such varieties are made from expanded polystyrene, which is baked in a certain form, creating the desired pattern on the surface. The drawings are clearer than the previous ones, the texture is more interesting. This material has an average cost and quality. Manufacturers allow painting of this material. With this tile you can make a completely seamless ceiling, so it is in demand.
The great advantage of this composition is flammability and environmental friendliness. This material has good sound insulation and does not deteriorate from high humidity. However, it is always produced in white, so it is often painted with different compositions after installation.

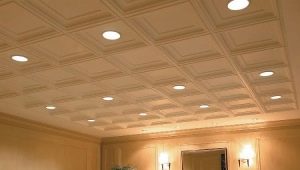
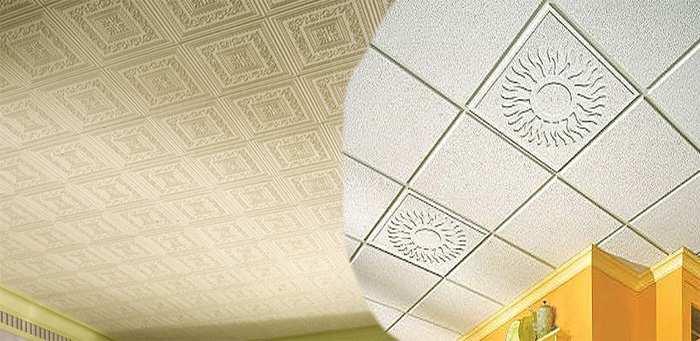
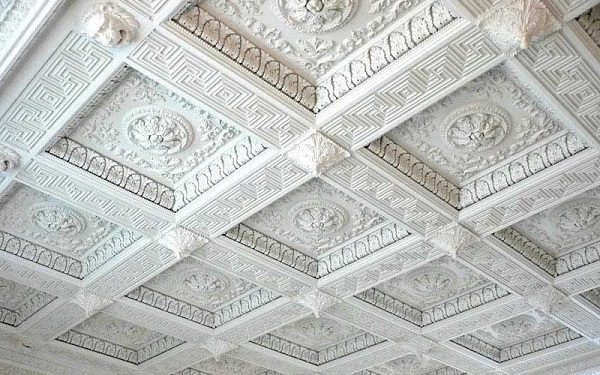
Most types of ceiling tiles come in 50 by 50 cm squares. But there are also non-standard rectangular tile models.
By type of edge
There are different types of ceiling tiles, which differ in the type of edging. There are models:
- with straight edges without a seam;
- having clear edges between each plate;
- with winding edges that look more interesting.
A different type of edge does not affect the gluing of ceiling tiles, it only changes the appearance of the ceiling.

By drawing
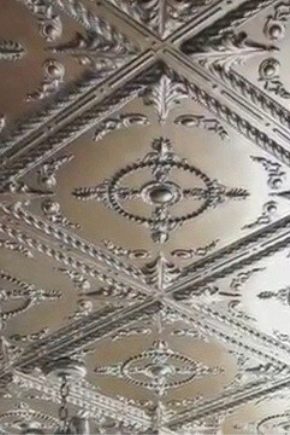
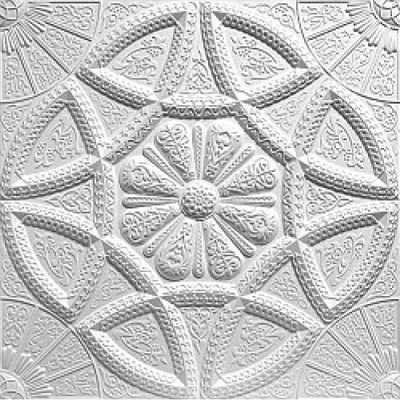
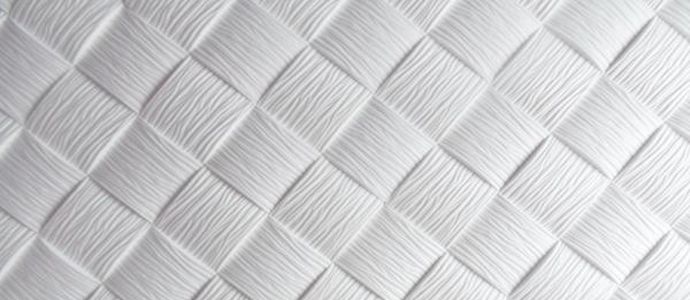
Models are divided by type of pattern. There are interesting types of tiles with:
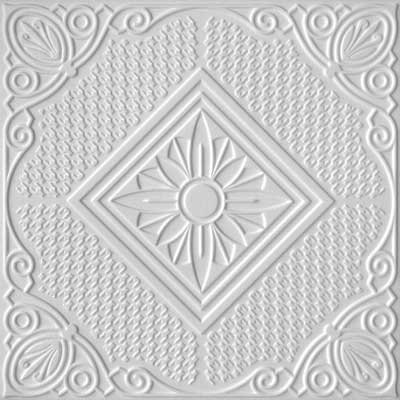
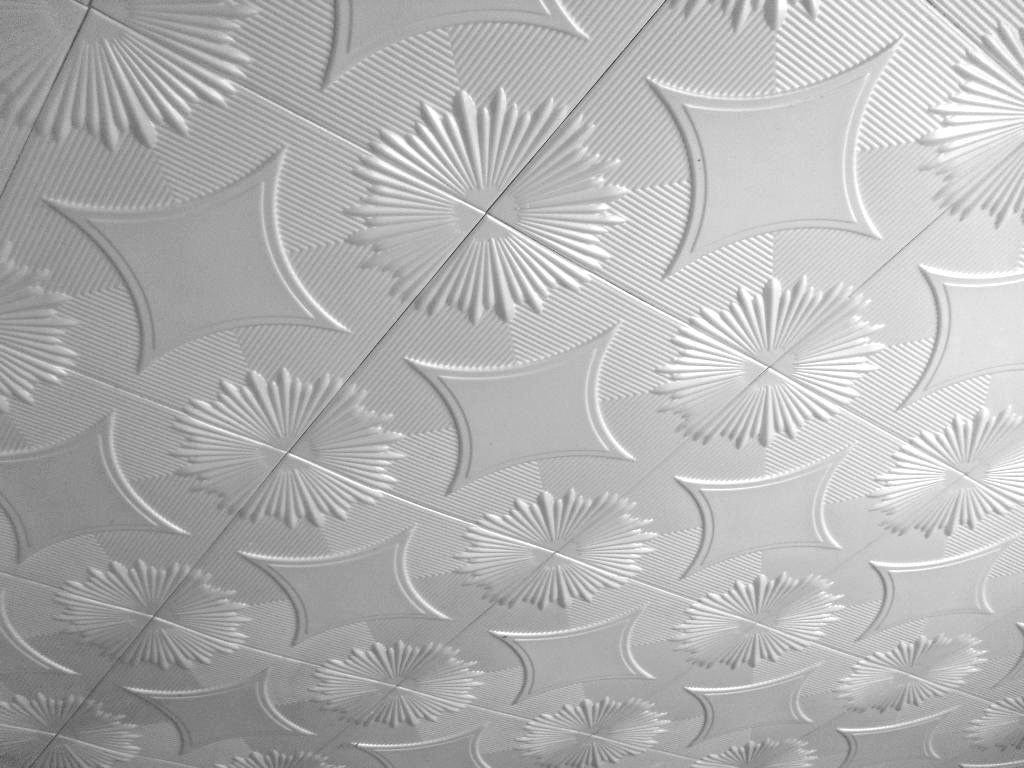
- geometric print;
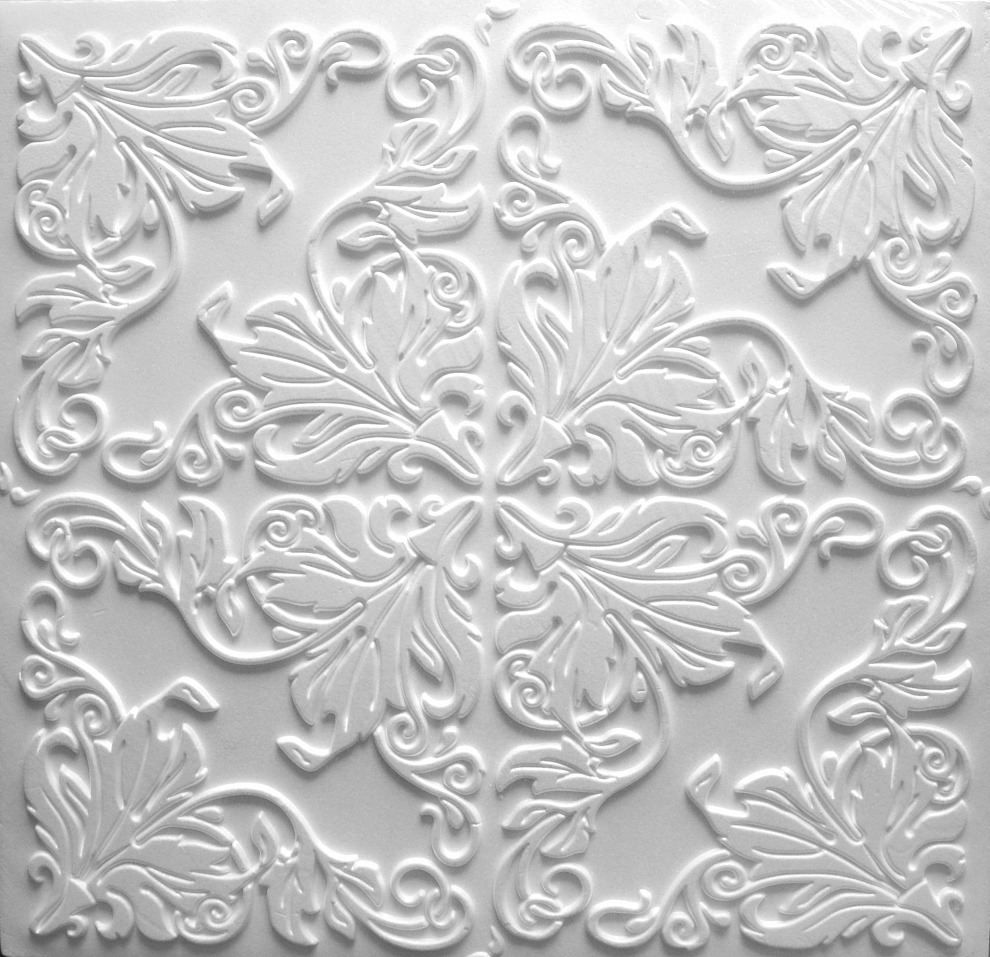
- floral ornament;
- lace motifs;
- imitation of plaster stucco;
- concise lines.

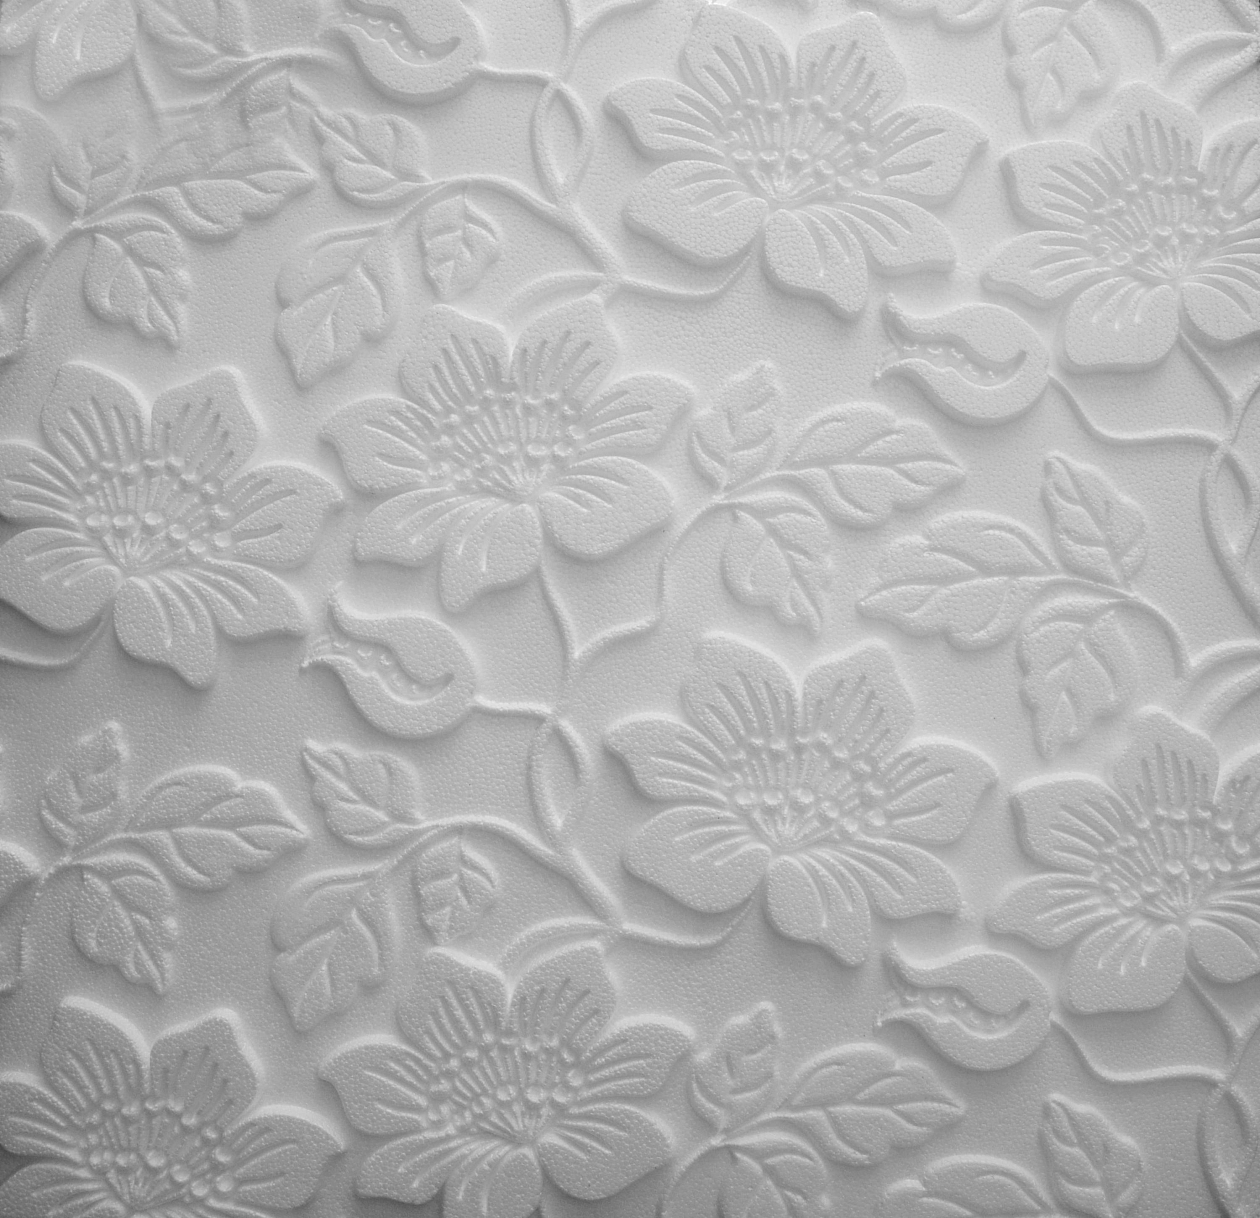
The neutral option is a smooth tile without a pattern. From the rich selection presented by modern manufacturers for sale, you can choose the option for finishing the ceiling for every taste and budget.
Surface preparation
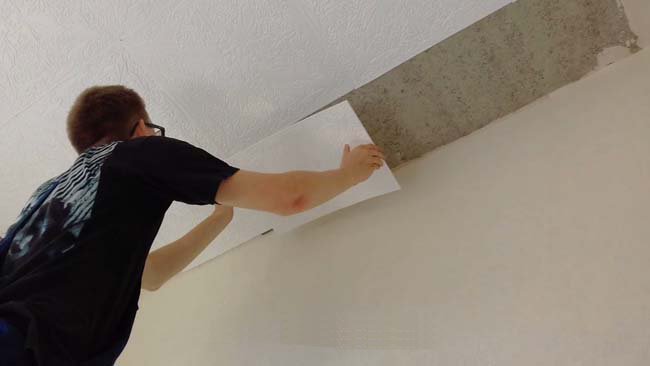
Before sticking tiles, you must carefully prepare the surface of the ceiling. To please the result of the work, and the tile was kept on the ceiling for a long time, it is necessary to follow a number of rules. The ceiling must be cleaned from old coatings. The whitewashed ceiling should be thoroughly washed away, the plastered layer, wallpaper and paint should be peeled off and removed.. Depending on the type of coating, you can use a spatula or perforator for this.
Then it is necessary to correct the defects that remained on the cleaned ceiling. More often on it cracks, swells and hollows appear. To fix the uneven ceiling, you should use a putty. With the help of this composition, it is possible to grind defects. The putty is able to correct defects of any complexity.
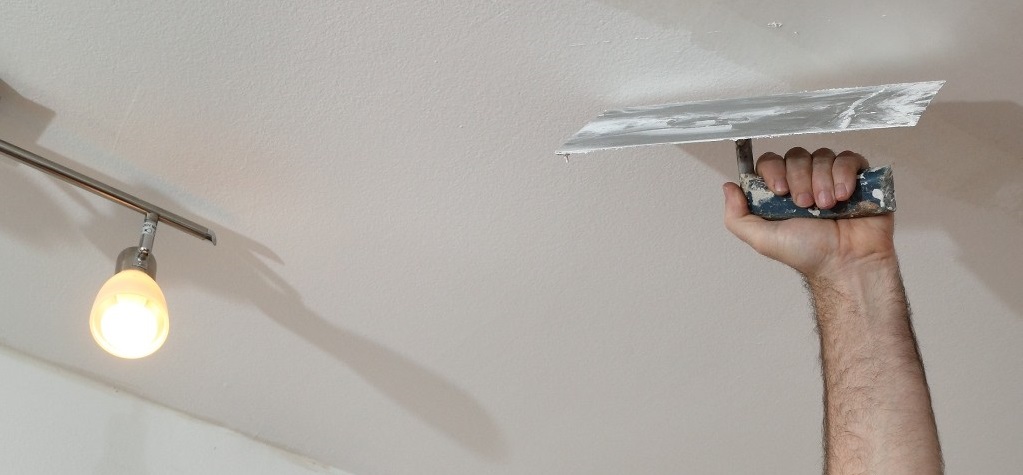
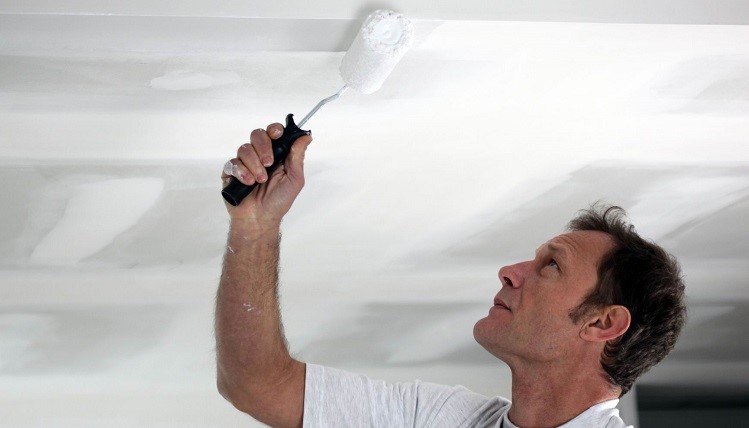
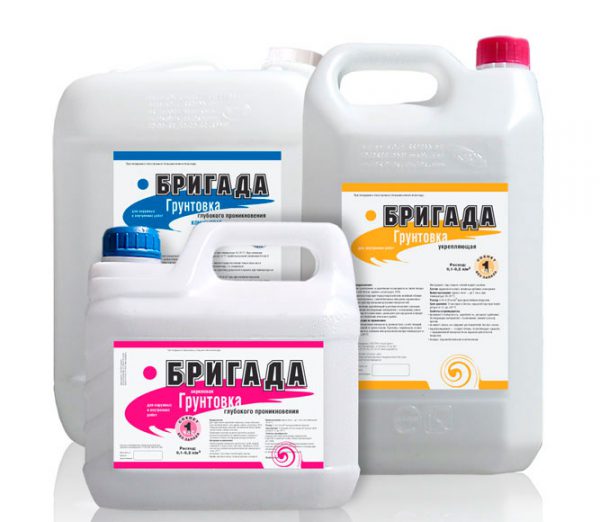
After the putty has dried (after about 12 hours), it is necessary to start priming the ceiling. It is better to apply the primer in several layers, observing a certain time interval, so that each layer is completely dry. The primer will improve the adhesion of the tile to the ceiling surface and will make such a coating more reliable.. It will make the overlap uniform due to penetrating power.
An exceptional option for surface preparation is the case when the whitewashing is in good condition and reliably keeps on the ceiling. In this case, the ceiling is not cleaned from whitewashing, but immediately primed. However, it is worth considering: on such a basis, tiled flooring will not be able to hold on for a long time, with time it will departmay be deformed. This solution should be resorted to only if you need urgent cosmetic repairs.
Primer surface preparation varies depending on the type of ceiling:
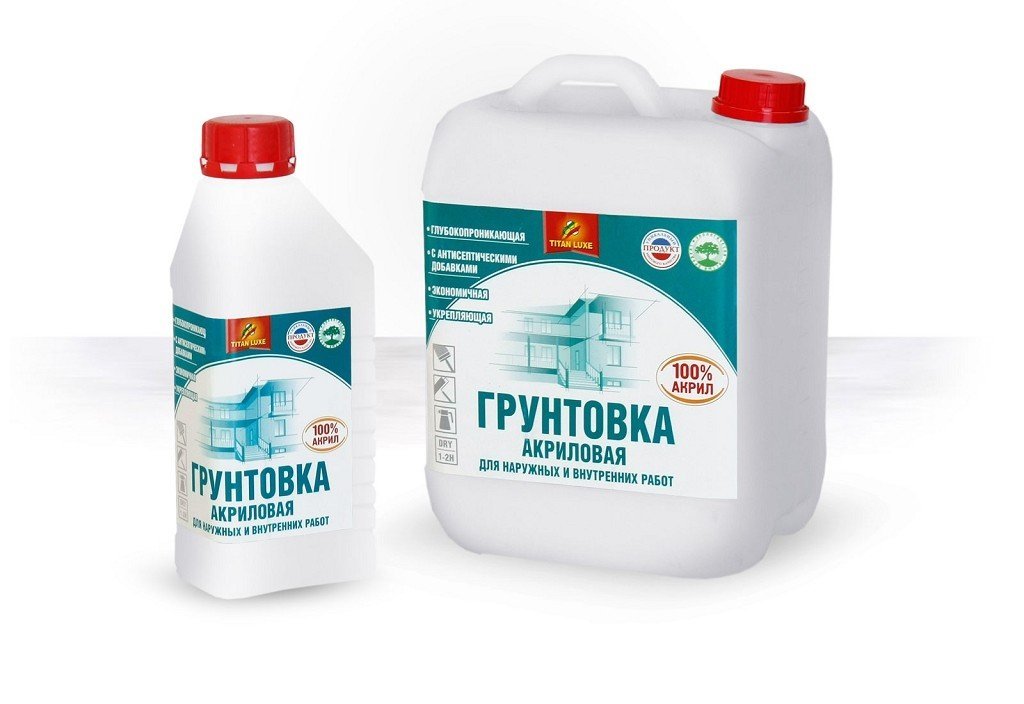
- For the concrete ceiling, you should use a special composition called betonokontakt.
- Gypsum ceiling is better to handle the means of deep penetration.
- If the room is wet, it is worth treating the surface of the base with a primer with an antiseptic effect in order to exclude the appearance of an environment for microorganisms.

If the ceiling is loose and loose, it must be primed. After the preparatory composition is absorbed, you can proceed to gluing tiles.
Glue selection
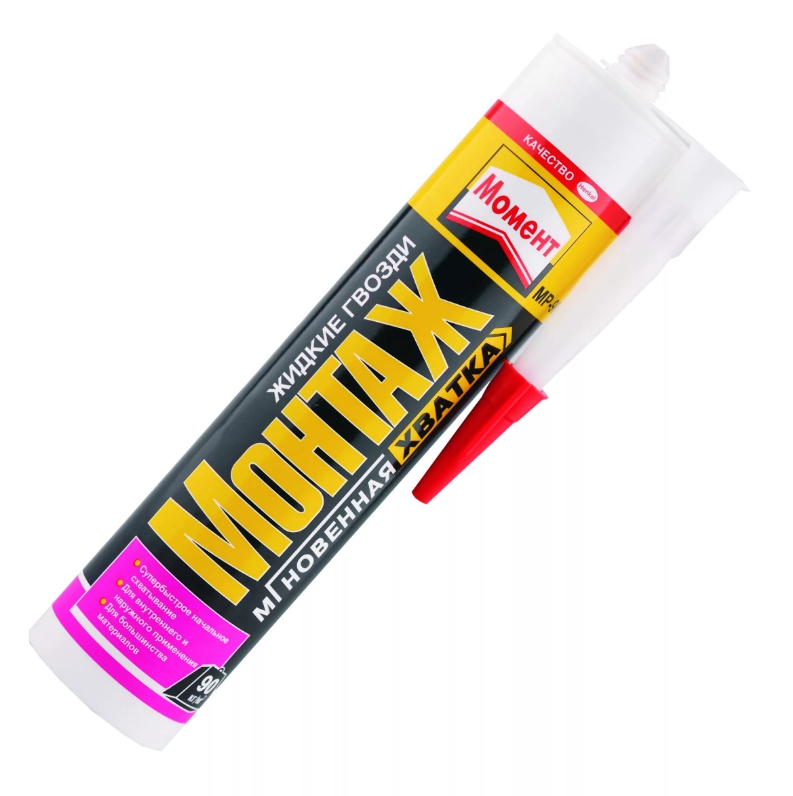
For glueing, standard types of glue are usually used (“Titan”, “Moment” or “Nasat”). These compounds are quite common and have an average cost. However, some of them create difficulties in the process of sticking. For example, after applying glue, the tile must be pressed to the ceiling for 5 to 10 seconds and fully adhered.
The fastest action of these compounds has the glue "Moment". He grabs in about 3 seconds. Before gluing the ceiling tile with it, it is necessary to maintain the composition in the air for a certain time. After this, the fragment should be firmly pressed to the base. Ceiling tiles are often glued with liquid nails. They are able to fix coatings well, they are also used to reconstruct ceilings.

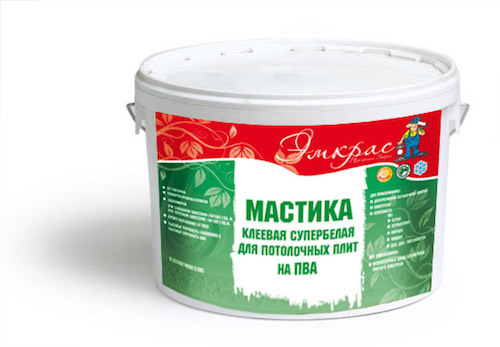
For sticking ceiling tiles often use special mastic. It is sold in buckets and has a pasty texture. This glue is much easier to use because it is flexible: each element of the coating is immediately fixed on the ceiling, it does not need to be held for a long time. Mastic and tile glue is used only for ceilings with a smooth surface.
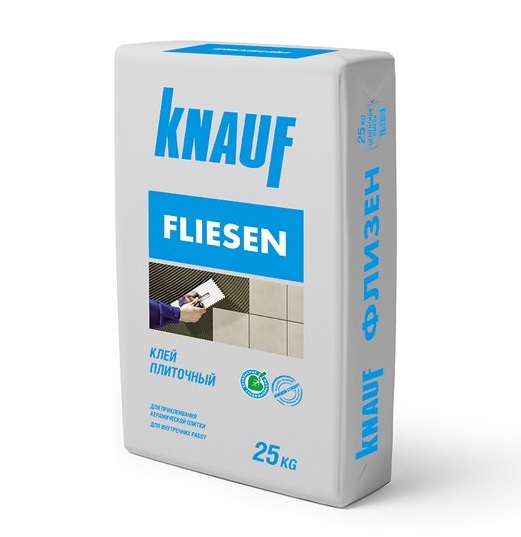
If there are defects or irregularities on the ceiling, for pasting they use a putty on a plaster basis. Besides her stick on the uneven ceiling using a compound called Knauf. It is suitable for differences in height of 5 mm. For large defects, the ceiling should be initially aligned.
Glue schemes
There are several common options for laying tiles on the ceiling.
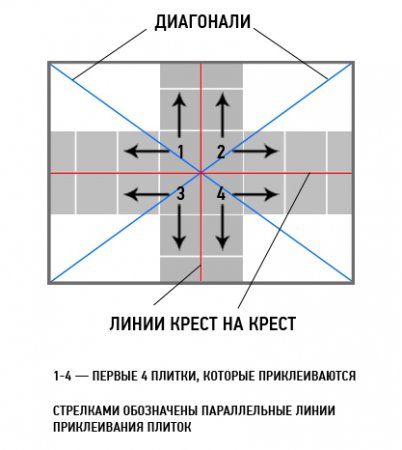
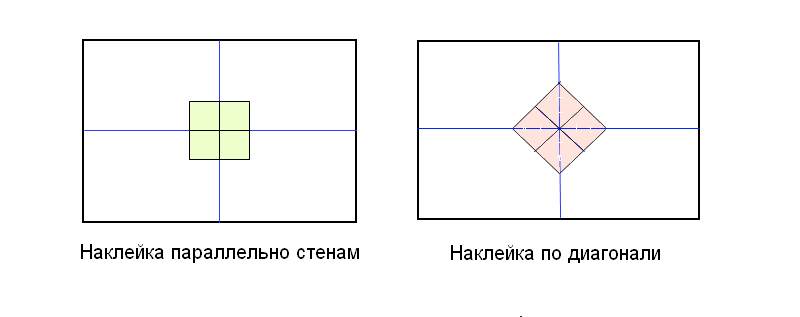
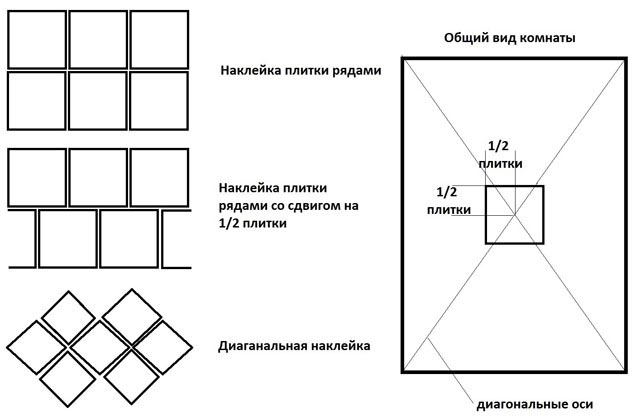
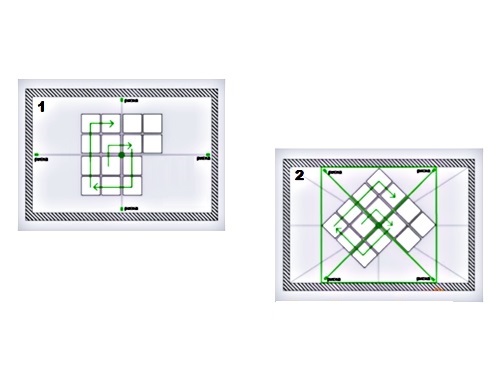
Classic scheme
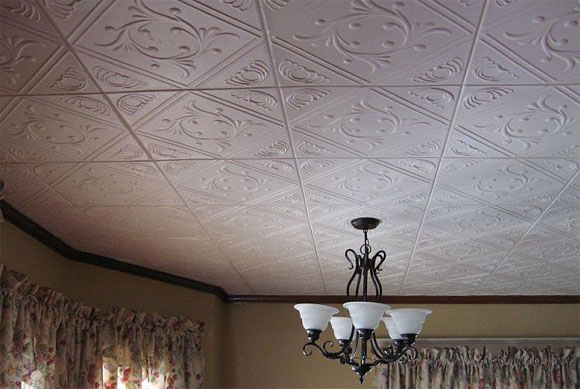
It involves placing tiles in rows tightly to each other along the walls. Sticking start from the central part. This solution is resorted to when using seamless tiles for the ceiling. By sticking tiles according to the classical scheme, you can create a complete surface.
Classical styling has a second interpretation. In the process of gluing tiles lay with a shift so that each row at half the plate ahead of the previous one. So ceilings become lighter and airy.
Types of sticking is better to choose depending on the height of the ceiling in a particular room.
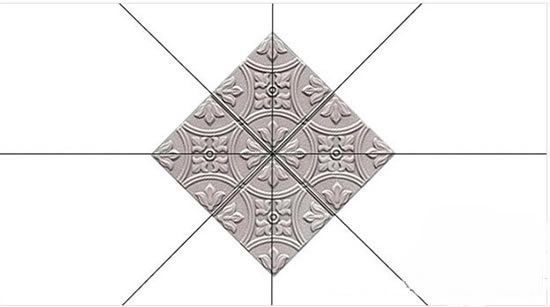
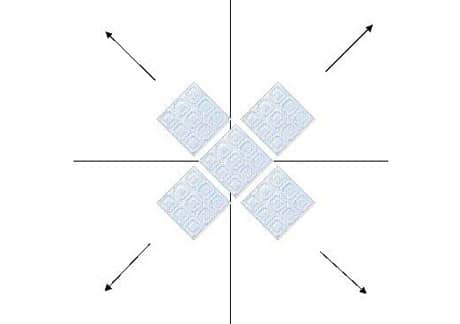
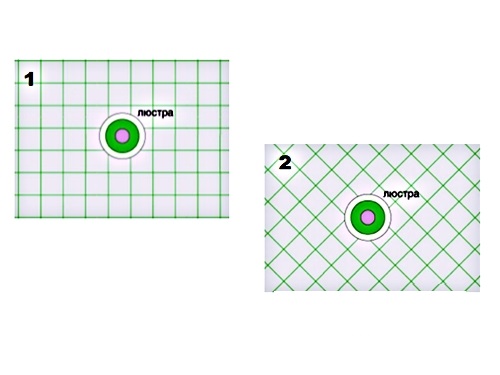
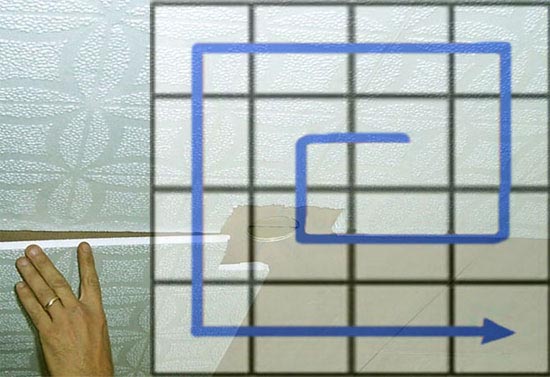
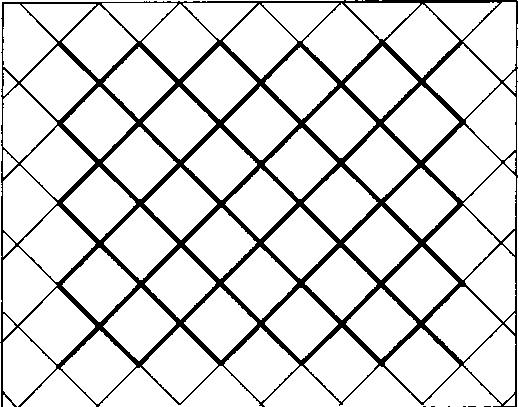
Diagonally (diagonally)
This is the most common option, it is universal, as it is suitable for any size premises. For laying tiles in such a way, they preliminarily mark up along diagonal lines so that the tile goes along them. but gluing diagonally implies a high consumption of finishing material. You will have a lot of trim.
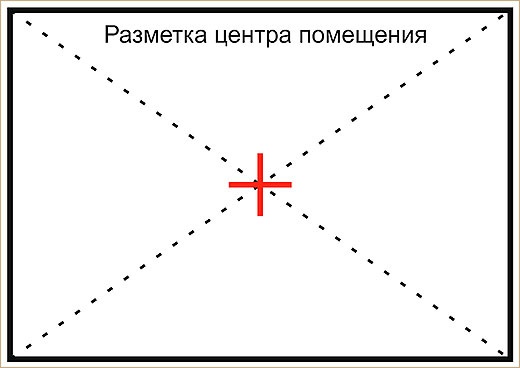
Visually placing the tiles diagonally (diamond) looks more presentable. The seams with this installation are almost invisible.. Placing tiles diagonally must be started from the chandelier. It is important to control the correctness of the installation so that all the plates go strictly along the lines.

Diagonals can be carried out using threads, performing marking with them.
There are a number of rules that should be followed in order to properly glue the ceiling diagonally:
- The first element should be positioned so that it is at a 45 degree angle from each wall of the room.
- Then, the following elements of the tile should be joined closely to the central element.
- After that, you should make a flat docking of all subsequent elements, until the entire surface of the ceiling is covered with tiles.
If you follow these rules, you can make an elegant and interesting styling.
Staggered
To thus finish the ceiling, you must purchase materials of two different shades. Usually choose contrasting colors. Gluing comes from the center of the ceiling. At the same time, the edges of the tile are arranged parallel to the side walls. Gluing occurs by alternation. So on the ceiling creates the effect of a chessboard.
The advantage of this type of sticking is the fact that it is able to hide the unevenness of the base.
Snake laying
This styling scheme is a combination of two shades. Colors can be contrasted and similar. Gluing is performed starting from the center of the room in such a way that a snake image of a graphic type is obtained. Usually, they try to simplify this process by acquiring monochromatic tiles, and then after laying they paint it with water-based paint in different colors.
Calculation of the amount of materials
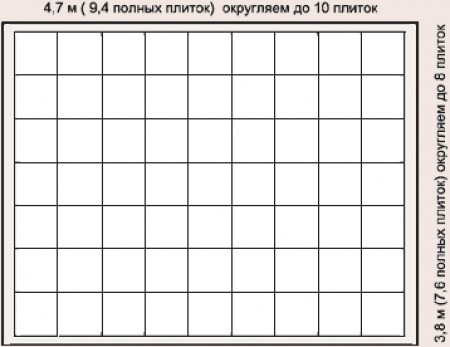
Calculate the amount of material that will be spent on the ceiling is quite simple. It is necessary to find out the surface area of the ceiling. If the room has a rectangular shape, you can multiply the length by the width of the room by measuring the walls with a tape measure. When the room has non-standard outlines, it is necessary to make measurements of all walls separately.

It is advisable to display them on the plan in the form of a picture. After that, the resulting drawing should be divided into rectangles and squares and calculate the scale of the area of each figure. Then you need to add the dimensions of the area of all the elements obtained.So you will know the surface area of the entire ceiling in a non-standard room.
If you prefer a standard tile 50 x 50 cm in size for finishing, the area of such a product will be 1/4 square meter. m. Accordingly, four tiles will cover 1 square. m. ceiling. To simplify the calculations, you can divide the total area of the ceiling by the area of the ceiling tile. As a result, you get the amount of material needed for sticking.
Manufacturers now present models that vary in size: 40 x 40, 60 x 60, 30 x 70 cm and 30 x 60 cm. The calculations in this case should be approached with greater seriousness by calculating the tile area to buy the required number of packages. Even after making the calculations, the tile must be purchased with a marginthat it was enough to cover the entire ceiling and trimming. Especially it concerns cases when you plan to locate it not according to the classical scheme.
Do not forget that in the process of gluing it may break or deteriorate. It is necessary to buy approximately 10% more tiles than yours calculated.

The process of pasting
The easiest way to glue the ceilings are flat. Foam or polystyrene tiles are perfect for this type of surface. First you need to spread glue on the surface of the tile.It is necessary to observe a certain technology: glue is applied around the perimeter of the tile and the diagonal. The entire surface of the tile should not be covered with glue.
Before sticking draw a markup to make it easier to place the tile on the ceiling. Then the tile must be attached to the place reserved for it. Having attached a tile, it is necessary to smooth it on all surface with the easy movements of hands. Then you need to wait a few seconds. The exact time depends on the type of glue selected.
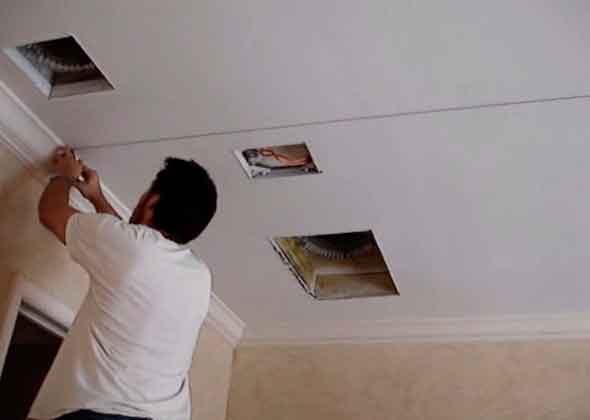
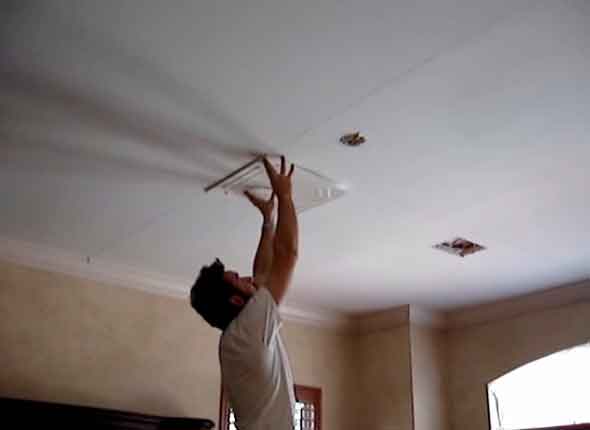
Further gluing is simplified. Each next tile must be attached clearly to the edge of the element already fixed on the ceiling. If there are patterns on the surface of the slab, they must be combined and correctly joined.. First you need to adjust the pattern, and then paste the rest of the plate. Docking should be perfectly flat.
Surfaces must be completely adjacent to each other, otherwise the ceiling will be uneven. Each edge must be aligned to an accuracy of 1 mm, otherwise even because of such a small irregularity, all coatings will move, the ceiling will look bad, there will be gaps. This procedure must be repeated with all elements of the tile.When you get to the walls, you need to trim the extreme elements. Before trimming, it is better to try on and draw a markup on the plate. It is necessary to cut the tile smoothly so as not to form a gap between the extreme tile and the side wall.

The minimum gap near the wall can be hidden ceiling plinth. If in the process of sticking tiles you notice that 1 square is not very flat to another, there is a small gap between them, you must carefully move these elements. For this it is better to use a wooden plank. It should be strongly pressed against the free edge of the tile and moved smoothly (with pressure), removing the gap. If you start moving the tile with your hands, you simply break the cover.
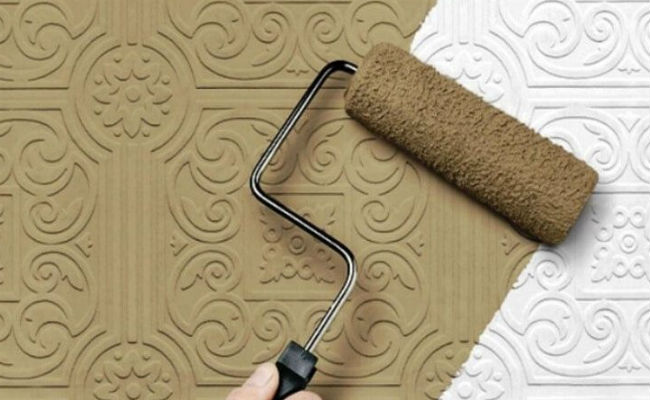
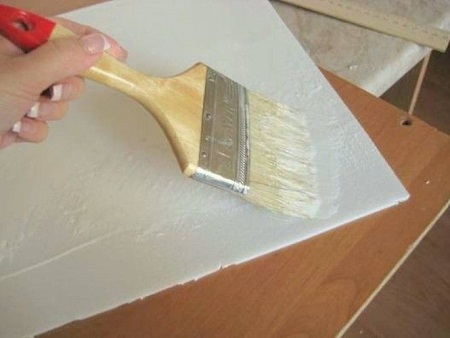
Upon completion of the laying process, you can proceed to painting the tiles, if necessary. It is easiest to coat this material with acrylic-based water-based paint.. In order to coat the tiles with high quality paint without gaps, you need to work with a foam roller.


Paintwork should be applied in 2 or 3 layers, depending on the required hue saturation. To lay the paint evenly and efficiently, you need to apply a layer of primer to the surface of the tile.
For how to glue the ceiling tile, see the next video.
Putty seams
In the process of sticking, not everyone succeeds in getting the seams between the elements of ceiling coverings from the first time. Often there can be a gap between them. If in the process of work small gaps were formed, after laying the tile they can be covered with white acrylic sealant. It must be gently squeezed into the slot so that it fills them. After that, you need to get rid of excess glue.
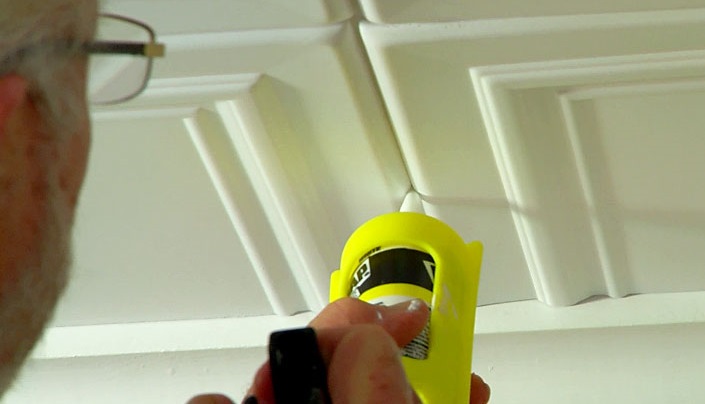
Sealant is sold in the form of cans with an elongated nozzle. So the composition can be squeezed without problems exactly where it is needed. The thin tubule easily penetrates even the thinnest crevices. In order to seal joints with sealant, it is necessary to use a gun. Sealant should be distributed evenly so as not to stain the surface. This tool will not only cover up the seams, but also fix the coating on the ceiling.
Useful tips
Some masters insist that the adhesive tiles on the whitewashing is unacceptable. They indicate that after some time the lime layer is quickly peeled off with the tile. They advise to get rid of chalk before sticking.Stickers usually have difficulty covering the ceiling along the wall edge. It is important to ensure that the outermost rows are of the same size and run strictly parallel to the walls, if we are talking about classic styling.
To tile always looked beautiful, you need to properly care for her. Tiled ceiling (especially embossed) accumulates a lot of dust. The surface darkens and loses its former gloss. therefore it is necessary at least once a month to carry out dry cleaning with a vacuum cleaner or a soft brush.
Wet cleaning should be done every two months with a mop. For cleaning such a ceiling, you must use only the most gentle detergents. For this ideal weak soap solution. At the end of the wet cleaning, the ceiling must be wiped with a dry cloth to remove moisture and stains.