The process of mounting the rack ceiling
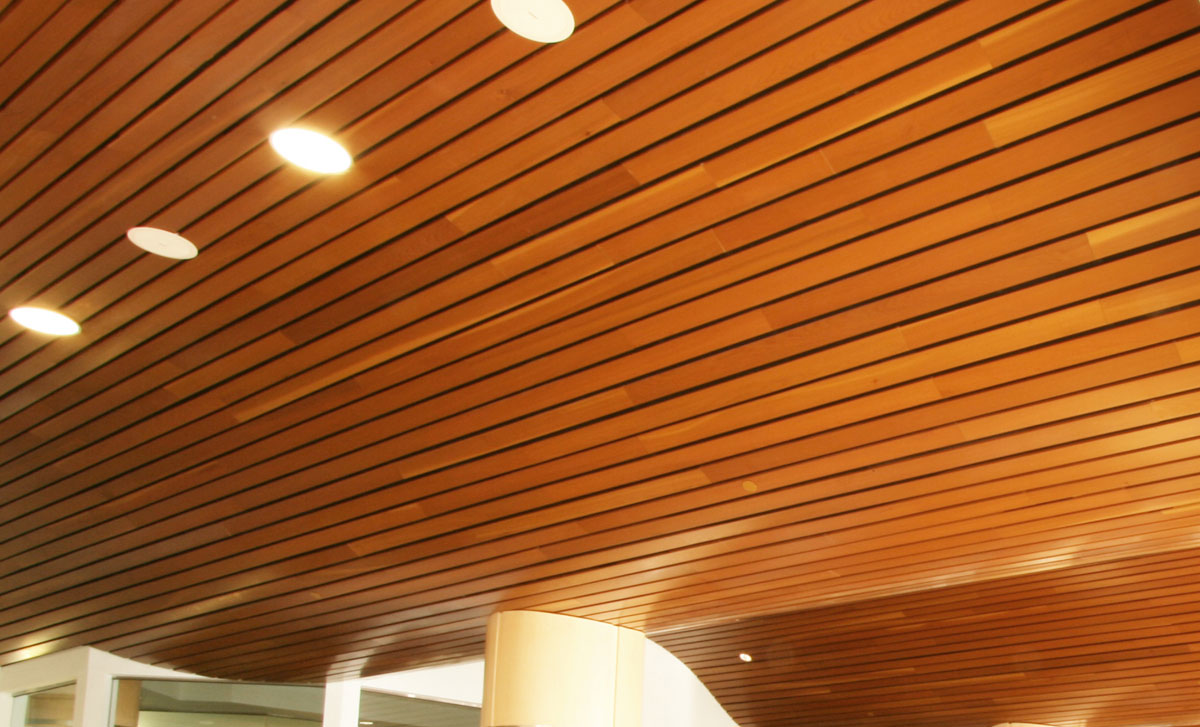
Rack ceiling has a special place in the modern interior of housing, as it allows not only to create an original design, but also hides all the defects of the bearing surfaces. Unlike other mounted systems, these designs can be installed even in rooms with high humidity.
Due to the huge choice of colors and textures, such ceilings are well suited for any style design rooms. They are characterized by excellent performance properties and easy to assemble, so installation work can be done independently without the help of craftsmen.

Special features
Rack ceiling is a modern type of ceiling structure, which consists of a frame system, trimmed with decorative panels. Typically, the finishing material is made of aluminum (0.3-0.6 mm thick), but there are also slats made of plastic and steel.To give the product a more aesthetic look, manufacturers often varnish the panels.
The installation of a slatted ceiling depends on the dimensions of the slats, since they can have different lengths: from 50 to 200 mm. Therefore, before the start of installation work, an exact calculation of the material is made.
In order to correctly calculate the number of rails, make measurements of the ceiling surface, determine its area, and only then select the panel of the desired length.

It is worth noting that the rack ceiling is much stronger than traditional PVC structures, but it looks massive and can undergo corrosion processes.
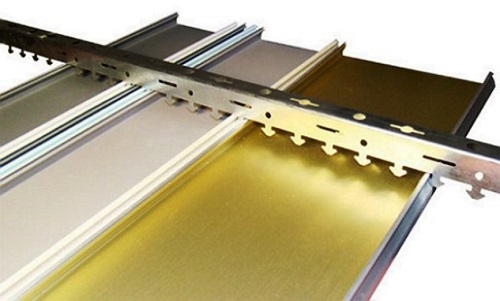
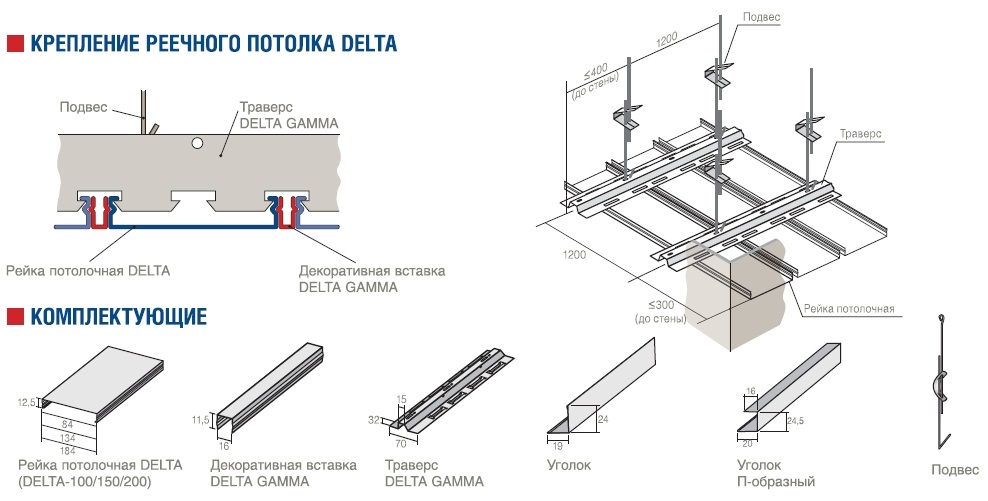
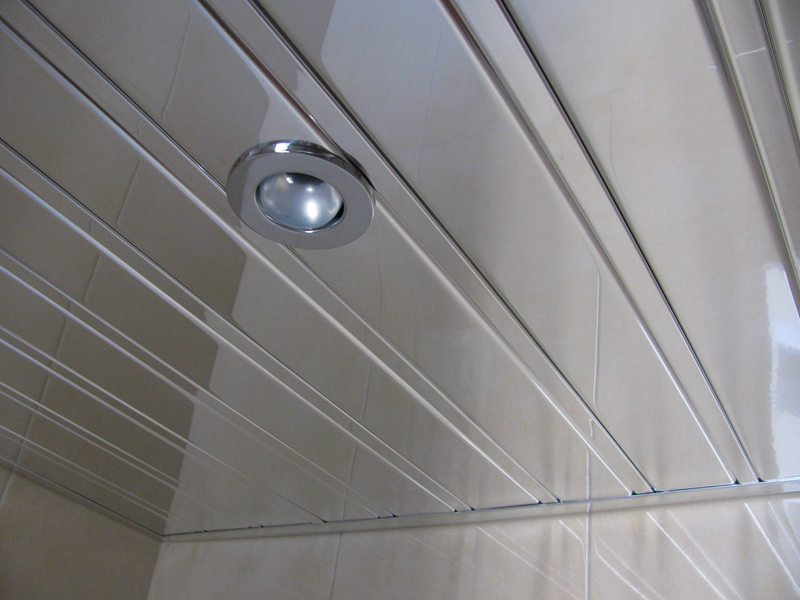
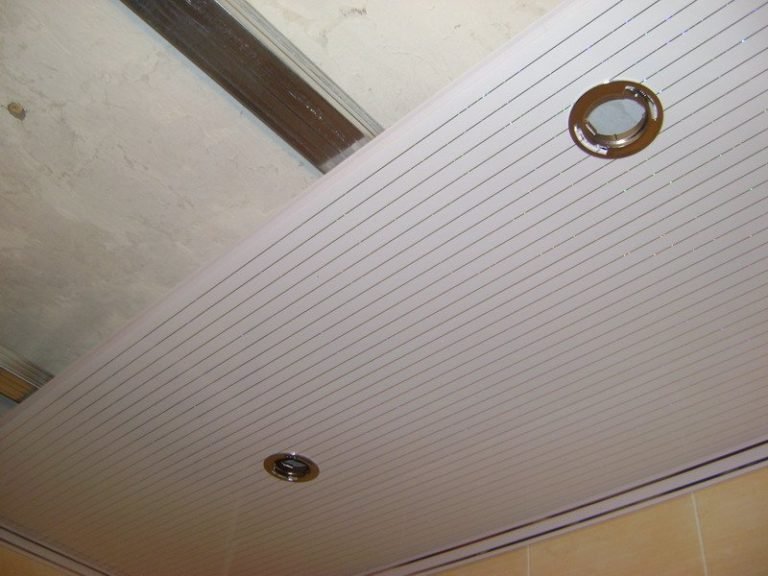
The frame of the system is assembled from baseboards, suspensions and bearing profiles, which are equipped with special grooves. Suspensions can be used with both spokes and springs. As for the plinths - they are issued U-shaped and are designed to hide the edges of the rails and give the ceiling a beautiful look.
Suspended systems of the rails have many positive characteristics, which include:
- practicality and durability;
- wide range of design;
- moisture resistance;
- easy installation;
- a light weight;
- wide scope of application;
- simple care.
Therefore, installing such ceilings in the premises, it is possible not only interesting to design the interior, but also not to think about new repairs for many years.
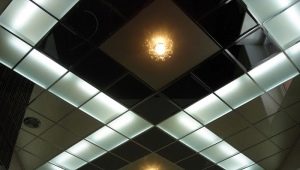
Kinds
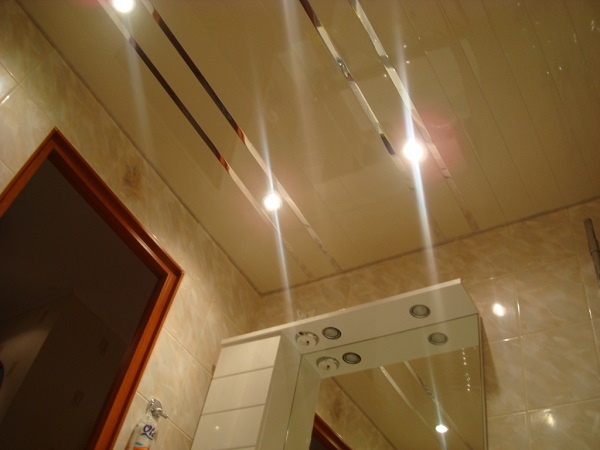
To date, manufacturers produce rack panels with various decorative elements, using the most modern technology. Due to this, the material has a high quality and can acquire the original colors and texture. The front side of the rails can be either embossed or smooth; coated with matte or glossy lacquer.
Such ceilings, depending on the design features, are divided into two types:
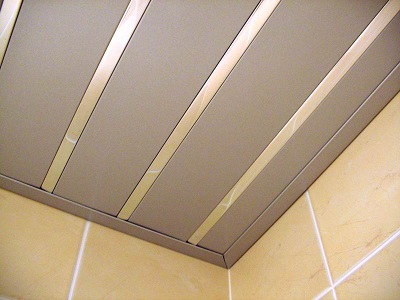
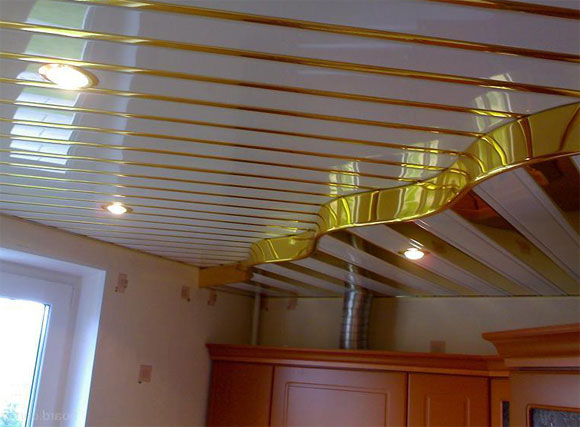
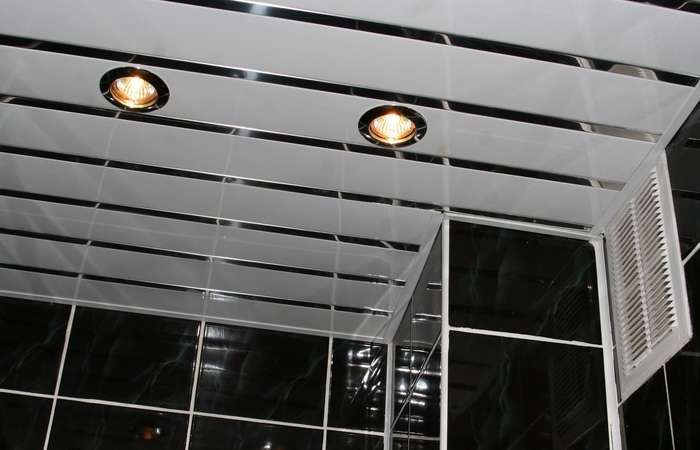
- Covered. The installation of the rails is carried out in such a way that the gaps between them remain open. At the end of the decoration they are decorated with special inserts.
- Closed. Installing panels in this way is a monolithic surface that does not require additional design.

In addition, the slats may vary in shape:
- "Italian". Their corners have a rounded look.
- "German". The panels are available with a strict rectilinear shape.
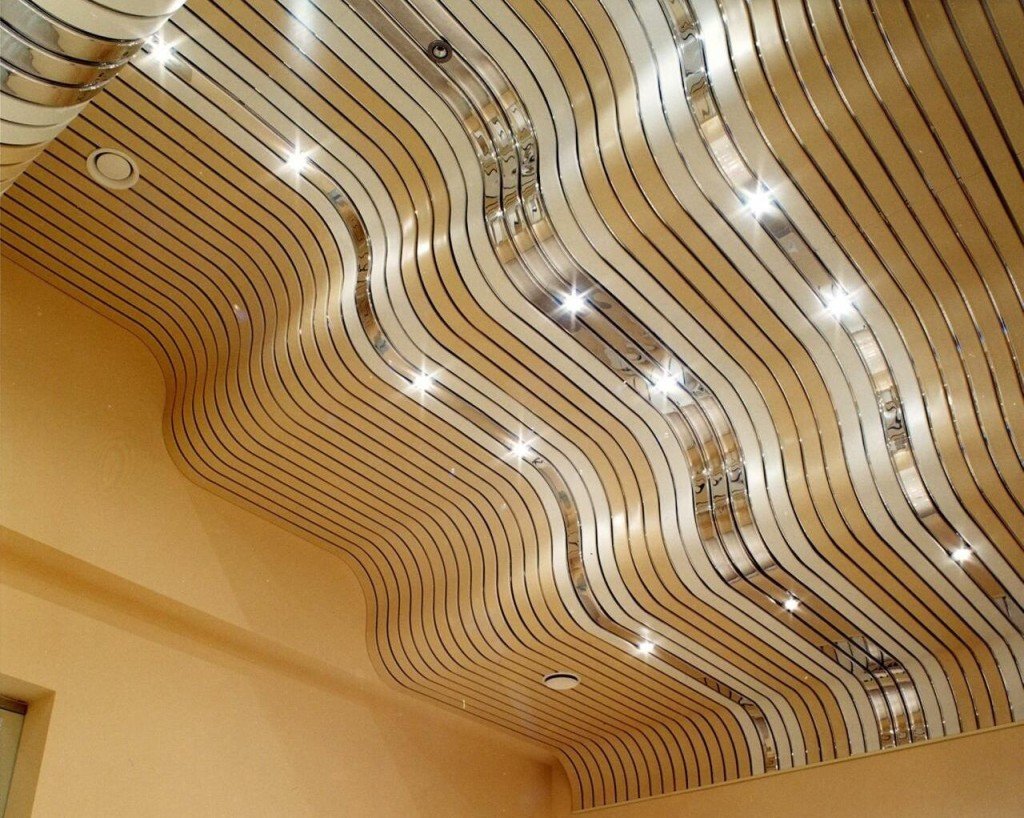
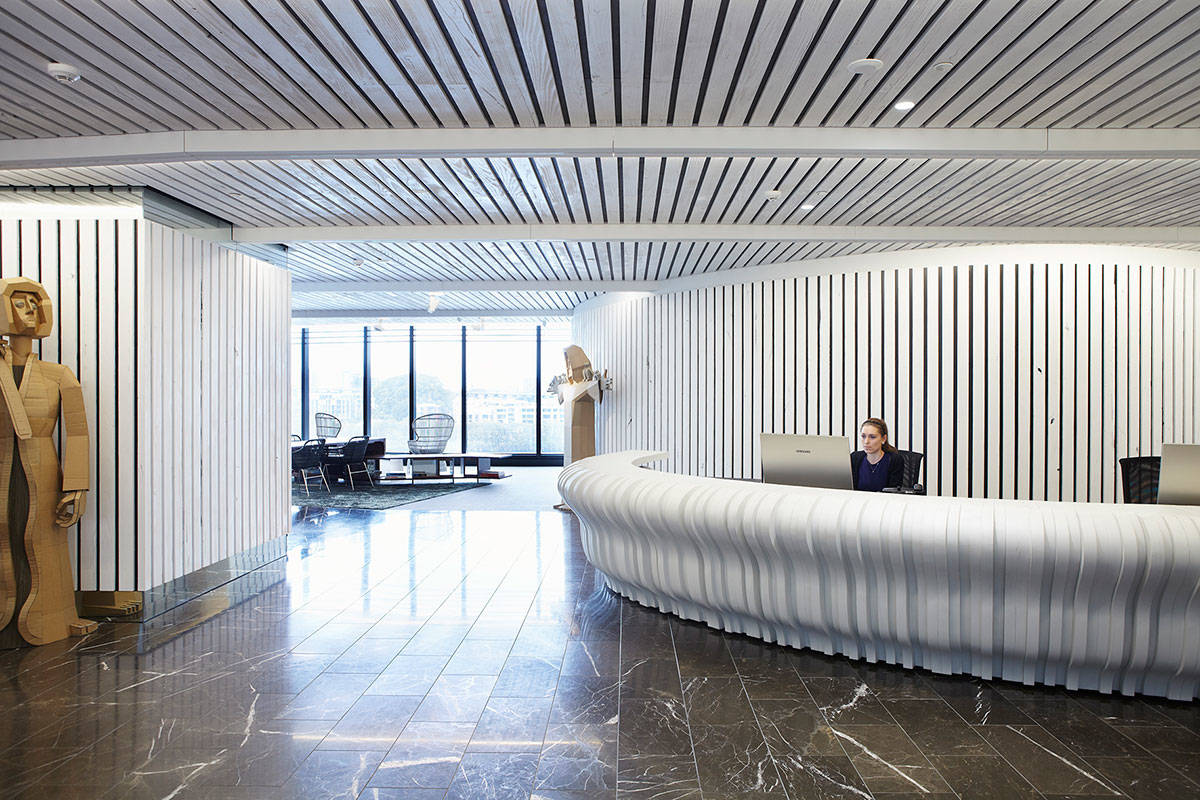
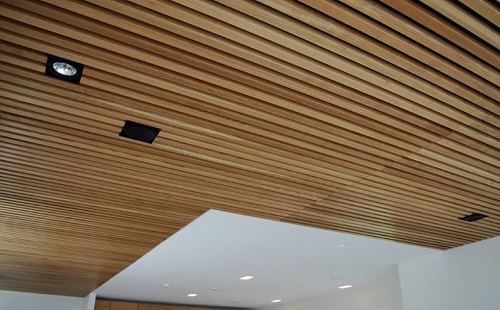
- Designer. Such a finishing material is made to order, and it can be represented by complex geometric shapes. Therefore, the ceiling is original and unusual. Often for the interior choose slats in the form of letters S, V or P.
Since a non-standard profile is used for installation, the installation process of the system is considered difficult.
In order to choose the right kind of rails, you should take into account not only their beauty, personal preferences, but also the functional purpose of the room, its level of illumination.
Panels of suspended structures are made from various materials that can be combined with any design details. Usually the slats are made of aluminum, steel and plastic.
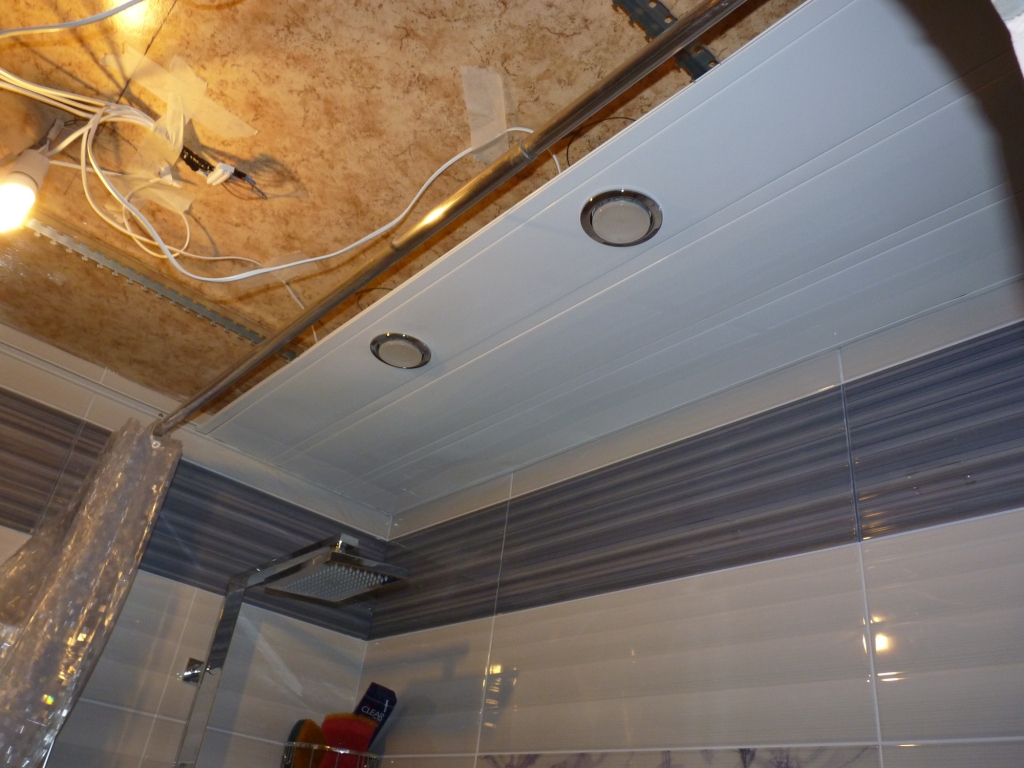
- Aluminum ceiling lath is the most popular option in the interior. It has a lot of advantages, as it included all the positive properties of plastic and metal. Aluminum well maintains temperature drops, moisture. It is lightweight, durable, and corrosion resistant. Also, the material does not support the combustion process and does not ignite.
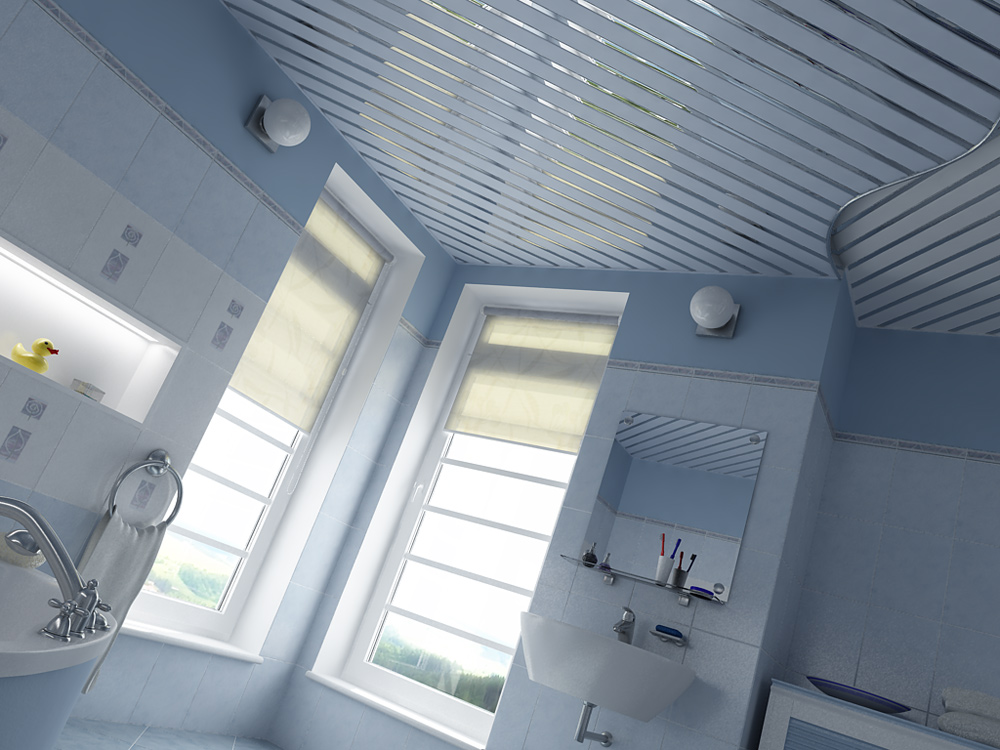
Look great aluminum designs in the design of kitchens and bathrooms.
- Steel Suspension SystemsAs a rule, they are used for decoration of warehouses and offices. Steel is characterized by high sound insulation, durable, but does not withstand moisture and can rust. Therefore, the surface of such a metal ceiling should be well treated with special mixtures and try not to install it in rooms with unstable microclimate.
- Well proven and the ceiling of the plastic slats, as it is inexpensive and in no way inferior to the previous versions (in terms of external characteristics). The material is not afraid of moisture, but is flammable and supports combustion. Therefore, the installation of a plastic ceiling is not possible everywhere. For example, in the kitchen (under the influence of constant evaporation and high temperature), the material loses its attractiveness and begins to fade.
In addition, plastic quickly fade in the sun.
There are also wooden slats for sale. Of course, the wooden ceiling will be a smart addition to any interior, but the purchase of material and its installation will be very expensive. Therefore, most owners prefer cheaper and more practical types.material.
Installation
It is possible to install a suspended ceiling ceiling system both with the help of specialists and independently. If the structure will be assembled by hand, then it is necessary, first of all, to draw a draft of the future structure, perform calculations and purchase all the components.
To do everything right, beginners should follow the step-by-step instructions.
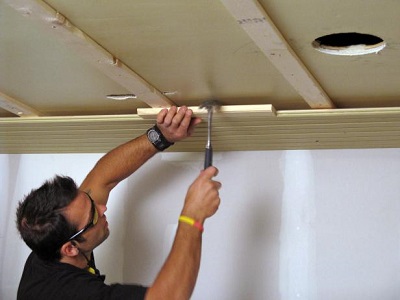
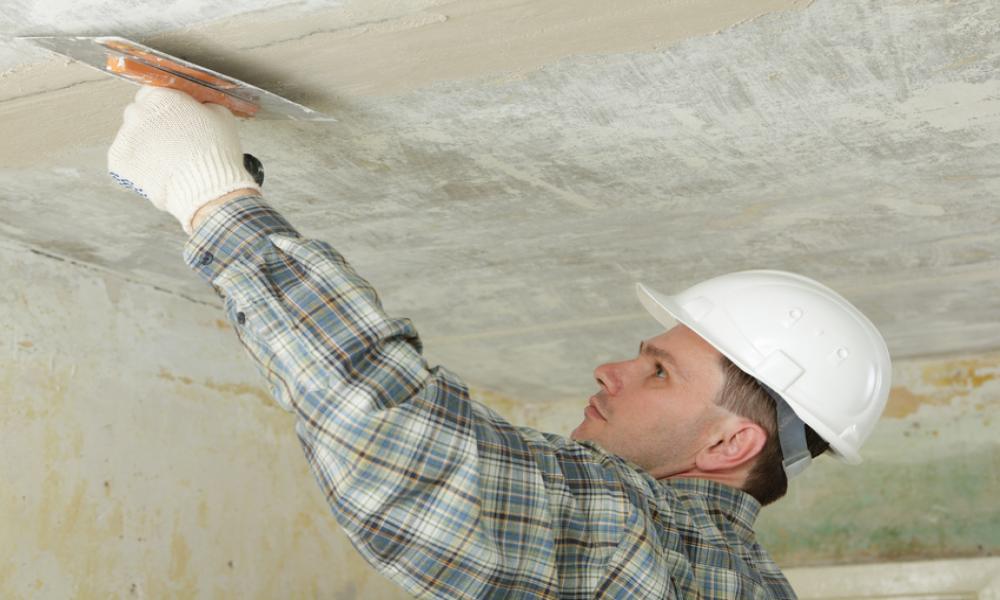
- At the first stage of work in the room where it is planned to install the ceiling, it is necessary to carry out repairs and prepare the surface of the plates for covering. To do this, clean the base from the old finish and close up large cracks with plaster. Then you need to collect in the room all the furniture and things: they can be taken out to another room or covered with foil.
- In the second stage, it is important to determine the installation location of the chandelier and lamps.

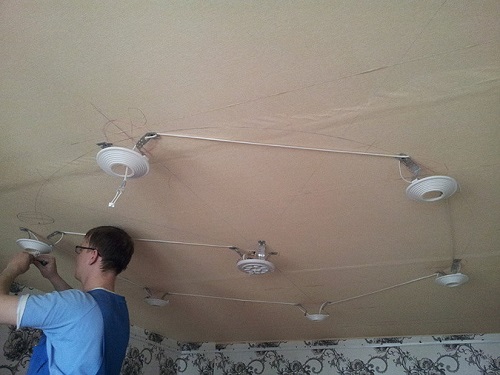
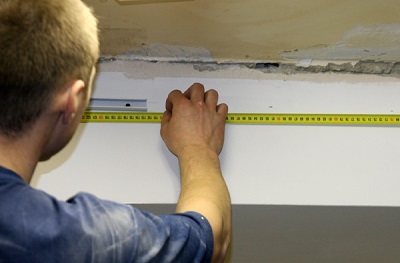
- The next step in the installation will mark the height of the future ceiling. This is best done using a laser level. The points are marked on the wall, and from them draw a line along which the guides and the starting profile will be installed. If the room walls are lined with decorative tiles, the installation of the structure should be carried out with regard to its joints.Otherwise, the composition of the ceiling will turn out visually skewed (even regardless of whether the slats will be assembled horizontally or vertically).
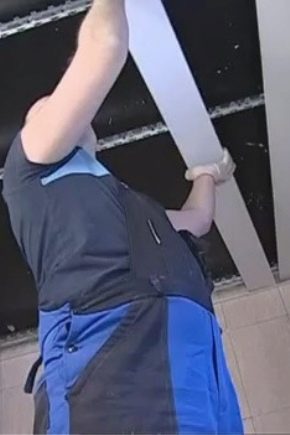
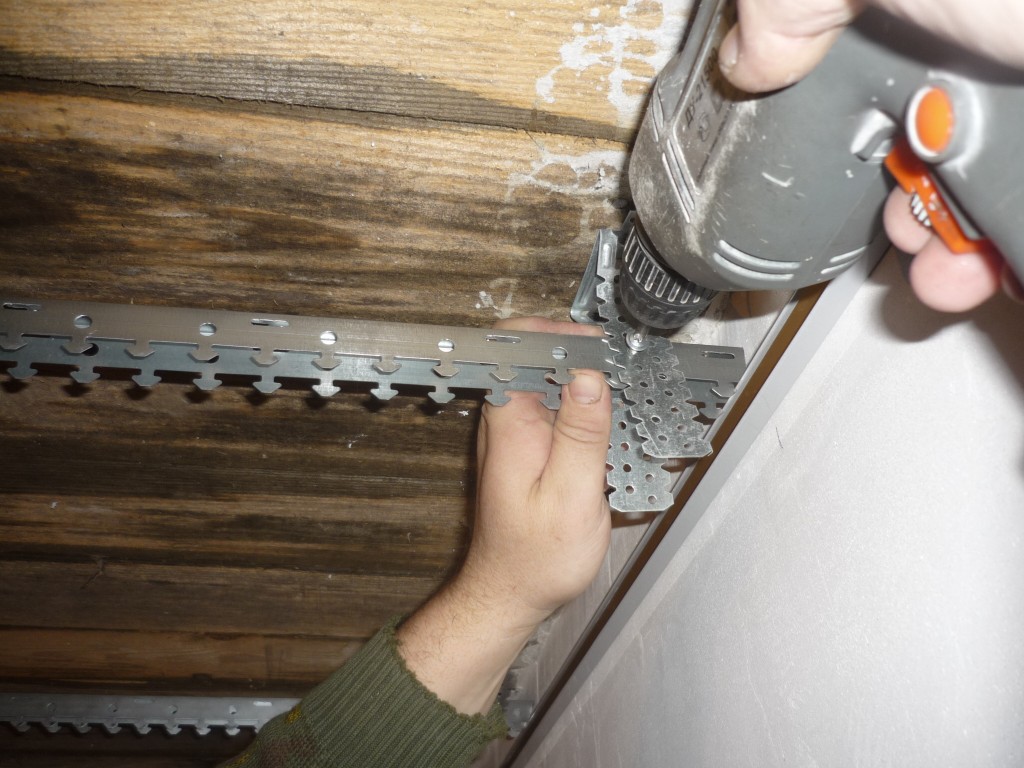
- Then mount the start profiles. They need to be cut to the dimensions specified in the wiring diagram. The profiles mark points for drilling holes and with the help of a drill from the outside are drilled places for fasteners. A similar procedure is done for the holes for the dowels.
In order not to violate the integrity of the structure, the profiles in the corners can be bent or cut at an angle of 45 degrees.

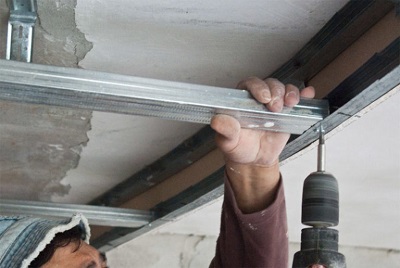
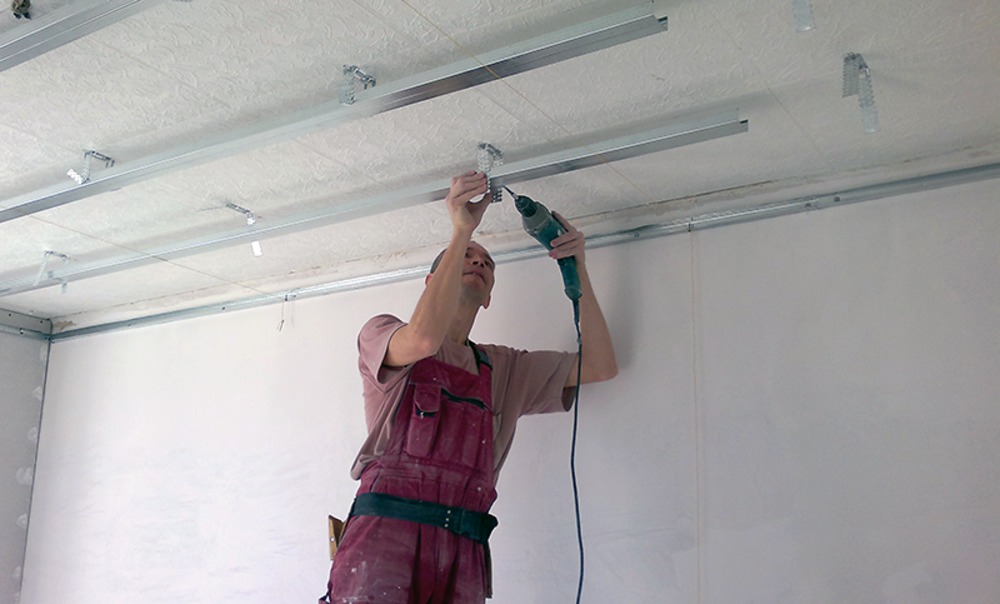
- Then you need to collect guide profiles and mark the place for fixing suspensions. The suspensions should be mounted in such a way that the distance between the cross-arms is 120 cm. At the same time, the spacing between the suspensions themselves should not exceed 60 cm. Such technology will make the construction durable and reliable. Traverses can be mounted to the suspension using either dowels or using special mounts, which are often included in the kit.
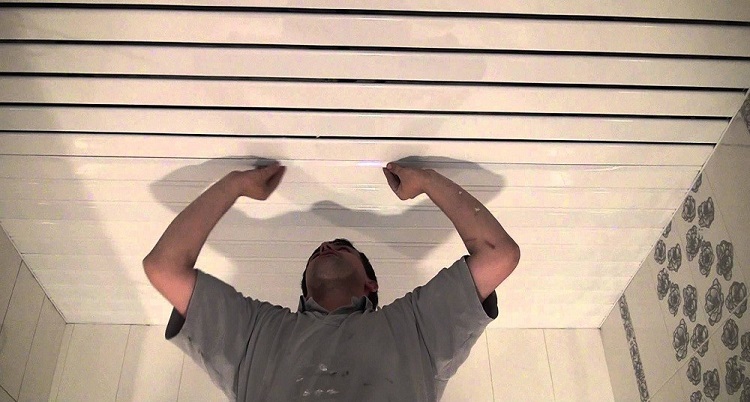
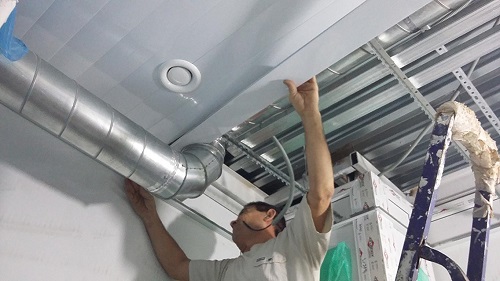
- When the supporting structure is ready, only the rail assembly remains. It is not difficult to do this, because in each of the panels there is a comb, with the help of which the slats simply snap into the profiles.It is desirable to carry out the installation in mittens so as not to stain and scratch the decorative coating of the material. Extreme slats are cut to size.
To do this, on their inner side spend several times with a knife, make an incision with scissors and break off.
Manufacturers
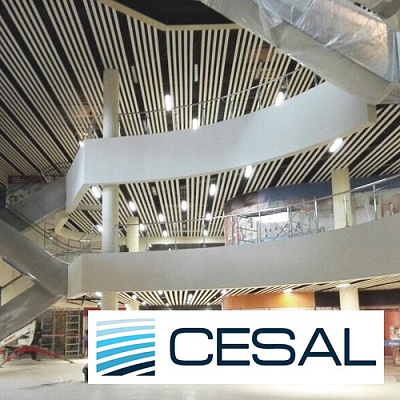
Recently, the construction market is represented by rails for the ceiling of both domestic and foreign manufacturers. Well-proven Cesal products. It is very popular, as it has established itself as a high quality and positive consumer reviews. Rack ceilings of this company are characterized by a wide choice of shapes, sizes and colors.
In addition, the finishing material has all certificates of quality and undergoes a unique processing, thanks to which three-layer enamel is applied to the surface of the panels. Therefore, this finish is not afraid of mechanical damage, resistant to moisture, high temperature and corrosion processes.

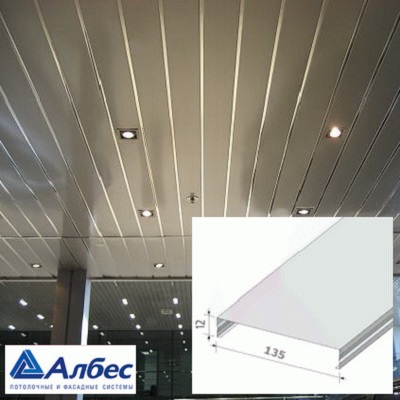
Widely used and products "Albes". The company produces aluminum slatted ceilings, which are distinguished by modern design. The perforated panels look especially beautiful in the interior.They produce both closed and open type structures. In this case, the package of open ceilings necessarily includes stylish and interesting inserts, thanks to which the design of the room is chic.
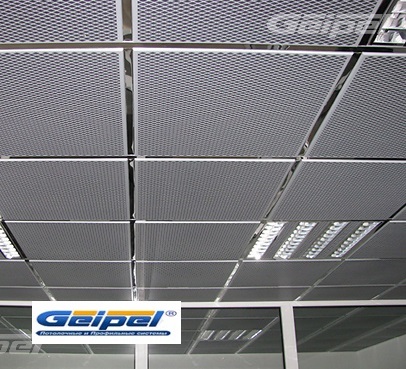
Special attention also deserves manufacturer Geipel. This company appeared on the market quite recently, but has already managed to prove itself from the best side. Rack ceilings of this production have a stylish look and original decor. In addition, during the manufacture of rails, the company uses only environmentally friendly raw materials that are safe for health and are well tolerated by external factors.
Tips
The assembly process of the slatted ceiling is simple, but for beginners who will be doing this for the first time, you need to know how the layout of the suspension system is correctly drawn, the structure is fixed and the material is chosen. Simple tips will help to avoid mistakes during installation.
- Before installing the ceiling, you should make accurate measurements of the room, taking into account the presence of niches and protrusions.
- In advance, you need to choose the method of mounting rails. If the elements are placed along, then the room will be visually longer, and the transverse direction, on the contrary, will expand the space.
- In addition, the panel with a matte surface is best to install in the bathrooms, and from the glossy - in the corridors and passers-by.
- When gapless installation is recommended to place the slats along the direction of the view. Thus, seams will not be noticeable.
- The most difficult is the diagonal installation of panels, it is better to entrust the experts.
- Profiles should be purchased with a margin. For finishing of ceilings in rooms of the standard size, as a rule, I use slats of 70-100 mm.
- The protective film from the rails can be removed only immediately before fastening, otherwise they may be damaged and dirty.
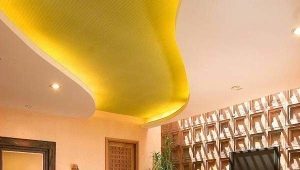
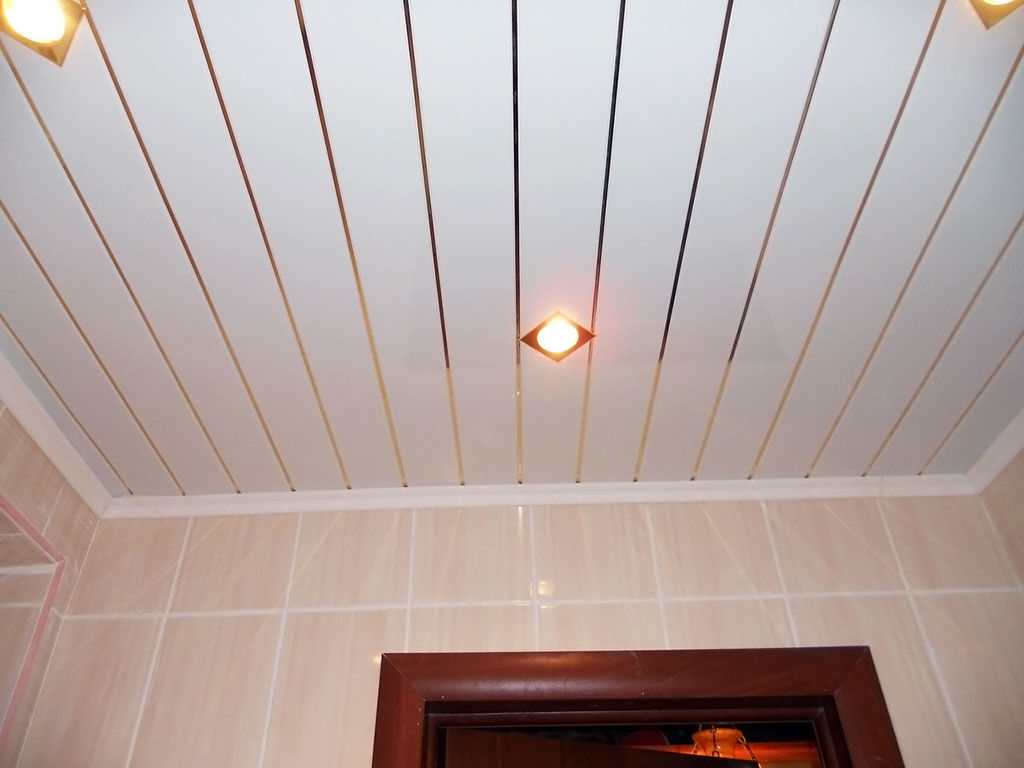
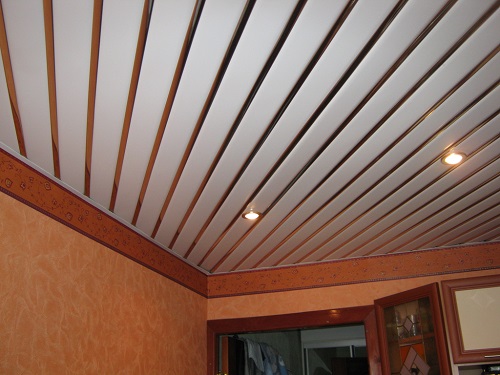
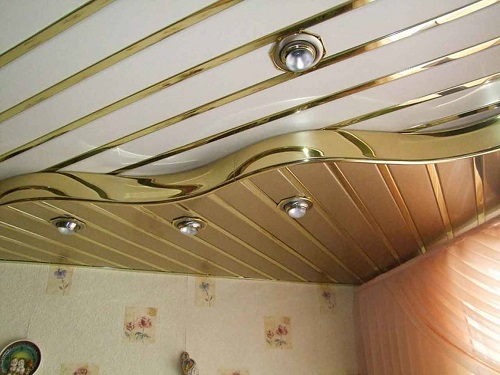
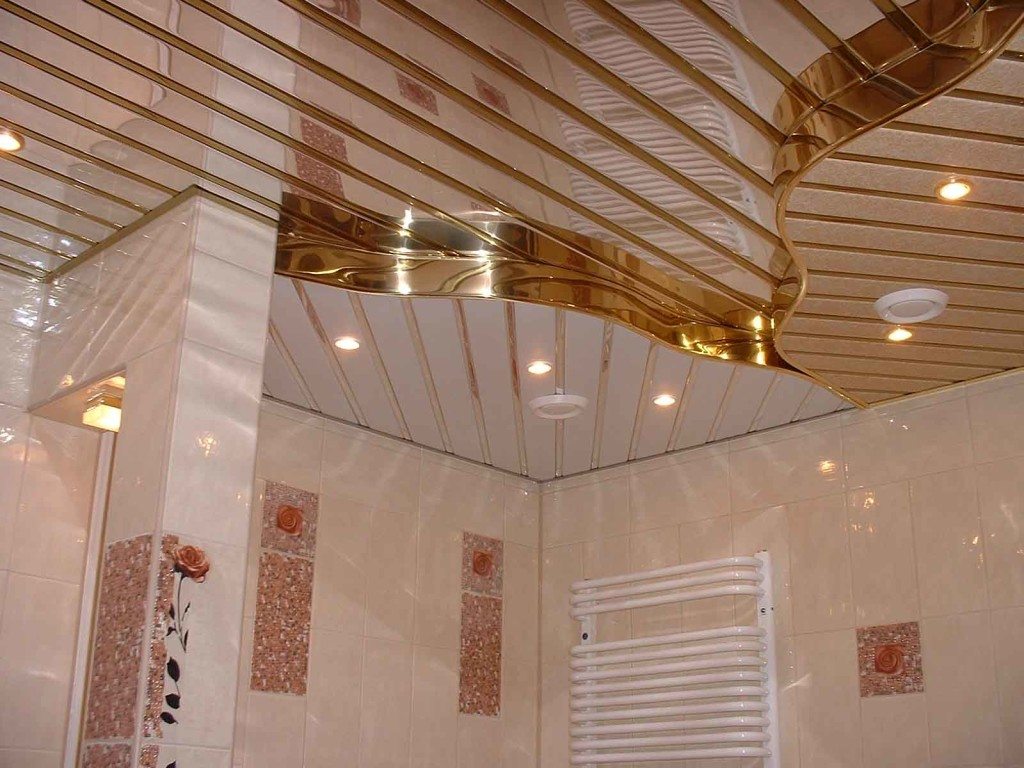
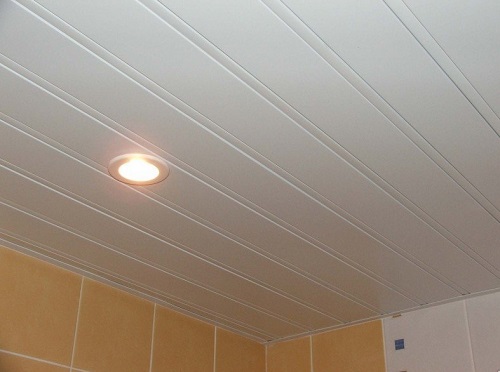
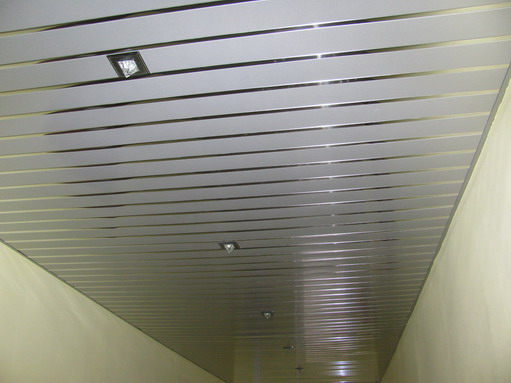
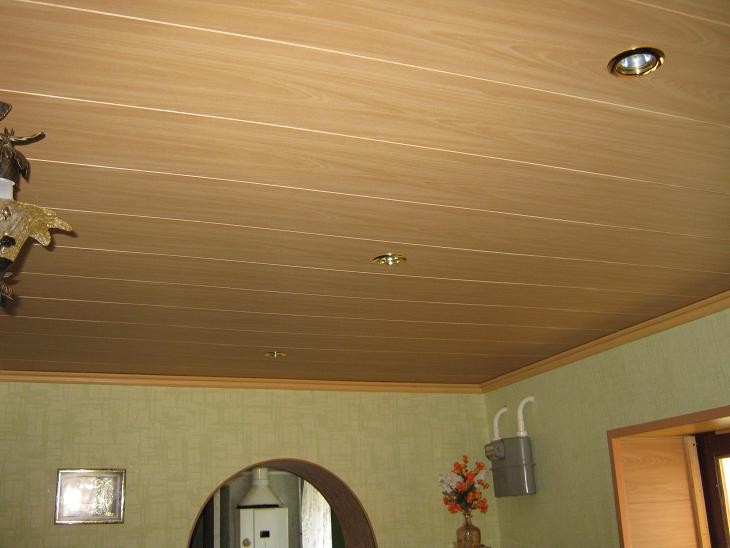
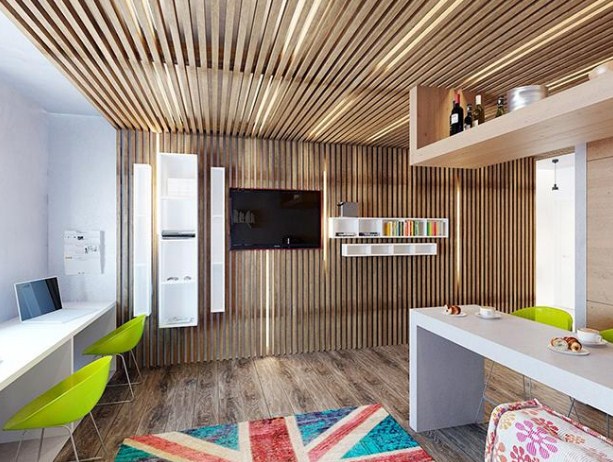
Beautiful examples in the interior
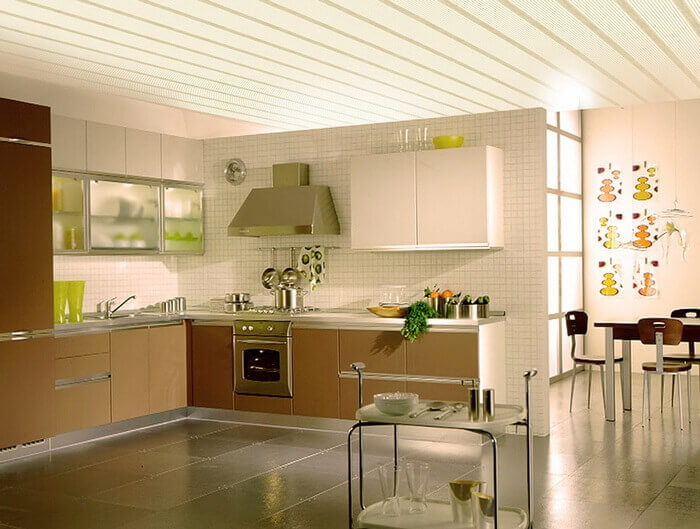
Today, there are many options for decorating rooms with slatted ceilings. Such suspended systems in the kitchen look beautiful. Unlike other types of decorative finishes, the ceiling surface of the slats is resistant to mechanical damage and moisture. For the kitchen, you can choose both single-level and multi-level ceilings of slats gray, white or brown. The designs of thin slats with color inserts look original.
They will favorably emphasize the main background of the interior of the room and harmoniously fit into any style.
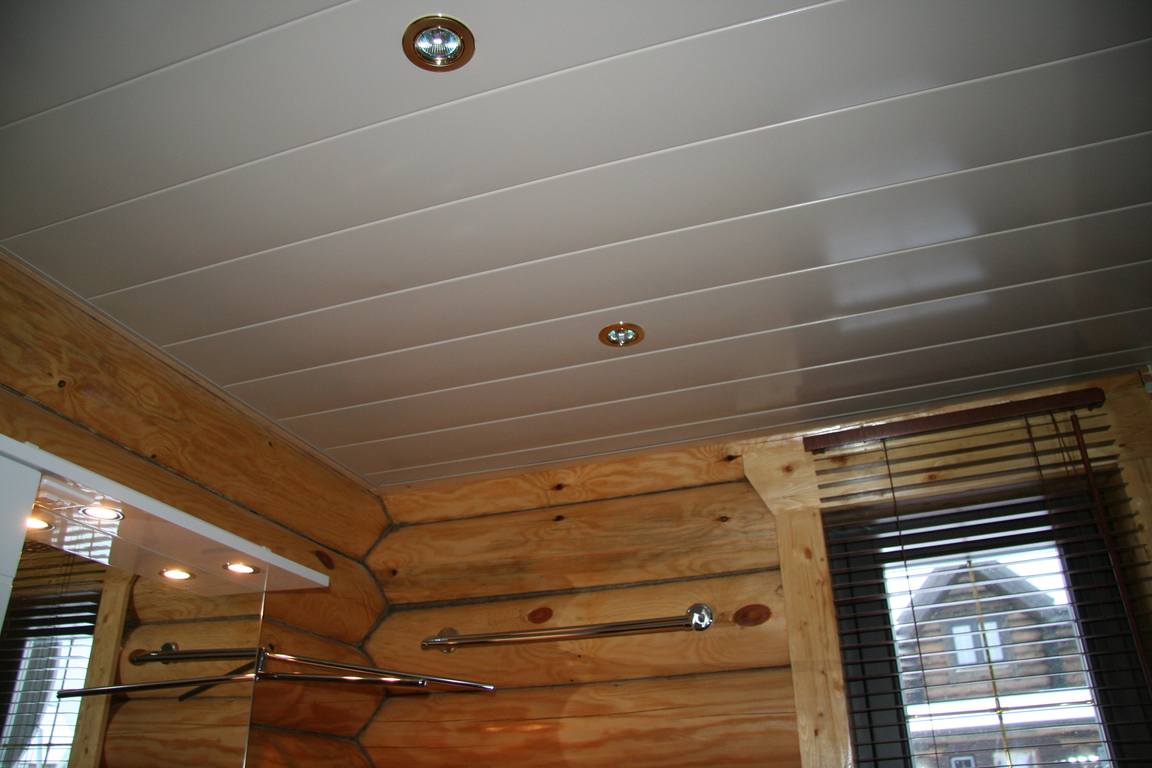
Often install slatted ceilings and bathrooms. In this case, it is recommended to choose compositions consisting of white and black colors. This combination is considered a classic and is suitable for large and small spaces.
The black palette will give the interior elegance and austere style, and a white tint will help fill the space with volume and light.
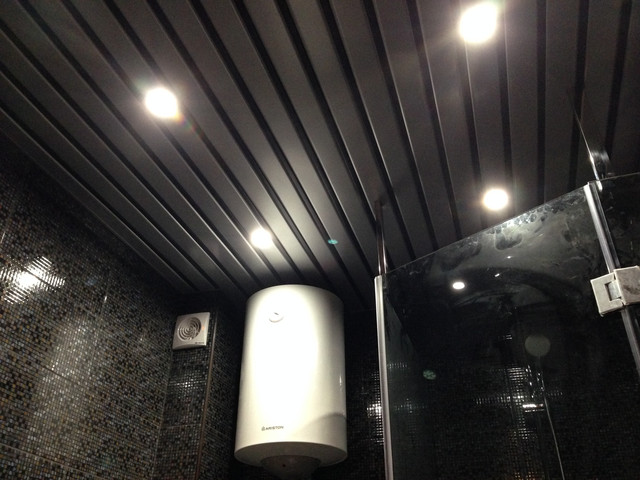
An interesting option for the bathroom will also be a rack and a beige color: a pastel color will give a room a cosiness.
You can also make out the design and ceilings of blue panels. If the room is good lighting, it is possible to experiment with dark blue and purple.
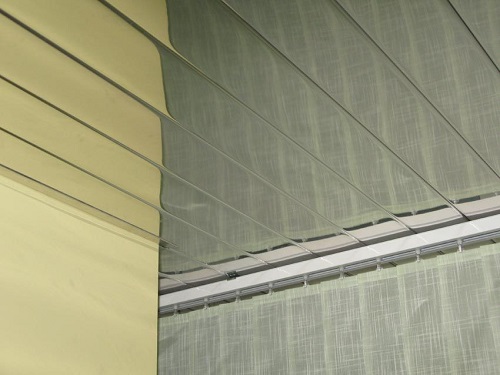
For information on how to make a slatted aluminum ceiling in the bathroom with your own hands, see the next video.