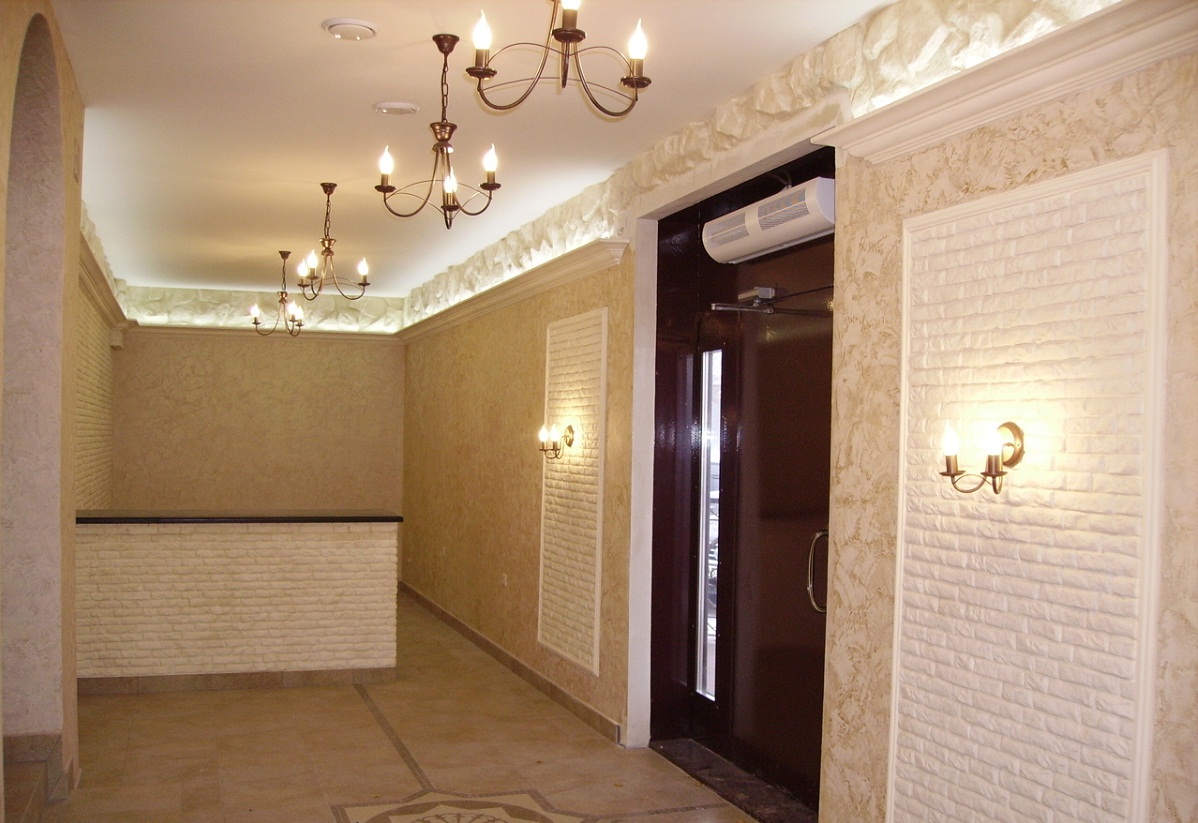
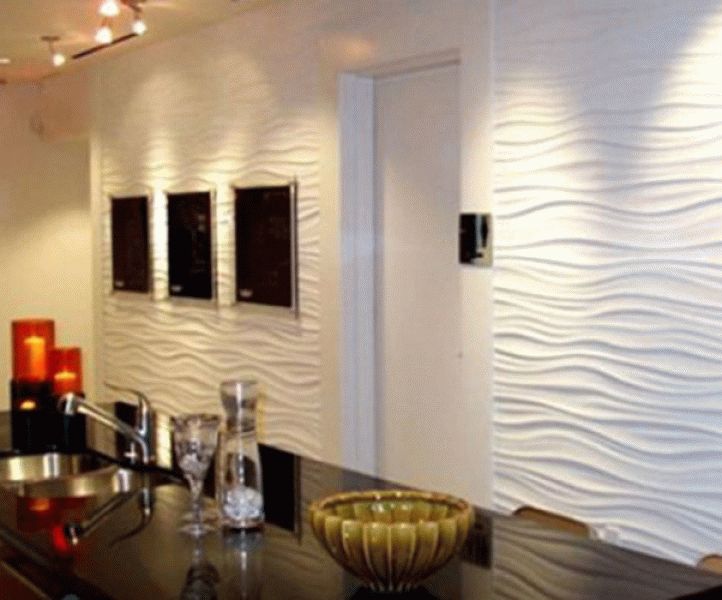
How to make decorative plaster from the usual putty with your own hands?
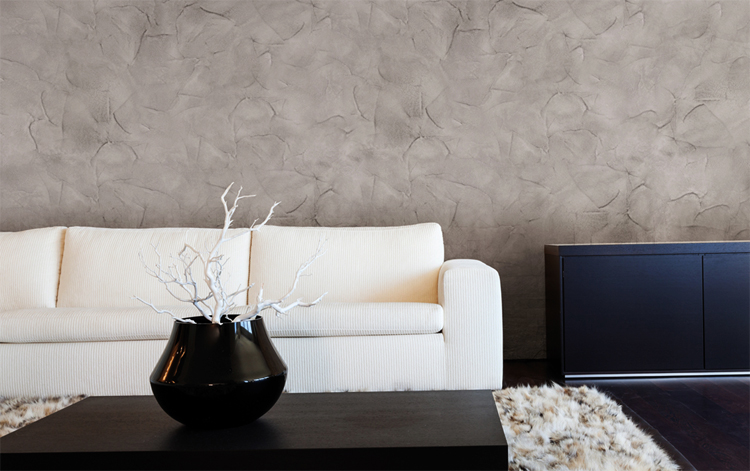
When the repair comes to an end, the question arises about the choice of high-quality finishing coating for the walls. Among the masses of varieties of finishing materials, decorative plaster is very popular.
Those who prefer non-standard methods of decoration, do this plaster with their own hands, using the most common putty. At the same time, the look of the finished surfaces is stylish and appropriate in a different style of interior design. Consider the methods of manufacture of this composition.
Features of putty and plaster
To understand the transformation of one material into another, it is necessary to have a general idea about each of them. The final product, which is decorative plaster, differs from the usual variety of plastering materials, which are mainly coarse-grained and coarse finishing composition of a pasty consistency.Its texture is softer and more delicate, so it is quite possible to prepare it from ordinary putty.
The task of decorative plaster is not leveling, but decorating surfaces inside buildings.
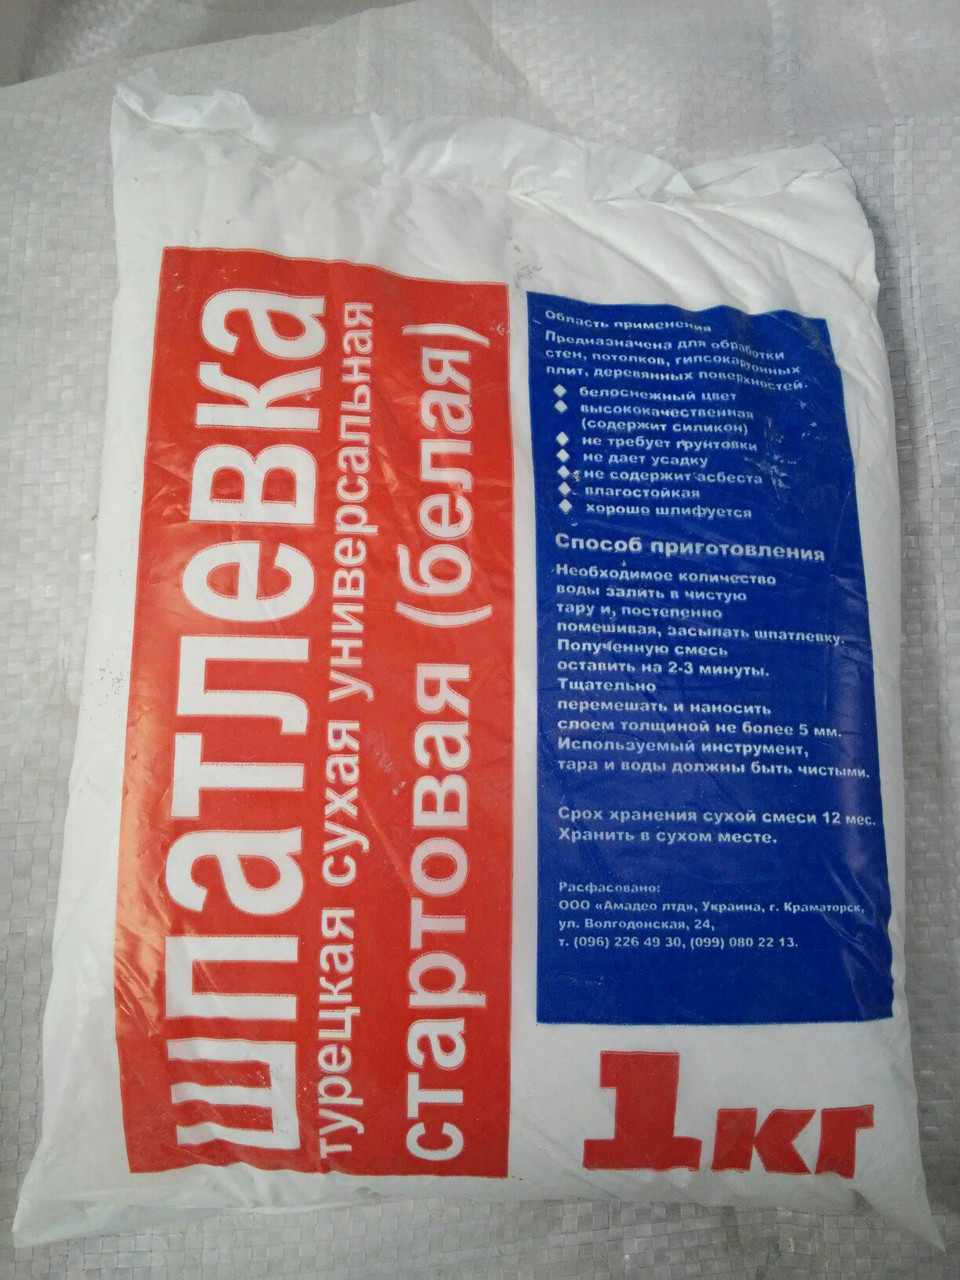
Putty is nothing more than a surface leveler, which is sold in the form of powder or ready mix in sealed packages. It is a plastic mass, effective in relation to the alignment of the walls, it is used to eliminate defects in the base (for example, cracks, chips, scratches, shchebin).
Its level of grit is much less than that of ordinary plastering materials, due to which it has a greater viscosity. This material has a lot of advantages, the main of which is the absence of deformation and shrinkage during leveling the base.
Due to the fact that it is able to smooth the structure of the treated surface and make it homogeneous, it is one of the most relevant materials preferred by professional builders and finishers.
However, at the same time not every putty is suitable for workBecause the draft and finishing varieties are distinguished by grain.At the same time on the shelves you can buy oil, structural, acrylic putty.
You can start the base for further finishing, the finish may well become the decor of the walls and ceiling, featuring the best in uniformity of texture.

Benefits
In decorative plaster, cooked with his own hands from putty, a lot of advantages.
Consider the main ones:
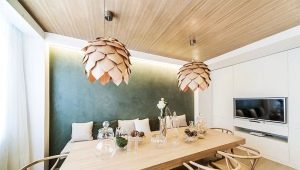
- It looks beautiful, allowing you to arrange housing in a different style to choose the owners of the house.
- Depending on the type of material used, it can be used to decorate planes inside and outside the premises.
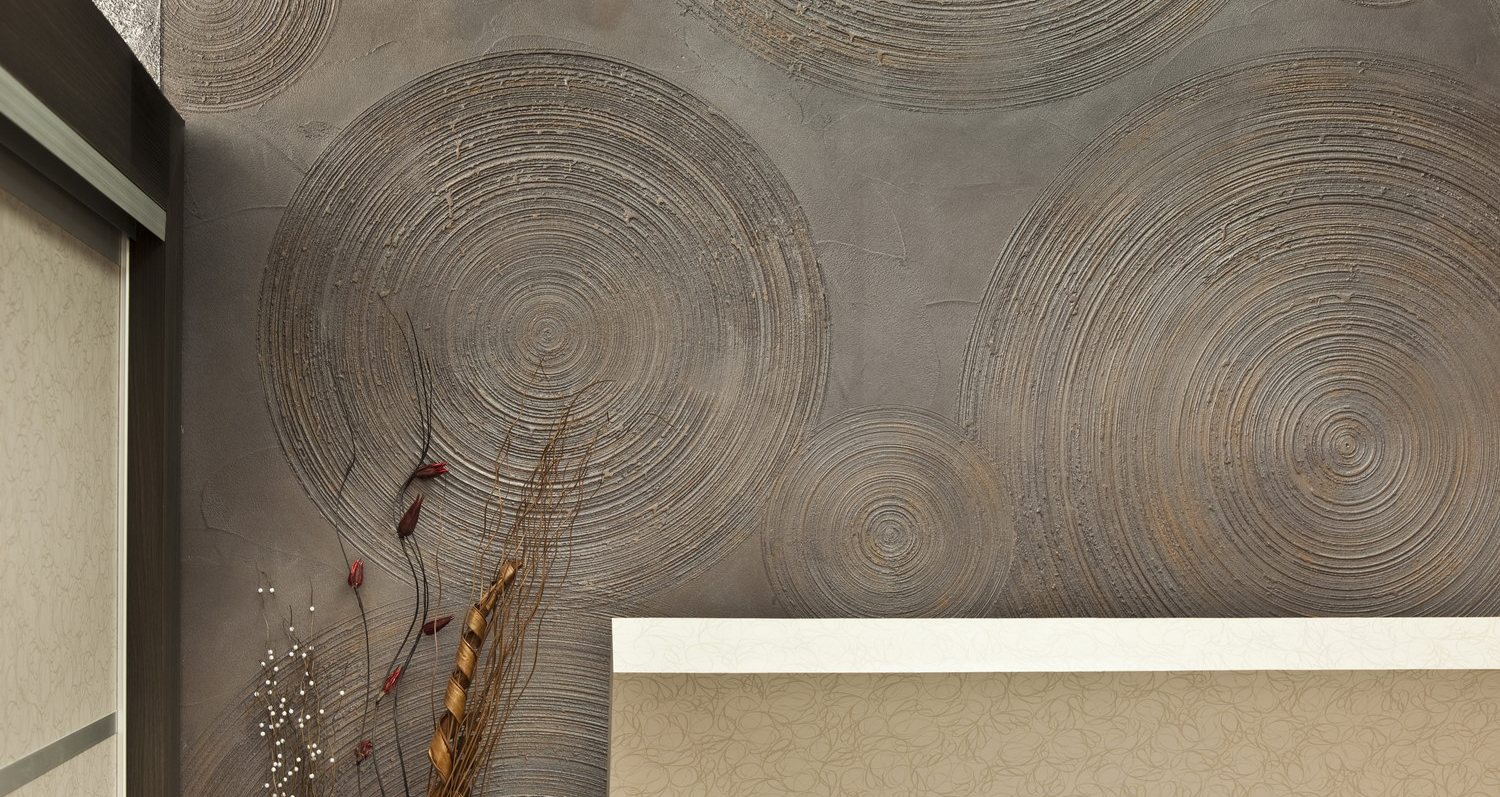
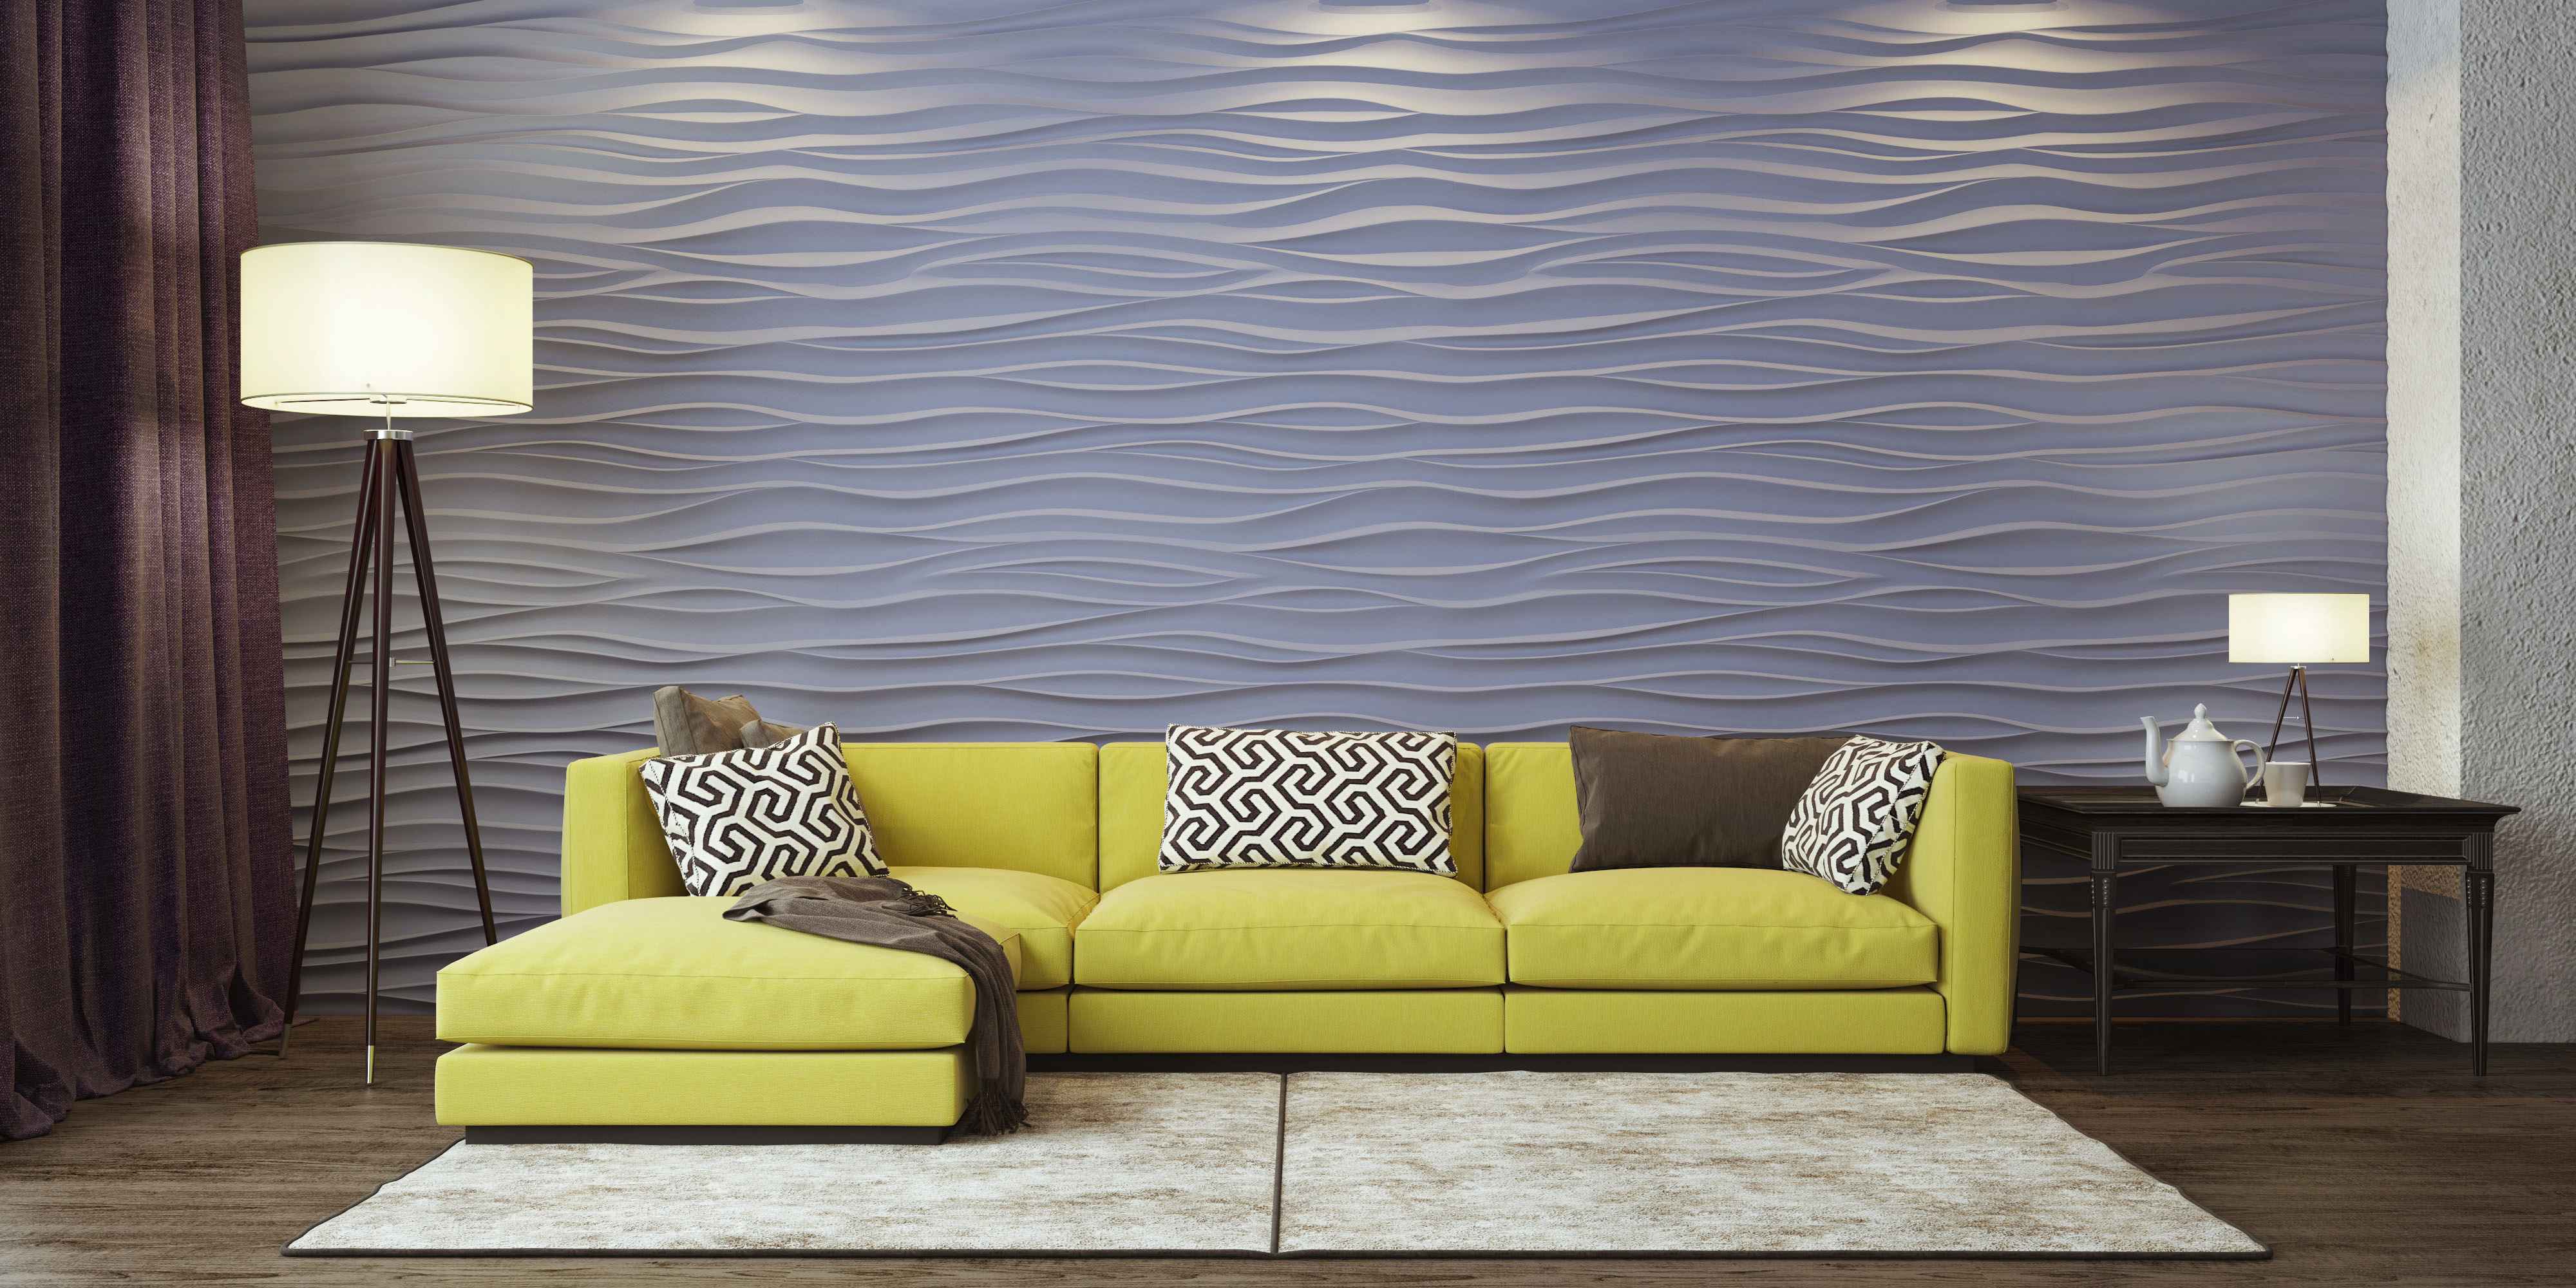
- The texture of this coating can be given absolutely any: smooth, embossed, wave-like, zigzag-like, as well as with a mass of textures and drawings, which are created by means of various improvised tools and specialized inventory.
- This finish simplifies and accelerates the lining of surfaces. It is possible to make them beautiful in 1 light day on condition of preliminary preparation of the base.
- Decorative plaster is durable: for many years it will decorate the surface without changing the performance properties, the original attractiveness of color and texture.
- This material absorbs noise well.Due to this decor you will be spared from annoying sounds, often coming from neighboring apartments.
- Decorative plaster is a good thermal insulation. It will warm the walls of your home, which will be especially noticeable during the cold season.
- It is environmentally friendly: there are no harmful impurities in the composition, therefore there will be no harm to health during operation, which is especially important for allergy sufferers.
- The choice of components to create a decorative plaster is great. If you wish, you can choose an individual composition, which will allow to realize the most unusual design solutions.
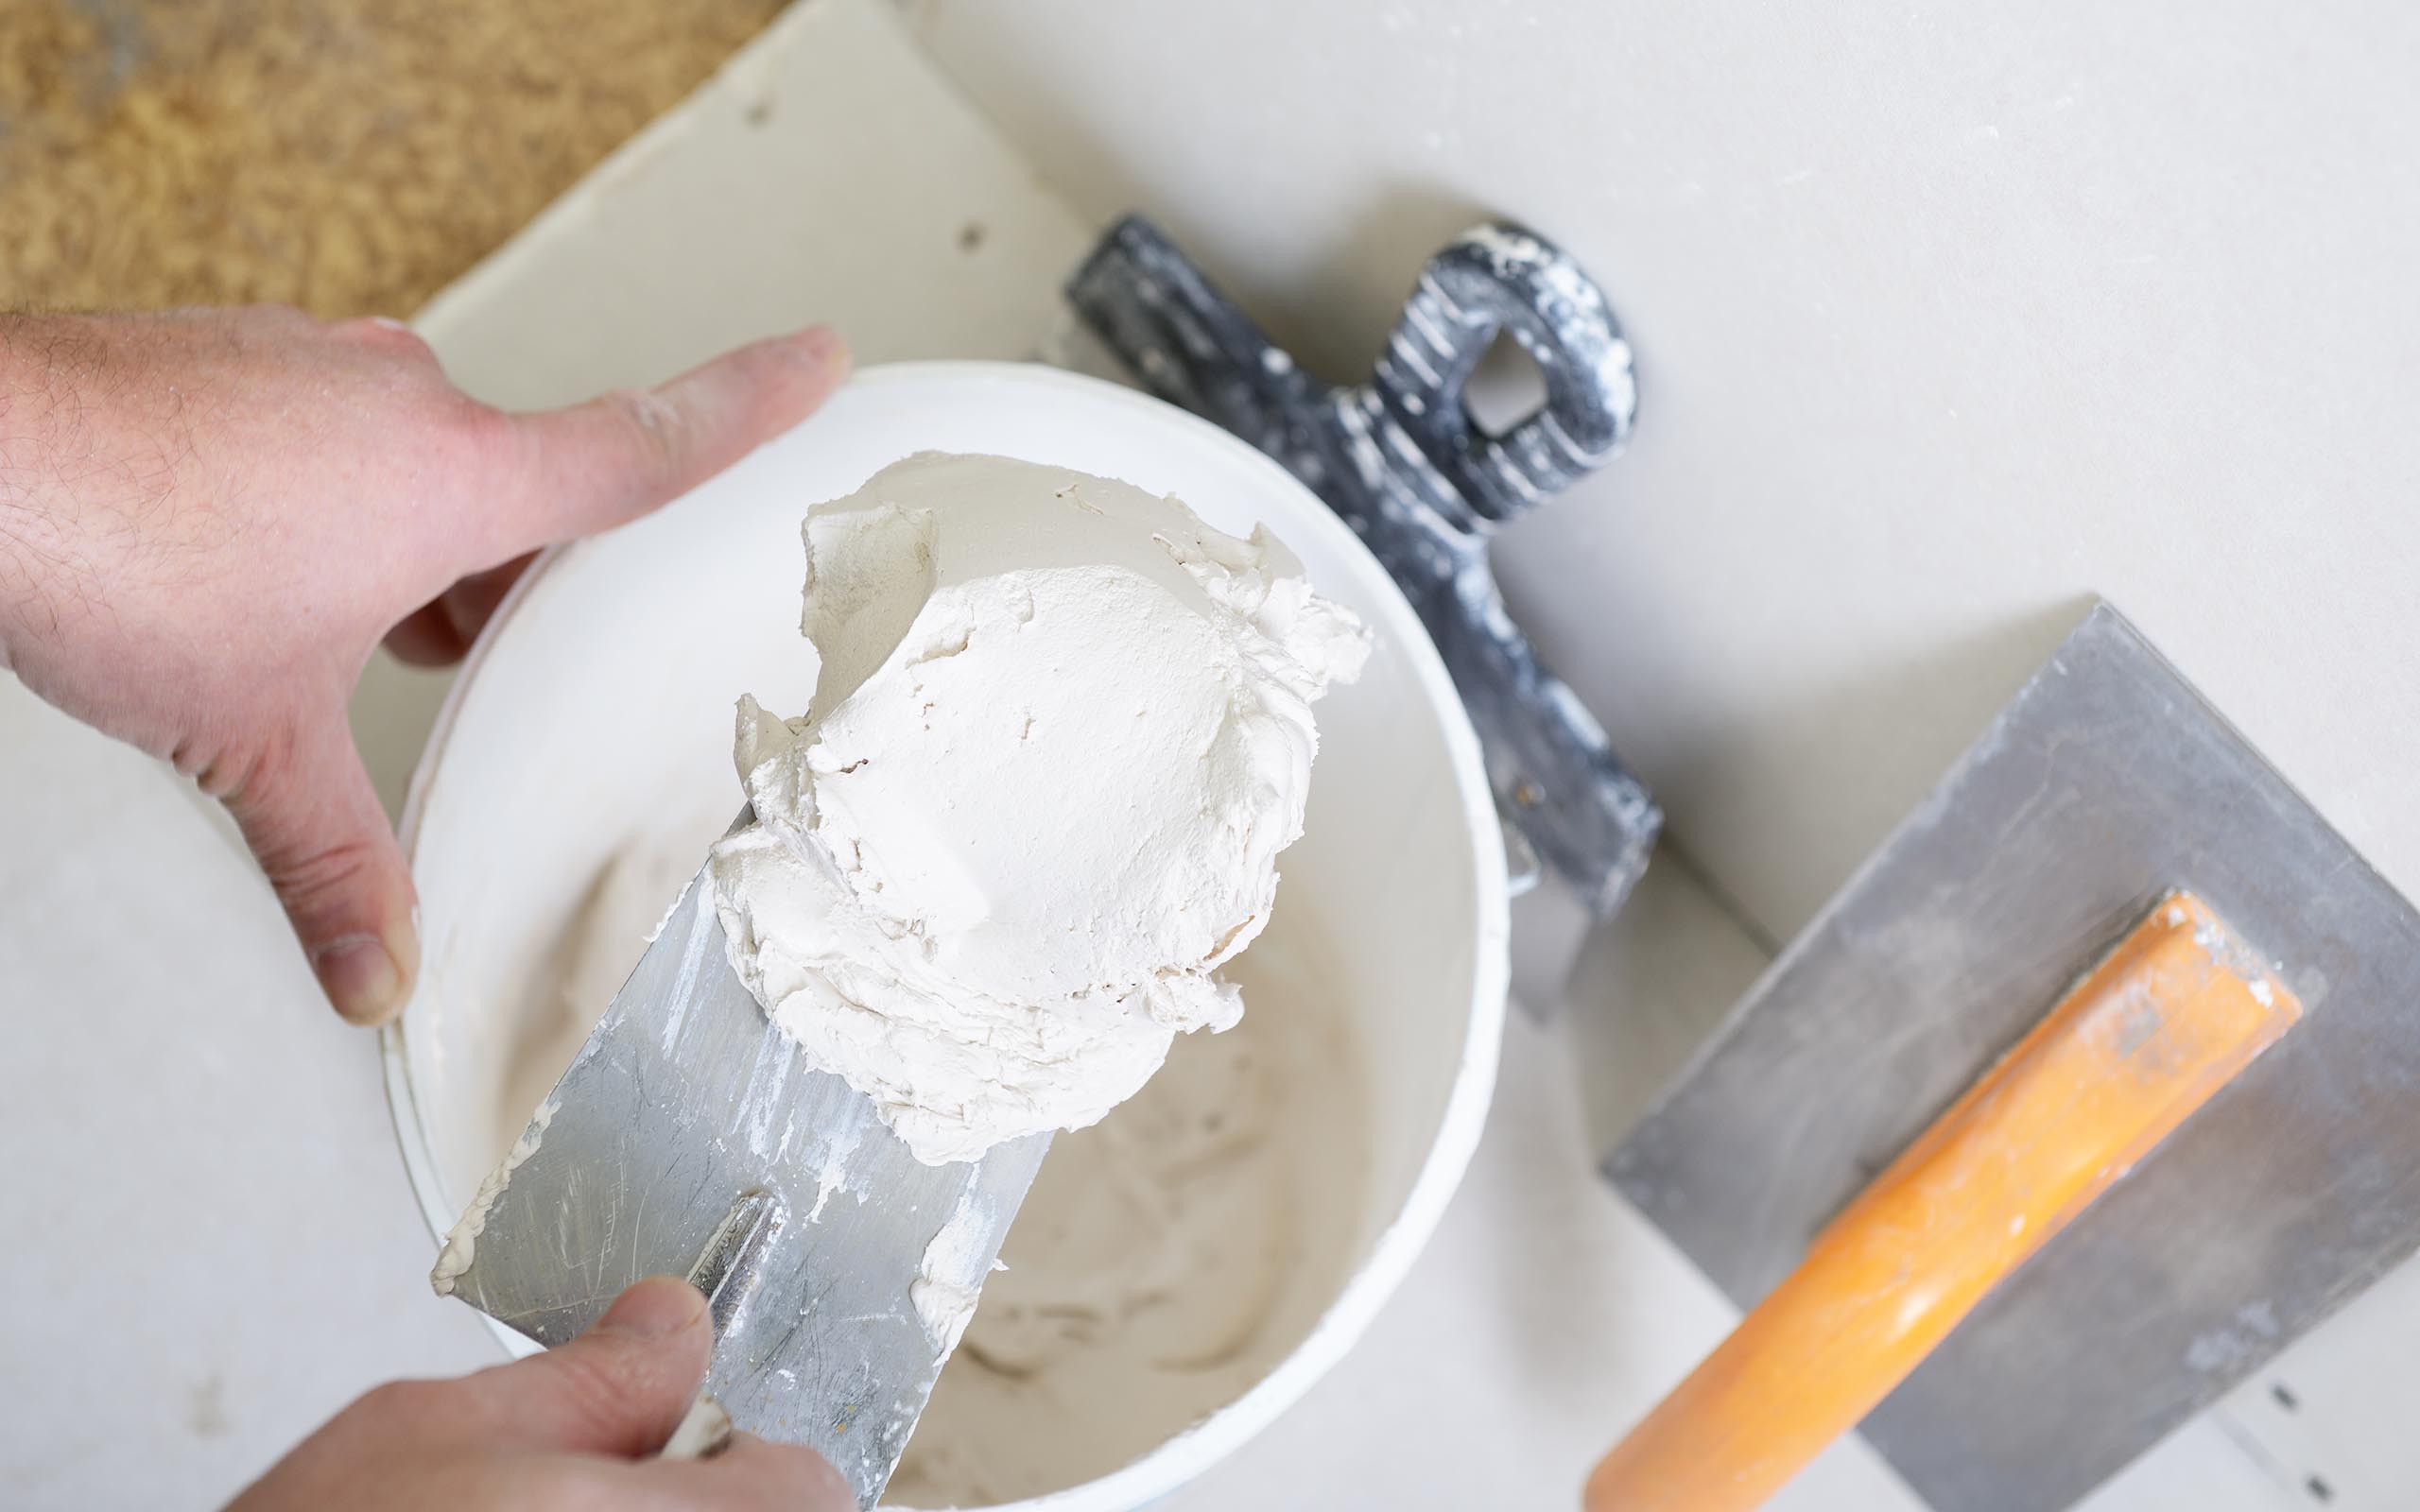
Making recipes
You can turn putty into decorative material yourself at home. This will not be difficult, although it will require additional expenses. However, today it is easy to acquire the necessary components: brands offer a wide range of products in the public domain.
Consider the basic manufacturing recipes.
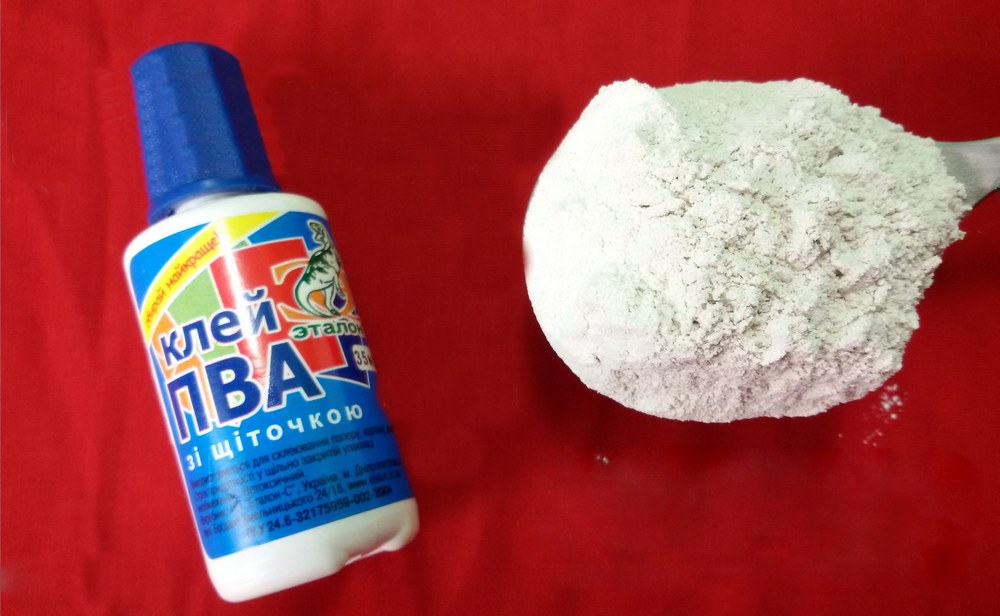
With white glue
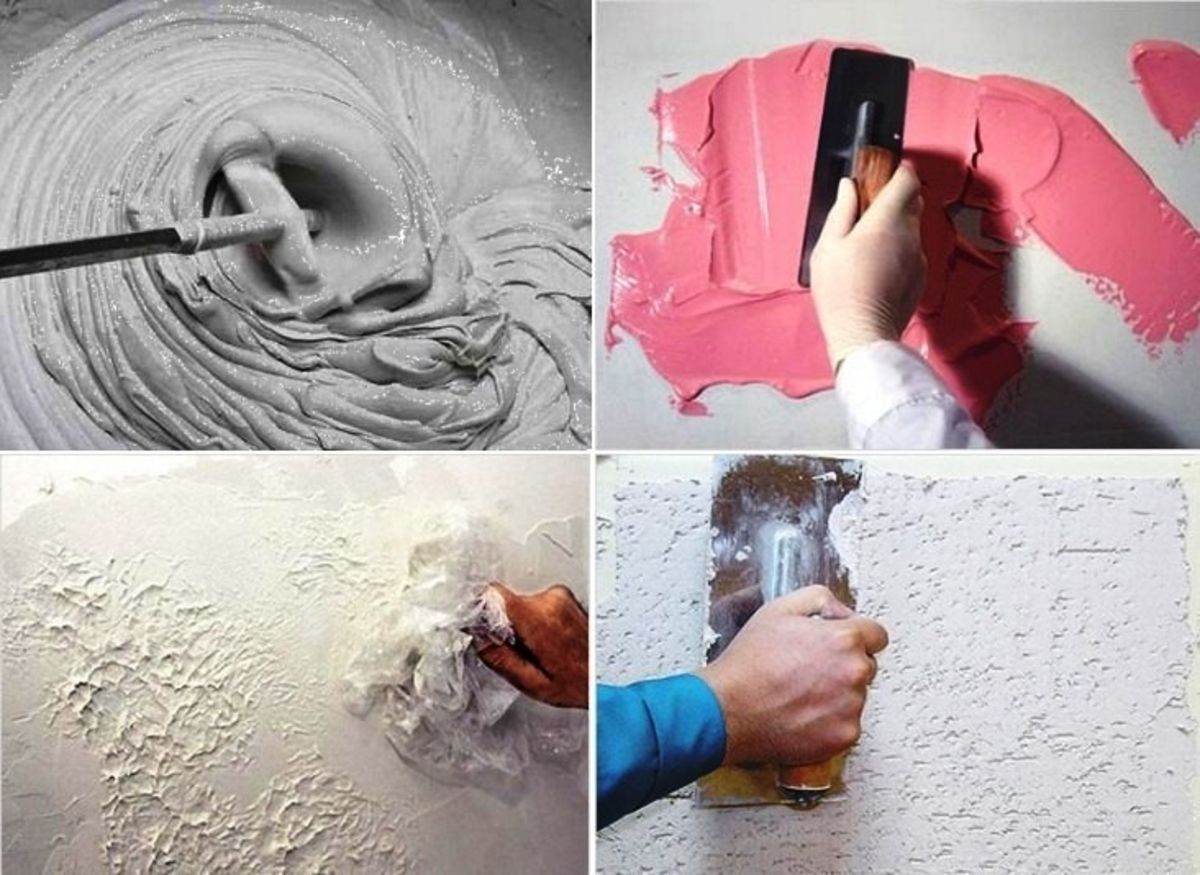
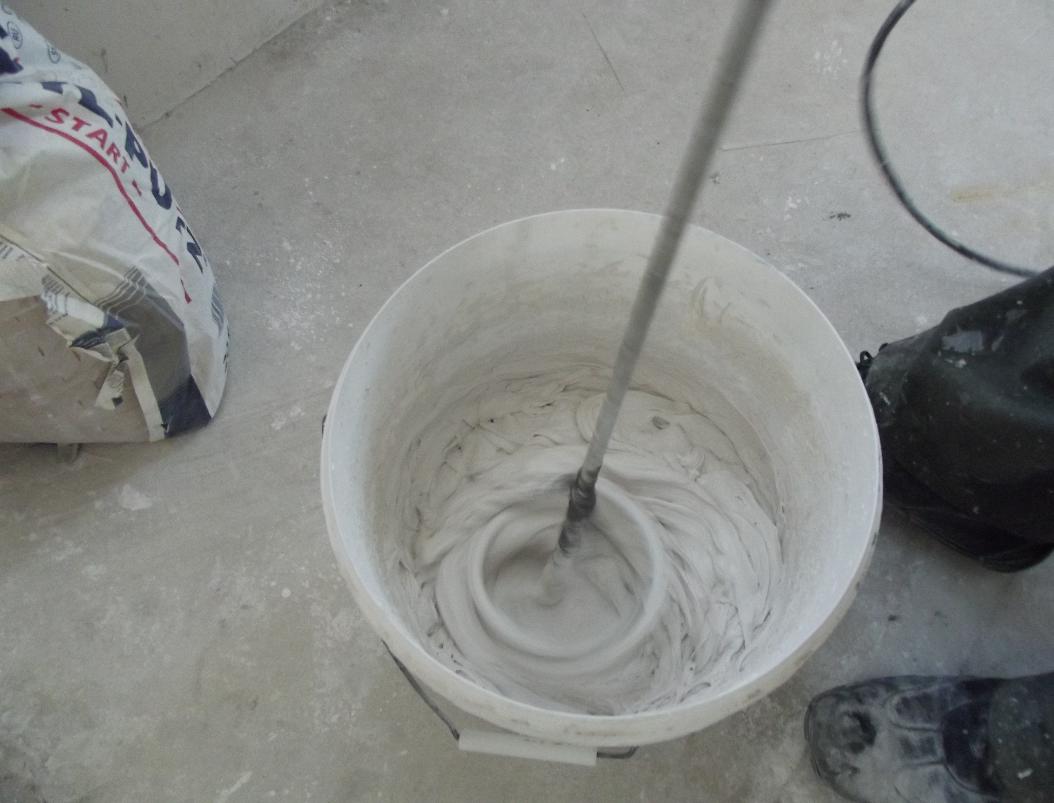
To create the mass, they take 6 kg of the powder mixture of the usual putty and pour them into the previously prepared clean container. 2 liters of water are added, the mixture is kneaded, then 0.2 kg of PVA glue is poured into it, and then mixed again.
If there is no PVA glue, you can replace it with a 1: 1 trowel for a drywall.
With primer
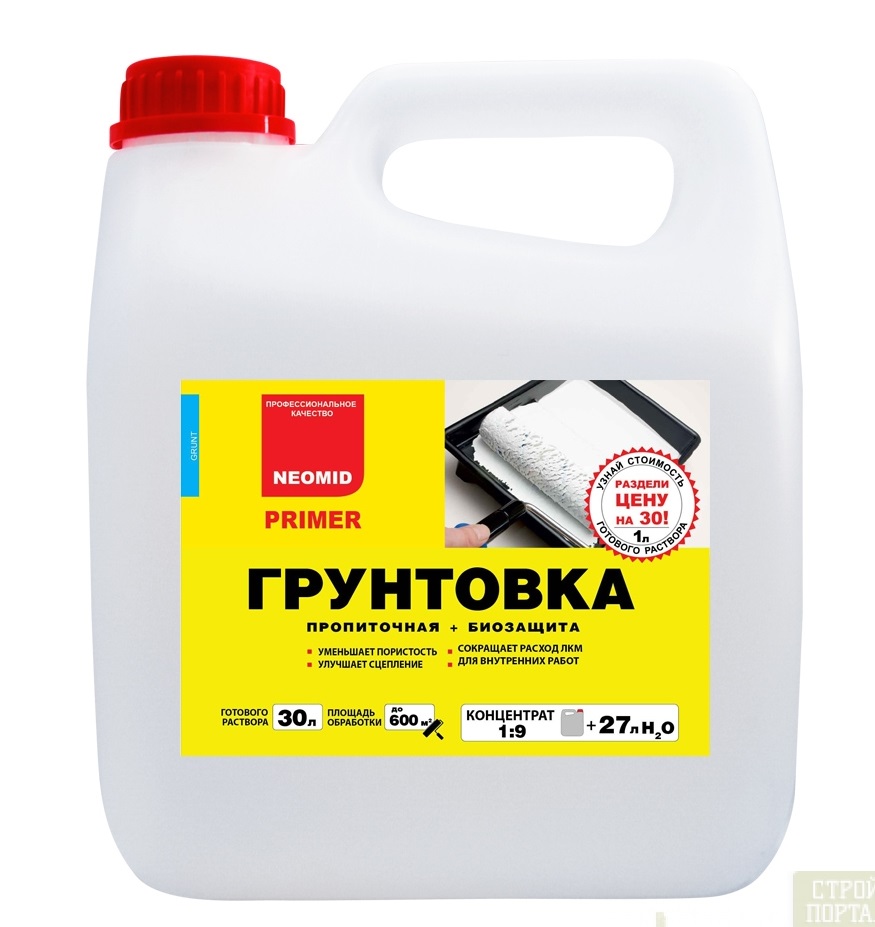
For this method, use the powder composition (6 kg), mix it with a primer to the consistency of homogeneous cream, then add mash for joints to the mass. The composition can include colored grout or paint the desired tone.
For this recipe it is necessary to use a white primer.
On the basis of gypsum
Some masters use to turn simple putty into decorative white plaster powder compositions. To do this, take 6 kg of the gypsum mixture, add 2 l of water at room temperature to them, knead until a state of homogeneity, then add a glass (0.2 l) of PVA glue.
With a marble crumb
This recipe is suitable for decorating the surface with the bark beetle. To create a decorative plaster will need a simple putty, which must be mixed with marble chips in a ratio of 1: 4 (1 part crumb to 4 parts putty). The mass is diluted with water and kneaded to the consistency of sour cream. It is not recommended to add dye right away - it is better to do this after the plaster has dried.
Venetian
This manufacturing recipe requires the purchase of a special putty.In order for the surface to transmit exactly Venetian plaster, it is necessary to purchase a mixture with quartz, marble, malachite chips, add slaked lime and dyes to it (you can use the color of the desired shade).
The mixture should not be liquid, but resemble the paste or thick sour cream in consistency.
Versailles
This recipe consists of the following components: starting and finishing putty powder form, acrylic paint and aluminum powder (silverfish). The powders are interconnected in a 1: 1 ratio, water is added and stirred.
After leaving for a few minutes, then again mixed. If necessary, you can add color (if the cultivated area is small). Serebryanka is used for finishing decoration after the design. Its presence for this style is required.
To learn how to make decorative plaster Versailles, see the following video.
Preparation for decoration
In order to eliminate material overspending, to carry out the work as qualitatively as possible taking into account technological features and to make a good decorative plaster from ordinary putty, it is necessary to first prepare the base of the surfaces planned for decoration.This stage is obligatory: without proper preparation of the base, good adhesion and durability of plaster decoration is impossible.
The process consists of several stages:
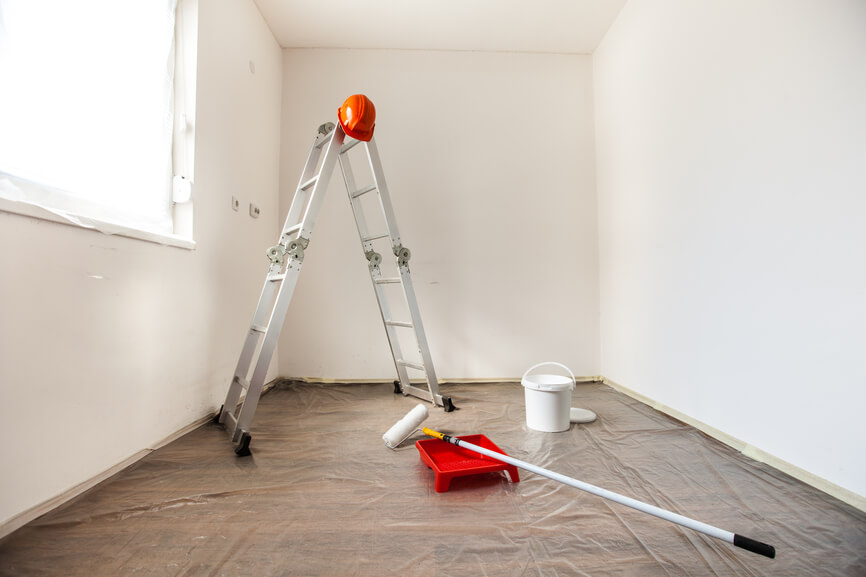
- From the room in which the finishing work is being carried out, all the furniture is being taken out, and if possible, it is impossible to take out anything that is covered with polyethylene.
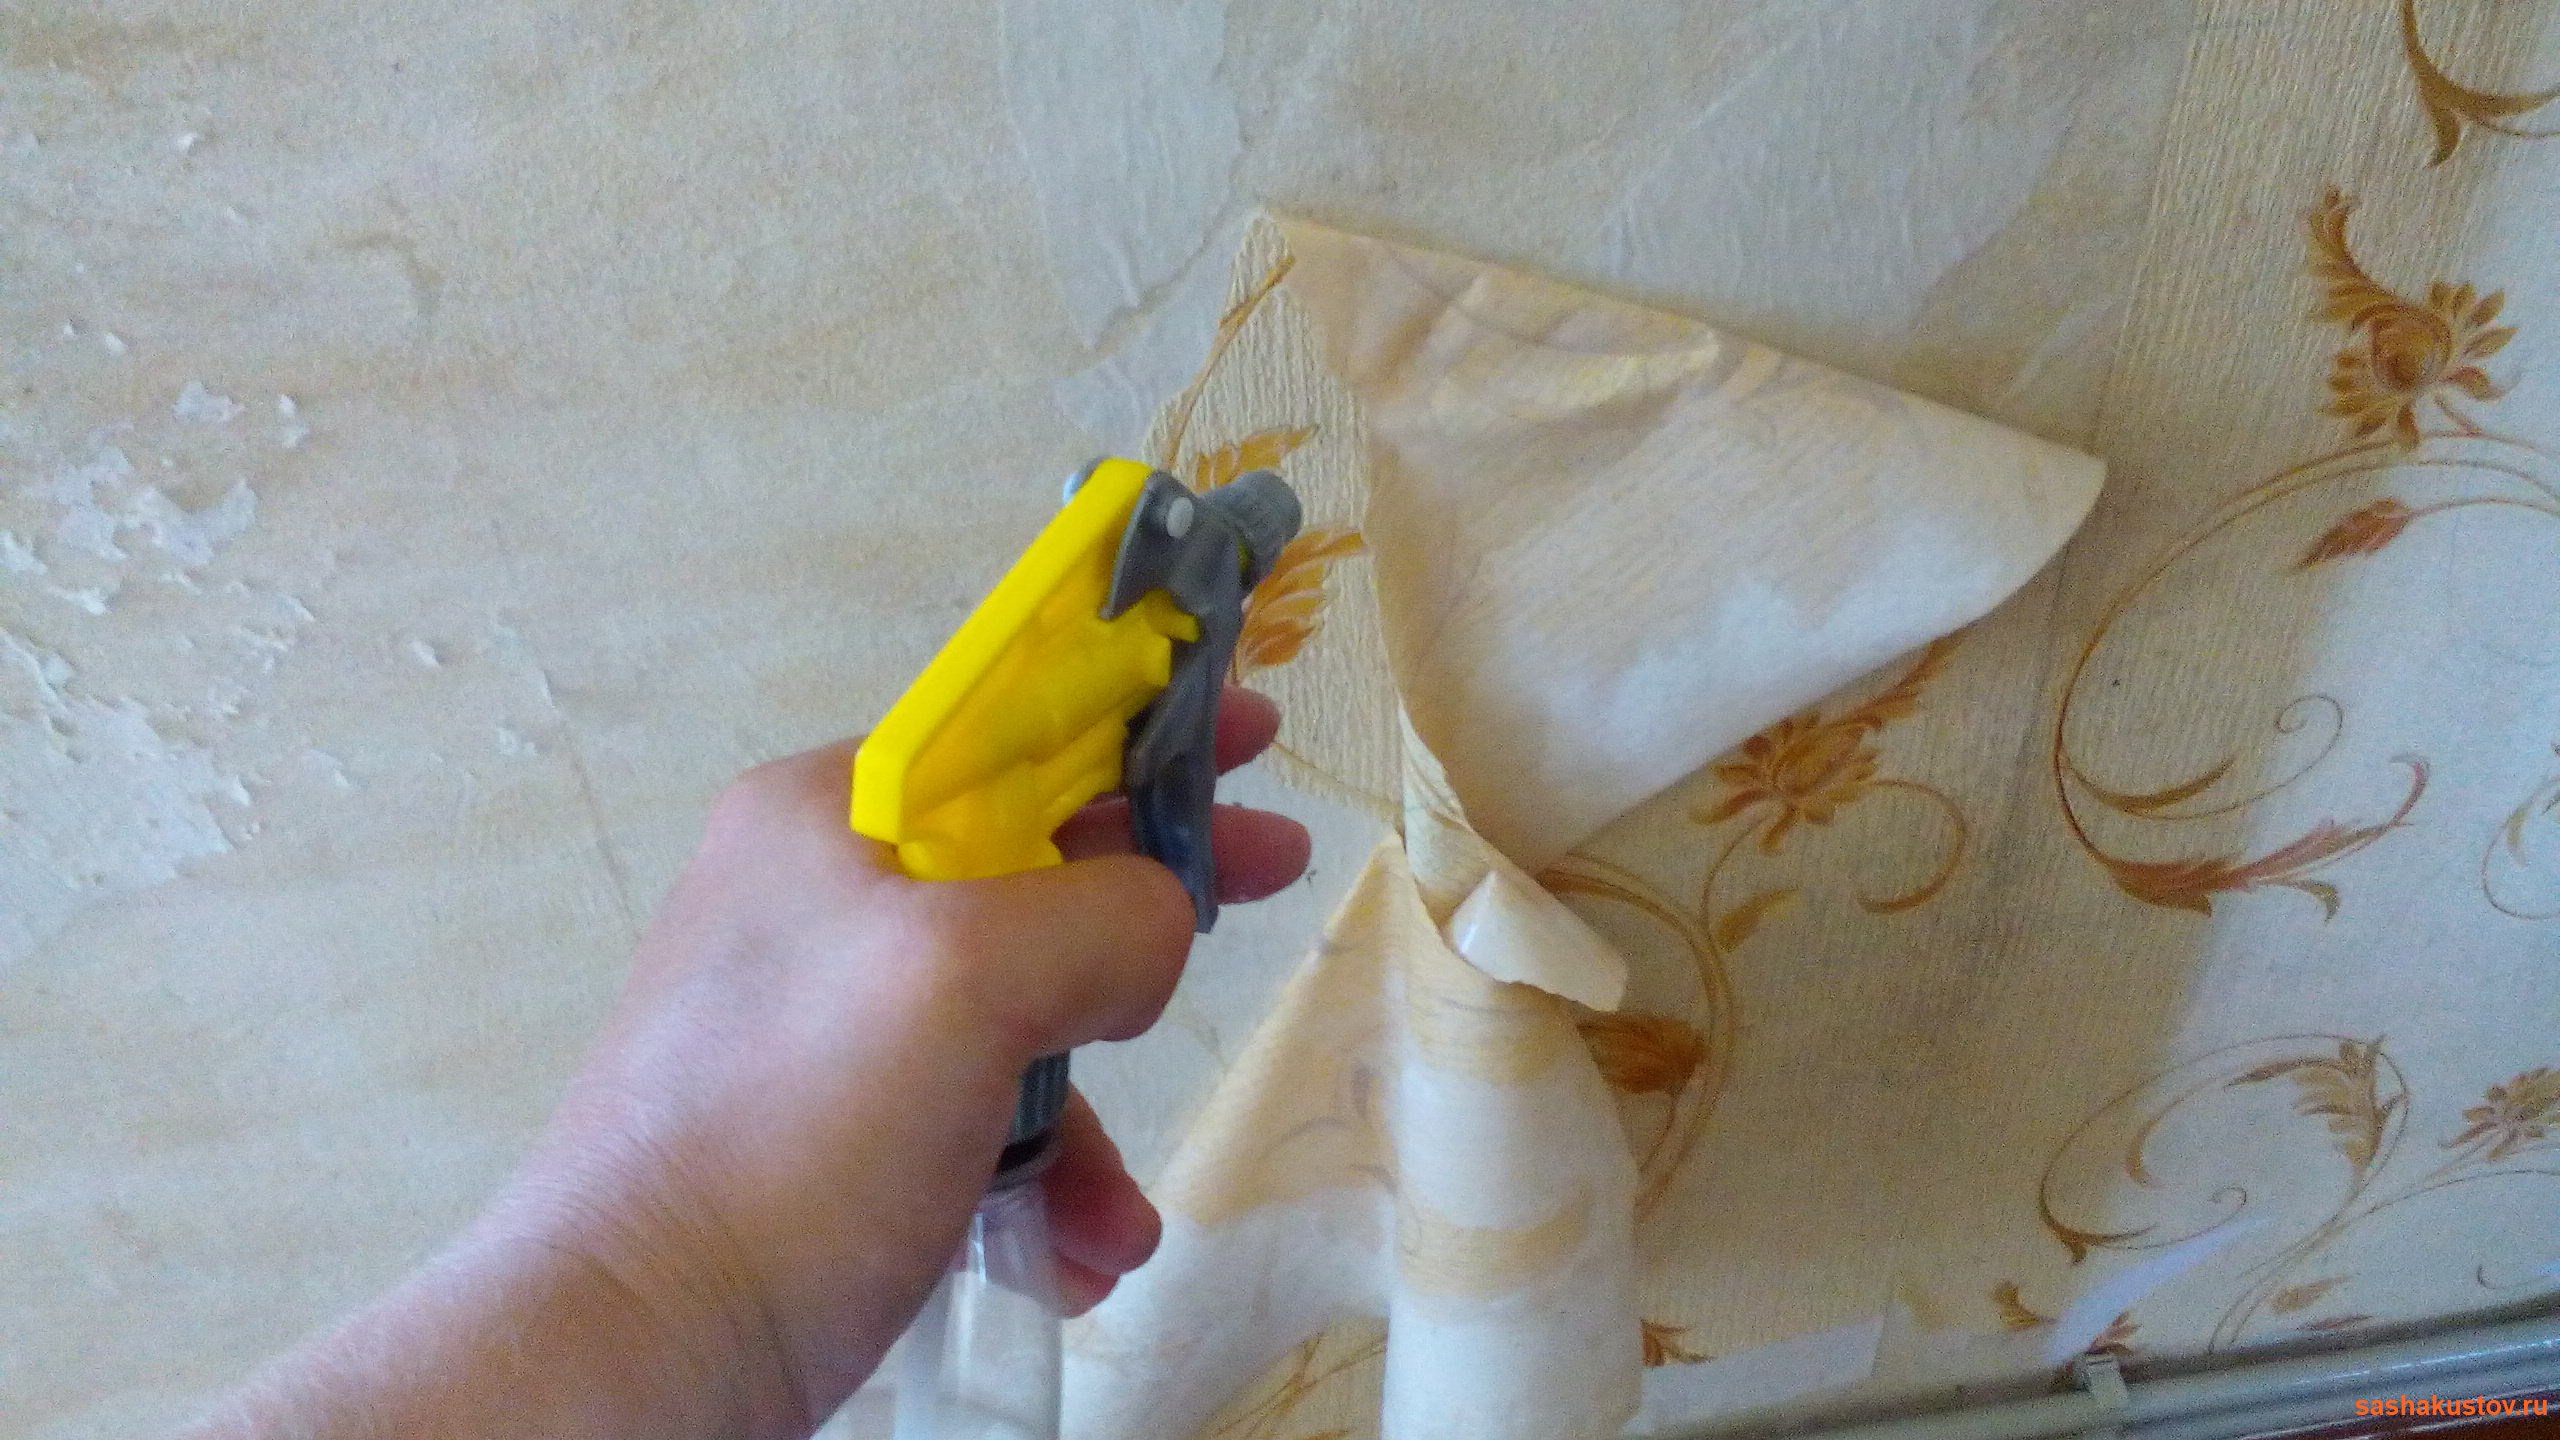
- Remove the old coating from the surfaces planned for decoration. If it is wallpaper, then in order to avoid dust and accelerate their peeling off, it is preferable to use a spray gun. After using it to remove them from the walls is not difficult.
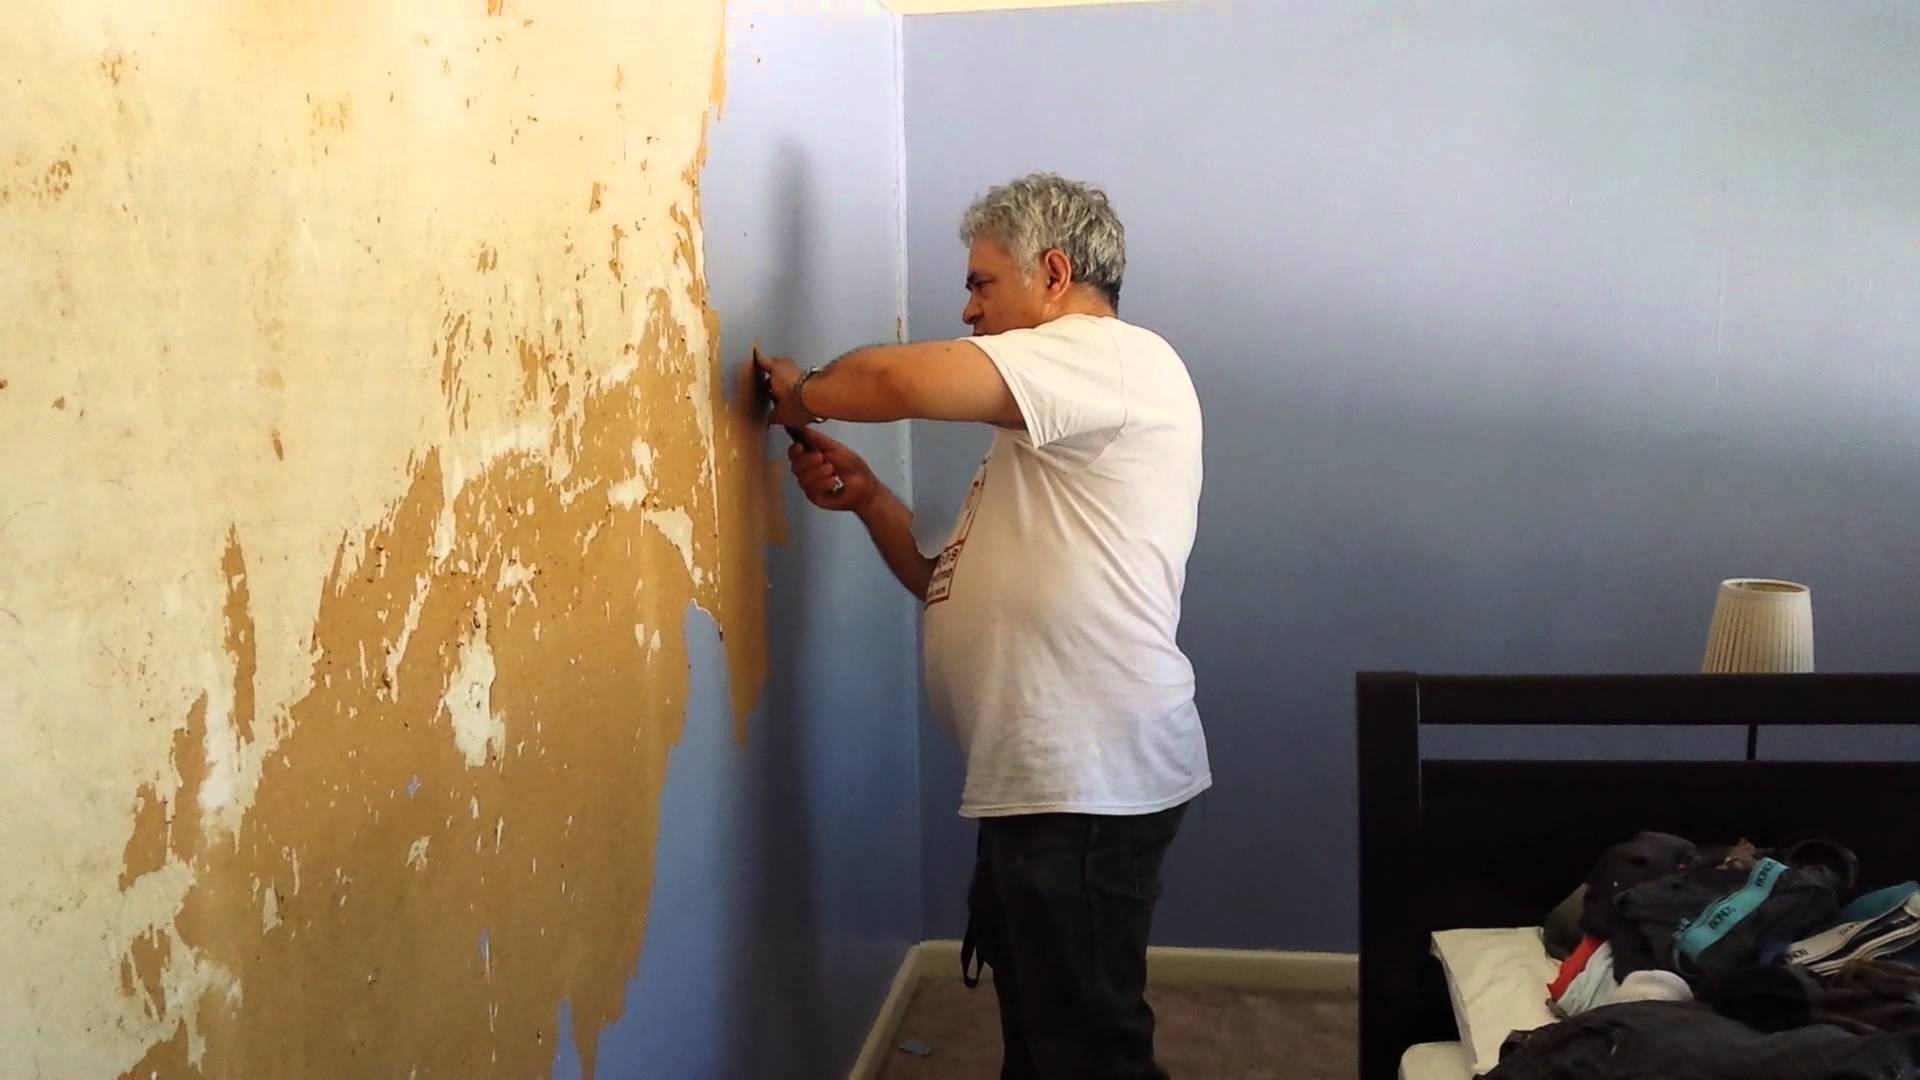
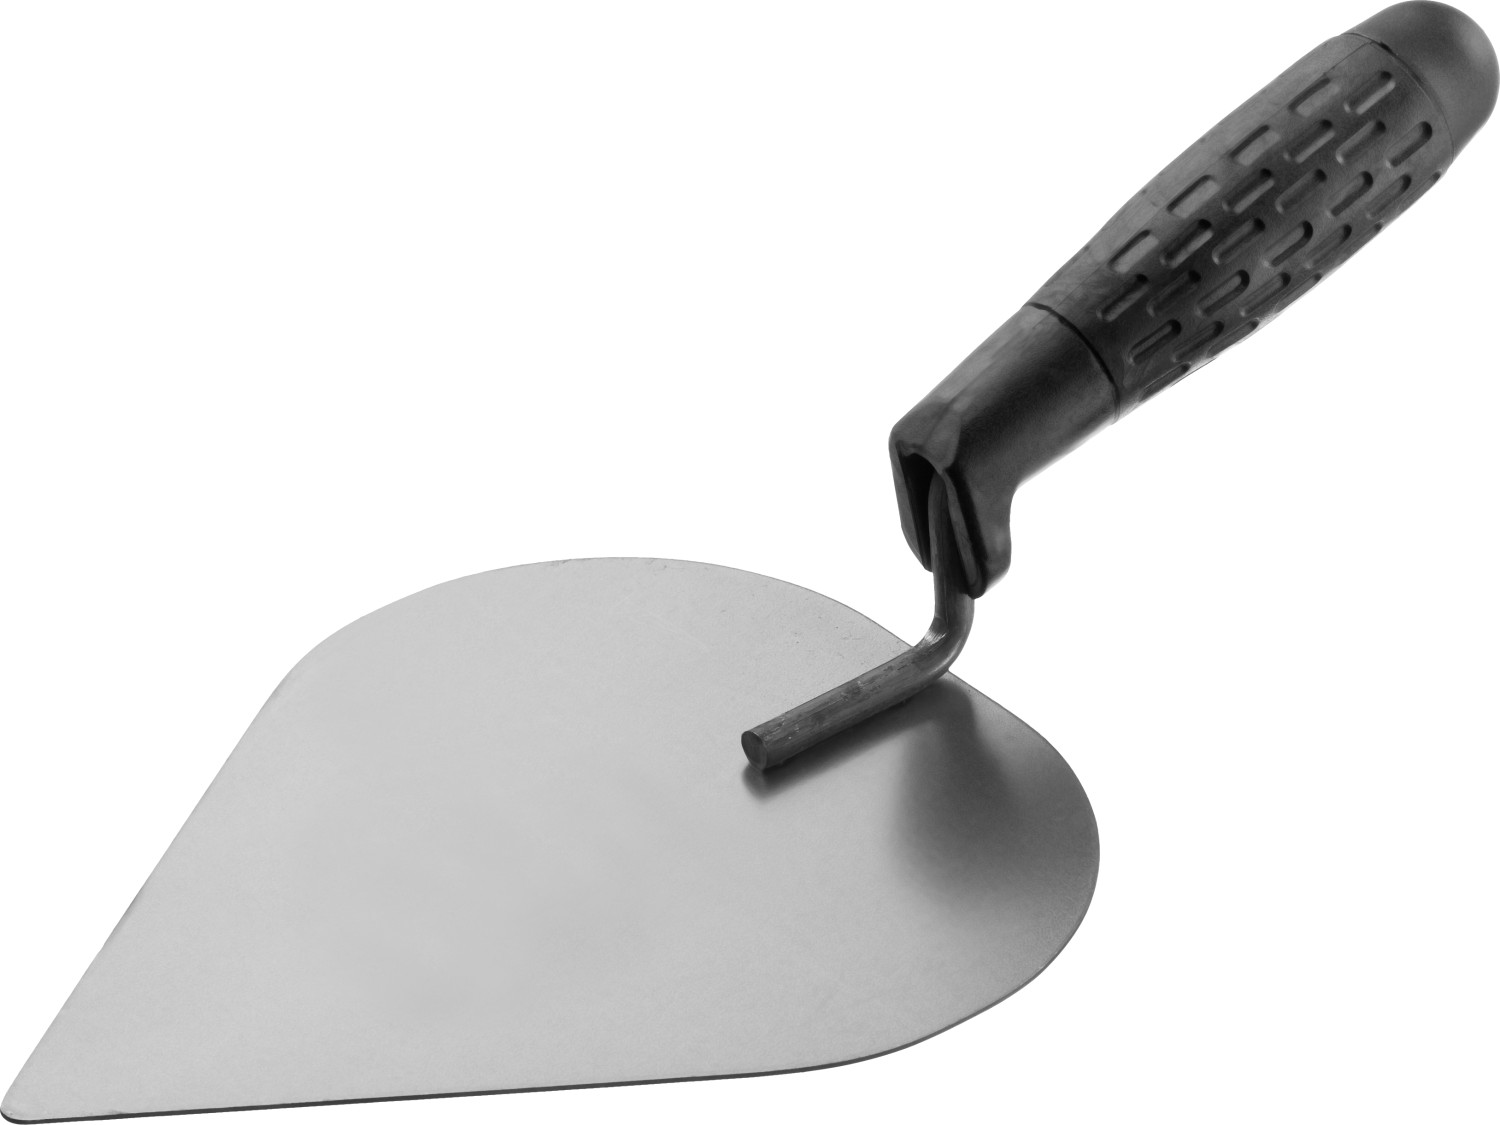
- In the presence of bumps, old paint, lime, they are disposed of with a metal trowel. For paint, you can buy a special remover.
- After removing the coating, conduct a visual inspection of the plane for chips, gouges, scratches and cracks: this will allow you to choose the required amount of the draft material, eliminating its overrun.
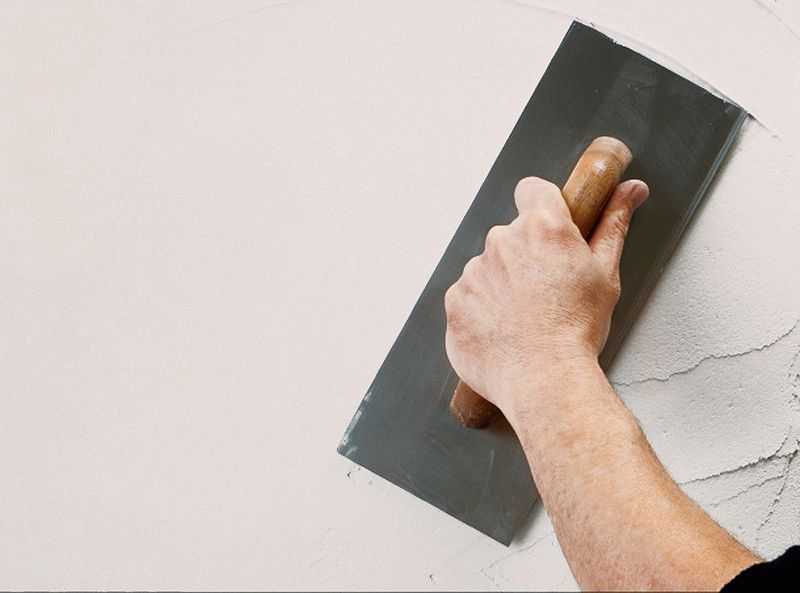
- The equalizer for walls is kneaded in the proportions indicated on the material packaging (approximately up to the consistency of thick sour cream or paste), after which they mask holes, hollows, get rid of cracks and uneven ground.It is not necessary to cover the plane completely with the equalizer: this will increase the consumption of the rough material.
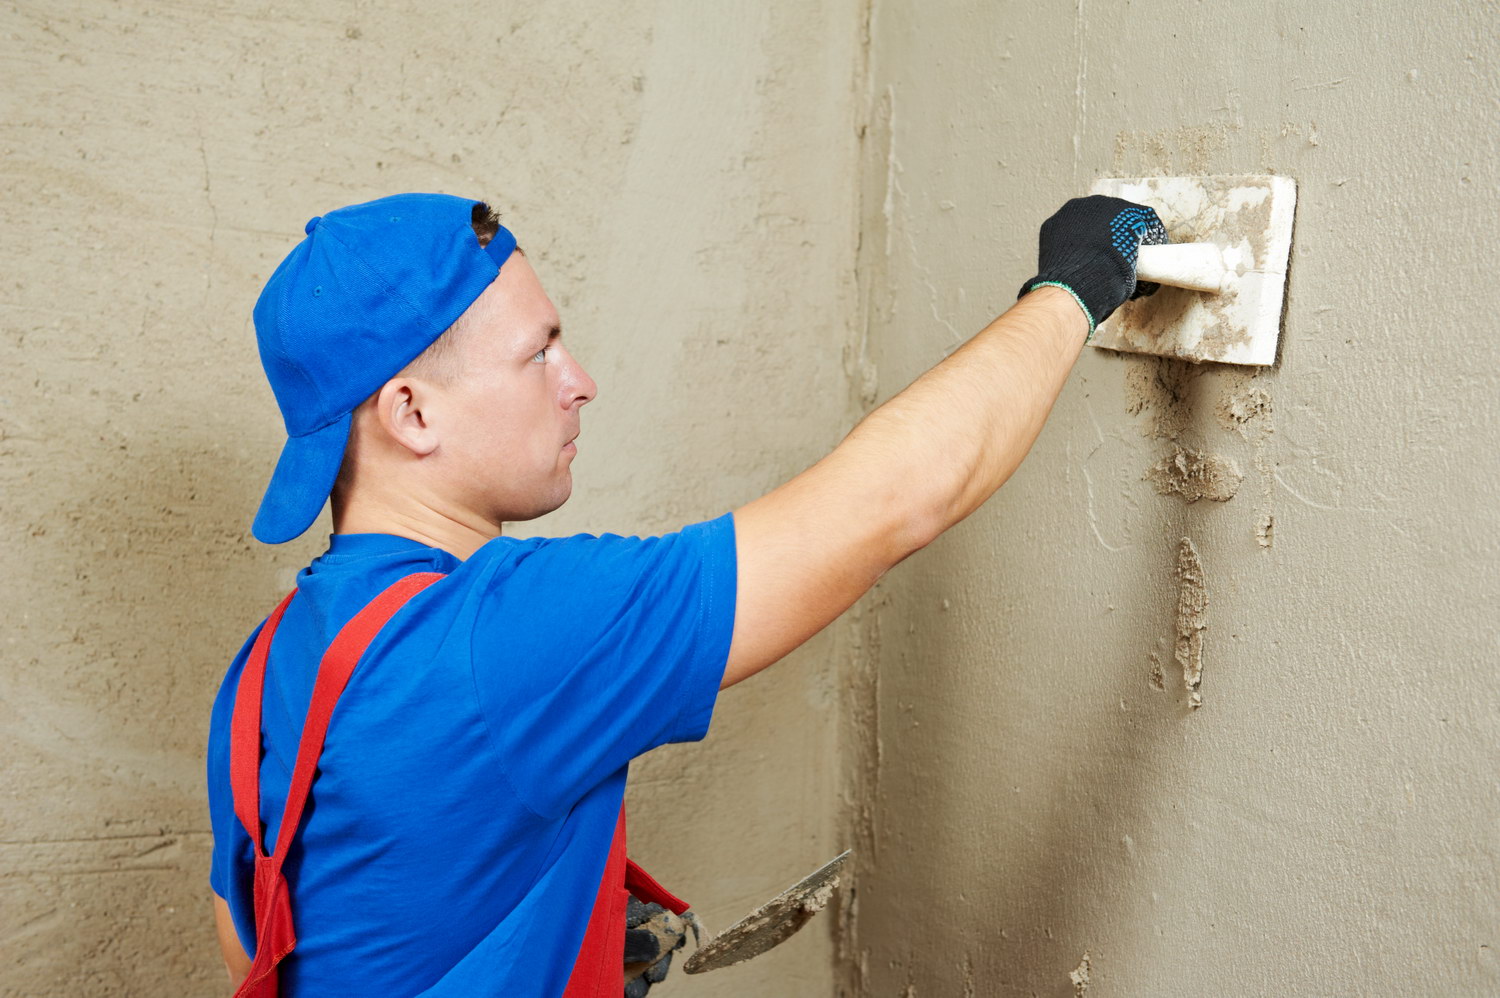
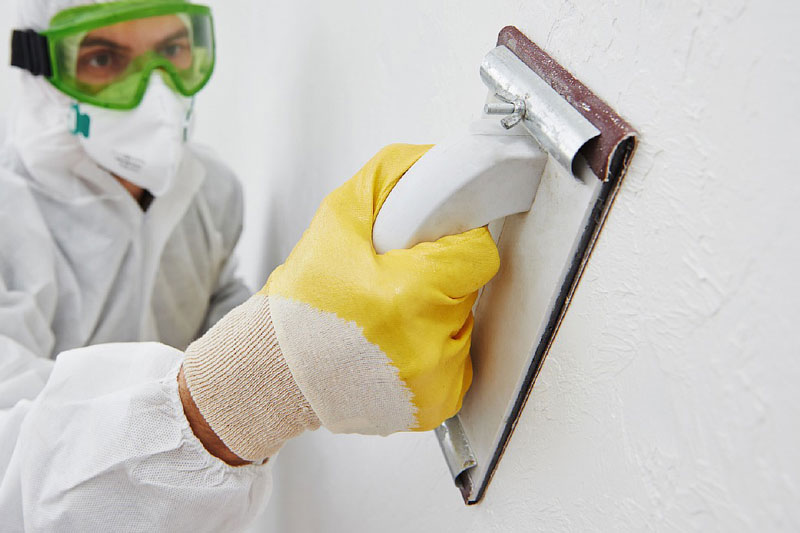
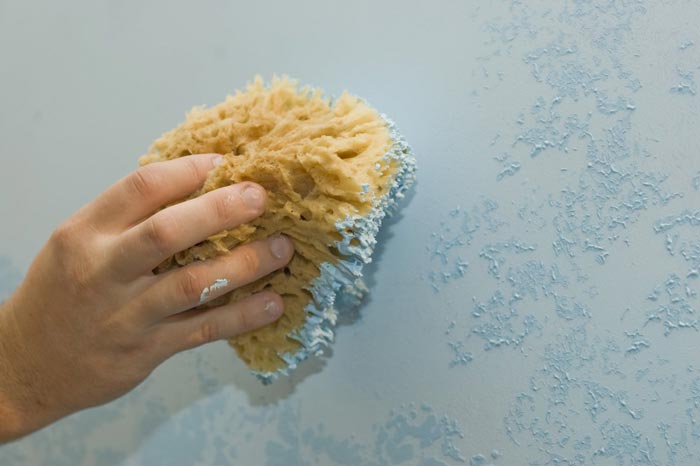
- After the walls are processed with roughing material, they should be sanded with sandpaper or a special construction trowel, after which the treated surface is wiped with a damp sponge or cloth.
- At this stage, it is necessary to treat the surfaces under the plaster with a primer, using a composition with high penetrating power for finishing. It will make the base uniform, bind the dust, in some cases trim the surface to perfection.
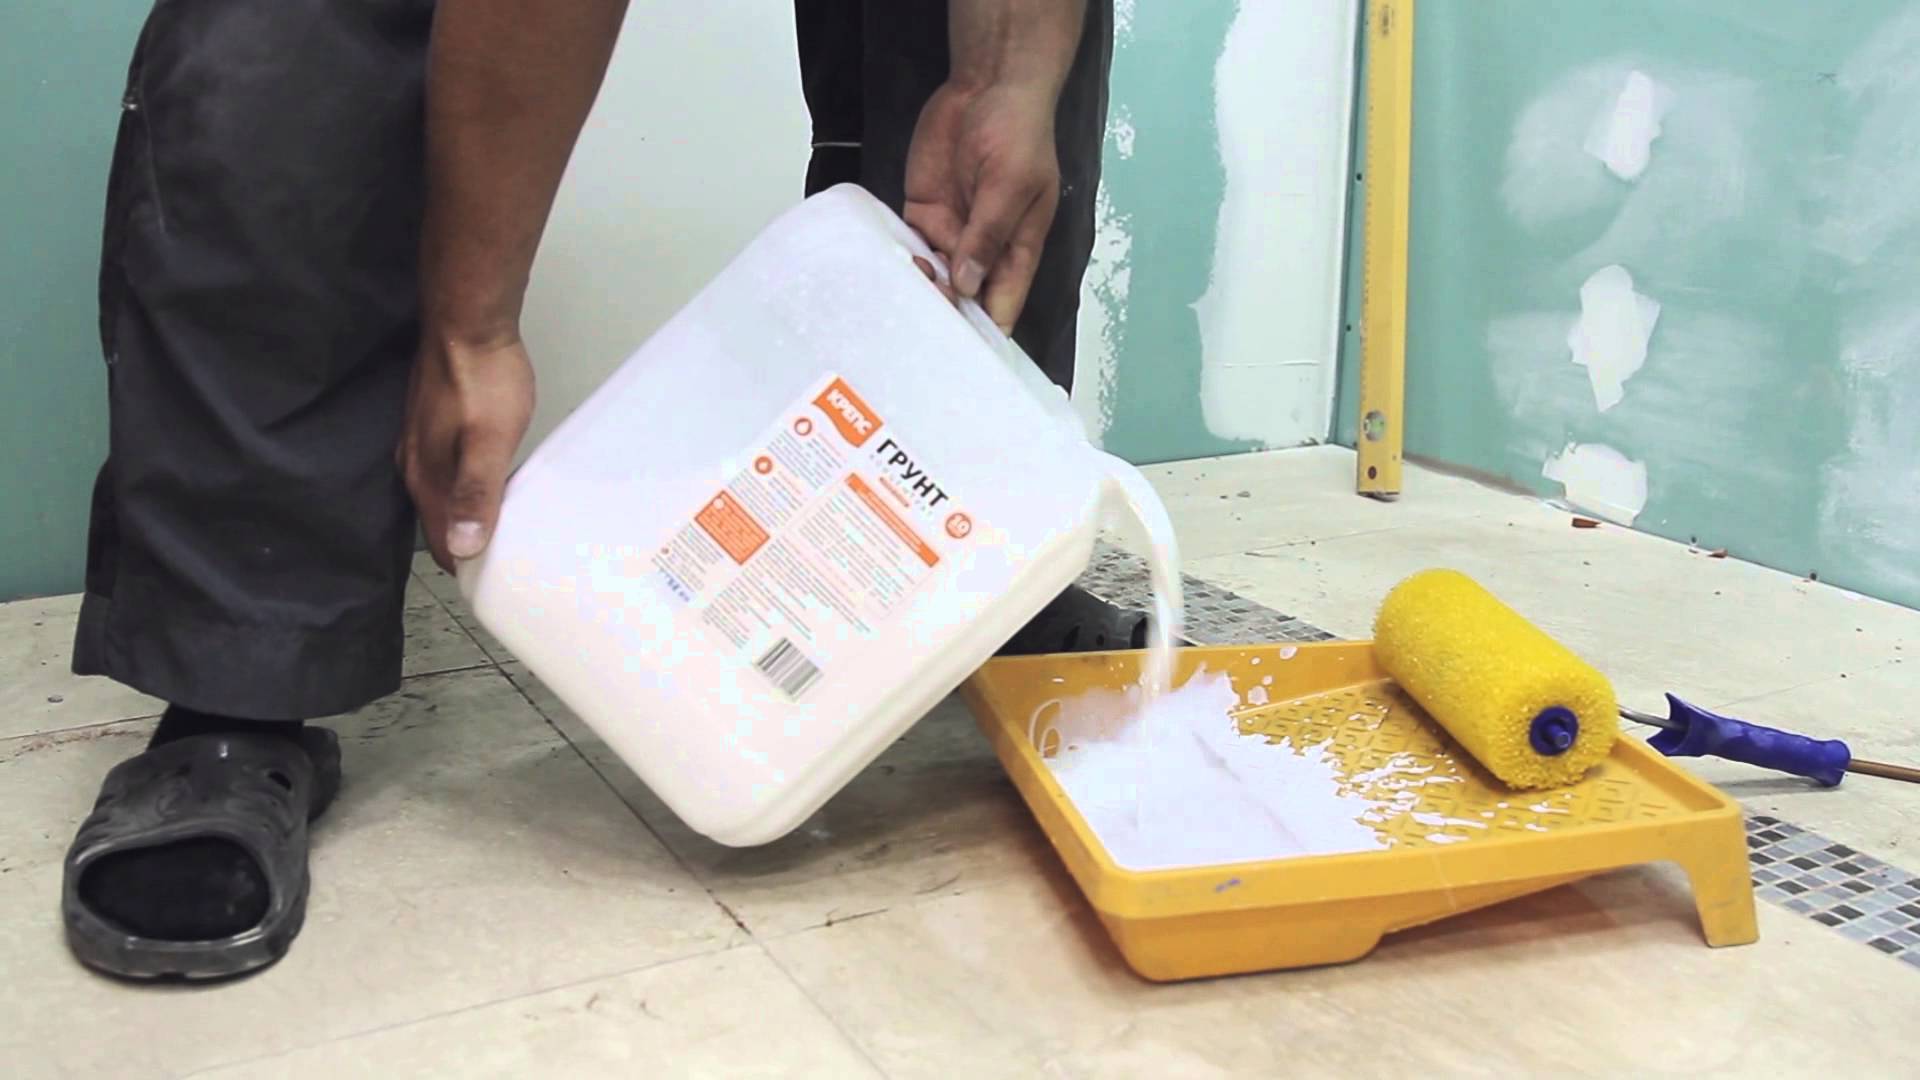
After the primer dries, you can apply decorative plaster. Because this material needs a quality foundation, from a rich selection of priming fluids it is worth choosing the one that includes quartz chips. This will increase adhesion, because a viscous decorative material will be better kept on a flat, rough base than on a smooth surface.
For a better grip effect, the base can be treated with a primer twice, allowing each layer applied to dry.
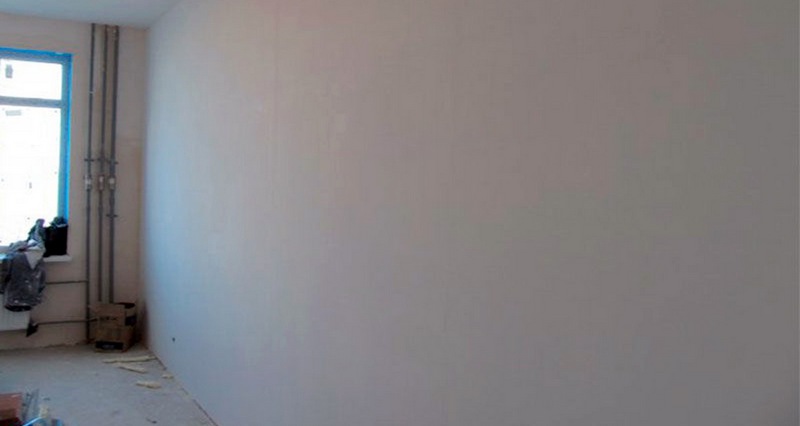
After that, you can begin to decorate the plane with your own hands.
Patterns, stamping, bills with a roller
Although there are no major difficulties in applying decorative plaster, this process may seem complicated to a beginner.
When working should take into account the fact that the beauty and professional appearance of finishing directly depend on several factors:
- confident sweeps hands;
- tool;
- decorative inclusions in composition;
- patience and accuracy.

It is easy to apply decorative plaster to the surface.
Consider a few tricks.
Roller
You can buy a finished textured roller - it will simplify the work.
If you want something exclusive, you can show imagination, for example:
- wind a clothesline or cord on the roller;
- to wrap a roller with cling film, deliberately creating folds;
- use a vegetable net, winding it on a roller;
- use a roller with a long nap;
- paint the surface with a roller with glued kozhzamom.
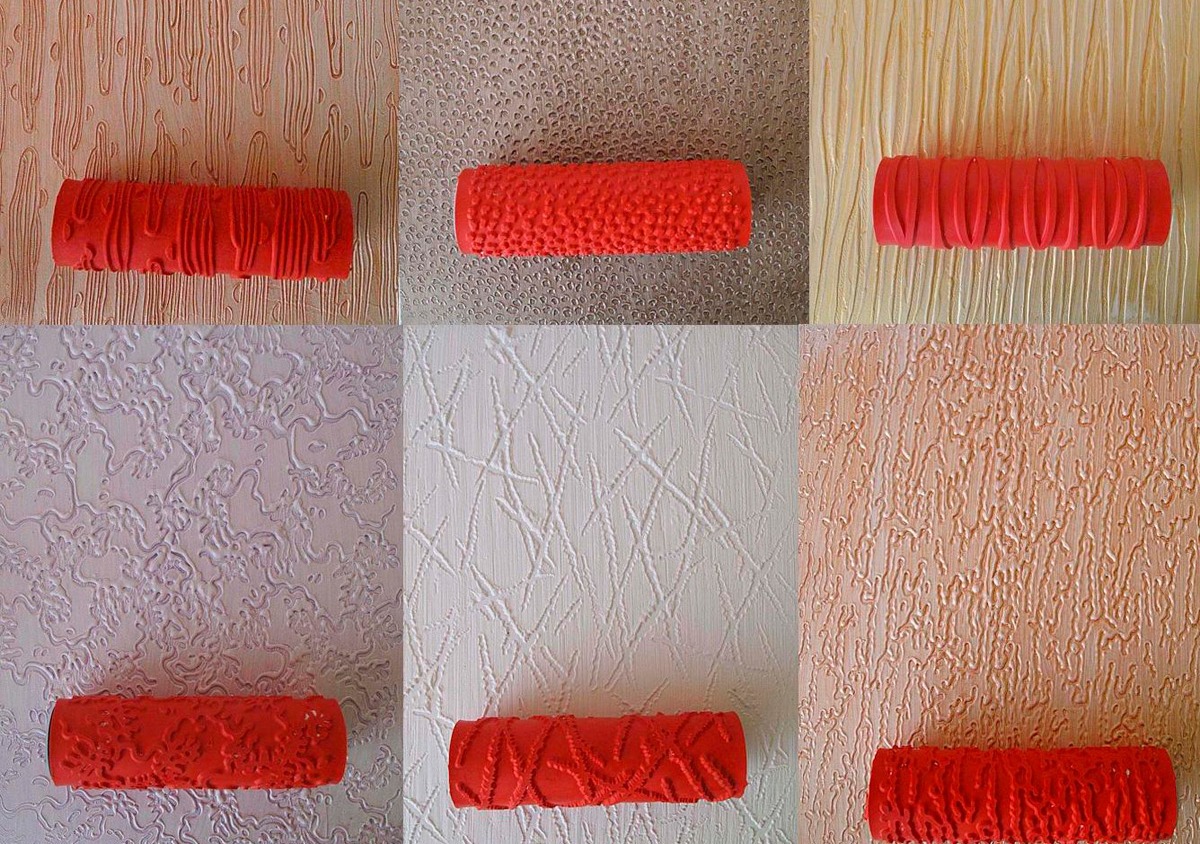
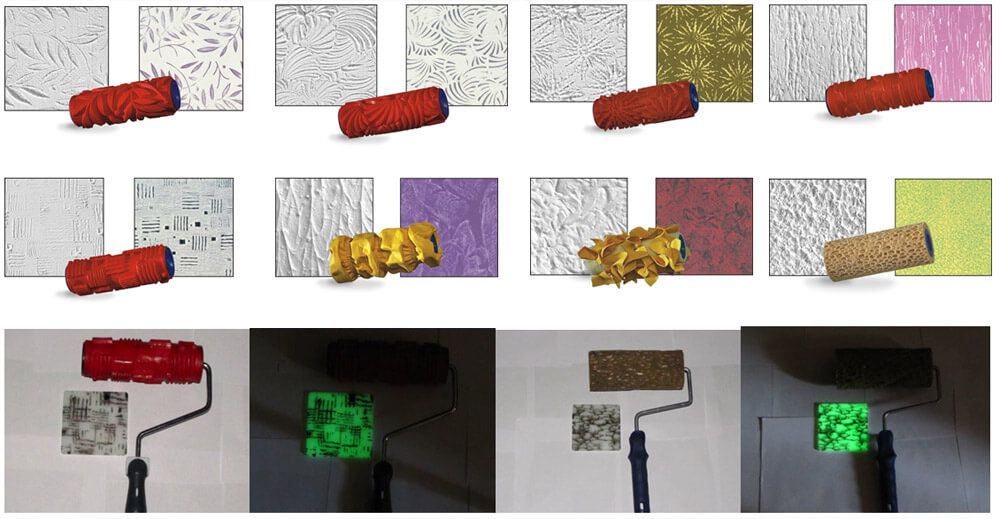
If you want to simulate a wallpaper with relief, instead of the usual roller, you can buy a variant with a relief pattern.
Such a tool will allow to apply the material in different ways:
- by taking the roller into the material when the surface begins to dry out;
- by painting the dried surface with a second layer of paint or liquid decorative plaster of the desired color.
Which way is better to use - everyone decides for himself. However, in any case, before you make the finishing layer, you need to putty the base of the draft composition.
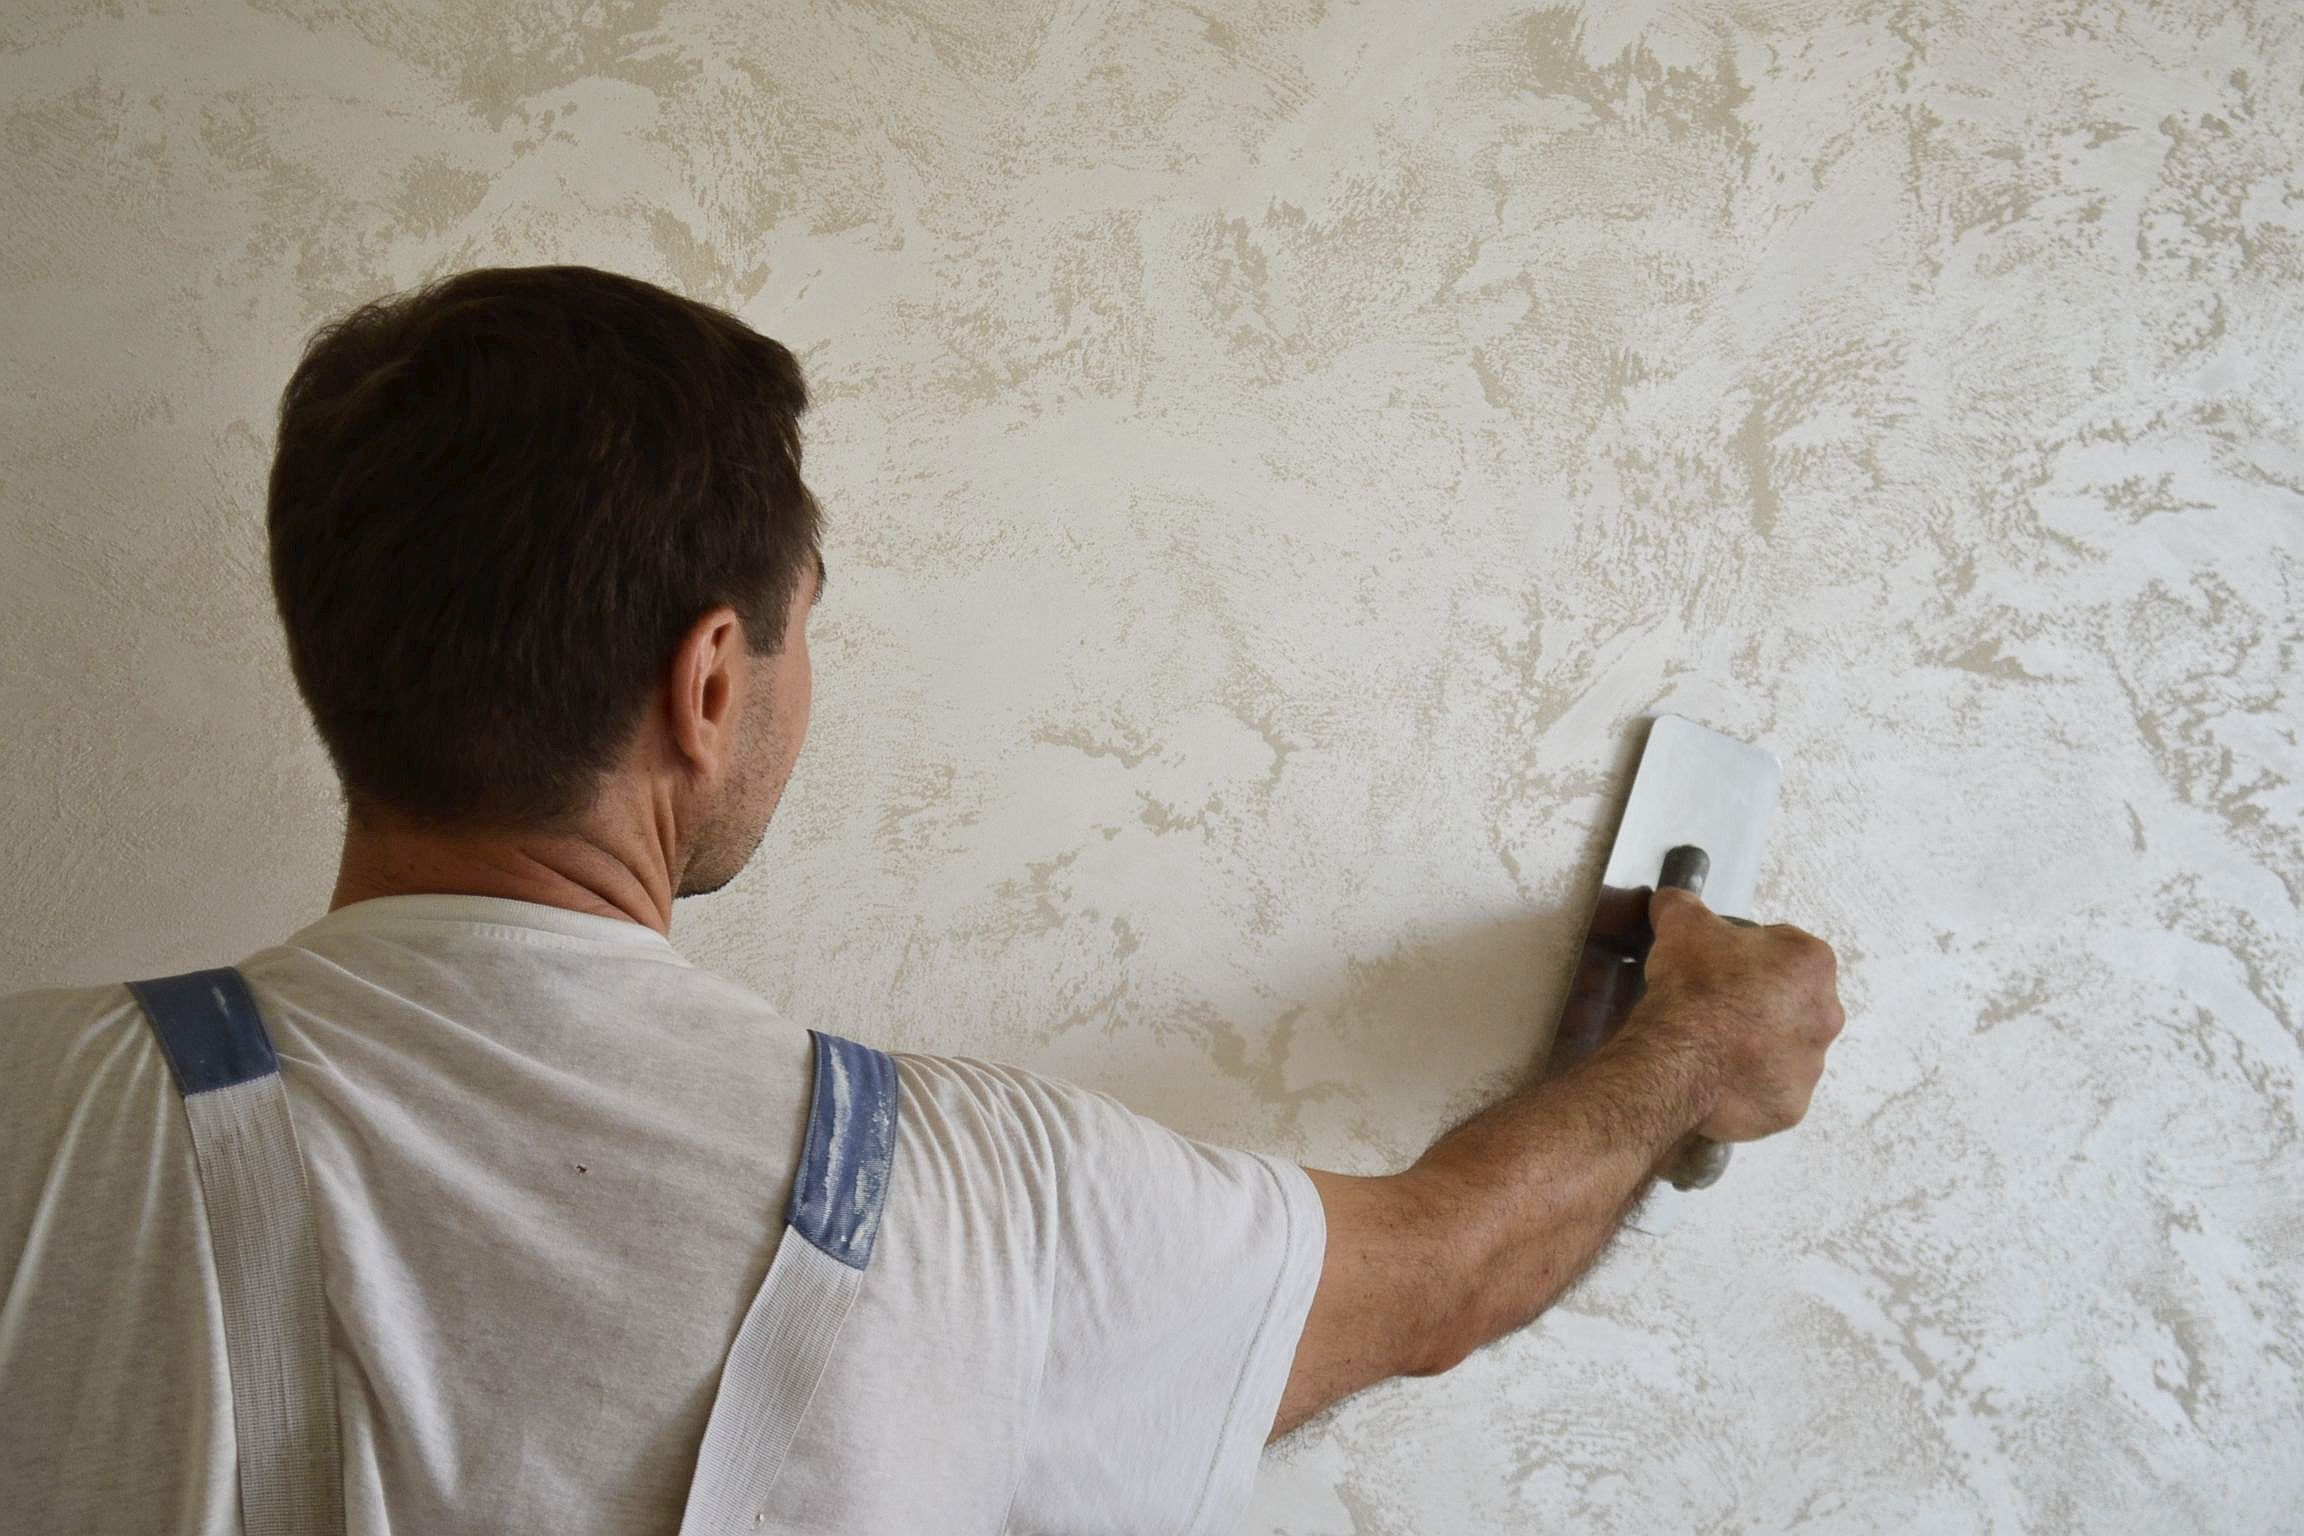
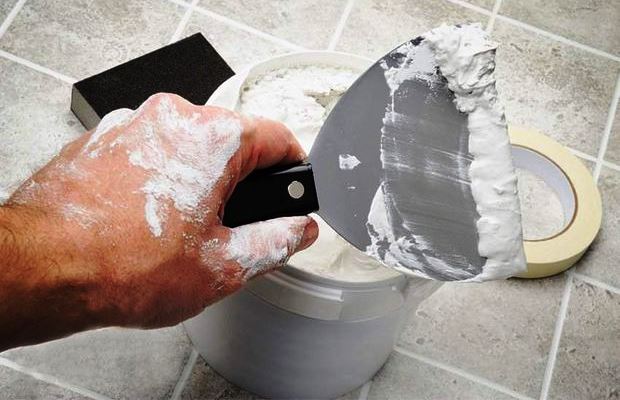
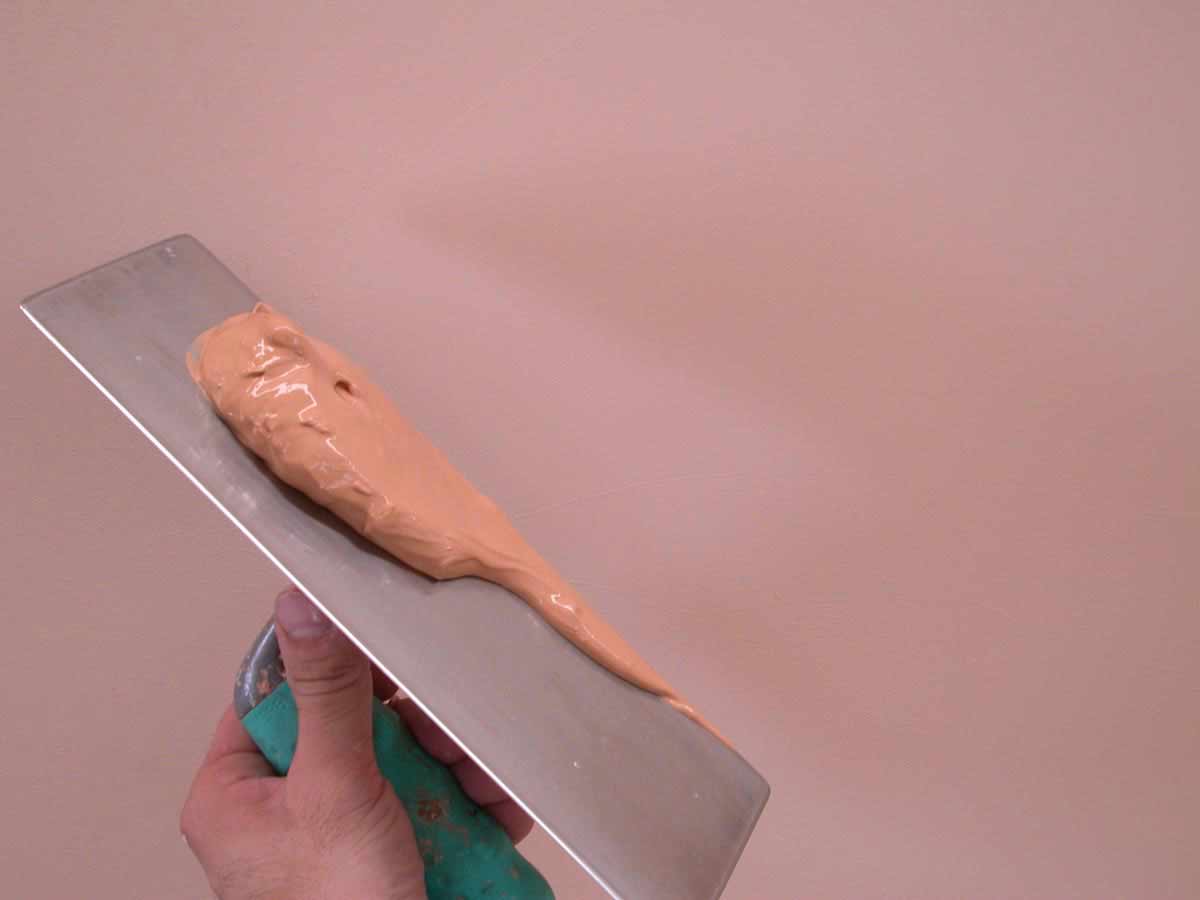
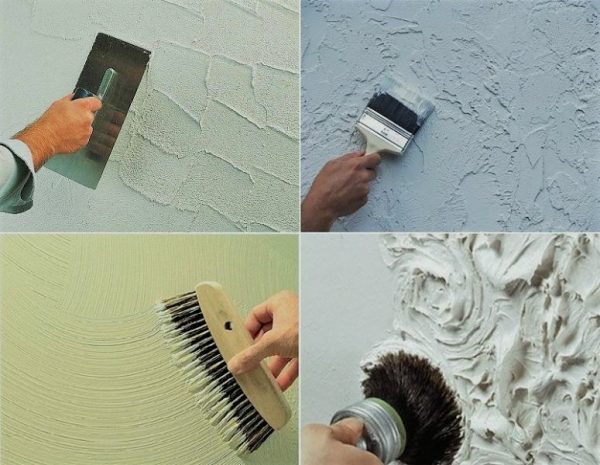
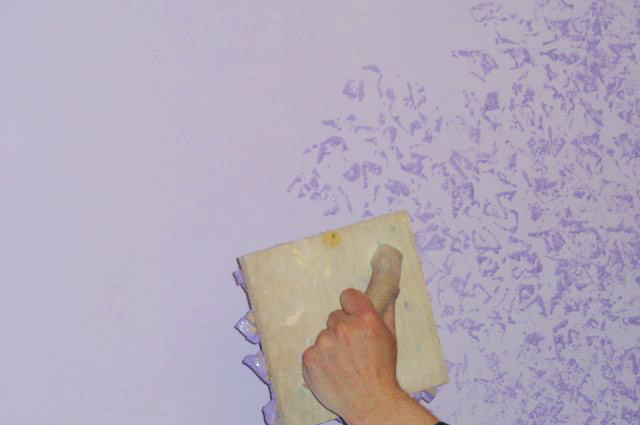
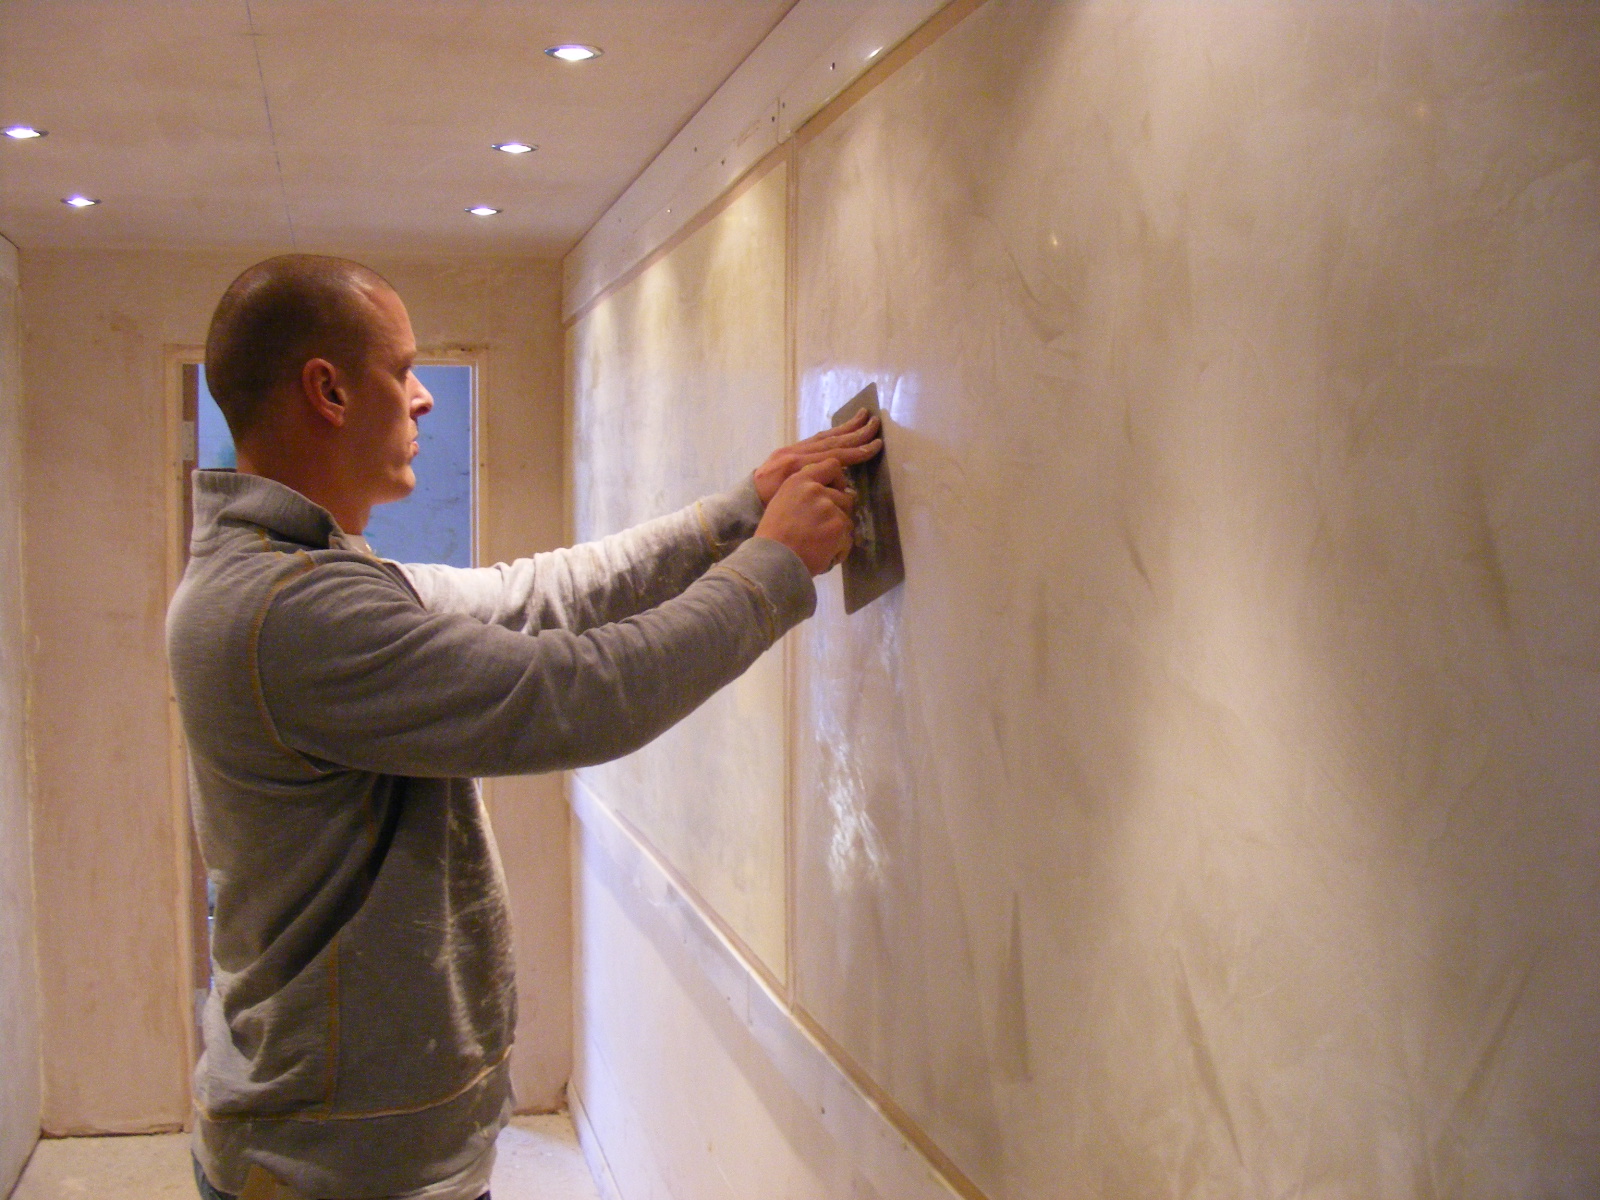
Spatula
Internal surface finish can be decorated with a spatula. They cover the whole plane with separate strokes, purposely leaving the irregularities formed as a result of using a narrow or wide tool.
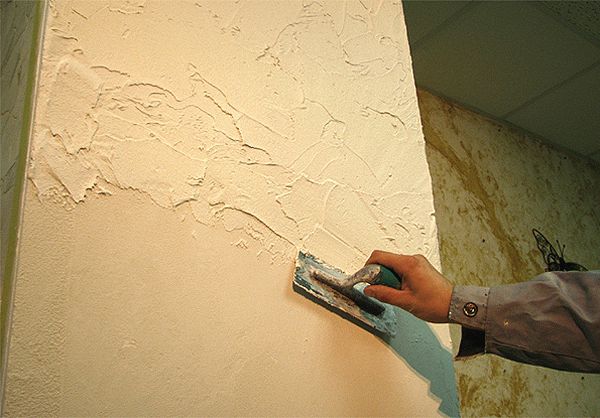
If you plan to draw in the form of wavy or zigzag lines, initially they are trying to cover the entire plane exactly (without the pattern), then (when the surface is covered) with a spatula carry confident curly lines at regular intervals along the entire length of the base.
With the help of this tool you can perform textured surface finish in marble, stone, brick. In each case, the movements are different: straight, arched, chaotic.
Other options
Instead of a roller and a spatula, you can use a trowel, as well as a sponge, washcloth and even a nail. Some craftsmen create drawings with their fingers, a massage brush, a coarse ring-shaped sponge-mesh.
In skilled hands, even the usual plants can become a tool for decorating the surface. However, the newcomer is unlikely to succeed beautifully. In this case, it is better to restrict yourself with a roller or special devices.
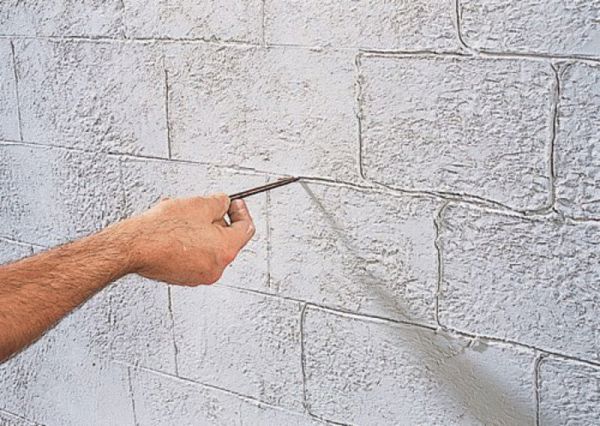
If you want creative, you can draw on the surface with a big nail, creating, for example, stone or brick masonry.
Consider a few current techniques for decorating the plaster layer:
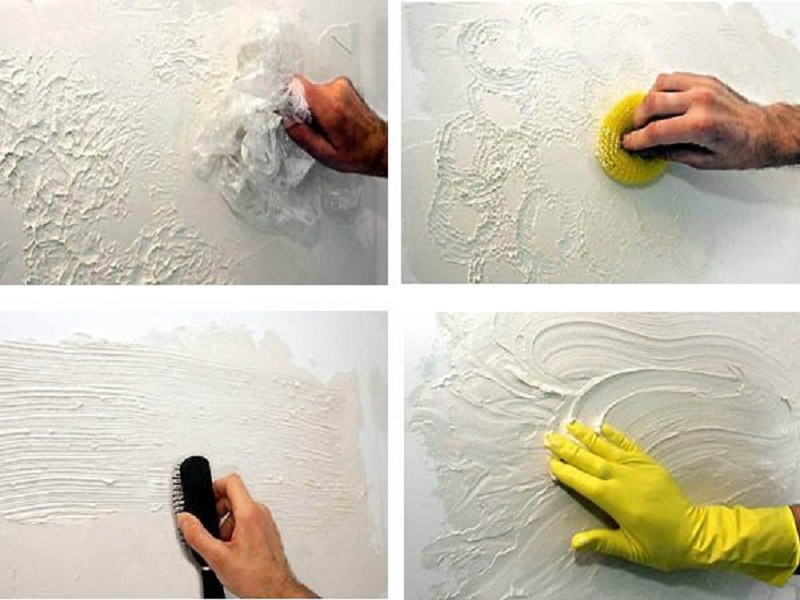
Fur coat
This texture resembles a needle base. This technique is suitable for indoor and outdoor use. To make it interesting, usually use polyethylene. The relief effect is due to the thickness of the polyethylene.
Dense material will contribute to deep texture. If you need a smoother surface, use a thin material. It is crushed, forming folds, and applied to the wall, slightly pressing, then repeat the process throughout the plane.
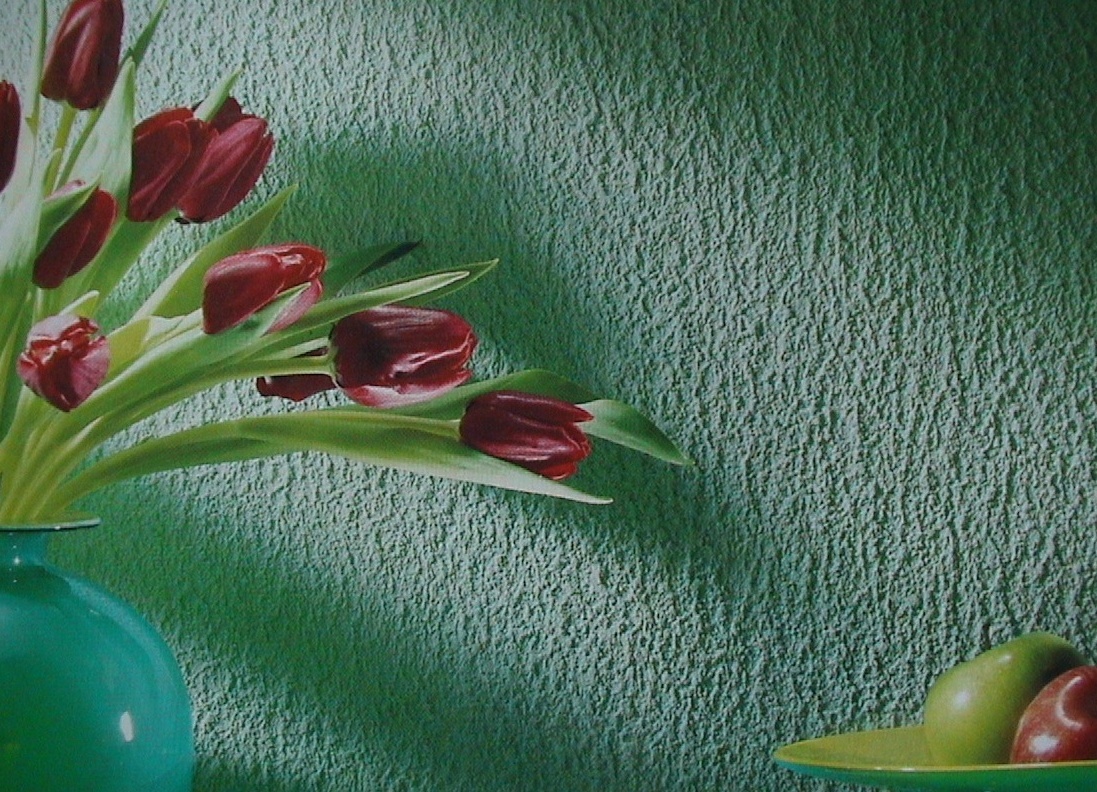
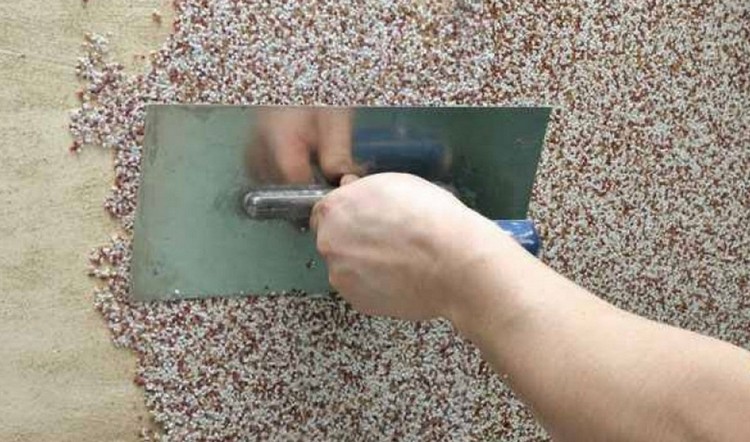
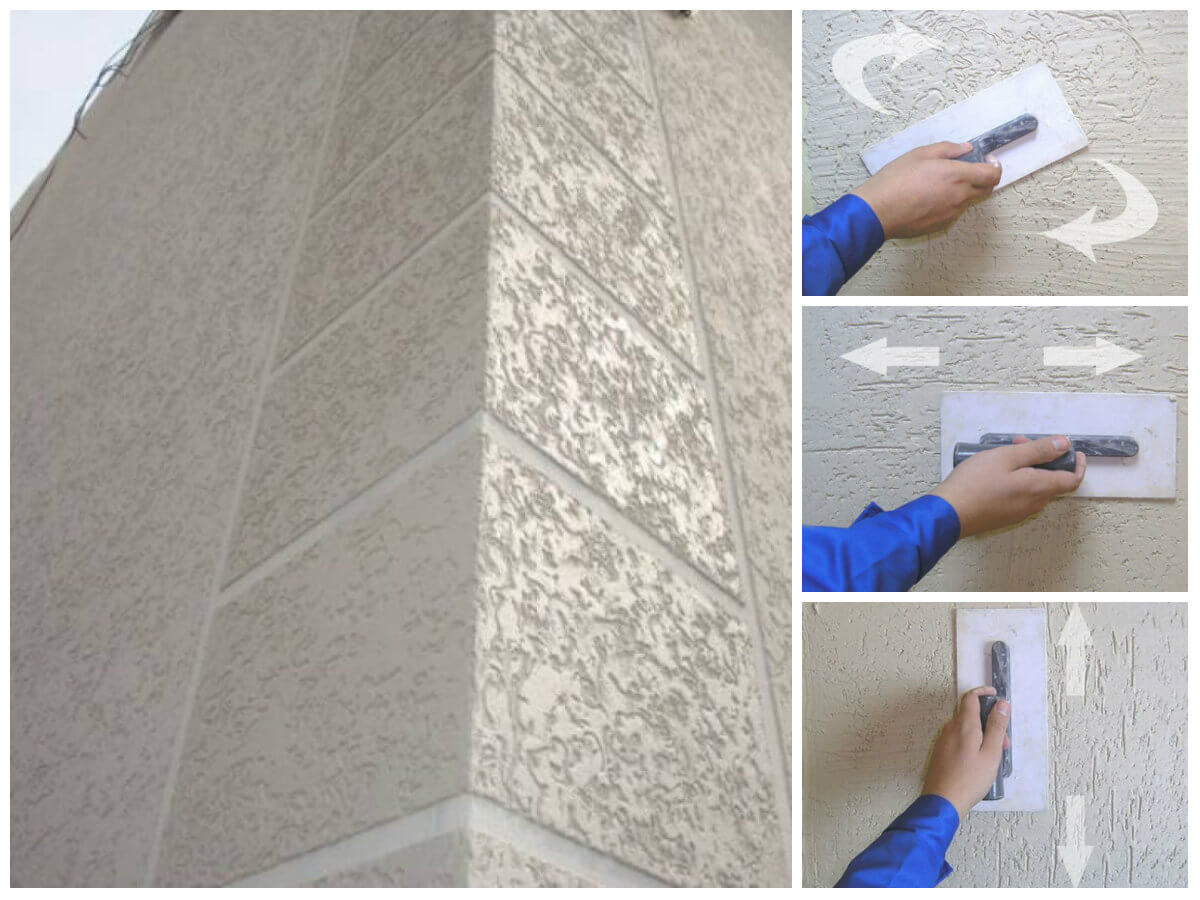
Bark beetle
This method of decorating the surface is one of the most popular. Externally, this surface resembles wood, sharpened by insects.
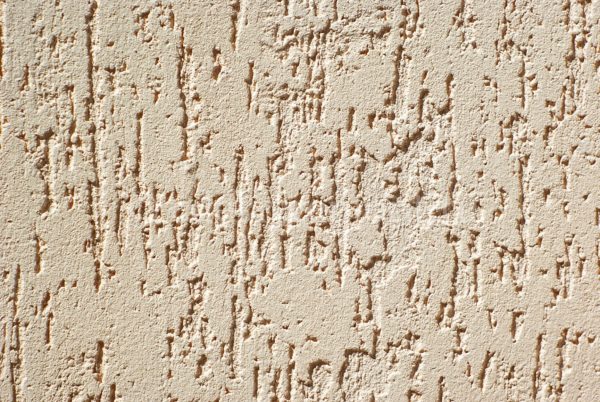
To imitate this texture, you will need a special ironing tool - a tool made of plastic or wood with a convenient handle.To do this, the composition is applied to the base in small portions with a layer of no more than 3 mm, applying the instrument in 5-7 minutes and slightly moving it up and down.
Some craftsmen make directions diagonally, others like the cross pattern.
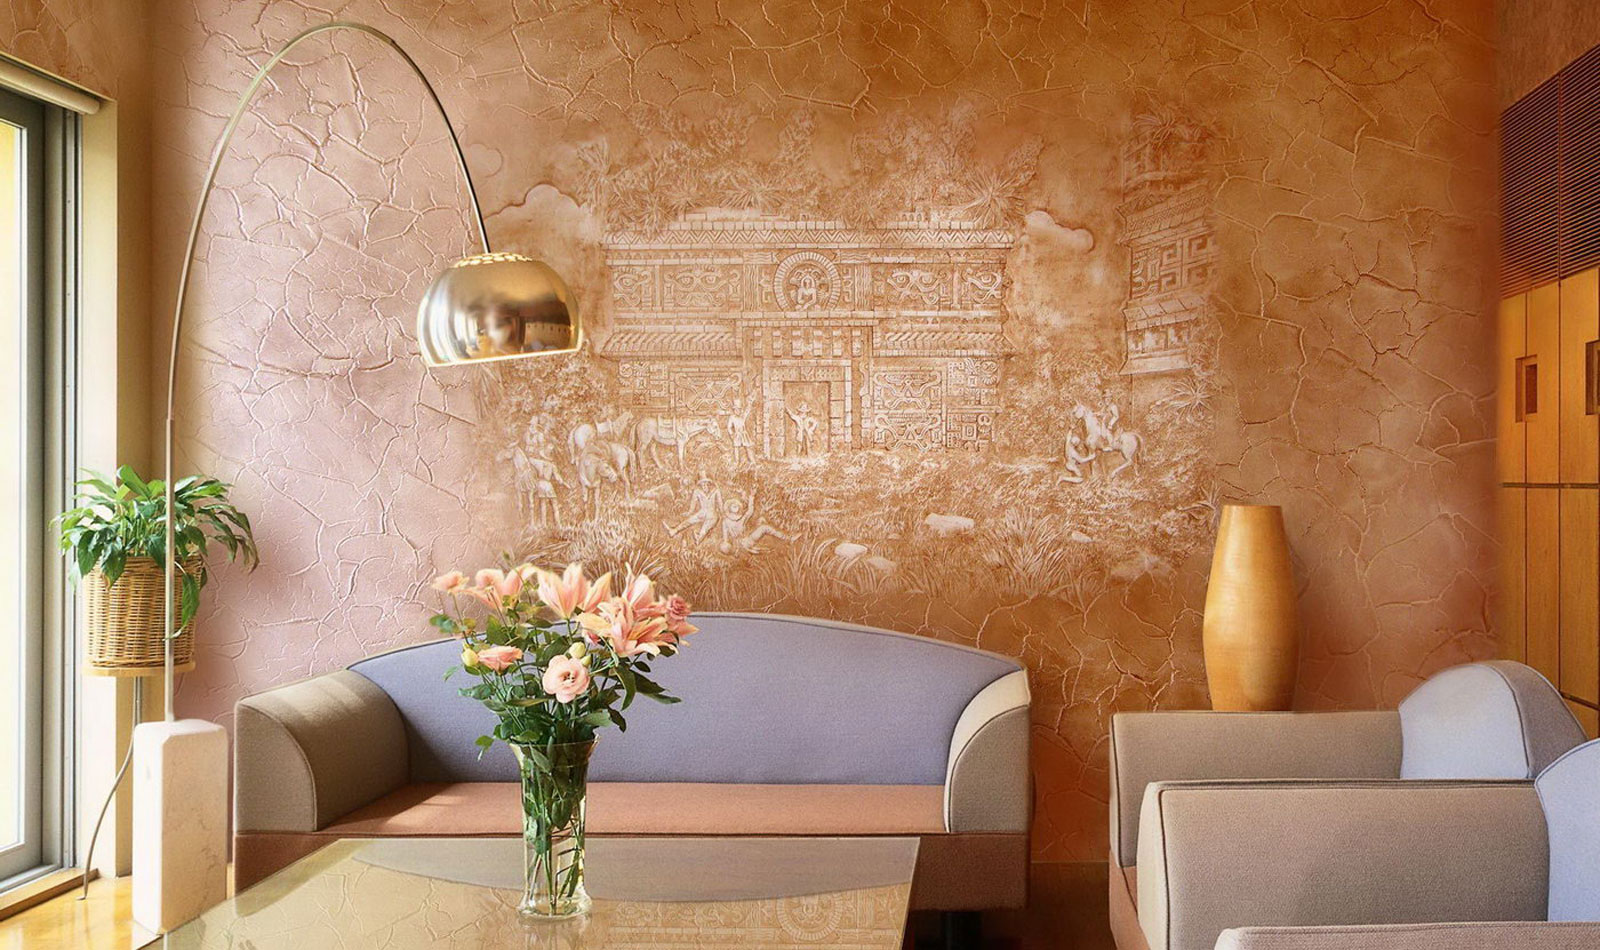
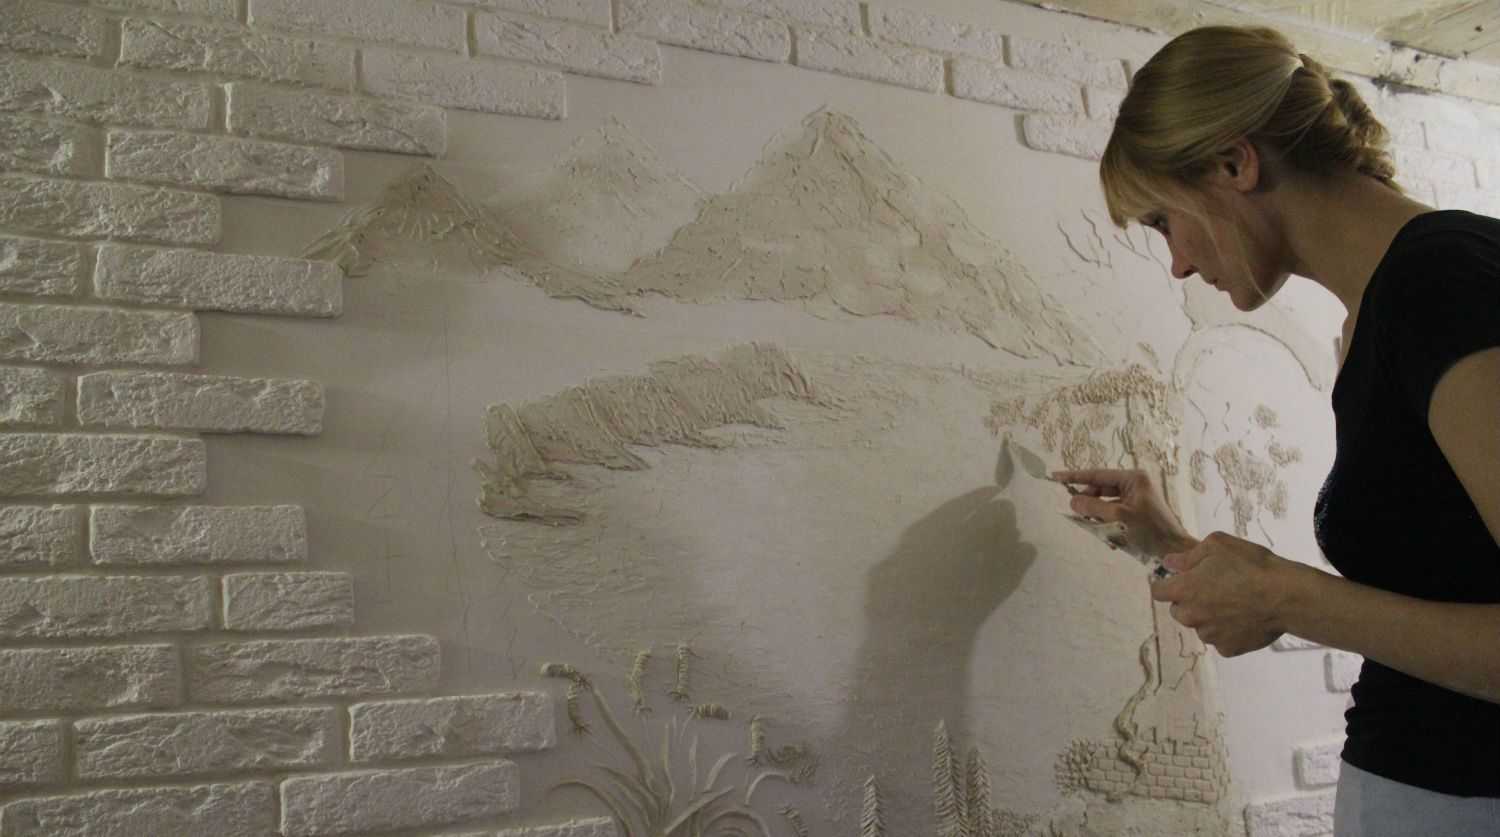
Stencil
This technique gives vent to fantasy. Today it is not difficult to create a stencil yourself, if you do not want to buy ready-made.
It is cut out of cardboard or plywood. The drawing is applied to the wall, sometimes fixed, then the solution is drawn in and the stencil holes are filled with it.
The subtlety of the process is the fact that you can remove the stencil after the decorative plaster dries. The downside of technology is the need for multiple templates, so buying is a more acceptable option. The advantage of the method is the pattern relief.
To make it look professional, after the pattern dries out, it should be slightly rubbed with a small abrasive cloth.
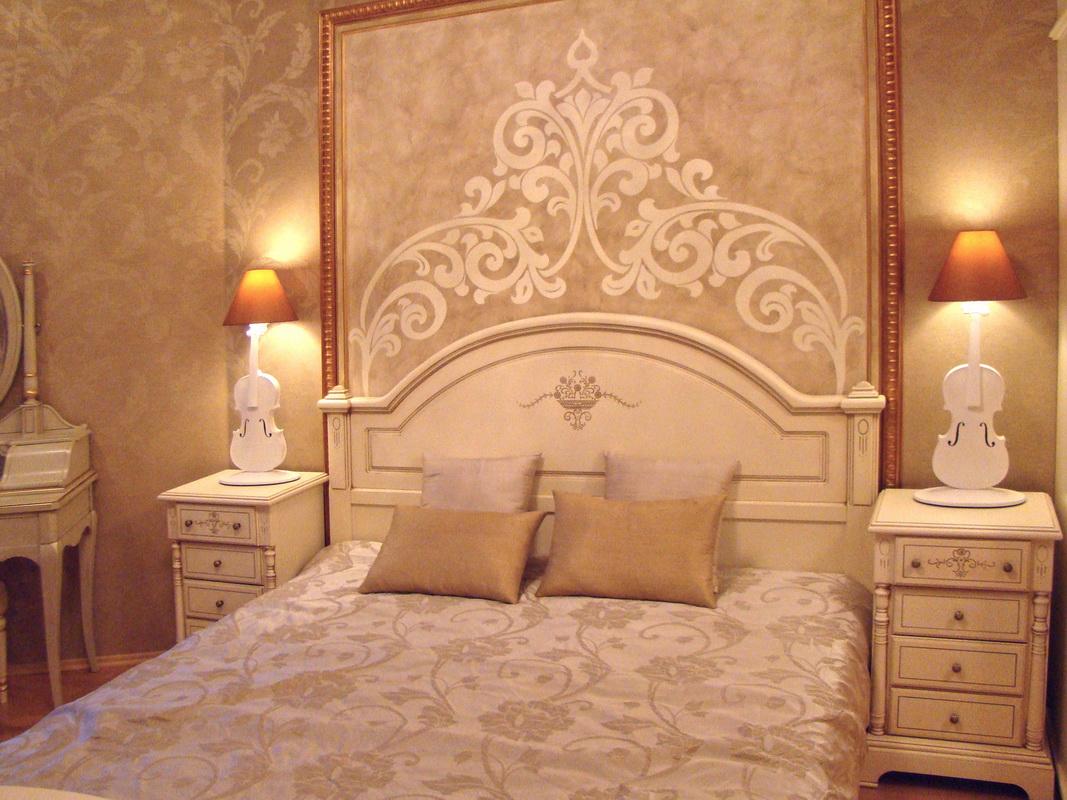
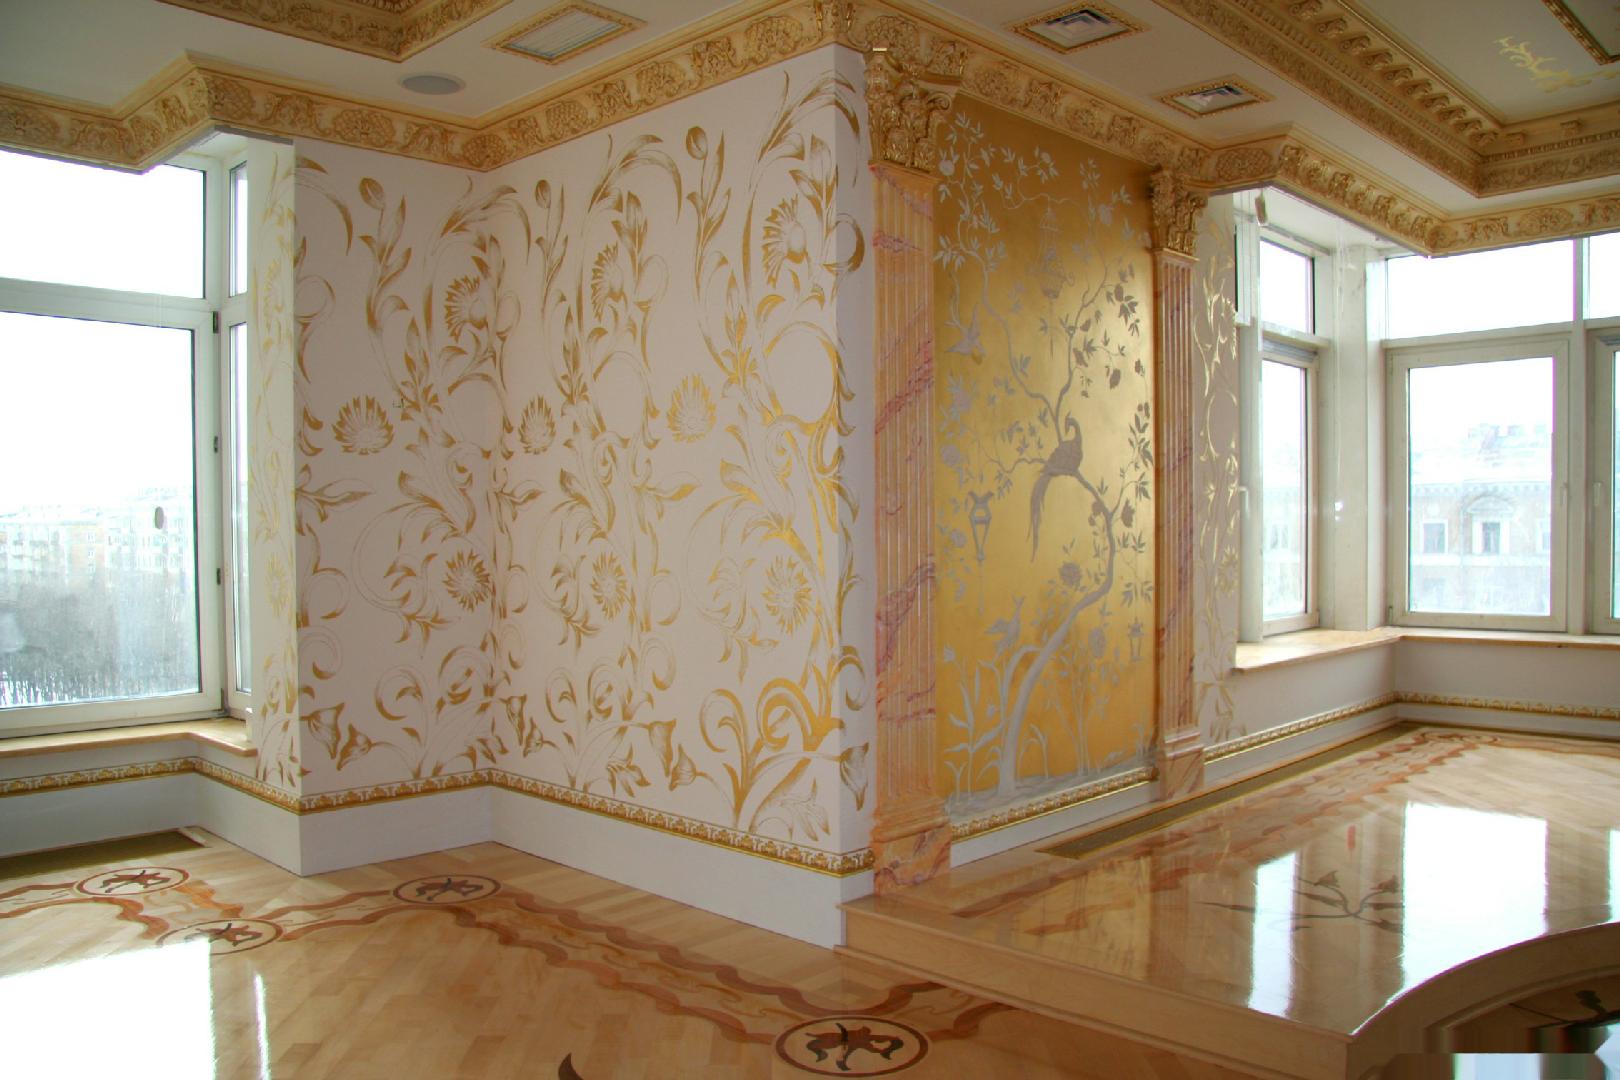
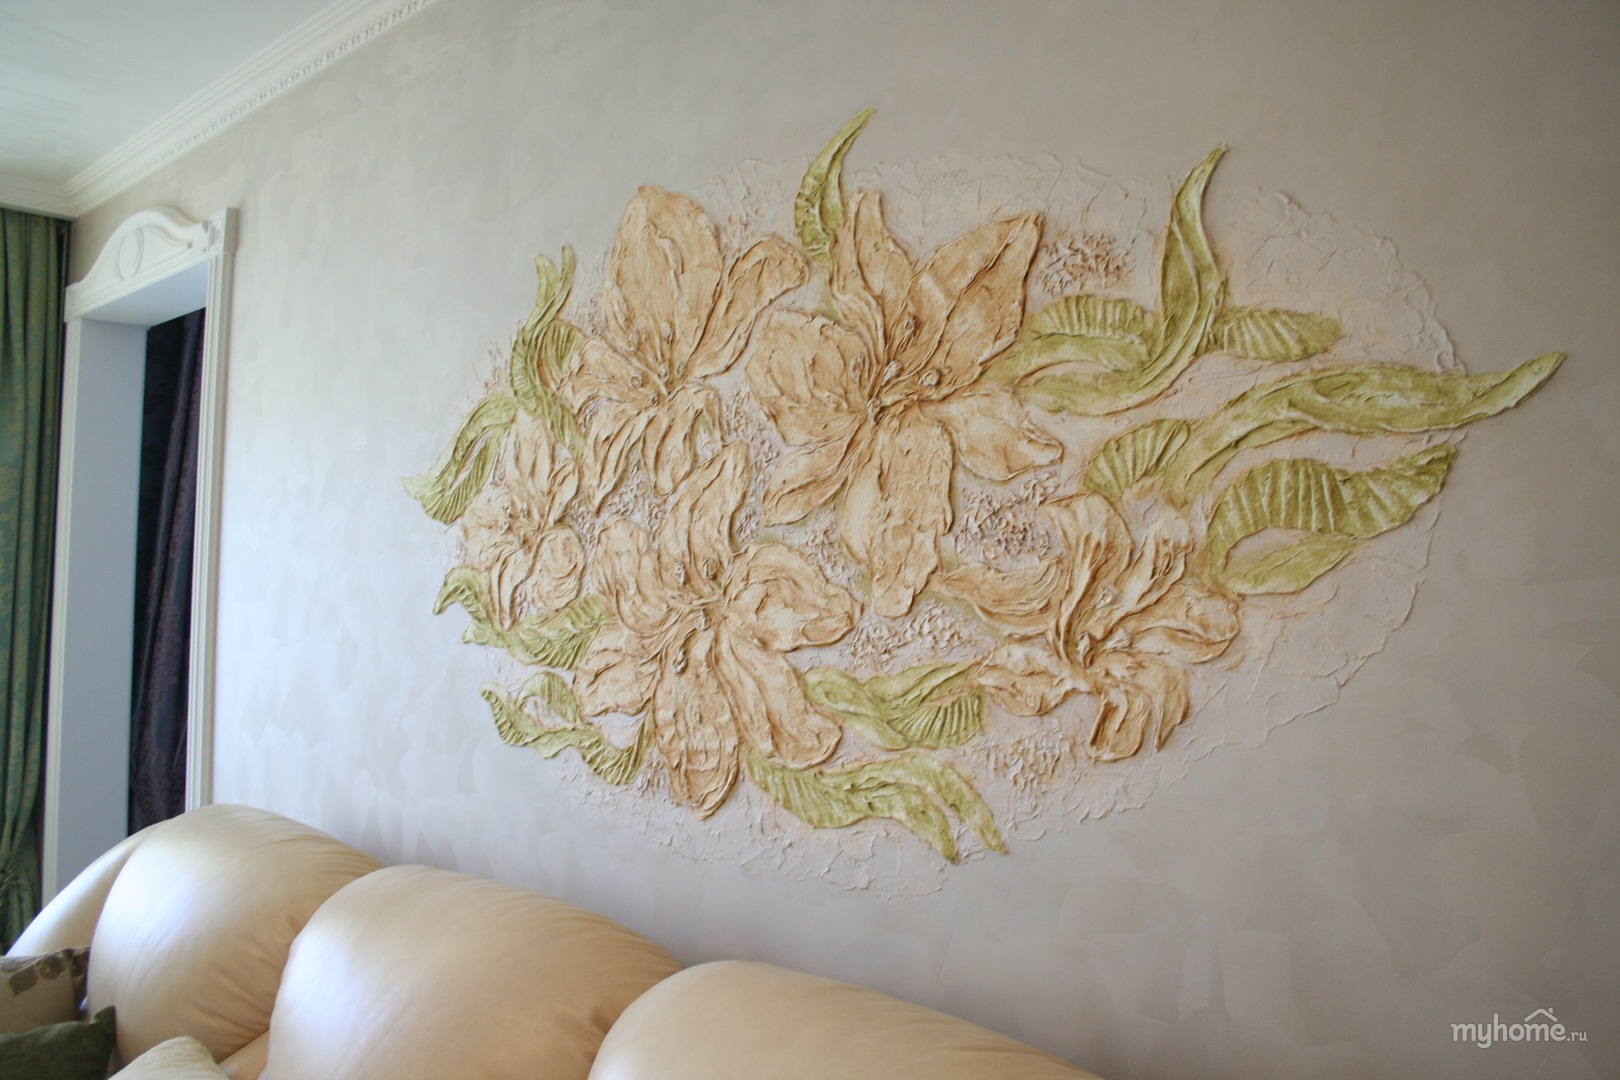
Combining
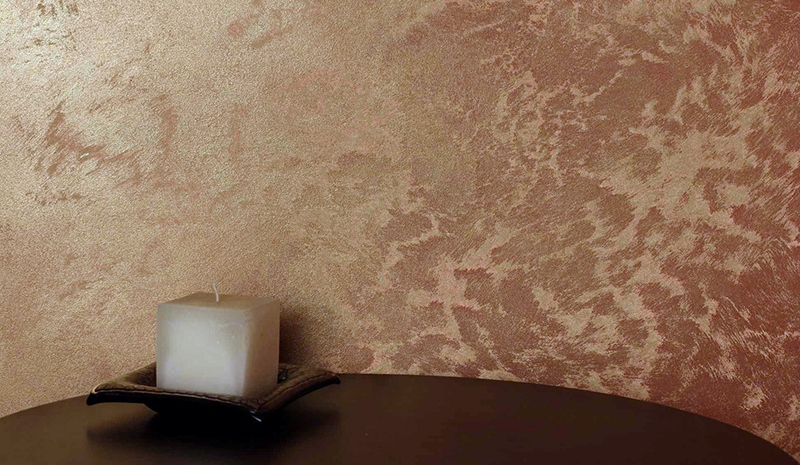
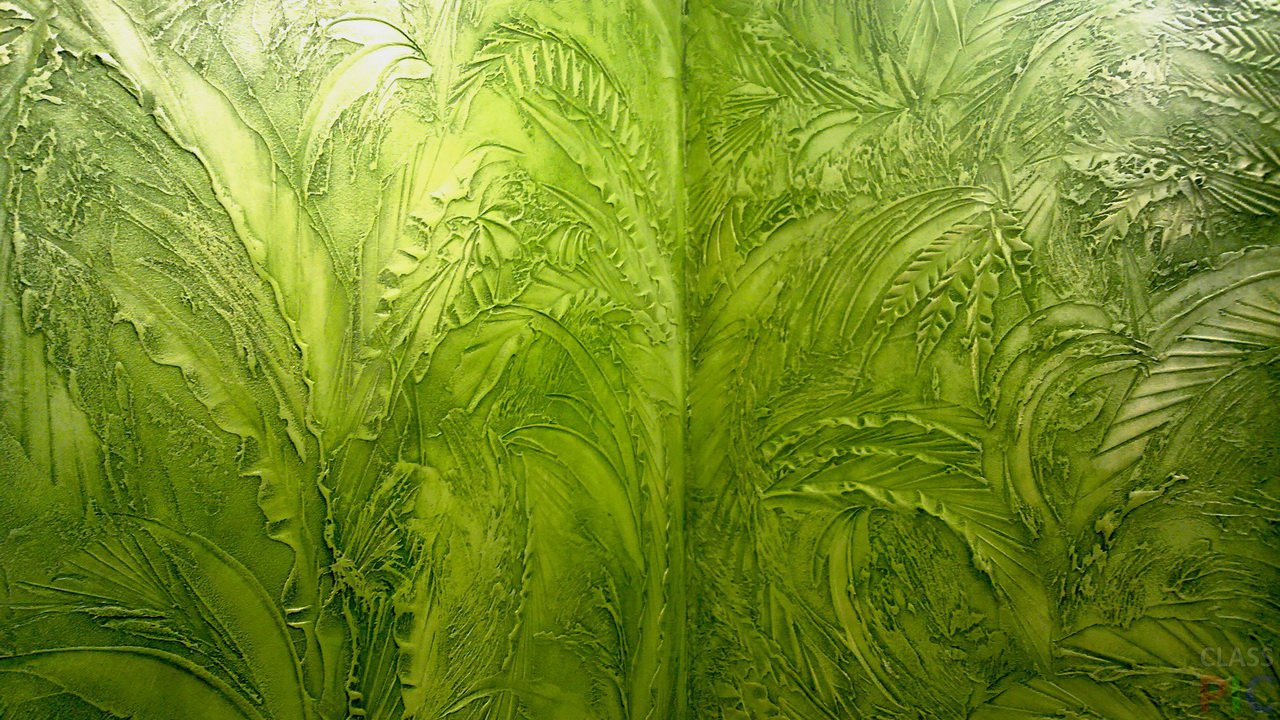
Such technology allows to apply two techniques in one decoration. For example, this could be the use of a background plaster with a silk texture (adding mother-of-pearl) and a volume pattern of a related color. Drawing preferably done relief.
Especially beautiful on such surfaces are a variety of floral and plant motifs, tree branches and leaves, as well as lace curls.
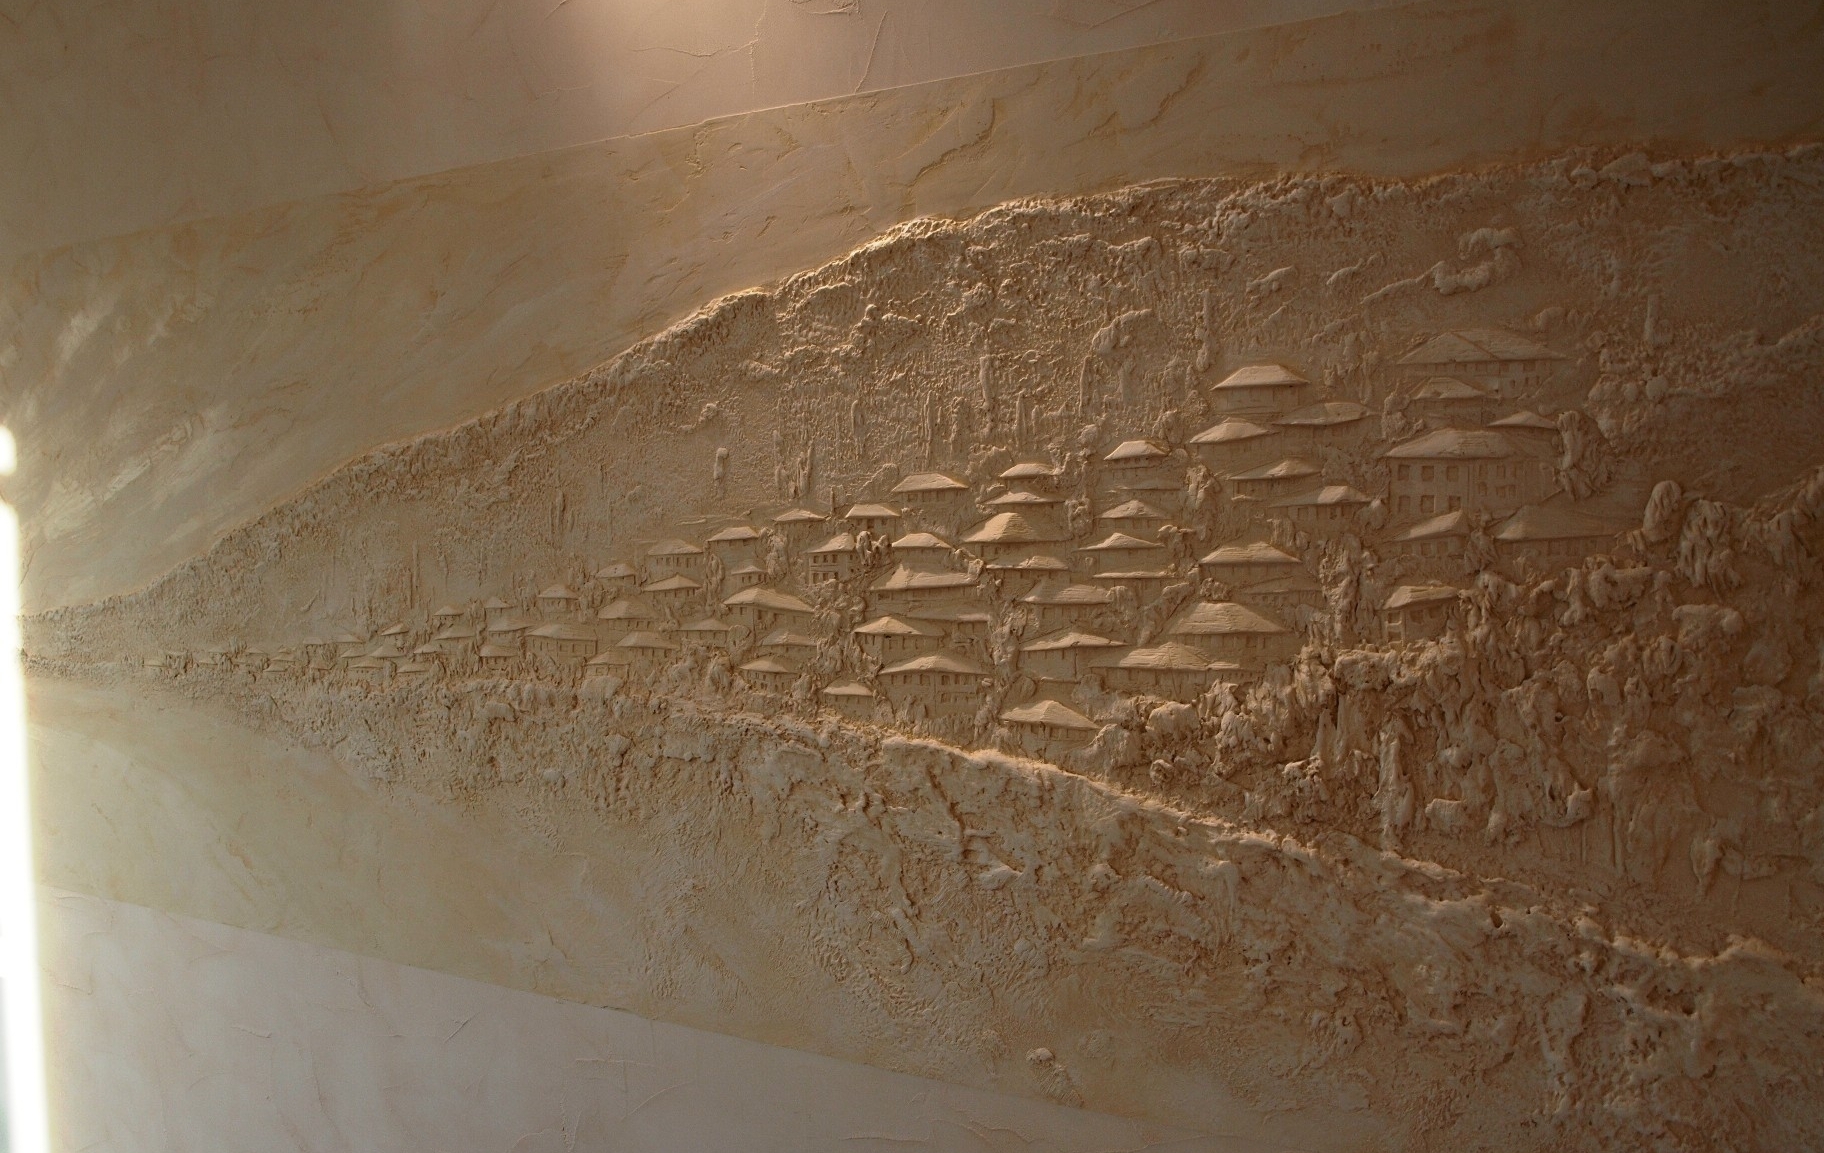
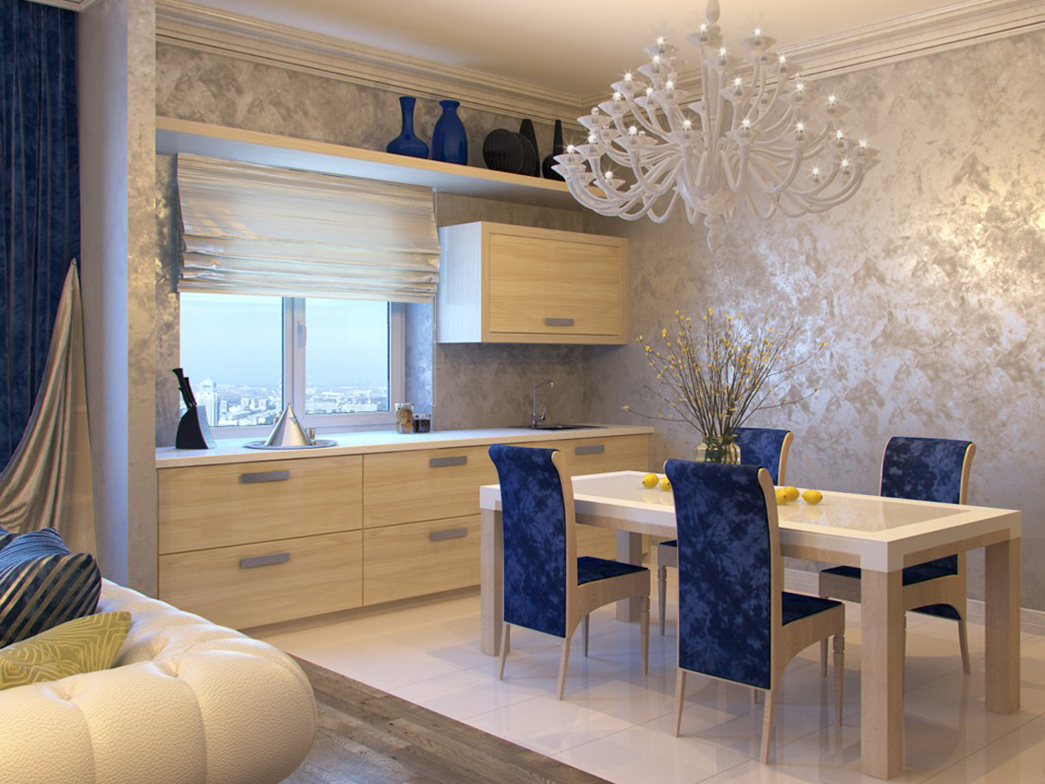
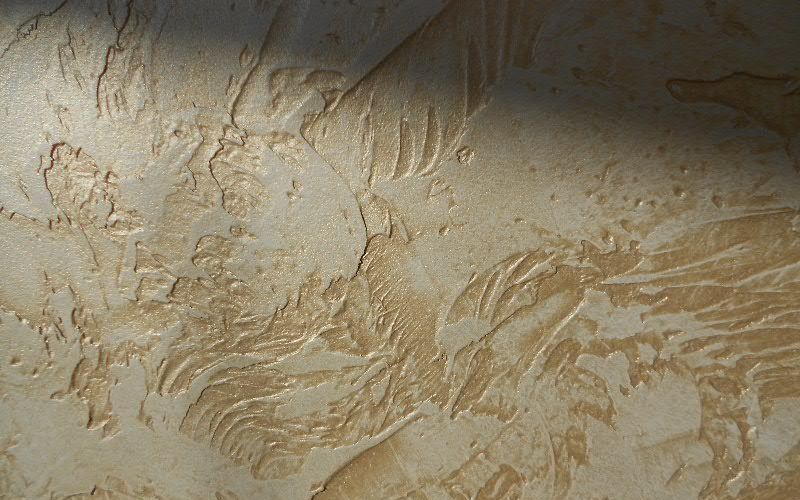
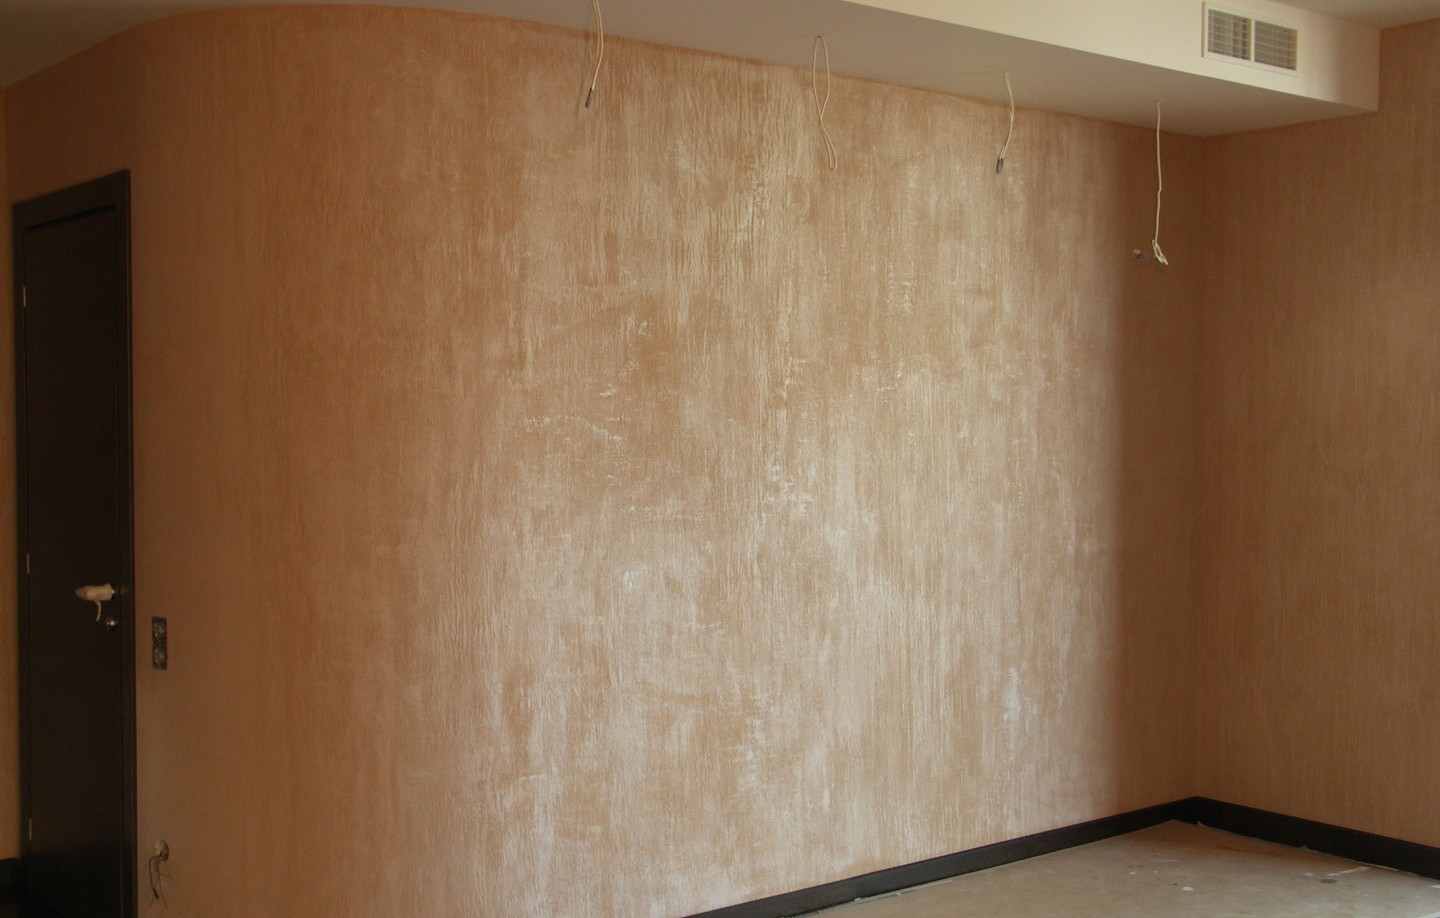
Venetian style
The basic composition is tinted to the base tone, then applied to the plane, finely distributing the composition over the surface with a wide spatula. When the base dries, it is trimmed and cleaned of dust, then covered with transparent soil. Now breed new material, divide it into 2 parts and each of them is tinted in one color, but of different intensity. It turns out two compositions: light and saturated tones.
It is applied alternately on the wall in small portions, smoothing areas between them. After the decor dries, the surface is treated with a thin layer of varnish or wax. The finish will resemble glossy marble.
In versailles
This method needs to be prepared with quartz substrate for decorative plasters. This will contribute to better adhesion of the plaster to the base. The mass is applied to the surface with a spatula or a trowel, then it is given a pattern using a trowel. Movement can be undulating or chaotic..
After the pattern and base dries out, the surface is slightly smoothed, dusted, then ground and painted with water-dispersion paint. After that, silver and lacquer are taken, mixed and coated on top with a paint roller, applying the composition with silver to only the projecting contours of the design.
After that, the entire surface is coated with a water-based varnish.
So that the coating does not create the sensation of a film, dilute it with half before applying it.
Using the newspaper
In addition, for decorating the walls with plaster, you can use an ordinary newspaper, closing it with plastic wrap. In this method It is preferable to use starting putty, as the finishing variety can form microcracks when performing deep relief.
The newspaper is crumpled, the upper part is packed in polyethylene so that the newspaper is not soaked. The layer of applying polymer putty should be larger than usual (about 5 - 6 mm). The newspaper is applied to the surface and slightly pressed in, repeating it like this throughout the entire plane being processed. After the facing fabric dries, it is primed and coated with acrylic paint.

To give the effect of aging, they pass over the painted surface with a fine sandpaper, lightening the decorative plaster of their own making in the places of the pattern protrusion.
The secrets of the masters
Each master in carrying out finishing work has its own rules that must be observed.
We note the main ones:
- Decorative putty is not applied to the crumbling surfaces and places with dirt: the material will not hold on to them for a long time.
- Concrete base with oil paint will cause a lot of problems during finishing - it is necessary to wash the dye.
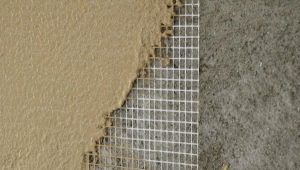
- If adhesion with this surface is questionable, use a serpyanka grid (it can be glued to the surface with PVA).

- It is undesirable to dilute the composition with a construction mixer: the better the mass is whipped, the faster it dries.
- Wash out the remnants of each used portion completely: the remaining particles of the old composition will cause the new portion to quickly solidify.
- If you are going to paint a finished relief surface, do not do it earlier than a day after decorating the surfaces with plaster.
- Consider an important point: the deep relief of the plaster will take two times more than the surface is almost smooth (for example, Versailles).
- Strong indentation will not give the desired effect. If you strongly press on the roller or another tool, you can expose the base of the wall, which is unacceptable.
- Structural surface relief should be the same in any part of the finish, the thickness of the pattern should be identical, and the pattern is applied 1 time (do not repeat twice in one section).
- When creating a picture, you can use special stencils (for example, leaf moldings or special forms, by means of which you can even create brickwork).
Tips
To simplify the process, and most importantly, to achieve a result no worse than that of professional craftsmen, note down a few recommendations:
- When performing drawings with your own hands or with the help of a tool, try to keep your arms waving in the same way. If you hurry, wanting to finish the work faster, the waves, strokes and curls will look apart and unprofessional.
- Do not save money on the purchase of tools for decoration: create a stylish pattern with the tools at hand only by professionals.A drawing created with a relief roller will look better than uncertain chaotic lines.
- If you plan to perform relief pattern decorative plaster, invite a specialist with artistic skills. So individuals under the force of any experiments, with the result of the work will look stylish and appropriate.
- If you plan to decorate complex areas, do not leave corners, protrusions and niches for later. Start with them, otherwise the unevenness of the finish.
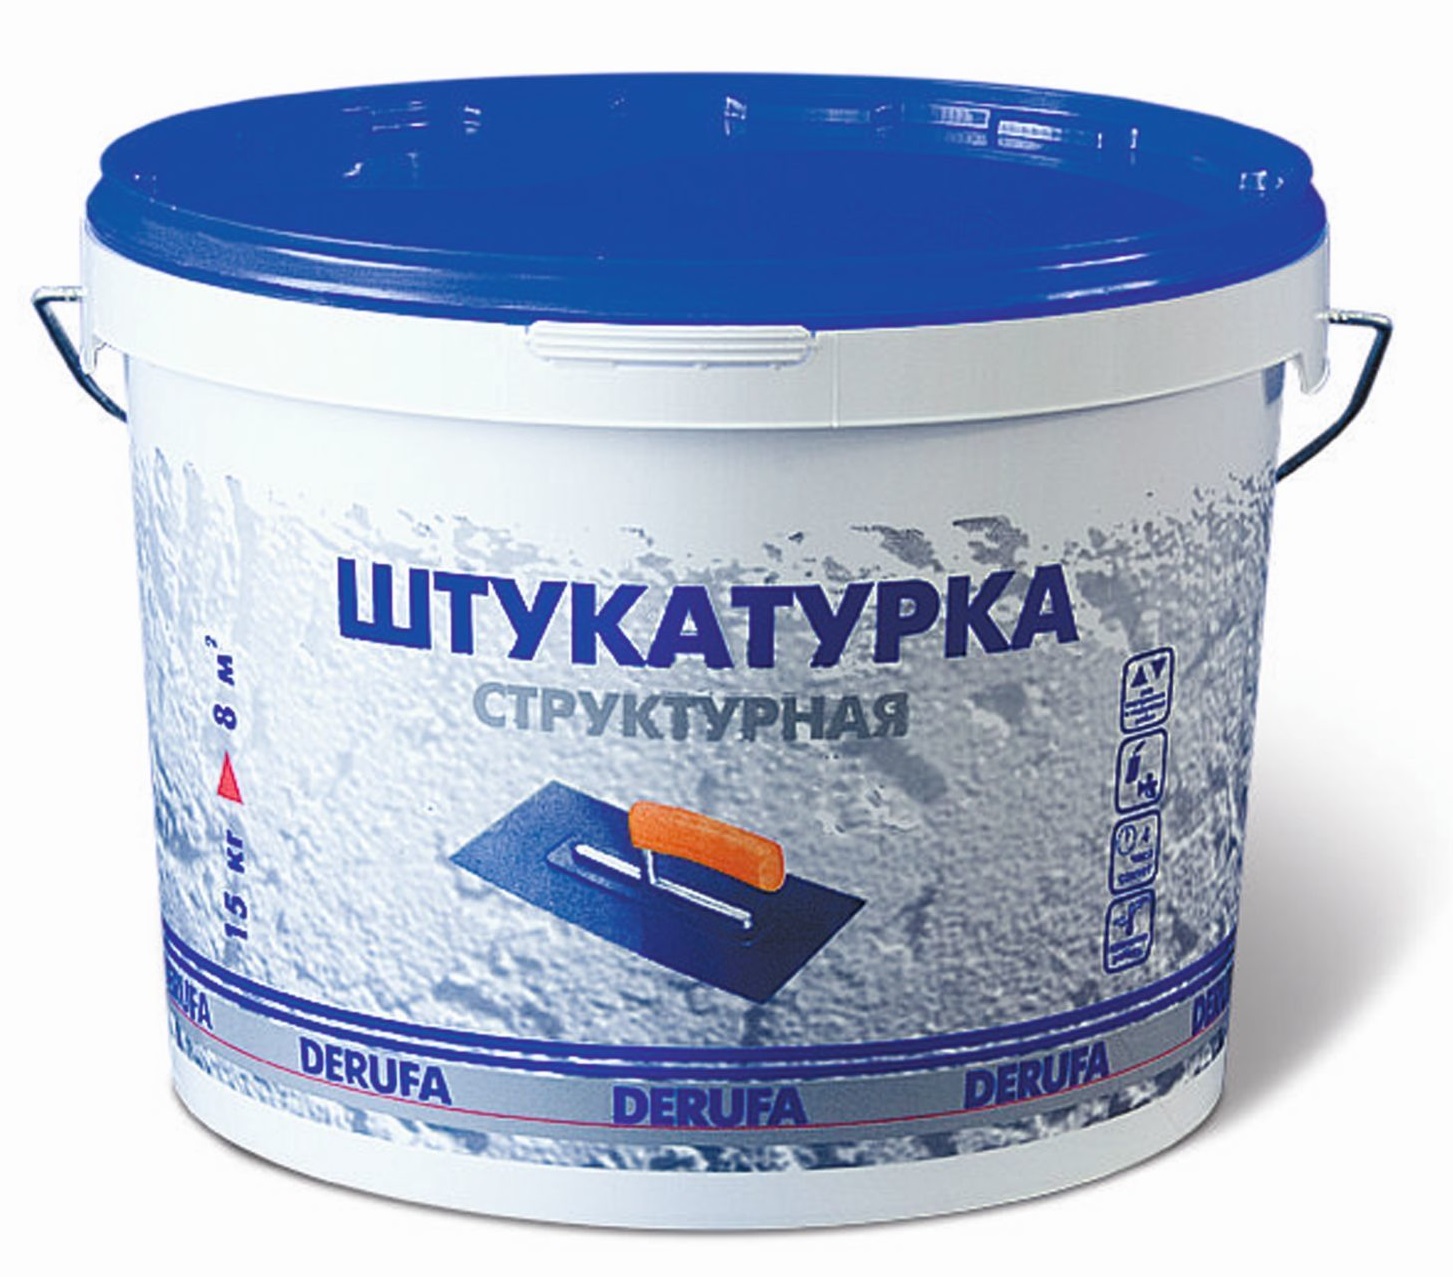
- Buy high-quality filler with documentation. When buying, ask the seller a certificate of quality and compliance with safety standards. This eliminates the risk of acquiring a fake, the composition of which may be harmful to health.
- Do not neglect the expiration date. If a month or two remains before its end, and the repair may be delayed, do not take the material for the future. After the expiration date, the properties of the composition will begin to change for the worse, therefore, such finishing will not be durable, uniformity indicators when mixing the old solution will deteriorate.
- If possible, buy a dry composition: it eliminates the waste of finishing materials, is more economical and convenient for decorating large planes.In this case, the problem of shortage is eliminated - as a last resort, you can always add a new batch.
- The finished composition in a sealed package dries faster, with the consistency becomes thicker. This fact suggests that the work does not tolerate breaks and stops: this is fraught with the formation of joints between the treated areas.
In addition, pay attention to such a nuance: if you add to the composition of any inclusion, you must do it at once for the whole mass. If for some reason you do not have enough home-made plaster, you will not be able to re-mix the mixture that is 100% identical: the shade, effect, and consistency will be different. In this case, you can decorate the surface with white material, and after it dries, paint it in the desired tone.