How to make a chair with your own hands?
Hand-made furniture is always very practical and unusual. It can be most effectively adapted to suit your needs, and at the same time pleasantly surprise guests, friends and relatives with an original product, or simply place them in comfort and convenience. So, it is impossible to do without beautiful and comfortable chairs in almost any interior, whether it be an apartment or a country cottage.
Moreover, it is not so difficult to make them yourself, but rather, it is even pleasant and interesting, since this process allows you to fully reveal your design abilities.
Material selection
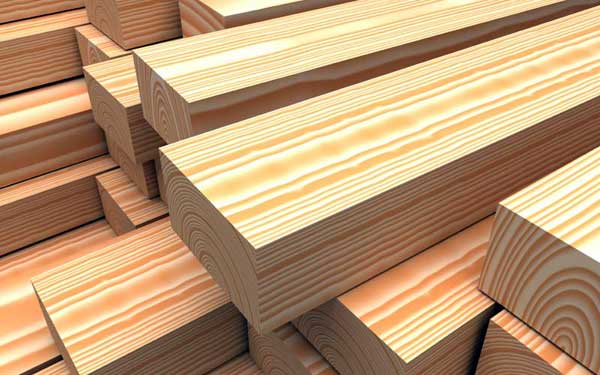
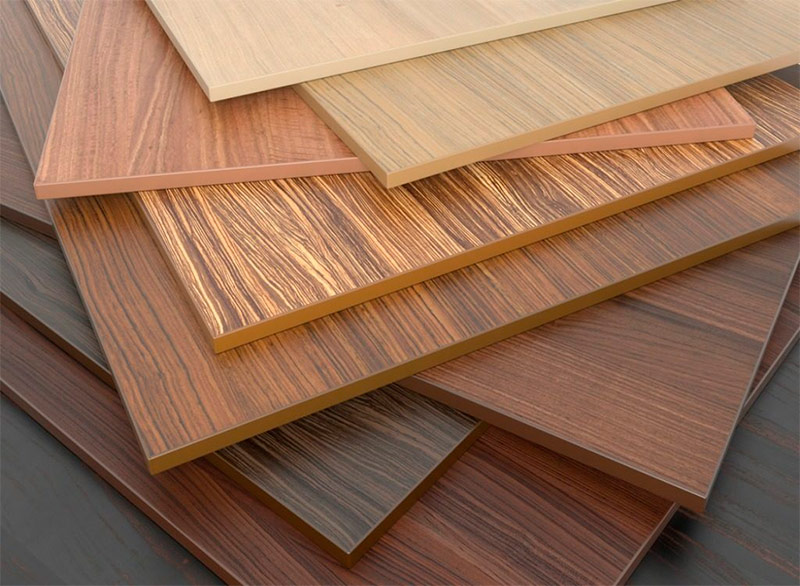
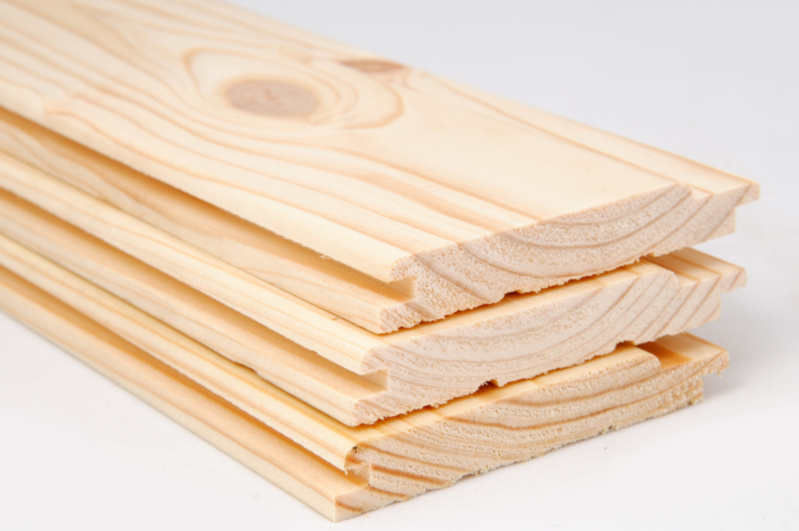
The first thing to think about when designing homemade seating is the material.The right ideas can come spontaneously - for example, an old and unused wooden bed in a country house can serve as a good base for several new chairs at once. And indeed, wood is perhaps the most practical and convenient option for creating seats. You can use oak, and pine, and many other species. Which one to choose is a matter of taste and skill. So, Oak or beech is difficult to process, but products made of them are textured, solid and reliable..
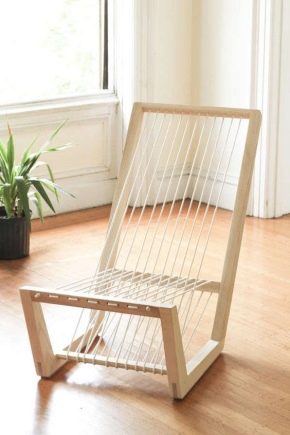
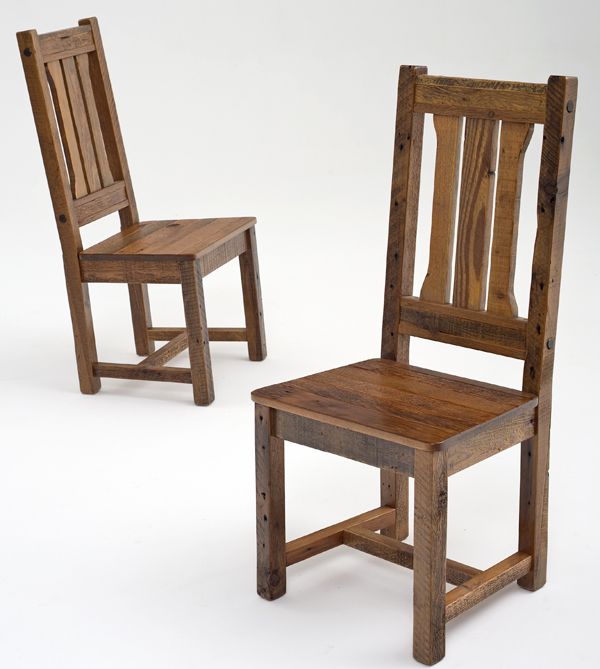
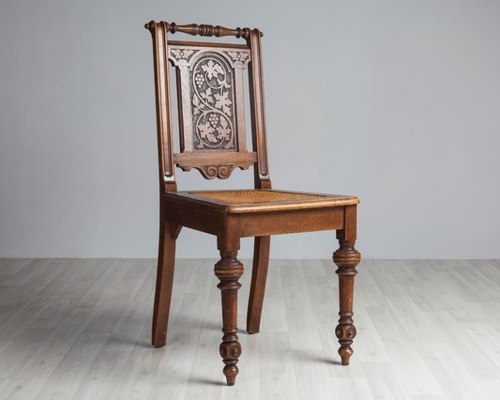
The self-made chair from the massif of a tree will perfectly look both on a country dacha, and in many city interiors, especially stylized semi-antique. In addition, it is one of the easiest options. Easier than wood, a chair can be made only of plywood, chipboard or chipboard. You can make it from the wall paneling.
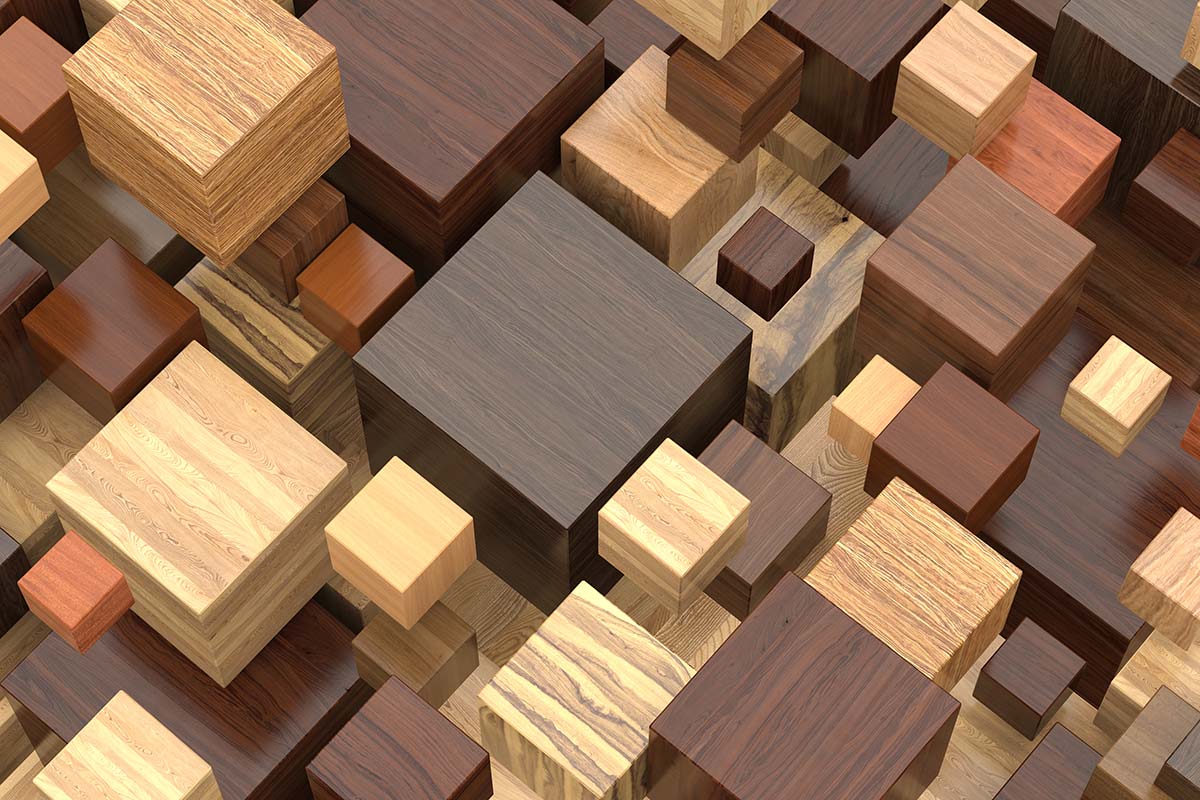
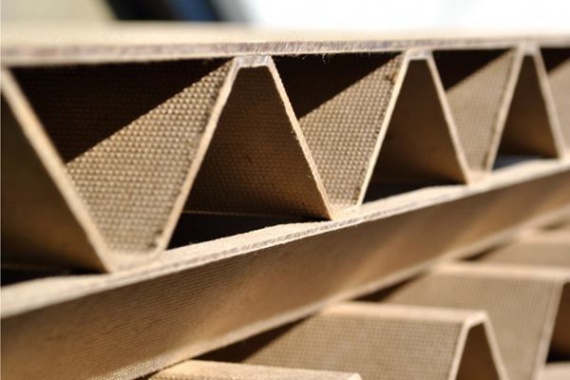
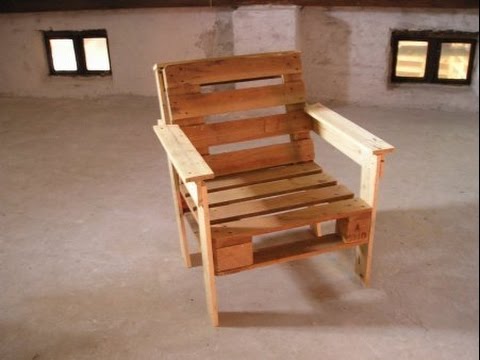
In the manufacture of wooden chairs can be useful boards, logs, timber and other items. Wicker chairs are usually made of wicker. Among other popular materials - wall paneling, profile tubes, cardboard. Furniture can be made of polypropylene or shaped pipes. The use of pallets and even tires is allowed.

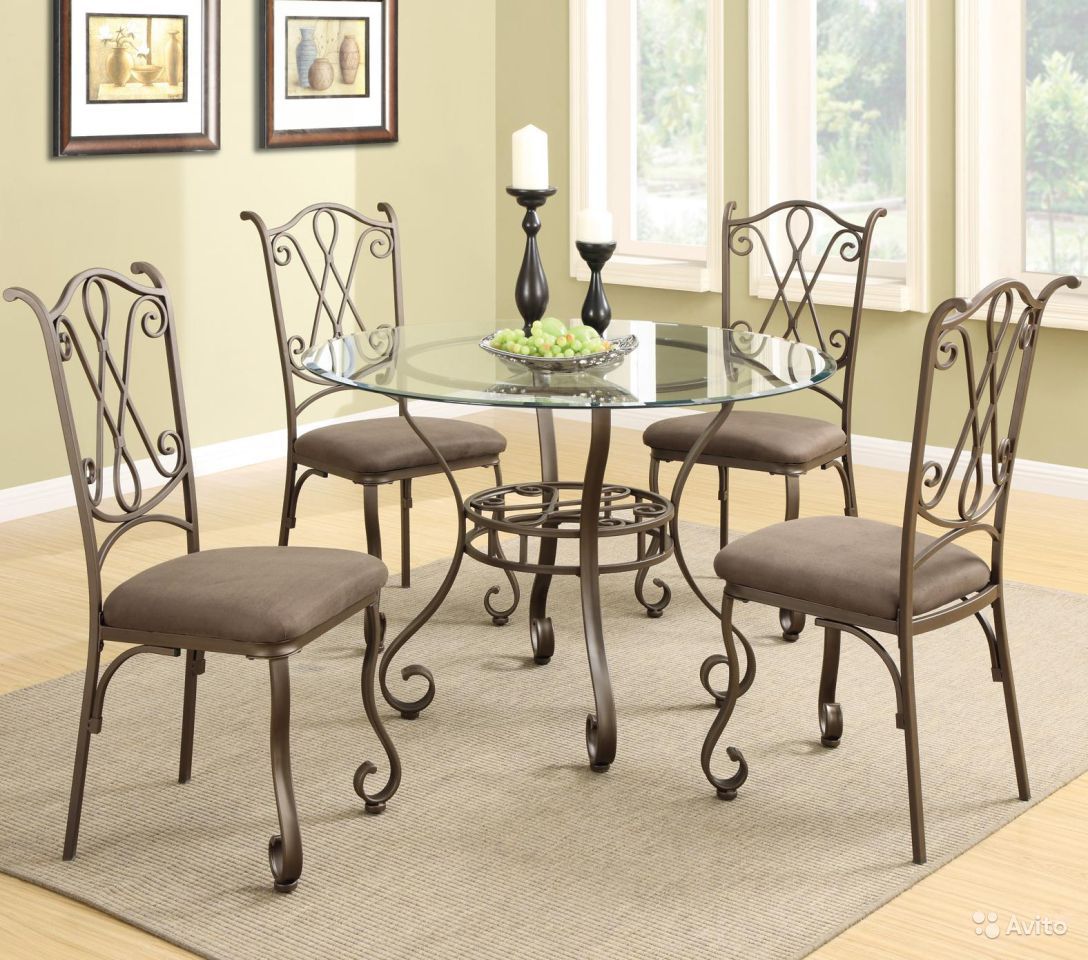
Among the more complex options are glass and metal. To create a forged product will require certain skills, as well as the availability of welding equipment and, accordingly, a protective face mask. Forged seats are very strong and reliable, however, when working on them, maximum concentration, clarity and high level of professionalism are important, since the smallest inaccuracy in the calculations will make the chair "lame" or uncomfortable, and it will be difficult to fix this mistake.
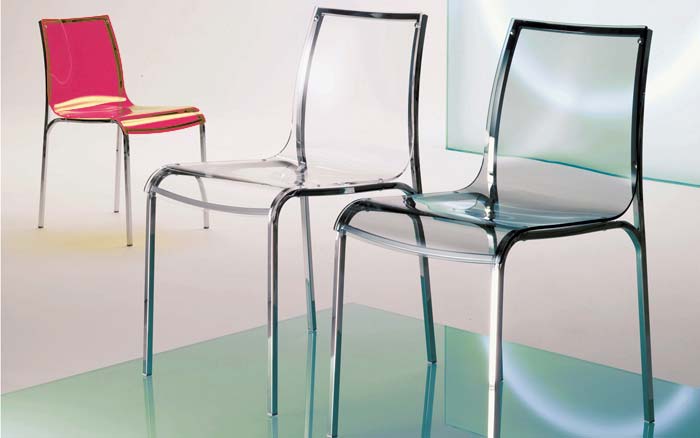
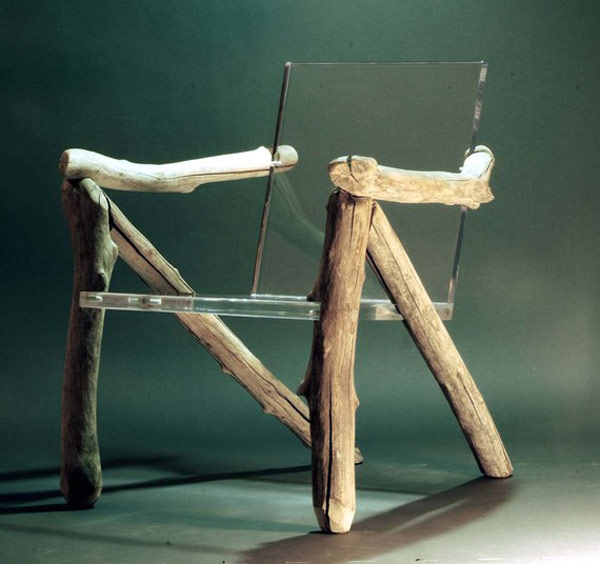
Glass chair is also an interesting option, but it is even more delicate work. Such products look favorably in modern and modern interiors.
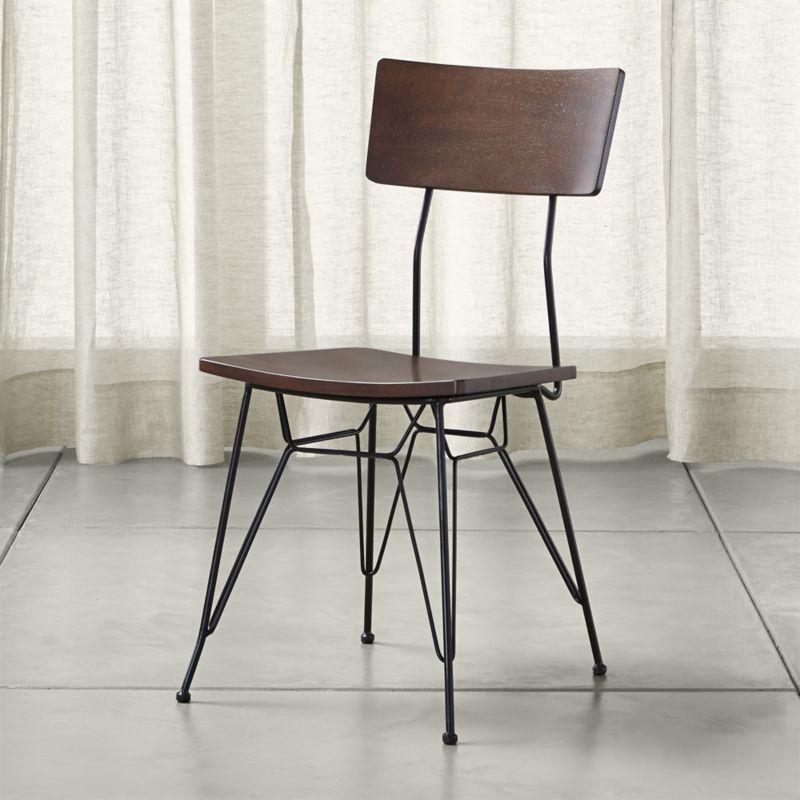
You can combine materials. For example, a seat made of metal, plywood or chipboard, the legs of the bars, the back - of the boards. Within limits surfaces of different patterns can be compensated at the stage of varnishing and decorating. The main thing is not to fall into excessive eclecticism.
However, it is better not to limit imagination. In the manufacture of the seat, you can use almost any available tools. The craftsmen make beautiful models of hemp, old logs, almost anything!
The main thing is to be comfortable and sit gently. Do not forget that special bedding and softening materials are often used to organize the latter property, which can even “level” the surface.
Purpose
Seating, organized independently, can be used in various interiors. Most often, these chairs are made to give, a country house, because they fit perfectly into the stylistic specifics of these rooms.
In addition, any inaccuracies in the work or deficiencies of materials here often turn into advantages, since they emphasize naturalness and naturalness. Therefore, as the basis of suitable and old boards, and logs, unnecessary devices. Why, for example, not to disassemble an old and shaky stepladder or a ladder and not make several chairs for a country table out of it at once.
However, the seat can be made for any other room - the main thing is to find a reasonable and feasible idea and select the appropriate materials for it:
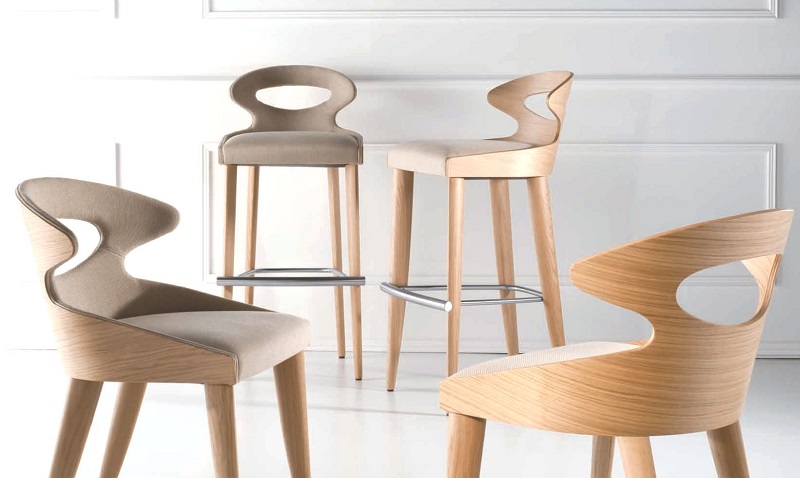
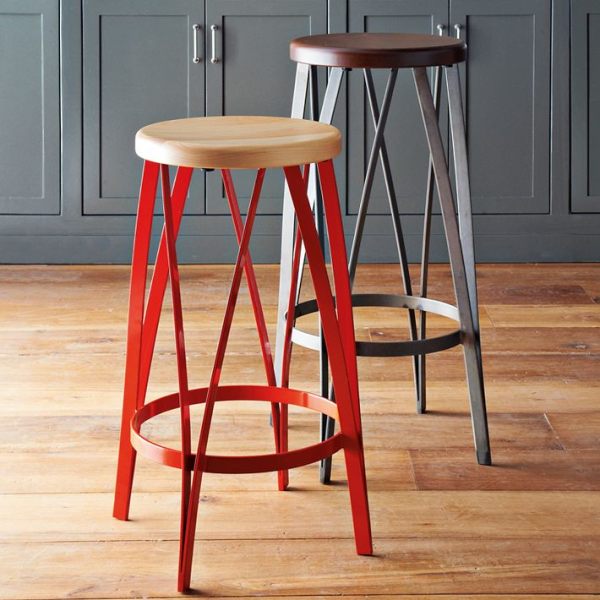
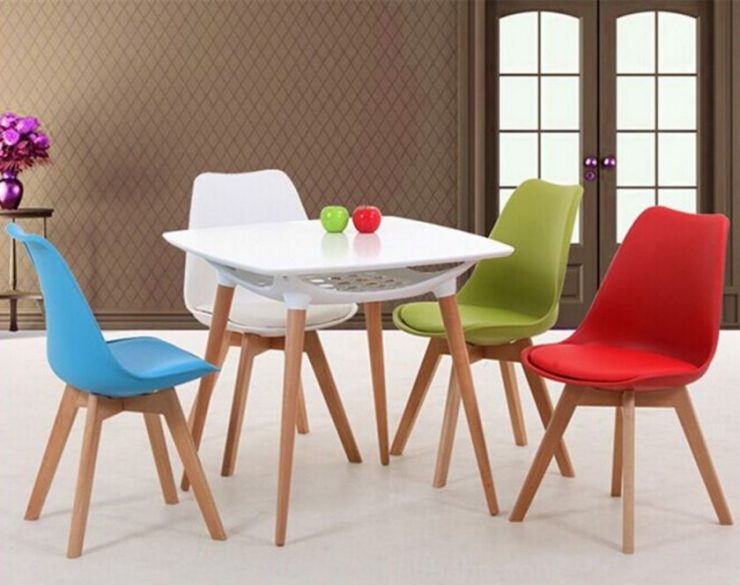
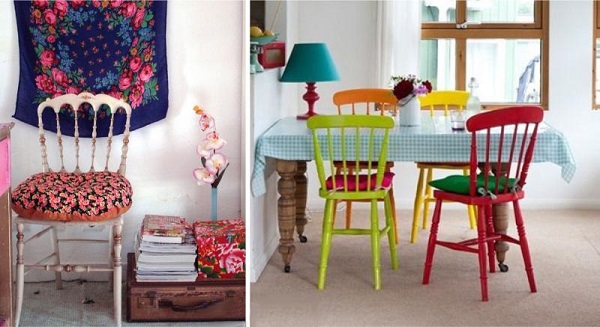
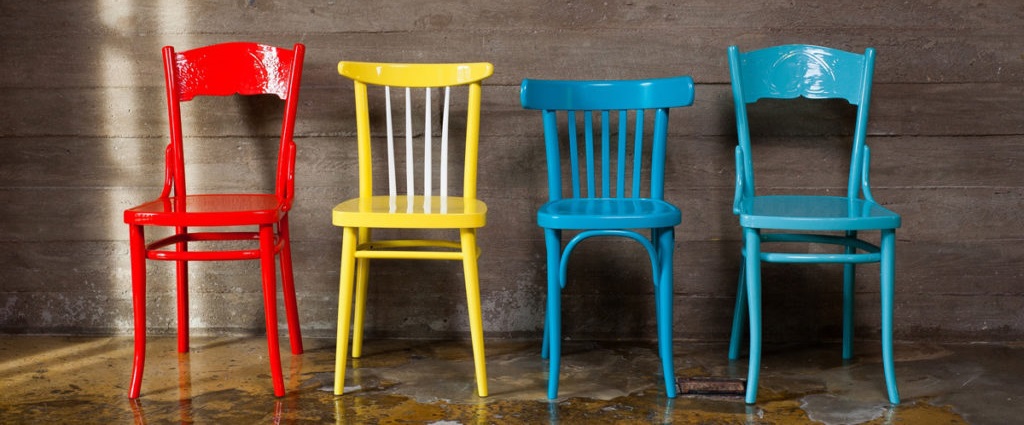
- For kitchen. Kitchen chair is very unassuming. It can be made not very high. Often there are models without a back.Many materials are suitable for this: from plastic to wood. It is desirable that the design turned out light and durable. You can experiment with coating and coloring. Many people like bright colors. If the kitchen is large, it is reasonable to work on the projects of bar models. This is more difficult - such models are higher and more mobile, you will need to install special mechanisms and springs in them to organize rotation.
Add that to any kitchen chair can attach wheels. In the dining area, especially if you live with children, it is very convenient.
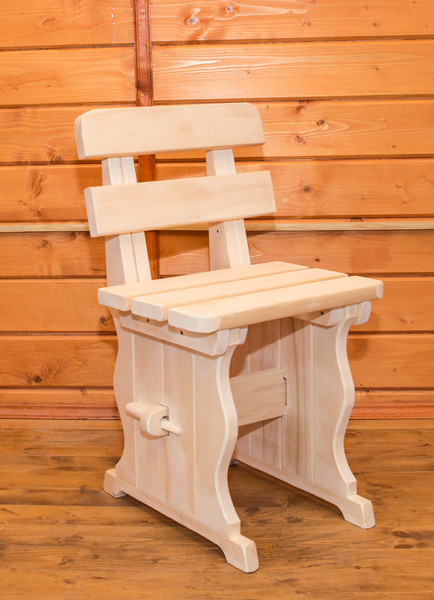
- For bath it is preferable to use wood. It is important to polish the wood well, as the pile will actively rise due to the increased and unstable humidity and temperature in the room.
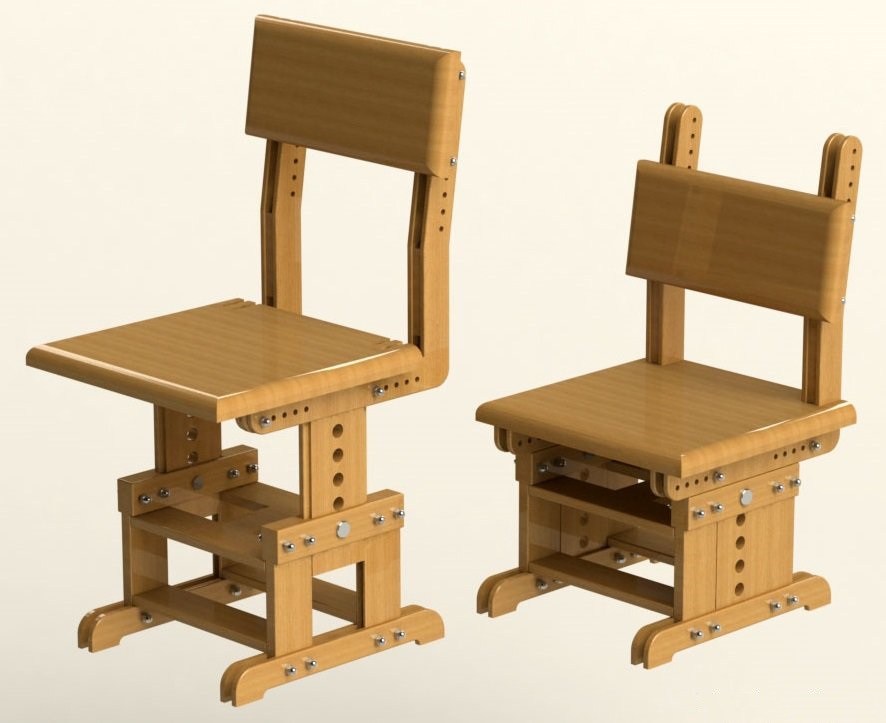
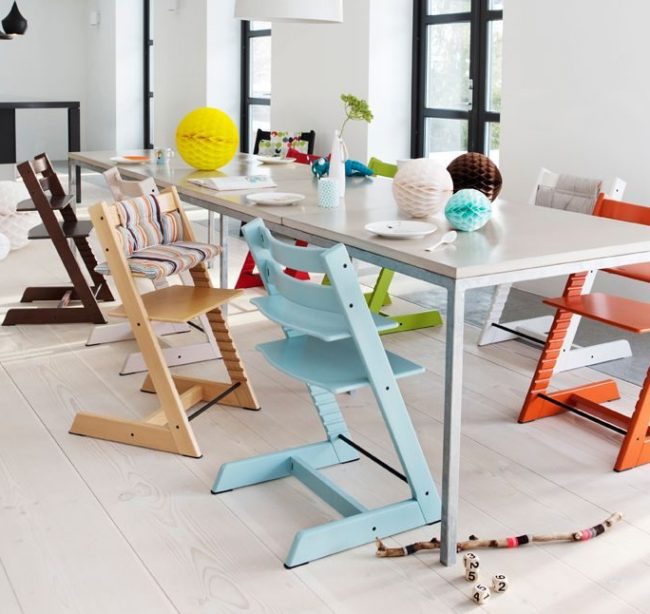
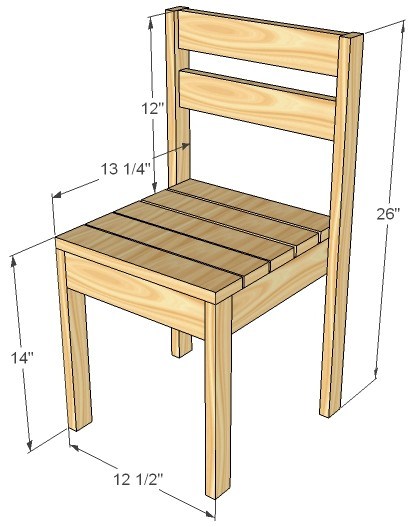
- For working space it is easier to buy chairs, but in some cases making them yourself is very advisable. For example, if we are talking about a chair for a student. Children's "school" chair can be adapted to the child's posture. Children are also constantly growing, and the chair can be redesigned at any time to change their growth. This will make it possible to save a lot without buying new furniture every year.
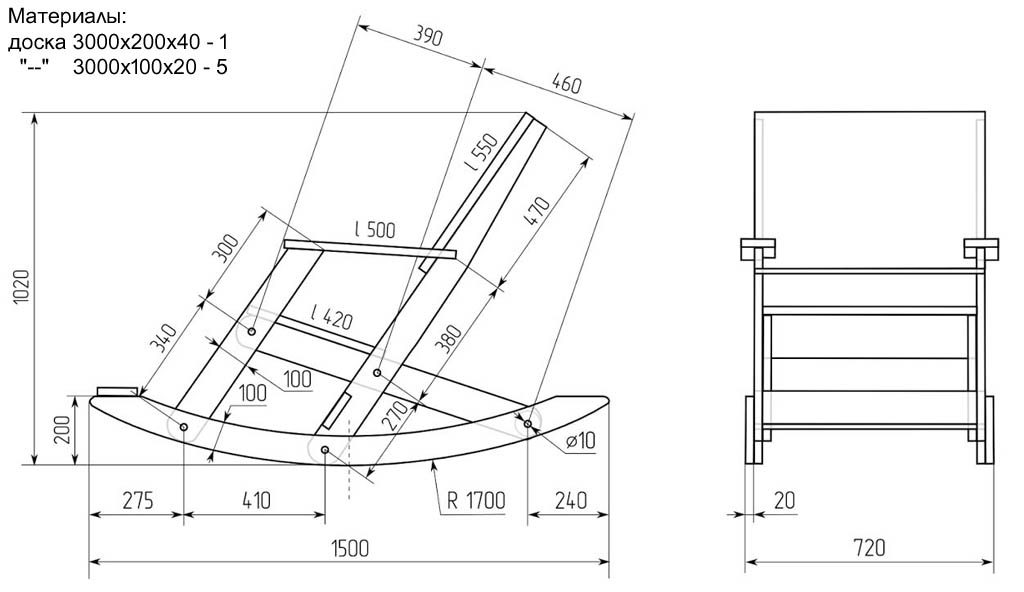
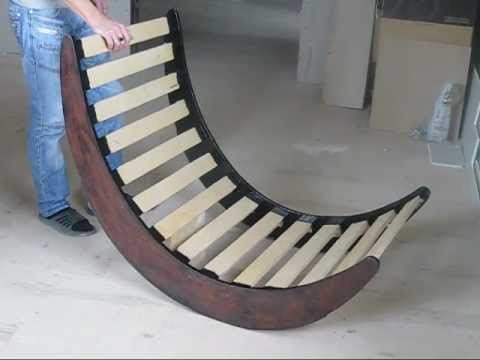
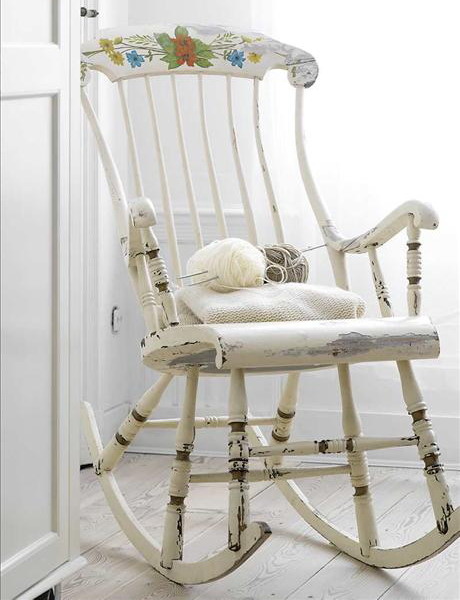
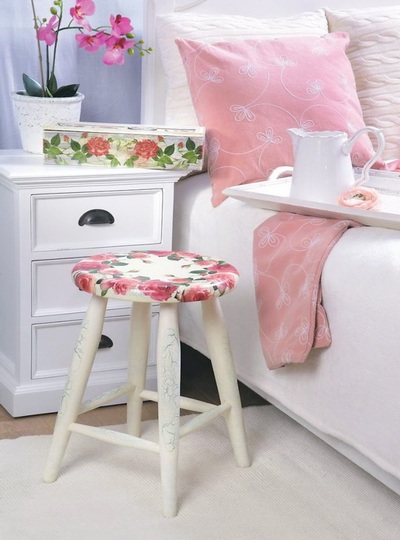
- For the bedroom and living room. Usually, they either make a small bedside, attached high chair, or a rocking chair. The latter option will require well-developed carpentry skills, since you will have to cut out rounded parts for the lower parts of the structure, which provide the “mobility” of such furniture.
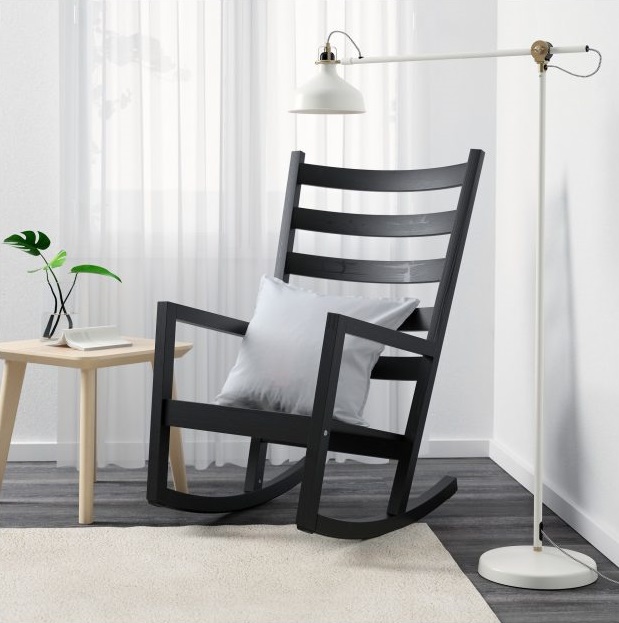
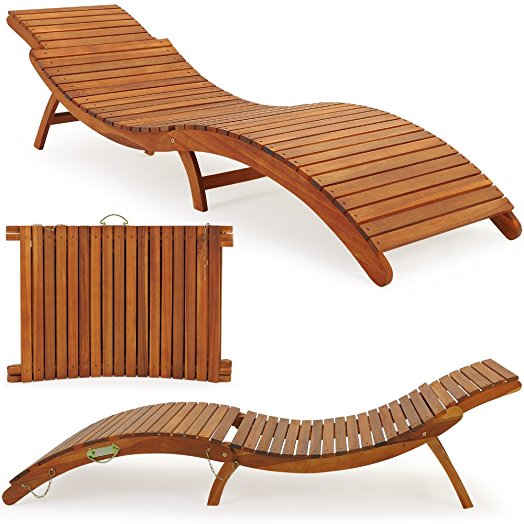
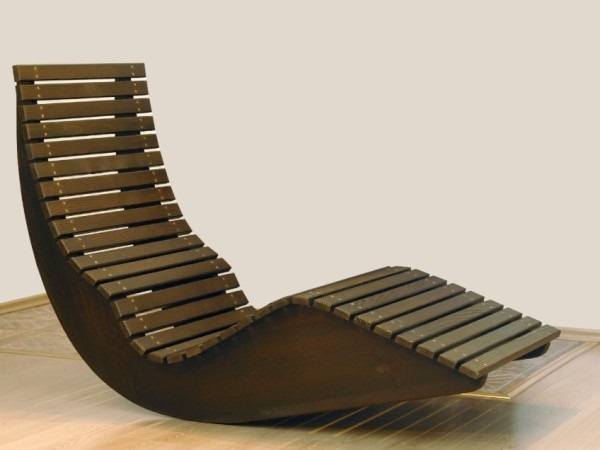
Self-made chairs can be used not only for sitting, but also for sleeping and relaxing. Rocking chair, chaise lounge, hammock - all these are quite realistic projects.
Constructions
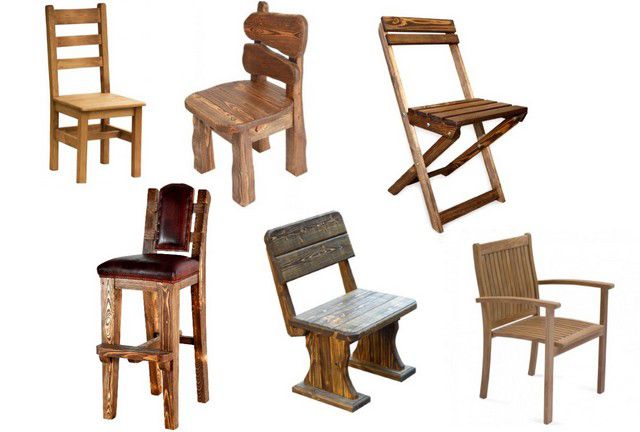
There are several basic types of homemade chairs. For example, a chair with a back can be folding, stationary, etc. Consider the main design features:
- With or without backrest. In the first case, the back is something to rely on, the second option is simply a surface with a seat - a stool. It is the easiest to make. In fact, any stub is already a prototype of this idea. The main thing is to pay attention to the base.
Furniture with a back to make is not so easy. Firstly, much more details will be required for the frame, and secondly, it is important to find a balance between the foundation stability and the possibilities in terms of pressure against the back so as not to roll over or fall aside. The back can be folding.
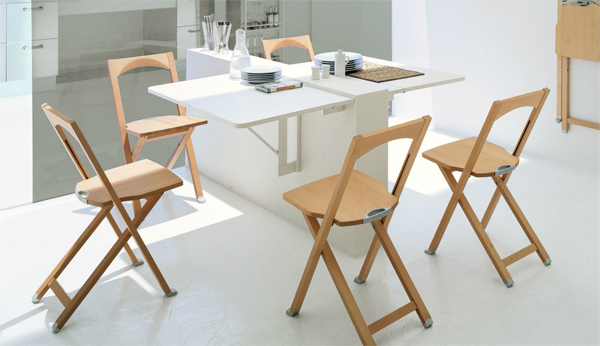
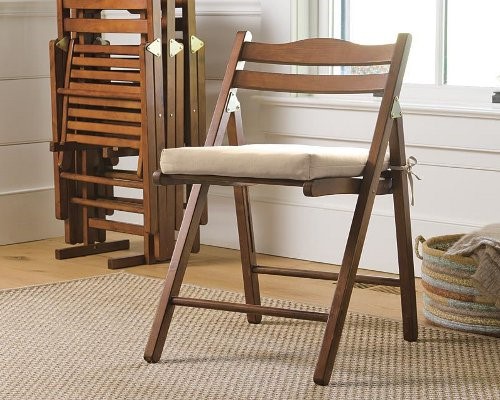
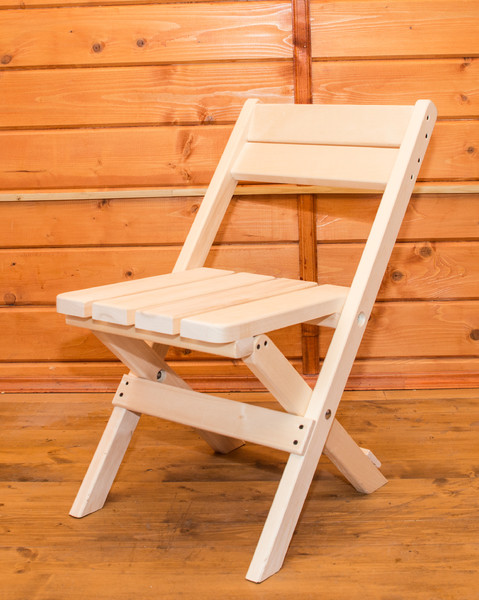
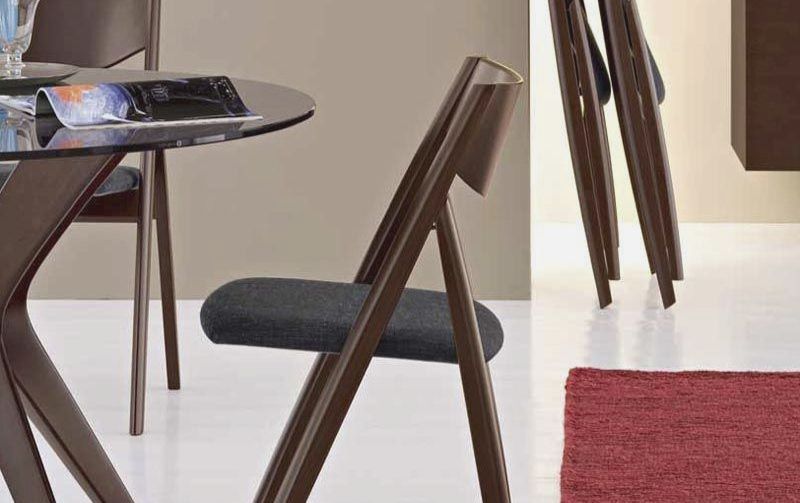
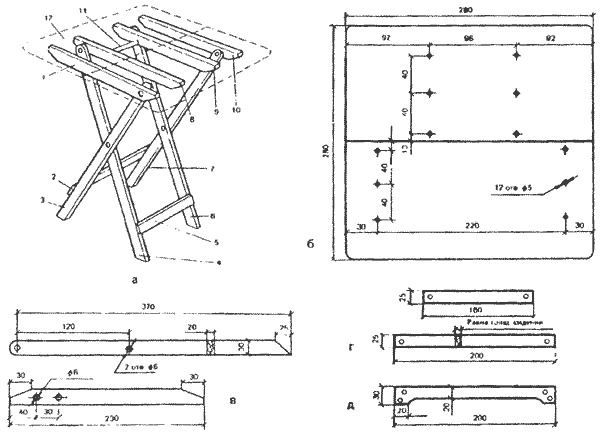
- Folding and folding. Folding models typically use a special metal bar or other element that provides product flexibility. As a rule, folding means moving the seating to the back surface. This allows, for example, in the country, to make folding chairs against the wall close to each other, to save space.
Please note that the base should also be foldable; accordingly, it should not be fixed tightly.
There are also more interesting products that require, however, and higher professional skills for their manufacture. Thus, transformer seats, during operation, change their design: height, back bend and other elements, and in some cases even adjust to the anatomical features of the figure. Such "growing", and sometimes completely collapsible models are well suited for children and adolescents.

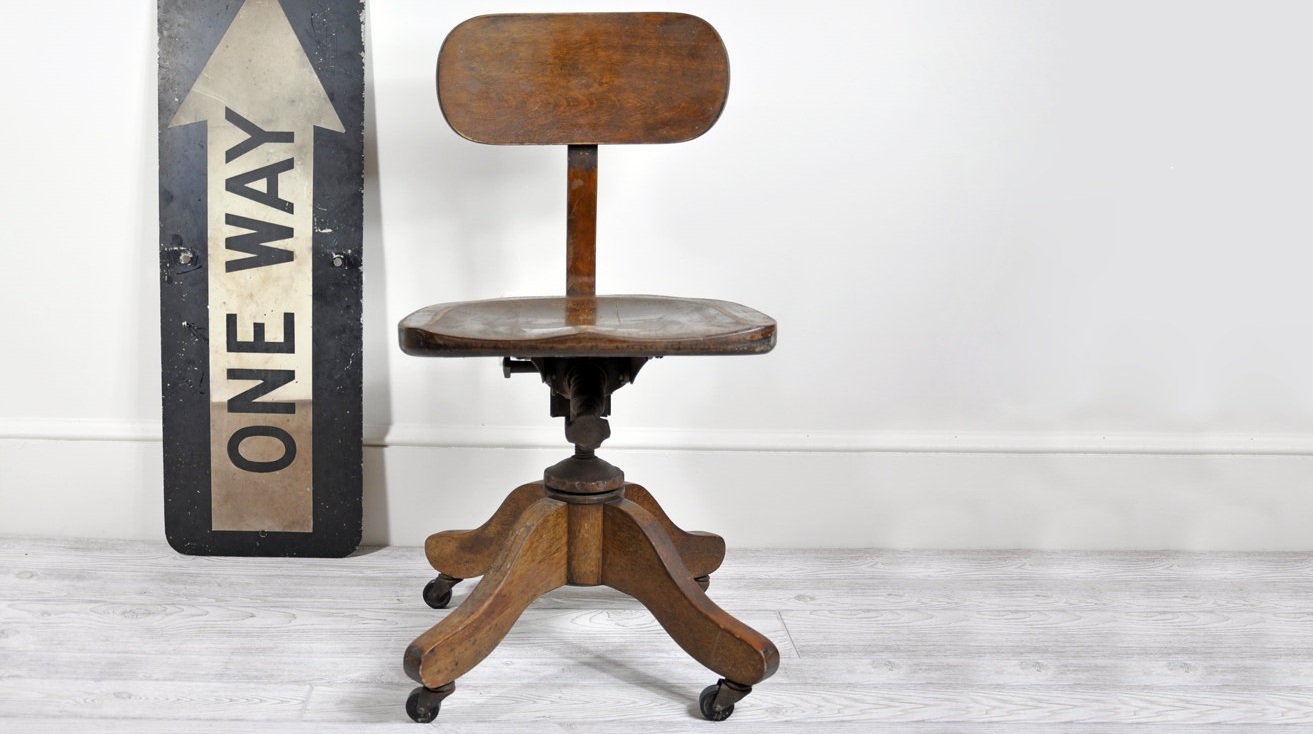
- With or without turning. Screw swivel chairs are widely used in office space, but they can be used anywhere. Additional element - wheels. Furniture on wheels is mobile and practical.
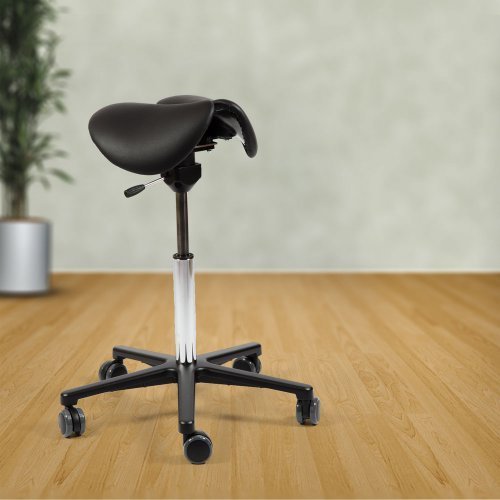
- Saddle or flat surface. In the first case, the legs diverge at an angle.It is difficult to make such a product by yourself, since it is important not to “lose” its main advantage - ensuring the correct load on the spine. However, according to some medical research, the benefits of the "saddle" is questionable. The fact is that the posture of a rider contributes to the violation of the natural circulation in the pelvic organs and leads to the development of prostatitis and other diseases.

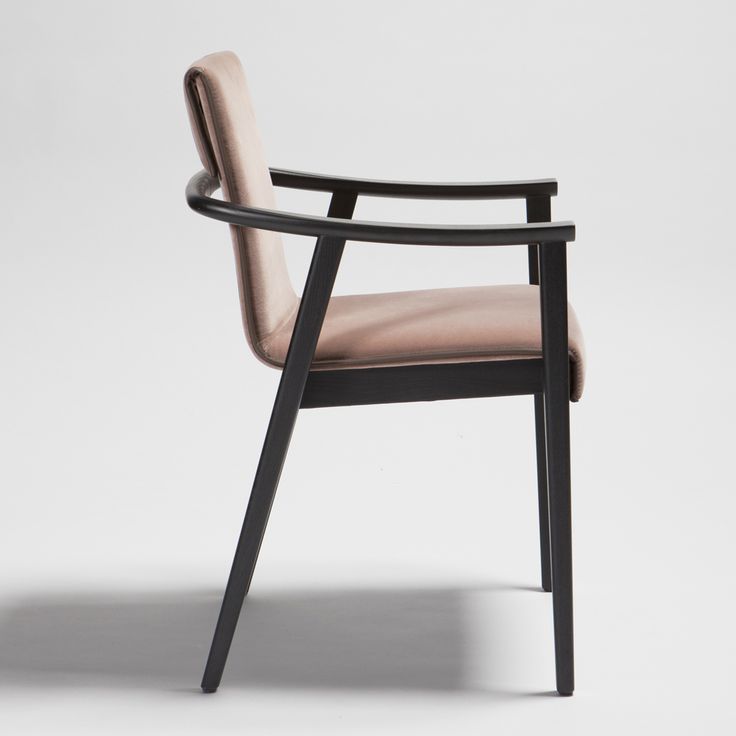
- With and without armrests. For the manufacture of armrests will require an additional several straps, but it will add convenience to the product.
- With or without leg strip. Additional overlap can be installed at a distance of 10-20 cm from the floor surface.
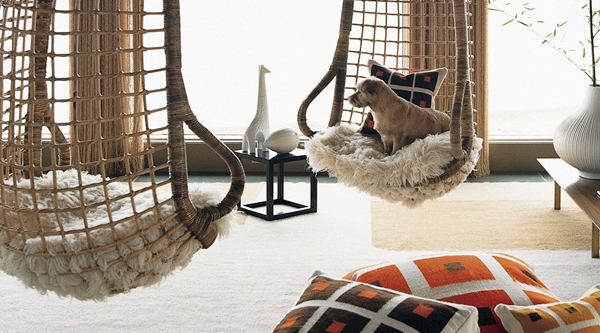
- Suspended or static. Suspended furnishings will require holders and ropes, with which they will be attached to the ceiling or other surface. The easiest way to create such a model for giving in the form of a hammock. You can weave a chair or embed a wooden model in a wicker shape. The main thing that the design turned out soft.
There is still a large number of variations. Design experiments here are practically nothing, except the ultimate convenience and reliability of the product, are not limited.
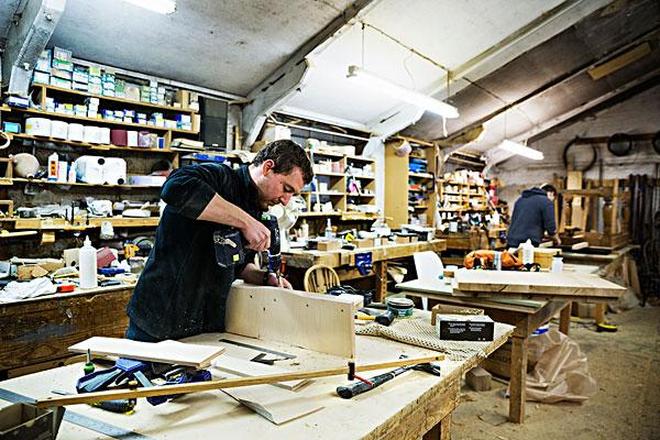
Preparation of tools
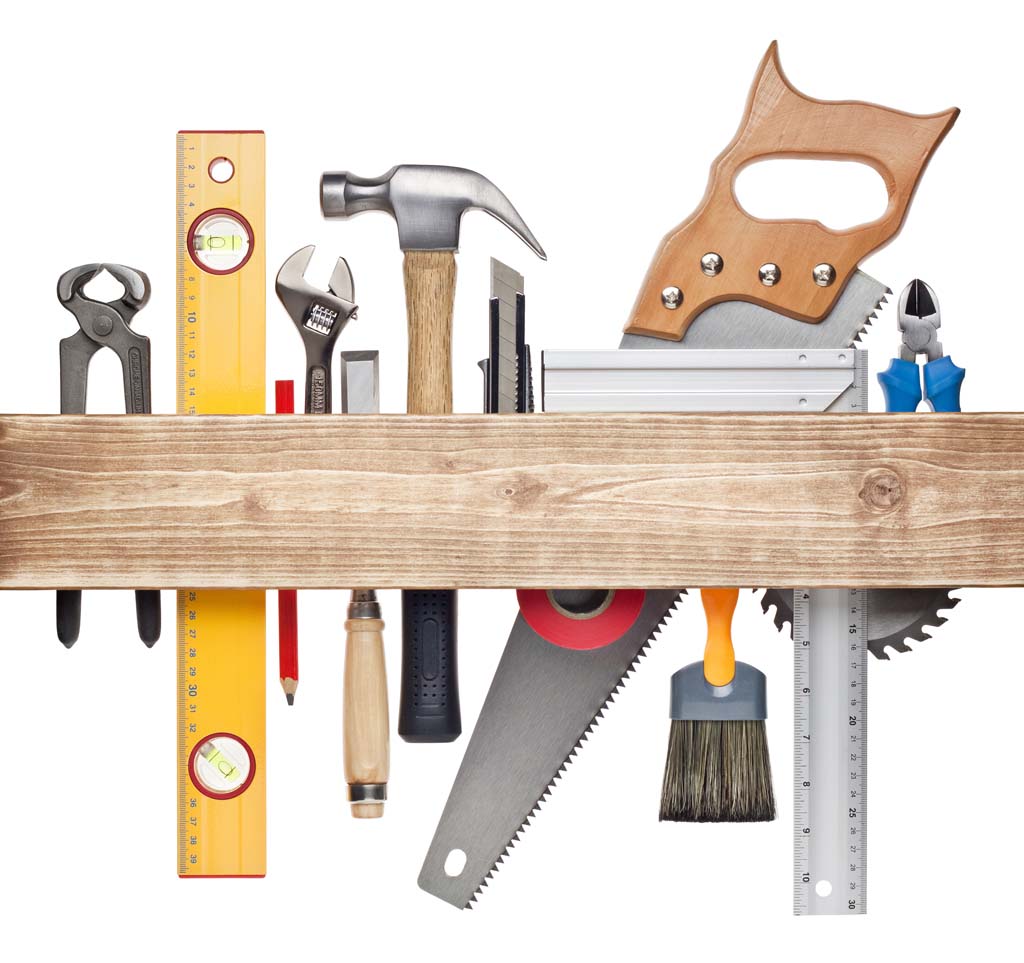
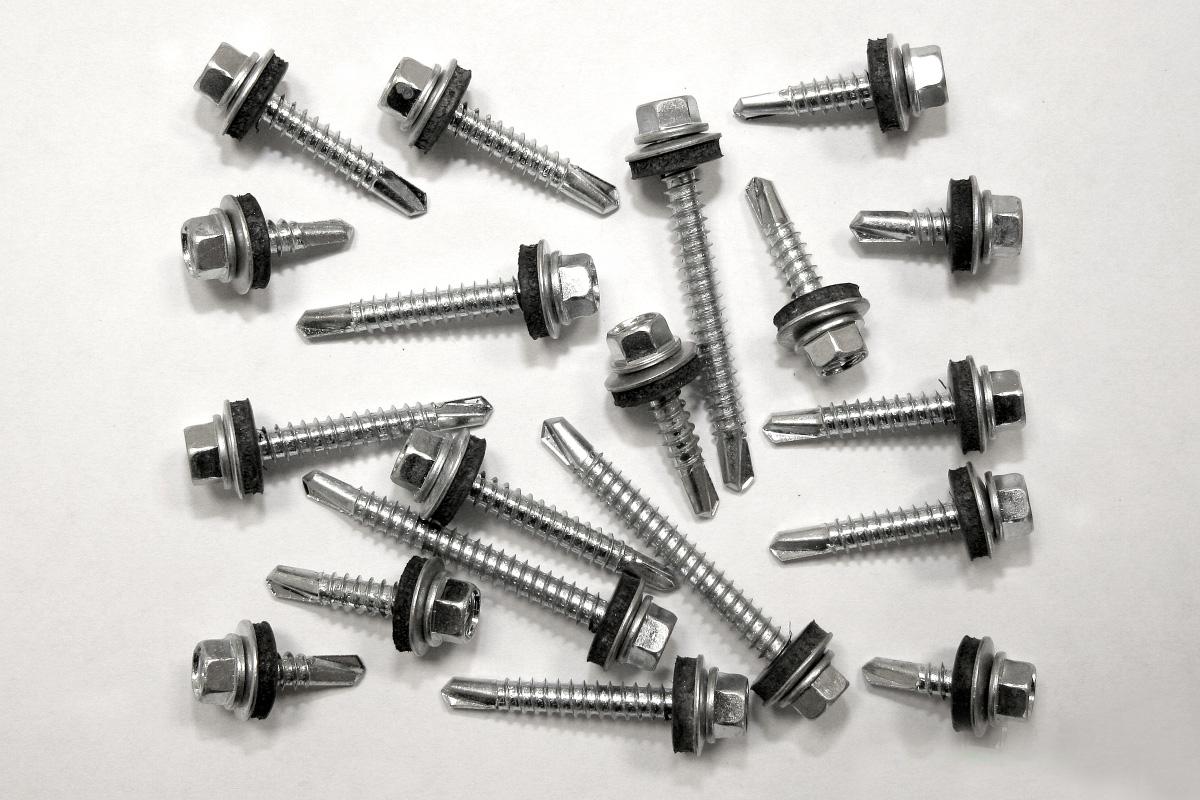
For the manufacture of wooden model will need a classic working arsenal with an emphasis on joinery. Nails, screws, bolts, screws, screwdrivers, hammers, wood glue, grinding tools, a vice, as well as a mill and chisel, workbench and jigsaw.
When working with a hand mill it is better to use protective gloves and a mask. If the chair is made of metal and glass, you need the appropriate cutters. Measuring devices will also be required: rulers, patterns, protractor and others.

All tools are important to prepare in advance. It is better not to save on them, since they will allow you to create many chairs in the future, and they will also be needed if you need to fix something in the finished model. High-quality equipment will also ensure maximum safety at work. Stock up also with elementary medicines - iodine or green in case of cuts, cotton wool and bandages.
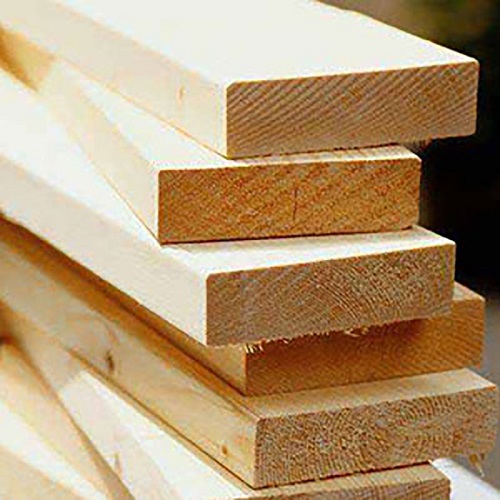
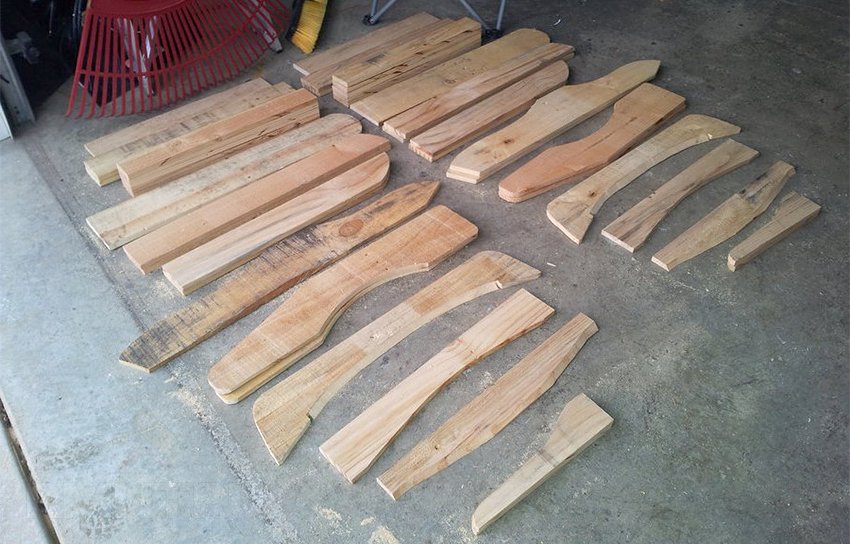
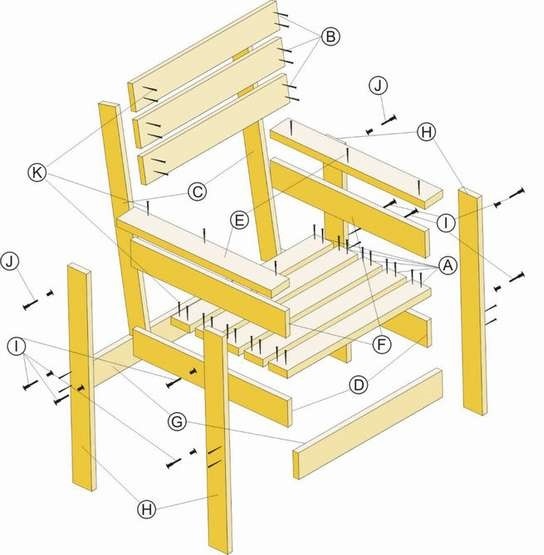
Equally important is the preparation of materials. When working on a wooden product, it is important to choose the boards, beams, chipboard or laminated chipboard of the desired size. For a functional chair with armrests, you need to assemble up to 20 components: legs, backrest parts, side slats, floors,the seat itself. It is better to always take the material with a margin - let there be surpluses, rather than something not enough.

Calculations and drawings
Before you start work, prepare a project. It is best to make an accurate drawing with an indication of all sizes. Their choice is purely individual, but there are still some standards.
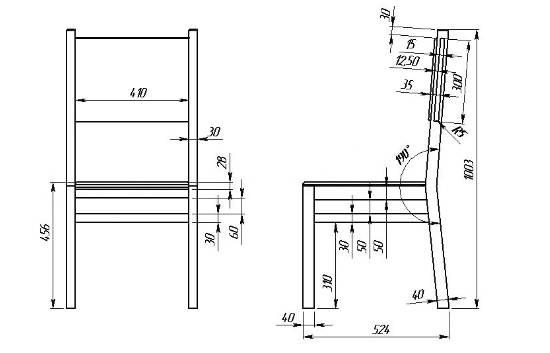
The height of the chair from the bottom surface of the leg to the seat can be varied from 40 to 60 cm. Even up to 20 cm should be taken away to the armrests. The sum of these figures will determine the length of the bar for the legs. The width and length of the base are also variable. The average dimensions are 40 * 40 or 50 * 50 cm. The height of the backrest is another 40-50 cm. And it’s better to count on it from the seat, and not from the armrests.
It is reasonable to place the overlap for the back a little higher, leaving it “empty” up to 15 cm - the body does not usually rest on this area anyway.
The model of the specified sizes will be suitable both for rest, and for work. If the material does not allow, it is possible to make furniture of smaller dimensions. In the case of a stool, the main thing is to determine its height.

Another classic variant is a chair with legs 45 cm high and 60 cm back. On the contrary, bar or high objects can reach a height of 90-100 cm with relatively small seat sizes, say 30 * 30 cm.
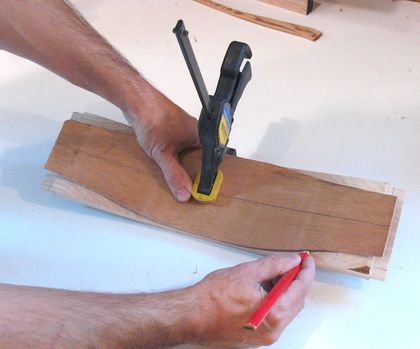
When working on a rocking chair will need a piece. Since the project will use curves and arc-shaped lines, you need to accurately calculate their radius and angles of inclination.
Calculations should be as accurate as possible, and not fitted to the available material. Strategies in the spirit: “the bar, of course, is long, although its length is still a bit lacking, so I’ll point it out in the project and then compensate” are doomed to failure. But if with a tree some variants and subsequent improvements are still possible, then corrections regarding glass and metal are more difficult at times.
Sometimes redoing something will be impossible. So it is better to immediately make a reliable drawing.
Technology features
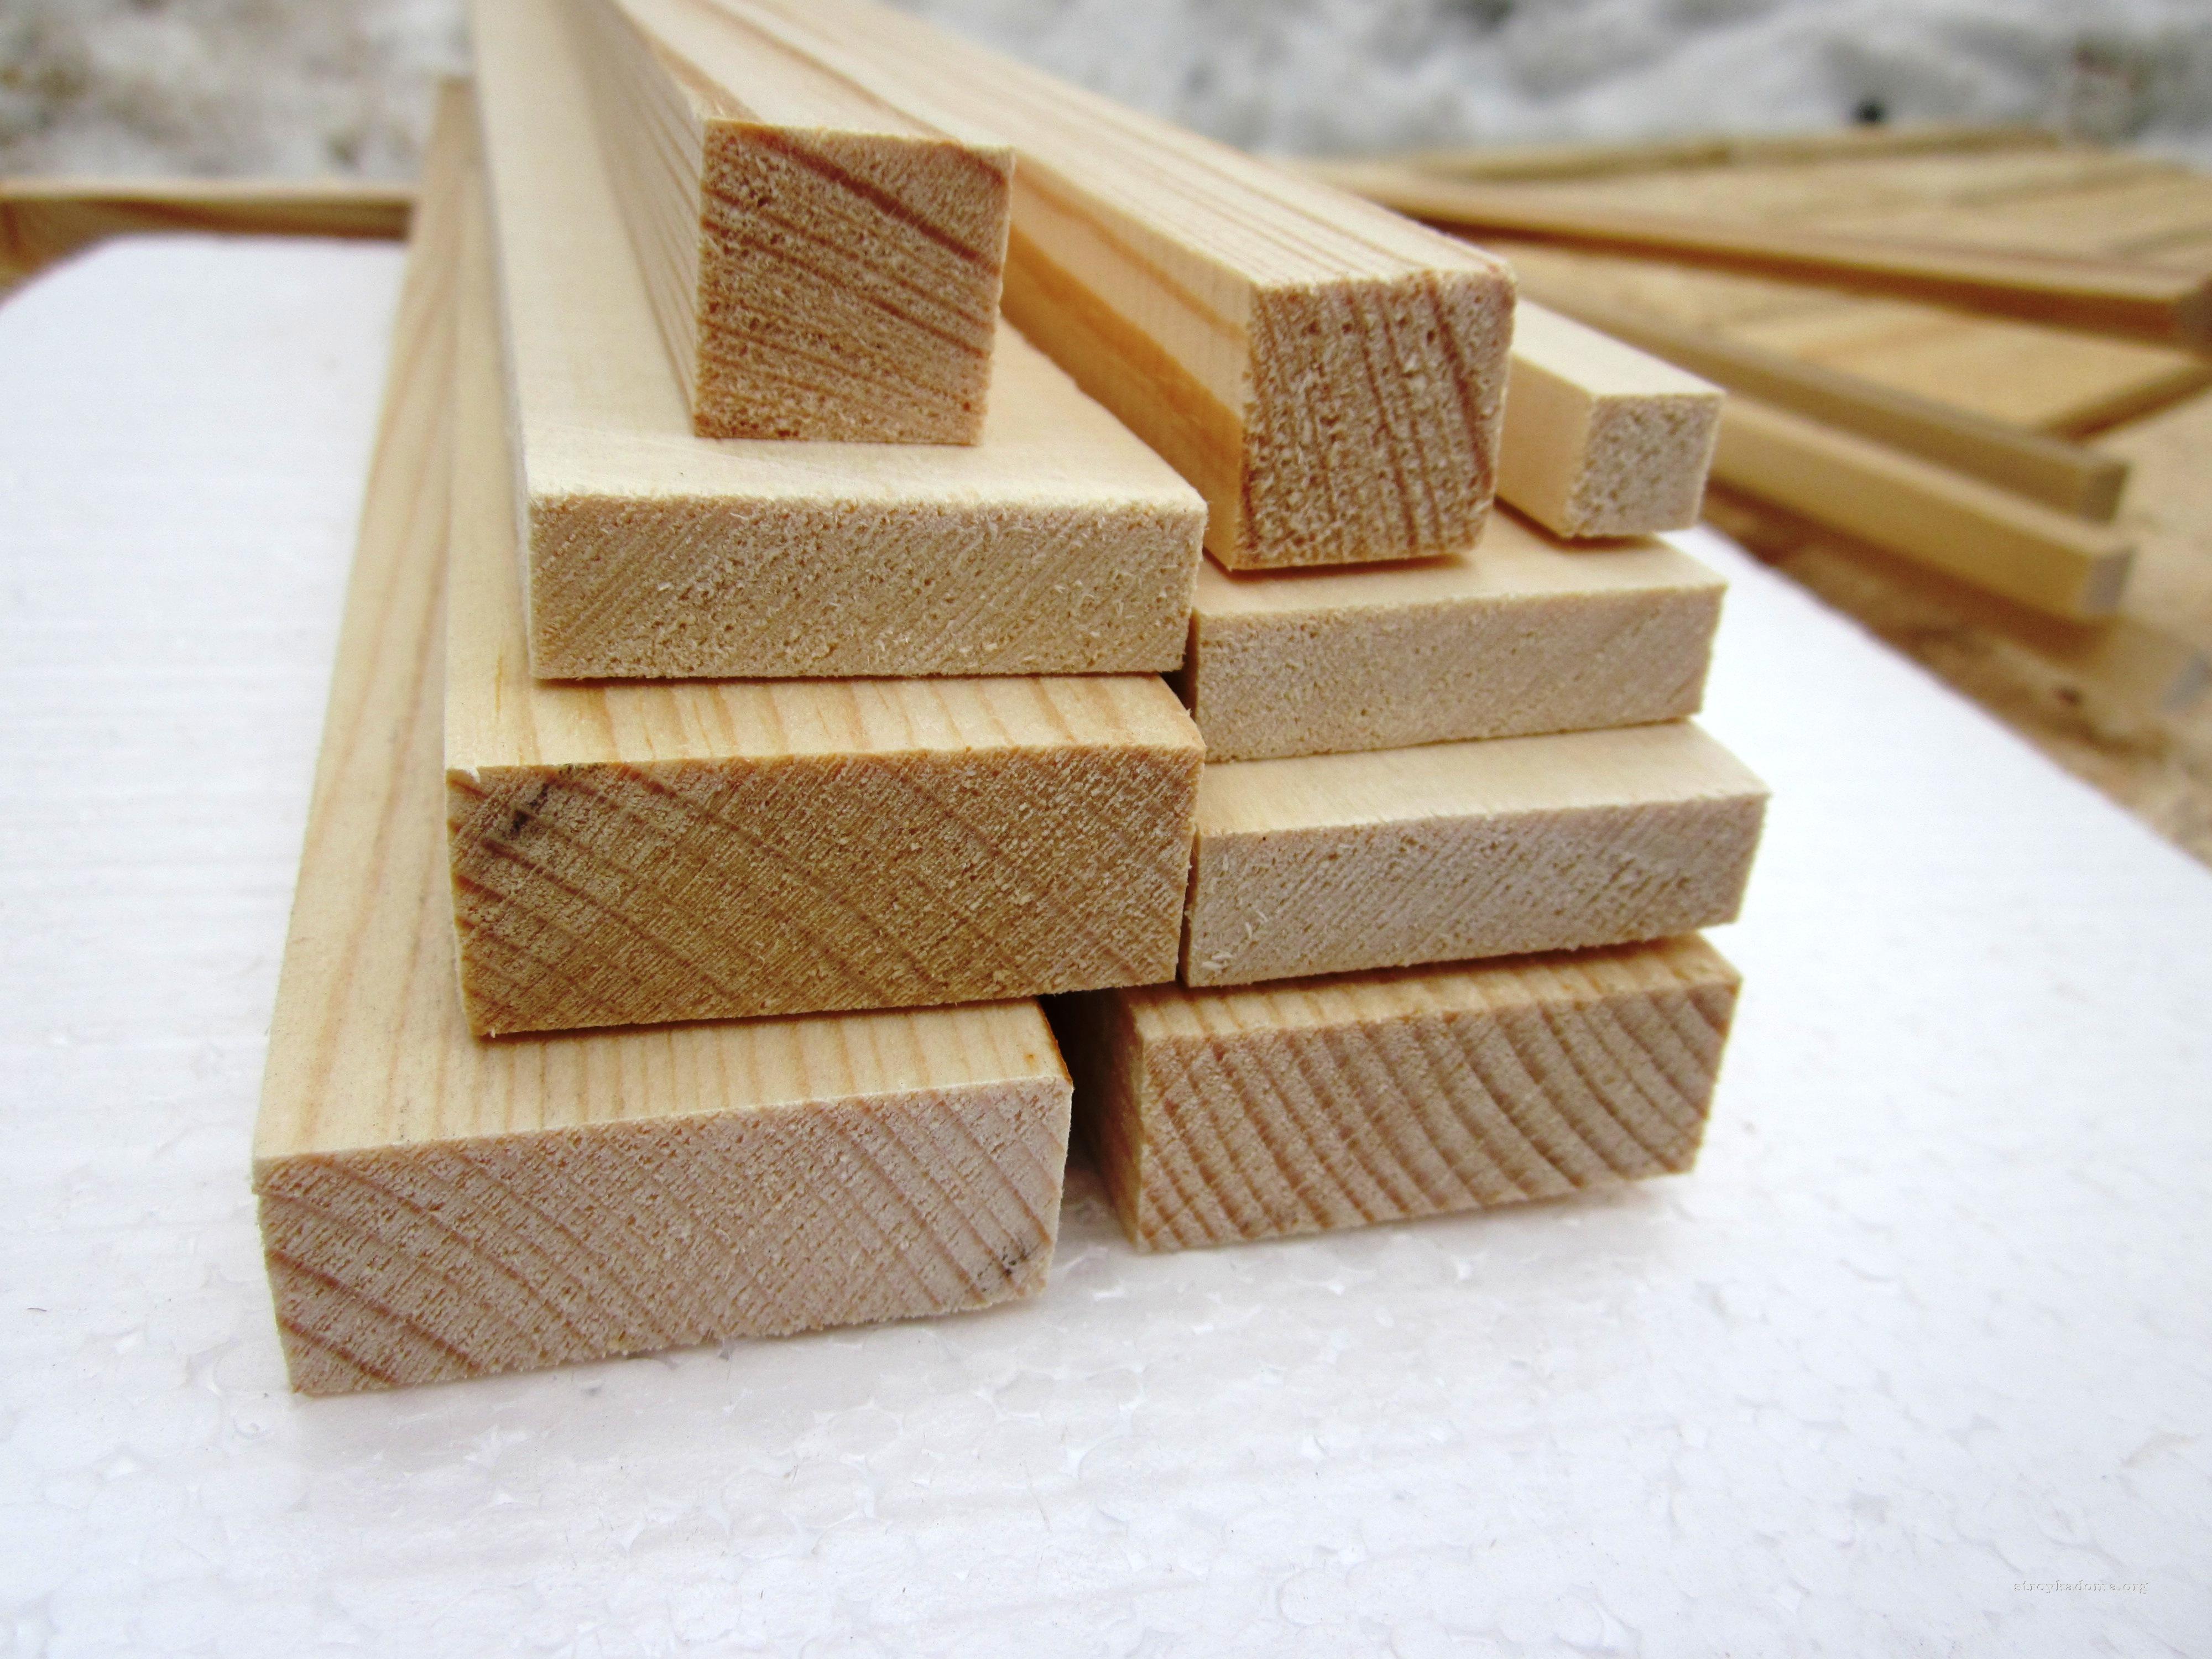
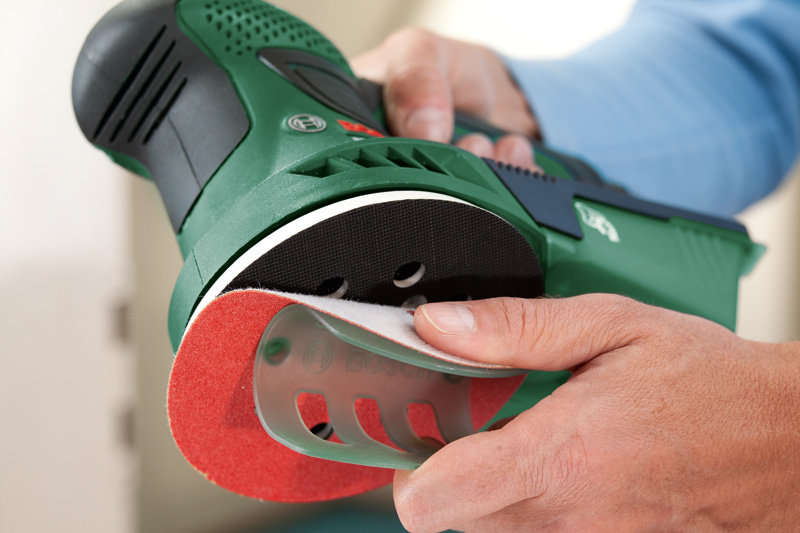
Making a chair is not a very time consuming process, but it requires concentration of attention and accuracy. A simple small woodwork will require the preparation of bars and furniture boards. Base and back need not be monolithic.. So, the seat can be made of 3-5 boards: the distances between them should be small - then these voids can be compensated for with soft bedding. A similar situation with the back. Each of the boards should be polished.

Bent parts of products (for rocking chairs) should be selected more thoroughly than usual. When buying them, carefully read the instructions, where the angles of inclinations and other characteristics are indicated.
Among other technological features, we highlight the aspect of evenness and strength. If there are doubts about the practicality of the product, it is better to pre-develop a layout, and only then begin to work on the details.
Manufacturing process
So, all the materials are collected, the tools are at hand, it's time to get to work. For example, we will make the seat of wood. There are several basic techniques, but we will give only some tips, especially since the creation of a specific product is a creative process, and it cannot be “driven” into the framework of strict standards.
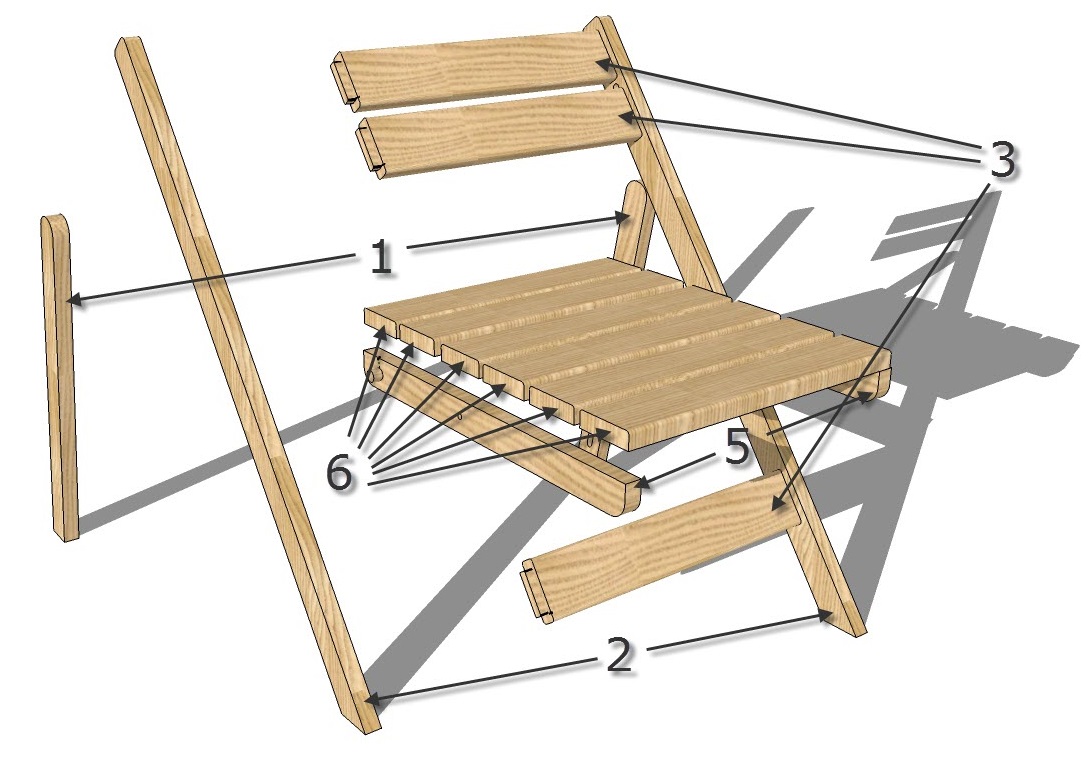
At the first stage of work it is better to cut the legs. Consider this on the example of a chair where the legs also form the backrest frame. In this case, their length can be varied up to a meter, but it is better that the chair was higher. Take the bars with a reserve, as to lengthen them or redo it is unlikely to succeed. In terms of thickness, 40 mm will be enough. The front legs will do less - they will go only to the seat.
We make polished bars and try on each other. Grinding is especially important if the product is designed for children. Their skin is tender, and even the slightest unevenness and pile can cause very unpleasant sensations.
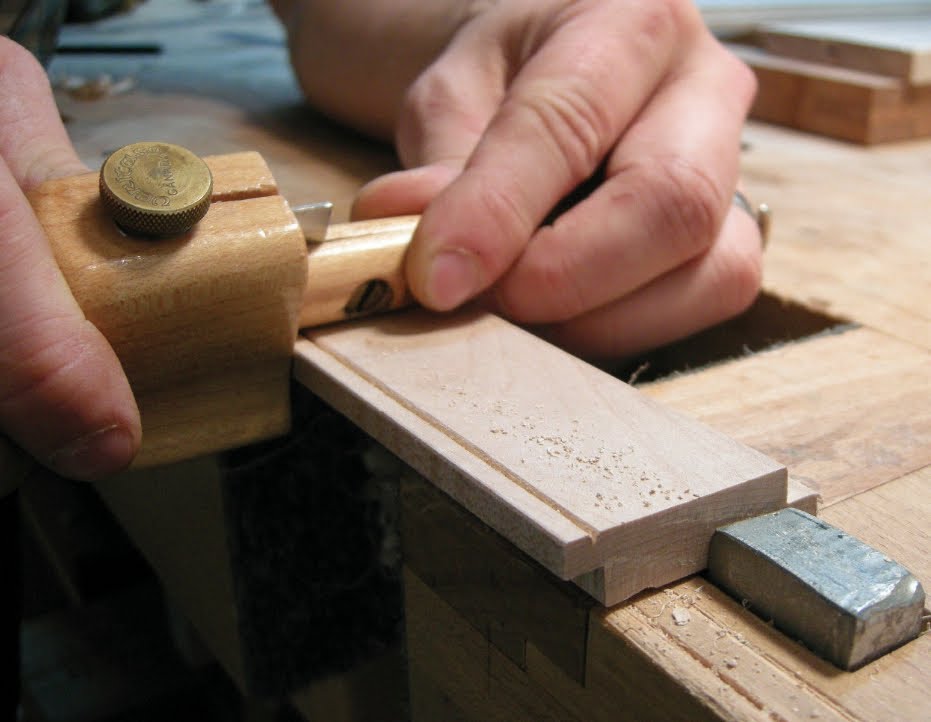
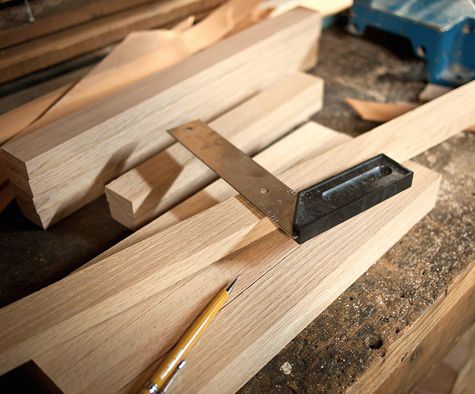
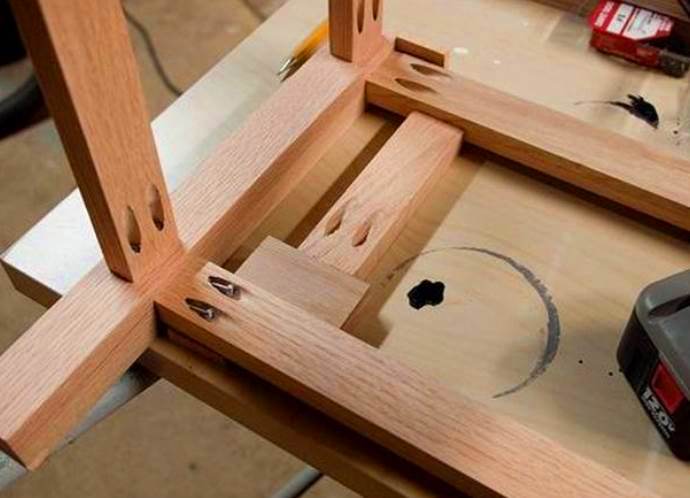
Then you should determine the attachment points and make the spikes. After the measurement, it is necessary to form the grooves, which will allow to connect the product into a monolithic structure.
Now let's check the model for matching parts first without gluing. If everything is in order, you can fasten the bars that form the back. In our case, we will select five small boards and make the central one a little wider than the others.
A beautiful solution would be to use a figure board. It is more convenient, however, to make a back from a single array of material, but it depends on what you have at hand.
The next stage - the manufacture of side panels and arched lintels. Everything must be strictly tailored to size. After bonding and gluing, the structure can be strengthened with additional screws. Pre-check it for evenness so that you do not have to redo anything. Also pay attention to the fact that there were no unpleasant overlays of some elements of the product to others: even minor flaws in the future can lead to rapid wear and breakage.
You can improve the design with additional straps. For example, install a crossmember to place the legs at the bottom. It is best to do it at a height of 10-20 cm from the floor. You can add seat and armrests, redesign them, raise or lower, change the angle of inclination.
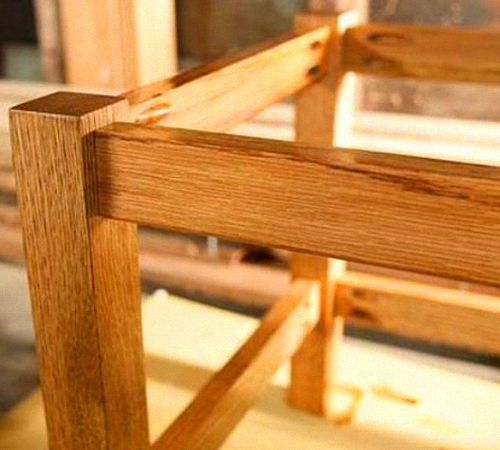
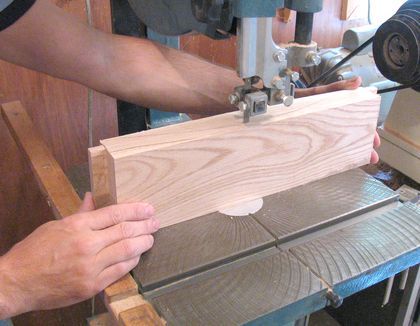
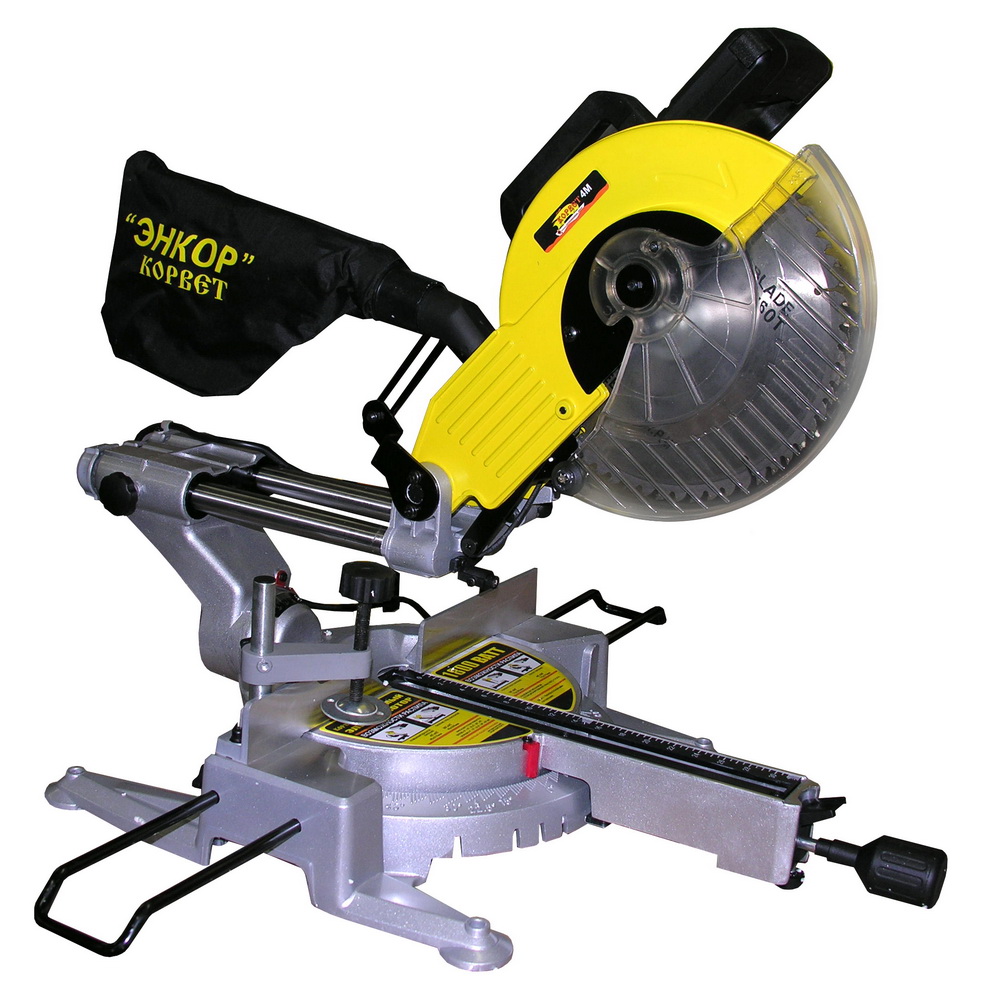
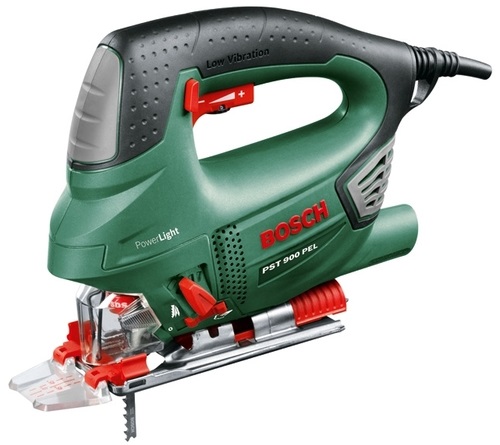
And a few more tips on making. Use when milling bars miter saw, for work on the back is useful jigsaw. Special attention should be paid to the connection of the rear leg with the seat. The third corner of this triangle is the back. It is the strength of the connection of these nodal points that determines the reliability, strength and quality of the product. In order for the workpieces to be held more firmly during processing, do not hesitate to use a vice when grinding and cutting out certain parts.
If you want make a folding chairYou will need additional wooden slats and a metal bar, for which you will have to drill separate holes. It will be fixed in the recesses of the legs. It is reasonable to prepare several provisions. Remember that such a chair should move at least back and front legs.
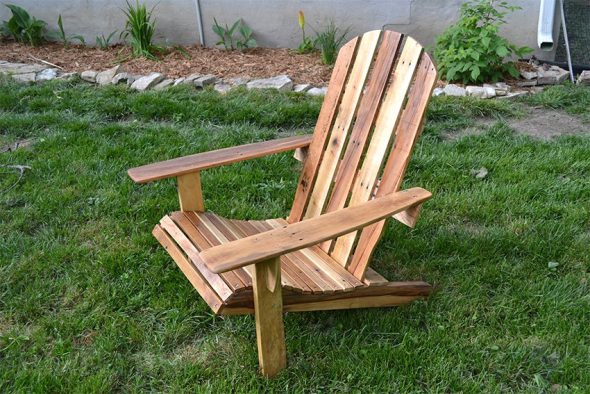
When working on a rocking chair, you can use a ready-made chair. It will be necessary to add to it special moving runners and armrests.
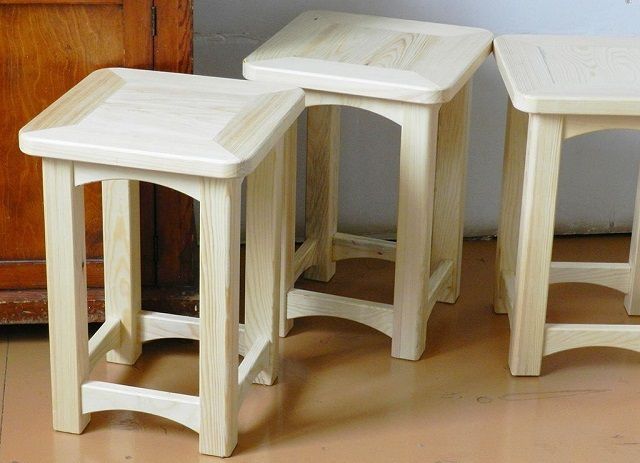
If the actions described above cause self-doubt and anxiety, start it is possible to accumulate metalwork experience with an elementary stool. It is easiest to make it, and in the future you can turn a stool into a full-fledged chair.
It will take 4 bars. The length of the bars - up to 450 mm. Section - 4 * 4 cm. It will be necessary to make 8 jumpers. Pre-material should be polished. The seat itself can be made from solid material or from individual boards, but they must be well fastened. The first option for a simple stool is preferable.
The grooves in the bars do at a height of 25-30 cm from the floor. Their depth is up to 2 cm. Thus, the legs will be fastened to each other with a “rectangle” of the floors, as if twice - approximately in the middle and at the seat. Check for evenness and fasten all the details. The simplest stool is ready.
How to make a wooden chair with your own hands, see the next step-by-step video.
Assembly and finishing
Clarify several aspects related to the assembly.As a rule, this is the final stage, but here, too, without significant knowledge of the matter, significant mistakes can be made.
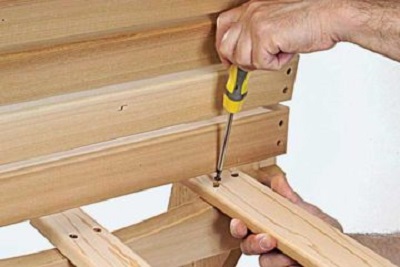
The principal point - to maintain a right angle when connecting parts. If visually there is no certainty about this, ask to see another person or use measuring instruments. To fasten a product is better with screws.
But a successful assembly does not mean that the furniture is ready. For the final commissioning it has yet to finish. Do not be afraid to do it yourself. There are a lot of options.
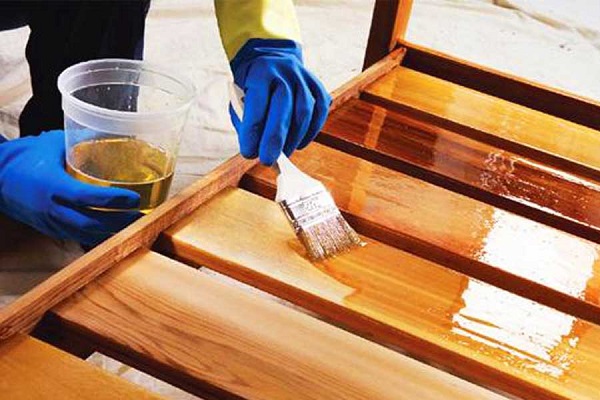
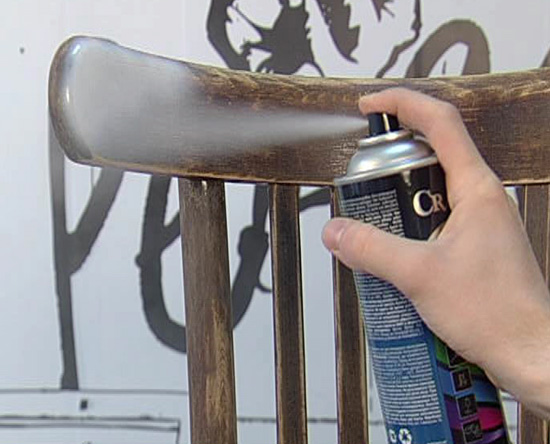
First, check the material for irregularities and roughness. Only after that you can varnish and paint the surface. Often, products made of coarse wood have to be varnished twice, since after the first procedure, jags appear. Instead of varnish, you can use other substances - acrylic water-based impregnation.which not only emphasize brighterly the texture of the material, but also often more effectively protect the surface from excessive moisture and other negative for the product effects of the external environment.
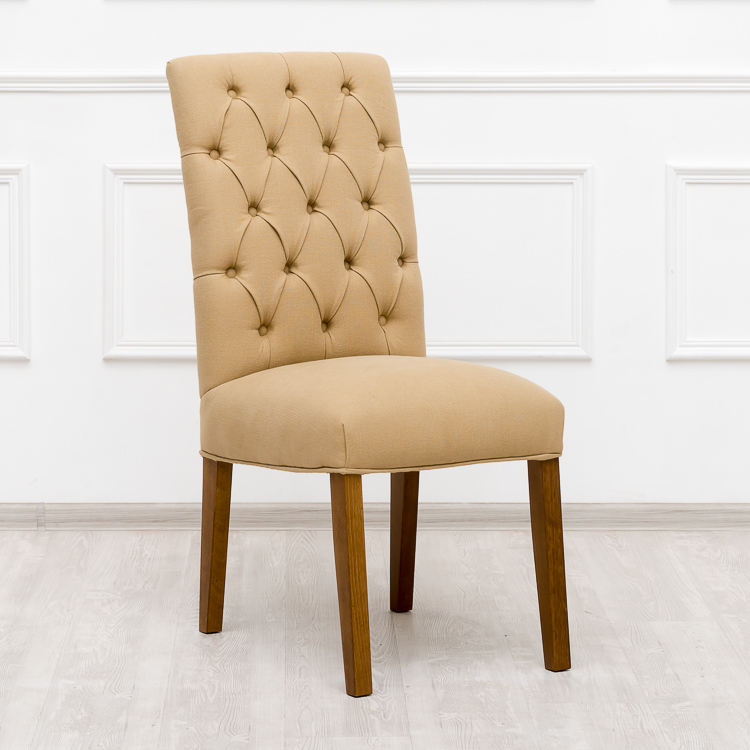
Further, the chair can be painted, put a soft litter on it - both on the back and on the seat.At the height of fashion, the carriage fastener is also relevant now - upholstery-decoration, which is like buttons drowned in matter. It is soft, aesthetic and beautiful. Most often the four-sided tie can be seen on the backs of the chairs. She gives them both rigor and visual wealth. However, this finish is not suitable for all interiors. In the loft, hi-tech, minimalism is better to confine less textured solutions.
Dressing
To make a beautiful chair, it is best to complete work on it with the help of decoration. Technologies and design techniques will allow to “tailor” the product to any, even very refined taste.
Before choosing a suitable technique, pay attention to the fact that many work better off homeso as not to spoil and stain the surrounding pieces of furniture, as well as to avoid harm to their own health. Varnish can smell very much, and for many it is an extremely unpleasant factor, sometimes causing allergic reactions. Thus, it is better to decorate a chair in a shed or in a country house, in rooms with good ventilation, or to use varnishes on water bases. However, the smell of paint still can not be avoided.
For decorating, you can use the following methods:
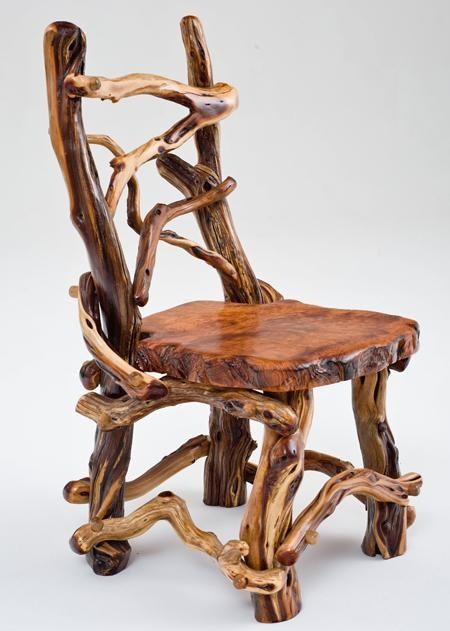
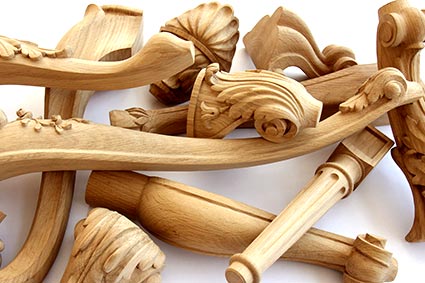
- Wood carving - The oldest and most common arts and crafts in the world. Ideally, you need to plan the manufacture of the carved chair right away. But the plus of this approach is that even the most ordinary chair can be turned into carved. Worn out and scratched overlap or the surface of the legs - do not worry. On the contrary, it is a reason to turn something beautiful and original out of them.
This can be done with a regular knife for carving wood.
This style is suitable for classic interiors, formats "antique". With the monumental approach, the carving will make the furniture more solid, and if, on the contrary, you need to “unload” the interior, neat and thin carving will add to the chair and the room as a whole lightness and airiness.
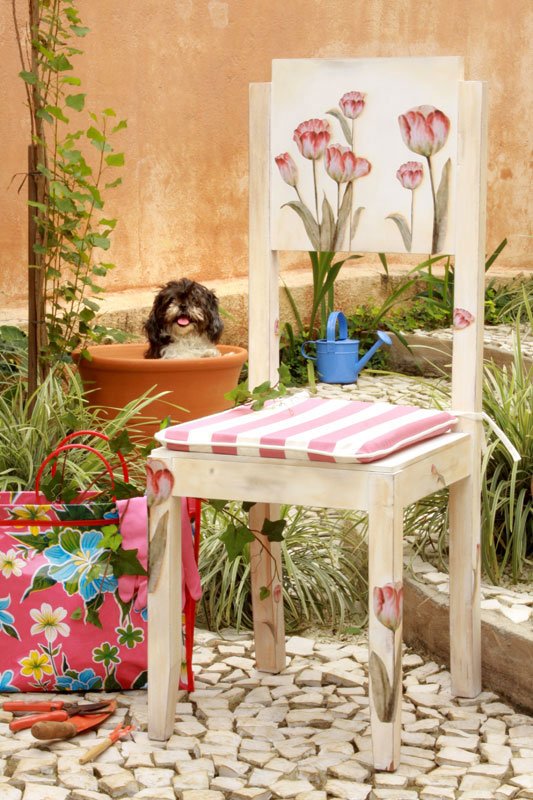
- Decoupage. Most often, this word is used in relation to bottles of champagne, but you can decouple anything and anything. In fact, this is simply decoration by attaching a drawing or ornament to the object, as a rule, followed by varnishing. First you need to polish and putty the surface of the seat, then paint it with white acrylic paint.better in several layers.Now you can stick (use PVA glue) on the surface of the picture, for example, printed on a home printer. The outline of the drawings can be further cut around and then coated with acrylic varnish.
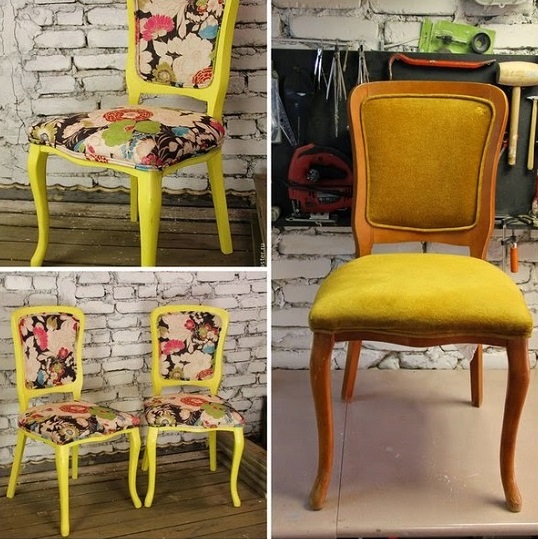
The ornament on the chair can be any - floral and marine compositions look advantageous. Colors - from bright green to black. A good idea is to decouple only half of the seat. If you put two such pieces of furniture to the table (from different sides), decorated in the same color, you can achieve very favorable color combinations.
- Painting. Perhaps the most obvious option, but here there are a number of interesting solutions. So, paints can be combined and mixed with epoxy. This will add surface saturation and color, freshness of flowers. You can achieve the effects of "foaming coffee" to "melting ice cream" or stylize the subject of marble or glass.
Original ideas
And finally - a few unusual ideas for creating chairs with their own hands.
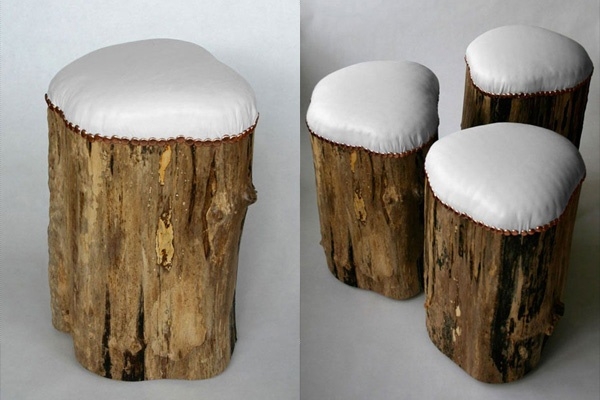
If there are old stumps in the country, you can convert them into chairs. It will be enough to attach seats and backs to them. When transferring uprooted stumps, strengthen their base,the best option - to use logs or boards, located crosswise.
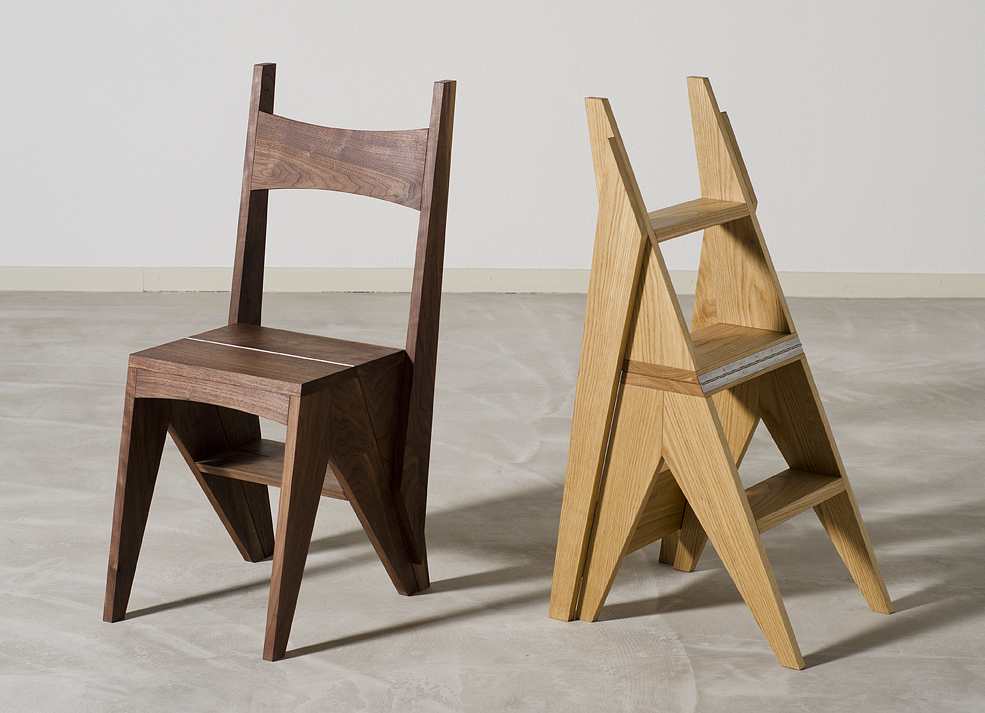
No less practical idea - the manufacture of the chair-step. It will somehow resemble a high bar stool, but at the same time have additional and rich functionality. It is enough to make two steps, and instead of the third to fix the seat. Its width should be approximately twice that of the steps. This shelf technology is close to the usual stool, only high.

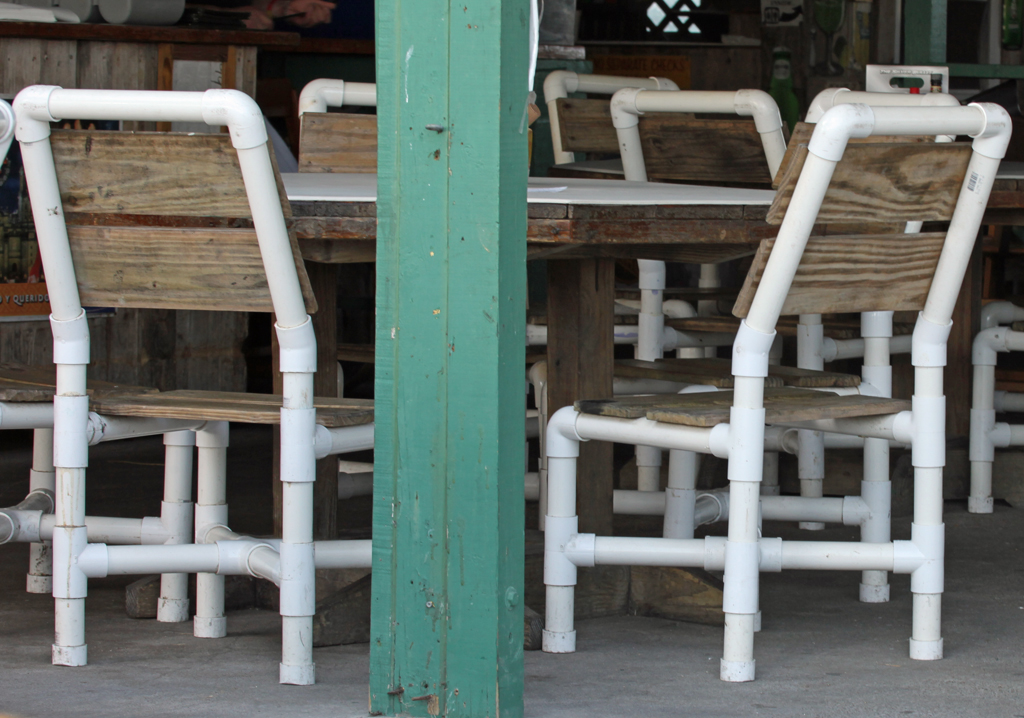
In the presence of polypropylene pipes, it is possible to assemble a highchair from them. For the seat will need about 10 tubes, for the back is enough 3-4. The legs should be made of thicker tubes to ensure product stability.
Another idea is a chair based on an old log. We'll have to level its surface and attach the back, making it closer to the folding format. Of the minuses of such a model is the difficulty in controlling height. Such a chair is hardly suitable for prolonged sitting, but it can really please young children - it will become an indispensable toy for them.
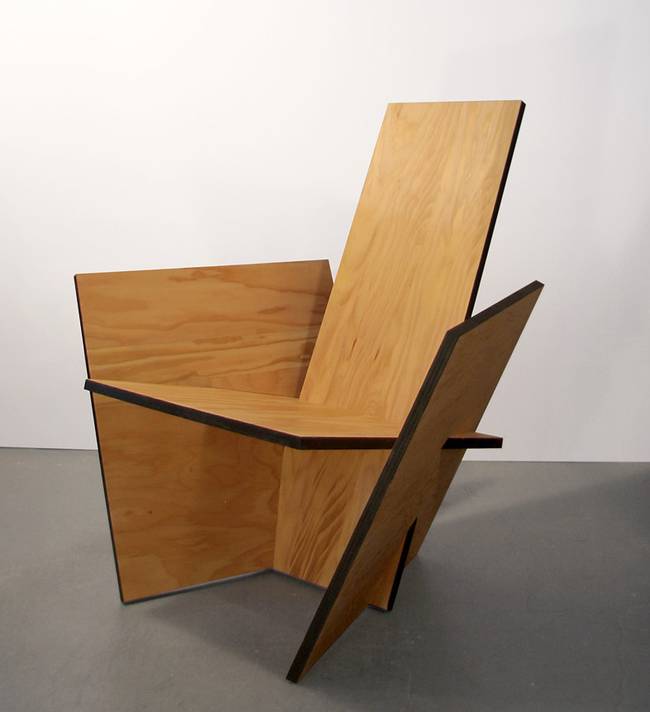
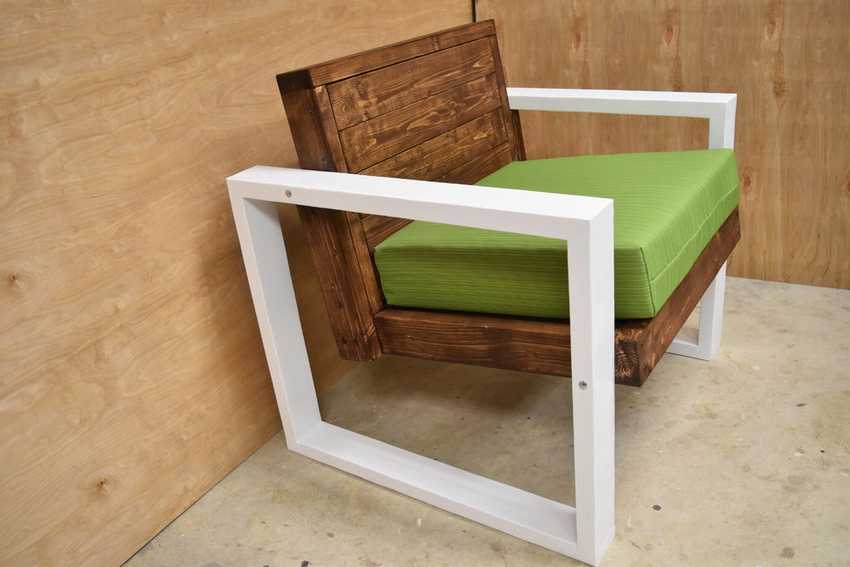
Another look at the design - the maximum minimalism. The chair can be made in the form of an unfinished rectangle - the lower border, where it comes into contact with the floor, will remain open.Only three rectangular boards will be needed for its manufacture: two of them will become legs, one - a seat. This design is very reliable in operation.

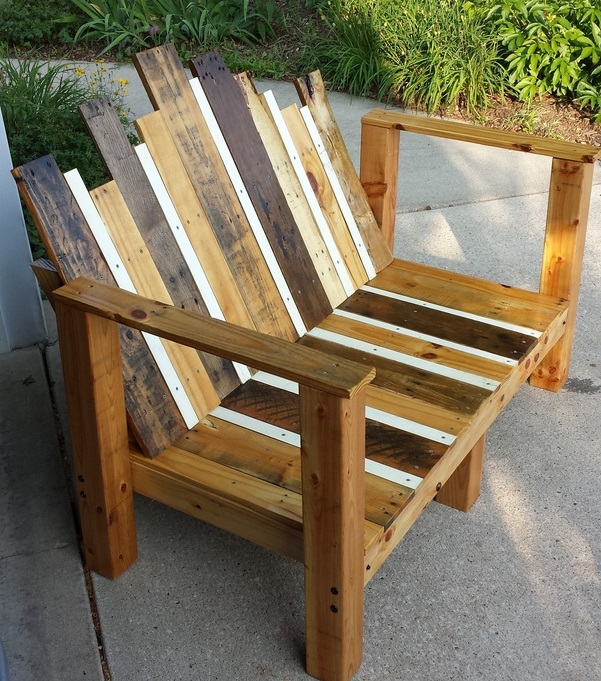
And the last example is a country seat with an uneven model back. Boards for its manufacture will have different lengths and differ slightly in texture and color. It is important to find the right color combination. - alternate and combine light (white, beige) and dark (gray, brown, black) shades. The seat will be like a part or the beginning of the back. The armrests with this design can be made quite high. If the chair turns out to be wide, it will be necessary to “secure” it with the third central row of legs.
As the experience of folk craftsmen and professional designers shows, in the manufacture of a transforming chair, one should first of all start from one's imagination and not be afraid to be creative. Seats can be made of virtually any available tools. The main thing is to make them as convenient, comfortable and reliable as possible.