How to make a folding chair with your own hands?
The chair is one of the most necessary household items. It is equally necessary both at home in the kitchen, and at the cottage or backyard. And without a folding chair can not do any fishing, hunting or picnic. You can buy this simple piece of furniture without any problems at any furniture store, but it will be much more pleasant to make it yourself.
Special features
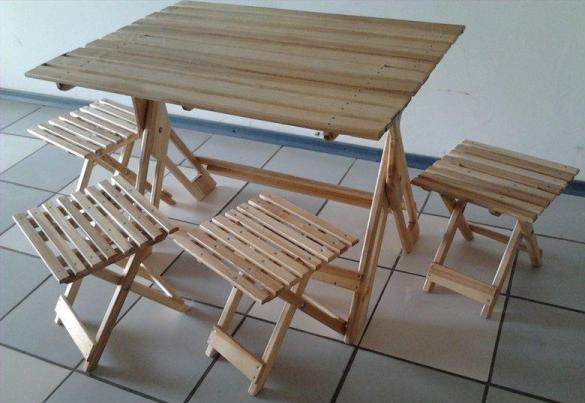
This model of chair is chosen by travelers, gardeners and artists. The practicality and compactness of this model does not require proof. To date, there are folding hiking options for almost all of our usual furniture: tables, stools, folding beds, sun beds and the like. The main advantage of such products is, of course, compactness and mobility.
Traveling several tens of kilometers a day, it is pleasant for a tourist to land on a folding chair during the rest.When traveling by car, it is important to have a compact chair, and if you move on your feet, it becomes a necessity at all. Large items for camping are not suitable. Particularly comfortable will be products with a back.
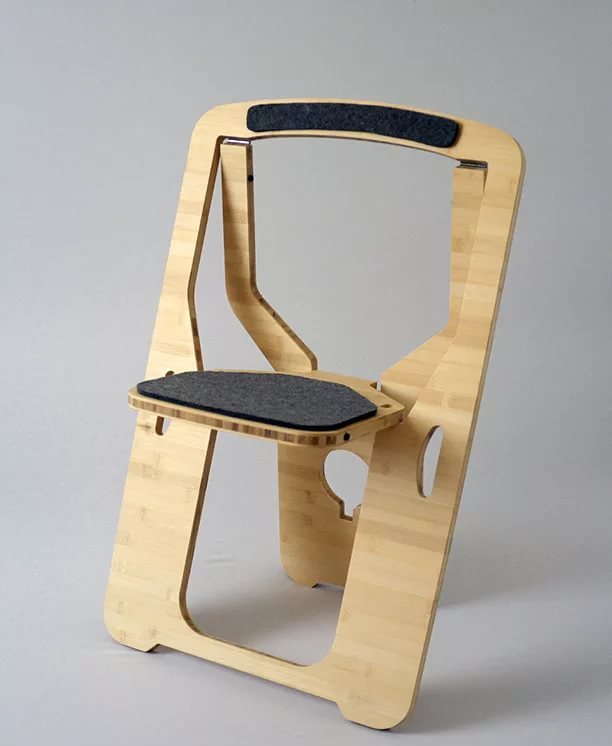
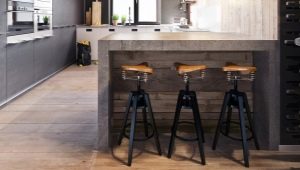
However, do not think that all folding chairs are a cheap and inconvenient show, which is suitable only for hiking in the woods, messing around in the garage, or at best, for country meetings. Today you can buy or make yourself very stylish and comfortable chairs for a modern kitchen interior. Such products are not ashamed to show guests, especially if the subject of pride is made by hand.
Everybody can assemble a home-made chair, the main thing is to follow the instructions and the drawing.
Special carpentry skills for this venture will not be needed. You just need to know how to handle a hacksaw and hold a drill in your hands. Folding chair going on the drawing, as a designer.
There are three main materials used for the manufacture of folding chairs: metal, wood and plastic. Plastic - light and cheap material, easy to clean. It is not able to withstand a large body mass and is deformed,if located near heating appliances. This material is short-lived, so for constant use it is better to choose something more specific. For example, chairs on a metal frame.
Folding models of aluminum reliable and strong. They are not afraid of rust and can withstand a lot of weight. The best option is wooden products. They are safe, beautiful and reliable. Such a chair will cost more, but it will also serve for a long time. In addition, even a beginner can collect a folding tourist chair from this material.
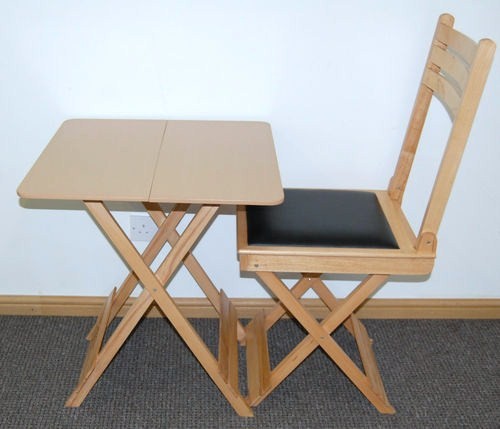
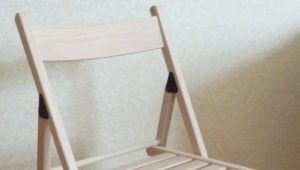
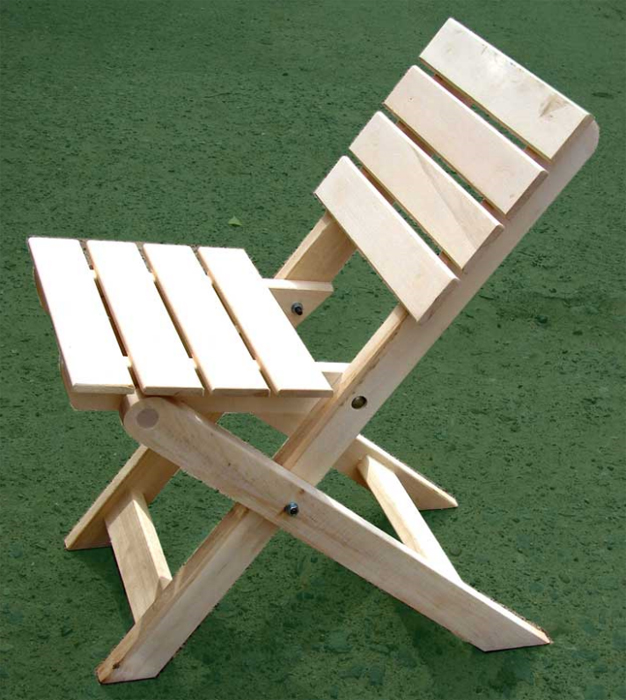
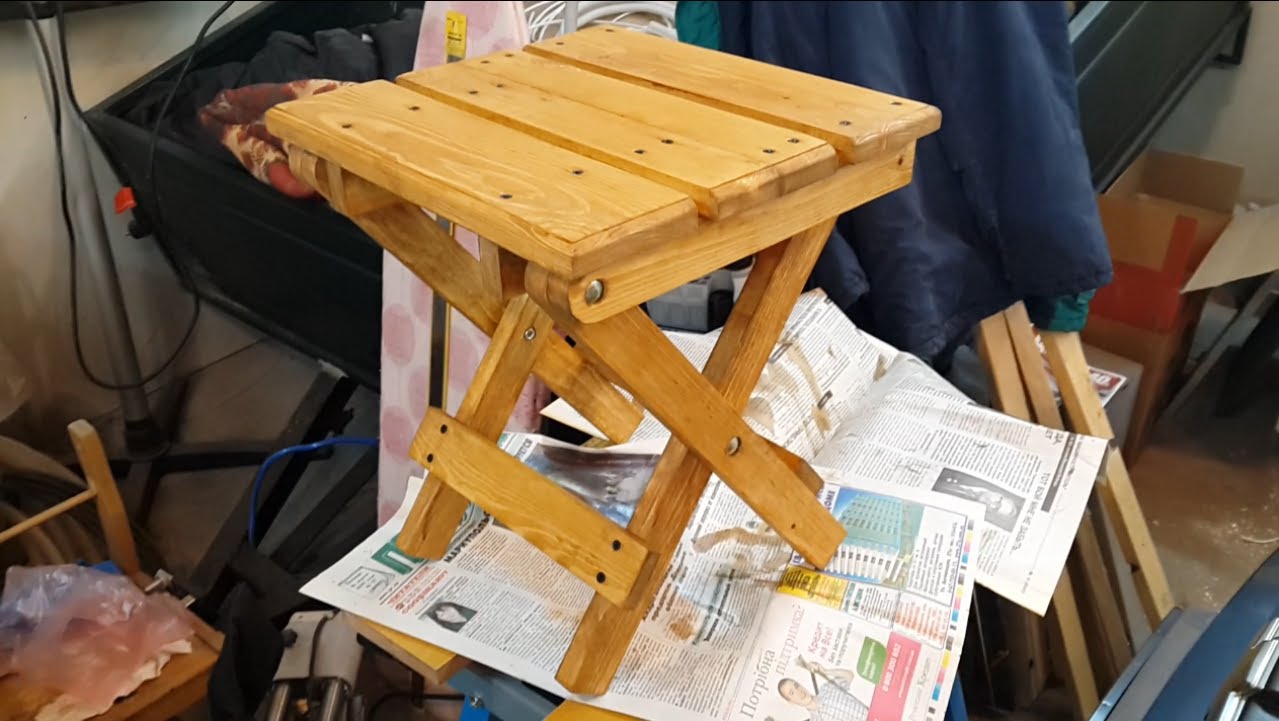
Backless
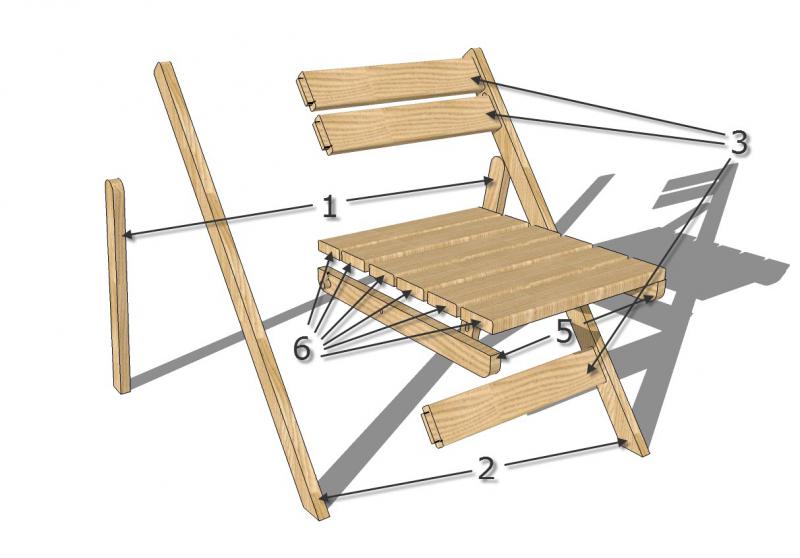
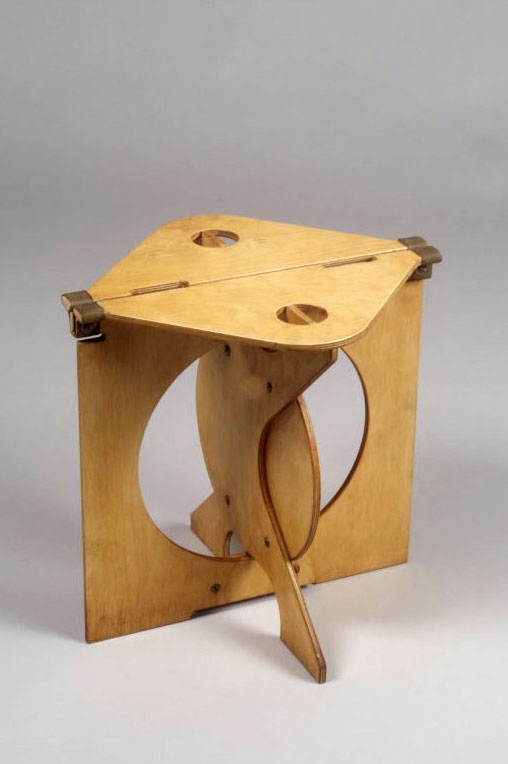
The design of the folding chair resembles the easel-cracker at the expense of the rising seat mat. The main parts are bars, connected by loops, which allow one piece to move relative to the other.
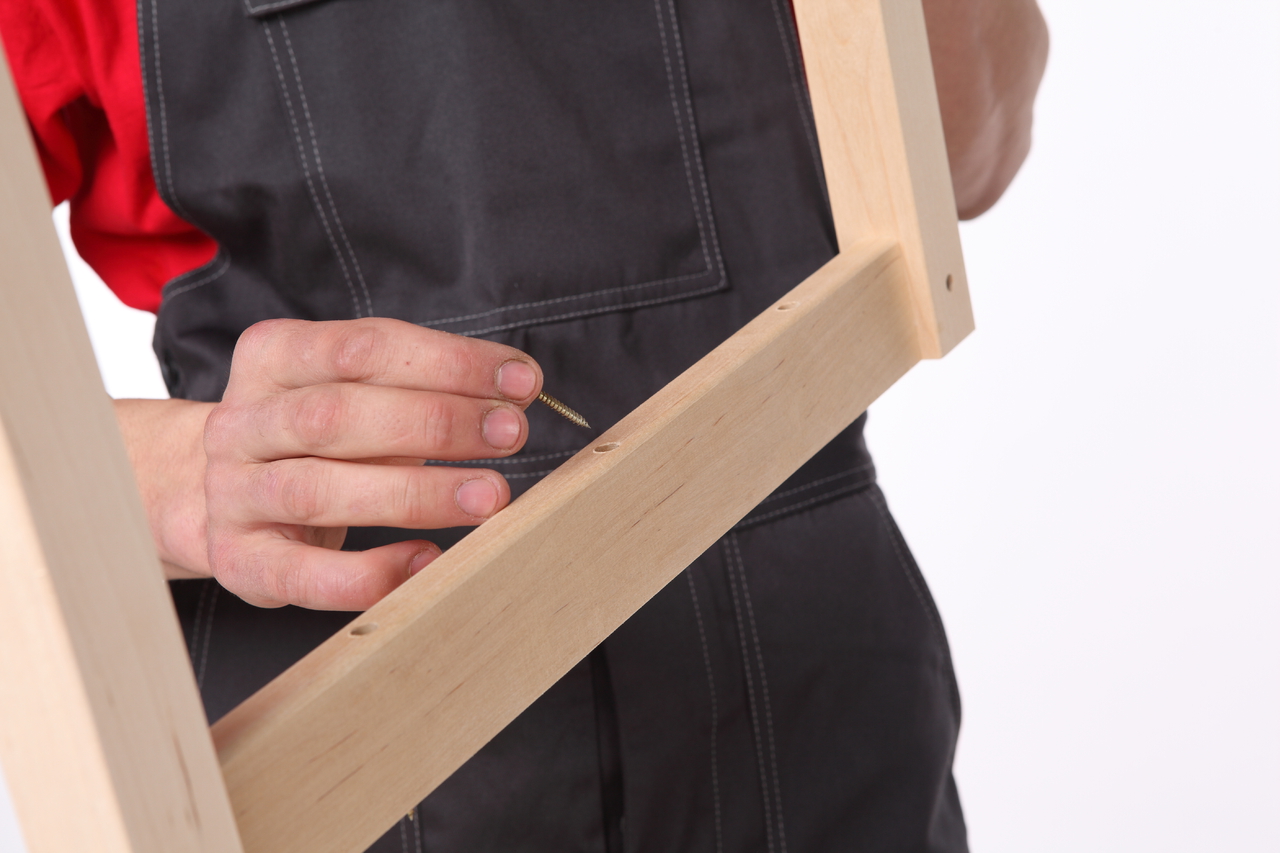
When assembled, the frames are precisely interlocked with one another. The chair is ready to work when the frames are apart and the seat is raised. The seat rests on the screws, mounted in the front frame.
To bring the seat to its original state, you need to raise it, closing the frame and at the same time dropping the seat. When folded, this item easily hides under a sofa, behind a cupboard, or simply leans against a wall.
Before assembling, place the bolts on the legs so that the axis falls on its upper part. Otherwise the chair will come out tall and unstable. Tops of nuts and bolts slightly "drown."

Tools and materials
Having decided to make a hand-made chair without a back, take care of the availability of certain tools. Most of them have everyone in the garage or on the balcony, and if something is not found, then it can be easily purchased in a hardware store. The following is a list of required tools:
- Jigsaw and saws to it;
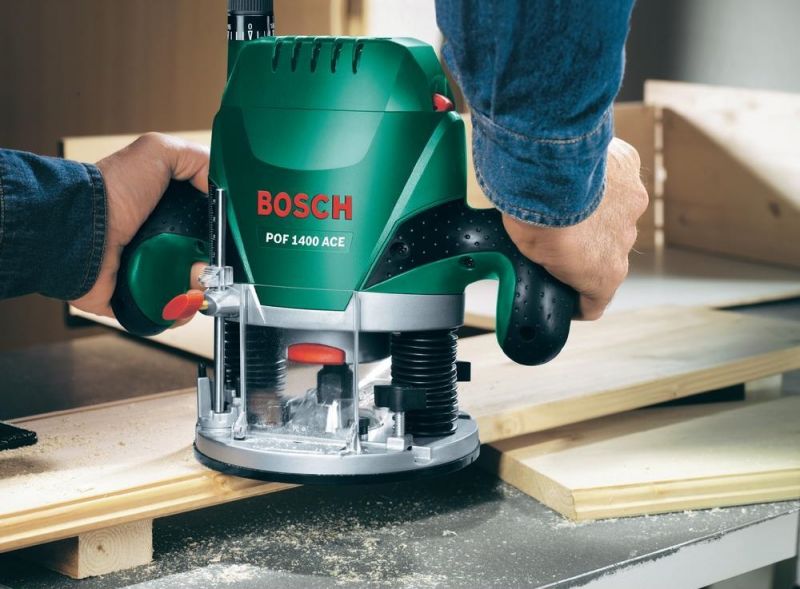
- Manual milling machine;
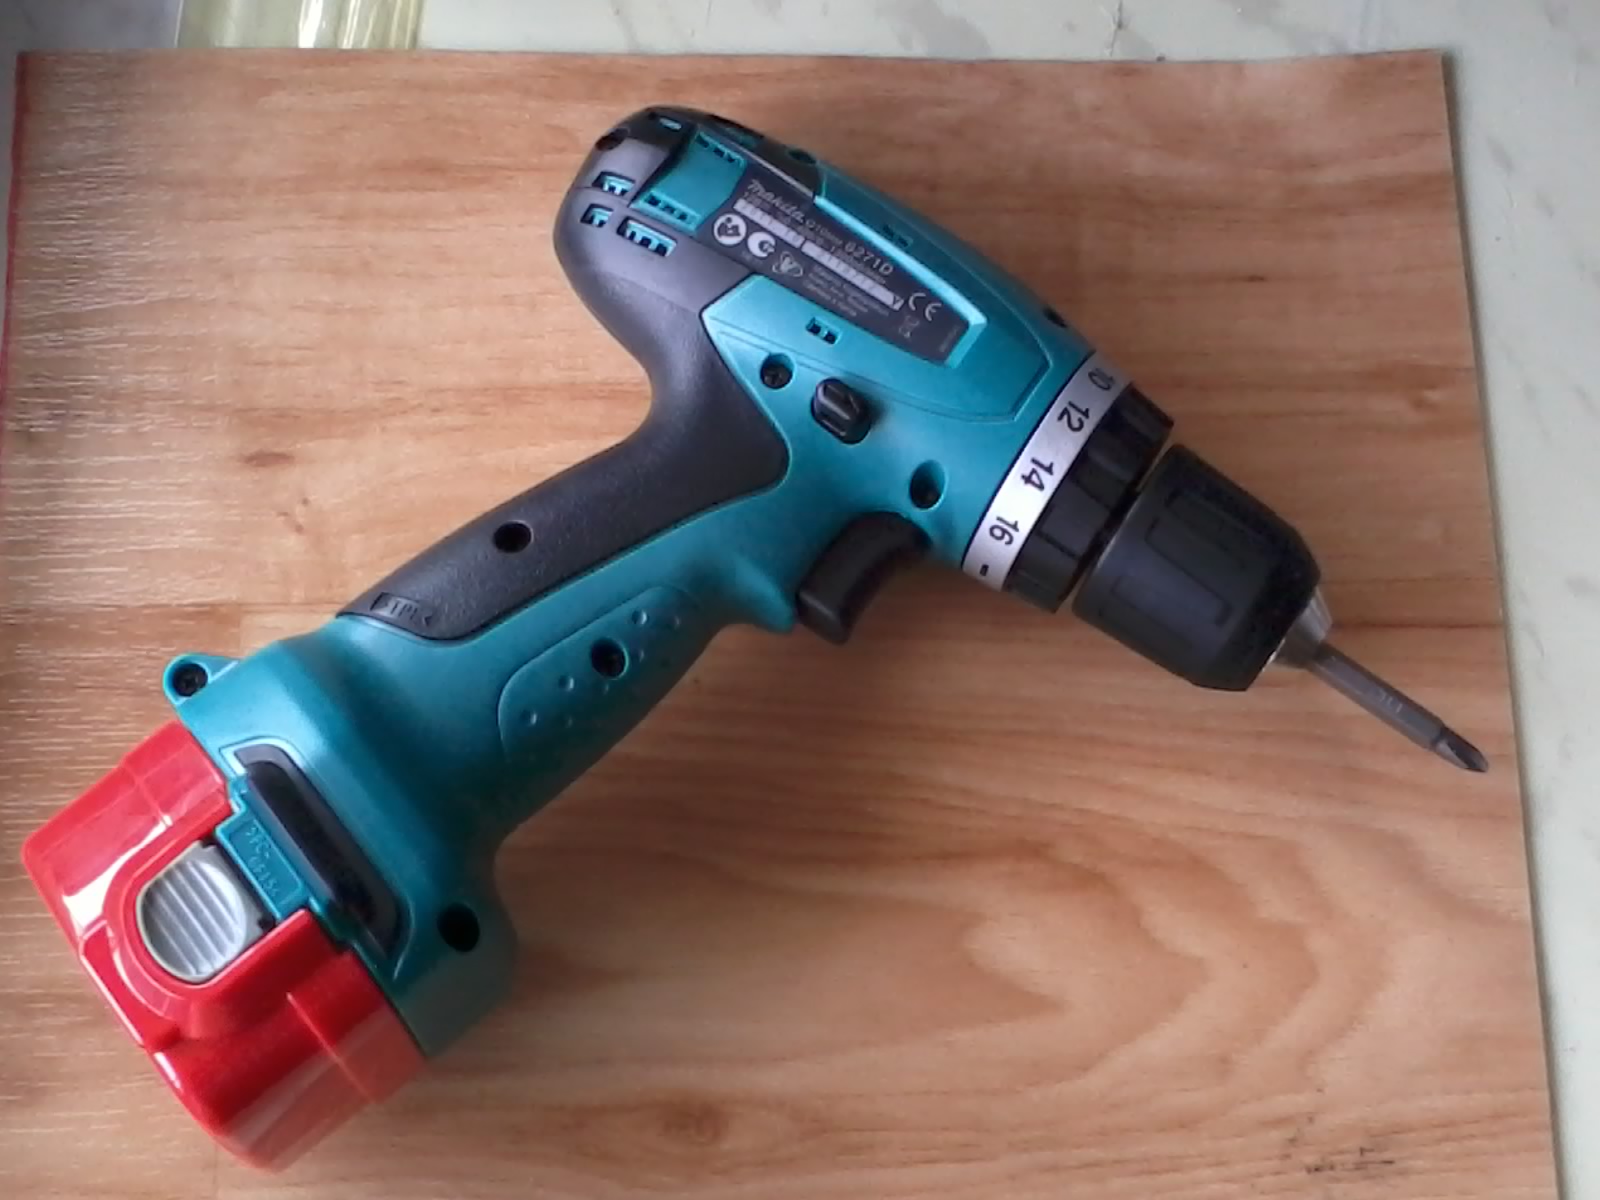
- Screwdriver;
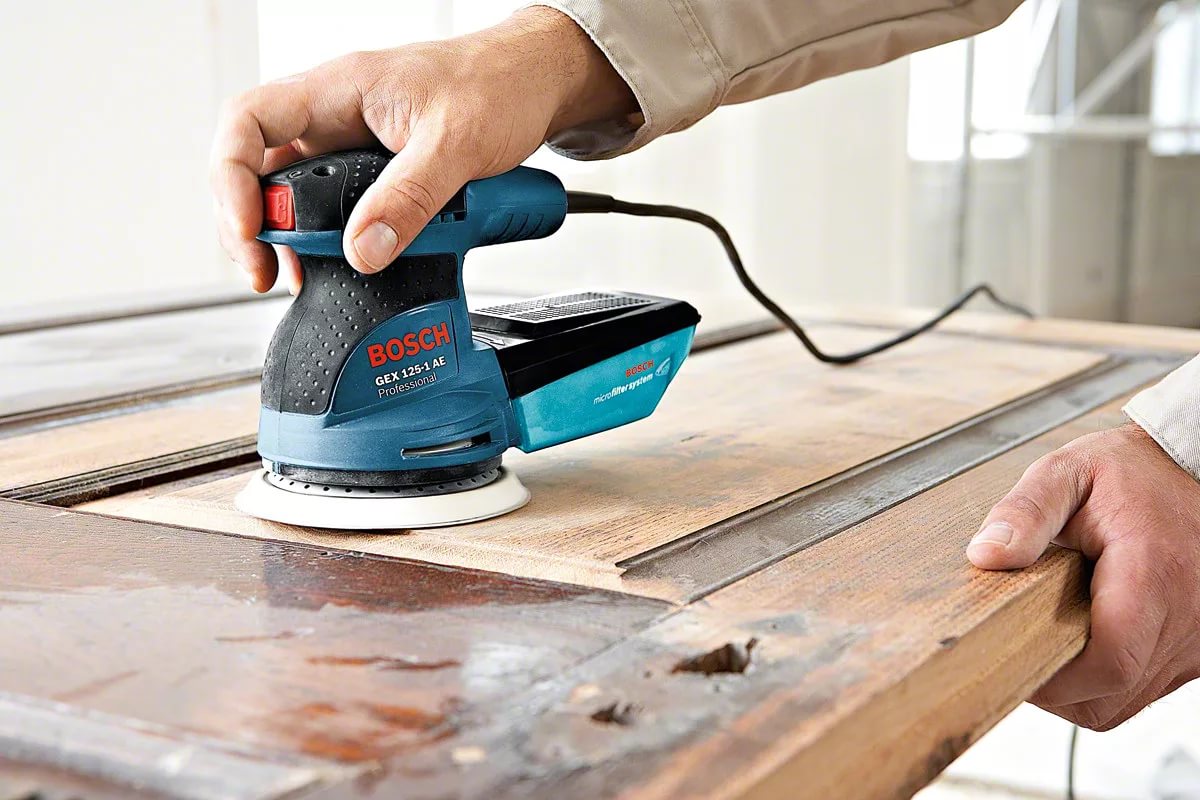
- Grinding machine;

- Roulette;
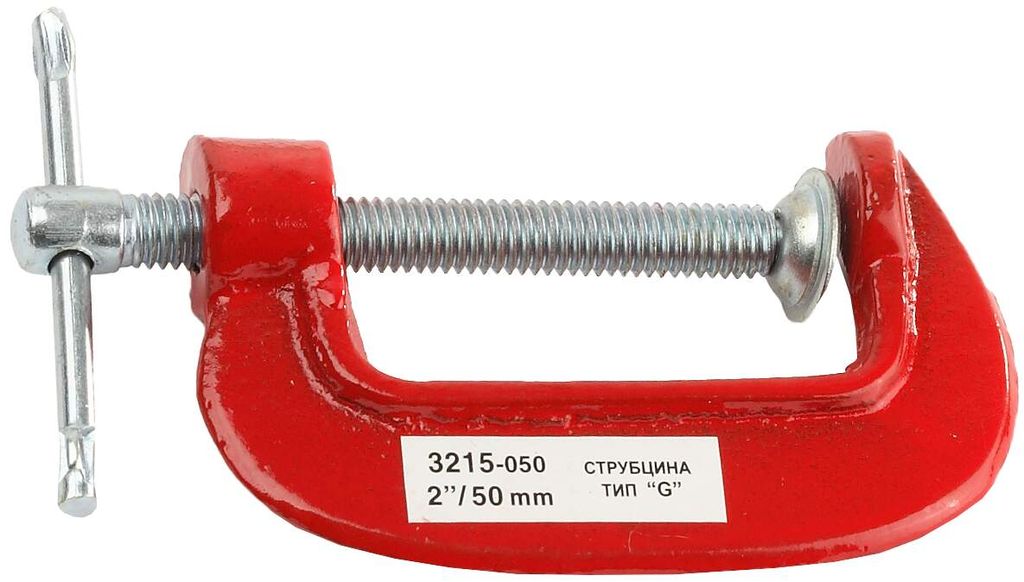
- Clamps;
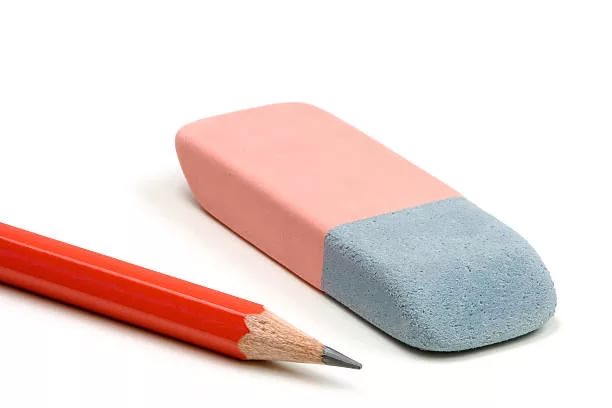
- Pencil, eraser;
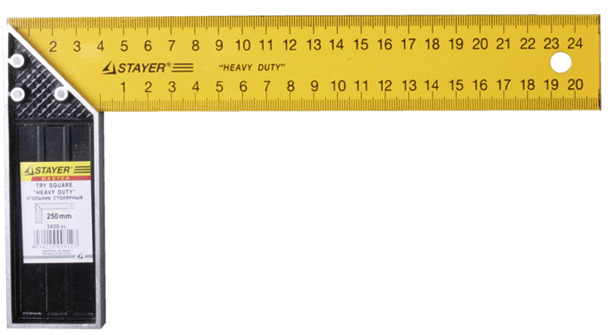
- Building Corner.

To make a chair, you need not only working tools, but also good materials. The store has everything you need, namely:
- Bars of wood;
- Plasterboards;
- Furniture shield;
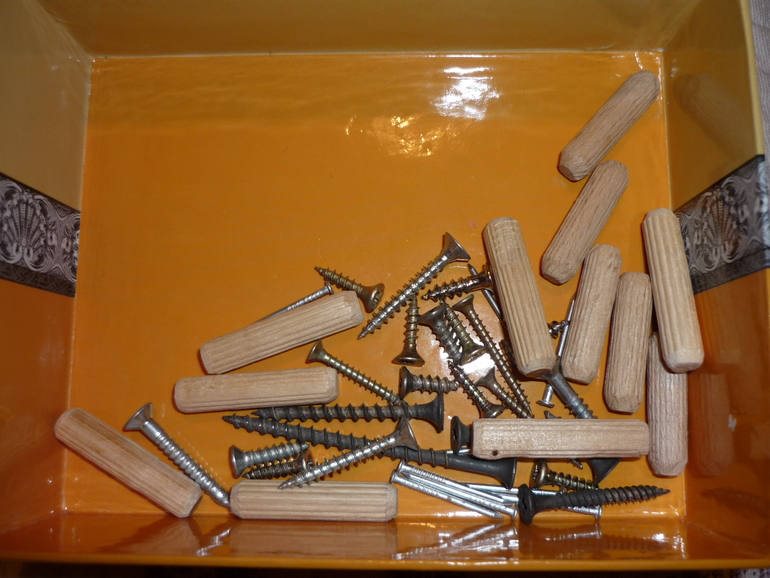
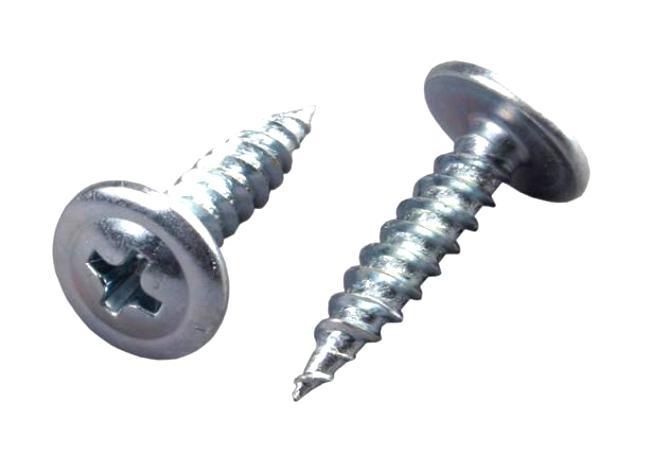
- Self-tapping screws;
- Glue;
- Screws, bolts, nuts;
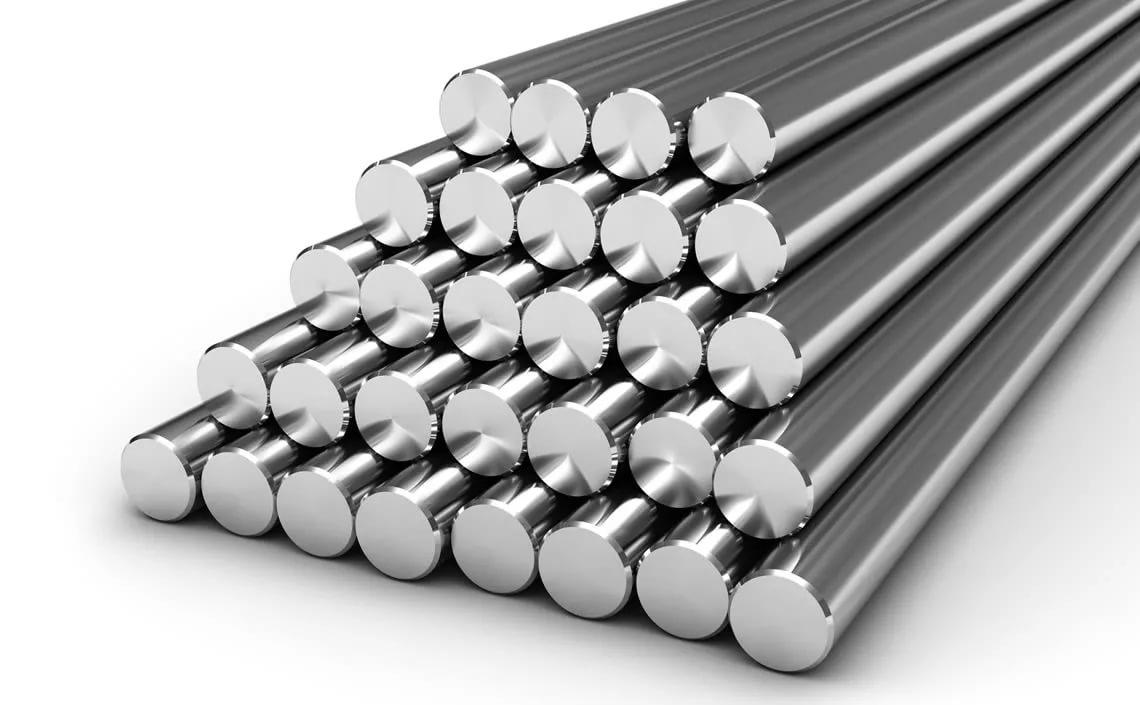
- Metal bar.
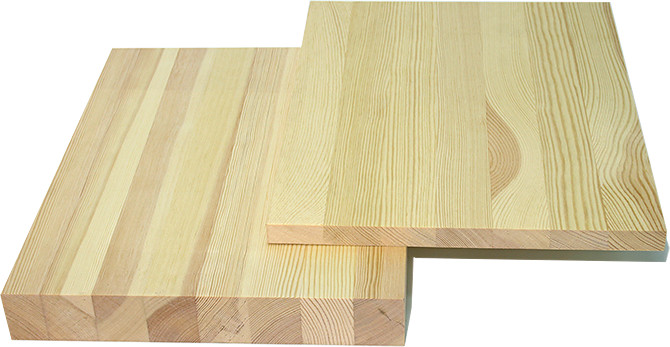

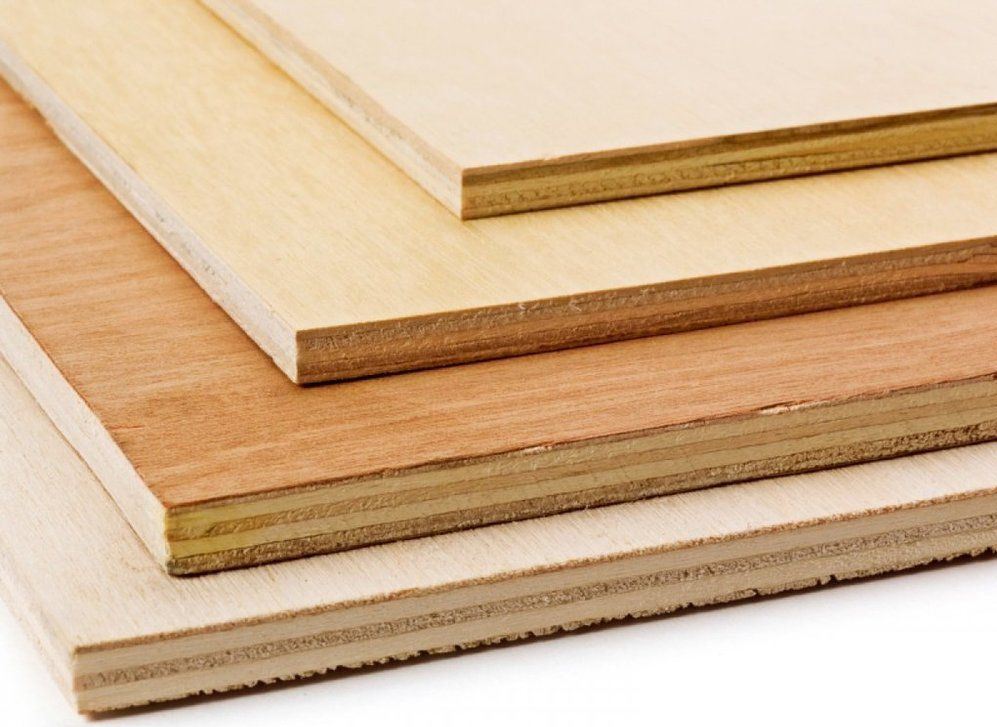
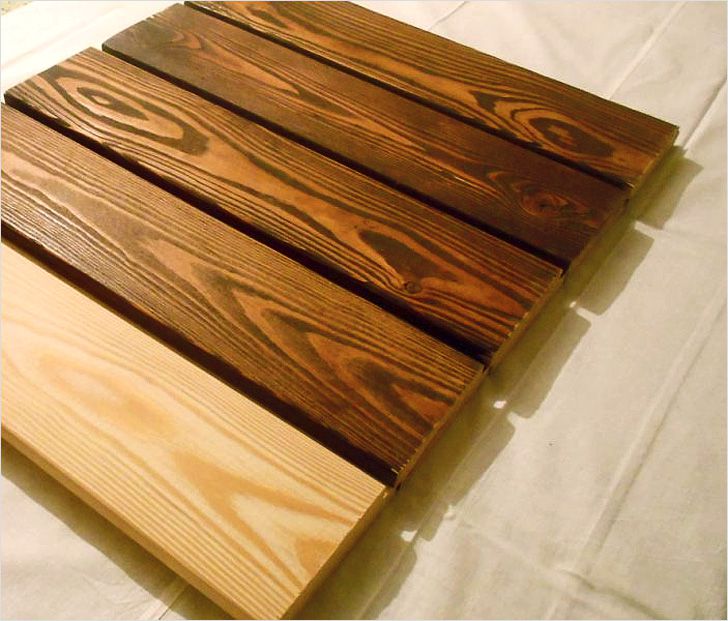
Pine boards are suitable for making chairs, because they are very light, but it is better to use ash, since this material is harder. Details of pine less durable. The optimal width of the board is 21 mm. Birch is also a very good material.
In principle, you can use a tree of any breed, which you have. You can come up with an interesting product and plywood.
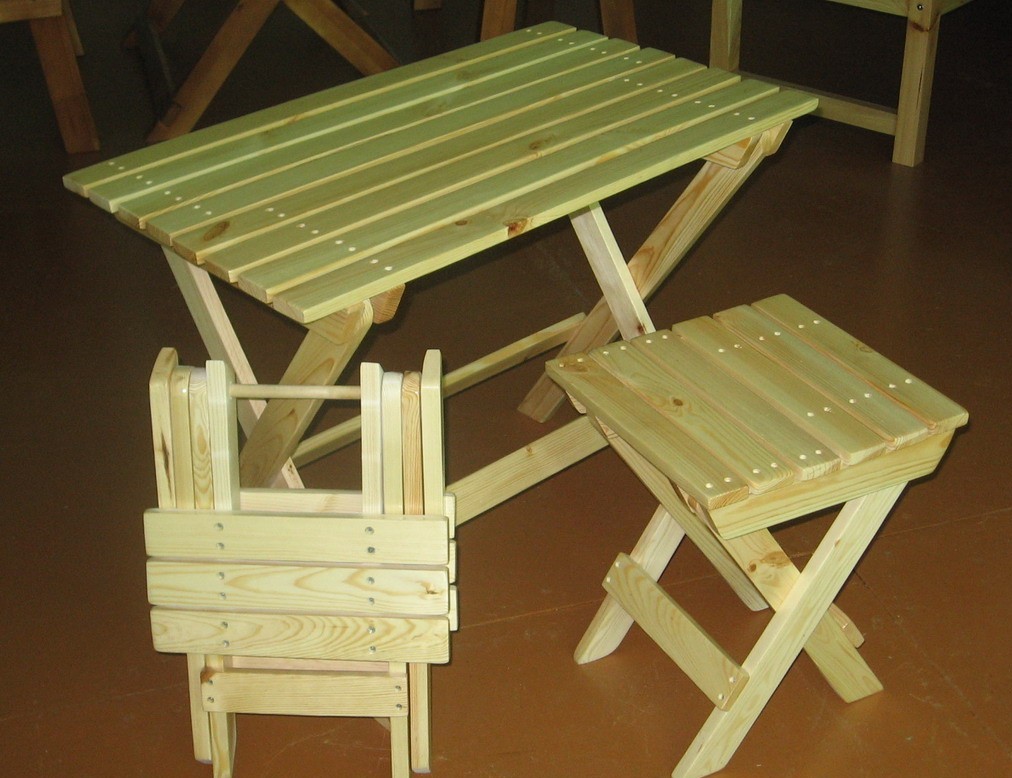
Frame and fixing bars
At this stage of work, the upper ends of the legs are connected to the crossbeams by bolts, on which later there will be a seat. Two crossbeams are mounted to the internal legs, and two - to the external.
As a result, we have two parts on the hinges. They are first connected with the outer bars for seating. Make a stock of 1.5-2 cm. Bars are attached to the sides of the crossbar: one to the outside, the other to the inside. Between the legs we make small slats, the so-called proglots.

The next important stage is the fixing of the bars. From the average bars will depend on how the chair will fold and unfold. The middle bars are placed in the same way as the wide outer ones. One bar is attached to the inner, and the second to the outer crossbar.
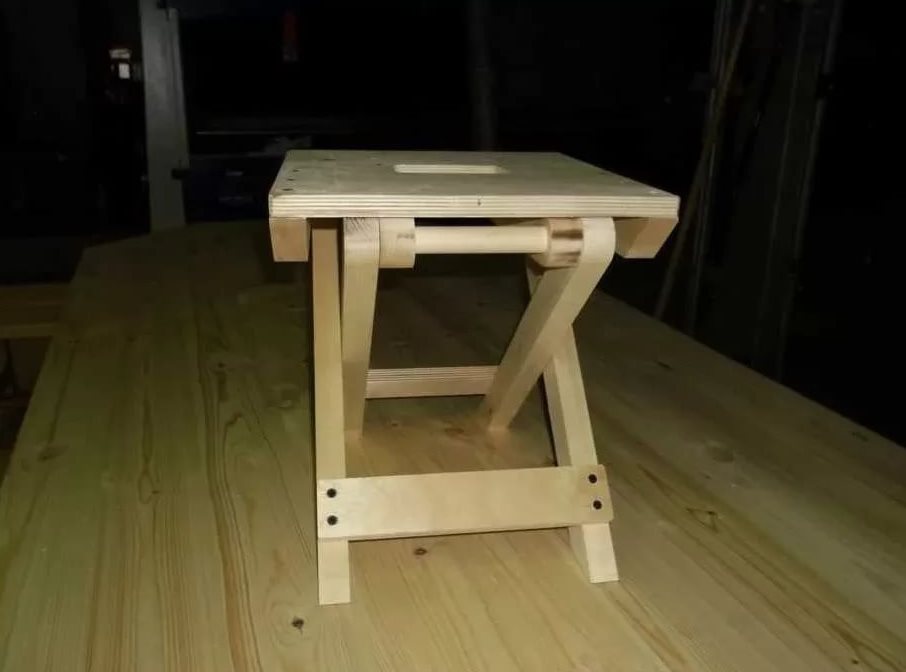
The height of the chair depends on the attachment points of the inner beams. The approximate distance is 1.5-2 cm. The height of the chair is usually 35-45 cm, but this is determined individually.
How to make a folding chair without a back, see below.
Painting
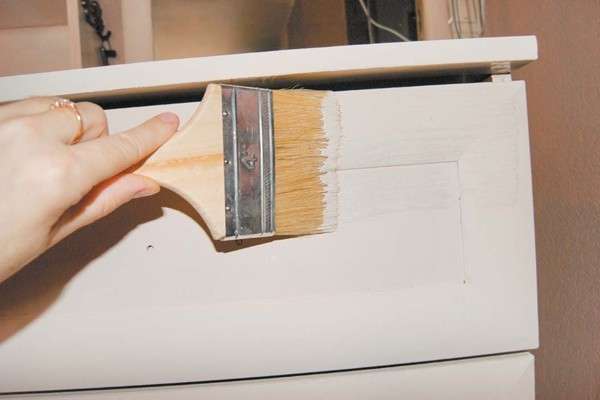
First you need to decide on the material for painting. Acrylic and alkyd paints are suitable for such works. It is better to use acrylic paints, as they are more durable. In addition, they do not have a sharply unpleasant smell. Acryl perfectly protects wood from damage and the negative effects of moisture. It will also require several brushes of different sizes. Work begins with the preparation of the product.: checking the reliability of fasteners, grinding and cleaning.
If you like natural wood patterns, then get a translucent furniture lacquer. It is not washed and perfectly protects the wood. The lacquer surface is easy to clean.
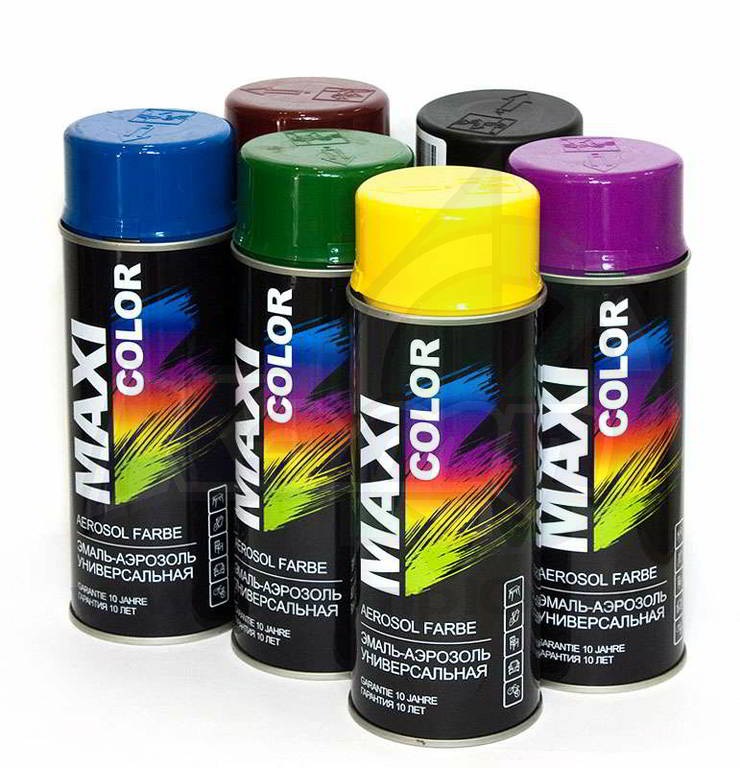
The easiest option would be to buy spray paint in a can. Its cost, of course, will be higher, but it is easier and more convenient to work with it.
If the surface is defective, they can be fixed with a special putty. In this case, it is better to paint the product so that the “patches” are not noticeable. It is better not to seal up significant chips and cracks in such a composition - they can fall off.

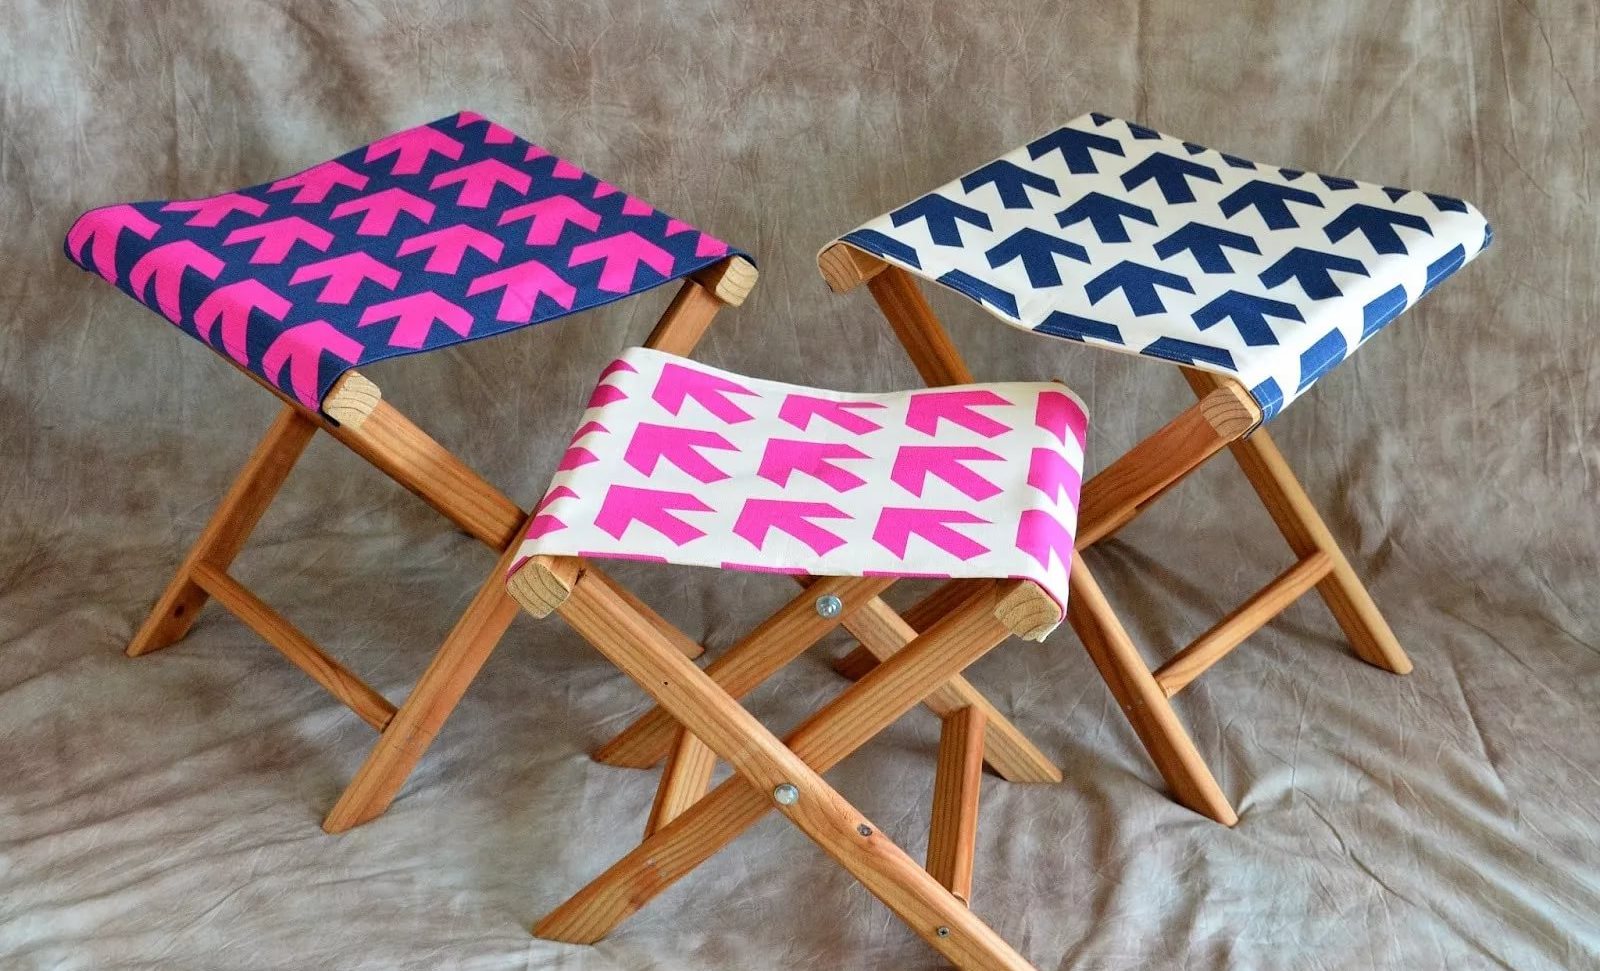
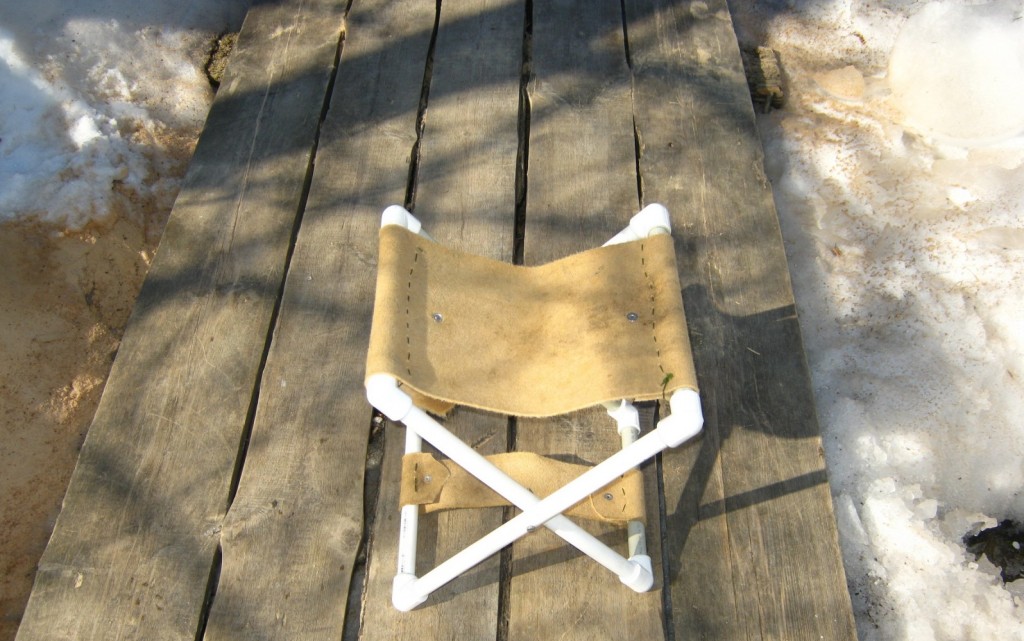
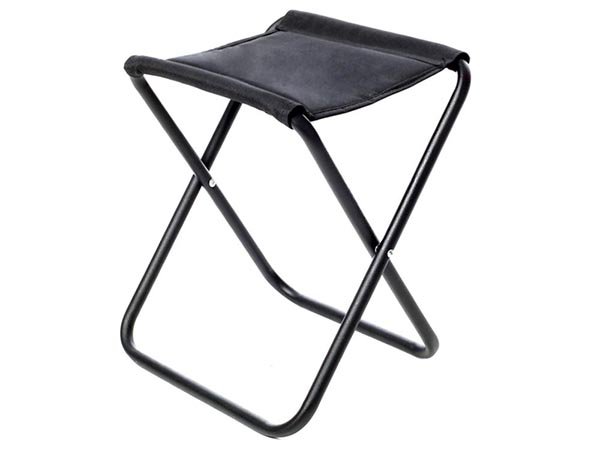
With fabric seat
The advantage of these chairs is that they are extremely simple to manufacture and even more compact.Even a set of such chairs can easily hide under the bed, and one can hang on the carnation in the garage. For the manufacture of such a model, the drawing is not needed, and from the materials you will need:
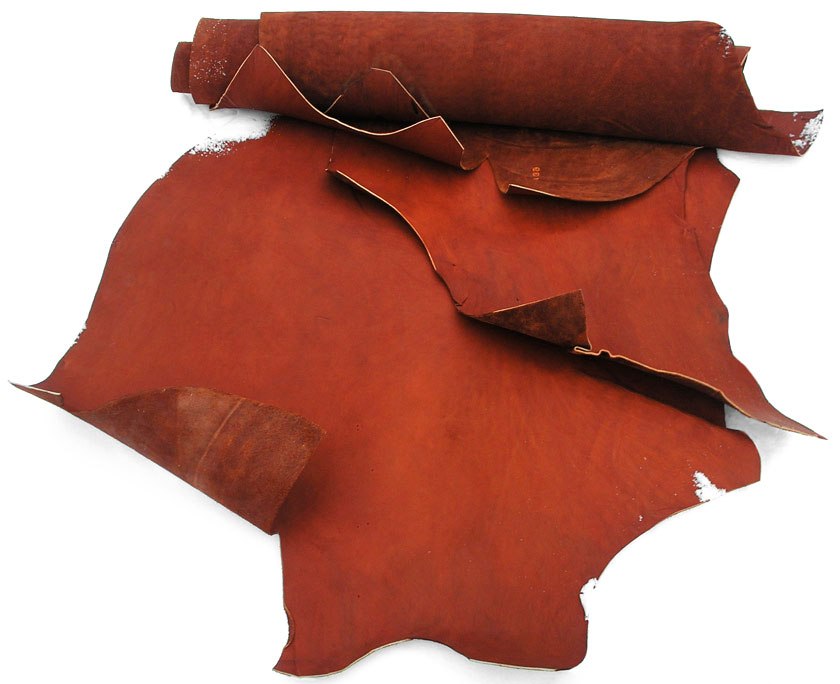
- A piece of leather or denim-like dense fabric;
- Self-tapping screws;
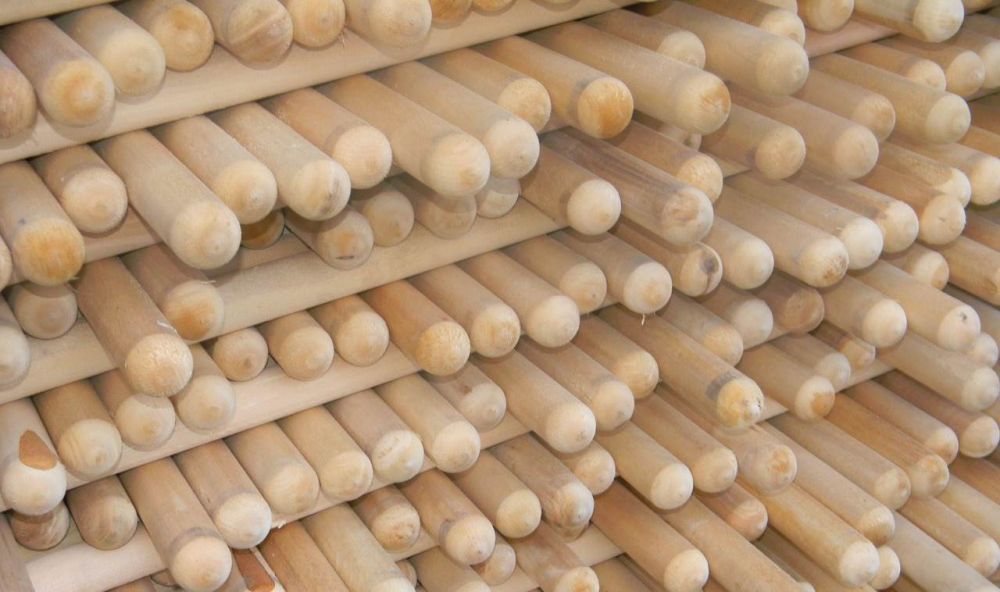
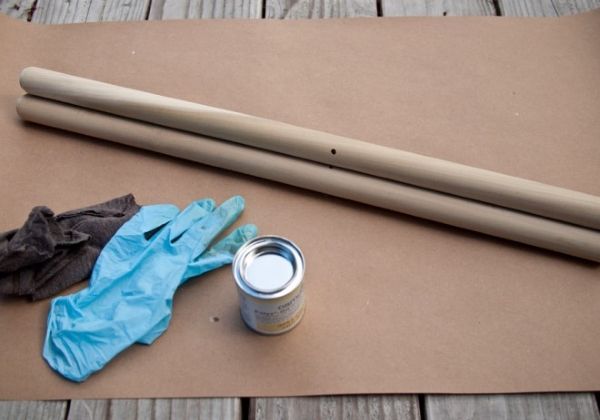
- Cuttings from garden tools or metal pipes;
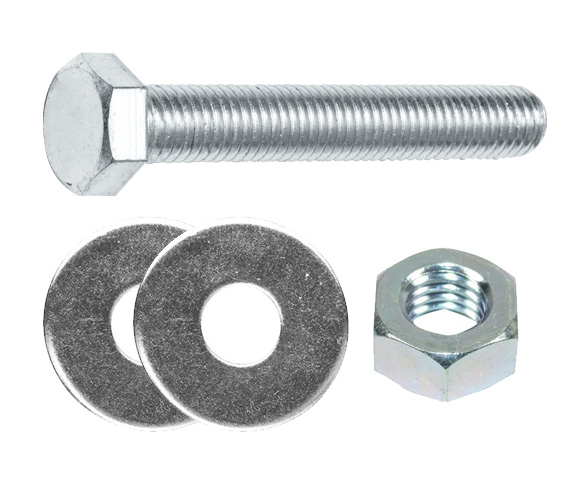
- Washers and nuts with screws.
Instead of wooden cuttings, you can use polypropylene pipes. Prepare from the tools:
- Grinding machine;
- Jigsaw;
- Knife or scissors;
- File;
- Screwdriver;
- Wrench;
- Screwdriver;
- Drill.


We cut off 3 future legs from the selected material with a length of 60 cm in cross section of 4 cm. Then we make holes of 0.6 cm in each handle at a distance of 34 cm from the edge. At the ends of the drill hole to fix the seat. If you chose wooden legs, soak them with linseed oil and paint. So they will last longer.
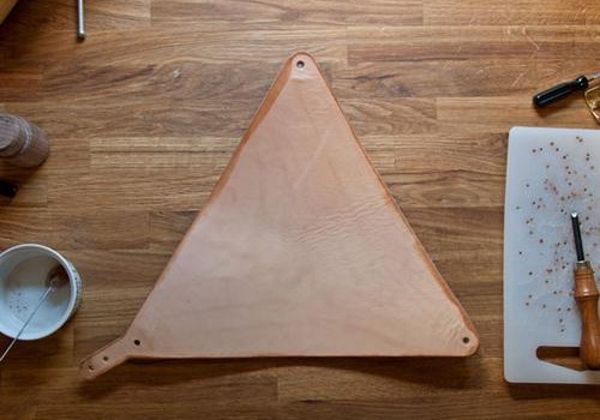
The seat will have a triangular shape with a length of 28 cm on each side. We cut the fabric with scissors, and if the seat is planned to be made of leather, then we cut it with a knife. For convenience in carrying it is possible to provide a chair with a belt. The chair can be carried on the shoulder, if you attach a belt to it. A loop for mounting it is done at one of the corners of the canvas.

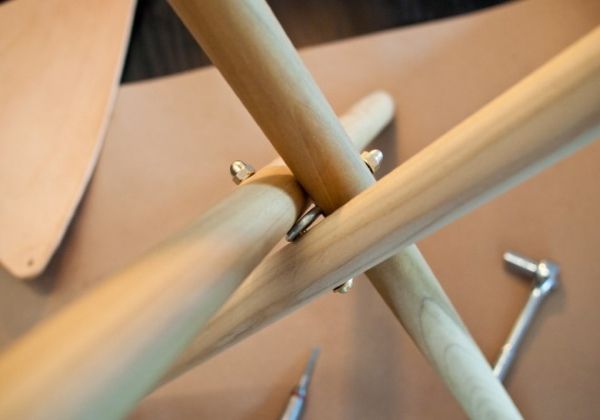
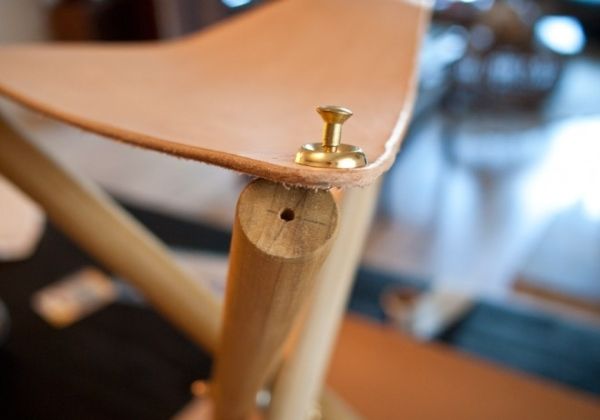
After the legs are dry, proceed to the assembly. A 6 mm screw and a length of 100 mm are passed through the first leg, having previously put a washer on the screw. We put the second washer on, put the screw on the hairpin with the loop and install the third washer. We put one more leg, we put on a washer with a nut. The third leg is put on a hairpin with a loop, then a washer with a nut is installed. The fastener is tightened with a wrench and a screwdriver. Remove the excess thread with a grinding machine, and pass through the files on the heels with a file.
It's time to attach the seat. Before you tighten the screws, we place big washers under the caps. If you insert a screw with a loop into one of the legs, you can attach a belt to it. The work is completed by installing caps made of metal or plastic on the legs, which will serve as protection against damage.