Laying laminate diagonally
There are two main ways to lay laminate: straight and diagonal. The first option is easier for beginners, but it is suitable mainly in a narrow room stretched in length. If it is close to square in shape, it is possible to work diagonally - and you should be able to do it properly.
Pros and cons of the method
Often among the disadvantages of laying laminate diagonally is called increased complexity and complexity of calculations. The material will have to spend more - the amount of waste will double and triple even among the most skilled and experienced people. But still, there is a significant advantage: attractive appearance and the ability to create a spectacular design. A glance along the long joints between the panels better perceives this method of floor design.
Diagonal technology allows you to visually expand the space in the room, which is very beneficial for small apartments and houses.Especially well, judging by the reviews, this solution looks in a space that is not cluttered with furniture and other interior items. Drawing can be prepared as diverse as possible, and any professional designer uses this. A responsible builder will not refer to difficulties, because he also understands the stylistic advantages of this option.


Laying laminate strips diagonally in a room of a very complex shape turns out to be even simpler than the classical “direct” method. But note that any master will undertake to lay the cover in this way only with an increased payment, because he appreciates his time and energy.
Preparatory work
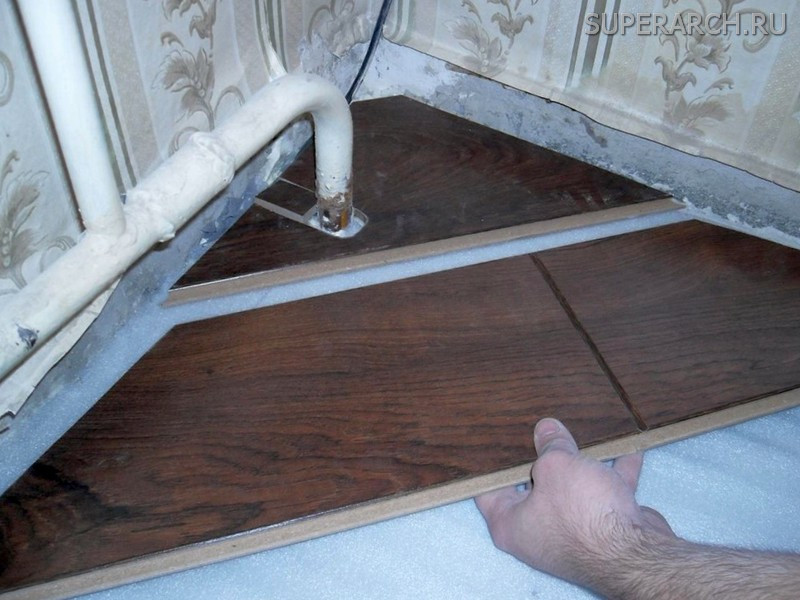
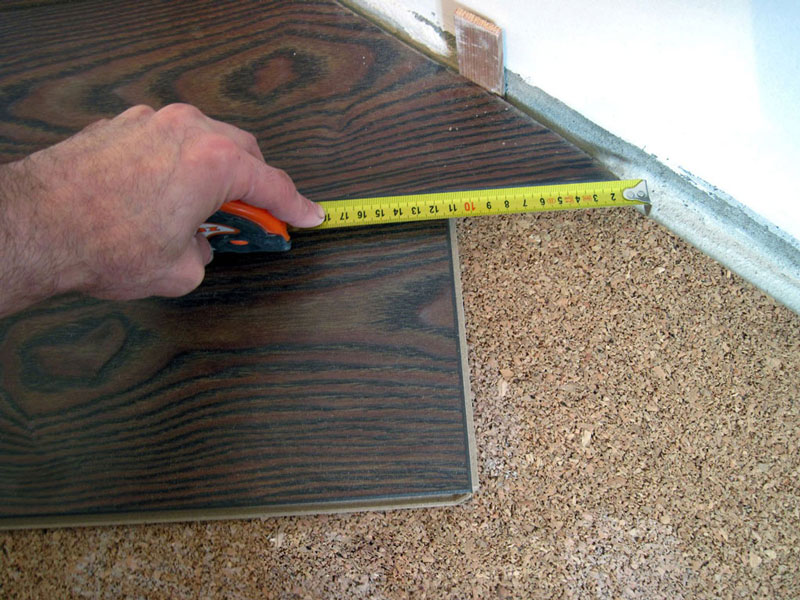
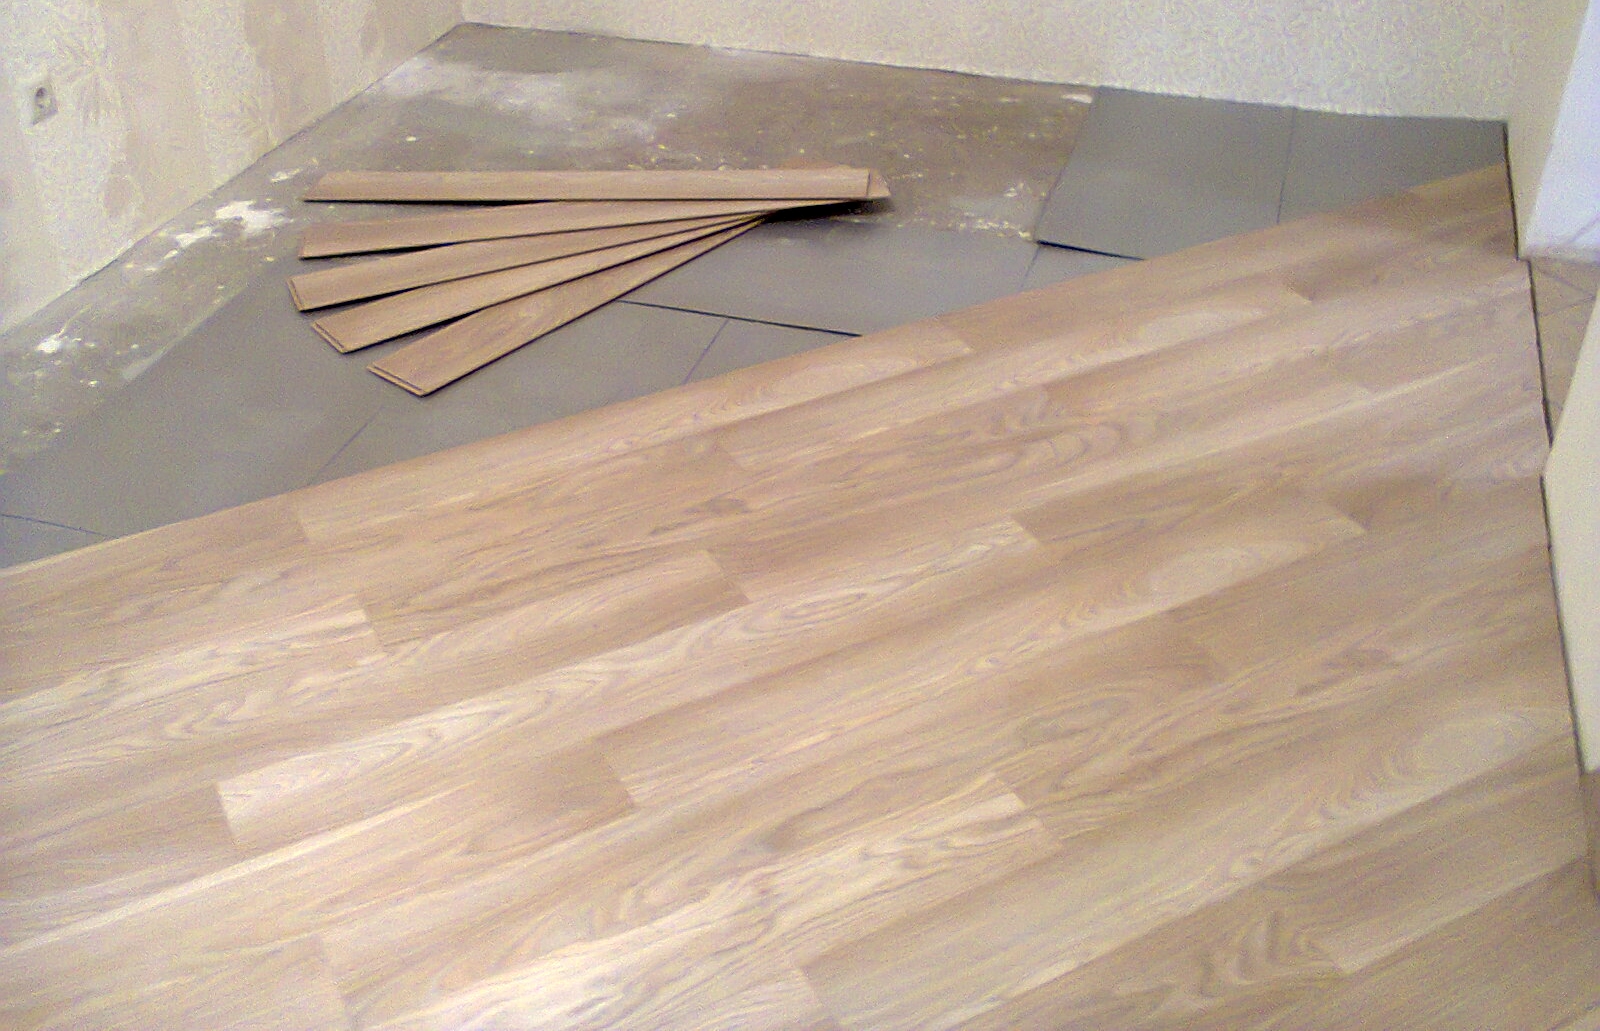
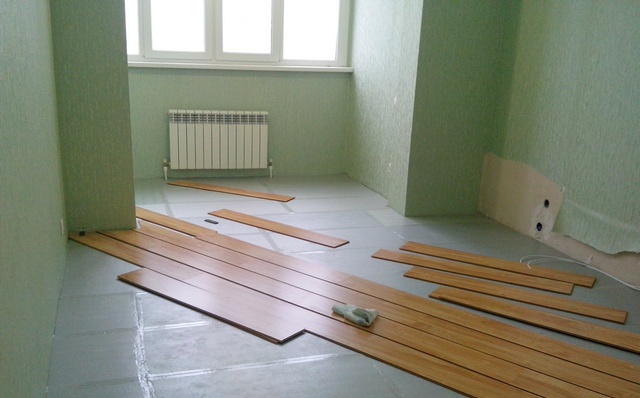
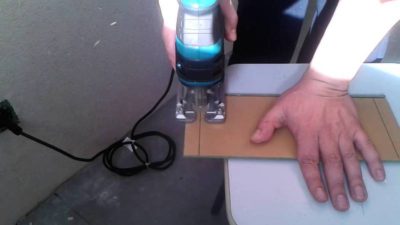
Laying laminate in a diagonal way requires a very accurate calculation, competent cutting. It is best to cut laminate no more than three rows of panels. When preparing a larger number, each block must be numbered so as not to forget where to lay it specifically. Since absolutely right angles are not found everywhere, it is more correct to estimate the angle for trimming panels adjacent to the walls, trying them on. Laminate, laid over the protrusions, grooves, places the conclusion of pipes,cut by cardboard patterns.
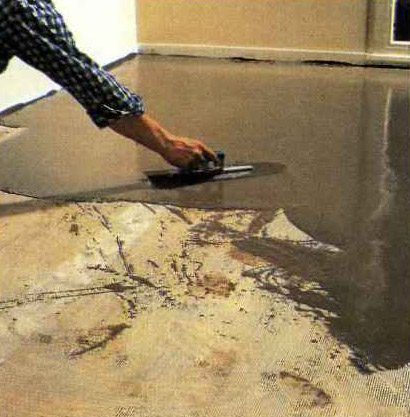
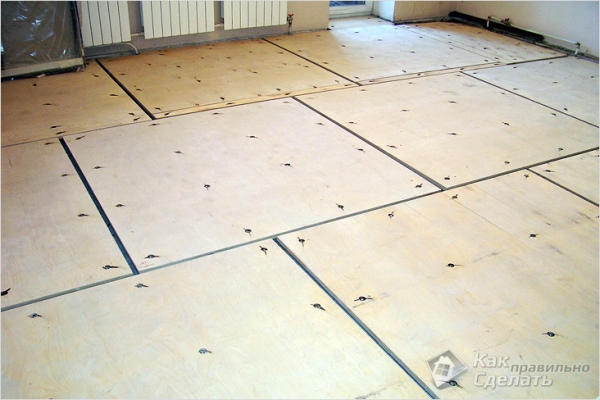
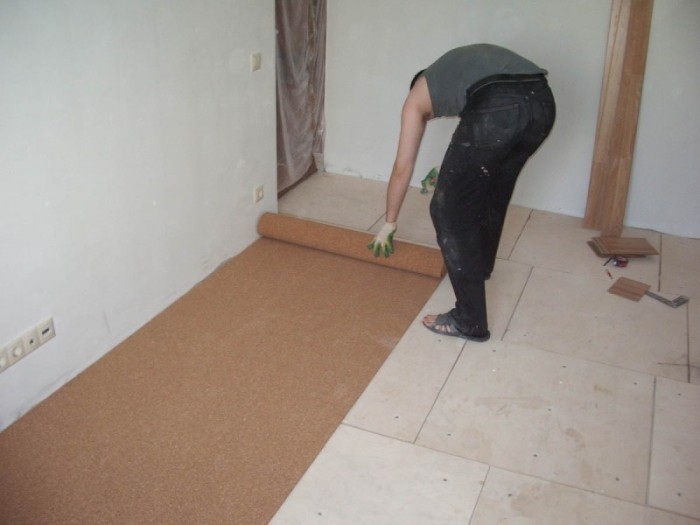
Regardless of whether you are laminating laminate diagonally or directly, need to prepare the surface. The floor is treated with leveling mixtures to an ideal state, all rubbish, foreign objects are removed. Immediately before laying the subfloor, it is desirable to sweep, strengthen the primer. A cellophane film is placed on it, and then a backing sheet or sheets of cork. Everything, after this only and you can start the main part of the work.

How to put?
The generally accepted rules are:
- laminate before laying should be kept indoors for at least 24 hours;
- it is aligned;
- strengthened;
- clean the base;
- lay the substrate;
- prepare wedges for compensatory gaps (wooden blocks or laminate cuttings themselves, preferably 10-15 mm wide).
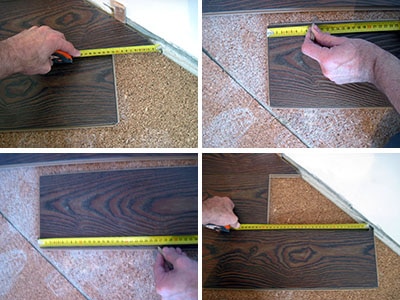
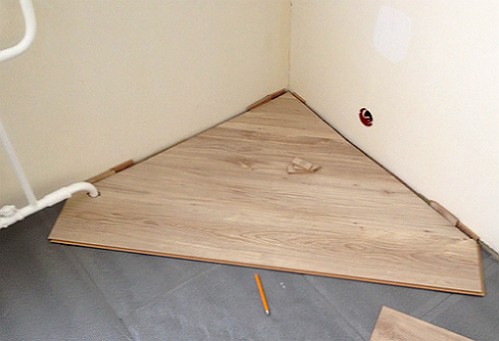
Lay the laminate from the corner should first drawing a right triangle on the back of the planks (its angles are adjusted depending on the straightness of the joints of the walls in the room). The hypotenuse is thus obliged to “look” in the direction of the groove. The triangle is placed in a corner and wedged so that an interval appears.
Do not throw away the remaining part of the board, it is still needed when laying in the other half of the room.
When the gap has appeared, take the whole panel, from the border of the side where the groove, in the direction of the section with the tongue, lead the line at an angle of 45 degrees. Now from its end point, lay a segment, the length of which is the same as that at the base of the triangle. Connect the second point with the base, again under 45 degrees, so the isosceles trapezium should turn out. By following these simple principles, you can achieve an excellent result even without special skills and abilities.
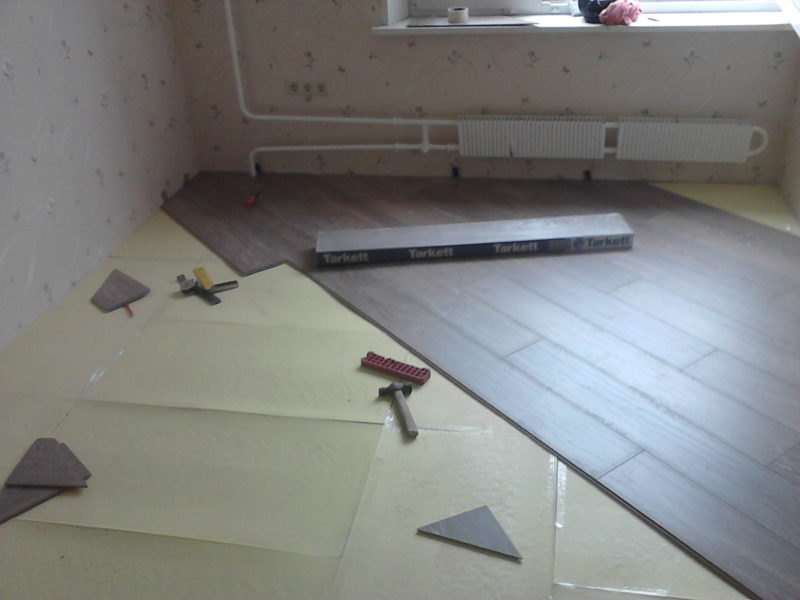
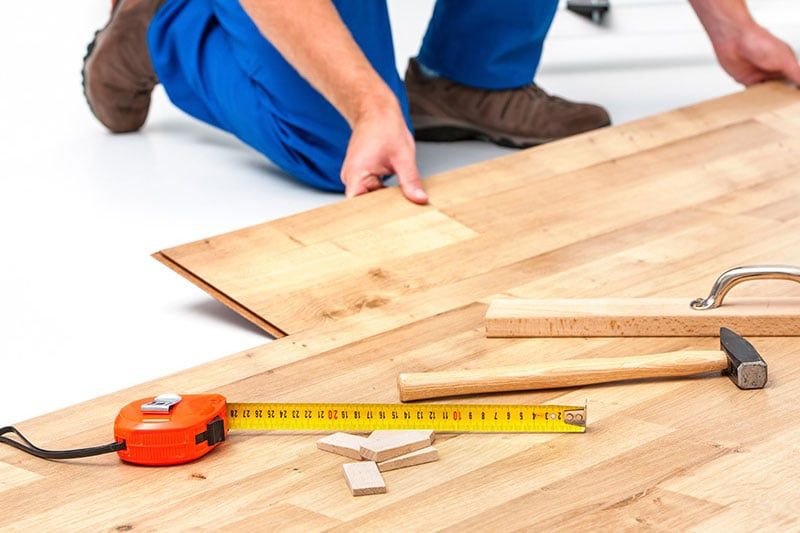
Required tools
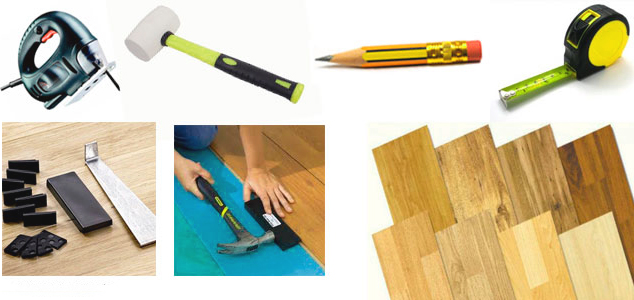
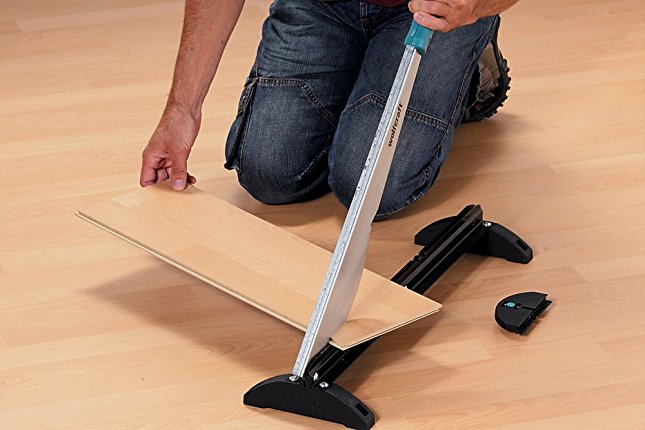
Laminate can be cut with any cutting tool with a fine tooth. Experts recommend using special machines and electric jigsaws, circular saws. Unless you intend to use the repair as an excuse to practice your will and patience, do not try to use hand-saws and hacksaws. In addition to the basic tools, you will need more:
- hammer;
- roulette;
- tamper bar;
- wedges for the formation of gaps;
- ruler and pencil for measuring short pieces of material.
Calculations
Estimate the approximate consumption of material is simple: knowing the area of the room, add 15% to it and divide it by the known area of a single panel. Developed and formula with more accurate results. The length of the room is conventionally designated as X, the width as Y, and the length and width of the laminate panels are denoted as A and B, respectively.
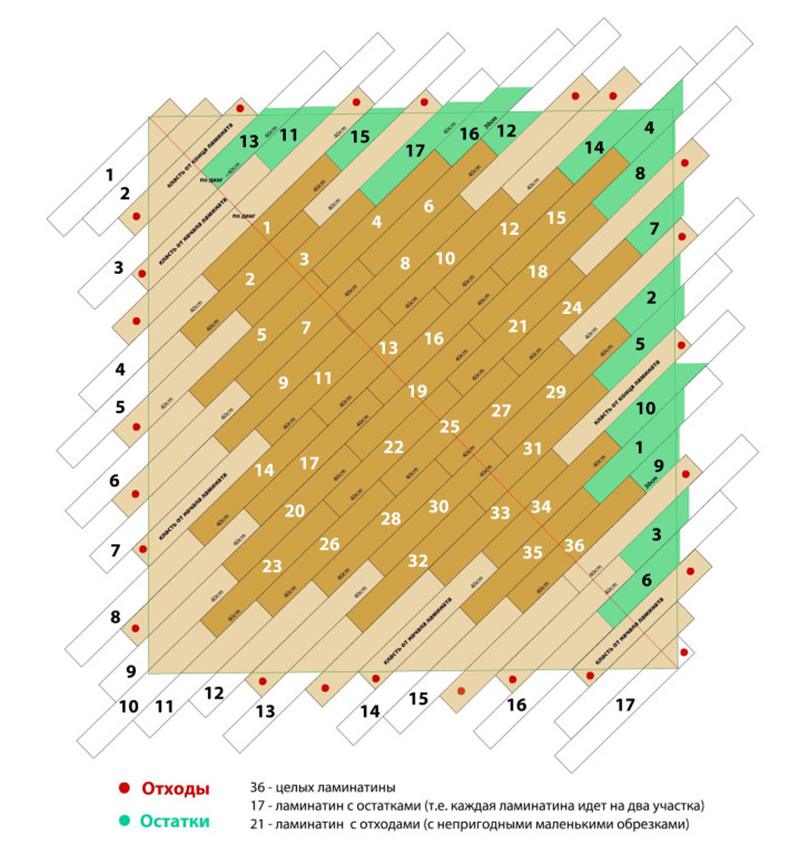
The area of the room is calculated by multiplying its length and width. Stock tally multiplying uhv and by 1.42; this is the area that exactly the laminate should be enough for if it doesn’t spoil at all. Then both figures are summarized, the sum is divided by the area of a single block and the resulting number of panels is rounded upwards.
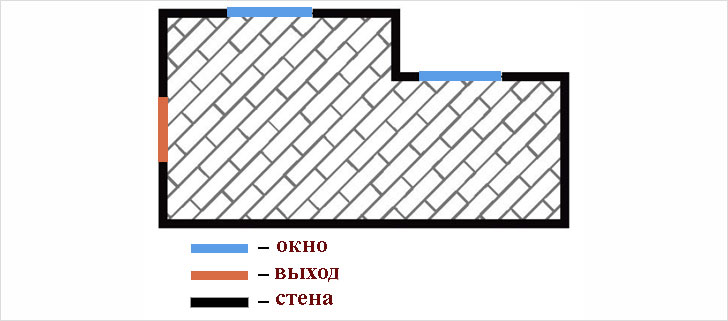
Prepare the layout of the room and once again discuss with the seller how much coverage to take, otherwise you run the risk of experiencing an excess or, more often, a shortage of material at the most crucial moment.
Technique
Diagonal placement of laminate is divided into three typical types:
- In the first of these, work begins at an angle; the very first element is a right triangle.
- In the second, they begin to act with an indent from the corner, the initial fragment is a trapezoid.
- And in the third scheme, laying is carried out from the middle, from the line that runs along the diagonal of the entire room, the first row is made into teams.
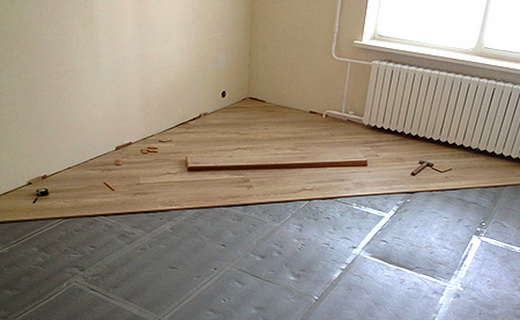
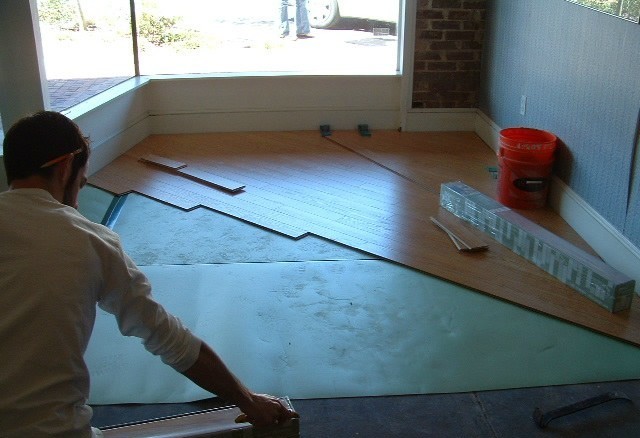
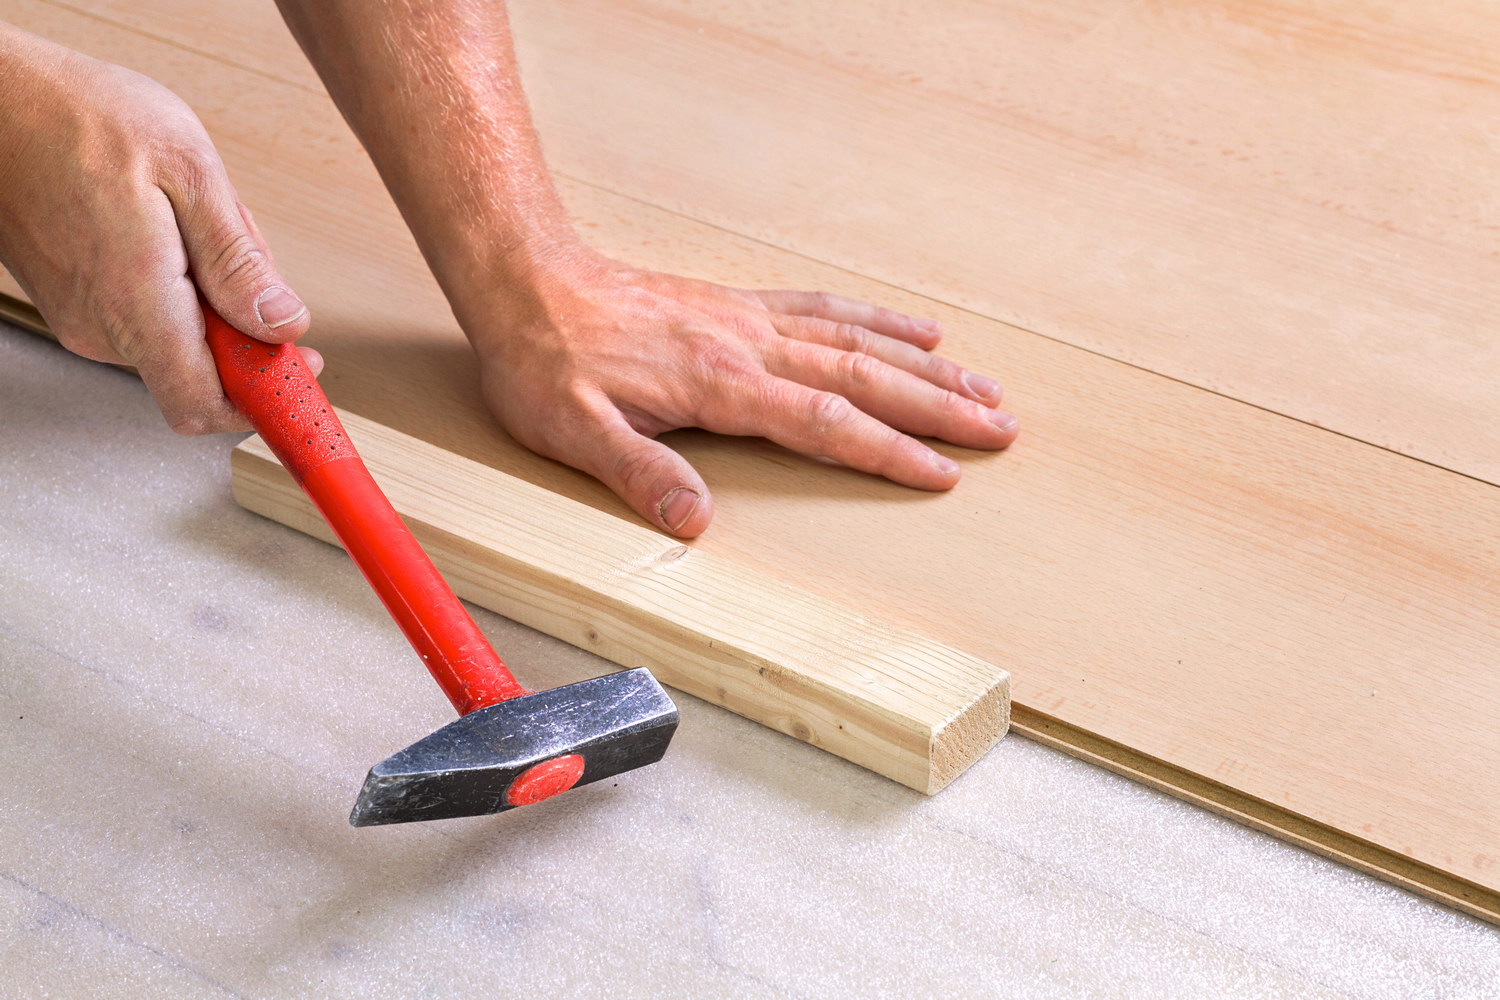
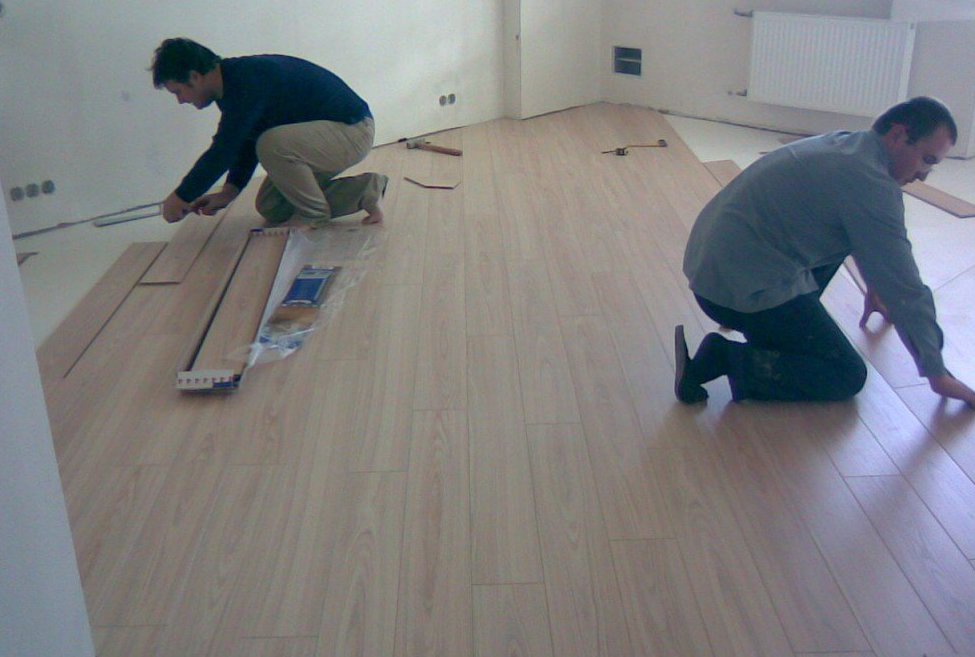
The layout most often starts from the angle that is farthest from the entrance, when working move from left to right. The initial row is put a crest from himself and a groove on himself. If blocks with a typical lock are used, they should be placed in one plane and, putting a wooden lining, tamped with light blows of a wooden hammer. Since the spike is easier to drive into the groove, and not with the grooves to “catch” the spikes, the work goes from the angle to one side.
When a row is formed by several panels at once (and this happens, of course, in most cases), you can either add them one by one, or immediately form a chain, then attaching it to the previous one. Latch blocks no need to tamp, double-sided docking is possible, either from the middle or from the edge.
The trapezoid display requires that the length of the smallest base of any shape does not differ from the length of the largest base preceding. If one panel is not enough to close the gap between the walls, collect whole rows, and the corners can be cut off only at the final blocks of the chain.
You can put your own laminate from the center of the room, connecting opposite corners of a diagonal strip (it is drawn on the substrate). If this is difficult for you, there is a simpler way - nails are hammered in the corners or self-tapping screws are screwed in, after which a cord is pulled between them. Measure the angle separating the diagonal and the nearest wall, it will show exactly how to cut the first panel. It is placed in the corner of the wide part of the prepared line, fenced off from the wall with wedges.
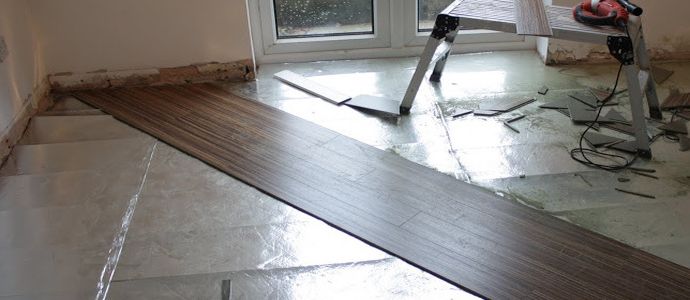
As many panels are attached to the initial block as needed, only the final row requires a cut at a certain angle. Each tier duplicates the previous one, but cut them out so that the seams do not coincide, run up.
Right and left of the middle you need to use the appropriate elements. When there is no threshold between several rooms and the same floor covering is applied in each of them, no laminate trimming is done in the opening. And those panels that do not fit in one room will immediately be connected to the next.
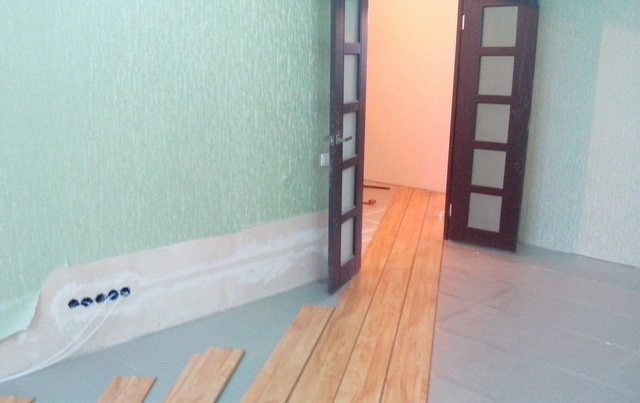
Laying laminate with locks format comb-groove is advisable only in one direction, moreover, from the corner; If you choose a cover with snaps, it does not really matter, and the following chains can be attached to the previous ones from different sides.
Starting work from the middle of the room, save the smallest fragments for laterso as not to waste material in vain. From the wall to the edge of the blocks, centimeter spreading wedges are put, which can then be removed - their role is to avoid instantaneous abutment of surfaces and create a temperature joint.
Important: see if the walls have begun to taper during the entire job, since then the laying will start in turn.
The final part of a particular reservoir becomes the source for the opposite segment. Laying across the laminate of individual manufacturers, pay attention to its specific features. Problems may arise with goods from:
- Kronotex;
- "Berry Flur";
- Tarkett;
- Vitex;
- Pergo.
Each of these concerns has its own development, affecting the characteristics of the offset, the type of lock and size. If it suddenly turns out to be difficult to connect the blocks, the solution may be the creation of entire rows with alternating long and short locks.
Cutting an electric jigsaw from the inside out is the best option for avoiding chipping on the outer surface.

Lay laminate on top of even and dry cement screeds can be no earlier than a week from the date of their application; in winter, in the absence of constant heating, you will need to wait 21 days.For leveling wooden floors used OSB, substrate or isolon.
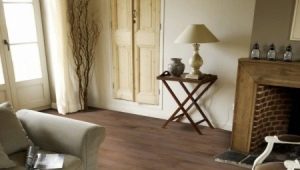
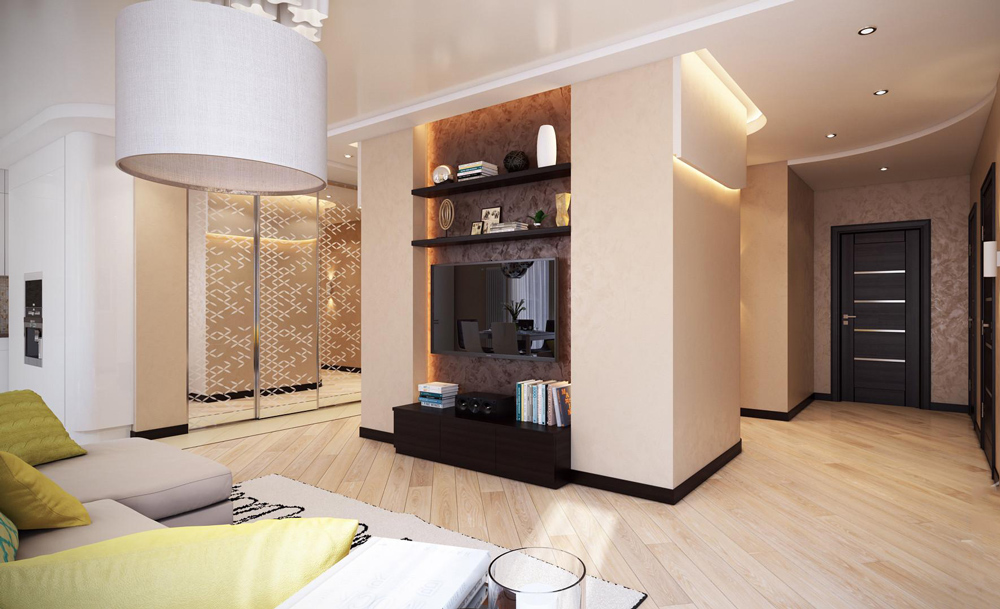
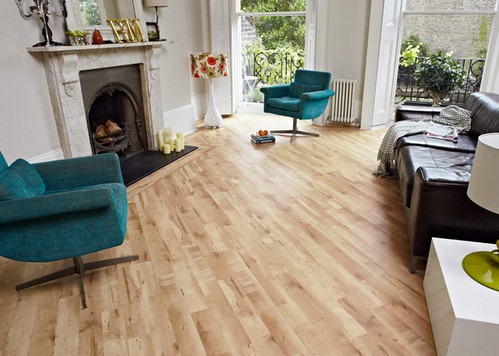
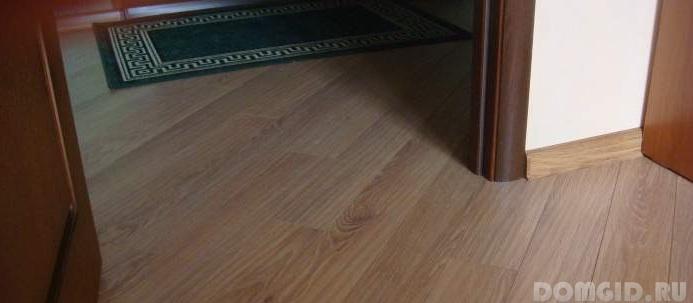
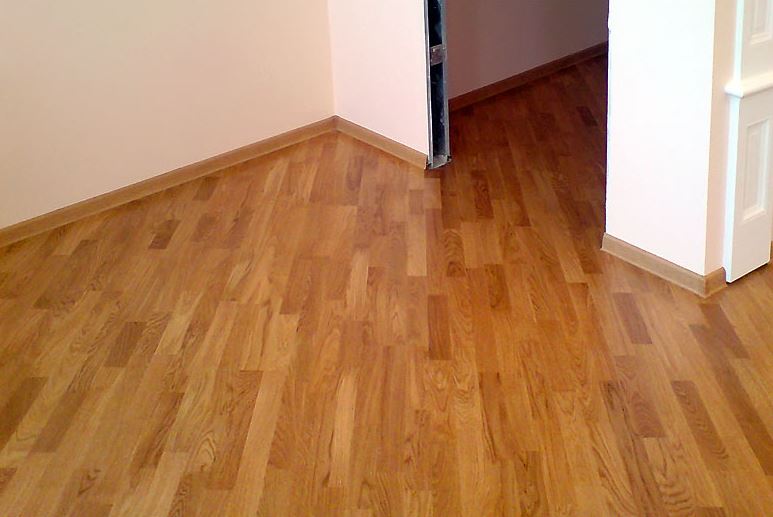
Examples in the interior
If you need to visually expand the space, it is very useful to lay out the laminate near the walls themselves, and leave the middle for the linoleum of the same color.
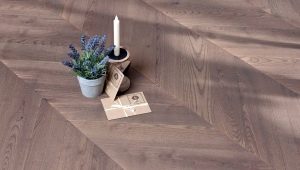
A combination of panels of opposite colors will look very good, it will give your floor even more expressiveness. It is useful to introduce the main focus into the corner parts of the cover.
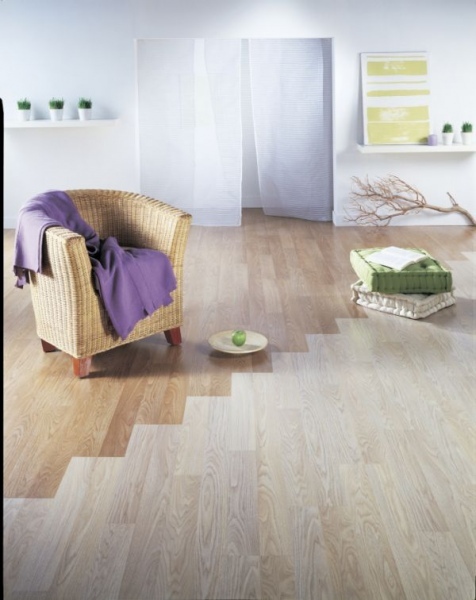
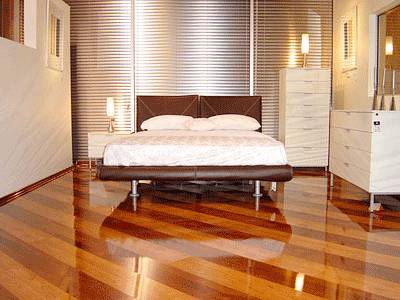
Like a regular laminate floor, the diagonal looks good if it is not strong, but differs in color from the walls. The original solution is to match the tone with the ceiling; Note that the room should not be overloaded with either dark or light colors.
On how to properly lay laminate diagonally, see the following video.