Preparing the floor for linoleum
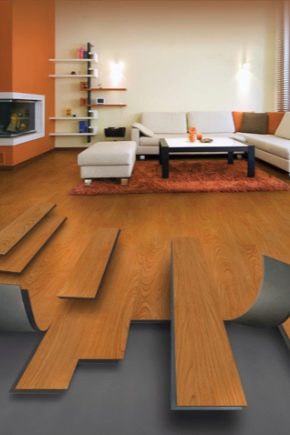
Linoleum is a universal flooring, it is suitable for both home and commercial use and is very popular among the general population. Such a large (and constantly growing) popularity is due to its low cost, rich choice of models and ease of installation.

Types of linoleum
Linoleum is produced in two versions - homogeneous and heterogeneous. The main difference between species is in the number of layers based on what they differ in all other characteristics:
- The homogeneous variant of the linoleum coating consists of one layer, completely monogenic and colored throughout the thickness, which does not exceed 3 mm.
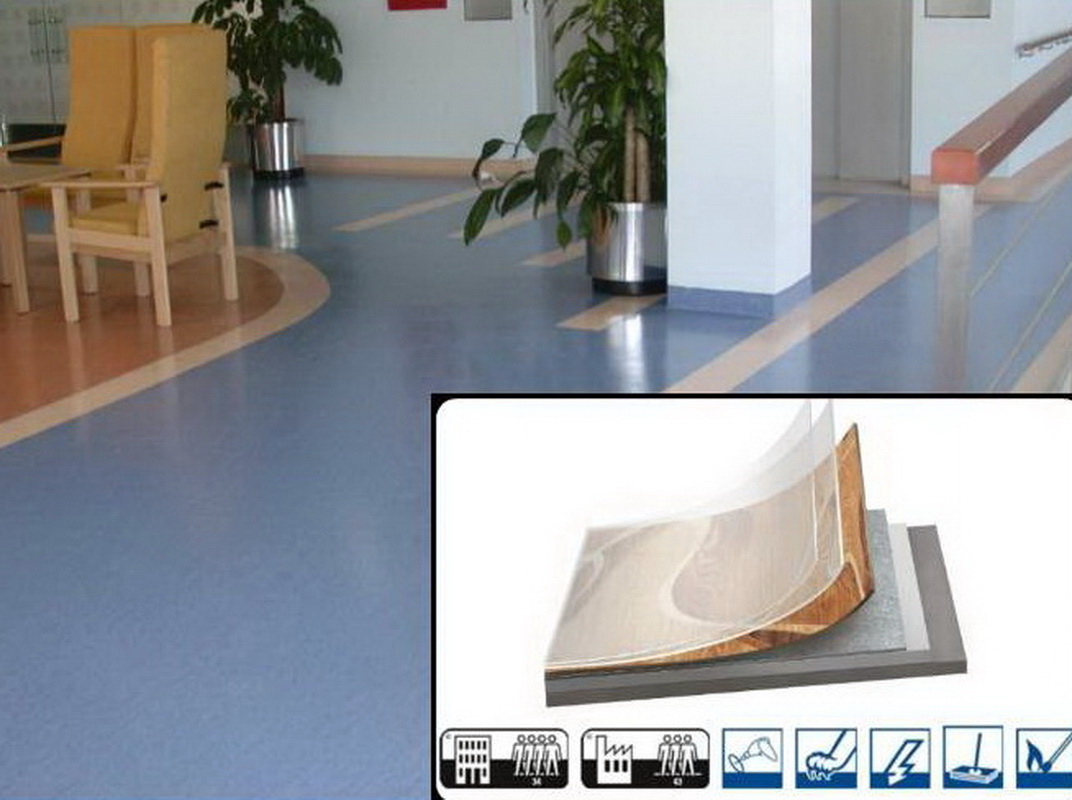
- The heterogeneous form consists of several layers - the framework from fiberglass does a product really strong and increases its operational abilities.

On the frame of fiberglass put a layer of PVC, decorated with a variety of prints (geometric shapes or drawings). And already on top of the whole structure is covered with polyurethane (transparent film), which protects the print from erasing and the entire coating from wear. The thickness of a heterogeneous material can reach 8 millimeters (the thicker the protective film, the stronger and more stable the coating).
To increase soundproofing and damping (softening) abilities, foam polyvinyl chloride is applied on top of the glass canvas, and a decorated layer is applied on top of it.

A homogeneous species is rarely seen on sale - due to minimal market demand it is almost not produced, because it is inferior to heterogeneous in almost all characteristics, and the price difference is very insignificant. By durability linoleum is divided into the following classes:
- Household - 21-23.
- Semi-commercial - 31-34.
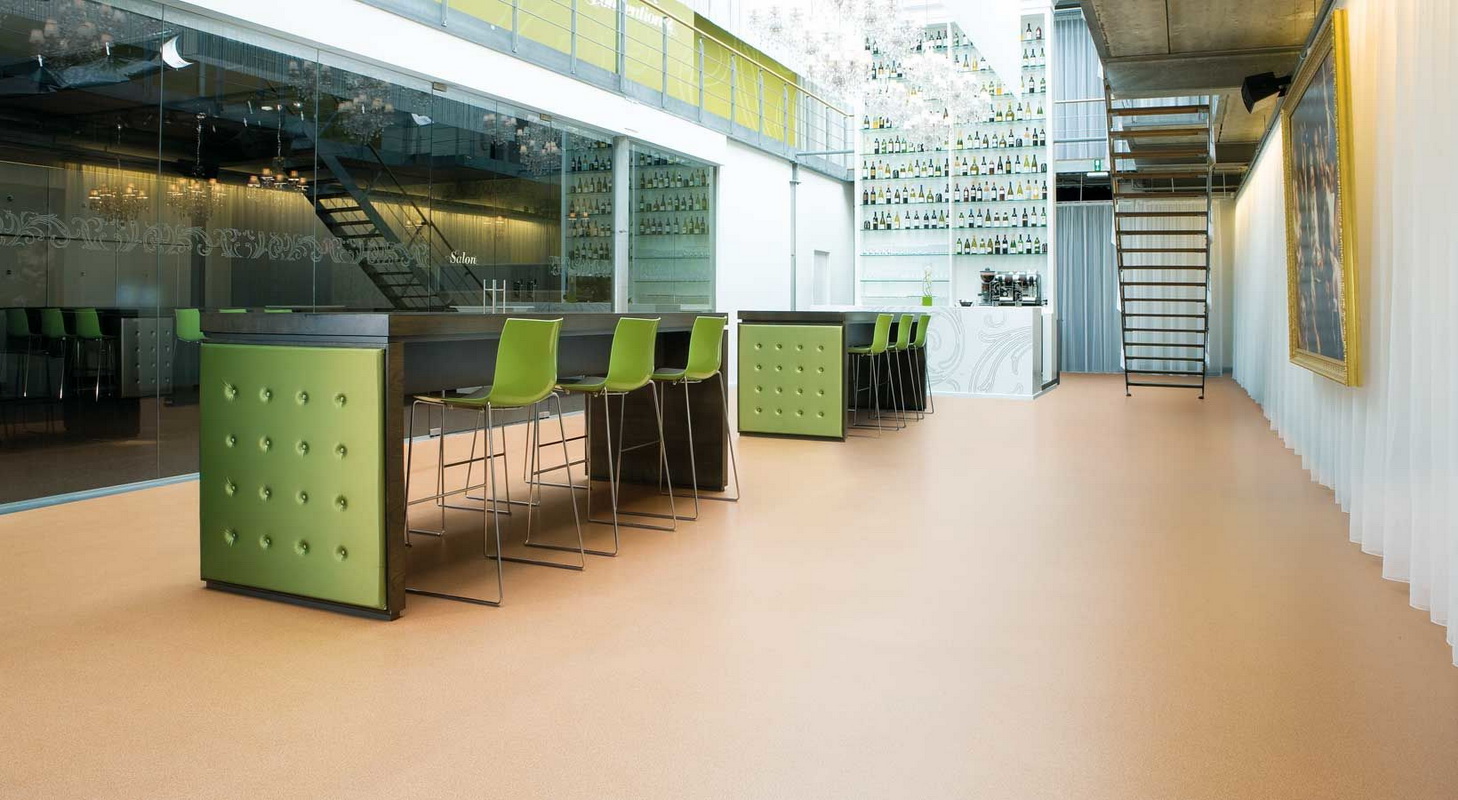
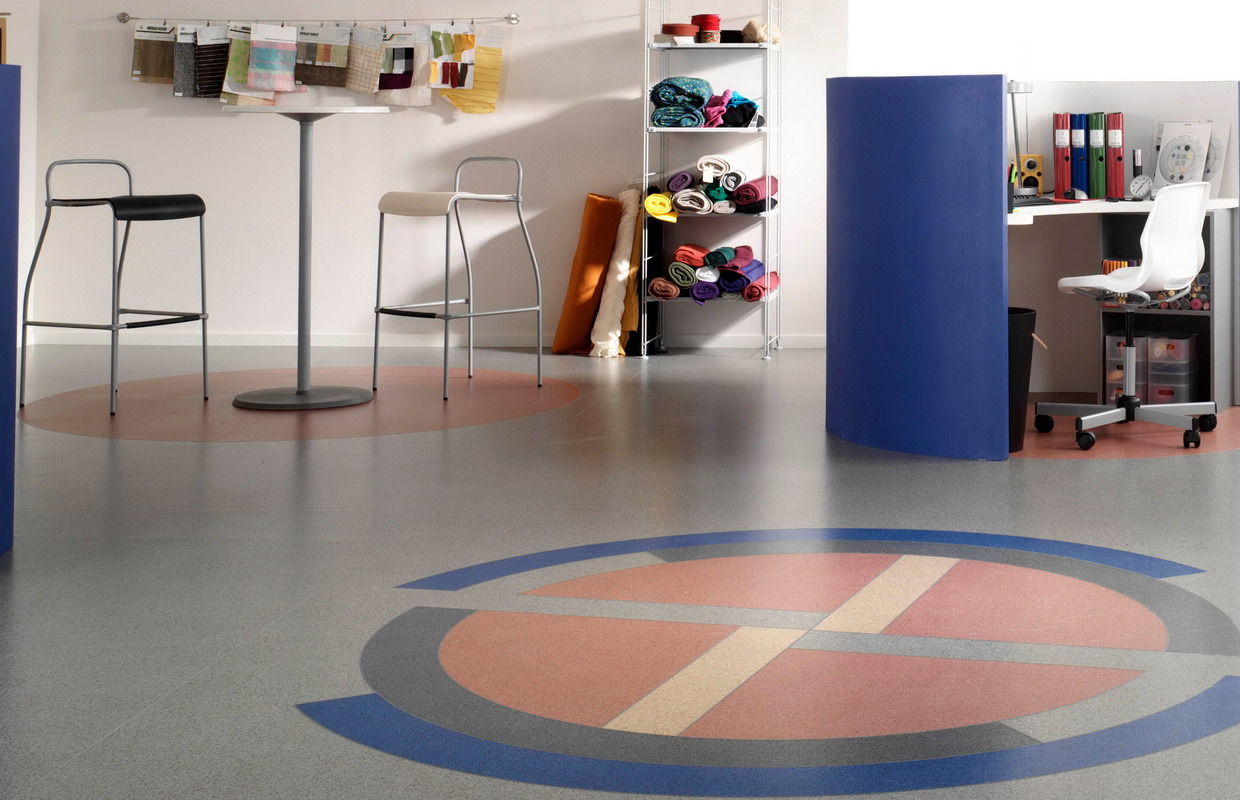
- Commercial - 41-43.
Some species have additional features and functions:
- anti-slip;
- antistatic;
- shock absorbing;
- soundproofing, etc.


As you can see, linoleum in no way limits you in choosing a material with the necessary additional properties. Of course, additional features increase the cost of the product, so their choice mainly depends on the specifics of the room and on your budget.
Special features
Linoleum flooring is quite simple, especially for simple household species. For the installation of commercial types, it is recommended to turn to the help of professionals - for their installation you may need special equipment, especially if you need to cover a large area. Features of the preparation of the floor under the linoleum depend on the type of covered area and the coating itself. Although there are some general rules:
- Cleansing the area.
- Surface alignment.
- Strengthening the base.
- Another important condition is that the surface must be dry before installation.
How to prepare different coatings?
Linoleum can be laid on any surface, although in order for it to last for a long time, it is recommended to carefully prepare the substrate.Features of surface preparation for installation differ, depending on its type. Below are tips and recommendations from experts on how to prepare different types of coverage:
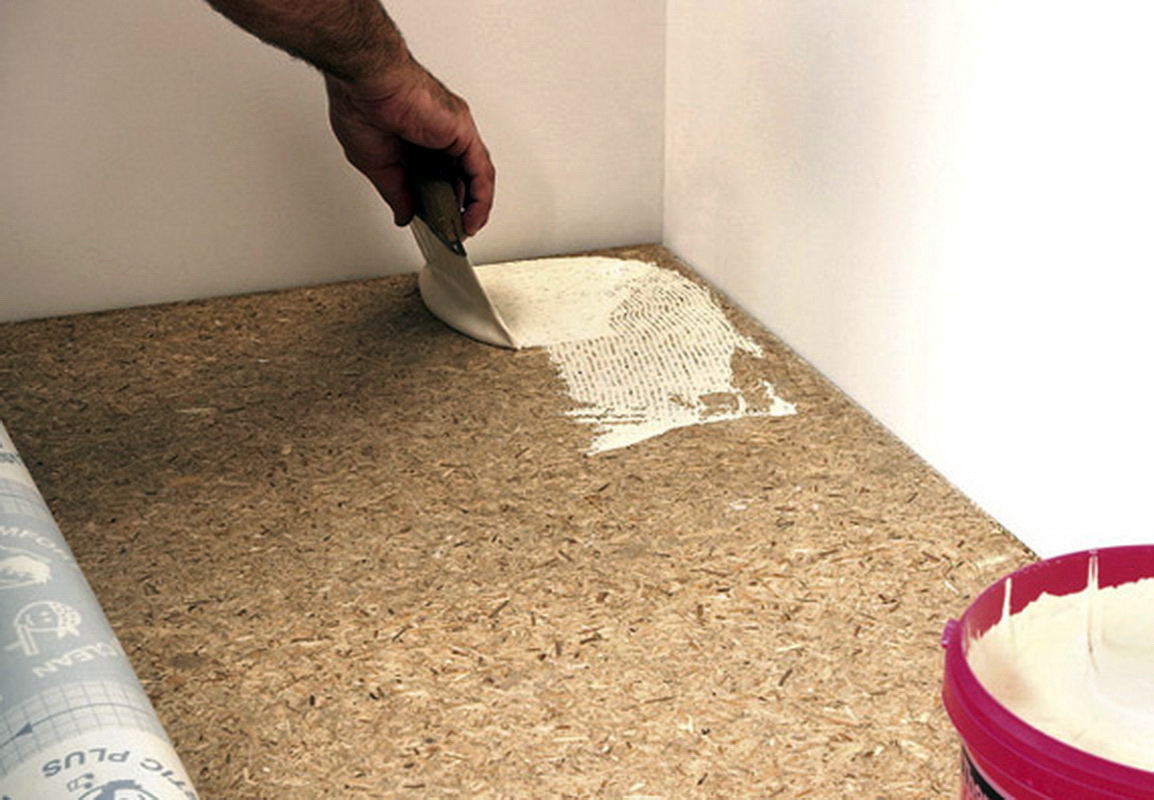
- Preparation of a wooden floor or parquet involves leveling the surface by cycling and filling all the cracks with wood putty (an excellent choice is polymer putty - it is elastic, eco-friendly and dries quickly without shrinkage).
- In the case of parquet, it is also important to replace the decayed planks and fix them. If the condition of the floor is far from ideal, but at the same time you are limited in means or in time, it is better to carry out the flooring of a hardboard or particle board material (after cleaning, disinfecting and drying wooden flooring).
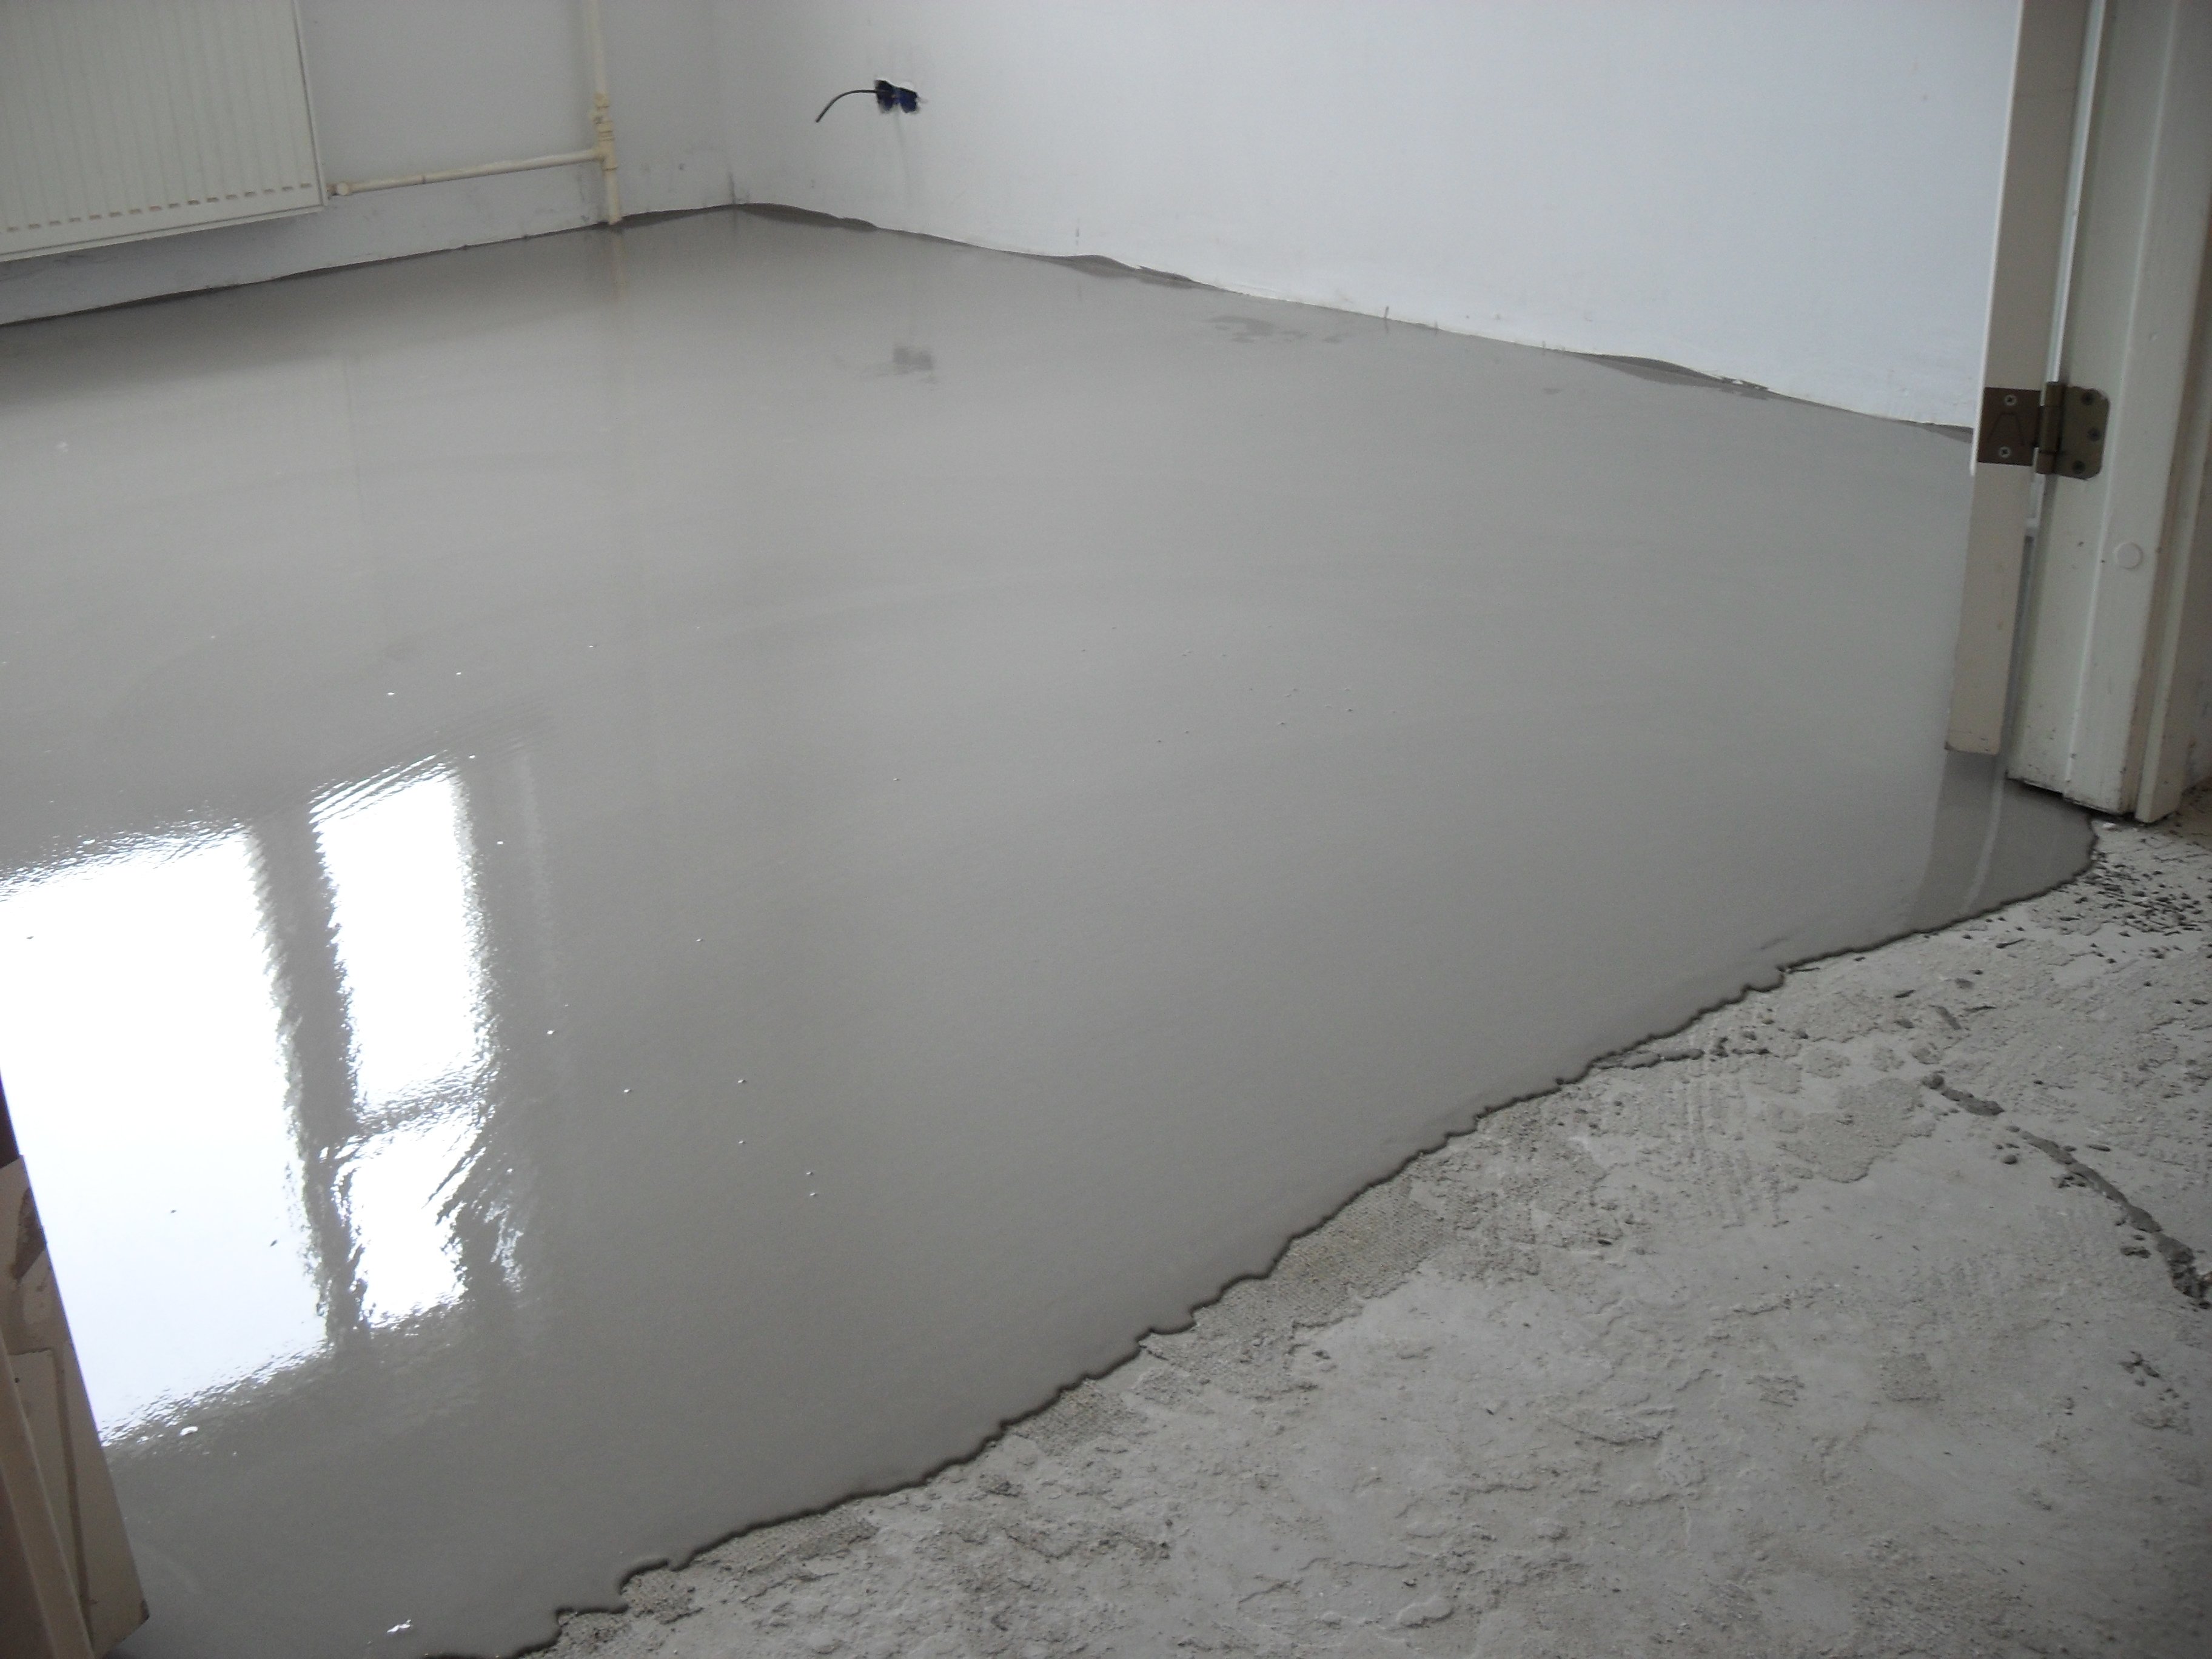
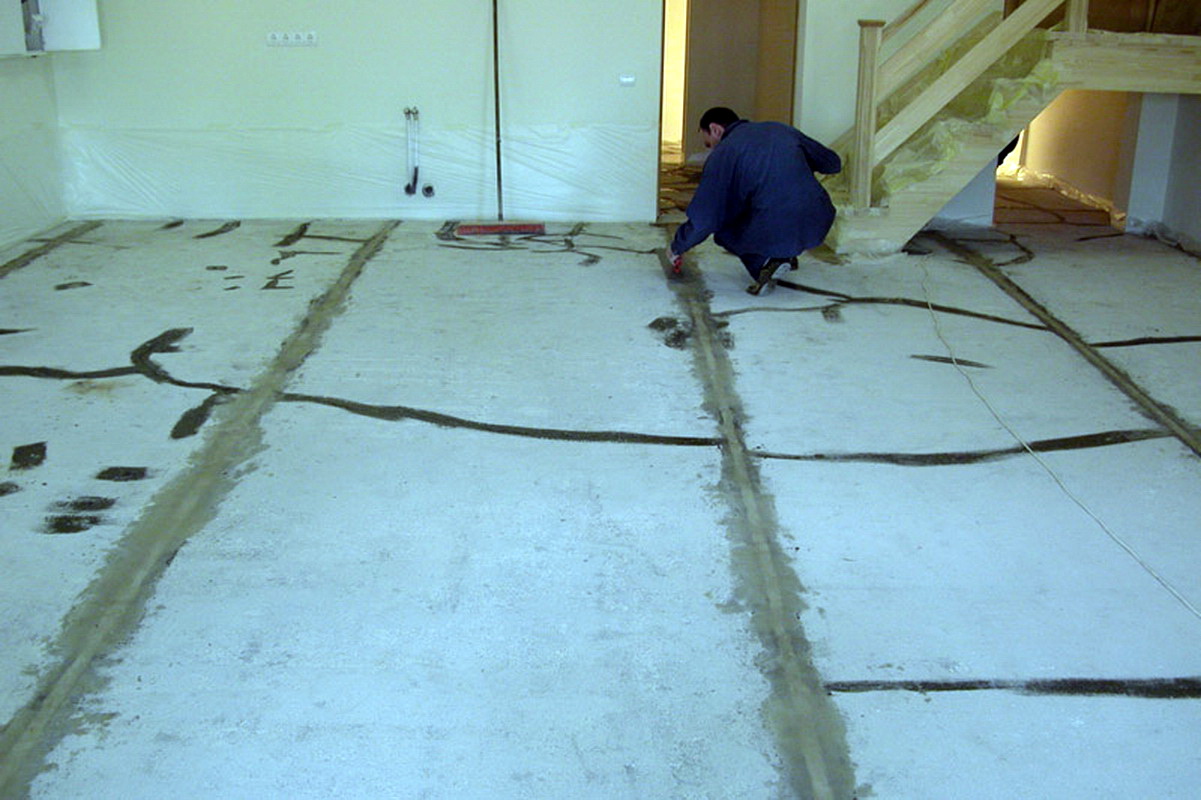
- Preparation of the concrete base includes the following steps - cleaning, leveling and pouring the screed with cement-sand mortar.
How to fill?
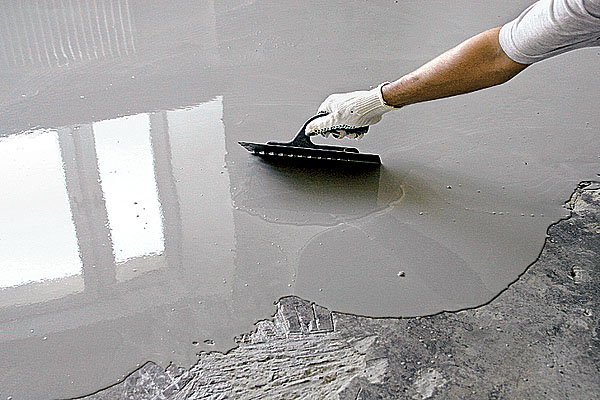
In order for the coating on a concrete base to last for a long time, you need to take into account all the nuances and subtleties of processing - pouring the screed does not tolerate inattention and haste. Following the advice of experts and carefully following all their recommendations, you can easily and accurately perform all the preparatory work with your own hands.
By the way, if you decide to fill it yourself, better to choose self-leveling ready-mix, because it is quite difficult for a layman to work with a sand-cement mortar. In addition, the self-leveling floor in the apartment dries much faster than cement screed.
Commercially available self-leveling compounds differ only slightly in composition - the main ingredients are cement, silica sand and special plasticizers, which give the composition elasticity and contribute to a better spreading over the floor. So you can choose any mix at will, for example, focusing on price.
To calculate how much mix you need, you need multiply the required coating thickness in millimeters by square meters. Multiply the resulting number by a factor of 1.8. The total amount will indicate the required amount of the mixture in kilograms. For example, for a room of 20 square meters. m and the required layer thickness of 4 cm, multiply 40 mm. by 20 and multiply the amount received by 1.8 - you will need 144 kg of the finished mixture.
When using a self-leveling mixture, the temperature in the room should be in the range of 10-30 degrees Celsius with a humidity not higher than 60 percent.Depending on the thickness of the fill, it may take from a couple of days to two weeks to dry. The distribution and leveling of the applied mixture is carried out using the rule.
What is aligned?
When doing repairs with your own hands, it is important to show maximum attention to detail so that later you do not have to redo everything anew (which will be associated with additional costs and loss of time). Despite the attractiveness of the use of self-leveling floor, if the concrete base is too uneven, with a lot of potholes and other drawbacks - you have to use a concrete screed.
For its preparation, you will need cement and sand in a ratio of 3 to 1, respectively, and a small amount of fine gravel or expanded clay (again, to ensure better adhesion of the coating to the substrate).
After pouring, the floor should be covered with plastic wrap and leave to dry for several days. In order for the floor to dry evenly, it should be checked regularly and, if necessary, sprayed locally on it by spraying.
If, after drying, you find small irregularities or chips, you can use tile glue for additional leveling.Minor defects should be dubbed with a trowel, and larger ones can be poured directly from the bucket.
Treatment
After leveling and drying, the concrete floor must be primed. Priming prevents mold and mildew, drying out and destruction of the concrete base. Primer happens:
- Water soluble.
- Organic.
- Polyurethane.
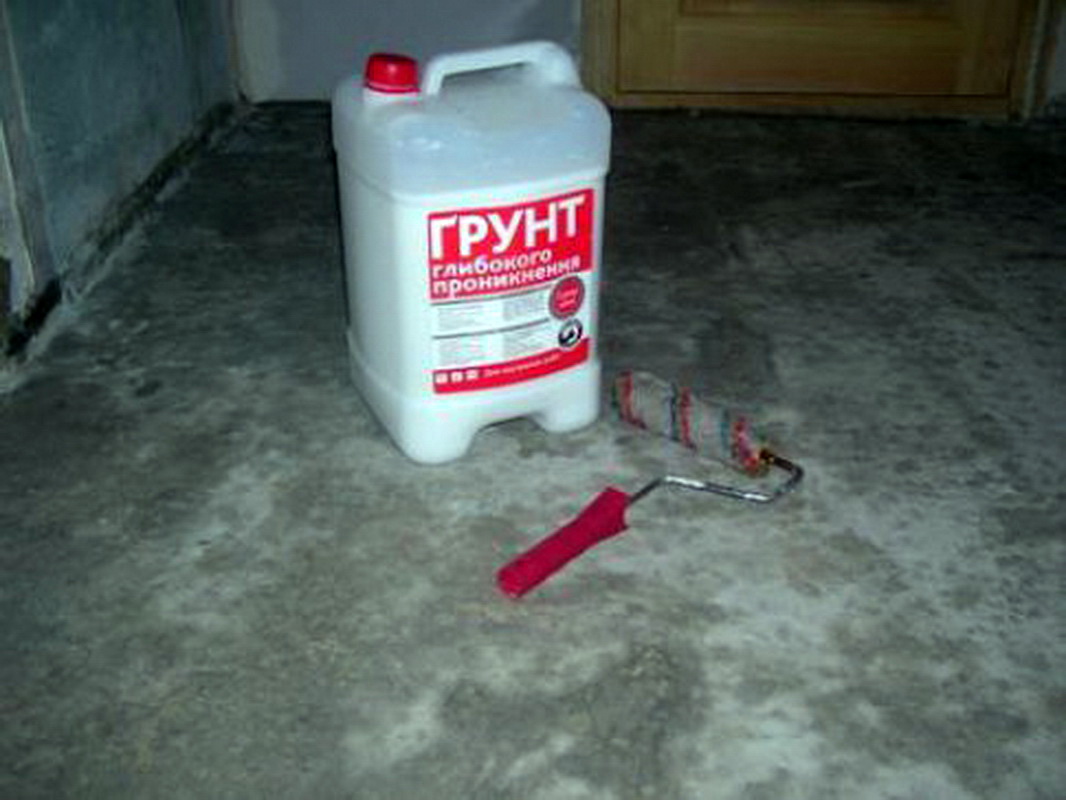
Water-soluble type is used most often: low cost, fast drying, ease of application and excellent functionality determine its popularity. The only drawback is the inability to penetrate deep into the concrete, however, for a quality floor it does not matter - the primer will do an excellent job with its task.
Organic primer penetrates much deeper and repeatedly increases the strength of the base. It will be an excellent choice for a loose, poor-quality foundation, if for financial reasons you decided not to re-fill it. Among the shortcomings they note the high cost and complexity of the technology of use.
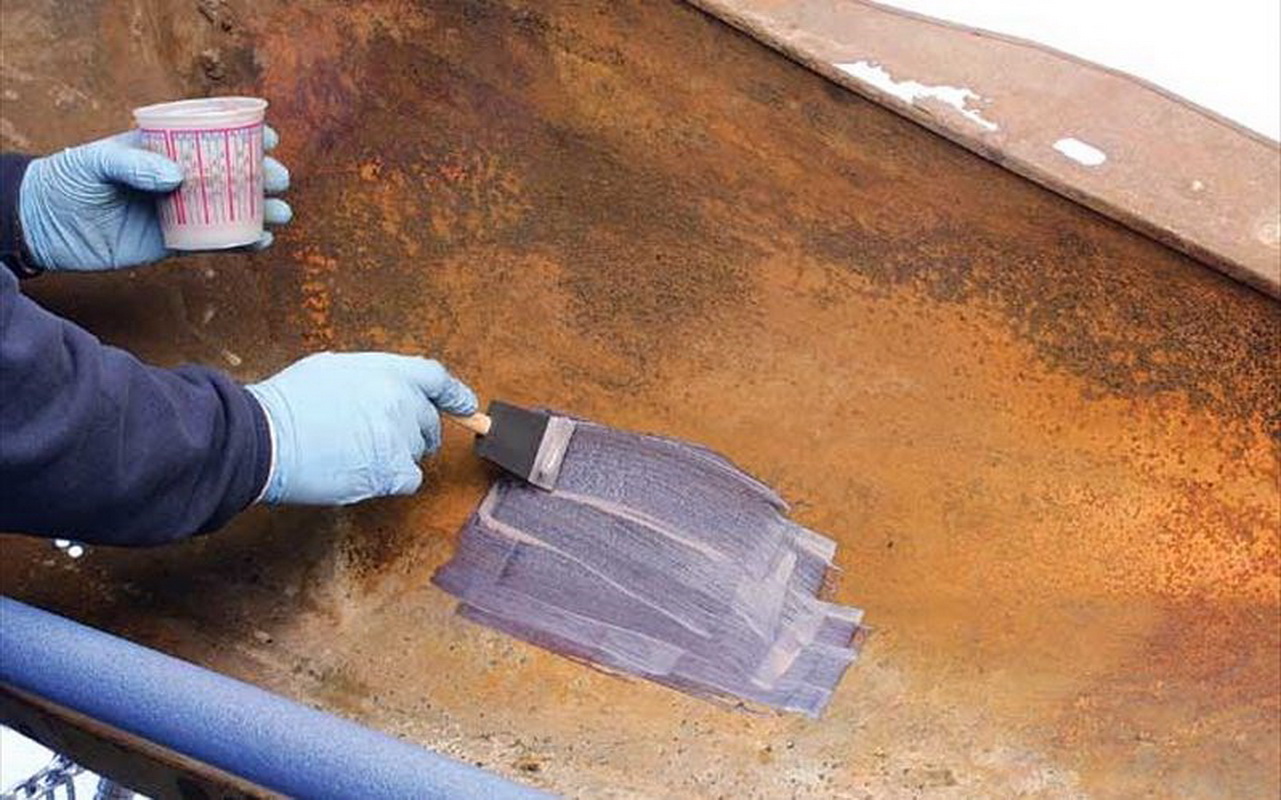
The polyurethane version is the most durable - it is recommended to use in areas with high loads under commercial linoleum. The disadvantage is the rather high price.
Laying technology
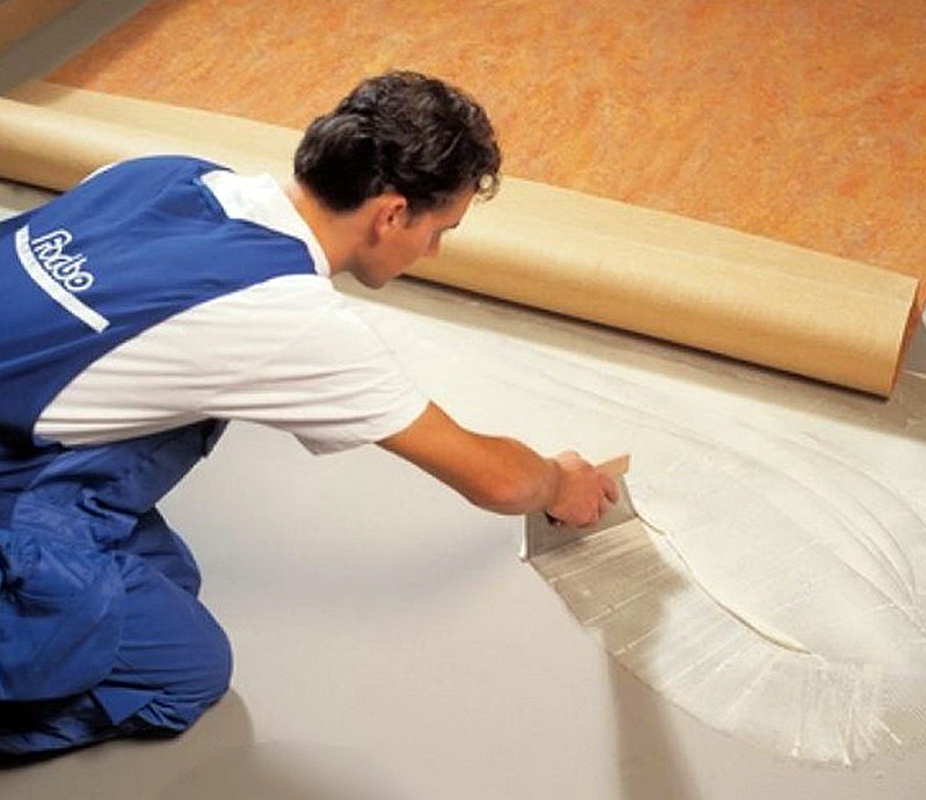
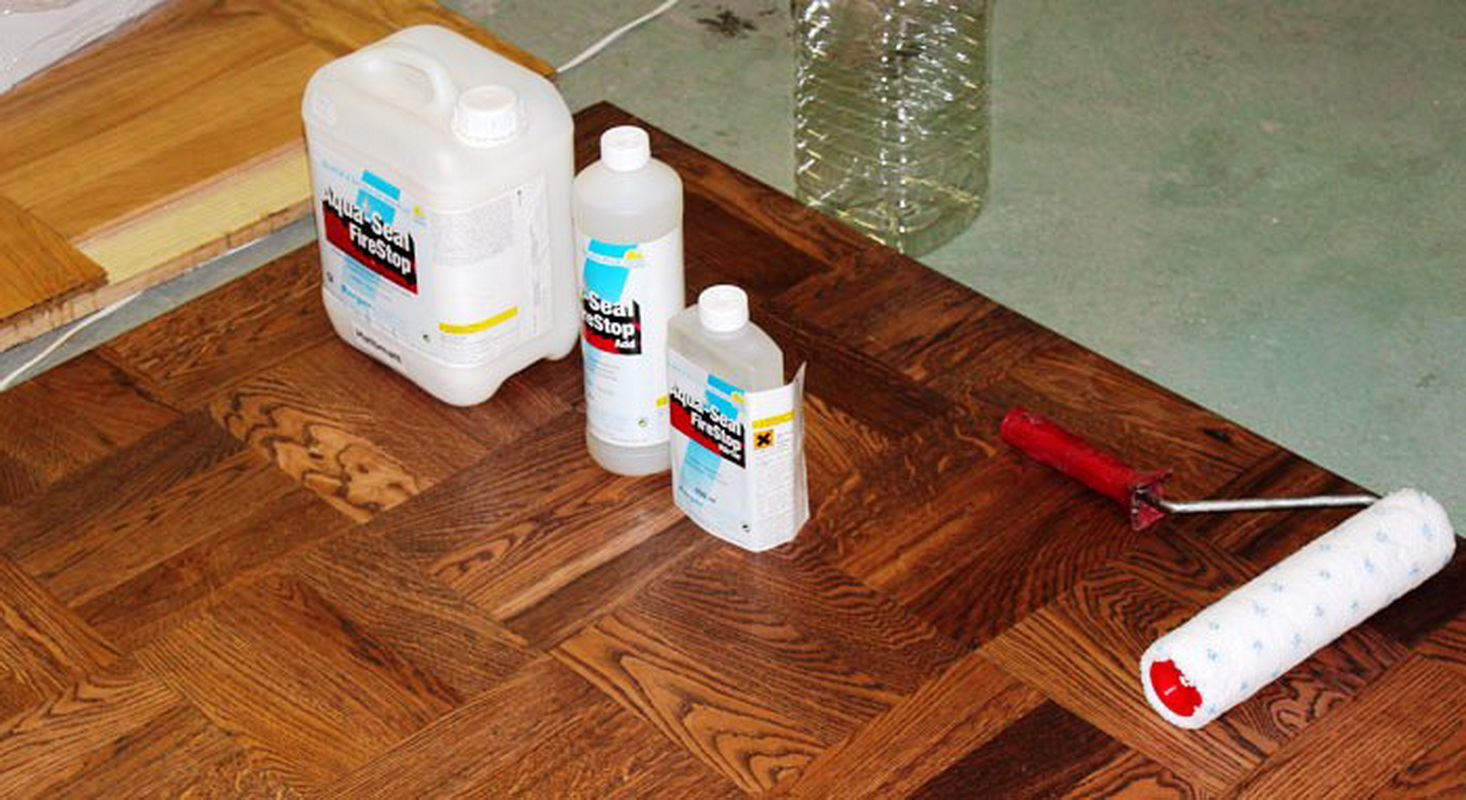
Linoleum can be installed with glue, without using it or using double-sided tape. The choice of glue depends on the material to be installed:
- For example, ordinary acrylic glue is suitable for installation of household and semi-commercial linoleum with foam and nap substrate. Acrylic "Universal" is suitable for all types of coating. For household flooring with a fabric base, choose an adhesive with absorbencies.
- Acrylic or polyurethane "reinforced" is suitable for commercial linoleum (including those produced in tile types).
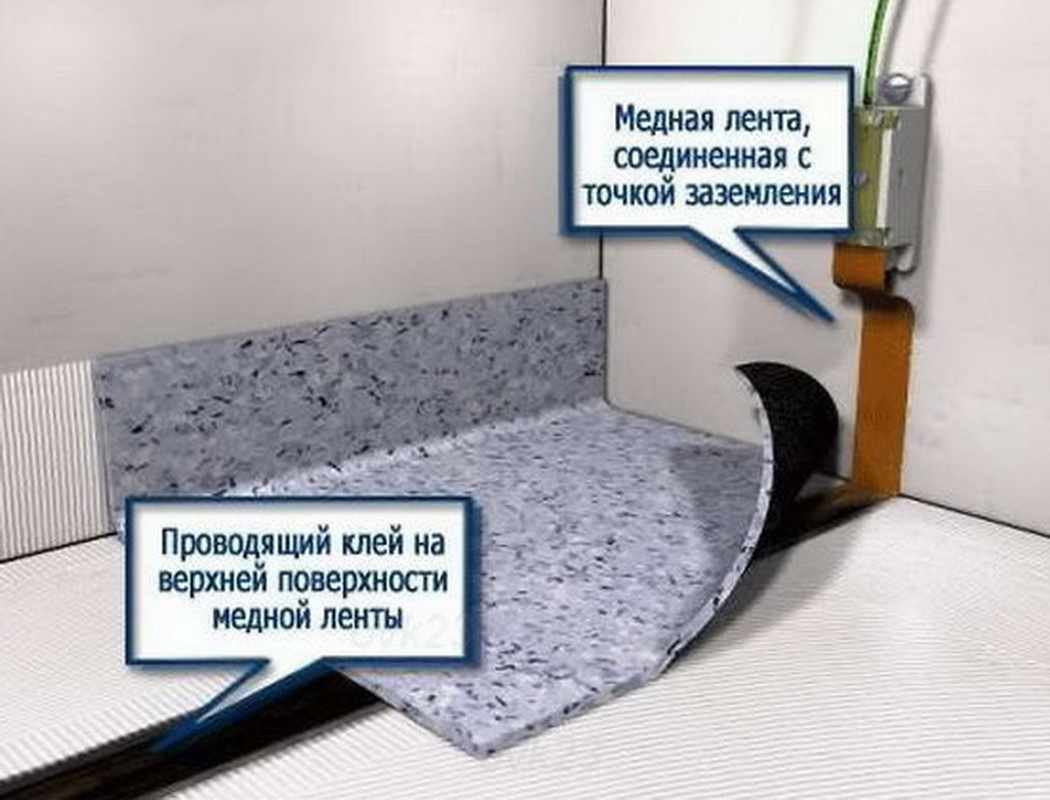
- In addition to this short list, there are several types of acrylic glue with specific features (frost-resistant, current-scattering, etc.).

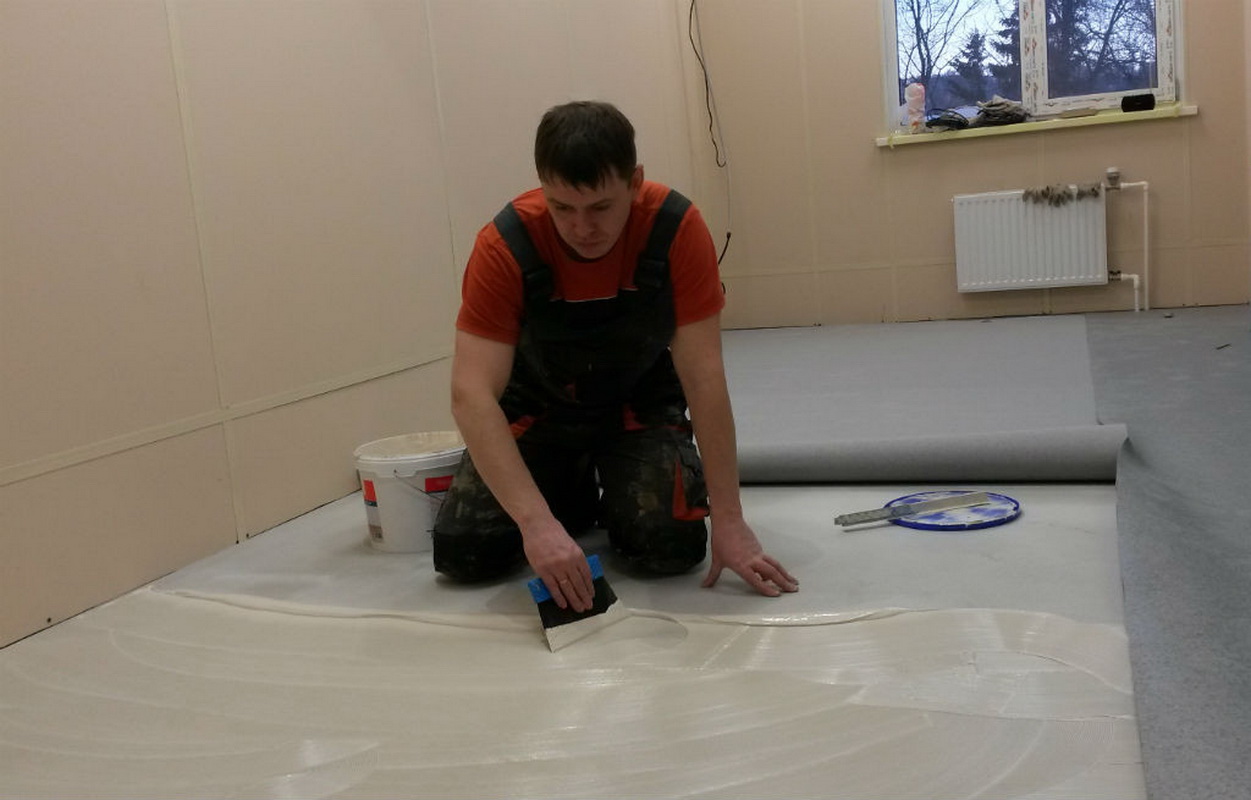
To glue the coating in two ways:
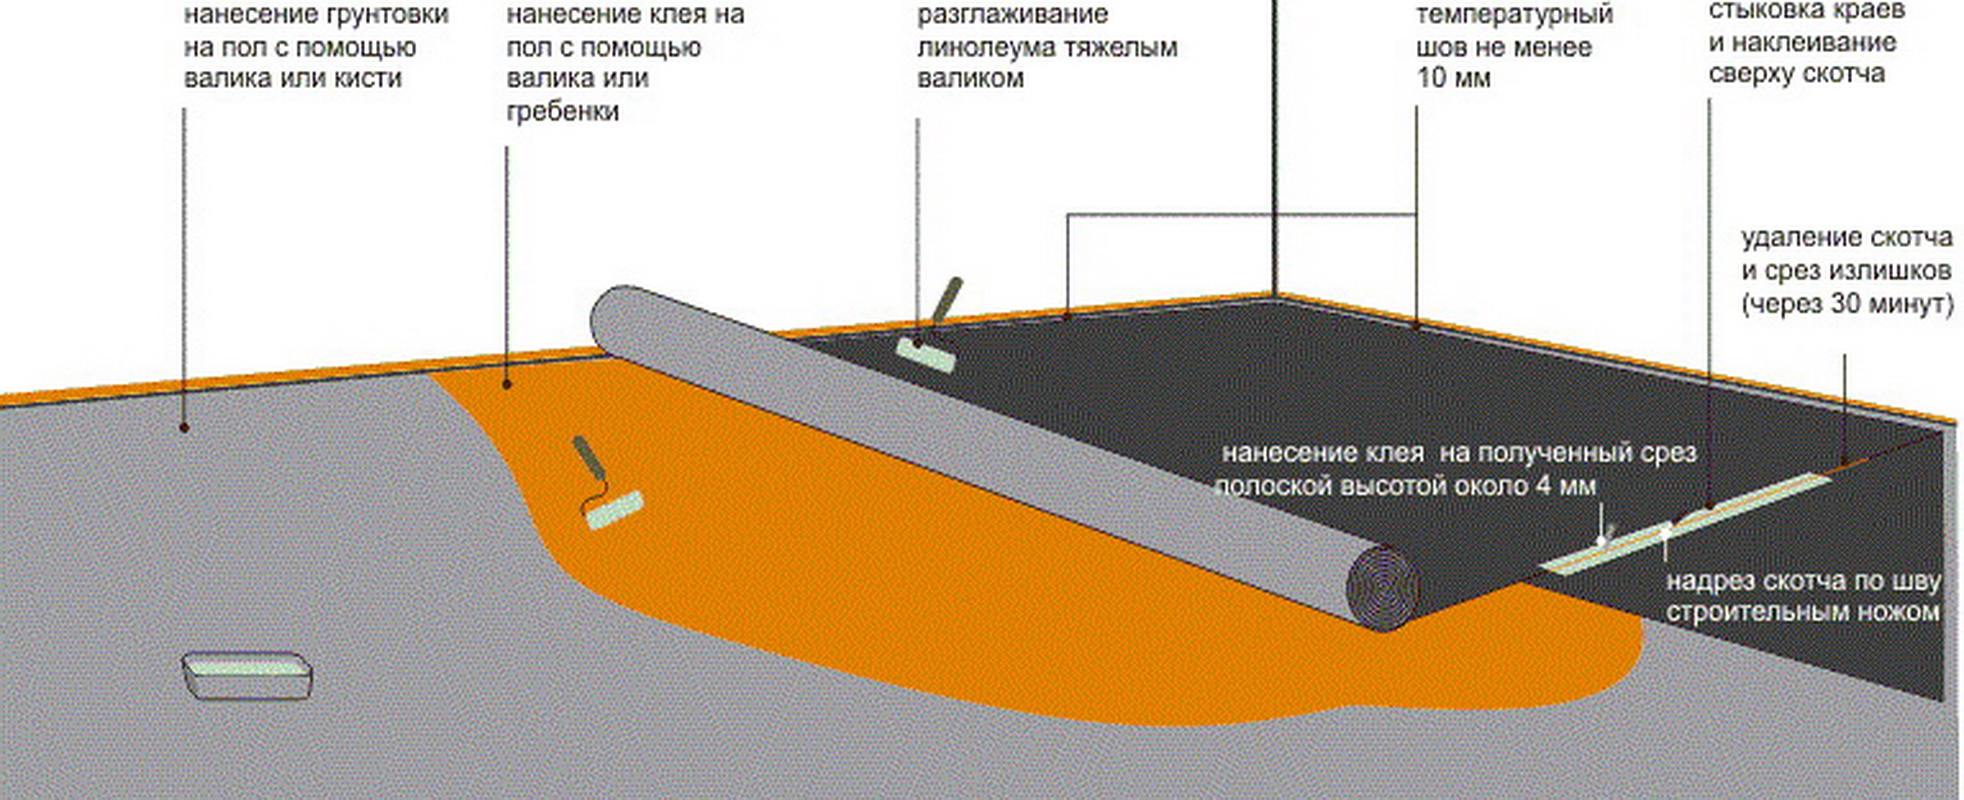
- Cover the base with a layer of glue and let it dry (the thickness of the layer and the drying time depends on the manufacturer and on the type of glue, usually indicated in the instructions for the product).
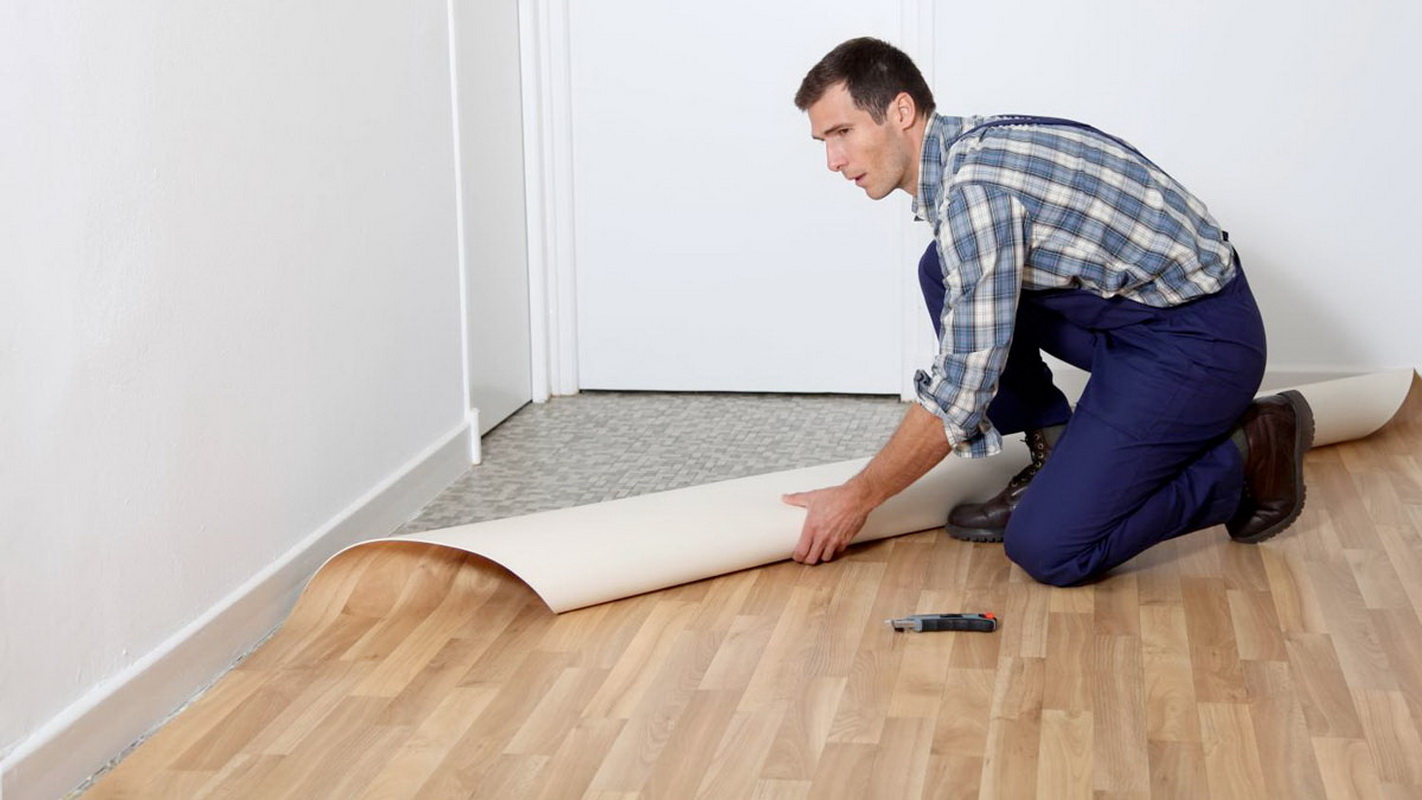
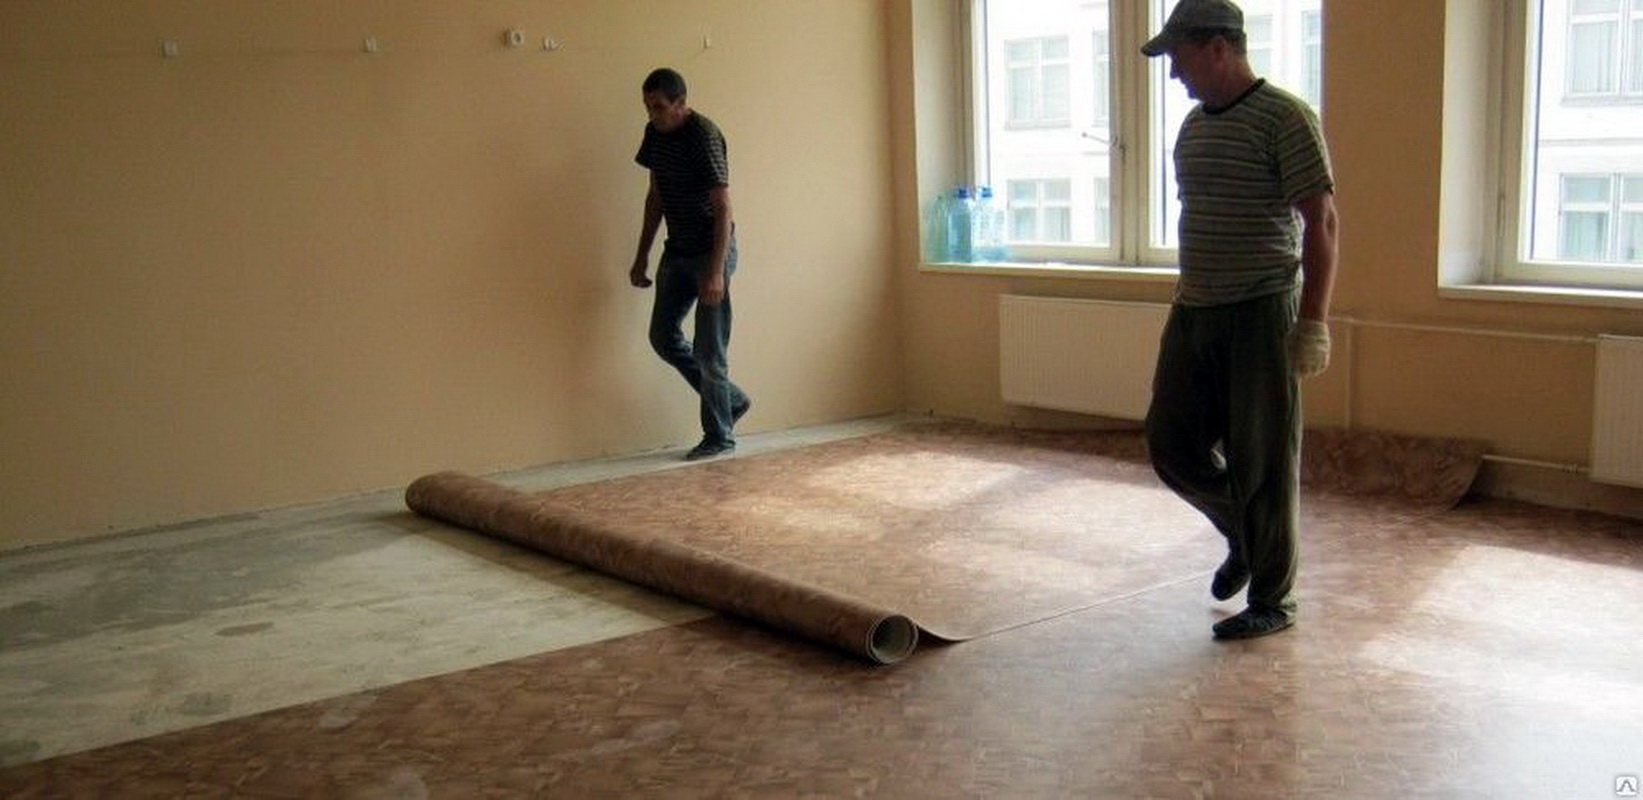
- Half-roll (half-roll on the dry part of the floor) roll out from the center of the room to the walls and immediately go over it with a wide roller to smooth out and remove air residue.
- Roll the spread out and roll it in the same way.
- Spread the linoleum folded in half, apply glue on the bent part, give it some time to dry and lay it on the floor. Walk along it with a roller from the center to the edges and go to the second half.
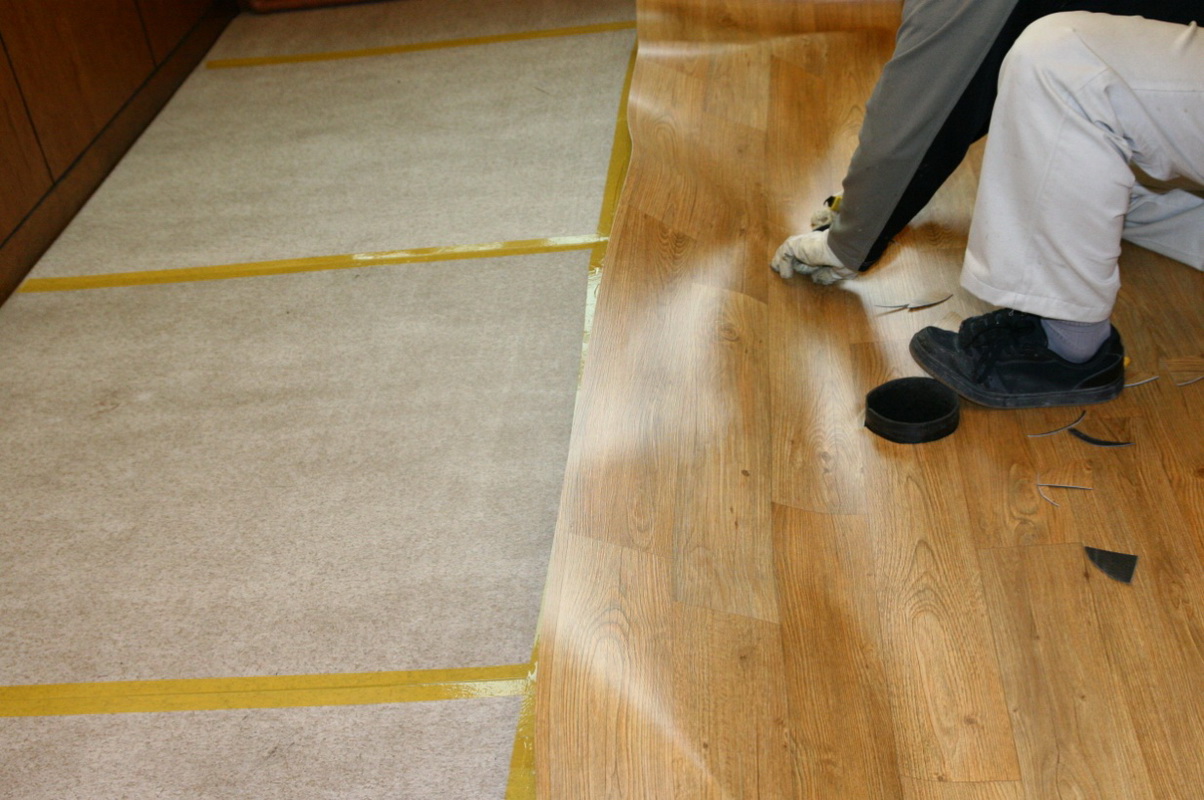
- After laying, the extra parts near the walls are cut with a special sharp knife (you can use a clerical, shaving knife).
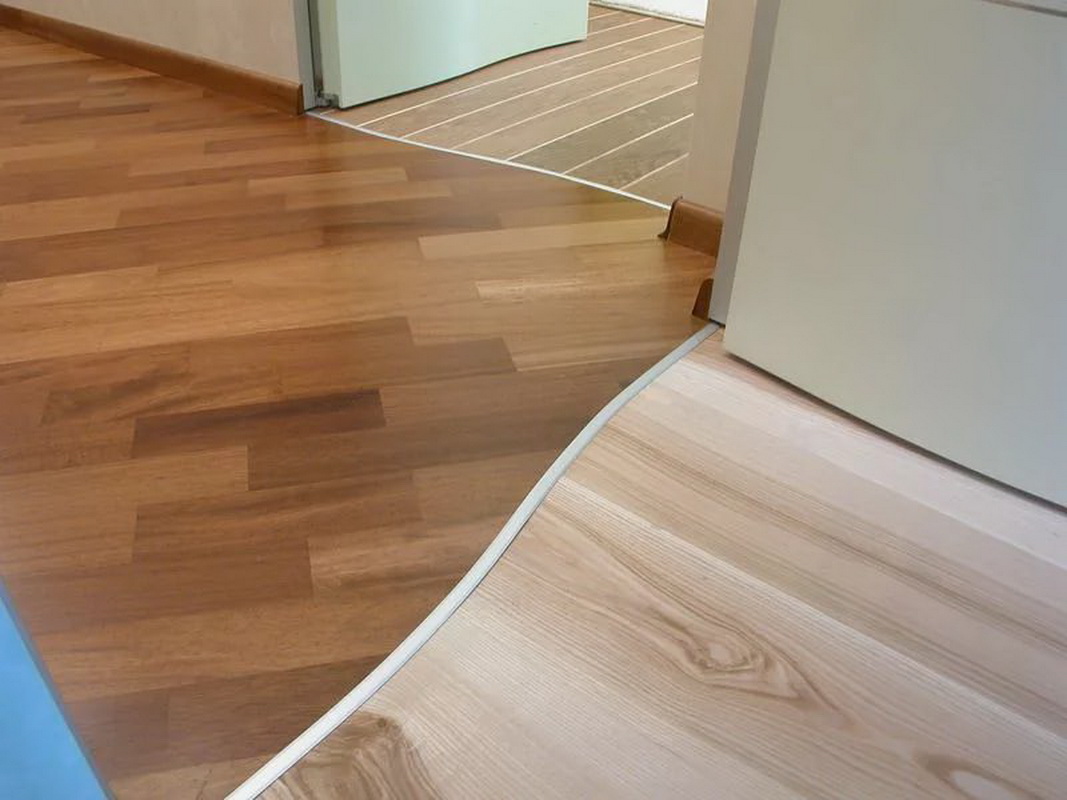
When installing without the use of glue, the coating is fixed with baseboards. For linoleum, PVC or laminate strips are perfect, and plastic strips can be chosen both flat and voluminous - the advantage of voluminous baseboards is that wires can be drawn in their internal cavities. The baseboard method is recommended to be applied when covering a small floor area (in rooms of less than 20 sq. M), if not more than 2 pieces of linoleum are used.
The easiest process of laying and installation - with the help of double adhesive tape. To do this, double-sided tape is glued to the floor with a grid (without removing the top protective layer) and linoleum is staged on top of it. However, this is the most unreliable and short-term option.
How much should lie before installing the plinth?
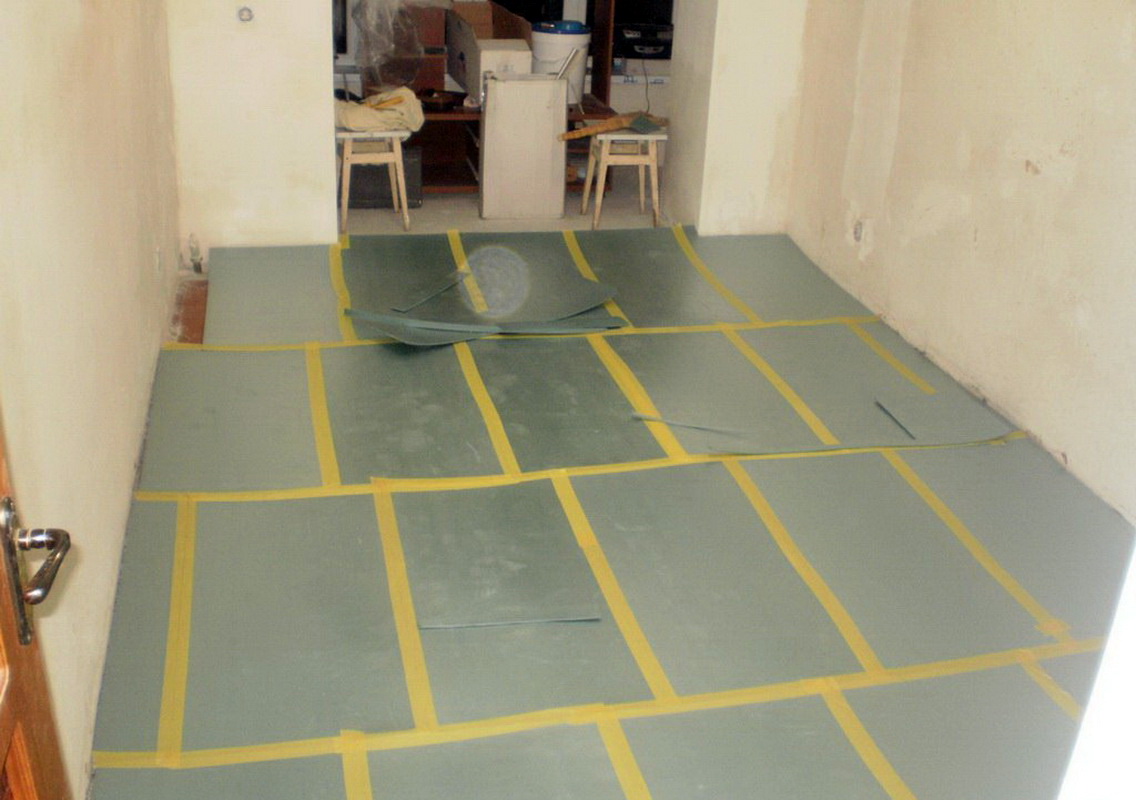
Before laying by any method, the linoleum must first be laid in the folded state from 6 to 12 hours (the temperature in the room should not be below +18 degrees). Then the roll needs to be deployed and give the linoleum time to straighten, the average process takes from 12 hours to 3 days (depending on the thickness and type of coating).
After straightening, it is laid on the floor, where it should lie down for about a day (when mounting with baseboards, the material must lie for at least 3 days). And only after full straightening and shrinkage it will be possible to start laying.
A visual lesson on the preparation of the floor under the linoleum, see the following video.