Features of the choice of crosses for tiles

Floor and wall tiles are widely used for interior decoration. Laying tile can not do without such simple small fixtures, like crosses. They allow to receive a beautiful and equal covering.
It is worth considering in more detail the features of the choice of crosses for tiles.
What are we for?
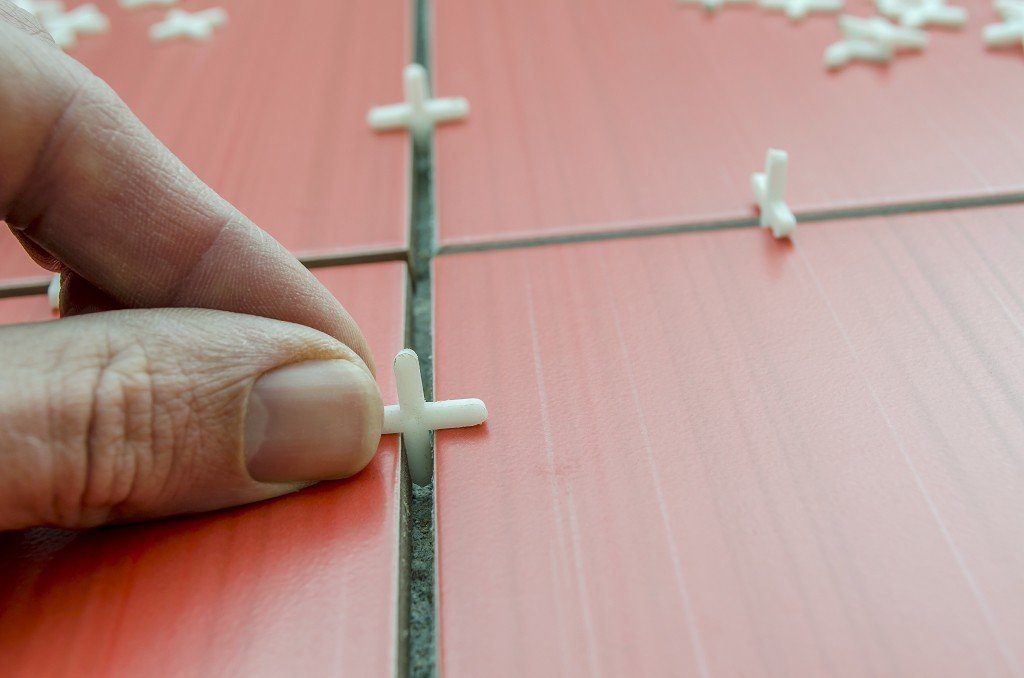
Crosses for tiles are needed, firstly, in order to get seams of the same width. Secondly, in order to achieve a uniform installation height, that is, so that all the tiles lay in the same plane.
Another function of them is to leave a gap between the wall and the floor in the lower rows, aprons or when finishing steps, but for this purpose, special plastic wedges are often used.
Plastic crosses and wedges are recommended to be used by beginners. Without these parts, they are unlikely to achieve even seams and a single plane from the first time.But this does not mean that experienced masters can necessarily make a high-quality styling leveling "by eye".
Many professionals must buy sets of plastic crosses before work, especially since they are cheap: the price of a pack of 100 pieces usually does not exceed 50 rubles.
Kinds
Today there are a large number of varieties of plastic crosses and wedges for leveling tiles. You can choose them, depending on the method of installation.
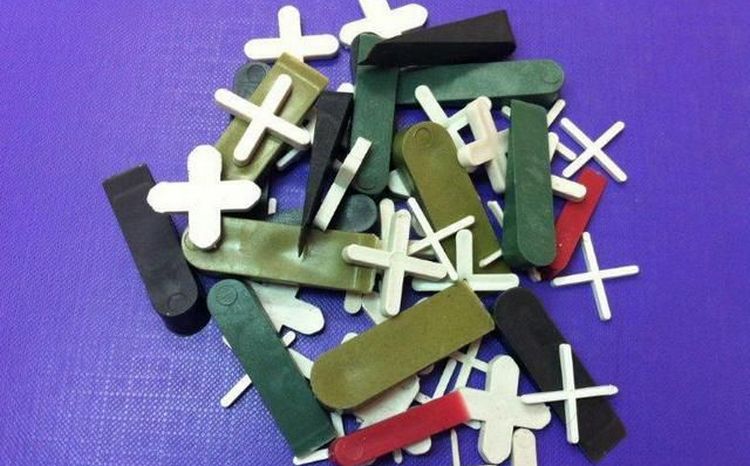
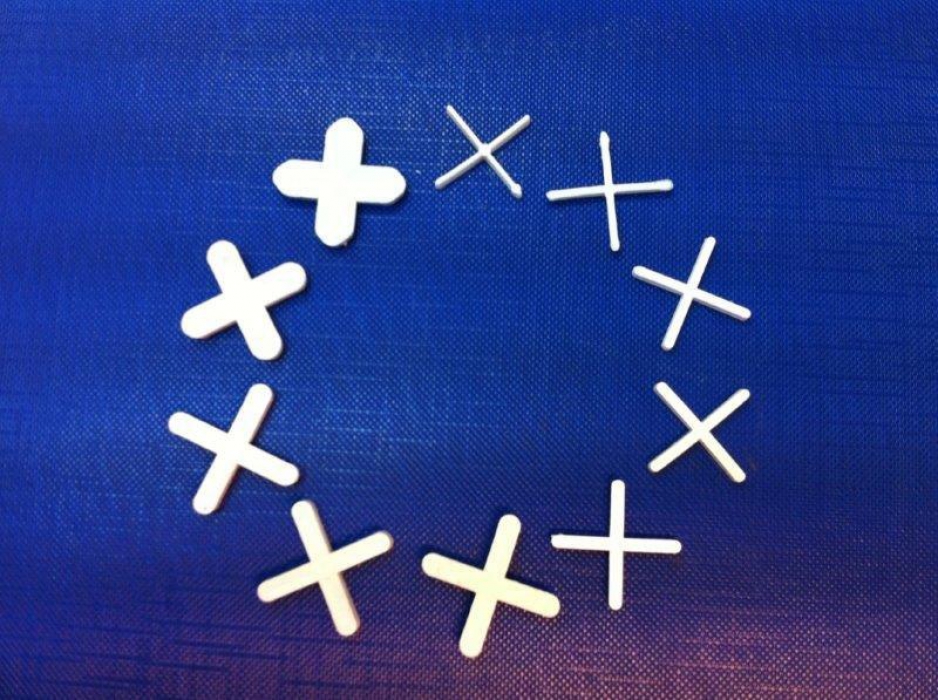
In form, they can be:
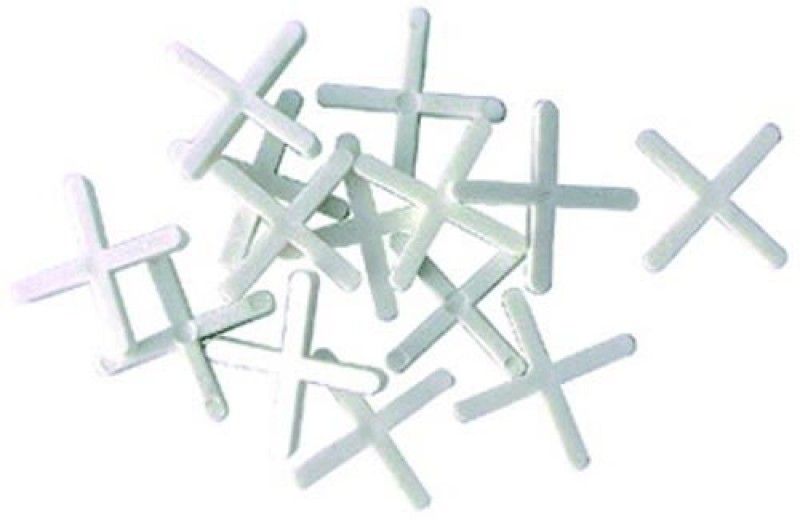
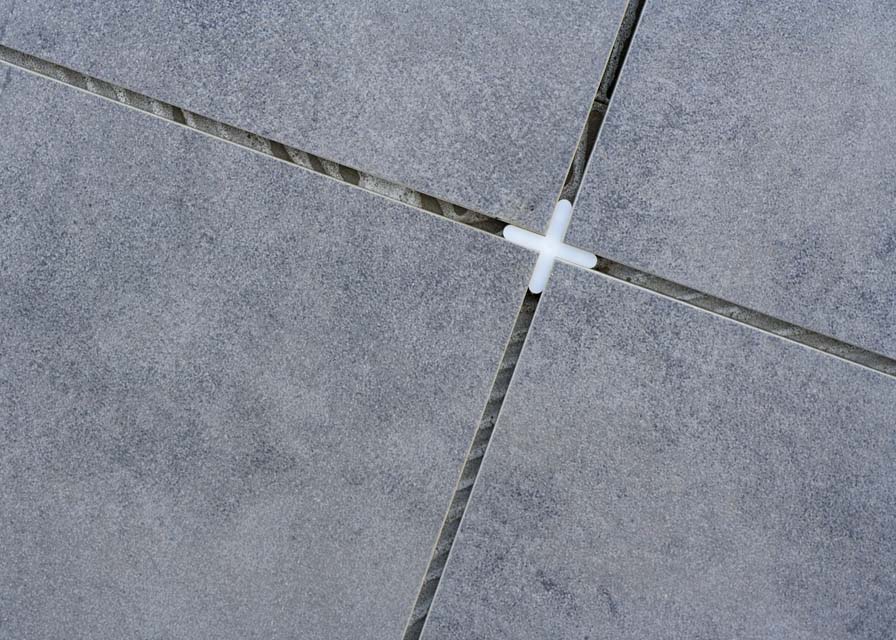
- traditional cruciform - used for both walls and floor, when the pattern of laying tiles is simple and without displacement;
- T-shaped - one cannot do without them when the tiles are laid with an offset according to the “braid”, “herringbone”, “deck”, “labyrinth”, “modular grid” and other schemes;
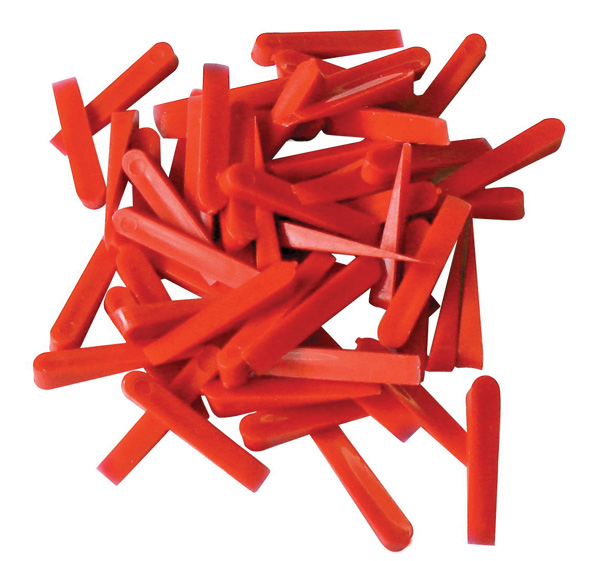
- wedges used to form the desired width for wall tiles by pressing them into the seam, serve as supports for the lower row.
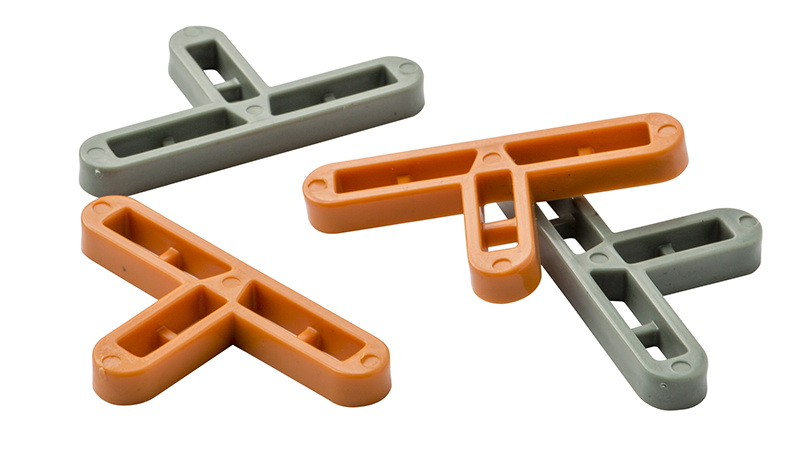
Remote crosses can be solid and hollow. The latter are better inserted into the tile joints, while not squeezing the glue out. There are options with bridges between the knees, in such constructions rigidity increases, therefore, the deformation of the seams after laying is less likely, they are easier to remove after the work.
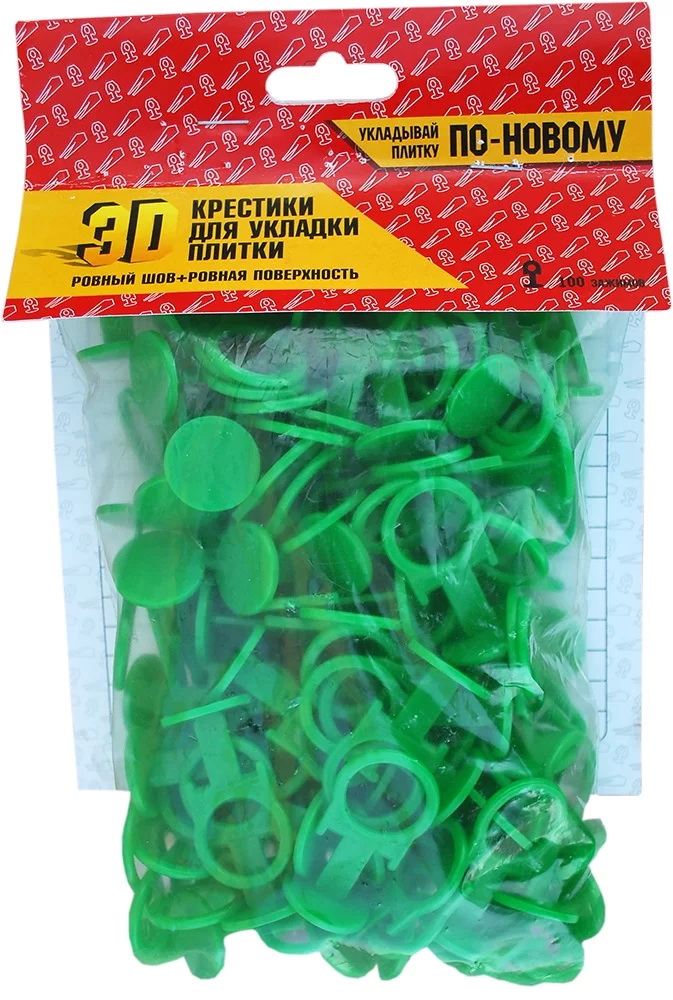
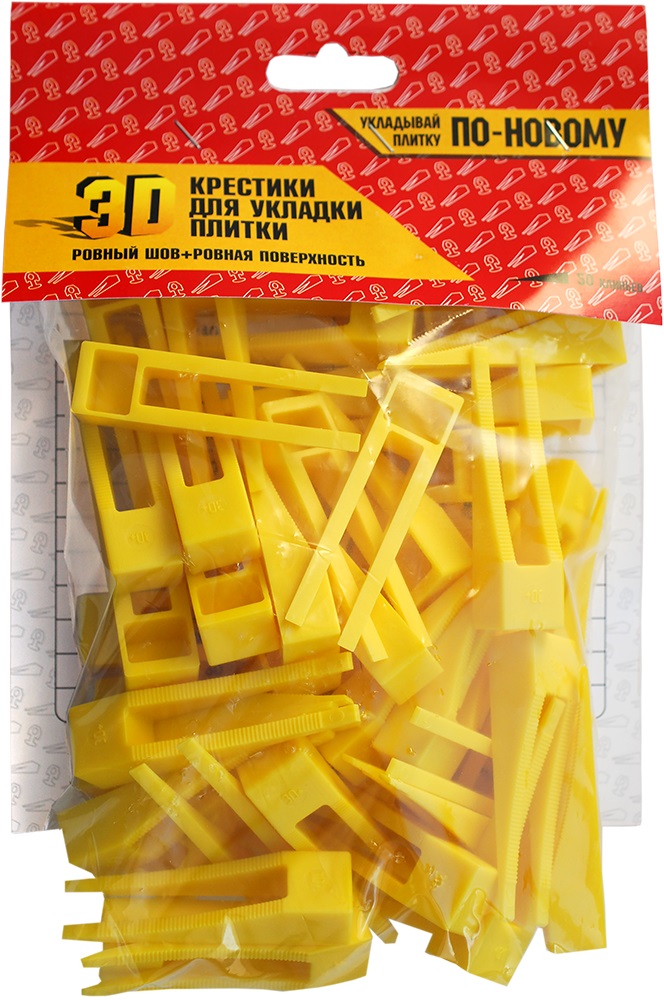
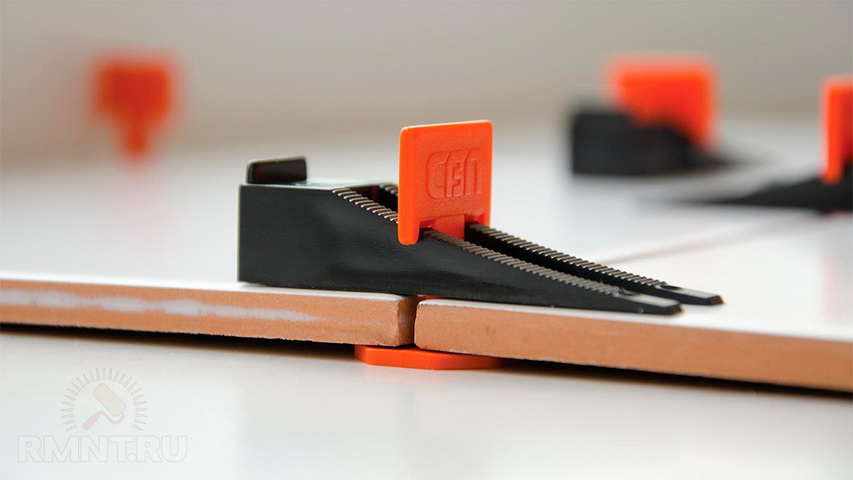
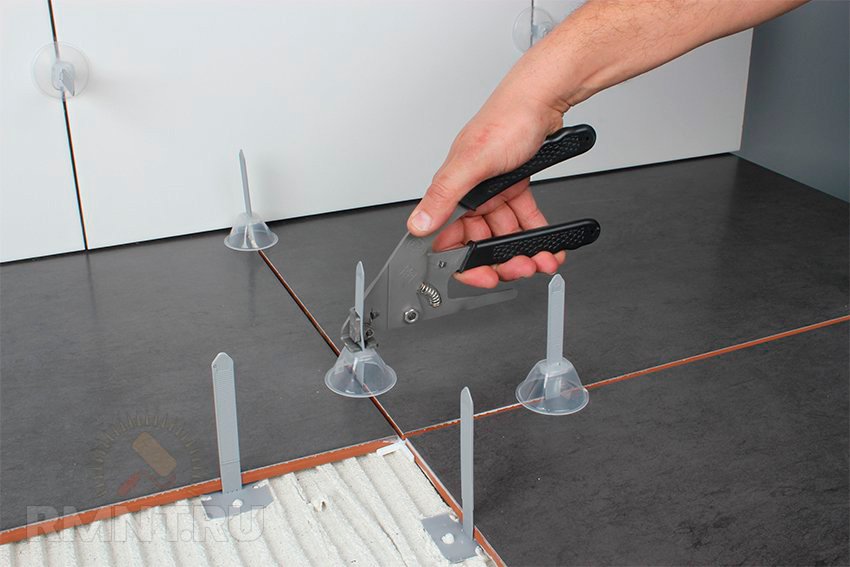
Instead of using plastic distance crosses, now widely used technology called tile leveling system (SVP). It can be used for ceramic and porcelain stoneware coatings with a thickness of 3 to 20 mm, that is, with virtually any interior work. Sometimes you can find the name “3D crosses for laying tiles”, but these products do not look like ordinary products.
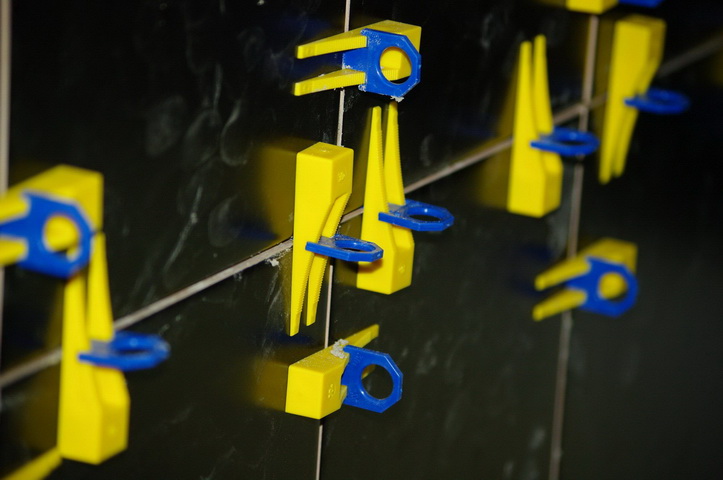
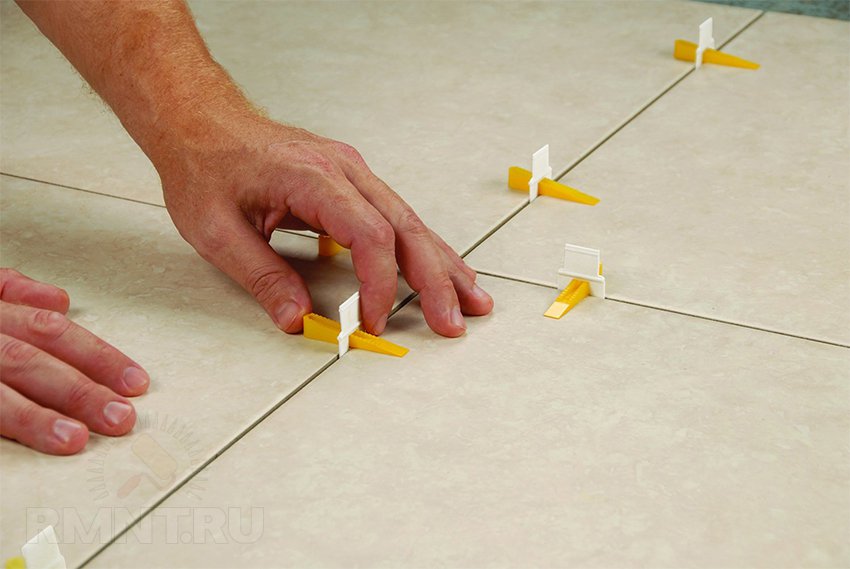
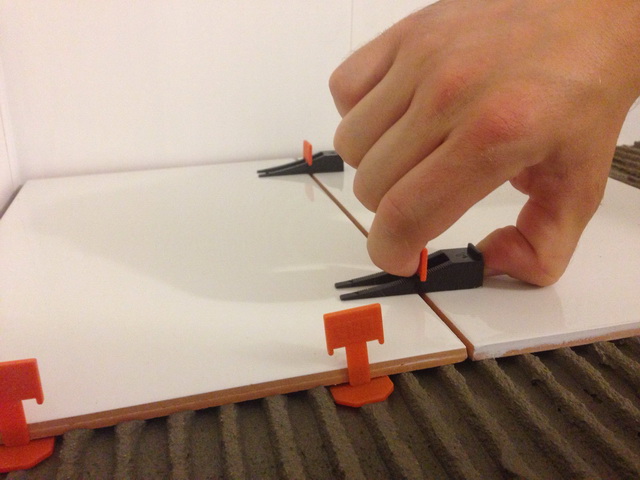
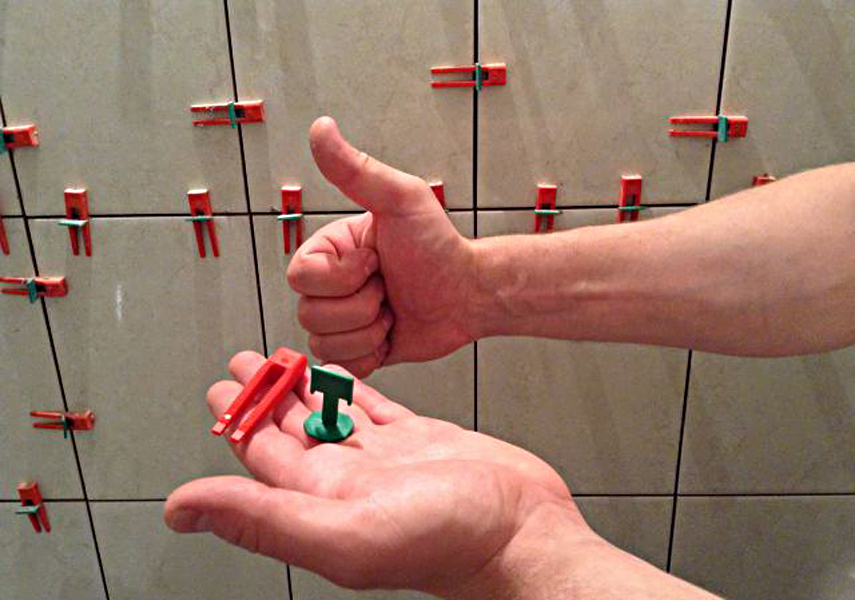
A set of SVPs includes plastic wedges and clips with snaps, usually in different colors. These are self-leveling elements that allow you to simultaneously form a flat seam and lay adjacent tiles in the same plane. In one set there are 250 clamps and wedges.

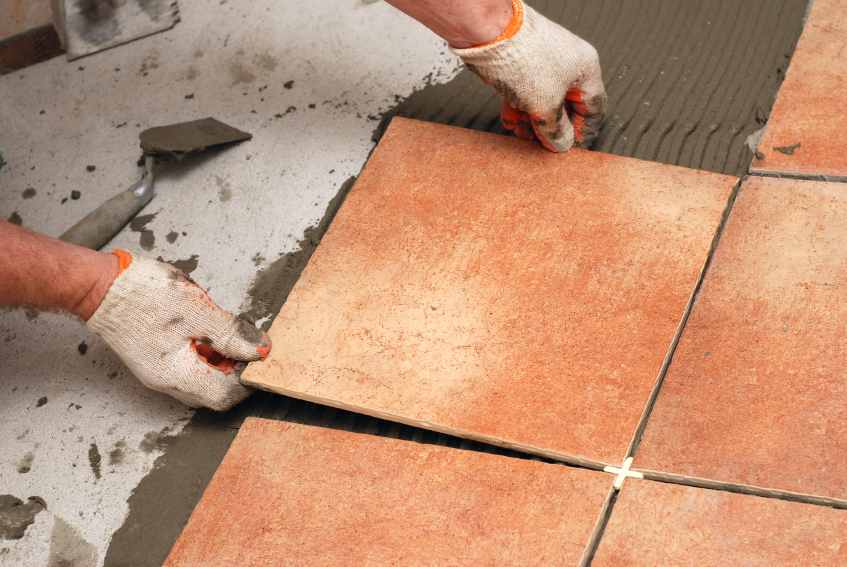
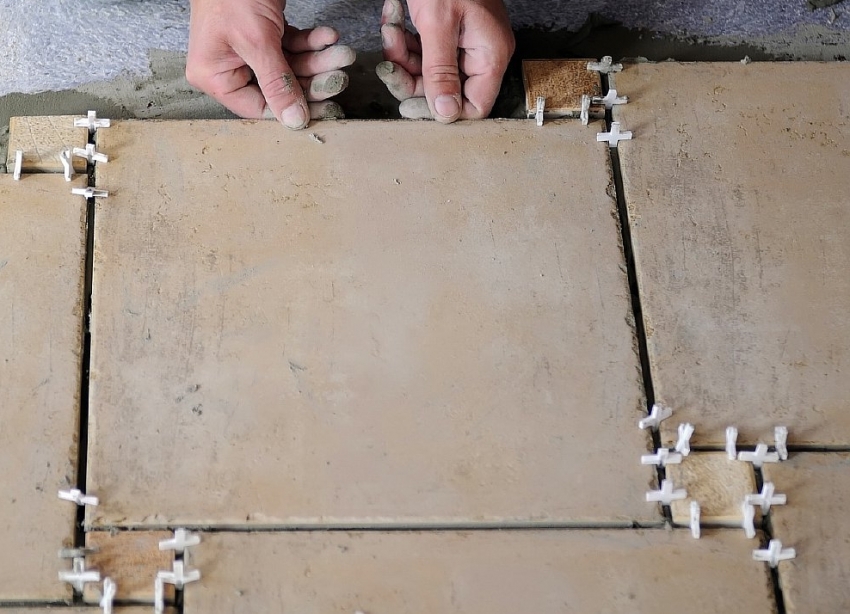
The principle of operation of the SVP is as follows. First, one tile is laid on a layer of glue and leveled by level. Then 2 clips are inserted on each side at a distance of about 5 cm from the corner, the next tile is laid, the adjacent edges should fit snugly to the leg of the plastic part. Then the wedge is firmly inserted into the clamp until the latch triggers, forming a flat plane of the adjacent tiles.
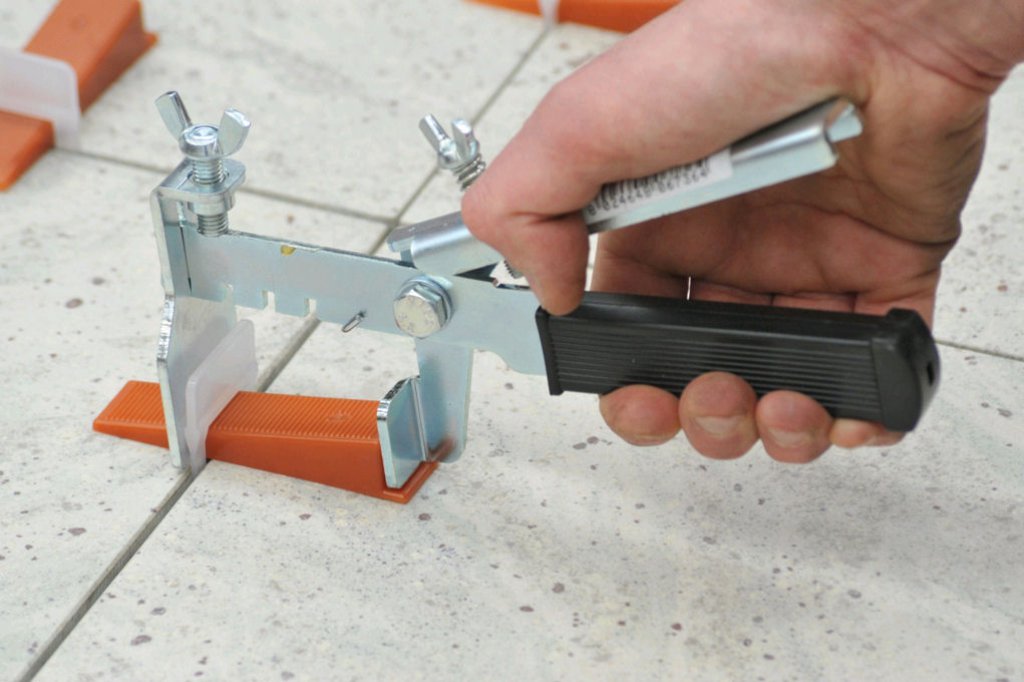
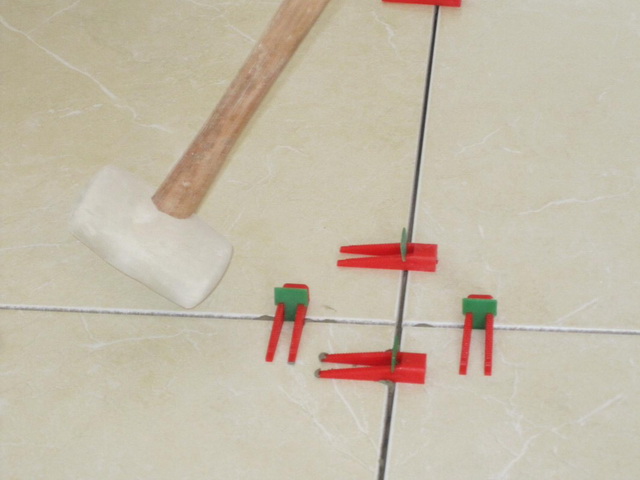
After the glue dries, the wedges and upper ends of the clamps are removed by hitting the rubber malletwhich should be in the arsenal of each tiler.

The advantages of the tile leveling system in the simplicity and speed of work, when using it, even an amateur can put a tile smoothly and beautifully. In addition, the level is maintained during shrinkage of tile adhesive, the appearance of heights is not allowed.
We can note some drawbacks: it is recommended to work only at a temperature of more than 10 degrees, when knocking out wedges with clips, the lower part of the clamp still remains inside the seam.
Consumption
The consumption of crosses is ambiguous, it depends on the size of the tile. 4 or 8 is usually used per item.on this basis, it is possible to calculate the amount per 1 m² and the finish of the entire volume of the room.
For example, if for wall tiles of 20 by 30 cm we use 4 crosses per piece, one square meter accommodates 16 such elements, therefore, 16x4 = 48 crosses need to be 1 square meter. m. This number is multiplied by the total area of the lined surface. To the total amount you need to add 10-15% margin.
Besides, for large volumes, crosses are often removed and then reused.. Since the price of this product is scanty, it is not a problem if crosses are purchased with a margin.
Experienced craftsmen recommend purchasing 2 packs of 100 pieces at once for the walls and floor in the bathroom, this amount is enough. For the kitchen is usually enough 4 packs.
It is possible to select the required number of wedges and clips for the systems of SVP using a special table, but here it is also easy to calculate everything based on the amount per tile. Usually for covering the floor in the kitchen is enough packaging in 250 pieces.
Dimensions
The minimum thickness of this plastic product for walls is 1 mm, the following markings are 1.5, 1.6, 1.7, 1.8, 1.9 and 2 mm. For any tile size, a seam with a thickness of 1 to 2 mm will look neat., therefore, they create such variants of remote crosses.
The maximum length and width, they are also optimal, 20 mm. Depth for sufficient rigidity is usually 3 mm.
Wedges have a length of from 20 to 30 mm, a maximum height of 7 mm. For the floor usually use crosses ranging from 2 to 3 mm.
Tips for choosing
For laying tile is best to use solid plastic crosses in sufficient quantities to form a smooth seam. Many praise the hollow options for their effective use without squeezing the glue,but they, because of their structure, do not have sufficient rigidity, so many craftsmen trust traditional products, the main thing is to work carefully.
When laying tile it is better not to take crosses more than 2 mm wide on the wall, they do not form such a neat appearance, an excessively thick seam always spoils the overall picture.
Tile leveling systems are mainly used for floor cladding, they are much more expensive than ordinary crosses, but they are more reliable and ensure alignment both along the seams and along the plane. But they should be chosen, depending on the experience: for professionals, it may be easier and cheaper to lay floor tiles with ordinary plastic crosses.
For reliable installation and ease of removal of parts, after the work it is better to choose imported crosses with jumpers between the knees. They are stronger, more rigid, it is more convenient to work with them. When finishing the floor and walls, it is better to immediately stock up on a set of necessary crosses and wedges.

How to use?
And a few more recommendations:
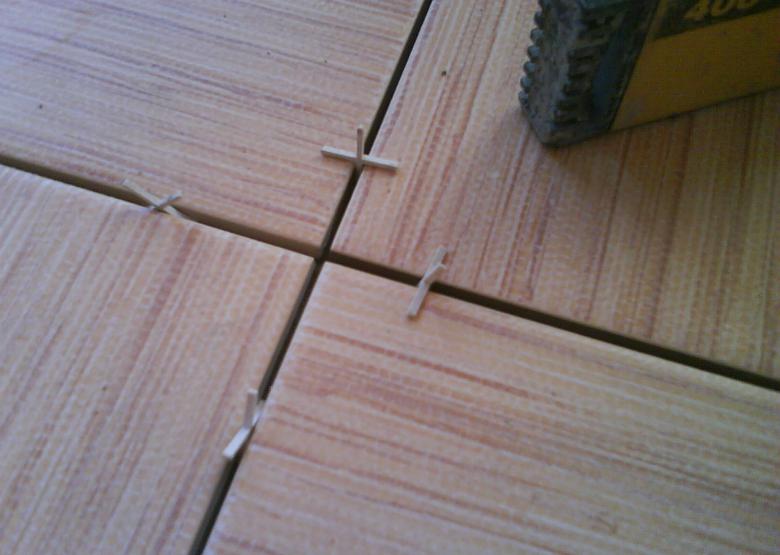
- In order to make the quality of work on wall cladding more reliable, you should not save, so it’s better to use 8 crosses for each tile right away.On top of the lower laid row, 2 upper tiles are laid, then crosses are inserted into horizontal rows and into vertical rows - at a distance of about 2-3 cm from the corners. The tiles are neatly brought together until it stops, pressed inwards, the surface is checked by level. The work requires some skill, but when trying for several stages it is quite possible to achieve a smooth neat seam. Then they proceed to laying the next two tiles, the procedure is repeated.

- For reliability, you can insert crosses and directly into the corners, 2 mm wide, they just correct the required width of the seam. For wall tiles, it is best to use 1.5 and 2 mm products, for floor 3 mm, they are quite rigid and effectively form a seam. Thicker gaps are better not to do, the smaller they are, the smoother they look, they require less glue and fugue consumption (grouting).
- It is possible to remove crosses from the floor tile one day after laying, from the wall tile on the same day, but in order for at least 2 hours to go after the work is finished, the tile glue will already harden and will not deform the tile. Do not have time to delete: the more time passedthe solution becomes harder and the process becomes more complicated.
- You can remove remote crosses and wedges with different tools: pliers, blade, screwdriver. There is a special knife for jointing, which cleans the seams of glue and prepares them for grouting, you can use it. But there is one caveat: the tip of a solid tool can scratch the decorative surface of the tile, so you need to work carefully or try to get another cross.
- If the layer is too large, then you can drown the cross into the depths while laying, then you will not need to remove it. But it is better to get rid of all the plastic elements in the joints immediately after work, otherwise they will interfere when grouting, and after it the layer of the fugue may fall off.
- Many people wonder what will happen if the crosses are not used when laying. This can lead to some unpleasant consequences. First, without a seam, there remains some kind of microscopic gap through which moisture can penetrate inside, destroy the adhesive layer, reduce the adhesion of the tile to the surface, and the tile itself swells and deteriorates. Secondly, under the action of heat, ceramics are also deformed, at the expense of voids, the risk of collapse.Thirdly, even with an experienced professional eye it is impossible to achieve perfectly smooth seams without fixing elements, even if everything looks neat close, the whole picture will look from afar with a defect.
- We must remember that there is a seamless tile - a relatively expensive version of the finishing material, which is used for walls and floors inside the premises. It is obtained by rectification - creating ideally smooth side surfaces with a clear rectangular geometry. It has no chamfers, there are no seams between adjacent elements, therefore, crosses are not required for its installation.
For how to choose crosses for tiles, see the next video.