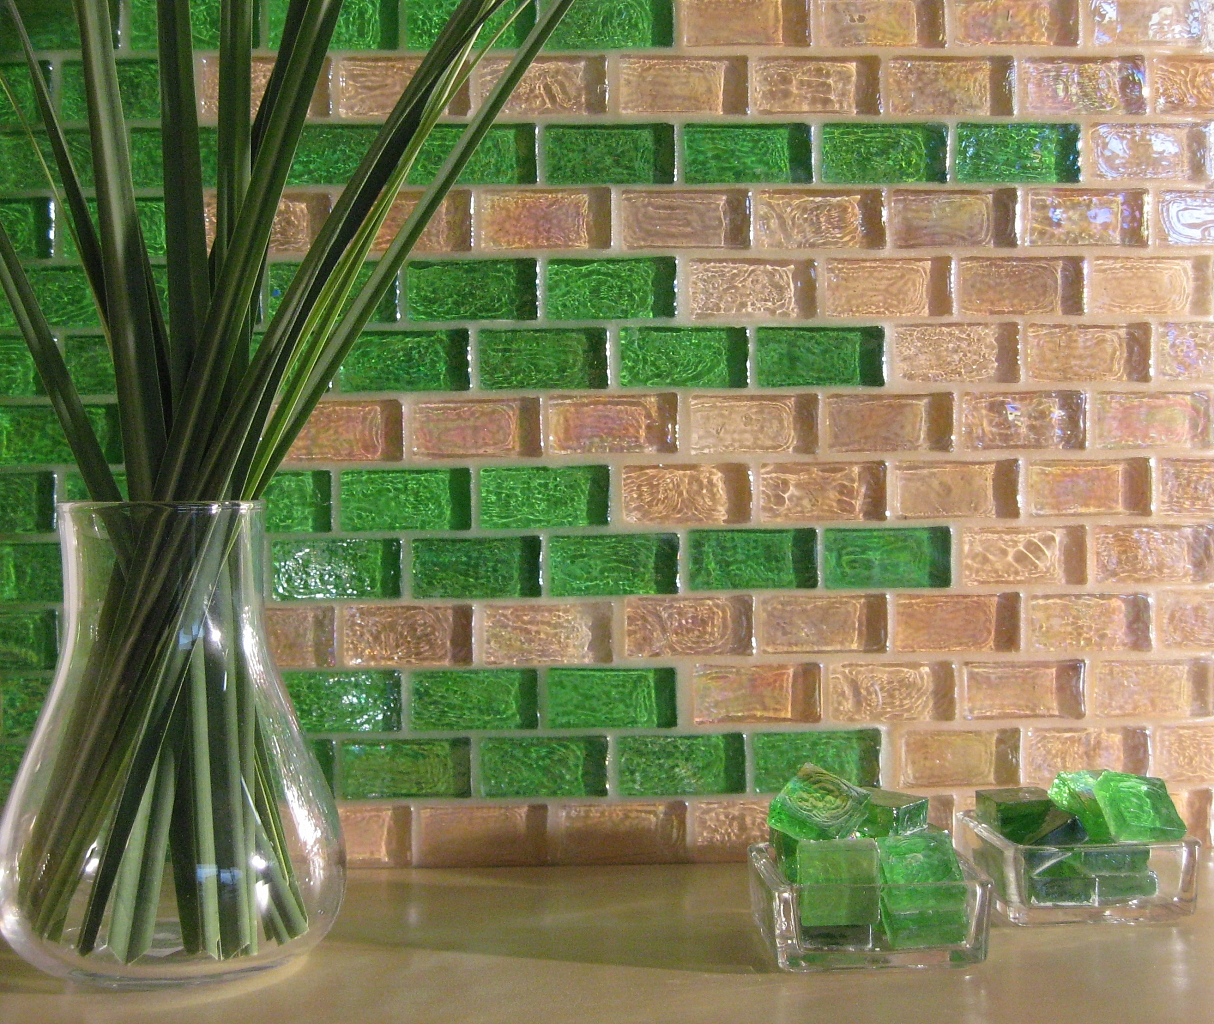
How to embroider the seams of ceramic tiles?
The jointing is the final step in finishing the room with ceramic tiles. It will not only give a tiled floor a finished look, but also prevent moisture from getting on the glue due to its special water-repellent composition. The jointing increases the strength of the tile and thereby increases its service life. This article describes all the necessary information to ensure that the grout between the seams looks beautiful, neat and hides possible errors when laying the elements.
Special features
It is important to know that after the installation is completed, it should take at least seven days before you can begin to rub the seams.There are various types of glue that allow you to start jointing already on the fifth day, but it is still advisable to wait.
Many hired tilers neglect this fact and, in order to get the job done faster, they begin to make jointing the next day after installation. This is unacceptable, as it can negatively affect not only the appearance of the finished seams, but also their quality and durability.
Instruments
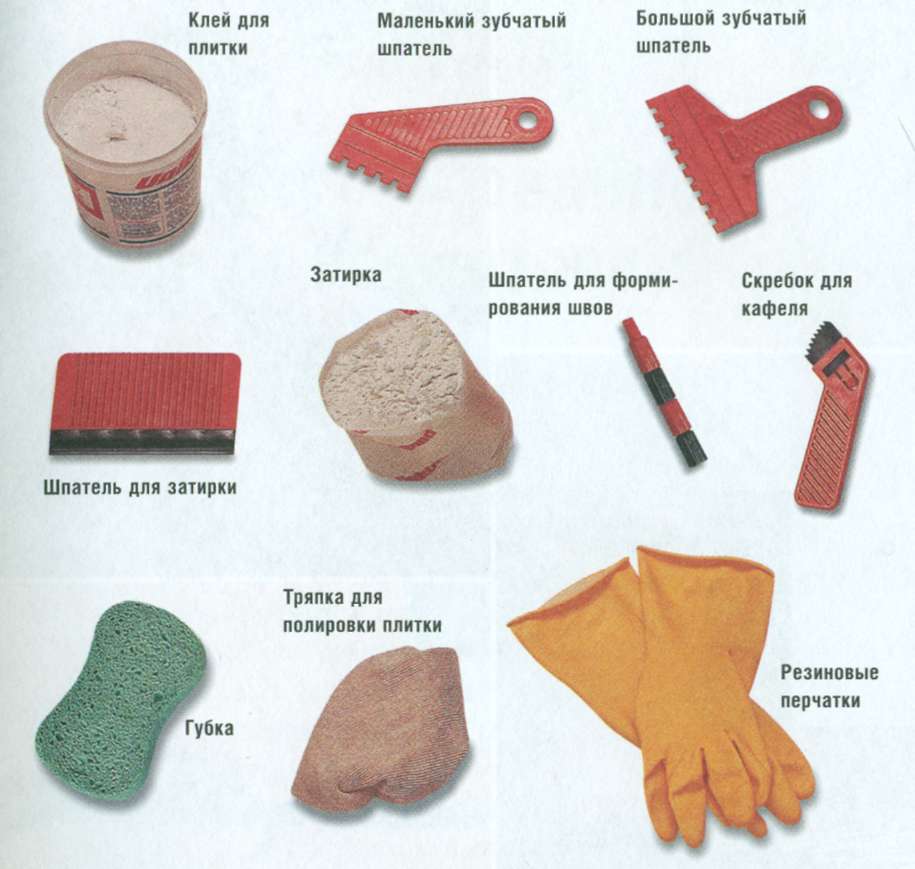
To work you will need:
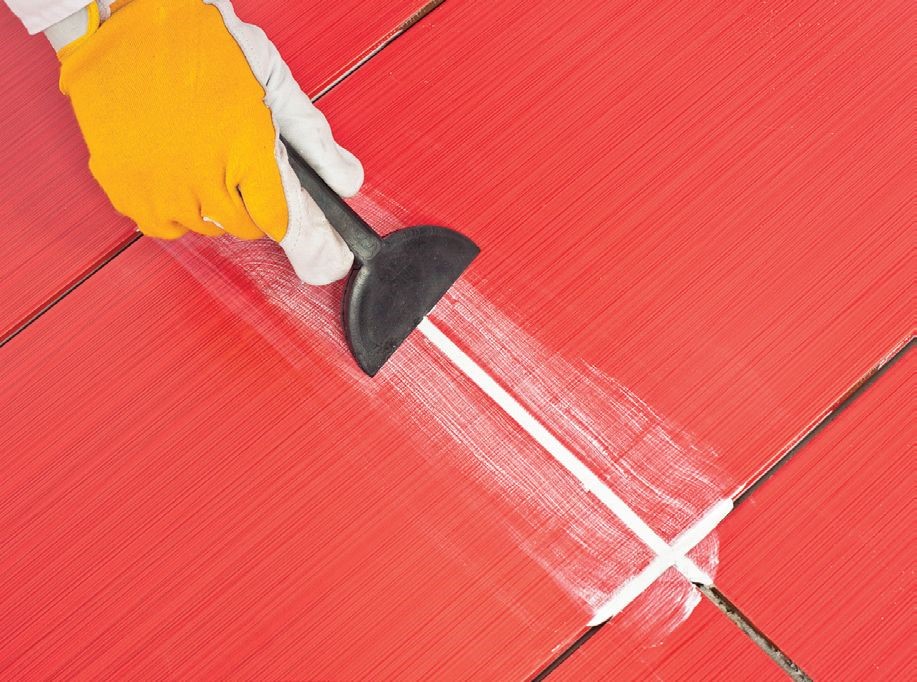
- Rubber spatula small. With it, you can gently and evenly fill the seams without various damage.
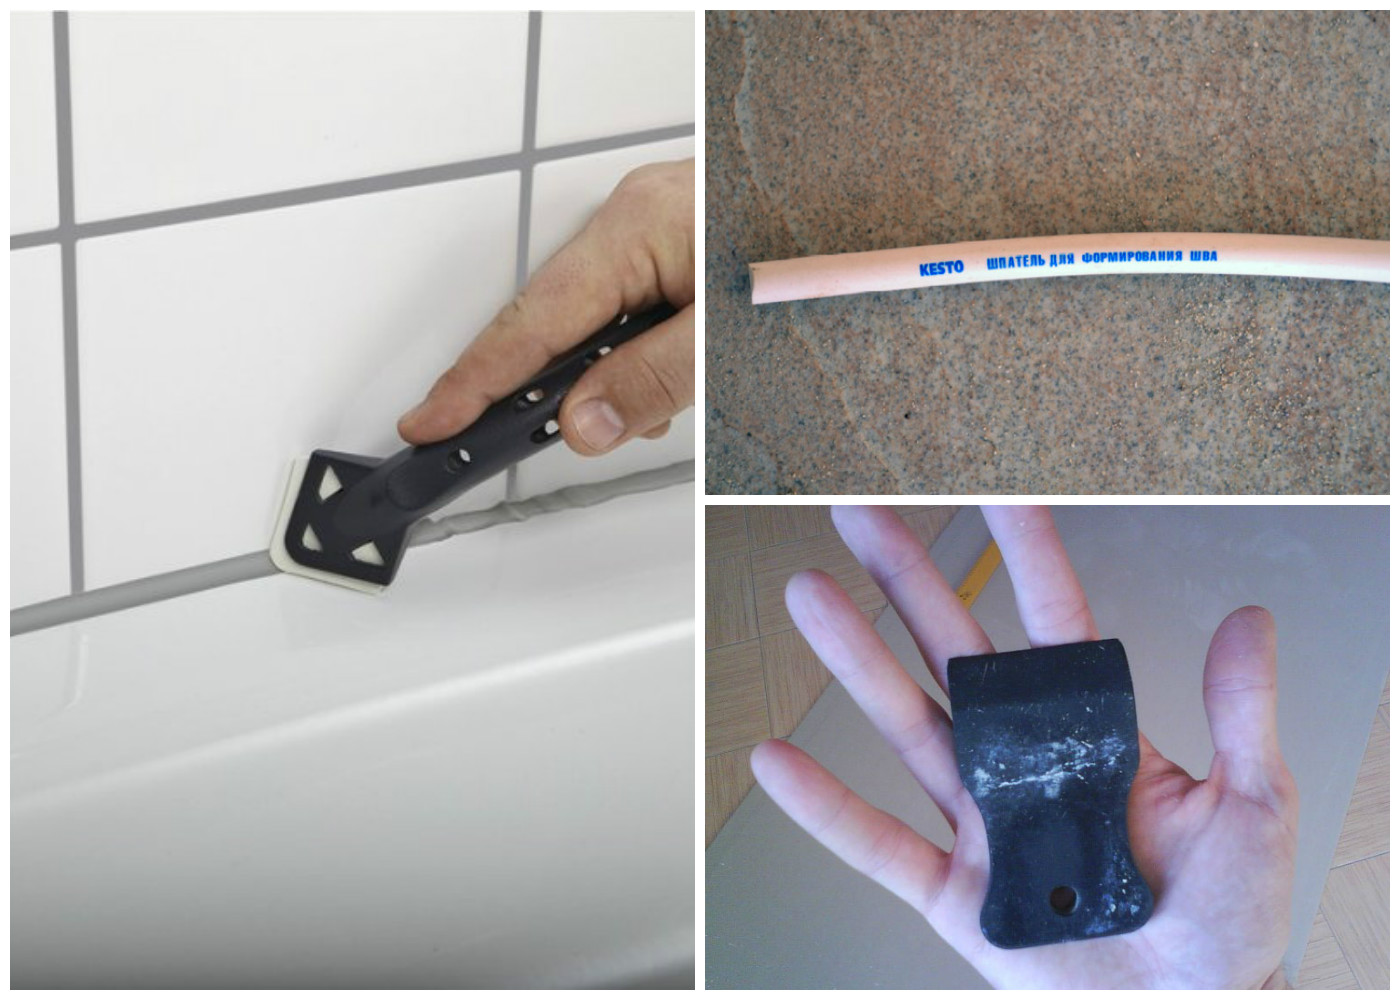
- Molding. A tool to create a correct and neat line of joints between the tiles. Molding can be replaced with an ordinary cable with the desired cross-section or a toothbrush handle.
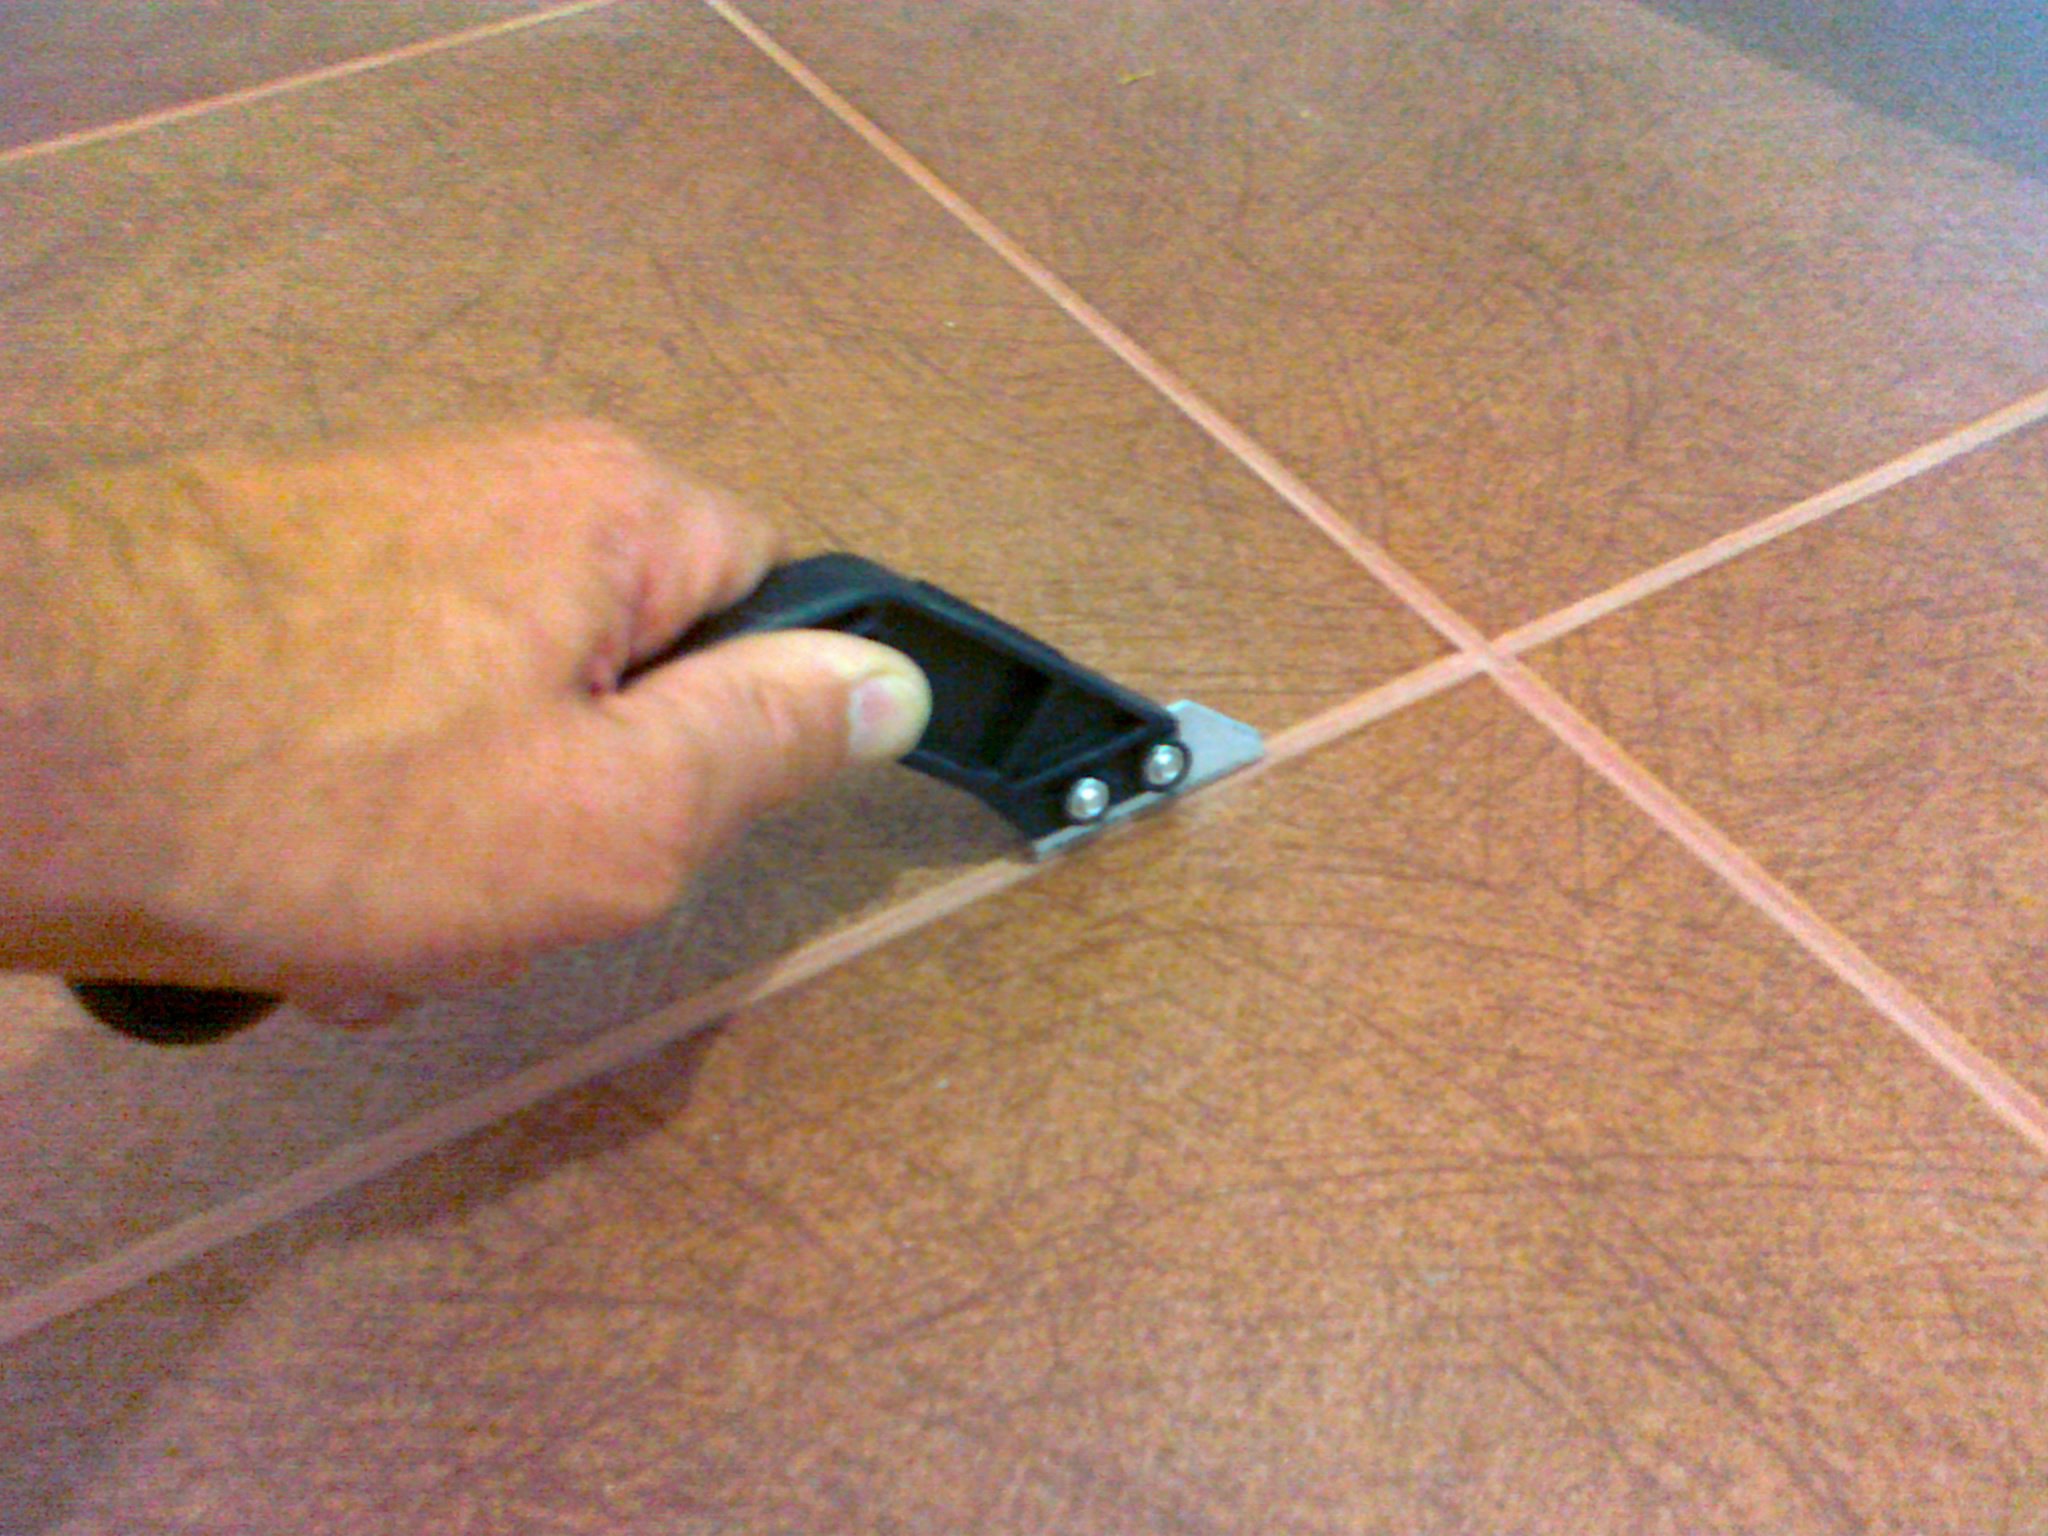
- The special knife with the cut-off blade is intended for clarification of joints from glue.
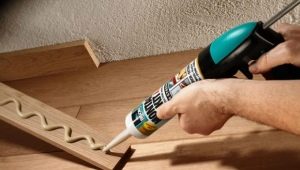
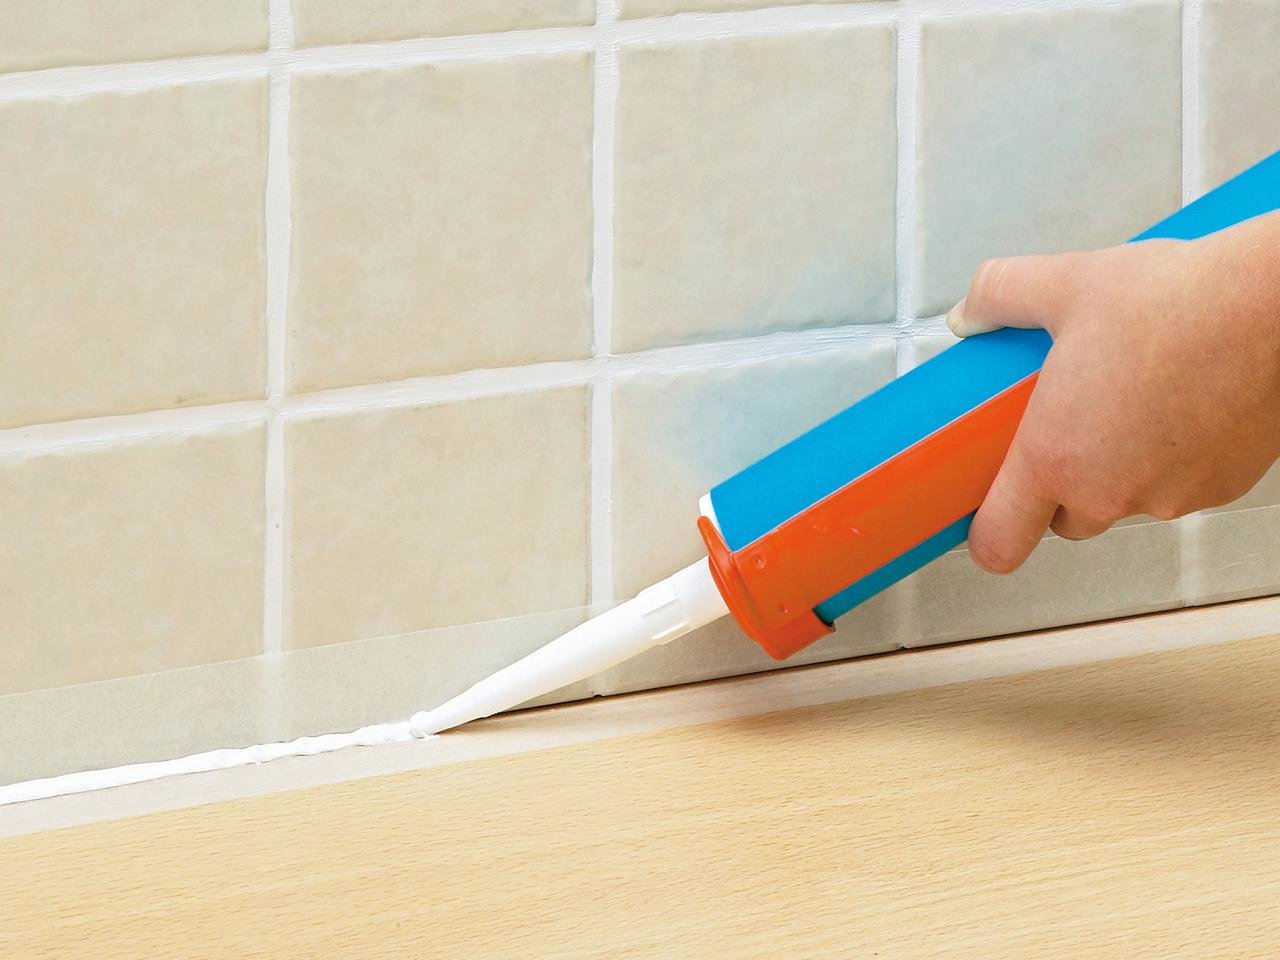
- Construction syringe. It is used for convenient filling of seams with solution.
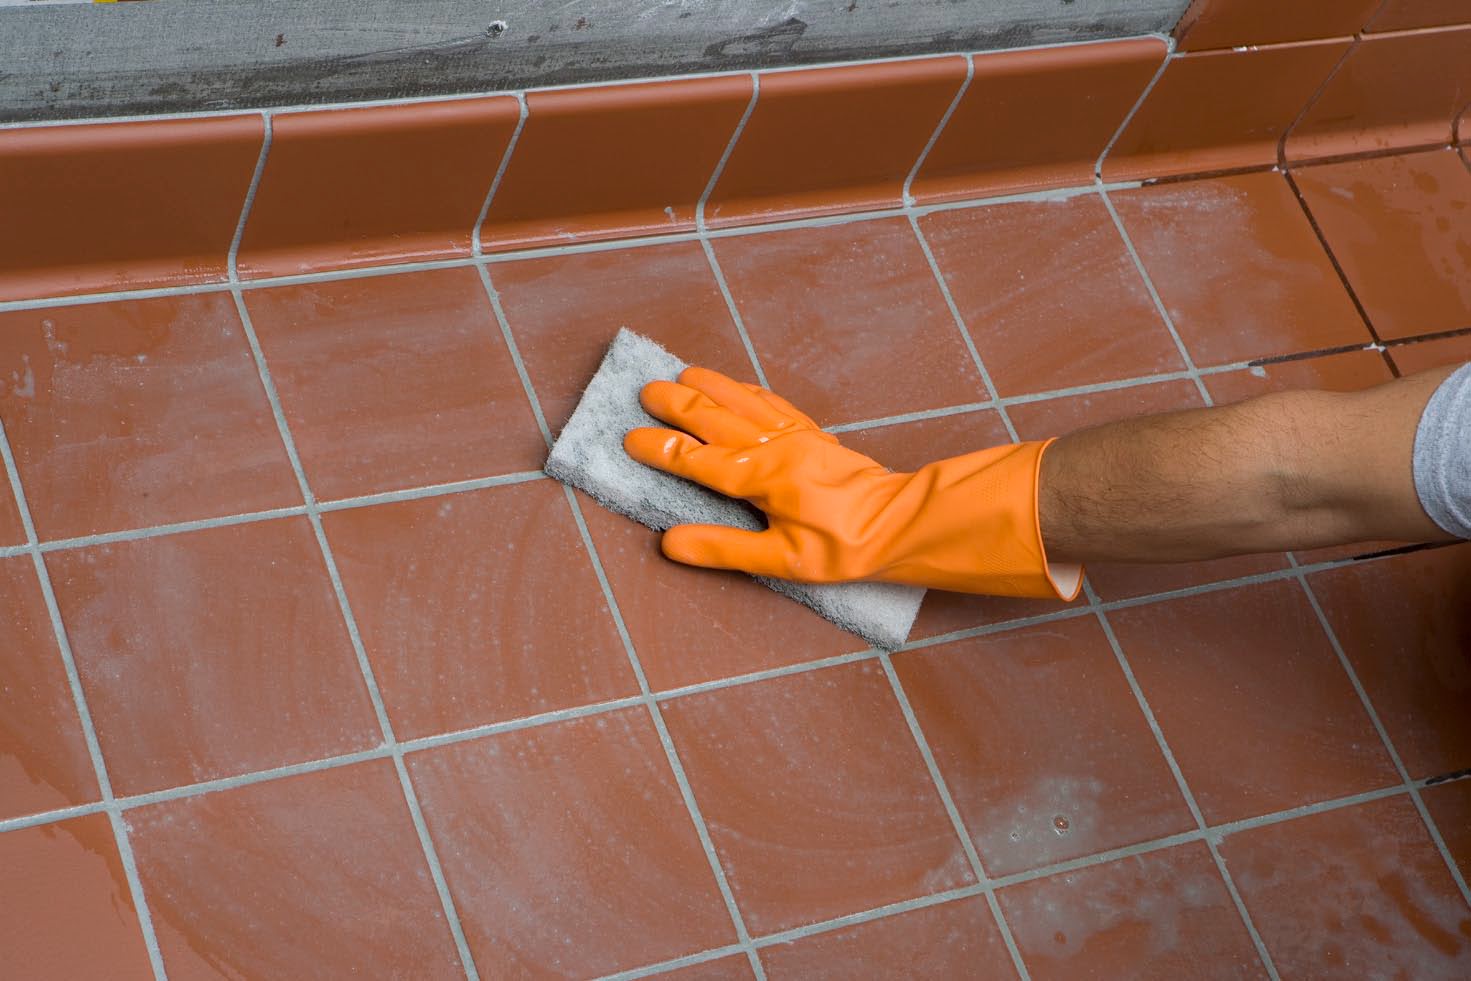
- Foam sponge for cleaning the surface from the remnants of the composition.
Materials
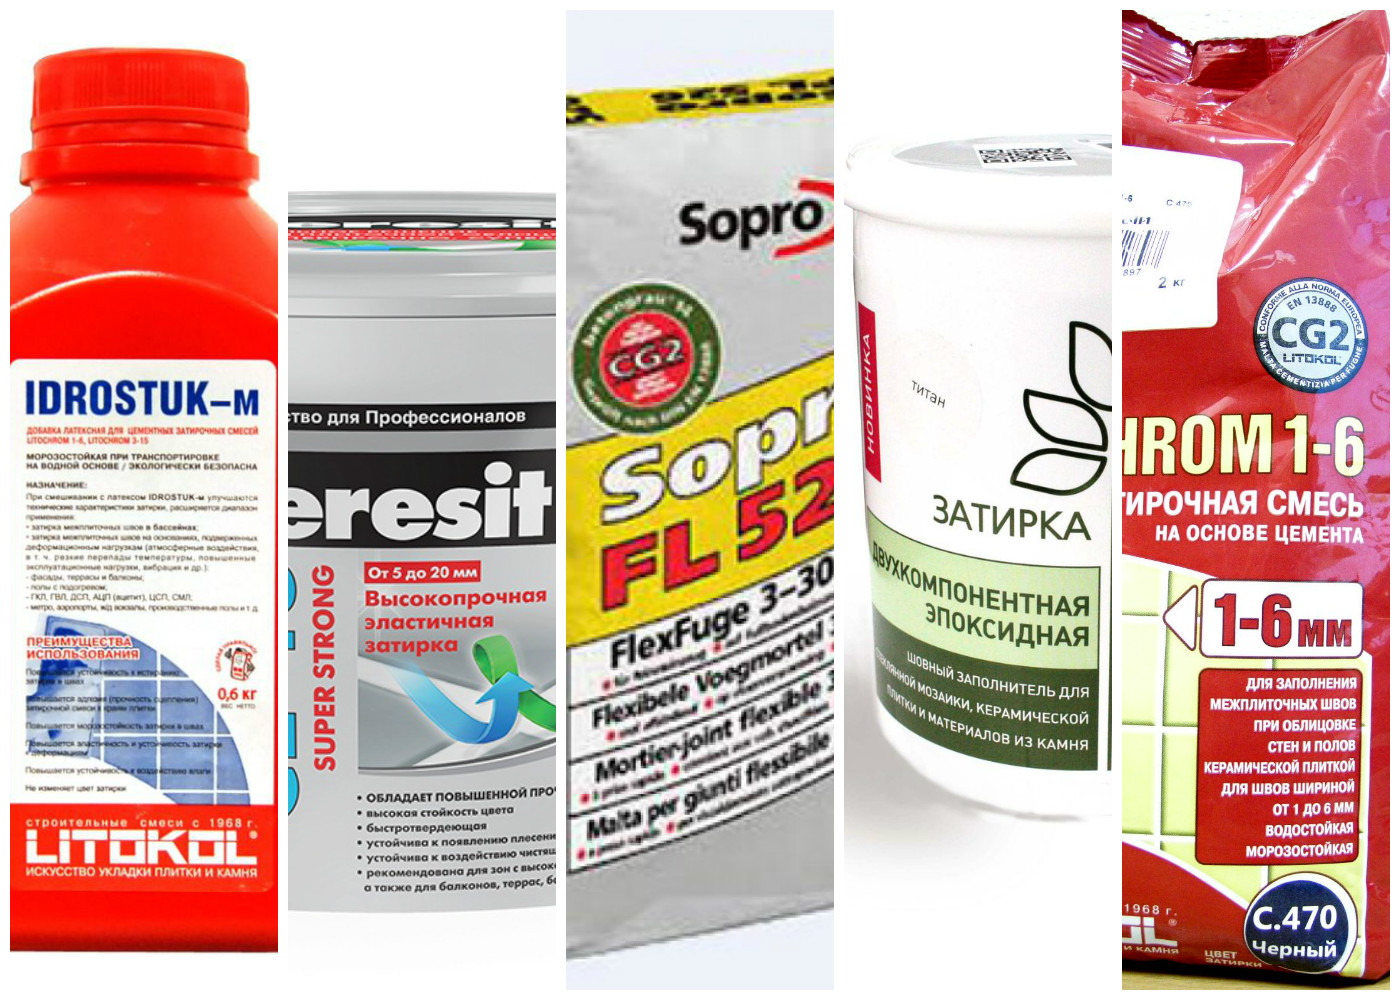
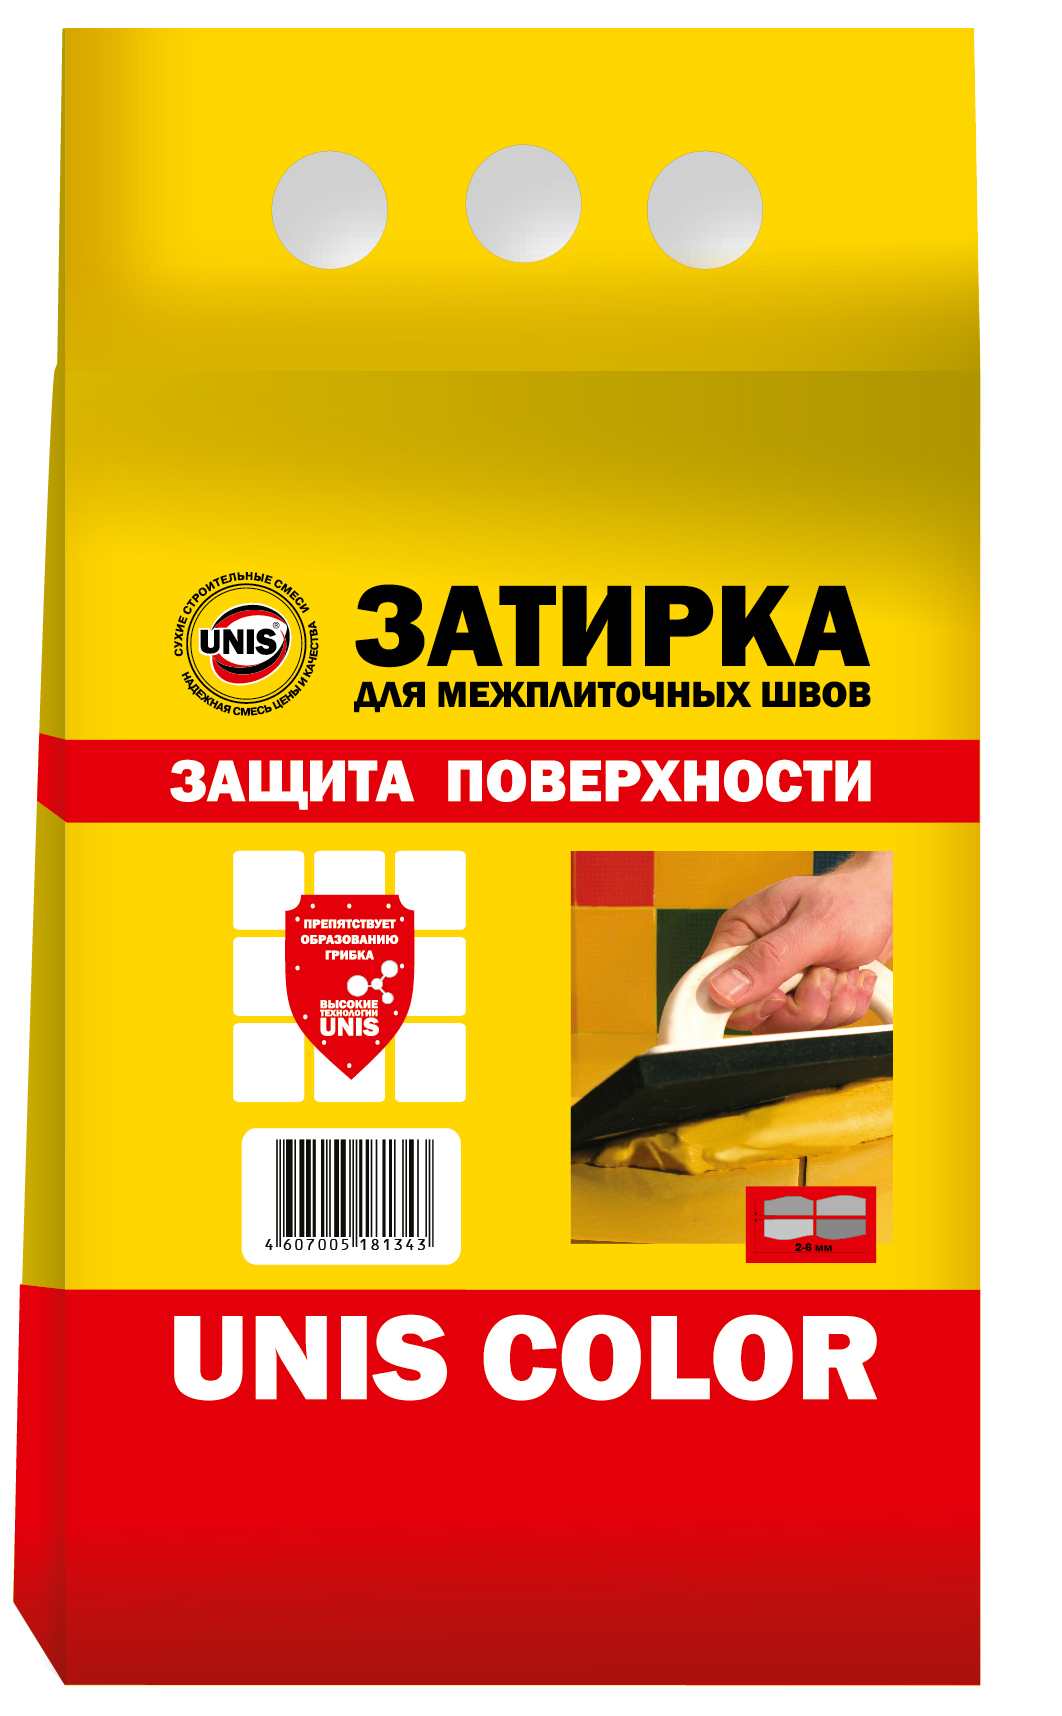
Today, in the building stores you can find a huge amount of grout of various manufacturers and compositions having different properties. They differ primarily in their foundation.
Cement
The solution is gray or white, most often used at home due to easy application, good adhesion, water resistance and reasonable price. Can be used for jointing both glossy and matte tiles.
However, it is worth knowing that for marble products it is better not to use cement grout.
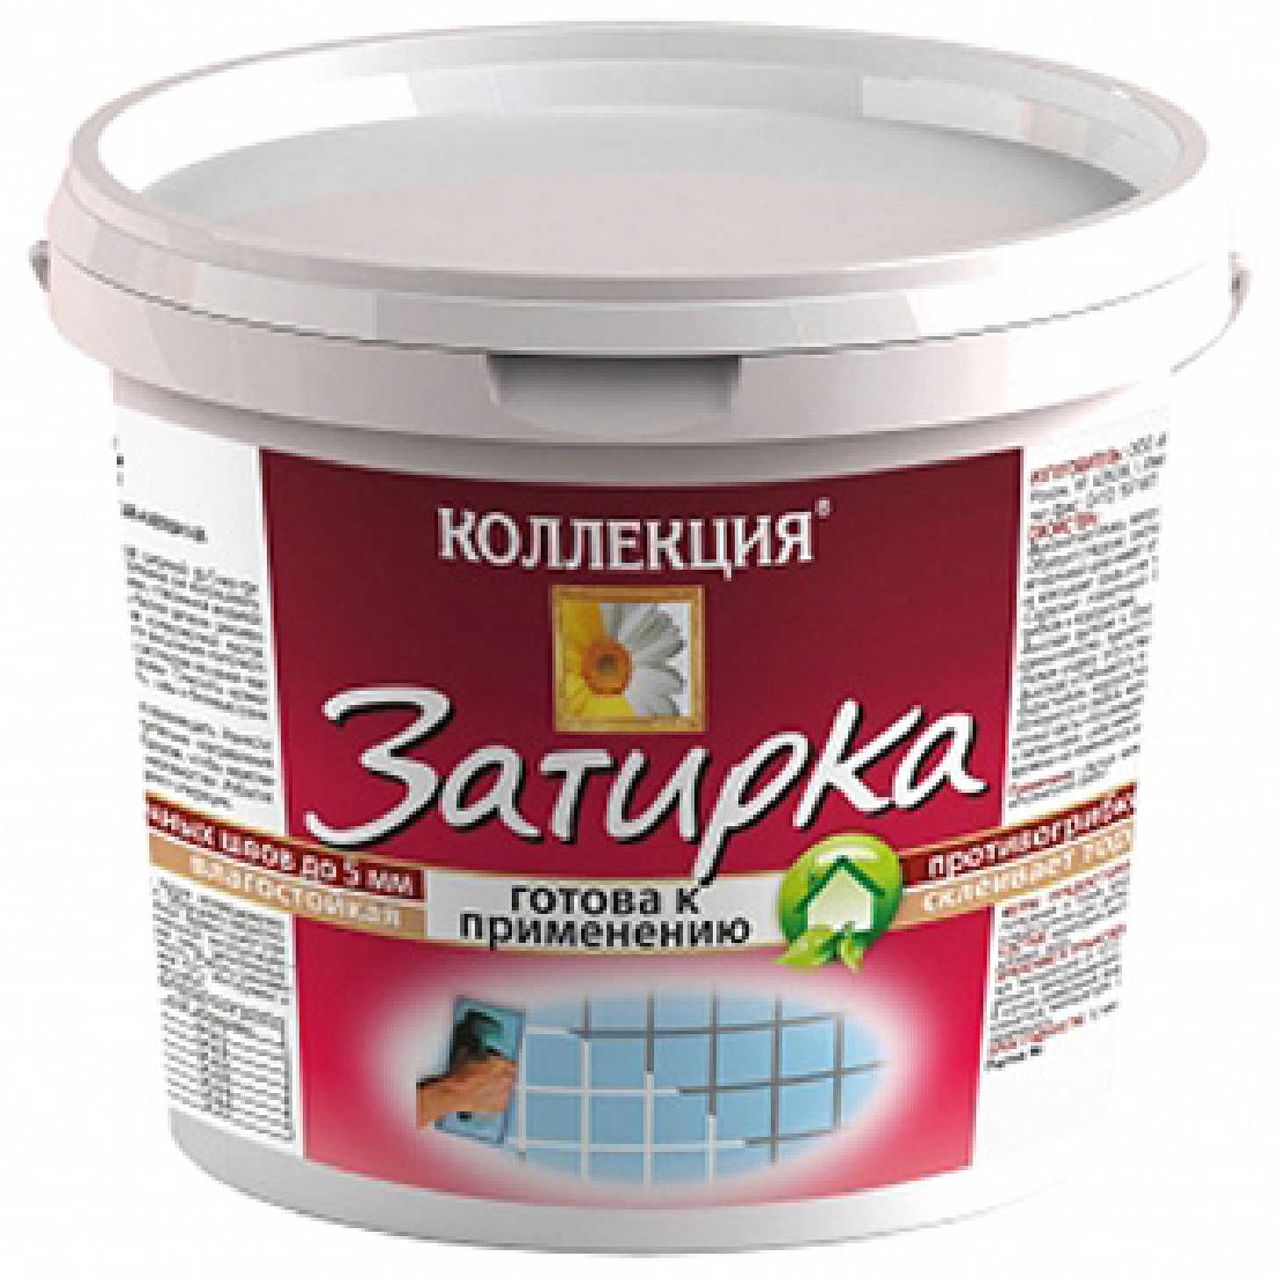
Among the shortcomings: poor resistance to aggressive components. Mostly sold in dry form, but there are already ready-made solutions, of course, for a higher price. Cement-based mixtures are of three classes: dry hardener, industrial cement and latex mixtures.
Furan
Due to the furan resin, the composition has a black color. Most often it is used in industrial premises. Due to the absence of water in the composition, this mixture best of all the others copes with chemical and mechanical effects, as well as perfectly resists moisture.
When working with a furan solution, it is worth knowing some nuances: before filling the joint, the tile is polished with wax, and the traces from its surface are removed with the help of hot steam.
Epoxy
Usually used for finishing commercial, office and industrial premises.It has a special strength due to the presence in the hardener. Thanks to this component, after drying, the mixture will be resistant to alkaline, acidic and mechanical effects.
In addition, epoxy solutions are well cleaned from dirt and dust. A wide range of colors allows you to carry out any design ideas. However, it is difficult to work with it: due to the viscous consistency of the grout can not fill thin seams. Also disadvantages include high cost.
Silicone
It is easy to use, so even a beginner can work with it. Due to the correct consistency, the solution does not spread, which allows you to gently apply grout, even in hard-to-reach places. The main disadvantage is the instability to moisture, which can cause the formation of mold and fungi.
Therefore, silicone-based grouting is not recommended for places that are often exposed to moisture (this also includes frequent wet cleaning).
Latex
Easy to use due to the elasticity of the composition. The same property allows you to fill the entire seam without voids. It has excellent resistance to moisture and temperature extremes.Latex grout can be used in any premises. A huge plus - a large selection of colors and reasonable price.
It is important to know that the use of an antiseptic will help prevent the appearance of mold and fungi in the joints of the tilestherefore during the mashing one should not neglect the additional surface treatment with antiseptic agents.
Optimum seam width
To determine the choice of the width of the seam must be before the laying process. It depends on the preferences of the master or designer.
Here are some tips to help you find the best one.
- Stitches more than 12 mm wide make the edges of the tile visually smoother and hide their shortcomings. However, it is worth knowing that this width reduces the strength of the tile, which leads to the formation of cracks. To avoid this, sand with large particles can be added to the solution.
- 3 mm wide seam best suited for square-shaped tiles with a size of 10 - 60 cm.
- 1.5 mm seam It will be difficult to fill with grout. If the work is done poorly, moisture can penetrate between the tile and damage it.

You should not be afraid to make the seams wide, since it is much more difficult to work with narrow ones and not every solution can completely fill a small space.
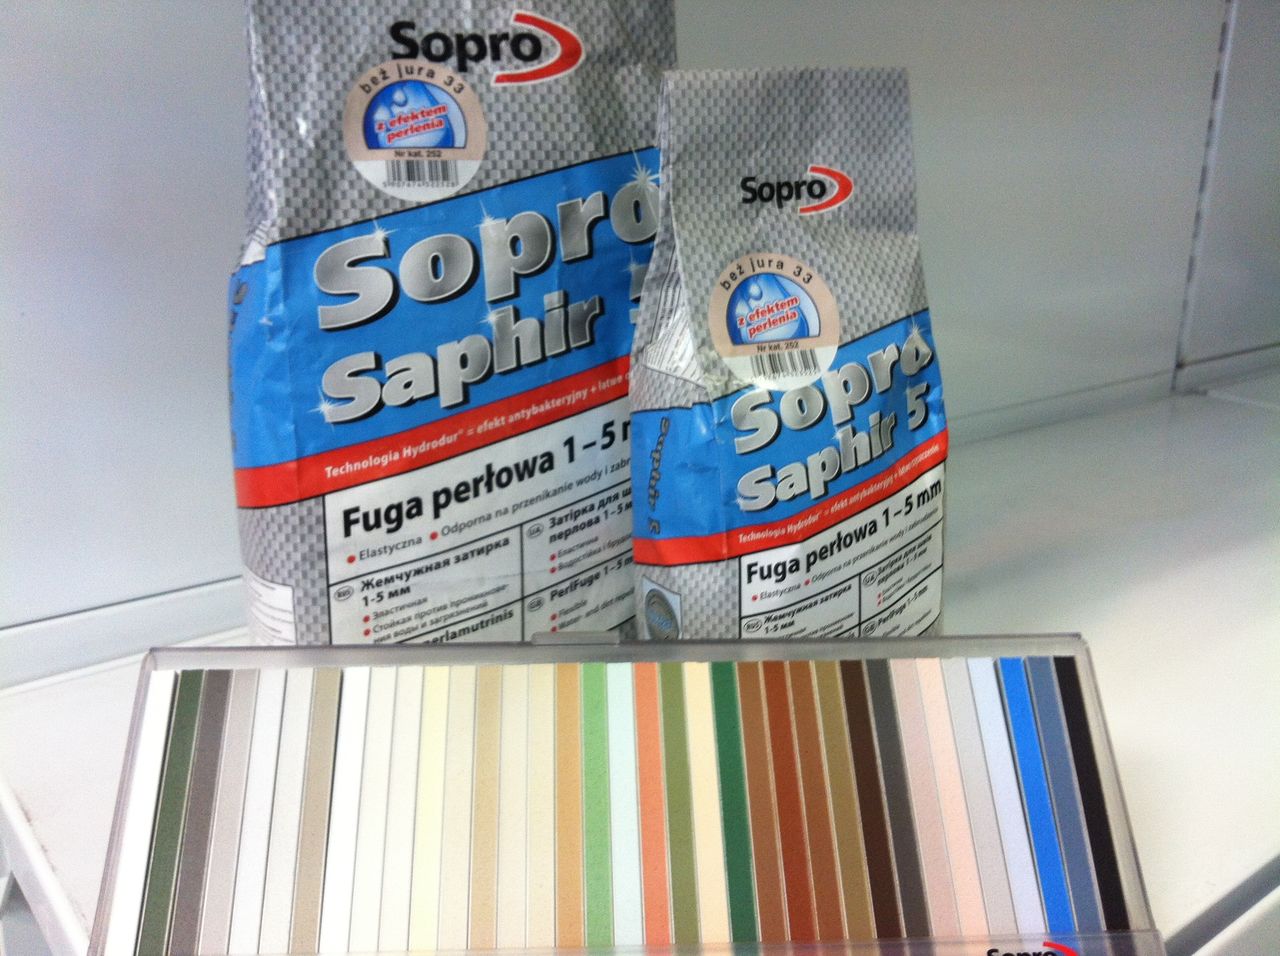
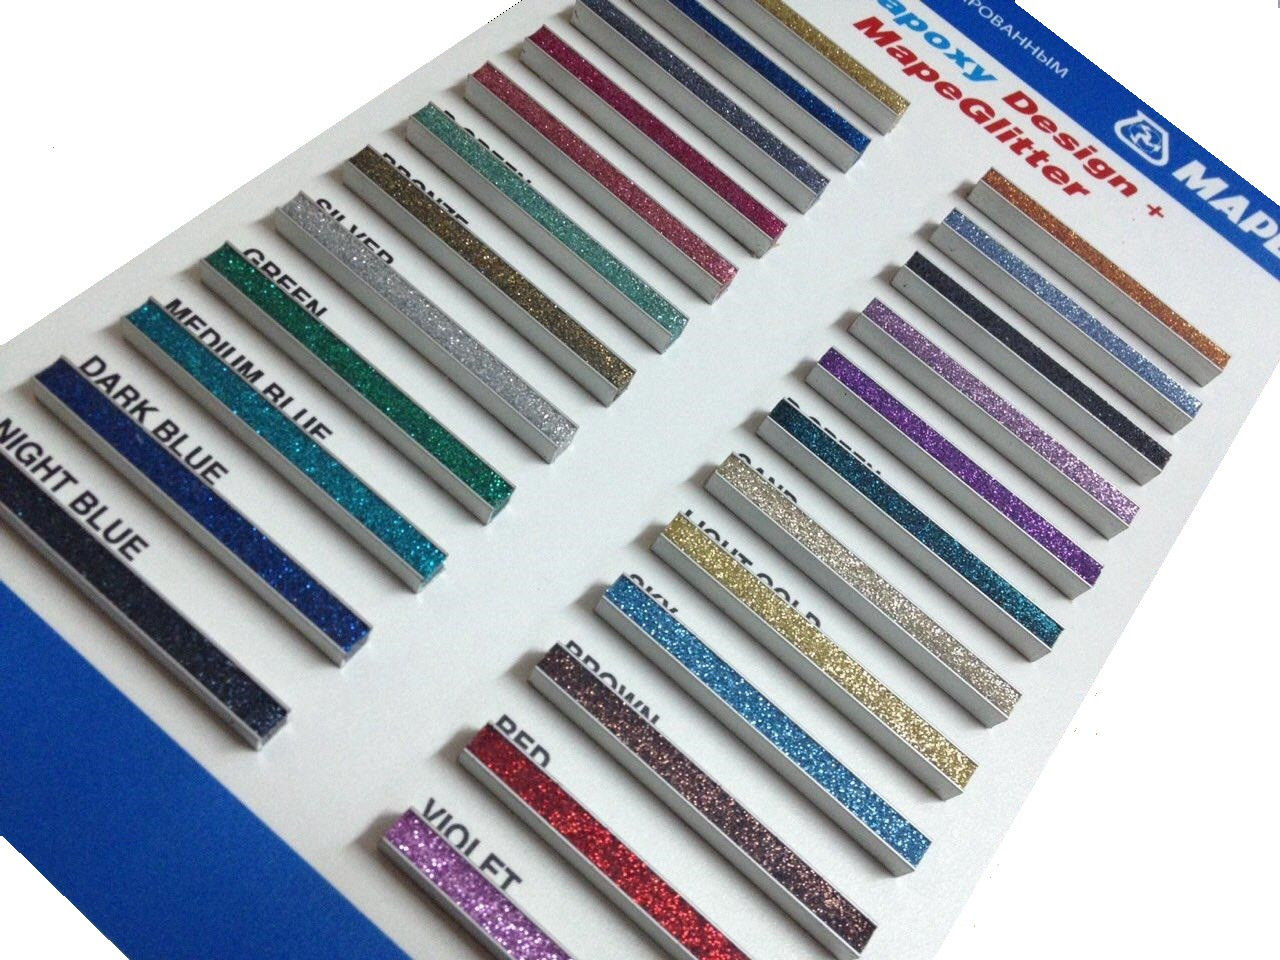
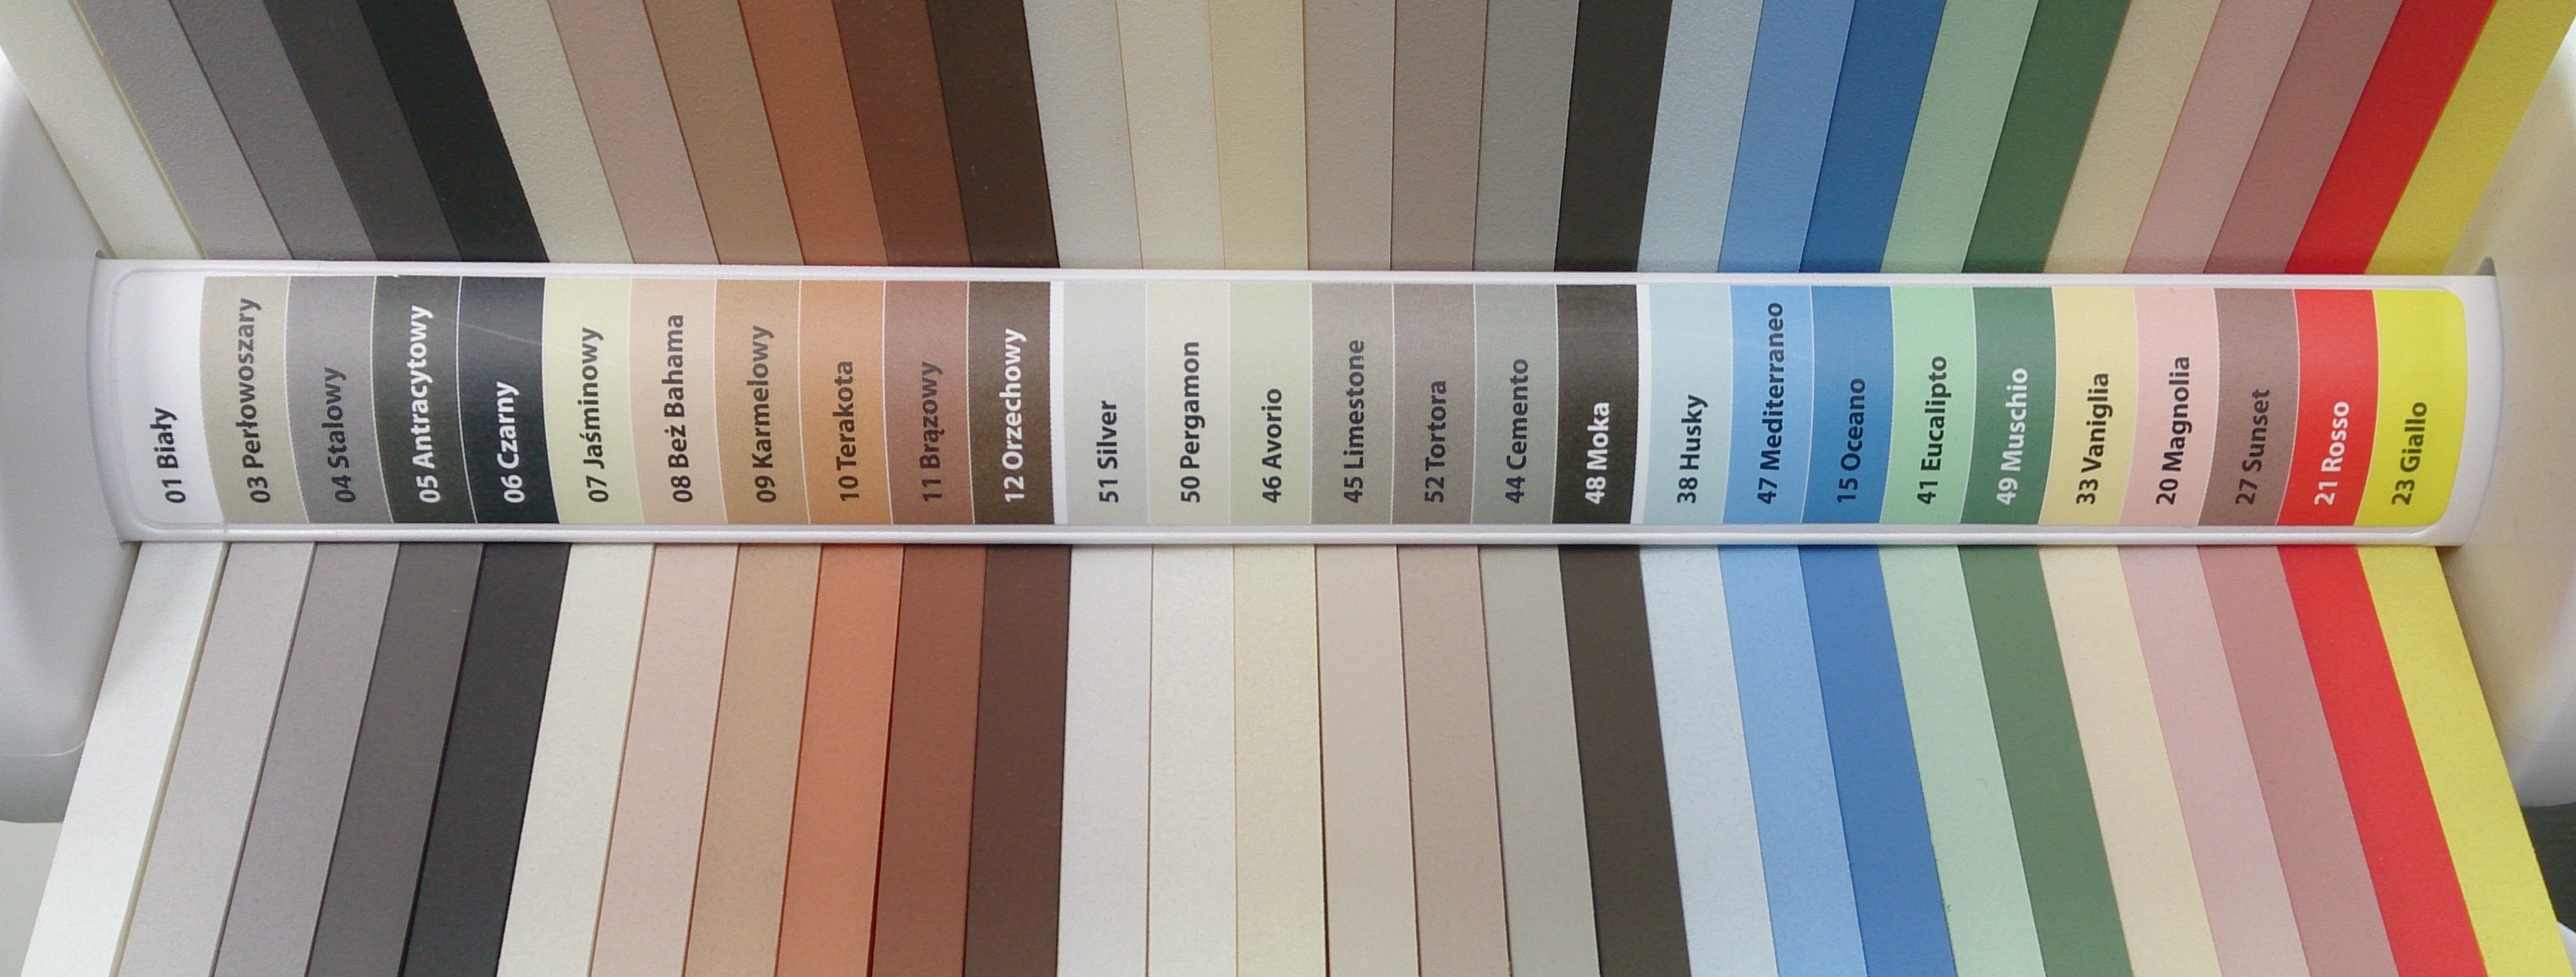
Colour
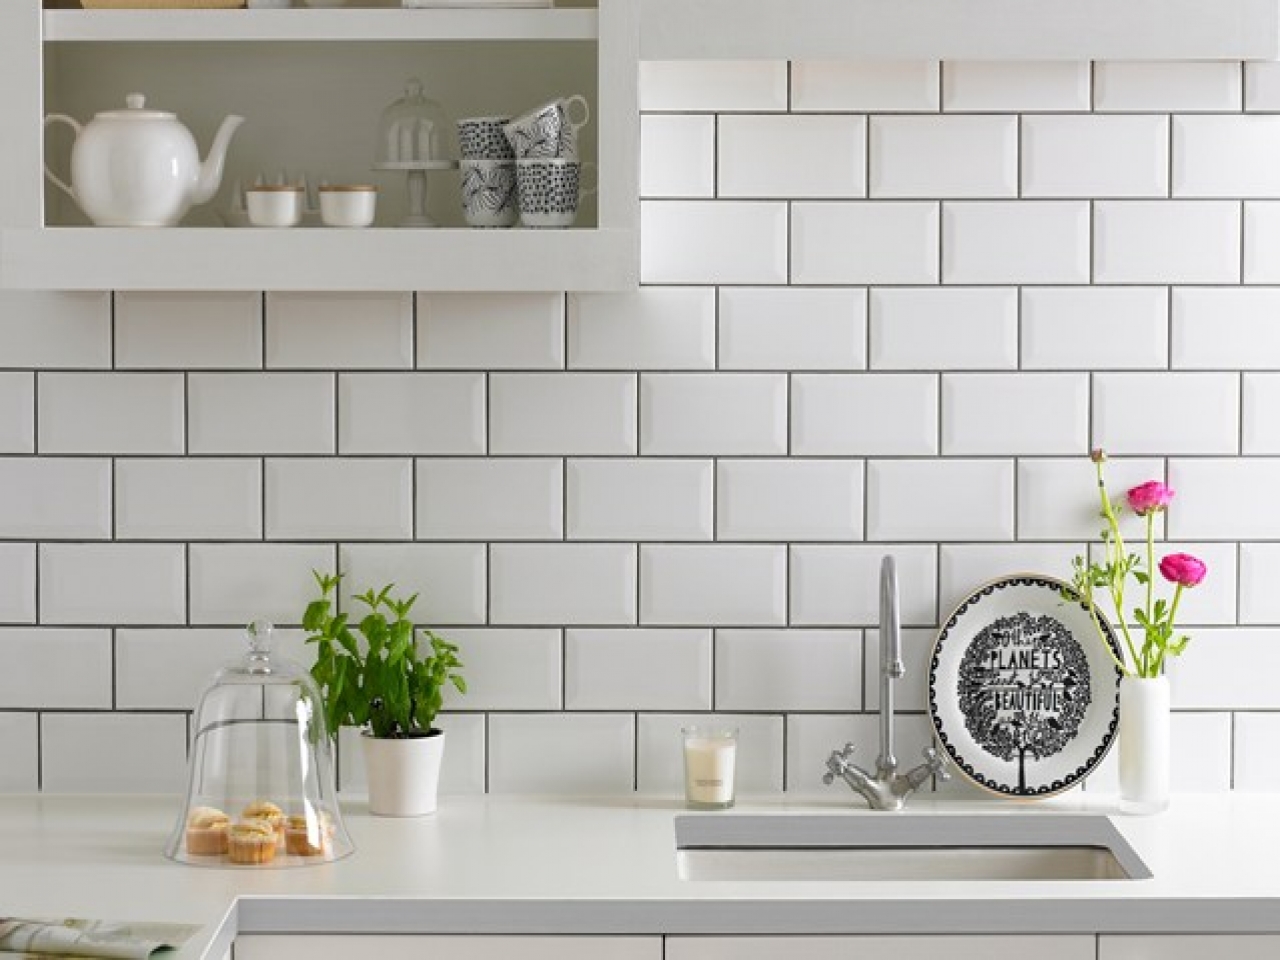
Usually the shading of the grout is chosen under the basic color of the tile.You can deviate by several tones, but designers do not recommend choosing shades that contrast with the main color. But if you correctly approach the choice of the palette, then you can use contrasting combinations to get an interesting and original design of the room.
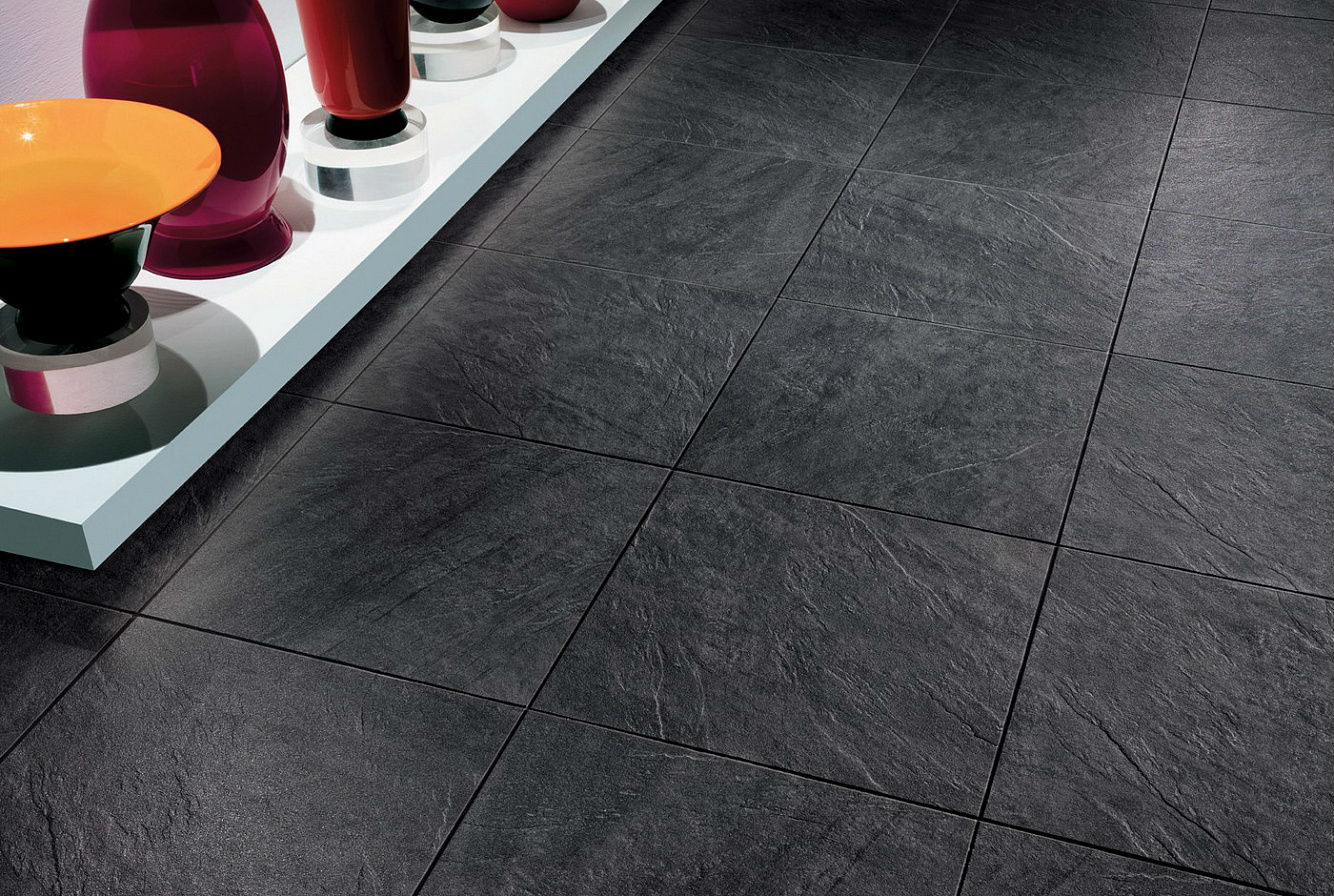
When choosing a grout for floor tiles, it is better not to choose white solutions because of its impracticality.. After a short period of time, the seams of the statute are of a dirty gray shade. For white tile designers usually recommend choosing blends and pastes of light gray colors of varying saturation.
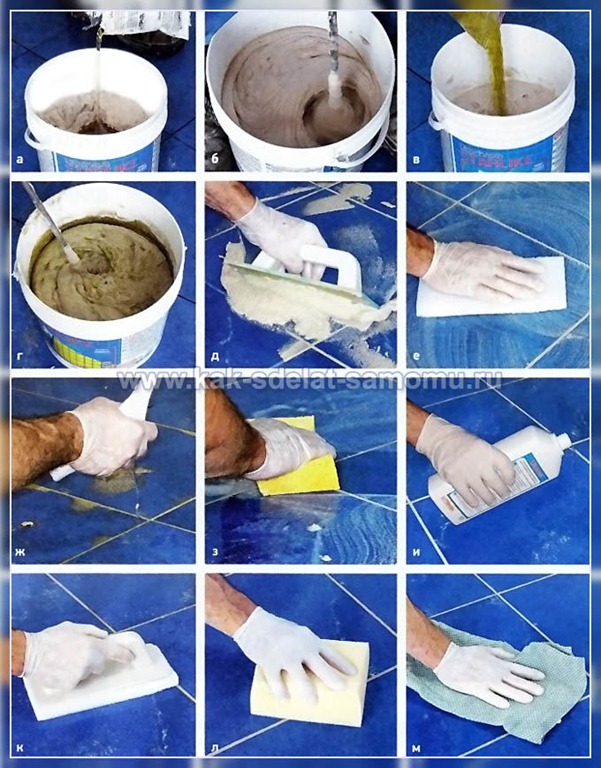
Preparation of the solution
It is necessary to prepare the solution in a clean and dry container (for example, in a bucket), since if water or dust gets in, the grout may become unusable or lose in quality.
To dilute the container, pour water or other necessary liquid (to be indicated in the instructions) in a ratio of approximately 3/4 of the container. Dry mixture should be added gradually, carefully mixing the composition. Then the remaining water is poured into the solution in small portions. The resulting mass is required to stand for about 10 minutes so that the dry lumps can be fed with liquid.After the composition is infused, it must be thoroughly mixed again to obtain a homogeneous mass.
It is important to constantly check the consistency of the solution, as in some cases the liquid may need less than what is written in the instructions.
Application technique
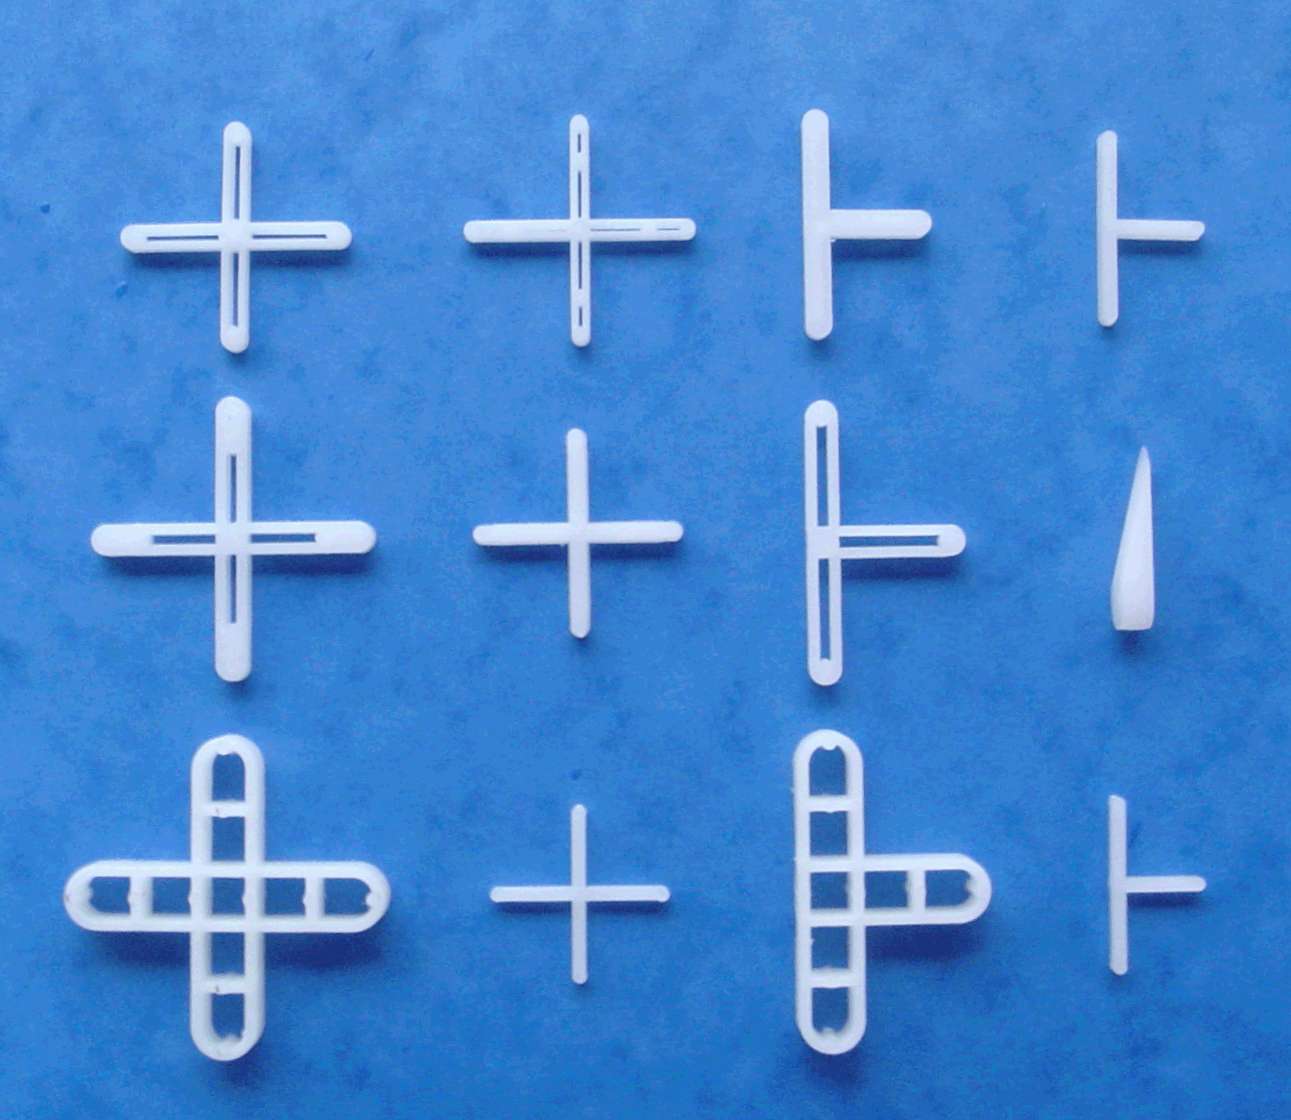
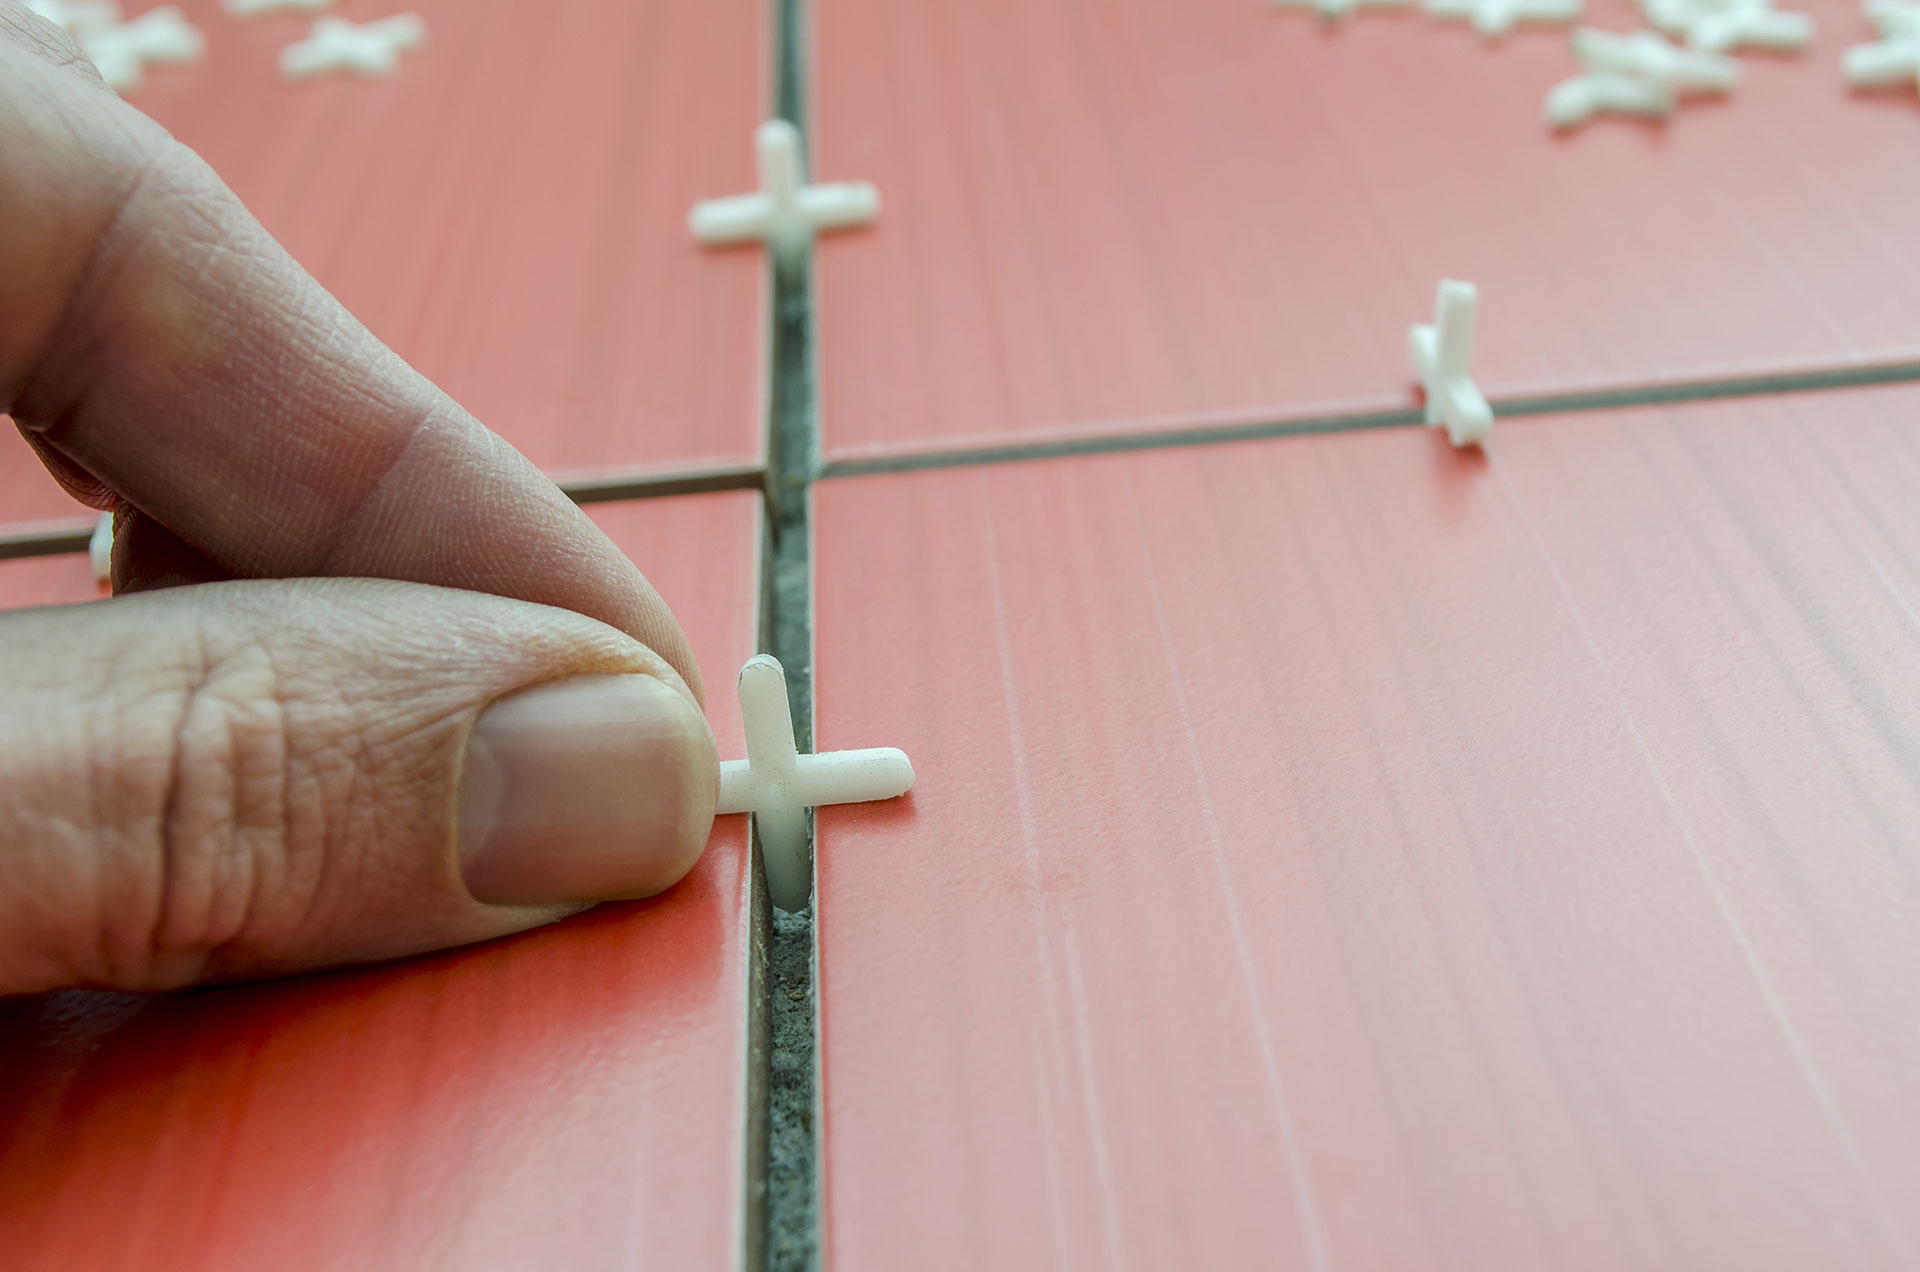
Before starting work, you must remove the crosses to separate the tile, clean the tiles and joints of dirt and dust using neutral household chemicals, and then wipe dry.
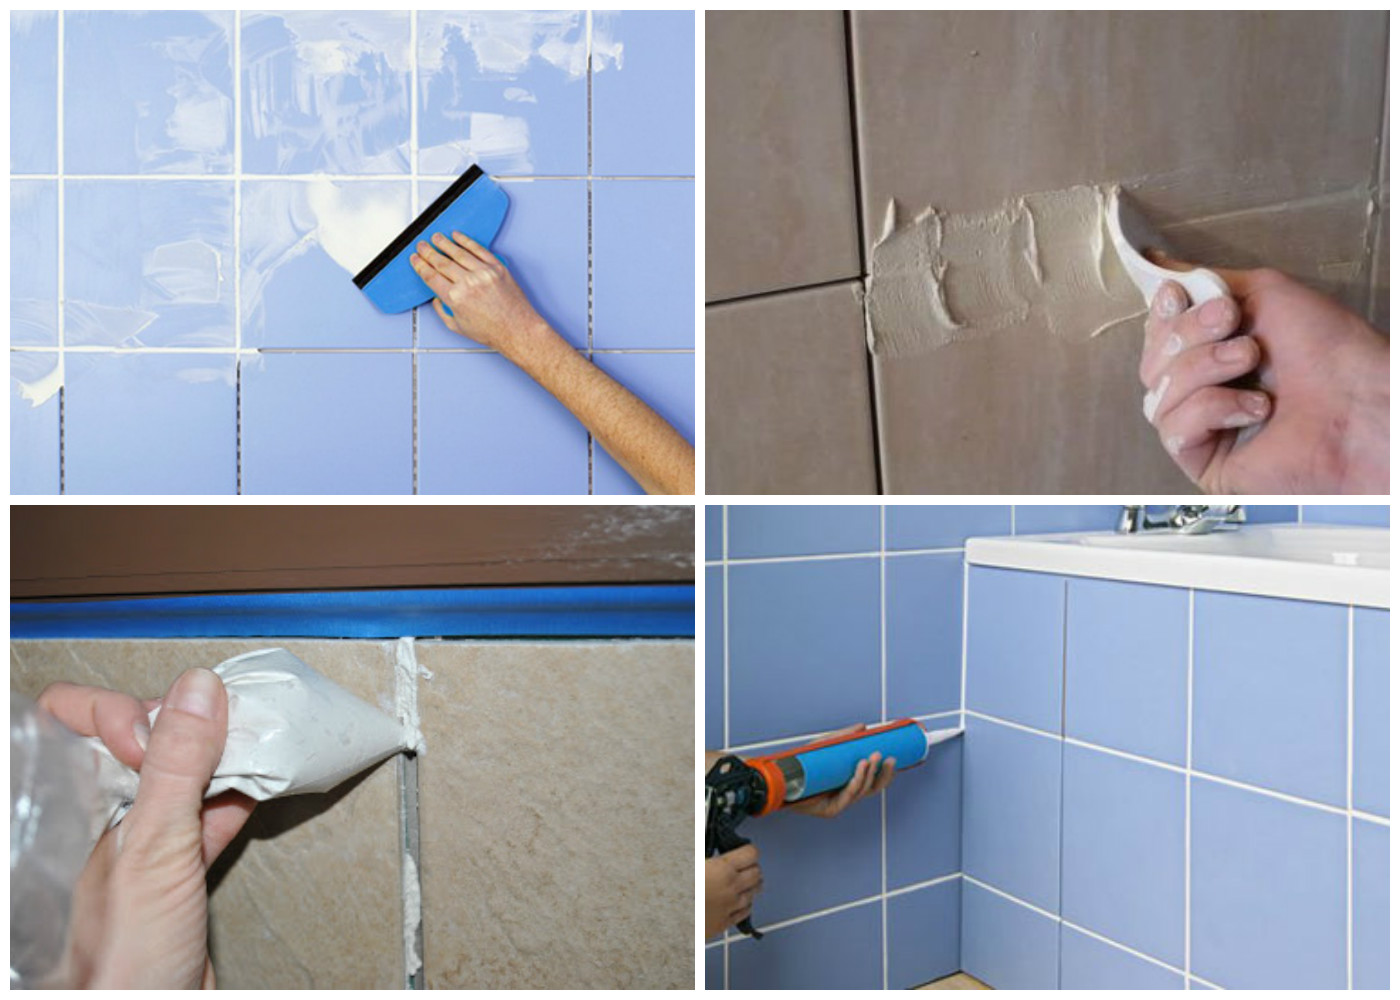
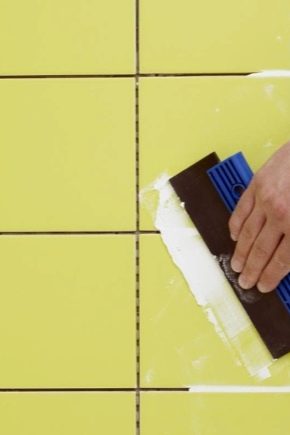
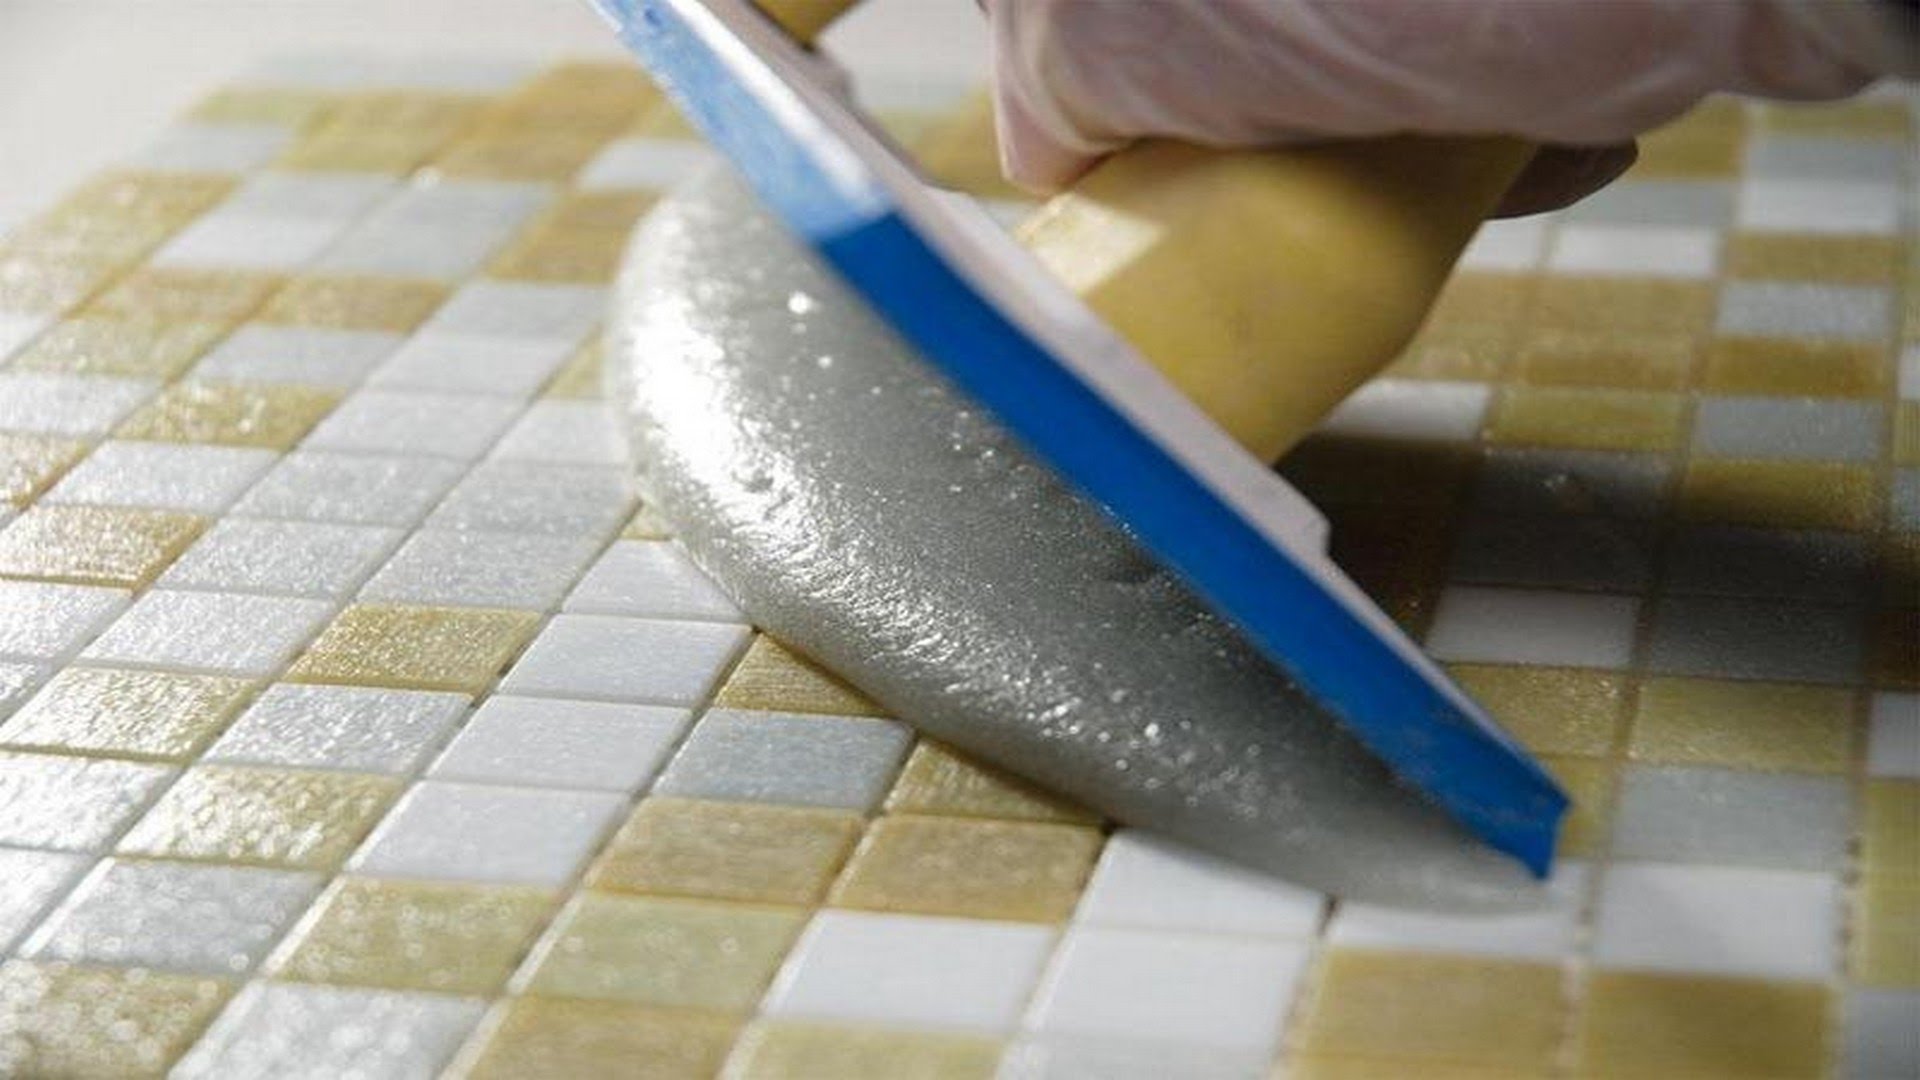
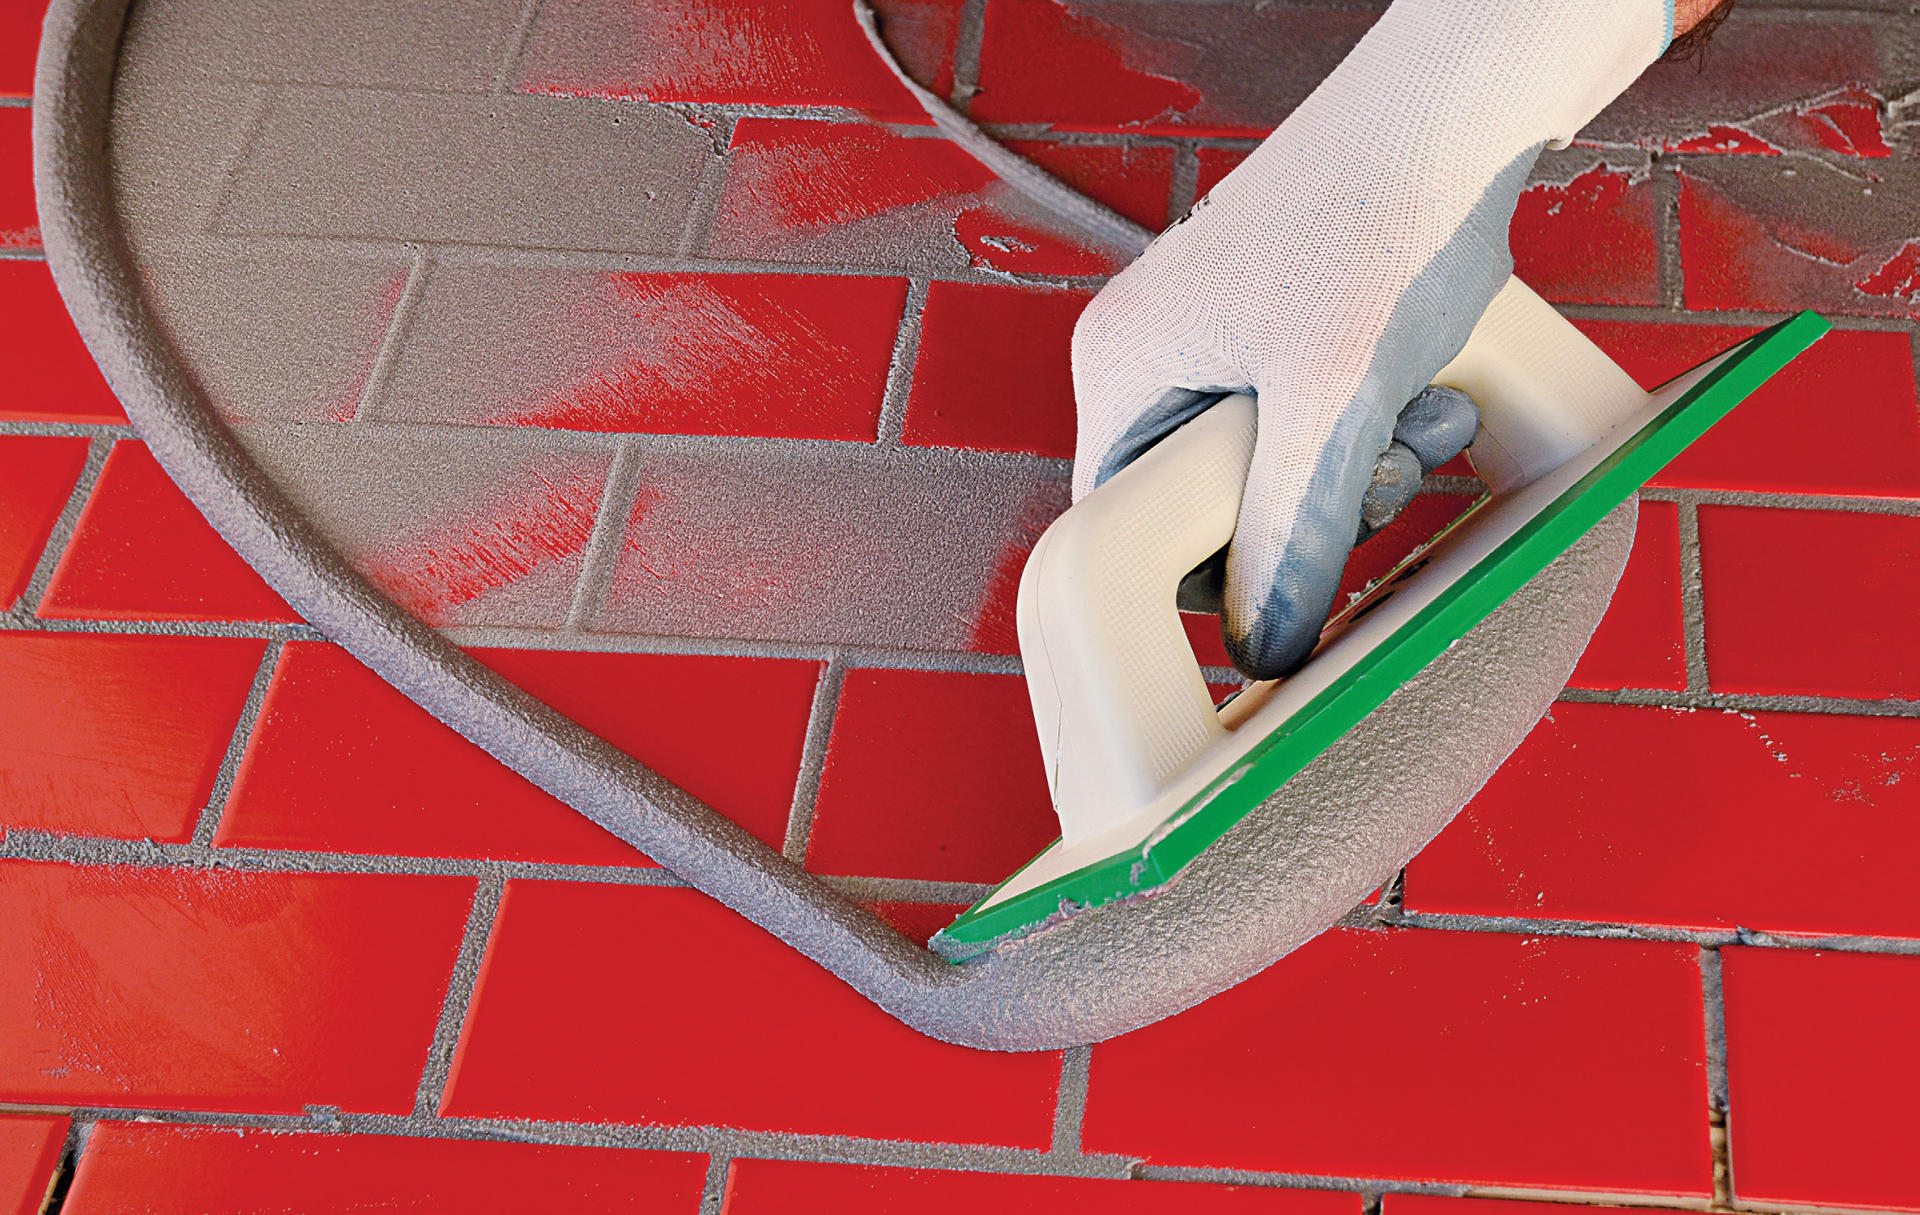
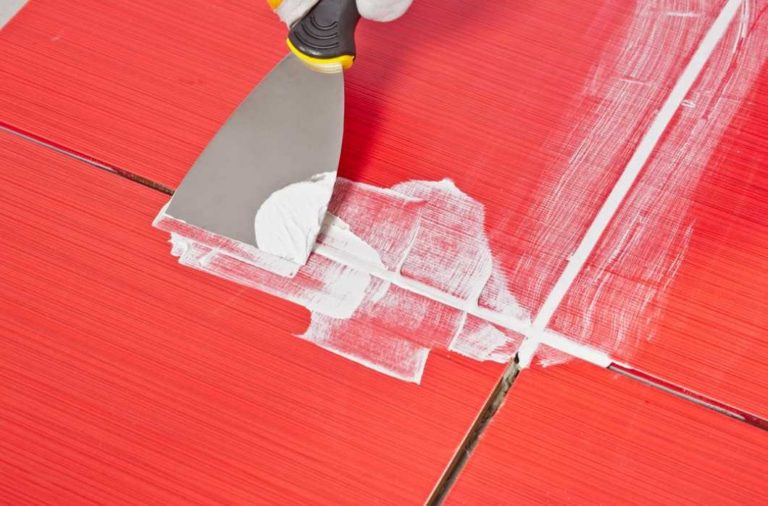
After the mortar has been prepared, it must be applied to the joint with a spatula. Also, instead, you can use a specially designed float. In order not to damage the smooth surface of the glazed or glossy tile, it is better to use a spatula.
The tool must be held to the seam at an angle of thirty degrees. The composition is applied in strokes in a diagonal direction to the joint. To tightly fill the seam, you must perform this action several times. Grout should be pressed with force. The stronger, the further the interfacial seam will be more durable.
The remaining solution should be immediately removed with a spatula, dumped into the total mass and reused for its intended purpose.In order to make sure that the shading of the grout matches the color of the tile, you can embroider the trial area. If the tone is chosen unsuccessfully, then the seam is released from the solution using any sharp object, until the composition is set.
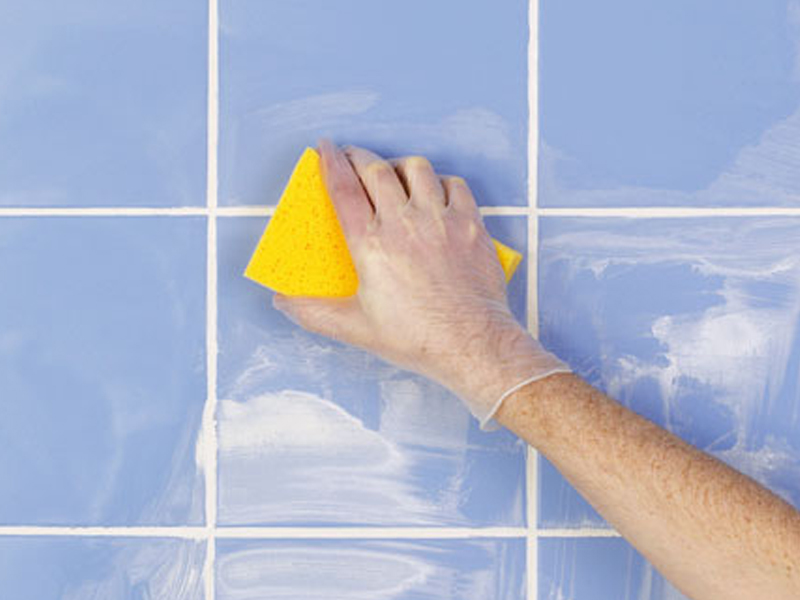
To clean the surface from grout is better to start no later than 2 hours. For this you should use a wet foam sponge. Clean the tile surface along the junction. It should be very carefully to wash off the remnants of the solution from the sponge to the seam looked beautiful and neat. After that, the surface must be wiped with a dry cloth.
The final step is to align the alignment and smoothing seams. The tool for alignment is selected depending on the intended shape of the joint. If you plan to make a convex seam, then you need to use a special construction jointing.
It is much easier to give a concave shape: you can pick up any object that is suitable for this, for example, a cable of the desired thickness or a handle of a toothbrush. Also, the seams can be flat, provided that the tile itself is flat and has right angles. At the end of the grout it is necessary to level the edges with a damp sponge.To make the surface look aesthetically pleasing, the seams need to be made identical in shape and size.
For more information on how to rub the seams of ceramic tiles, see the following video.
Update grout
After some time, any composition changes its color due to different types of pollution. Darkened seams look ugly, so periodically you need to clean them. In some cases, ordinary household chemicals will help to cope with the removal of dirt.
In specialized stores, it is easy to find a special tool. For example, You can use spray-bleach. Nowadays they also release coloring markers for grouting. They will help to update the color and even disguise minor irregularities and defects.


To give a grout a pristine look, you can use homemade methods. For this you will need toothbrush, soda and vinegar. At the seam need to pour soda, and then moisten with vinegar. Next, a toothbrush must be removed pollution.
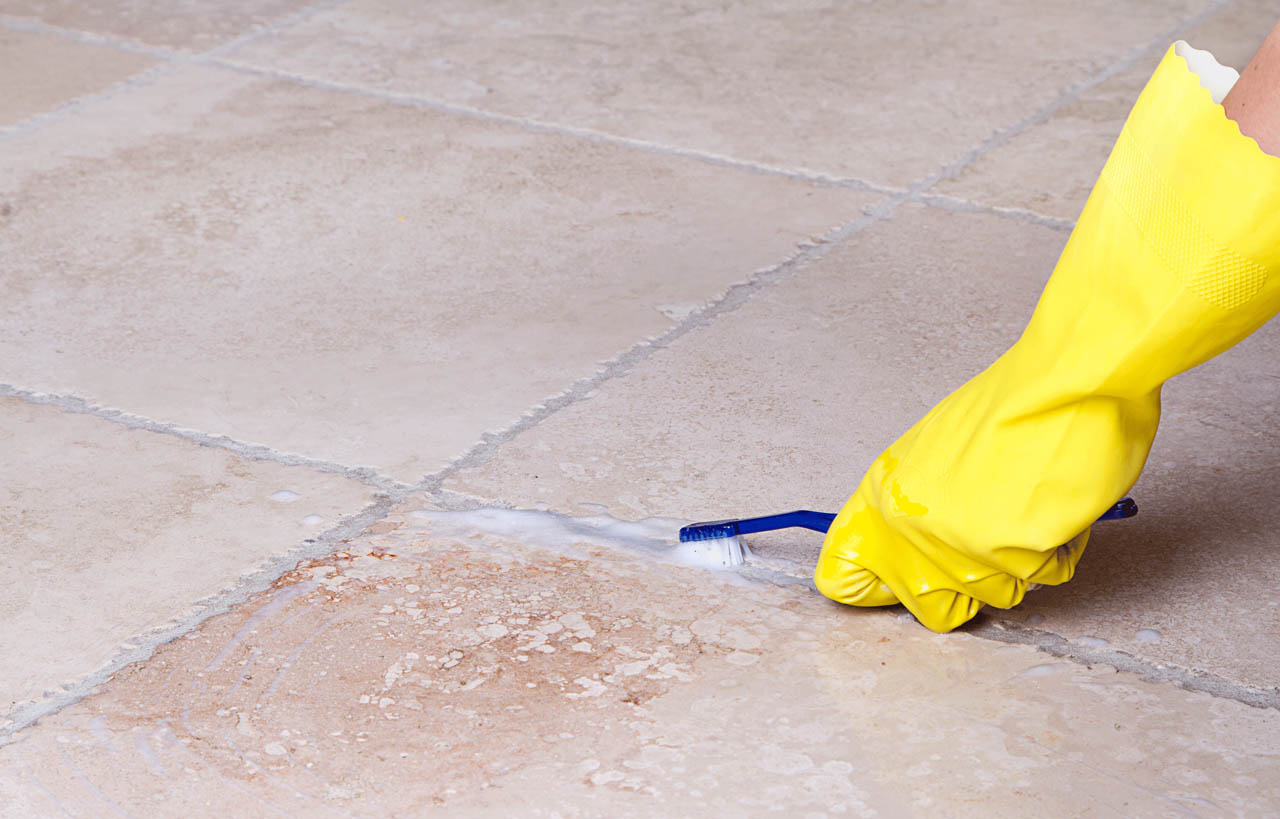
Vinegar can also clean the surface of the tile itself from limescale. In neglected places, you should resort to radical methods and apply a new one over the old layer of grout.
You can apply the stapler. For a start it is necessary with the help of any solid object (a screwdriver, for example) as far as this succeeds, the old composition is removed. Then it is necessary to clean the seams of dust and slightly moisten with water. Then you need to apply a new layer of the solution.
First, the composition is applied on the horizontal, and then - on the vertical seams. In order not to repeat this time-consuming procedure in the future, it is worth putting a water-repellent compound on the seams. For example, use waterproof polyurethane varnish. It will take a lot of time, but in the future it will save you from the time-consuming cleaning process.