Liquid nails for ceramic tiles: useful recommendations

Before beginning repairs, you must carefully consider the finishing of the walls and floor. For the bathroom and, in part, for the kitchen, many choose tile. Good quality glue is needed for quality work. One of the new products on the market is liquid nails. Its popularity in the modern market is growing, but it is better to study it in detail before starting work.
What are liquid nails?
If you have seen the old recommendations for laying ceramic tiles, then you know exactly cement-based adhesives. This method of fasteners showed excellent results: the tile was held for many decades. That's all the charms ended. During the finishing works, the masters encountered a large amount of construction dust, a specific smell and a very dirty room. That is why tiling the walls turned into a living hell.
The cement composition has been replaced by a newer product - a special adhesive for tiles. This material made it possible to glue ceramics with fewer negative consequences, but it was necessary to prepare the walls more carefully, which still caused inconvenience. The work itself also required certain skills.
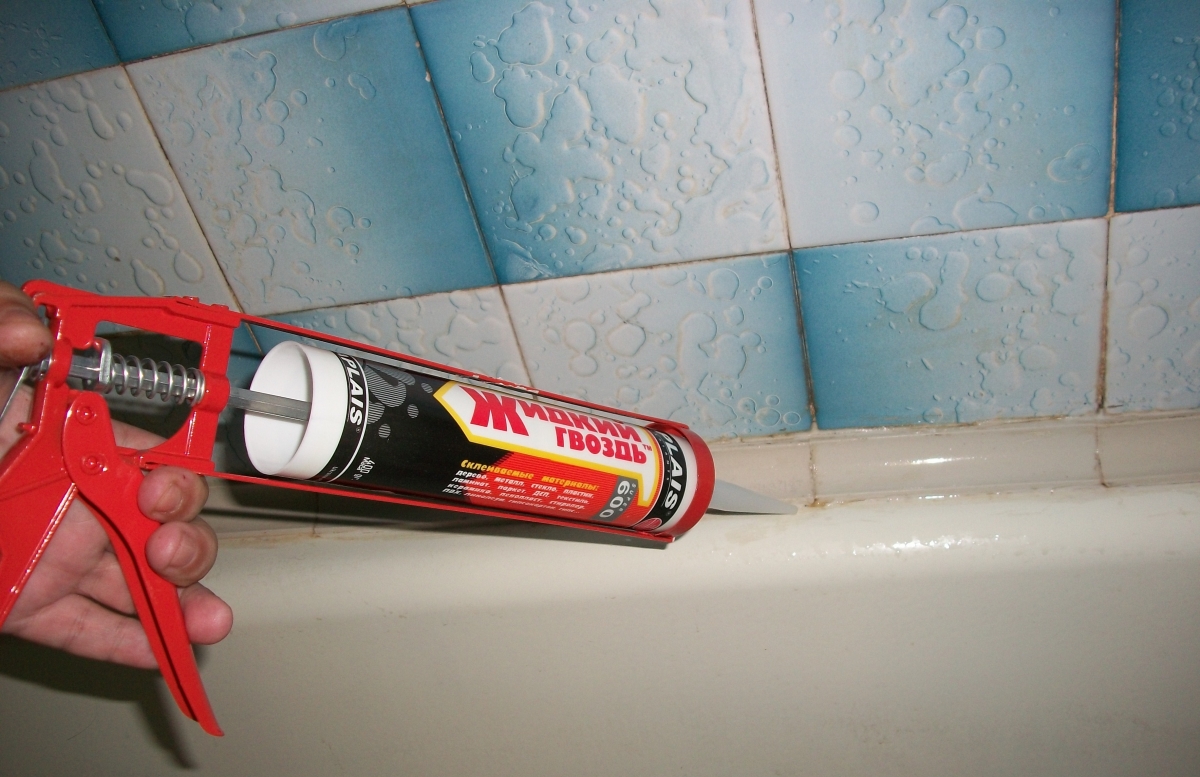
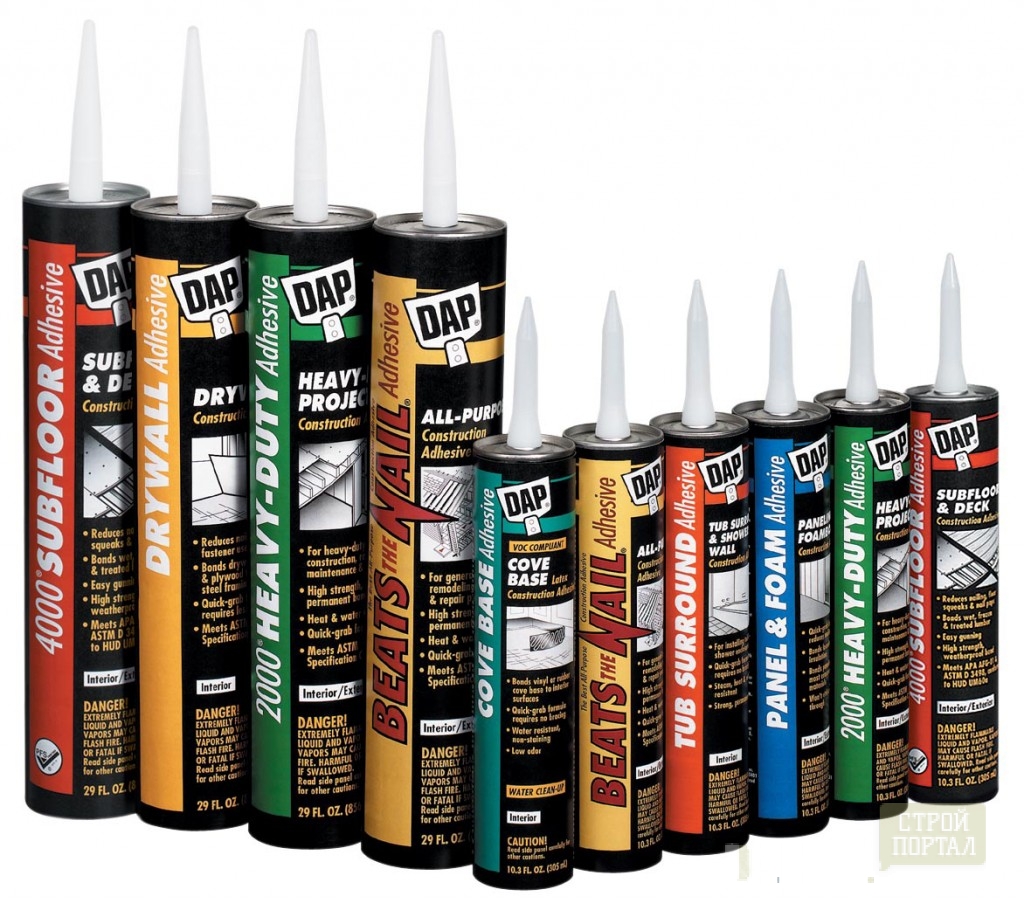
The result of further searches was an innovative product - liquid nails (YG). The material does not have a narrow specificity; it glues almost any materials, including ceramics and natural stone. The new tool makes it possible to carry out facing work quickly and without excess dirt, or rather, without any dirt at all. After drying, the composition acquires strength and density, and holds no worse than ordinary nails.
Kinds
Liquid nails are divided into two categories: neoprene (organic base) and acrylic (water-based). The choice depends on what materials you are going to glue together. For bulk ceramic tiles, choose liquid nails on a water-based basis. The solvent for this glue is water. The composition is completely safe. Such material can be used indoors, without fear of toxic fumes, but still do not neglect the elementary safety rules.

Neoprene glue is more harmful.During the installation of the lining toxins are released. Be sure to use a respirator to protect the respiratory organs.
Advantages and disadvantages
Any material has both positive qualities and negative ones. Liquid nails are no exception. First, consider the cons:
- unpleasant smell;
- acrylics can not be used for work at low temperatures;
- can only be used in rooms with good ventilation, since toxins are released during work.
The most terrible things you already know, now - about the good:
- the tile is glued to the wall of any porosity;
- the composition hardens very quickly, it takes only 10-40 minutes;
- the composition can close the joints in rooms with high humidity;
- high strength of the material ensures that you do not have to redo the lining in the near future;
- working with the material is very easy, beginners cope without any questions.
How to choose?
Before you run to the store for liquid nails, consider these nuances:
- how you will work with the adhesive composition (vertically or horizontally);
- where you will be facing: indoors or outdoors;
- calculate the optimal time for solidification of the composition.
There are several patterns that are important to know and remember.
- Quick-drying composition with an aqueous solvent is perfect for working with ceramics.
- For facing the surface in the bathroom, choose liquid nails that are not afraid of high humidity.
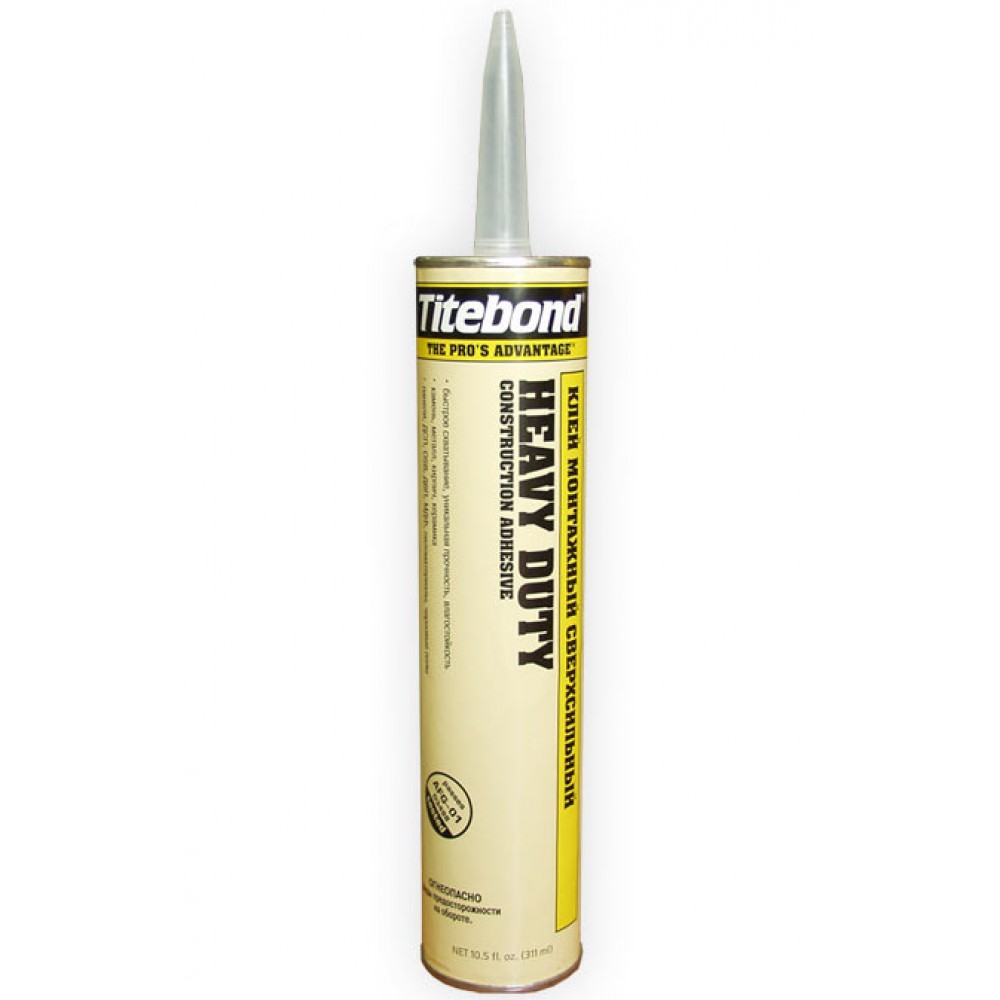
- Liquid nails Heavy Duty are relevant for the installation of heavy tiles.
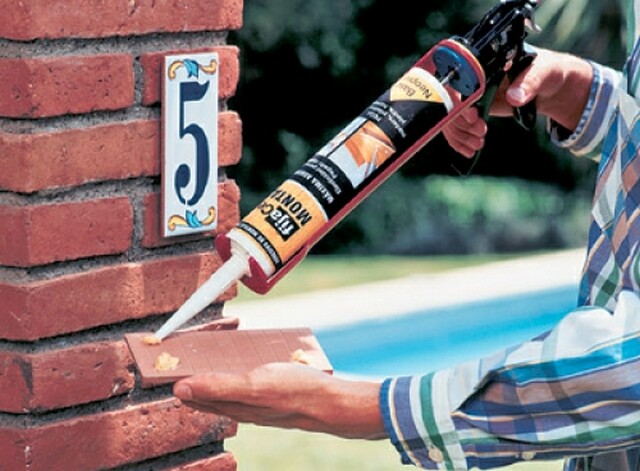
- If you are going to work with a brick or concrete wall, give preference to liquid nails with an organic solvent.
How to glue?
Without a preparatory stage can not do. Be sure to clean the surface of the wall from all sorts of dirt (dust, grease, previous finishes, etc.) before laying the tile. For a good result, treat the walls with a primer. Type of primer choose based on the material of the wall. Before using liquid nails, be sure to read the manufacturer's instructions and recommendations.
Some types of adhesive composition can be toxic, so do not neglect the safety rules. And also - pay attention to how much glue is needed for complete hardening.
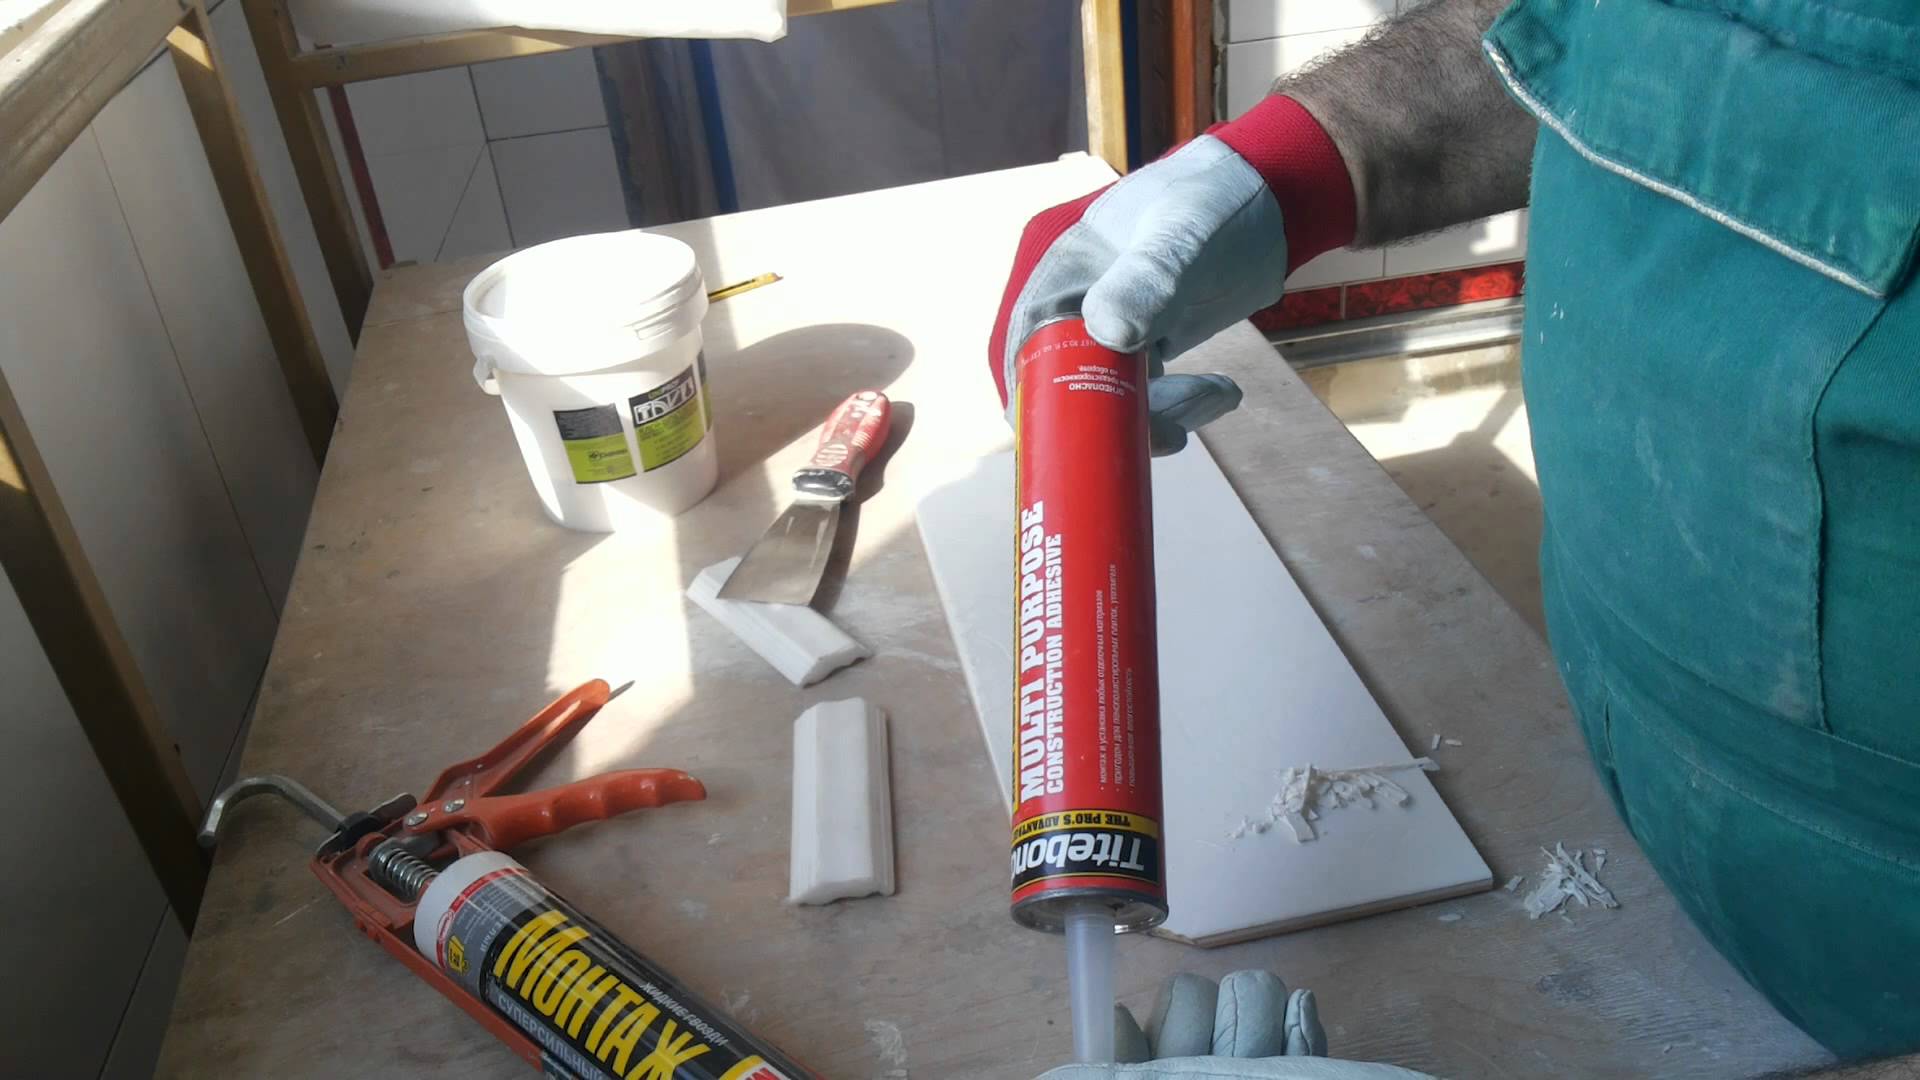
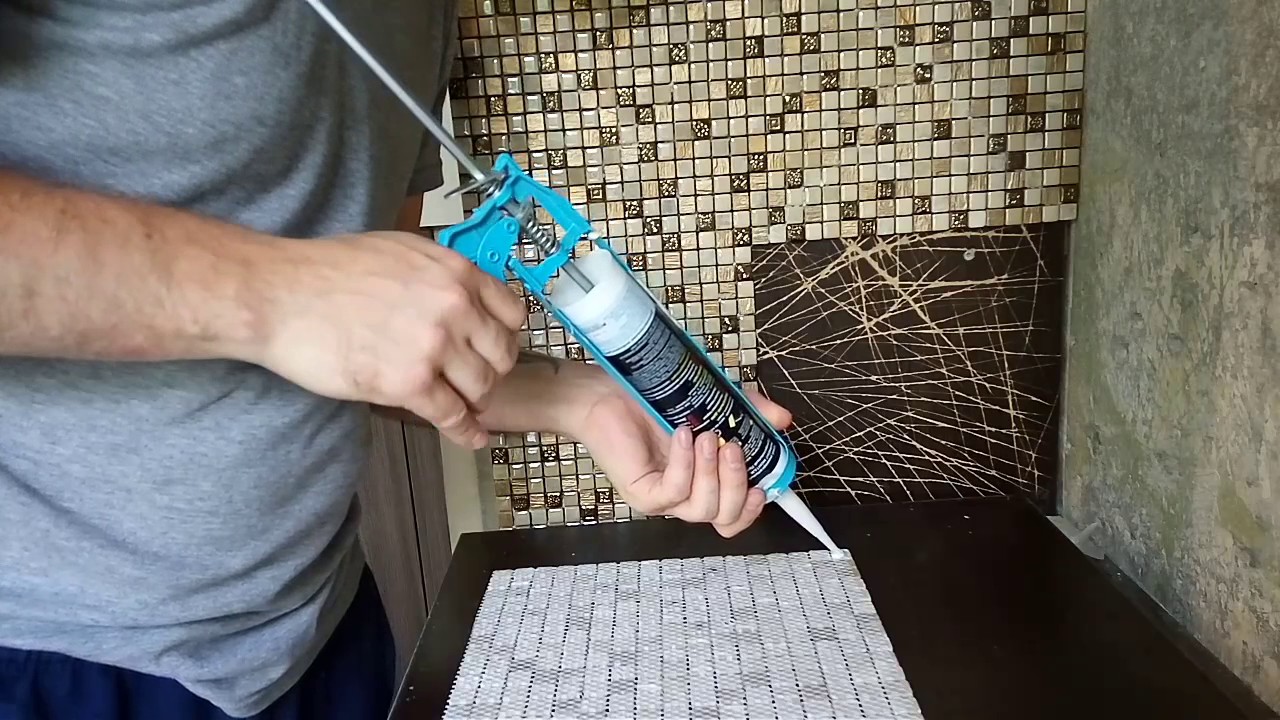
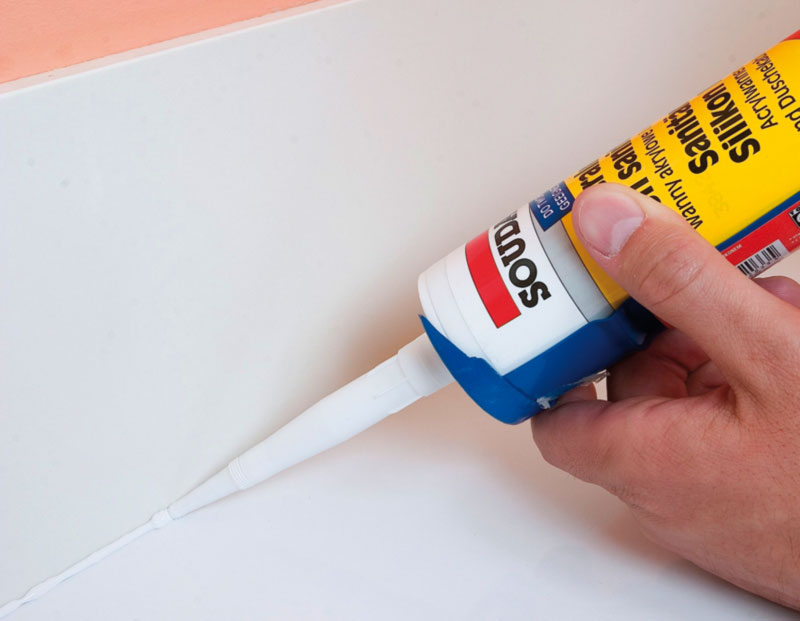
For convenient use buy a special gun for liquid nails - this will simplify the work.
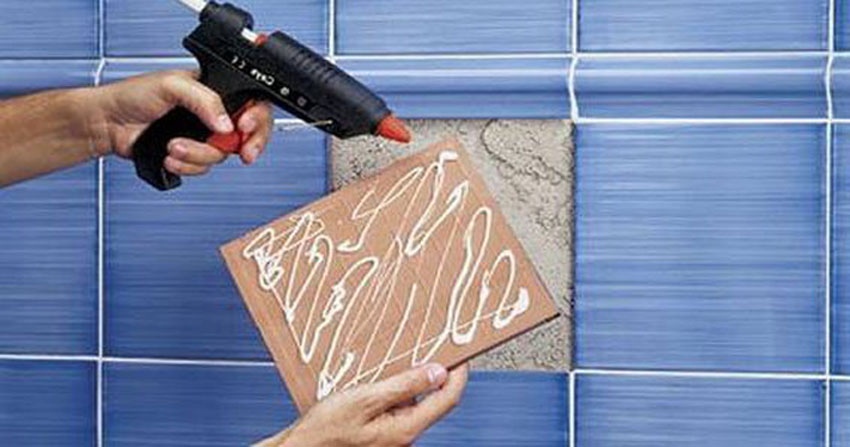
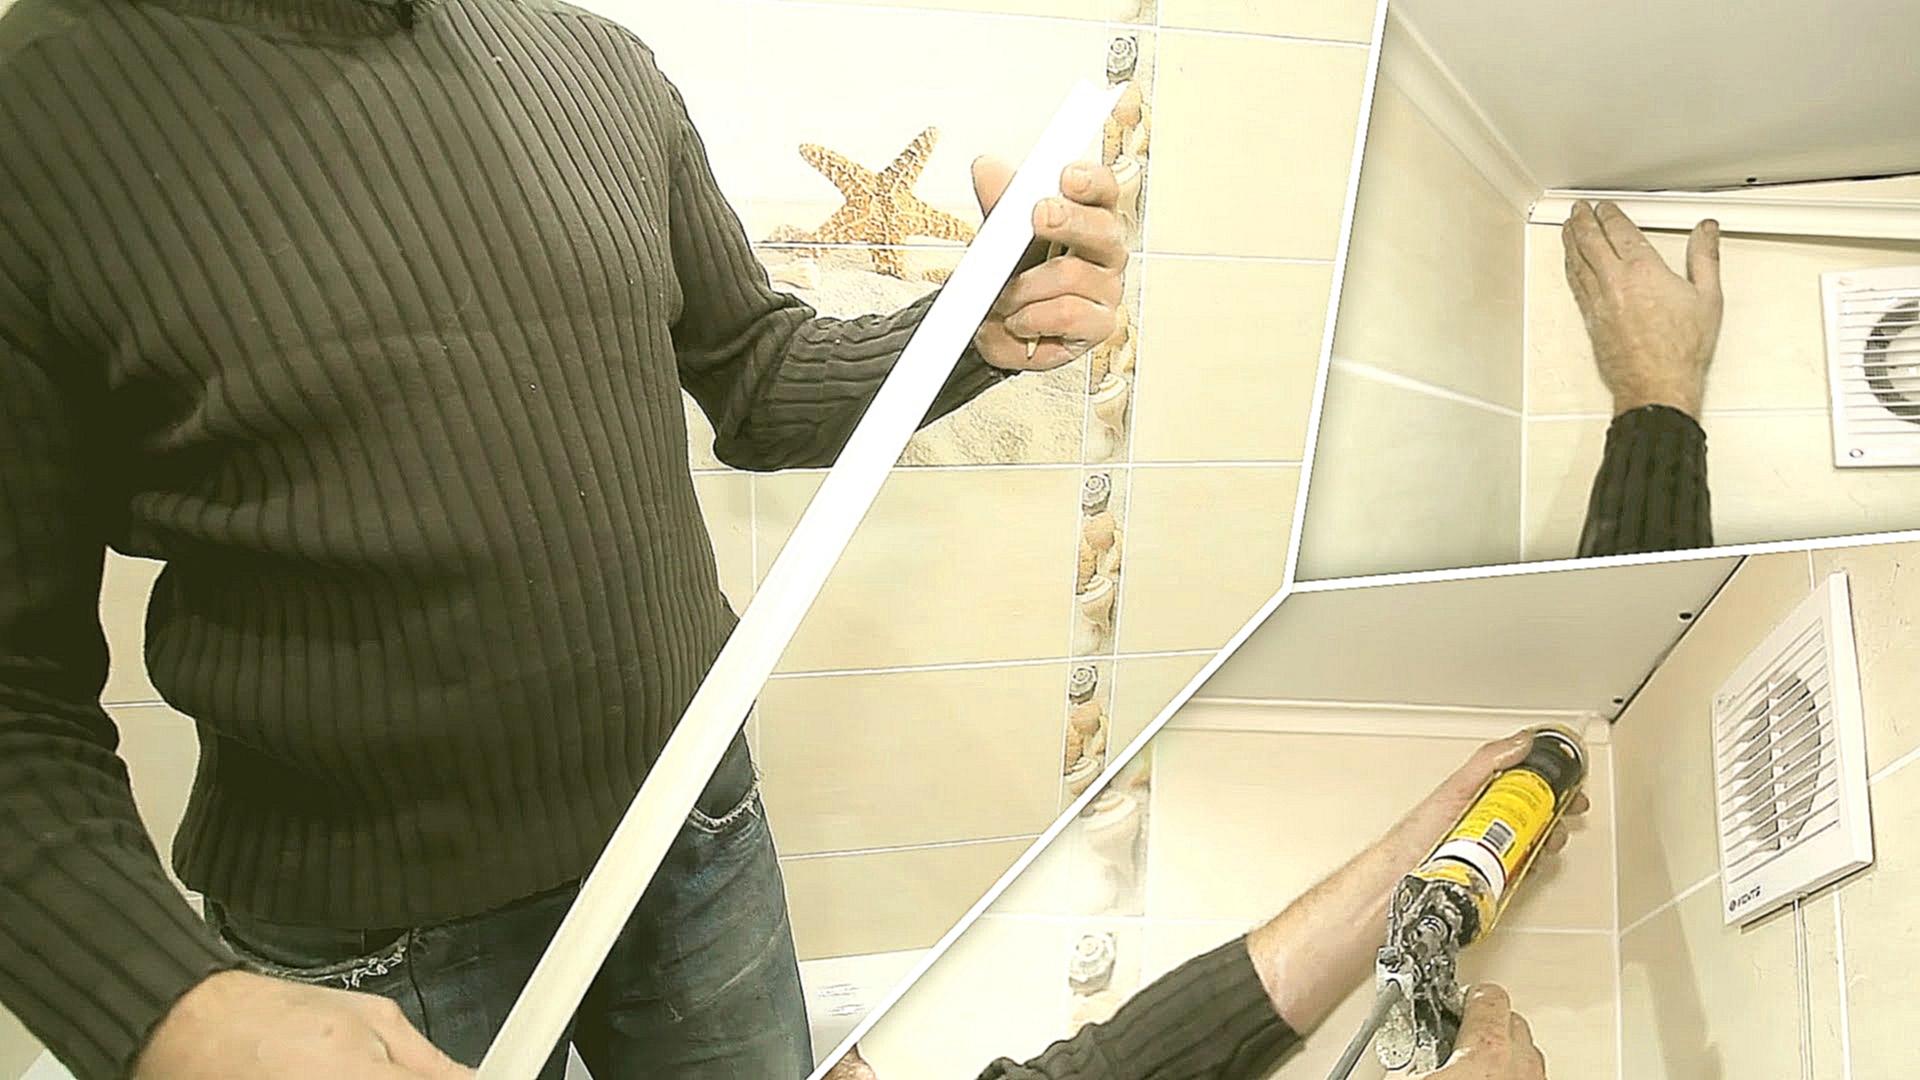
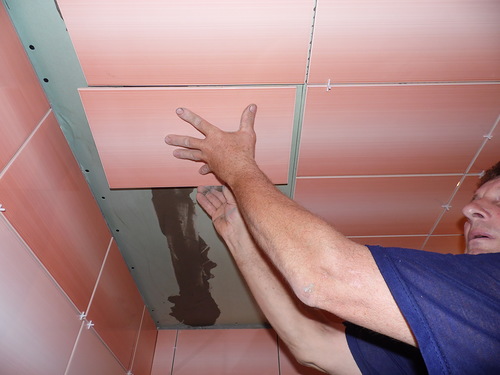
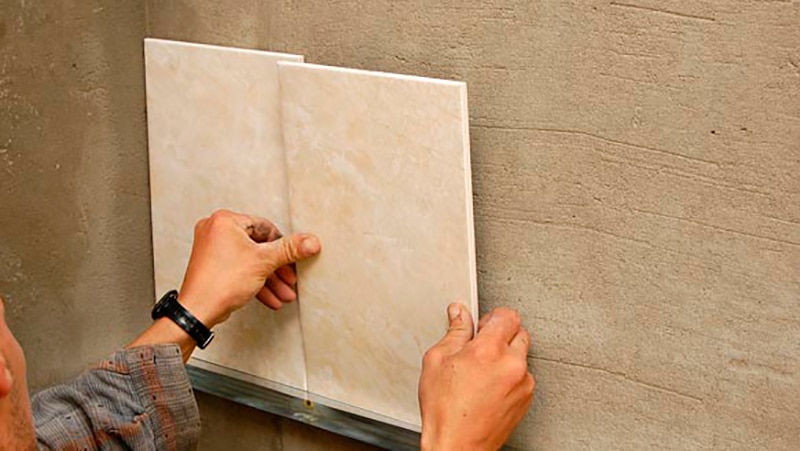
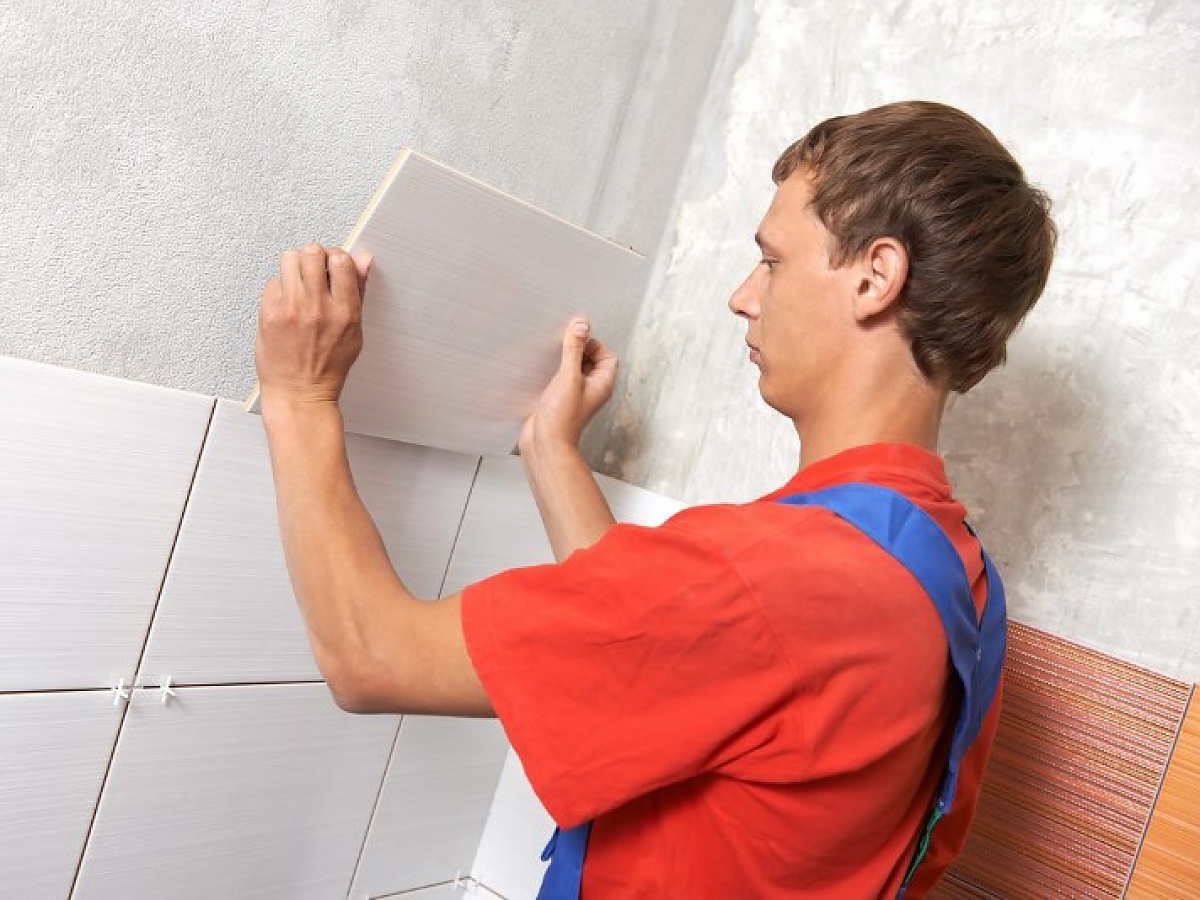
So, we begin facing. Gluing of the first row takes place with a slat.
- Apply glue and attach the tile to the wall. Hold for a few minutes.
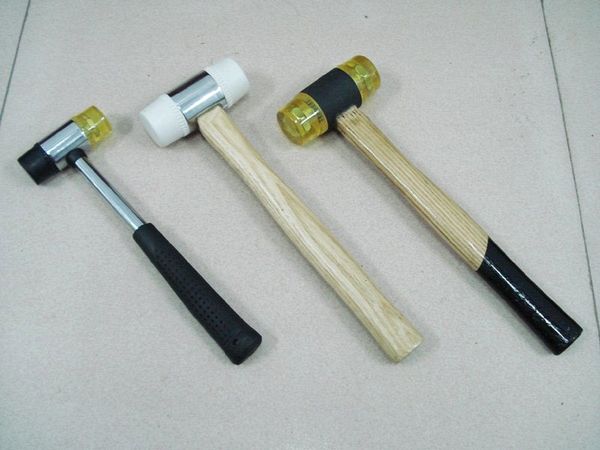
- When using large tiles, use a special rubber hammer for proper fixation.
- After completing the rowing, it is worth waiting a bit until all the elements are dry.
- Do not immediately rub the seams of the first row. This work is done at the very end.
There are also general rules for tiling using liquid nails. Such recommendations concern the first row and all subsequent ones.
- Not only the walls, but also the tile itself must be dry and clean.
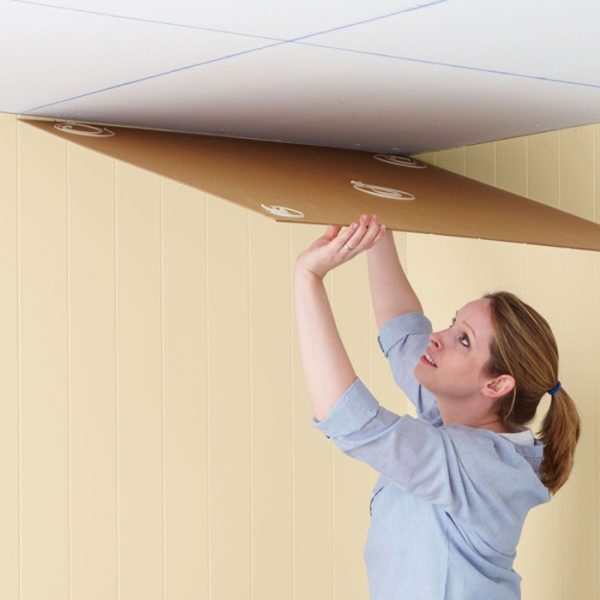
- Press the ceramic elements firmly against the wall and hold for 2-3 minutes. The pressure throughout the tile should be distributed evenly.
- On average, partial hardening of liquid nails takes 24 hours. For complete drying, it will take about 7 days.
- Grouting can begin about a week after finishing the facing work.
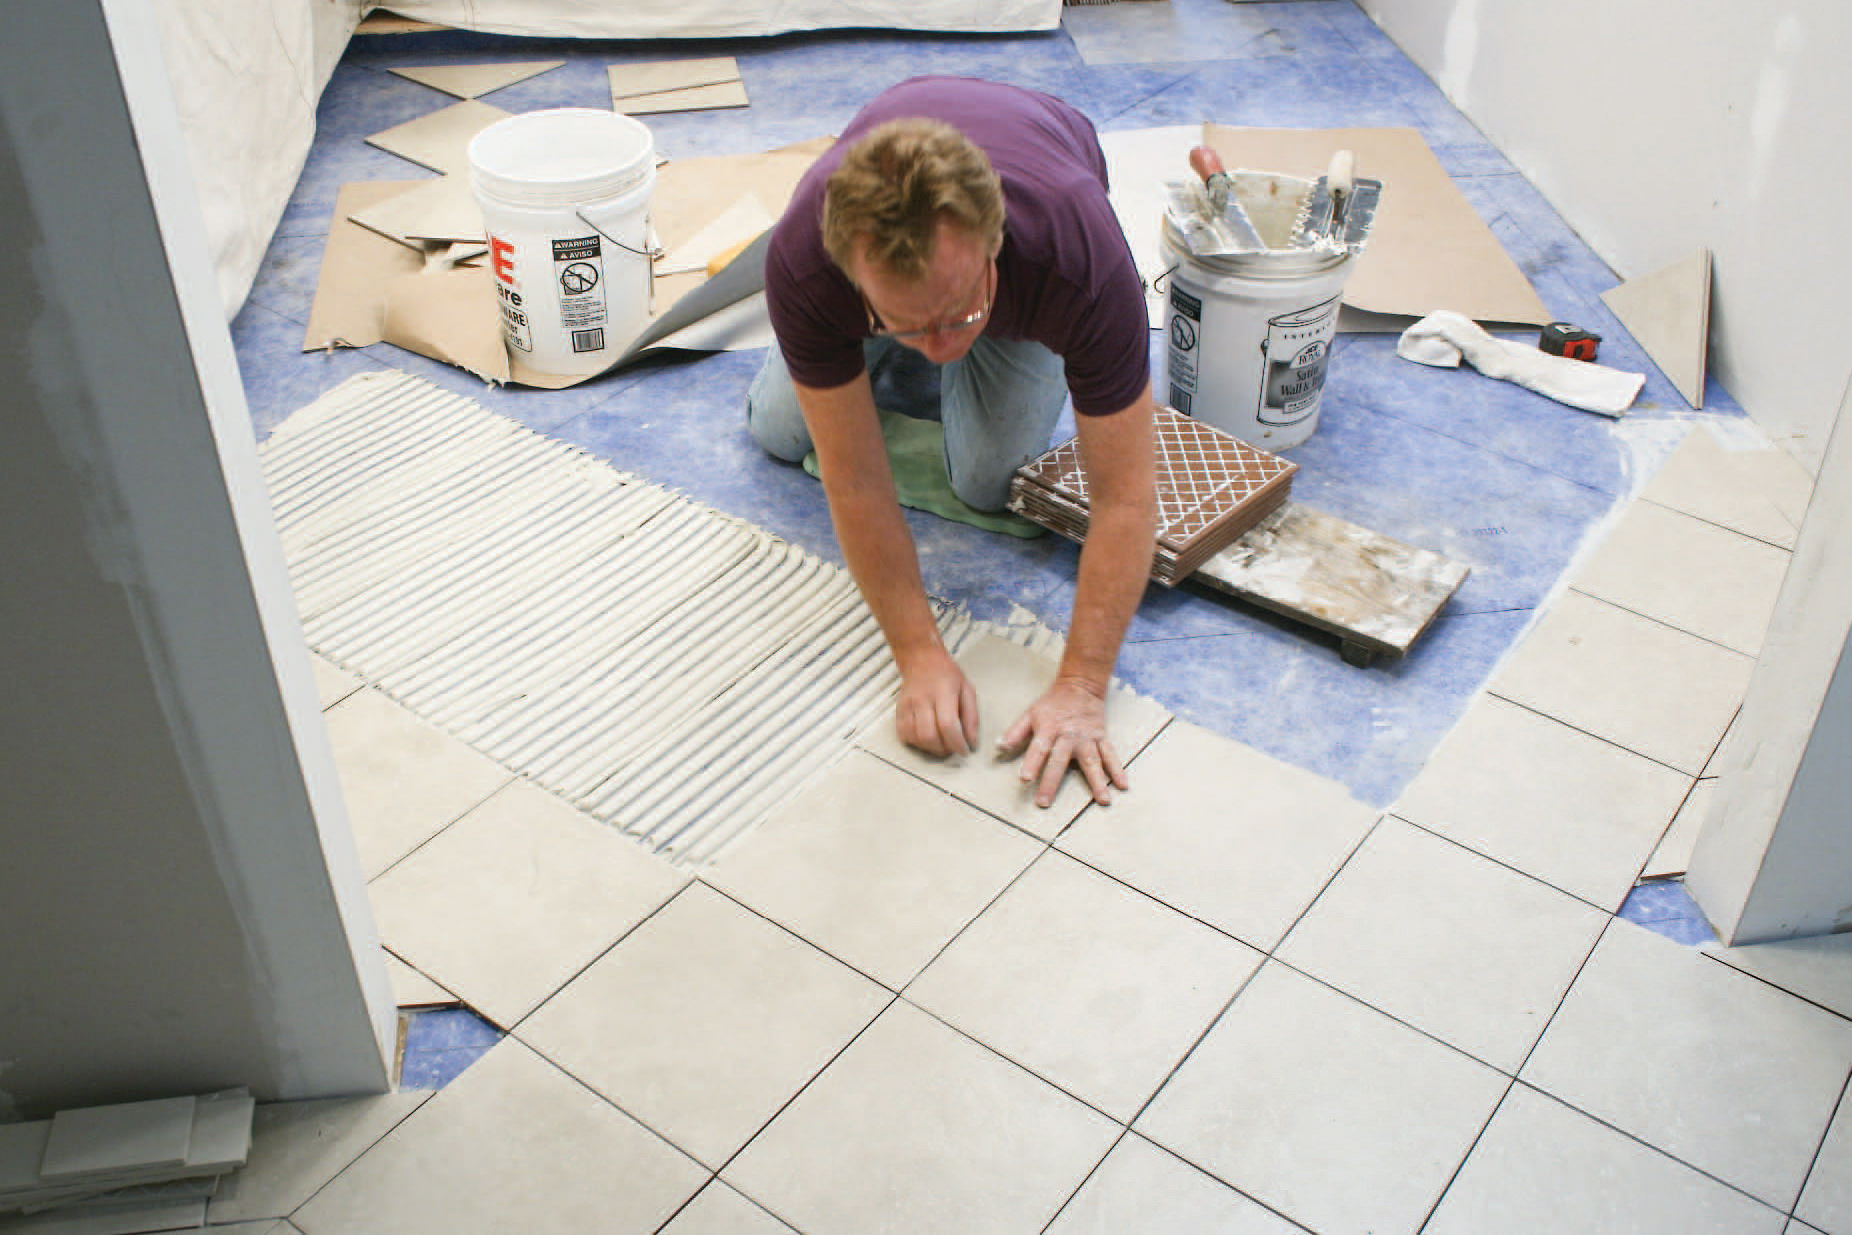
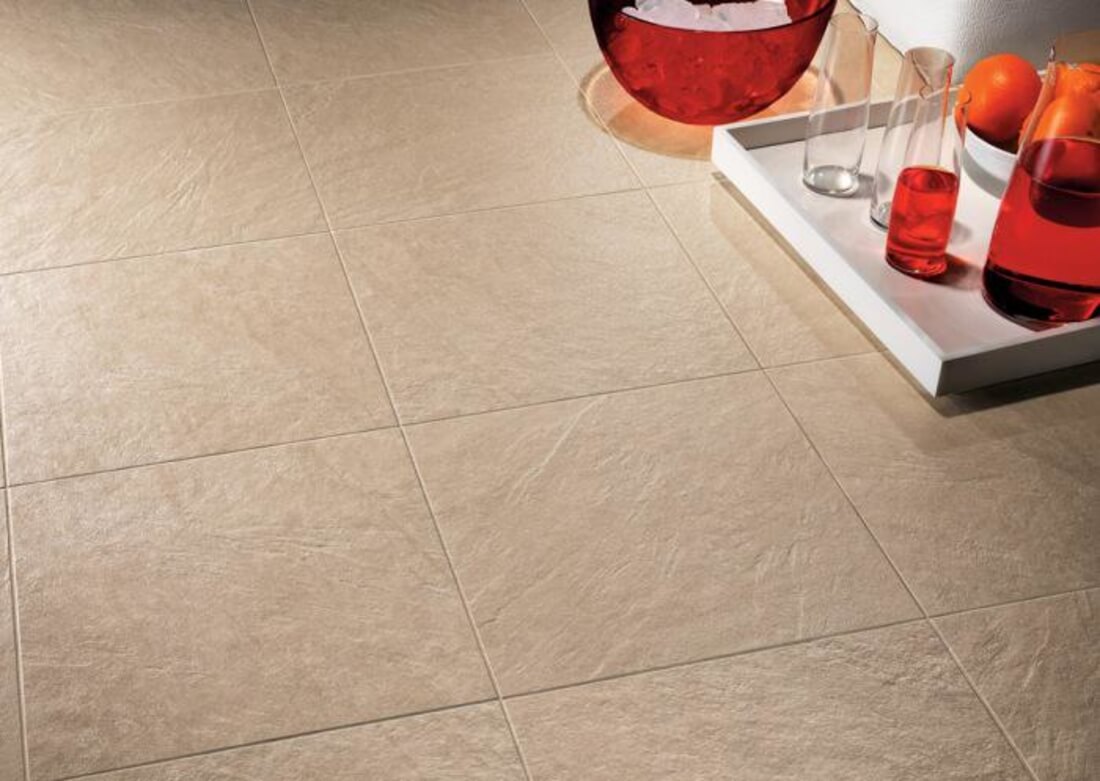
- For the lining of the floor, this adhesive is not suitable.
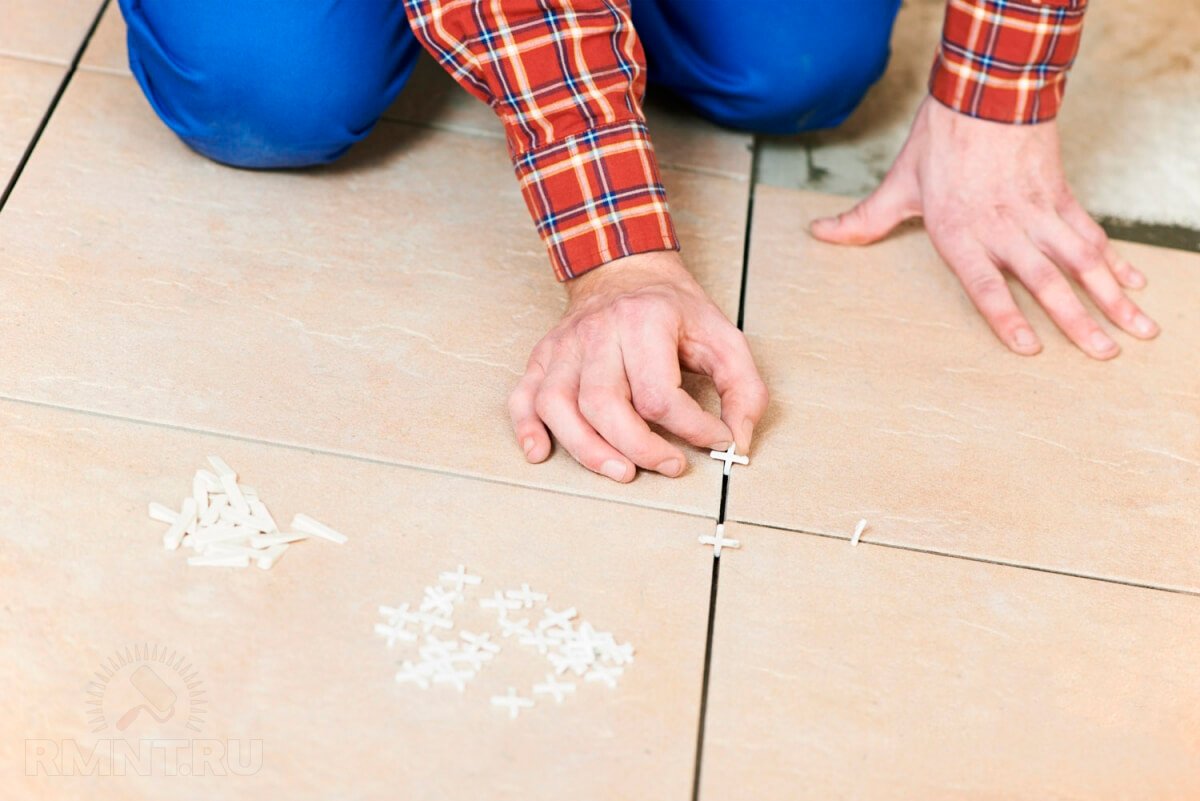
In the process, be sure to use the crosses to form a smooth seam.After laying all the rows, be sure to wait 3 hours. Only then pull the plastic parts.
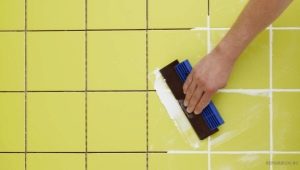
Grouting and processing joints after the complete hardening of the liquid nails.
Adhesive application methods
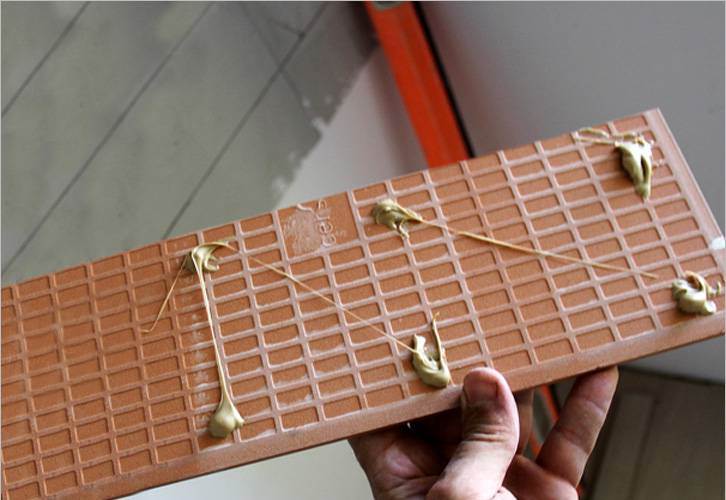
There are three ways to distribute the adhesive composition:
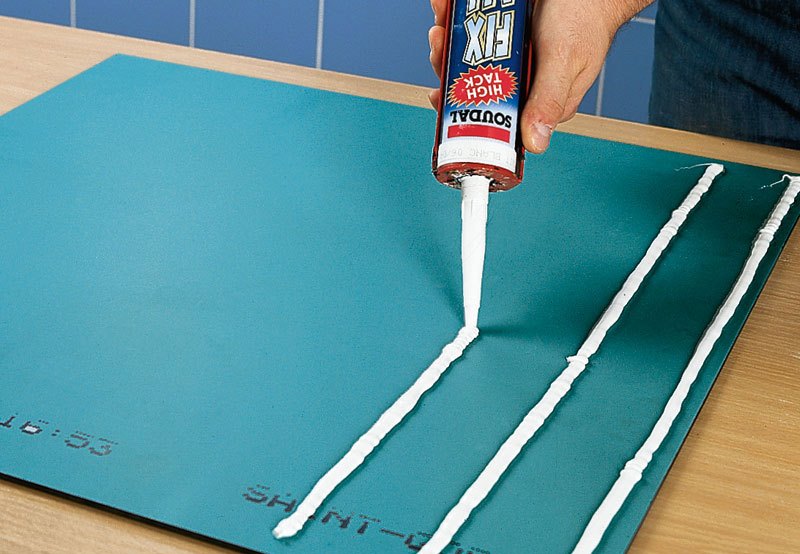
- consistent application to the working surface of the wall;
- putting glue only on the surface of the tile;
- simultaneous distribution of the composition on both planes.
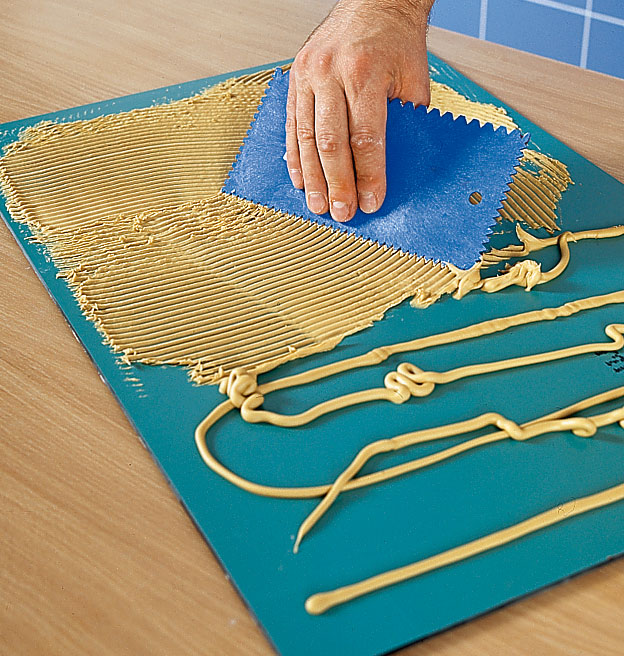
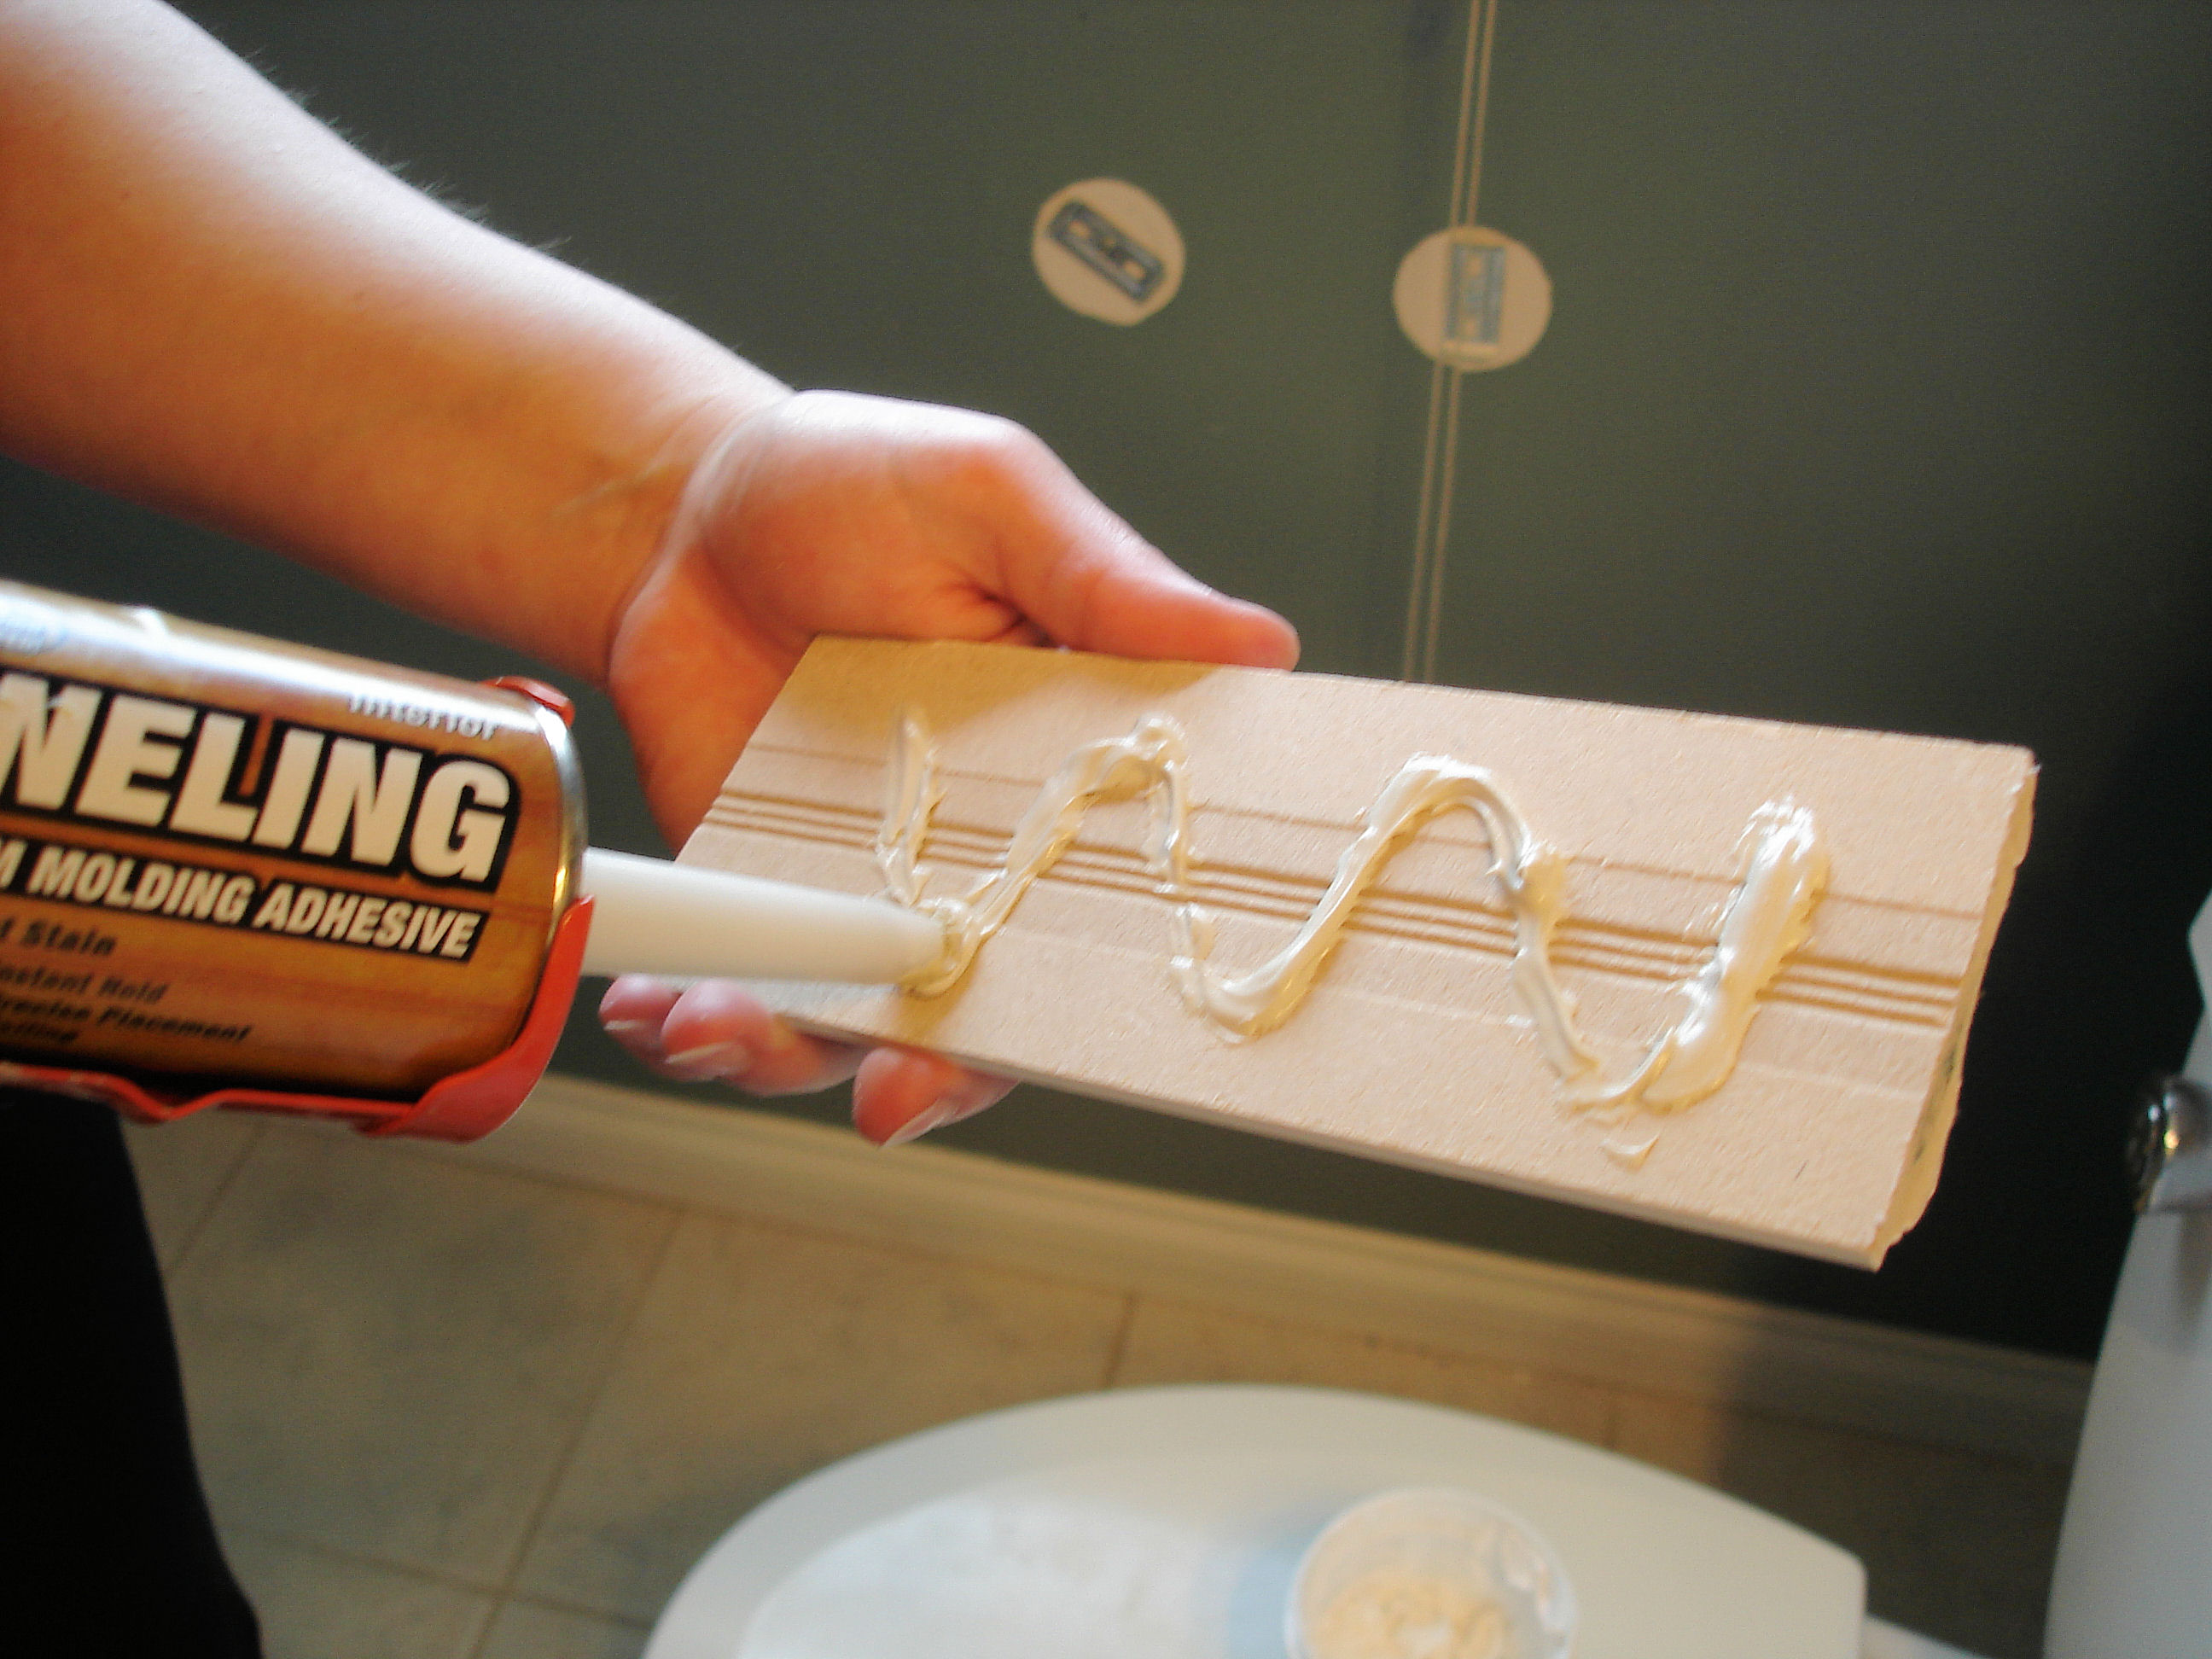
The best option is selected based on the size and weight of the cladding material. For large items, choose the third method, and for light items, choose the convenient option from the two remaining ones. At the same time, remember that covered the entire plane of the ceramic element. Apply glue can be point, zigzag or mesh. It is necessary to apply glue on bulky plates from a tile in a zigzag manner. Dot application is important if the finish is made of light tiled or plaster tiles.
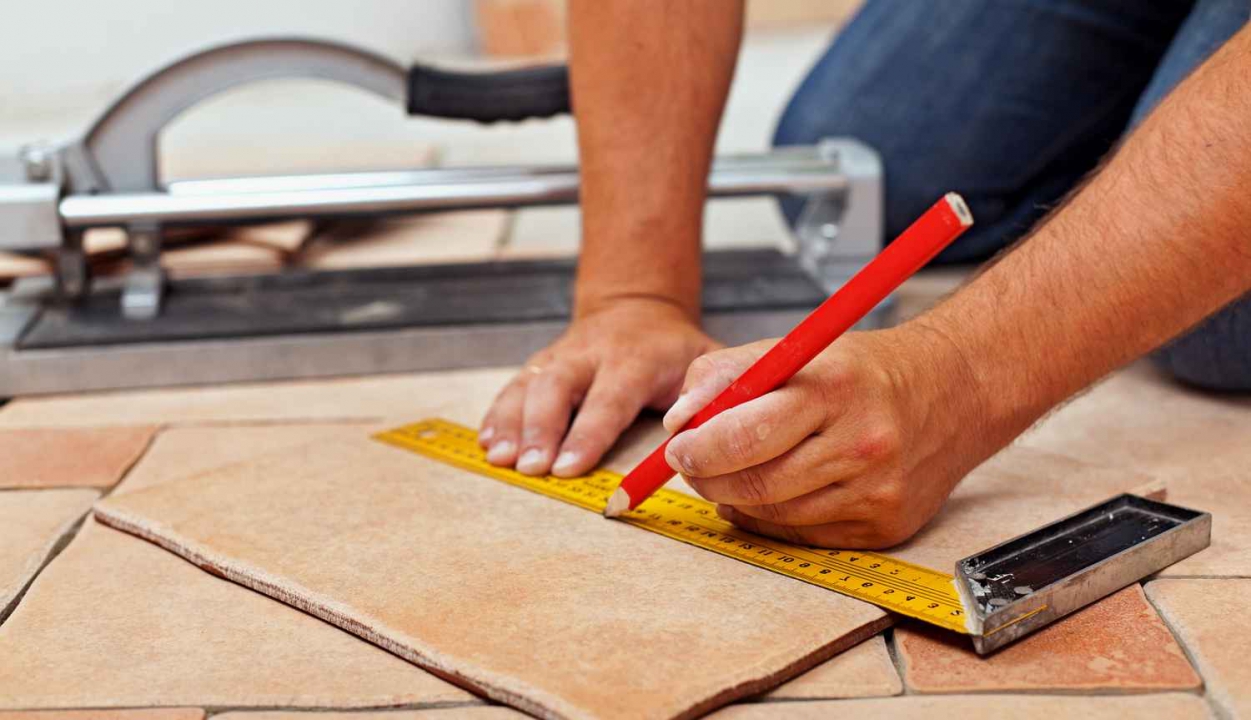
Choose a tool based on the method of distribution of the adhesive composition. There are only two options: a gun for women or a spatula.
In some cases, you can use both tools.Usually, a spatula is used for a small tile, and a gun is used for a large tile.
Lifetime: how to extend?
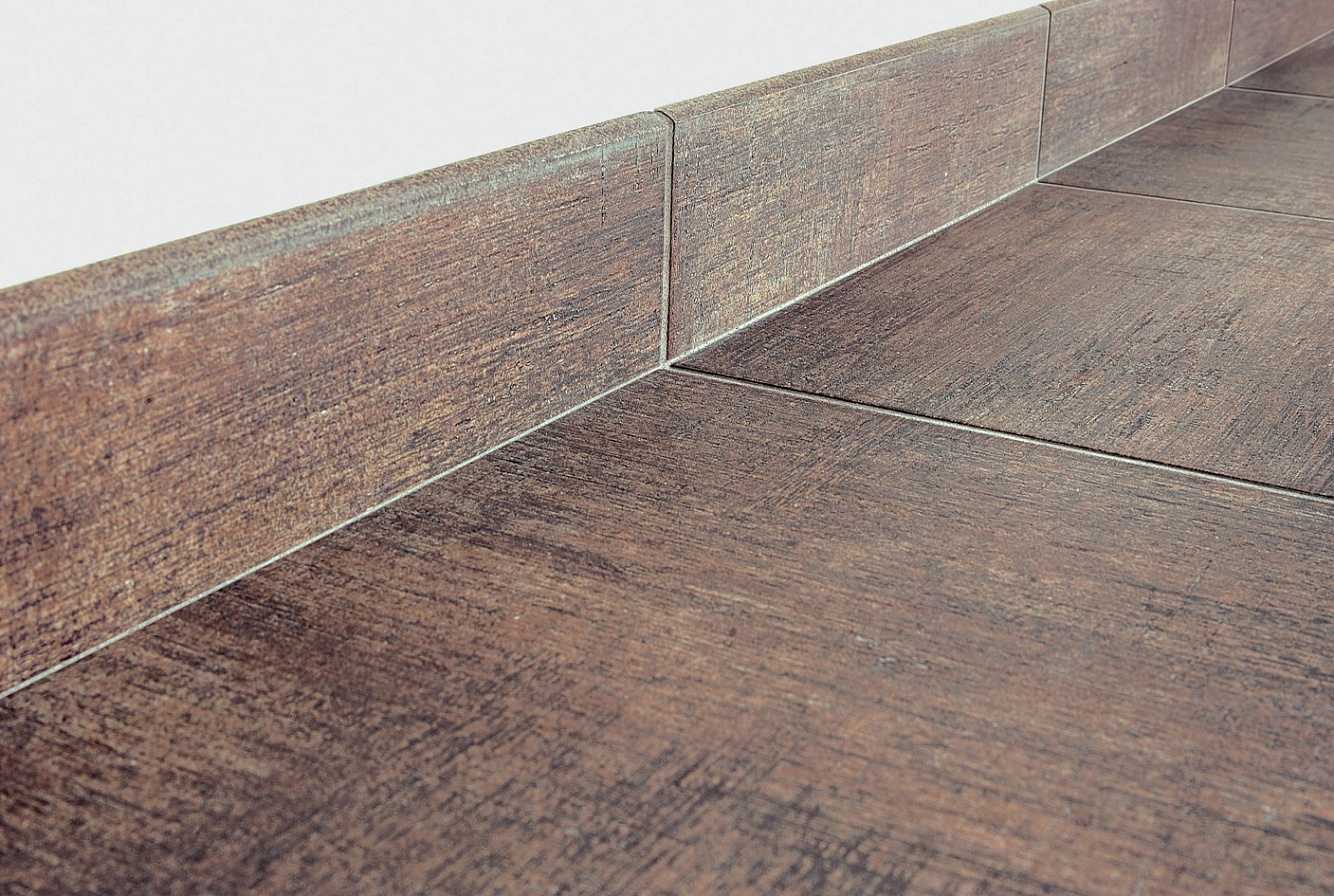
Choosing the adhesive composition, I want to understand exactly how soon I have to redo the repair. On liquid nails, you can glue the tiles so that the walls will delight unsurpassed appearance for many years. It is essential to choose high-quality adhesive material and to strictly follow all the rules for working with glue when facing walls. However, there are some rules that allow to further extend the service life of the adhesive.
- If an oversight during tile laying is made, the situation should be corrected immediately. Do not allow the curing of the composition.
- In the room where facing works take place, the correct temperature conditions must be observed. Learn more about the optimal temperature from the manufacturer's recommendations. Only the optimum temperature will allow the glue to connect ceramics with the wall well.
- Overheating of the spray can with glue will entail terrible consequences - the composition dries right in the container.
- Store the adhesive package in a place with low humidity. Do not allow the ingress of water, do not leave the bottle on the street.As a result of such negligence, you can just spoil the adhesive composition.
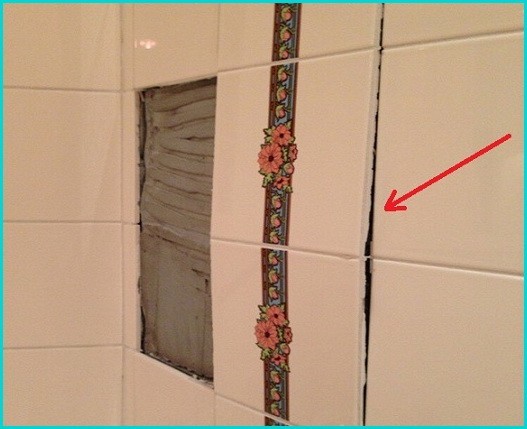
If the tile disappeared
Even if high-quality glue is selected and all recommendations are followed, an element can still fall off over time. It happens that 1-2 elements disappear due to mechanical impact or even for some reason. You can resolve this issue quite easily and quickly, and you don’t need to change the whole series. Save the situation in a few simple steps:
- From the wall and tile remove the remnants of old liquid nails. When cleaning the wall, proceed with extreme caution, this is the most crucial moment. It is important not to damage the tiles in the neighborhood.
- Apply new glue to cleaned areas.
- Carefully place the tile in the right place and fix it carefully. First, hold for two minutes with your hands, and then come up with an optimal support.
- Wait a week and cover the seams.
How to clean liquid nails
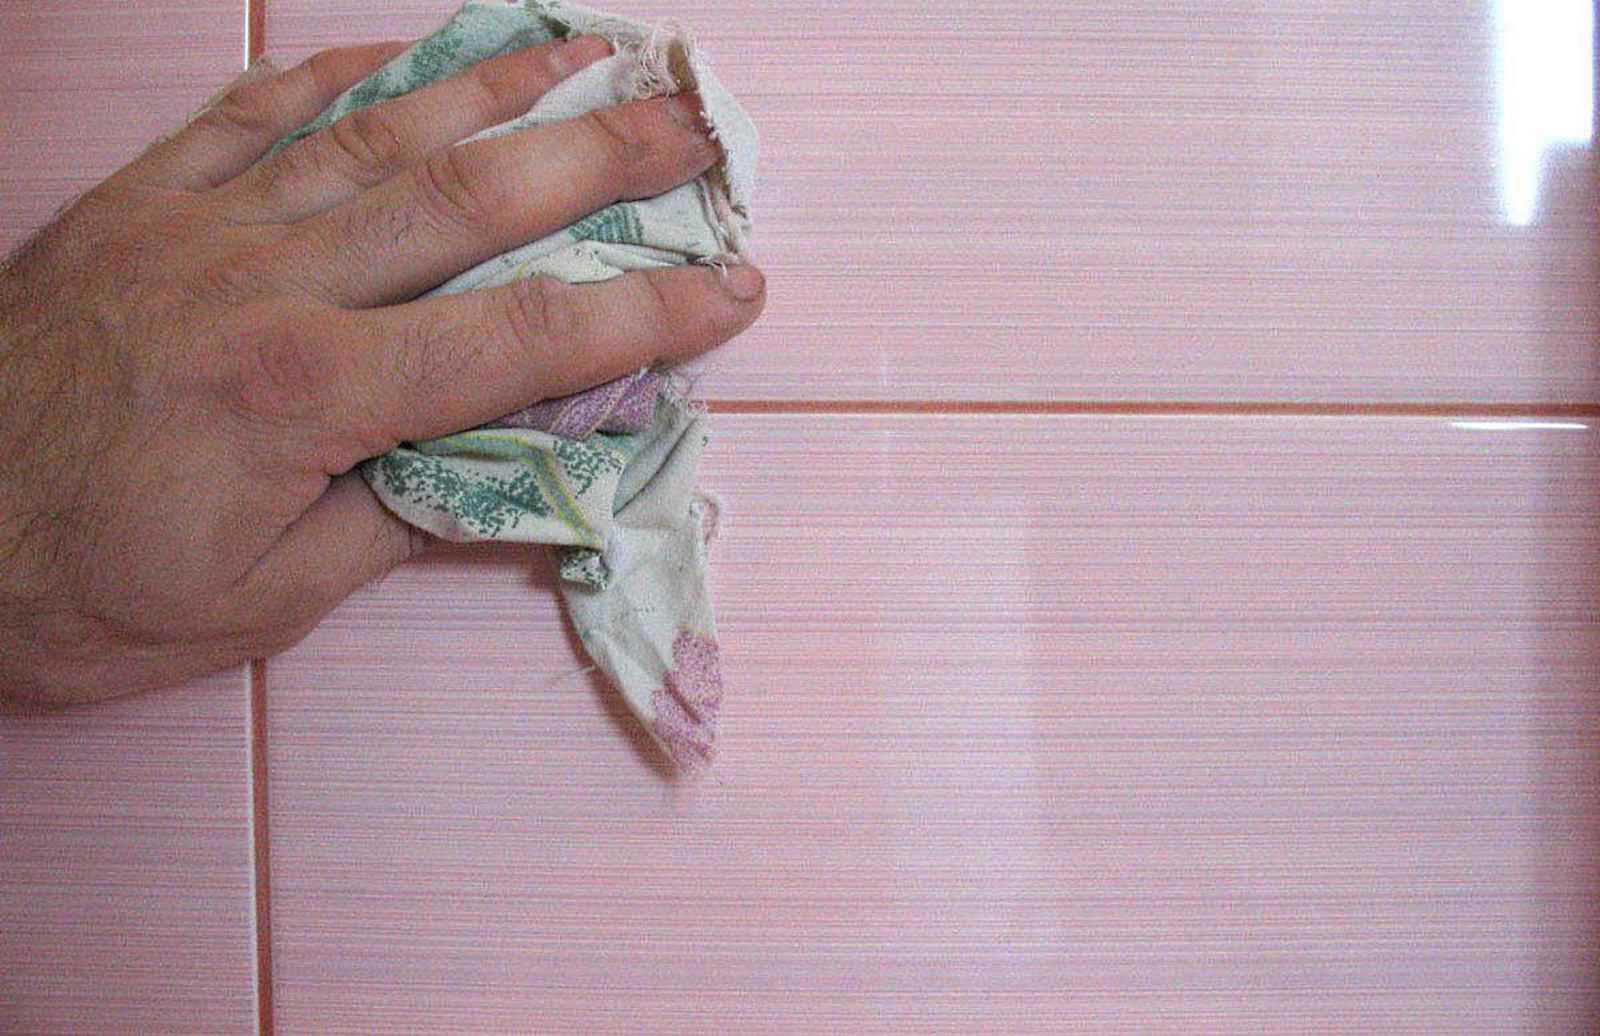
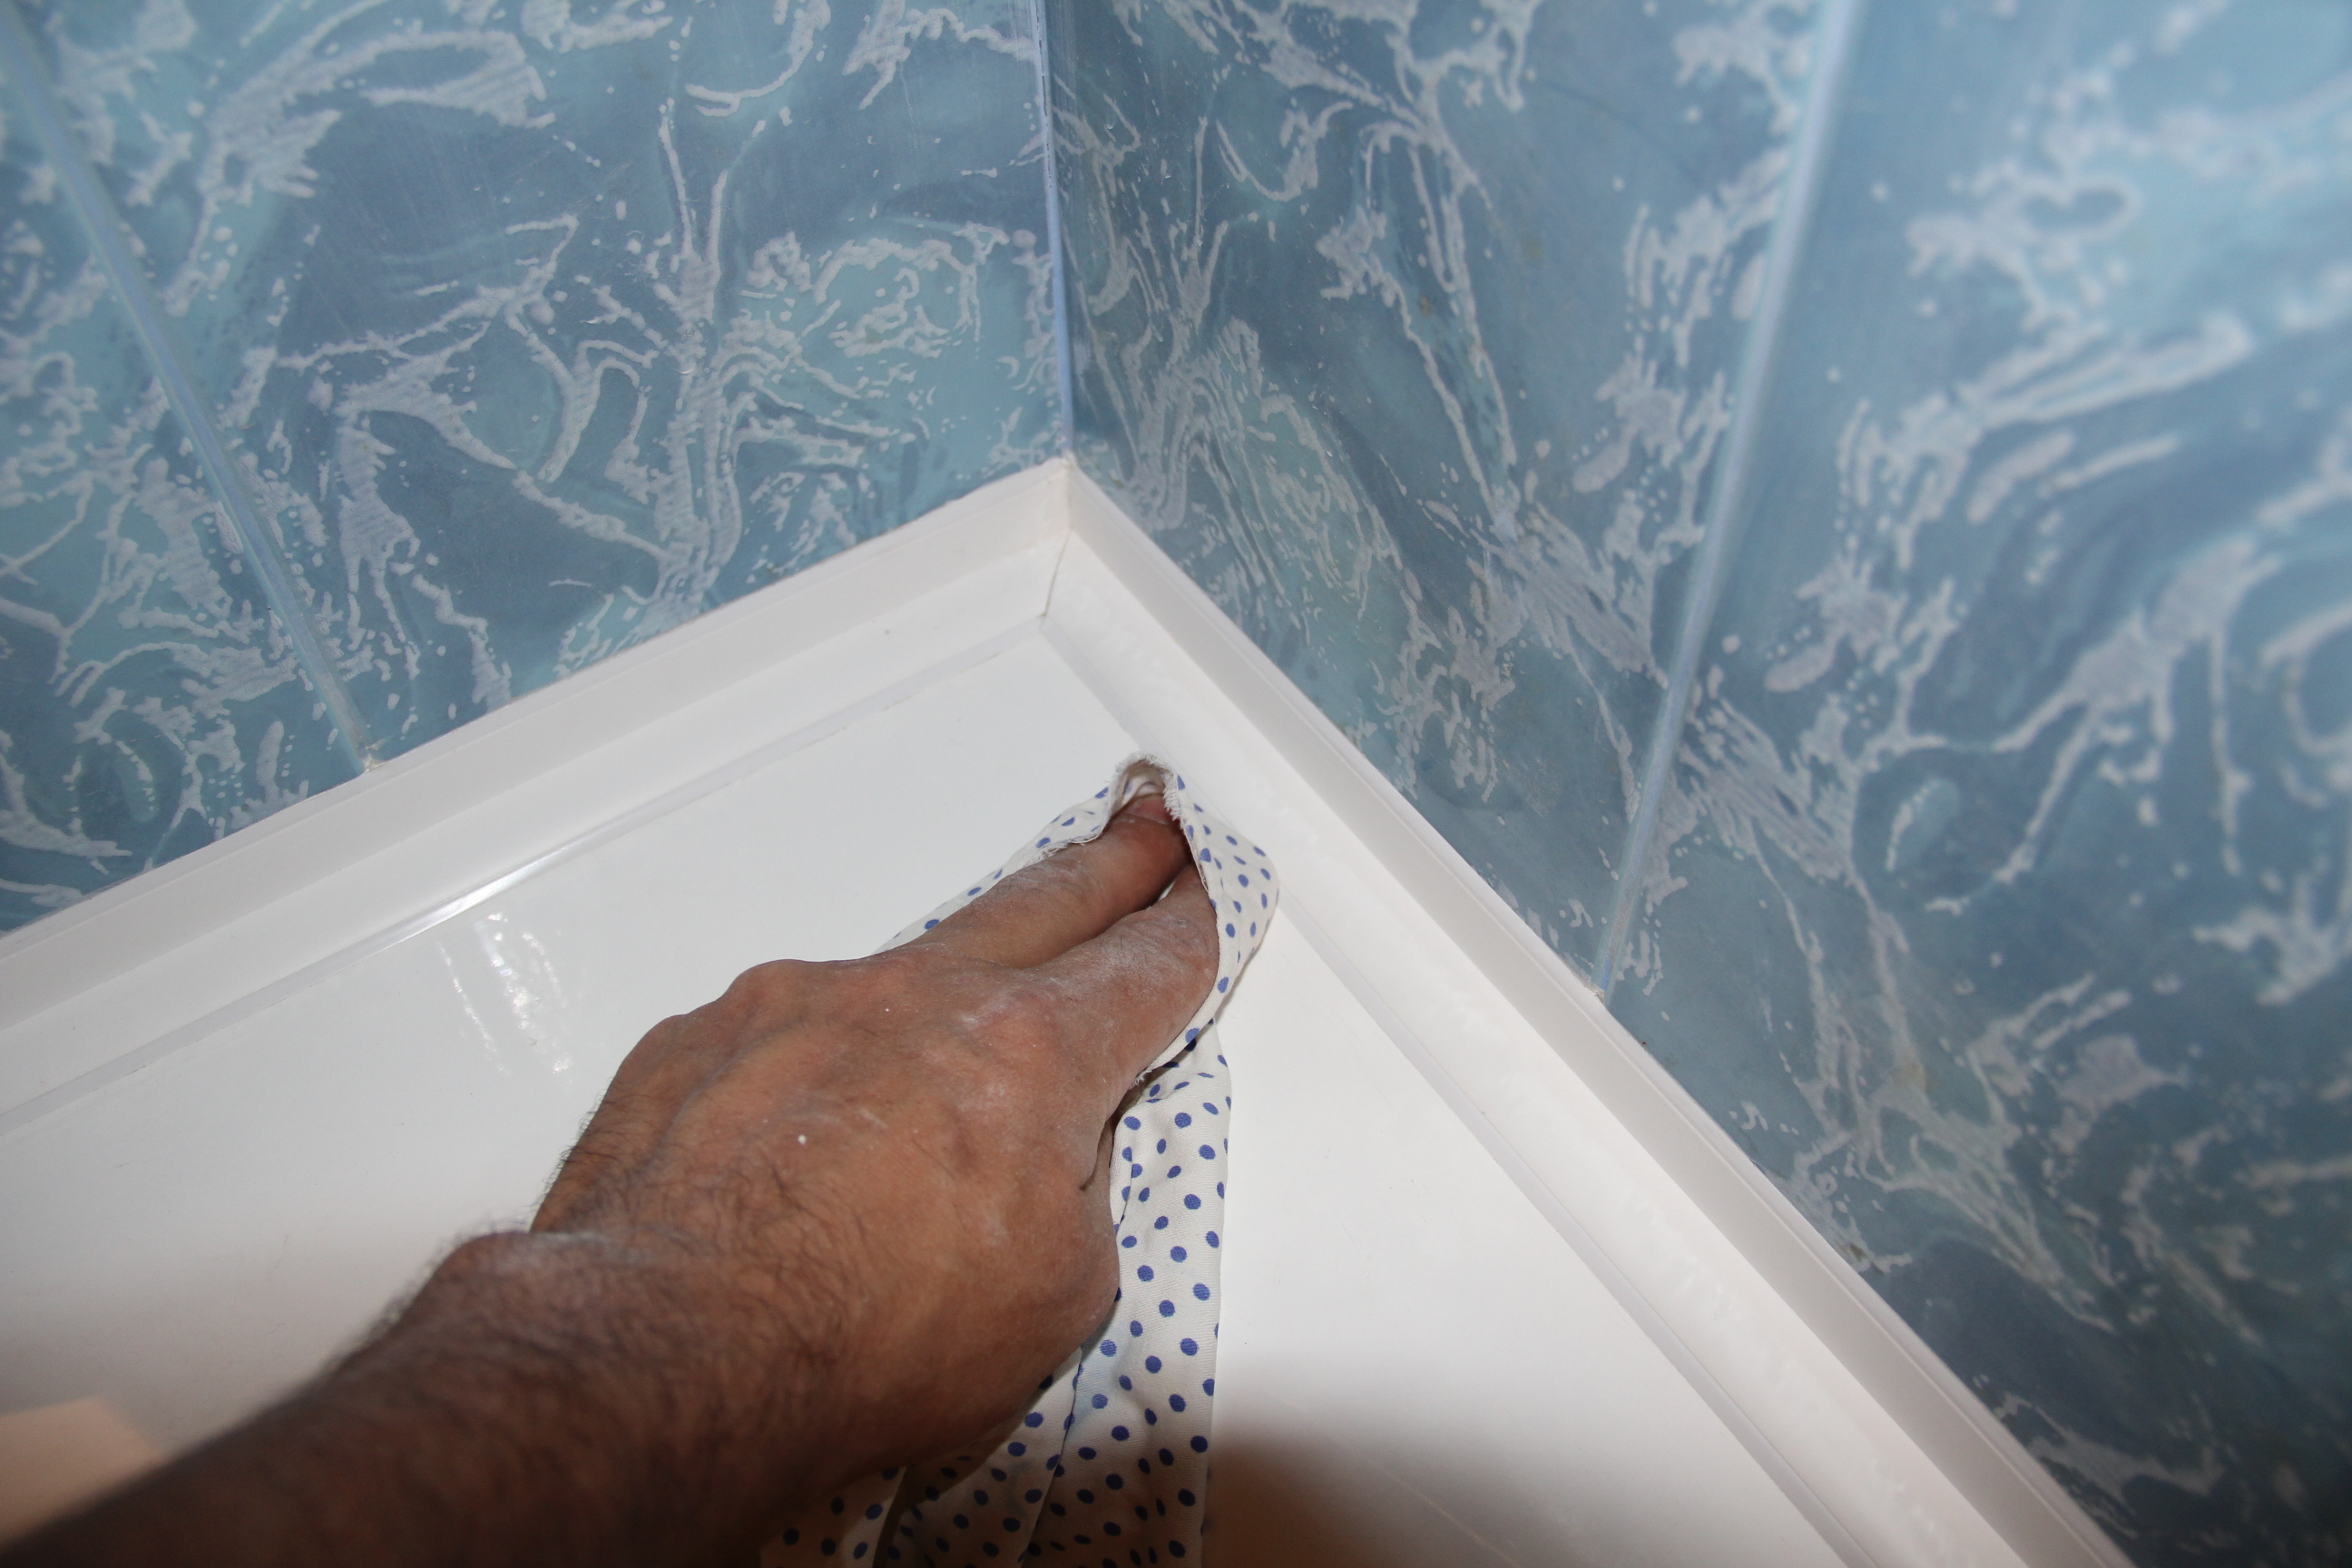
It is likely that a situation will arise when liquid nails will have to be removed from the surface. If such a need arose even in the process of lining, you can erase the soft composition with an ordinary rag. Act quickly until the liquid nails begin to harden. If time is lost, or it is necessary to remove the adhesive composition after a few years, there are several options to solve the problem.
- Arm yourself with a construction trowel and scrape the screed from the wall or tile.
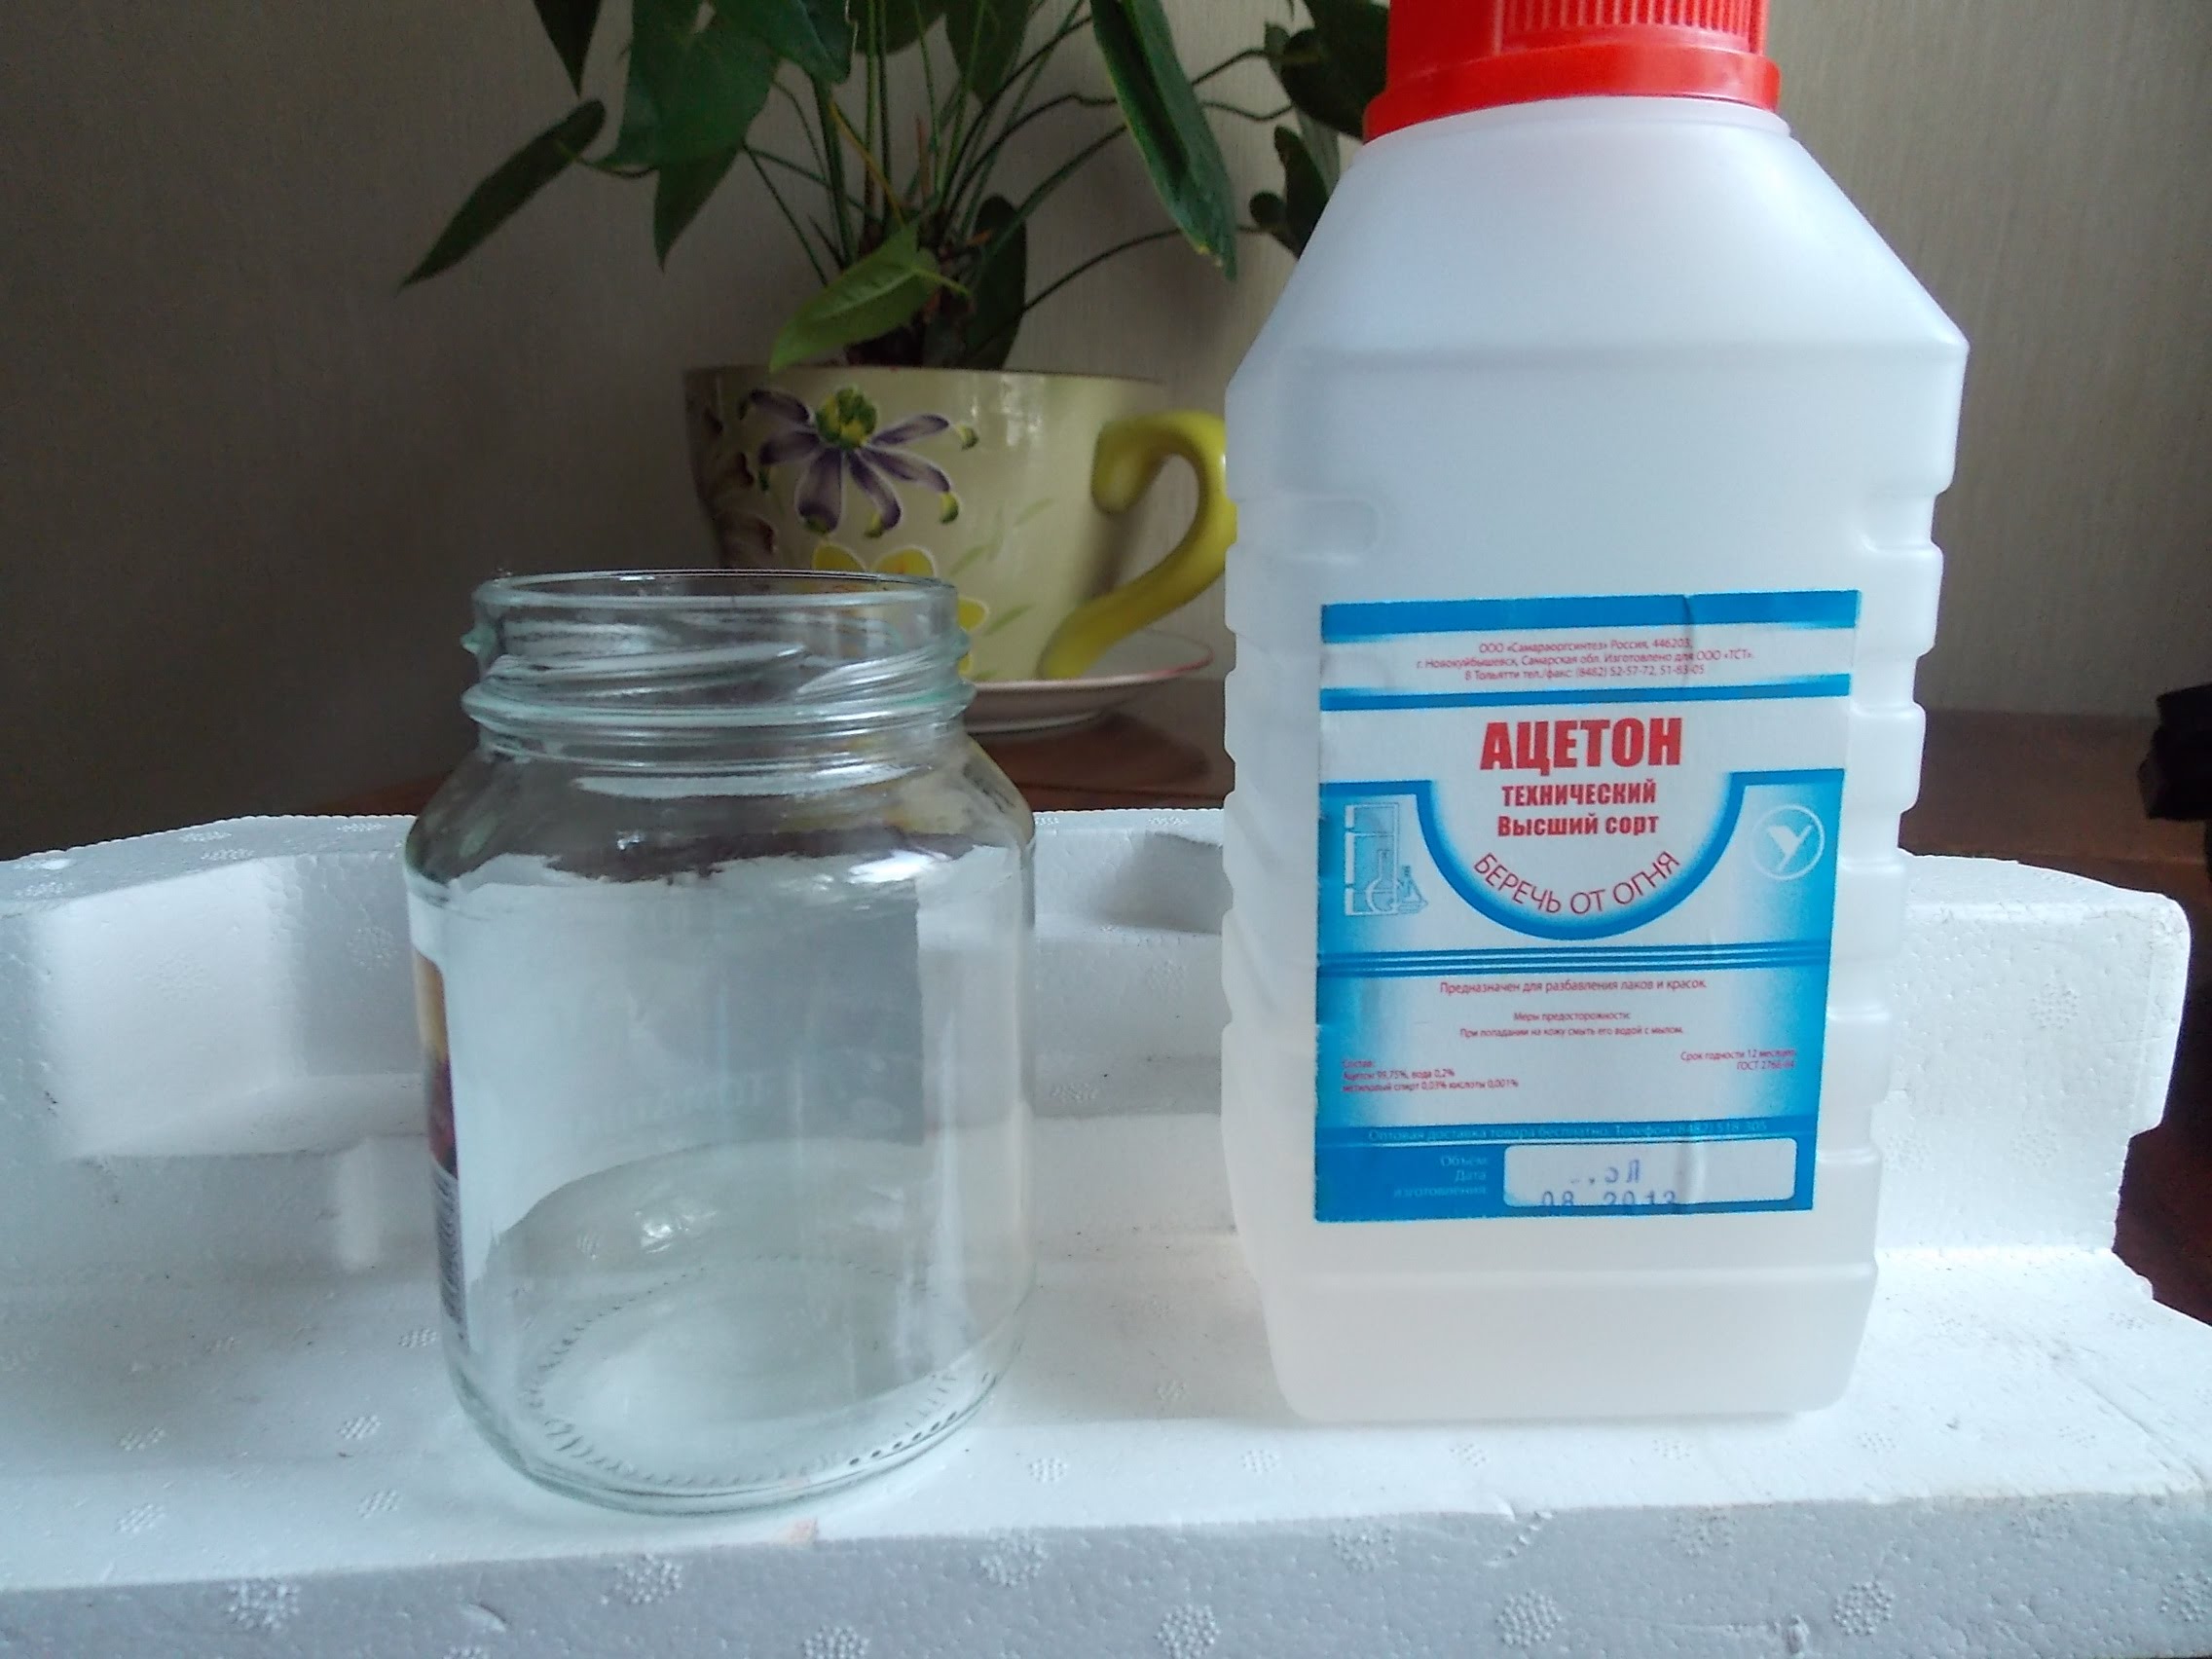
- Acetone will also help get rid of traces of adhesive composition. This option is more suitable for removing residues of a small amount of glue.
- Building a hairdryer can be a good ally when dealing with liquid nails. Heat construction glue to + 50 ° C and it will become softer.
- Sometimes construction glue gets on the surface of the hands - this happens when non-compliance with safety standards. Remove most of the composition with oil or petroleum jelly. Wash off residues with regular soap.
Expert advice
On the tube with ZHG has all the necessary information. Here you can find recommendations regarding storage conditions and shelf life, as well as recommended precautions when working. Experts advise to study this information from the first to the last letter. Consider the choice in favor of universal ZHG especially responsibly - find out compatibility with materials that interest you. Experts warn newbies against making mistakes and give a few tips.
- Pay attention to how long the glue begins to harden. This figure varies from 10-40 minutes.
- Read the composition. Pay attention to calcium carbonate and chalk - they should not be. These components reduce adhesion.
- Toluene or acetone may be present. Such components are quite acceptable, but they give a specific smell and have a bad effect on the body.
- When facing in the kitchen and in the bathroom, you can use some types of compositions on a water-based basis. They quickly harden and are moisture resistant.
- Keep in mind that all types of liquid nails harden in 12-24 hours. At this stage, treat the lining with extreme caution, protect it from mechanical stress.
- For cladding fireplaces and stoves (or similar surfaces) are suitable not all liquid nails, but only heat-resistant.
- For heavy ceramic tiles, buy liquid nails immediately with a solvent.
- Carry out work in a room with good ventilation or ventilate the room where the facing work was carried out.
- After completion of the work, it is necessary to immediately clog up the remnants of the glue and ensure the proper storage conditions.
For how to choose liquid nails for tile, see the following video.