The nuances and features of the sealing of drywall seams
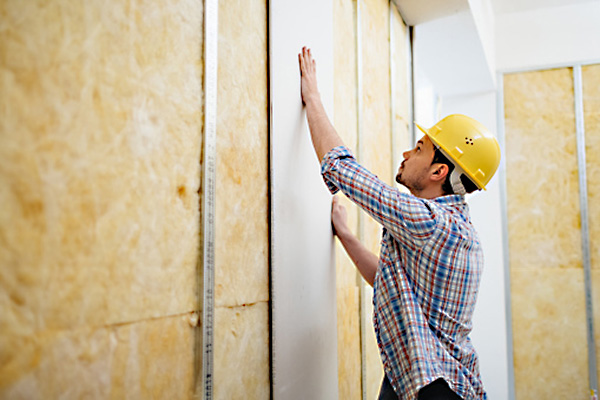
Drywall is a popular malleable material that is most often used to level various surfaces. It may be uneven walls, floor or ceiling. Installation of such elements is quite simple, however, at its completion, as a rule, there are unattractive seams between drywall. Today we will talk about the features and nuances of sealing joints between gypsum sheets.
The need for sealing gaps
Most often for laying gypsum boards pre-assembled reliable and strong frame made of metal or wood. Even if this construction is executed perfectly and there are a sufficient number of necessary profiles in it, the seams between the gypsum boards will still be noticeable.Their size directly depends on the state of the edges of the cladding material and the possibility of changing the size of plasterboard sheets in conditions of temperature differences.
If you do not seal the seams formed between the panels, the surface of the plasterboard structure may become uneven or appear so - both options are undesirable. In addition, the coating, in which there are joints that are evident, looks inaccurately.
As a rule, the seams between the panels are formed if the lathing is not sufficiently rigid or there are not many profiles in the design. For example, under the weight of drywall panels, metal frames may be deformed. Because of this, the edges of the plates begin to be uneven.
Ugly seams between the panels can also be formed due to the loss of the linear dimensions of the structure. Such phenomena most often occur due to temperature changes. Minimal sheet shifts in this case can lead to cracking of the material. Without seams, the cladding material will quickly become unusable, since its edges will be directly affected by external factors - absorb moisture or dry out.
It should also be borne in mind that without finishing the joints on the surface of painted or wallpaper-coated drywall there will be ugly spots. Over time, finishing materials and can completely detach from such a base.
What can I use?
Joints between plasterboard plates can be sealed with different materials.
Consider in detail the most common of them.
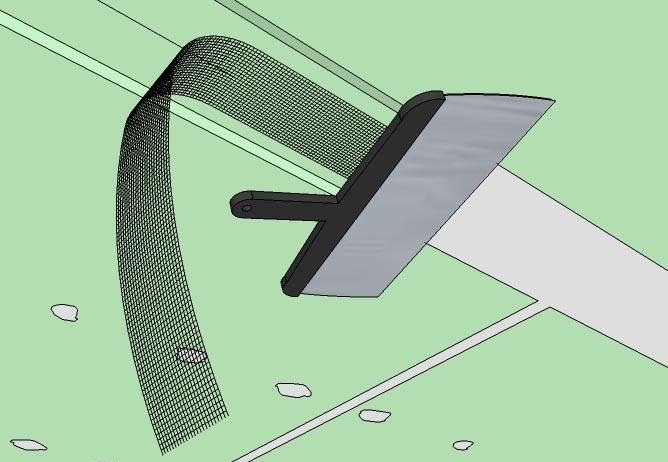
Paper tape
This material is sold in rolls. The length of the tape is most often 50, 76 or 153 m, width - 52 mm. Such materials are made from special paper, characterized by high strength. It is reinforced with fiberglass in both longitudinal and transverse directions. As a rule, the surface of the paper tape is characterized by a rough texture, which provides a better and more reliable bond with the putty on the plaster.
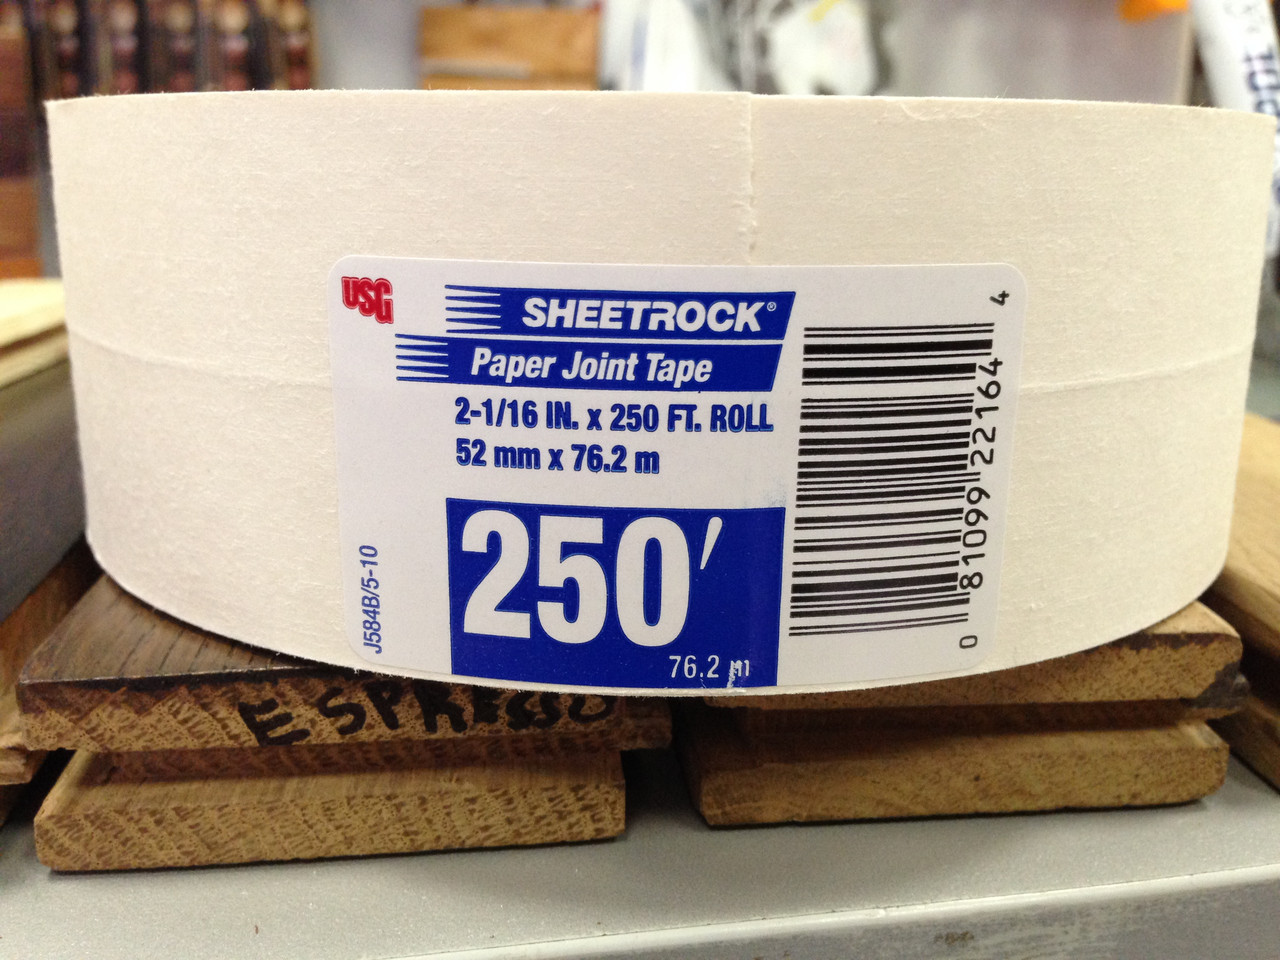
On paper tape there is a special inset insert located in the center. Thanks to this element, it is very easy and convenient to use such material. In addition, paper tape is perfect in order to close up areas in the corners of the structure. Such material is not subject to stretching and wrinkling, in contrast to simple masking tape.
Of course, paper tape is not an ideal material.It has its own weaknesses. These include a fairly time-consuming installation process, especially if you compare it with the installation of an ordinary serpyanka. Such material is subject to the formation of air bubbles, if the base is not enough dense layer of putty.
To avoid such defects, it is recommended to purchase perforated tape. Bubbles form much less often under it.
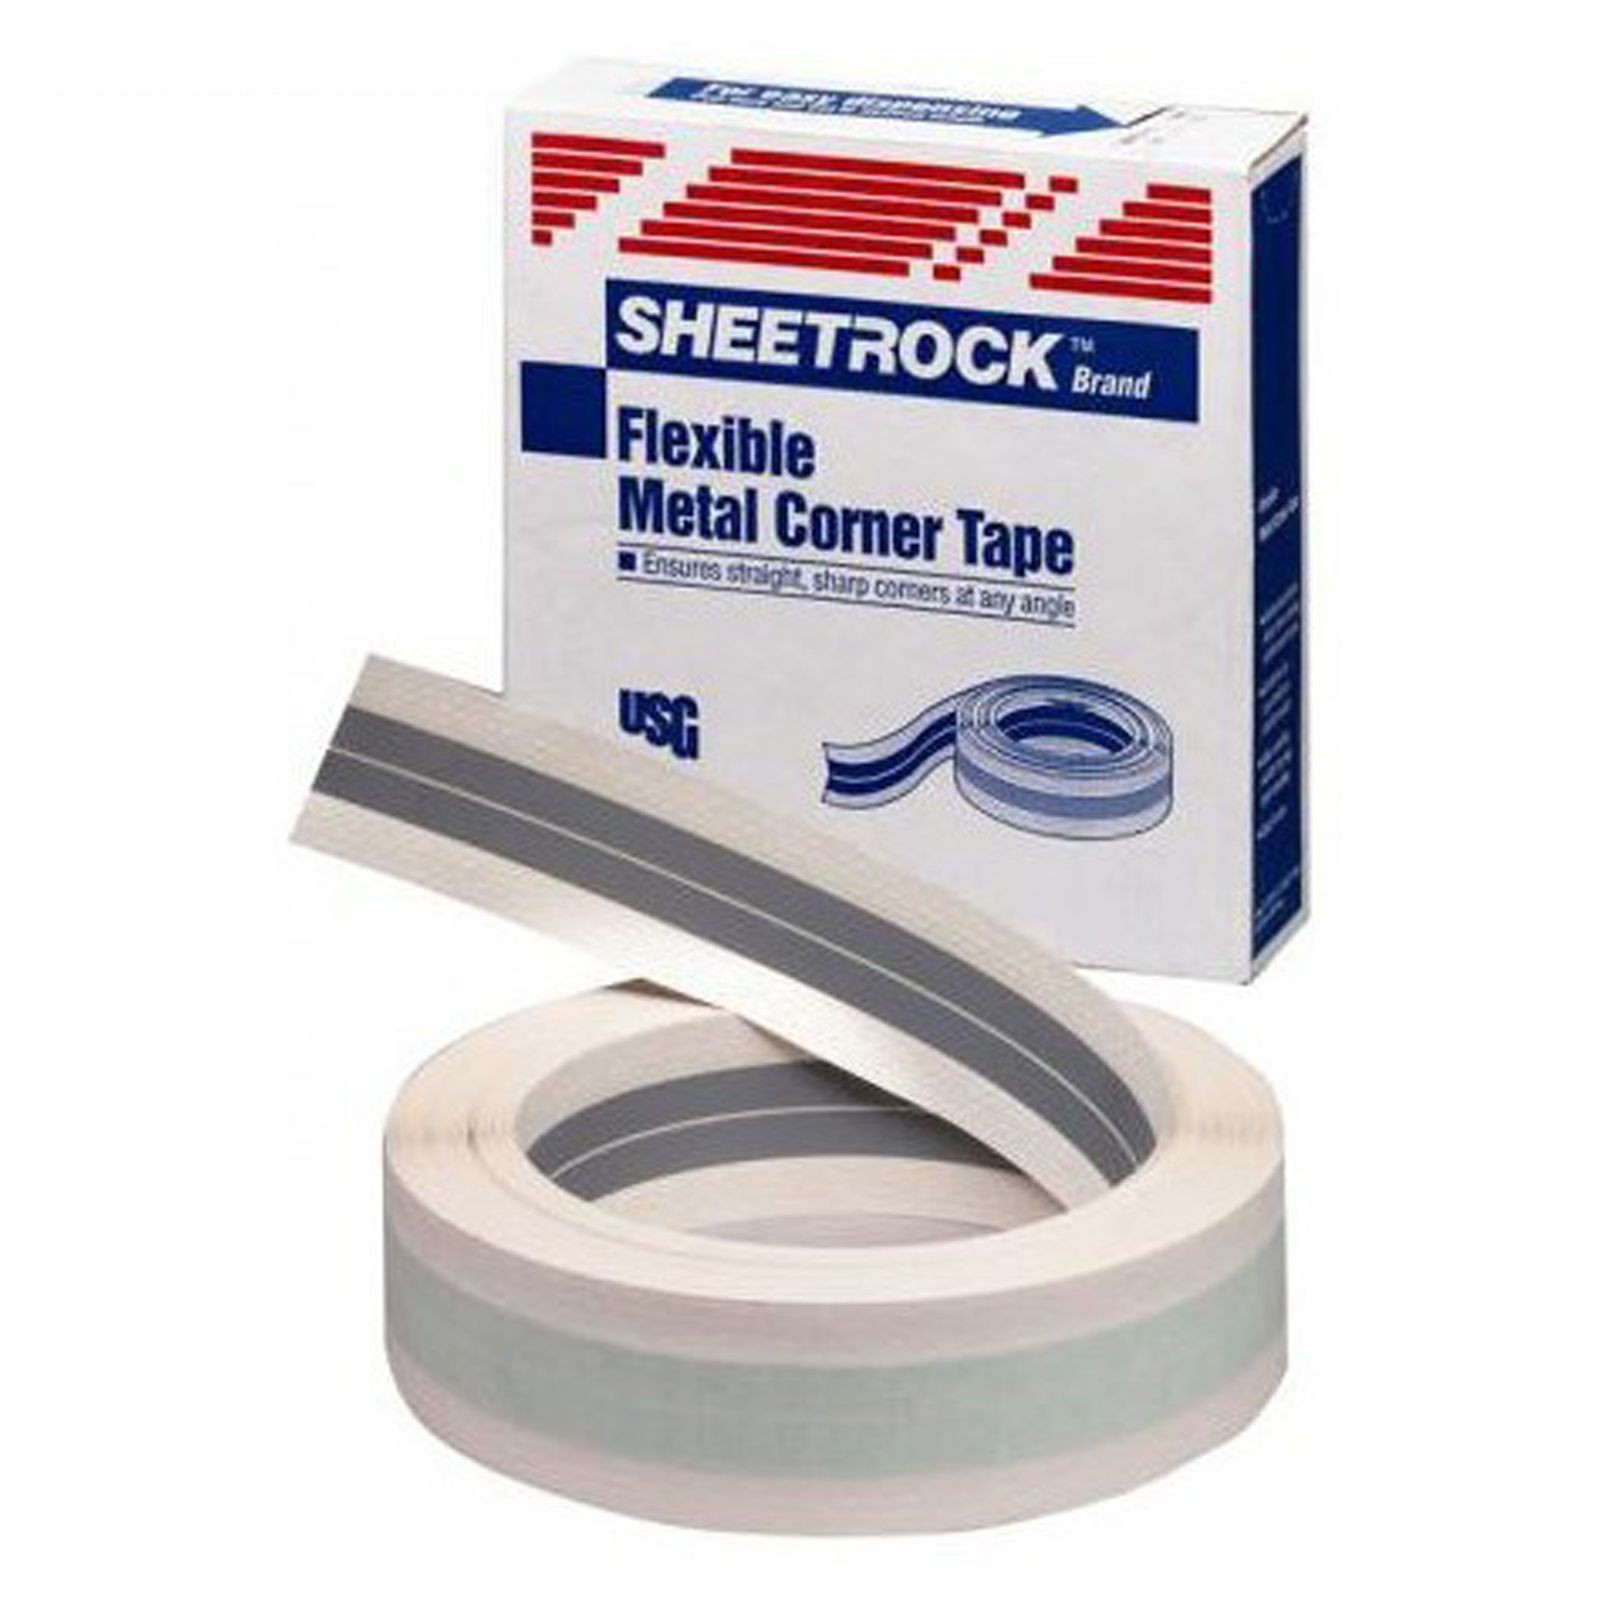
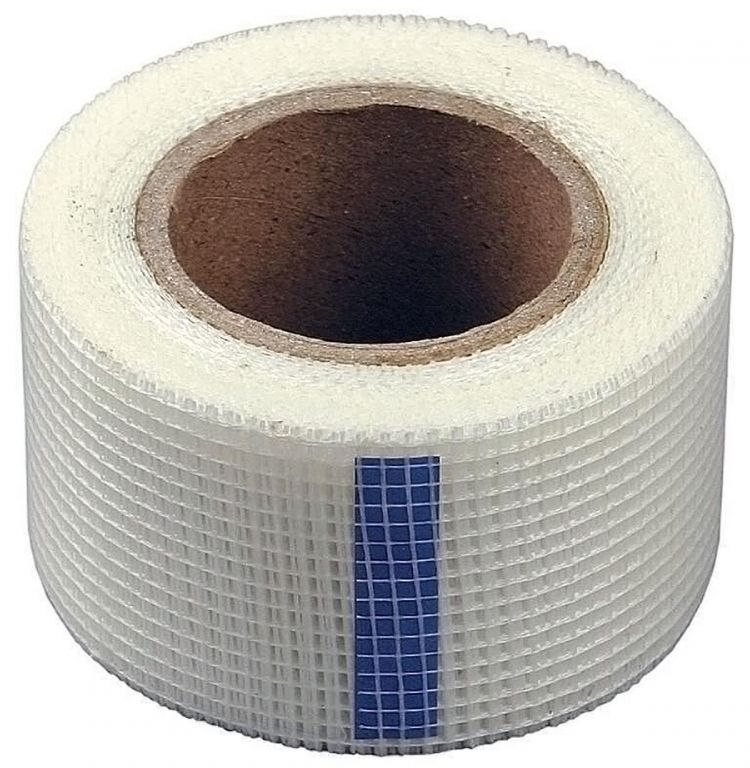
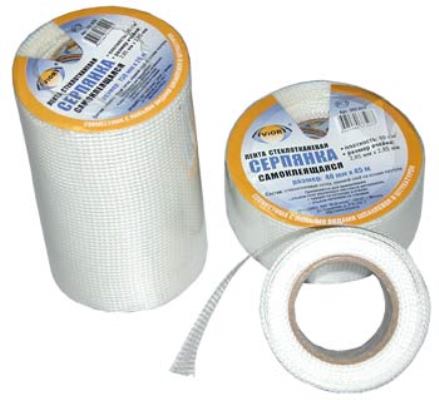
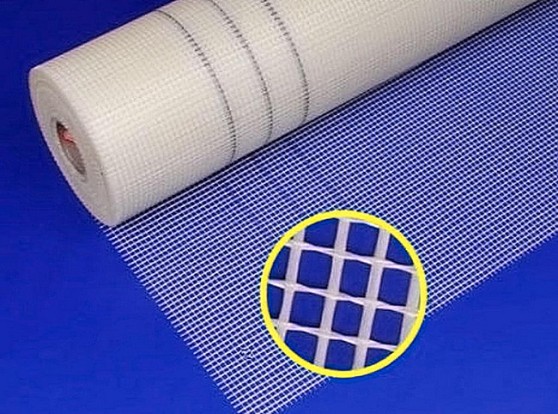
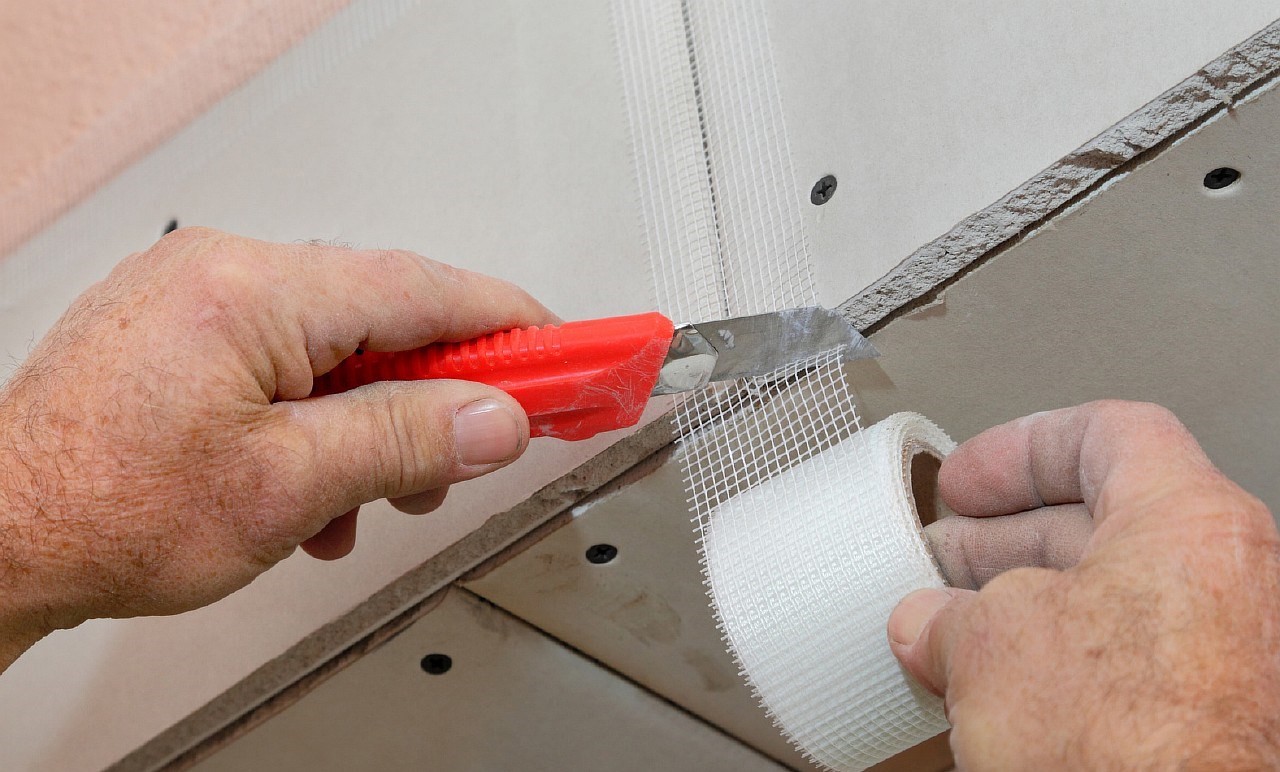
Self Adhesive Serpyanka
Most often, when sealing joints between drywall, masters use serpyanka. It is sold in rolls 45 and 50 mm wide, 20, 45 and 90 m long. Self-adhesive serpyanka is ideal for sealing joints between gypsum boards with thinned edges. In addition, this material can be used to seal cracks in the base or small holes. Currently, in stores you can meet many options for quality and durable serpyanka, which is very difficult to tear.
Such a grid is:
- self-adhesive;
- not self-adhesive.
The latter product is more affordable, but its styling is labor intensive.
Using self-adhesive serpyanka,It is necessary to take into account one important detail: already started a roll of such material should be stored only in a plastic bag so that the adhesive layer does not dry out and does not lose its properties.
Putty
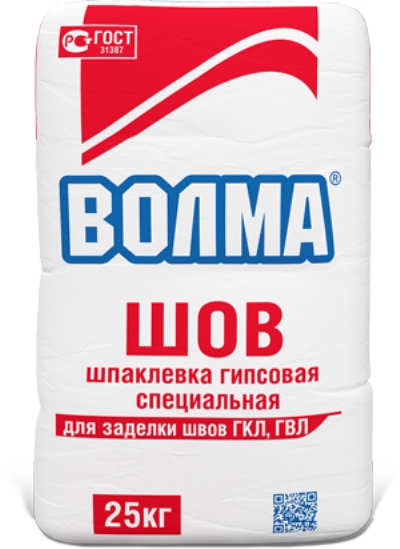
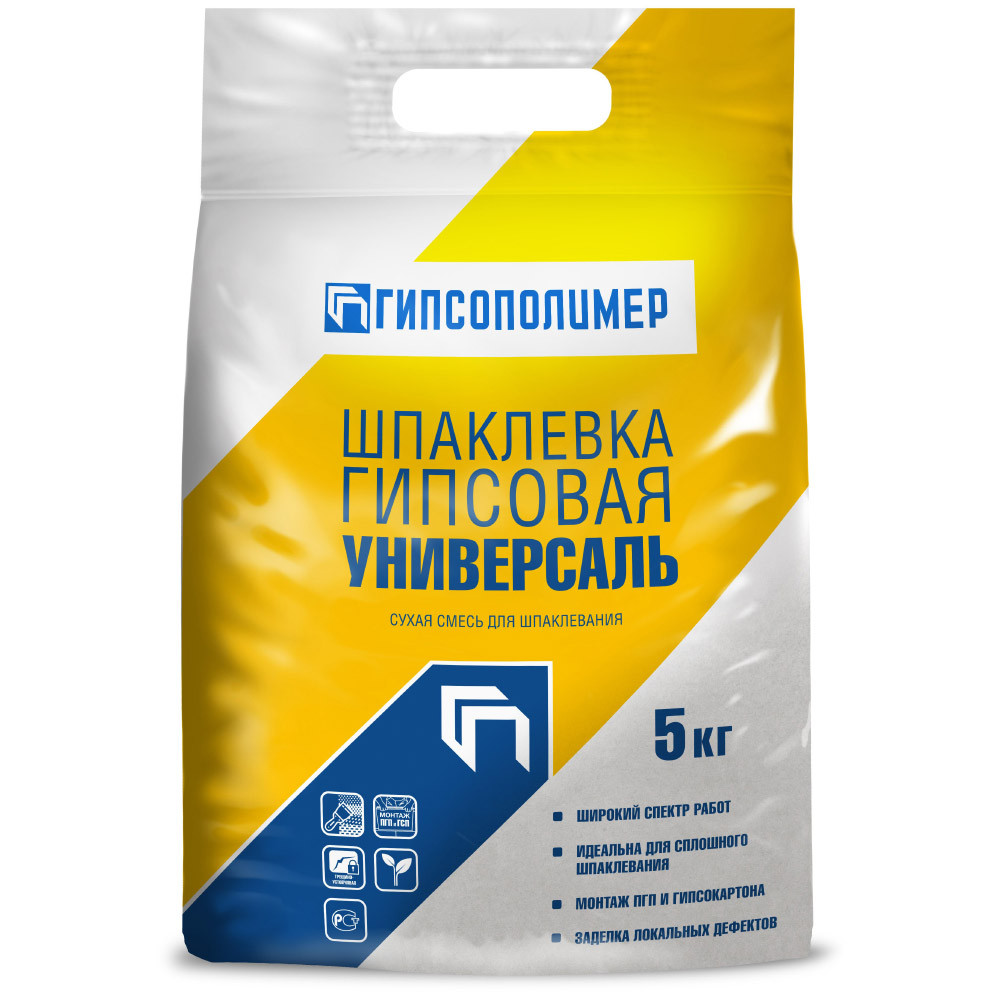
This is another important component required for the installation of drywall seams. Experts recommend to cover the joints with high-quality putty, which does not shrink and does not undergo cracking over time. In addition, the filler mixture should form a smooth and durable surface on a plaster base. Similar requirements are met by branded compounds manufactured by the Knauf brand.
Primer
This composition is necessary to protect the material from mold and mildew. In addition, drywall, covered with soil, is not so afraid of contact with moisture. As a rule, the primer is applied on the base in 2 layers.
Plaster
Plaster serves as a finishing coating that creates a perfectly flat and tidy surface. In addition, the plaster mix can provide drywall with additional protection and high adhesion with the following applied coatings.
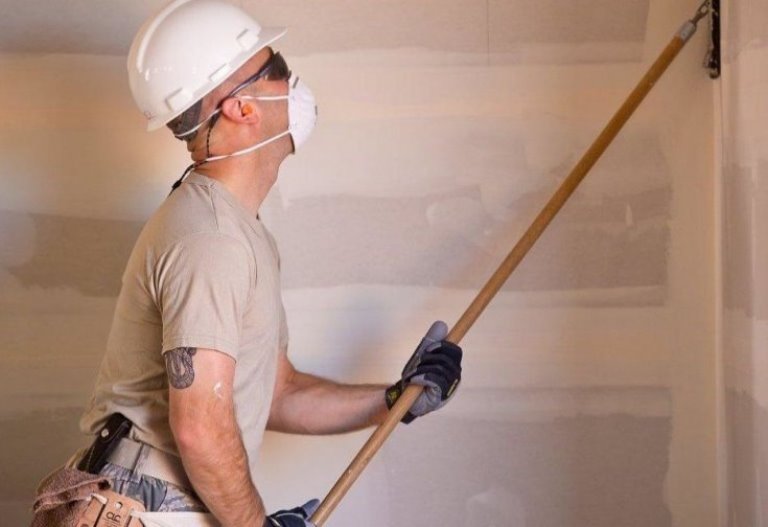
Required tools
Before embarking on joints between drywall, it is necessary to prepare some tools and fixtures:
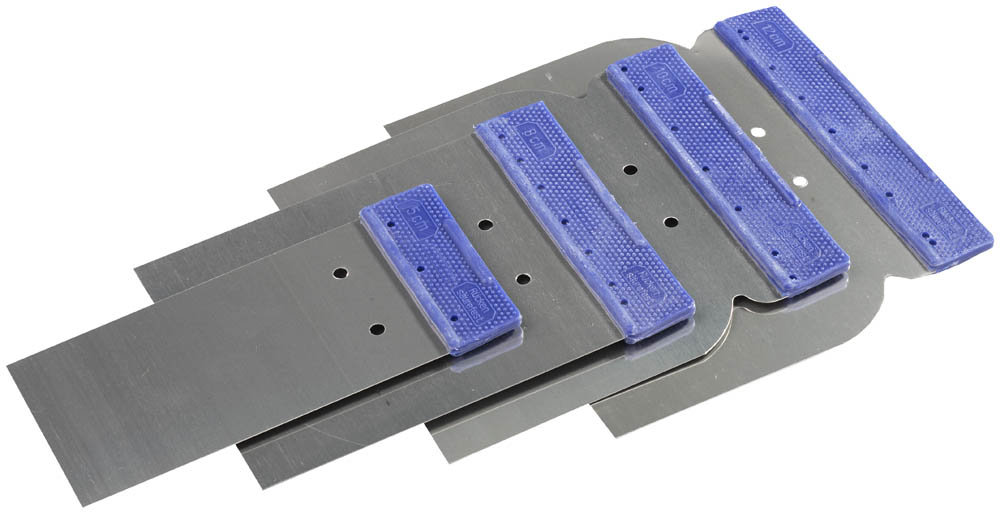
- A set of spatulas. Experts recommend buying three basic tools - wide, narrow and medium. You will use the widest gadget least of all, but with it you can very easily and quickly smooth the seams.
- Falcon. This tool is not mandatory to purchase, however, many masters use it very often. Falcon is a special device for working with putty mixture. It consists of a flat plate and a handle.
- Level. Experts recommend choosing between laser and bubble tools.

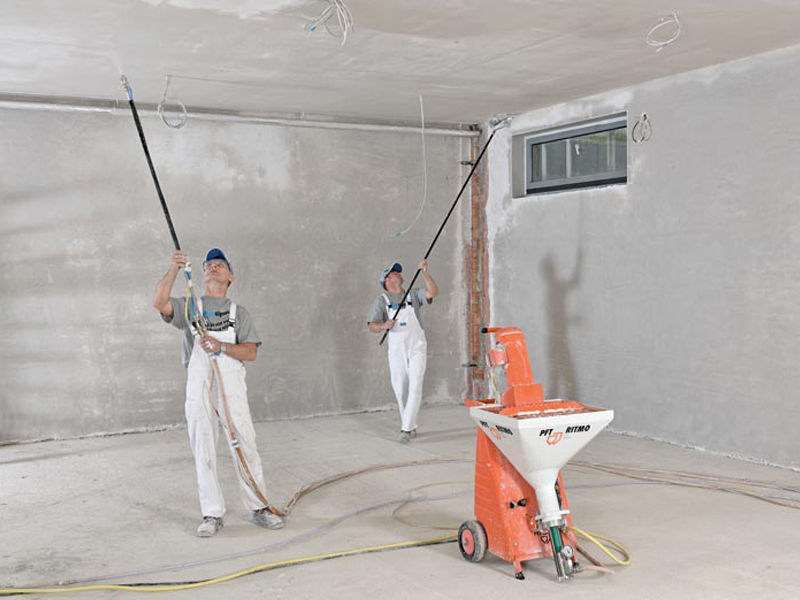
- For putty walls, you can buy or rent a special machine.
- Drill with a nozzle mixer.
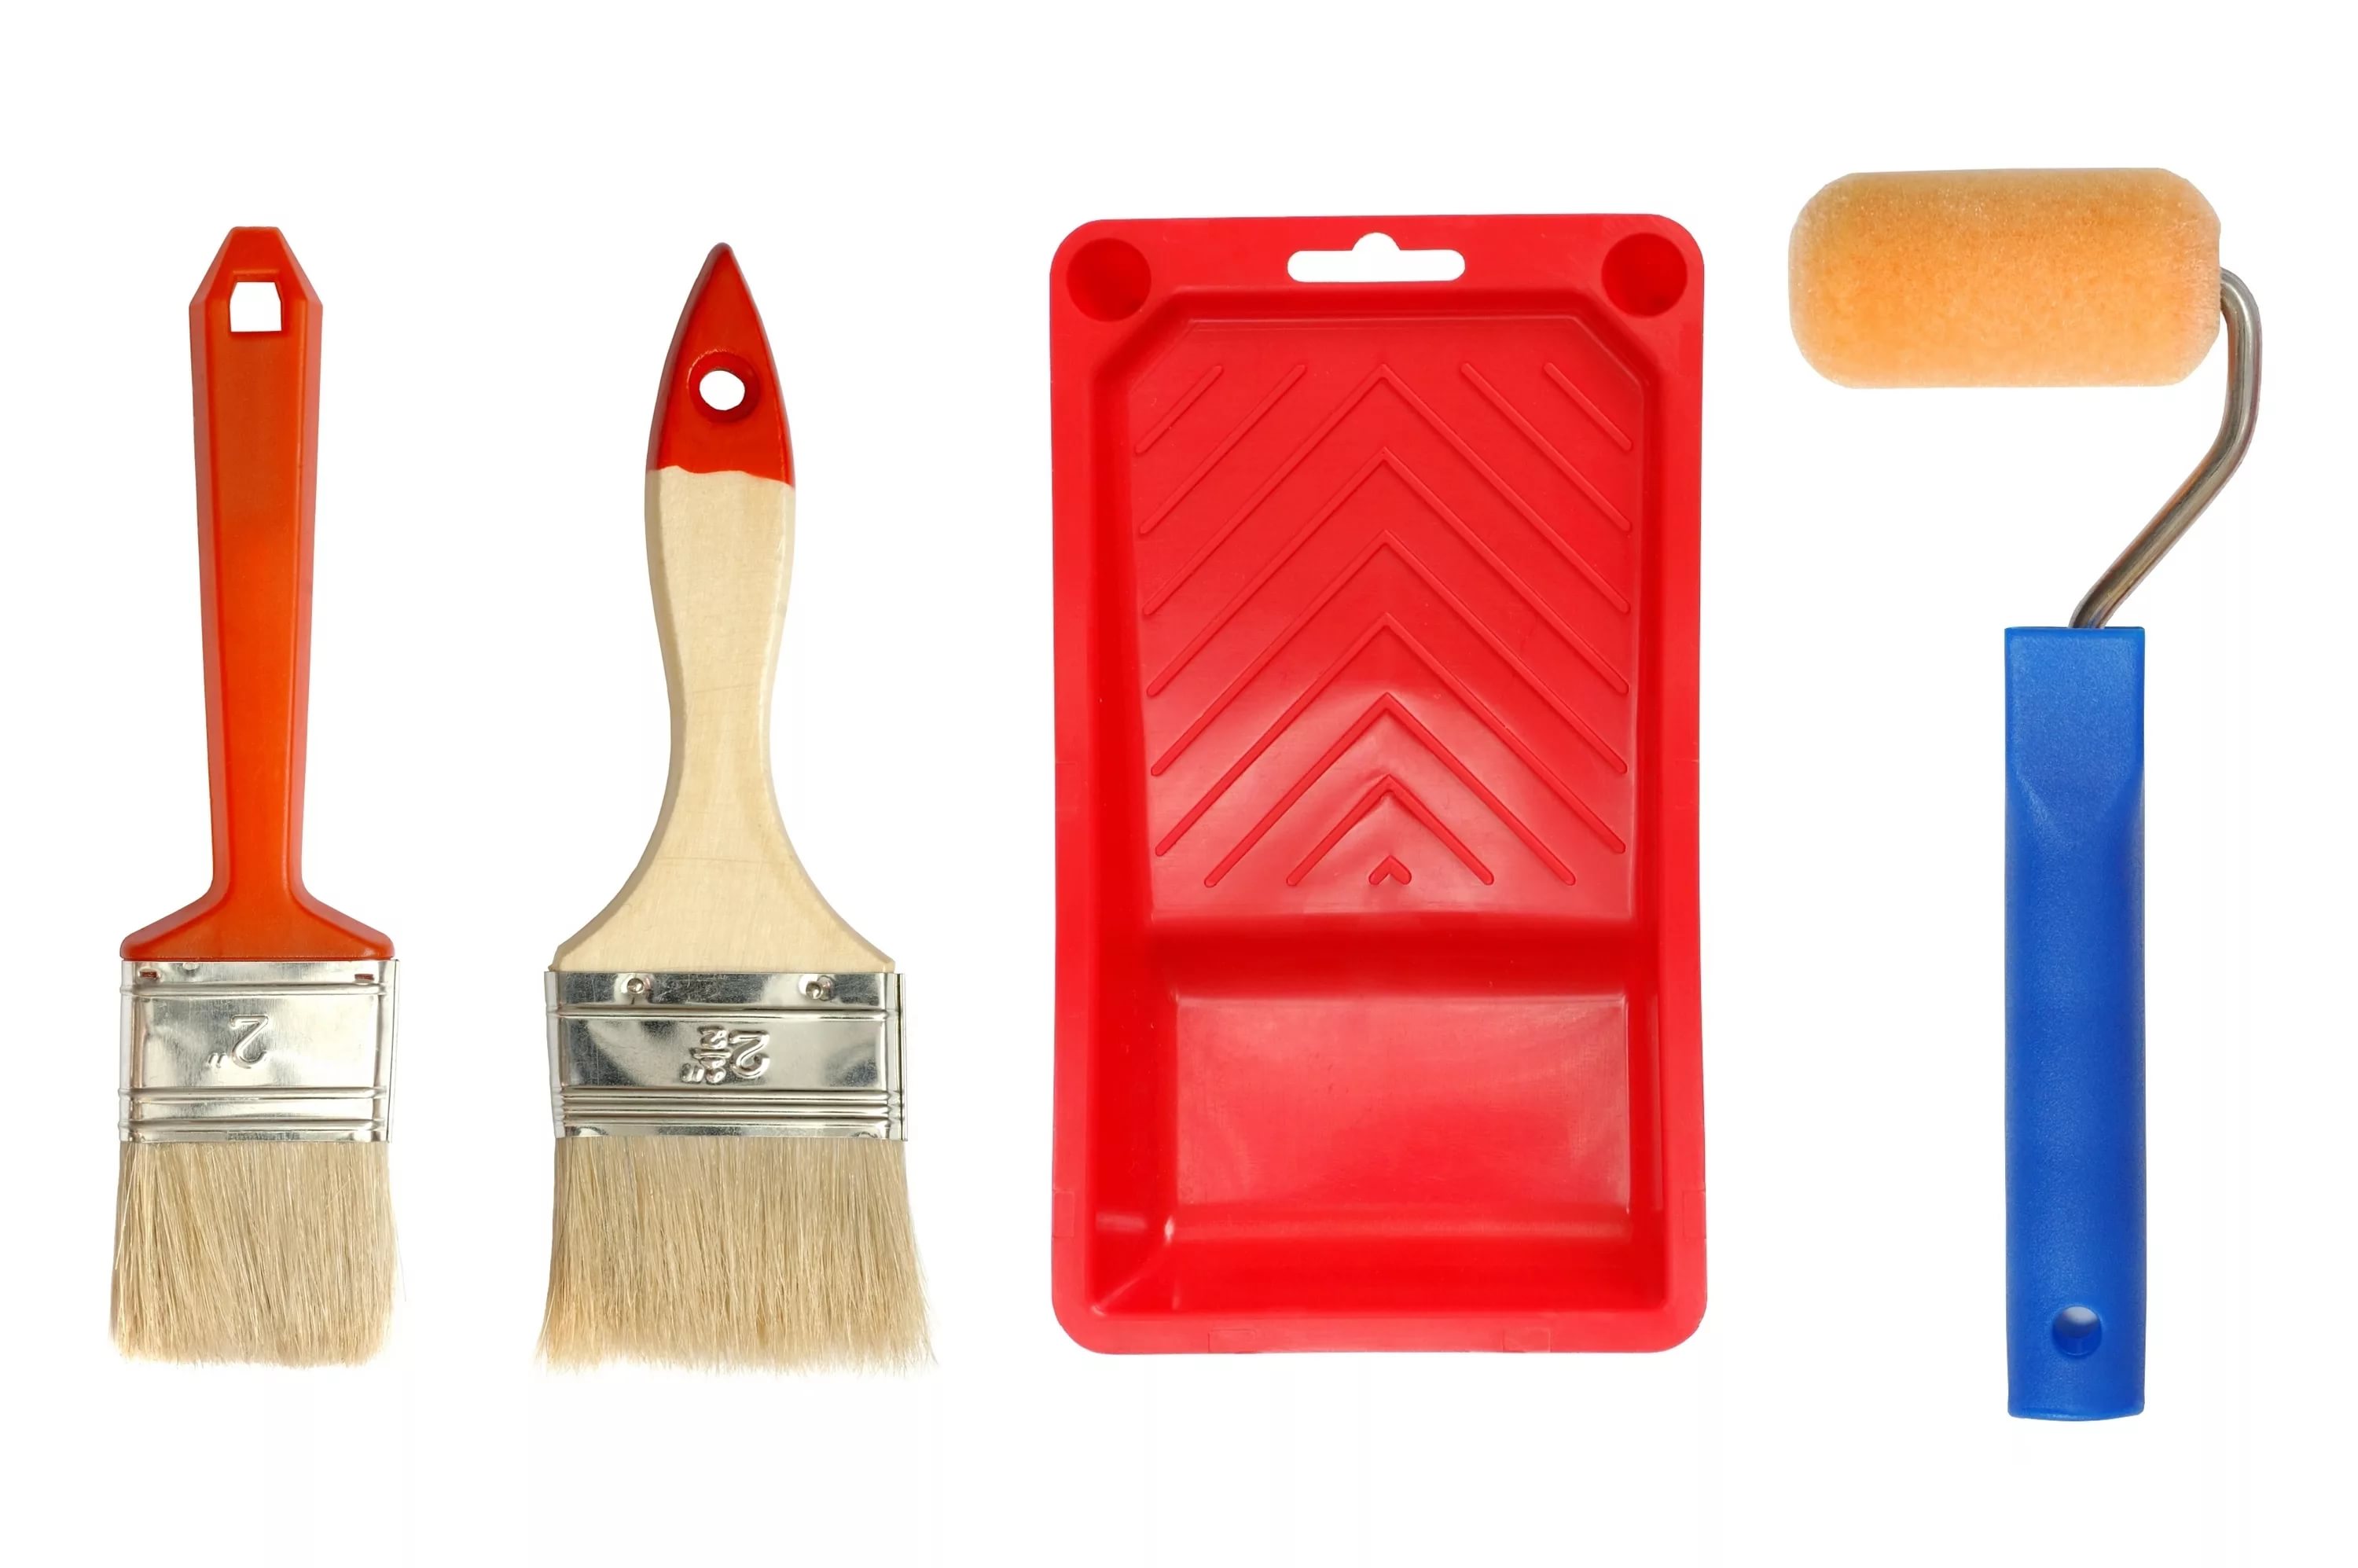
- Brush and roller for primer.

- Clean bar.
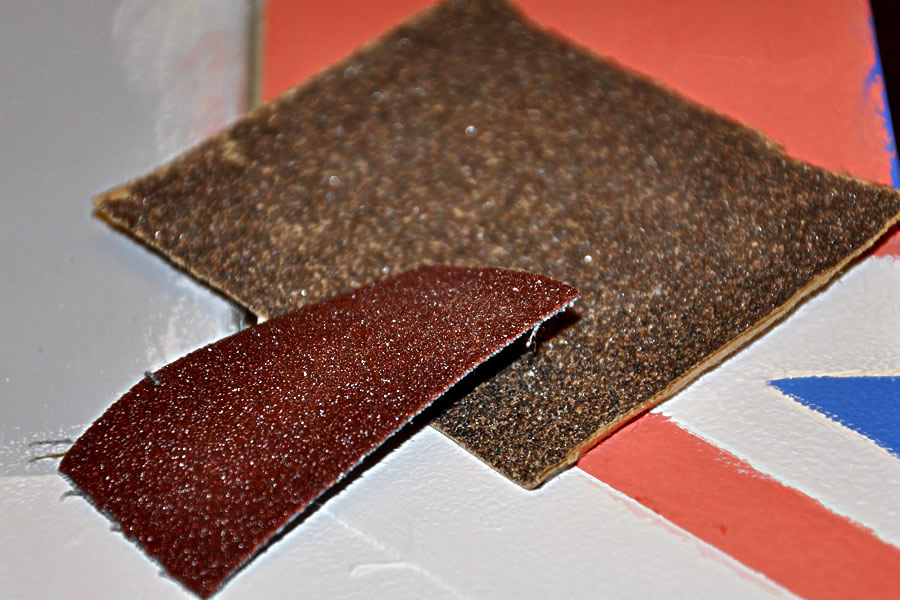
- Sandpaper.
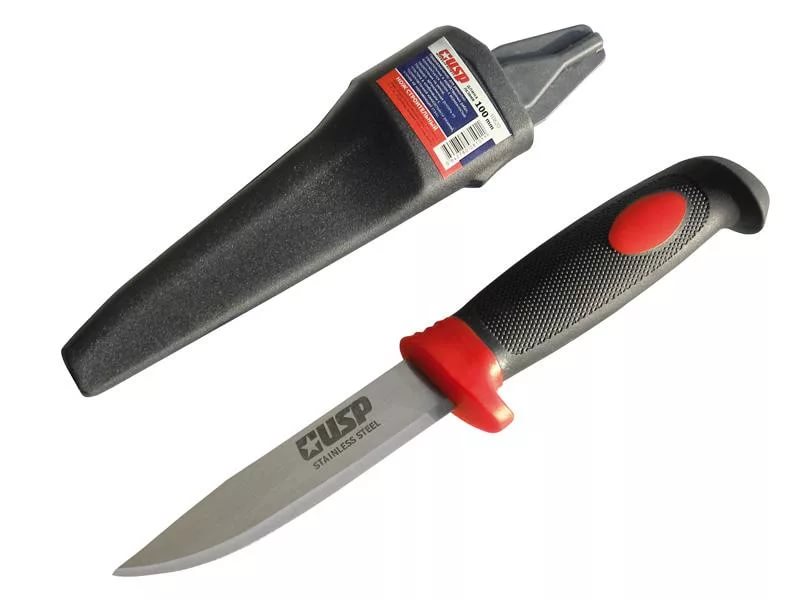
- Special construction knife.
Buy only high-quality and reliable tools from reputable companies. As a rule, they have a high price, but they are distinguished by reliability and durability, so it will be much more convenient and efficient to work with them.
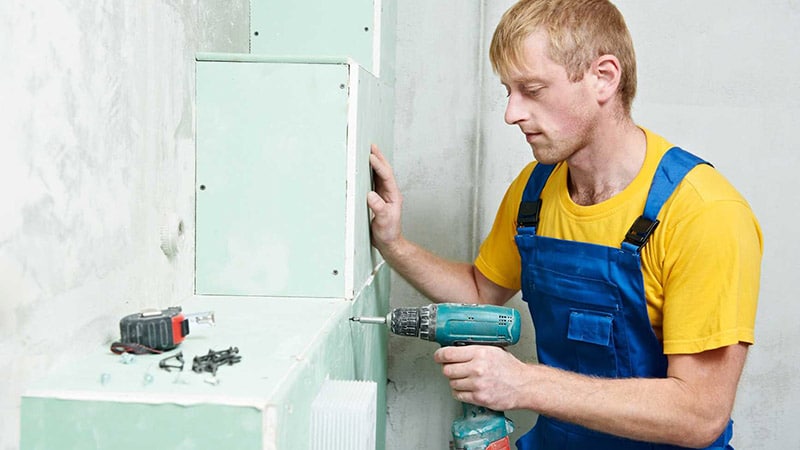
Phased process description
If you stocked up with all the necessary materials and tools, then you can safely move on to the installation of plasterboard seams. Let us consider in detail how these works are produced.
Preparatory stage
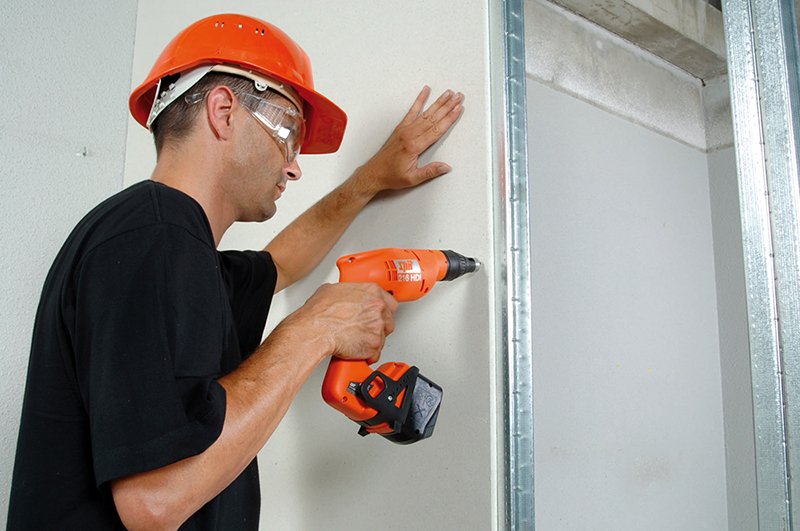
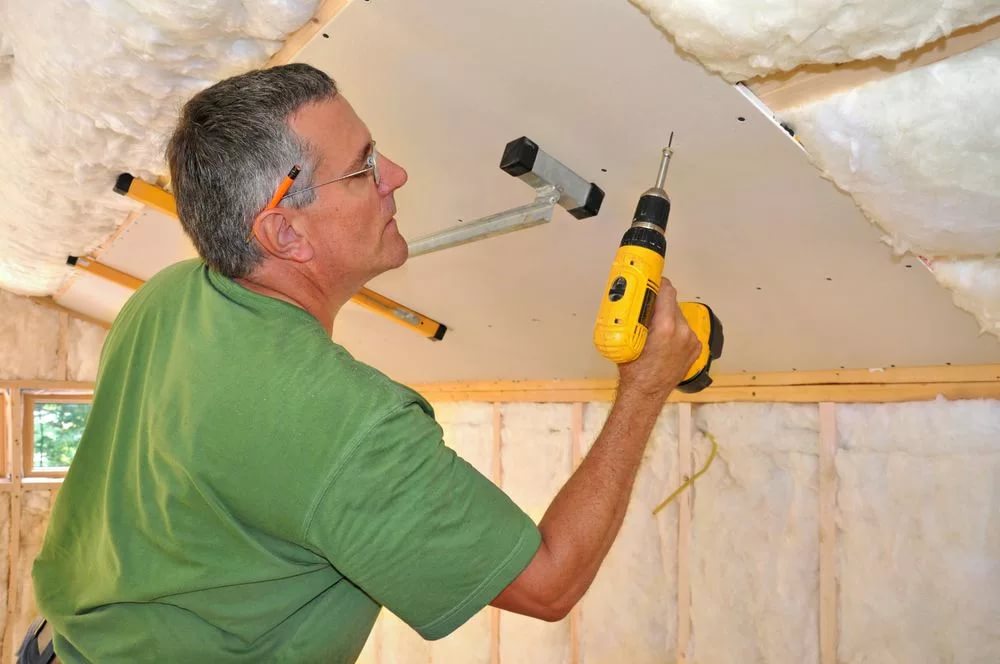
Drywall should be firmly and firmly fixed to the crate. Clean the surface of the base from dirt and dust. If there are burrs at the joints, they must be removed with a construction knife.
On drywall and seams should not be protruding elements and other defects. The basis can be wiped with a usual rag. However, if the construction of the plasterboard stood for some time, then it should be cleaned with high quality.
Be sure to check the caps screws.
Many masters neglect this stage, which further leads to a “stumbling” of the spatula on these elements in the process of applying the solution. Walk your hand through the fastener. If on some part of the screw is issued above the surface, you will definitely notice. In such cases, the cap must be carefully drowned in the material using a screwdriver or screwdriver.
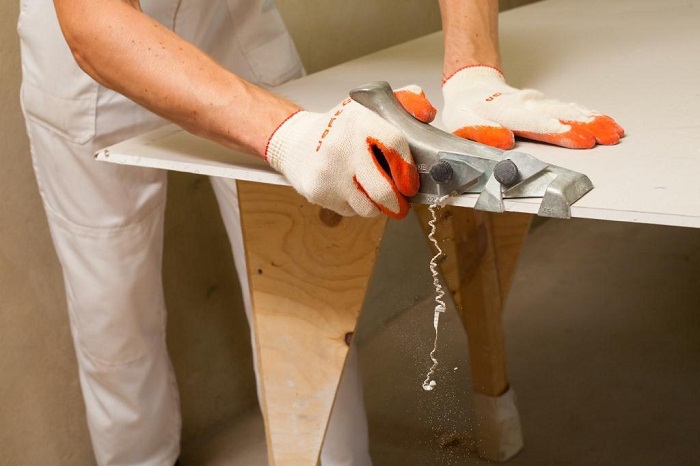
Factory edges of sheets do not need to be subjected to additional processing. However, if your materials have joints with straight end sides or cut parts, then they need to be trimmed slightly.At the junction, make a chamfer at an angle of 45 degrees Parv.metr its width and depth should be 5 mm. Cutting must be done with a construction knife.
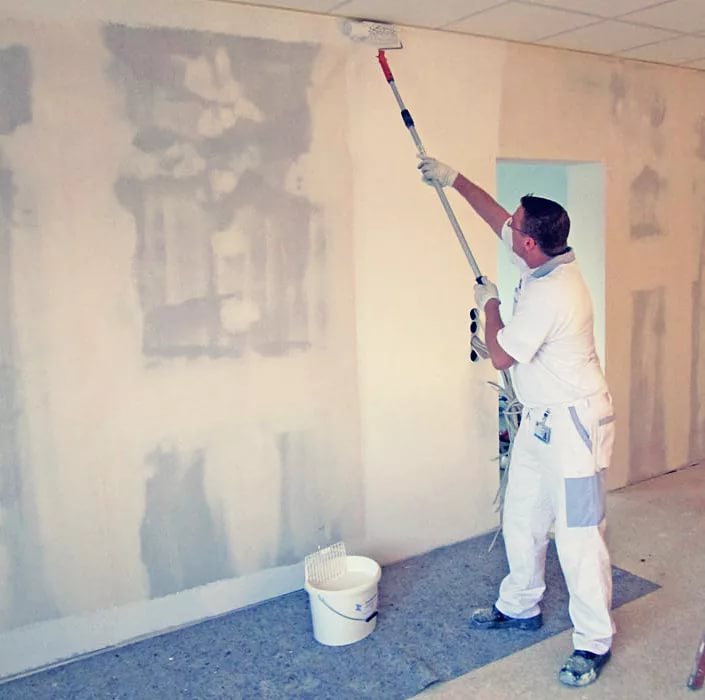
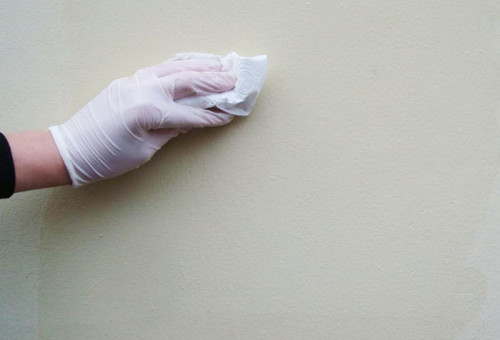
Before the direct sealing of the seams it is necessary to apply a primer layer to the plasterboard surface. If you bought the concentrate, it should be diluted with water in certain proportions indicated on the package. If you stocked up with the finished mixture, then it should be thoroughly mixed, and then applied to the drywall. At this stage, it should be borne in mind that the processed planes are clearly visible on the sheets, so the whole process should be kept under strict control.
The seams must be primed 15 cm on either side of the joining point.
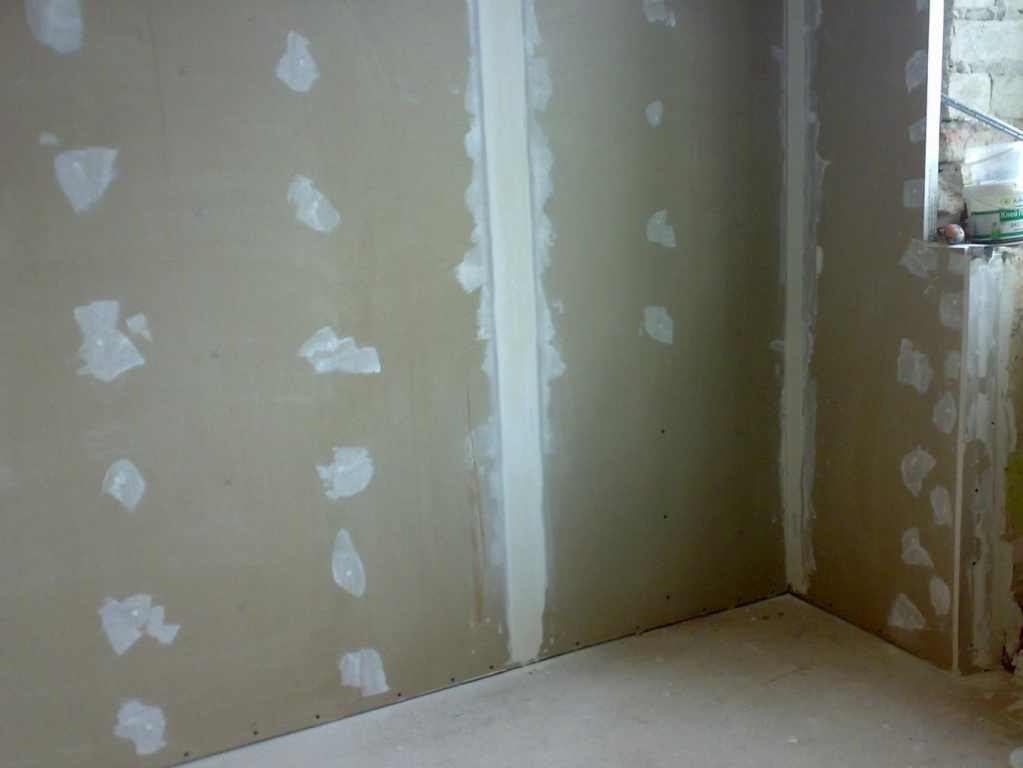
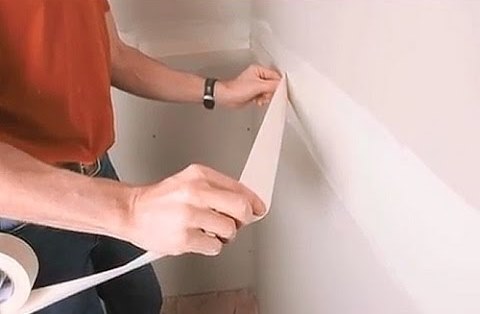
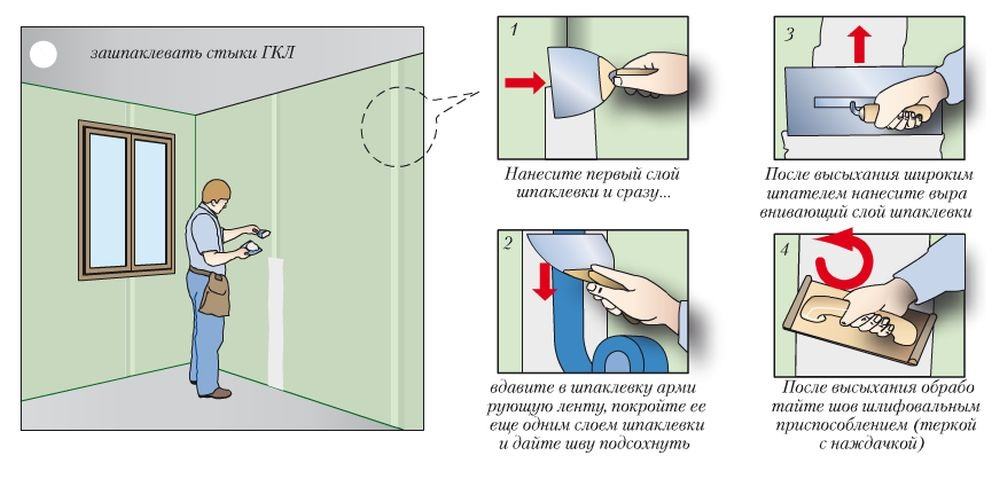
Seam sealing
By sealing the seams can only proceed after proper preparation of the base.
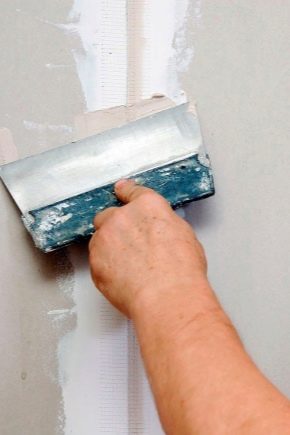
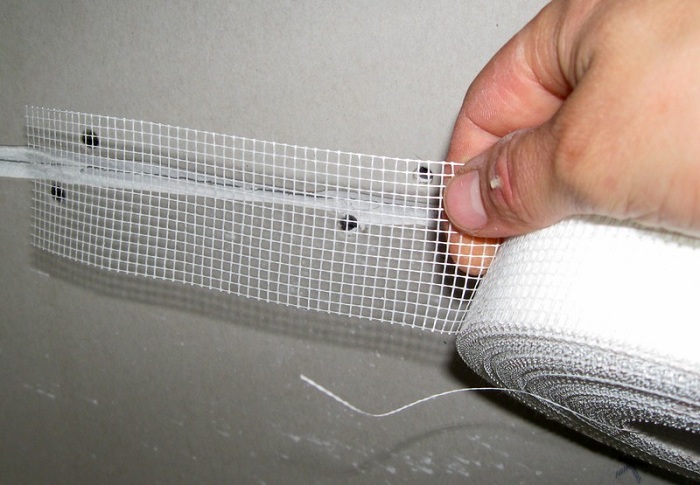
- The joints should be puttied with tape. Previously, the technology was slightly different - first the composition was applied, and then a serpyanka was embedded in it. Today everything is different - the tapes have adhesive coatings, so they can be carefully glued to the base. When the joint between the plates will be sealed with a serpyanka, the excess material must be removed with a knife.
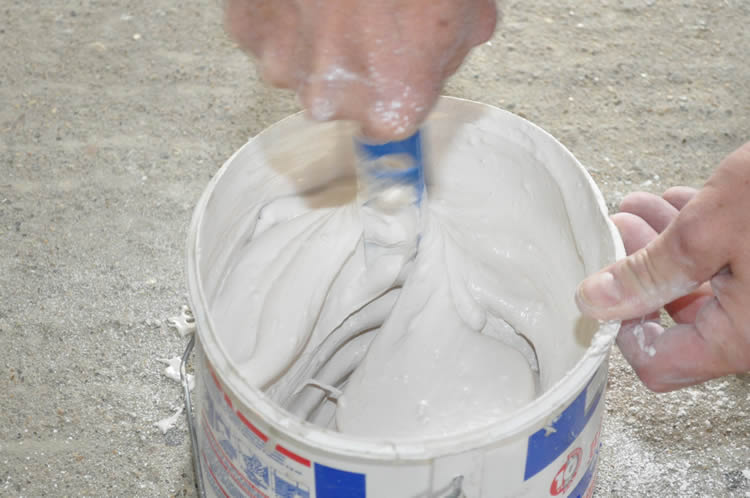
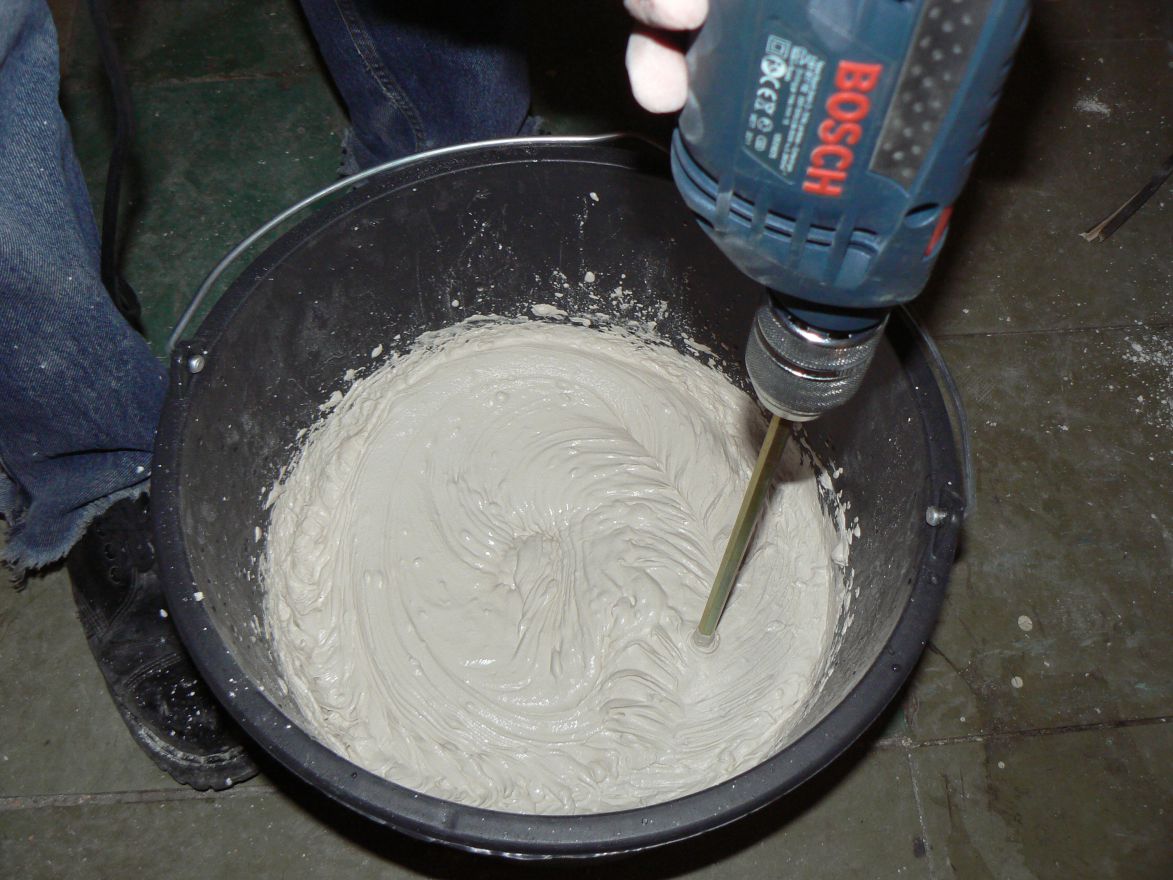
- Before you begin to putty joints, you need to prepare the mixture. To do this, take a clean container and pour the necessary amount of water into it. Then you have to fill it with putty compound. The required proportions are usually indicated on the original packaging.
- Then the components are thoroughly mixed until a homogeneous mass. For this it is recommended to use a drill with a nozzle-mixer. With this tool, the mixture will be better.
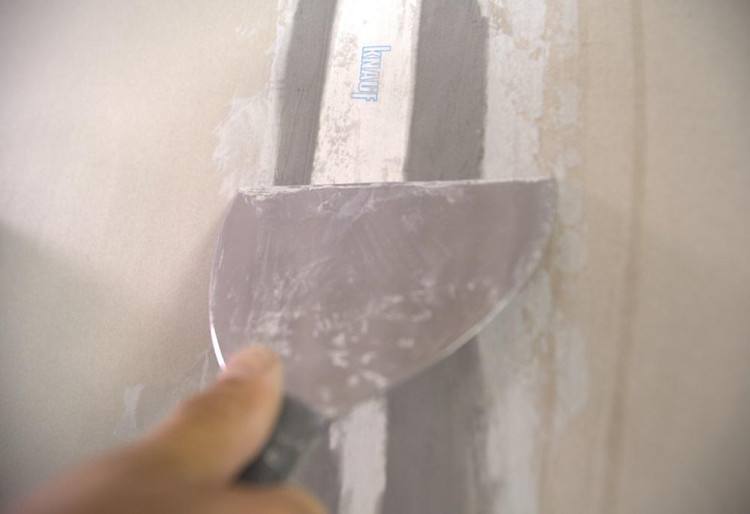
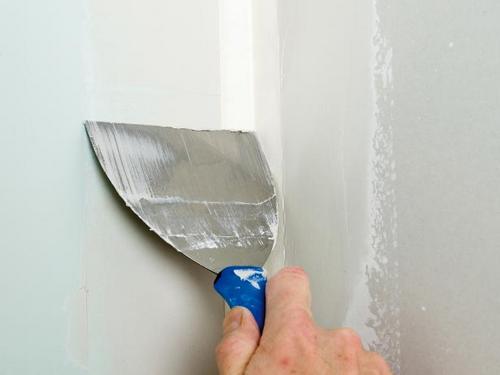
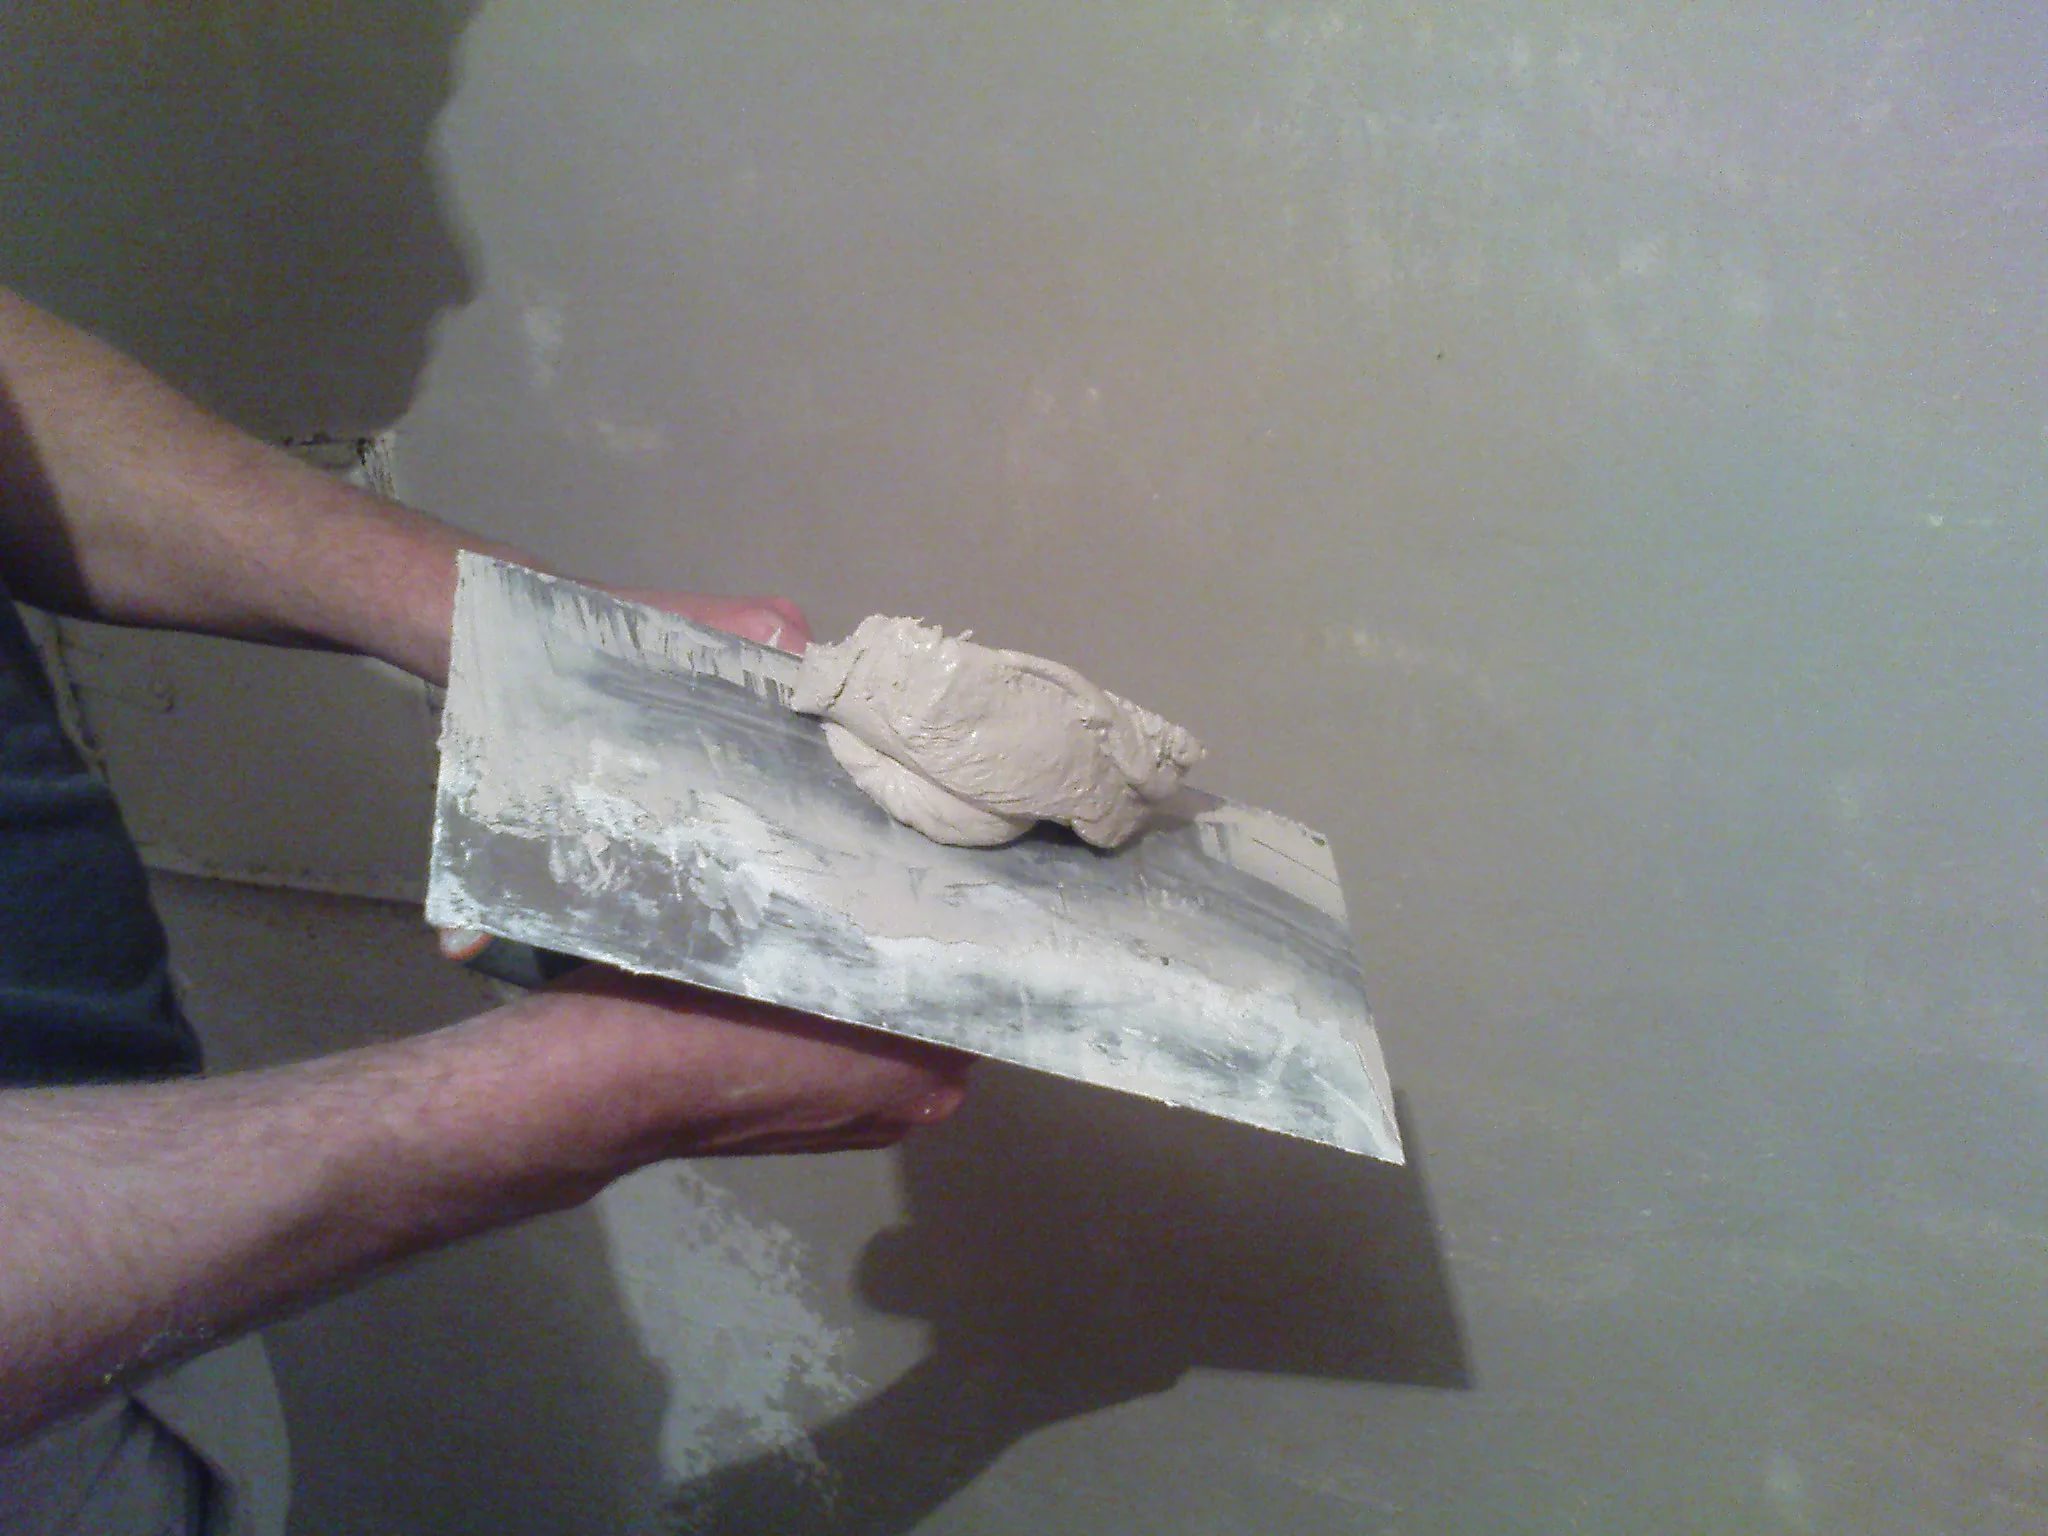
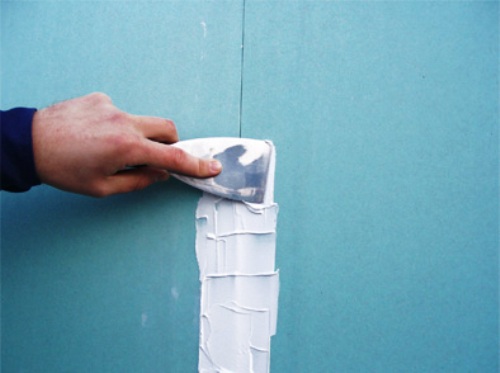
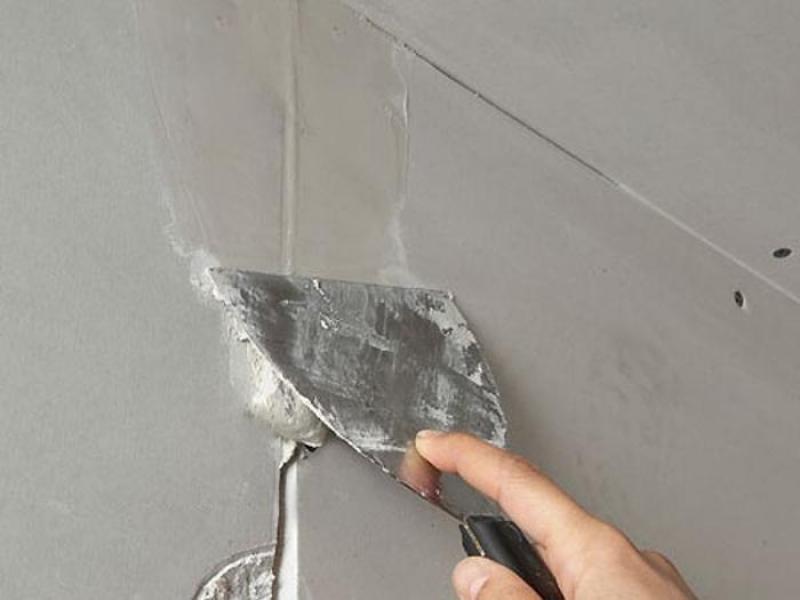
- Next you need to take a small amount of putty, put it on a wide spatula with a narrow tool. First you need to fill the seams between sheets GCR. Move across the joint, smearing the groove, pressing the putty solution into it.
- Now you need to align the mixture along the joints so that the recess of the seam was filled to the end. For this you need a spatula 200 mm. As for straight joints with a chamfer cut, to level them, the solution should be applied in wide strips of 150 mm in each direction.
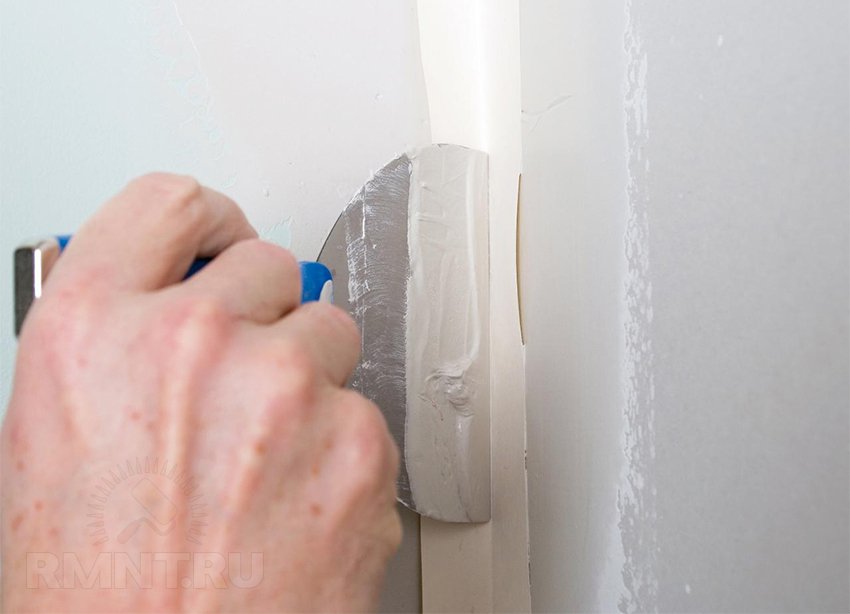
- To strengthen the corners of the structure, it is recommended to glue a serpyanka 100 mm wide. It will protect materials from cracking.It is better to finish such areas with a special angular spatula. This tool is produced for both external and internal corners.
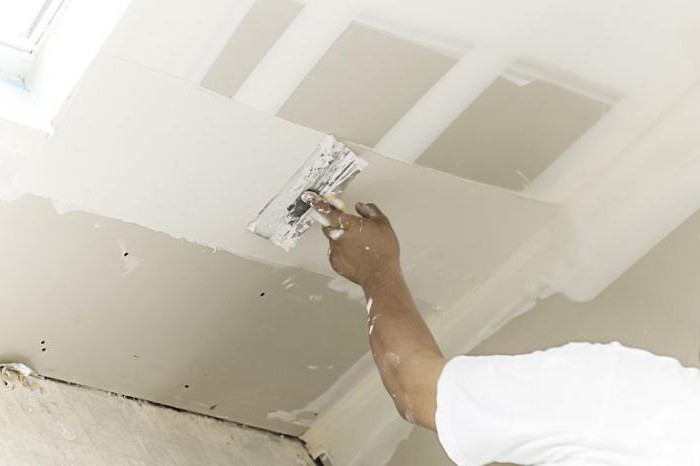
- After the base has dried, its surface must be leveled with a grinding block, sandpaper or a special abrasive mesh. If after grinding the coating you find any flaws on it, then they need to be repaired and leveled again.
So you do your own hands prepare the basis for wallpaper or painting.
Useful tips
- Using self-adhesive serpyanka, you can not waste time in vain, so as not to spoil the work. Gradually unscrew the tape, pressing it to the joints of the plasterboard or the opening between the floor and the panel.
- Experts recommend using gypsum plaster for such work. Such solutions are good because they allow the walls to "breathe."
- For priming drywall it is better to use an acrylic composition, since there are many harmful substances in facade solutions.
- When gluing the mesh, try to overlap the fasteners on the gypsum wall.
- When preparing the filler mixture, it is recommended to knead no more than 5 liters in one go, as it begins to dry in the next 30 minutes.Because of this, you just have to throw away the hardened putty if you don’t have time to spend it.
- If you use gypsum plaster, then you should remember that it is incompatible with materials such as chipboard, ceramics or stone.
- It is not recommended to use an oil-glue putty mixture for sealing seams, it gives too much shrinkage.
- In order for all work to be carried out successfully, the temperature in the surrounding space should not be lower than 10 degrees. Humidity should be within normal limits. Protect the room from drafts.
- Use for work only high quality and branded materials. Otherwise, the drywall construction will not last long.
- For work, you need to use clean packaging and tools, otherwise the quality of putty may decrease significantly.
- If you have noticed that spots have appeared on the painted gypsum plasterboard near the seams or there is a wallpaper moving away from the base, this means that the joints were sealed incorrectly and poorly.
Master class on sealing seams of drywall, see below.