Installing fixtures in drywall: step by step instructions
Drywall is an “obedient” material that is often used to level walls and ceilings. It is possible to mount various lighting devices. Today we take a closer look at how to install lamps in the ceiling of the GCR.
Special features
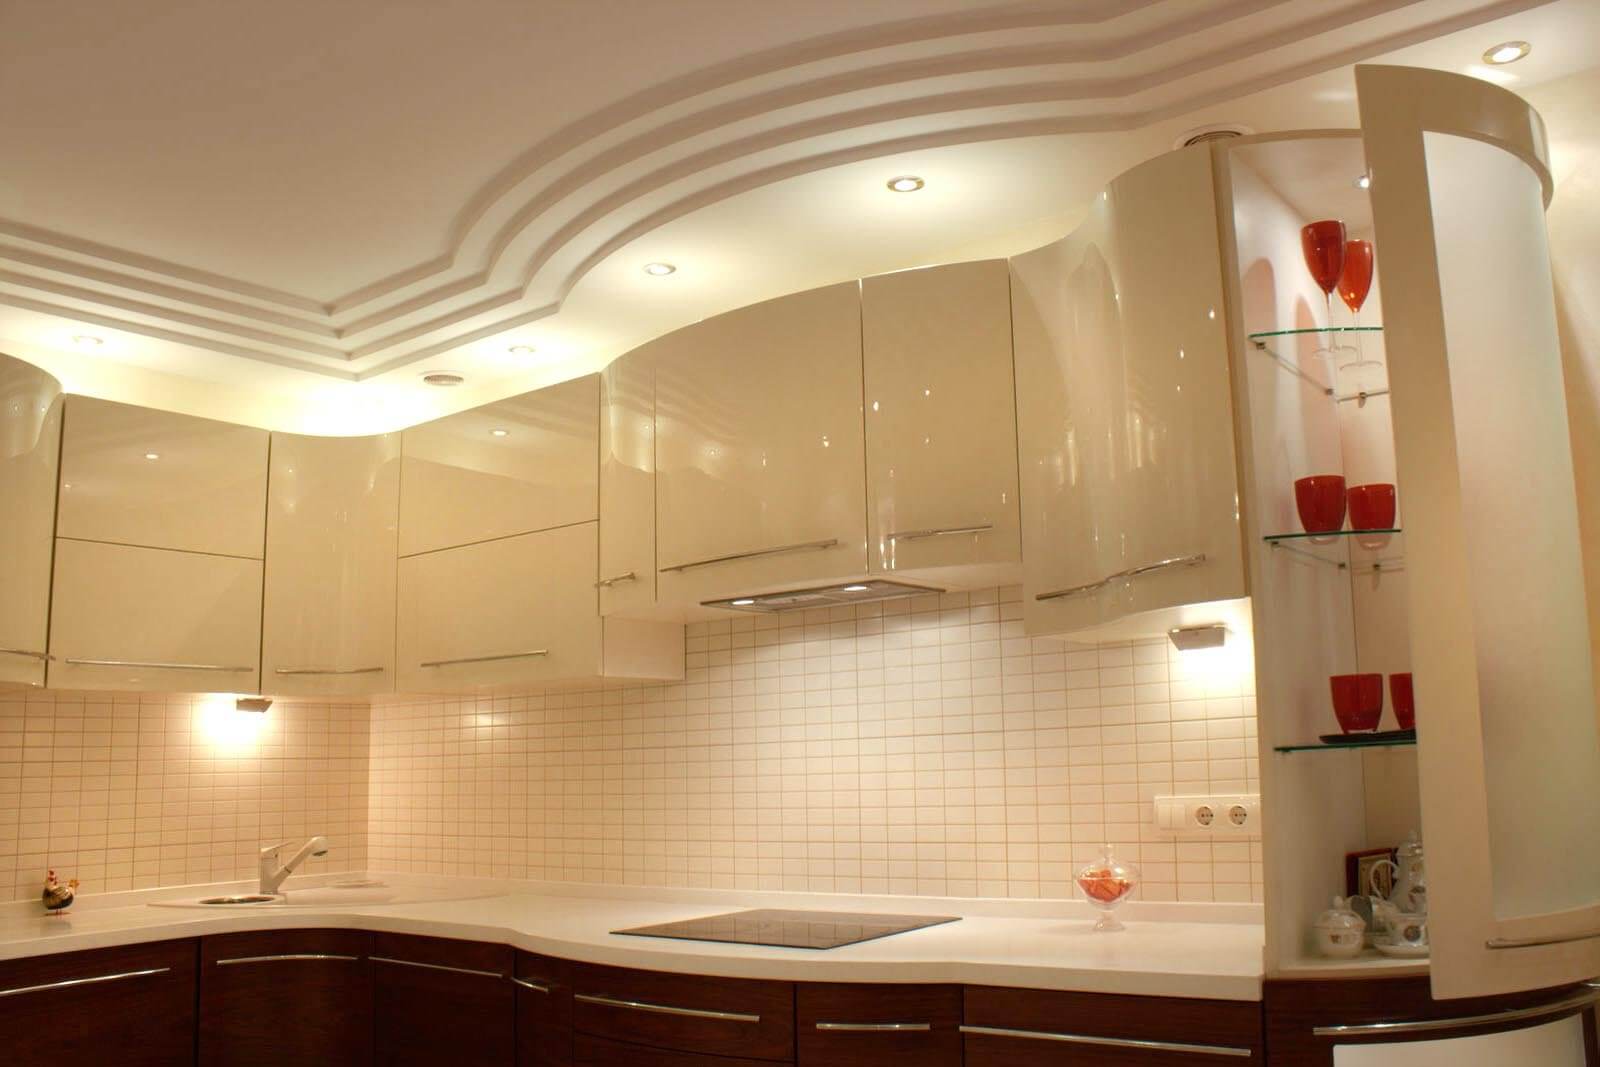
It is very convenient to level ceilings using plasterboard. There are several varieties of this material, for example, fire-resistant, moisture-resistant, with anti-fungal additives. If you plan to use GKL in a room with a normal level of humidity, then it makes no sense to overpay for additional properties. If we are talking about the kitchen or bathroom, then you need a moisture-proof option.
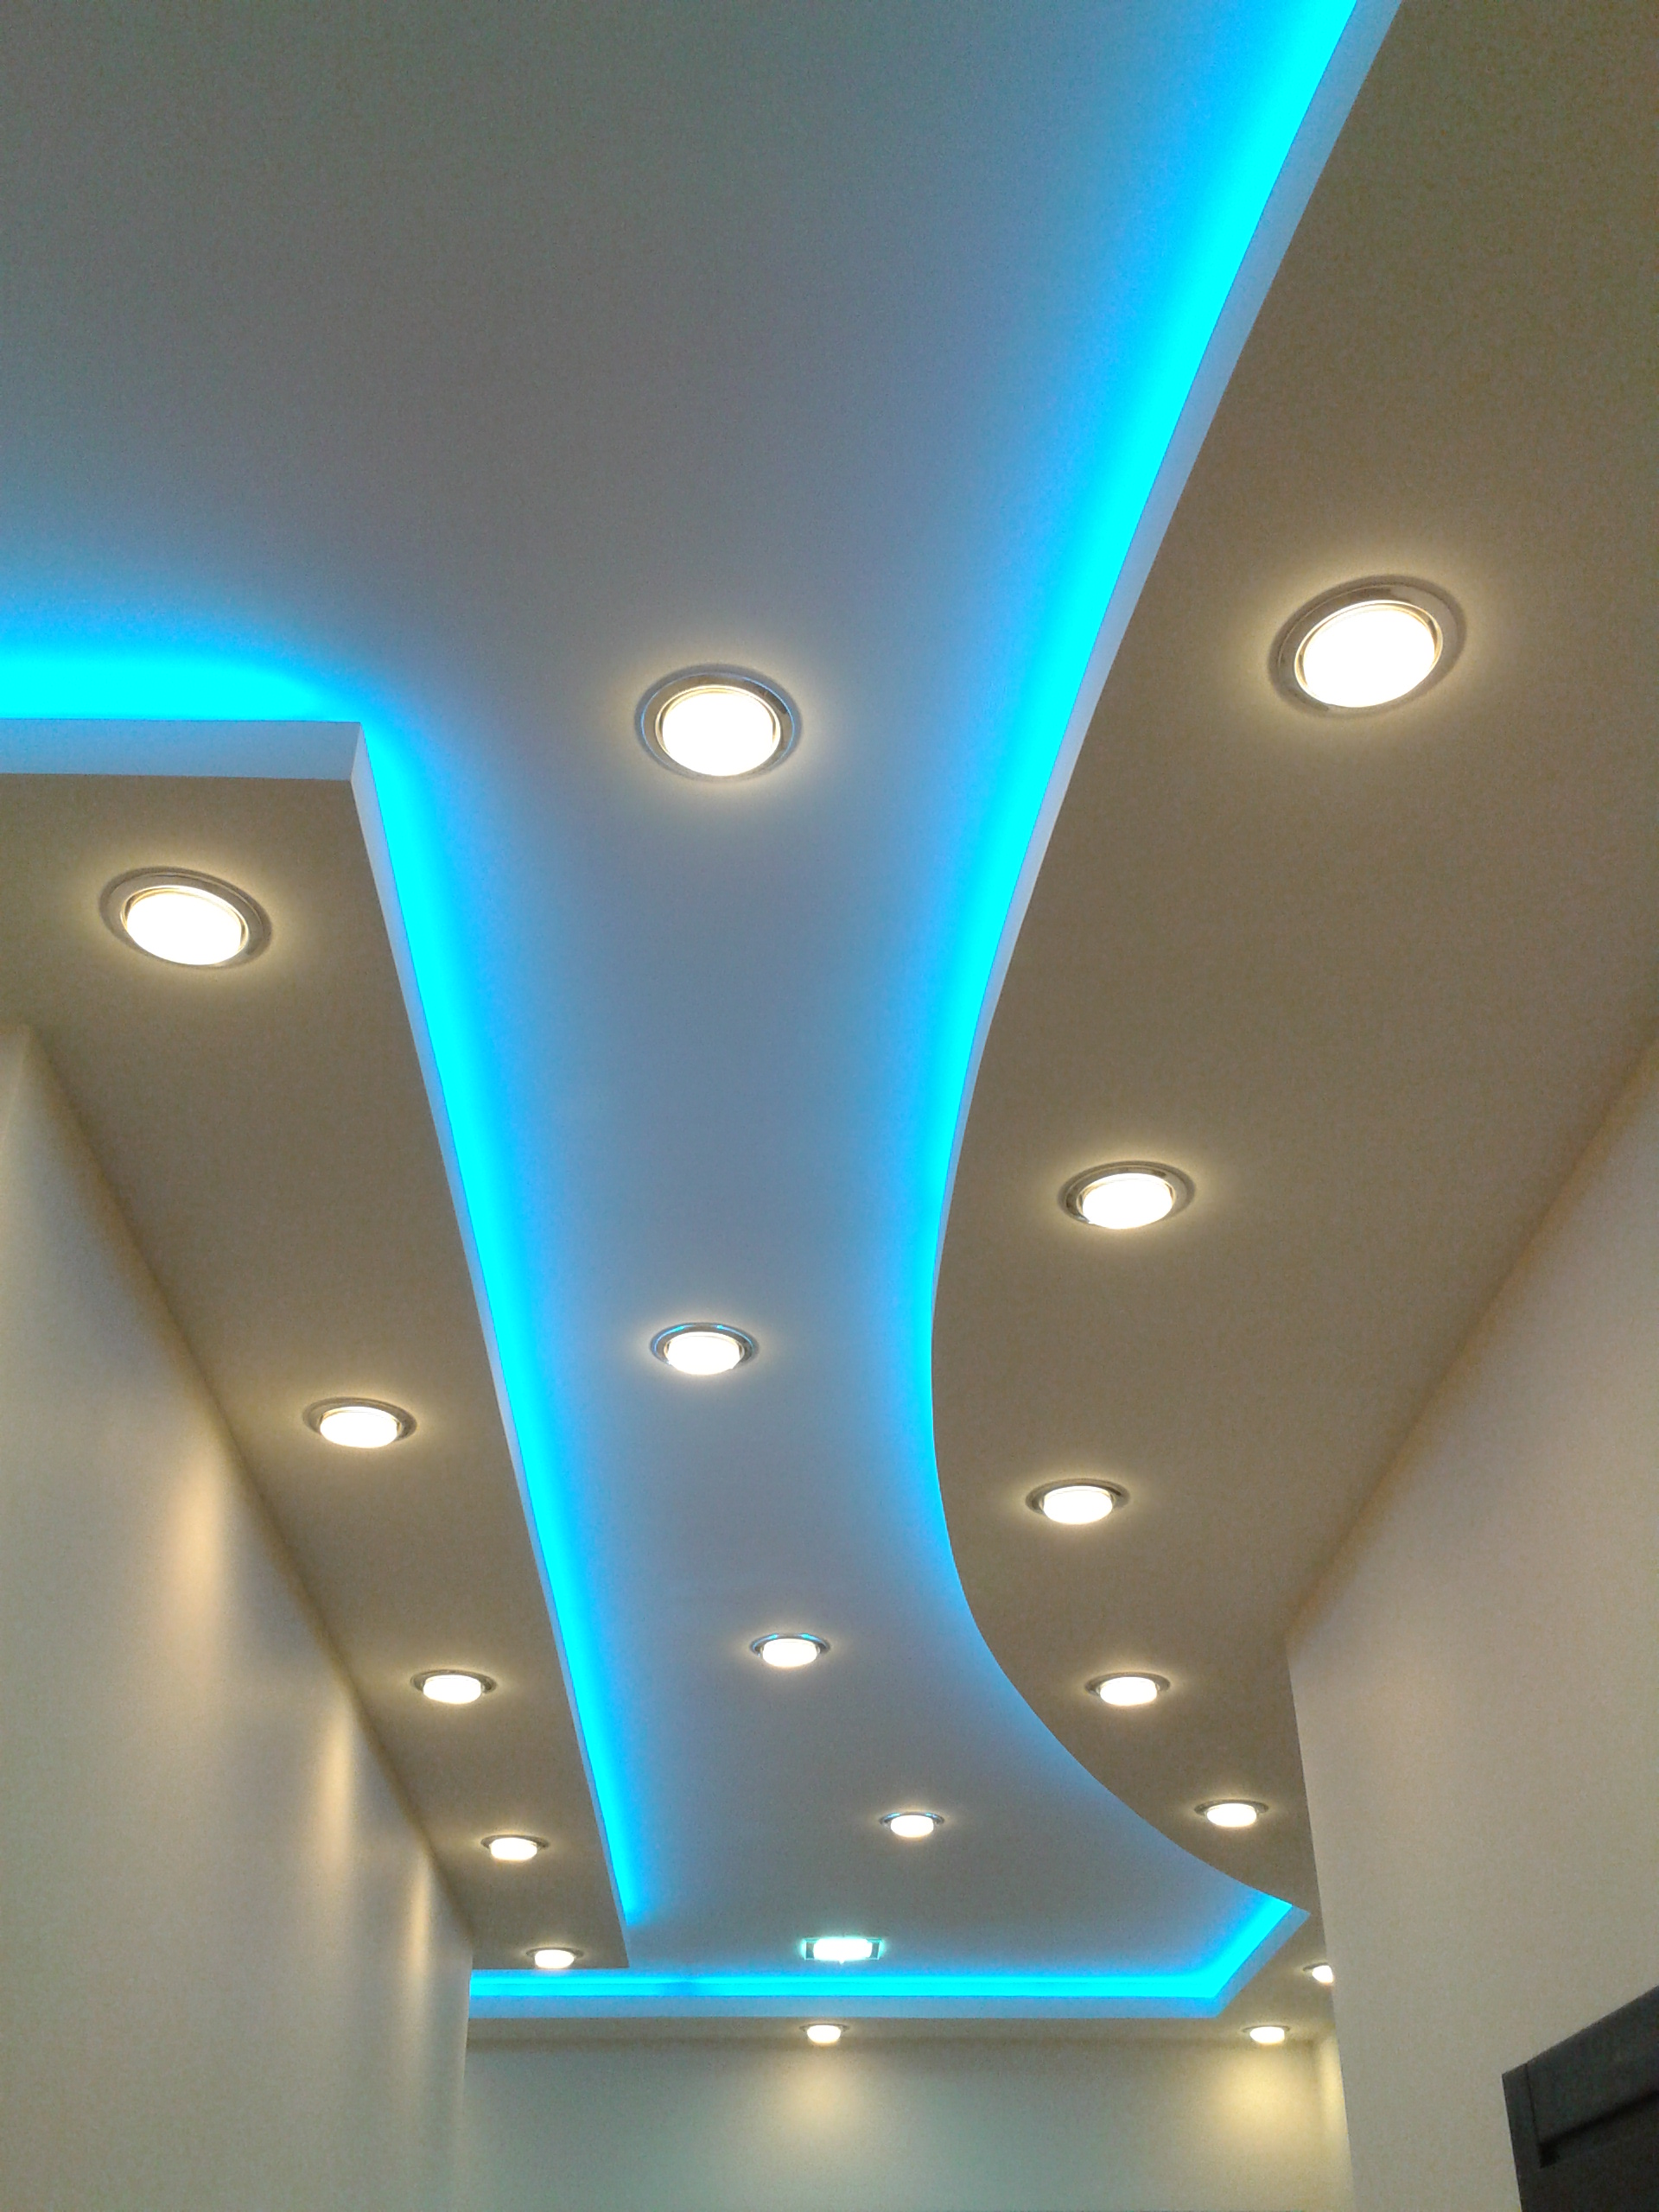
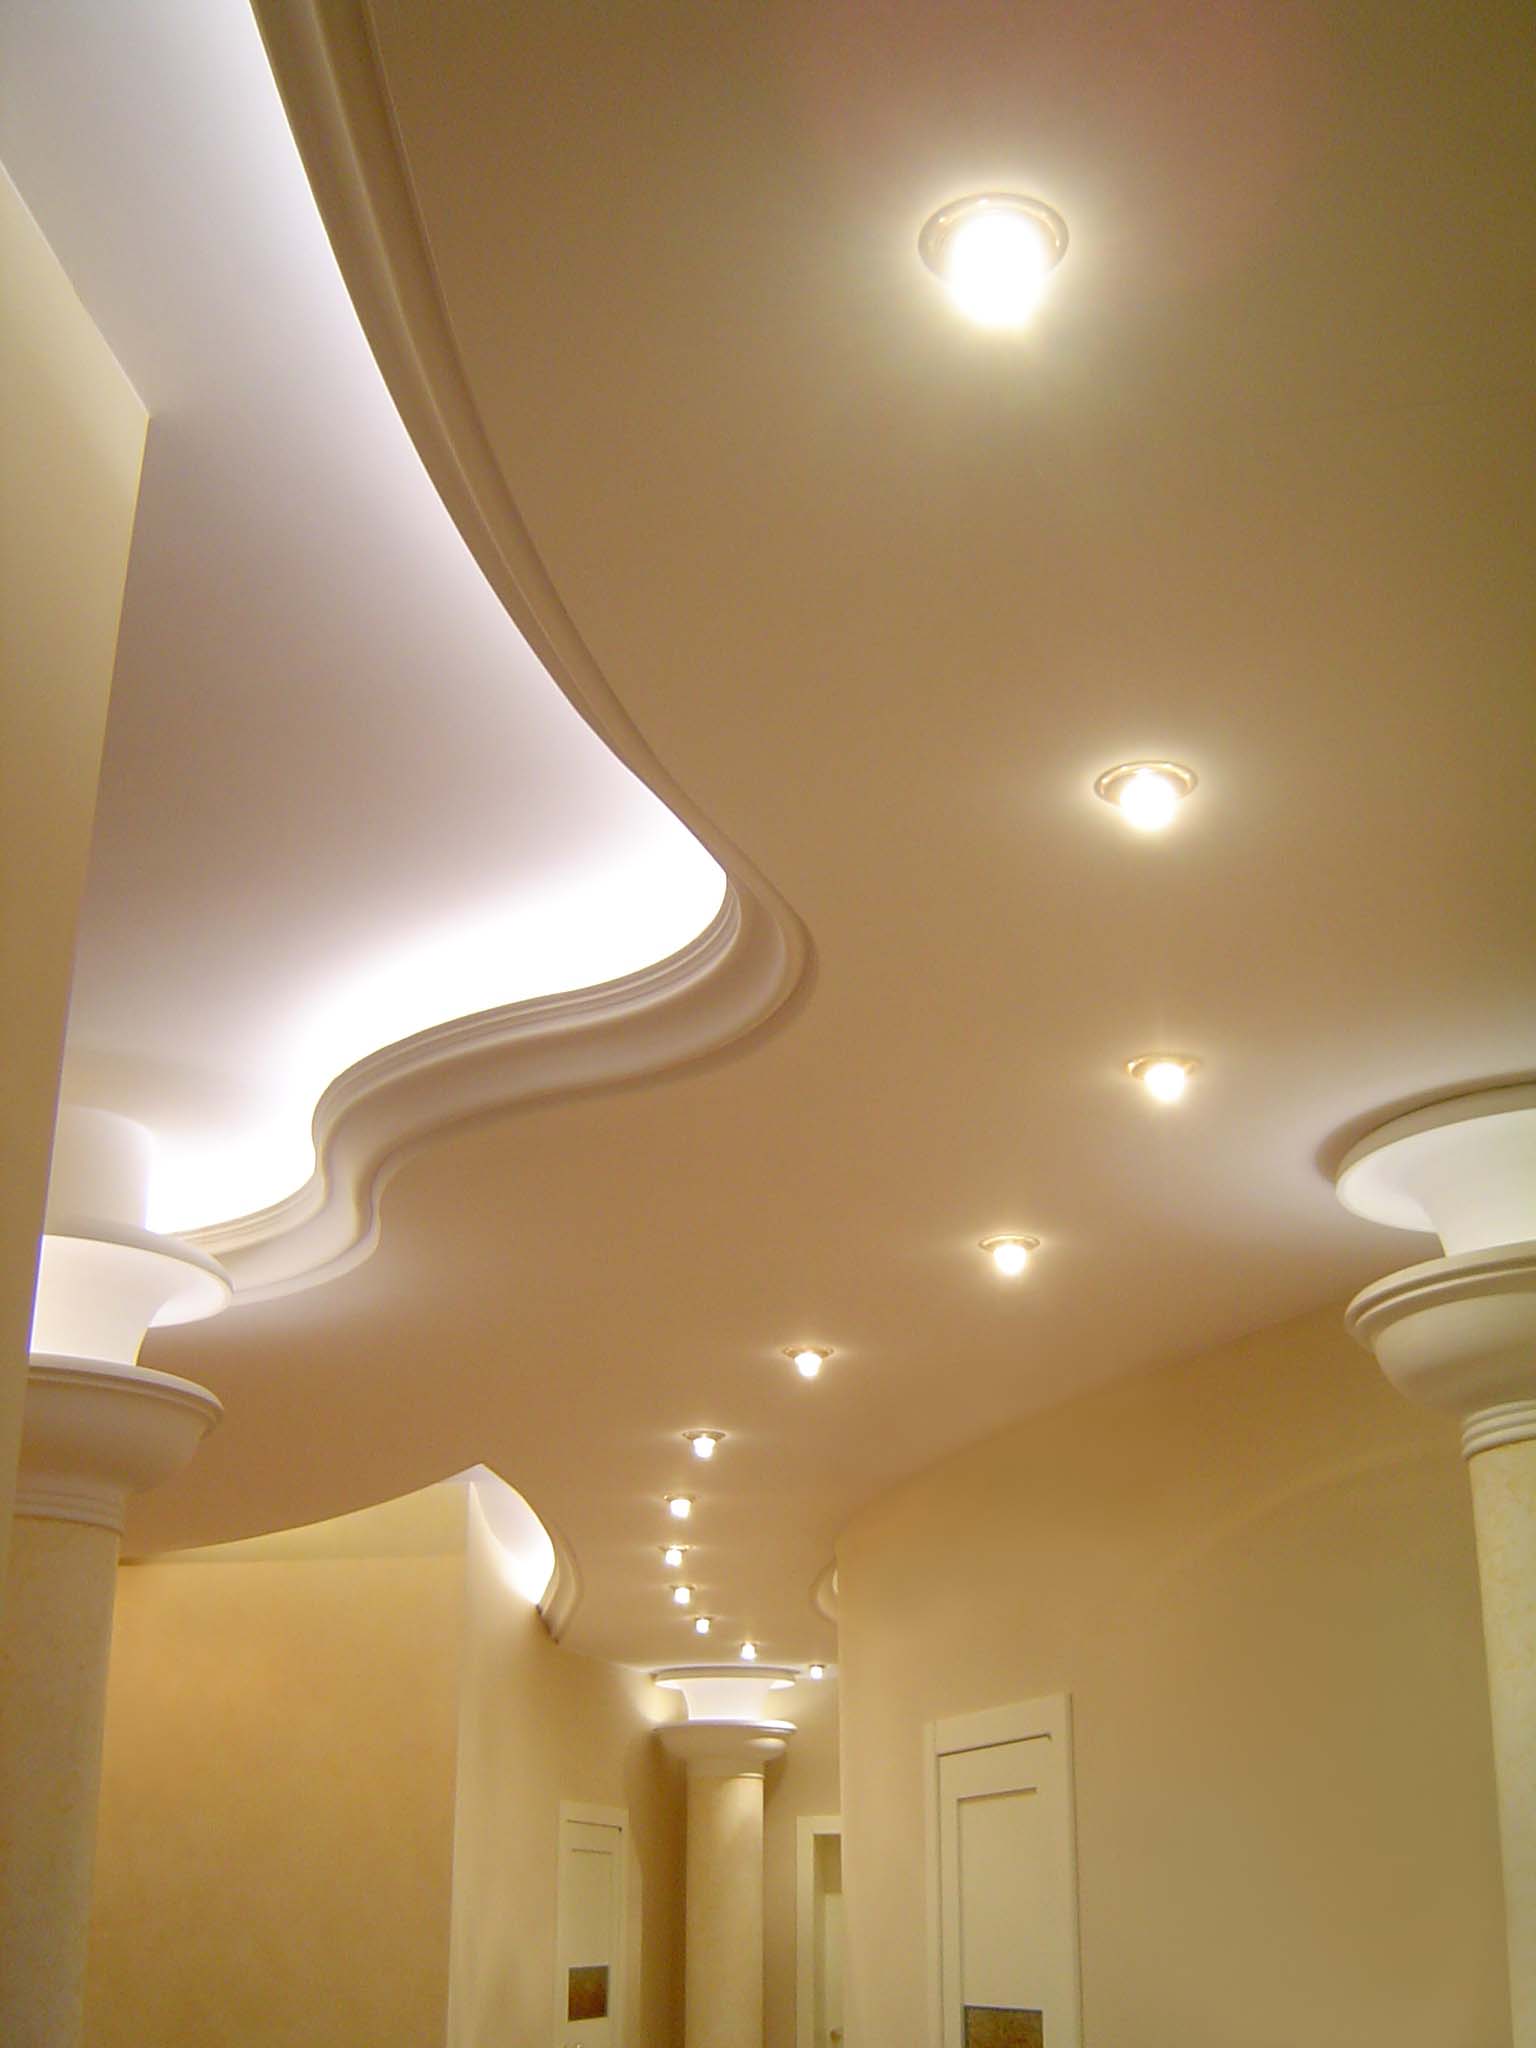
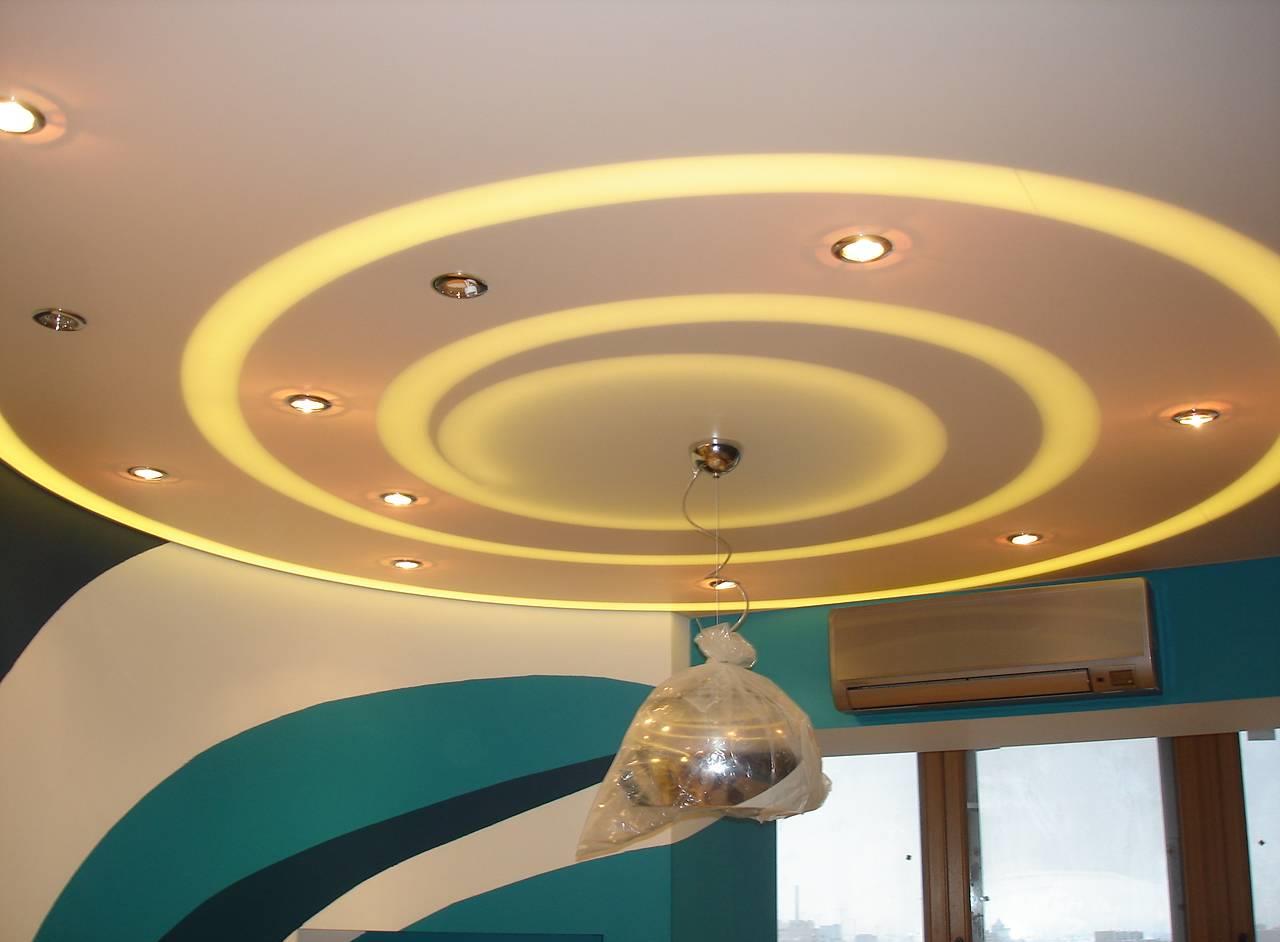
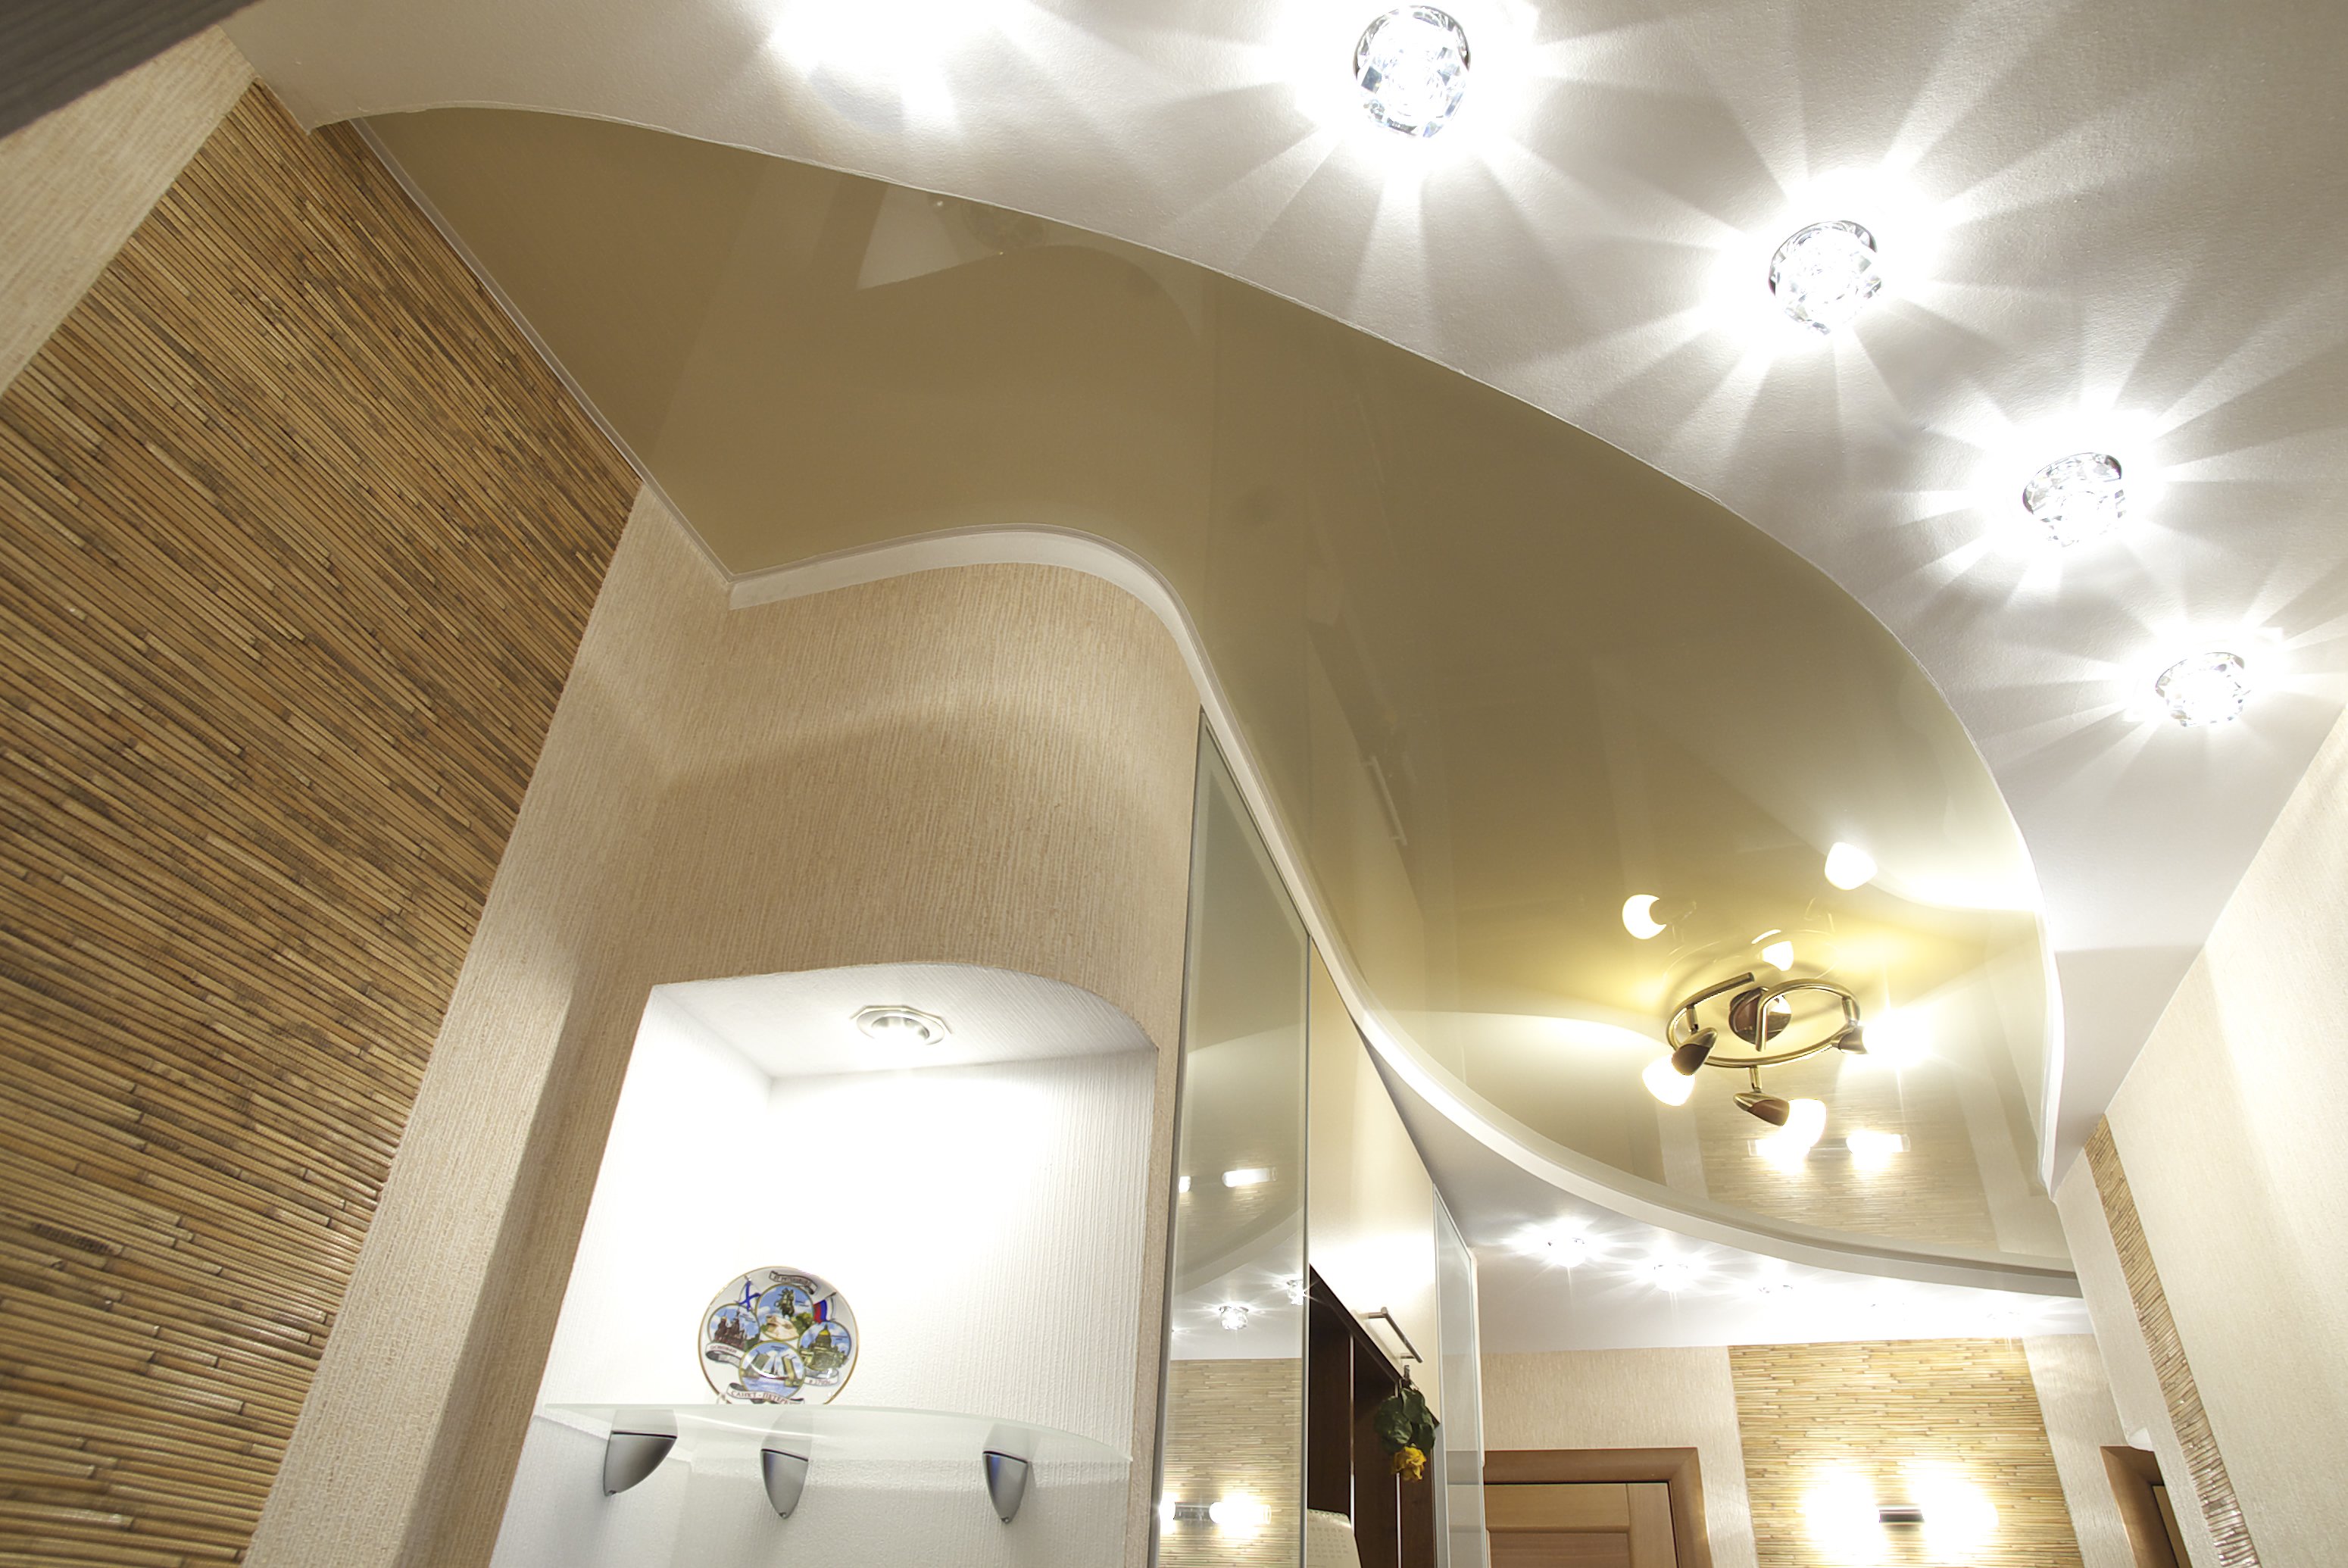
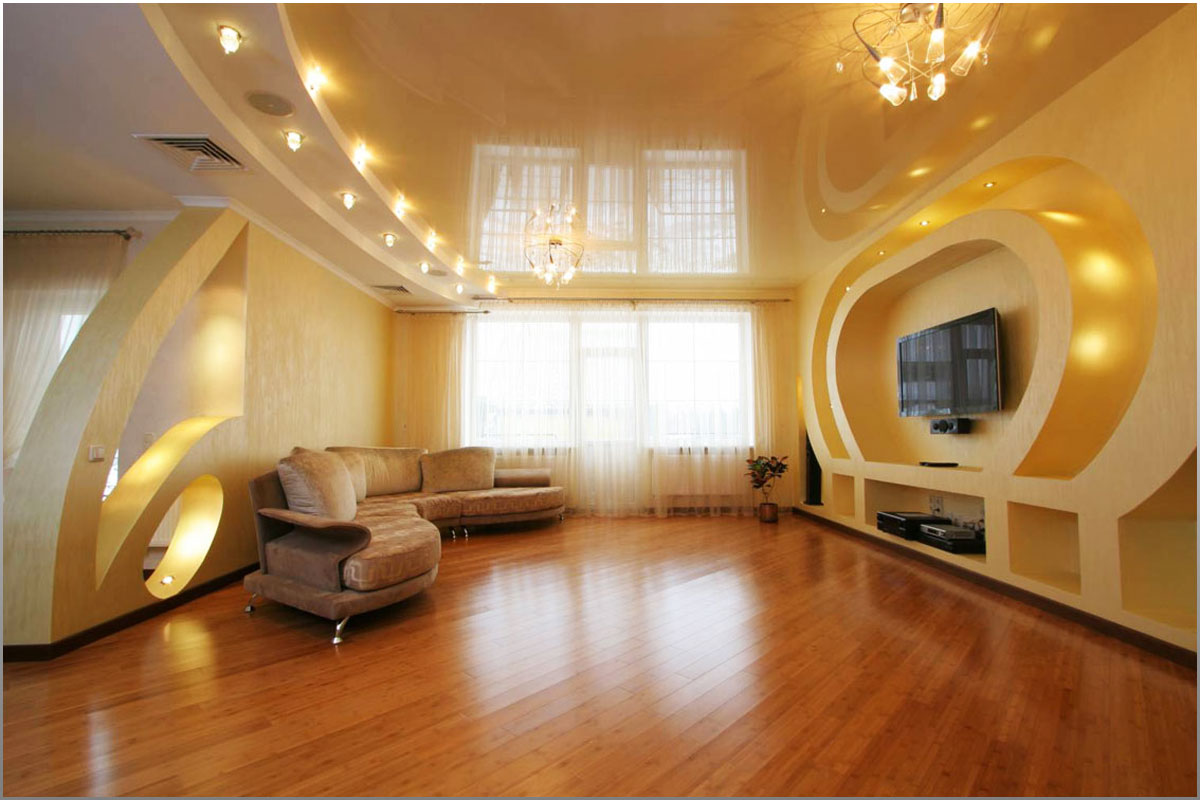
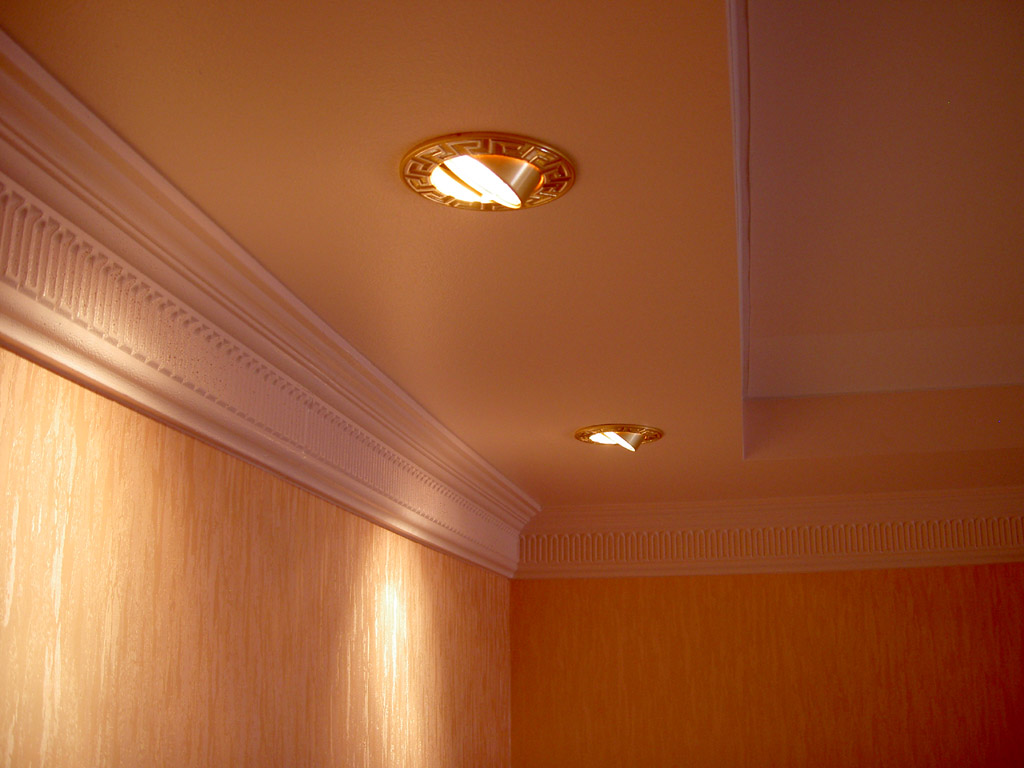
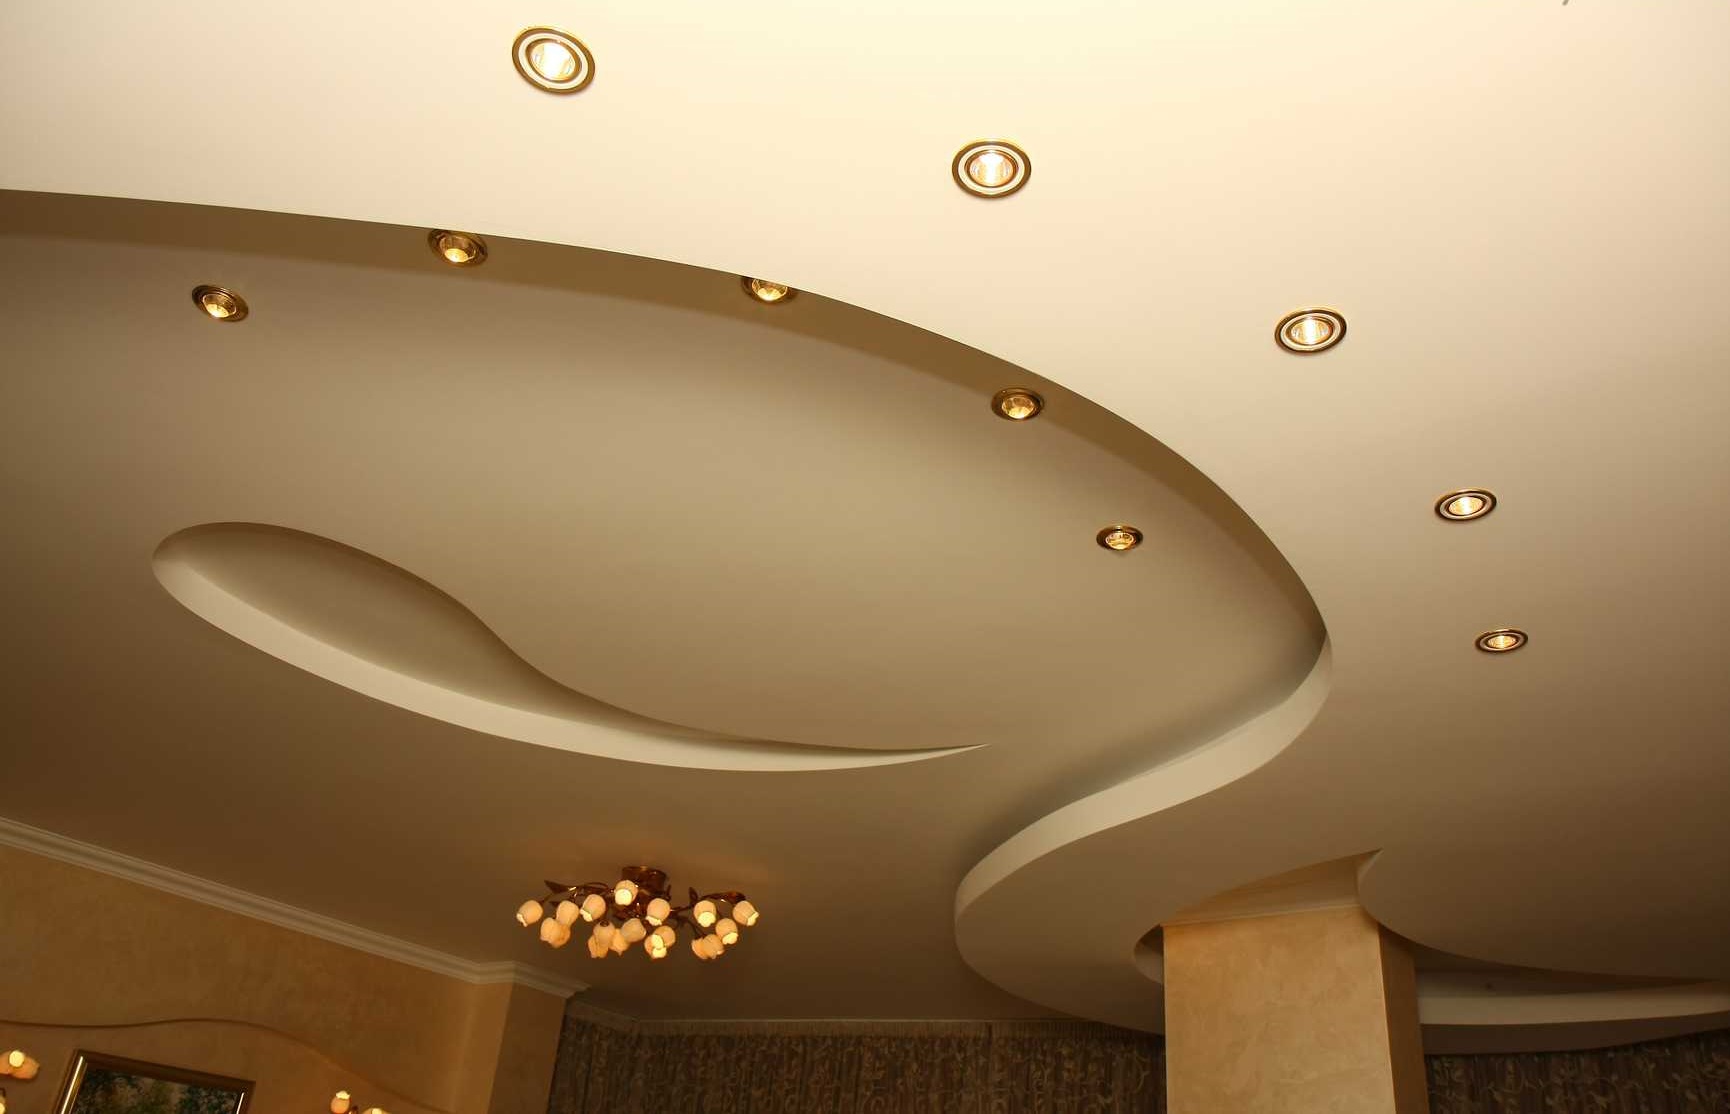
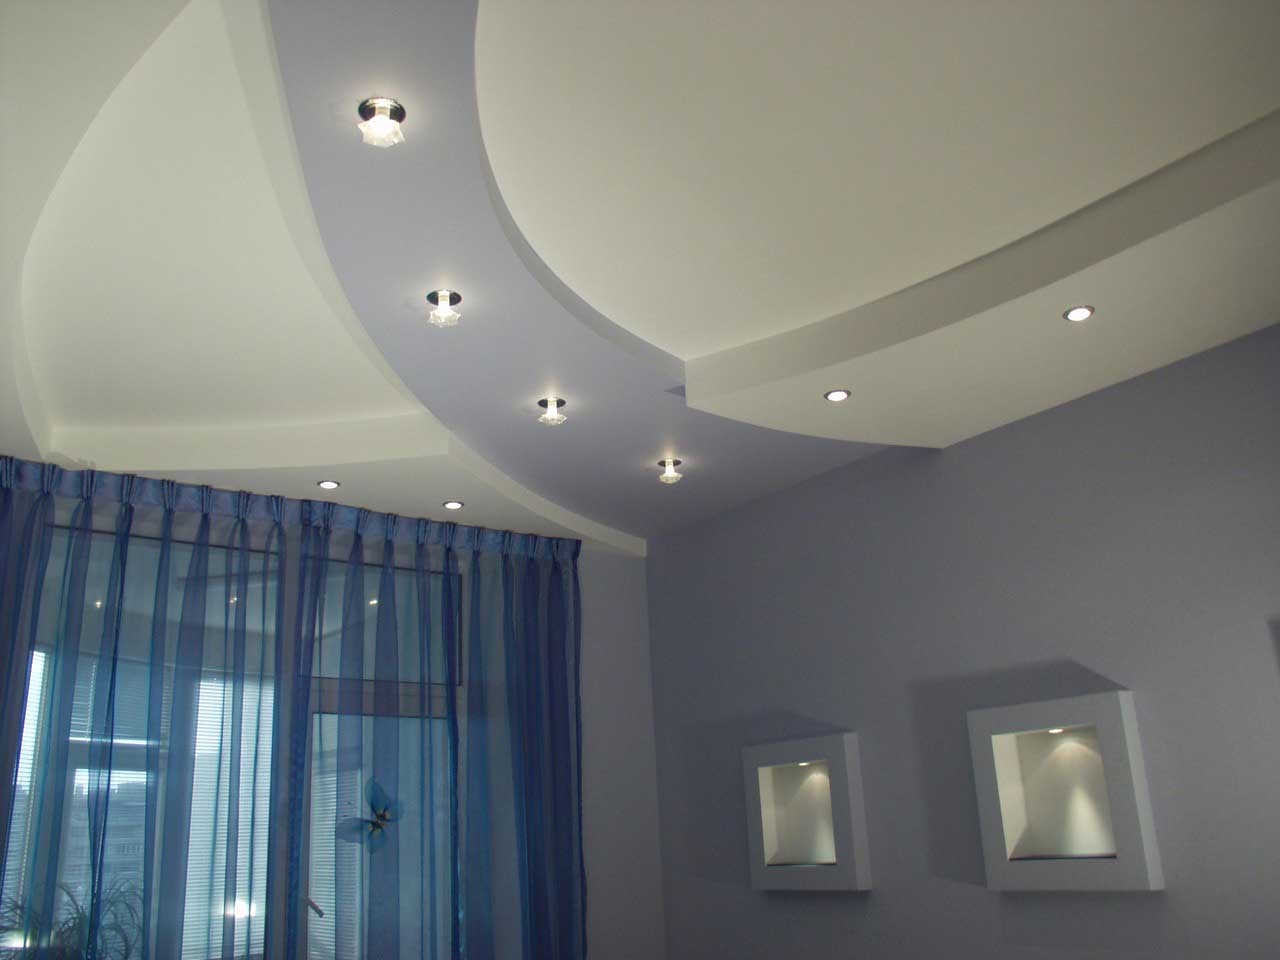
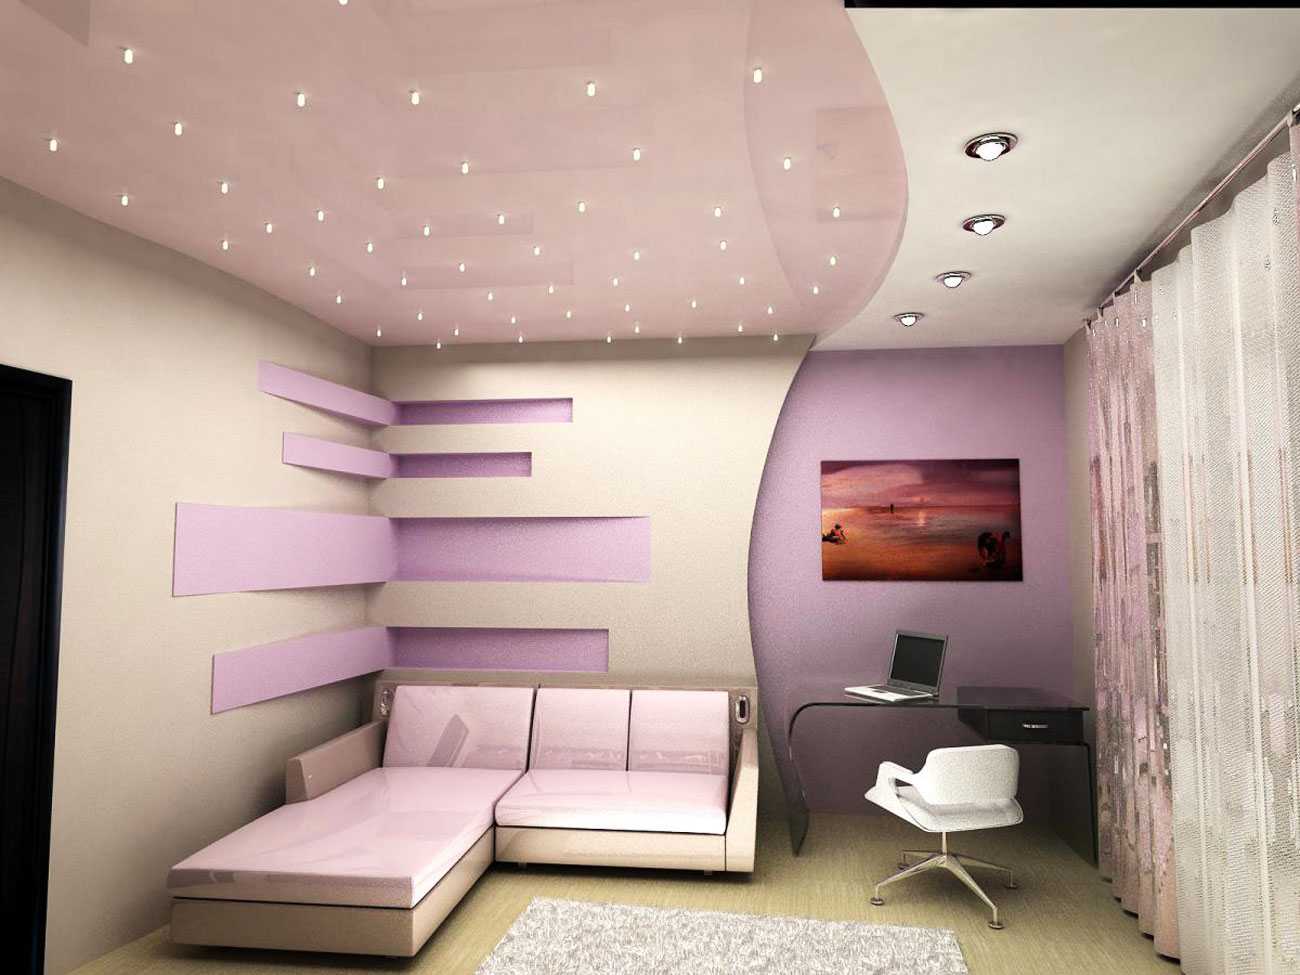
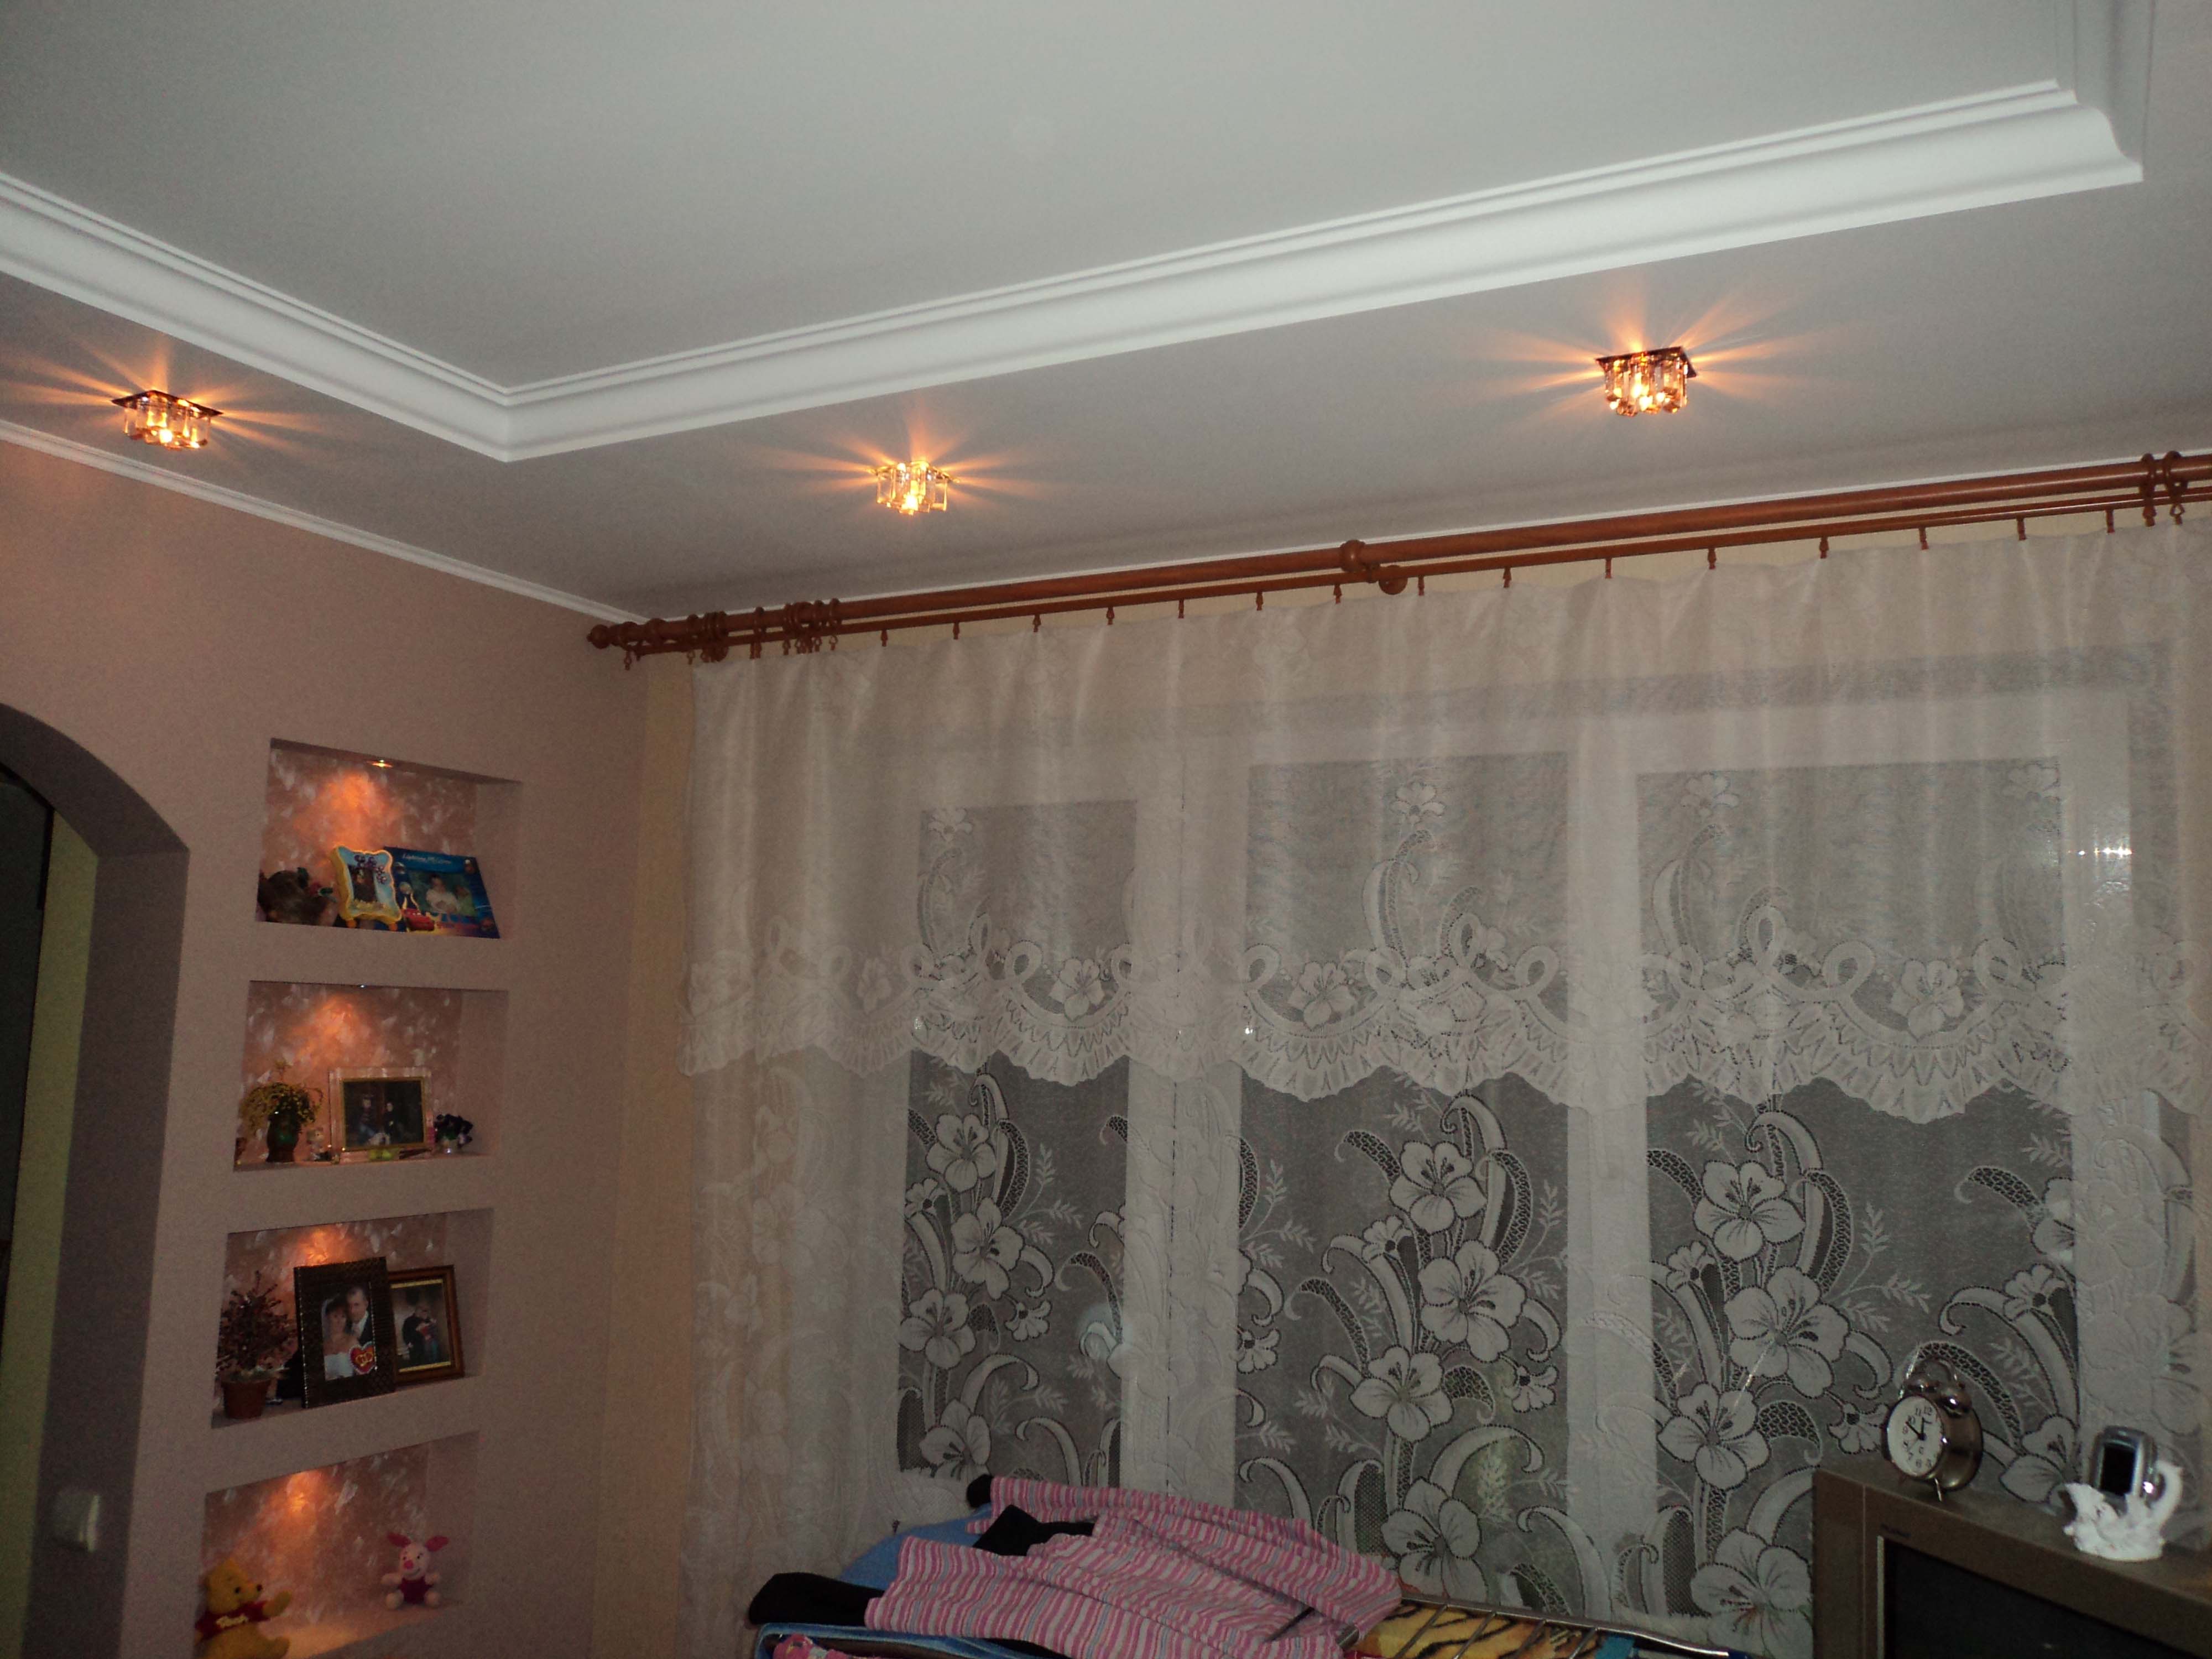
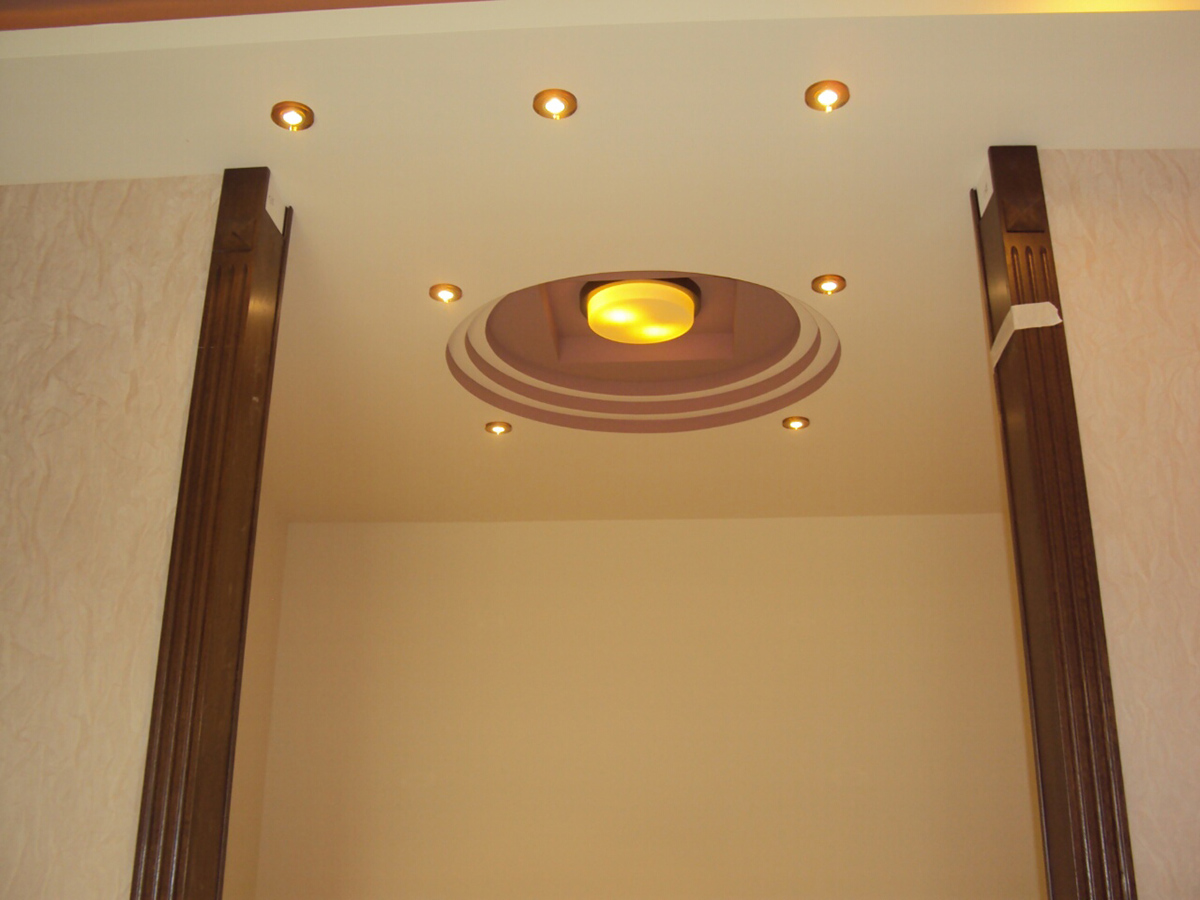
Uneven ceiling using gypsum sheets becomes perfectly smooth, but its level is reduced by a few centimeters. If the overlap is already low, then the loss of height can be significant. In this case, the usual chandeliers will be inappropriate. Here it is more expedient to use instead of them a group of spotlights (spotlights). They can be installed independently or in combination with the main light source. Scattered spot lighting allows you to create a pleasant atmosphere in the room, as well as beautifully highlight the ceiling area.
What are spotlights?
All recessed fixtures suitable for installation in drywall, are classified according to several criteria. Depending on the type of installation lights are.
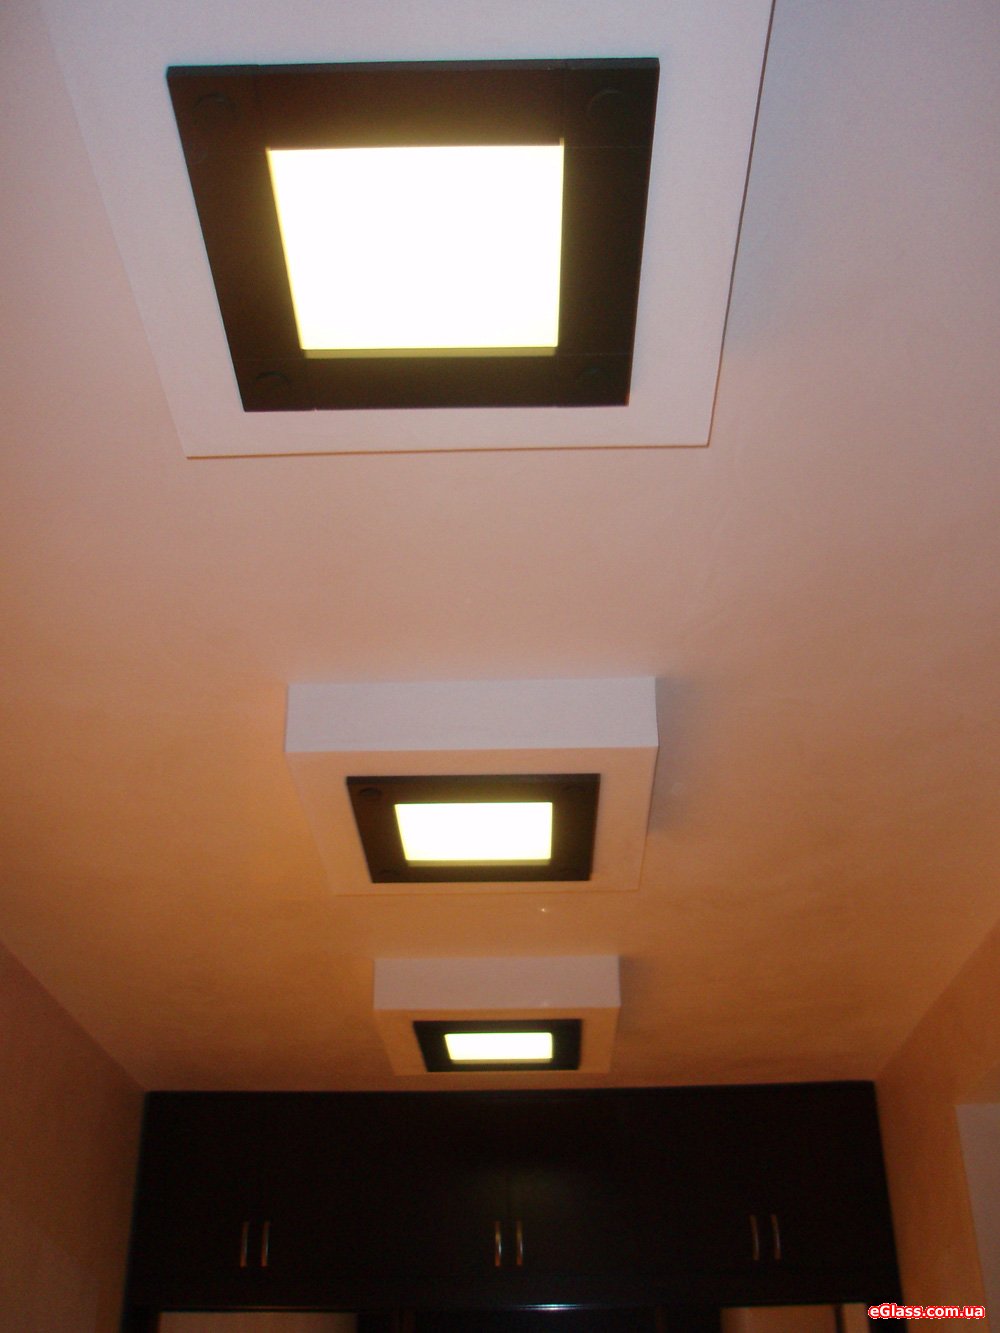
- Consignment. They are installed on the drywall surface. Under them you need to make only small holes for wiring.
- Inline. As a result of the installation, only the outer part will be visible, and the inner half will be hidden in the hole on the drywall.
Based on the design features, the lamps are divided into rotary and non-rotatable. Non-swiveling differ very simple design.They shine in one direction only. At turning devices, the design is more complex, and the installation is time consuming. But this gives significant advantages: they can be rotated, directing the light from all the lamps into one area.
Types of light bulbs
Lighting devices also differ in the type of light bulbs used:
- luminescent;
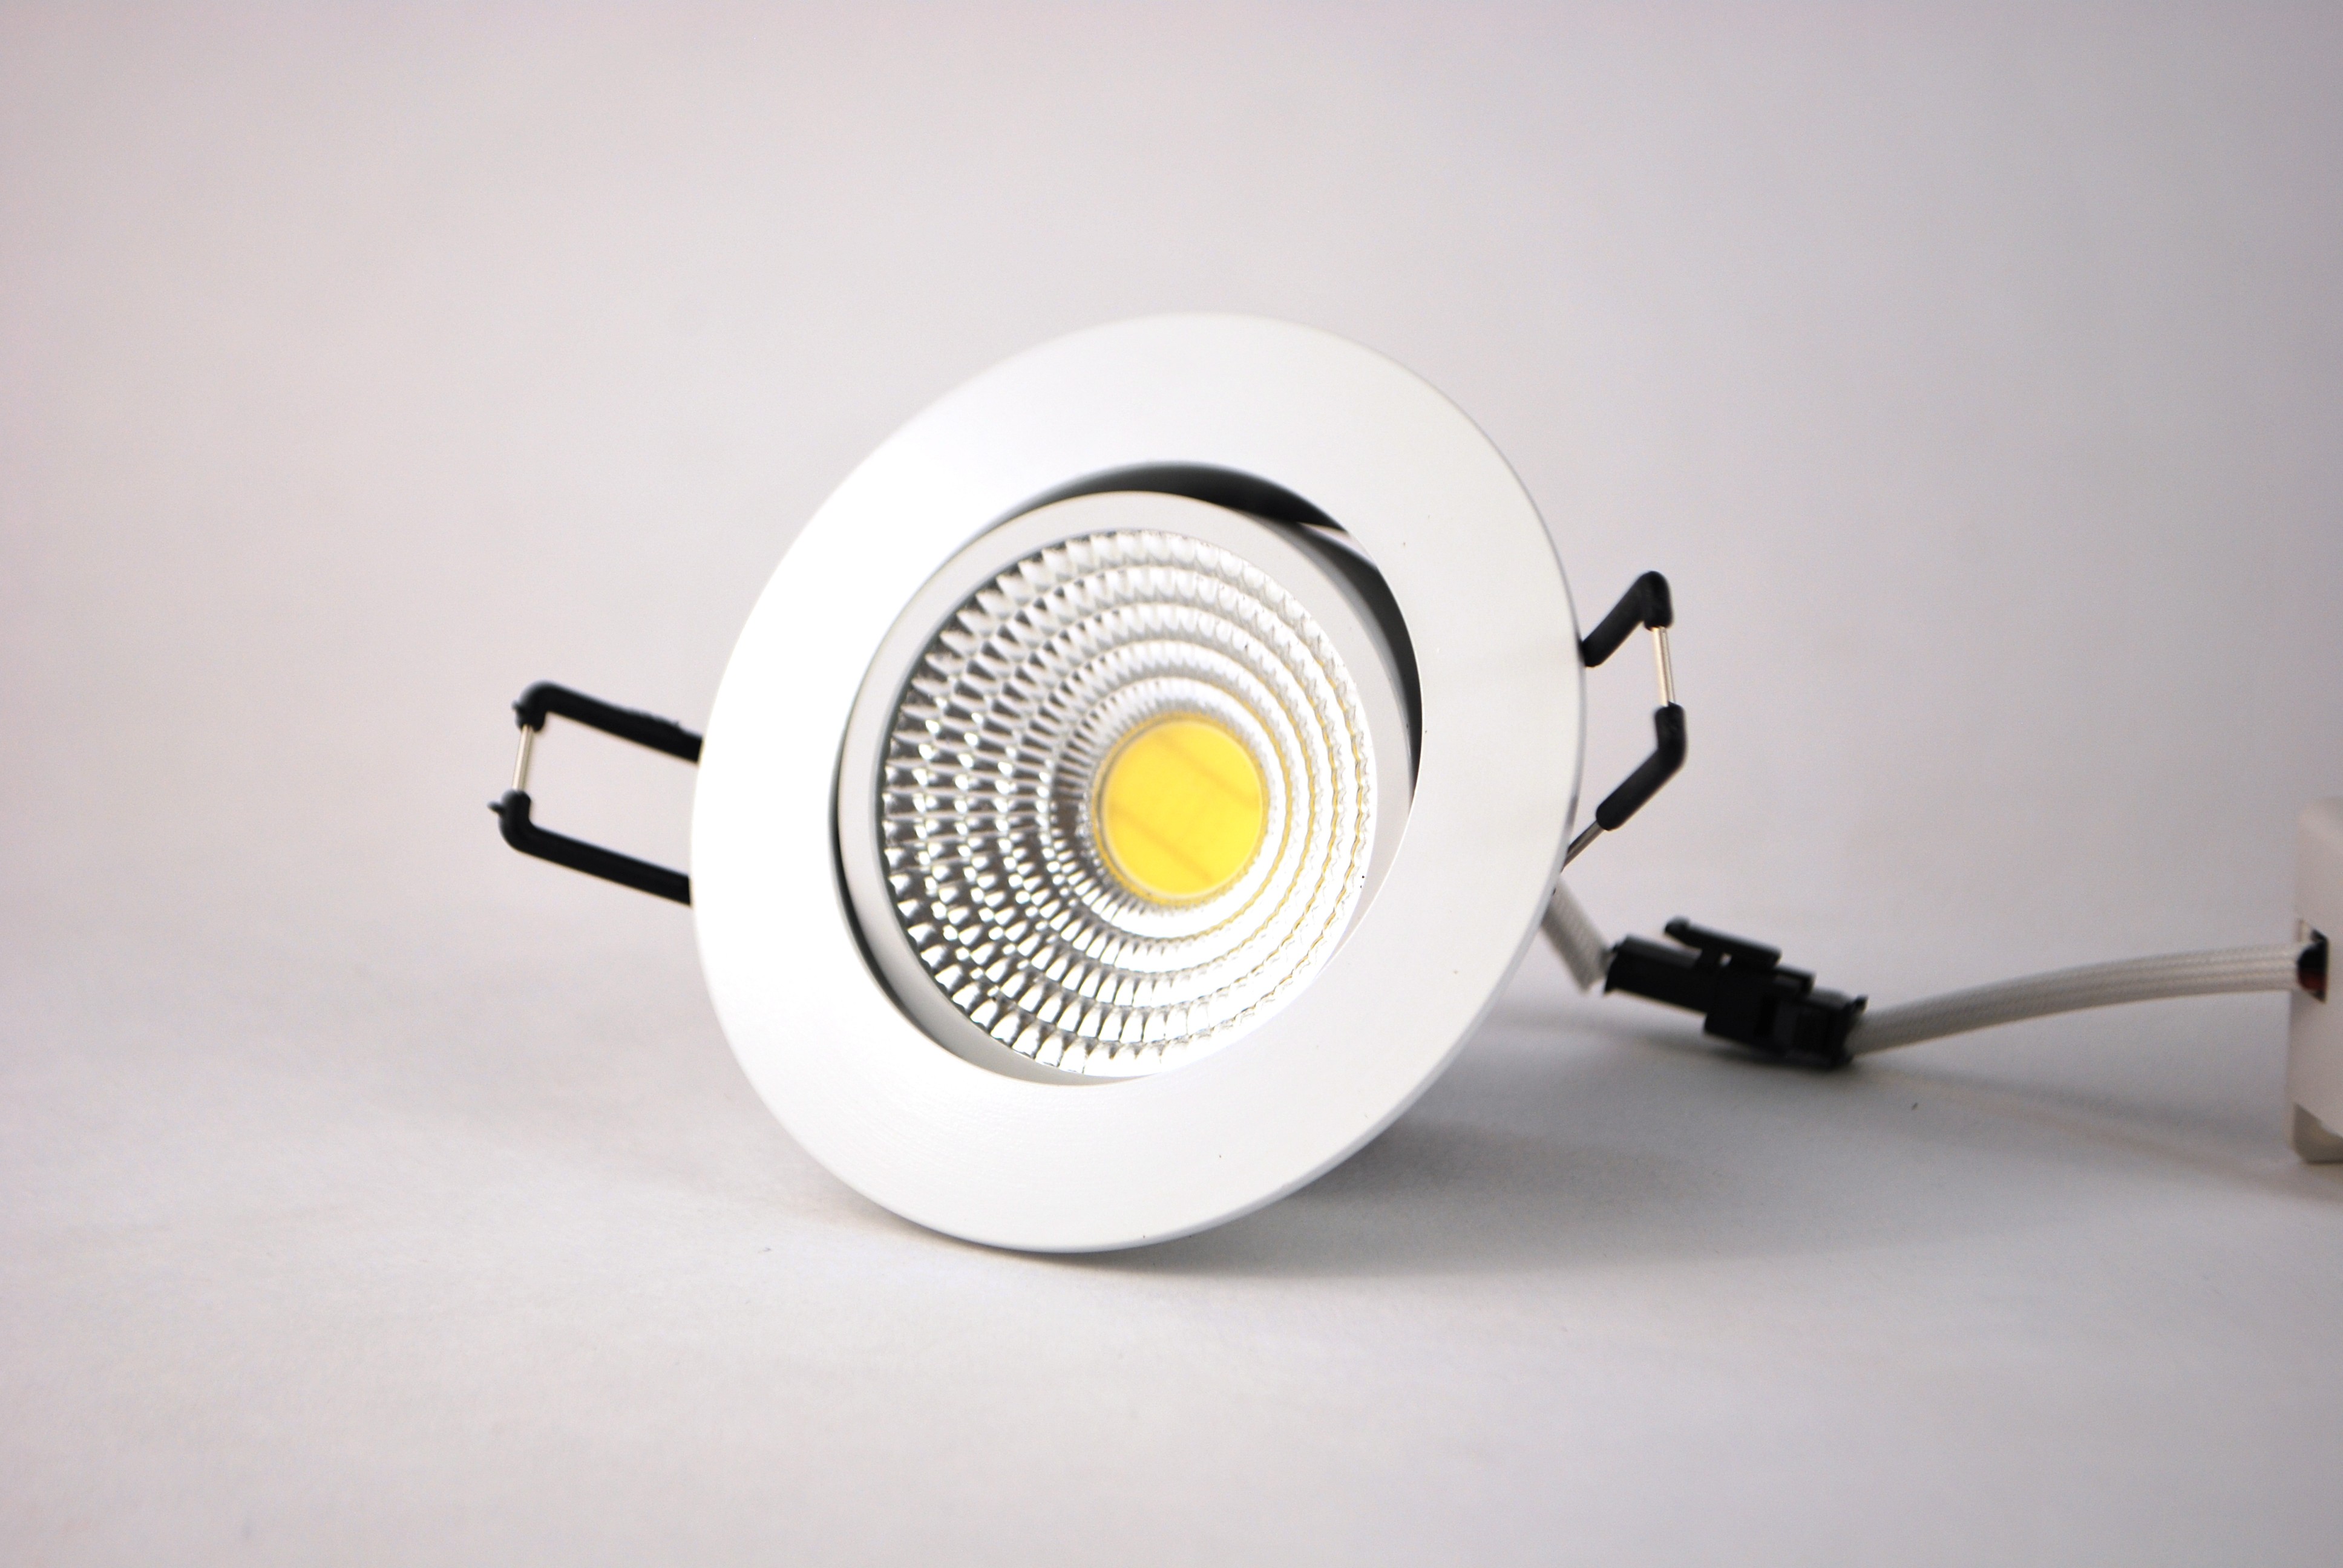
- LED;
- halogen;
- incandescent bulbs with reflector.
There are lamps of different temperatures. Choose the most comfortable for yourself: cool white, naturally white, warm white.
LED bulbs are the most energy efficient, but also the most expensive. However, products of well-known companies are durable and quickly pay for themselves. Bulbs that are too powerful do not fit. You need to choose energy-saving lamps, which are equivalent to incandescent bulbs in 35-40 watts. As for incandescent options, they are quite cheap, but they spend too much electricity.
To plan this or that type of luminaire is necessary depending on the parameters of the gypsum ceiling. For a device with incandescent lamps, the ceiling height should be about 12 cm. But for light sources with an LED lamp, a height of 6 cm is sufficient.
Layout of embedded light sources
There are several ways to position spot gauges.
- The line is drawn at an angle of 90 ° to the window. Recessed luminaires can be installed along it in straight rows in 1 m increments.
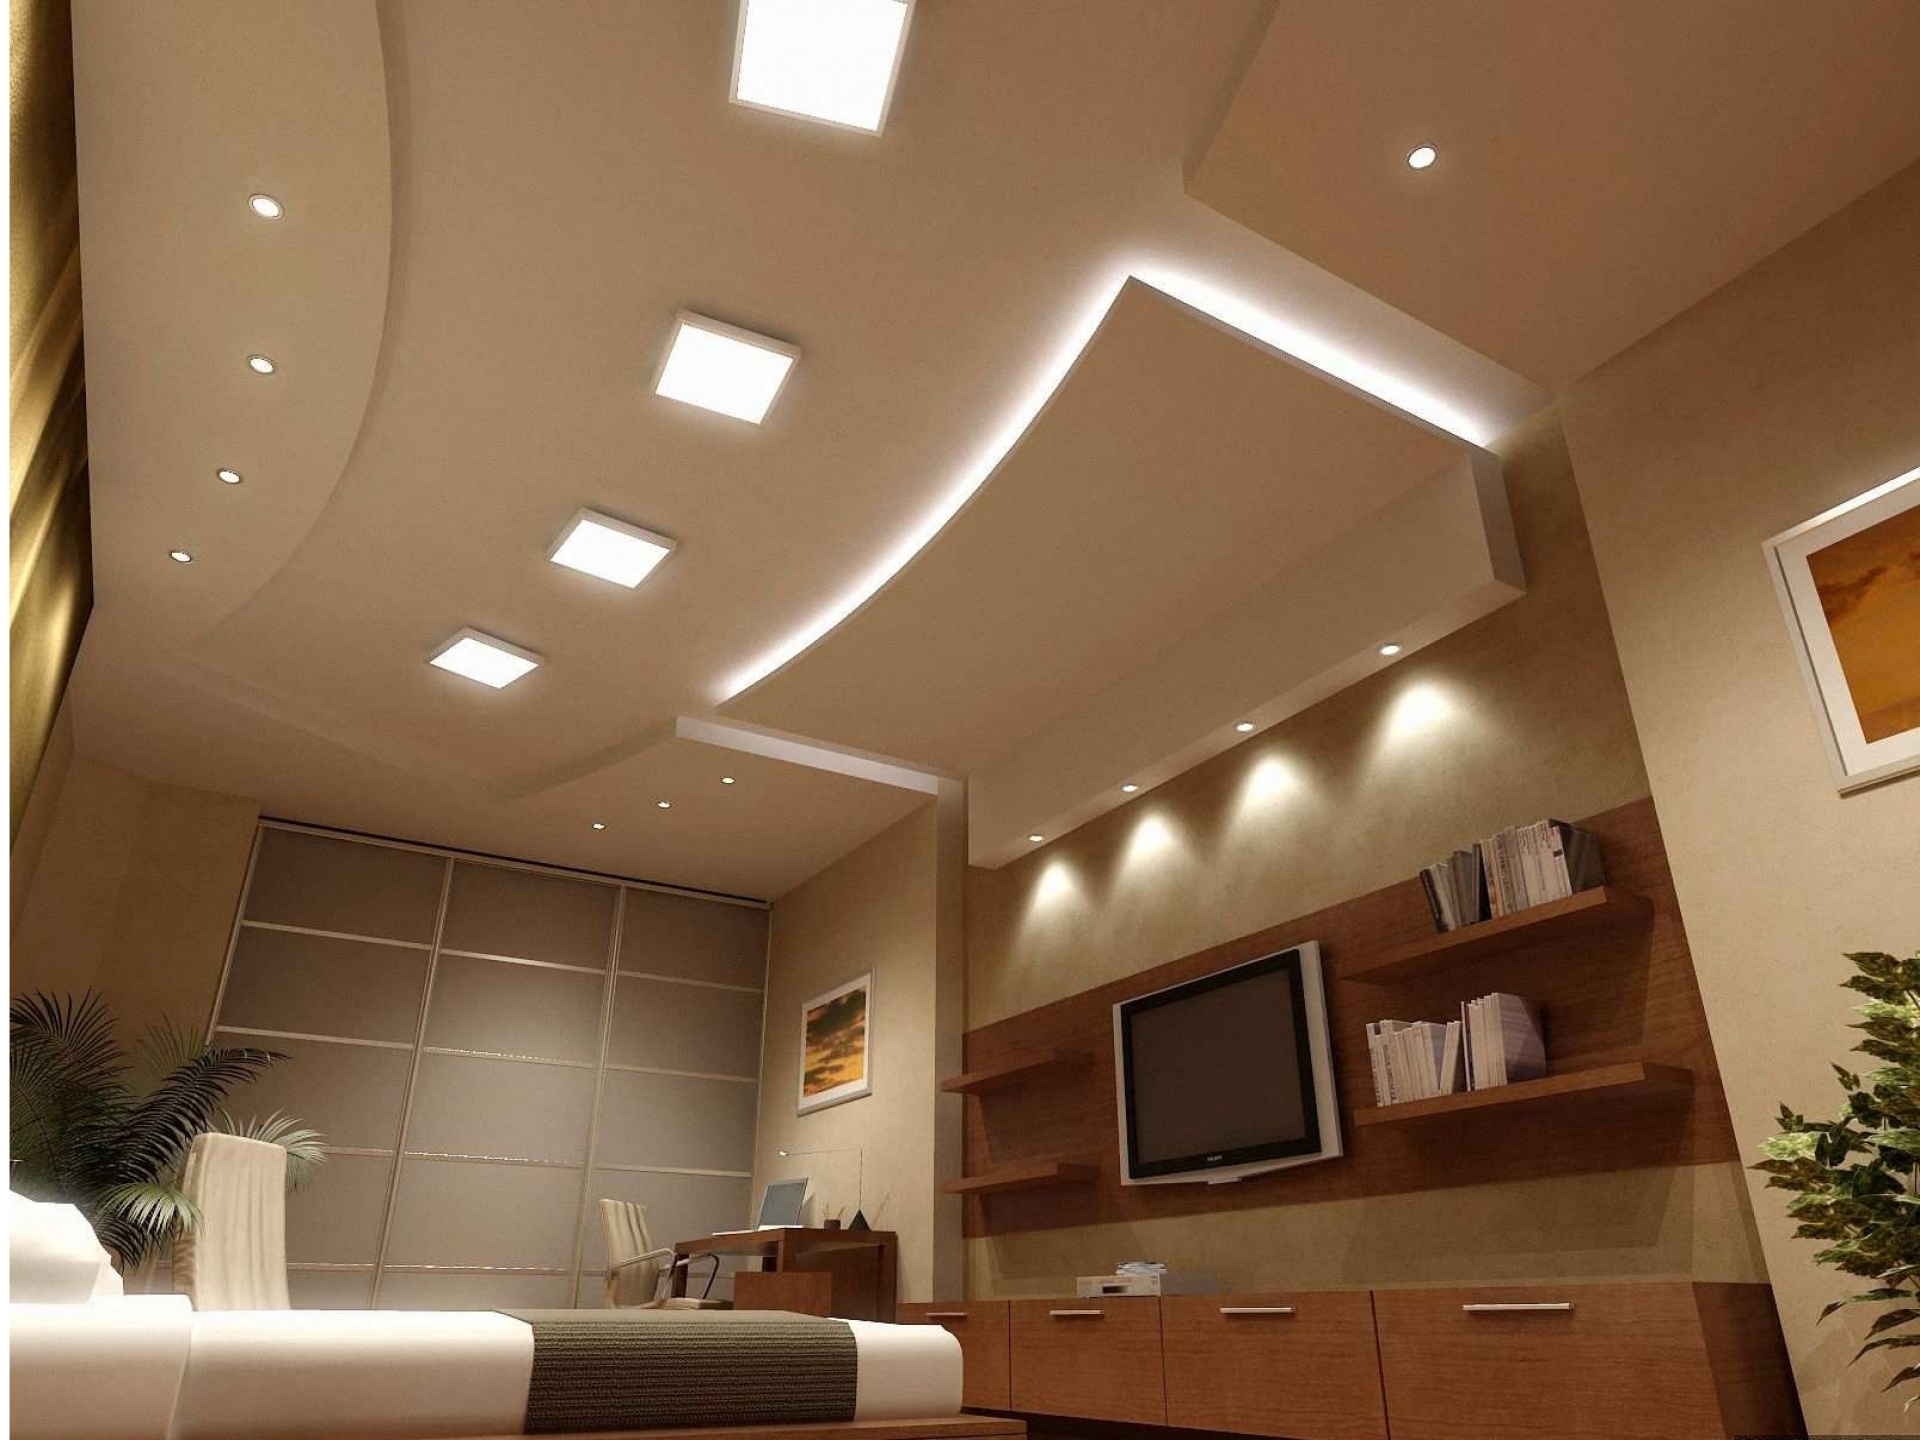
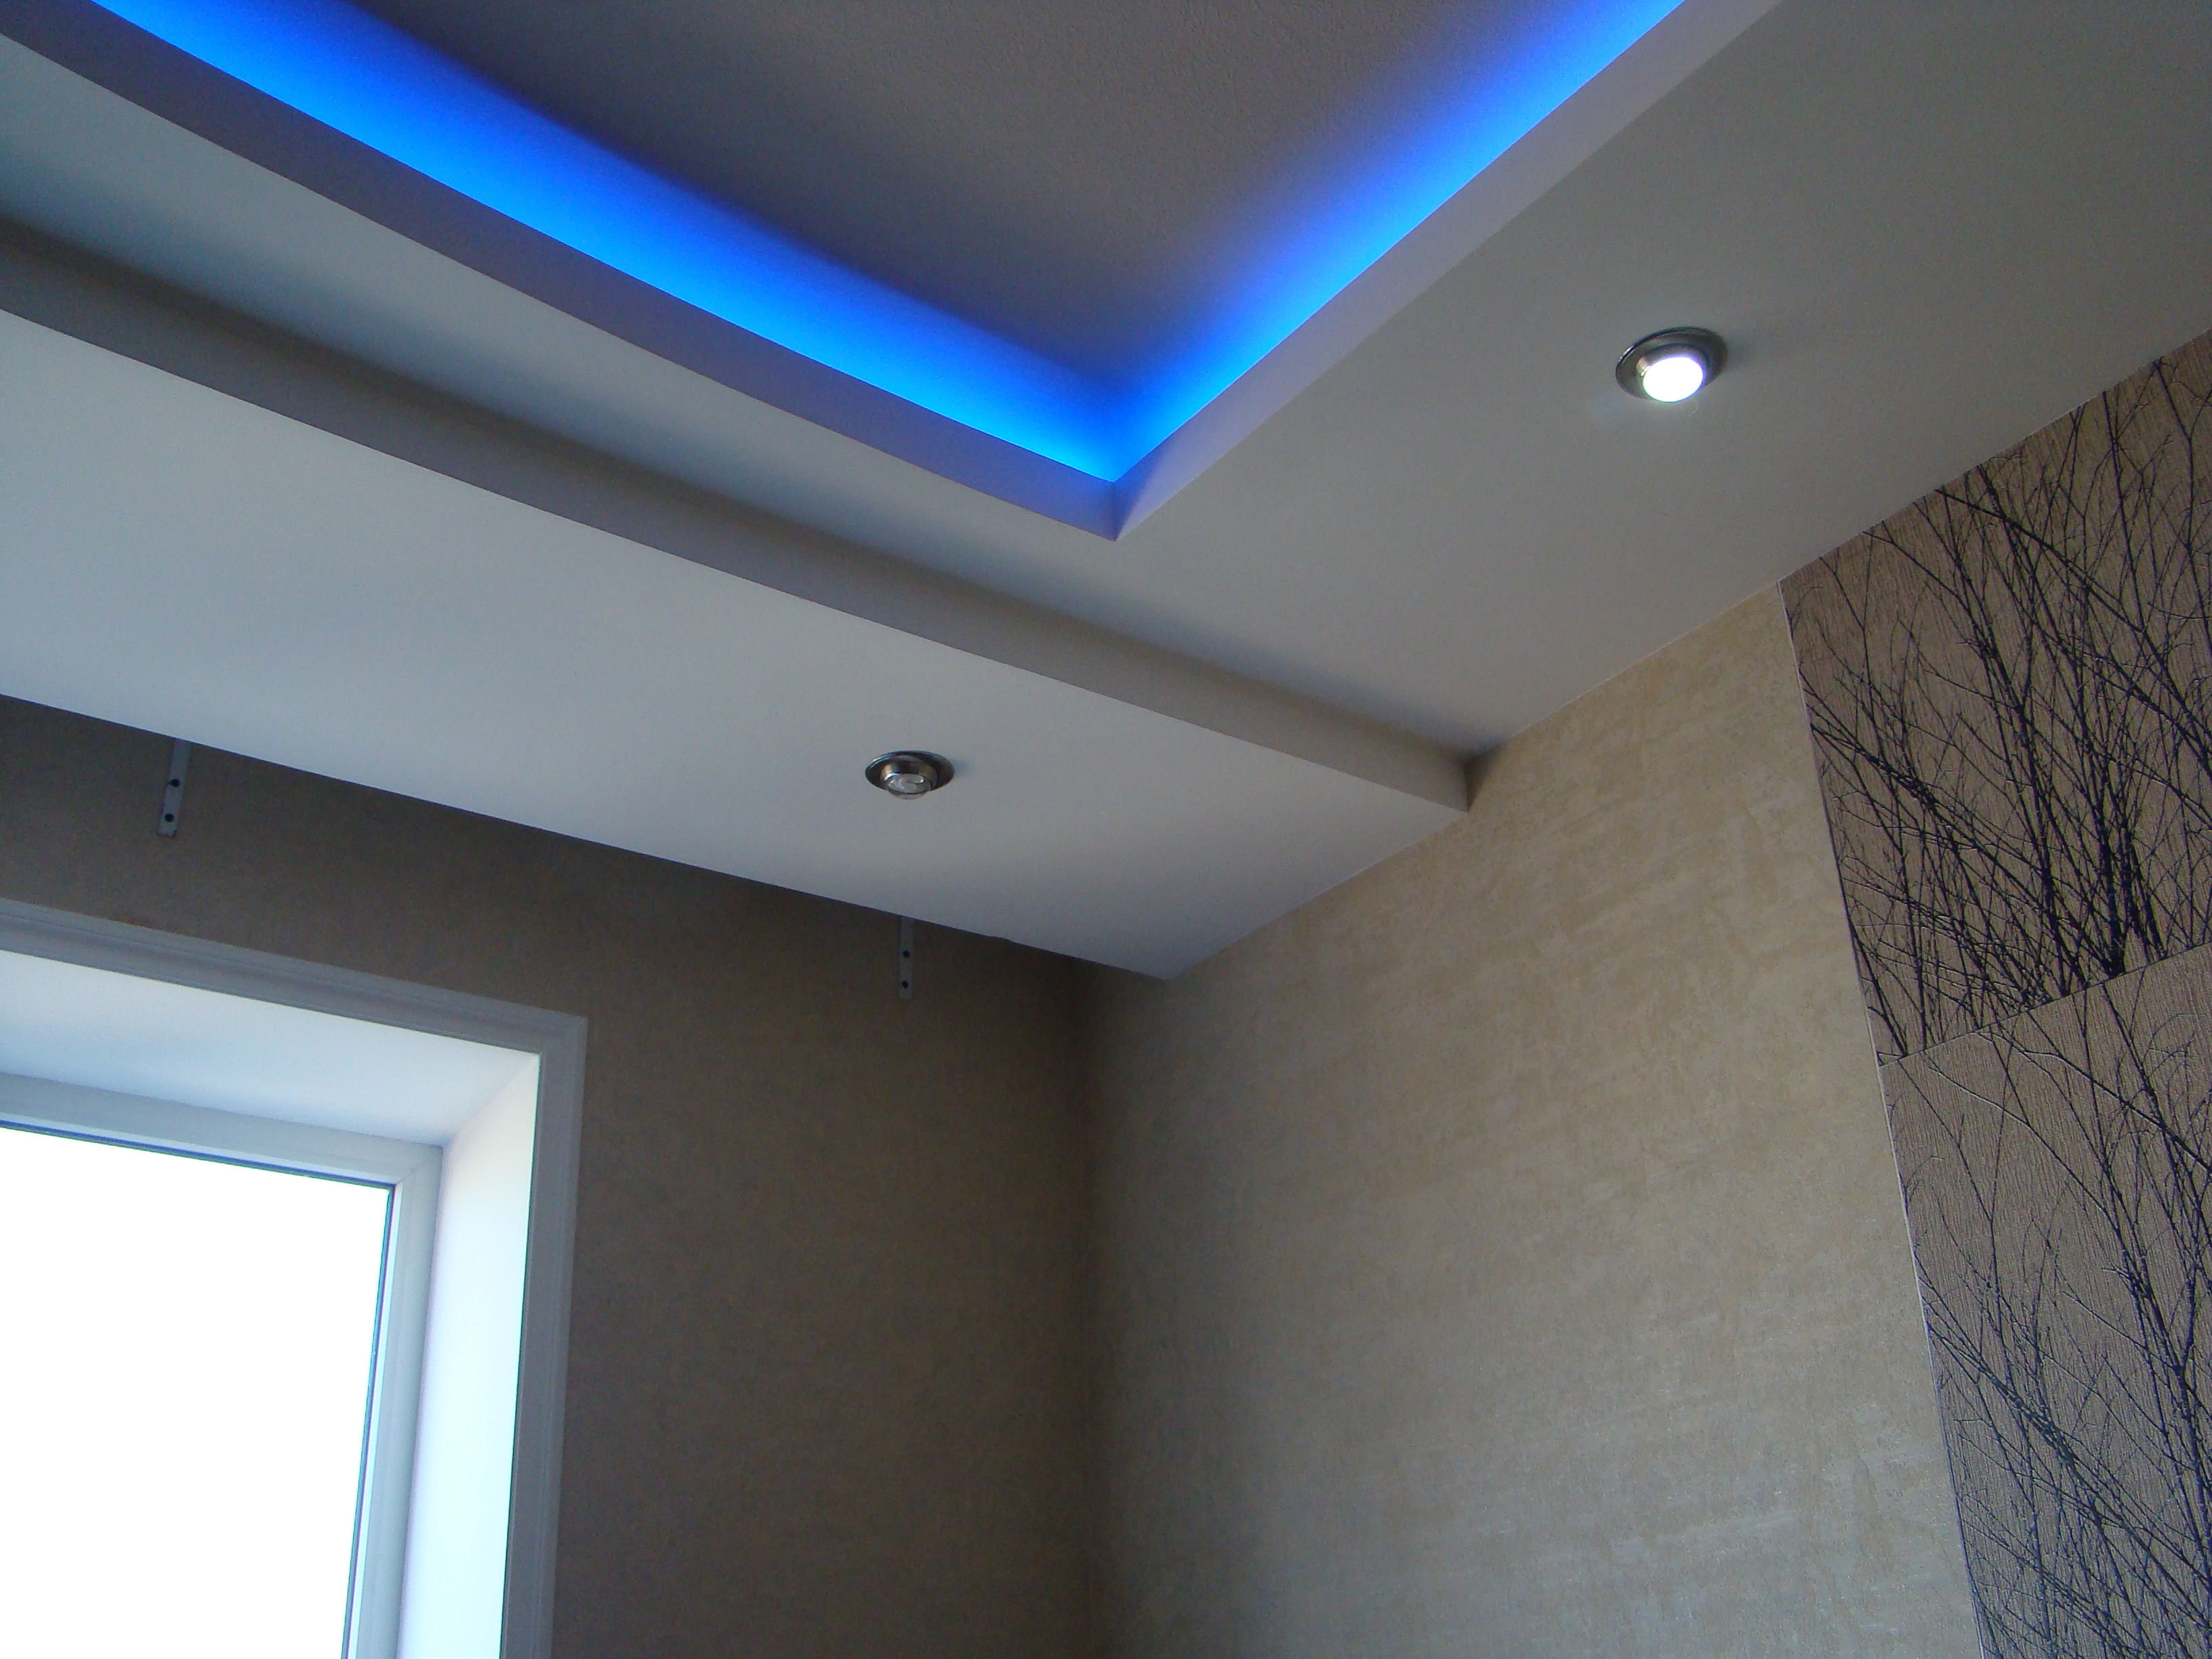
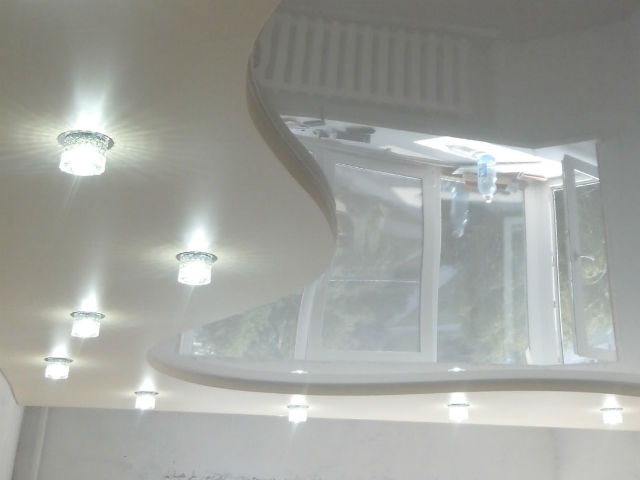
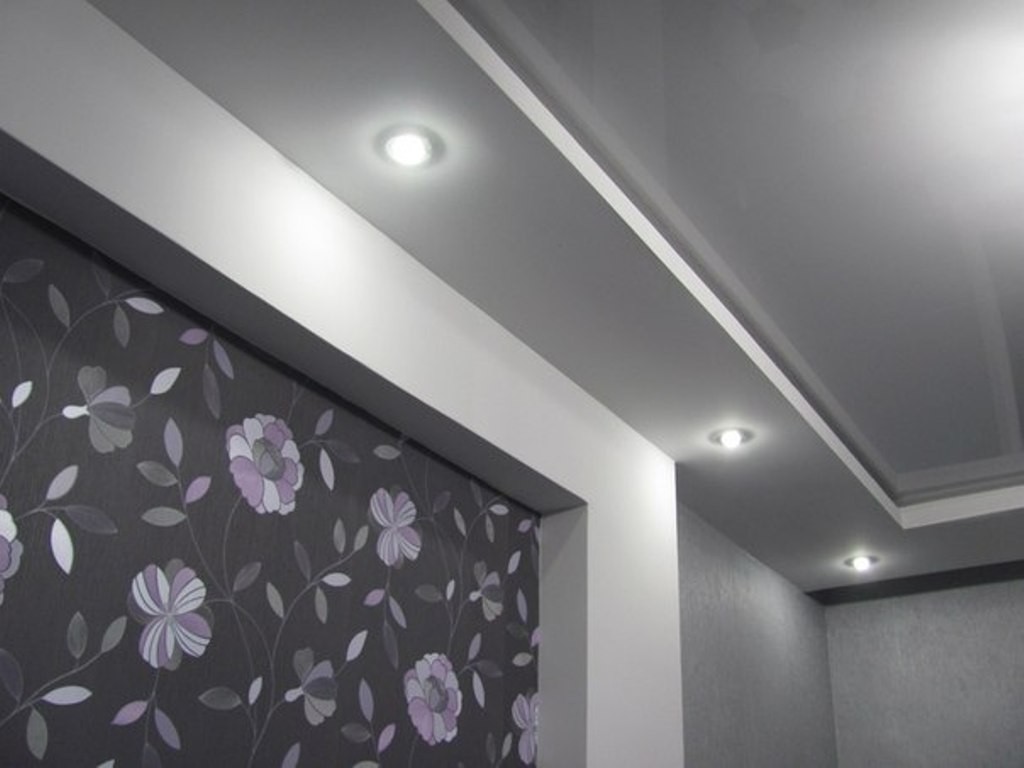
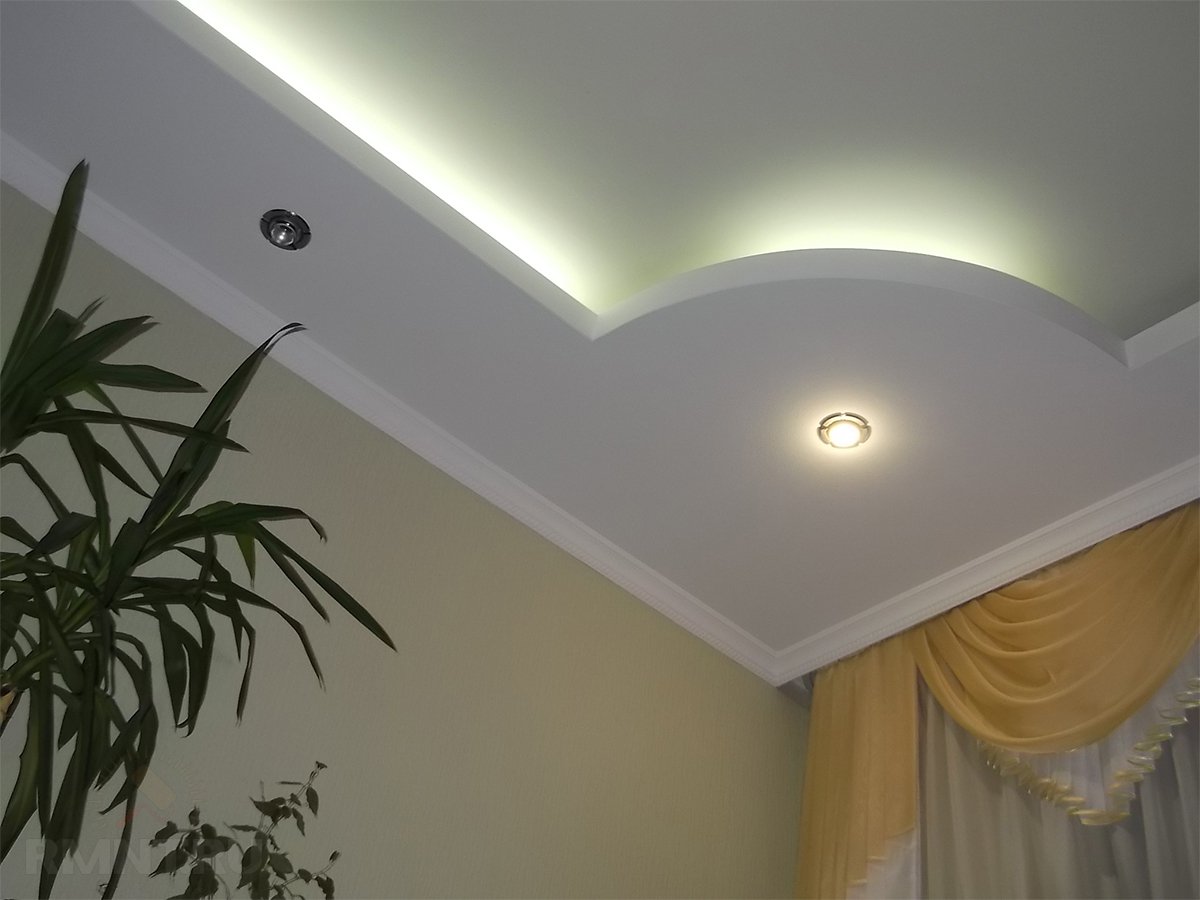
- Lamps in a checkerboard pattern create an even illumination of the whole room.
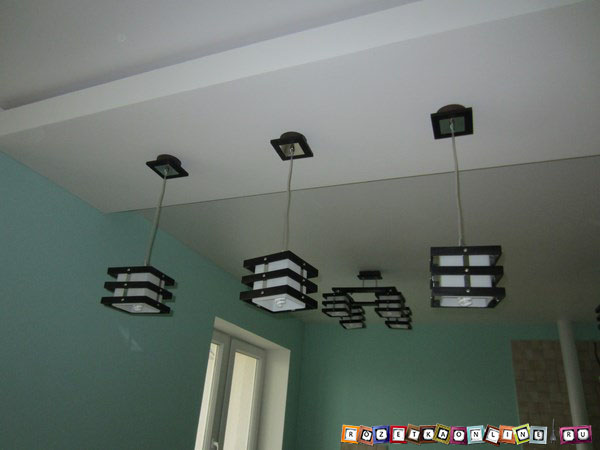
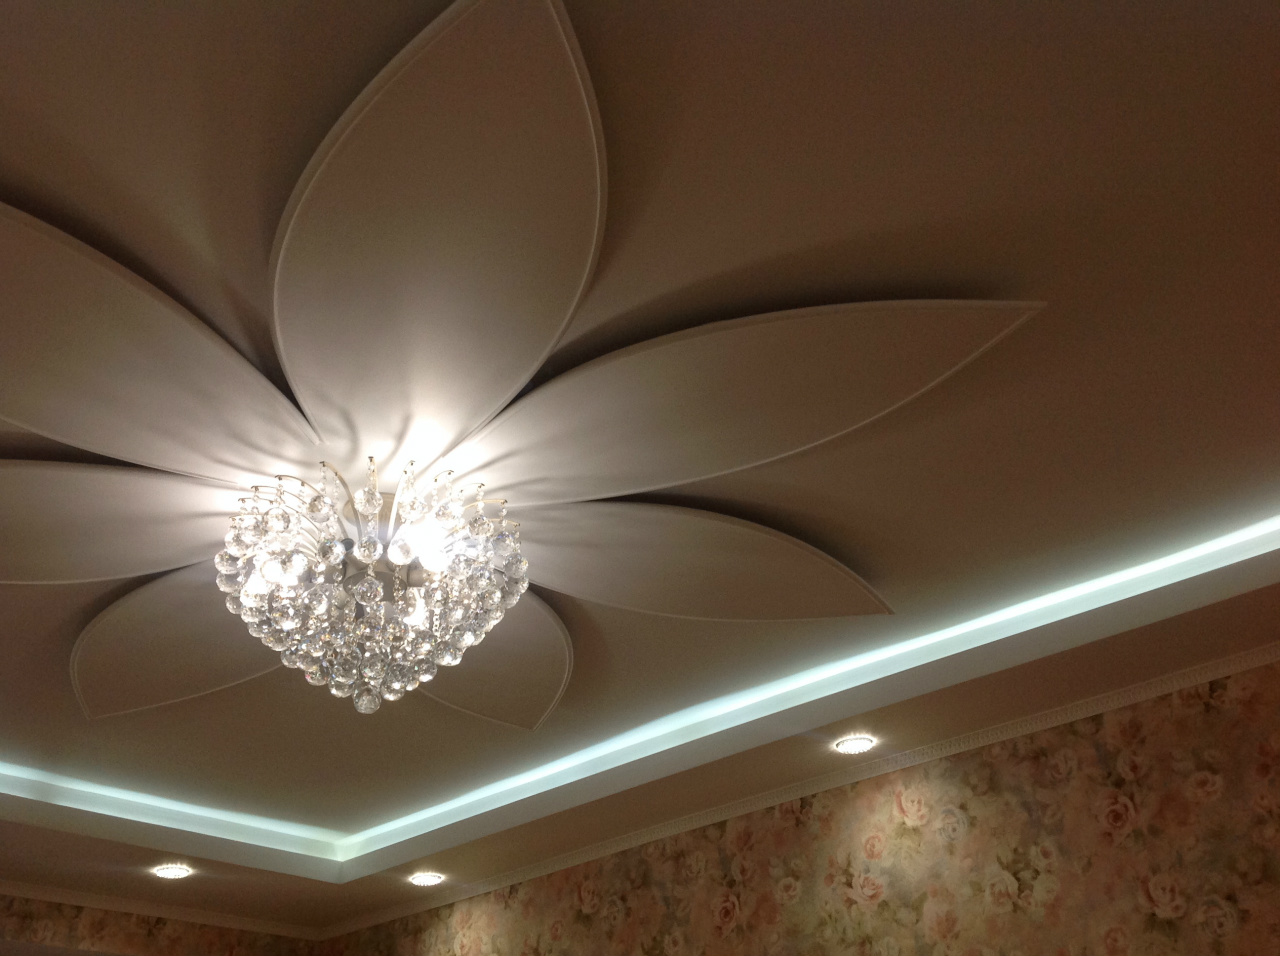
- If the main source of illumination is already there, then the peripheral illumination with spotlights will be a good addition.
These layout options can be combined. Next we will tell about the installation of fixtures with their own hands.
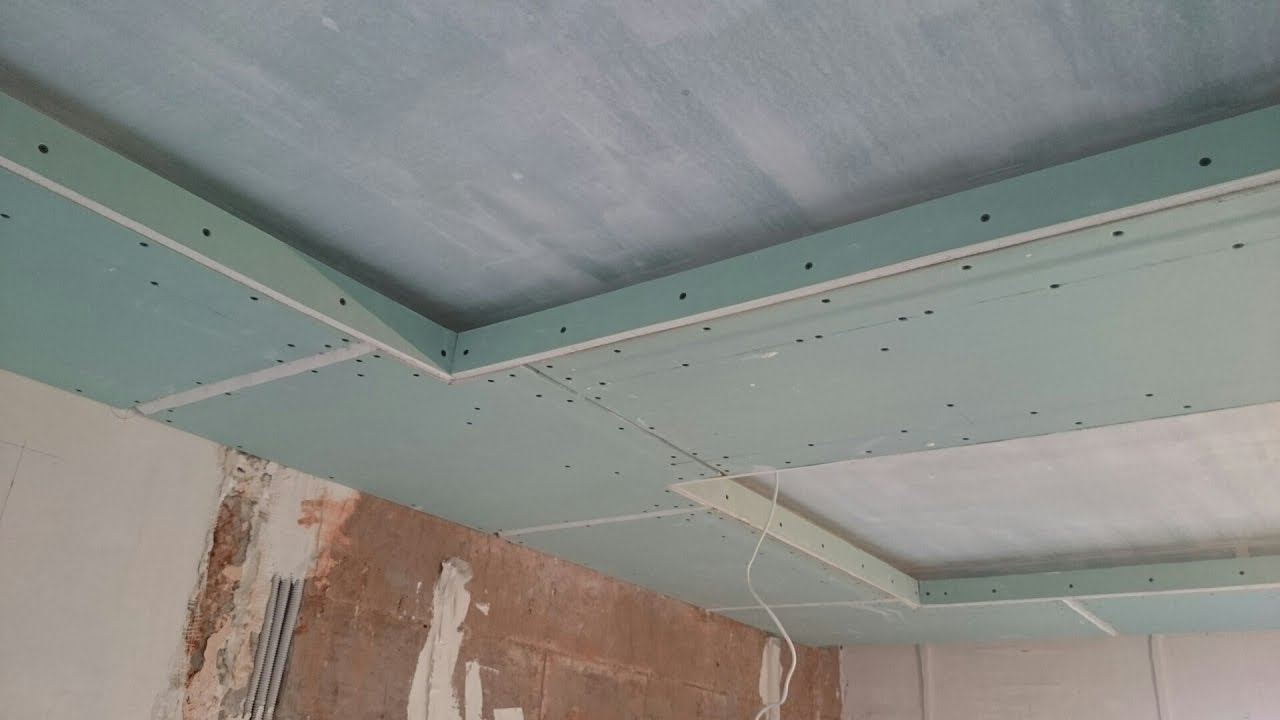
Preparatory stage
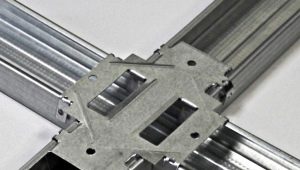
Plasterboard plates are fixed on the frame. Immediately after their installation, proceed to the installation of lamps:
- schedule the layout of the devices;
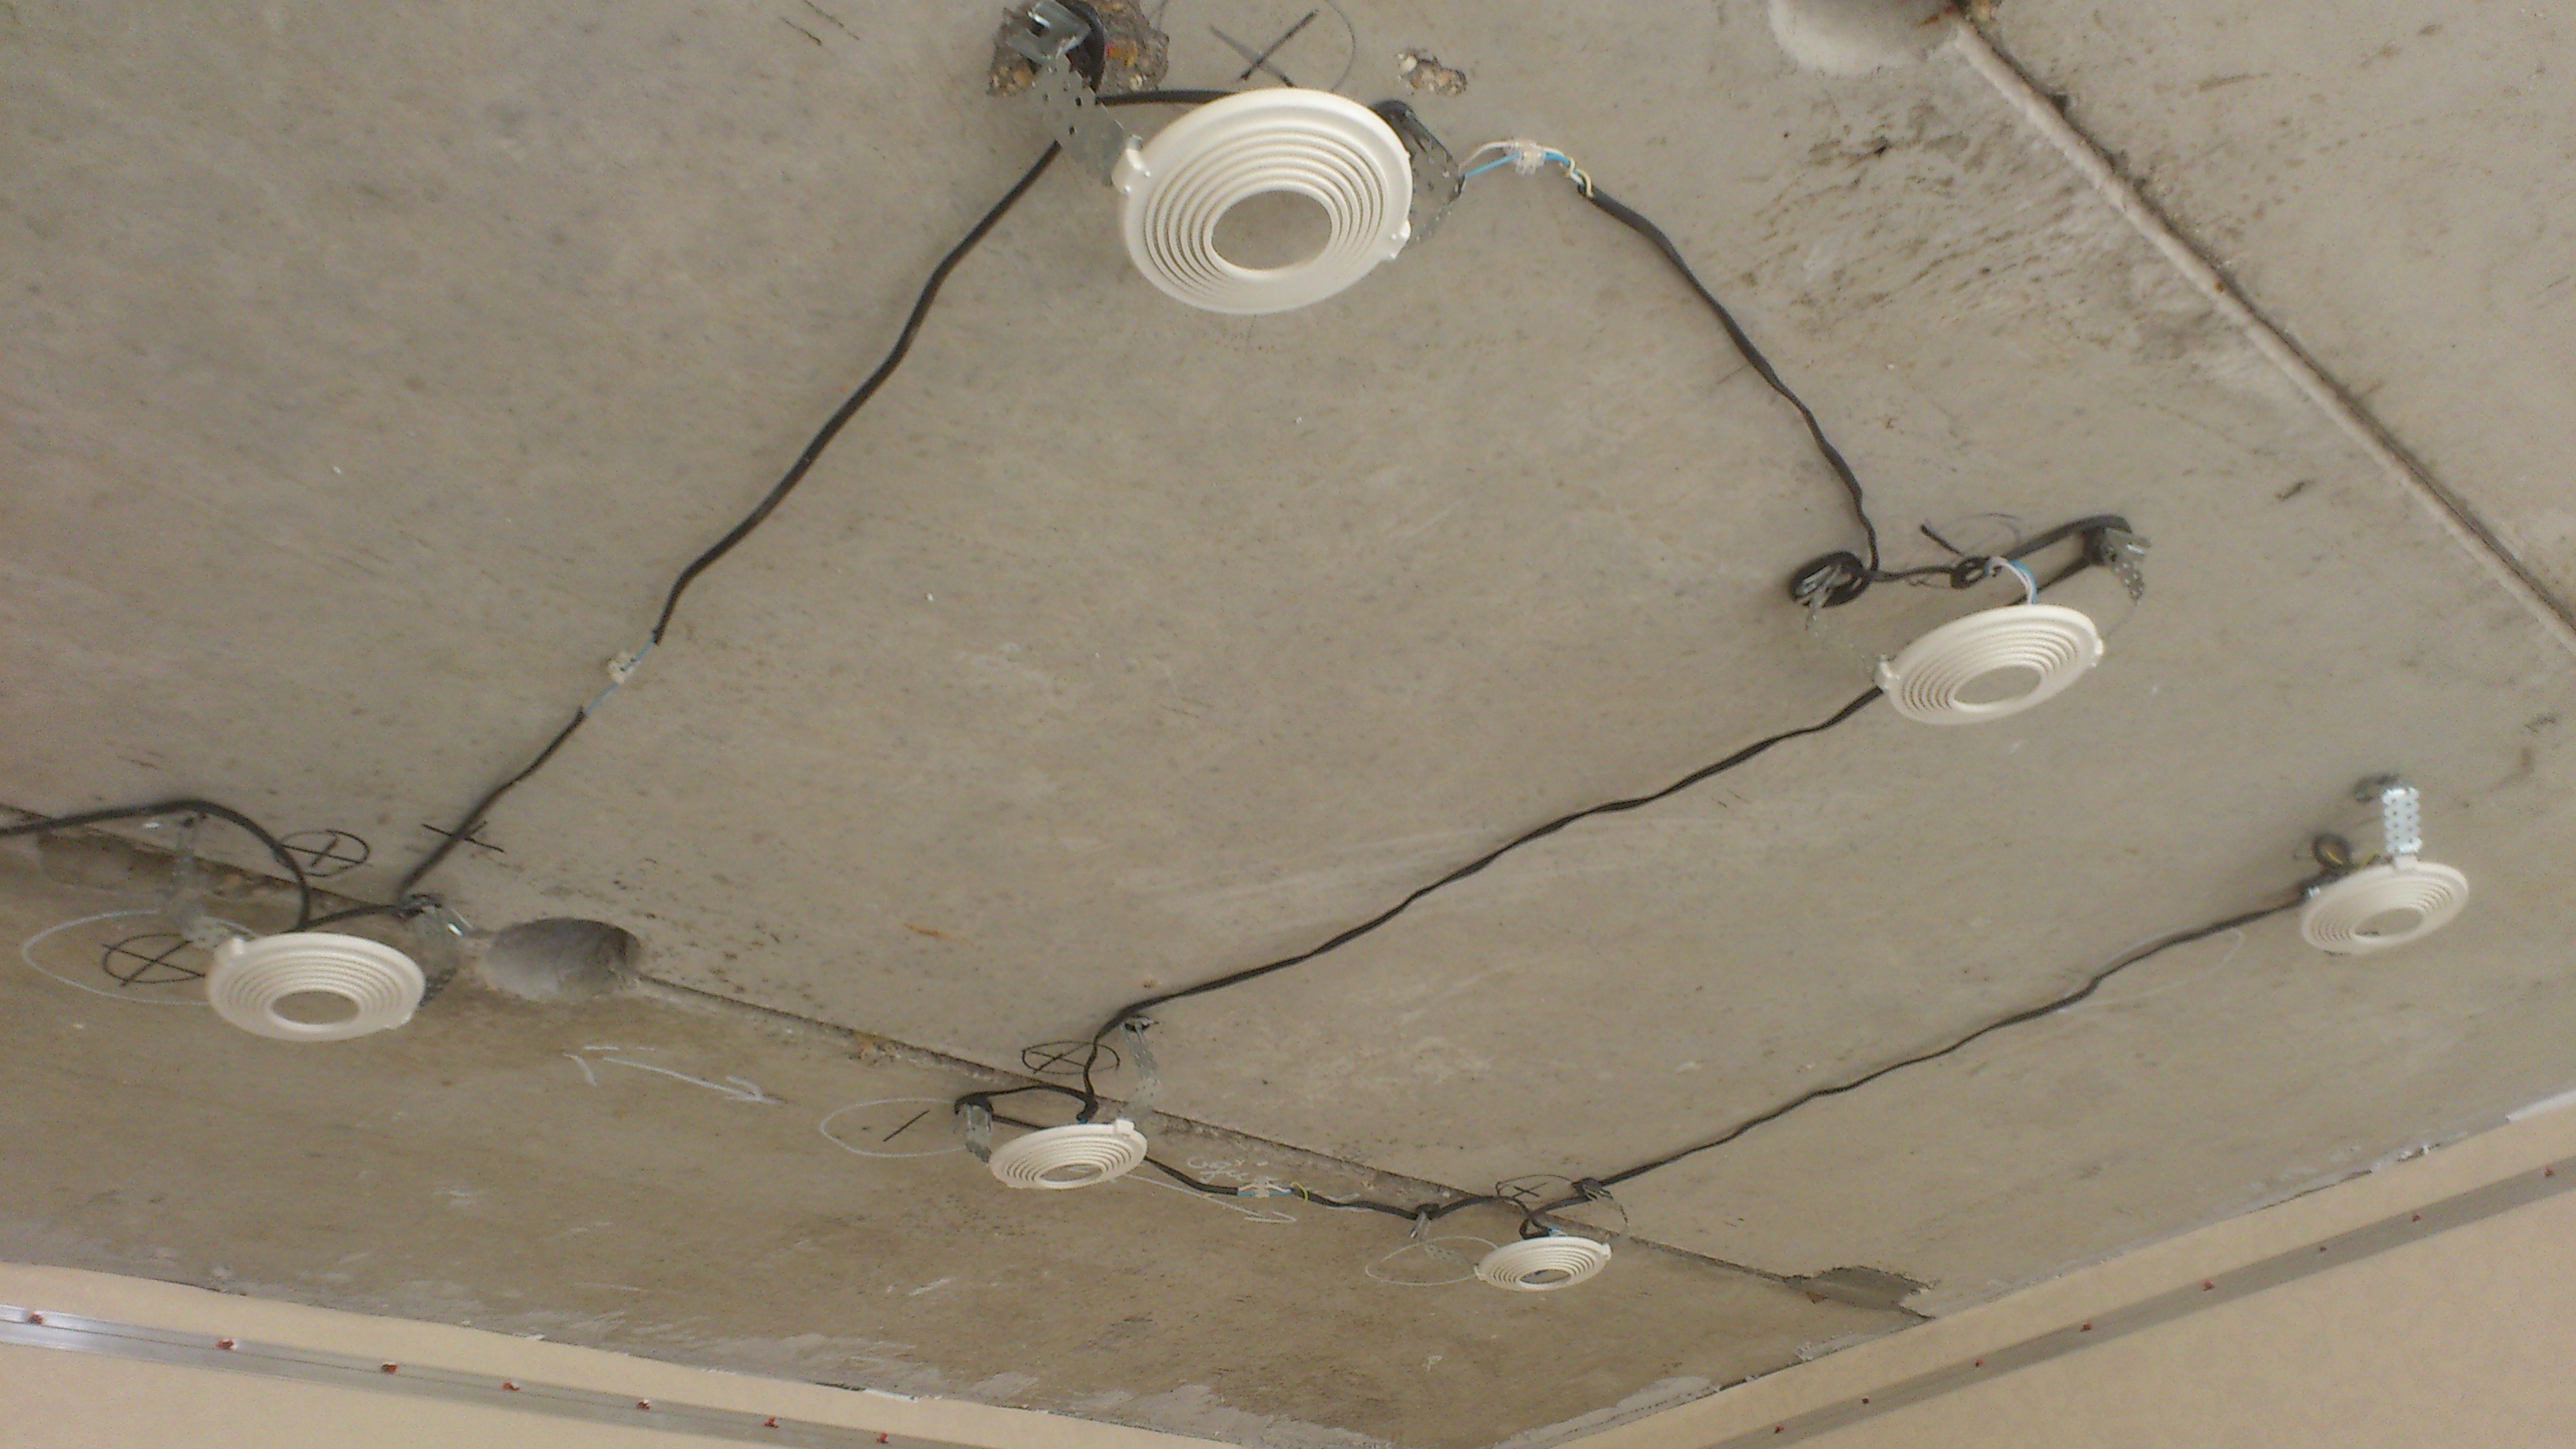
- run the cable.

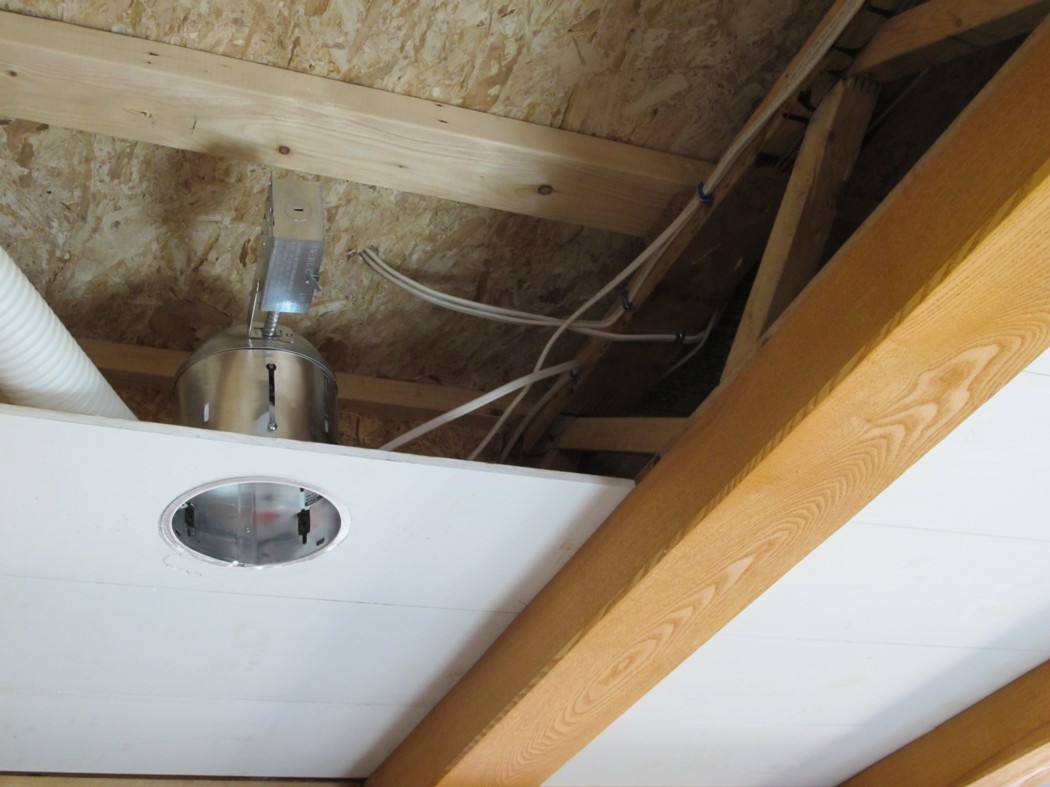
Light sources should be at a distance of at least 25 cm from the frame. If the ceiling is multi-level, then each level will have its own lighting circuit. It is recommended to fix on the overlap of the clip that will hold the cable in a tensioned state. From the cable go down the cores. Good advice: it is best to use a cable with three copper conductors.
How to calculate the cross section of the wire? It directly depends on the power of the lamps to be used in the future. For a 35-46 W bulb, a cable with a section of 3x1.5 sq. Mm is ideal. Too powerful lamps can not be used, as they create a load on the cable, consuming a lot of energy.
Points can be connected in two ways: in parallel or in series. In the first case, the installation speed is much faster, but the resulting circuit is not very reliable (if one element fails, then all the others will also turn off). In the second case, the voltage falls on all elements of the circuit in equal measure, they are independent of each other.
Tools and materials
To work you need the following tools and consumables:
- electric drill;
- crown for woodwork;
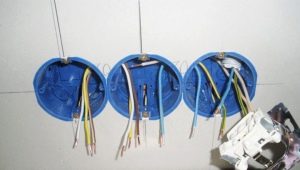
- terminal blocks;
- indicator screwdriver;
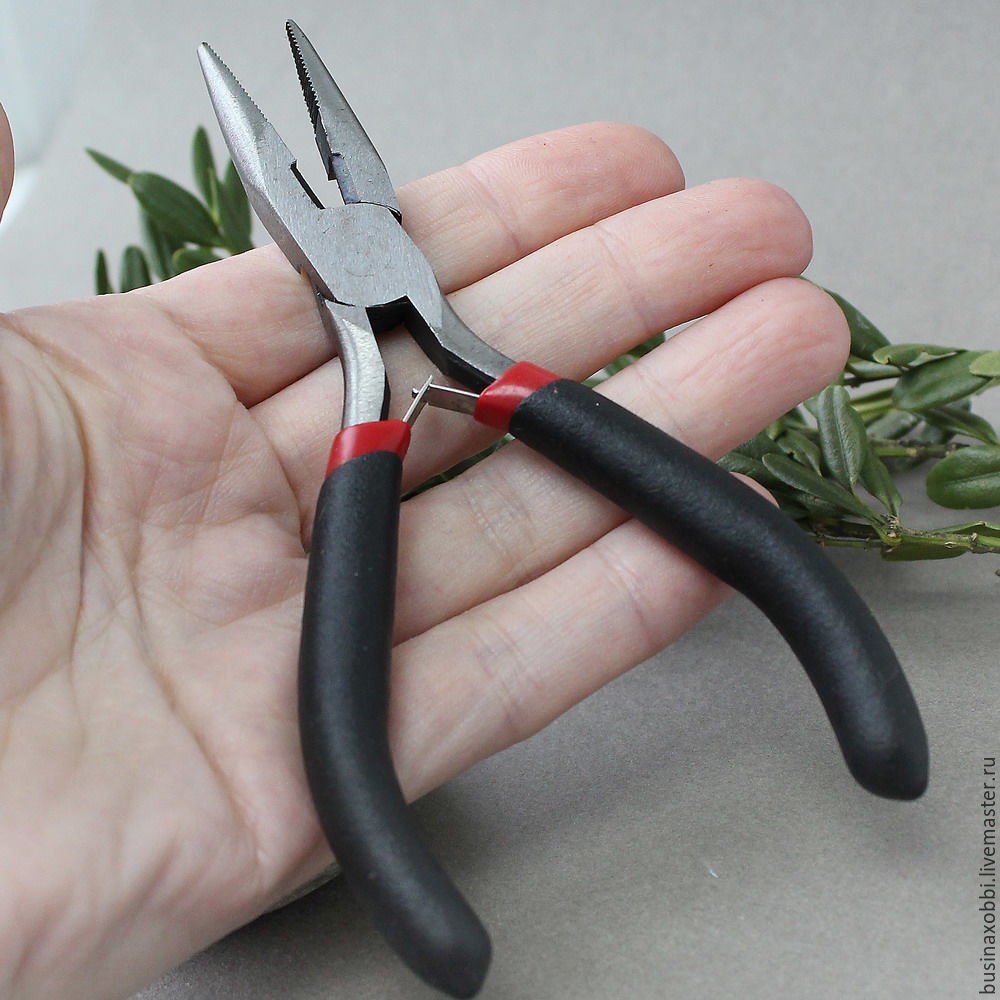
- passatizhi.

Of course, the diameter of the crown must be selected according to the diameter of the spot body. The allowable difference is no more than 3 mm. If an error occurred, and the hole turned out too large, it is necessary to replace a piece of drywall. It is not recommended to correct the defect with the help of plaster mix, otherwise the ceiling will begin to crumble. Terminal blocks are a great way to fix and insulate wires.They allow you to connect with each other veins, even if they have a different section.
An alternative to terminals is crimping, but it requires much more time and skill.
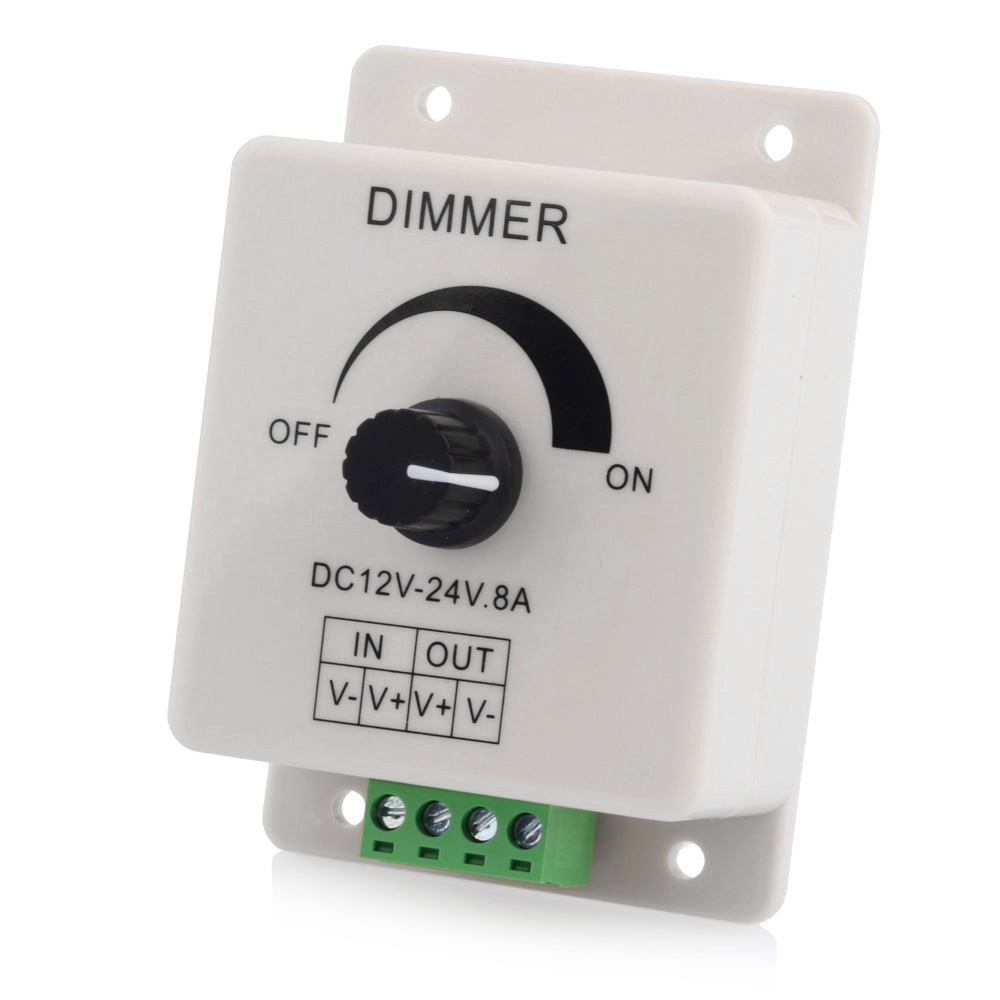
Often, spotlights are connected through a dimmer. Therefore, in advance, buy LED dimmable lamps. Otherwise, the light bulbs will quickly become unusable.
Remember: when working with luminescent lamps, you should not touch them with your hands, otherwise the lifetime will decrease. Before installation it is very important to observe safety precautions. Make sure the power is off. For this useful indicator screwdriver.
How to lay the wiring?
The eyeliner needs to be carried out at a stage of production of a frame design. Need to draw a drawing in advance with all the details of wiring. Also in the drawing you need to reflect the location of lamps, switches, wires and other parts.

To protect against mechanical stress and for moisture insulation, the wire should be put in corrugated tubes. And they need to be fixed on the frame with special clamps.
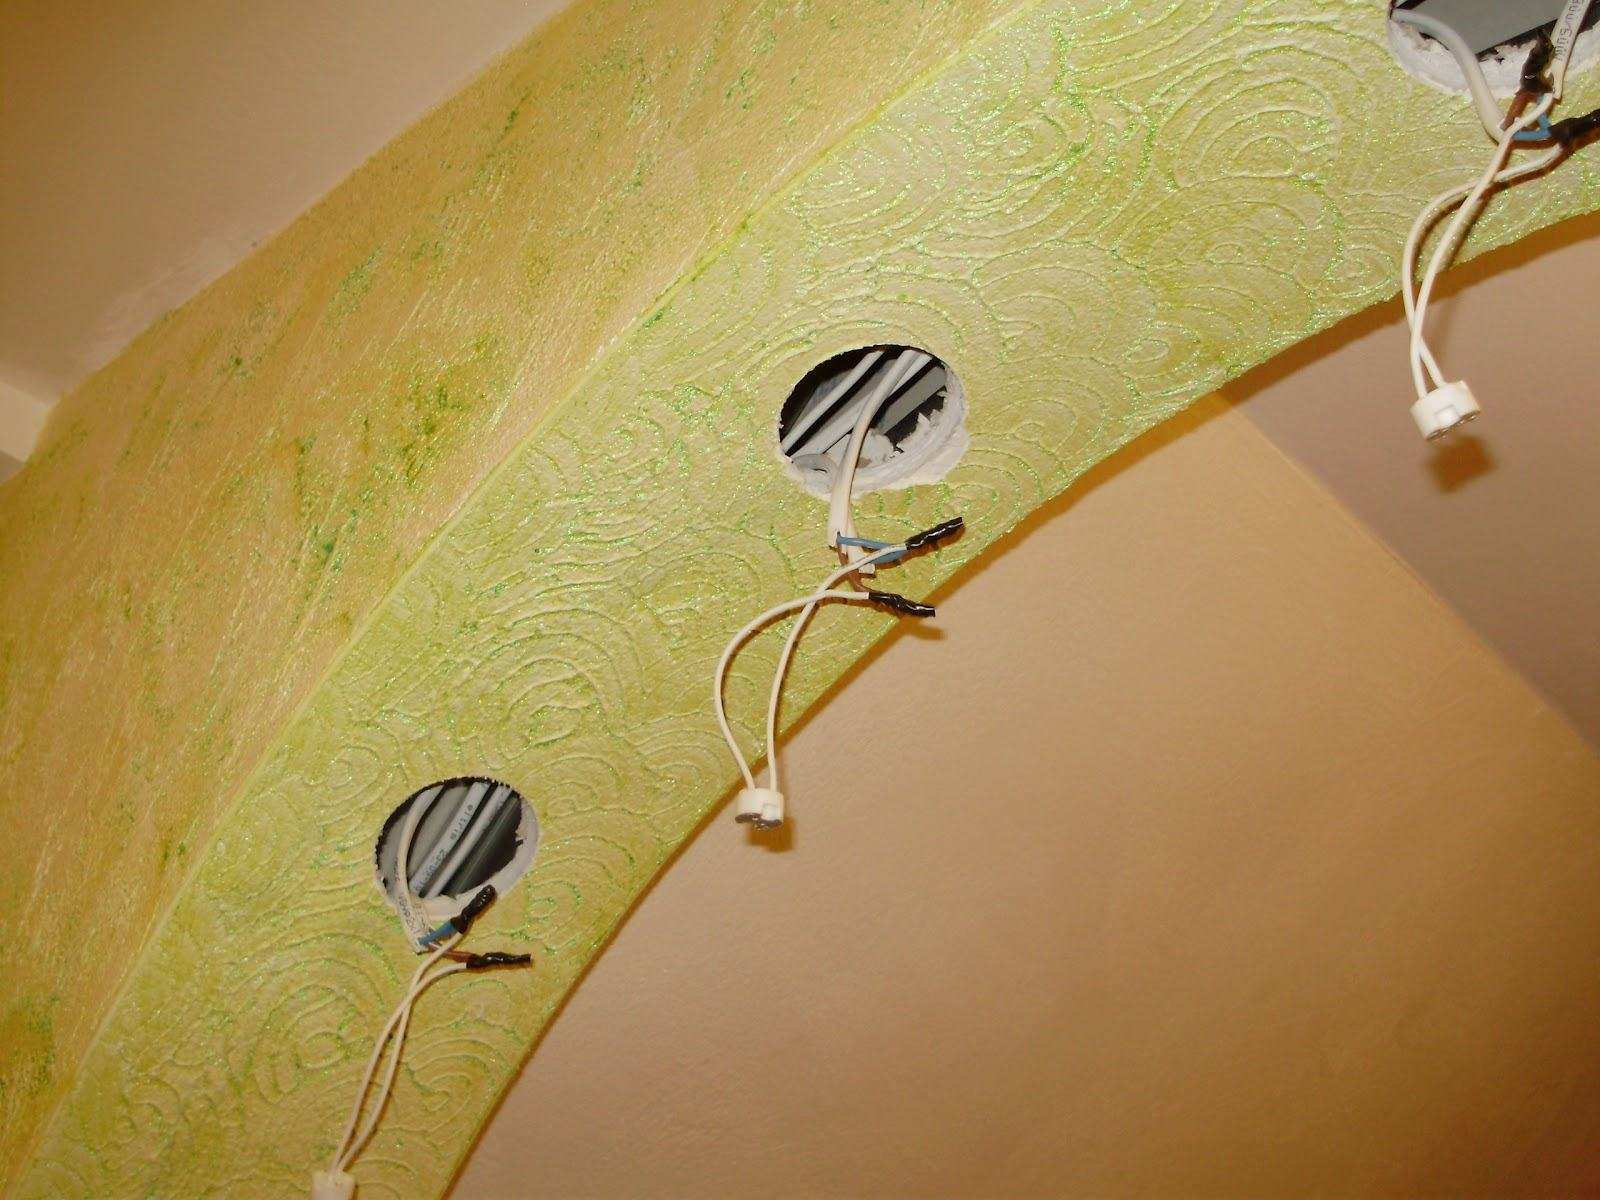
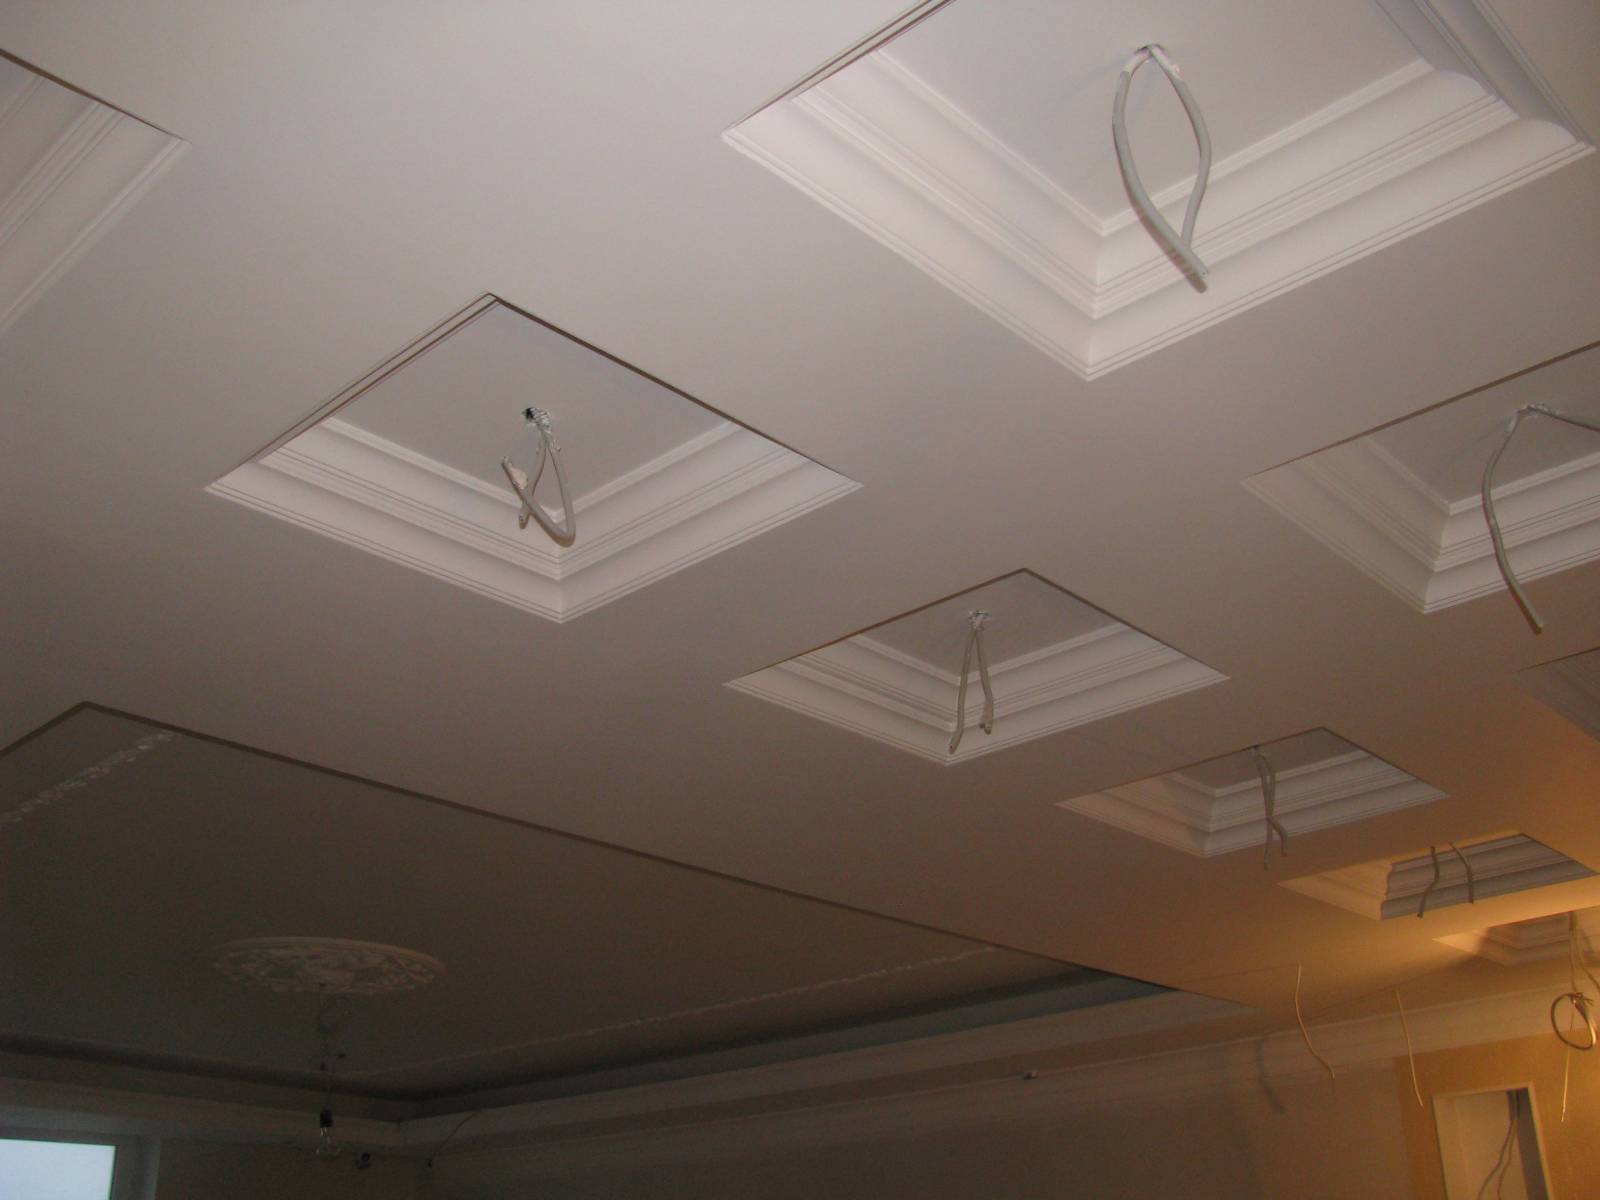
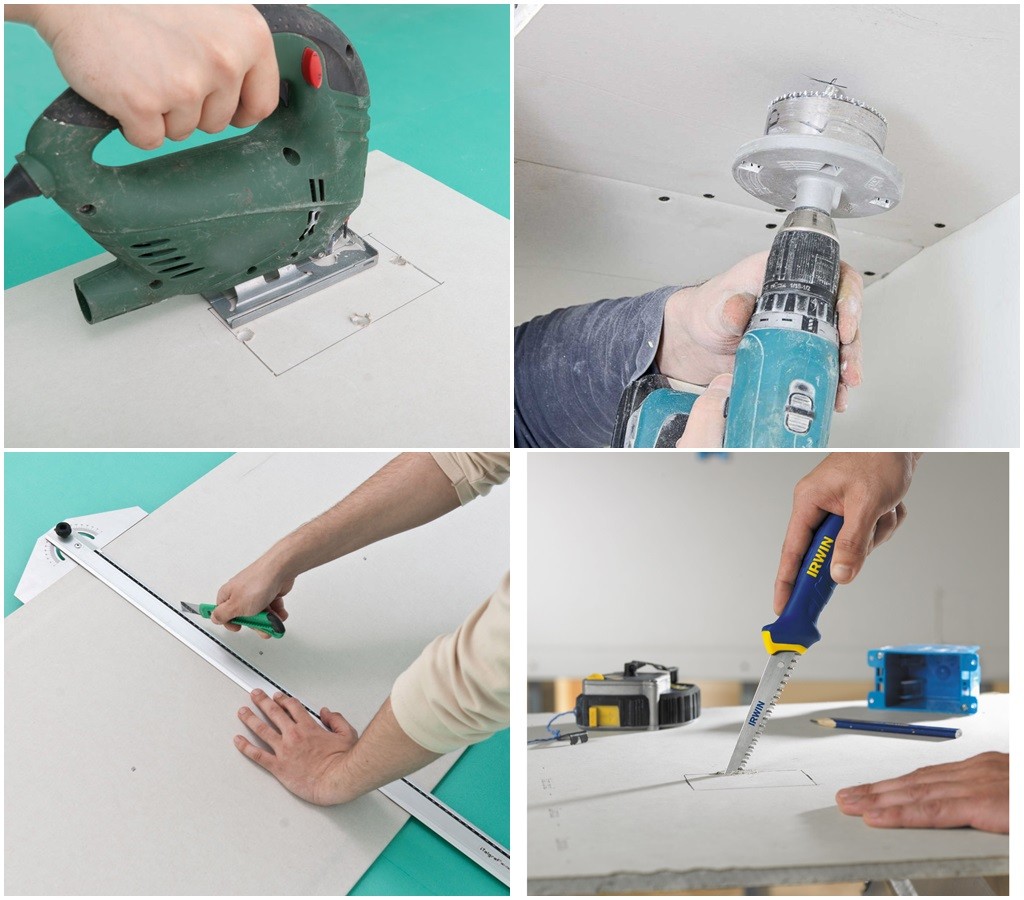
How to make pens?
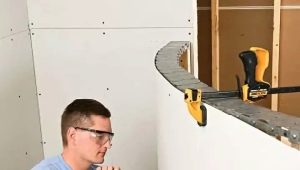
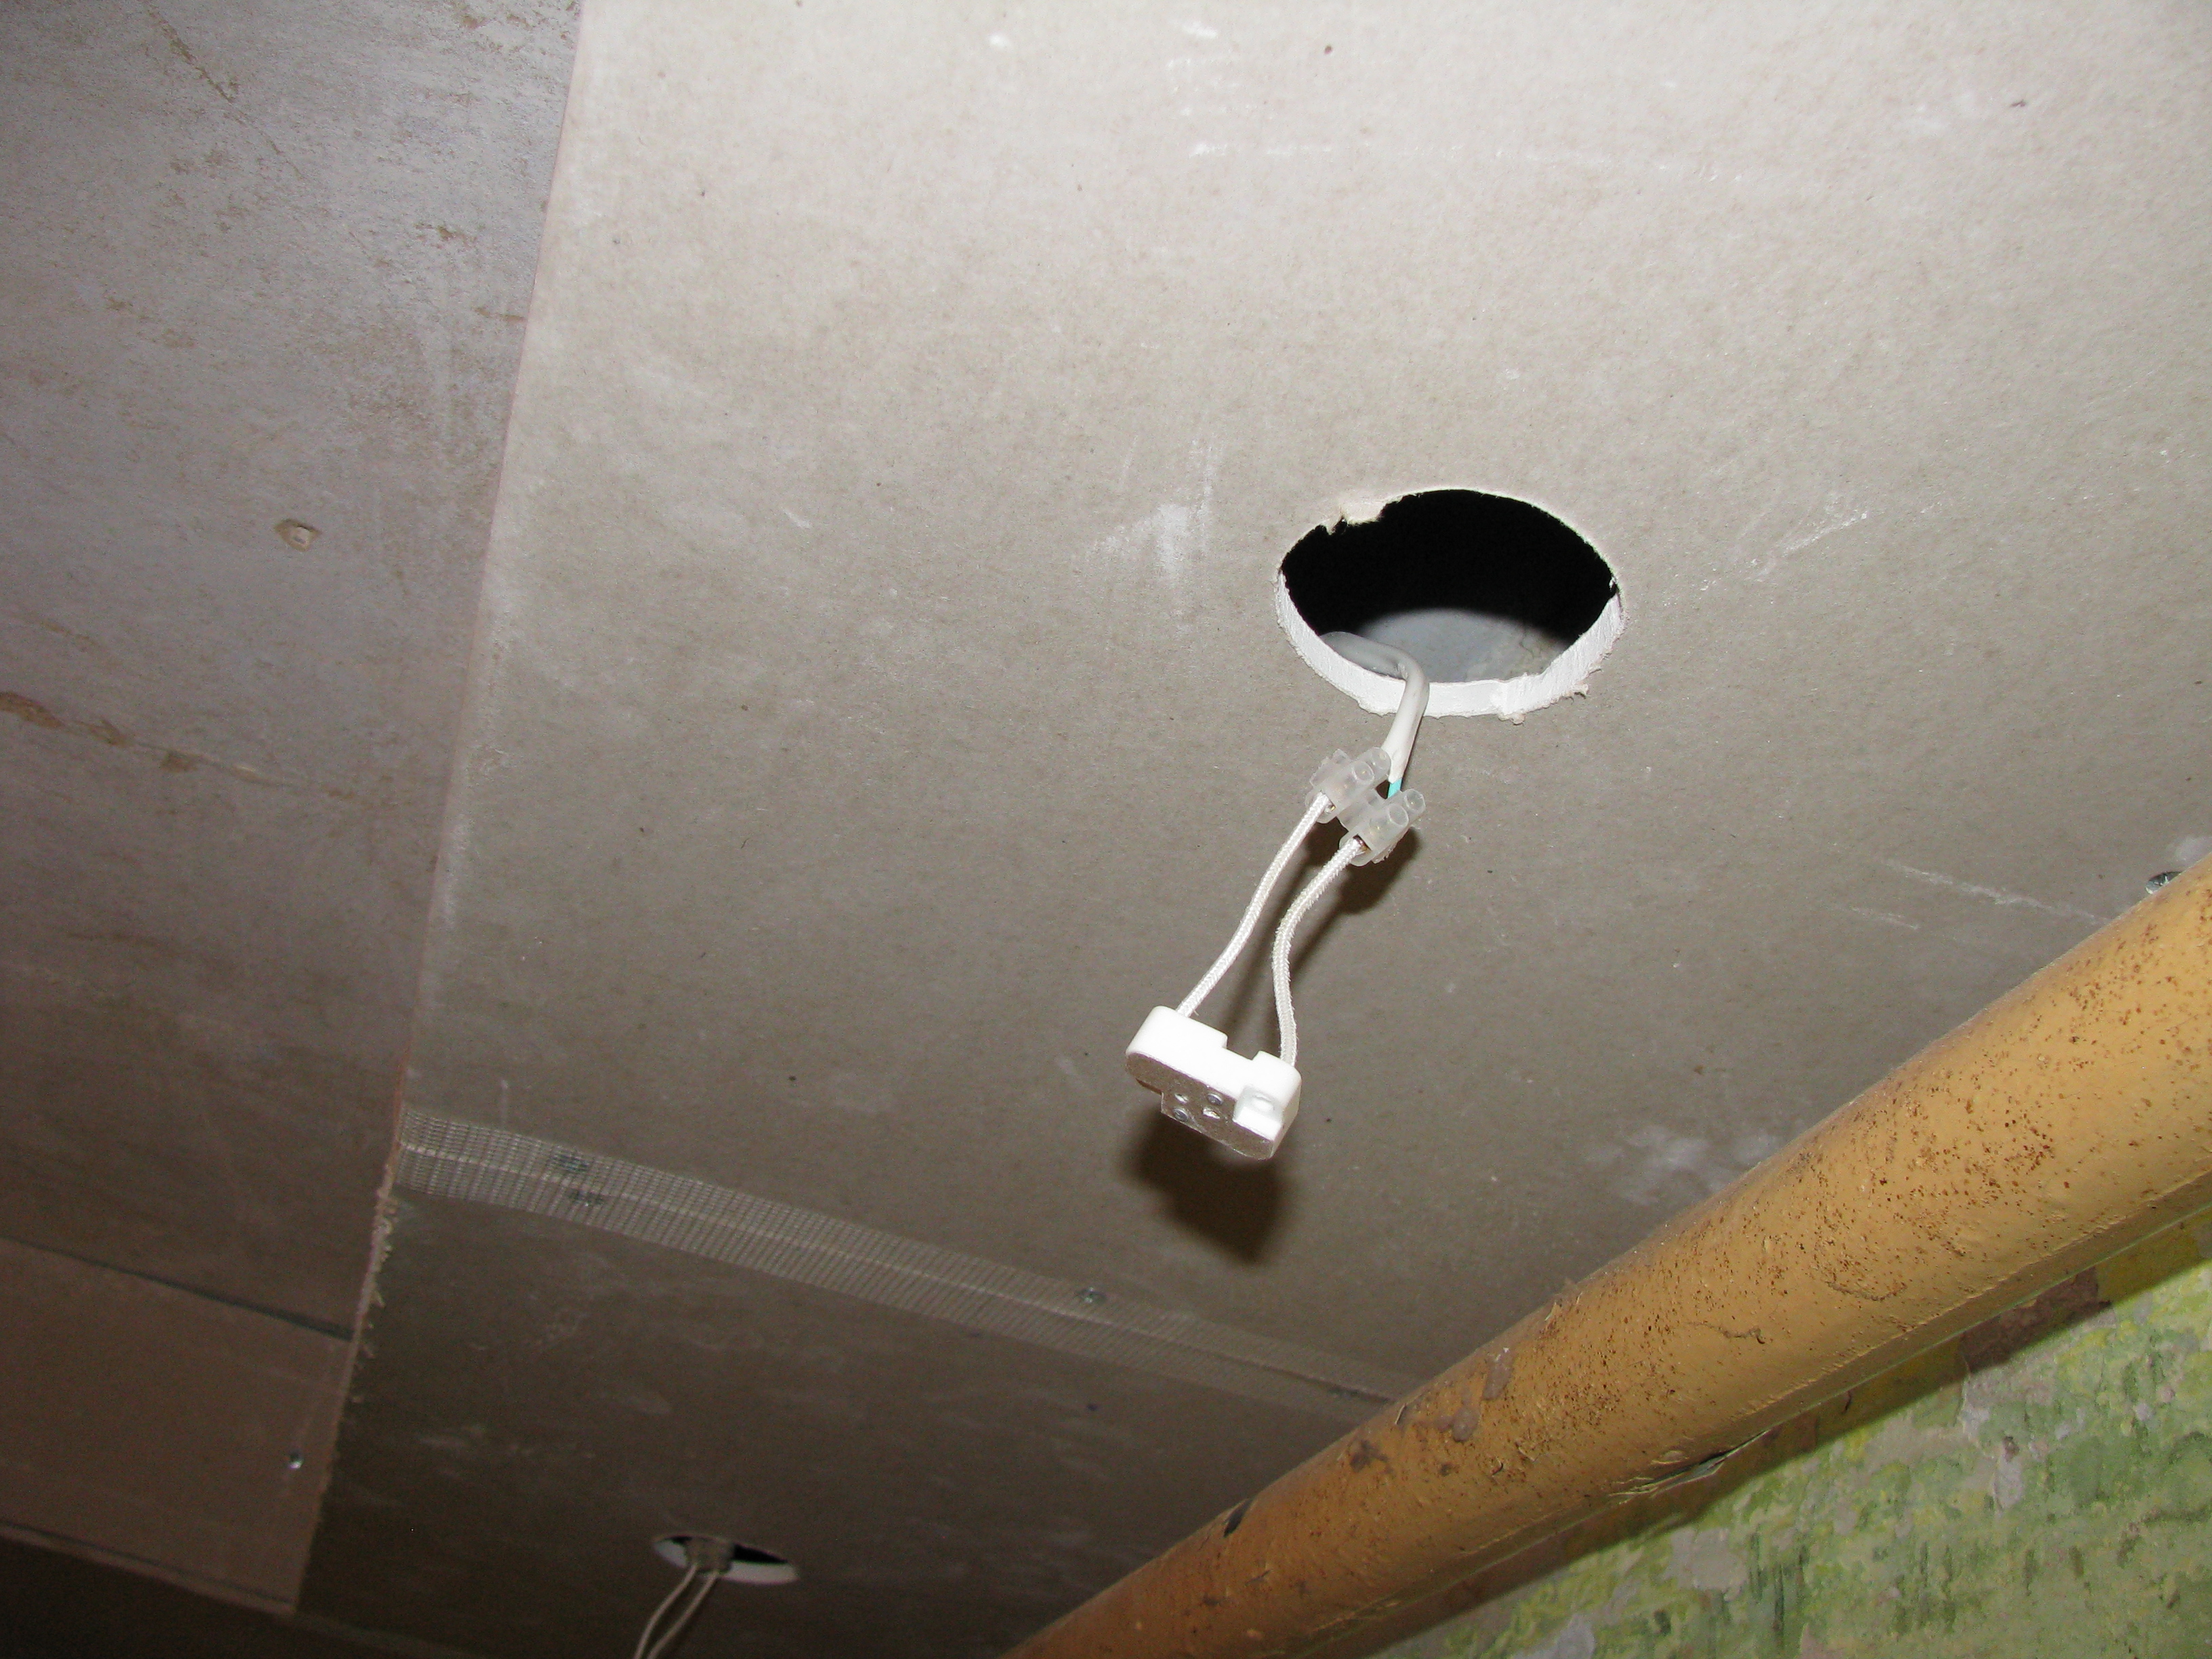
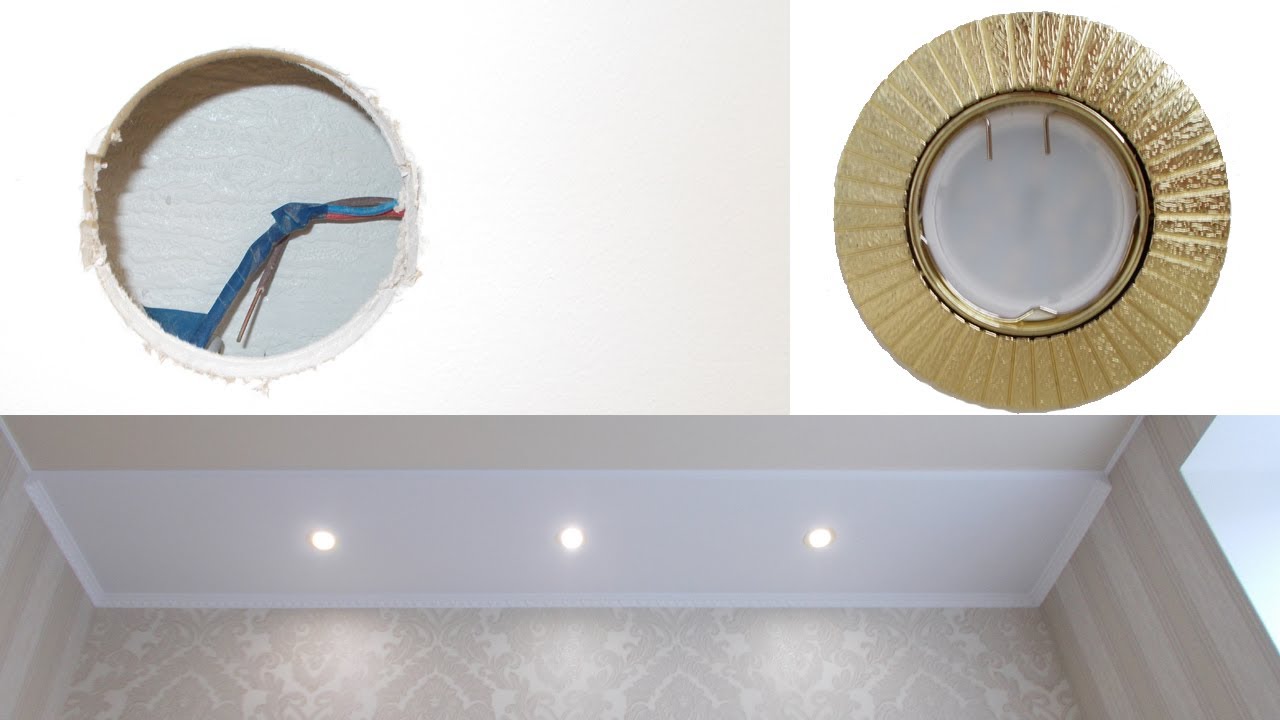
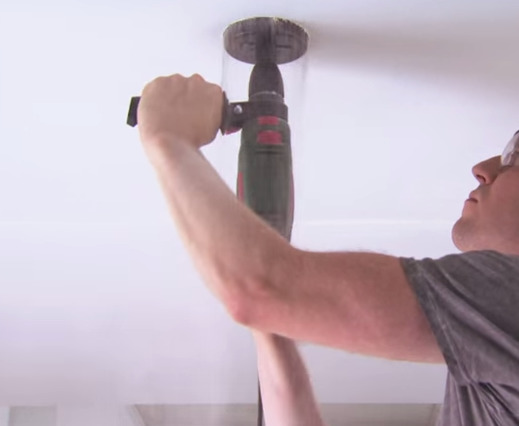
In drywall you need to make a hole in the shape of a circle so that its diameter coincides with the size of the lighting device (for example, 60-75 mm).Even if the body of the lighting device is square, it is still necessary to make a round hole. And then you need to cut the corners with a knife. It is recommended to take measurements yourself not to be mistaken. After all, the instruction attached to the lamp sometimes contains incorrect information.
Hole (or strobe) make a drill with a suitable cutter. Masters, even with extensive experience, prefer to collect the grooves when the sheets are not yet attached to the frame. If the plasterboard ceiling is already assembled, then you need to focus on the scheme of lighting devices. It happens that the hole coincides with a metal frame. In this case, the installation of the lamp will not work.
The next stage is finishing. After them you can proceed directly to the installation of lamps.
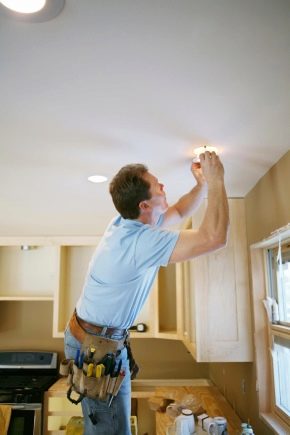
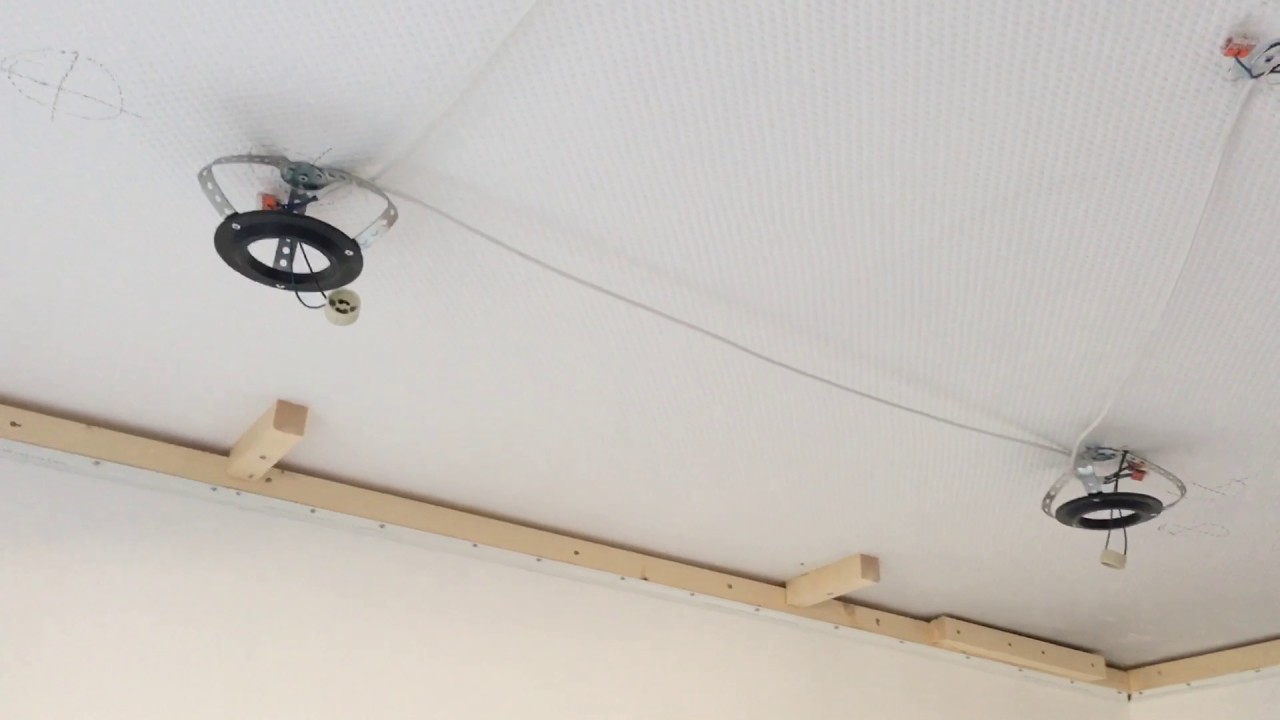
Installation phase
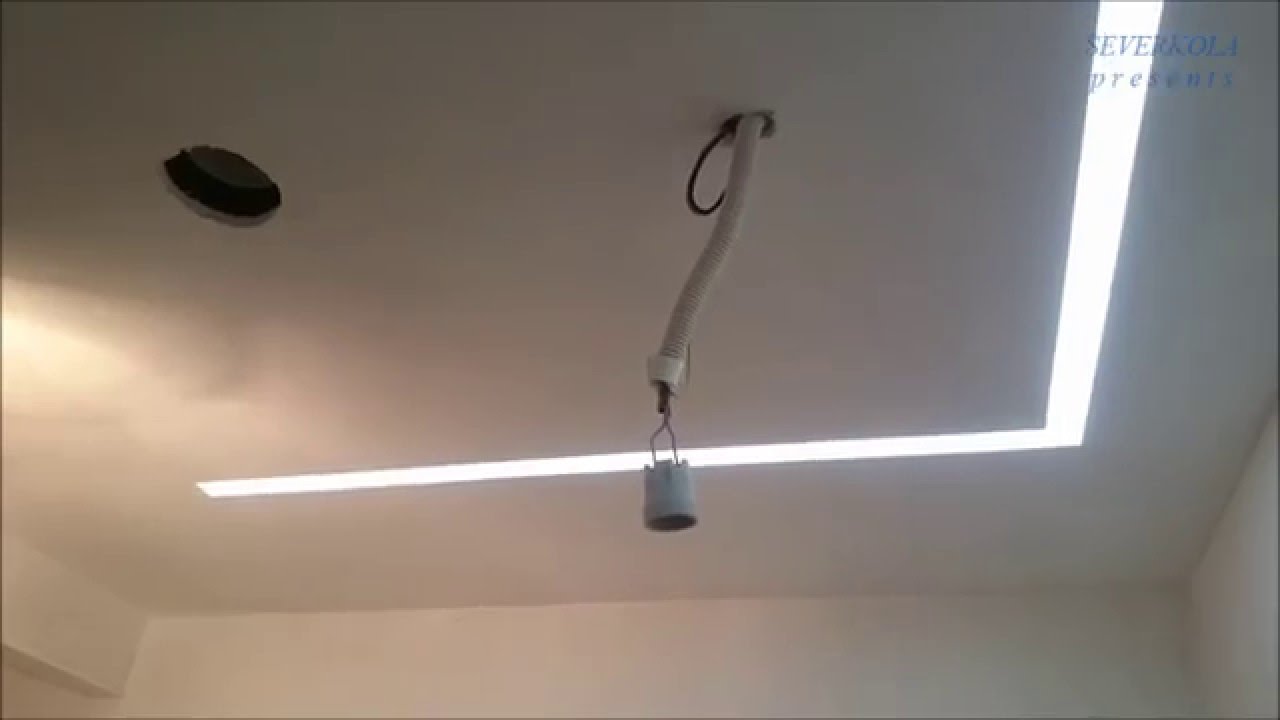
When finishing work is over, the ceiling is painted or wallpaper-coated, and the electricity is turned off, previously laid electrical wires are brought out.
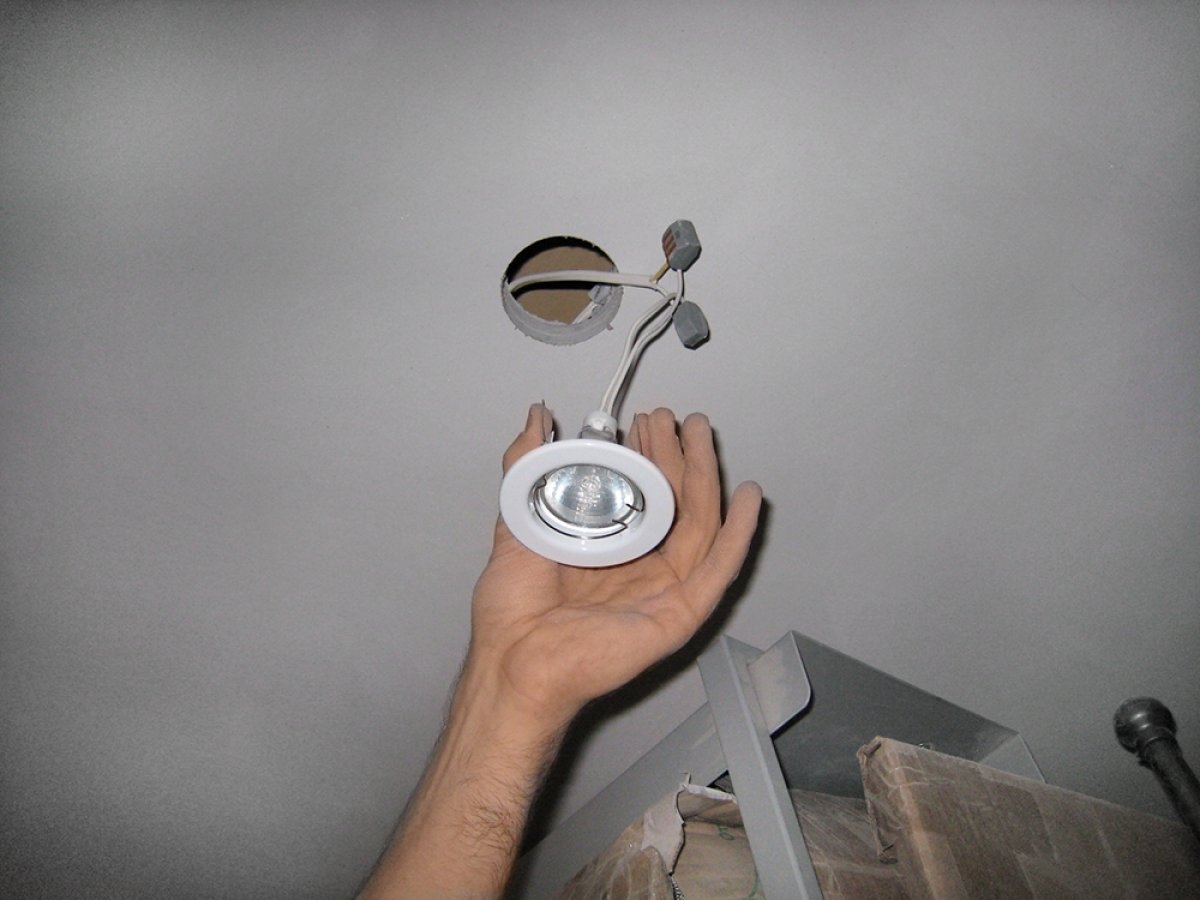
- take the luminaire and secure the wiring from the chuck in the terminal block;
- on the other side of the pads, connect the wires from the network, located under the drywall;
- follow the signs on the lighting device (zero, phase, ground);
- then comes the turn of the installation of the lamp in drywall.
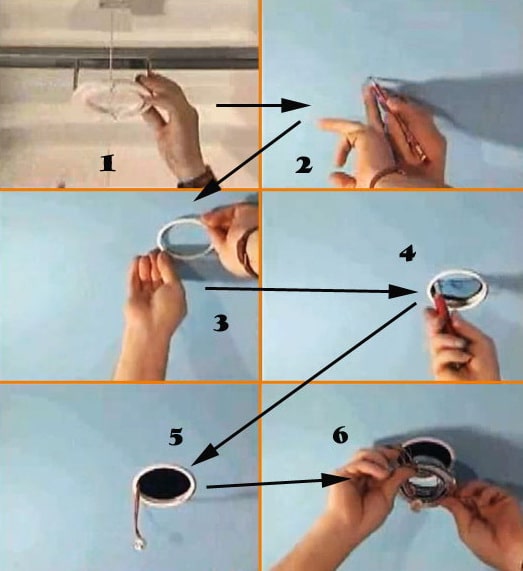
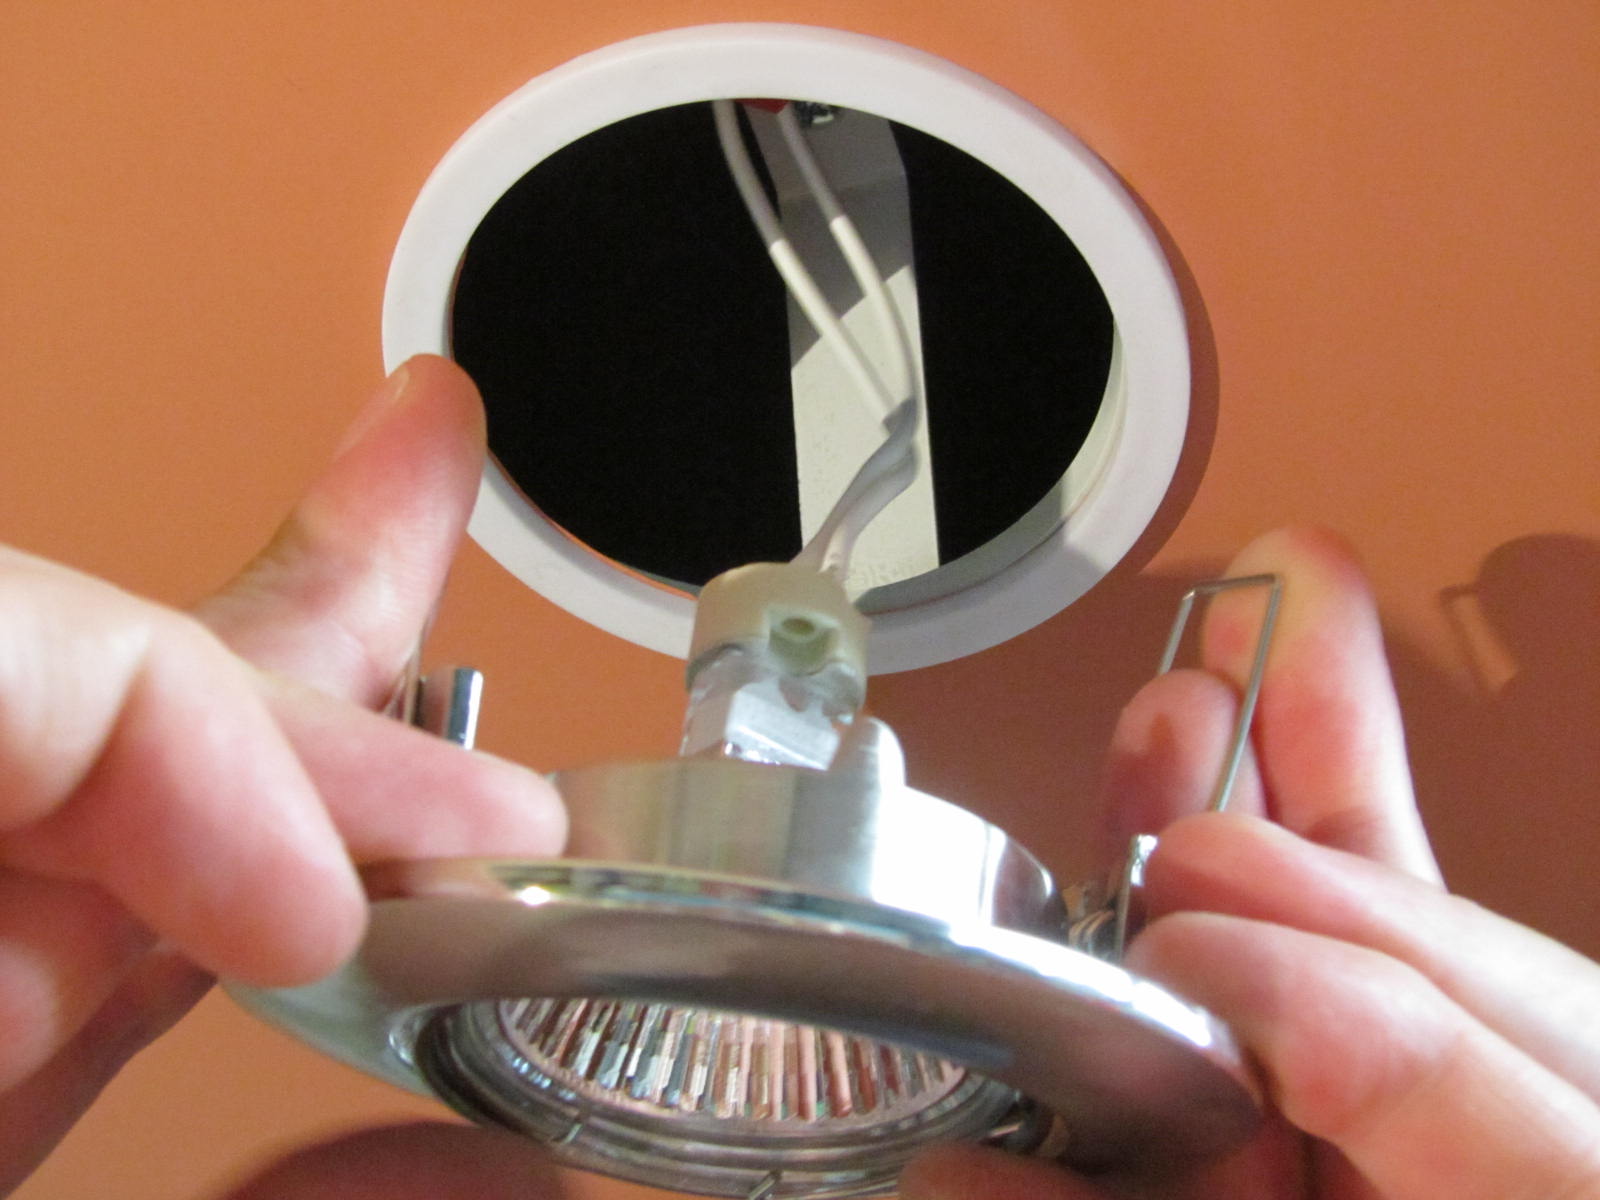
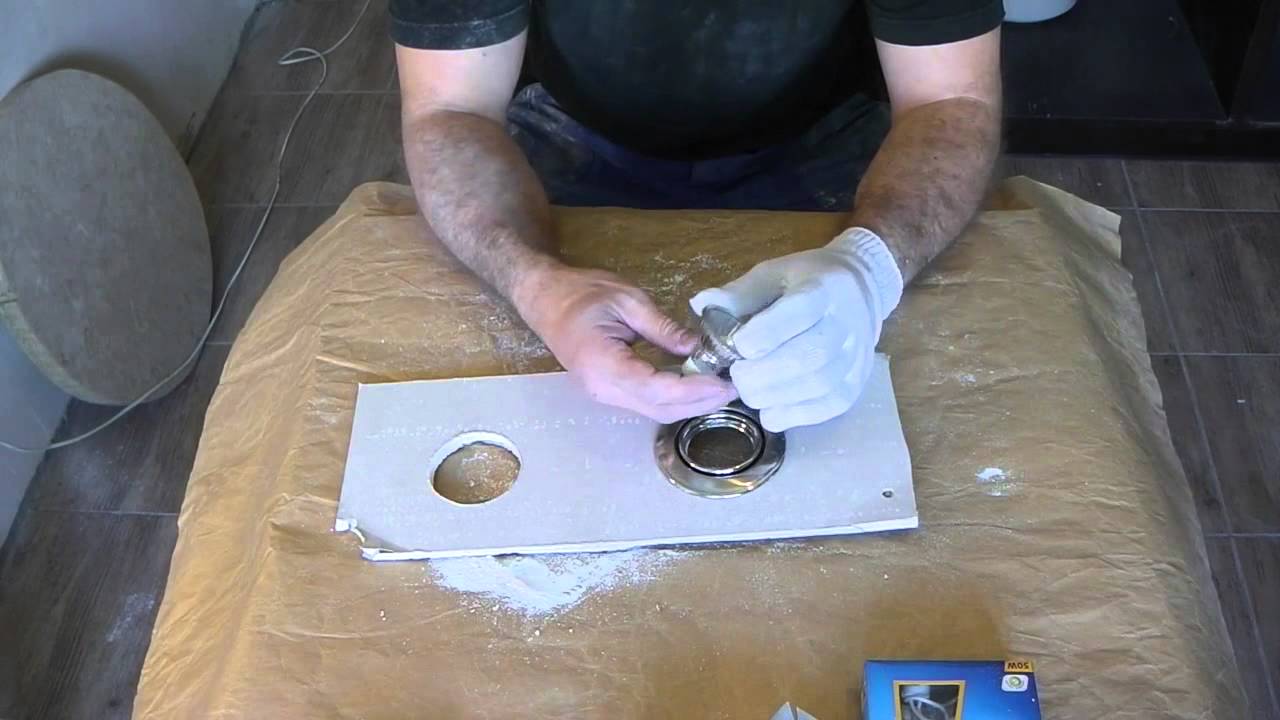
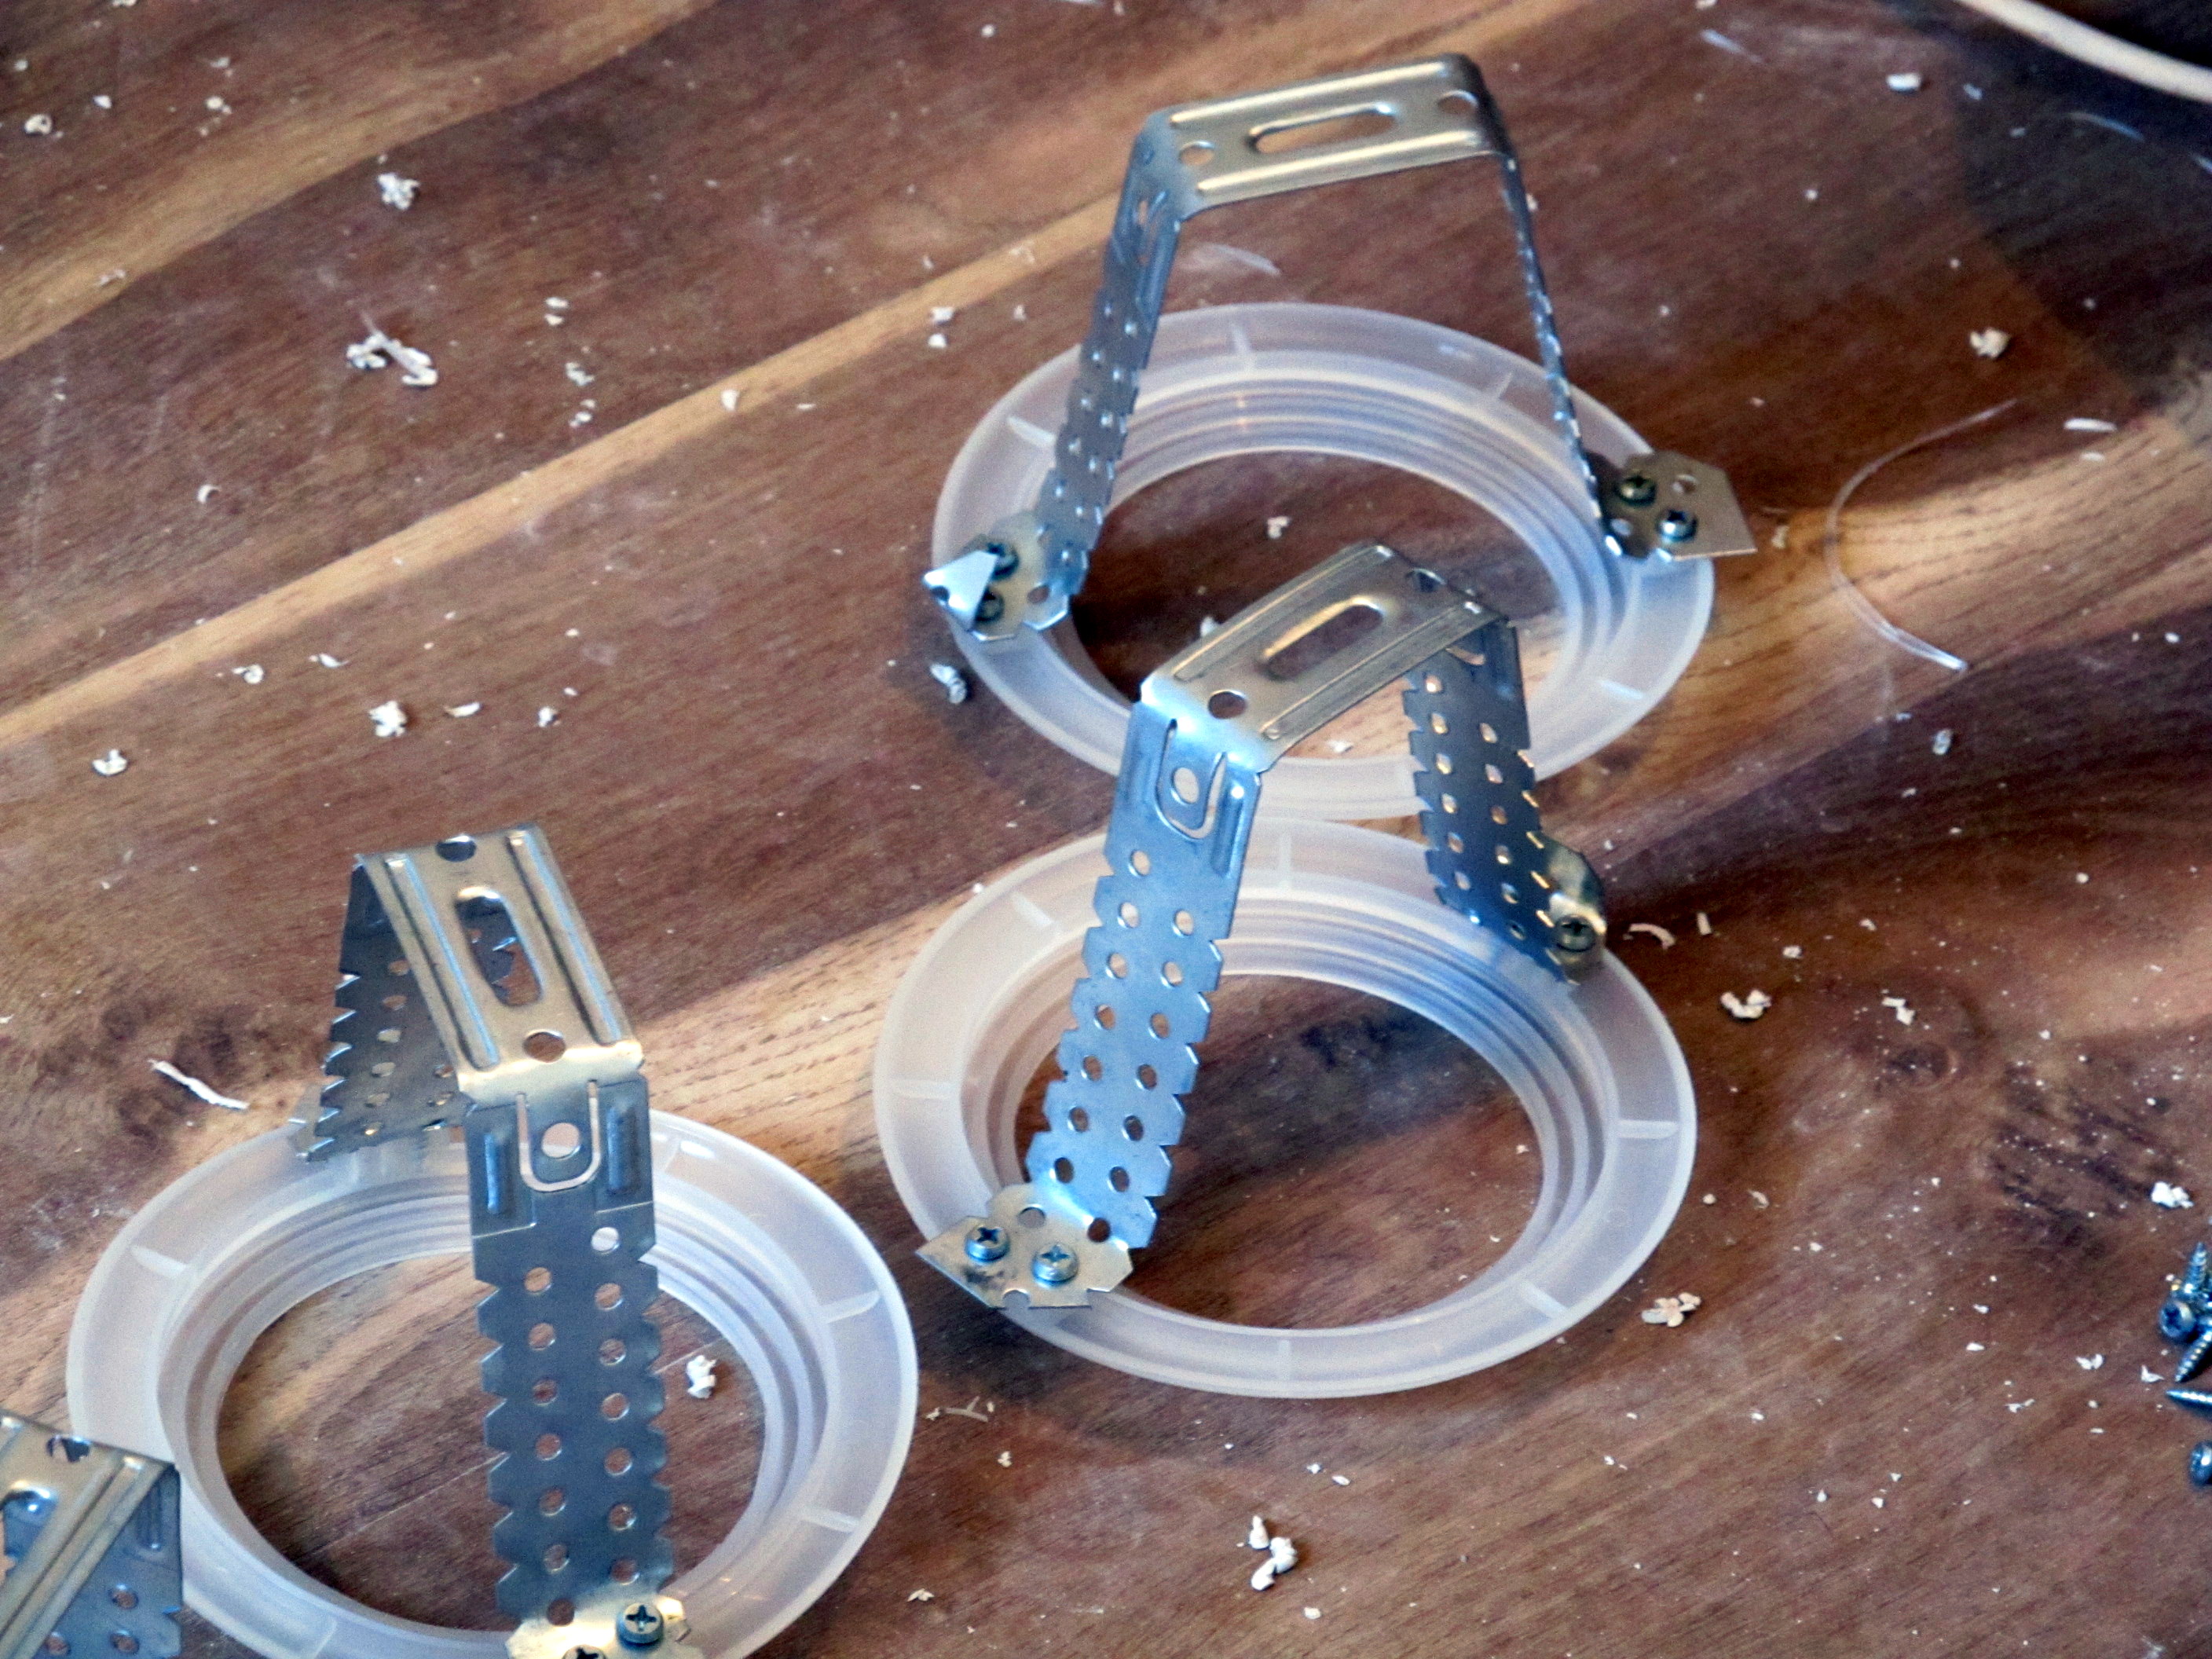
Inexperienced masters sometimes have difficulty, as the shape of the device interferes with the installation. If you make an effort, you can harm the finish. Use a simple technique: connect the antennae of the mount with a piece of wire, and then insert it into the hole.
Next, cut the wire with wire cutters to create a spring effect. Under its influence the lamp will fall on the intended place. Then screw the lamp into the lamp and install the decorative part. Repeat these manipulations with all embedded devices. Now you can check if the entire electrical system is working.
Is the installation process difficult?
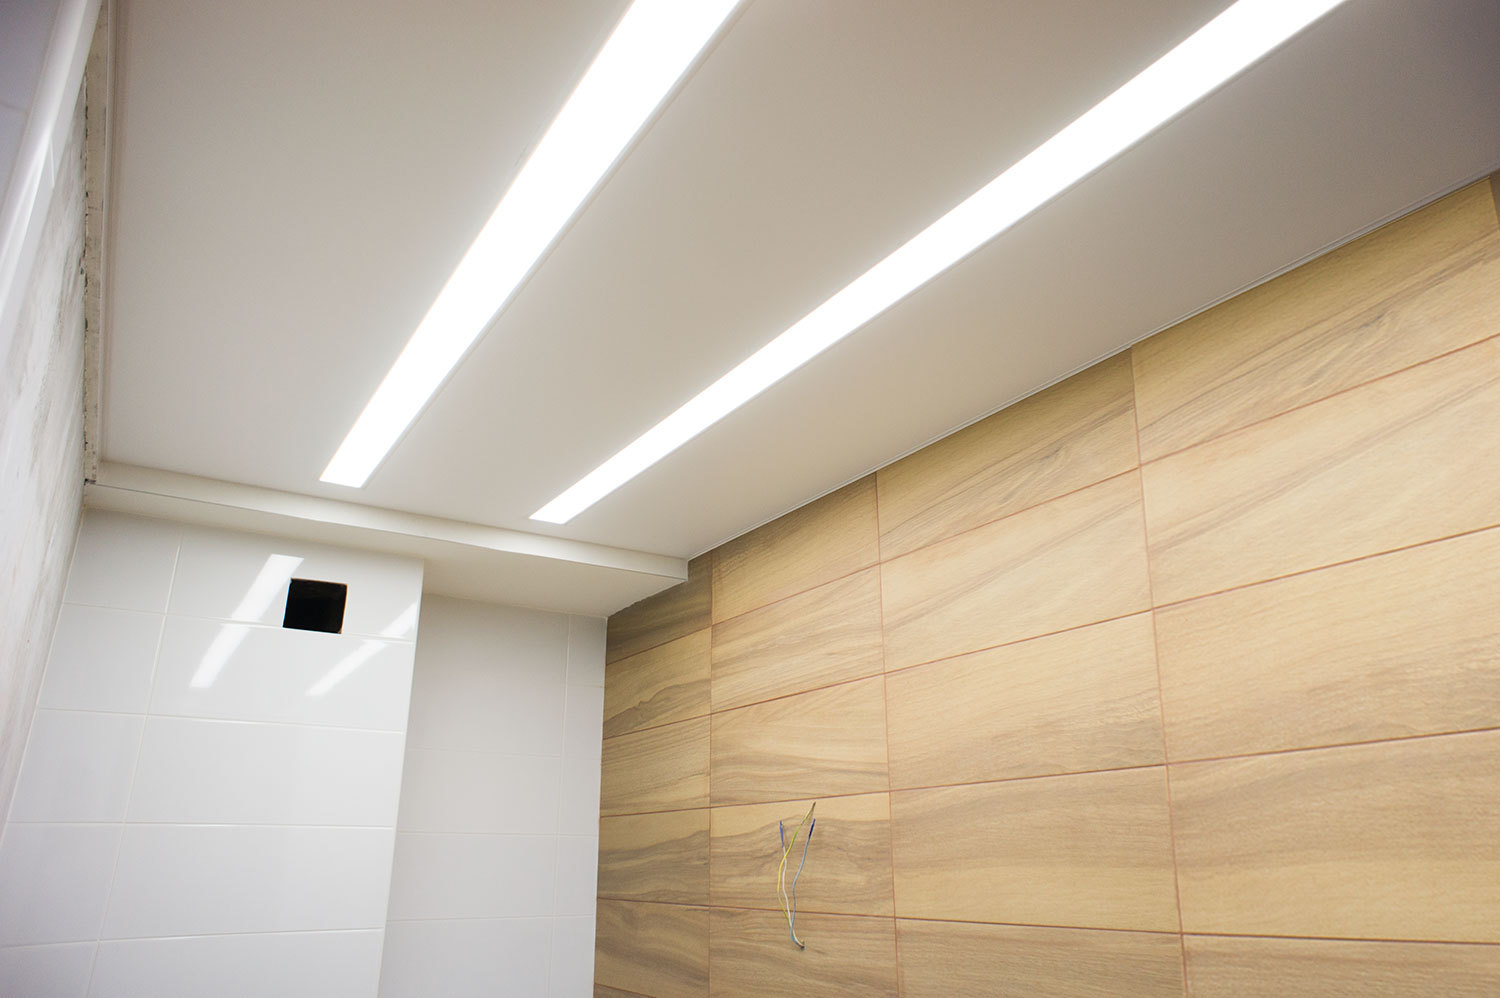
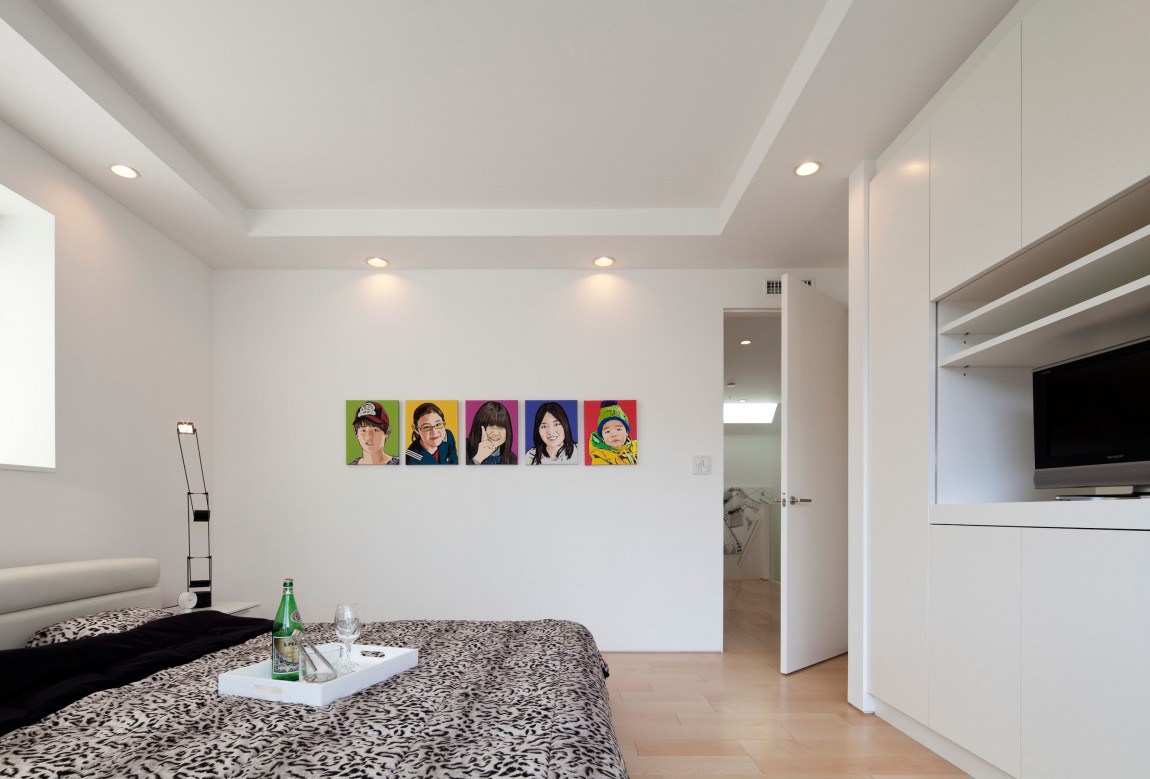
Despite the apparent complexity, these manipulations are available to electricians who are new to the amateur level. With a certain skill, the installation of one object takes no more than 30 minutes. As a result, you get high-quality interior lighting. Hidden light bulbs do not attract attention to themselves, so they fit into any interior style. It is recommended to use for these purposes LED lamps.
The outlined instructions are intended for people far from construction and repair. By following the step-by-step recommendations for preparing and installing spots in drywall, you will do this job quickly and efficiently. The result of your work will delight the whole family!
How to install the fixture in drywall, see below.