The subtleties of plaster ceiling
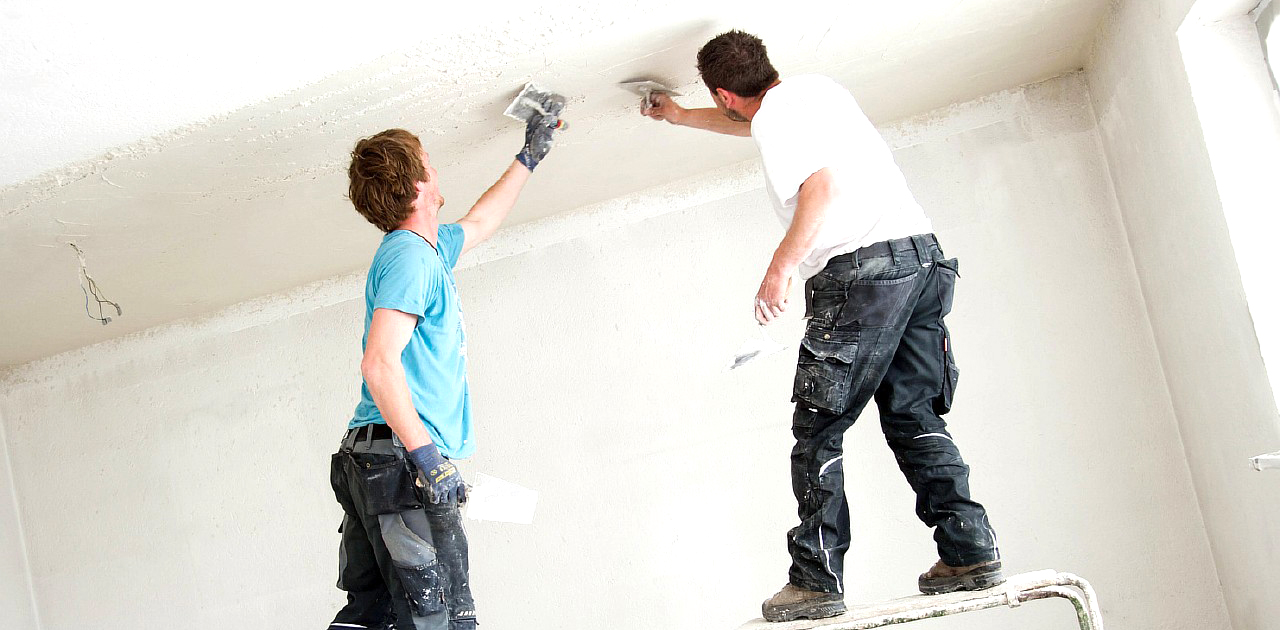
Starting to make repairs in the house, apartment or office can not be ignored the finishing of the ceiling. Those who have already done repairs, are familiar with some of the difficulties encountered in the process of leveling the surface. Even beginner builders can make an even wall, but the situation with alignment and finishing of the ceiling is not so simple.
Special features
Whichever finish is envisaged - wallpapering, painting or whitewashing, work should begin with the preparation of the treated surface. Such work requires certain skills. Even skilled masters can sometimes even difficult to level the ceiling.
When choosing a method of finishing any surface, you should find the best option and consider the pros and cons of the applied material. To level the ceiling is often used plaster, because This material has certain advantages:
- environmental Safety;
- it is used to provide durable and long-lasting coverage;
- when working with your own hands, you can save a lot;
- natural material is suitable for finishing living spaces, will be harmless for allergy sufferers and for people with diseases of the bronchopulmonary system;
- when applying plaster on the ceiling, the height of the room will decrease slightly.
After considering the advantages of this material, you should find out what disadvantages the plaster mix has:
- if the thickness of the applied layer is more than 5 cm, in this case it is not recommended to use it;
- it may take a fairly long period of time to properly carry out the work in order to achieve the most even surface possible;
- if for work to involve craftsmen from the outside, such repairs will become much more expensive, besides, one should not forget not only about the payment for workers, but also about the purchase of material.
Types and compositions
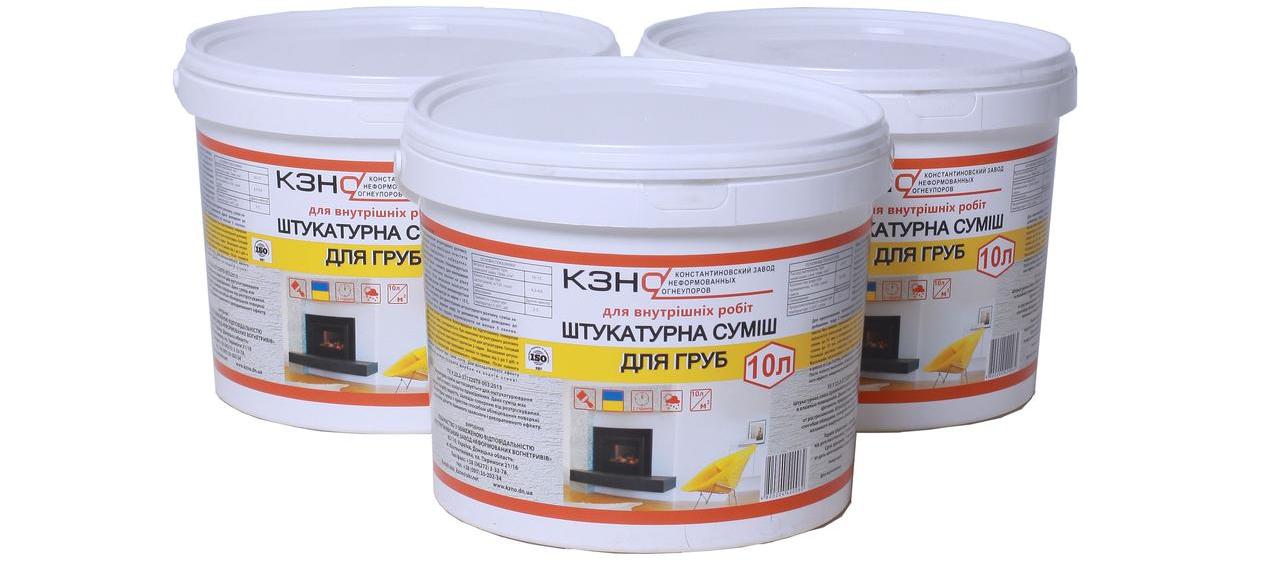
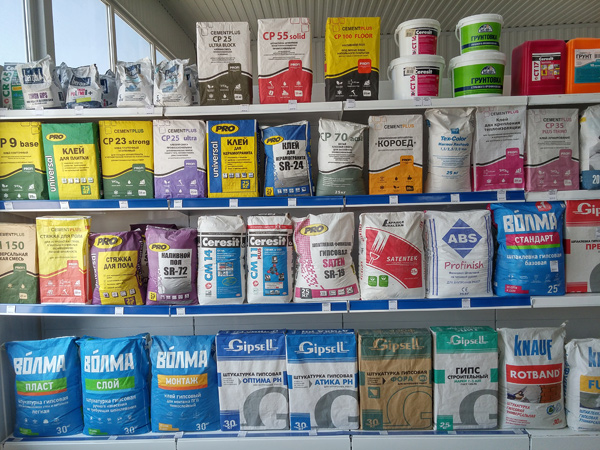
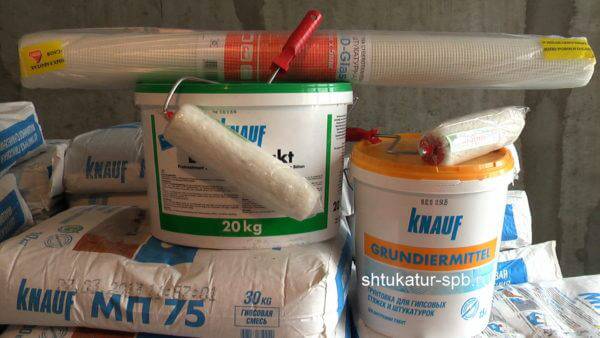
Today in the store on the shelves you can see a large number of mixtures that are used for repairs. Their characteristics:
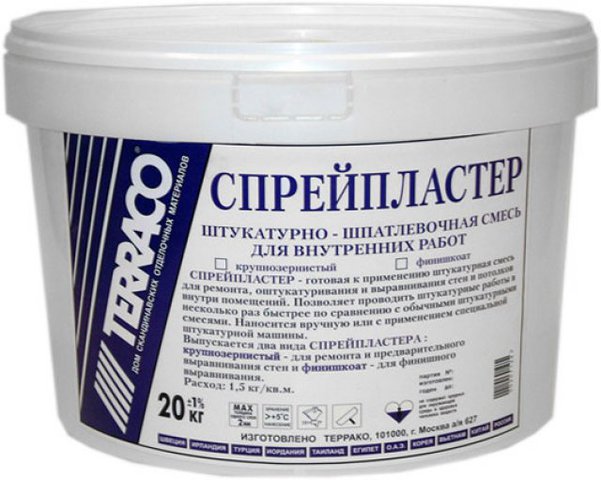
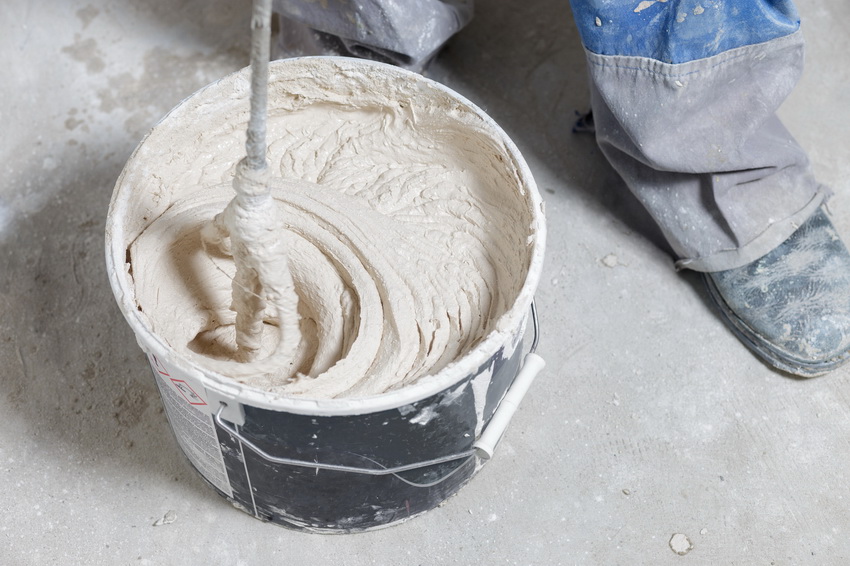
- Ready solutions. When buying polymer-based solutions you need to keep in mindthey are quite expensive, and a significant amount of them will be required for work, so financial costs can be large.
- Cement-sand mixture. An additional ingredient for such mixtures can be lime. It is quite convenient material to use, although working with them will require certain skills.
- Gypsum composition. It is very easy to use, especially if the work is carried out independently. Gypsum composition has high adhesion to many surfaces, especially to concrete, which is important when working with concrete ceilings.
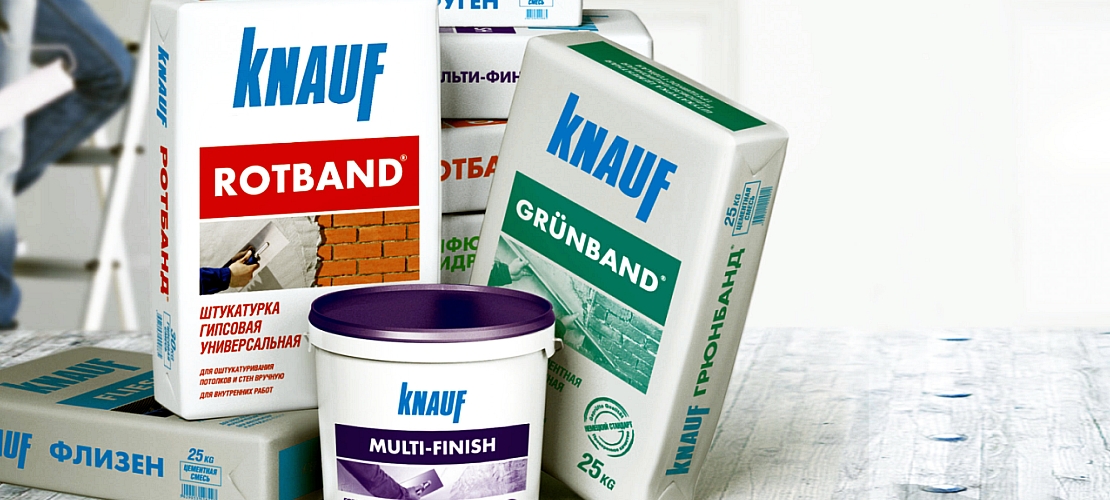
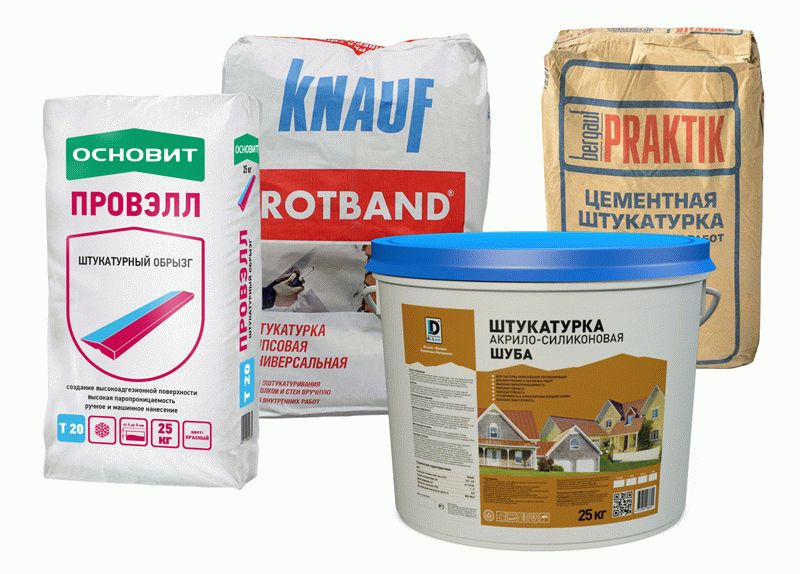
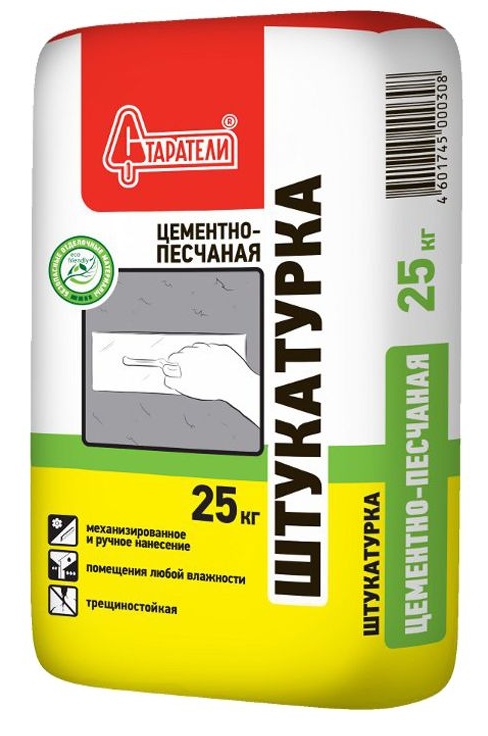

Most often, when plastering the ceiling, choose a mixture that has gypsum in it, but in rooms with high humidity it is better to use cement mortar.
After applying a layer of plaster should be putty, then finishing the surface is carried out. When performing the final stage for the finishing trim, you can use mixtures that are made in different colors. When the color mixture is applied to the ceiling, all the deficiencies are immediately visible.
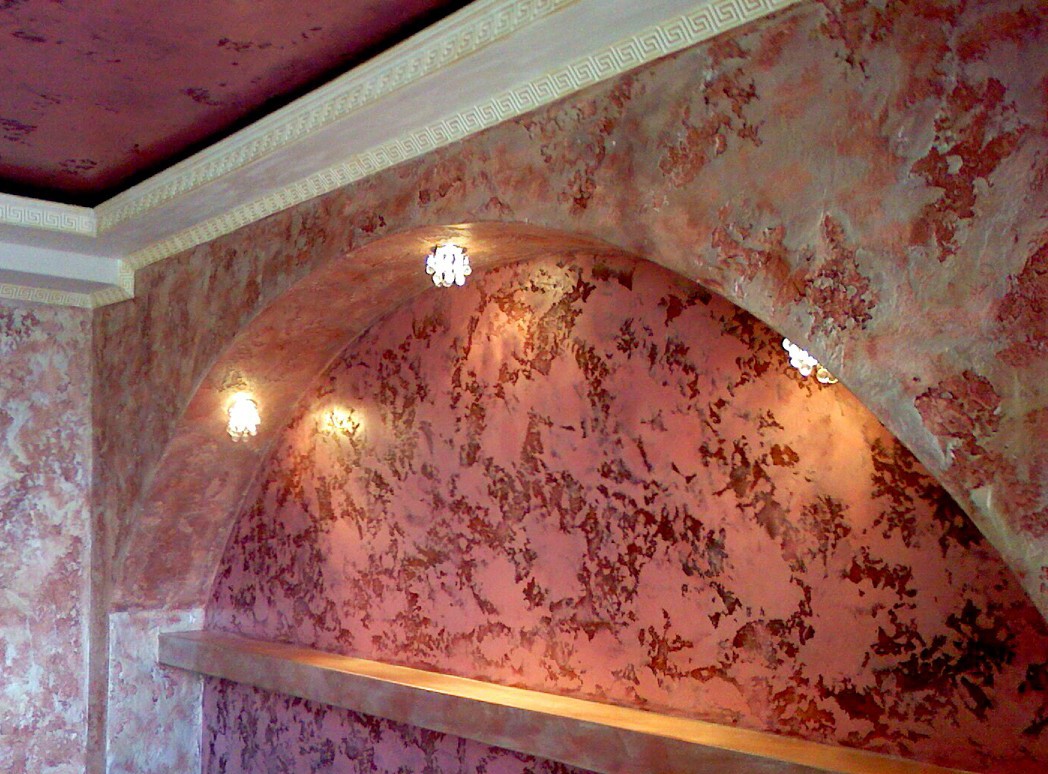
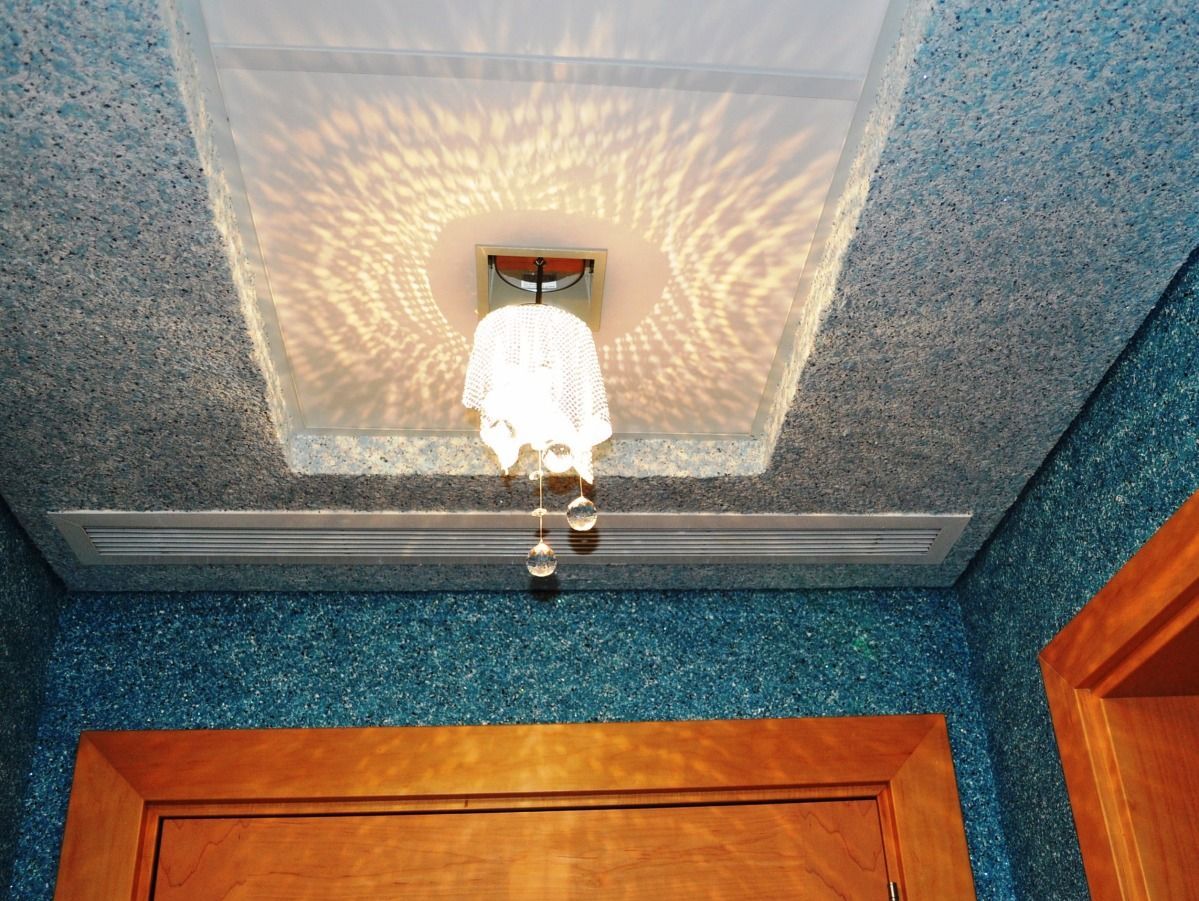
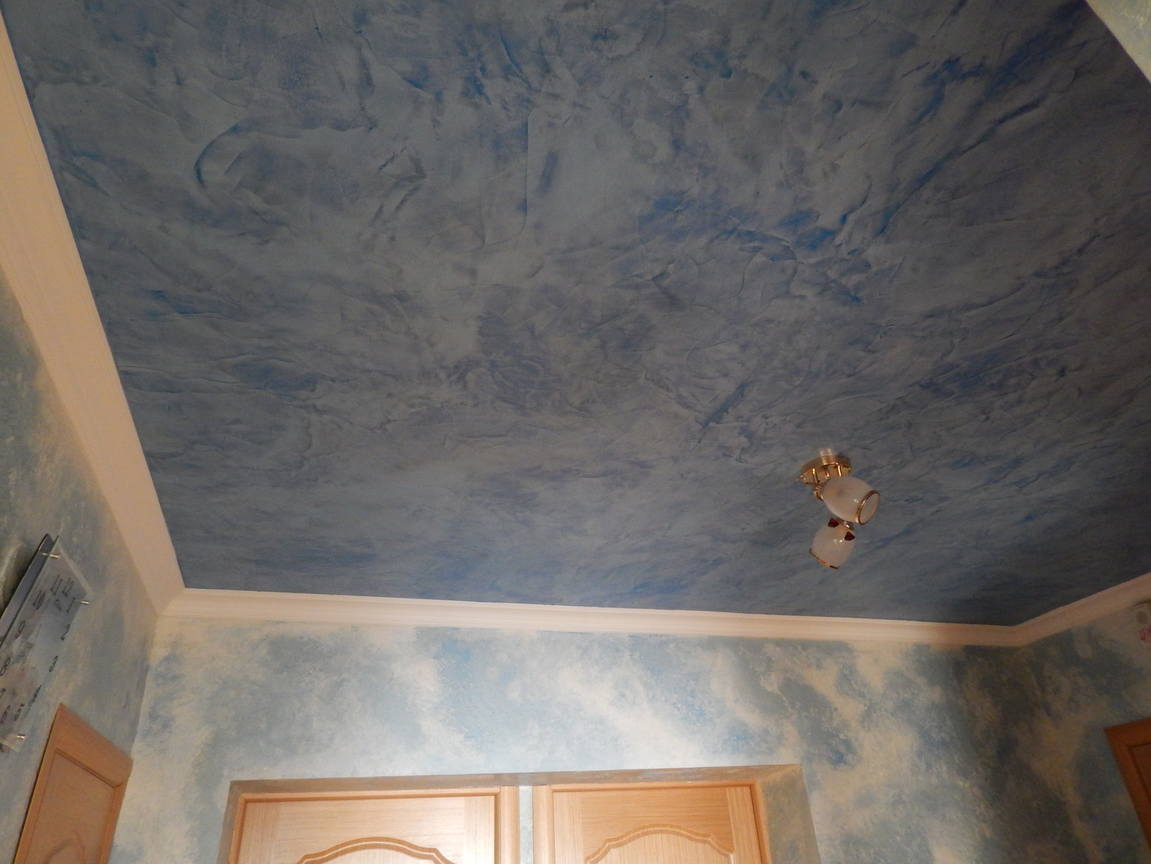
For many, when finishing the ceiling, only a smooth surface without decor is insufficient, therefore, decorative or silk plaster is often used for the ceiling.When applying the latter to the ceiling or walls you can achieve a very interesting effect, thanks to its application, the surface will look like velvet.
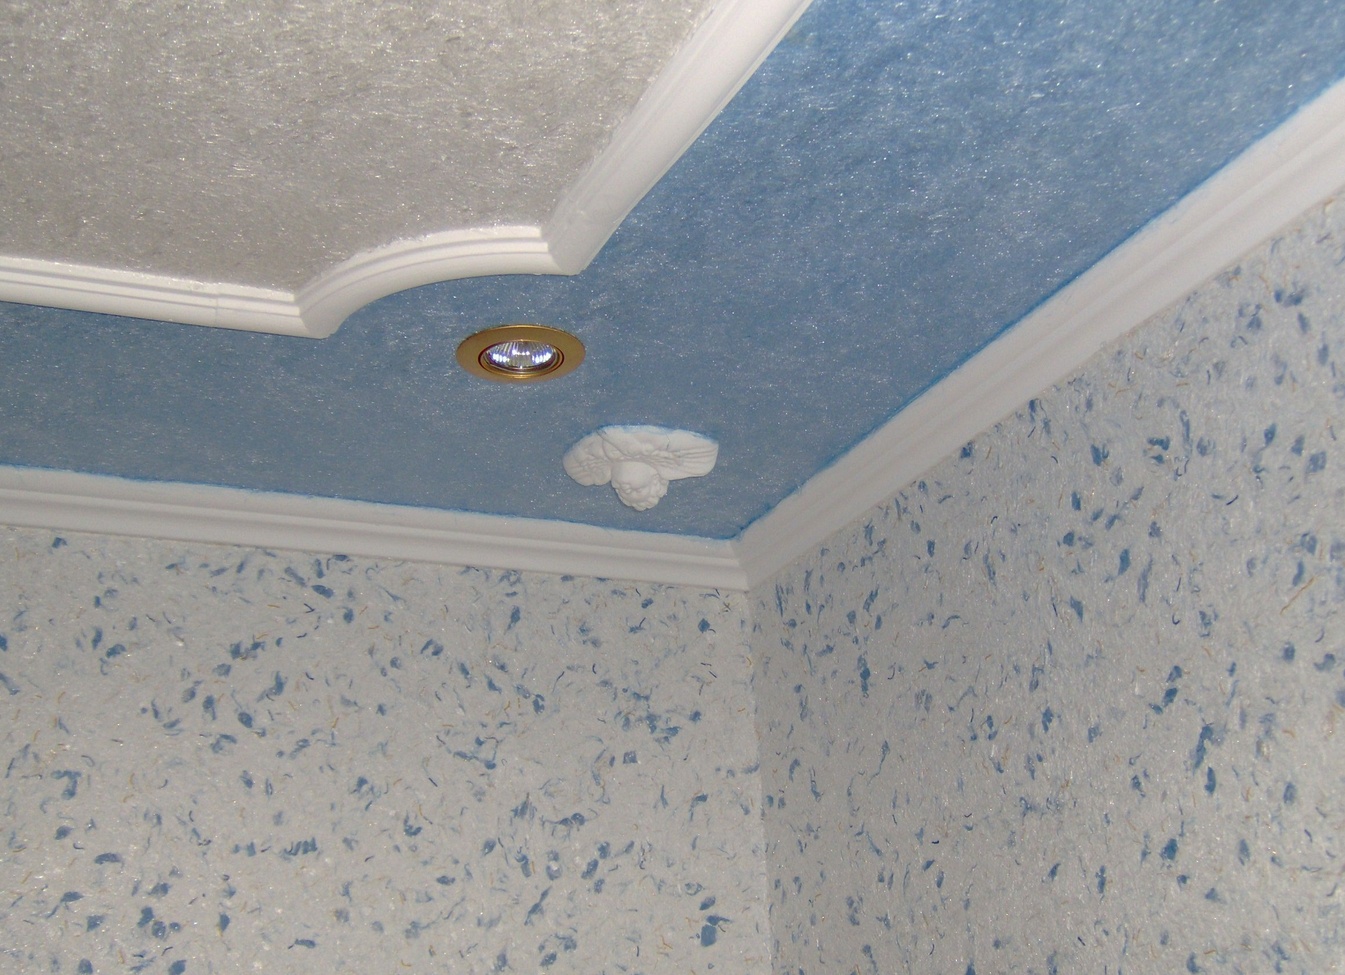
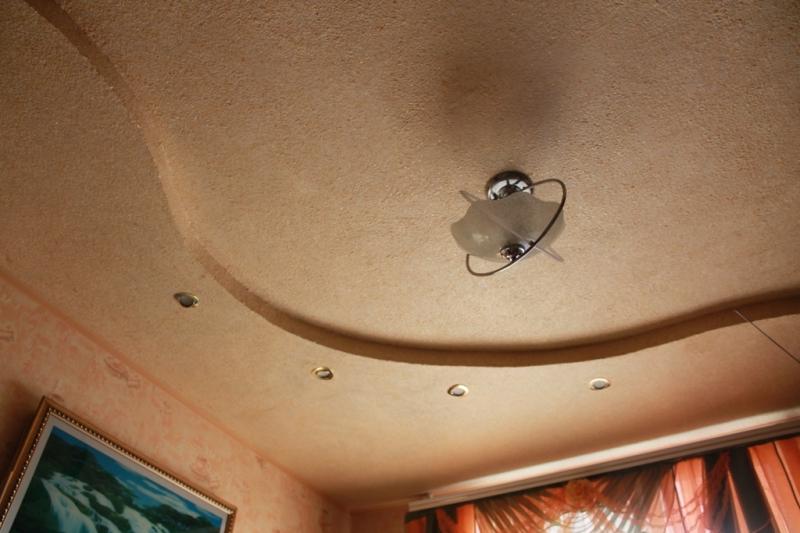
Working with decorative plaster, you can change the design of the room, make the room interesting and original. With a simple alignment of the ceiling take the usual white plaster, to give the surface a special style and interesting design choose decorative.
Scope of application
The use of plaster allows you to quickly and accurately align any surface, it is suitable for working with concrete and wooden coatings, use it for plasterboard ceilings.
When choosing a material, preference is given to materials with good adhesion. Plaster must adhere well to any kind of surfaces, it is perfect for a wooden or concrete ceiling. With the help of plaster, you can properly level the ceiling without experiencing great difficulties. The mixture is applied to the wall, while the ceiling surface becomes flat and smooth. If during the application of the mixture to adhere to the advice and recommendations and to do it with high quality, then this work can be done even by a beginner.
Starting repair work, the surface must be cleaned of dirt.
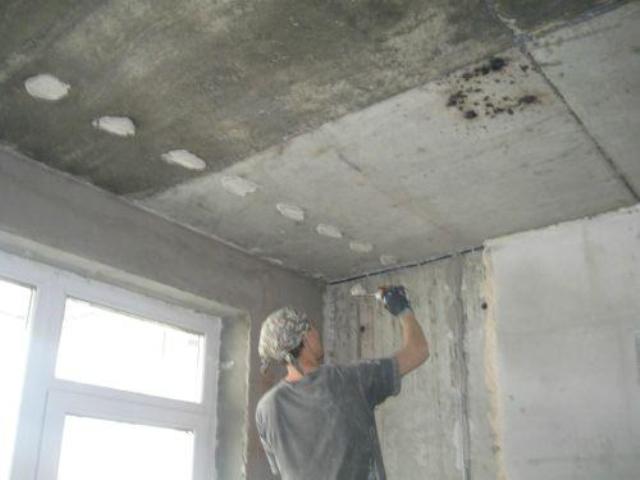
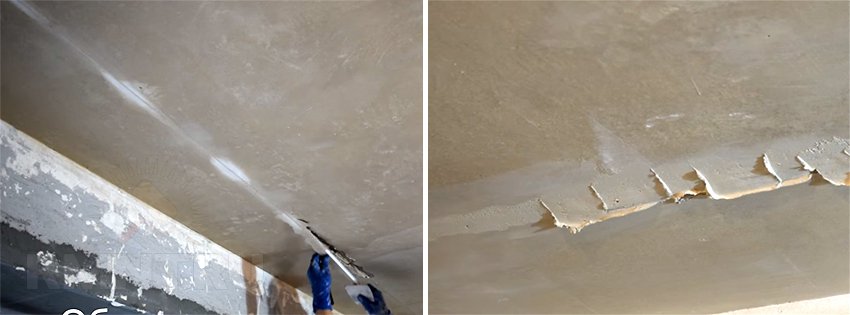
When the wall is dry, a primer is applied to it, special attention should be paid to the joints of the slabs and good treatment of the joints. During the filling of the plasterboard surfaces all the irregularities and seams are aligned. If you plan to glue the ceiling wallpaper, then plaster it, so that through the wallpaper was not visible slabs.
If the ceiling is made in the bathroom or in the kitchen, it is better to choose a cement mixture. In the event that the ceiling consists of drywall, you can not install beacons on such a surface.
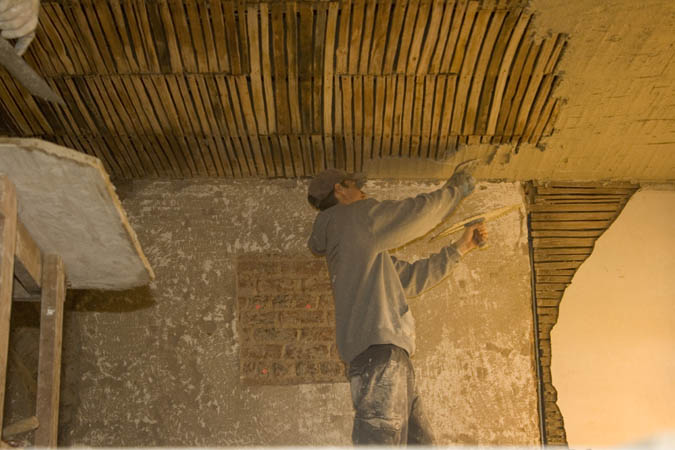
If the work is carried out in a room with a wooden ceiling, metal mesh or shingles are pre-filled with it. Thanks to such materials, the layer of plaster adheres tightly to the ceiling surface.
Often for the design of ceilings used foam. This material has an increased flammability, besides it does not tolerate the direct rays of the sun falling on it, so a layer of applied plaster can protect it from negative external influences.
If the work is carried out on vaulted ceilings, it should be borne in mind that it is sometimes difficult for beginners to cope with putty on such a surface, and it is difficult to cope with work without a special skill. Experienced craftsmen working with vaulted ceilings can use beacons or apply the mixture with a spatula., but materials for use are selected specifically tailored to the size of the vault. For vaulted ceilings, it is impractical to completely level them, because in some places you will have to apply a very thick layer of mortar, which can lead to its collapse.
To align the ceiling surface, you can choose a warm plaster. With its help, you can not only properly level the walls, but also to warm the room.
If cement-sand or concrete mortar is mixed with foam chips, then this solution can be used to treat the ceiling surface, use it to repair walls, and apply it on the joints of floor slabs.
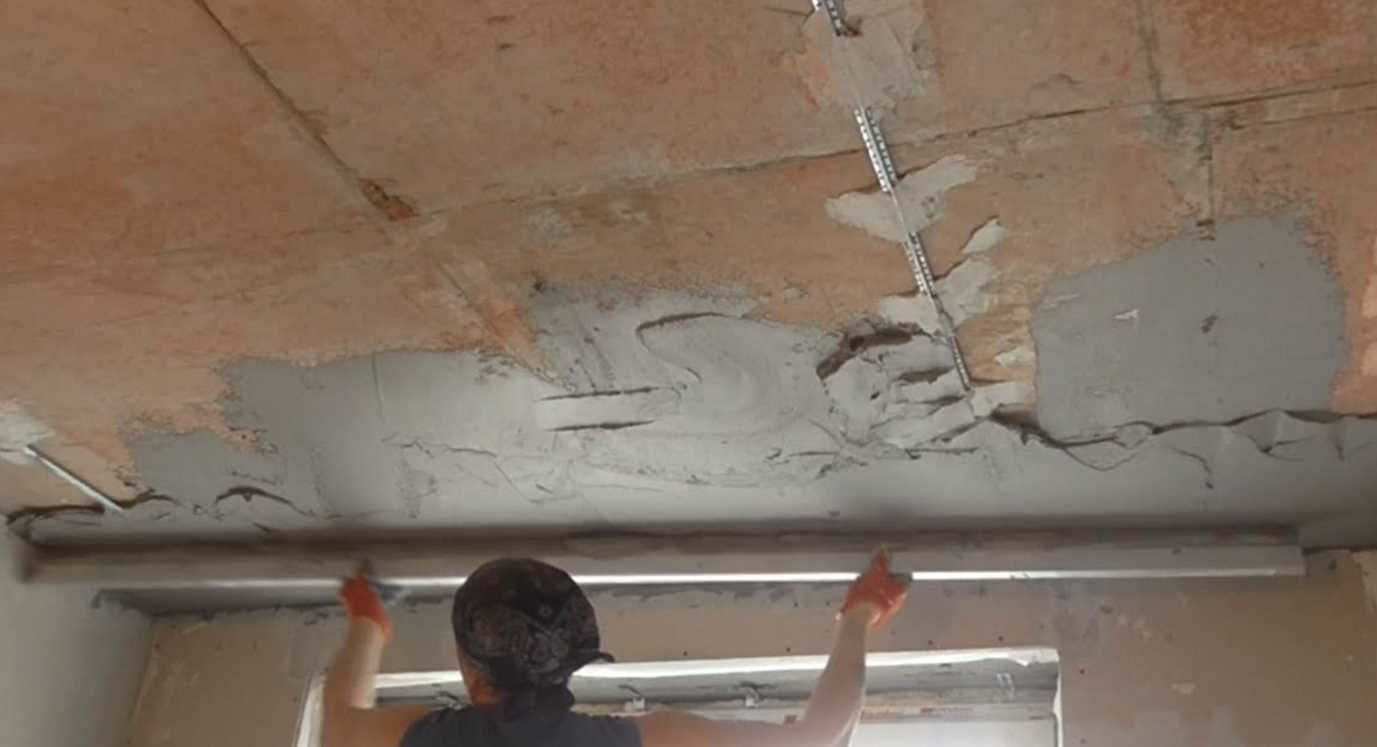
Layout and installation of beacons
One of the important stages is the markup for beacons and their subsequent installation. They are very useful in the work, especially if you do it yourself without experienced craftsmen. With the help of beacons you can achieve a flat surface, they can be used to conceal the wires that are located on the ceiling.
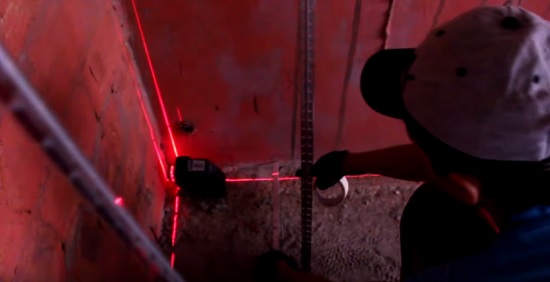
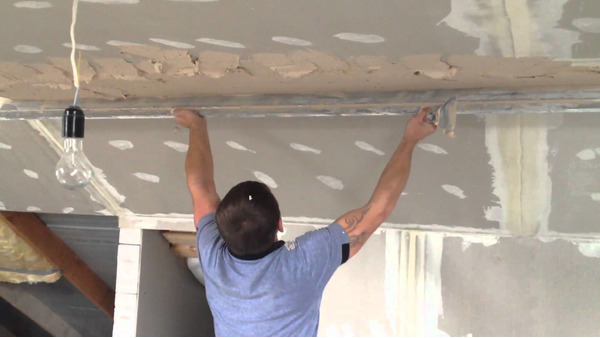
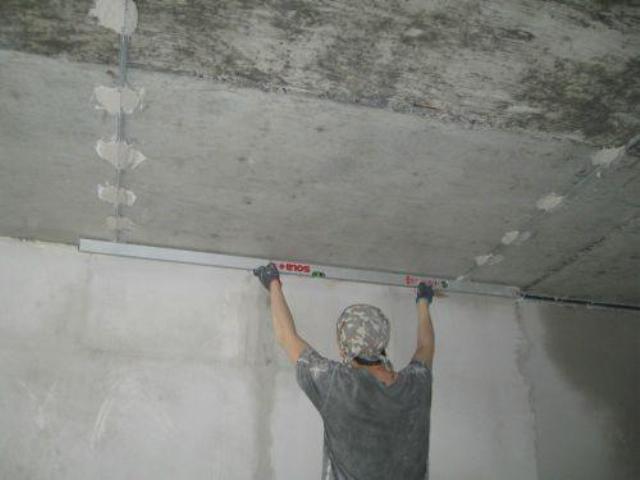
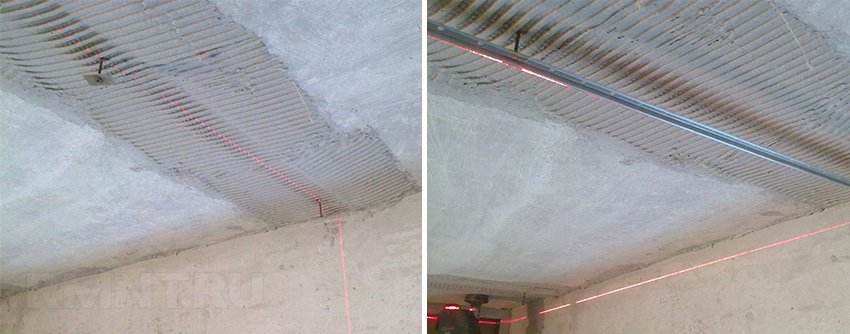
For drawing markings on the ceiling they find the lowest point. If a laser level is used for marking, this will greatly facilitate the task. Professional finishers have long used such a tool, so it’s better to have it at home or ask the masters for a while. To place a level on the ceiling, use a dowel or use a special rod. With the help of the beam, you can set the beacons in a plane that is precisely aligned horizontally.
Masters recommend several ways to install beacons:
- To do this, take steel profiles, most often use elements with a length of 3 meters and a height of 6 mm. Mark the lines on the ceiling. These are the places where lighthouses will be mounted. If there are no special skills for such work, it is better not to make too large gaps between the lines.
- A mortar is applied along the lines; to do this, you can take a compound that will be used in future work or gypsum plaster for quick setting.
- A primer is preliminarily made on the ceiling, so on this surface “blotches” will hold very well. Between them you need to do a distance of about 20 cm.

Do not take a step more, otherwise the profile may bend.
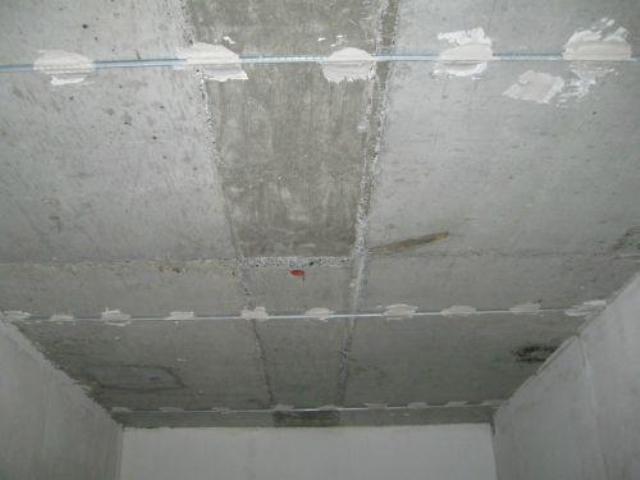
- Next comes the time to install the beacon profile. The desired size of it is set along the line and melted in the slide of the solution. The mortar has already grabbed a bit, so the profile will hold without problems.
- Next, using the square with the mark, the beacons are aligned and checked against the line of the beam. If necessary, in some places the lighthouses are pressed into the cement mortar or, conversely, tightened.
- After the lighthouses are exposed, it is necessary to remove the excess solution with a spatula, while neat slides remain on the lighthouses.
- After placing the beacons, you should wait a little for the mortar to grab, and proceed to work with plaster. This way more often experienced masters use.
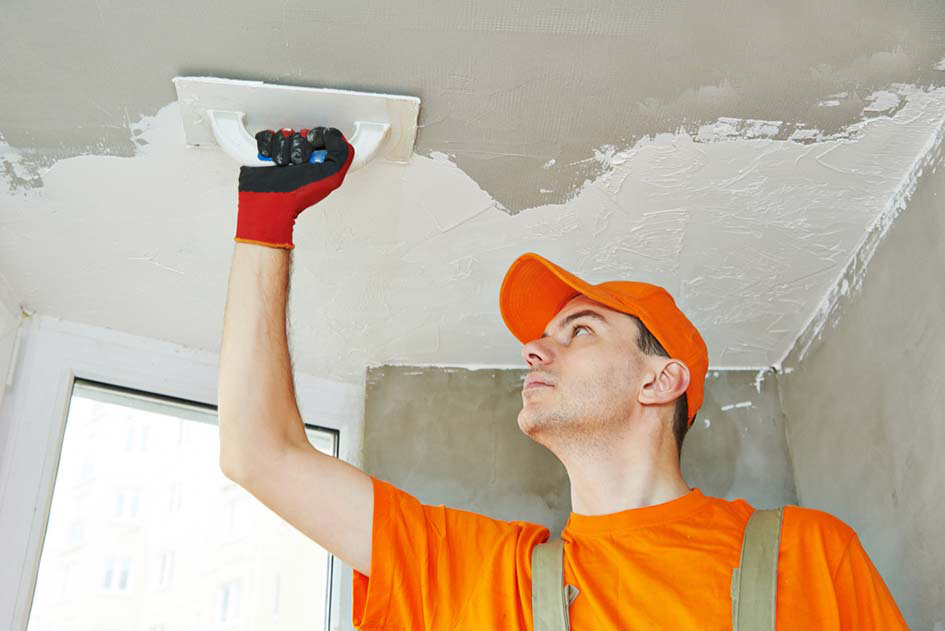
Application process
Before applying the putty to the surface, prepare the ceiling for work:
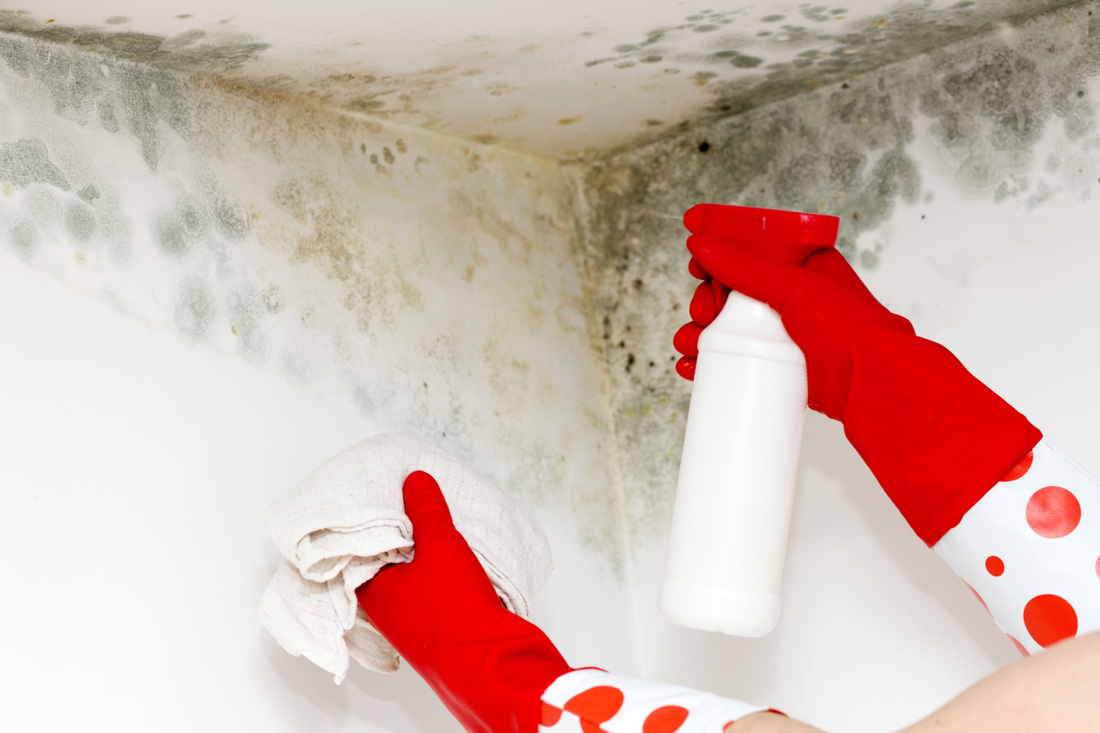
- If there are signs of rust or mold, they should be removed with a damp cloth, after which the surface is treated with antifungal agents.
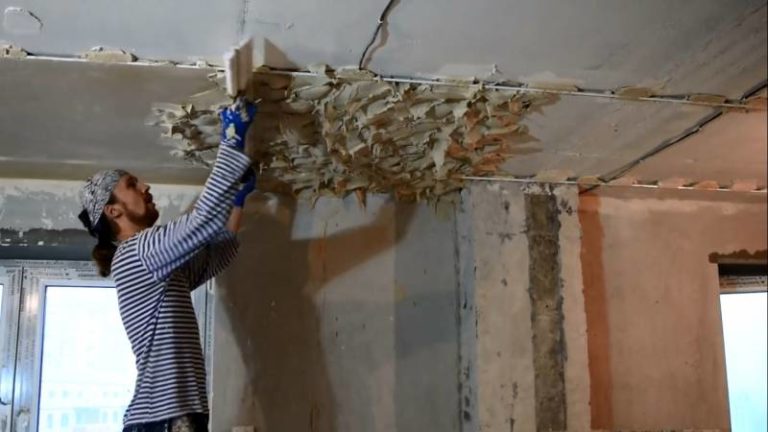
- In the presence of old plaster it must be removed and the surface is well cleaned.
- The ceiling should be primed after it has completely dried.
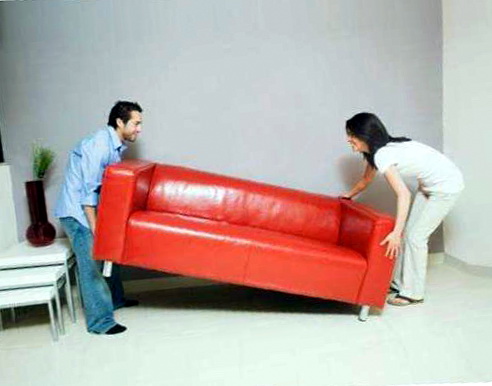
- Before starting work, all furniture should be removed from the room where repairs will be carried out. Best of all, if there is nothing left in it except for goats and other devices for work.
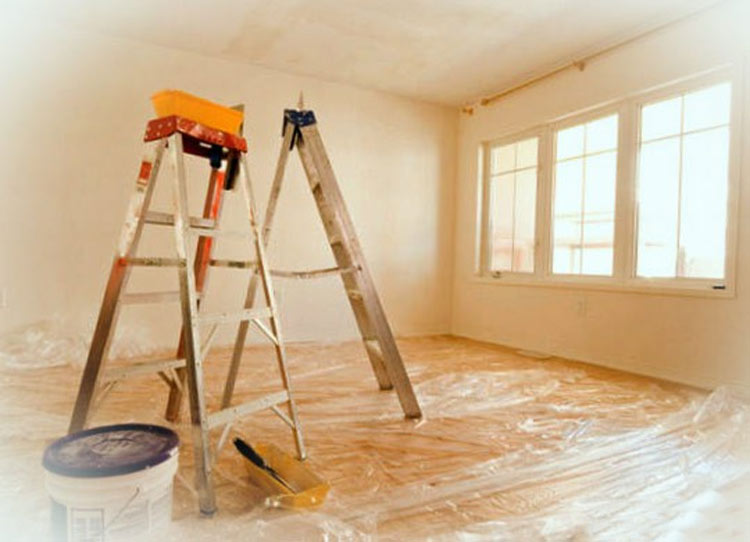
- On the floor it is better to lay a plastic wrap, glue the batteries and windows. Such protection will allow not to waste time on washing out the floor and other surfaces from possible blunders. Working with plaster, it is impossible to avoid all sorts of pollution, even after the work of experienced craftsmen a lot of garbage remains on the film.
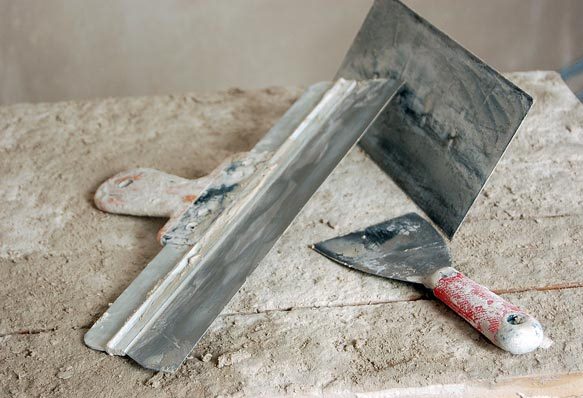
Preparing to work, you must prepare the tools in advance and make sure that they do not remain contaminated. If the tools have remnants of building mixtures, they must be removed, otherwise they may interfere with the even application of the solution.
When the beacons are exposed, you can proceed to the main work and the preparation of the plaster mixture. The process of applying plaster with their own hands is simple, if you know how to do it correctly. Step-by-step instructions will help novice builders in the repair work. Any decoration of the premises will not be of high quality if the technology is violated.
In order to properly plaster the ceiling, you should know what the thickness of the layer should be and how best to apply it in order for the repair to be of high quality.
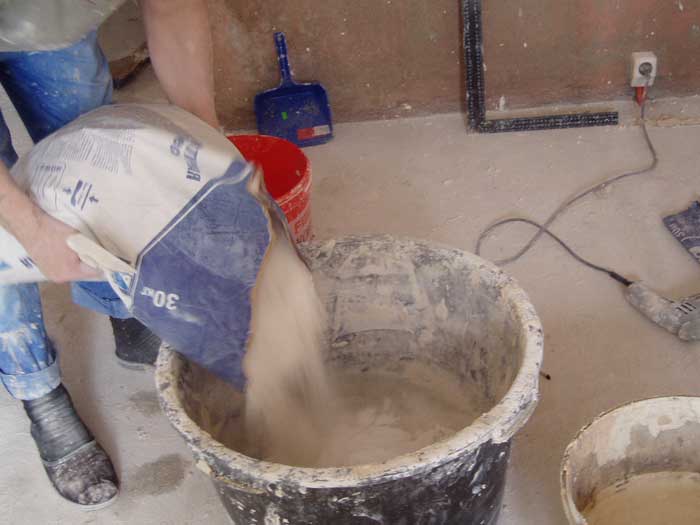
When mixing the solution, it is necessary to take into account that it must be consumed within 30-40 minutes. For its preparation take the required amount of water. If you use store mixes, you should look at the packaging, in what proportions to knead the solution, there is a detailed instruction. With a construction mixer, the mixture is mixed with water to the desired consistency. Stir it until the solution is similar in texture to the sour cream.
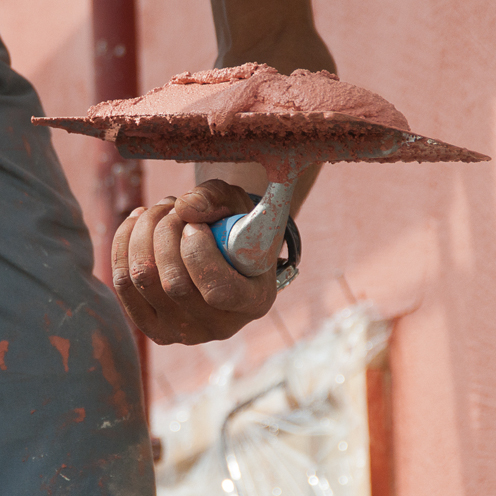
To check whether the solution is ready for application, you should pick it up with a spatula and see if it will stick to it. If the mortar holds and does not trickle down or falls off with a piece, it means that you can start plastering the ceiling.
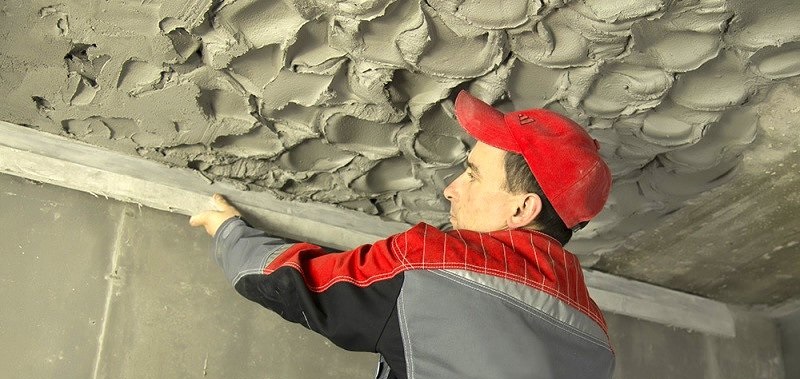
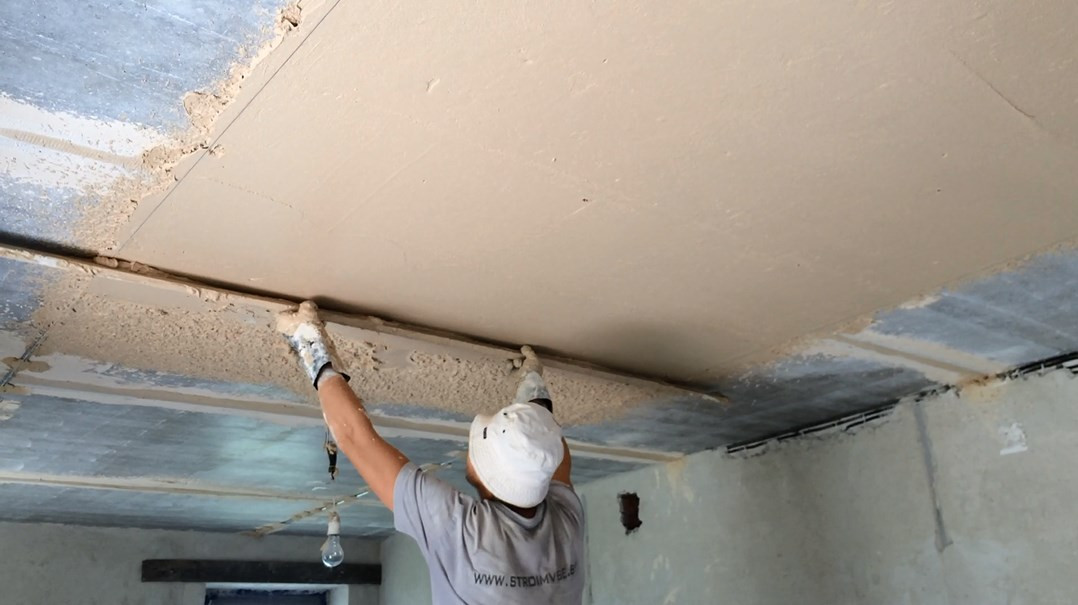
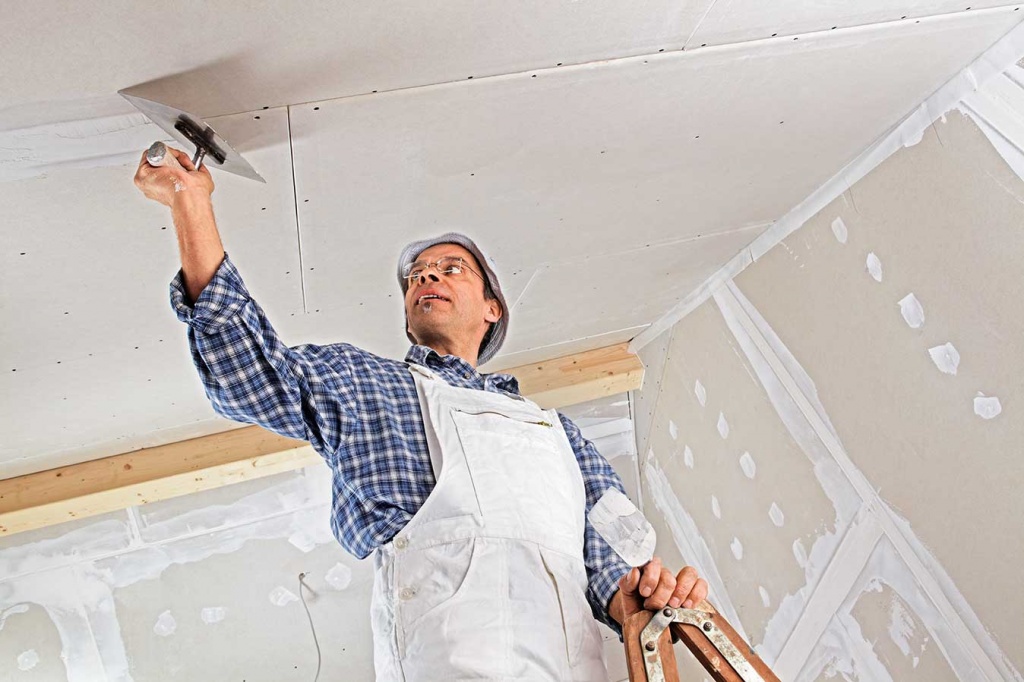
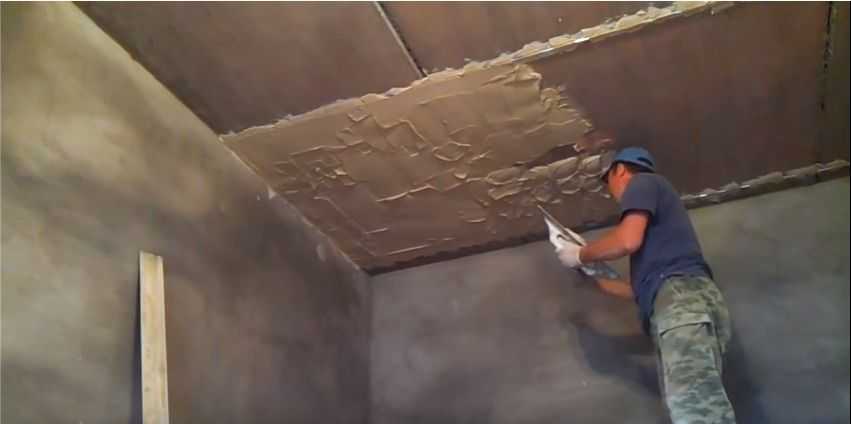
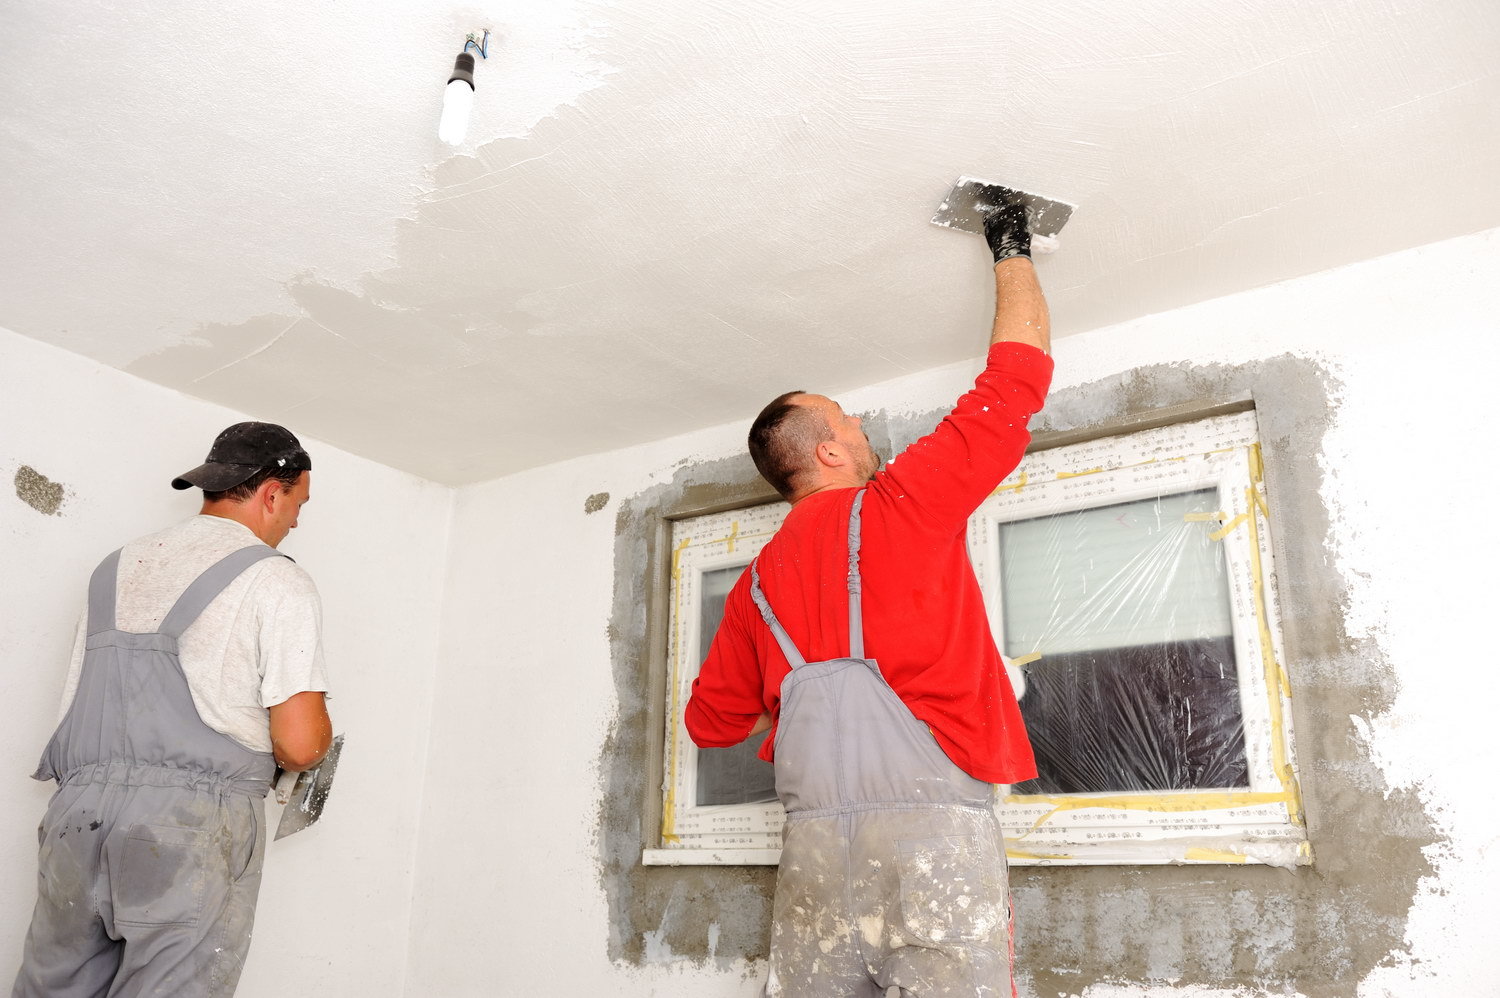
Put a solution between the profiles of beacons, plaster throw on the ceiling with a spatula or trowel. Experienced masters have already got the hang of this process, so when sketching on the ceiling of a hill, the mixtures lie next to each other.
For beginners, the outline may not immediately work out; moreover, with this application there will be a lot of blots on the floor. Even experienced masters can not work without flaws, and the spots of the solution are on the floor.But after the work of an experienced master, they can be up to 5%, while a novice can thus spoil up to 15% of the solution.
If this method does not suit you, you can apply the plaster differently. To do this, put a thin layer of mortar for contact with the surface, and then another layer of plaster above the profile of the beacons. This method is longer, but the solution flow rate will be minimal.
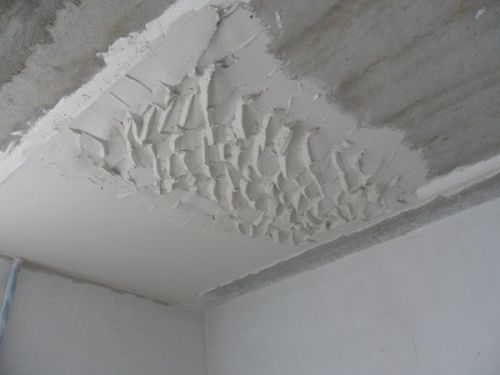
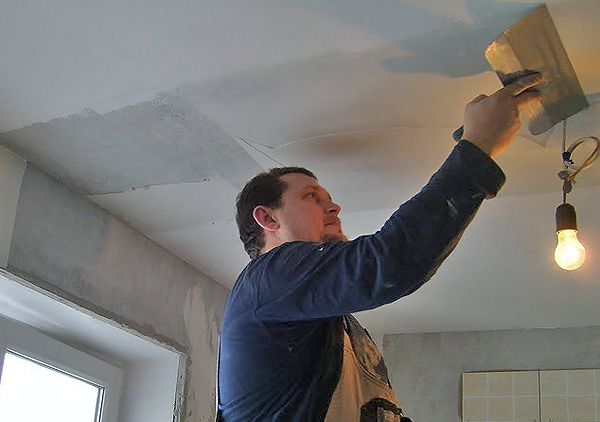
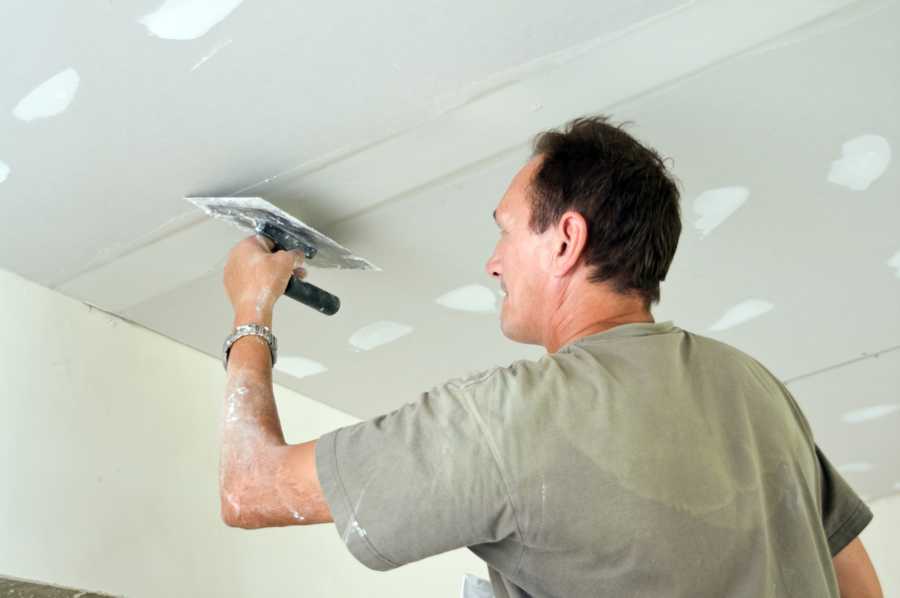
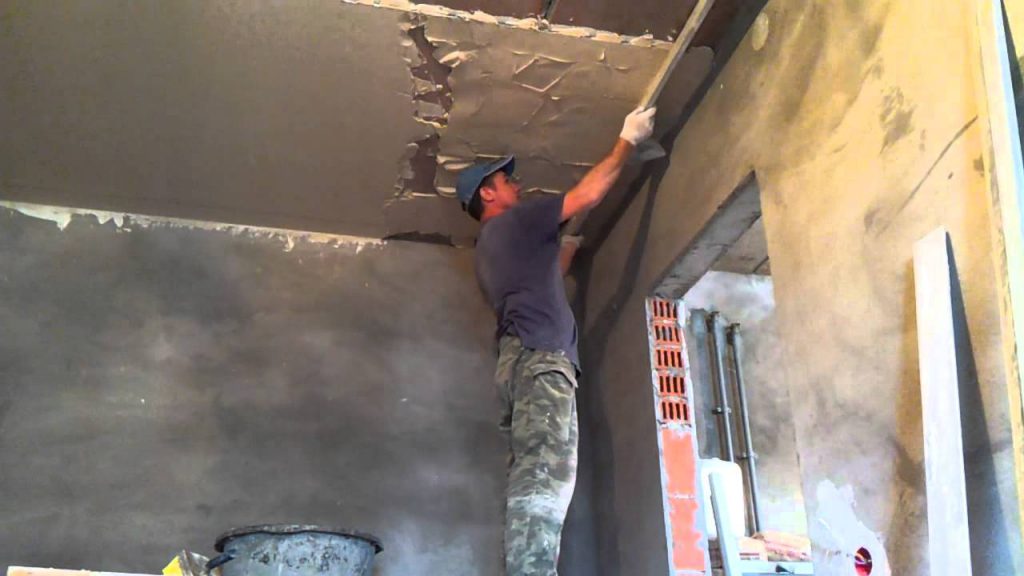
Using the rule, the plaster mortar is spread over the surface, moving it so that there are no hillocks or voids. It is necessary to level a surface until it becomes absolutely equal.
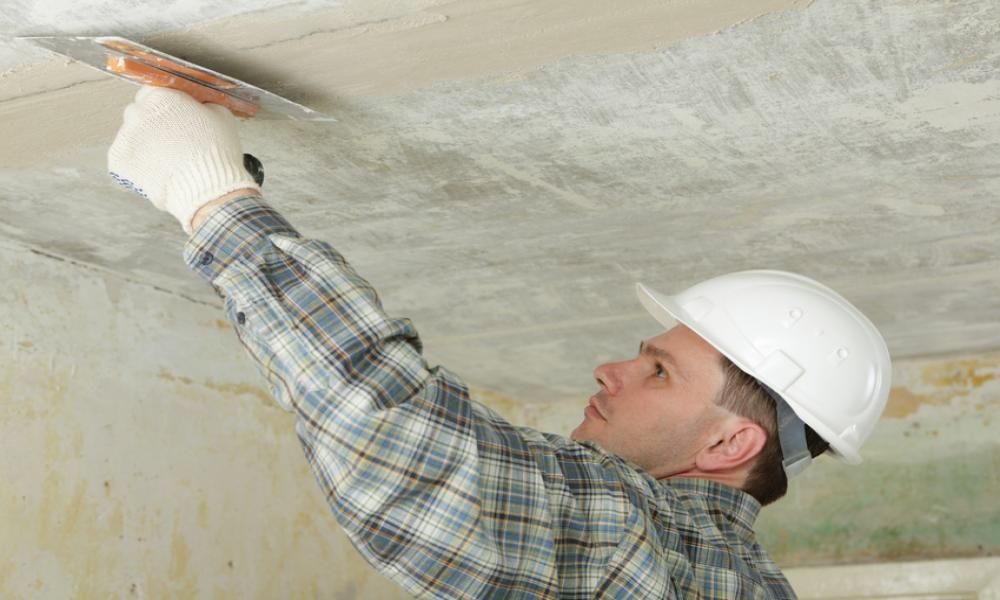
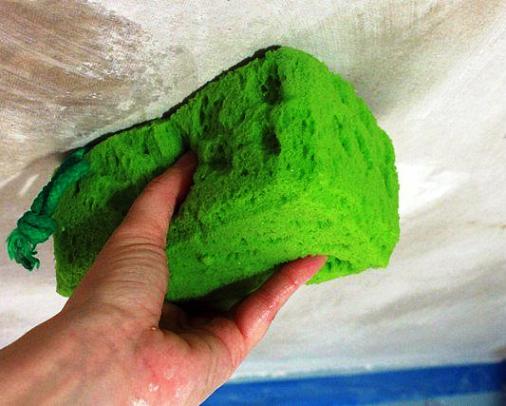
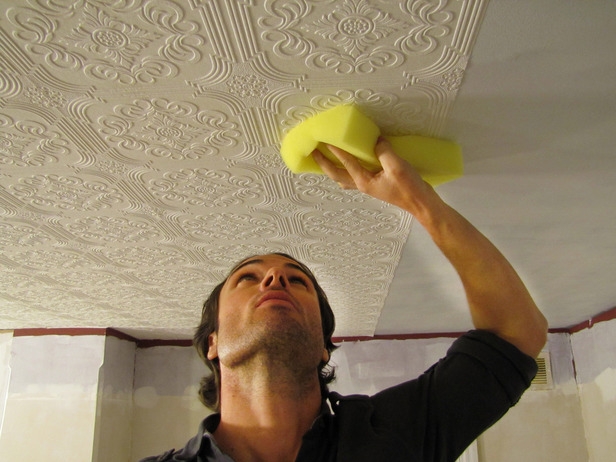
When the entire ceiling has already become completely flat, it is worth waiting a bit until the solution grapples a bit and cover the ceiling. A wet sponge will be required for washing. They do this in circular movements, while not pressing hard on the surface. To moisten a sponge, many masters use a solution consisting of water and a primer of deep penetration in a 1: 1 ratio.
After grouting should proceed to the gloss of the wall. To do this, use a wide spatula to smooth the wet ceiling to a glossy evenness. When all work on the alignment of the ceiling is finished, you should remove the profiles.Lighthouses should be removed without fail, otherwise rusting spots may appear on the ceiling, and over time, cracks will appear in these places. With the help of a spatula, the lighthouses are removed, a solution is laid in the formed grooves and the surface is leveled. Then is the washing and glossing of the ceiling. To ensure that the ceiling is completely dry, it should take 5-7 days.
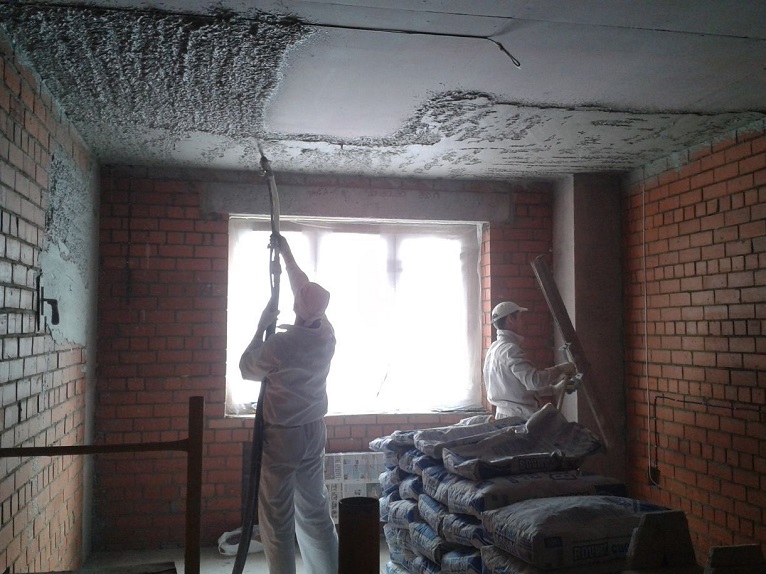
Apply the plaster on the ceiling can not only manually, for this use and machine application. Machine plaster will require a special device. Apply this method in large rooms. Such mechanized work allows finishing solutions to be much faster than the usual method.
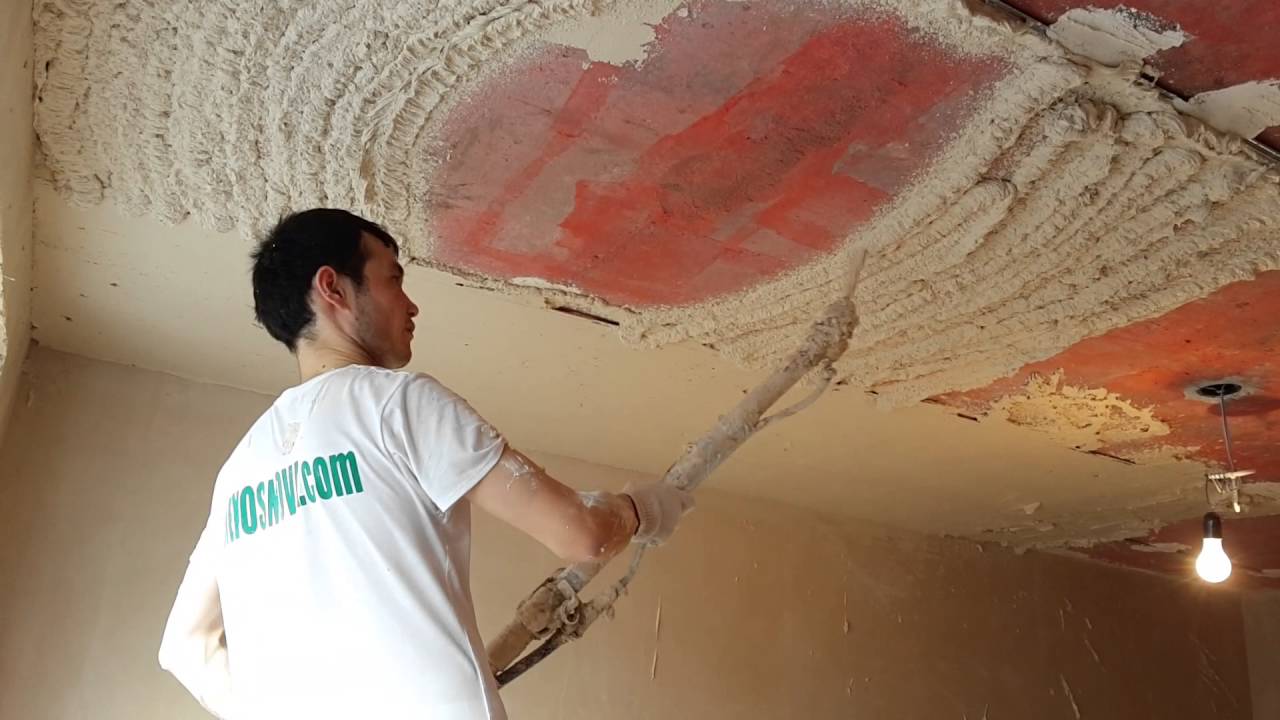
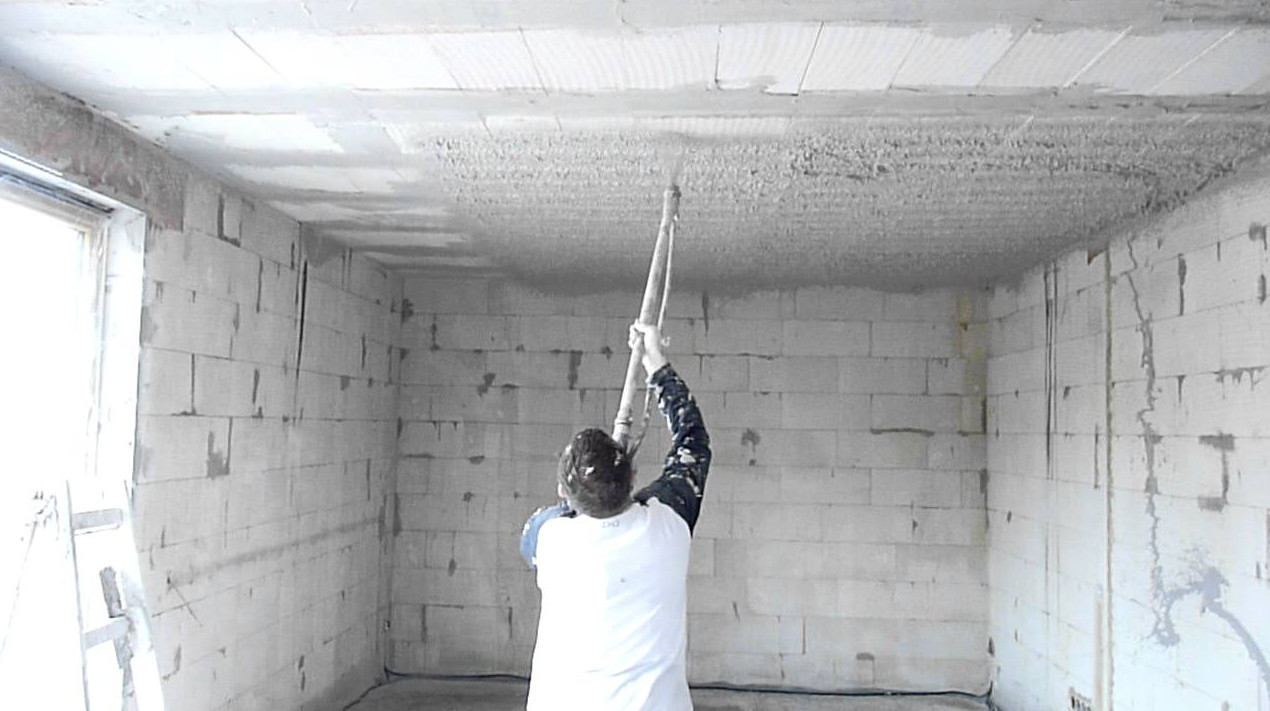
Special machines not only apply the finished mixture to the surface, but also mix the solution. If we talk about the speed of machine deposition, then this method will be out of competition, because in just 1 hour an experienced master can finish up to 60 square meters. That is, in just 1 or 2 days you can complete the repair in the whole apartment.
If the plaster is applied manually, a solution is applied to the ceiling, level and immediately mix a new portion of the solution. When machine coating can be kneaded so much plaster that it would be enough for the entire ceiling.Another advantage of applying plaster by machine method is that less material is needed for finishing, besides, they cost less than ordinary mixtures.

If the work is carried out in a small apartment in size, then it is inexpedient to buy a special device for work, there can be a benefit only if the putty will be applied at least 900 square meters. m surface. For smaller spaces, you can rent a device.
Tips and tricks
The easiest option when working with ceiling surfaces can be called plaster, this option will be much cheaper than making a stretch ceiling in the room or other decorative coating.
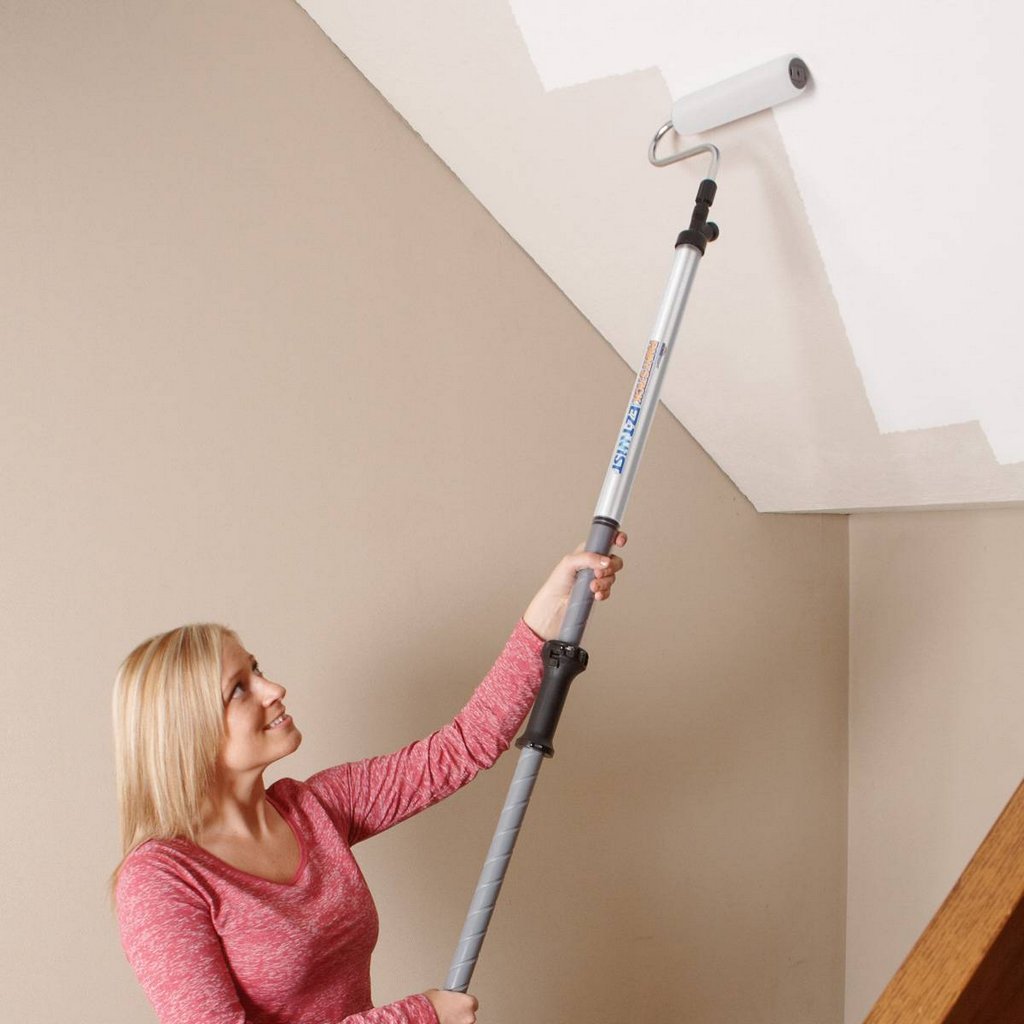
- When applying putty, you must first take care of the preparation of the ceiling, for this you should remove the previous layer and wash the ceiling. When the surface is already aligned, the ceiling can be left in this form or stick to it wallpaper or prepare for painting.
- When choosing a material, they prefer only proven brands and purchase mixes in hardware stores. Professional consultants will provide the necessary assistance, in addition, large retail chains provide a guarantee for the goods. Therefore, it is better not to save money by buying mixes from your hands so that you do not have to redo the work.
- When mixing the solution, you should take into account the recommendations indicated on the package. If even with their consideration the solution remains too thick, you can add a little water.
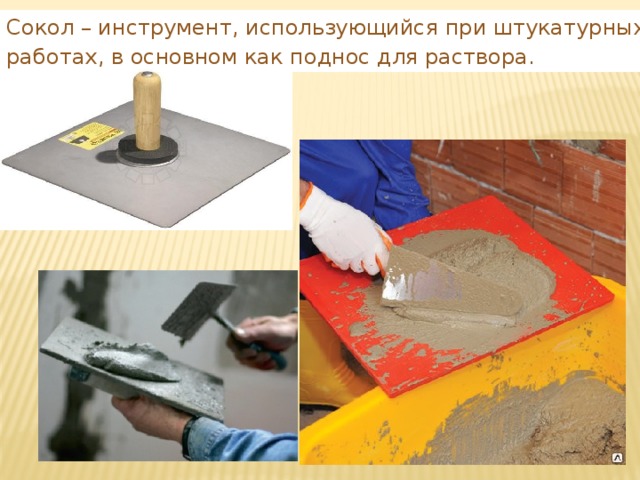
- If there are areas on the ceiling where the old plaster has fallen off, when applying a new layer for greater convenience, it is better to take a “falcon”. One or two kilograms of mass can be put on this small plate with a handle and it can be cracked. Such a device eliminates the need to constantly bend over a new portion of the solution.
After studying all the features of applying plaster to the ceiling, you can get to work, and then the result can be no worse than that of professional and experienced craftsmen.
Beautiful examples
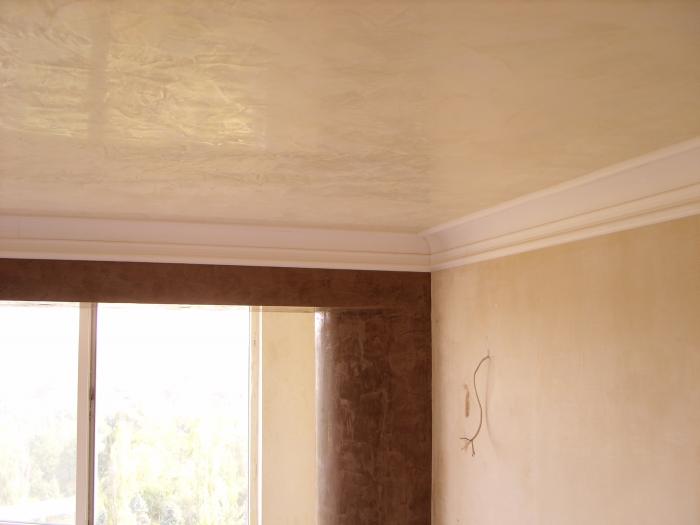
When applying plaster to the surface, it is important to ensure that the work was done carefully, without flaws, and the ceiling turned out as smooth as possible.
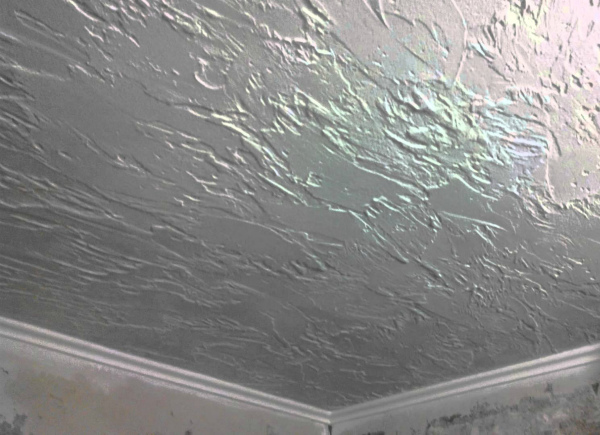
The surface finish with decorative plaster looks very beautiful and original. Thanks to such materials you can create various effects. Large selection of decorative plaster allows you to design the walls and ceiling in different styles, to choose it for any interior.
To learn how to plaster ceiling beacons, see the following video.