How to align the ceiling?
The work of finishing the ceiling surface can be quite difficult. But before using any materials and structures, it is necessary to level the base. Even if the descriptions state that a particular solution does not require such an action, it still turns out to be a useful measure.
Special features
Alignment of the ceiling is important not only because the distortion of geometry is a serious aesthetic problem. It significantly limits the ability of finishers and does not allow to choose the most simple and easy options for coatings. So, on an uneven ceiling it will not be possible to stick the wallpaper, and if you paint it, you will not be able to cover up serious flaws and deformations. Even drywall and stretch ceilings do not always allow to mask the existing problems.
So the ratio of pros and cons clearly says that for all the work it is necessary to align the upper part of the room!
Necessary materials
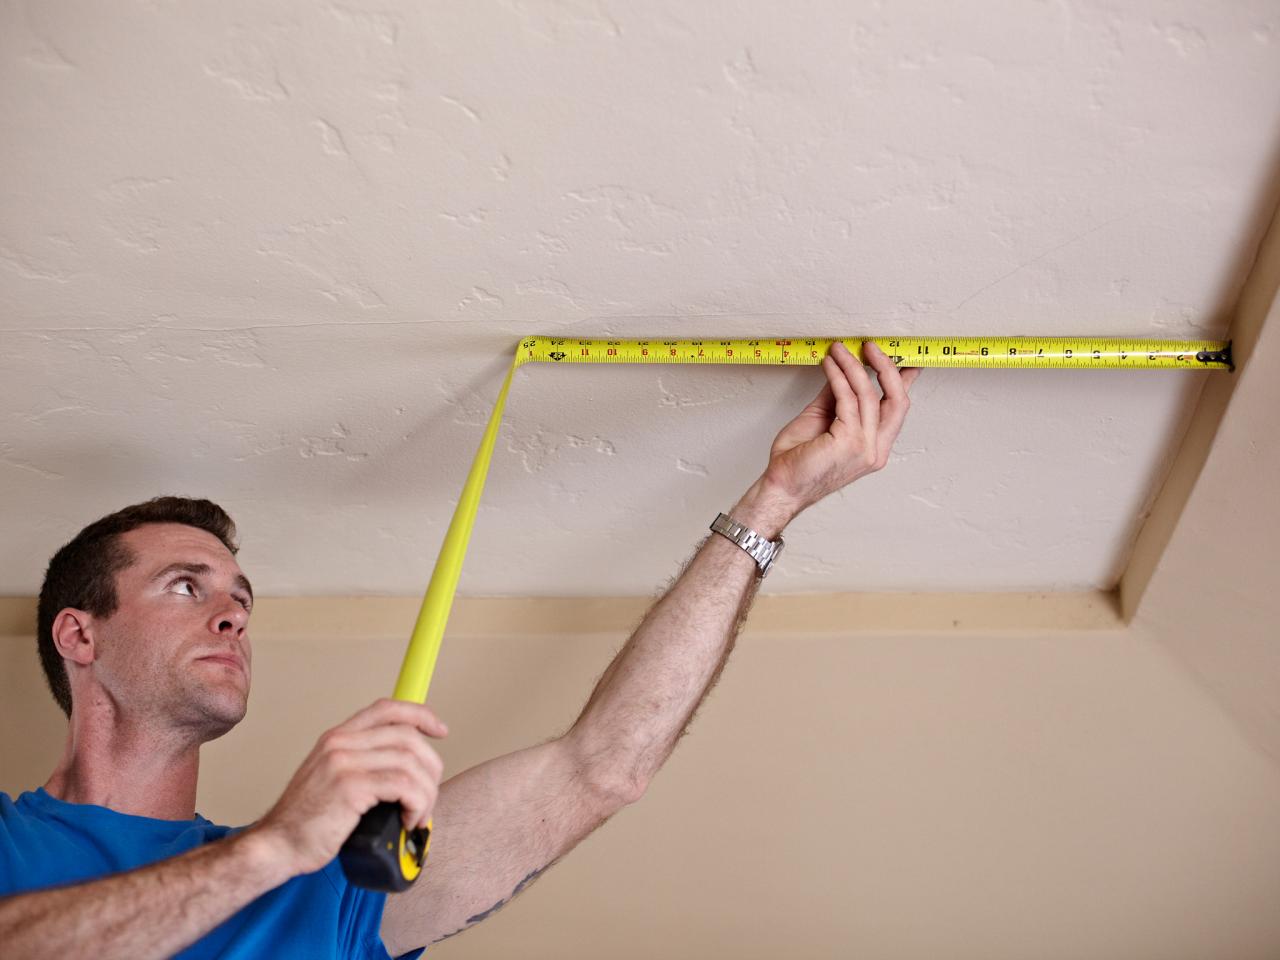
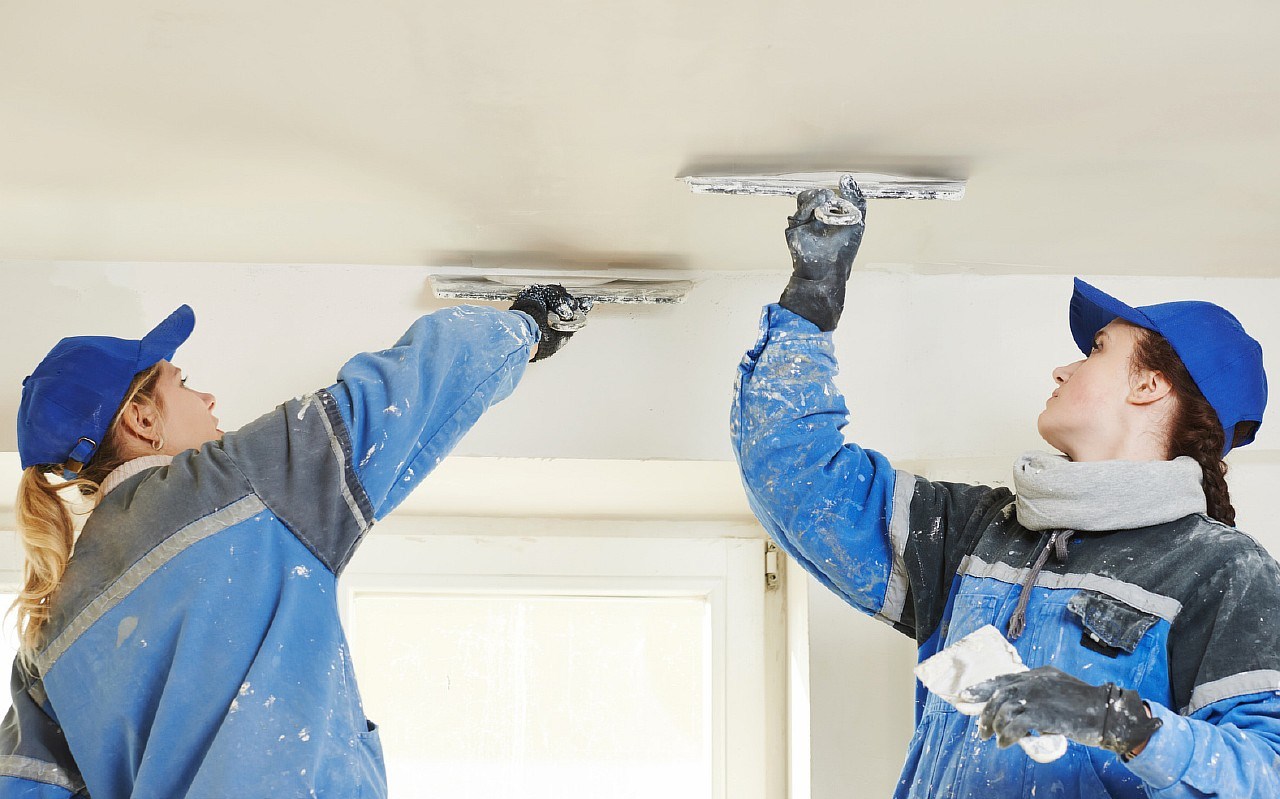
The choice of a suitable variant of the rough finish of the ceiling depends on how large the deformations are. A laser or bubble level can be used to evaluate their severity, with which you can draw horizontal lines on different walls adjacent to the ceiling. The detected level is marked in the corners to which the line is drawn. Focusing on the set marks, they draw horizontal stripes on the remaining walls with the level, trying to reduce them in the last corner.
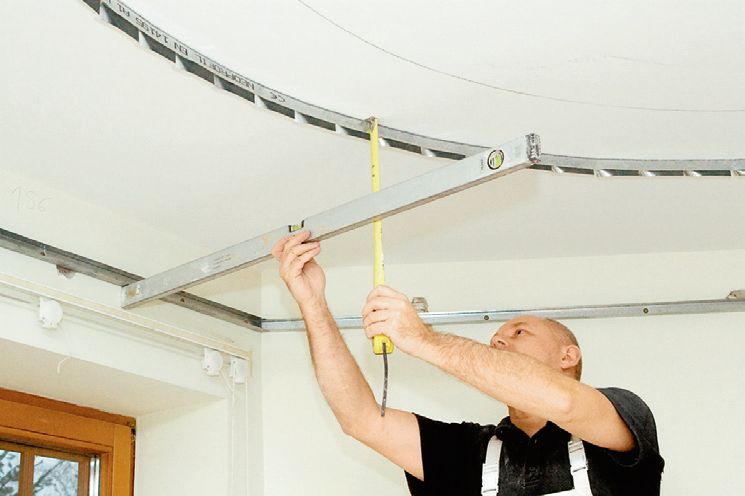

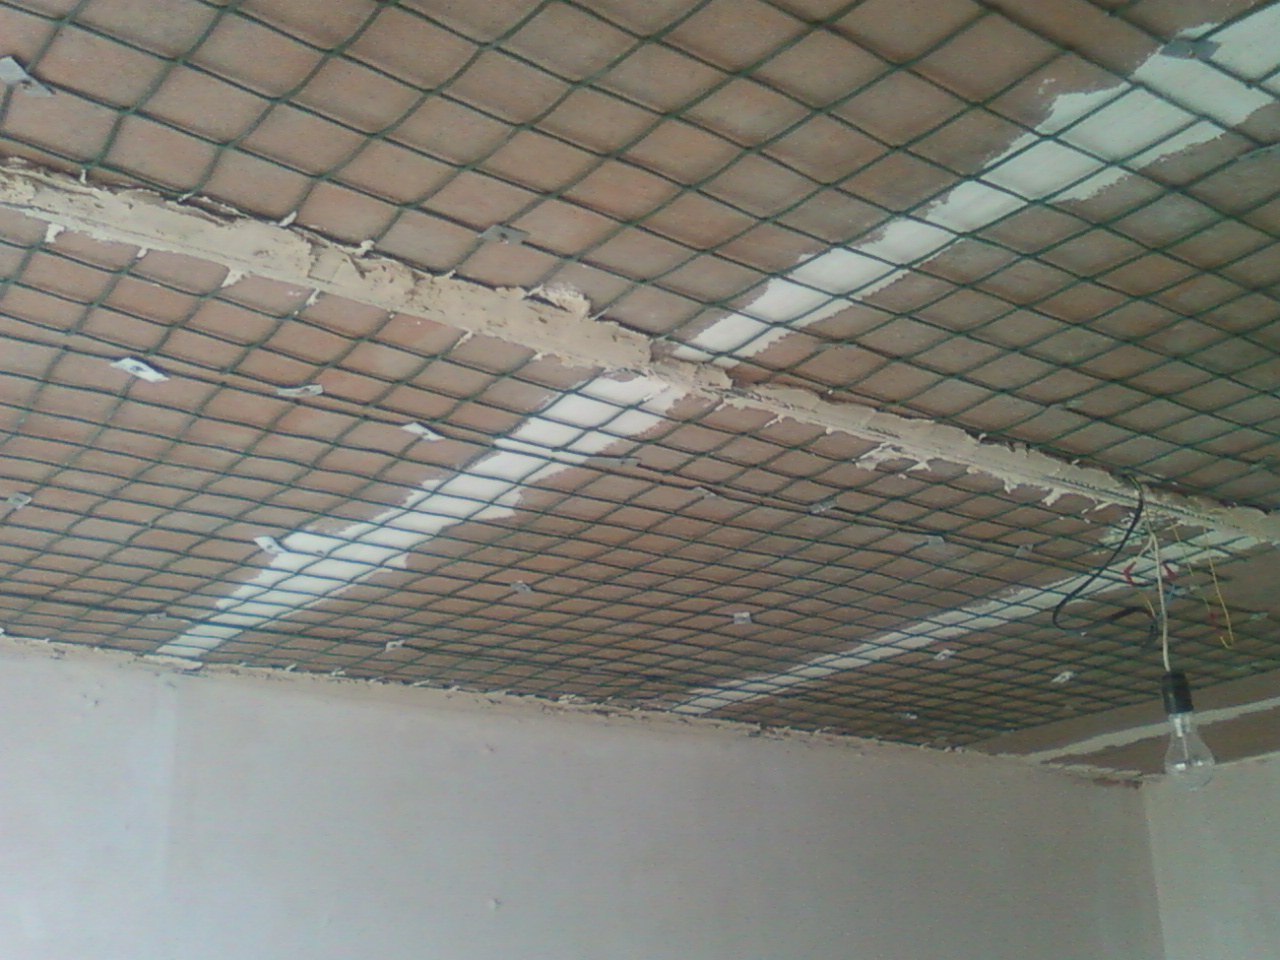
Next, you want to measure the largest difference between the lines created and the ceiling. It is quite simple to use the hydro level, but it is very important to avoid its clogging with air bubbles when typing a liquid. A minimum of two must work, since it is much more difficult to manage alone with the hydraulic level. The exception is a small room where you can attach one end of the latch, and operate the other. If the measurement results show that it will be necessary to lay plaster, it is advisable to mount the mesh for better support.
Training
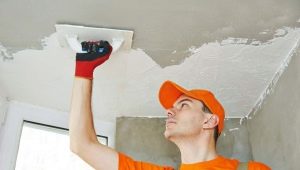
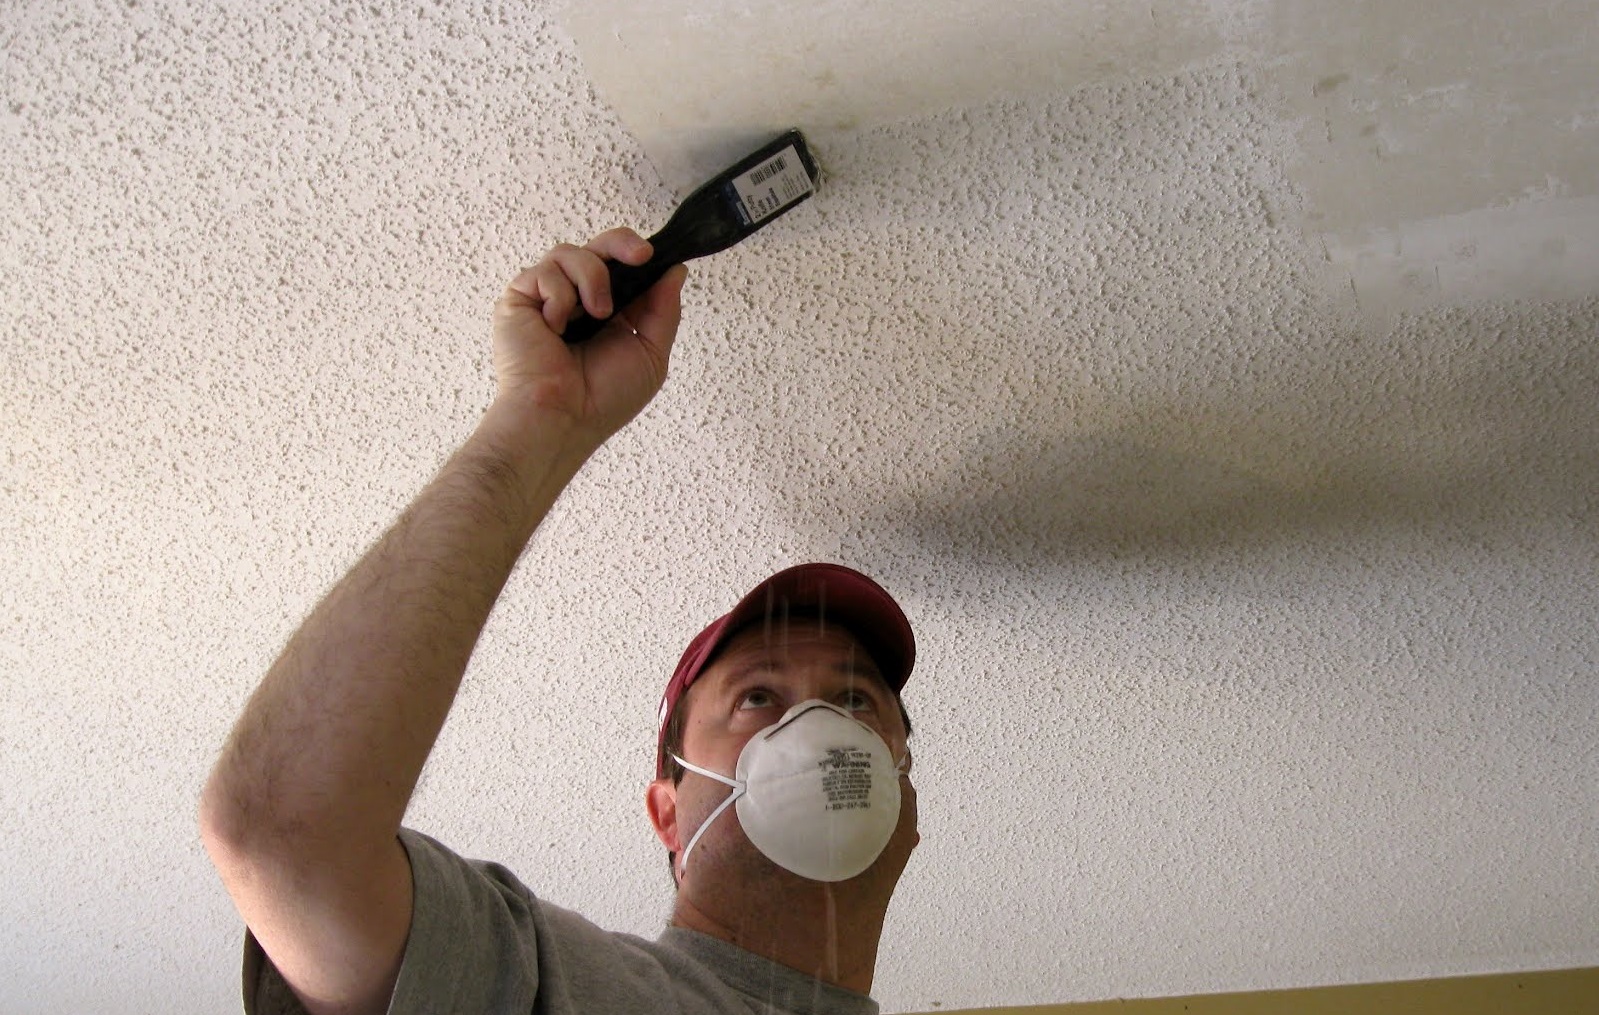
The ceiling should be prepared in the same way, regardless of the leveling method chosen. To remove a layer of whitewash or water-based paint, it needs to be treated with warm water (applied with a brush, spray). Swollen material can be scraped off with a metal spatula. The remains of the old finish are washed off with a sponge and ground the base. Special mixes help speed up the removal of whitewash. Some are designed to work with chalk, and others - with plaster.
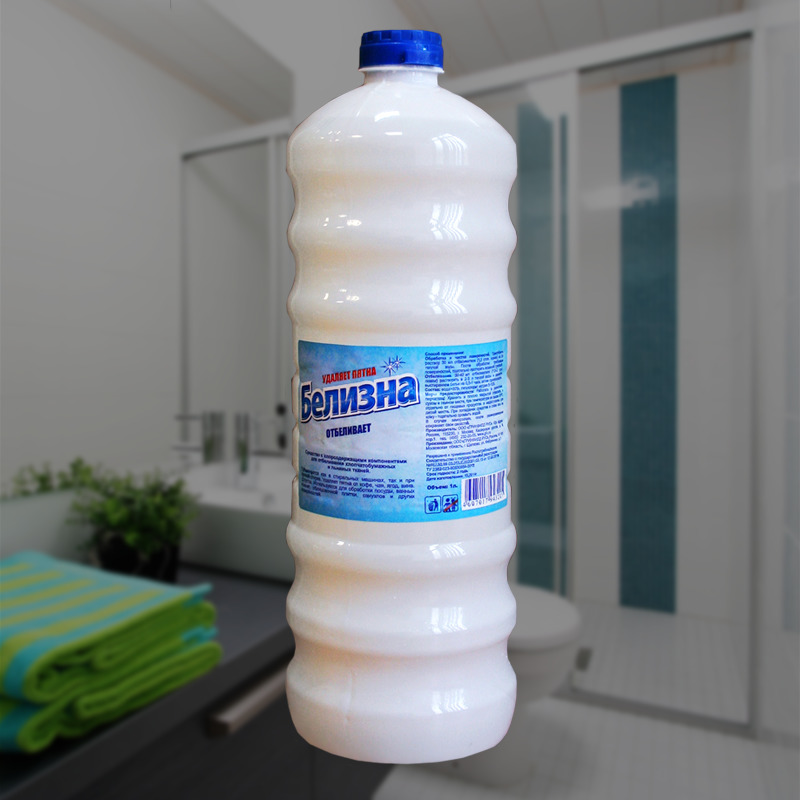
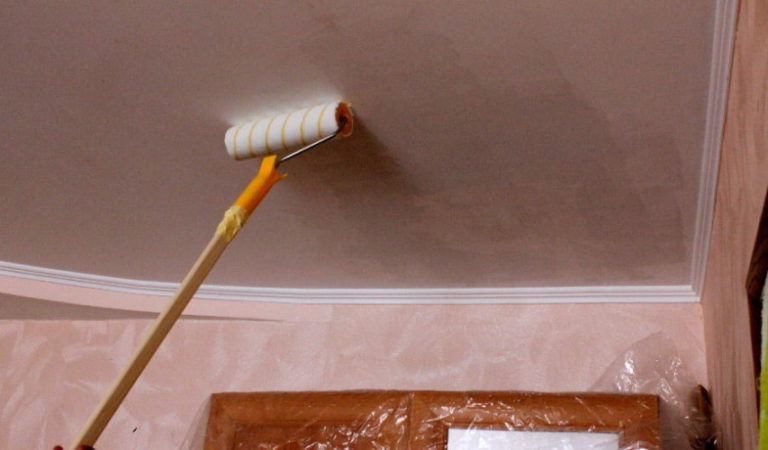
Universal effect is provided by the use of drinking soda or cleaner "White", these same substances will help to remove existing pollution. Cleaned ceiling must be rinsed with clean water and primed with a suitable composition. The primer is put in one or two layers, for this purpose use rollers and wide brushes. Drying time must strictly comply with official manufacturer's instructions. It is much harder to work with mechanically strong paints and enamels.
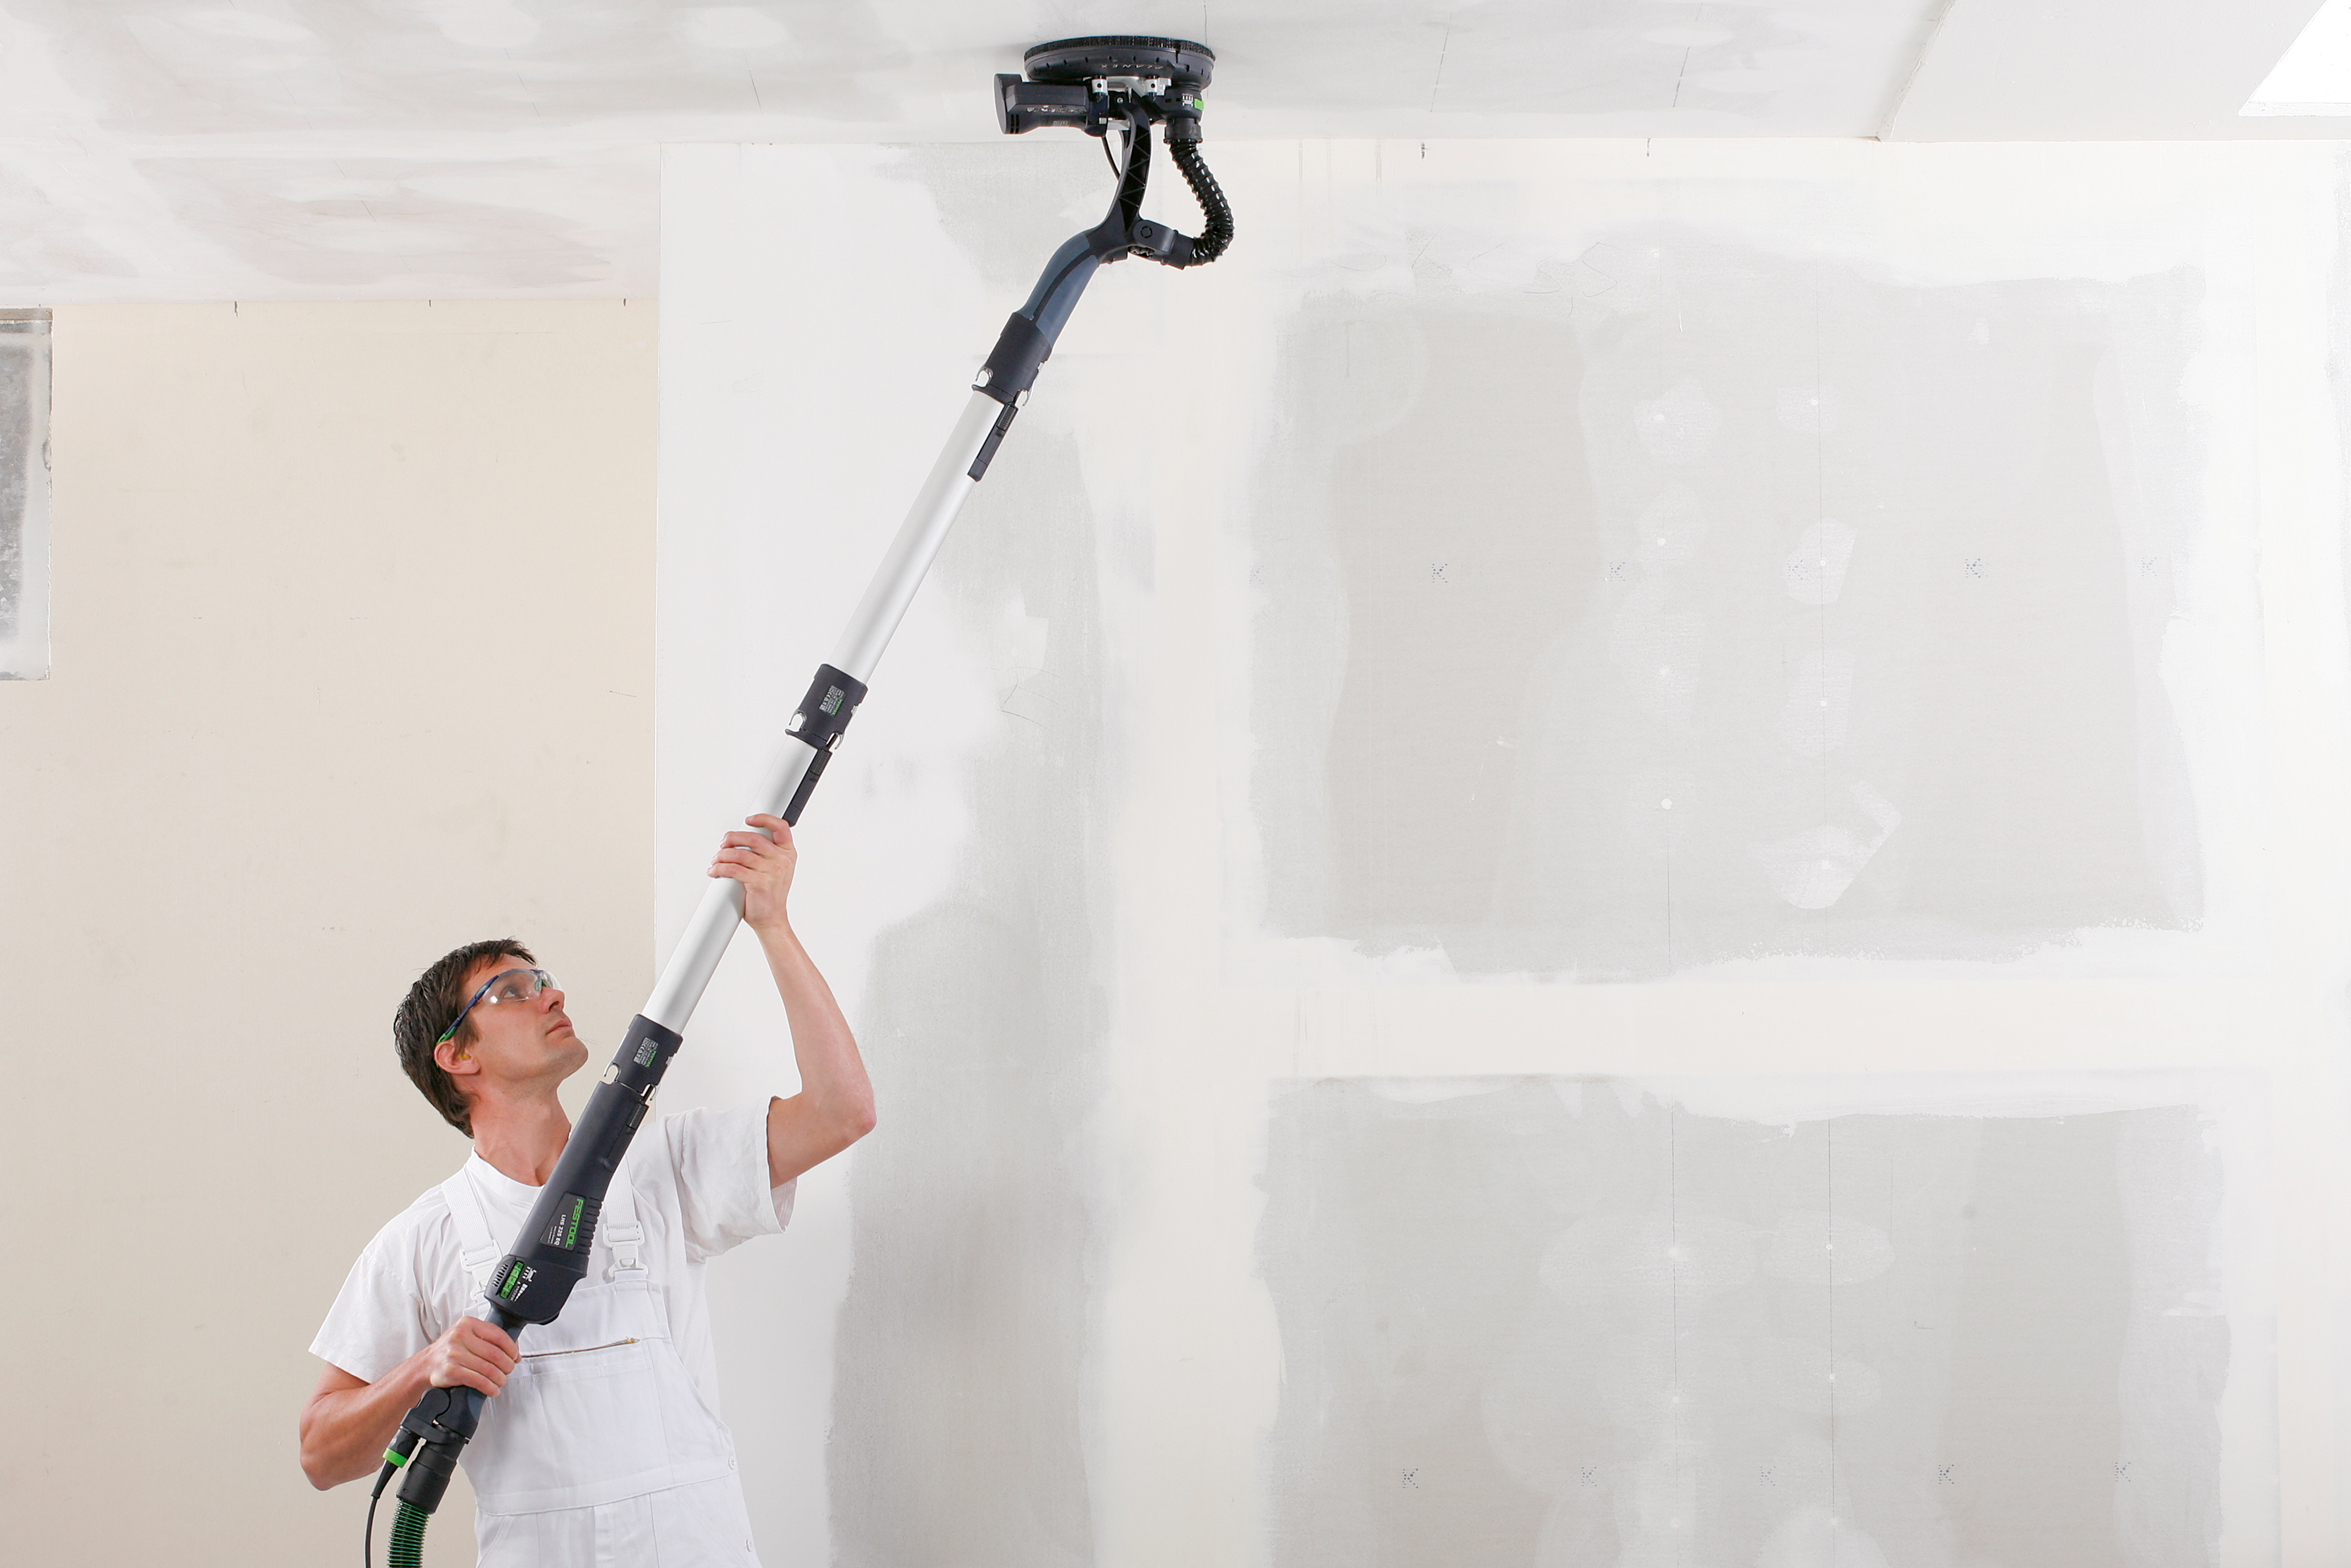
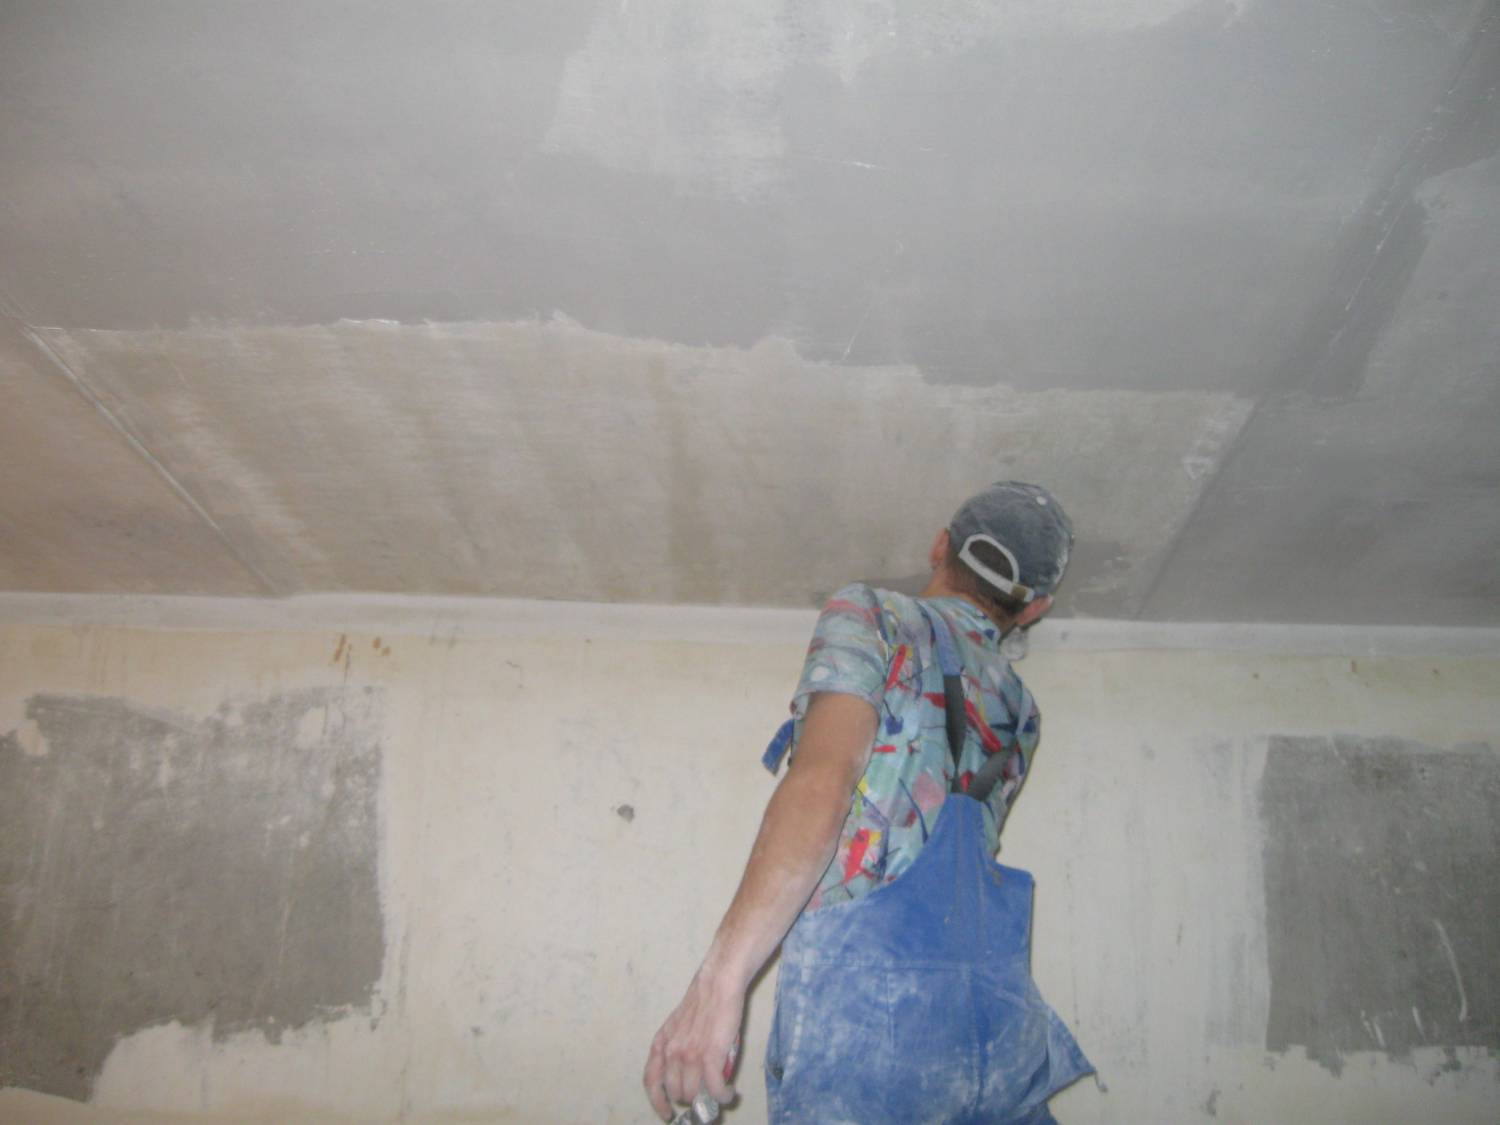
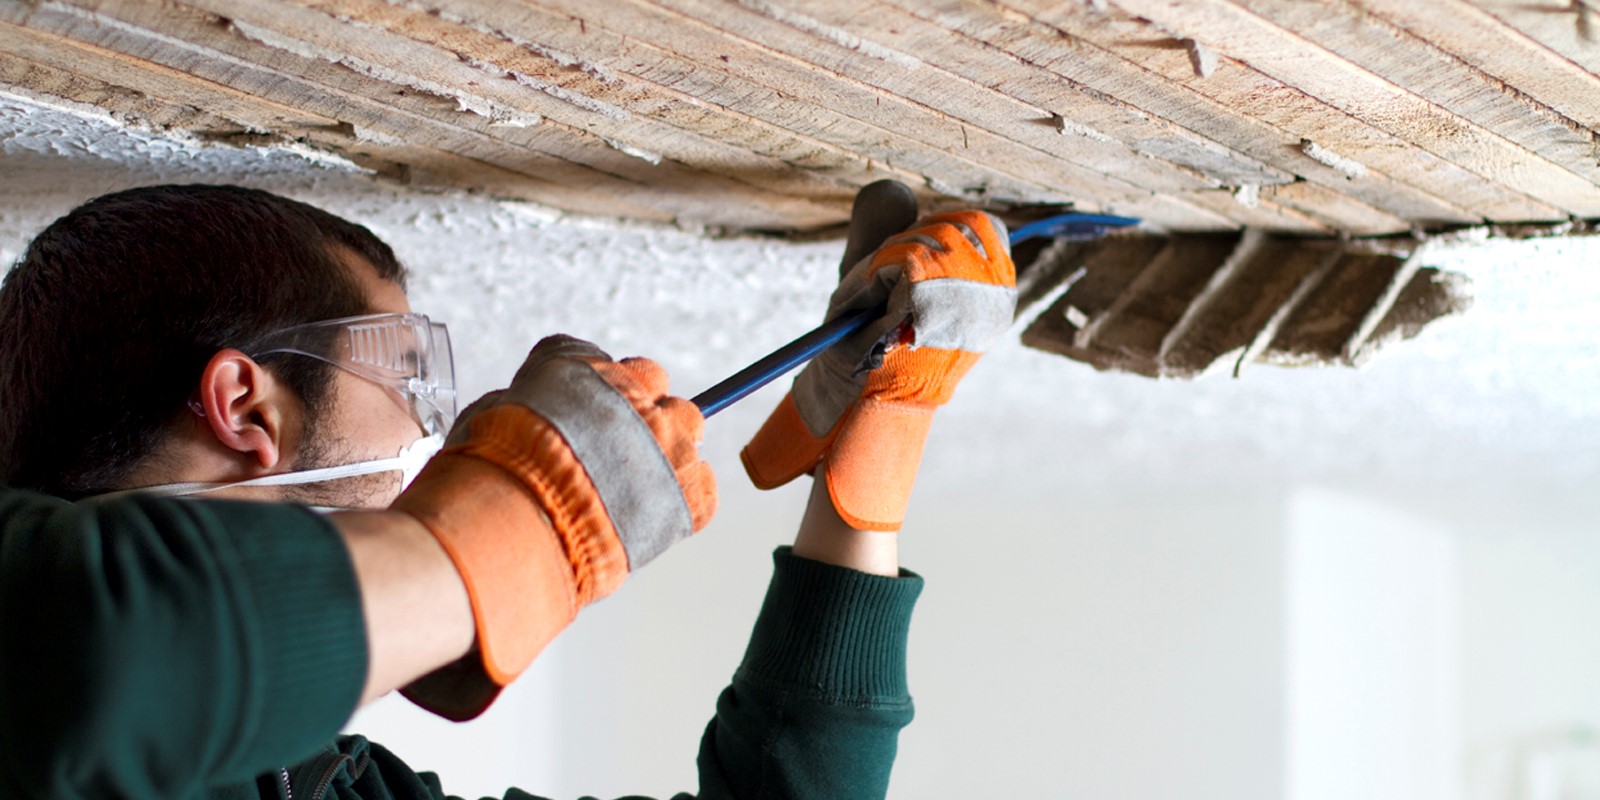
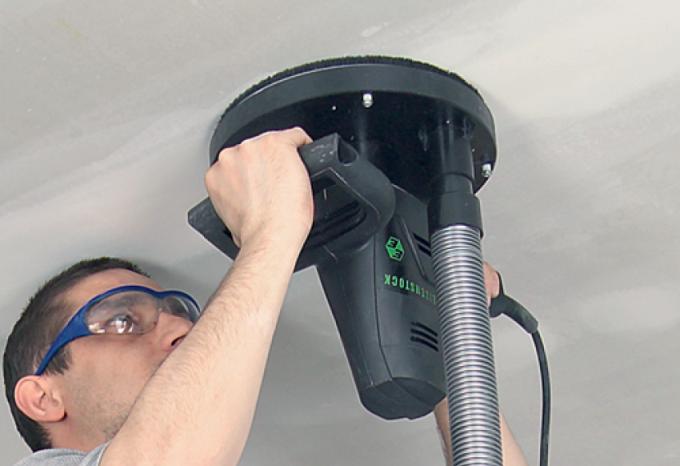
They are no longer washed off, but removed with an angle grinder, supplemented with an abrasive nozzle. In this case, inevitably there is a lot of dust, but the quality of cleaning the base is very good.To ensure their own safety, be sure to wear a respirator and impermeable glasses. Connecting the vacuum cleaner hose to the grinder helps to reduce the emission of dust. The final cleaning of the base is carried out with the help of brooms or soft brushes, then it is washed with warm water, and after drying it is coated with a primer.
Technologies and methods
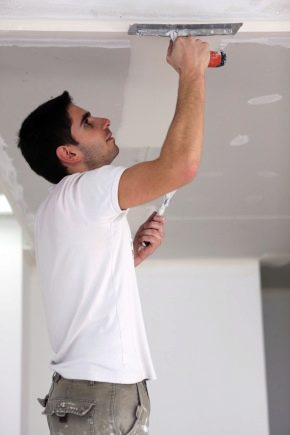
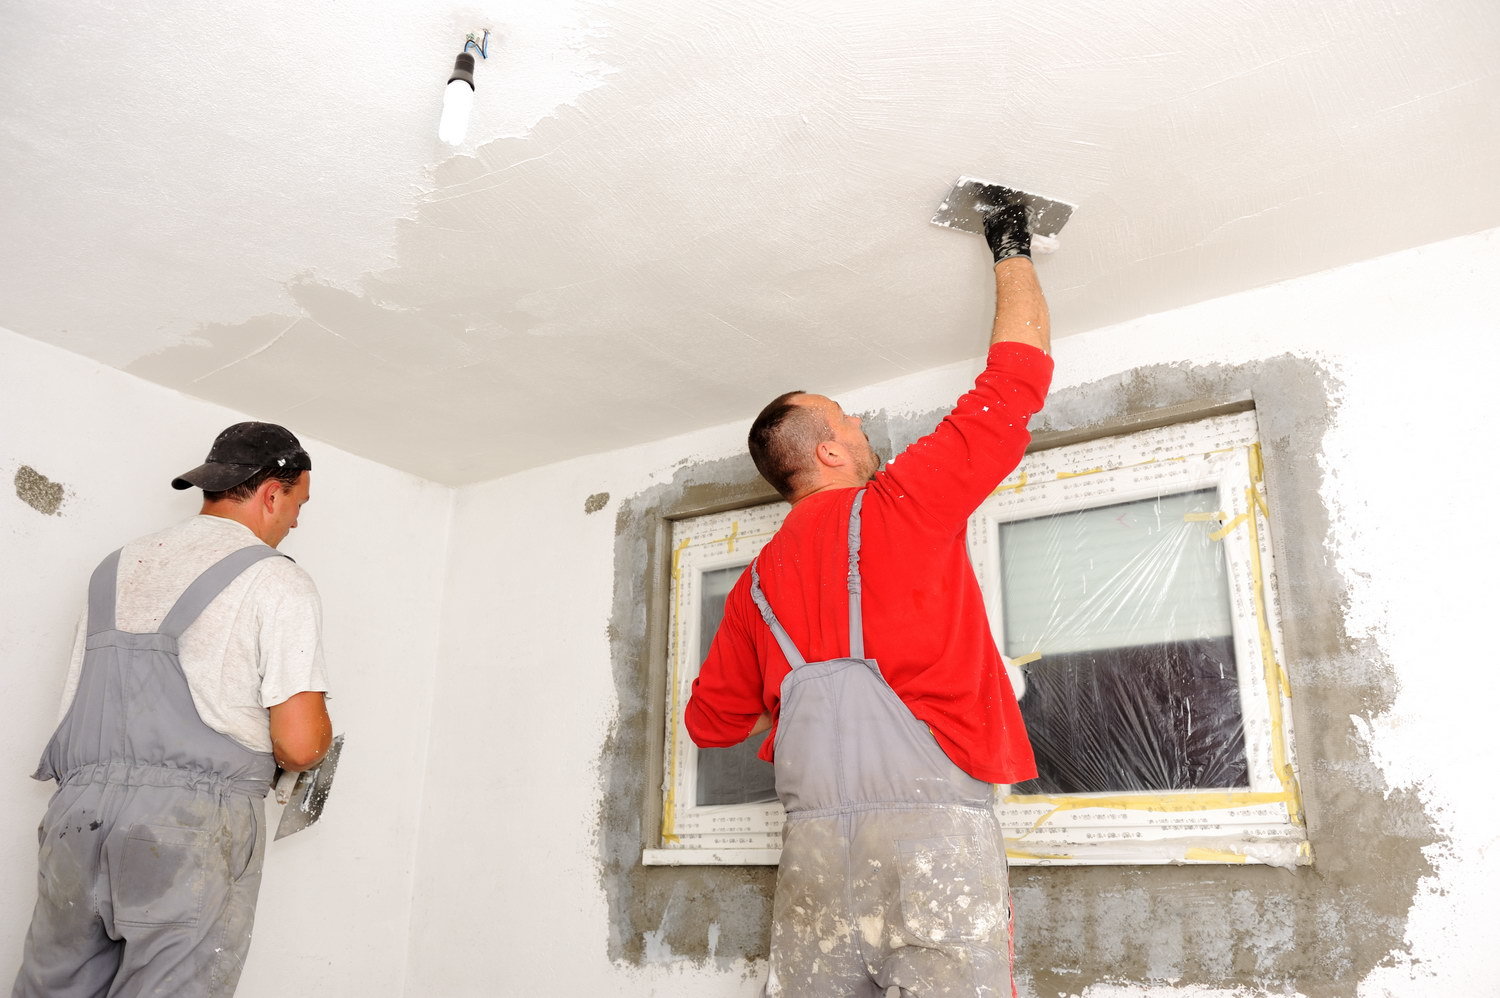
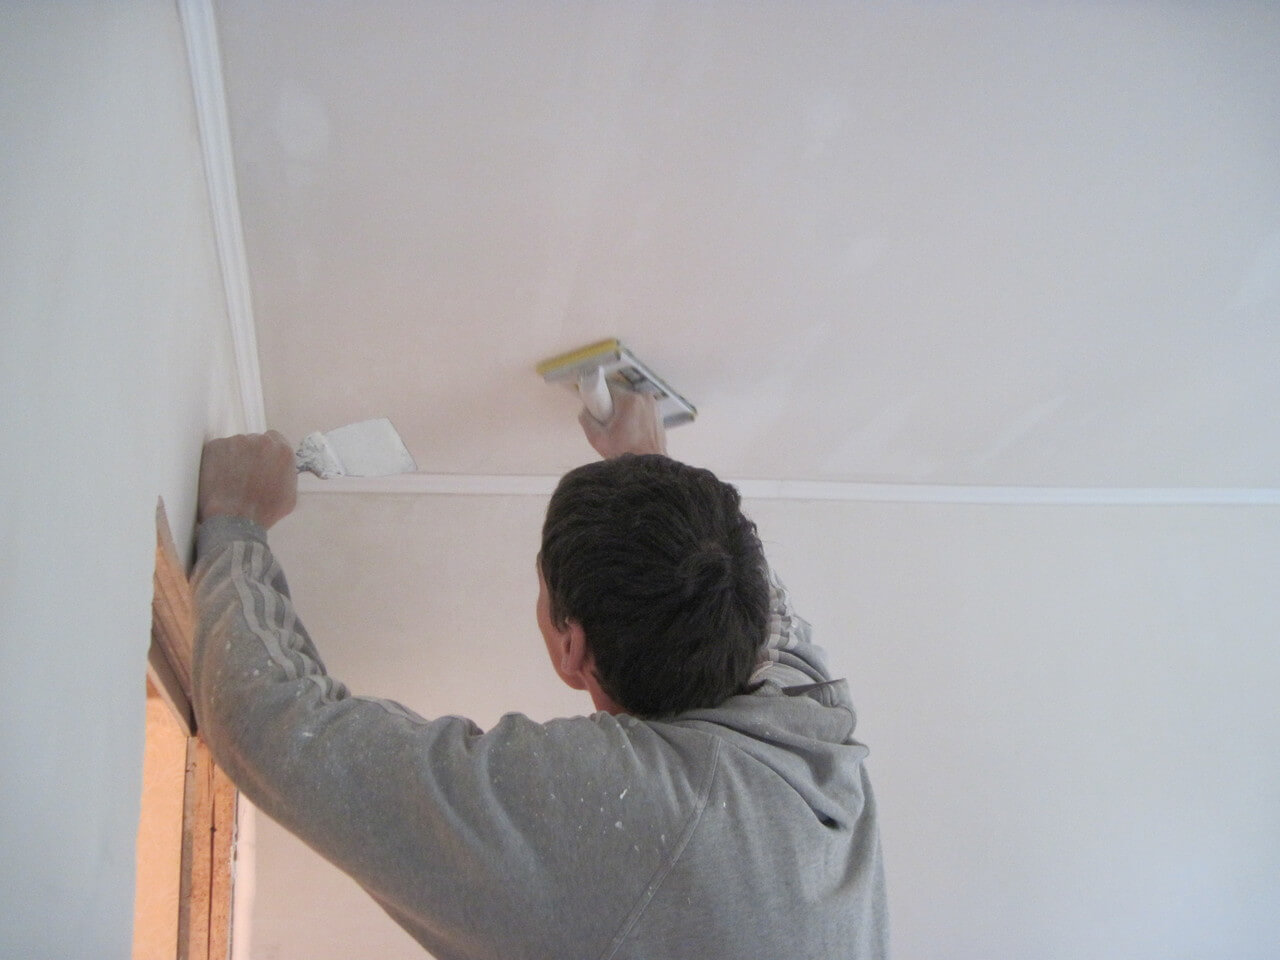
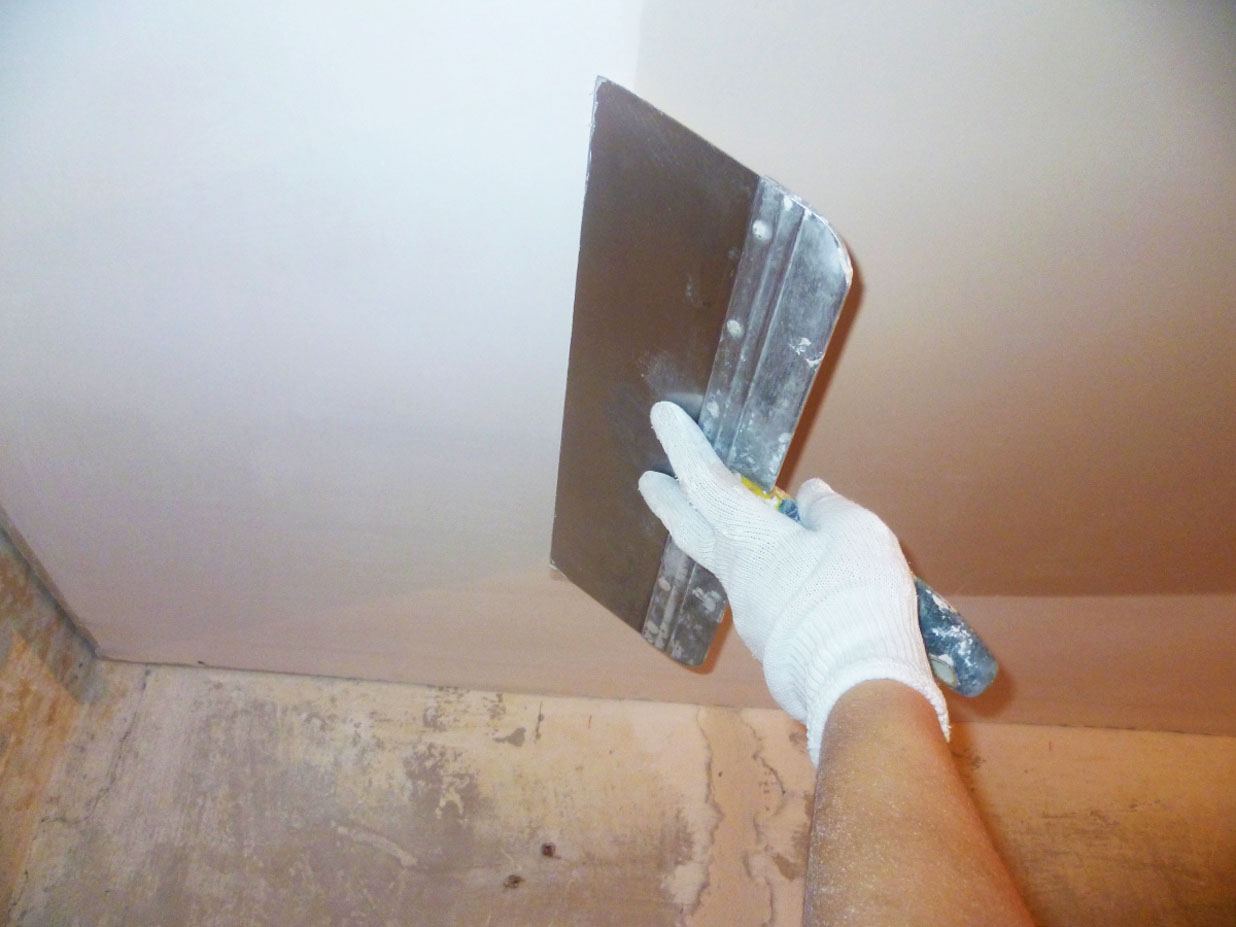
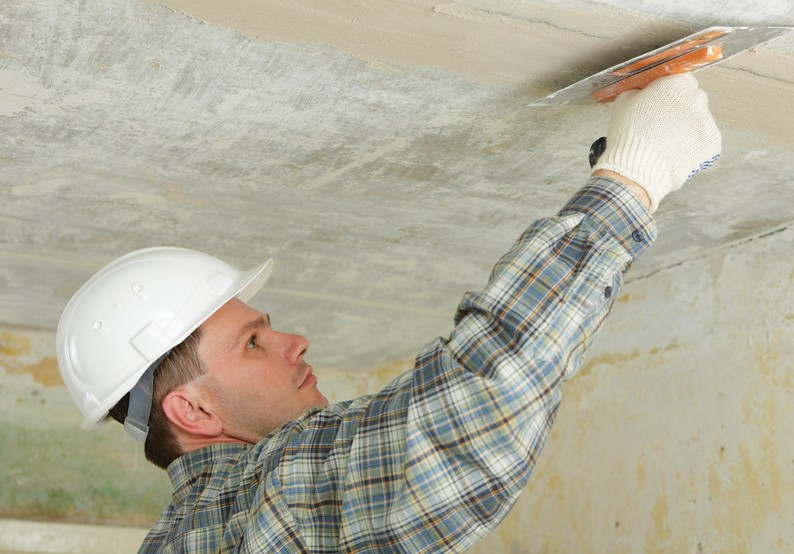
The choice of finishing method is determined individually. If the curve of the ceiling has only minor deformations, it is advisable to use putty. It also helps to cope with seams and level the base before applying the paint. For your information: in the upper part of the room it is undesirable to apply more than 0.2 cm of putty in order to avoid crumbling and shedding.
A necessary prerequisite is the cleaning of all joints and cracks, where the plaster is not kept well, and to a strong foundation.
You can not putty the ceiling, if it has greasy marks and stains of rust, other pollution. Each type of dirt is cleaned individually selected cleaning compositions. So, the fat is washed off with a concentrated solution of baking soda and laundry soap in hot water.Traces of rusty metal will help to remove weak solutions of acids, after which the surface is necessarily washed with water. Colonies of microscopic fungi are exterminated by antiseptics on concrete (any certified recipe will do).
To visually align the ceiling using putty, you need to carefully select the appropriate mixture. In dry rooms, any specialized materials are suitable:
- gypsum;
- polymeric;
- cement.
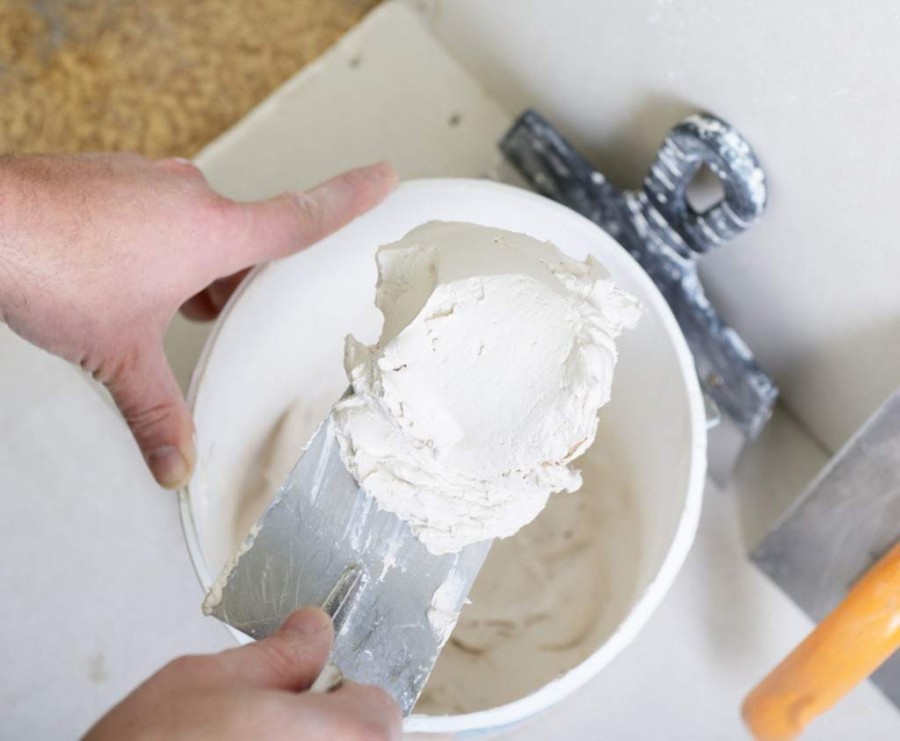

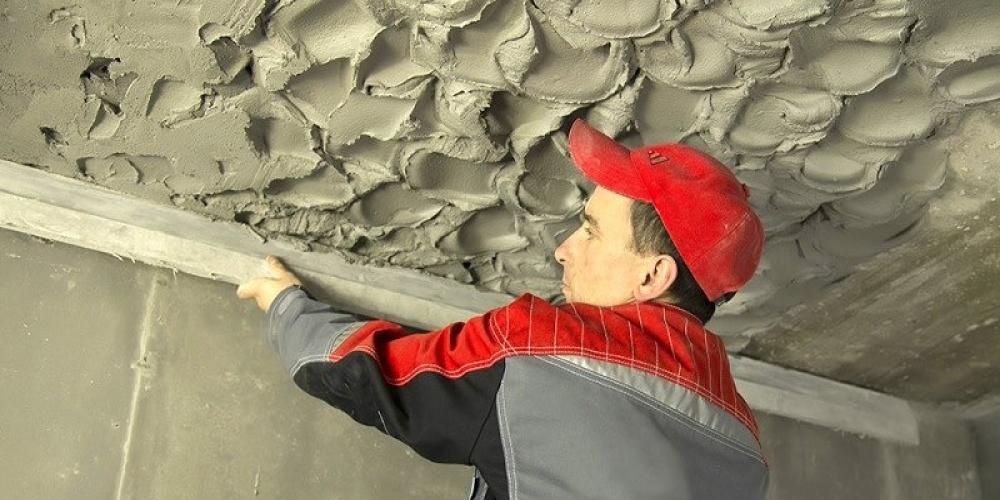
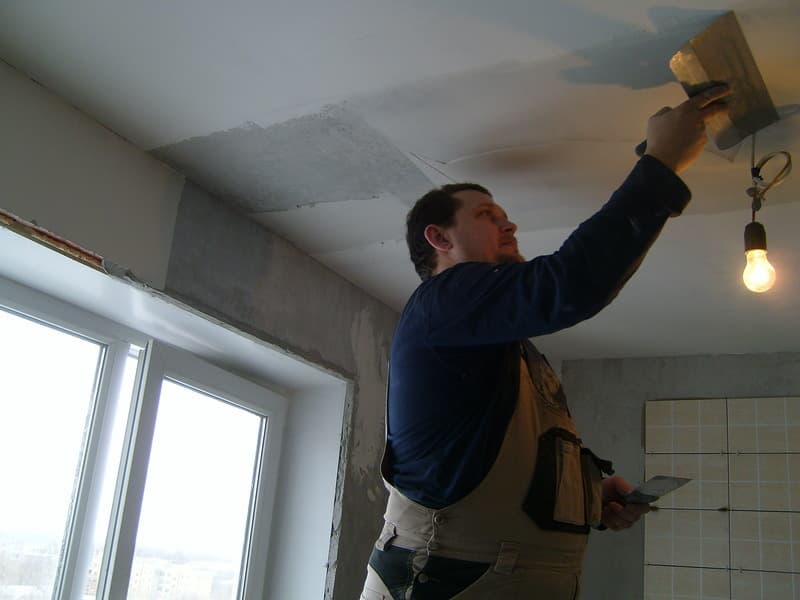
But we have to reckon with the fact that the putties containing cement are rather heavy and are poorly processed. Much more practical are gypsum mixtures, which are relatively light, plastic. After drying, the putty on the basis of gypsum becomes white or light gray. When universal plaster is applied over the putty, the beginning of the work is the fixing of the metal mesh. Alternatively, the initial layer of plaster is placed in the intervals between the beacons.
Having waited for its full drying, spread the second level, the third and further, until the adjustment is completed. Important: no layer can be made thicker than 15 mm. The final layer is required to be leveled by the rule, and after drying its thin shell of putty or plaster will allow to prepare for painting. The choice of paint is strictly individual.

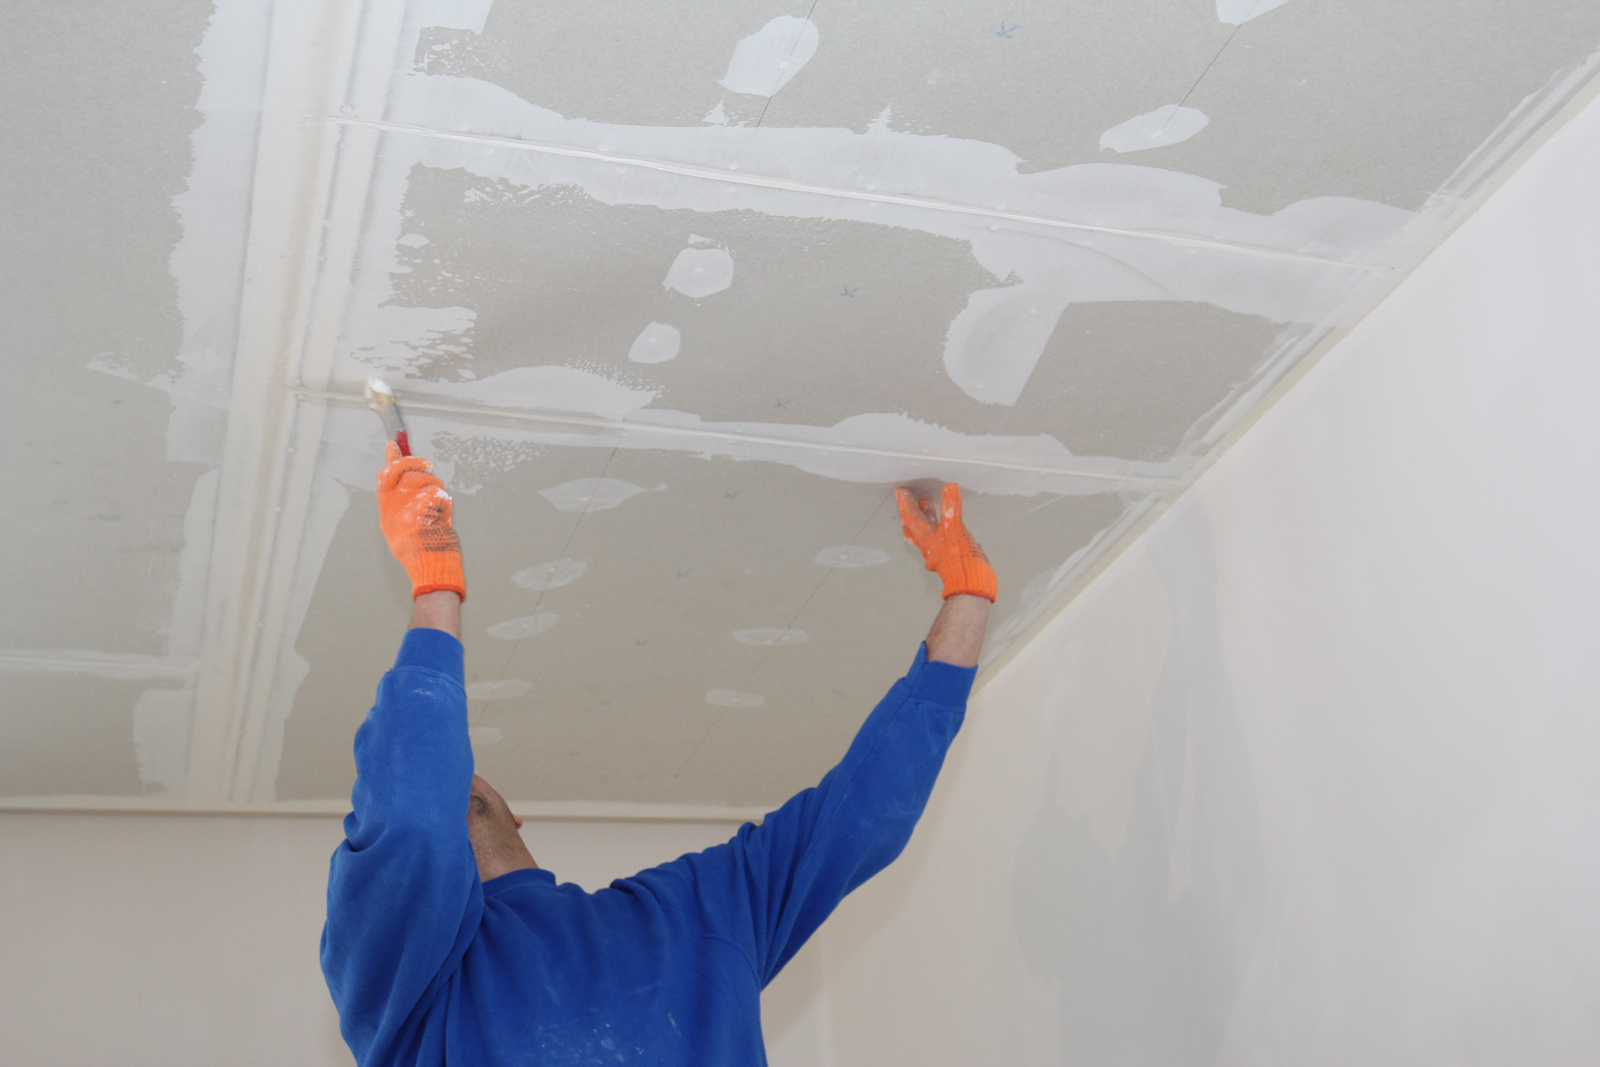
In addition to the elimination of defects affecting the entire plane of the base, it is sometimes necessary to seal the seams between the floor slabs in the apartment. Then put the tape serpyanka, adhesive surface which facilitates fixing. The subsequent puttying is done through the tape itself, while at the same time achieving a 100% closure of the seam or crack. If it is necessary to cover up the joint of a large depth, the repair compound is originally made, and the putty is applied on its readiness. The excess weight of putty is immediately removed using a wide blade spatula.
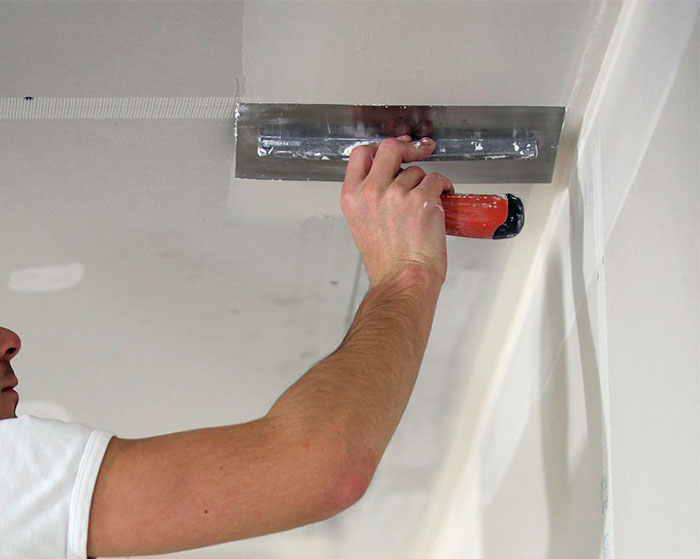
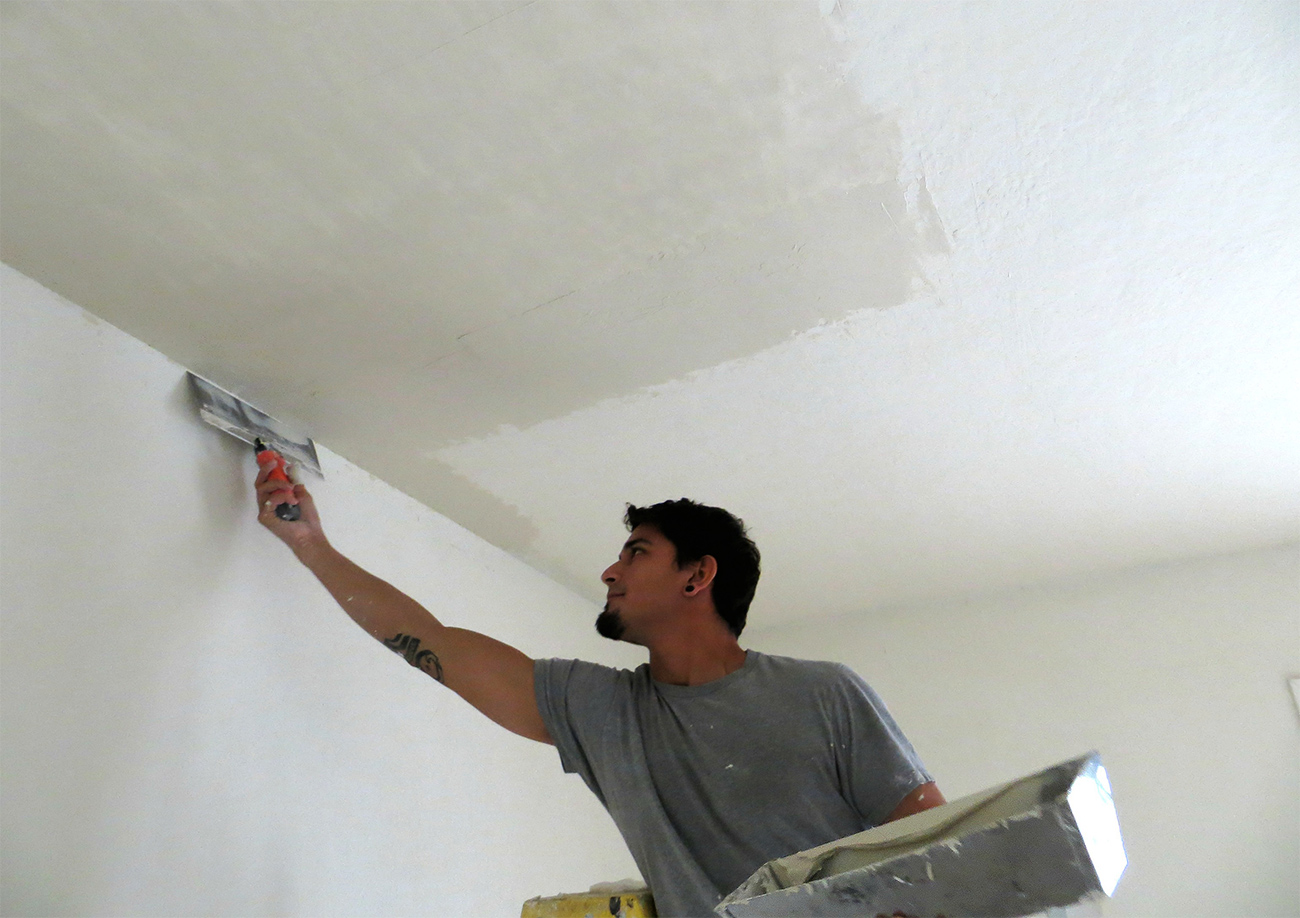
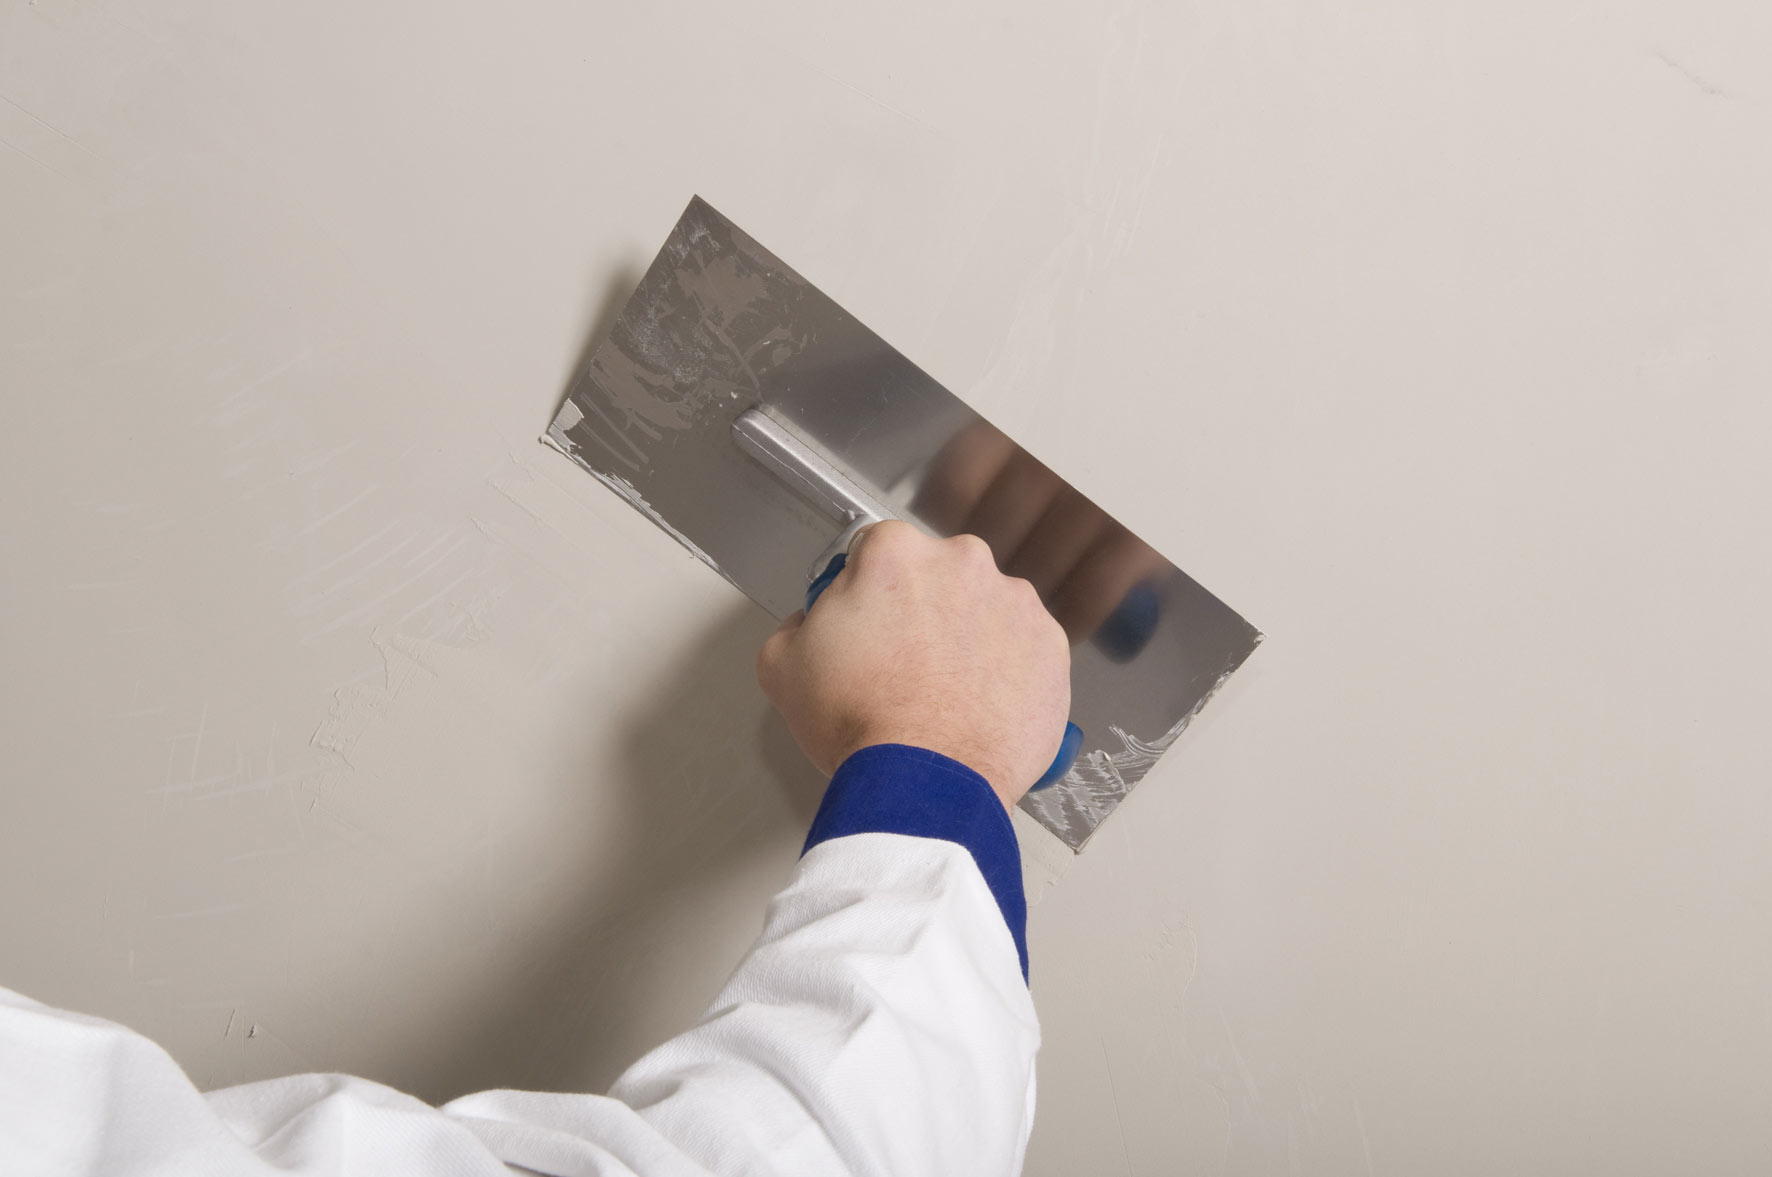
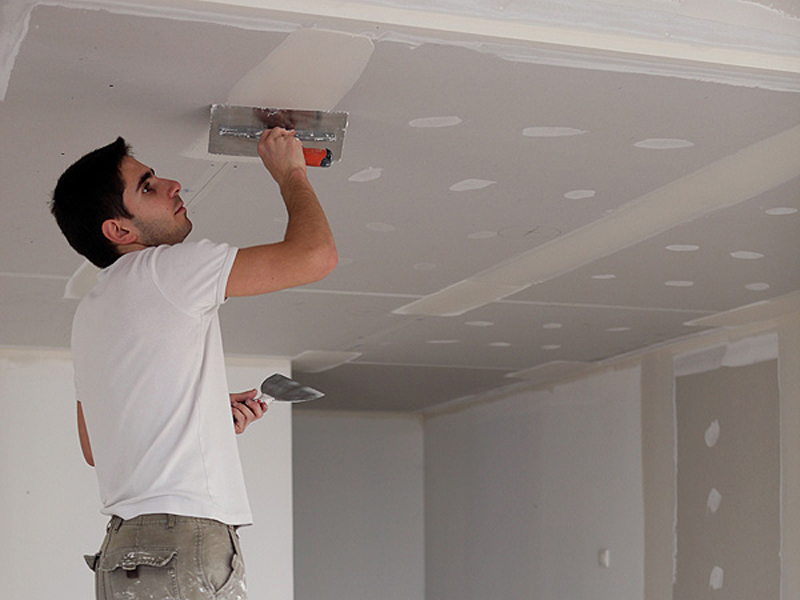
Drying the first layer takes several hours, the exact time indicated on the packaging. If after such an embedding there are still differences in the relief and pronounced irregularities, sandpaper with a grain of a large fraction will help fight them. Covering the seams and cracks, putty on the ceiling plane using a wide trowel. At the same time they are guided by a control strip marked on the walls in advance. In case of urgent need put putty in two or three layers, because everyone can not be thicker than 0.5 cm.
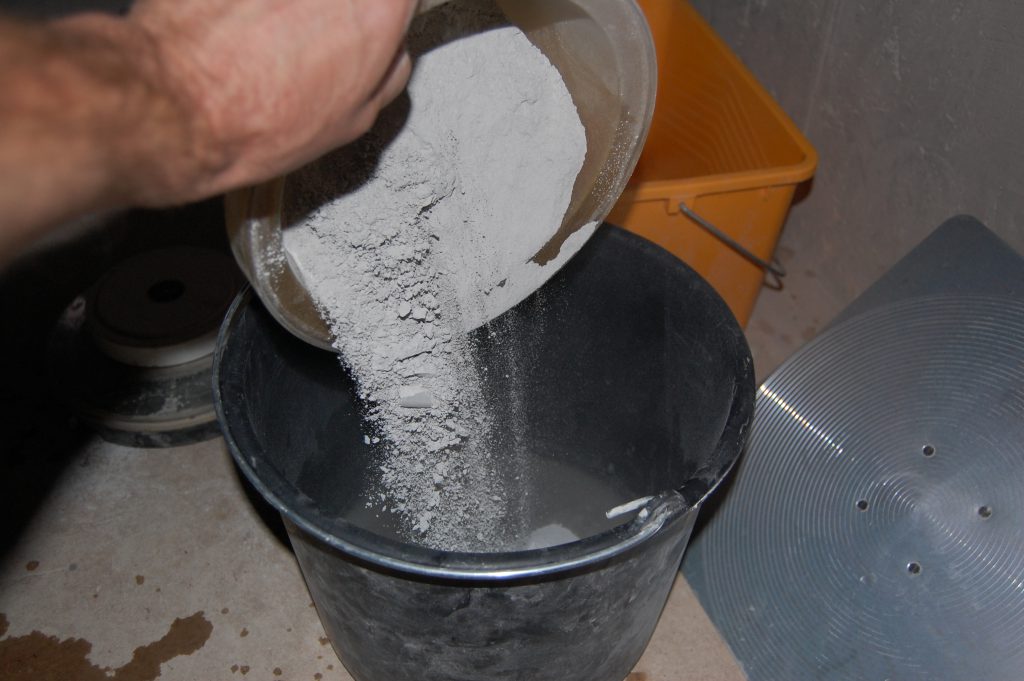
Sagging in a private old house or in the “Khrushchev” ceiling is not uncommon, and the owners of such dwellings need to know how such problems are solved.With all the variety of marketing moves of manufacturers and construction firms can be divided into two key areas. Wet method involves the use of various dry mixtures, diluted with water. Dry coatings are:
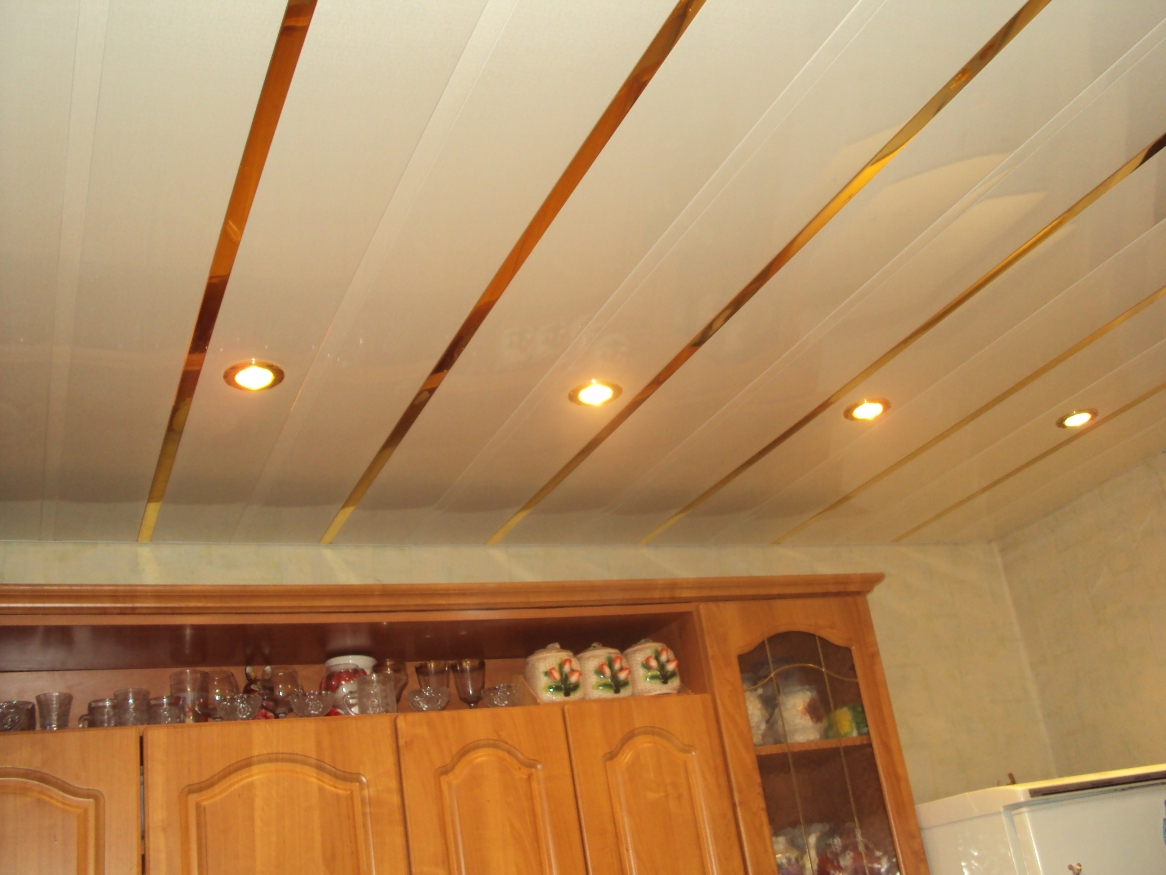
- plastic panels;
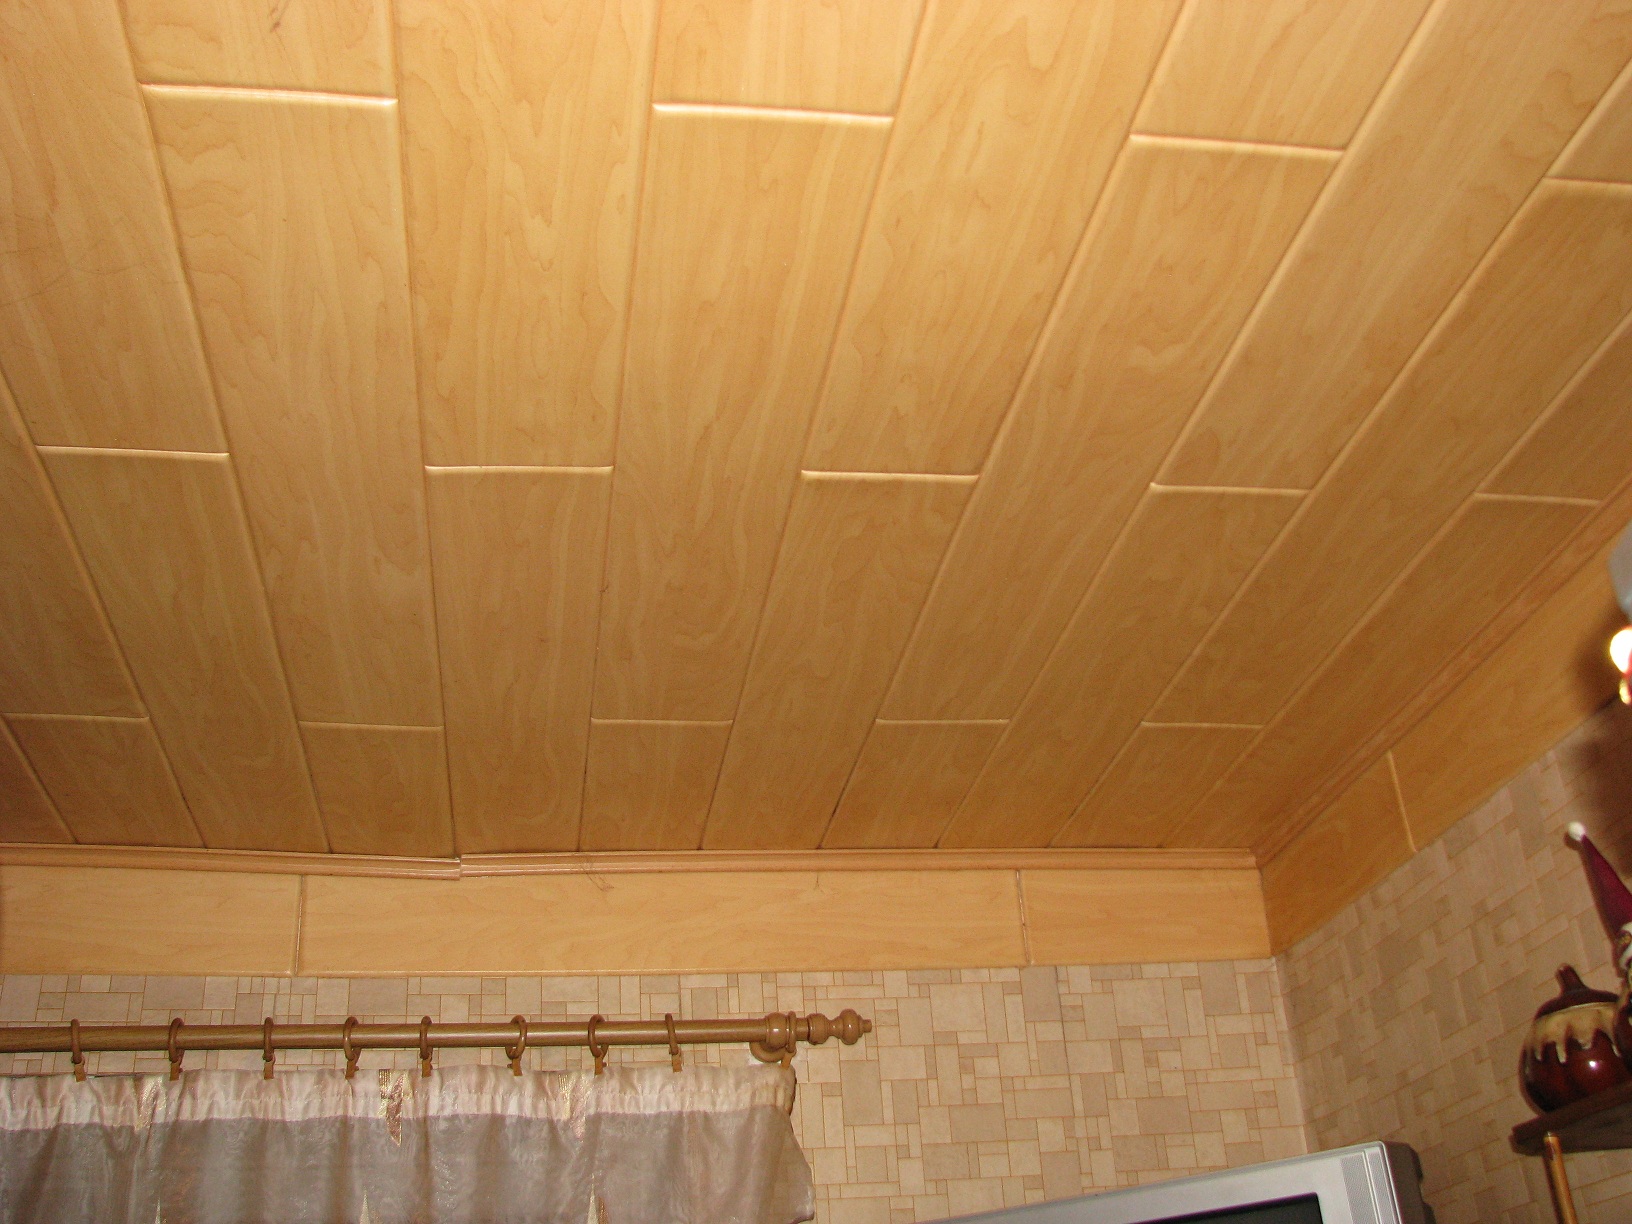
- wood chipboard;
- drywall sheets;
- plywood and some other similar materials.
The choice of a specific option is determined by how deformed the base is, whether there are pipes and beams under the ceiling (they are very common in old houses). Additionally, it is worth analyzing your capabilities. So, almost everyone can make a ceiling with their own hands using plaster and putty. But the cost of such finishing is sometimes excessively large. In addition, special beacons will have to be used to eliminate the violation of the surface geometry.
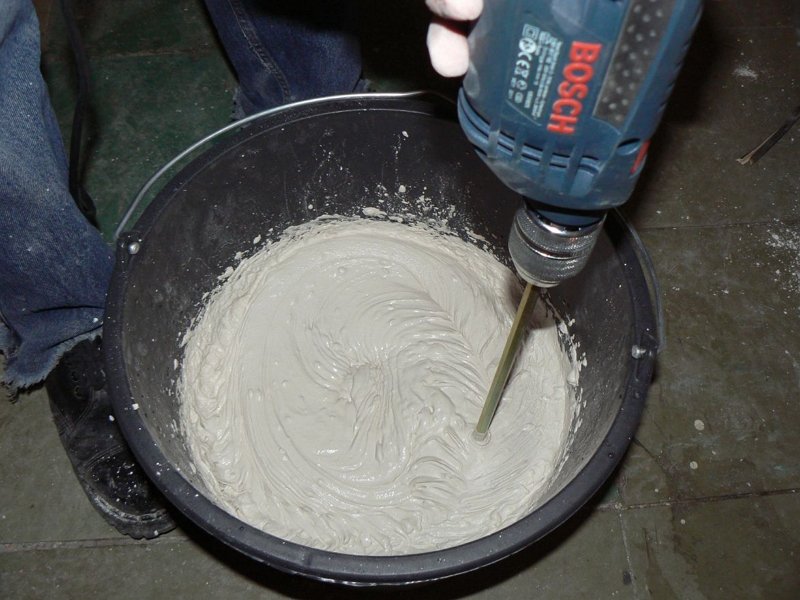
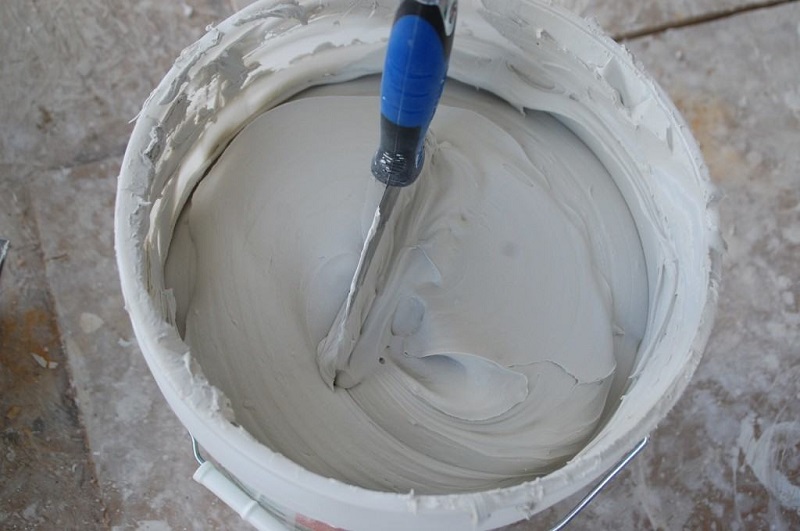
If, however, it is firmly decided to apply dry building mixtures, you need to get ready for work. Perform it preferably on the goats, and not on a stepladder. The rule for plastering is 150 or 200 cm long. An electric drill with a special nozzle helps to mix the liquid.Lay out the plaster preferably with a spatula width of 100-120 mm, and always at the ready should be a device for smoothing. The optimum capacity of the bucket for the mixture - from 9 to 12 liters; it will allow not to knead the plaster too often, and avoid difficulties when moving from place to place.
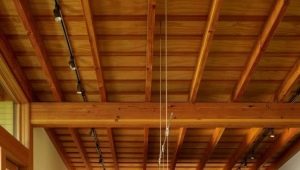
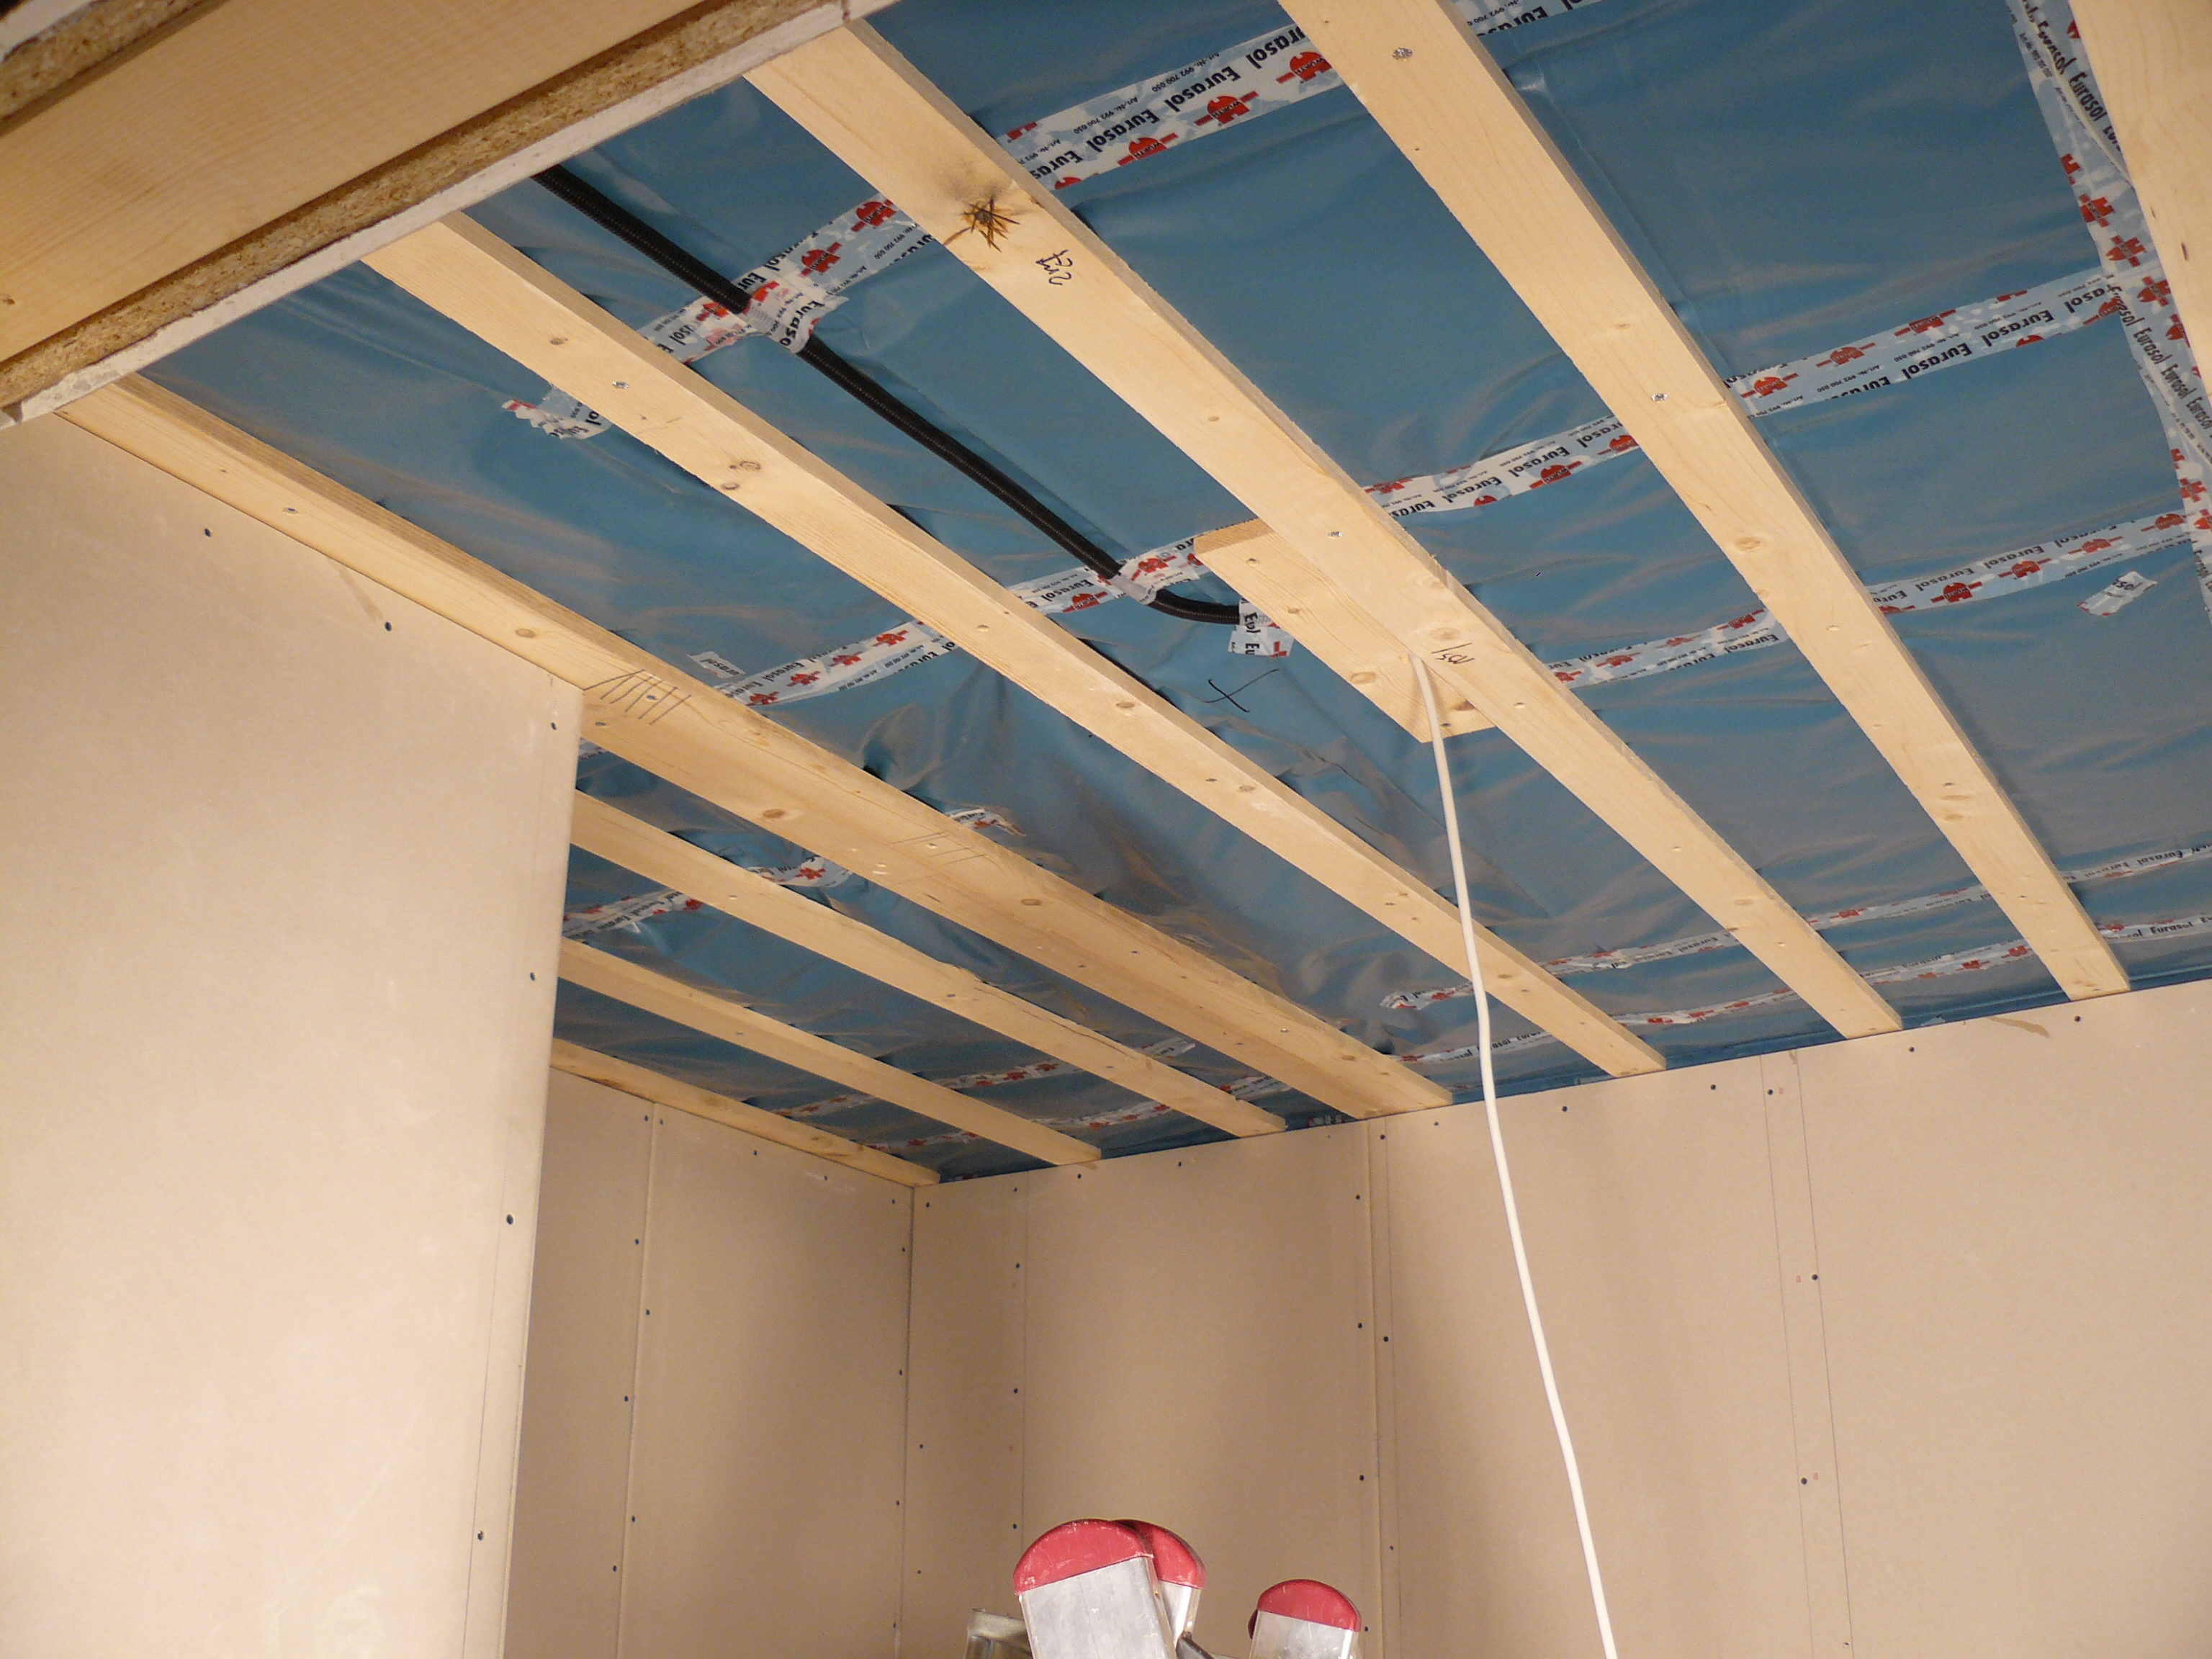
Such tools help well when you want to return the perfect smoothness of the ceiling of concrete slabs, using plaster. But if you need to trim the wooden ceiling of the boards, the approach should be somewhat different. First of all, you should clean the surface, lay the wires and insulation. Boards are carefully inspected, and if there are a number of defects (rot, fungal damage) they are completely replaced.
Special preparations help again to avoid such problems.
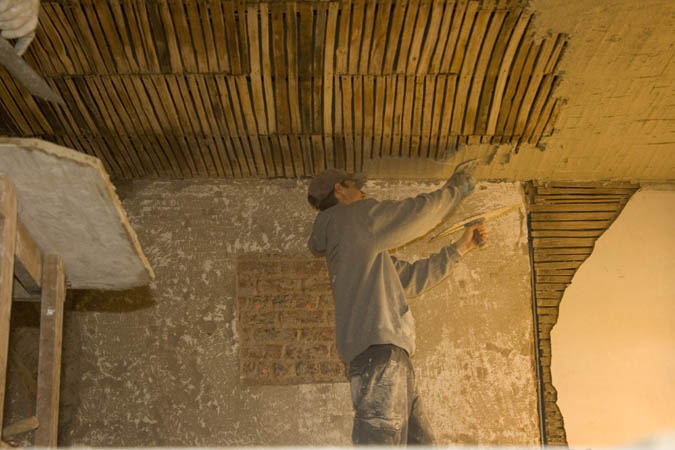
Wooden ceilings can be leveled using both dry and wet technologies. Putting plaster helps to correct defects of no more than 3-5 cm, because its too large a layer can spontaneously flake off. Places where the drops are very strong, overlap with shingles. As with other types of plastering, properly exposed beacons provide great help to builders.Minor single protrusions can simply be sanded using a planer, without resorting to other methods.
Both stone and wooden ceilings can be leveled either correctly or quickly. Excessive haste in carrying out this work can lead to very unpleasant consequences. With a slight difference in height, plastering is best, but when the relief forms exceed 50 mm, it is much more correct to use dry technologies. To save time there is only one way - to buy all the products and mixes only from reliable suppliers who have equipped warehouses.
Strictly observing the technology of using materials, it is possible to reduce the proportion of material leaving the marriage, and ideally reduce it to zero.
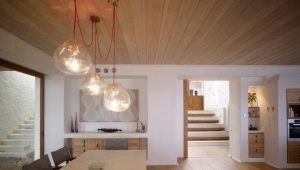
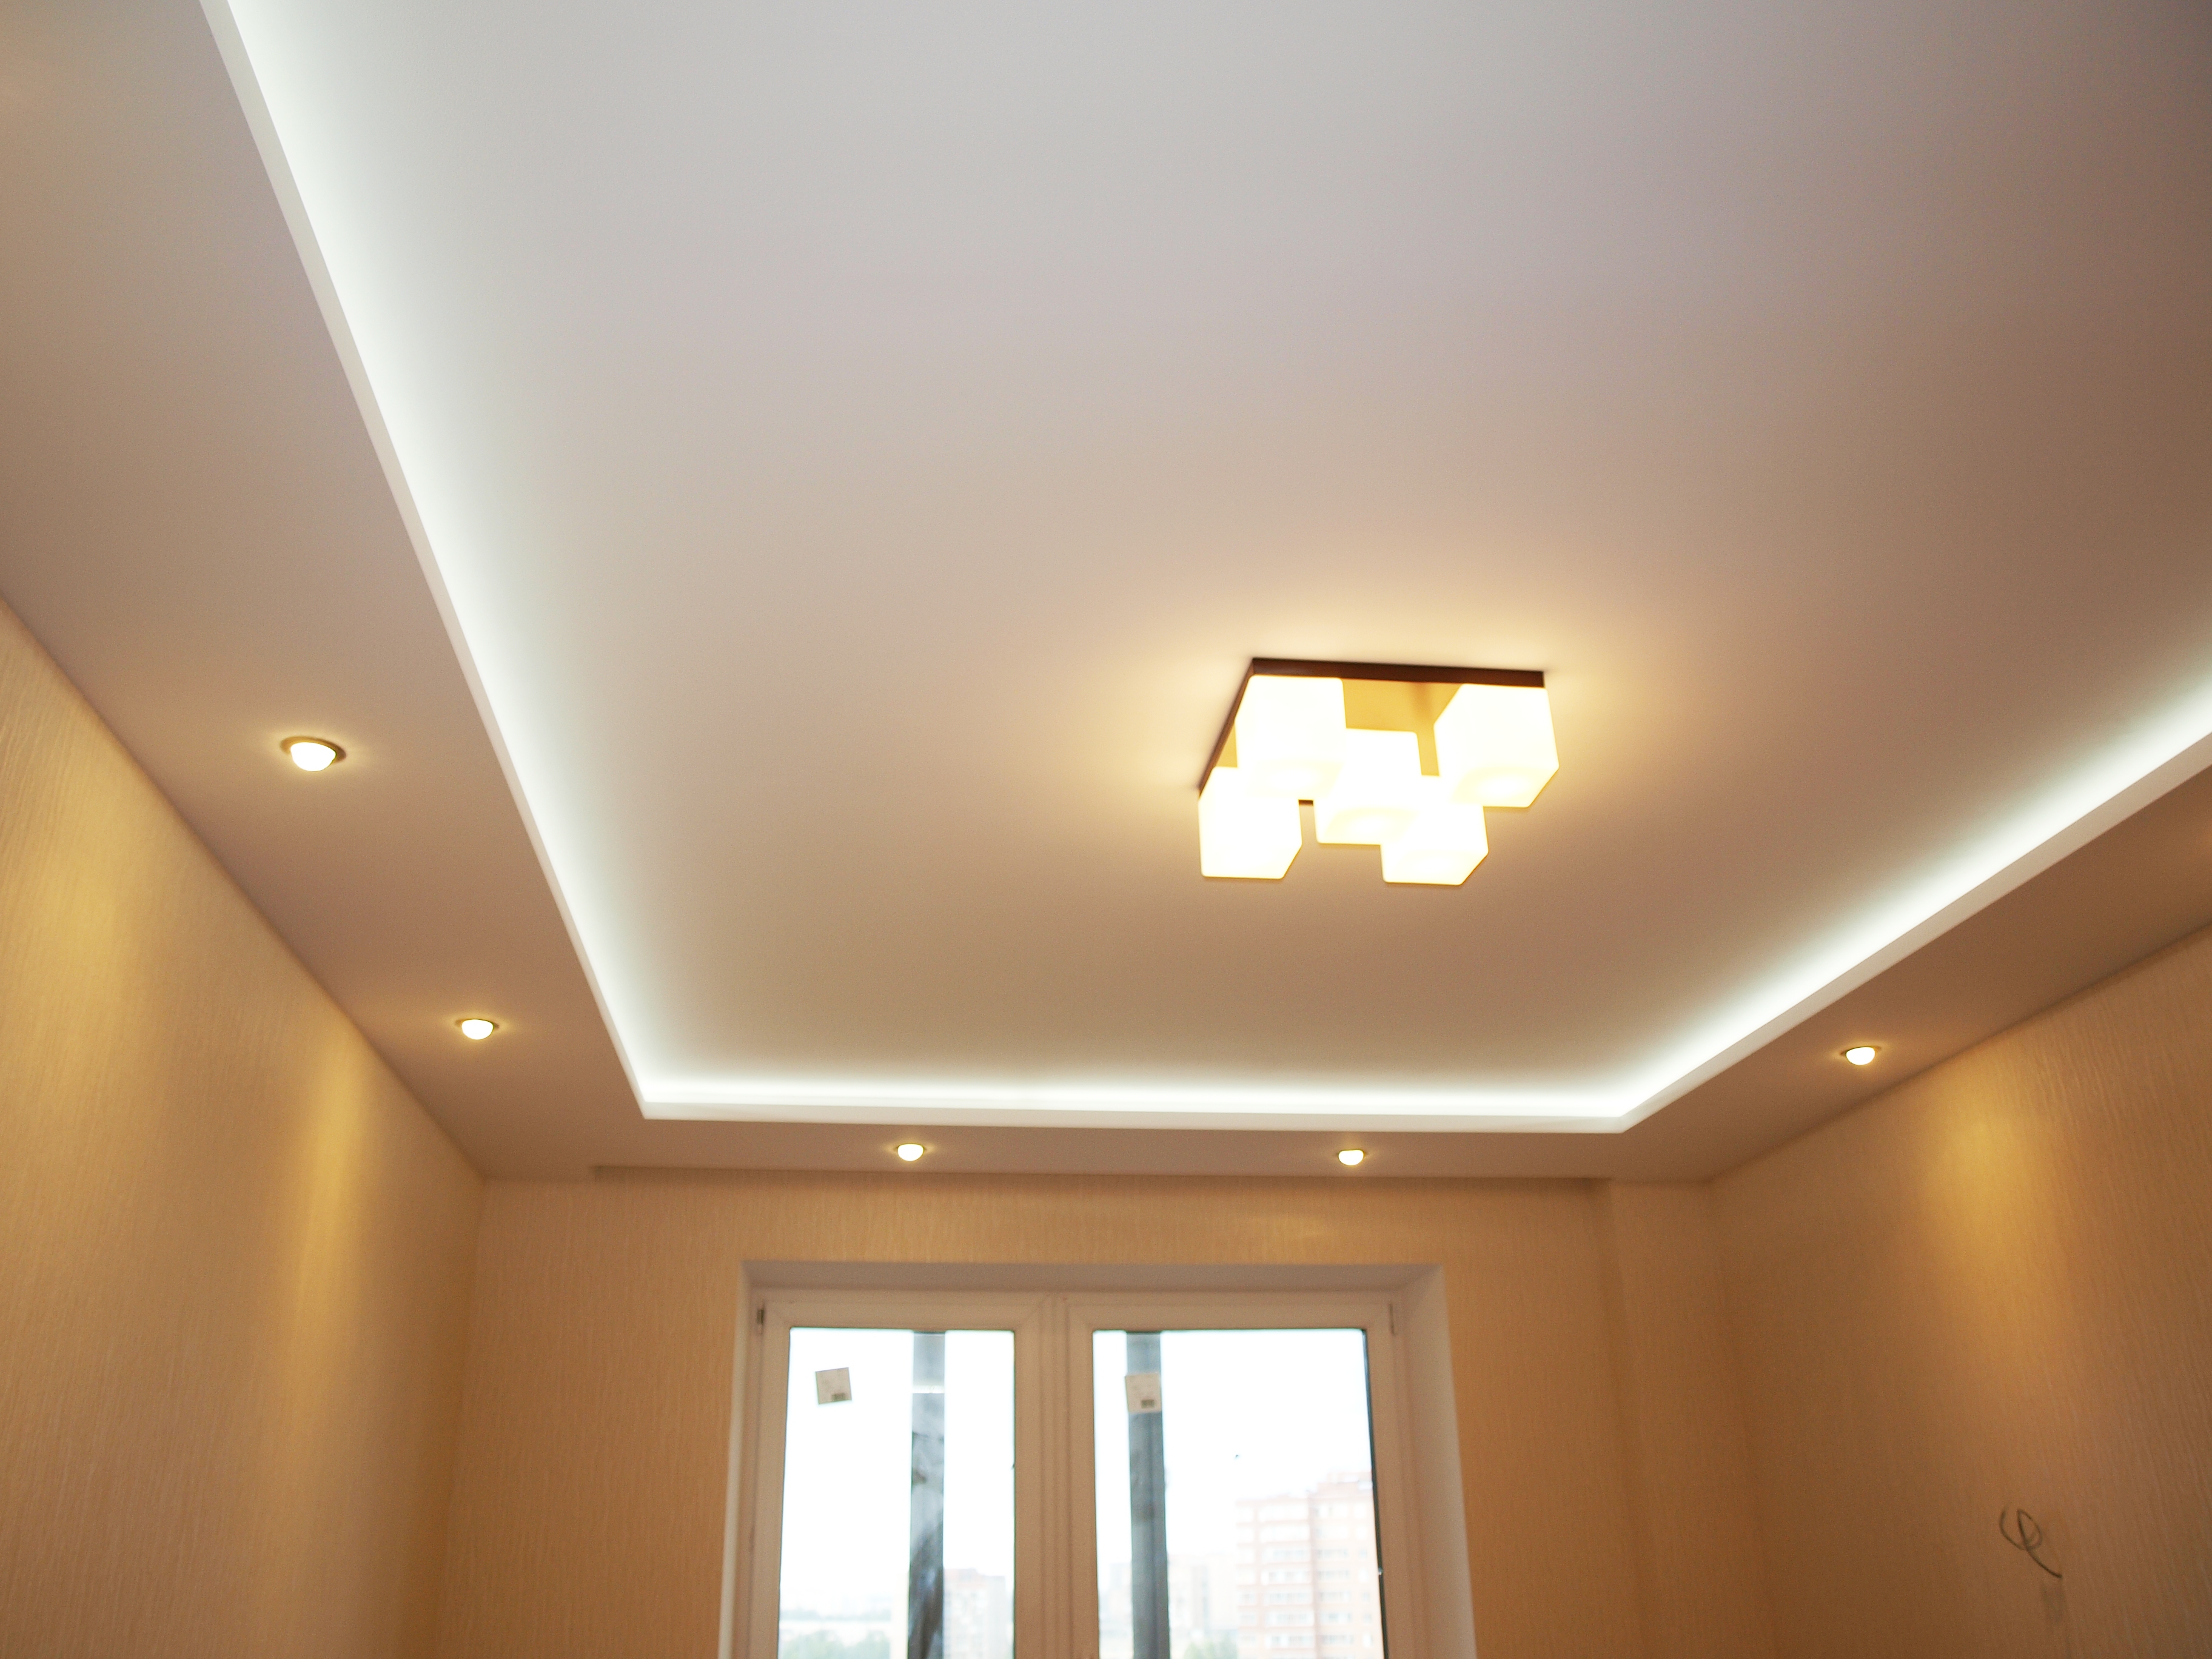
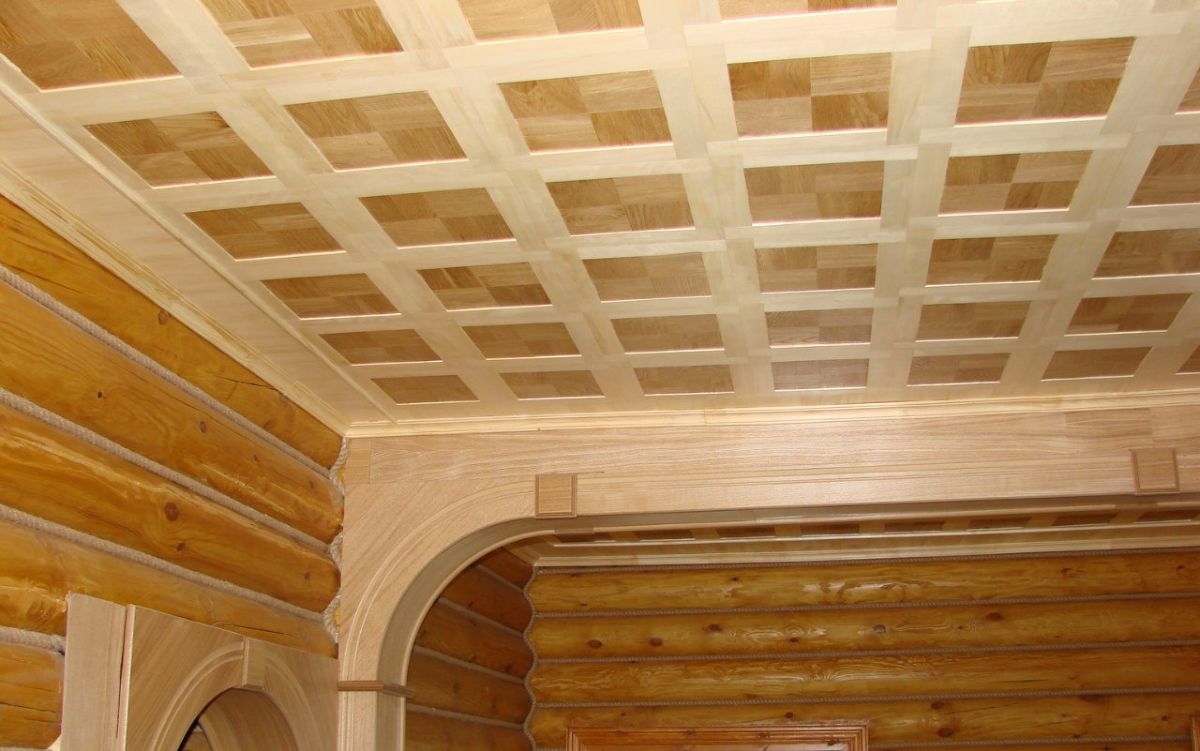
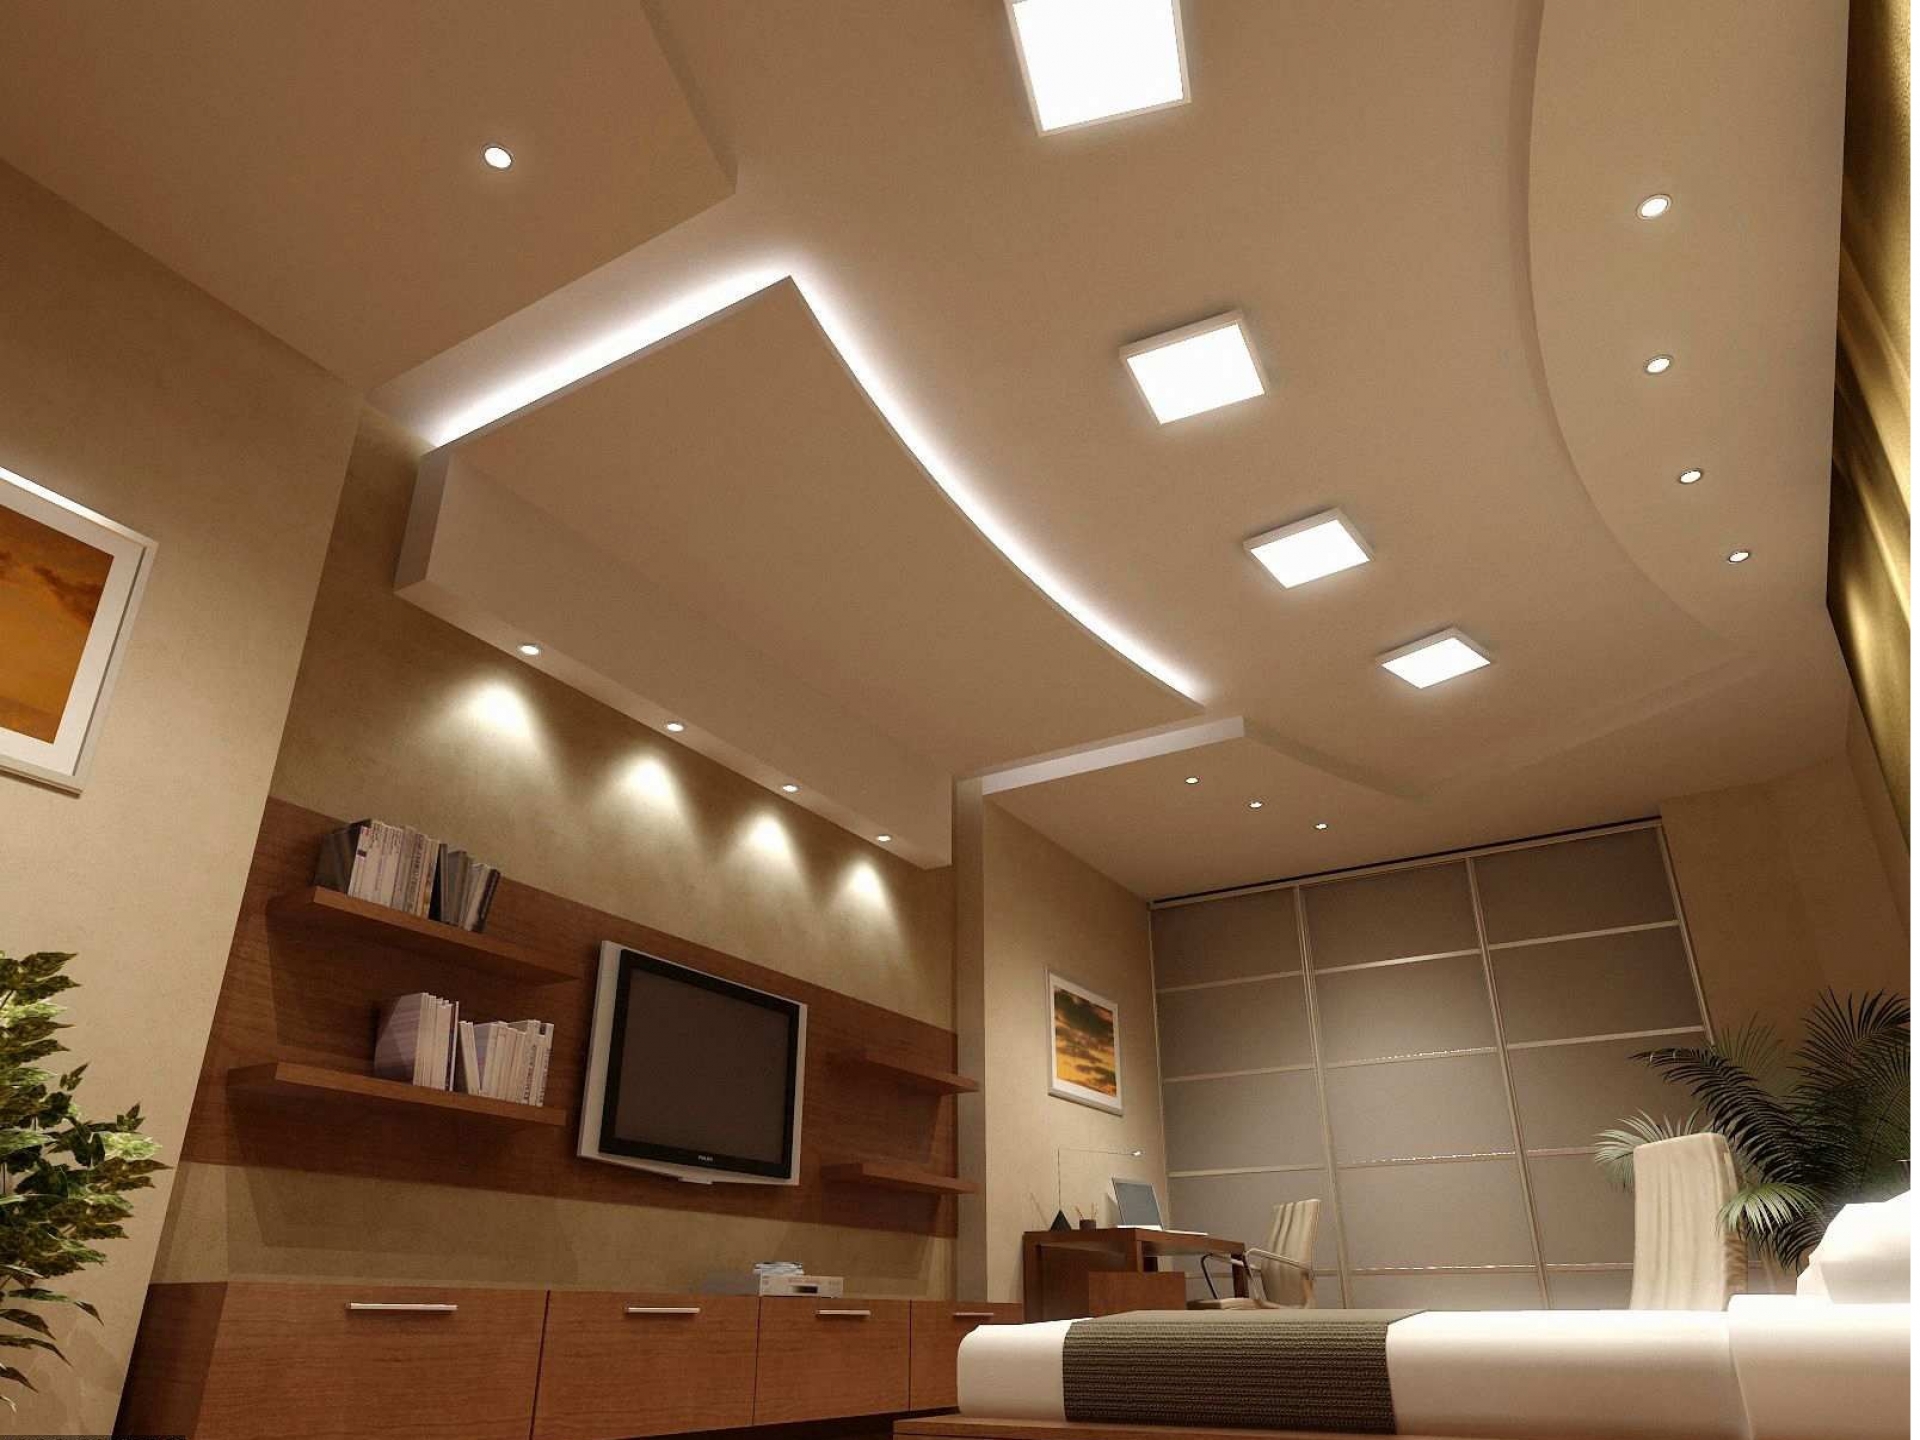
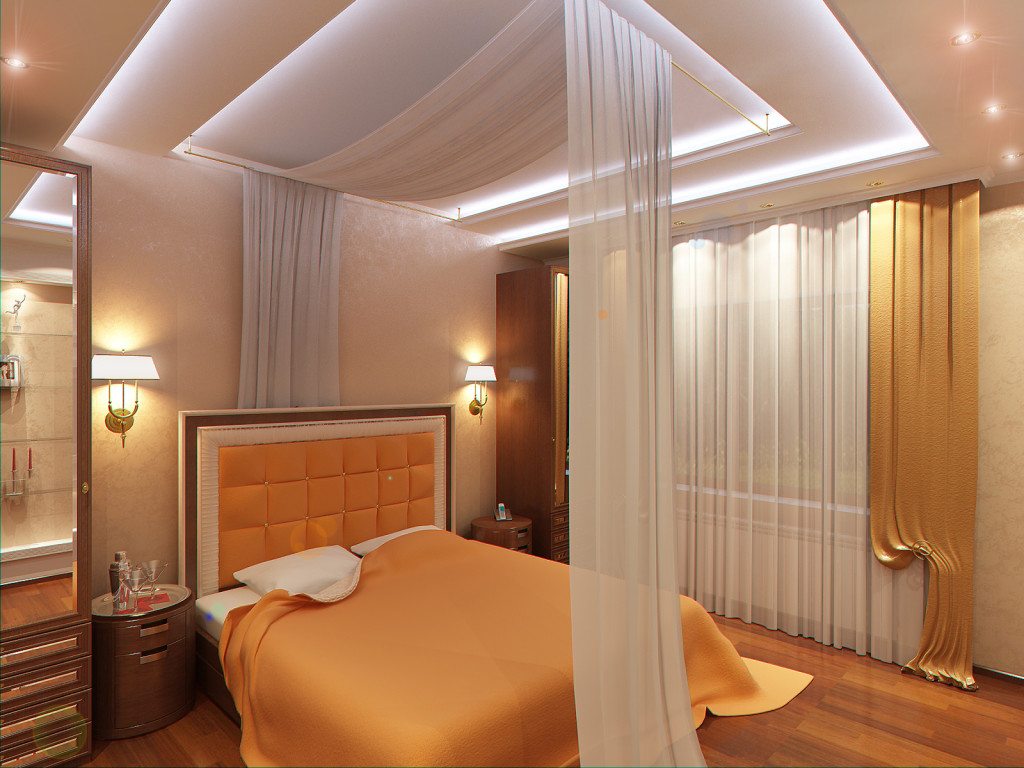
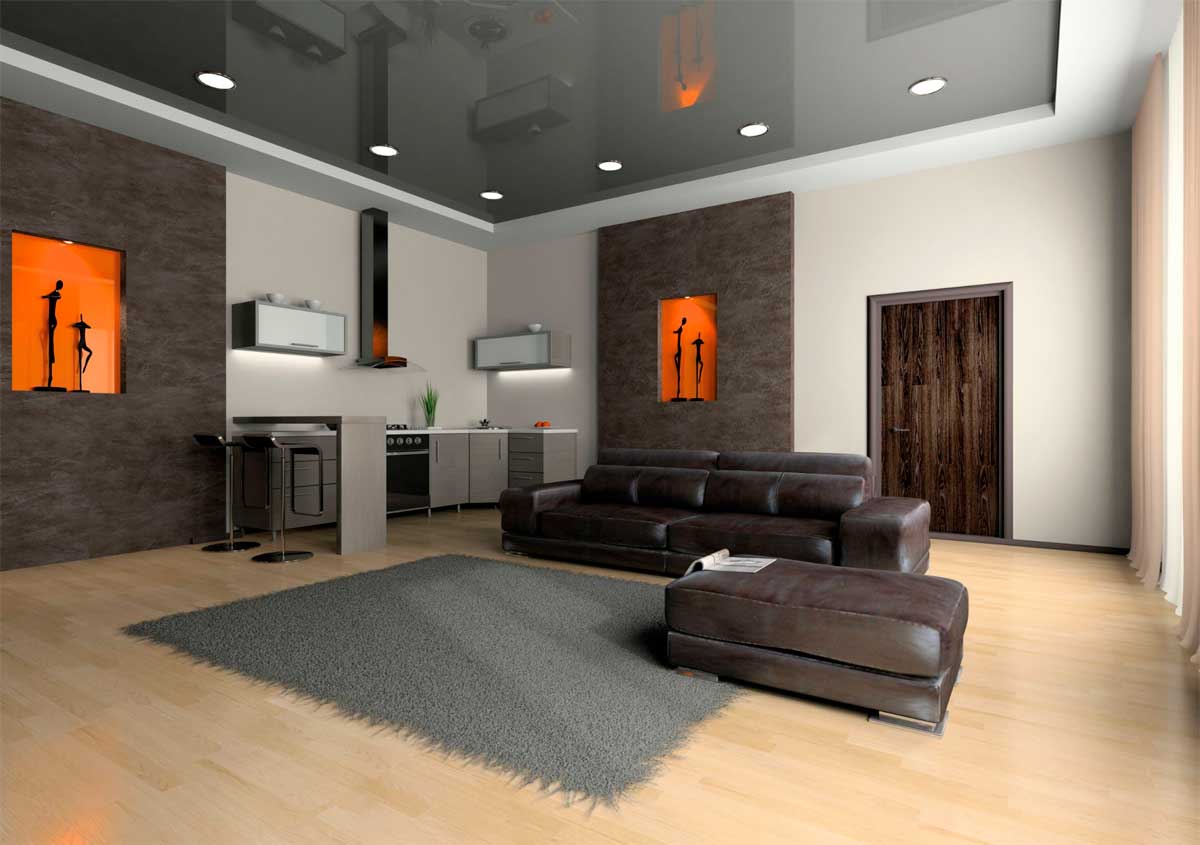
But you can not definitively answer the question of how best to do the alignment of the ceiling itself, focusing only on the manufacturers instructions. There are a number of subtleties that are familiar to finishers and designers, and experts are well aware of how to decorate an upper-house house without any dirt. So, An excellent solution is often the use of fake lights. They are able to visually shade the ceiling failures and make them almost invisible.It is only required to ensure that the differential is inside the beam or tight to one side.
To avoid problems, one should select the finishing beams according to the interior of the room and create a mutually coordinated composition of them.
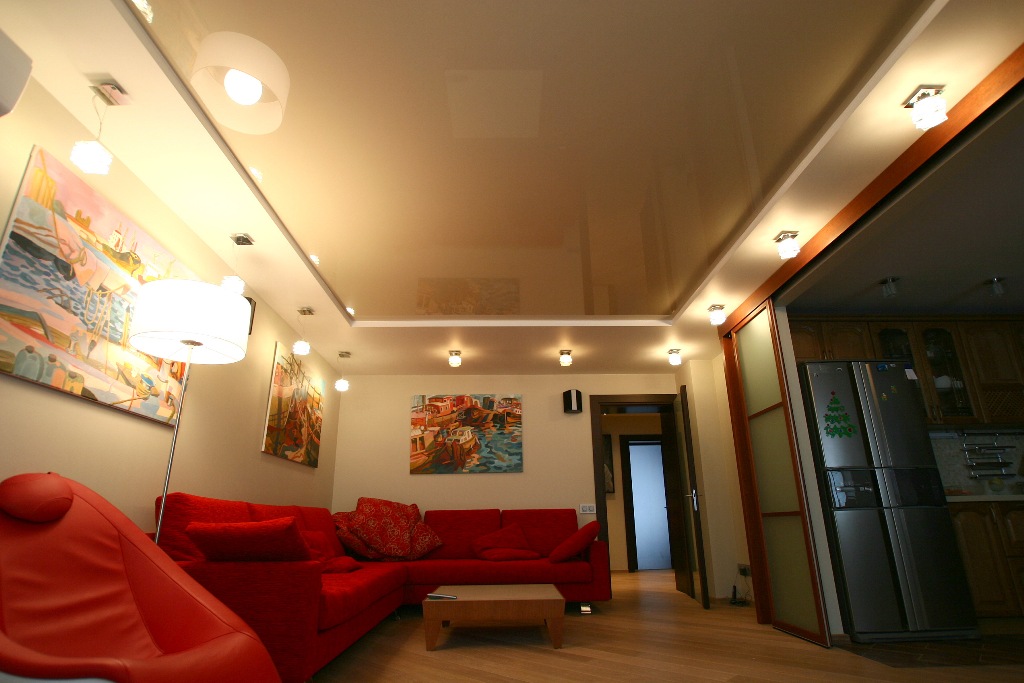
To cover the irregularities located at the very border with the wall, often used overlapping elements made of polyurethane. Such details are ideal if the walls are already finished and it is necessary to avoid their pollution, which is inevitable during any plastering work. When the cornice has the same color as the ceiling, the room will be visually elevated.
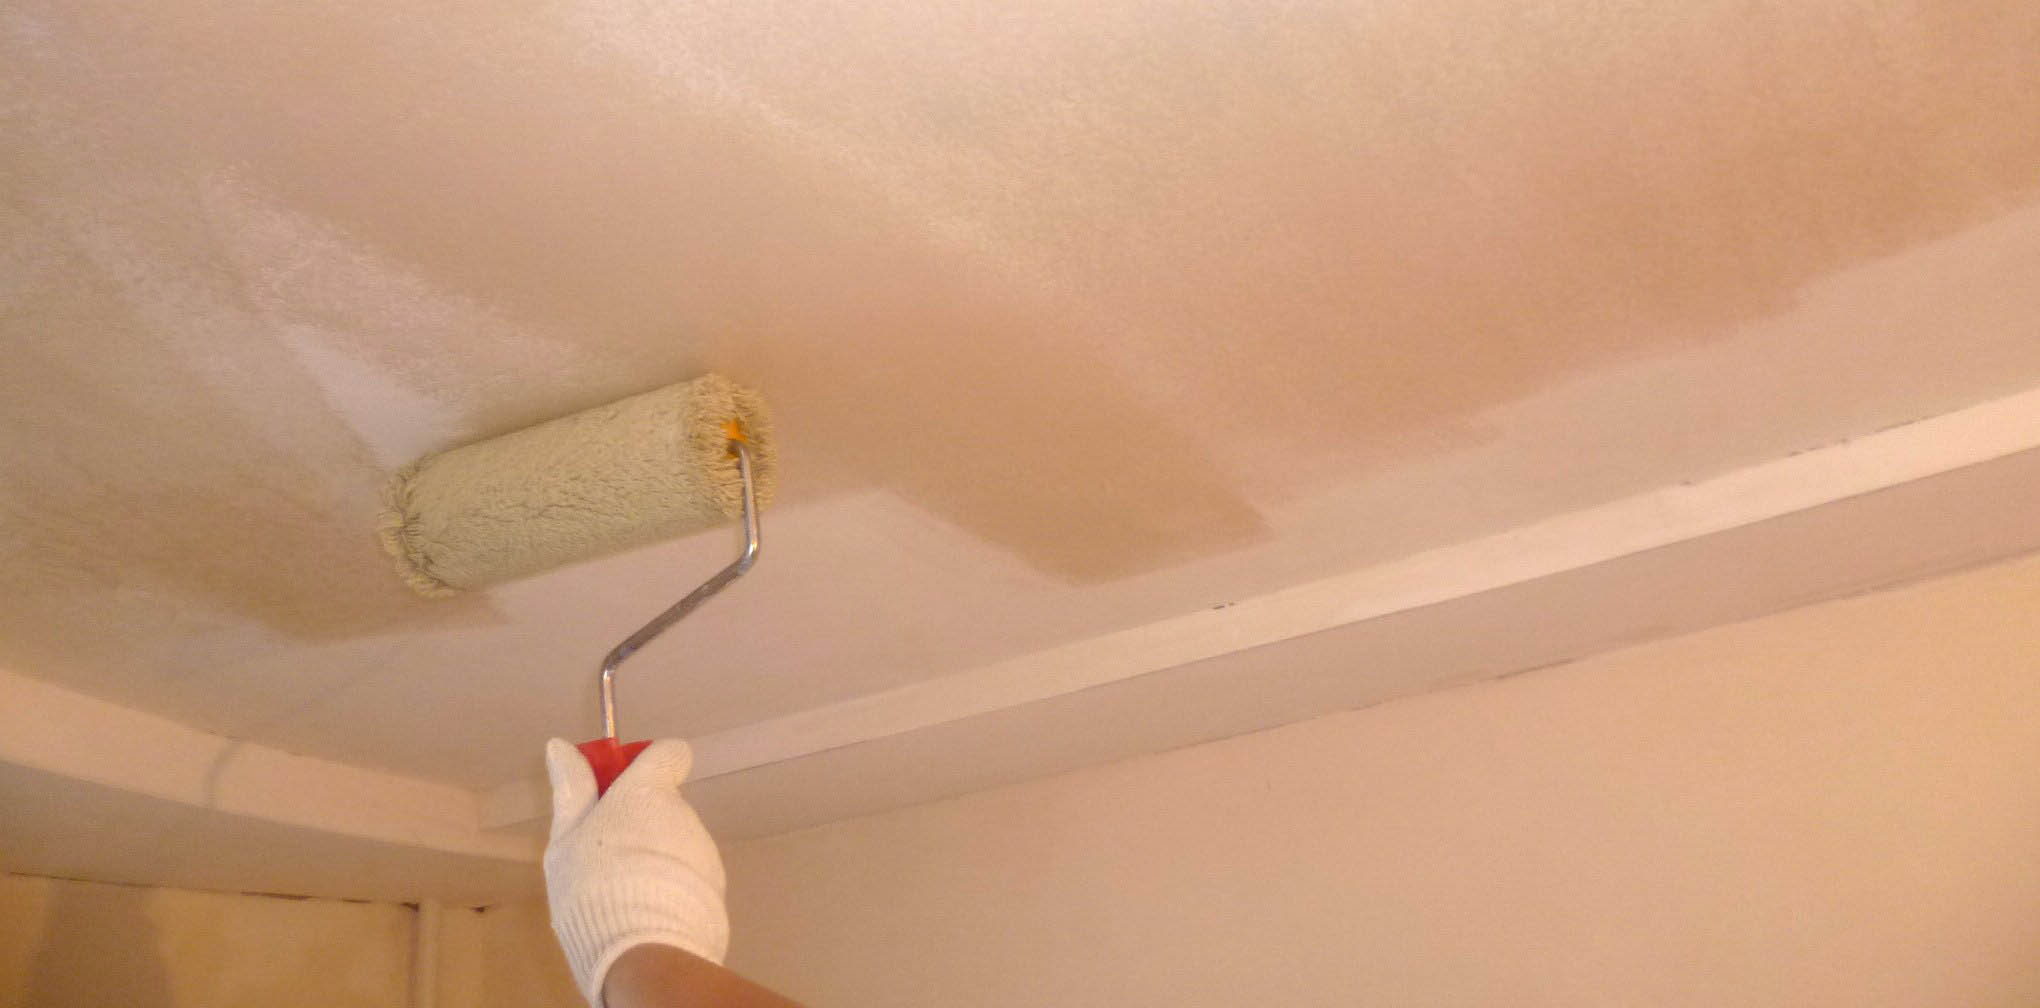
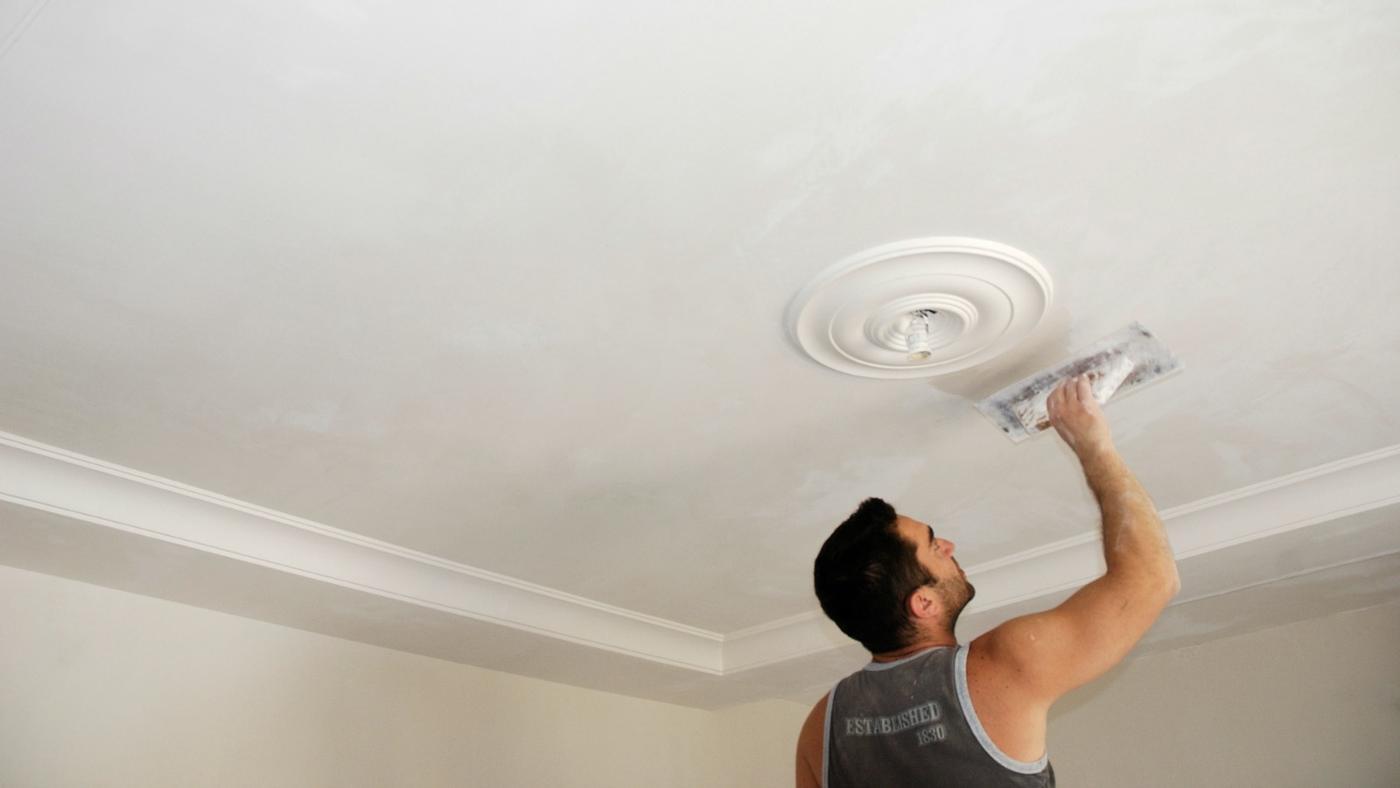
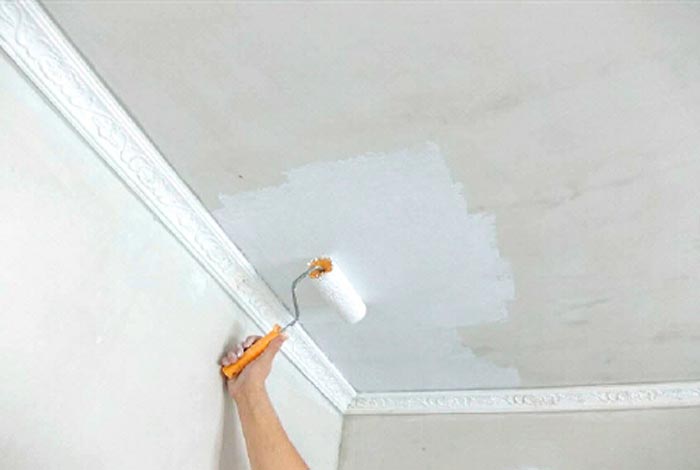
Sometimes the question arises, how can you make a smoother ceiling painted with PF or any other paint. The base is carefully checked and assessed for its condition. When there are no cracks, the paint does not peel off, you can not remove the coating, and proceed to additional finishing. From the ceiling they remove the cobwebs and dust. The cleaned and dried up ceiling is treated with deep penetration primers. It is necessary to dilute the mixture in a ratio of 1: 1, because a high-quality paint layer in itself holds the putty well.
Putting the ceiling in this case is required with a soft mortar, the thickness of which is a maximum of 3 mm. The ideal solution, experts believe is ready-to-use putty polymer composition. Then put another, very thin layer. Grinding the created coating is required as carefully as possible, it will not create bald spots. The paint applied on top of the putty is diluted to the consistency of liquid sour cream, and if you need to put two layers, there must be at least 24 hours between their application.
It is not at all necessary that problems with ceilings arise in an old-style panel house - the quality of construction in a new building also often does not meet the necessary requirements. Usually use gypsum plaster solutions, which are reinforced from the inside. If the goal is set to minimize costs, you can correct the defects using tile adhesive. The first layer is applied with a trowel. From time to time when laying check evenness.
At the base of the punch holes, which hammer dowels made of plastic. On the self-tapping screws inserted into these dowels, it is required to stretch the strip of mesh with an external zinc coating.Next, the surface is required to be coated with a primer, and when it dries, the solution is stretched over the grid with a wide-blade spatula. If you add a little more water to the glue than the prescription prescribed, you can make a moderately liquid and completely elastic solution. Next comes the turn of the finishing putty, each of the layers of which need to be polished, primed. Finally, the surface is painted.
Drywall
Plasterboard ceiling coating is attractive because it:
- allows you to significantly reduce the time spent;
- masks defects of any kind and size;
- makes it possible to enhance the thermal protection or sound insulation properties of the ceiling;
- helps to almost completely avoid the formation of dirt and dust, which is inevitable when working with ready-made mixtures.
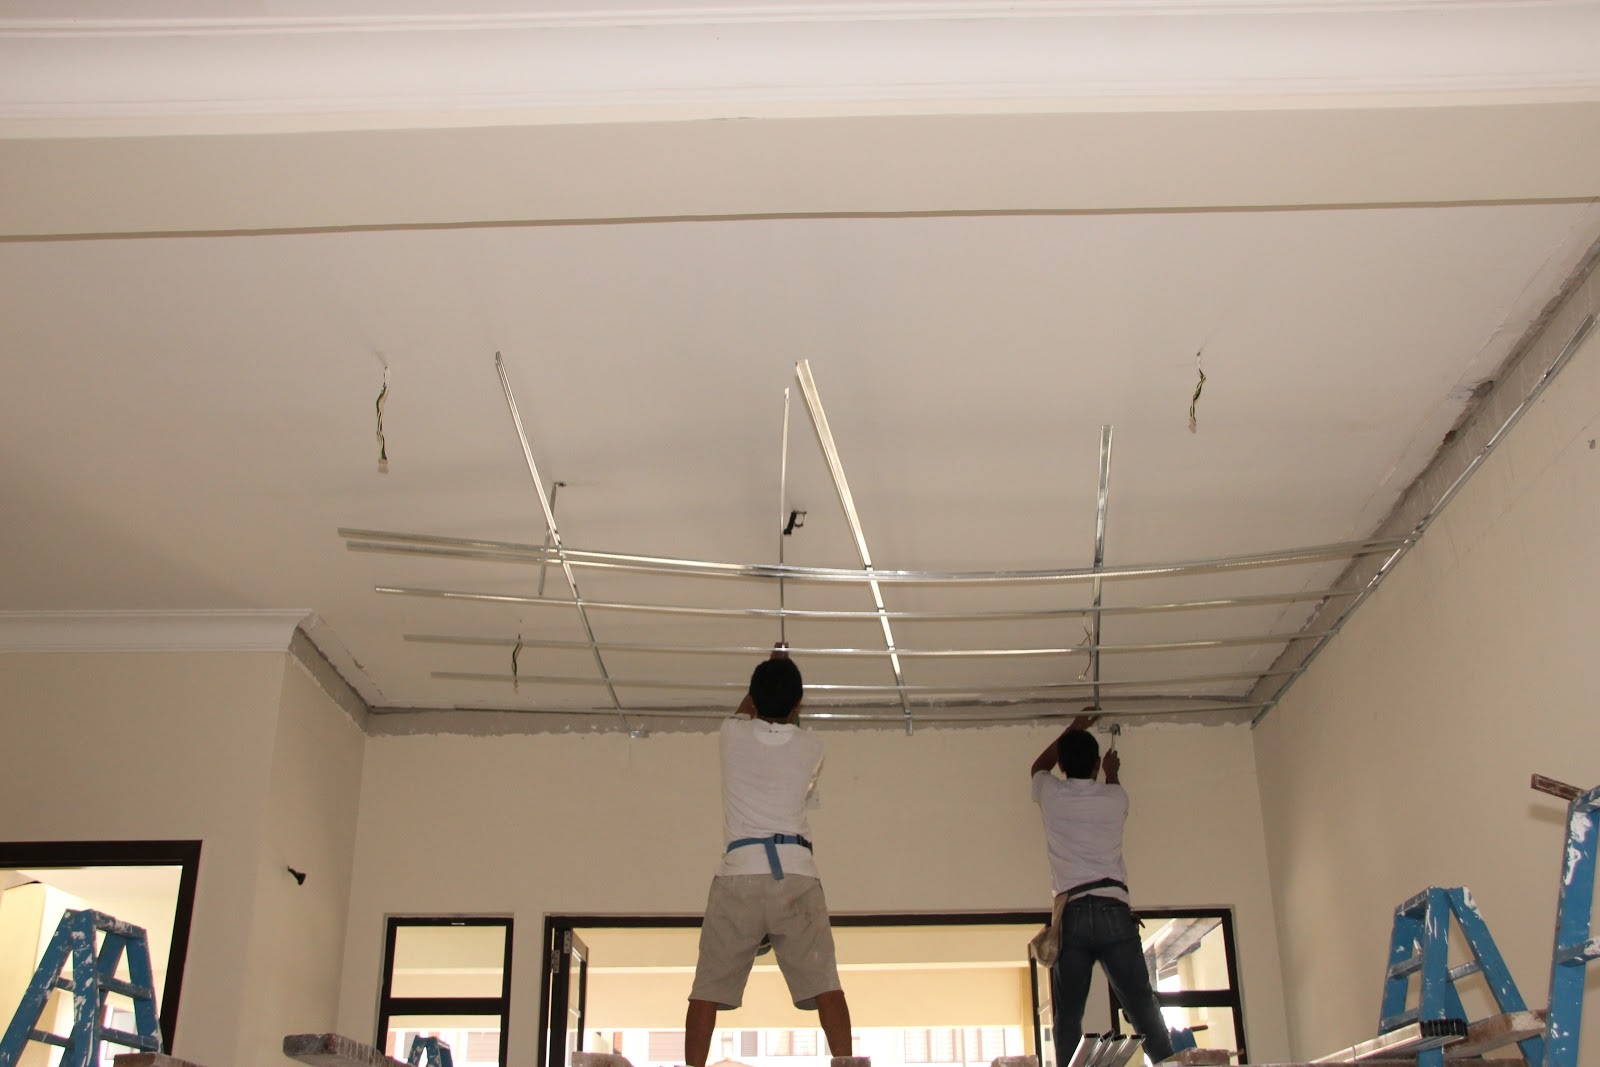
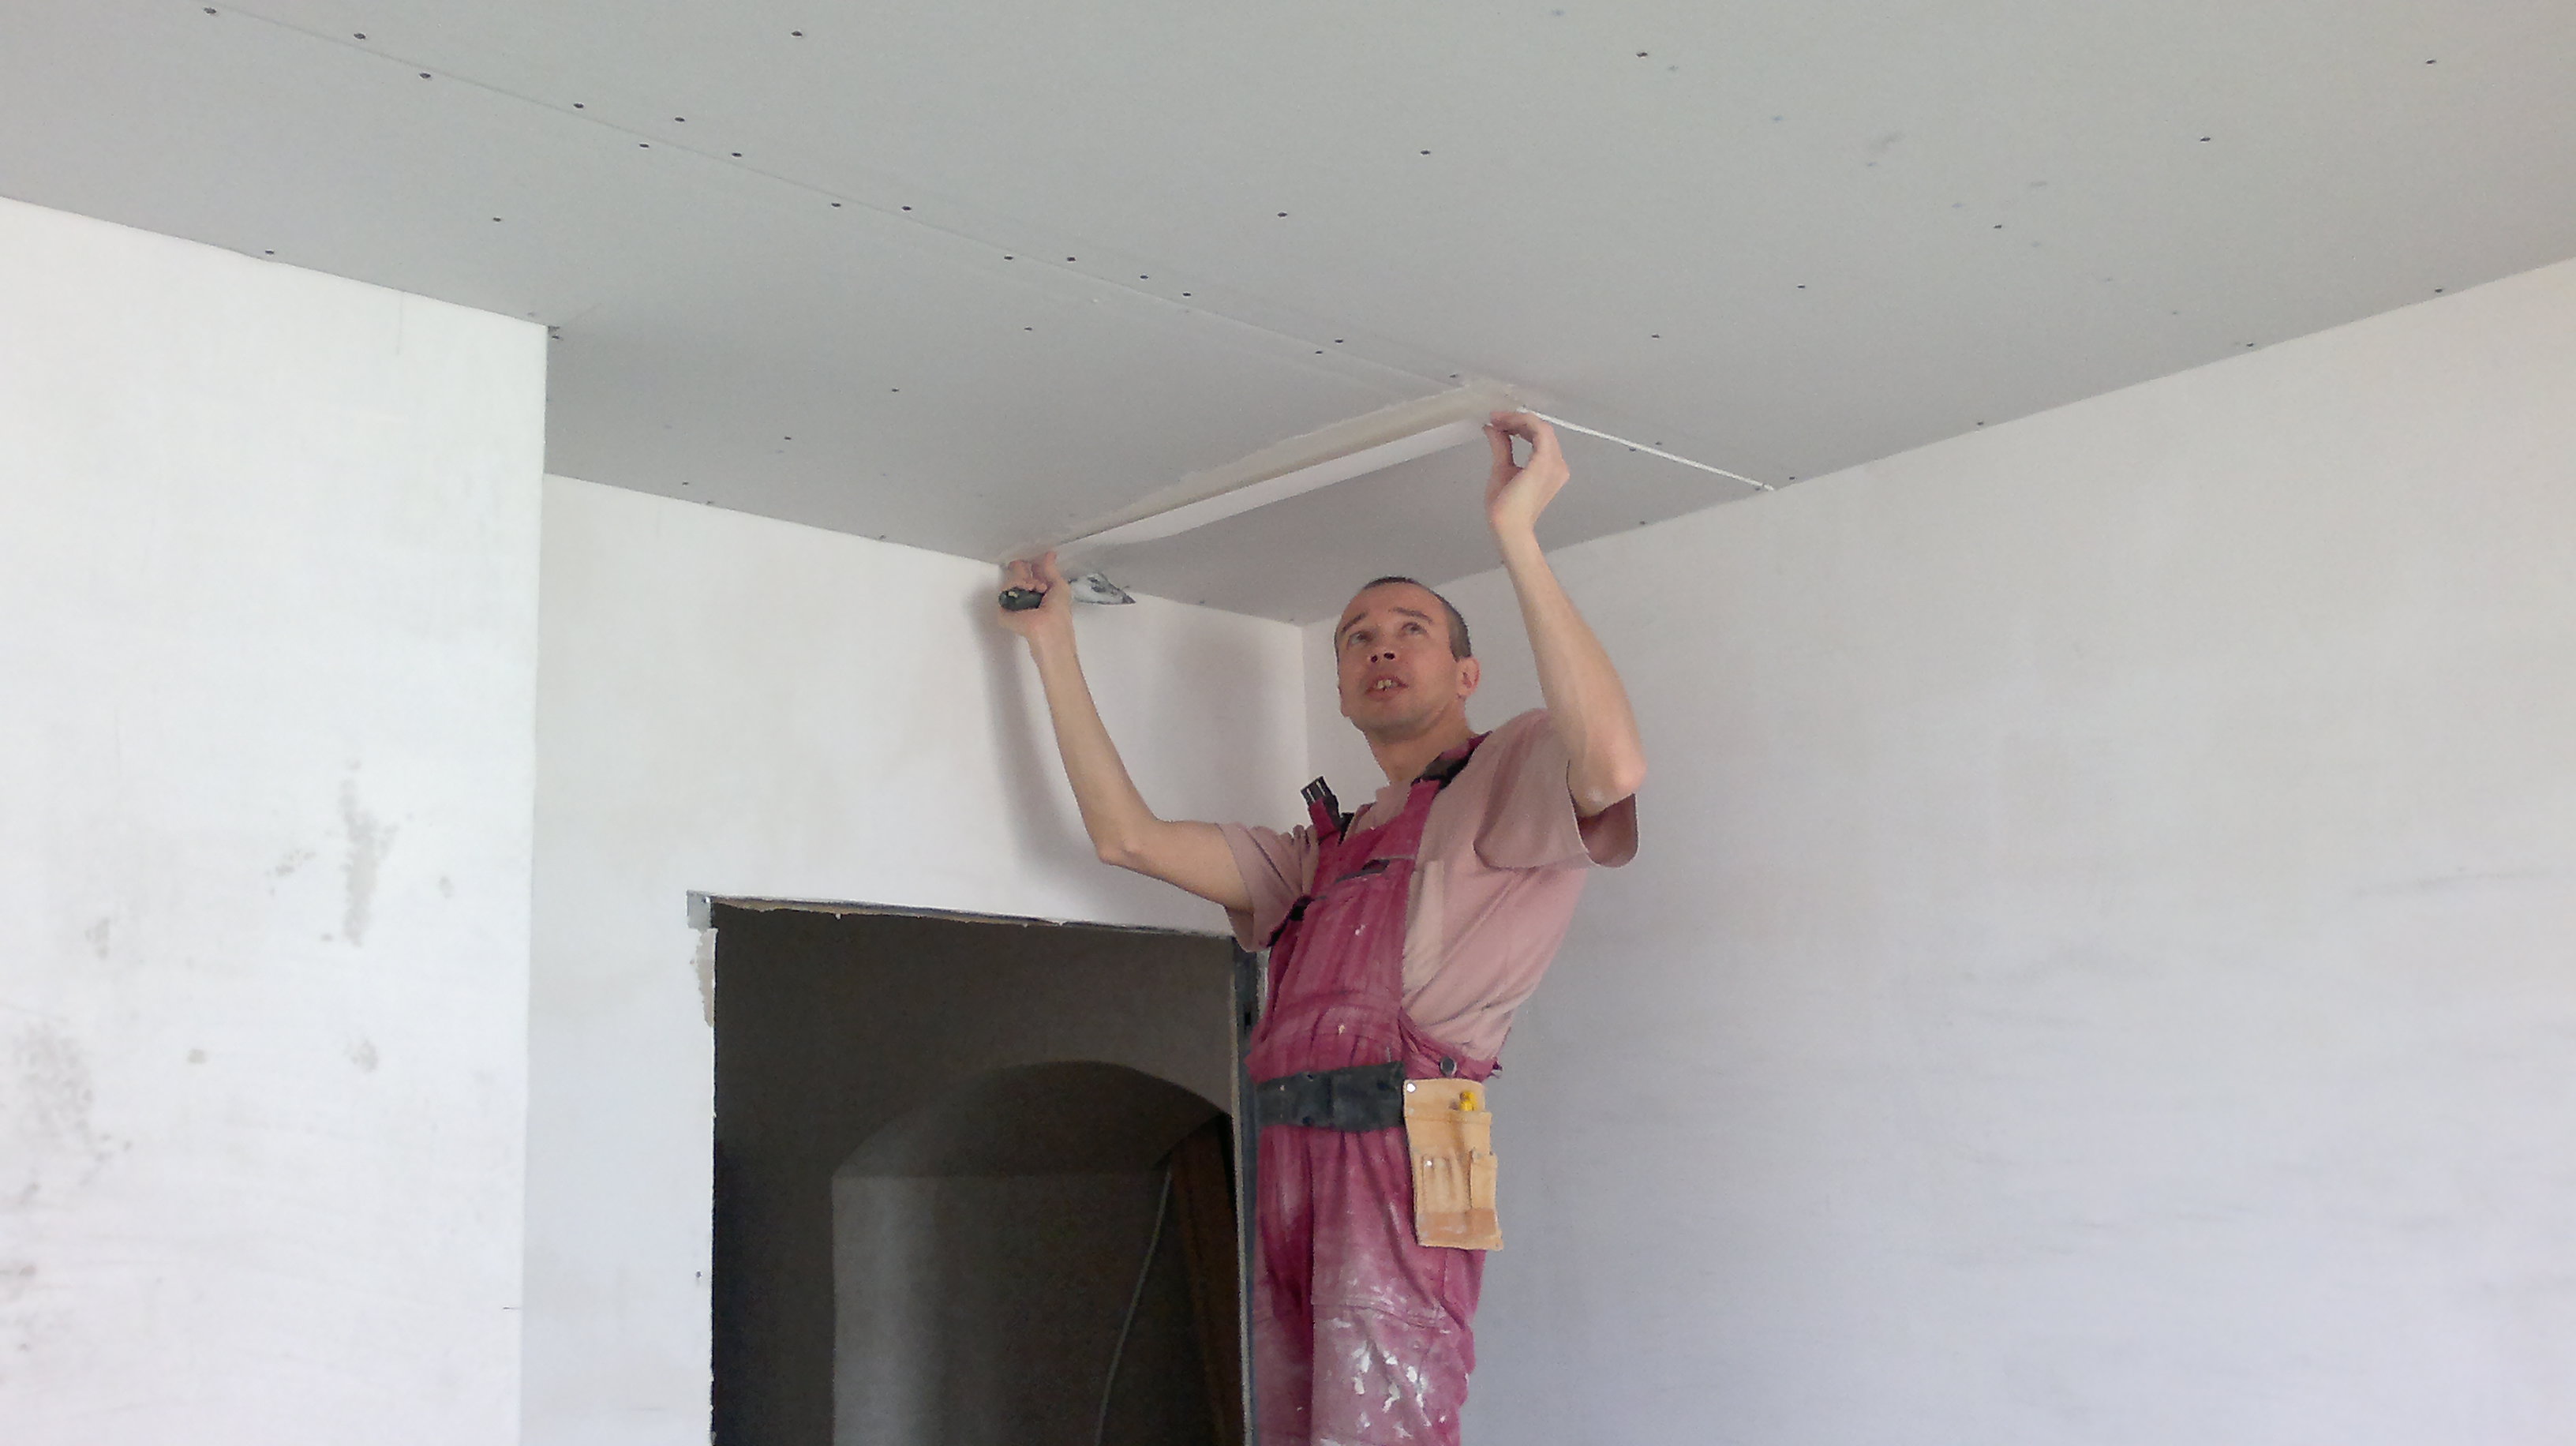
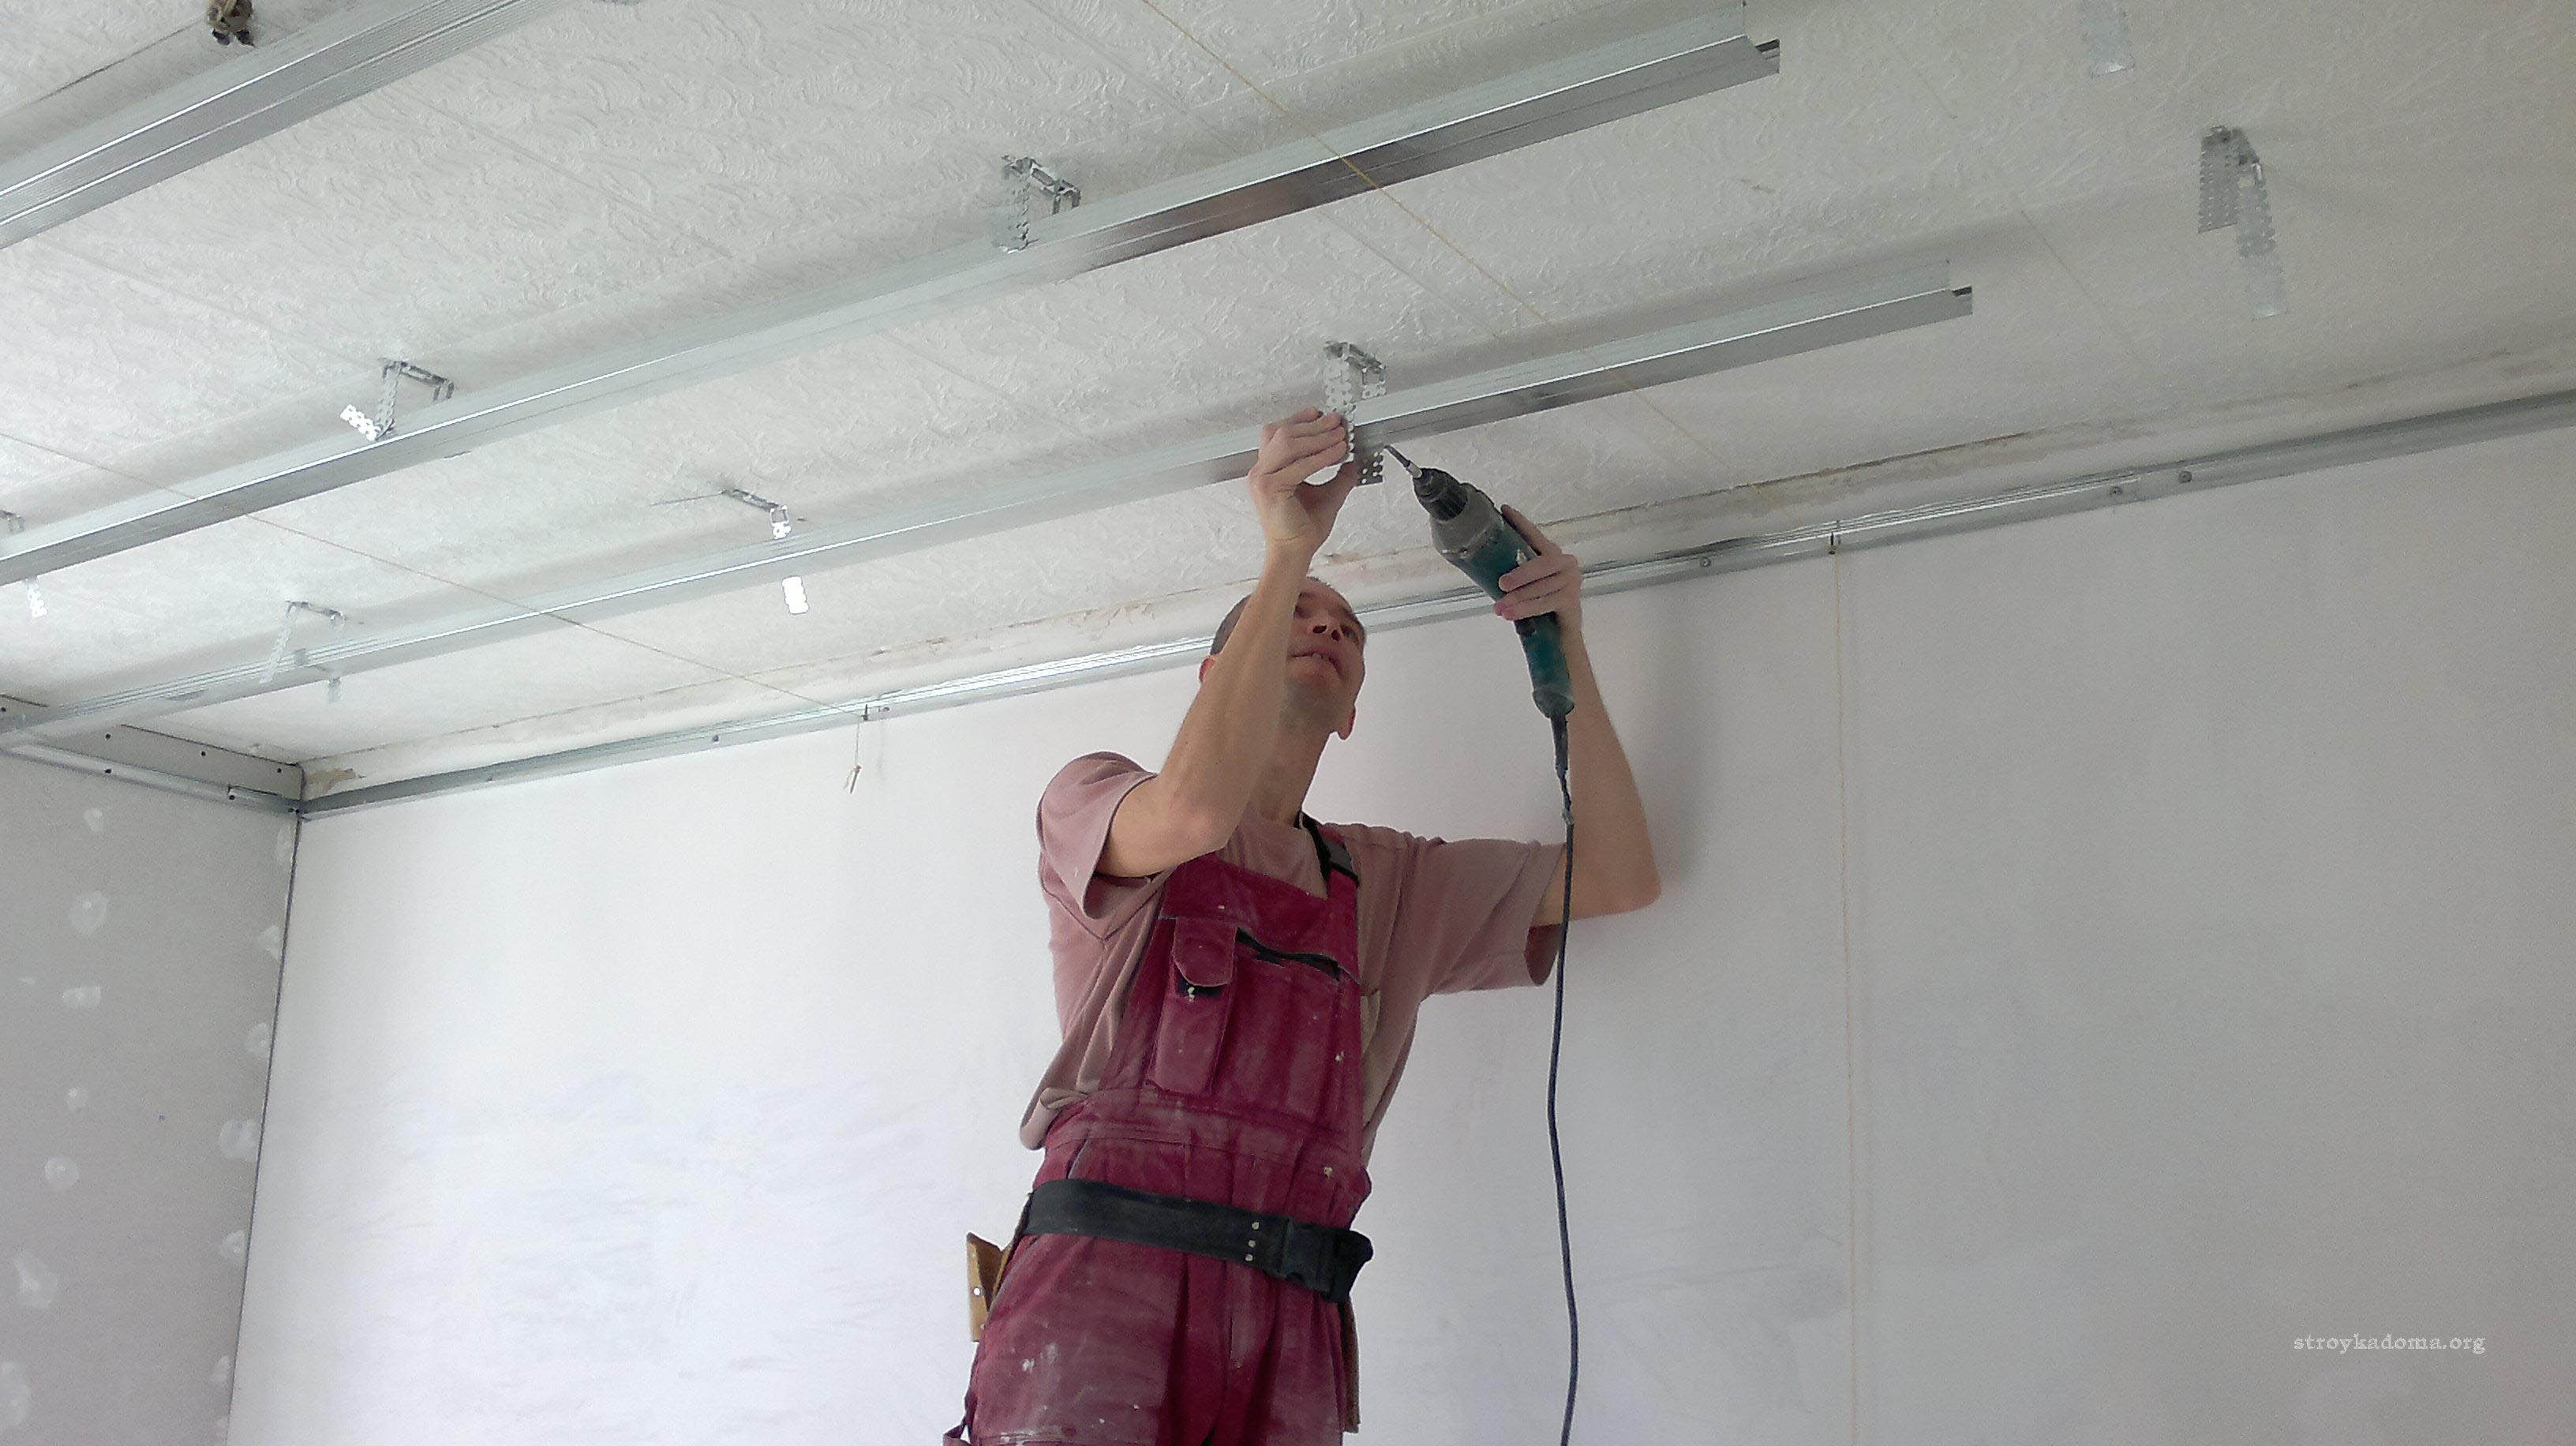
But since you can not do without the frame, you will have to agree to a noticeable reduction in the height of the room. It will be at least 60 mm even when using relatively gentle options. Alone to mount sheets of drywall on the ceiling is impossible or extremely difficult.
Plaster
Professional composition "Rotband" - this is gypsum plaster, greatly reducing the complexity of the repair.In addition to first-class gypsum, German engineers provided for the presence in the recipe of a complex of mineral fillers. Finely ground substances come into contact with each other as closely as possible, since the contact area of the particles is very large. Standard technology involves applying a pair of layers with a thickness of 1 cm. Plaster consumption under normal conditions is 8.5 kg per square meter. m
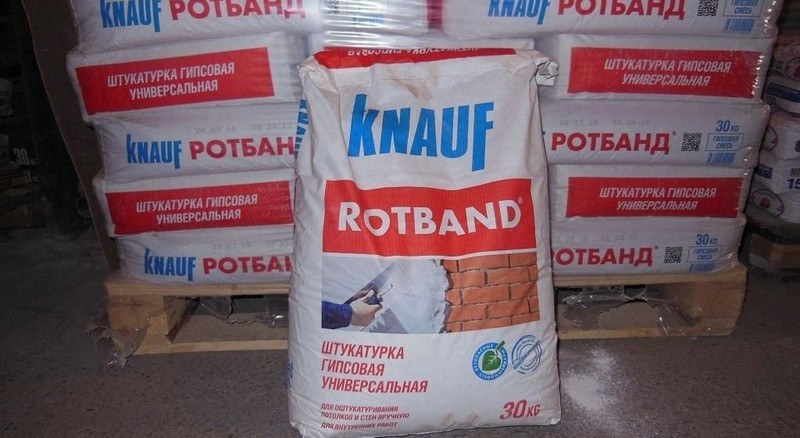
Other characteristics of the "Rotband" are also impressive:
- 18-20 liters of water should be added to 30 kg of dry composition;
- the lifetime of the solution is 25 minutes;
- 0.5-1.5 cm of plaster can be applied to the ceiling;
- resistance index exceeds 2.5 MPa.

“Rotband” can be used very simply, and this mixture is universal - the plaster forms a smooth layer that does not need to be putty and further processed. The material is hygroscopic, underneath the fungus will not develop, cracking and delamination of the coating is eliminated. Before applying the plaster it is required to use beacon profiles of 0.6 or 1 cm. For beginner repairmen, it is best to use centimeter constructions.
Note: when the solution is prepared, nothing is added to it anymore.
Some of the ceilings are still finished with clay (and a few decades ago, this method of continuous plastering was massive). It is useless to put another plaster, as in the case of painting, cracks will still appear.
If you plan to use the wallpaper, you need to thoroughly primed the surface and level it with a starting mixture based on gypsum on a nylon mesh. But such methods are useful only as a visual solution. Finally, the problem can be dealt with solely by the complete removal of clay to a draft base.
Tensioner
If you deliberately abandon any plaster, you can make a choice in favor of a stretch ceiling. Many homeowners do just that, but in this case it is necessary to take into account a number of subtleties and nuances. A typical mounting kit contains only the canvas and baguette, all other elements are strictly secondary. The PVC-based shrink film has a thickness of 100-350 microns, the maximum width of the rolls is 320 cm. When a wider room is finished, you will have to order the connection of the rolls on special equipment.
Consumers have a choice between ceilings of various textures - satin, glossy or matte. Improve the aesthetic properties of the design will help solutions such as:
- printing on film;
- perforation;
- silk screen printing.
Suspension
The simplest kind of suspended ceiling is a drywall construction, it can have many levels and even curved surfaces. But the ceiling "Armstrong" is even more popular than that created from GCR.
Its feature is that the profile is not masked and even turns into a design element.
PVC and Sanding
PVC panels confidently compete with drywall, and suspended, and with tension structures. They are recommended for those rooms where high humidity prevails. Another important advantage is the ease of installation and the availability of work even for non-professionals. The total cost of finishing is lower than in most other cases, but you will need to carefully approach the choice of panels of the appropriate type and texture. On a small area put the panel from 25 cm, and if the room is large, larger blocks are required.
Another option for leveling ceilings is siding, which is attractive both in use and aesthetically.At the same time, the total cost of the work is quite affordable, and among various types of panels, the most resistant are metal. They are well tolerated and strong heat, and moisture, and mechanical stress. But dowels, on the contrary, are recommended to buy from plastic, since they cannot corrode and collapse from water vapor. Wooden crate must be impregnated with antiseptic components.
Tips and tricks
After correction of defects with plaster, water-based paint is most often applied. Among the varieties of drywall are considered waterproof sheet. As for the thickness of the plasterboard, it is recommended to choose sheets of 0.9 mm. When finishing for painting, it is advisable to take acrylic putty. But as a basis for the wallpaper, it is not suitable, because the glue can lead to the separation of the mixture.
See how to align the ceiling with your own hands, see the video below.