Subtleties of mounting metal siding
Siding is the most common facade material and has several varieties. One of them is metal siding.
Special features
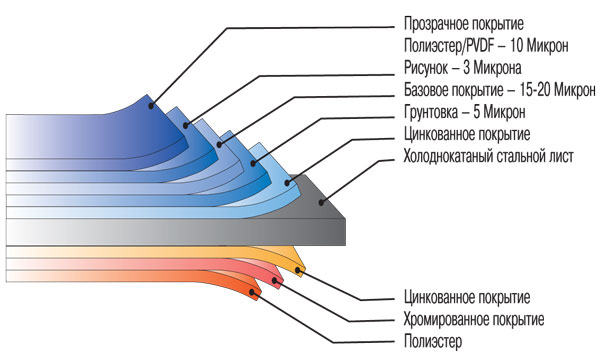
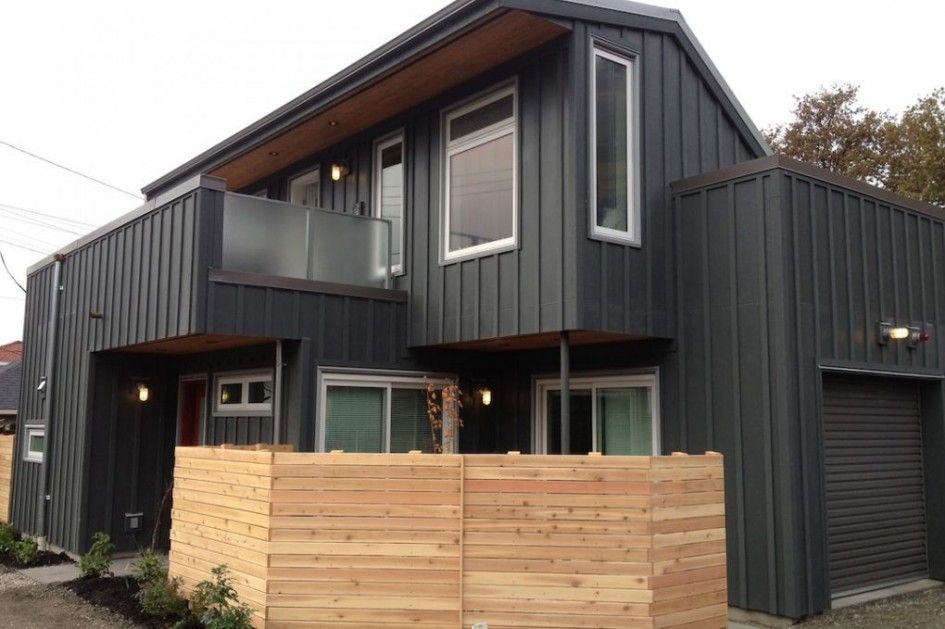
Metal siding is called facade cladding material in the form of panels used to protect and decorate exterior walls. The basis of the material is alloy steel, and weatherability and attractive appearance provides a special polymer coating. A compulsory element of the material is an anti-corrosion layer, due to which the material is not covered by rust and is not destroyed by moisture.
Metal siding is weather resistant, it has a high frost resistance, is not afraid of exposure to UV rays. Compared to vinyl analog, it is more durable and resistant to mechanical damage, has a longer service life (50–70 years).
The material is biostable, incombustible, environmentally friendly. It has more weight than vinyl, so in some cases it is necessary to pre-strengthen the walls, as well as to find helpers for installation.
Kinds
Currently, several types of metal siding are represented on the construction market.
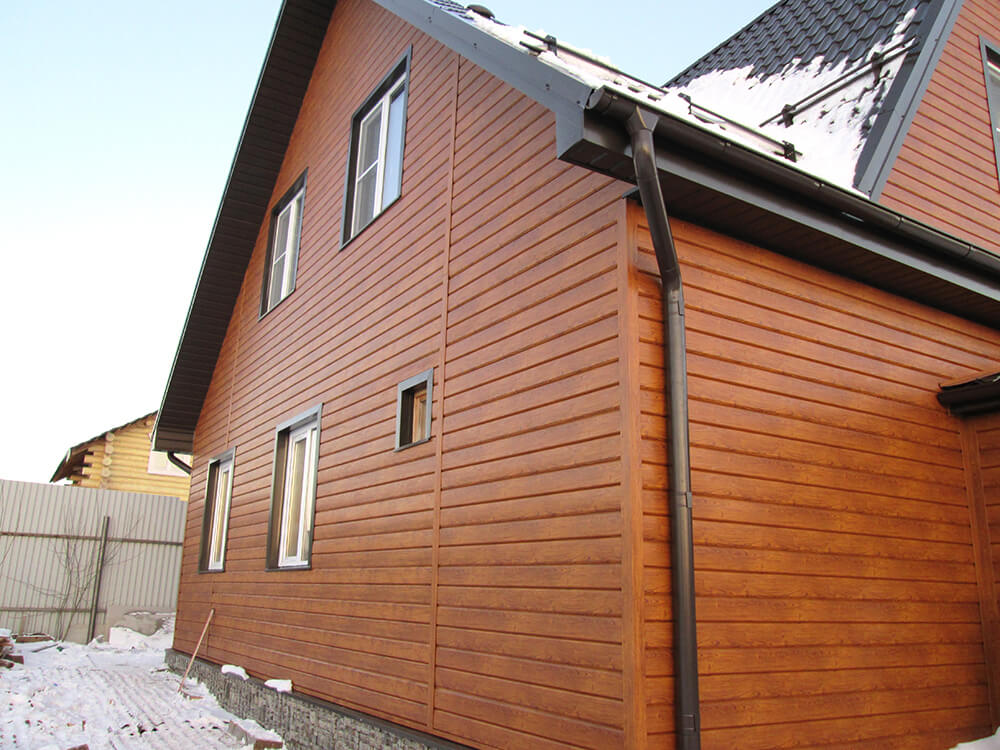
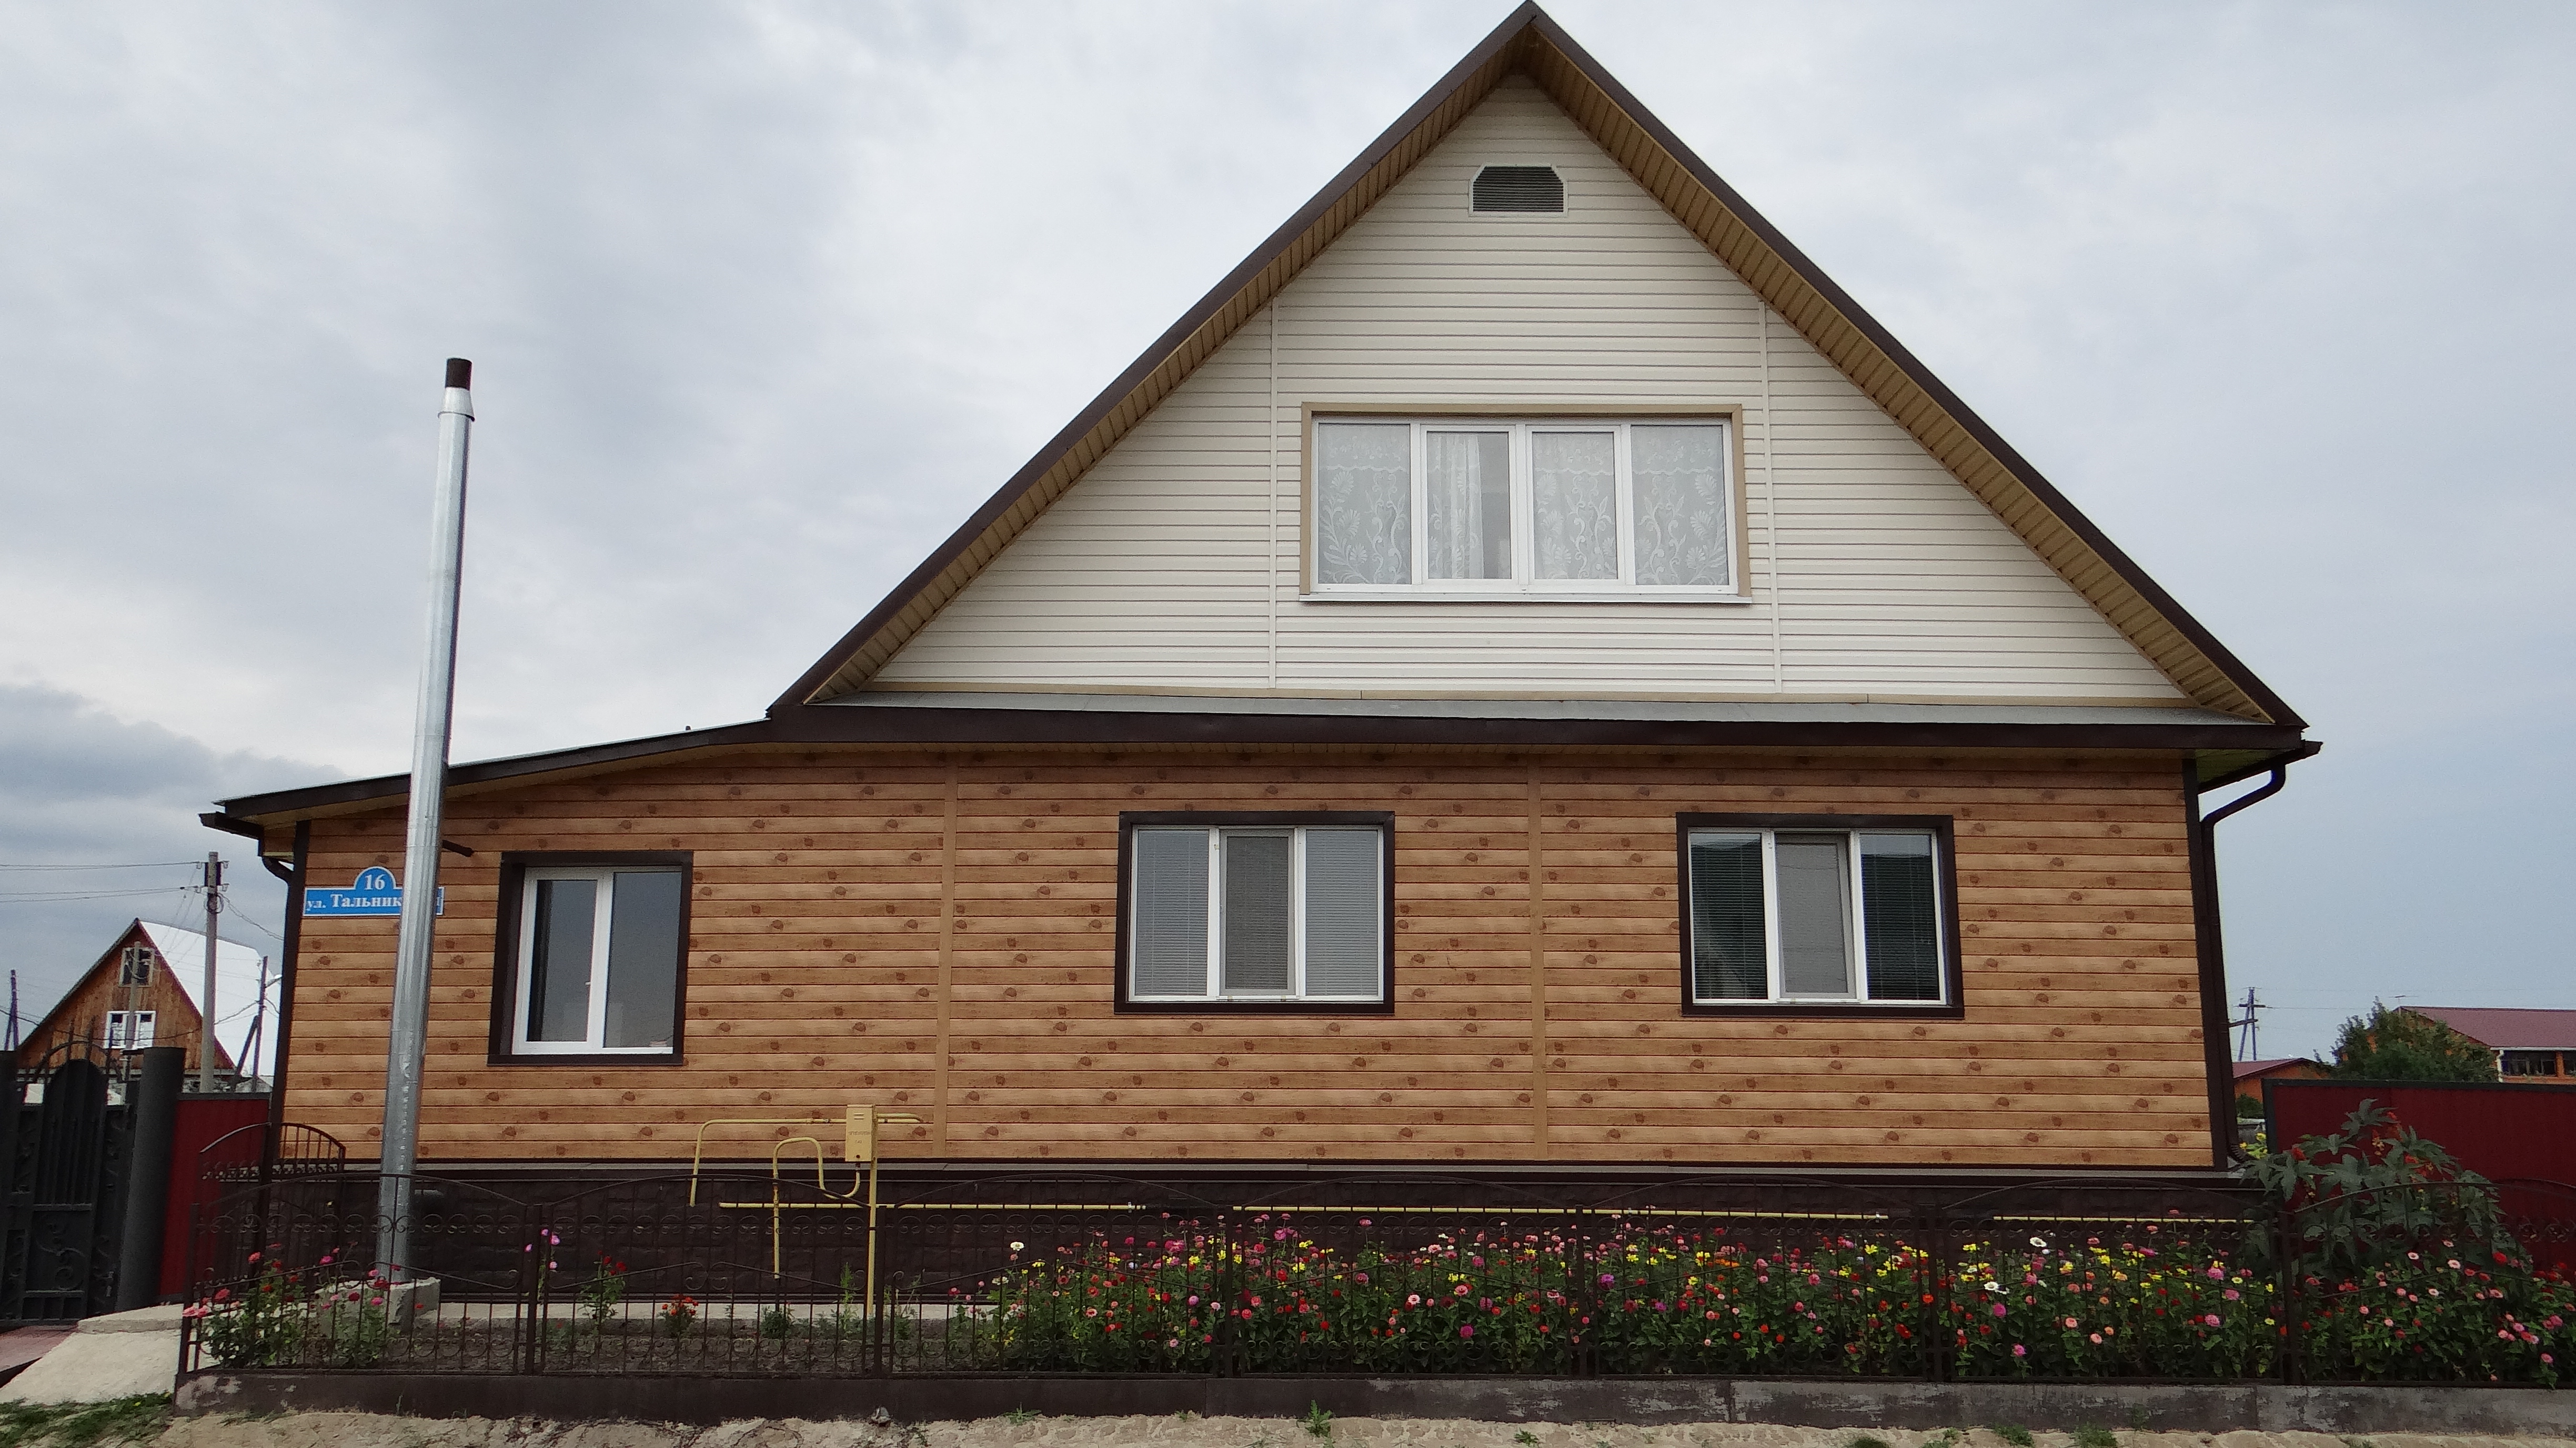
- "Shipboard". The panels have a smooth wooden surface similar to the surface of the deck of the ship. Decorative cracks and textured patterns can be made along the tree, which makes imitation more realistic.
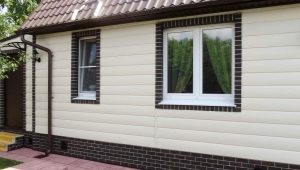
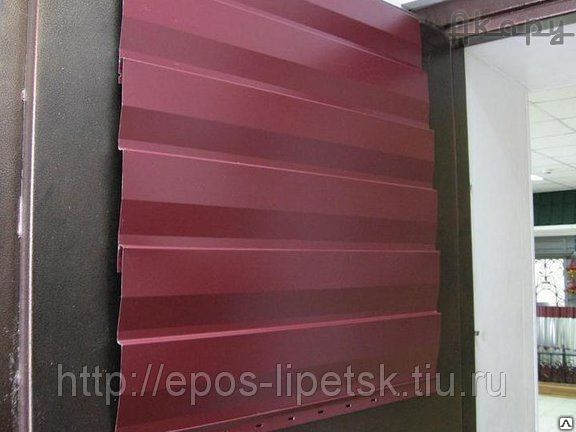
- Herringbone. Smooth siding with a slightly protruding and curved bottom. Visually, it looks like a wave running onto the shore (a flat surface and a bend curved downwards). Such "waves" can be from 1 to 3, which affects the appearance and width of the material.
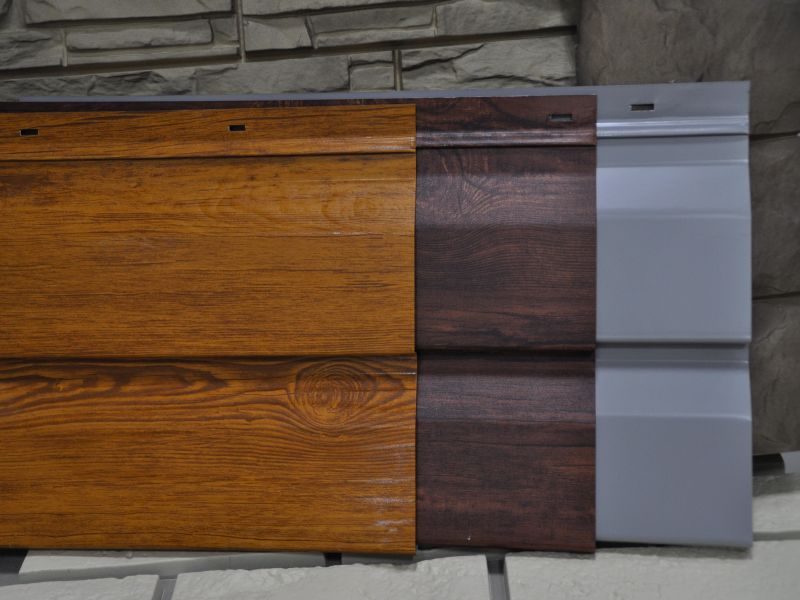
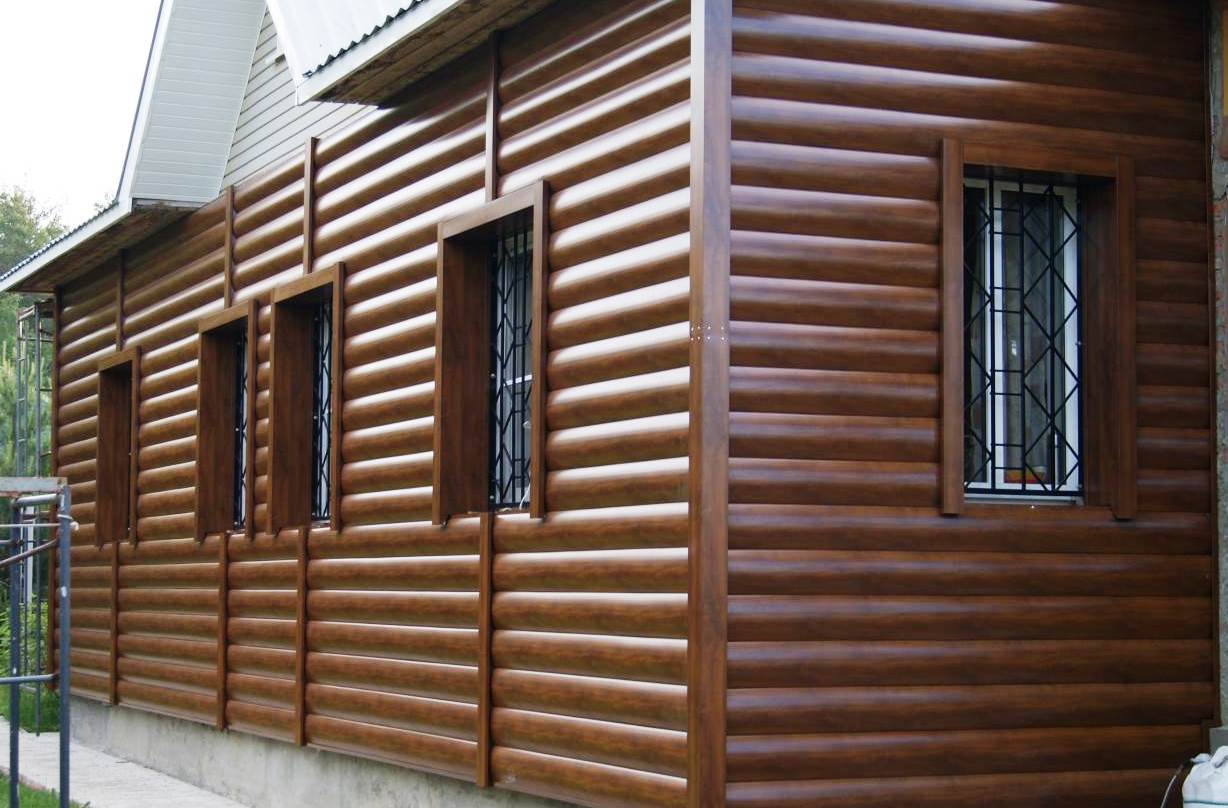
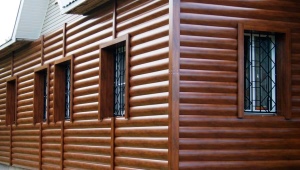
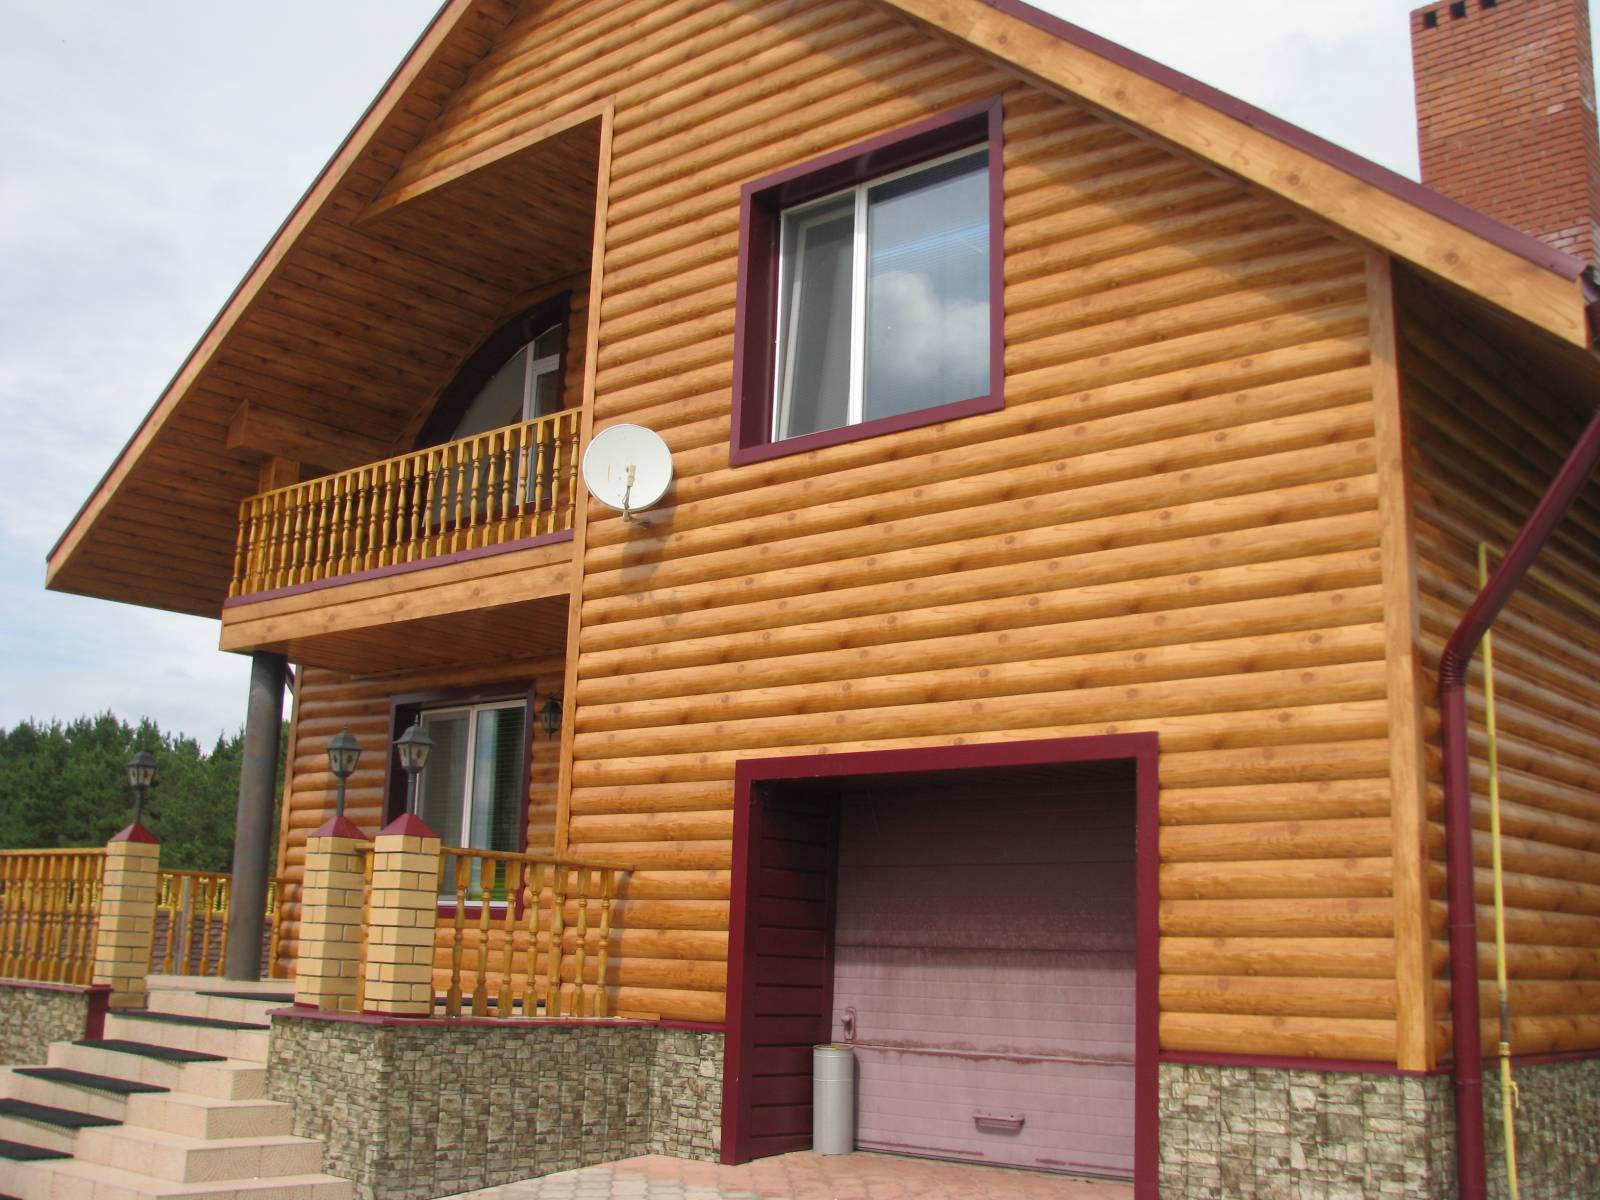
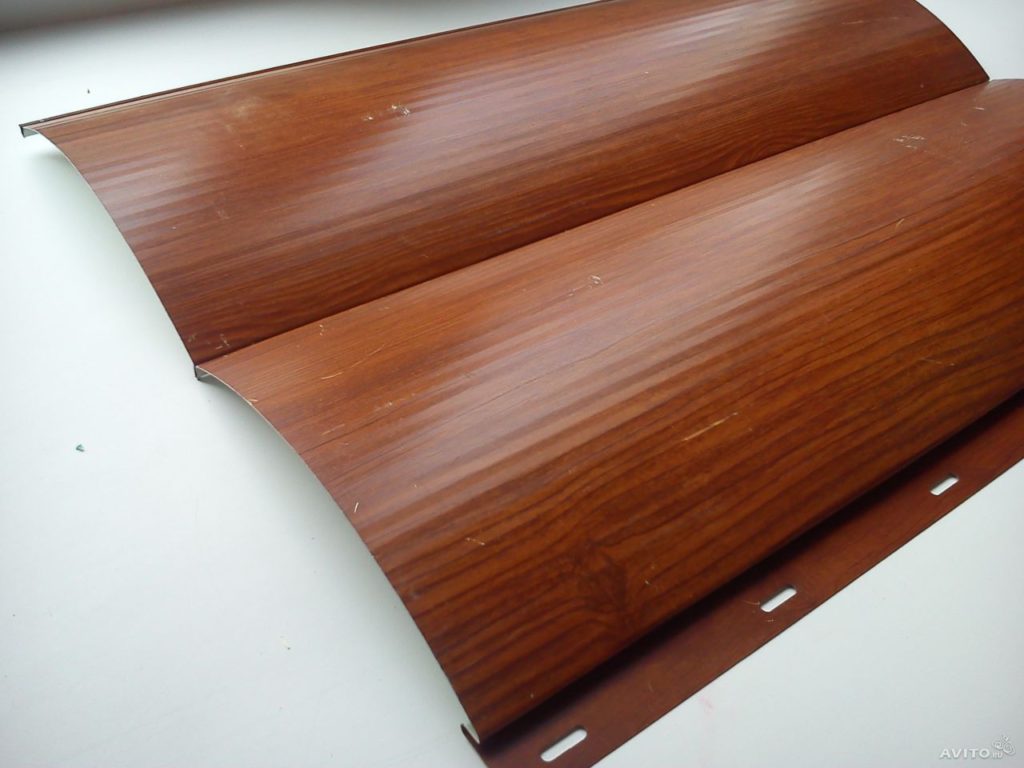
- "Block house". In this case, the metal imitates a log, that is, its outer surface is convex, it is a hemispherical element. It may also have different shades, ranging from light (for example, “bleached wood”) and ending with dark, almost black (“cherry”, “wenge”).
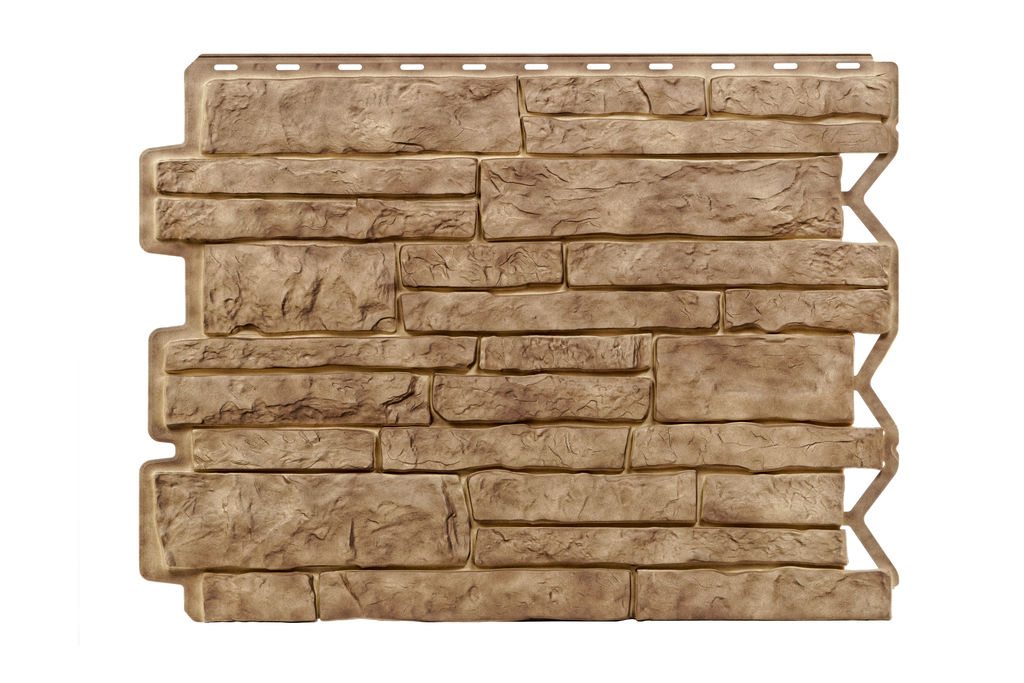
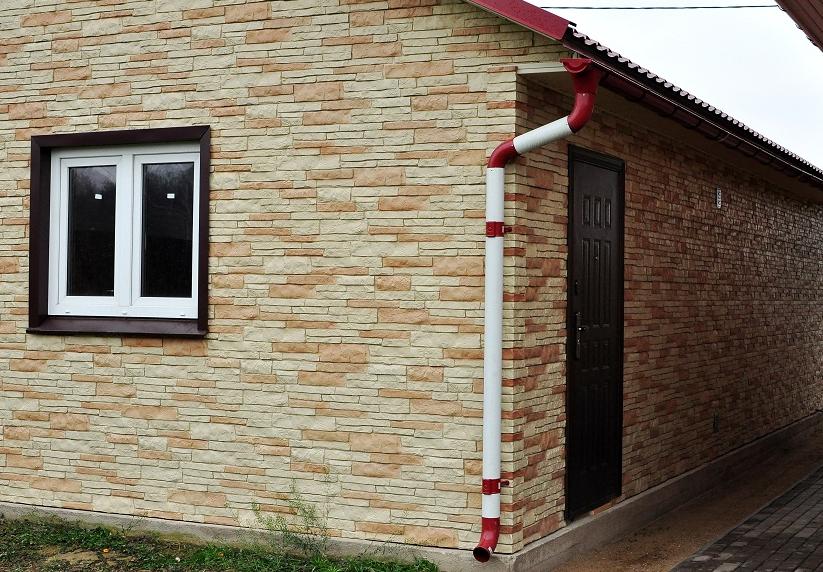
- Siding under the stone. Represents the panels imitating a natural stone surface. Such models as imitation of slate, pebble, marble, and granite gained the greatest popularity.
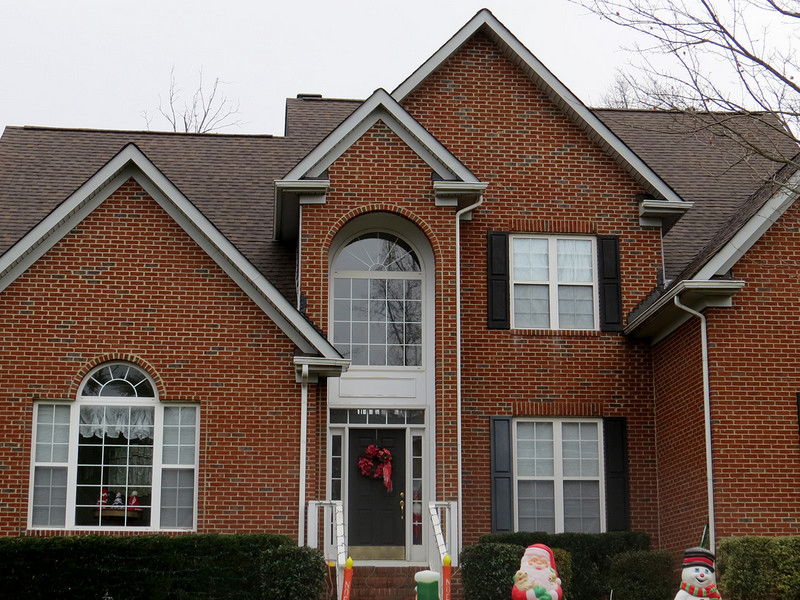
- Siding under the brick. Such panels imitate brickwork. As a rule, the size of the "bricks" corresponds to the real, so the surface looks as natural and effective as possible. The simulated brick can be smooth or textured, have a slate spray, as well as a glossy finish. We should also mention panels with imitation under the aged brick.

Depending on the place of application, siding is divided into wall and basement. The latter is used in the area of the basement - the part of the house between the foundation and the facade. As is known, this zone is most susceptible to mechanical damage, freezing, moisture and chemical components, heaving of the soil.
All this causes greater strength and thickness of the basement siding. Its height usually corresponds to the height of the basement (typical dimensions 40–60 cm), externally the panels are rectangles. This form is most convenient for installation in this part of the house.
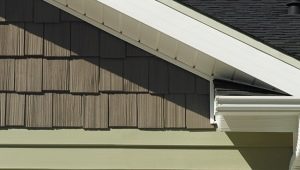
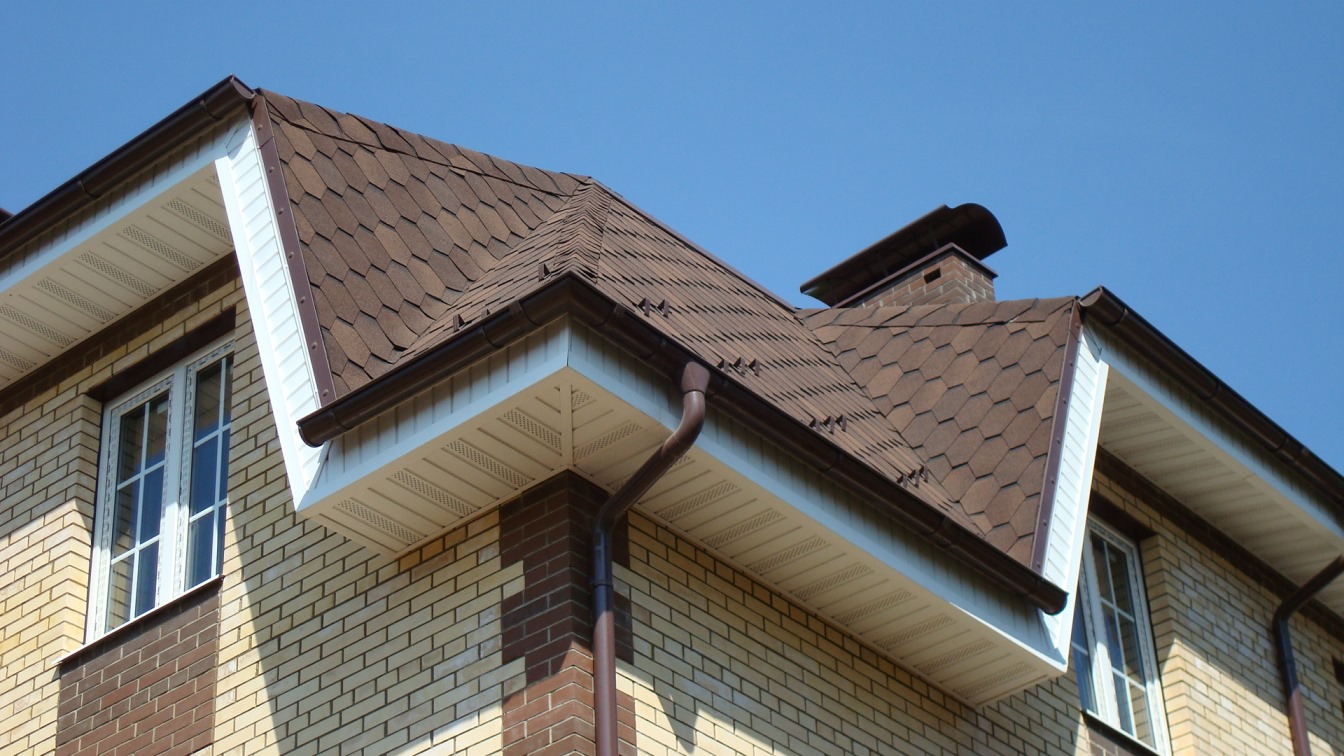
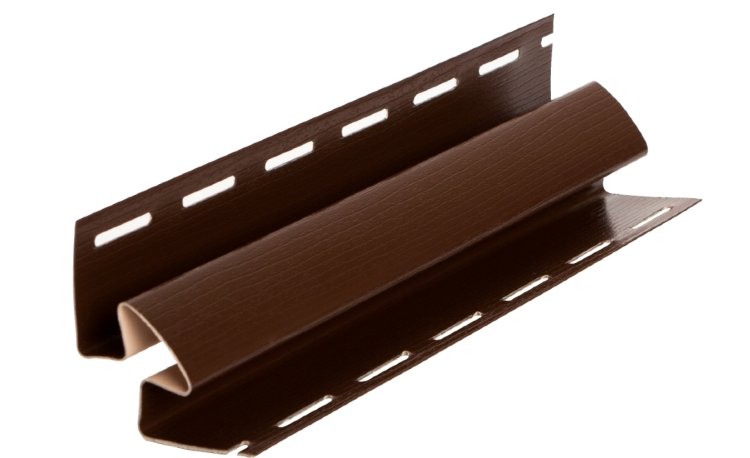
For covering the horizontal surfaces, a special kind of metal siding is used - spotlights. Such panels can be perforated (provide additional ventilation and moisture output) or be smooth.
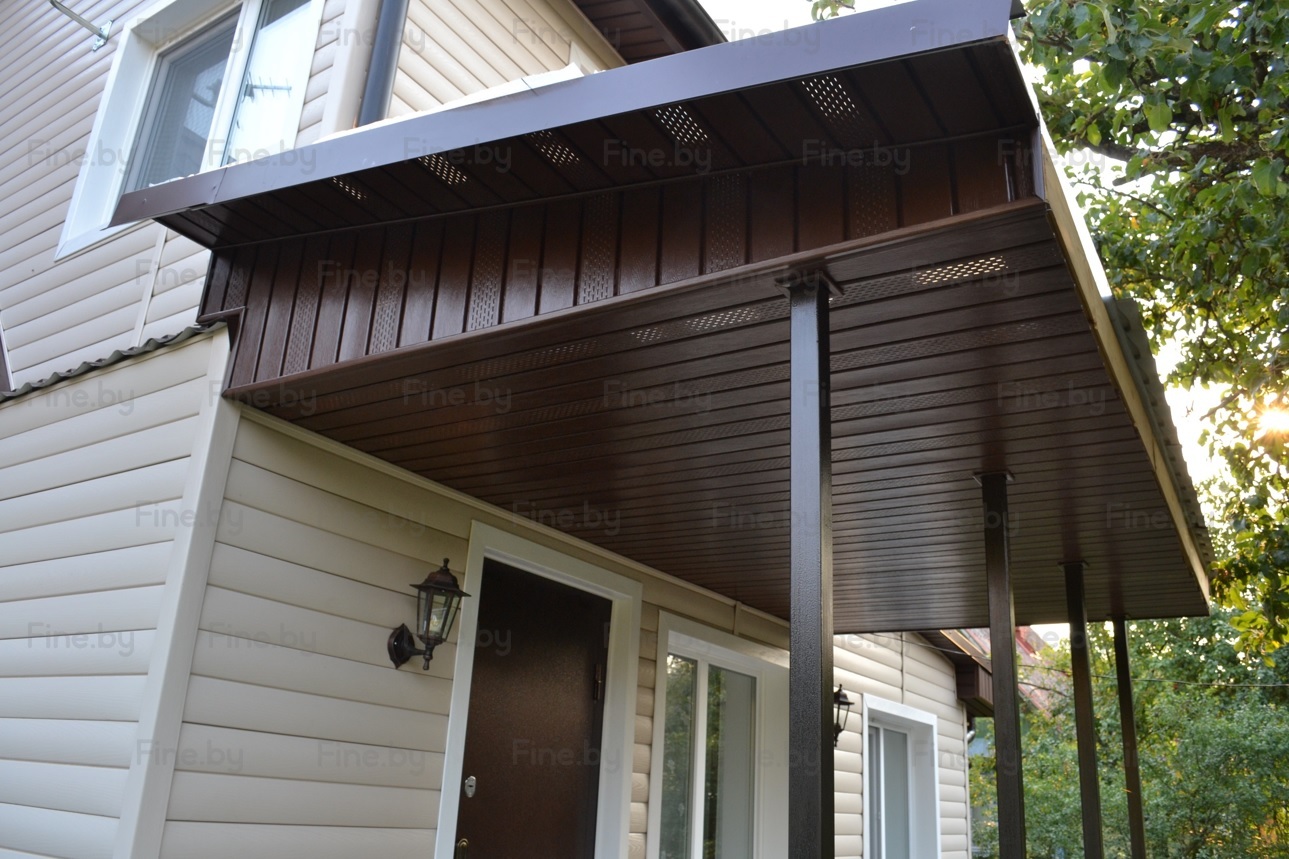
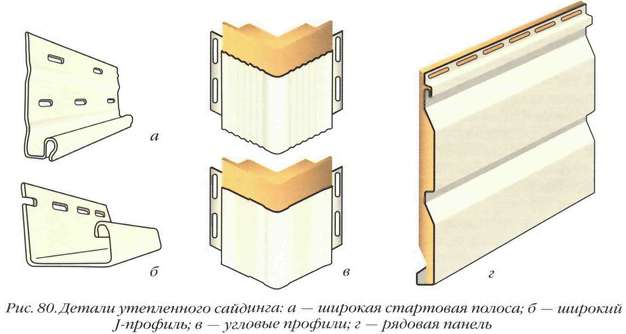
To simplify the process of building a warm facade allows the use of insulated metal siding. Such panels have a metal base, to which the right layer of insulation is fixed in the factory, on top of it is the inner protective layer, the outer part is the polymer layer. The use of heat-insulating panels eliminates the additional installation of a layer of insulation and windscreen.

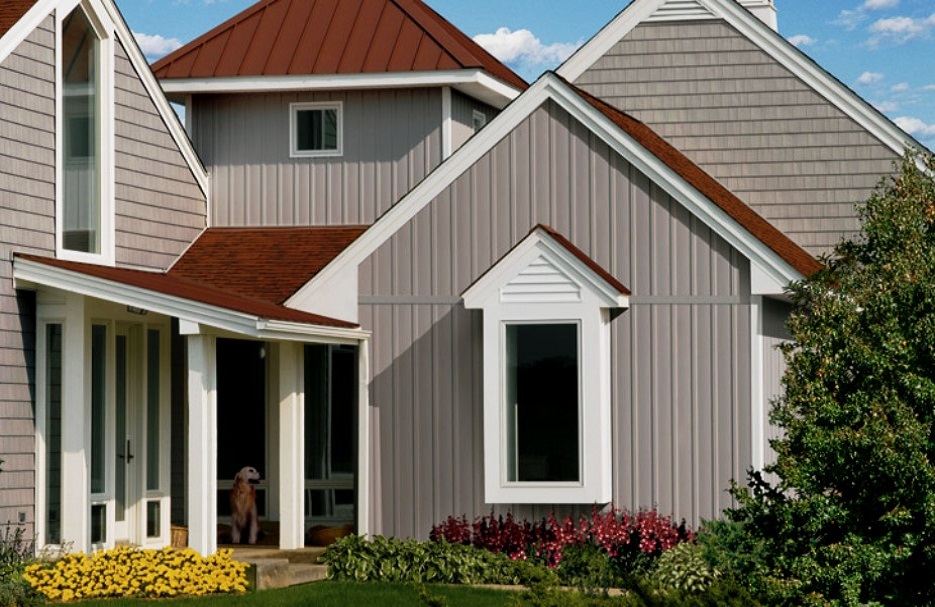
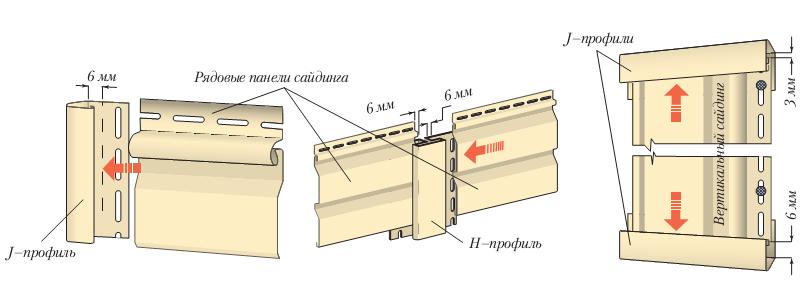
Depending on the features of the formed pattern, horizontal and vertical siding is distinguished. The latter allows you to achieve the original appearance of the sheathed house, however, it is used infrequently because of a possible leakage between the joints and moisture ingress into the gaps. If vertical siding is used, it is combined with horizontal siding.
Preparatory work
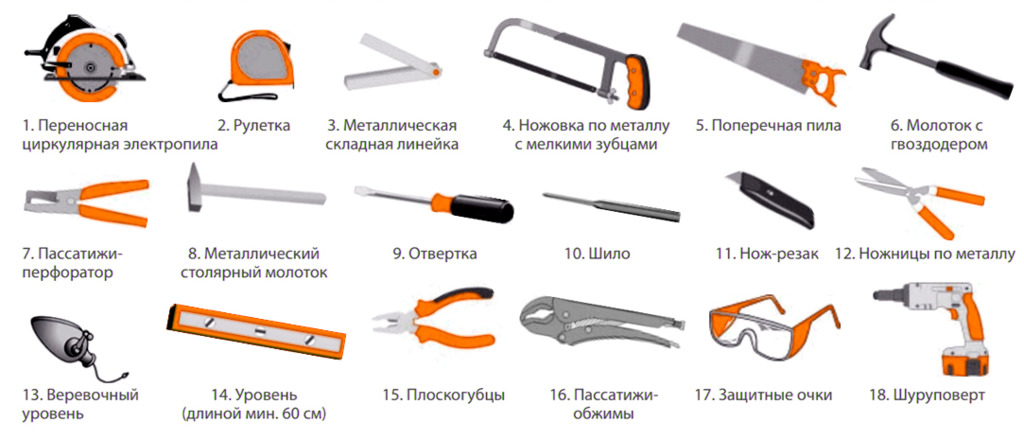
For the siding of the facade siding should be prepared in advance the necessary number of panels, additional elements, as well as fasteners - usually galvanized screws.

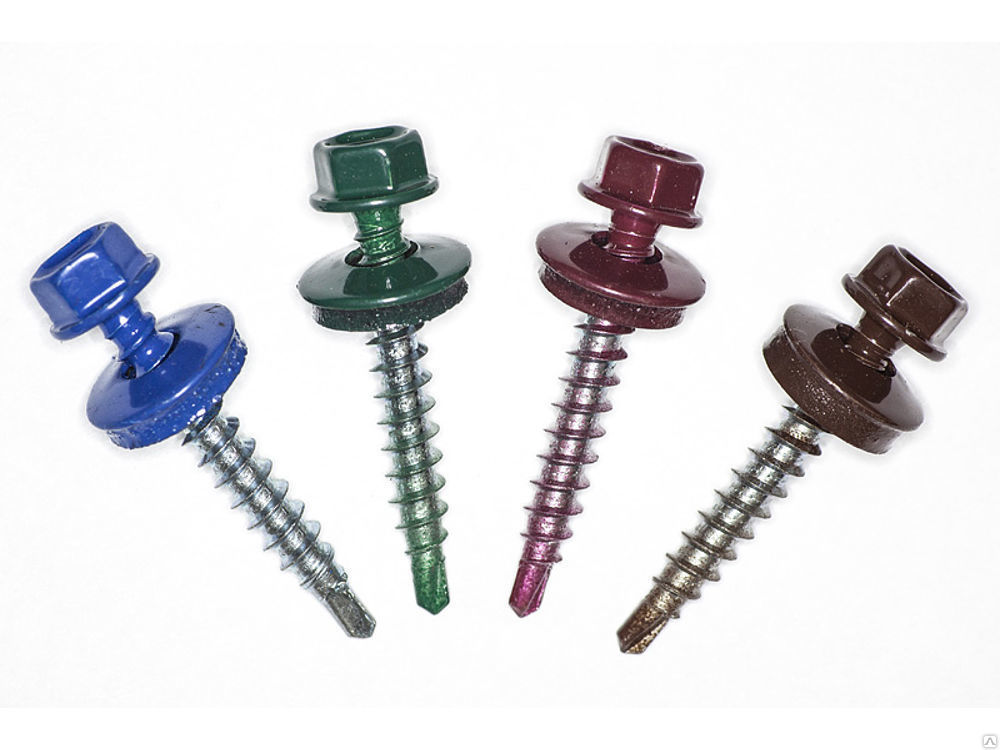
If you have to fasten the elements through the panel (which is not recommended because it leads to cracking), galvanized self-tapping screws with a gasket should be used. In this case, the rubber seal will prevent the penetration of moisture through the space around the screw. Instead of screws, you can use nails, but only galvanized.
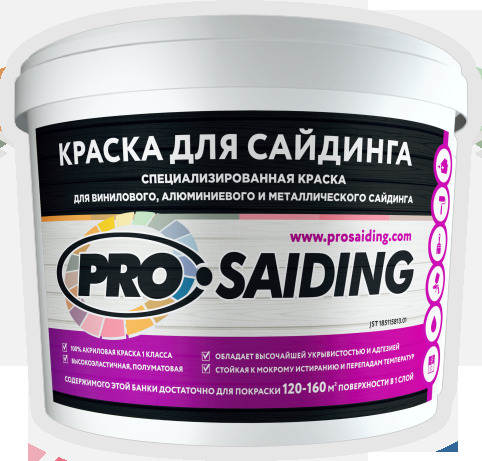
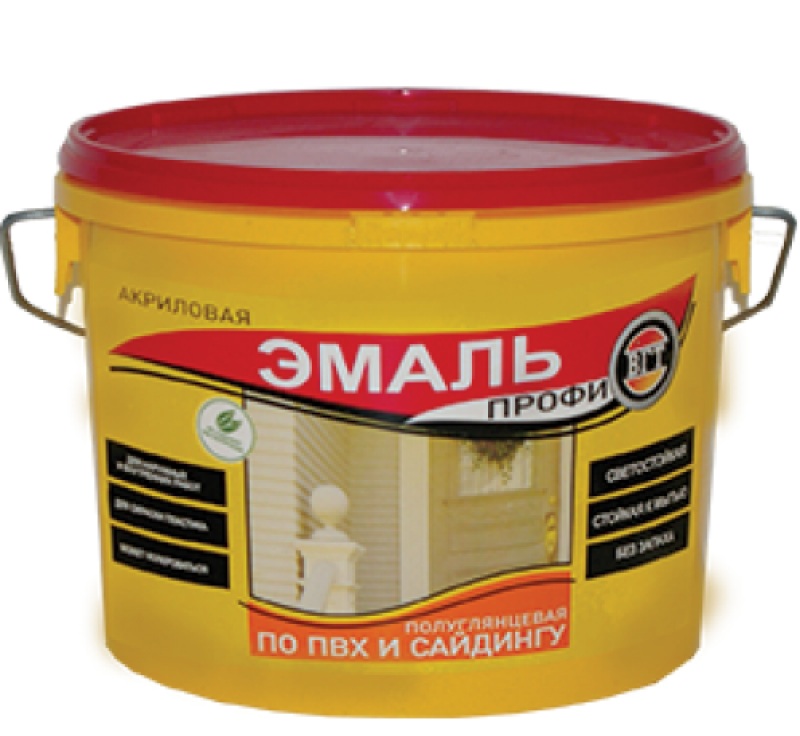
Finally, you should purchase a metal siding repair paint in advance. It will provide anticorrosive protection of the material in case of damage to the outer layer, and also will be needed for processing the cut-off areas of the panels.
Proper installation involves pre-cutting profiles and additional elements - this will speed up and simplify the siding fixing directly. Cutting panels can be with scissors or a metal saw. But from the use of the grinder, even with a special nozzle, should be abandoned, because its use often causes damage to the facial layer and, as a consequence, increases the risk of corrosion of the panel.
In the process, you may need to create additional holes, so it is logical to prepare a punch. Screwdriver is required for screwing screws. If nails are used, then do not do without a hammer. It is possible to twist self-tapping screws with a sealant, using a drill with a special nozzle.
You can align profiles and other elements using a level. In addition, you will need a square, a plumb line and a tape measure. To prevent scratching the outer layer of the material will allow the use of tissue or silicone tape, as well as plastic or wooden square instead of metal.
Directly the surface of the facade does not need much preparation. It will be enough to remove the old coating (you can not remove the "contact" coating), close up large gaps and reinforce the crumbling parts. Since installation is performed on a subsystem, it is possible not to carefully align height differences and minor defects.
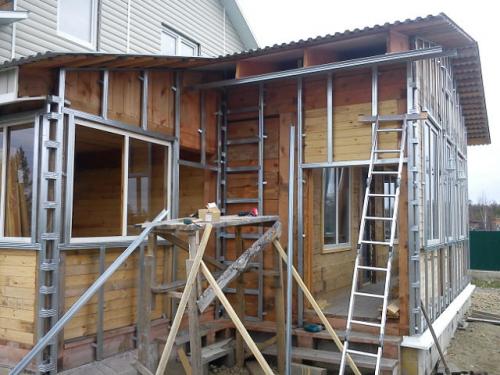
At the stage of preparation for installation, it is necessary to mount the crate to which the wall panels will be mounted. Such a base is assembled from galvanized profiles, which are stacked in horizontal and vertical directions with the help of anchors.
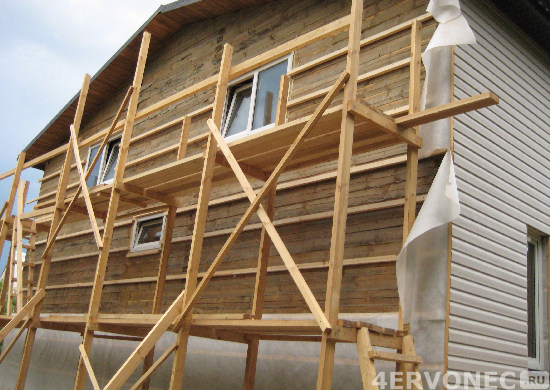
There is also the option of a lighter, but less durable and durable wooden frame.It is made of dry (humidity not more than 14%) wooden bars of 50 to 50 mm in size. Before the lags will be mounted in the subsystem, they are impregnated with flame retardants and antiseptics.
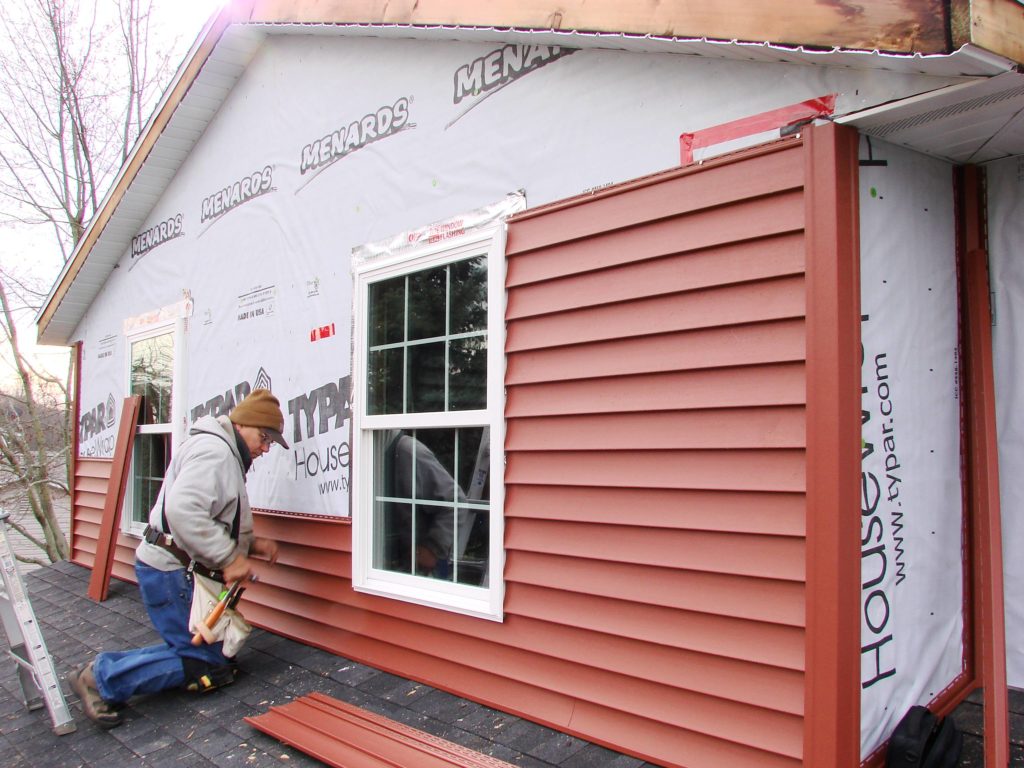
Installation
Installation of metal siding does not differ increased complexity - it is quite possible to make their own hands. It does not need to have the skills of a professional builder: a step-by-step instruction to the material is usually quite clear expresses the general principles of siding installation.
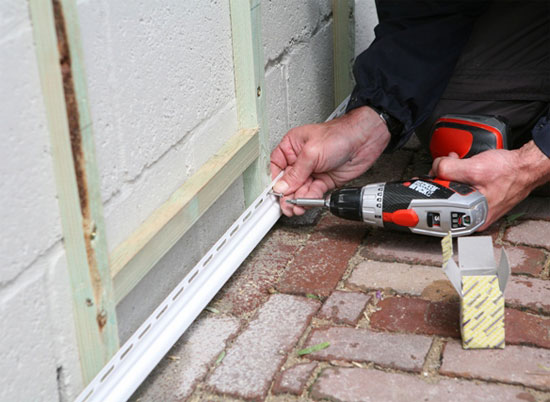
Start with the starting bar. It is mounted at a height of 30–40 cm from the lowest point of the object in relation to the horizon. The level of the rest of the elements depends on how smooth the starting plate will be. In this regard, it is better to spend more time on the careful alignment of this element than to further try to correct the skew of the wall panels.
The starting plate is fastened in increments of 30–40 cm. Further, panels can be attached to these guides. However, professionals advise to first fix the components (additional elements) to design complex corners. At the same time, the distance between the screws is reduced to 20–30 cm, which is a guarantee of high-quality fixation of more complex configuration elements of the system.
Once the complex corners are decorated, you can immediately mount the profiles that frame the window and door openings. It is more convenient to do this also with the help of special additional elements: a low water bar (platband), a slope bar. The first is selected taking into account the width of the opening, the second is mounted at the bottom of the opening.
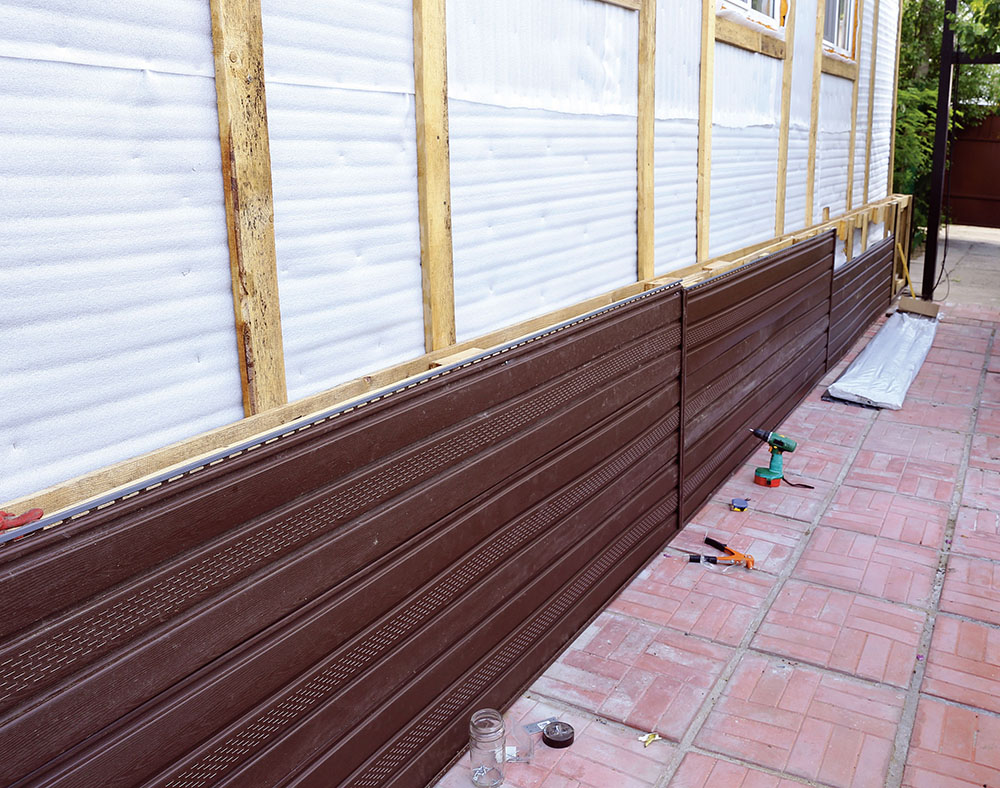
After all the complex elements are mounted, they proceed to the installation of wall panels on even parts of the facade. The installation step is 20–30 cm. In contrast to vinyl siding, the docking of metal siding does not imply the preservation of gaps, since it has an insignificant coefficient of expansion. The docking seam is sometimes left in order not to damage the front layer of the material during installation, as well as in the case of installation work at zero or negative temperature.
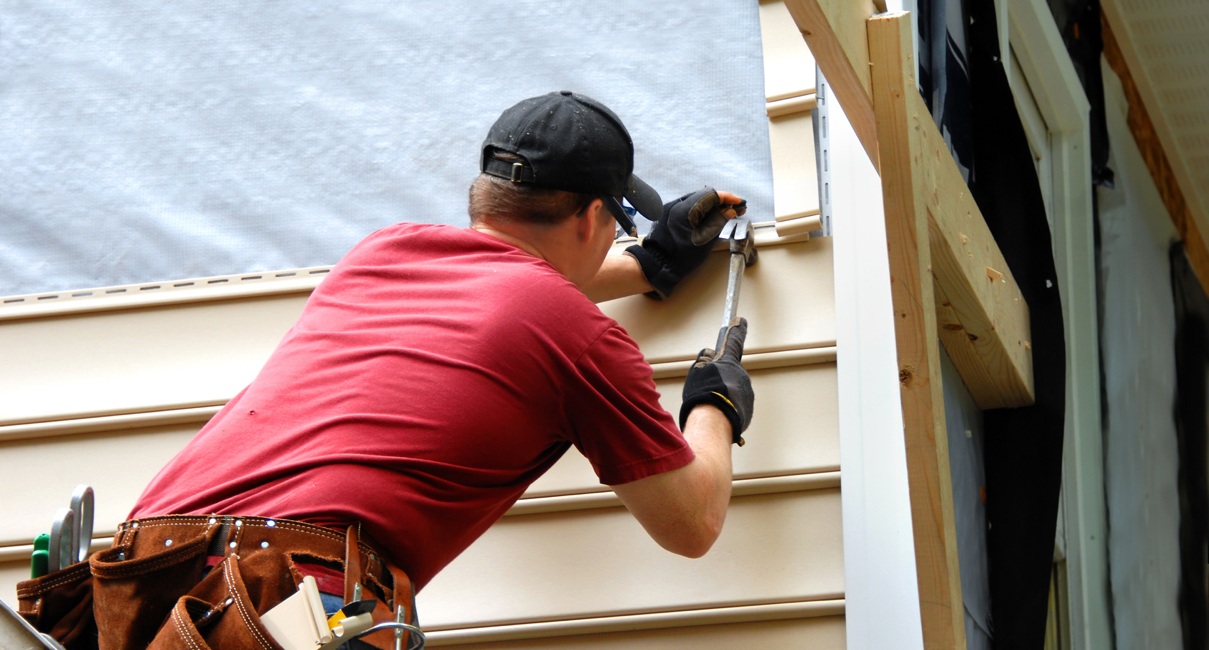
The hardware should be inserted in the middle of the hole specially designed for it. Fastening should be carried out from top to bottom, from the center to the edges. Neighboring panels are joined by means of a locking mechanism. It should connect them to the click. If necessary, the lower part of the panels can be slightly tweaked using a mallet, until a characteristic click is heard.
Each 3rd row is recommended to be checked using a level. Tolerance should not exceed 2%. Installation of the last panel is made using the finishing bar. It is mounted on the penultimate number of siding, after which the wall panel is cut to the desired size. On the one hand, it fits in and snaps onto the last but one row, the other side starts up in a bend of the finishing bar.
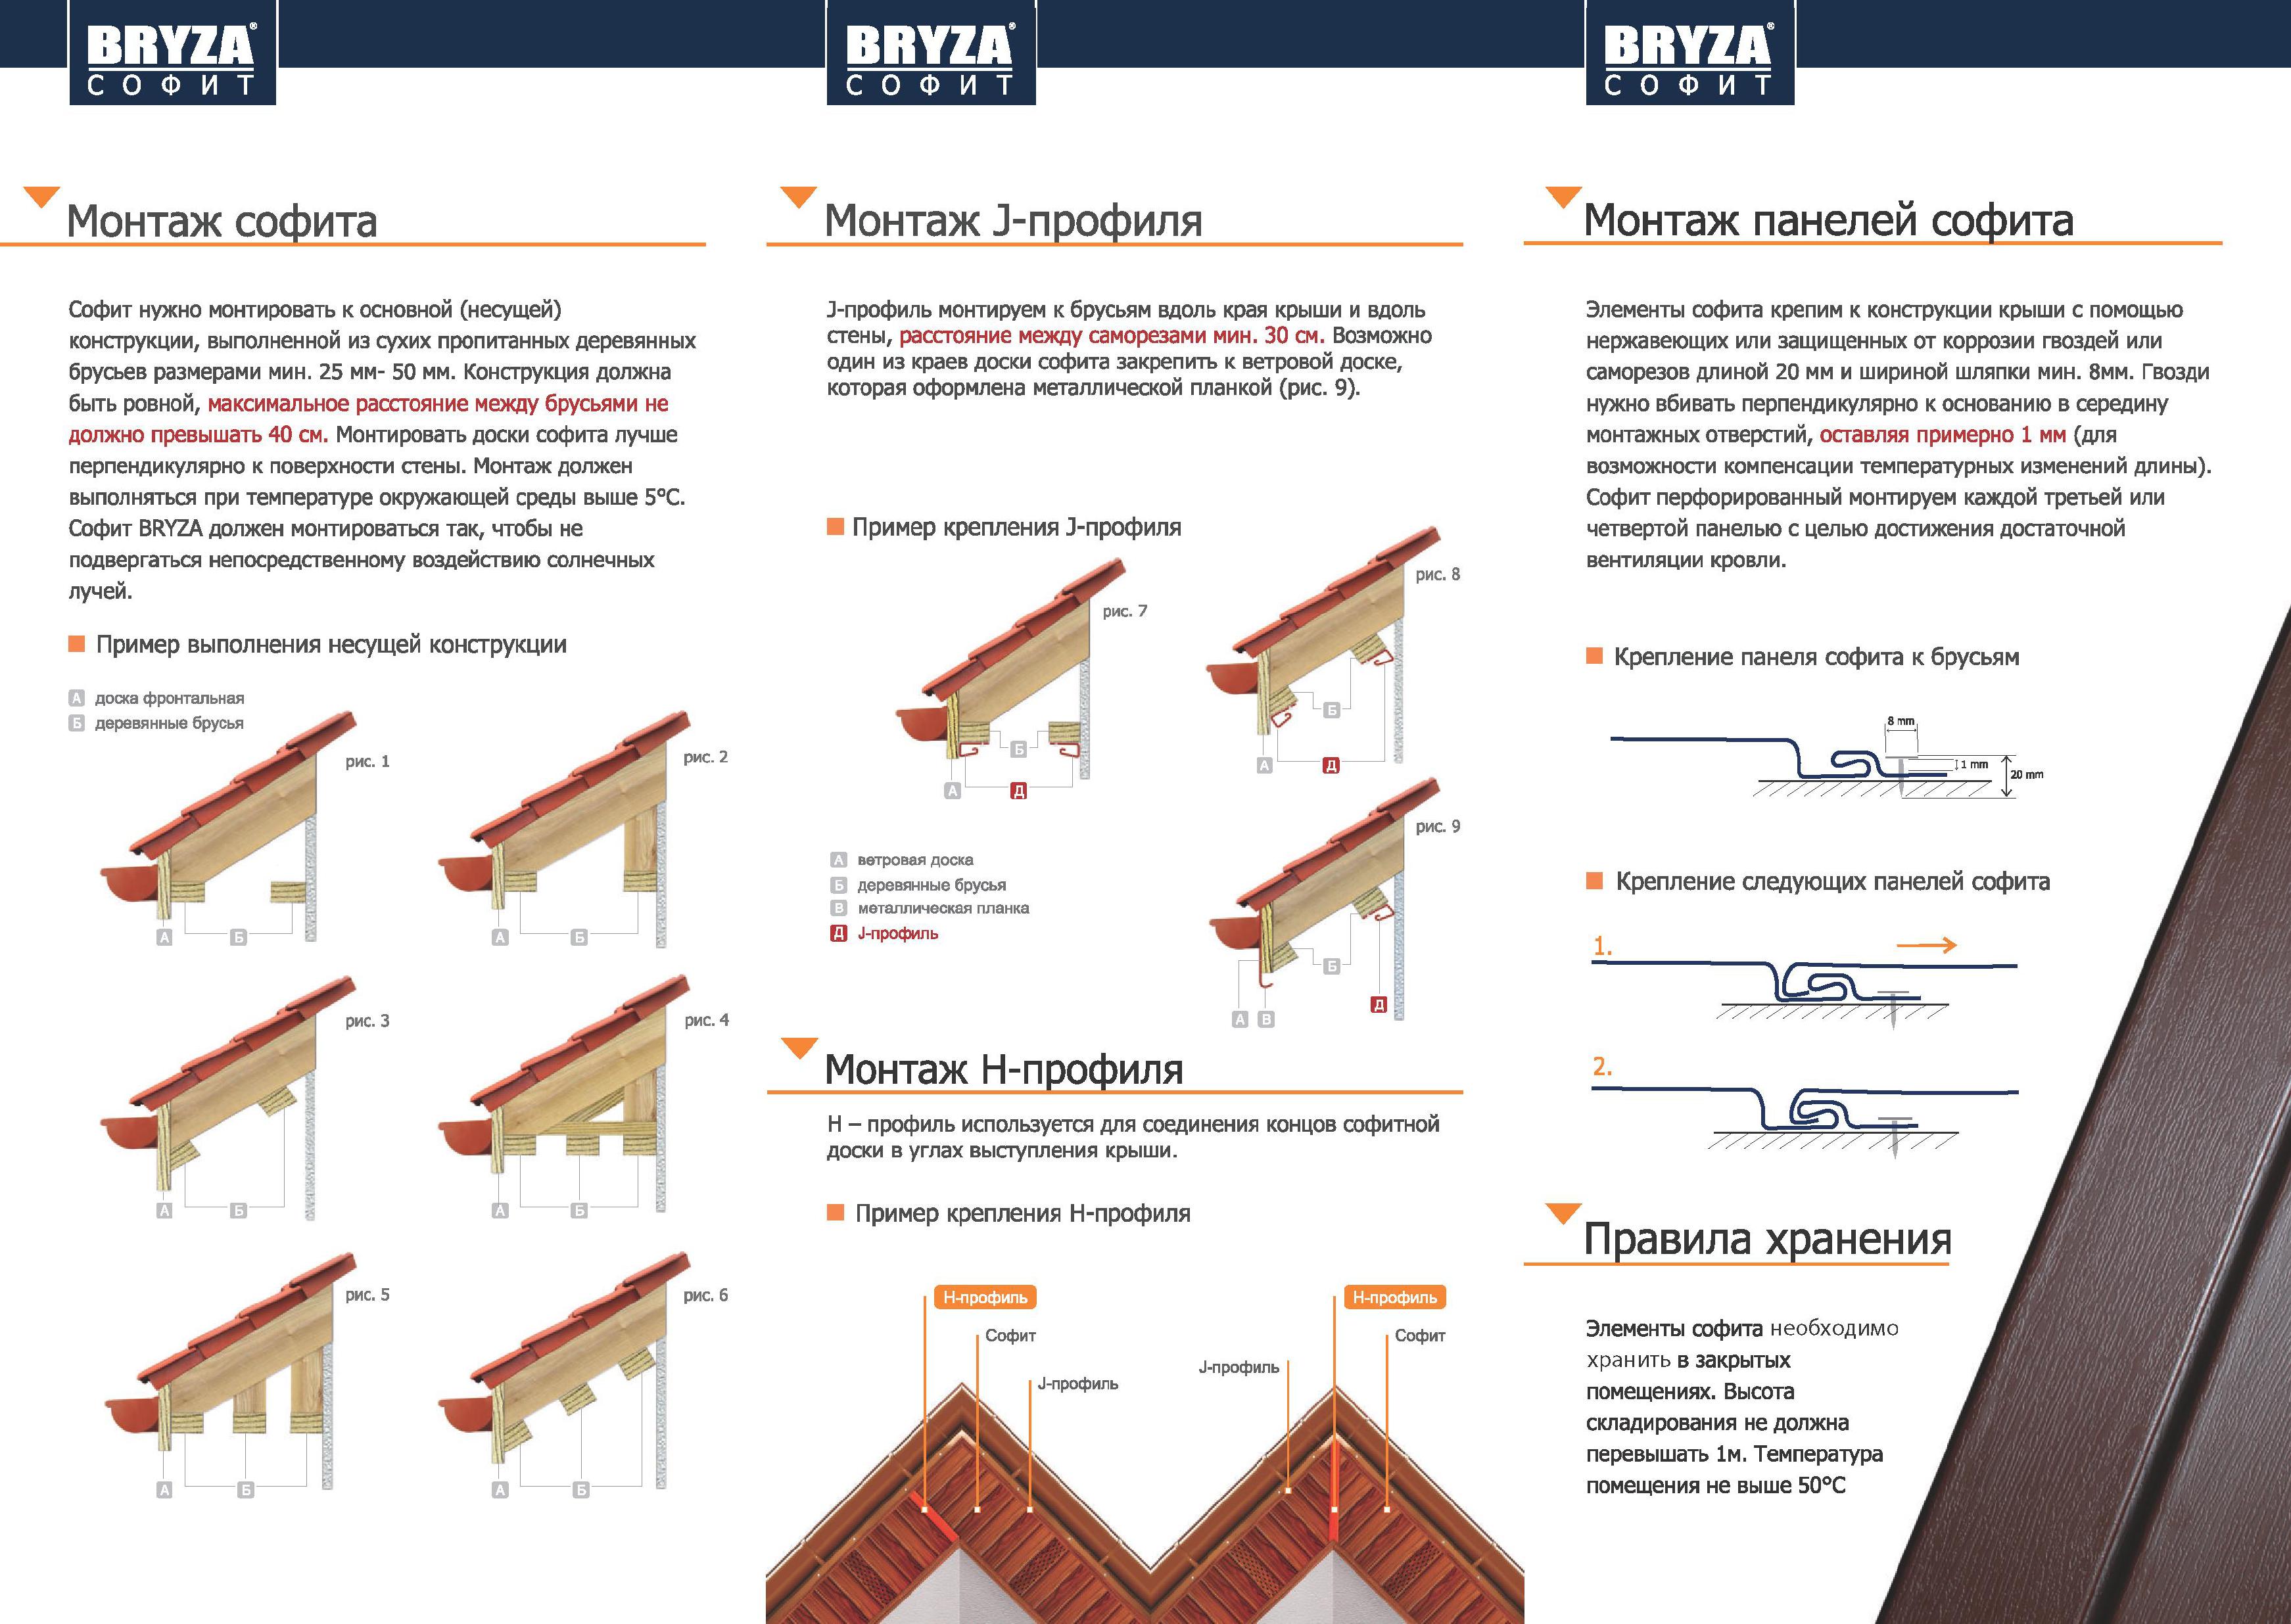
Installation is completed by installing spotlights on the area of eaves, overhangs, building gables.
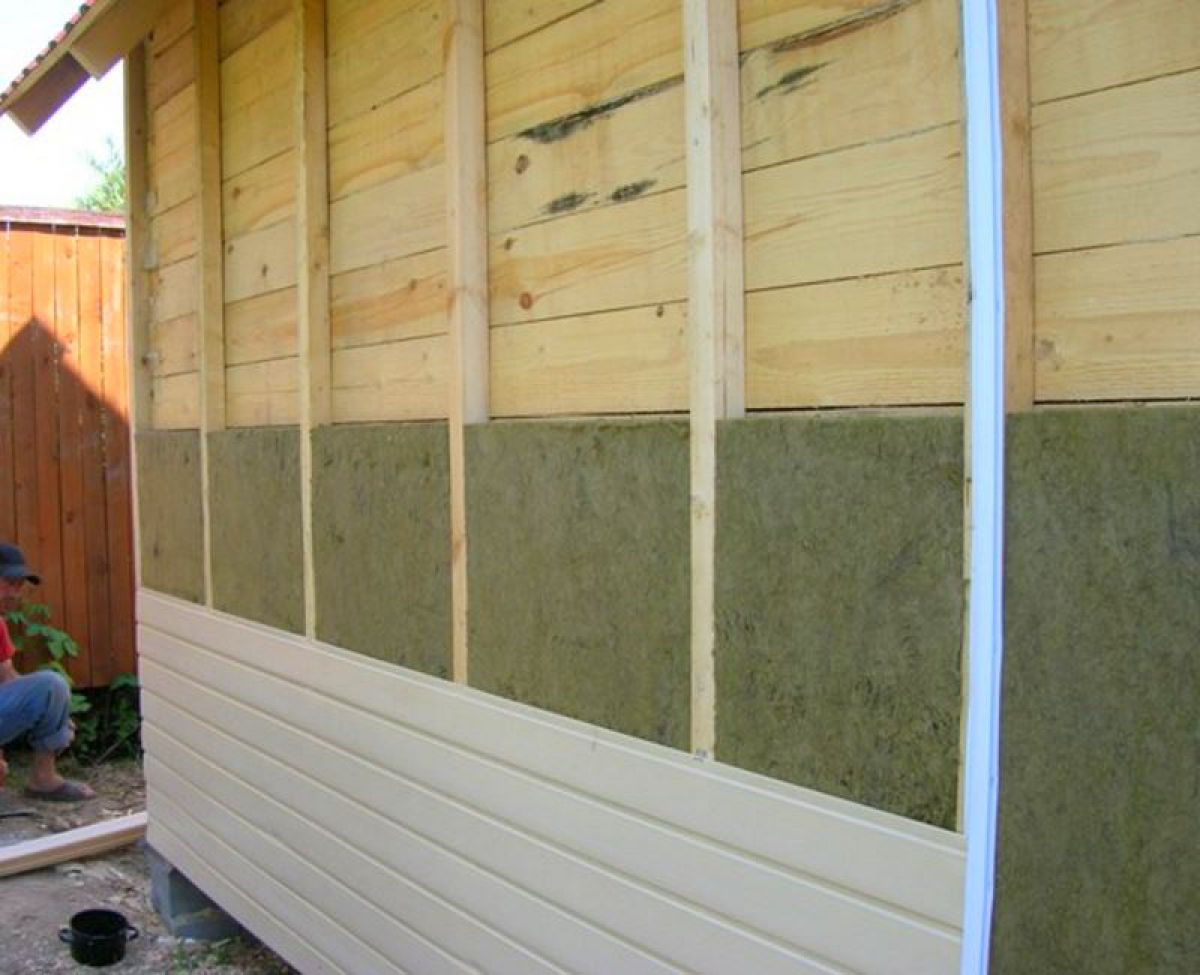
In the conditions of the domestic climate, metal siding is combined with the thermal insulation of the facade, the technology of ventilated facade is used. In this case, a layer of insulation is laid on the surface of the walls between the frame elements. Its edges must fit snugly to the elements of the framework, otherwise the formation of “cold bridges” in these places cannot be avoided.
Mineral wool insulators are usually used (it is better to give preference to a more moisture-resistant stone wool) or polystyrene foam (here it is preferable to make a choice in favor of extruded polystyrene foam, which has higher performance properties than foam).
In the case of laying insulation in 2 rows it is necessary to ensure that the joints of the first row do not fall into the places of the gaps of the second row. In other words, the second row should be stacked with a slight offset in order to eliminate the risk of the formation of “cold bridges”.
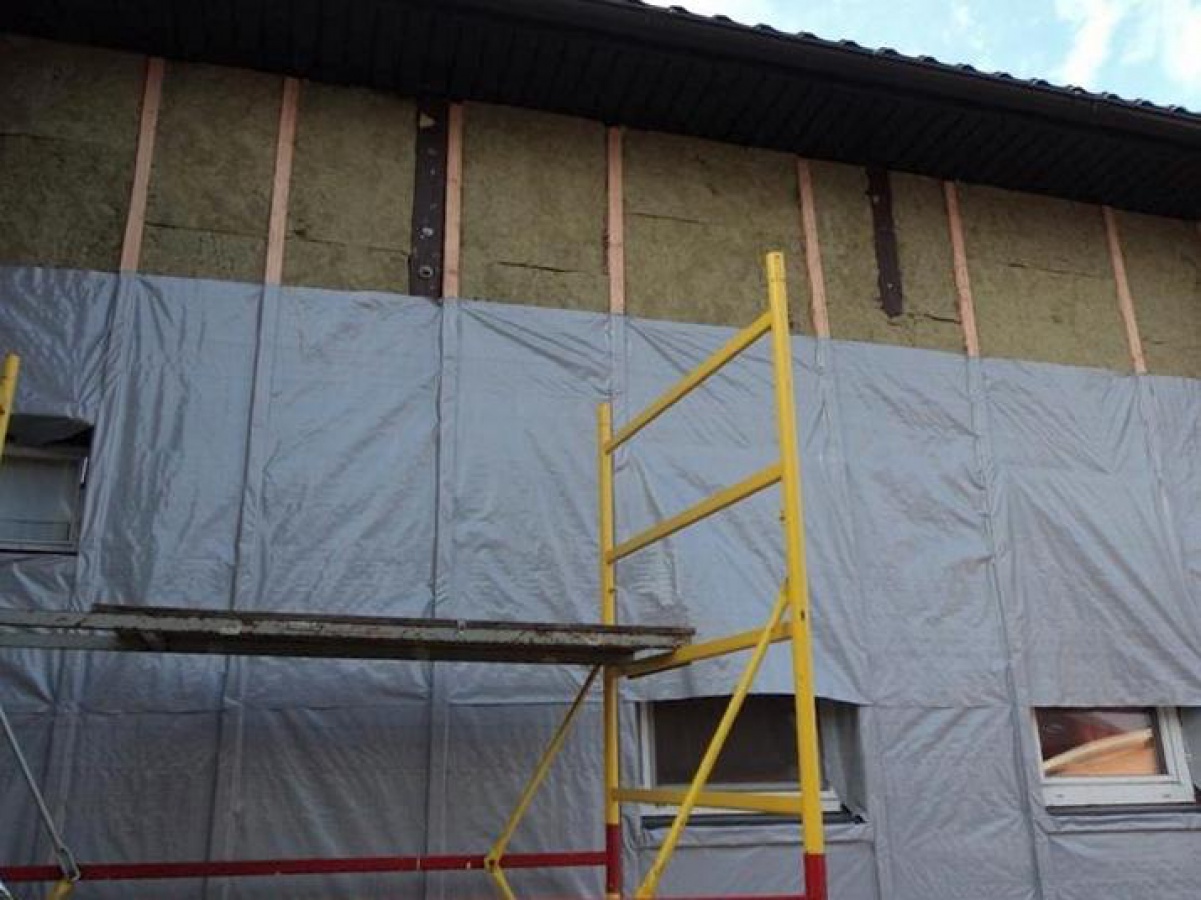
The next layer is waterproofing and windproof. For it use superdiffuse membrane or conventional waterproofing film. It is sold in rolls and overlapped. Places joints, as well as accidental damage should be taped.
The heater is first fastened with temporary plastic dowels, after which, together with a waterproofing film, it “breaks through” with a self-tapping screw. It is enough 2-3 screws on a sheet of insulation, one of which should be installed in the center.
Completed work installing siding panels on the battens. At the same time between the layer of insulation and lining should maintain an air gap (3-5 cm). How to do the house sheathing metal siding with your own hands, you will see in the next video.
Tips and tricks
Professionals recommend following some tips to maximize the lining performance and simplify the installation process.
- When trimming a brick building, it is important to ensure that the dowels do not fall into the masonry joints. It is unacceptable to drill hollow blocks and bricks.
- Soft insulation (mineral wool, for example) is better to take 0.5–1 cm wider than the sheathing step. Excess material will easily be bent, “fit” to the available width.
- To fix the insulating material, fasteners should be used, the length of which is 50 mm longer than the thickness of the insulation.
- For wooden walls it is better to use mineral wool insulation, which has a better ability to remove water vapor. Under foam plates wood begins to soak and rot.
- Waterproofing film or diffuse membrane is laid directly on the insulation, while maintaining a ten-centimeter overlap. The film (membrane) can be fixed with adhesive tape (to the metal frame) or with straps (to the wooden subsystem).