Features of plaster on wood
Plaster - is one of the most popular and common building and finishing materials, which is found in many stores. Apply a similar solution can be on the surface, consisting of a variety of materials. It can be not only concrete or aerated concrete, but also wood. Today we will talk about the features of plaster mixes for such a capricious basis.
Features and benefits
According to experienced and beginner craftsmen, plaster laying on wood is one of the most complex and laborious works. In order to result in high-quality and durable coating, you must possess certain skills and experience, as well as acquire high-quality materials. The main feature of such works is that before they begin, it is necessary to competently process the base of the tree.High-quality training will guarantee a successful result.
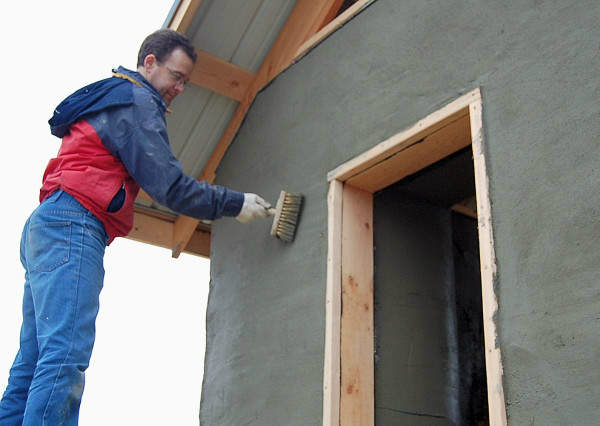
Many consumers wonder why they even need to plaster wooden walls. The answer is simple: such material is vulnerable, so it needs additional protection in the form of applying suitable plaster. It, by the way, can be applied not only inside the house, but also outside.
The tree needs regular processing with special protective impregnations. The plaster here performs approximately the same functions, protecting this natural material from rotting, drying out, cracking and attacks of parasites / rodents. Plastering the walls of wood, you can significantly extend their life.
It should be noted that the plaster of the ceiling of the timber should be made not earlier than one year after the construction of the house, and it is better to wait one and a half. During this time there will be a complete shrinkage of the walls, so in the future the protective layer of the material will not crack and will not fall off from the wooden bases.
The rule does not apply to frame buildings. They can be trimmed immediately after erection, without waiting a year and a half.
Quality plaster on wood will promote reliable adhesion between the base and decorative finishing materials, whether it is a paint and varnish covering or a transparent varnish. In addition, working with a special composition intended for wood is quite convenient, because it dries quickly, and this saves a lot of time. Plasters on wood and have a high elasticity, therefore, applied to wood bases easily and simply.
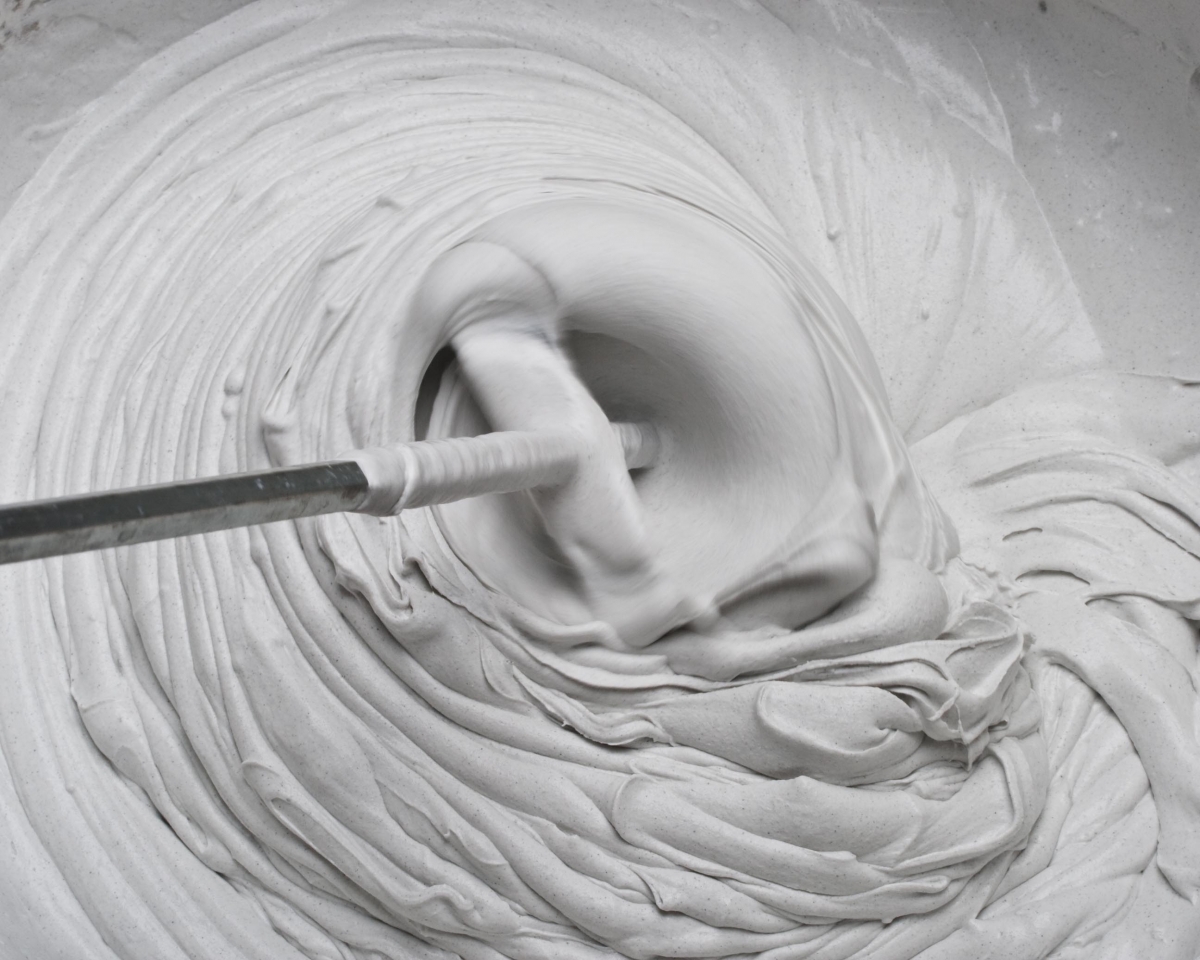
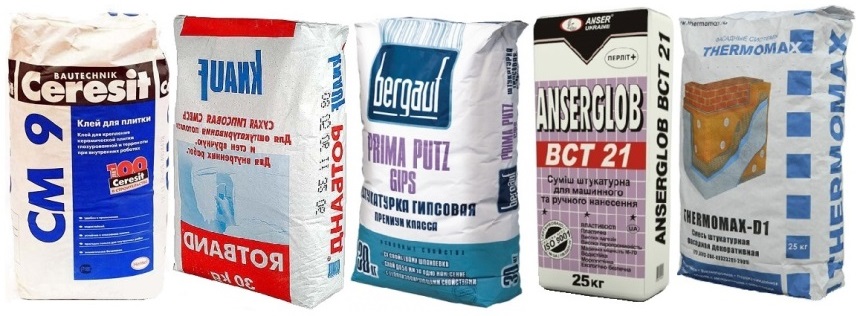
For finishing wooden walls, you can use ready-made or dry plaster mixes. Of course, most consumers choose ready-made formulations, since they do not need to be carefully prepared before application. However, such products, as a rule, are slightly more expensive than dry formulations that need to be prepared by yourself.
Small particles in the composition of dry plaster mix play a very important role. Thanks to them, the finishing layer of the material becomes very thin, but at the same time durable, that is, durable.
Species
For the finishing of wooden bases several types of plaster solutions are produced. Consider them in detail.
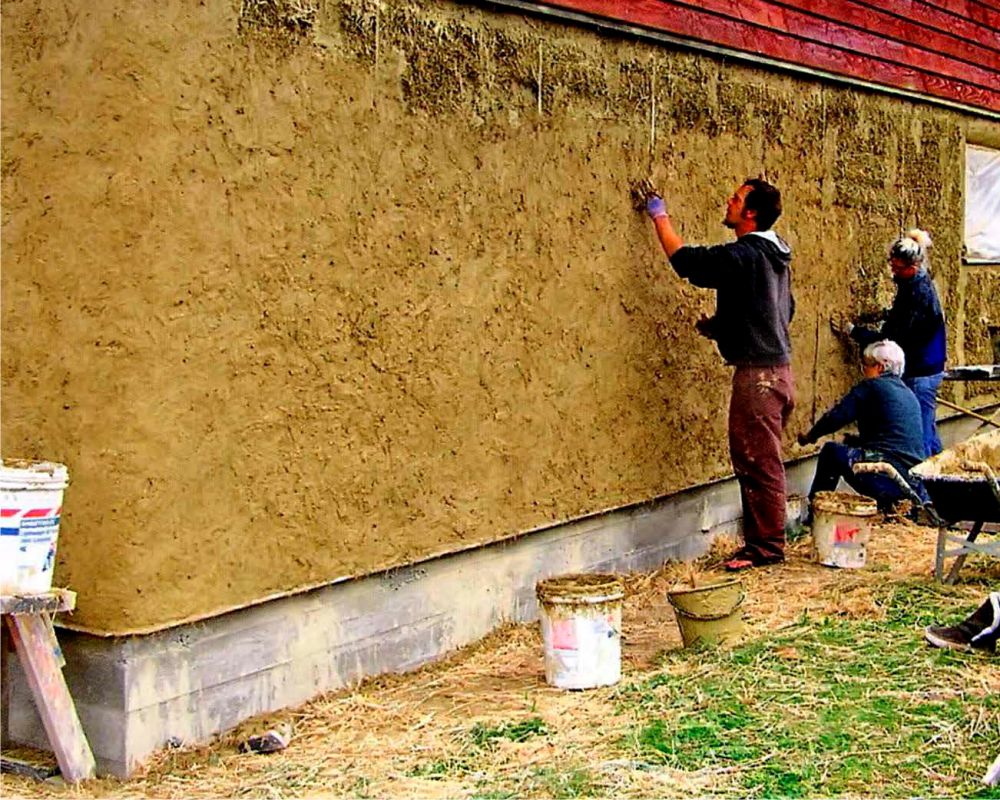
Clay
The solution, which contains clay and various additives, is considered the oldest, cheapest and environmentally friendly. Such plaster has its advantages:
- Its composition contains environmentally friendly and hypoallergenic components that do not harm human health;
- it lets air well, contributing to microventilation in the living space;
- clay mortar is prepared and applied easily and quickly, and also has high ductility and resistance to mechanical damage.

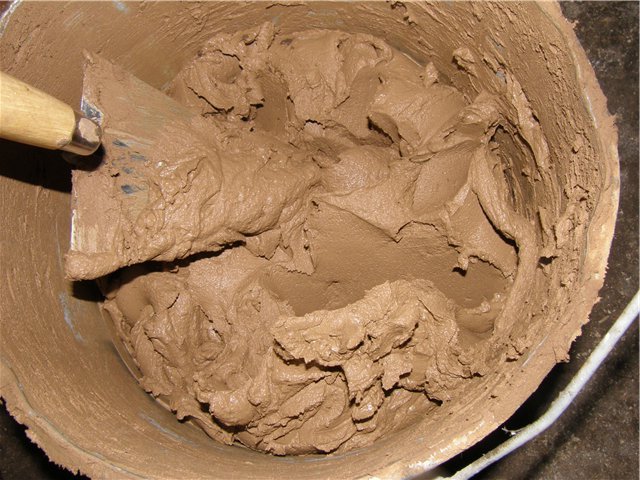
It is worth noting that the clay plaster has no restrictions on the timing of use. Even after complete curing, it is permissible to fill it with water, mix and apply on a wooden base. It is possible to re-apply the previously used solution removed from the base.
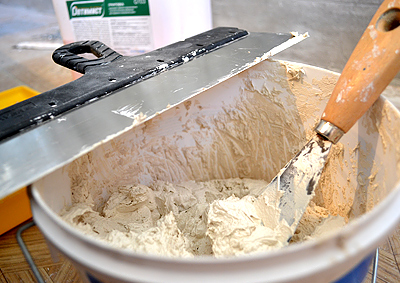
Gypsum
Gypsum plaster on wood is recognized as universal. It is sold as a dry mix. As part of this plaster there are special polymer modifiers that are responsible for the increased adhesion of the material. In addition, these components slow down the process of setting the plaster, and the hardened layer is made more reliable and durable.
The disadvantage is that gypsum plasters can not be called environmentally friendly finishing materials. They cost, besides, quite expensive.
Cement-lime and cement-plaster
Such solutions are optimal in cost, composition and quality of finish. Such plasters are found in many stores and enjoy an enviable popularity. According to customers, it is as easy to work with them as with clay mixtures.

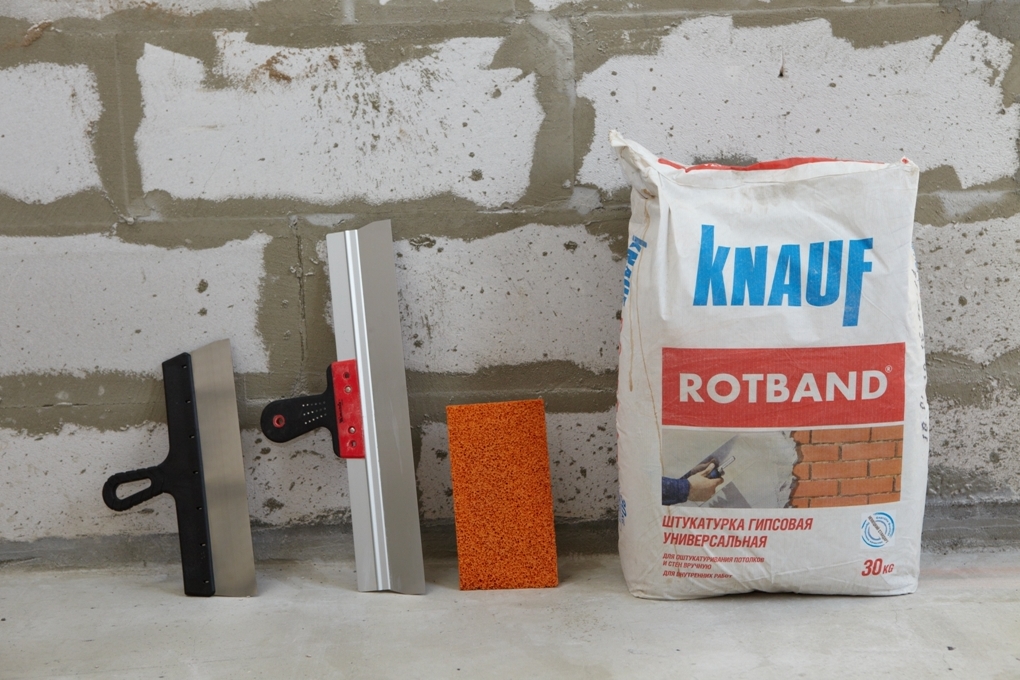
Instruments
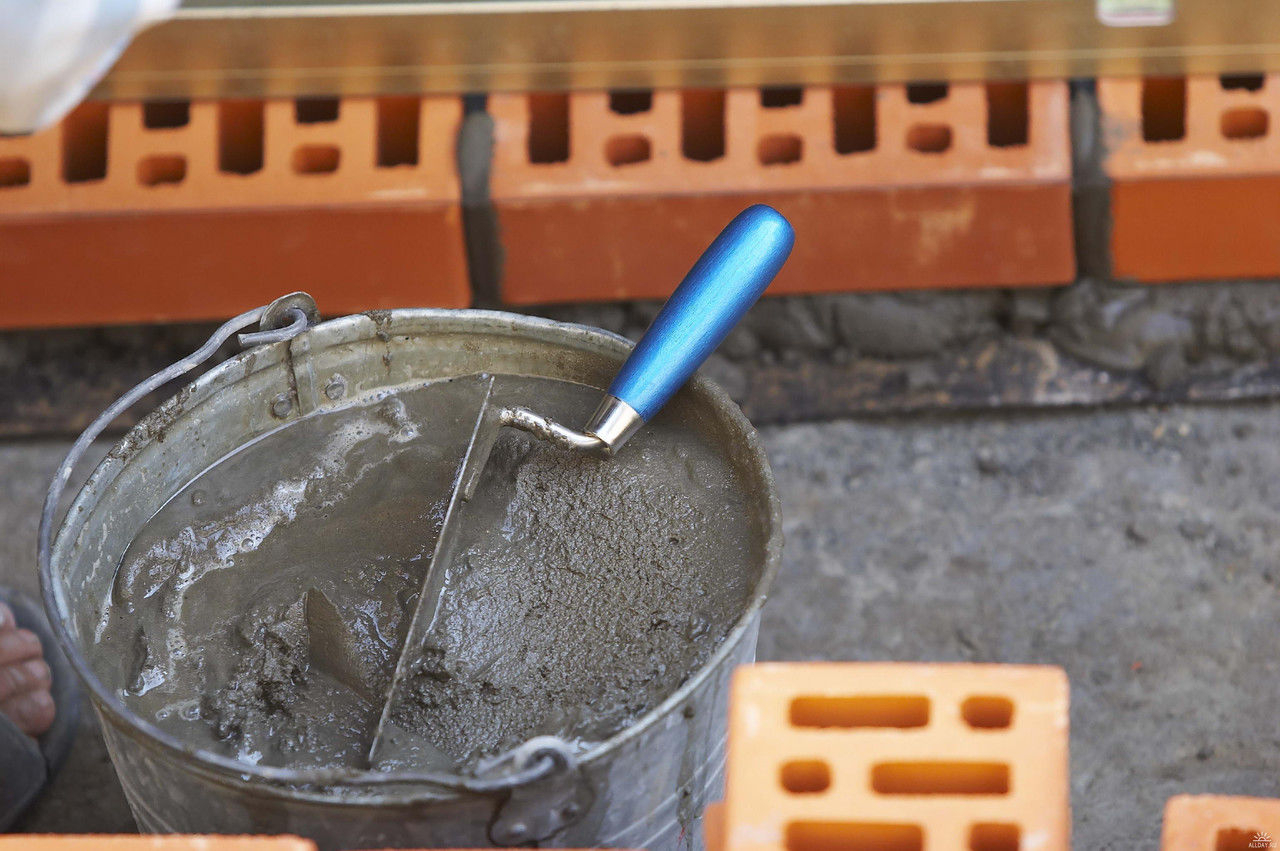
To apply the plaster on wooden walls, you need to purchase the following tools:
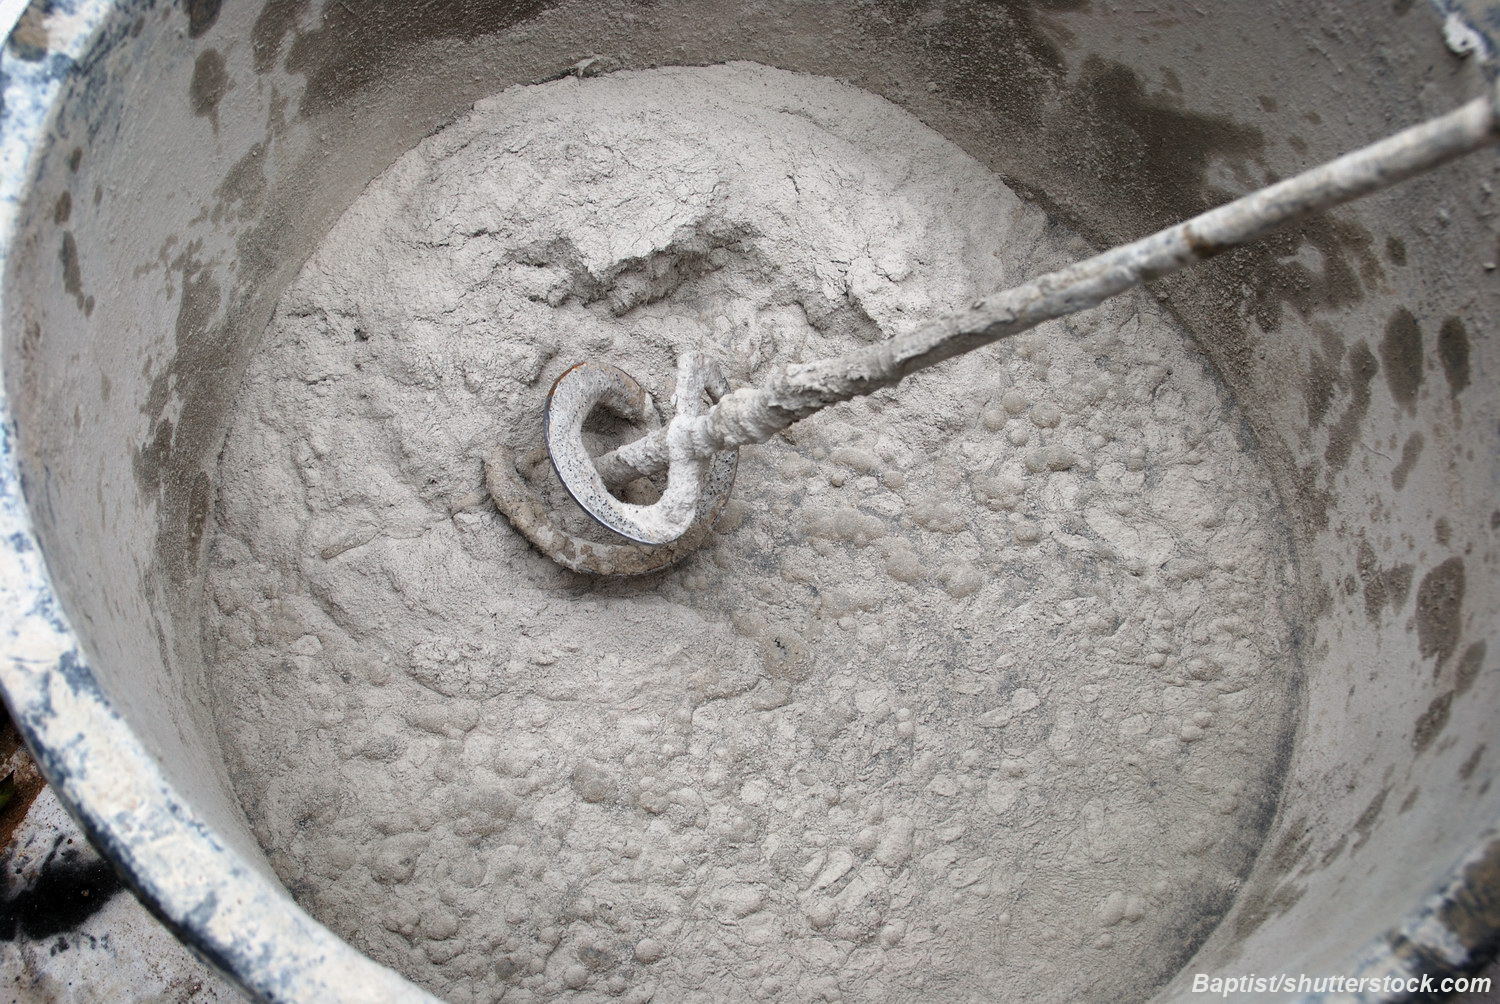
- clean plastic container or bucket;
- drill with a special nozzle designed for mixing solutions (mixer);
- putty knife;
- roller;
- brushes, if you plan the subsequent coating of the finishing layer with varnish.
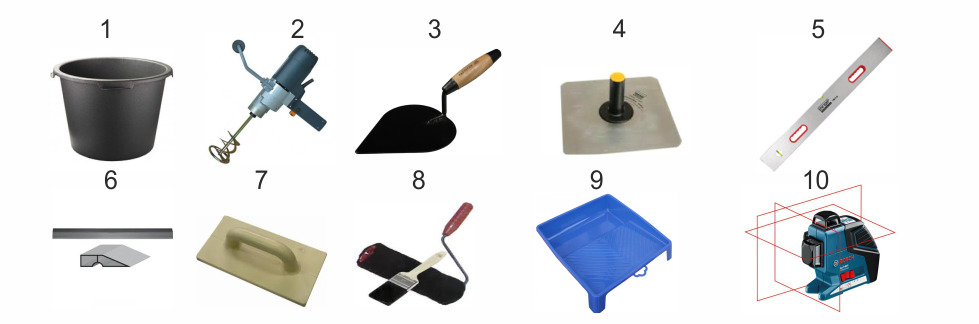
You should buy only high-quality and reliable tools. It will be much easier to work with them.
Plaster do it yourself
For plastering wooden houses do not necessarily call the brigade of craftsmen. With all the work you can handle on their own. Laying plaster on hardwood floors is carried out in several basic steps.
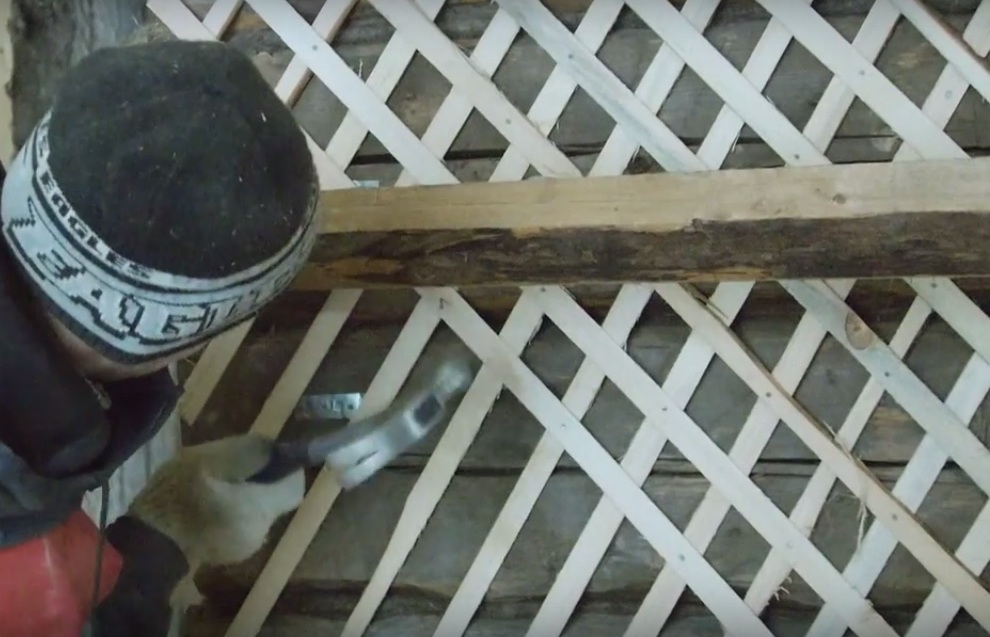
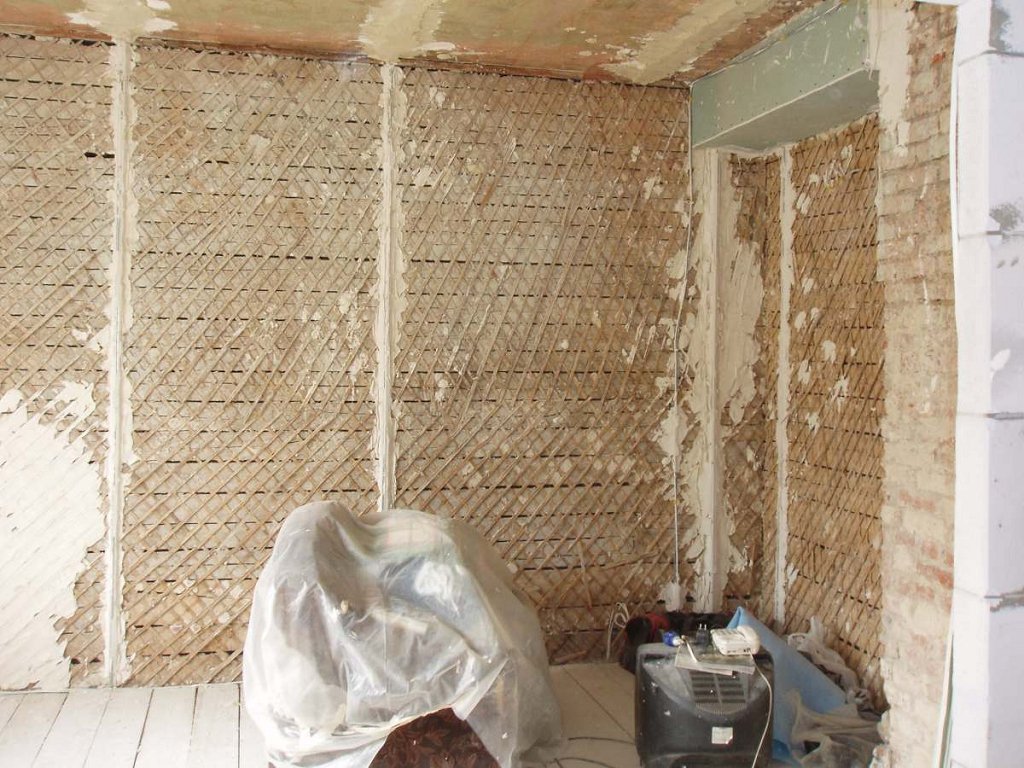
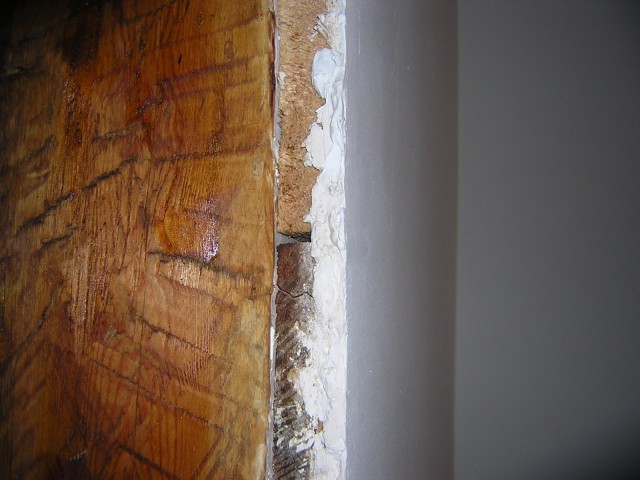
Before applying plaster hardwood floors must be properly prepared. Often used for this special wooden shingles. First you need to get rid of large gaps on the ground.For this you can use mineral wool or tow.
If there are significant gaps between the beams, they can be closed with slats. So it will be possible to save plaster and increase its heat-insulating qualities.
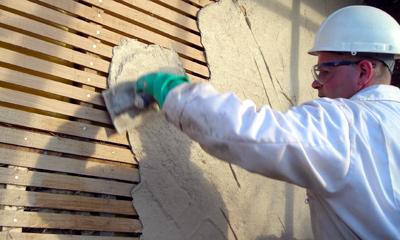
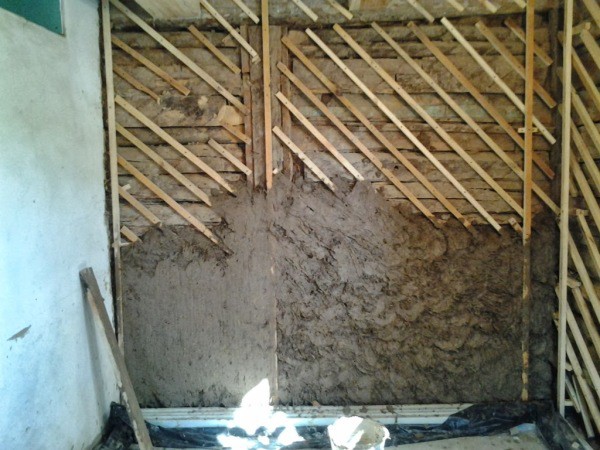
The next step on the walls is to install a shingled grid, which consists of 2 intersecting layers of slats. Stripes need to be beaten in turn, moving from the floor at an angle of 45 degrees. Between the slats you need to leave a gap of no more than 5 cm.
To fix all the details, you can use ordinary nails. As for the fixture of shingles, it should be carried out at the ends and in the central part of the intersecting elements. It is very important to leave 3 mm gaps between the slats. This is necessary to avoid unnecessary deformation during expansion. Dry shingles can be wetted at the points where nails are located so that the massif is not subject to cracking.
If the work is performed in a house with a high level of humidity, then waterproofing material should be laid on the wooden walls. This should be done before shredding. It is acceptable to use sheets of ruberoid and other similar material.
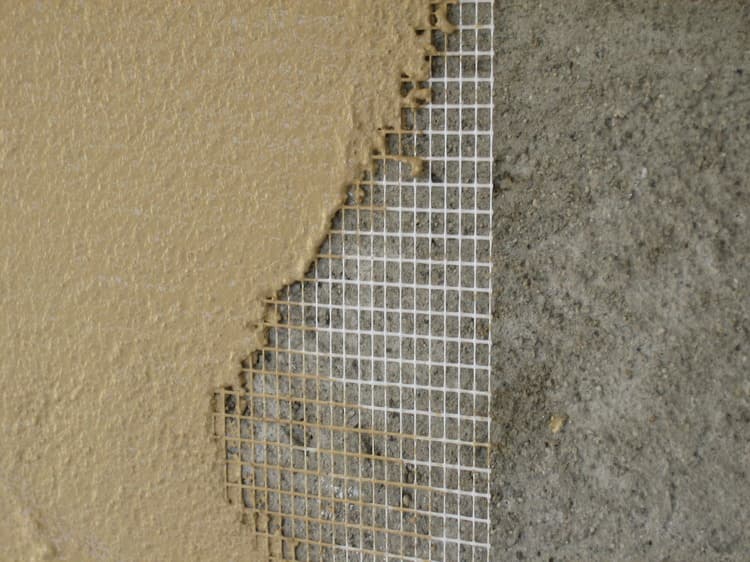
In the process of laying plaster mixes at the joints of wooden partitions with concrete or stone bases, you can nail the metal mesh.
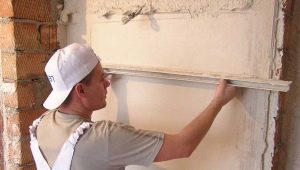
Installing the base of shingles, you need to fix the beacons - they will be needed for the further formation of a smooth base. At the edges of the wooden walls, nails should be nailed, and then a string will be drawn between them. To measure the plaster should proceed, based on the second layer of shingles. As a rule, it is 1.5-2 cm. Keep in mind that when pulling a line you should use the building level.
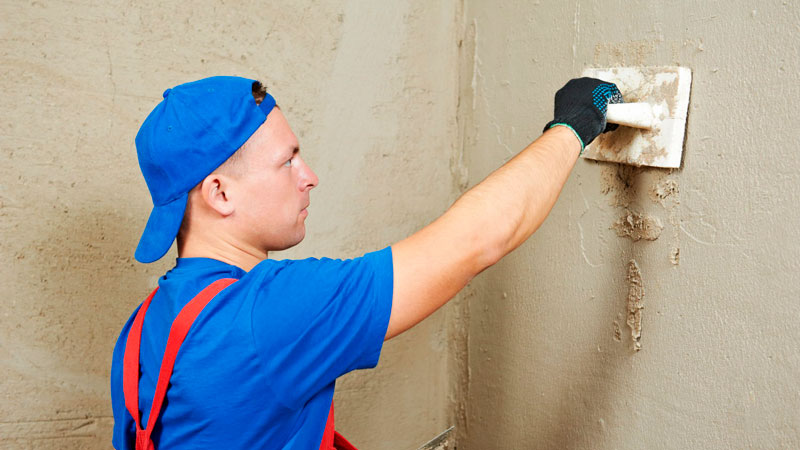
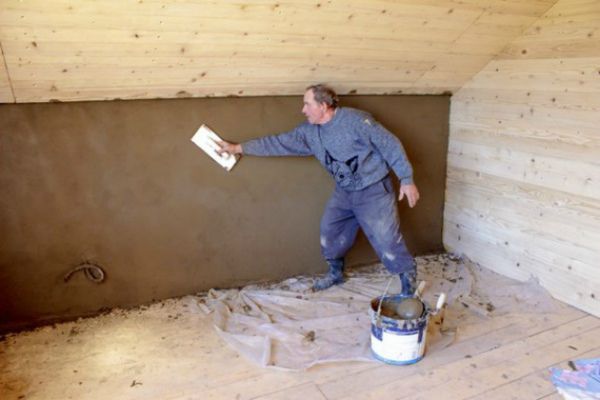
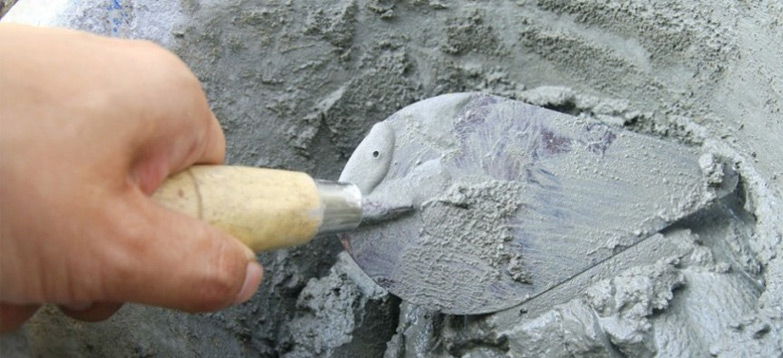
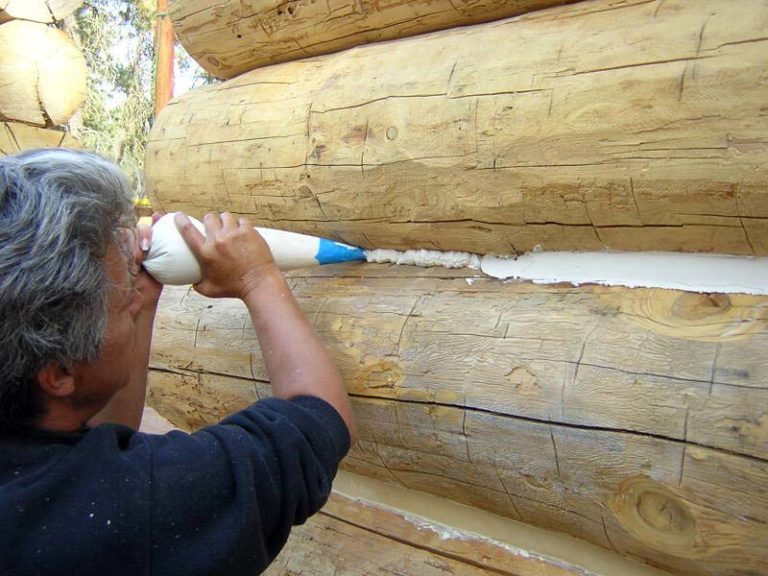
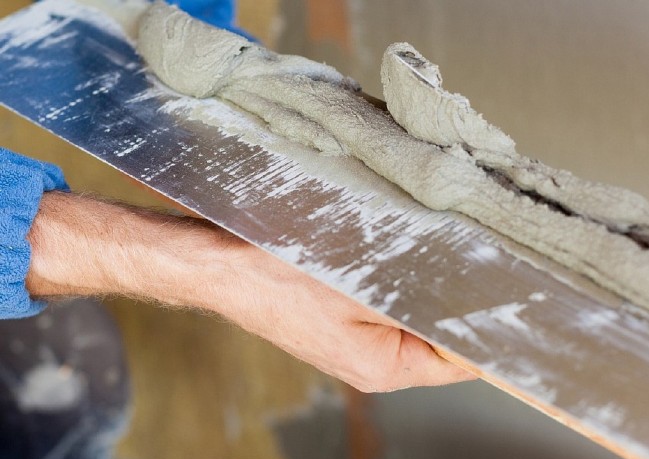
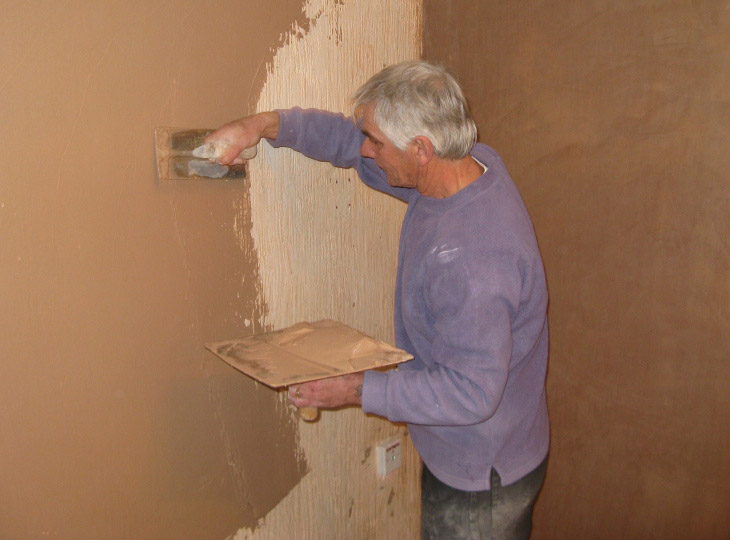
After you can go to the spray. It consists in putting plaster solution on the wooden basis. To make the mixture more reliable and of high quality, you can add PVA glue to it. Preparation of the necessary equipment begins with a trowel or trowel. With their help, it will be convenient to apply a starting layer of plaster with a thickness of 1 cm.
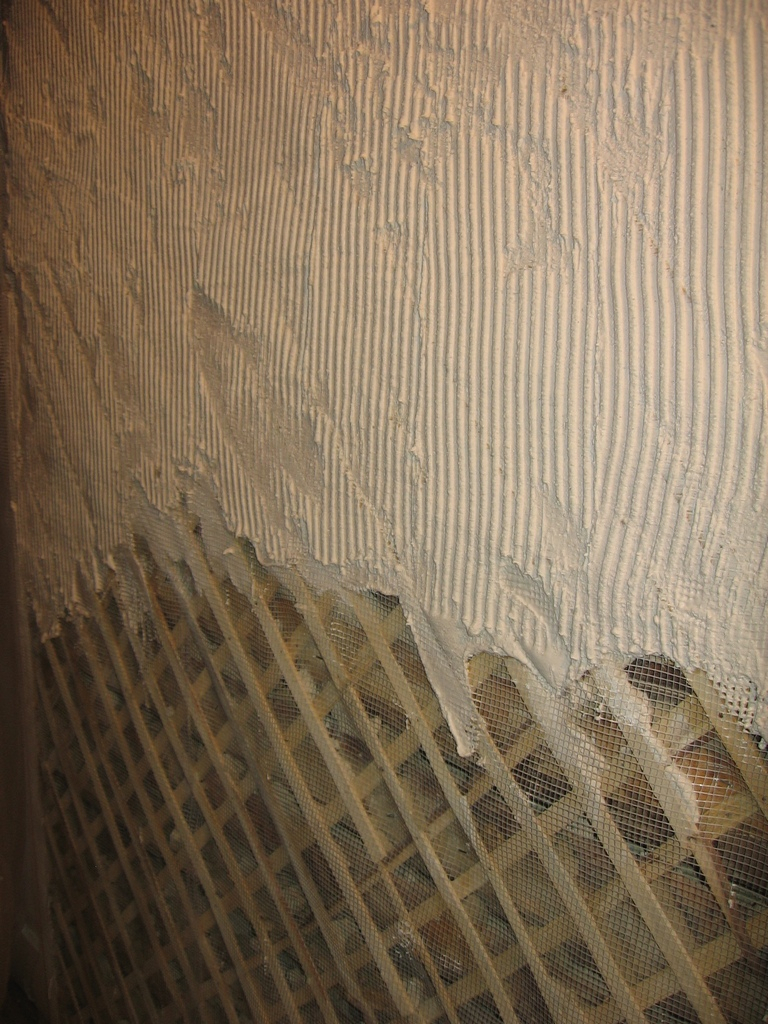
At this stage, you need to remove all drops and bumps. Works need to be made, moving from the top part of overlapping. With this application, the mixture in the lower part of the wooden walls will not receive excess moisture in the process of draining water.If on the dried spray there are small cracks, you can get rid of them with a primer. The thickness of its layer can be 7 mm.
The finish should be a perfectly smooth surface.
To achieve the best result, you can strain the solution through a grid with small cells of 1.5 x 1.5 mm. As for the grout, it should be done using an emery net.
Tips and tricks
Plaster on wood is affordable, as in modern stores of building and finishing materials you can find a lot of quality mixtures that are easy and convenient to work with. but It is worth paying attention to some tips and recommendations from professionals to avoid many problems and shortcomings:
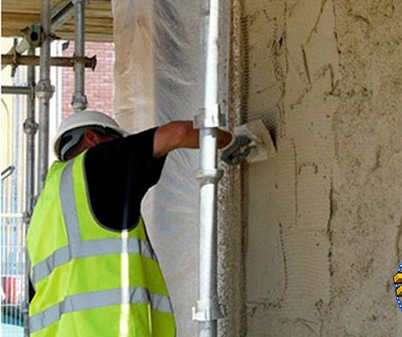
- A layer of plaster will be more durable and reliable if you use a quality solution and the same reliable tool. In addition, if facade works are being carried out, then the weather at that moment should be favorable.
- It is recommended to carry out finishing in a warm season. Excessive heat, like cold, can adversely affect the adhesion of the plaster to a wooden base.The air temperature should be 10-20 degrees, and the humidity level should be average.
- Before applying the plaster mixture, it is important to check its color and texture on a small and inconspicuous area of the base. After that, you need to wait for it to completely dry and oshkurit. If the result did not disappoint, you can move on to the rest of the work.
- Always keep a small distance between the ends of the rail. Otherwise, cracks may form on the plaster.
- When finishing wooden walls from the inside or outside it is necessary to apply layered plaster. Each new layer can be applied only after the previous one has dried.
- At the preparatory stage of the work, the walls need not only to be cleaned of dirt and dust, but also to give their surface a slight roughness. So, the plaster will bond better to the base.
- If the preparation of the base used shingles, then it should be laid in 1-2 layers. They should be perpendicular to each other. The result is small cells.
- The thickness of the finishing material should be at least 20 mm.

If you do not follow this rule, cracked walls and gaps may appear on the plastered walls.This will adversely affect the properties of the finish, and its appearance.
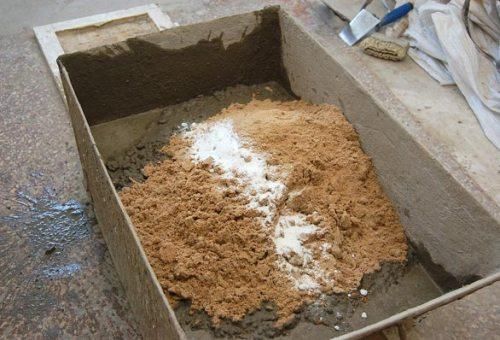
- To make a plaster on wood, you need to stock up on such ingredients as lime, gypsum or cement. These components are mixed with water. After that quartz sand is added to them as a filler.
- For interior decoration of premises with a high level of humidity, it is recommended to buy lime-plaster solutions or simple plaster plasters.
- Having completed all the finishing work, plastered floors can be treated with a simple lacquer or lacquer composition with gloss / glitter. To close the joints left between the walls and the floor / ceiling, you should use special baseboards or beautiful baguettes. The color of these parts should match the shade of the walls.
- Use for the work you need only high quality branded plaster. Such solutions serve for a long time, they will not cause any problems. You should not get a cheap composition - after drying, it can crack or even begin to crumble.
On the preparation of wooden elements for plaster, see the following video.