Align the walls with plaster according to all the rules.
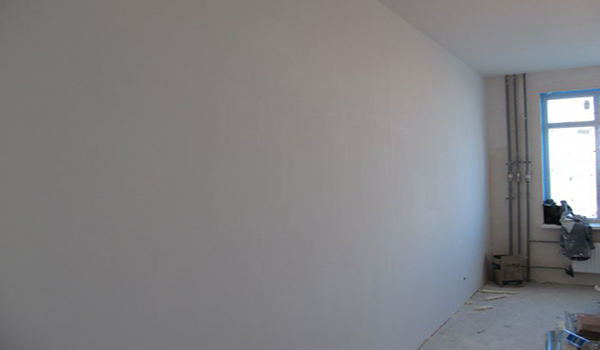
Uneven walls can ruin even the most beautiful interior design. Unfortunately, and in new buildings, and in the "secondary" housing surface of the walls rarely allow you to immediately move to the finishing finish. Of course, you can limit the masking of irregularities wallpaper with a small pattern or placement of large furniture, but it is better to align the walls.
Most often, plaster is used to solve this problem. In addition, doing your own plastering work helps significantly reduce repair costs. To get perfectly smooth walls, you just need to know and follow simple rules for using this material.
Special features
There are two ways to make a wall even: using plaster and using gypsum plasterboards. Already leveled walls can be additionally plastered to bring the surface to the ideal.
It is easier for beginners to work with drywall, but plaster also has its advantages:
- The material does not require mounting the frame under the skin, thereby saving room space. For distributing electricity or plumbing special recesses in the wall itself are made.
- The wall turns monolithic. Seams and joints, which are always present when plasterboard lining, when plastering does not happen.
- Even a thick layer of gypsum plaster is protected from cracks.
- Plaster is often an environmentally friendly building material, does not contain and does not emit substances harmful to humans.
With all its advantages, leveling the wall with the use of gypsum or cement mixtures has significant drawbacks:
- Work with plaster requires significantly more time than with the “dry method” leveling.
- For a non-professional it is quite difficult to calculate the amount of ingredients needed to work in a given area.
- The site must be water.
- For a plaster station, according to SNIP, 3-phase voltage is required. Although the repair of small rooms can be used and the station, working from a conventional outlet with a voltage of 220 V.
- Plastering is a “dirty” process that requires accuracy and the subsequent thorough cleaning of the premises.
How to align?
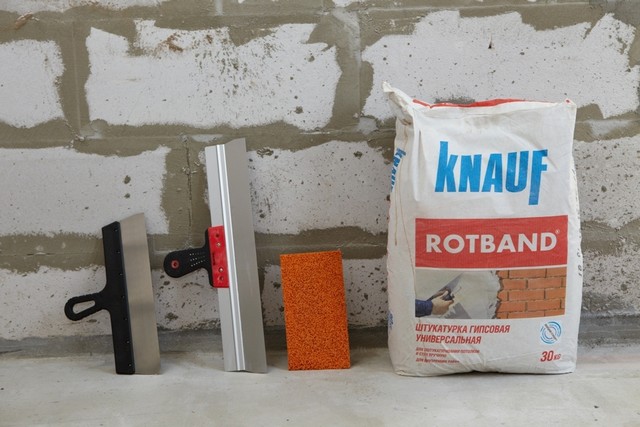
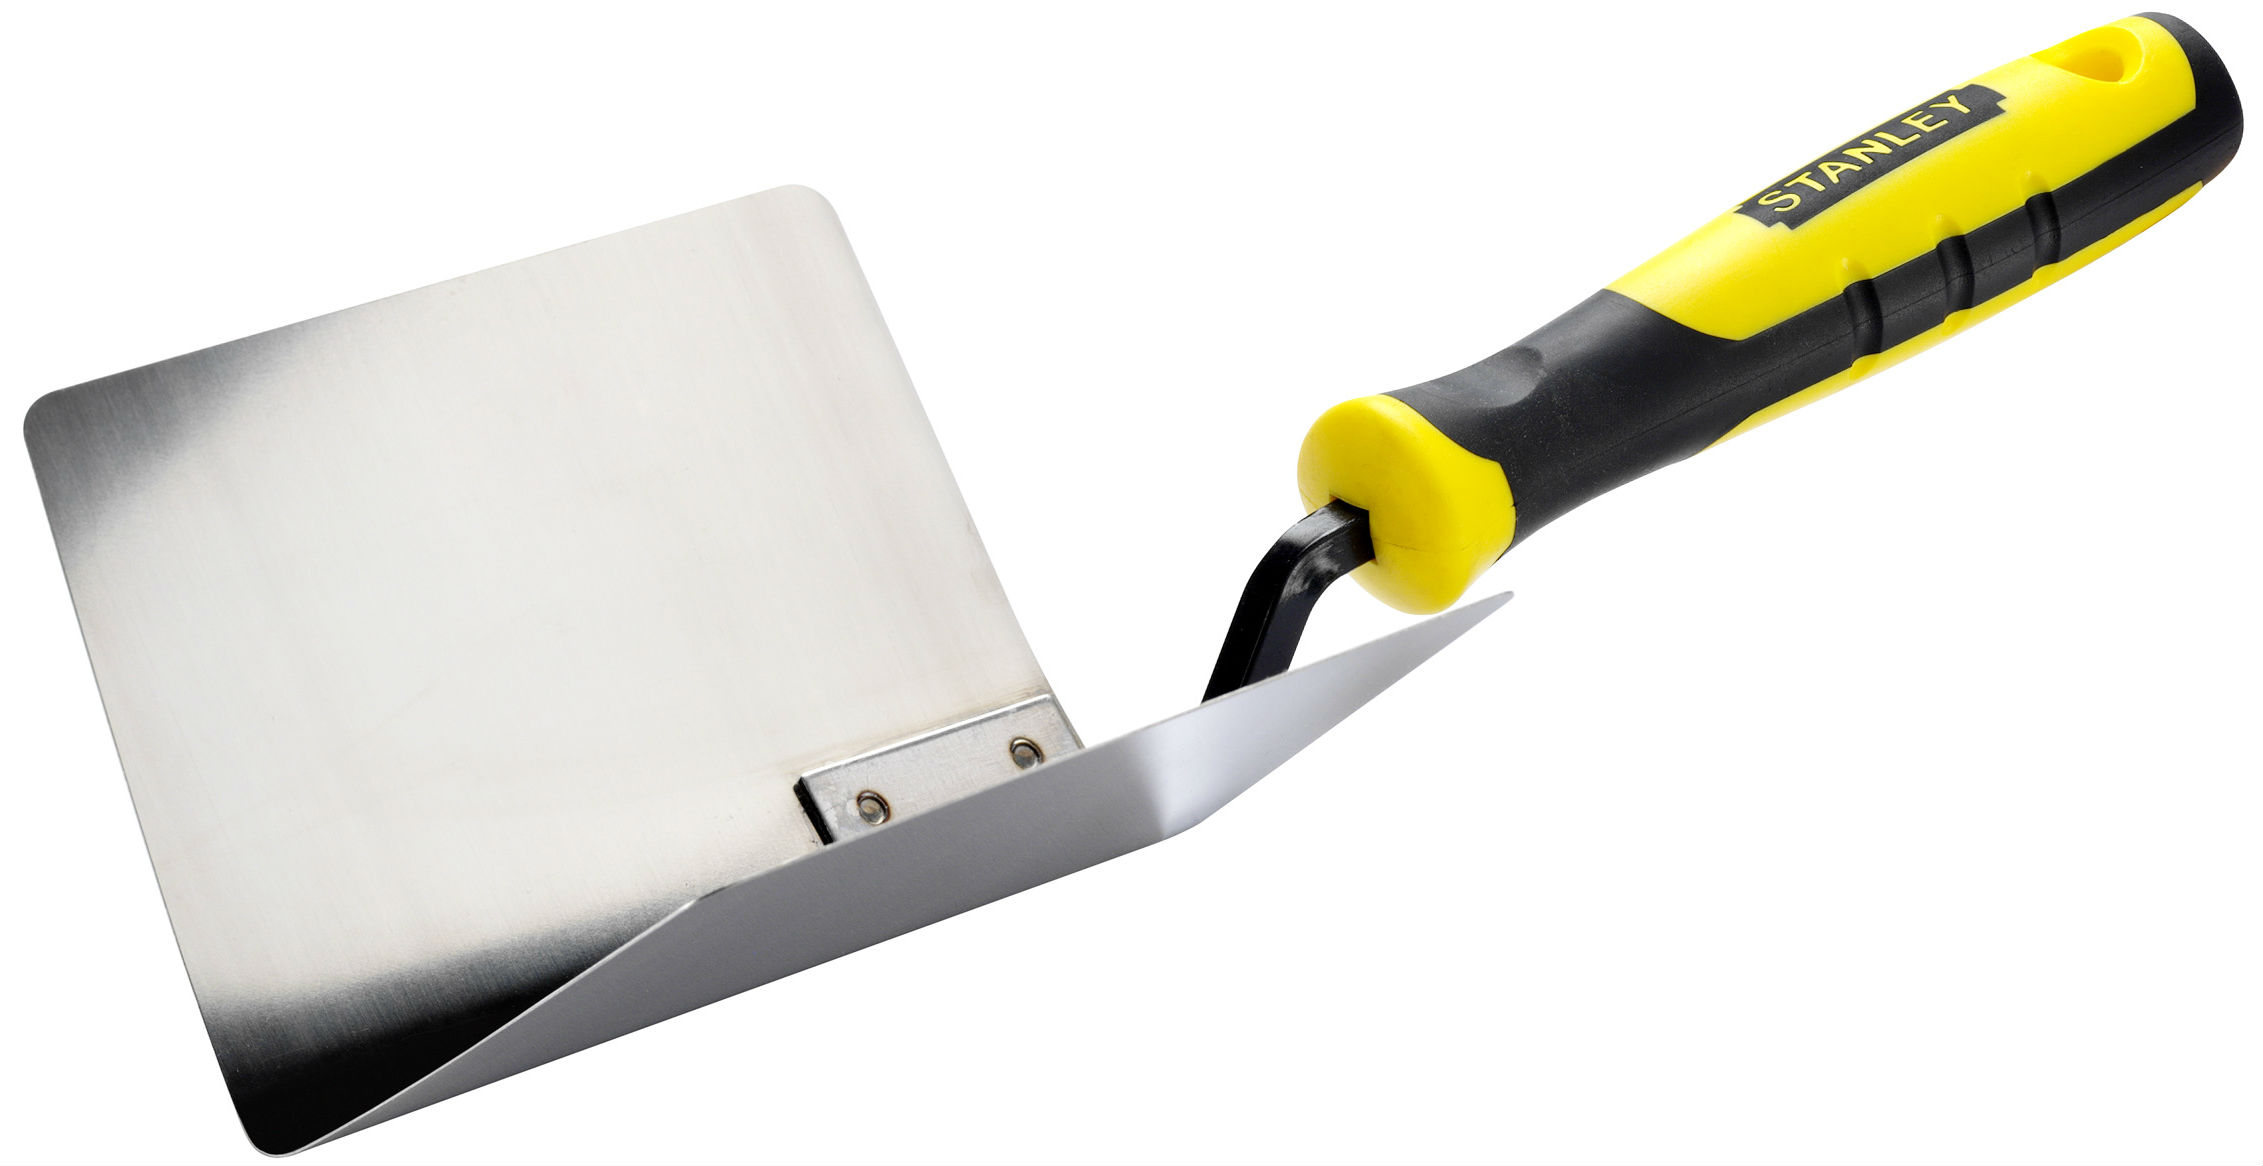
There are several types of plaster mixes: with cement, with clay and with gypsum. In working with any type of material, you must use special tools: spatulas, brushes, levelers, scrapers, containers, a mixer for mixing, trowel and sandpaper. To facilitate the process, you can also use different guides, beacons and corners.
For exterior work and non-residential decoration is better to use cement plaster. It is cheap and durable, and the proportions can be changed depending on preferences and purpose. However, physically working with such a mixture is quite difficult. It adheres poorly to concrete surfaces. In addition, with a large thickness of the plaster layer, cracks may occur.It is worth noting the fact that any cement mixes dry for a long time.
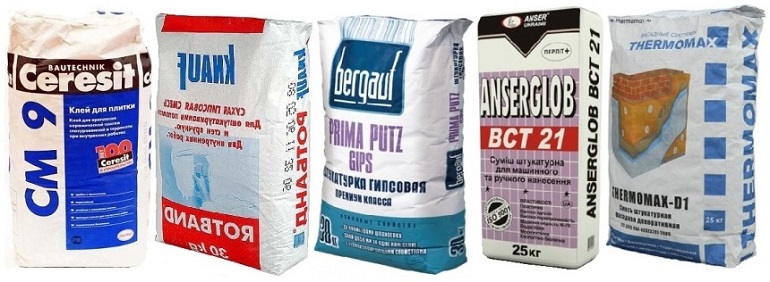
Leveling the walls of the apartment using gypsum plaster considered the best option. It is environmentally friendly, has a high moisture absorption, provides good thermal insulation. The consumption of such mixtures per 1 square. m is significantly lower than the consumption of cement products, but the cost of such materials is higher.
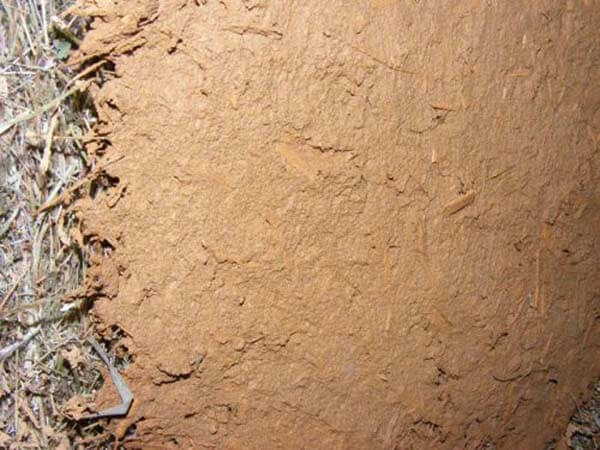
They use clay plaster much less often, since certain experience is needed to work with it. This material is also environmentally friendly, elastic and has great moisture absorption, as well as gypsum mixtures. But, unlike plaster and cement, such plaster needs to be updated annually, because small cracks appear on it on the perimeter.
Preparatory work
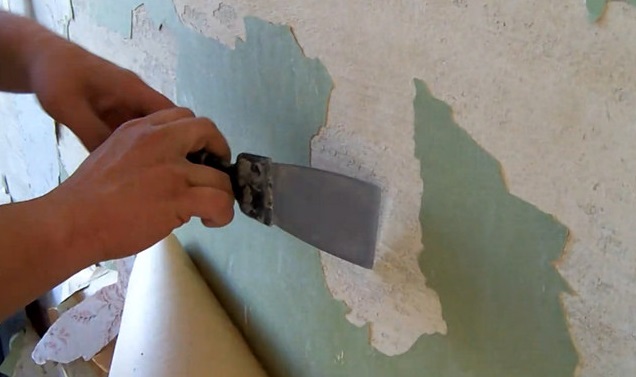
Before directly leveling the wall surface, it is necessary to prepare:
- First you need to remove the old coating (wallpaper, paint or top layer of old plaster).
- Also, rinse thoroughly and clean the surface from dust, dirt and stains.
- All cracks and chips are carefully cleaned with a spatula. To carry out the preparatory work at the joints of the walls, you can use a special tool - an angular spatula.
- At this stage, it is necessary to remove all switches and sockets, isolate de-energized wires and hide them in the recesses.
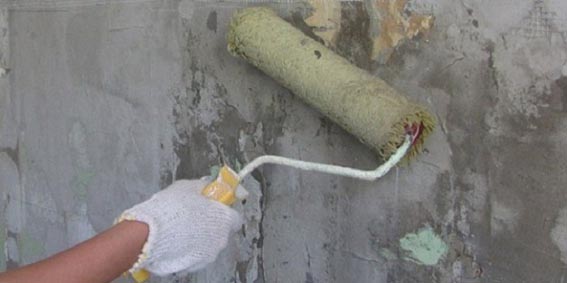
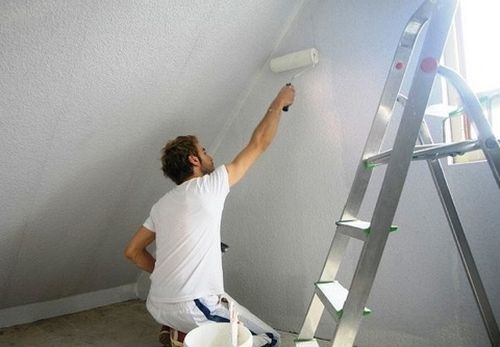
- It is better to cover the cleaned wall with a primer so that the plaster adheres better to the surface. The primer is chosen taking into account the material of the wall covering (concrete, wood, brick or the old layer of plaster). Also, the primer allows you to strengthen the plaster layer and repels excess moisture. For its application, you can use a regular brush, roller or spray gun.
Following the instructions, you must wait for complete drying. Then you can begin to measure the curvature and the choice of technique works.
Selection and alignment technique
To level the surface with the help of plaster with your own hands in two ways:
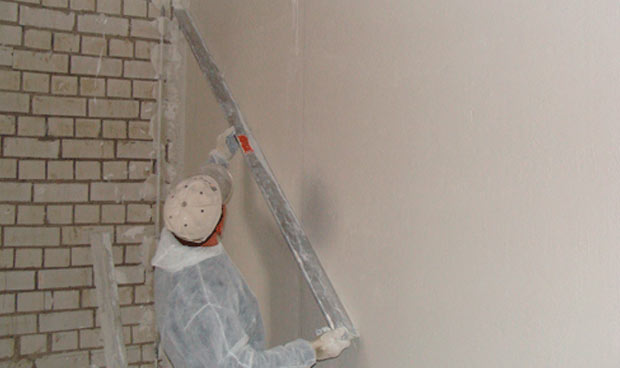
- Rule (in non-residential and utility rooms). In this case, you must use a rule of at least 1 m. It is worth considering that the wall surface will still not be able to align to the ideal. It is necessary to pre-fill the grooves and cracks with plaster, knock down the projections with a trowel and a hammer. The composition is applied to the wall with a covering motion from the floor to the ceiling and stretched over the entire area using the rule.Then they take a longer instrument (from 2 m) and carry them several times in the upward direction, correcting minor defects and irregularities.
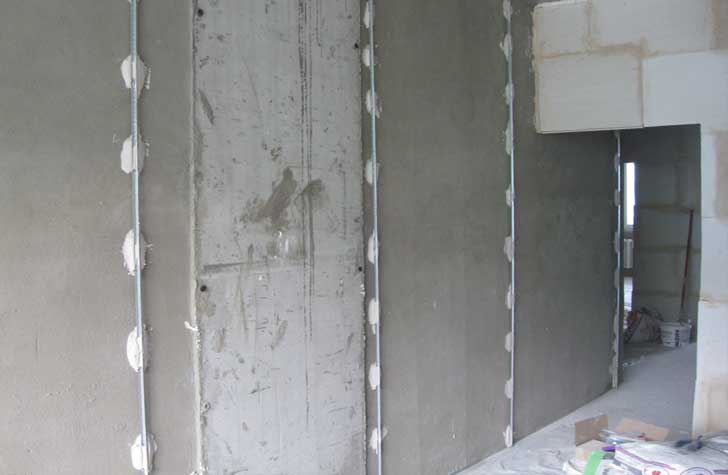
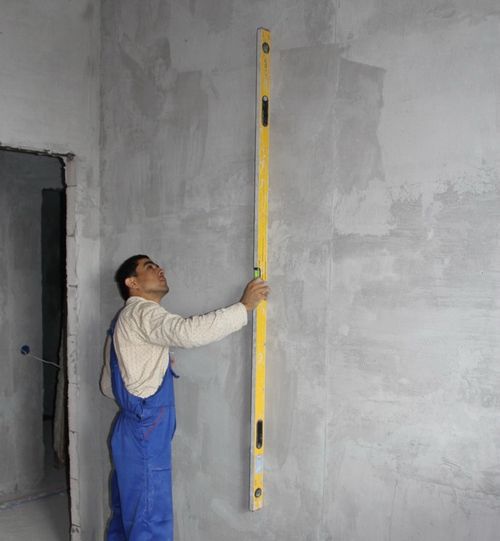
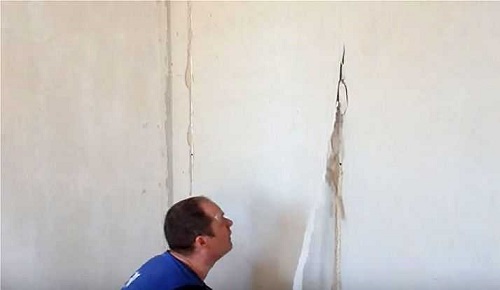
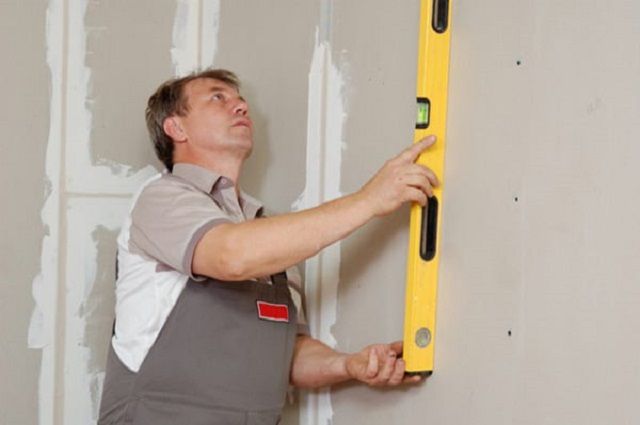
- By the beacons (most often so align the walls in the living rooms). In order to find out what the curvature of the wall is, it is necessary to attach a level and measure the difference between the starting and ending points. If the difference is 10 mm or less, there is no need to plaster the surface, you can do with putty. In the case of a larger differential, it is necessary to correctly apply beacon landmarks. To do this, in the upper corners of the wall, you need to drill two holes and insert screws into them. Then, pressing the plumb to one of the selected points, you need to select the largest ledge and fasten the screw at the bottom strictly vertically to this ledge. The same must be done at the other end of the wall. Then check the correctness of both guides with a level.
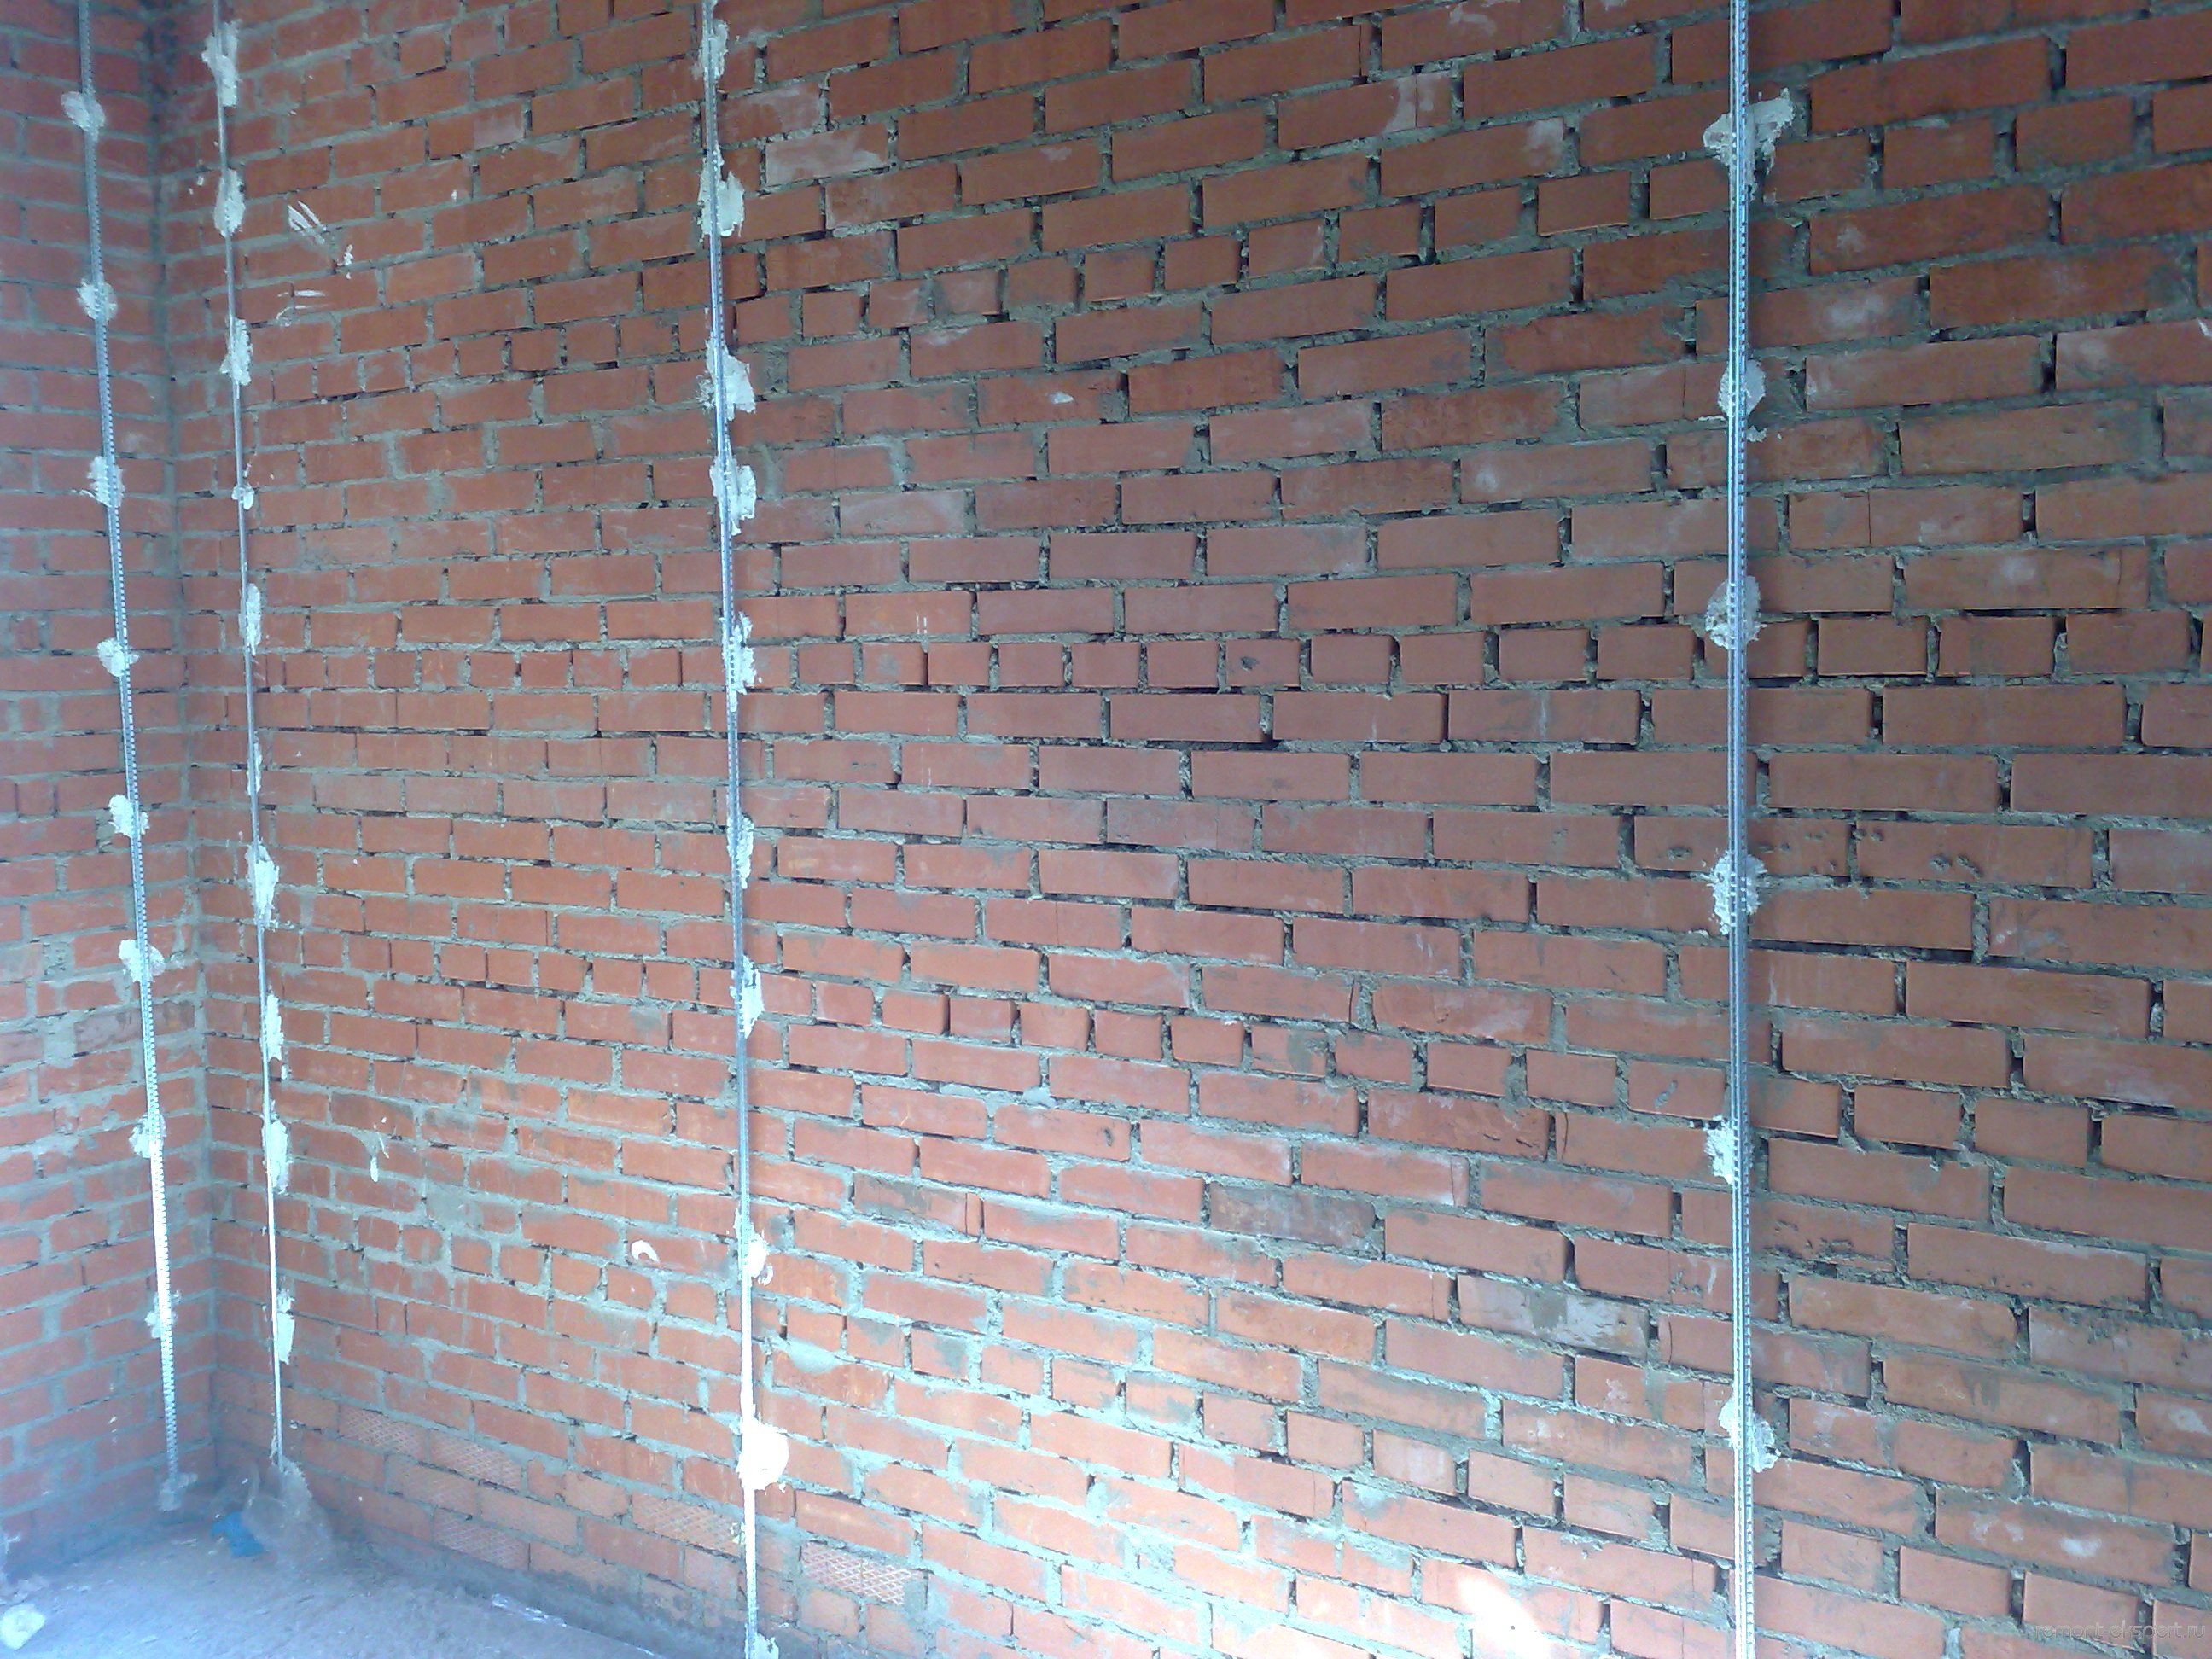
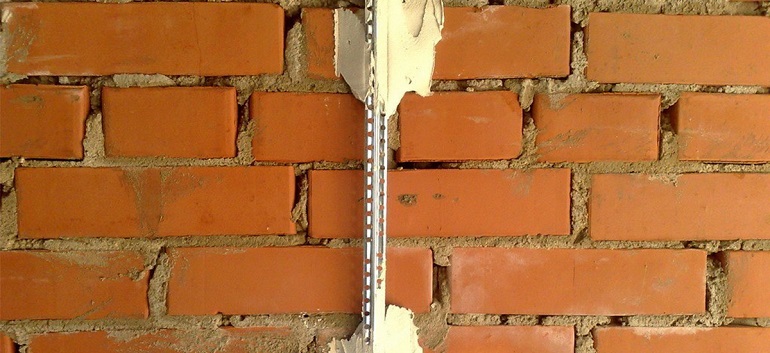
The rest of the wall space is divided into strips equal to the length of the rule, and screws are screwed in at the top and bottom. After this, the wall must be cleaned again, primed and remove from it the guides.After the primer dries, a plaster is applied along the marked lines, and beacon profiles are inserted into it. Excess plaster must be removed.
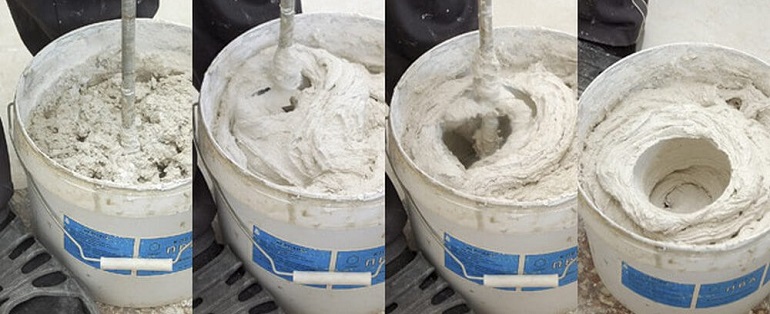
Kneading
The alignment itself begins with the kneading of plaster or sandy plaster according to the instructions on the package. Pour the dry mixture into the prepared container, add water and mix thoroughly using a construction mixer or any long-handled tool at hand. The mixture should stand a little, after which it must be mixed again.
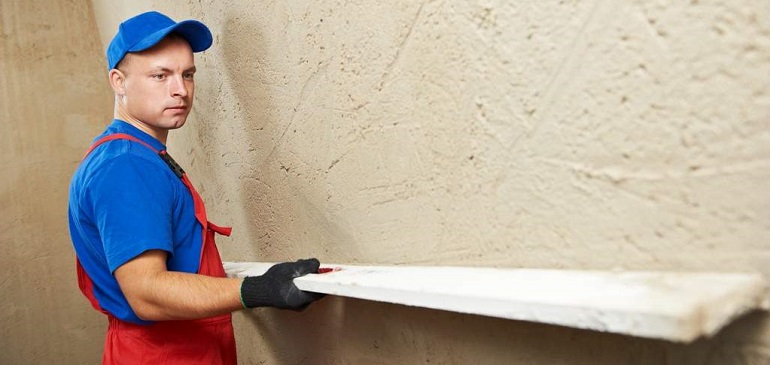
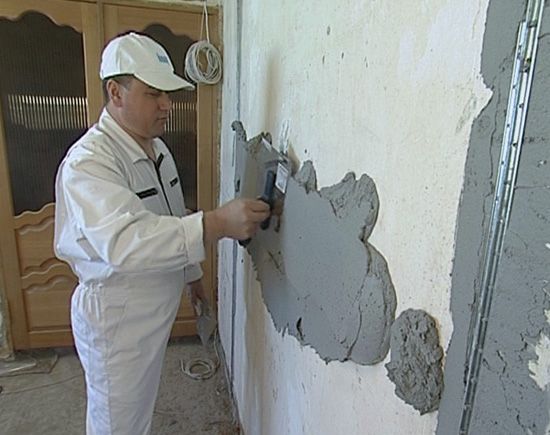
Draft layer
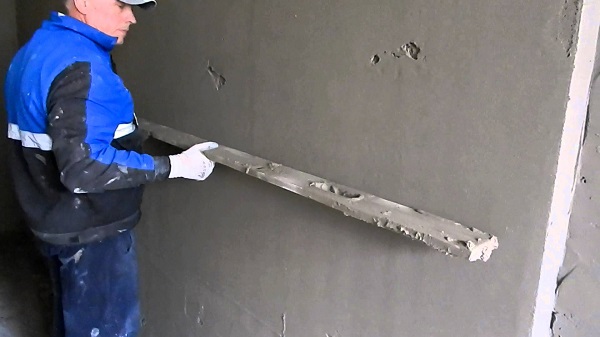
In order to make the first (draft) layer it is necessary to apply the mixture with a spatula to the wall with spreading movements. Application is from floor to ceiling in the space between the two lighthouses. If the curvature of the wall is minimal, then a rough application is enough to make the layer equal to the profile.
Repeated layers
If the application of the draft layer is not enough, then after it has dried it is necessary to repeat the application as many times as necessary to hide the leveling profile under the layers.

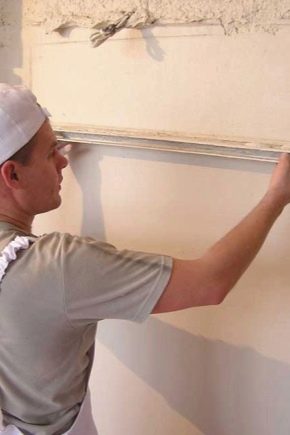
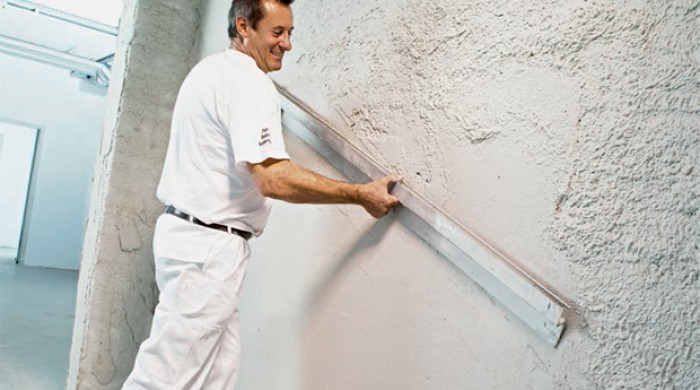
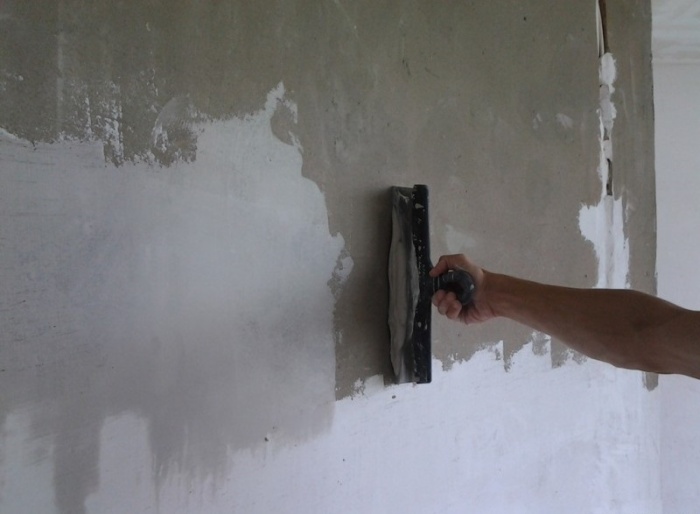
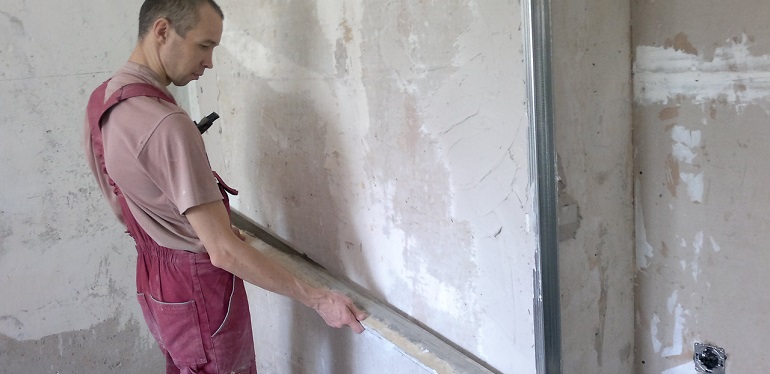
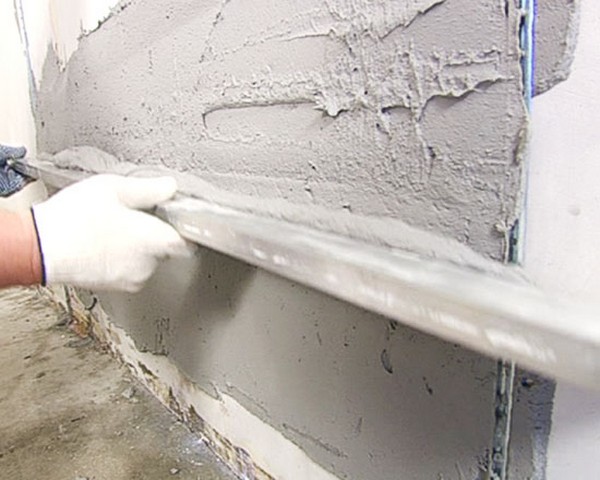
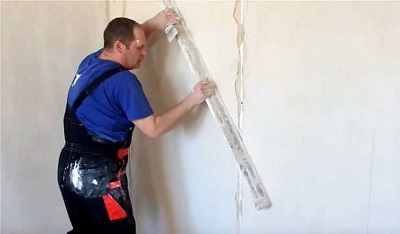
Rule alignment
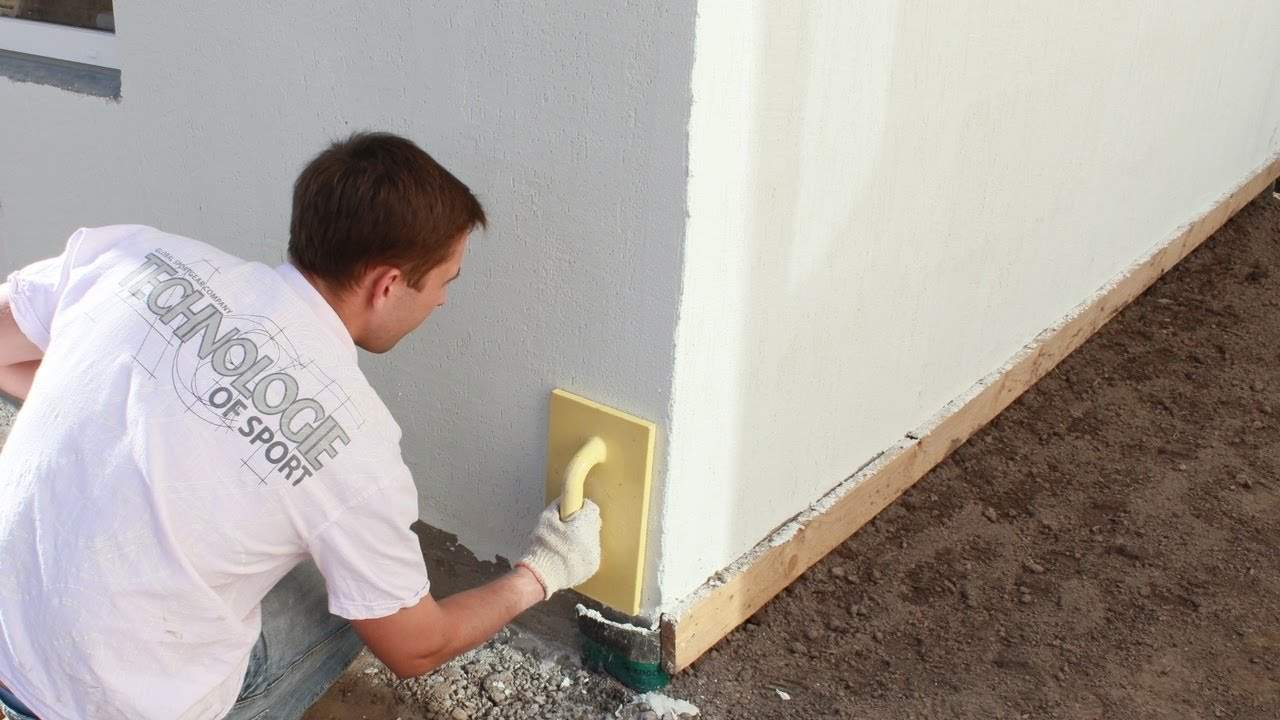
After the last layer is slightly grabbed, it must be leveled using the rule. The tool is pressed tightly to the surface and moves up smoothly. Repeat the action is necessary until the beacon edges appear from under the cover. After that, you must give the composition to fully grasp.
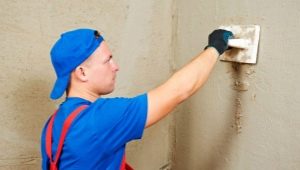
Removing lighthouses and polishing
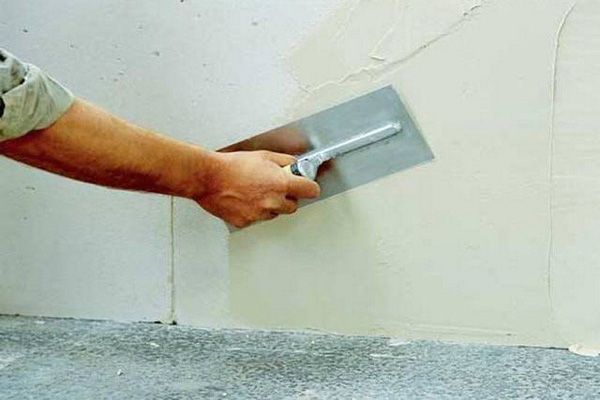
As soon as the coating is sufficiently durable, the lighthouses are removed from it, and the depressions left by them are filled with plaster. Fully dried wall moisturize, and then smooth out all defects with trowel, grater and emery paper.
Smooth walls
You can level any curved wall with plaster using the method described above. However, depending on the type of composition used, the characteristics of the wall surface and the subsequent finishing, Work process may vary slightly:
- Brick walls must be moistened with water. So the mixture will be better kept on the brick.
- For leveling clay walls it is necessary to use only those plasters that weigh less clay.
- If the wall was previously plastered, and the reliability of the old coating is still high, you can put a new layer on the old plaster, not knocking it. In order to determine the strength of the old layer,you need to knock on the surface of the wall. Where the sound is muffled, the plaster is perfectly kept and does not need to be dismantled. If the sound is ringing, the old laying must be dismantled with an ax or a hammer and trowel.
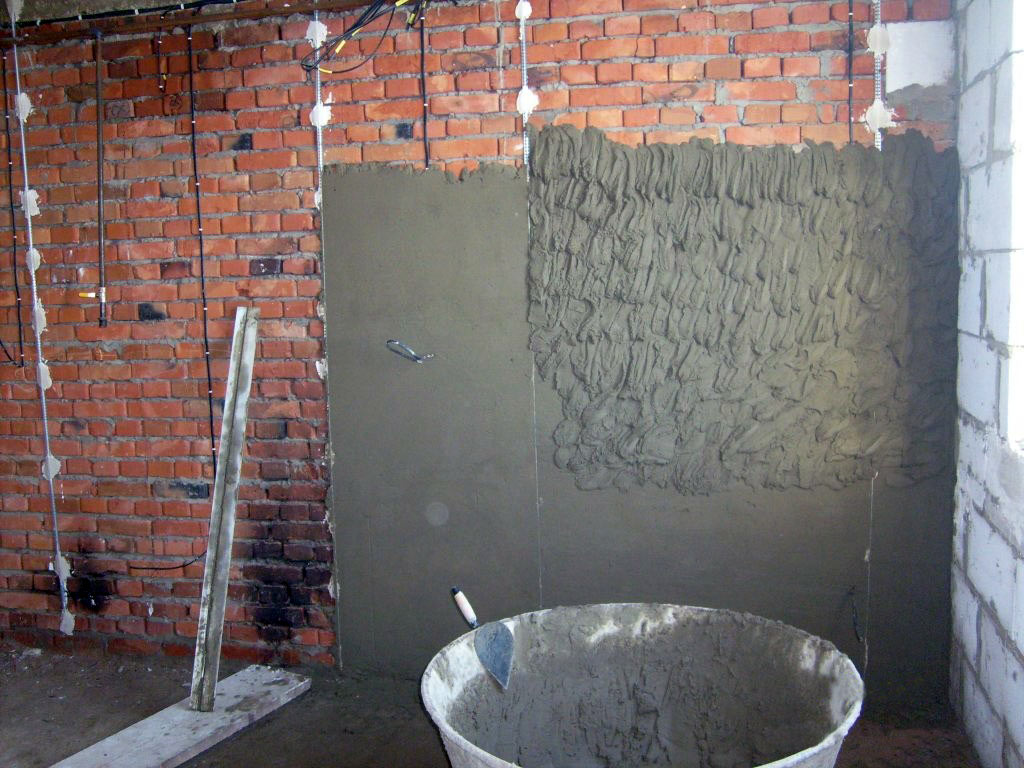
Alignment of the walls with plaster in the apartment is the same in almost all rooms. The exception is the work in the bathroom and toilet. Since the humidity in these rooms is high, the applied mixture can deform and move away from the wall.
The solution in this case is better to choose a cement, since it is more moisture resistant. The mixed mass must be completely homogeneous. The surface of the wall must be coated with a primer. If several layers of cement plaster are applied, then on the previously dried lower layer it is necessary to make shallow incisions so that the upper layer is better attached to it. If in the future it is planned to lay ceramic tiles, the deviations in the wall level should not exceed one centimeter.
Sometimes there is a need to plaster a wall that has already been lined with plasterboard:
- To do this, you must prepare the surface in advance.
- It is necessary to clean and prime it, putty all seams and fixing points to the profile, fix the corners with the help of special corners, which are laid under the plaster.
- The mixture itself must be chosen with the lowest liquid content, or it must be mounted initially moisture-proof plasterboard.
It is not recommended to glue wallpaper on a wall plastered with cement mixture, as the surface is too grainy. However, if you remove the crumbling layer and process the wall with a special impregnation or glue, wallpaper, in principle, you can glue. Nevertheless, it is better to glue them on gypsum plaster, plastered with special mixtures and carefully polished.

Hard to reach places
Working with plaster on the surface of the wall is not particularly difficult, even for those who do it for the first time. However, difficulties may cause plastering of corners, slopes or ceilings.
In order to plaster window and door openings, you must follow certain rules:
- It is important to carry out all the preparatory work. It is necessary to cover with a film all window and door elements that can be damaged and stained.It is best to use corners that serve as lighthouses and additionally reinforce the plaster layer. They need to be set in advance. It is also necessary to attach a bar that defines the plane in which the composition is applied.
- Pasty solution should be kneaded in such quantity that it was enough for one hour of work. If you immediately make a large amount of plaster, the mixture thickens until the end of the process.
- Plaster piles up from the bottom of the opening or slope to the top, a small rule is applied for alignment. An extra solution is removed with a smoothing iron, the surface is inspected, and defects are eliminated. The procedure is repeated as many times as necessary to obtain a neat, level surface.
- After complete drying of the finished slopes and openings, you can paint the surface or lay the tile.
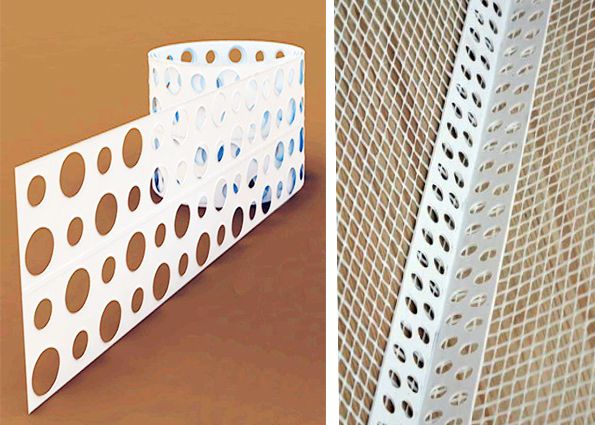
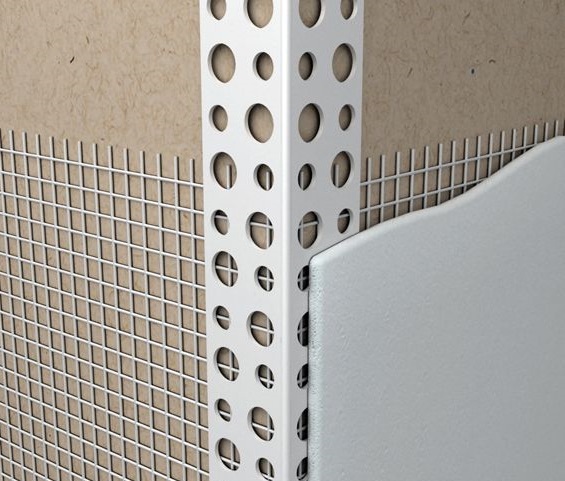
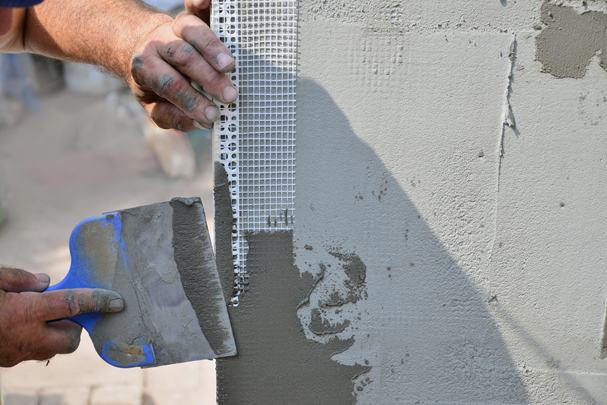
It is recommended to level the corners of the room with plaster using beacons or reinforcing mesh with a contra-head.
Beacons are used if the entire surface of the wall is aligned with the corners. In this case, an angular spatula is used, with which an even neat angle is formed.
A corner with a reinforced mesh (kontrashults) or serpyanka suit if the walls have already been pre-aligned. It is applied to the corner and gently pressed into the pre-applied plaster rule. Excess mortar is removed with a spatula by moving away from the corner. After drying, the surface is cleaned with sandpaper. Both the internal and external corners are leveled with a contrashulum.
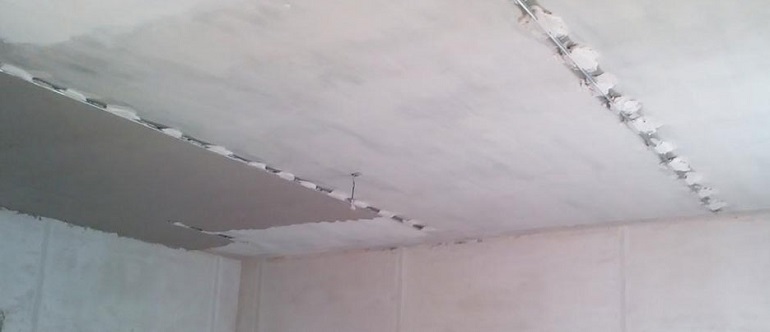
The ceiling is plastered with at least two layers of the mixture using a beacon system or plastering grid. The grid is applied only on a relatively flat surface. When plastering ceilings on the floor of the room and objects in it, drops of mortar may fall, so you need to carefully prepare for work. Everything that can be taken out, needs to be removed from the room. The rest should be covered with plastic wrap.
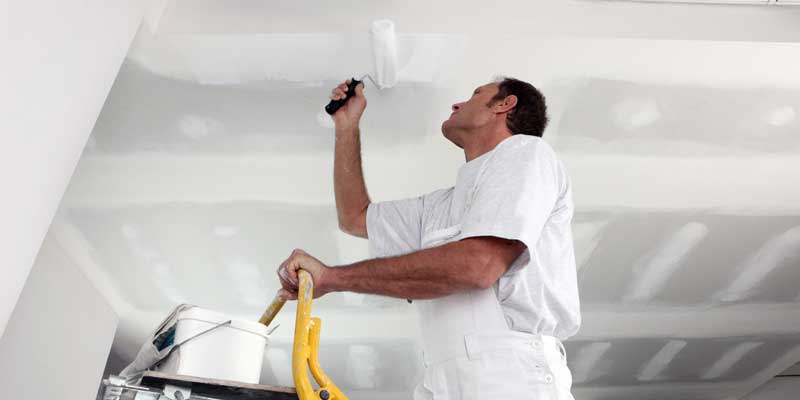
The ceiling in two layers is primed with a roller mounted on a long handle to cover the entire area without rearranging the stepladder or chair. You need to count your strength, since all the work is done with your hands up. You will need frequent breaks for rest.
Tips and tricks
- In order to prepare painted surfaces for applying plaster, it is better to use a brush on metal.
- Before applying the plaster on a wooden surface, on the wood it is necessary to make notches in the form of a grid.
- When plastering the ceiling and walls, clean polyethylene should be laid on the floor. Pieces of uncured plaster that have fallen on it can be used later, as it will remain clean.
- To make the cement mixture more plastic and easier to apply, you can add a little lime to it.
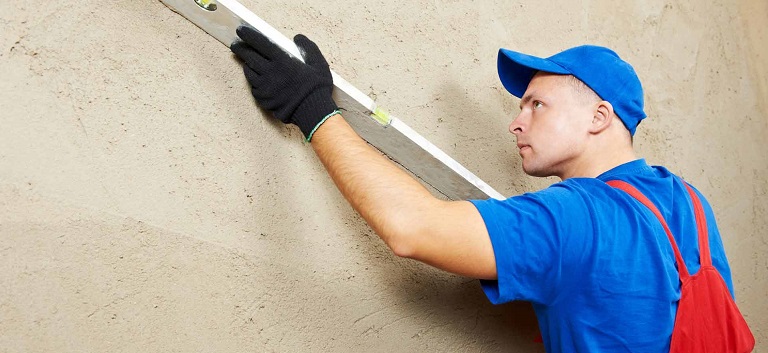
- Using a plumb or level, you can not only determine whether the surface is flat, but also choose which type of plaster it is worth aligning. If the deviation is less than 1 cm, then we can restrict ourselves to finishing plaster. If the thickness does not exceed 2 cm, then the wall is leveled off by the start, and decorativeness is attached to the finish. If there are drops of more than 3 cm, it is better to postpone the idea with plaster and use drywall.
Self-leveling walls with plaster mixtures requires time, patience and, at a minimum, theoretical knowledge. In such work there are no big difficulties, but when in doubt, it is better to entrust it to professionals.
In this video we align the walls with plaster according to all the rules.