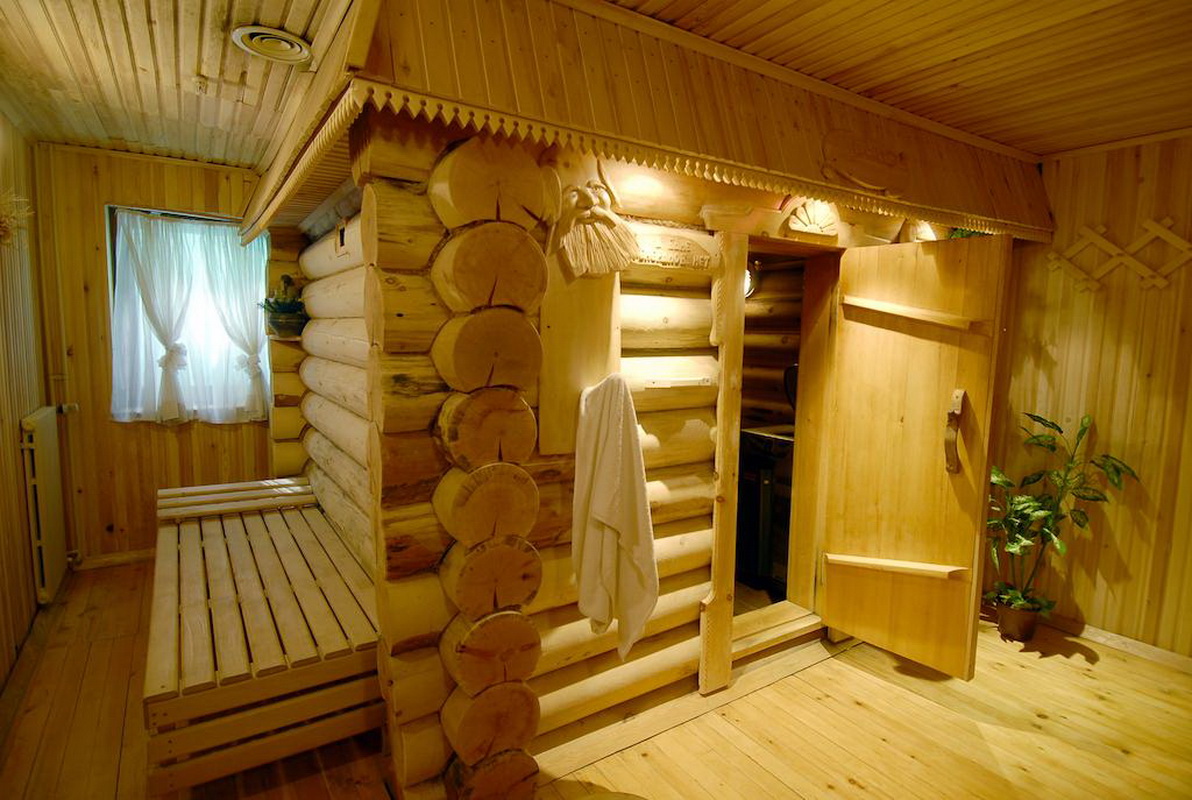
How to make the door to the bath with your own hands?
How to make a door to the bath with your own hands - this is a question that worries many residents of private houses. There is nothing complicated in manufacturing, but there are nuances on which the success of the work done will depend: the choice of material for the canvas, its painting, installation rules. This and many other things are discussed in this article.

Special features
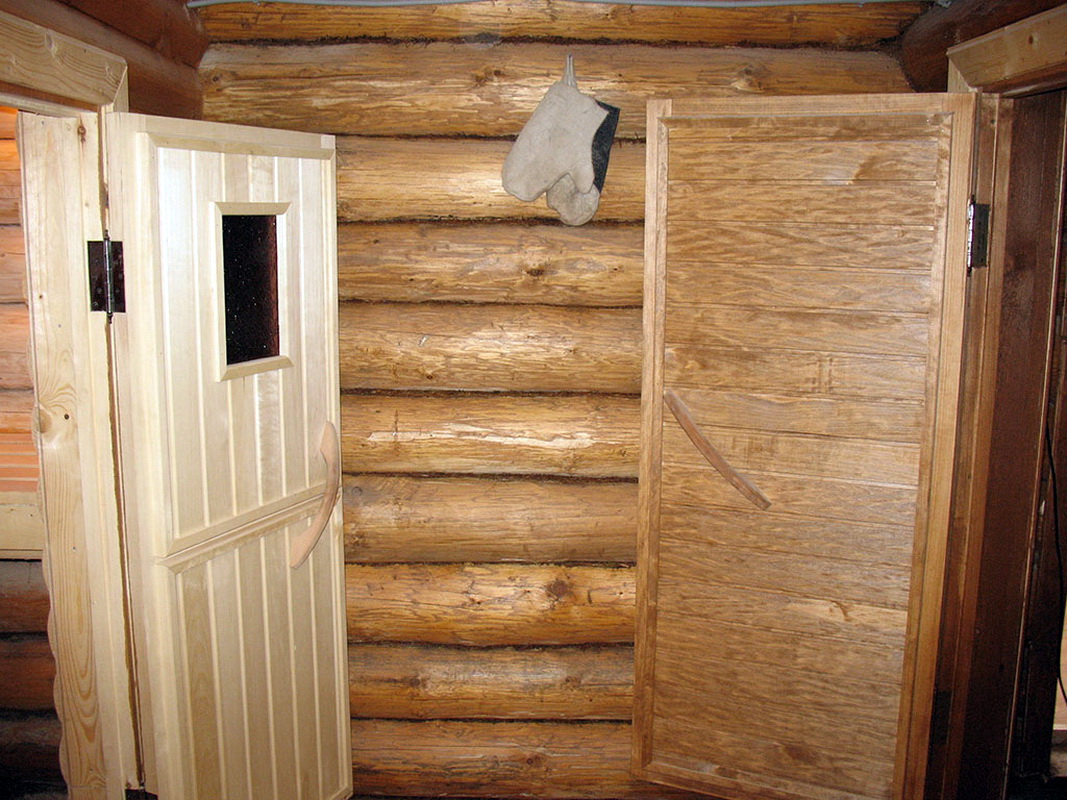
The room for a bath requires two doors: one leads to the room itself, the other separates the bath and the waiting room. If there are several rooms in the bath, they are all separated by doors - this should also be taken into account when constructing the door. The door structure for a room such as a bath should be water resistant. The material is used such that due to which the web does not rot, does not soften and bacteria and fungus will not start in it.
The design should also be sealed to maintain heat in the room.It greatly affects the service life of the product and its resistance to temperature changes.
Materials
There are several types of bath doors, which are classified according to the material of manufacture: the doors of wood, glass and doors with double-glazed windows.

Wood
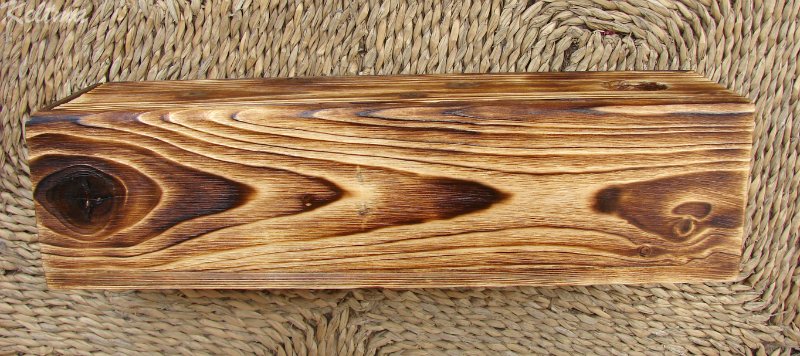
The most common material is wood, as it is moisture resistant, hygroscopic and withstands high temperatures. Boards for the bath door can be made of aspen, linden, oak, larch. After all, these types of wood have the property of a positive effect on a person while taking a bath. The price of the door will depend on the type of wood:
- Oak - very dense wood, which is not characteristic of swelling.
- Larch Good for wet rooms. The useful properties include: antiseptic effect, as well as resistance to decay, mold and various insects do not stick to it.
- Aspen inexpensive breed, showing good results in very dry and wet conditions.

For any breed there must be a high-quality array with no knots. Otherwise all the bitches will fall out. The material must have 15% moisture. The door can be made of boards, logs or log.

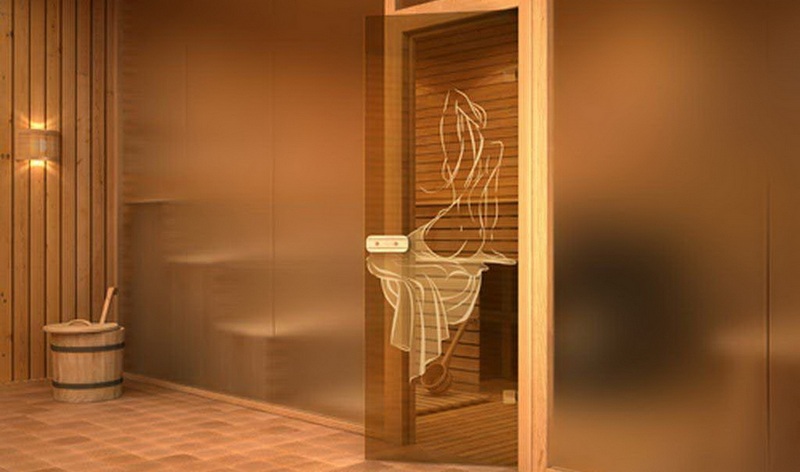
Glass
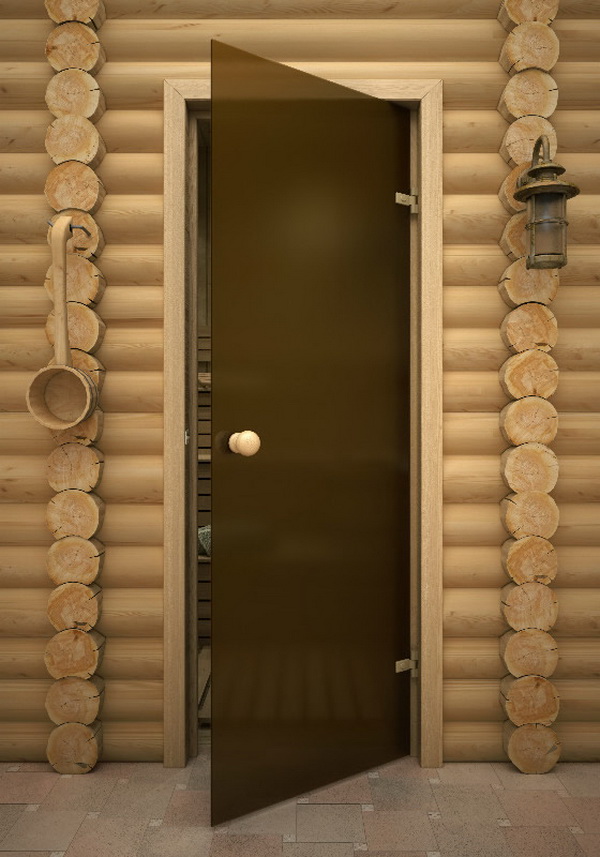
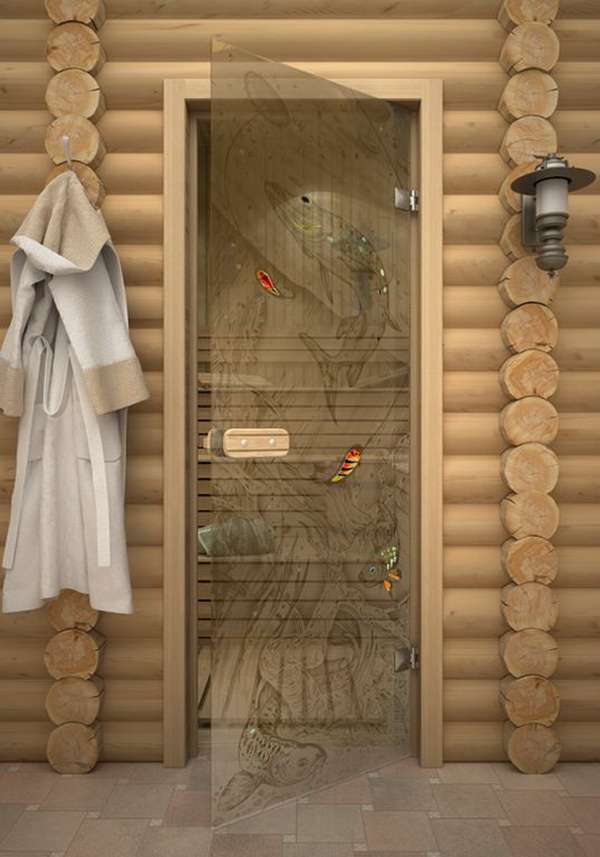
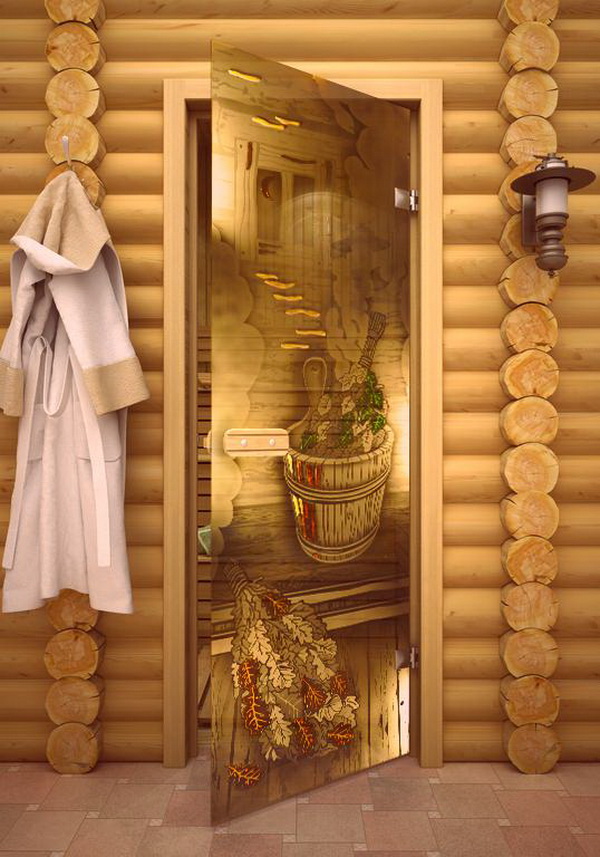
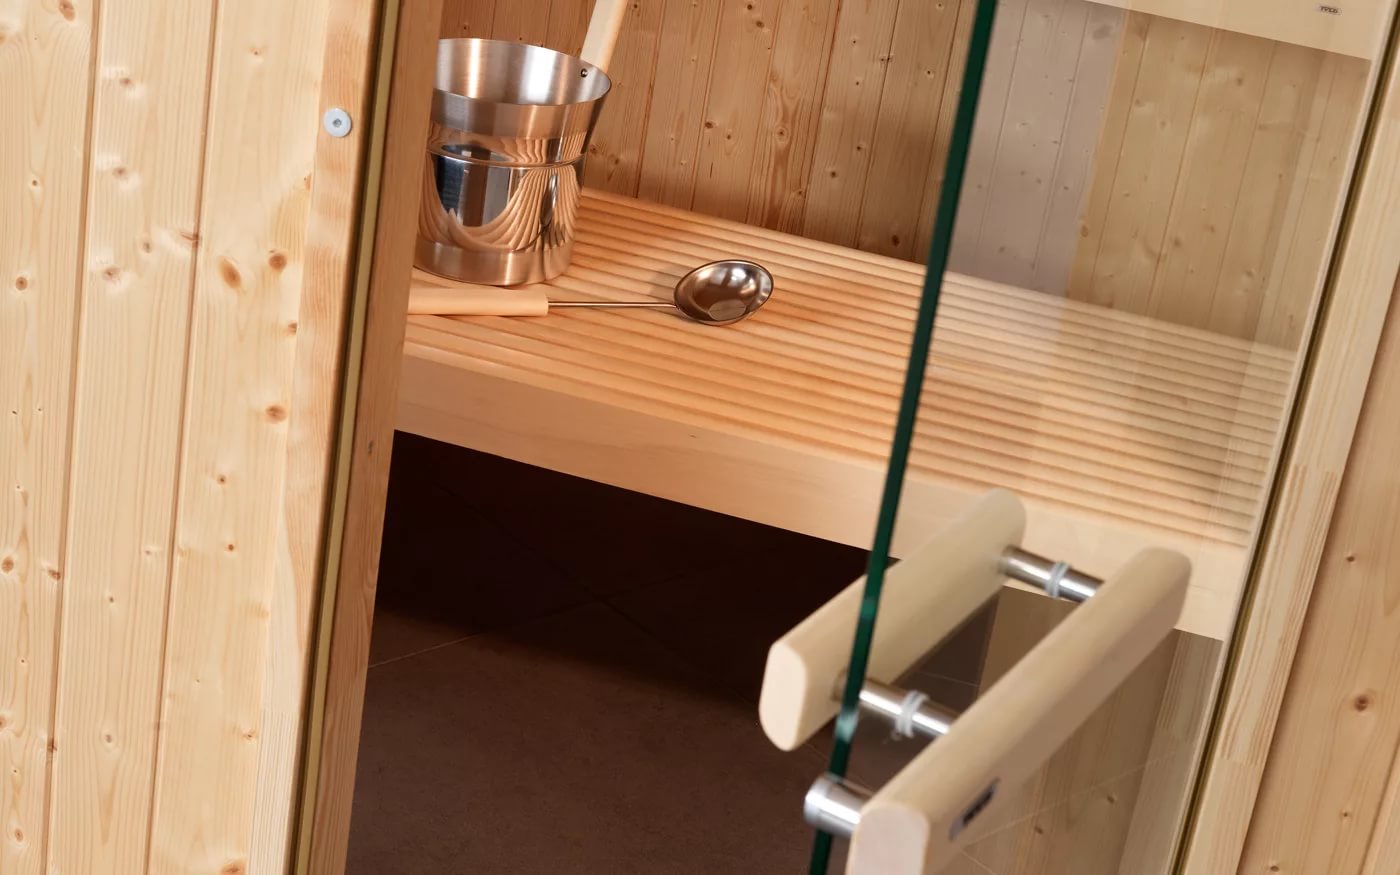
Doors made of glass are used in saunas to separate the dressing room from the dry steam room. There are many options for coloring the glass surface: right up to full drawings. Glass doors are: matte, transparent, opaque and translucent. Doors can be installed in a frame or attached to the door frame.
Glass doors can not be made independently due to the special complexity of manufacturing. Ordering such a door, you can only install it. When choosing a glass construction, special attention is paid to the accessories, practicality, reliability and safety of use. The door should look aesthetically pleasing. To ensure tightness, the kit must have silicone seals. Instead of a latch in the handle and door jamb there is a magnet. The lock of this type never fails.

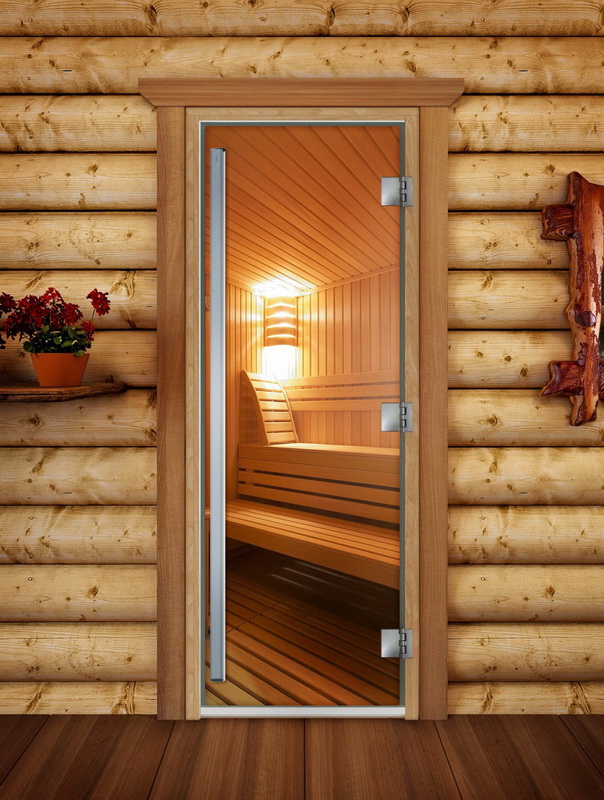
There are models in which the magnets replace the latch in the form of balls, but since they fail over time, the magnets are the best option. Models with three hinges are more reliable. Requirements for glass canvas: it must be hardened, high strength, 8-10 mm thick. The material for the manufacture of the door frame is aluminum.A glass door and a box made of aluminum provide full water resistance. The downside is the seals, amenable to wear with high temperatures and high humidity, but replacing them is not difficult.

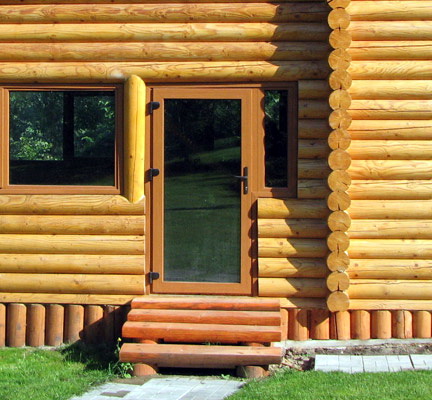
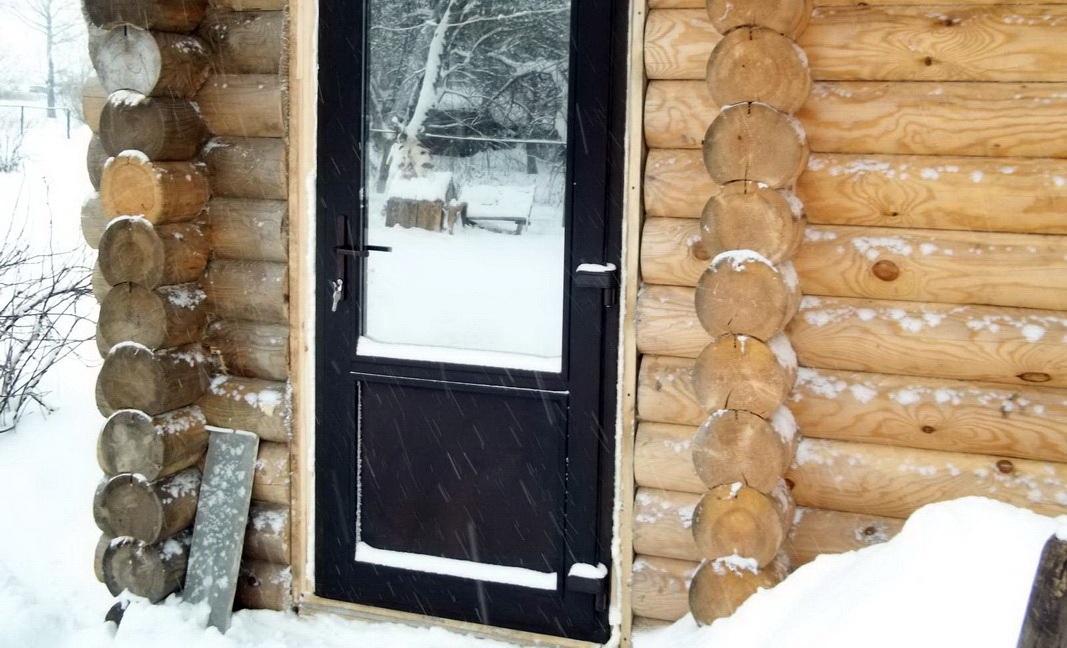
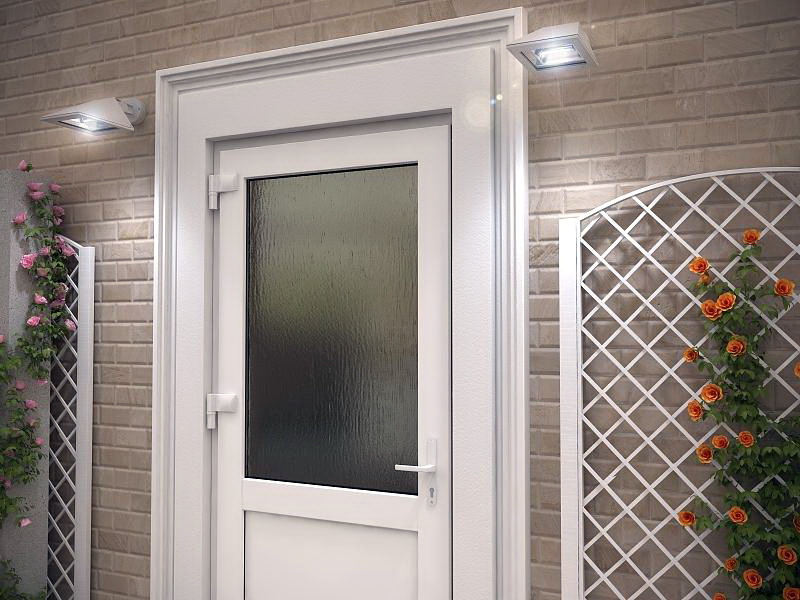
With double glazing
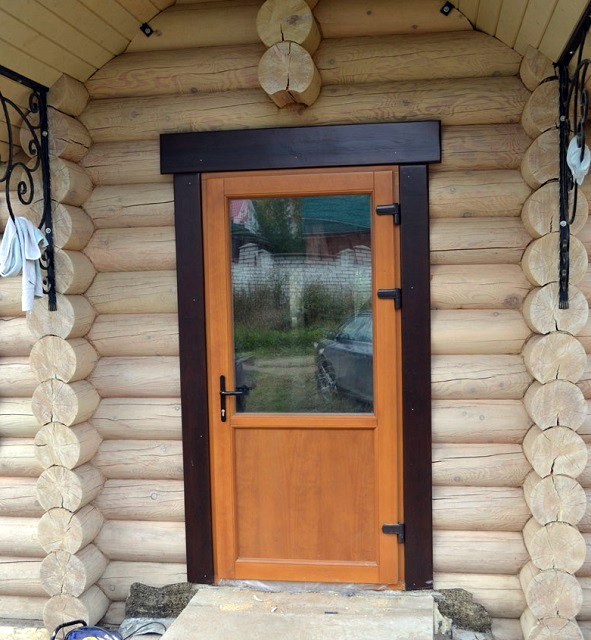
Metal doors with insulation retain airtightness and retain heat well inside the room. They can be installed not only at the entrance to the bath, but also to the bathroom, as well as to divide other rooms. The door to the steam room is made of wood. There is the possibility of combining wood with glass. The design of a wooden door with a double-glazed window includes the frame itself with aluminum inserts, as well as one or more double-glazed windows. For such a door does not need special care. It is enough to wipe the double-glazed windows with detergent on both sides, and a non-rigid fabric will be suitable for the door, which will remove dirt.
How to set your own hands?
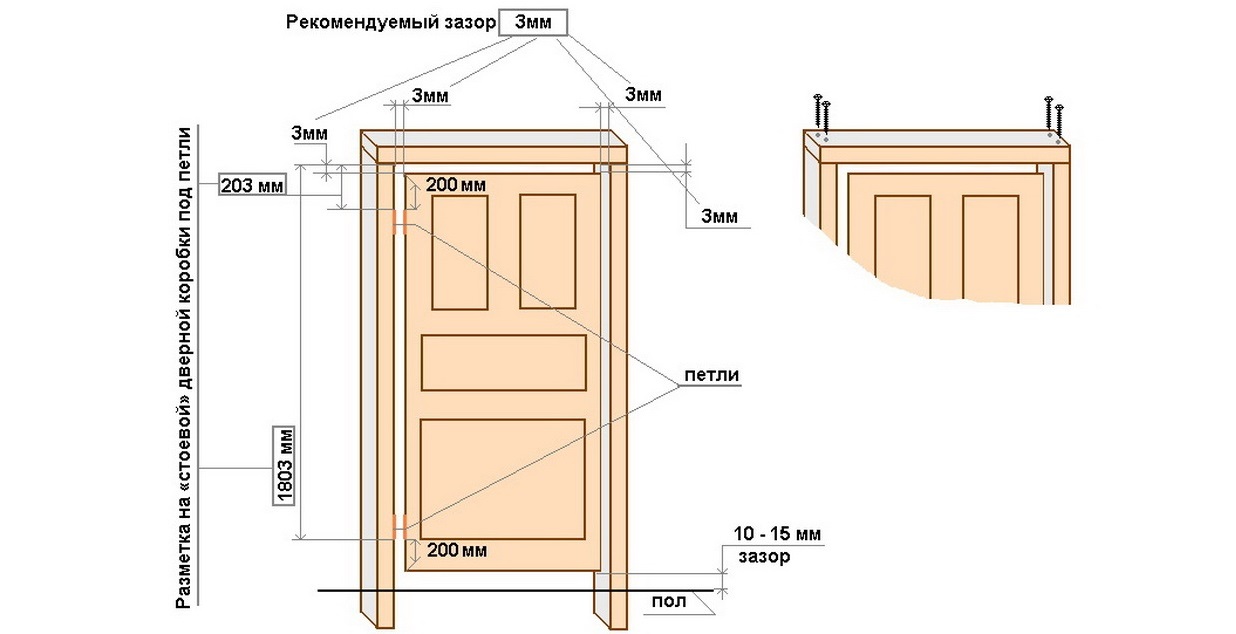
Before making a wooden structure, it is necessary to determine its size, and choose a building material. A homemade bath door is made in accordance with a previously created project, which defines the dimensions of the product. In the future, data may be subject to change.Creating a project begins with measuring the parameters of the doorway to determine the size of the manufactured structure. To minimize heat loss, the door height should not exceed 170 cm, and the width should be 60-75 cm. The distance between the doorposts should be between 60-70 cm. The door’s task is to preserve heat, therefore, the protection function against uninvited guests should be excluded.
The door for the bath should be a lightweight construction. This is necessary in case a fire occurs, so that the door does not become an obstacle to exit from the burning room.
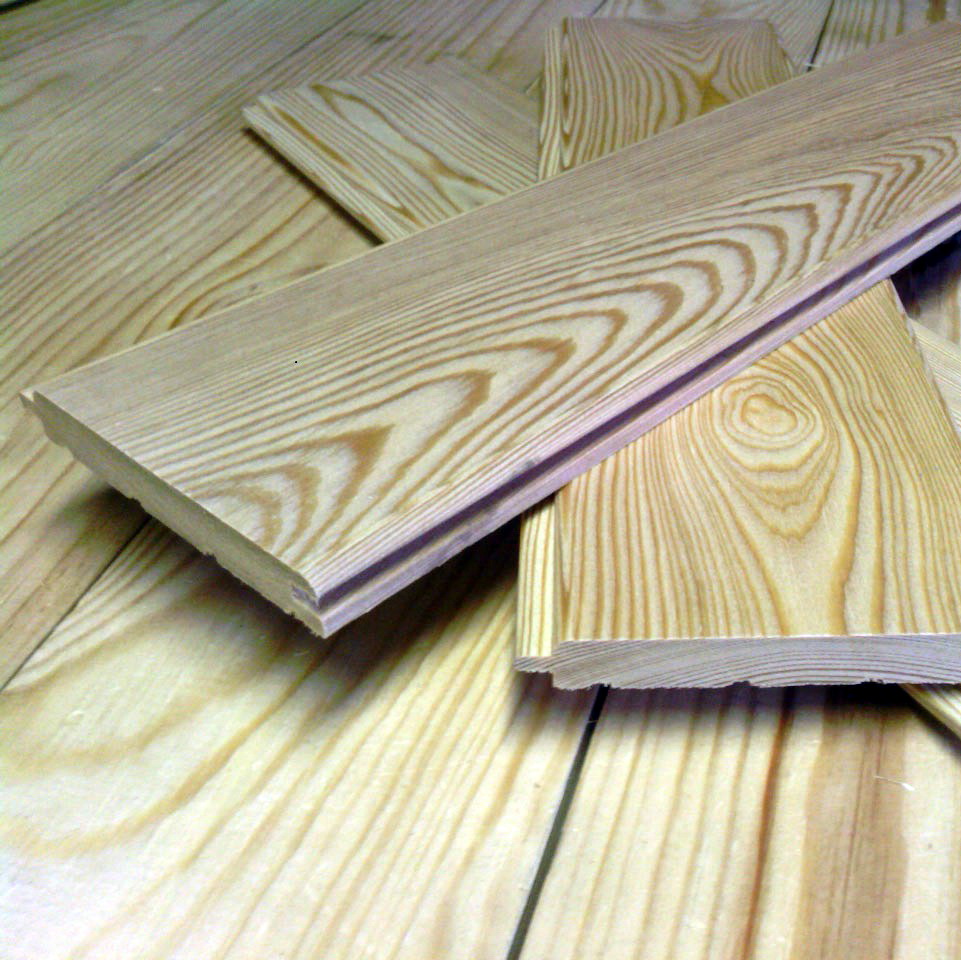
If you are new to this business and have never made doors, then you need to practice before you get started. Pine boards are perfect for this.
To get started, you need to purchase certain materials:
- Flooring with tongue 50x30 mm.
- Timber intended for strapping 60x80 mm.
- Lining 12x96 mm.
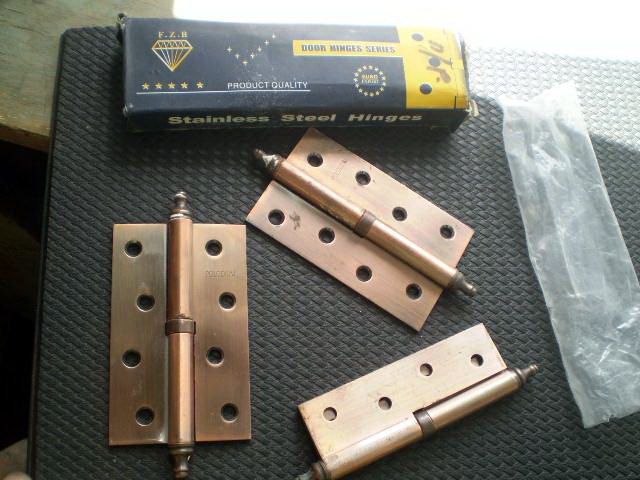
- Loops 3 pcs.
- Screws.
- Furniture pins used for fastening.
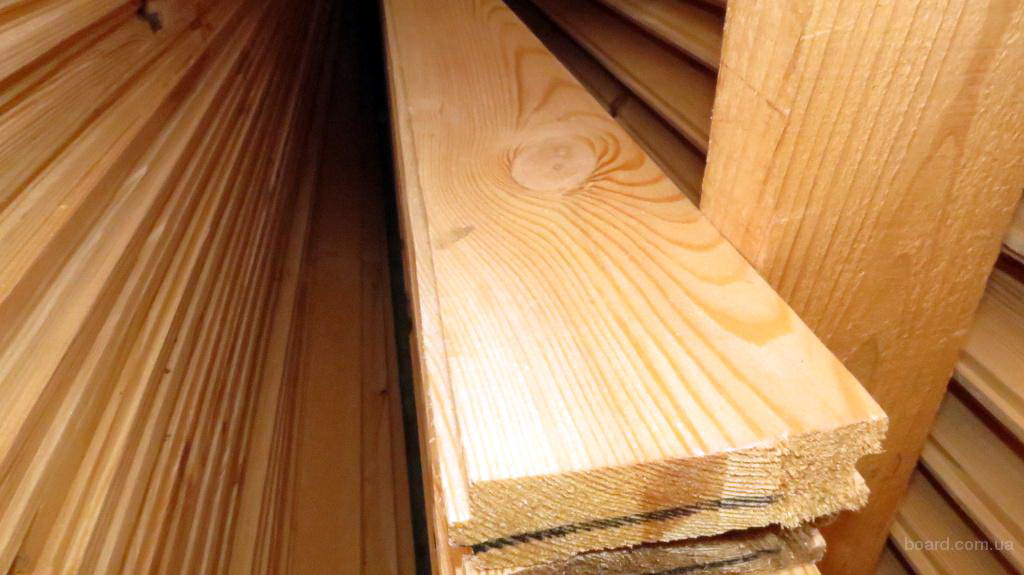

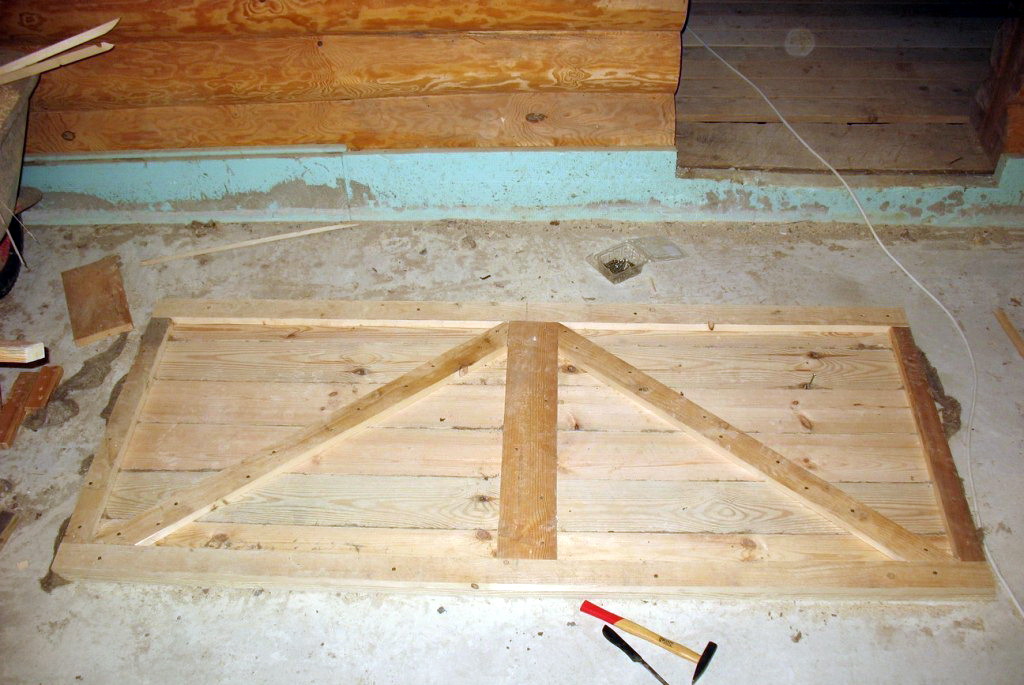
To make the door, you need to create a canvas. To do this, we cut the boards of the required length and choose a board that will have a spike cut. Next, we process all the material with a jointer to form a flat surface. After removing the 1.5-2 mm thickness is reduced to 26 mm.
The assembly of the canvas begins with the insertion of the spike of one board into the groove of the other board. The design should be as dense as possible. To make a mark, it is necessary to measure the size smaller by 70 mm than the width of the door. Then remove the first and last boards. With the help of a saw we get rid of residues. It is very important not to damage the spike on the first board, and the last notch.

We collect canvas from the boards. Assembling a structure involves sizing inside the grooves, and then connecting the boards — one to the other by inserting spikes into the groove. After that, the canvas is hit by a mallet to achieve maximum density of the structure.
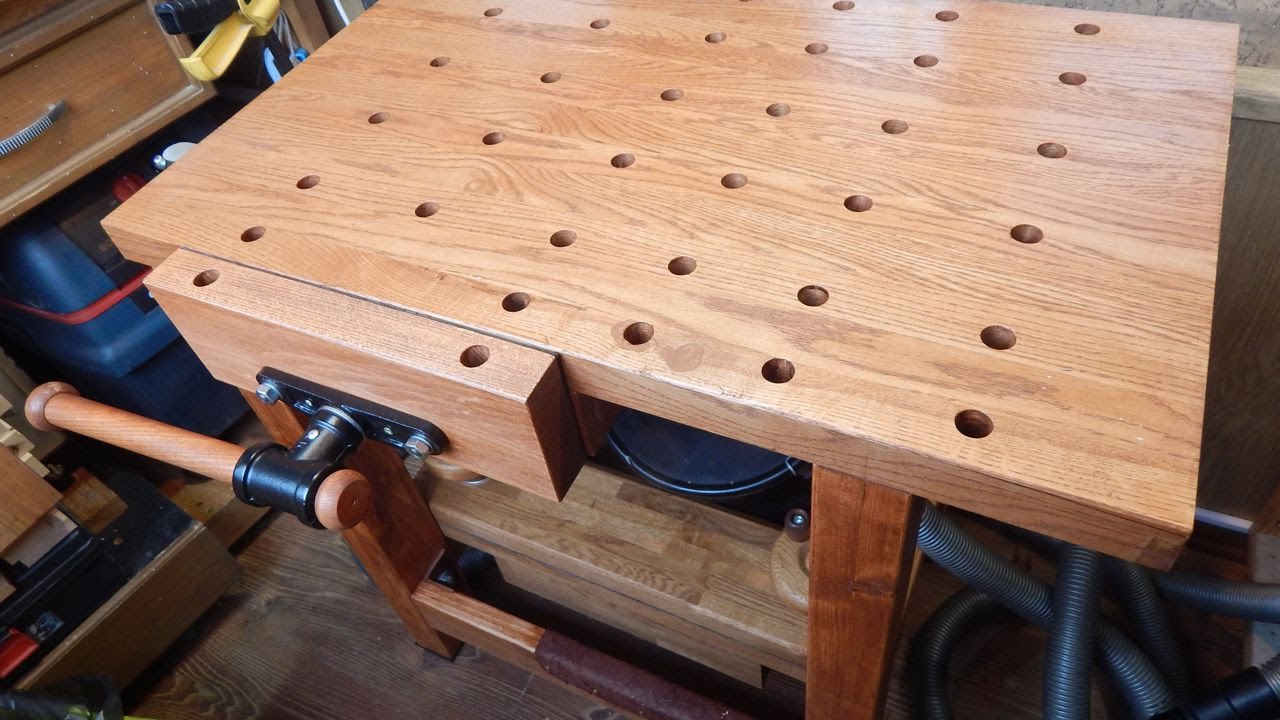
During the drying period, the web should be securely fastened on the workbench to avoid structural displacement. To secure the canvas you need to fix it with the help of two wooden planks, placing it between them. Tight fixation can be achieved by driving a wedge between the structure and the bar on both sides.. The fabric is laid on a chipboard and fixed with a clamp on the table surface.
When the canvas is dry, various defects in the form of irregularities and cracks may form on it.Glue mixed with sawdust is used to eliminate cracks, and a plane is used to eliminate irregularities.
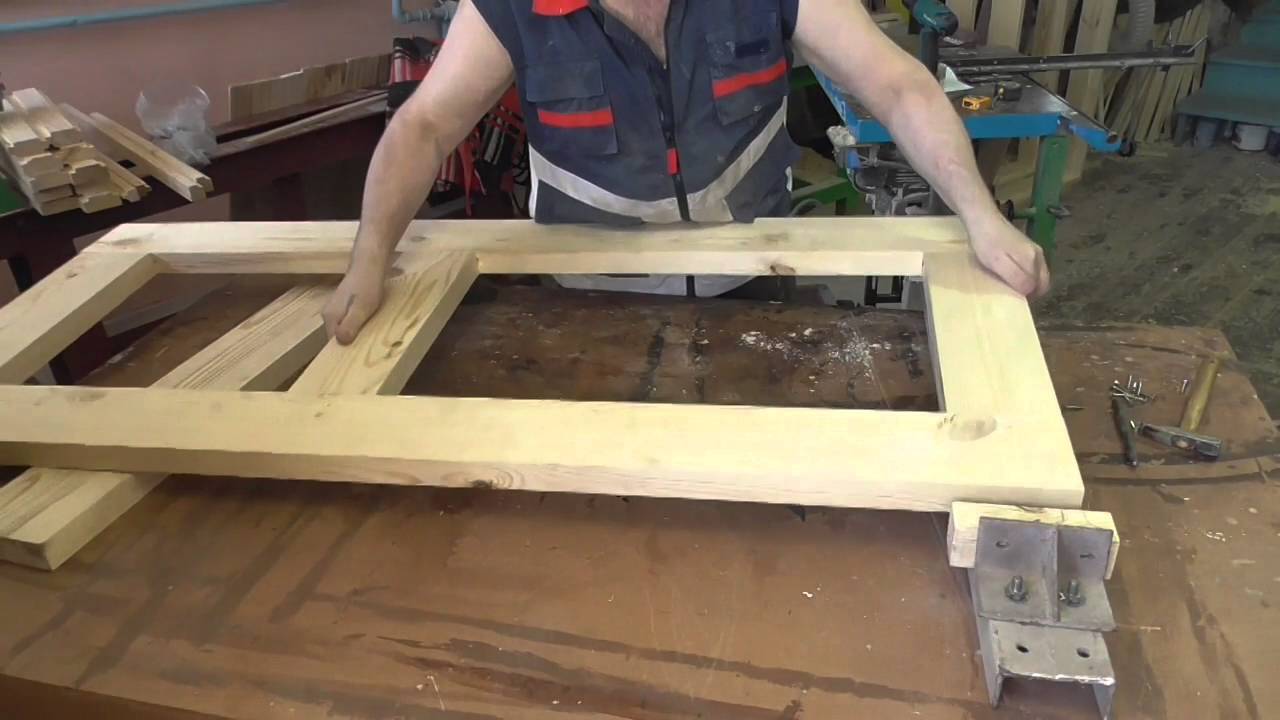
While the fabric dries out (2-3 days), we make a binding. The bars we bought are cut to our size. Vertical bars should be equal to the height of the door itself. Bars, which are placed at the top and bottom, should be smaller. To choose a groove for blanks, you need to use a router and end mill. The grooves should be 26x25 mm. After that, another groove is selected from the top of the groove 50 mm wide and 10 mm deep. It turns out a stepped groove for the canvas, which is sheathed with clapboard. Deep grooves are designed for tongue-and-groove boards, and wide grooves for clapboard. For exact conformity to a groove, the thorn needs to be cut a mill in the form of steps. After assembly, the box should have the correct angles. In case of deviations, they can be corrected by a mill.
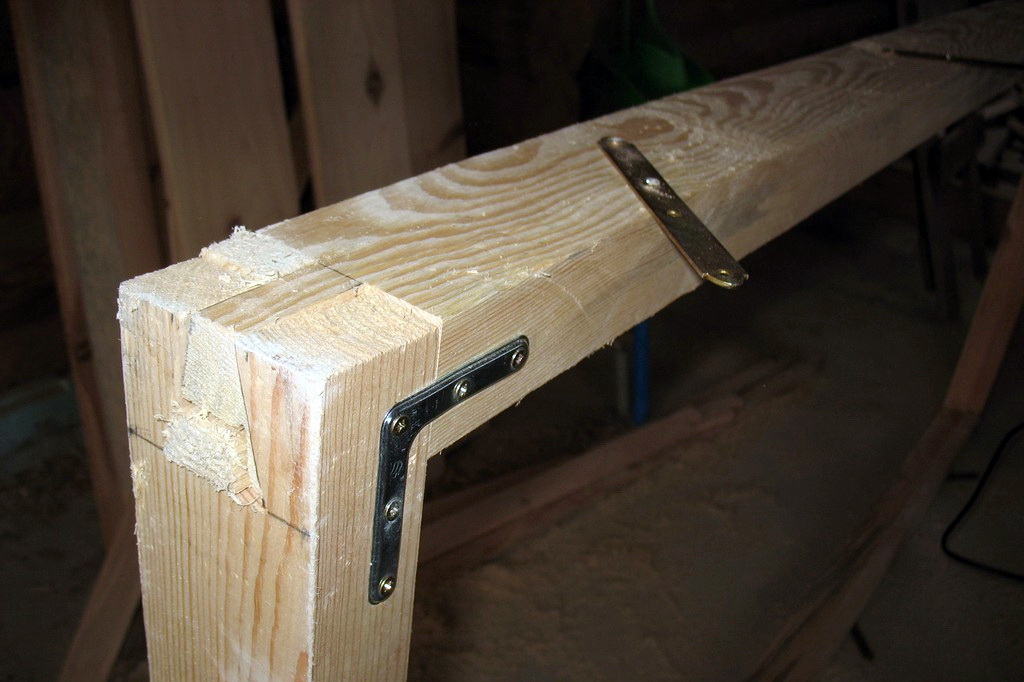
We set the trim for the canvas. Before you first put the vertical, and then horizontal bars, they require treatment with the tool that was used for the canvas. To make the structure dense, it is hammered with a mallet. For durability, add PVA glue to the grooves.In order to easily disassemble the fabric in case of repair, the bar below is not glued. In order for the construction not to fall apart, it is necessary to fix all the bars with screws on the ends.
As materials for pens and deadbolts can go balances from work on the production of strapping. But it is better if the stock will be available. Handles can be decorated with carvings, make a carved arch - a hacksaw is suitable for this. For high-quality carving, it is necessary to transfer the previously prepared sketch to the material and cut out the pattern.
To make a bolt, cut one pair of brackets, inside which will be a tongue. Before you insert the handles and bolt, you need to mark on the door the place of their fastening. Then you need to drill a hole 4 cm deep at the end of the handle. We take a drill with a smaller diameter to create a hole that must be through, and at the same time you need to lock the door.

Screw the screw into the door by 2-2.5 mm. For the second hole, everything is the same. The pin of the tree set in the holes for fastening and sand it with sandpaper. The process of fastening brackets is performed using the same technology.
It is not recommended to make metal handles because of the risk of burns on them, therefore the best material for the handle is also wood.
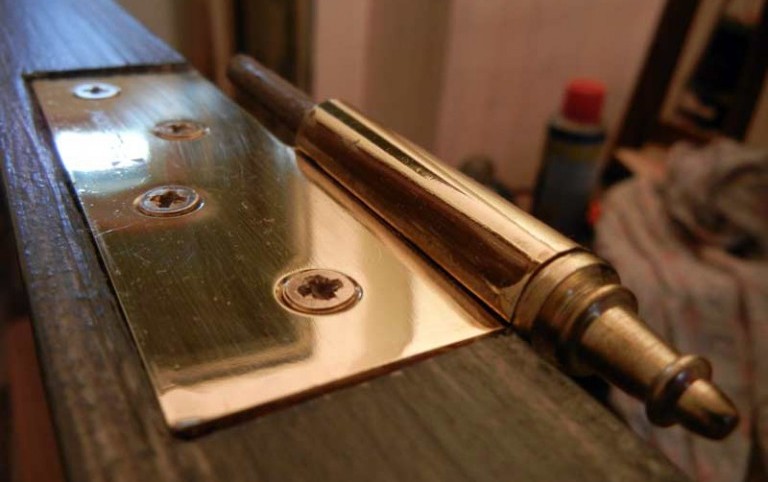
Best of all brass door hinges.When using other materials from metal, it is recommended to paint them with paint against corrosion. The door from the inside can be left as is, or trim with clapboard. The outer side is coated with varnish to prolong the life of the door. Clapboard is fixed with small nails. To hide the caps, new boards are used, which are driven into the groove at an angle.
First of all, the design must be treated with a composition against the appearance of fungi and mold. It is not recommended to perform this procedure for aspen. For all other types of wood processing is necessary. In order to mark the edges at the wall paneling, we deviate from them 15 mm and draw a contour. Before installing the lining boards in the door, they must be cut to the length we need. Nails and screws are used to fasten the slats.
Directly the installation process is different for different types of doors:
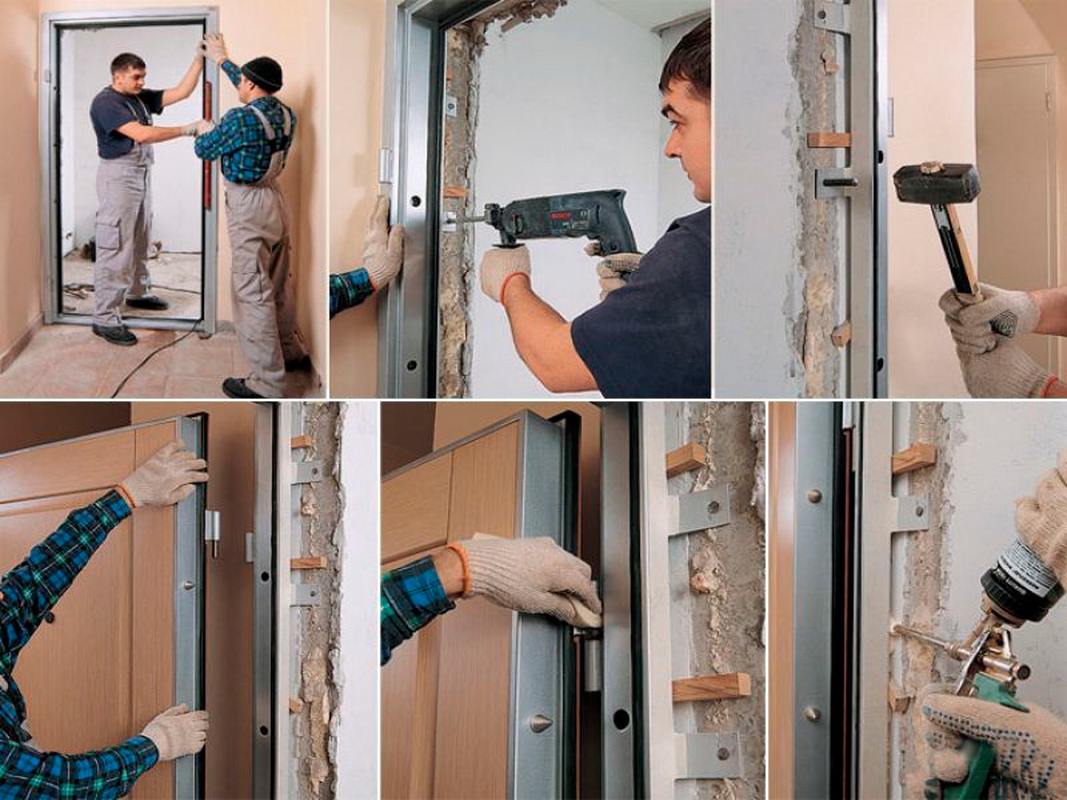
Wood
After finishing with the manufacture of the door, it is installed in the doorway, which cut out the grooves. The dimensions of the grooves should exceed the width of the box by 5-10 mm in order to be able to trim the door during the installation process and make the wedges open.
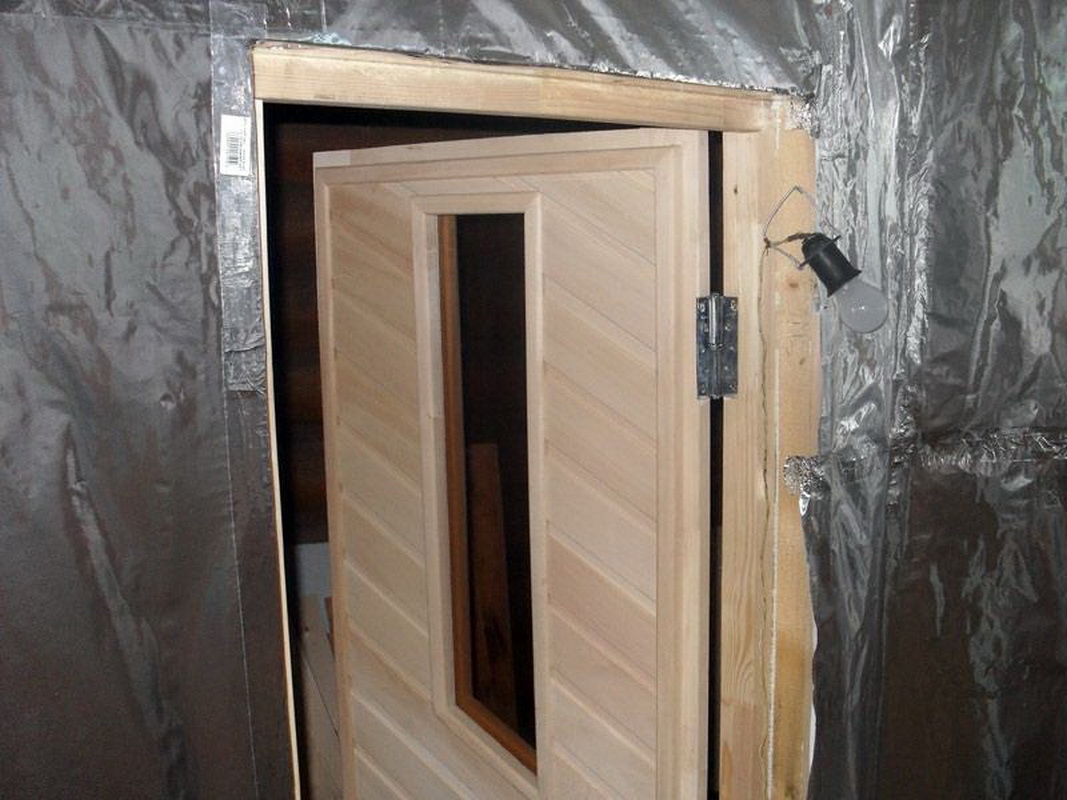
Then the box is installed in the slots.When installing it is important not to confuse in which direction the door will open. When the upper horizontal bar is turned on, it must be supported by a vertical bar. Then you need to put a threshold on the bottom, controlling with the help of the level the position of the box. To fix the box and attach it to the wall, you first need to drive wedges between the wall and the box, and then use the dowels, drilling holes for them. Having secured the box securely, door hinges are installed.
The first loop is placed at a distance of 20 to 25 cm from the upper edge of the web. For the second: a distance of 40-45 cm. The third loop is set at a distance of 20-25 from the bottom edge. Due to this arrangement of hinges, the door does not warp, especially if the design is heavy.
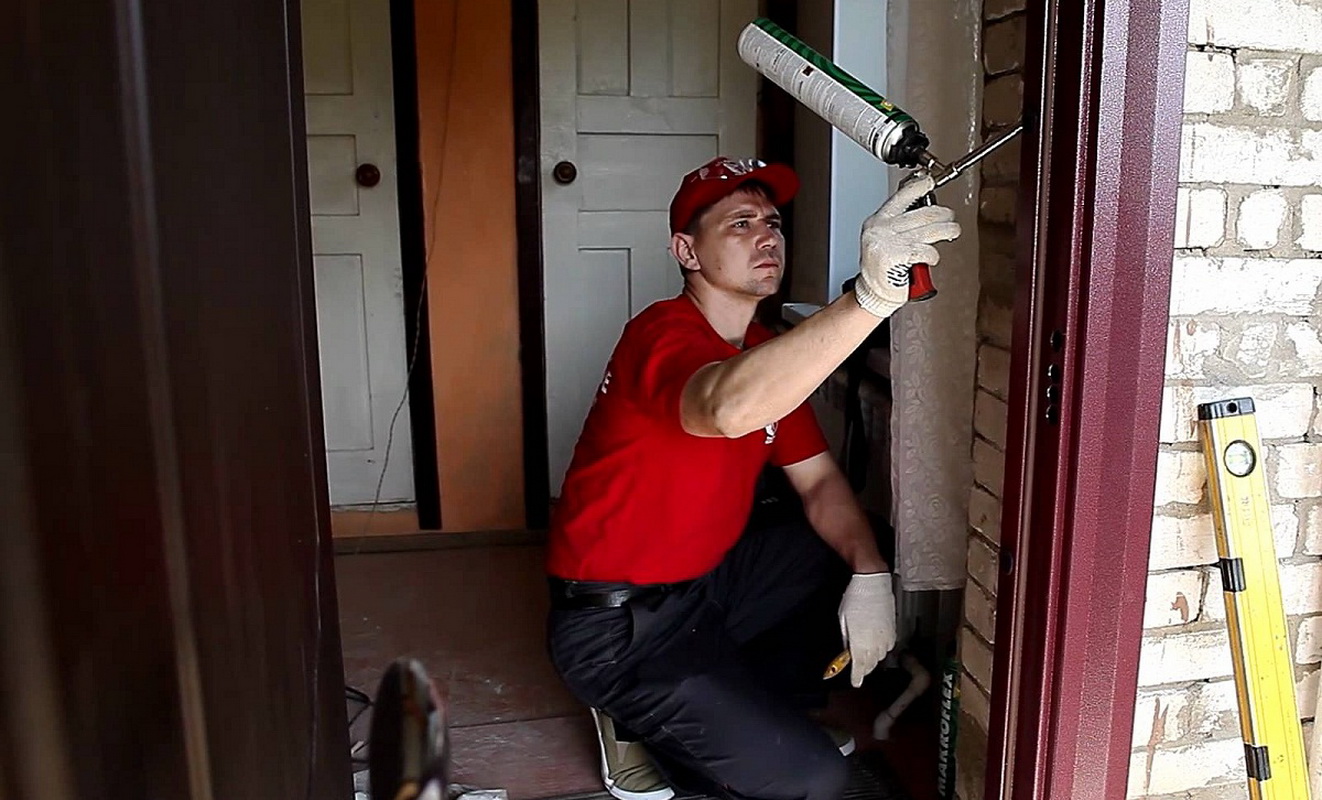
Next, install the door on the hinges and with the help of the roller we smear gaps formed between the box and the wall.
Glass
To install any doors, you need accurate calculations. Particular attention in the calculations given to this type. To install the doors in the box, you must leave a gap separating the glass construction and the floor. The size of the gap 5-7 mm. When installing the door frame, the key aspect is to install everything exactly with the calculations, otherwise it will not work to firmly install the canvas.To do this, observe the right angle between the vertical and horizontal parts of the box.
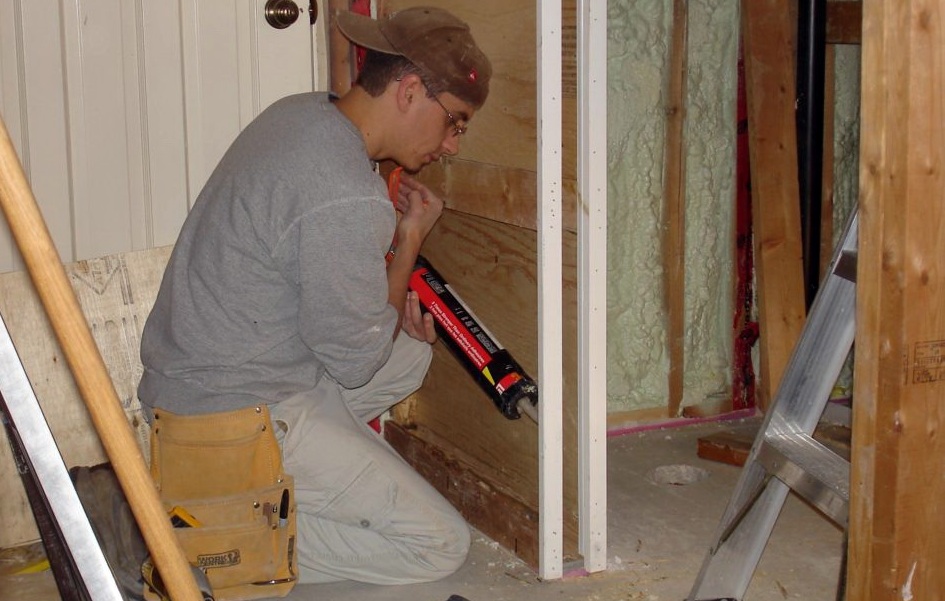
When attaching the box to the screws, its position is controlled by the building level. The size of the box should be less than the doorway for alignment and secure fastening. After strut boxes wooden wedges, the design is screwed to the wall with screws. To eliminate the gaps between the box and the wall use mounting foam. After drying, the excess foam is removed. After that, the grooves in the door frame are filled with silicone filler.
In a properly installed box, the glass door fits effortlessly. Do not forget to install silicone gaskets between the metal and glass. Then the door must be set and screwed to the doorjamb. Next, fasten the handle with the latch into the holes designed for them. The final stage: the elimination of gaps decorative trim.
With double glazing
Installing the box for the door with glass is almost the same as for the glass door. The process also involves wooden struts, and a level is used to determine the correct position.But most often for fixing the box are metal plates, or through the "ears" on the doorposts. To eliminate the cracks in the box that have arisen during the installation process, use the mounting foam and the platbands that are included with the door frame.
The door is installed on the sheds. The advantage of this method of installation is its simplicity, because all the components are fitted and connected. To create a solid design they only need to combine. The box is made of wood for both the front door and the entrance to the steam room. When choosing a glass door in a metal box, you can get burned. The door to the steam room is not trimmed due to evaporation of varnishes, glue.
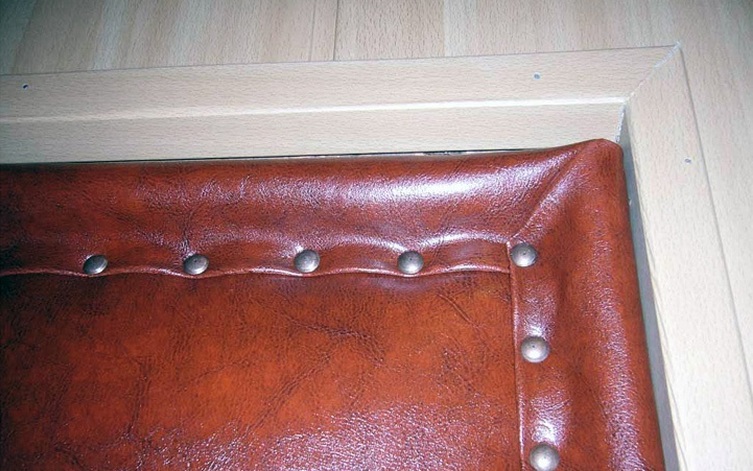
How to warm?
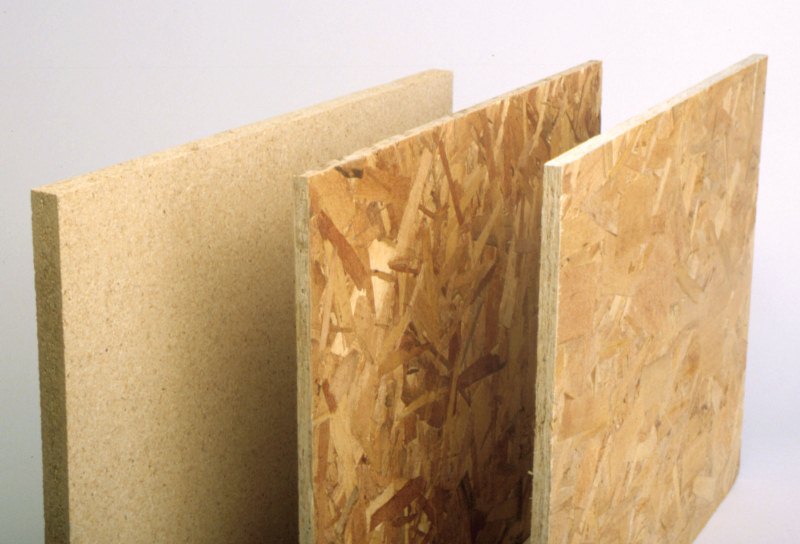
A simple way to insulate the bath door is to take the bars and make a frame of them, nailing it to the door with a space from the edges of the canvas 15 mm. And to fill the empty space inside the frame is placed a sheet of hardboard, increasing the heat resistance of the door structure. When the door is closed, the insulation bends, blocking the flow of cold air. Other options are possible. For example, to insulate a bath door from the cold with an energy-flex, this material is fixed on the edge of the web with a construction stapler. Over all fasten metal rails for reliable fixation. All work takes no more than 10 minutes.

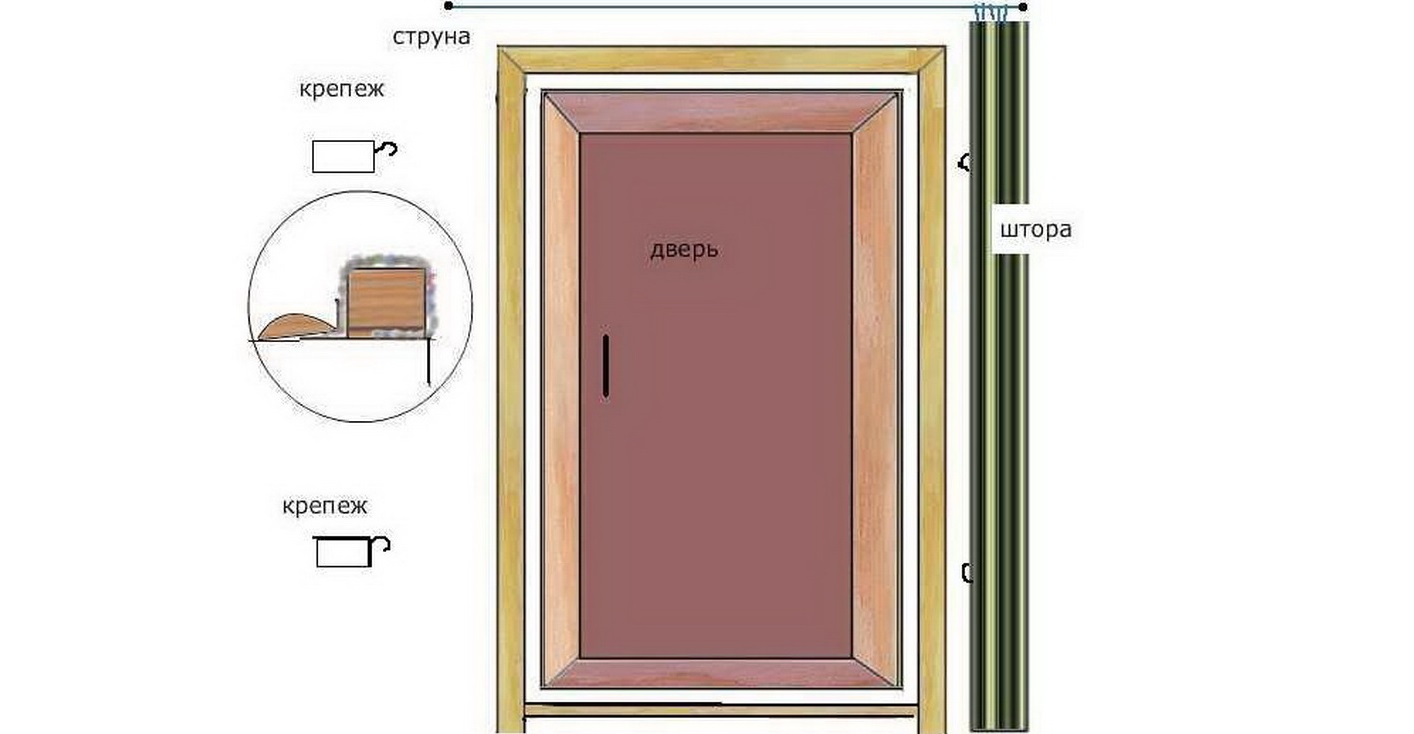
Creation of a thermal curtain is possible:
- First, let's prepare the sealing frame. For example, the door leaf size 80x180 cm, it is necessary to make 2 strips 10x100 cm and two 10x220 cm each from the compactor. Then the strips are nailed along the edge of the canvas 2 cm from the door frame.
- Next, we will make two pairs of bars, one with a size of 184x2x2 cm, the other - 80x2x2 cm each. The bars are nailed on top of the insulation on the door frame. After that, the bars turn into insulation, and the remains are removed. Then a leatherette or canvas screen of 120x200 cm is made. Fasten the fabric to the canvas, turning it away from the left side to place a 2x2x200 cm bar.
- The 10 cm block left after the cashing is fixed to the wall with the right side. The edge of the bar is covered with a decorative rail and rings (6-8 pcs.) Are mounted on top.
- Screw a 60 mm self-tapping screw over the decorative rail. The distance must be equal to the diameter of the rings. Leave outside 20 mm. A wire with a length of 1 m is attached to the screw and is drawn through the rings. The end of the wire is fixed on the other screws. After this, it is necessary to fix the two springs in two places (on the left side of the canvas). Then you need to sew the ring to the screen (opposite the springs), which can now be moved in different directions.
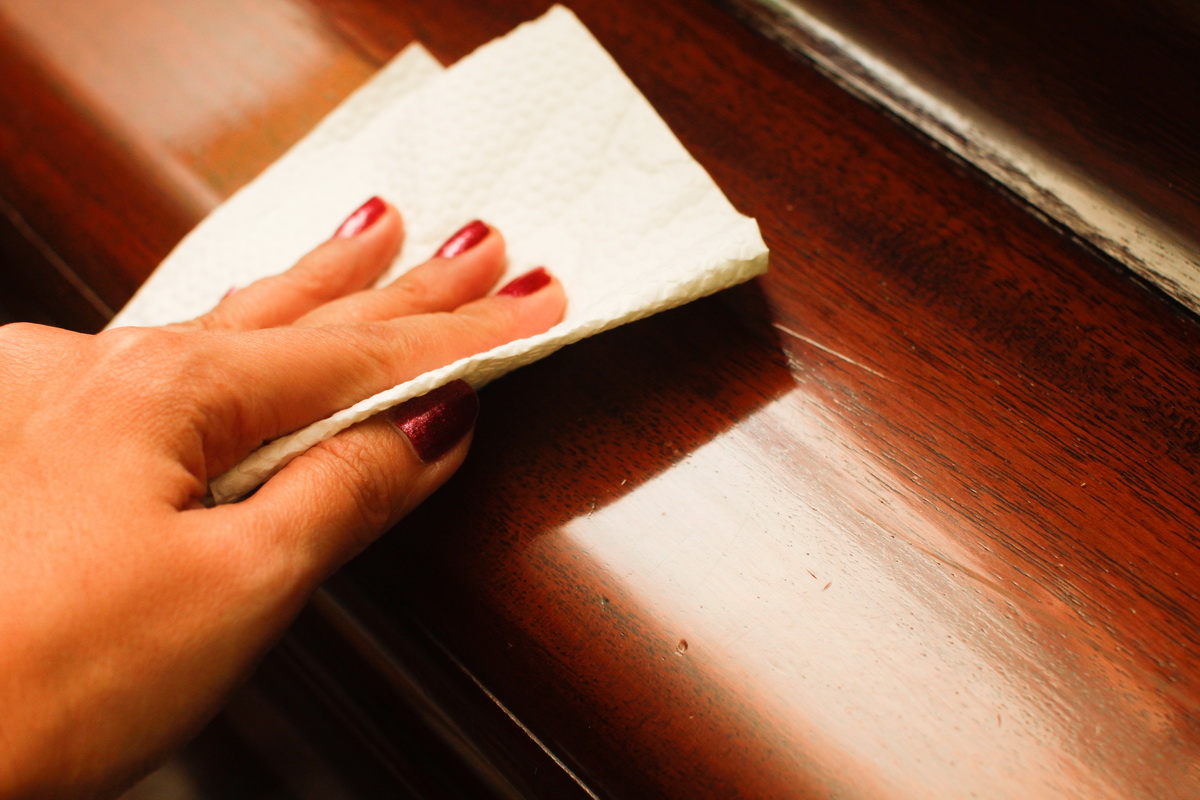
How to paint?
Wooden structures require special care to maintain the original look and extend the life. To protect the bath door from heat, the sheet is covered with paint. Protection is not the only reason for painting doors. The painted door looks more aesthetic. Paint for the bath door must meet certain requirements:
- Prevent exposure to high temperatures on wood.
- Extend the life of the product.
- Create aesthetic appeal.
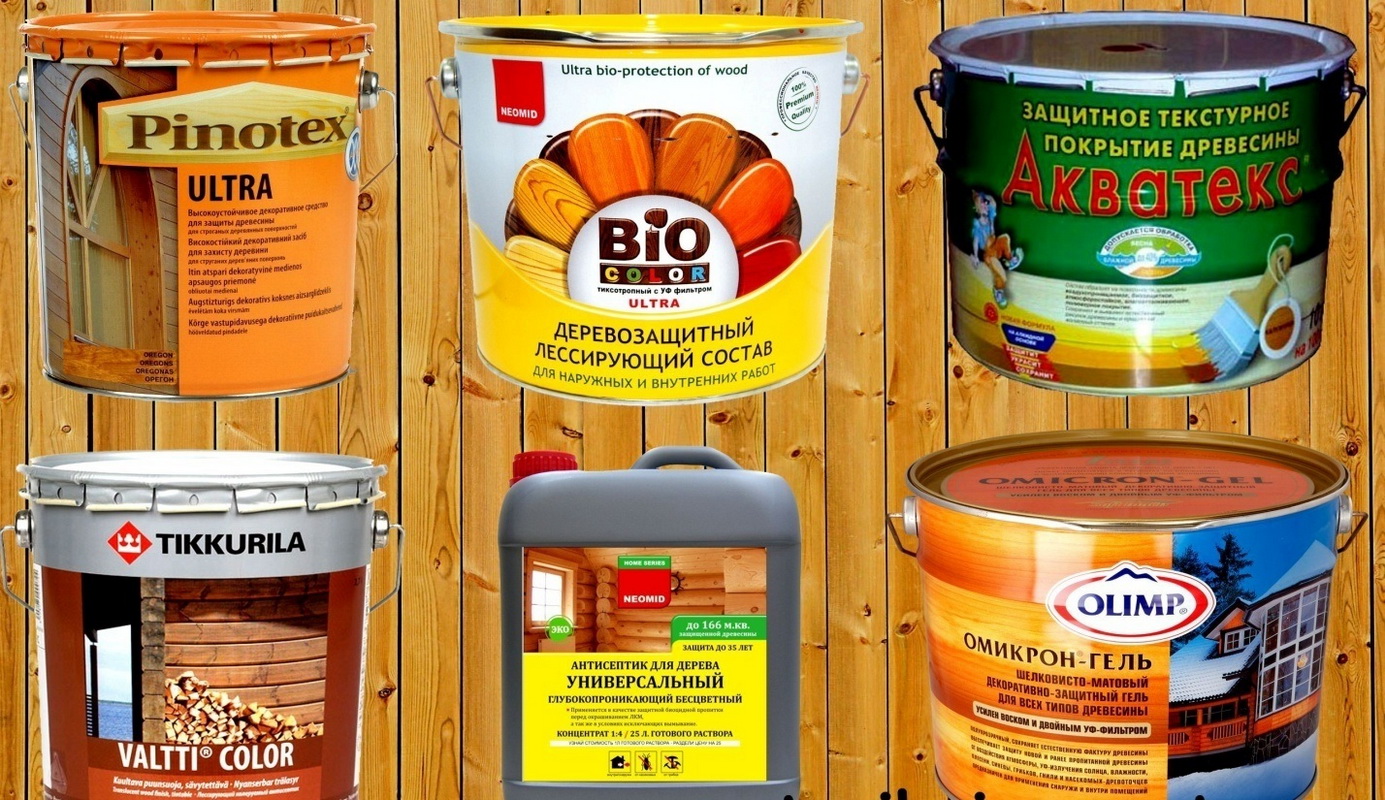
When choosing a paint, its technical properties are taken into account, as well as the type of material being painted (wood species). Another criterion for the choice of paint is the condition of the painted surface.
The paint should contain high quality varnishes and impregnations designed to prevent the negative effect on ultraviolet wood.
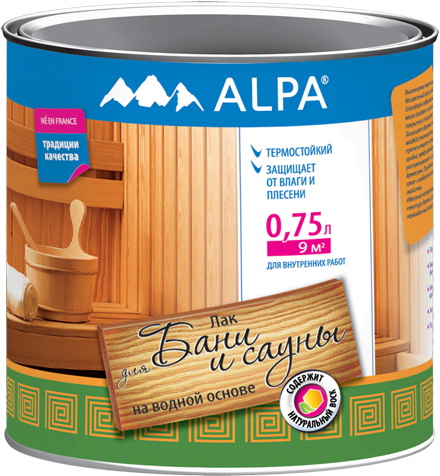
Varnishes for wood have special properties:
- Providing high vapor permeability.
- Repeated staining of wood without removing the existing layer.
- Pigments that add aesthetics to woody linen.
In order to increase the resistance of wood materials to various influences, acrylics are used, which are contained in the paint, which are binders. Acrylic paints have a large selection of colors. The surface before applying the acrylic paint does not require additional processing.


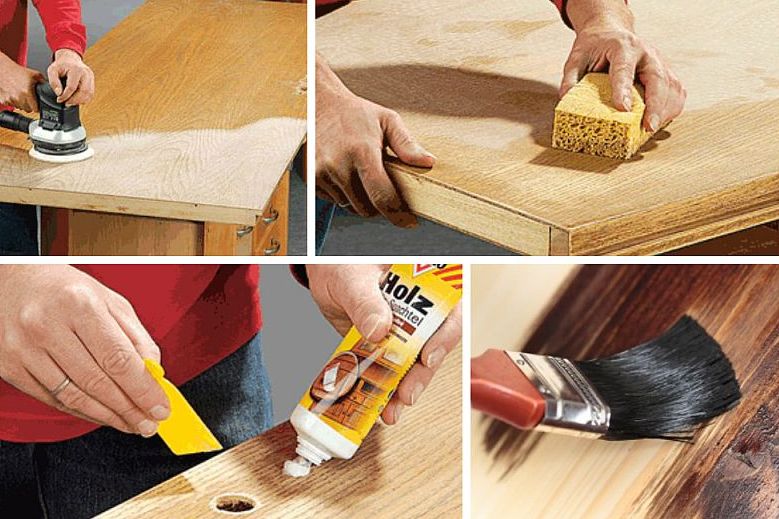
The wooden surface needs special preparation for the painting process:
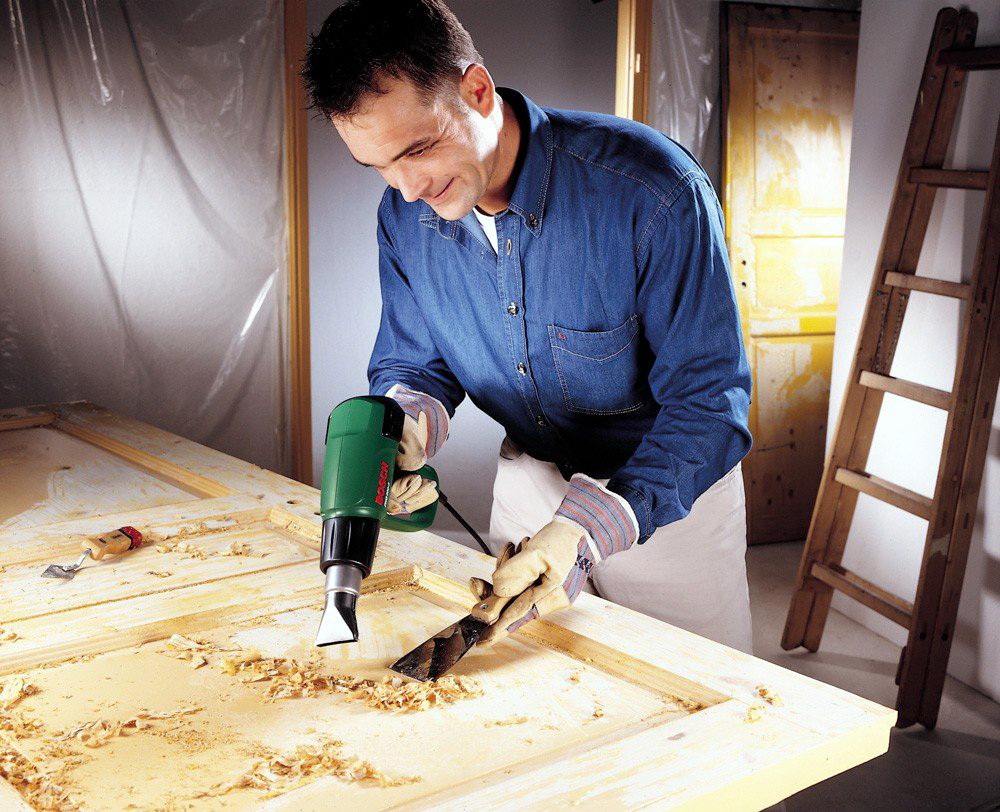
- We clean the wood from the existing layer of paint.
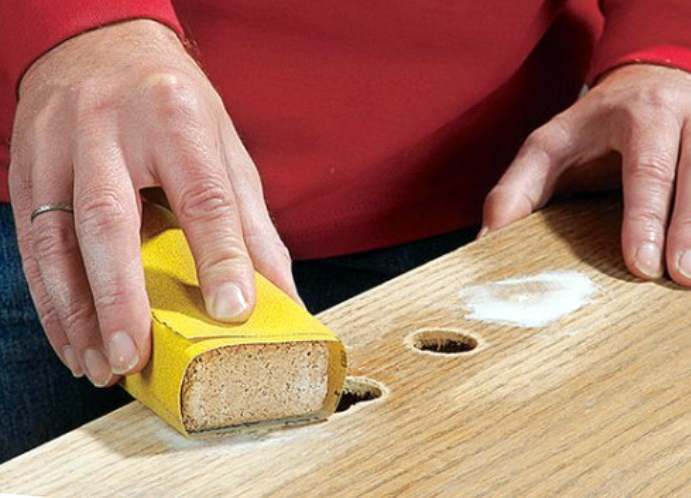
- Grind, eliminating scratches and dents.
- Remove flaws with putty. When covering the canvas with varnish, oil or stain, you need to have a putty designed for a certain type of wood. To get rid of deep dents used filler without fiberglass.
- After waiting for some time, individual for each putty, the surface is polished with emery.
- After cleaning the surface is vacuumed and cleaned.

Upon completion of all stages of preparation, you can begin to paint the surface. If you have never done painting before, you should practice on a separate piece of wood to hone your skills.
- Before coloring, the brush fluffs and removes fibers that can tear off.Best fit roller, providing uniform painting.
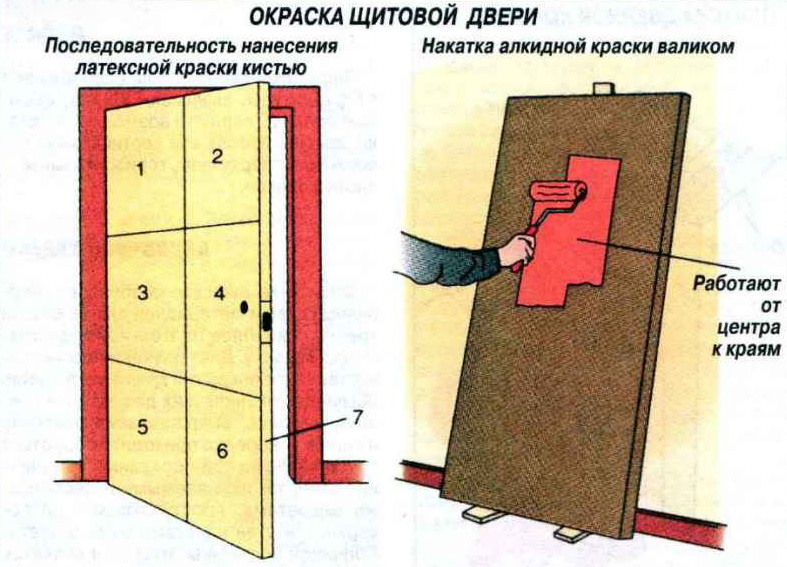
- The color of the panel door consists of three stages:
- First, paint the upper end (from left to right).
- Having waited for drying, we pass to the second stage - longitudinal coloring.
- The third stage is the coloring of the bottom end (from right to left).
The brush is suitable for paneled doors, as the fibers paint over the recesses. Put paint in a small amount, do not overdo it. After that, the door is painted with a roller, as described above.
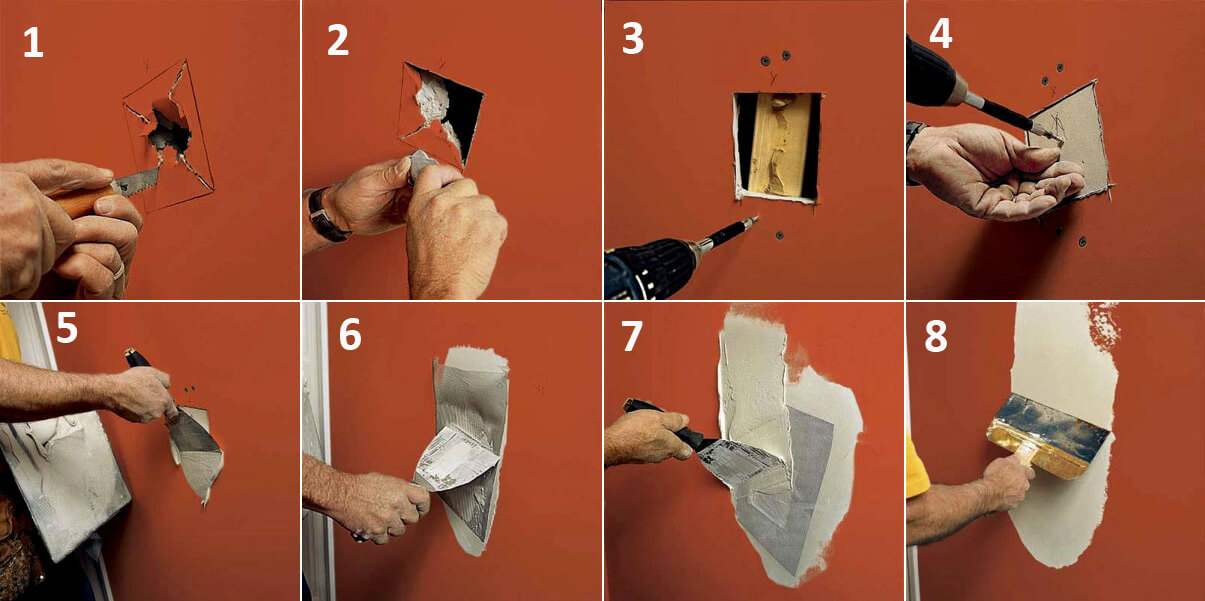
How to repair?
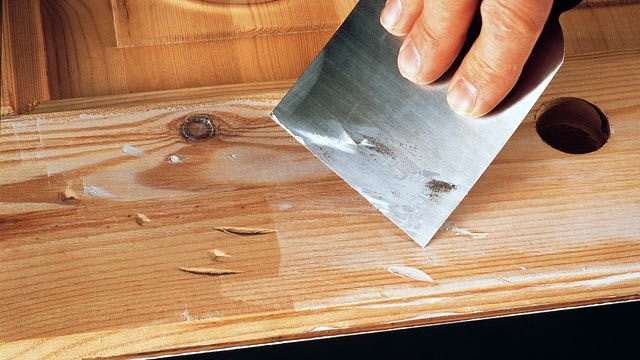
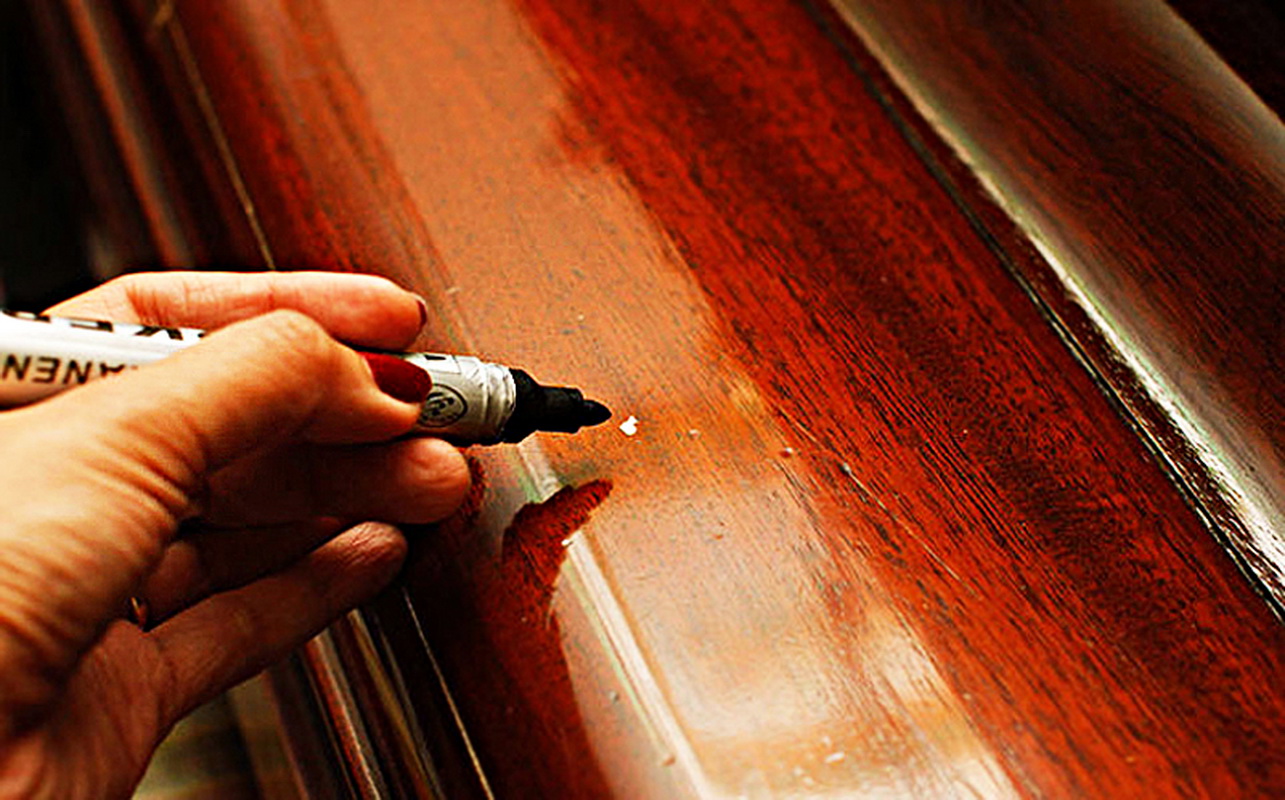
Over time, the door and its finish will wear out. Various defects appear in the form of cracks, gaps and other things that need to be fixed. Therefore, use our advice to easily repair the door. To eliminate cracks and scratches on the door leaf, you need a putty. The putty is matched to the color of the wood. The place where the defect was formed is filled with a putty and after drying it is processed with emery paper.
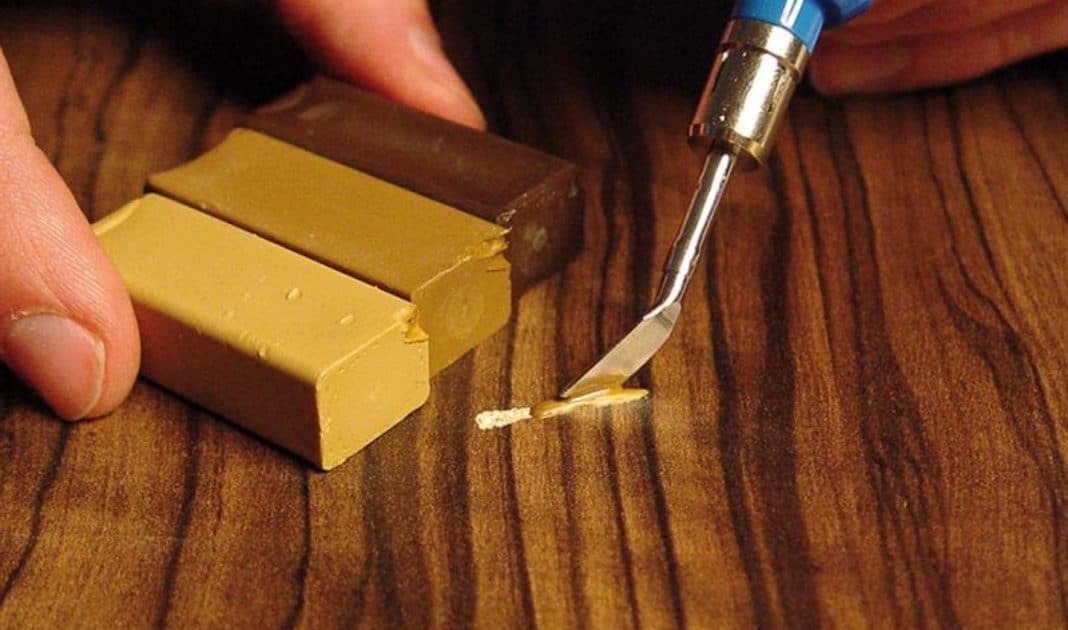
The hole can be sealed in the same way. If the hole is large, it is filled with mounting foam, and then putty. To make the surface completely smooth, you may need to refill.You can hide quite small holes with a dowel: drill a hole and drive a dowel, setting it on the glue. On completion we grind a surface. Eliminate the gap strap, nailed in the place where the door is loose.
To repair a sheet of fiberboard, use pieces of plywood, which are nailed with small nails to the damaged place. A hole in such a material is sealed with a hook made of wire that needs to pry a damaged area. After this, the edges are pressed and glued. After drying, the seam requires stripping and treatment with a fixer. The big hole can be fixed by the method that was used for wood.
Repair chipboard. To put the material in order, you need a syringe and glue. Remove the canvas. The delamination of the material is corrected with the help of glue, which we fill and press the sidewalls. Before drying, we put the door under the press. After that the edge is processed by a protective tape. Repair work is being completed by bringing the door leaf to its original appearance: painting, varnish, lining, you can still sheathe the door.
How to repair the door in the bath, see the following video.
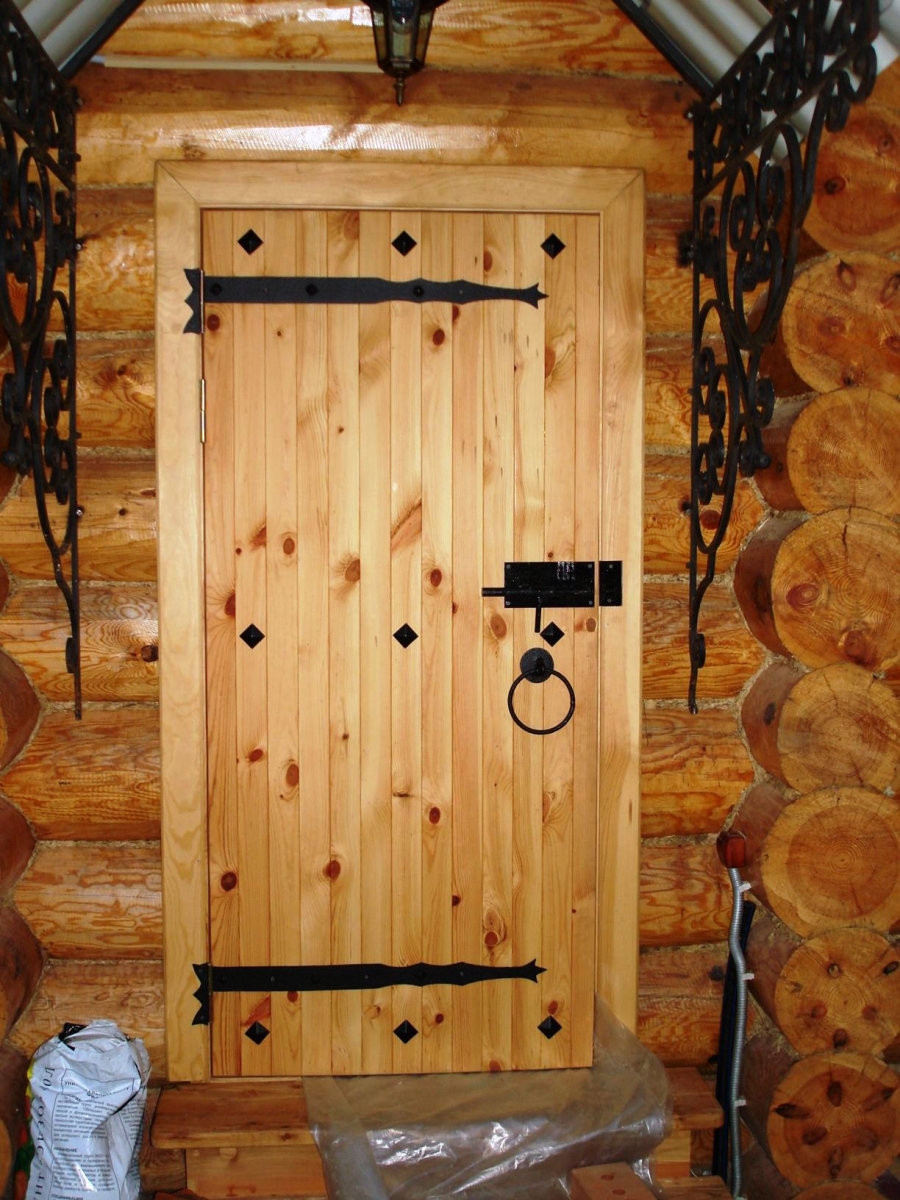
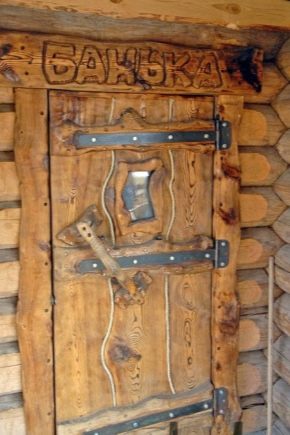
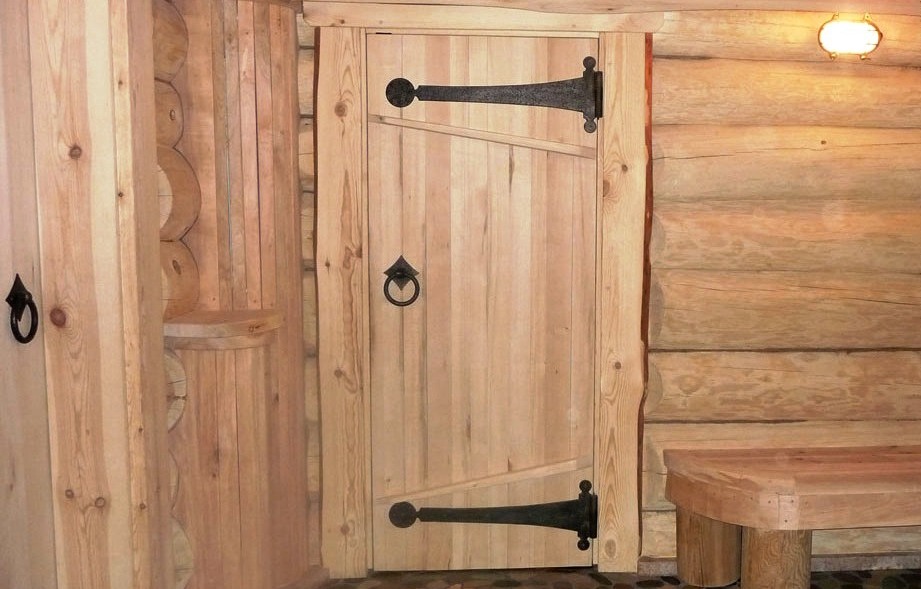
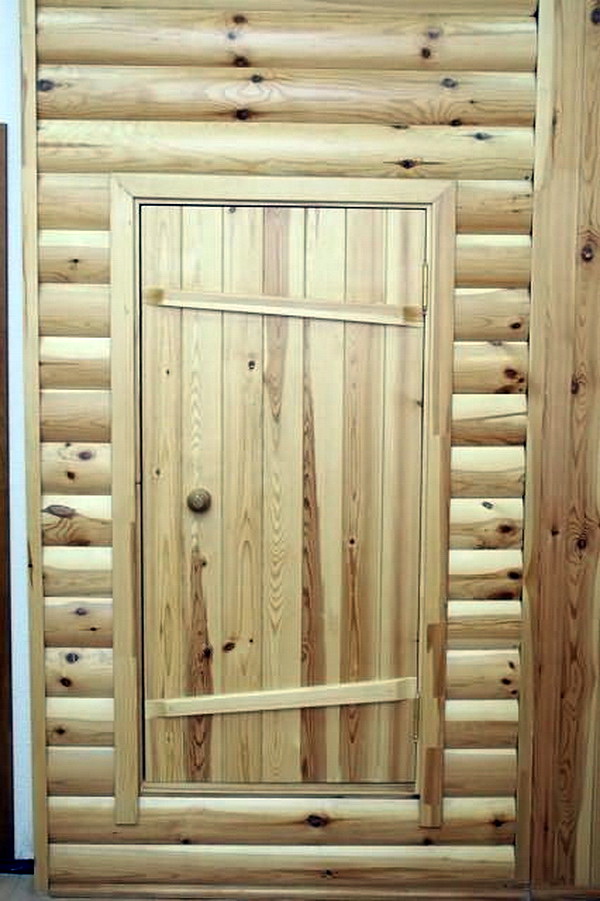
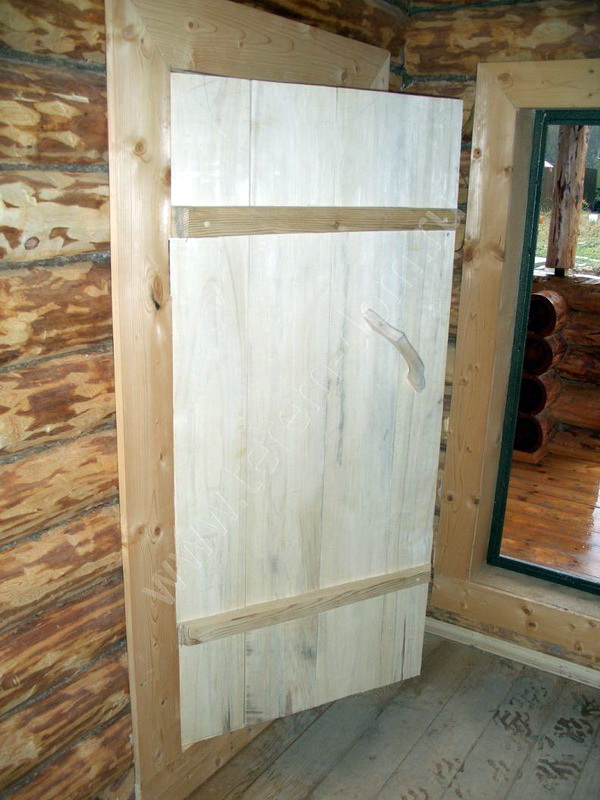
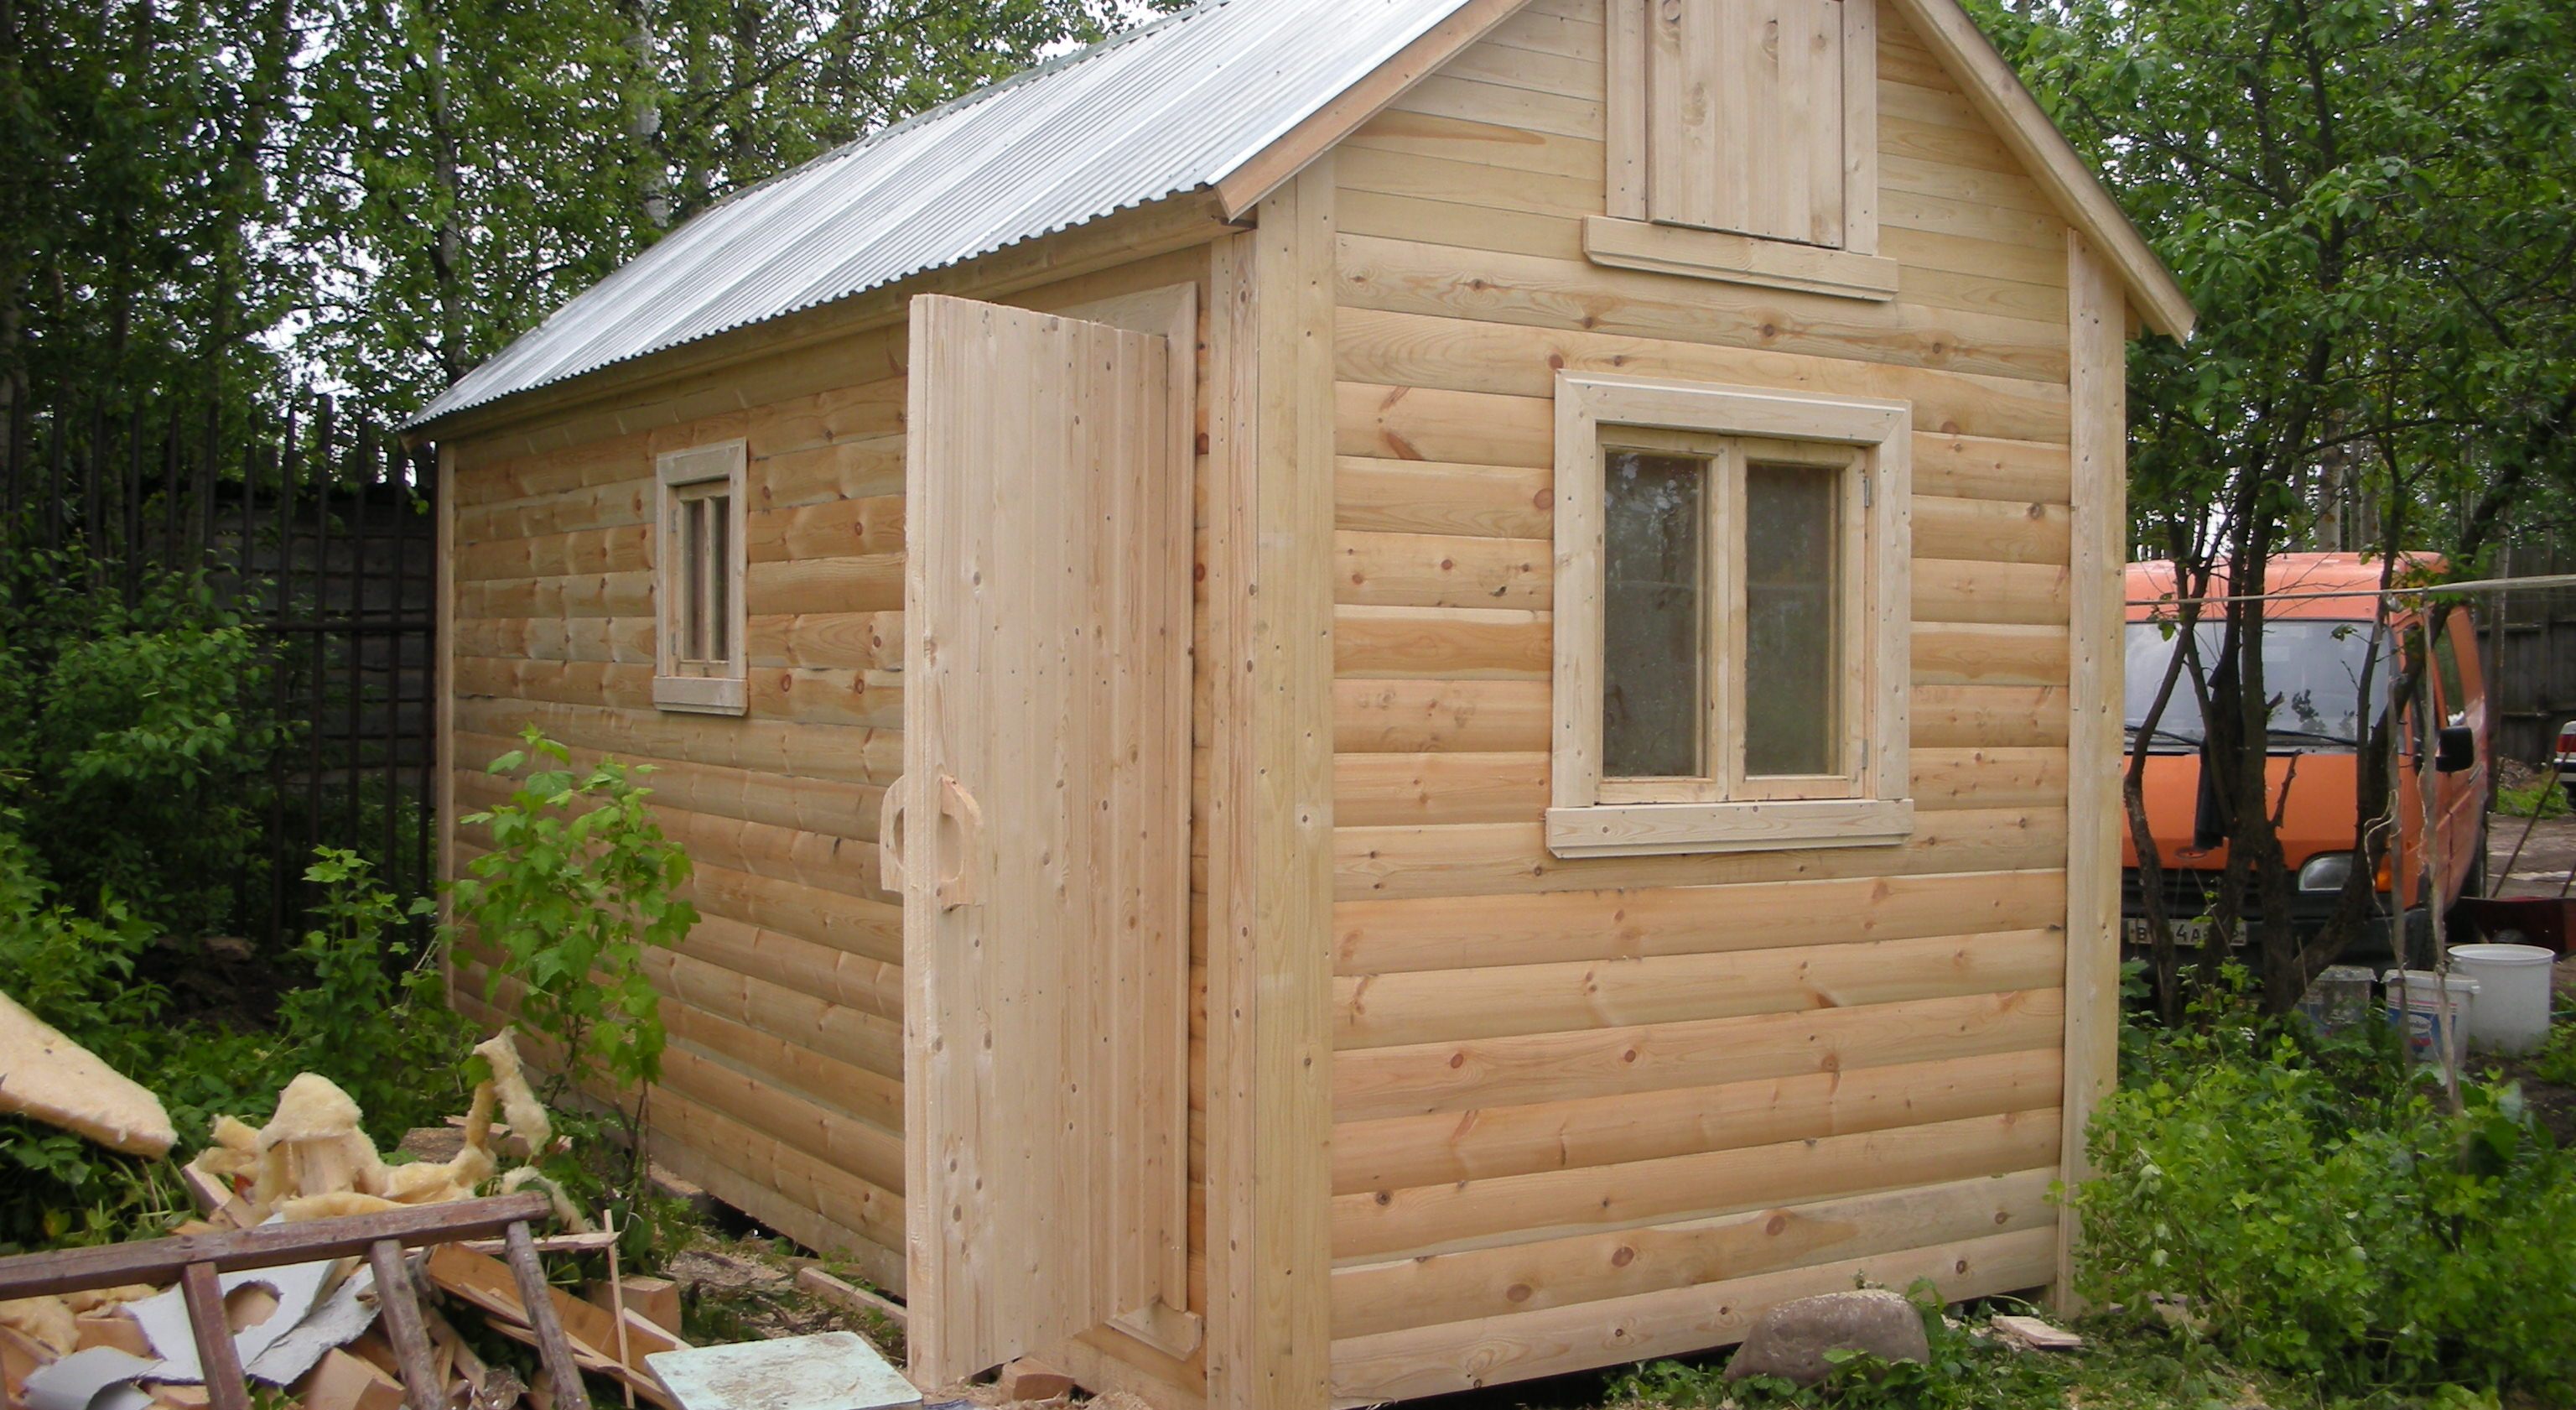
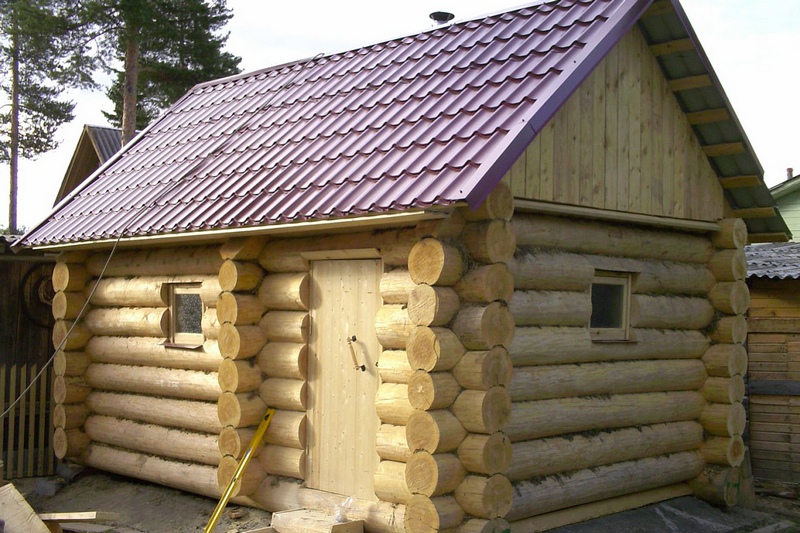
Examples and options
Here are some examples of which doors you can create by following our tips. Option homemade door in the block bath. The door to the old - perfect for a country bath. It is also called the peasant. To create a better effect, you can move the outer plan of the door inward.