How to fill the floor with concrete in a private house?

Private house - a place where the owners seek to create their own personal nest. Here everything will be done with your own hands, with love. Therefore, the choice of materials for the floor should be approached responsibly.
Filling the floor with concrete is ideal for a rough coating. But in order for the concrete pavement to last for a long time, you need to know the technology to perform the casting. This is what this article will be about.
Design features
Concrete coating has a long service life. Recently, private house owners are increasingly mounting just such a floor. It can also be poured in the bath, sauna. This is due to the large number of its benefits. Below is a list of all the advantages of concrete pouring:
- Withstands high loads;
- If you follow all the rules of concreting, the floor will last for several decades;
- Good thermal insulation performance - the heat output from the room is reduced to zero at the maximum thickness of the screed and the optimal layer of insulation;
- It is possible to lay any covering on the concrete floor (tile, parquet, laminate, etc.);
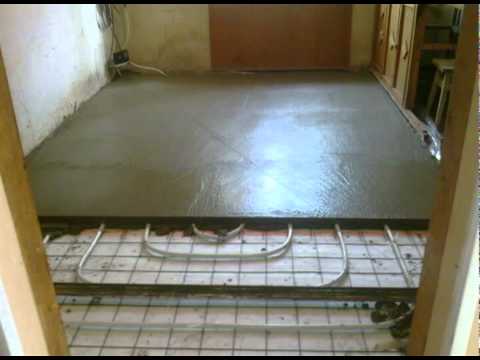
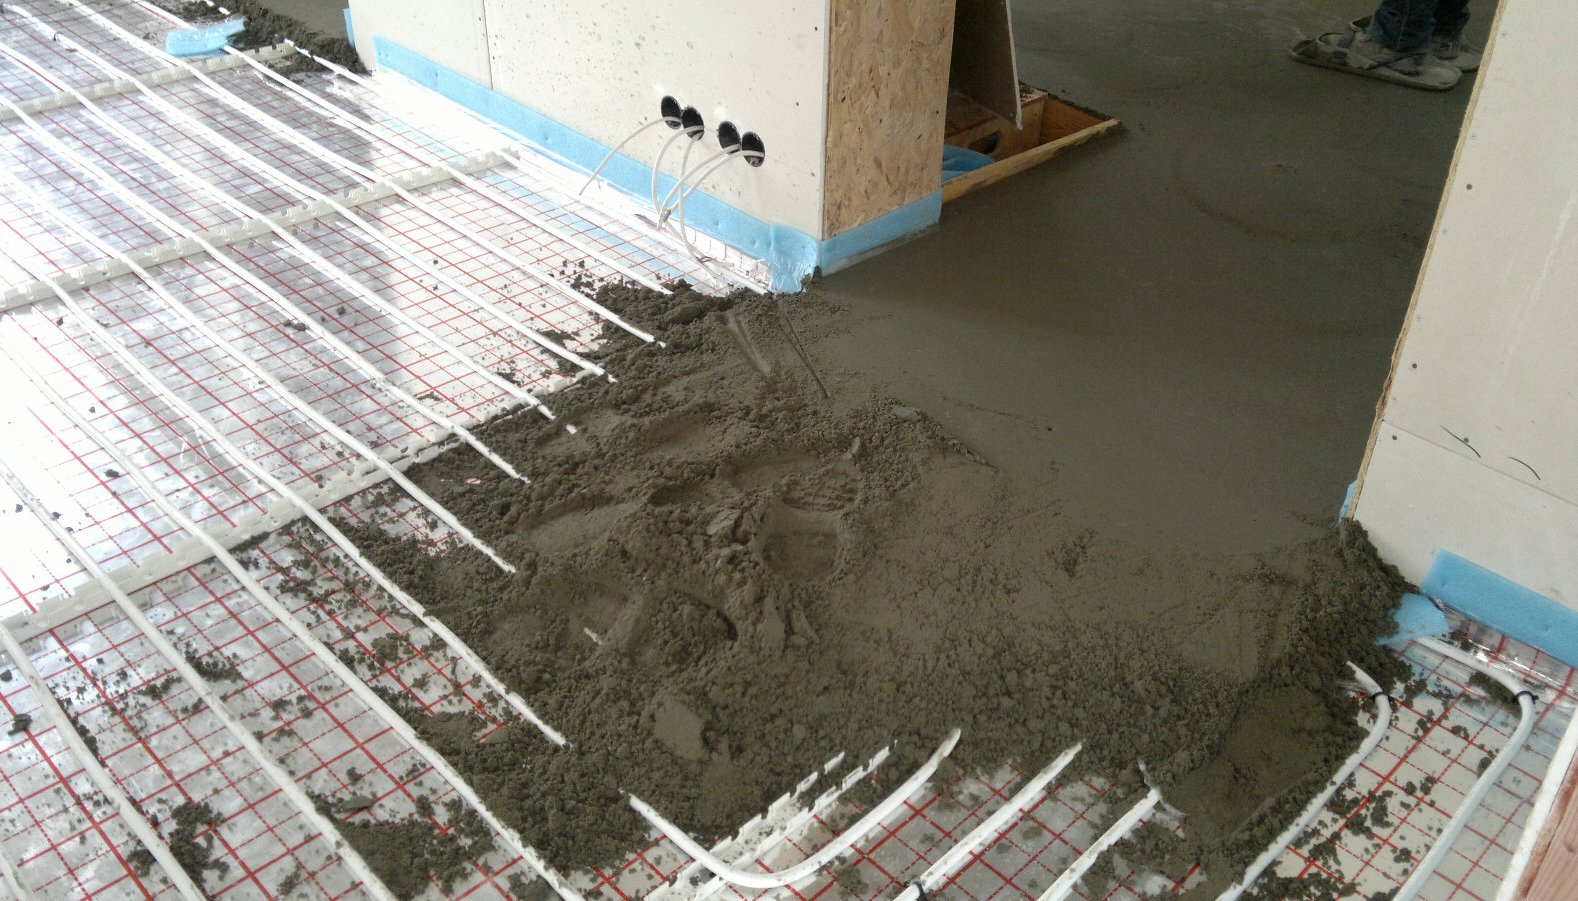
- Can be combined with a warm floor;
- There is no risk of mold and mildew.
With a sufficiently large number of advantages, a concrete coating has also disadvantages:
- Large weight - if the concrete floor creeps onto the floor, they must have increased strength to cope with the load;
- The work requires a certain skill, so it would be better if the specialist was engaged in the screed.
- The high cost of the material;
- It takes several weeks for the concrete floor to completely dry out.
Yet it is worth considering that the concrete floor is the best option for the floor in a private house.
Tools and materials
Before you start pouring concrete floor, you need to know what tools will be needed in the process of work:
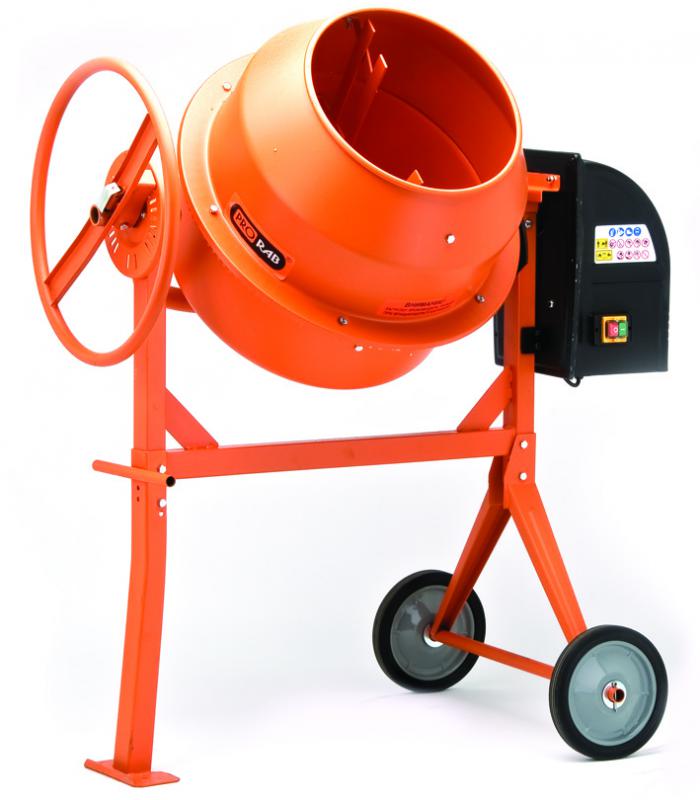
- Concrete mixer. Necessary in order to prepare a high-quality and homogeneous solution. Of course, if the amount of work is small, then you can cope without it. But the presence of this device guarantees a homogeneous, well-mixed solution. Accordingly, the coating after pouring will delight with its appearance and quality.
- Shovel. Without it, nowhere.This tool is useful at the preparation stage - leveling sand and soil, excavation of the pit under the floor on the first floor. It is needed to move all bulk materials, as well as loading concrete solution.
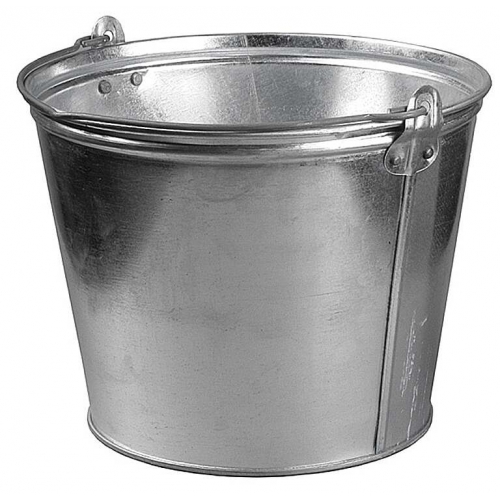
- Various capacities (buckets, containers). Necessary for the transfer of concrete, as well as for its storage. The ideal option would be metal forms. They will not be used in the future and they can simply be disposed of, because the concrete solution can not always be washed.

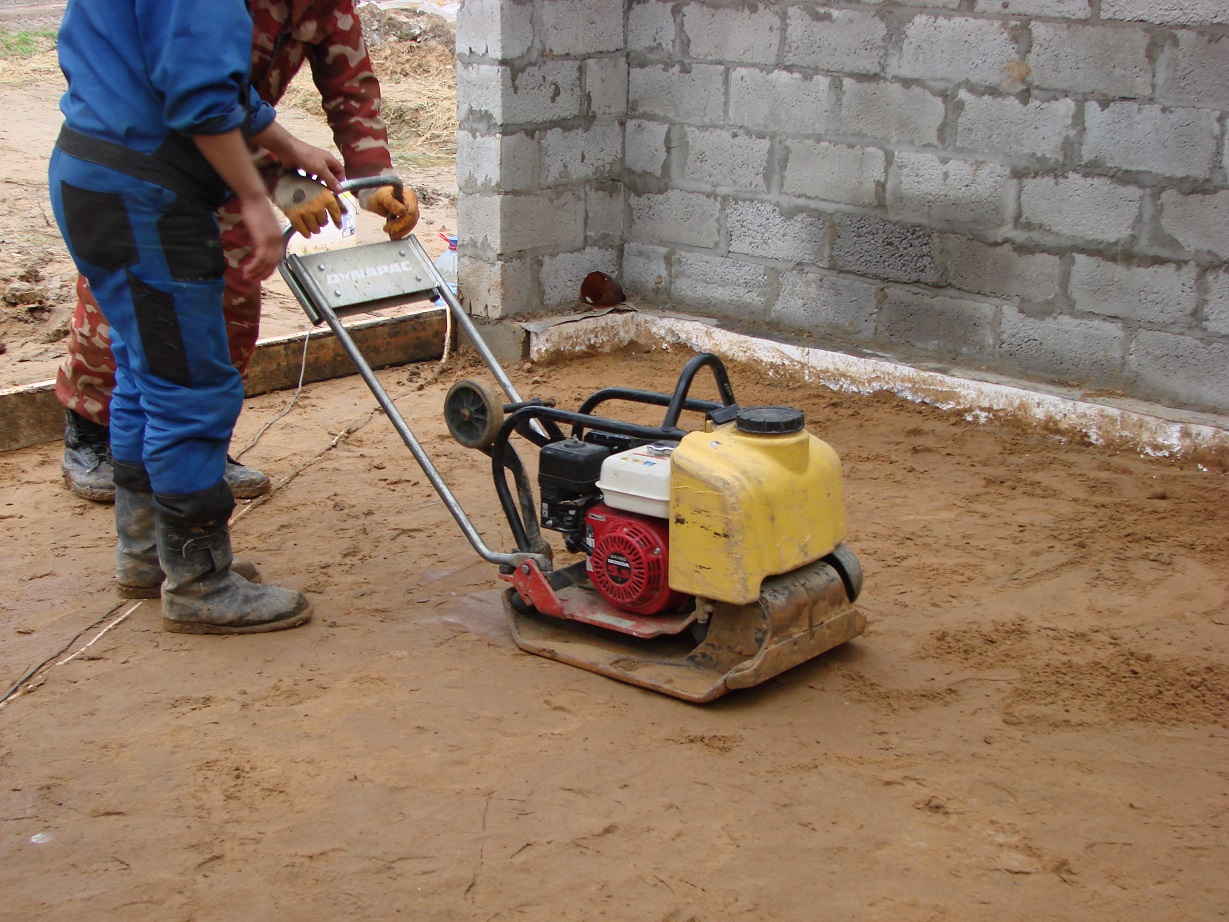
- Rammer - soil compactor to create a solid cushion for concrete. Well rammed layers of soil, sand, crushed stone, expanded clay will serve as a quality support for the concrete floor.
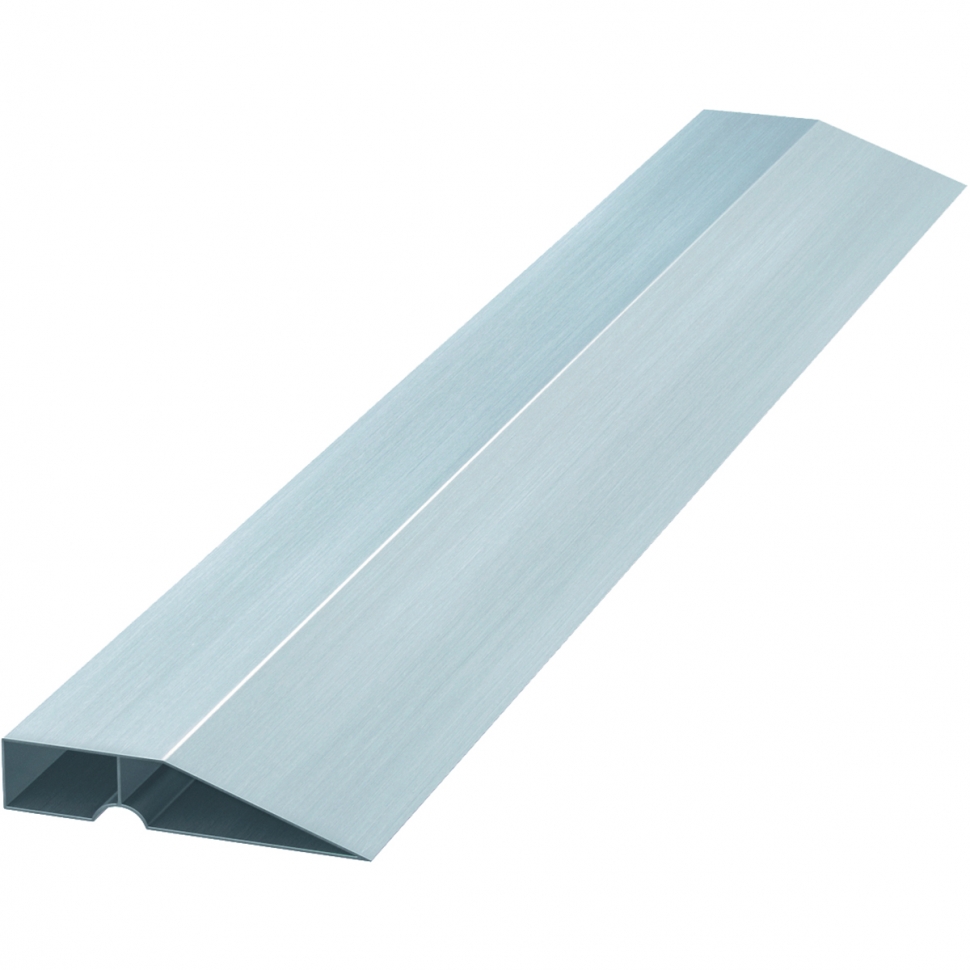
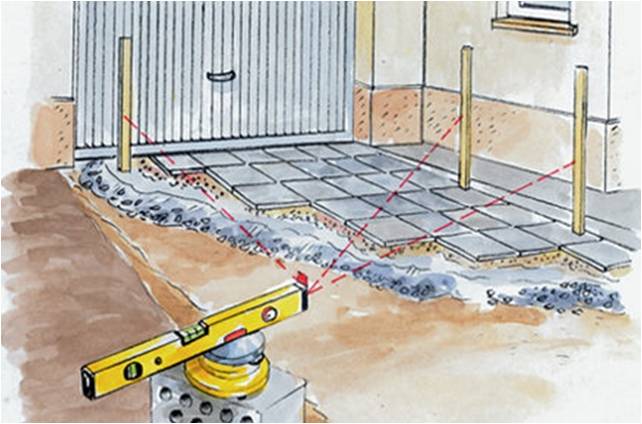
- Level. It is simply indispensable for the preparation and arrangement of a flat floor in a private house. It is useful at the initial stage in order to make a perfectly level mark on the floor height. Also needed when installing the formwork.
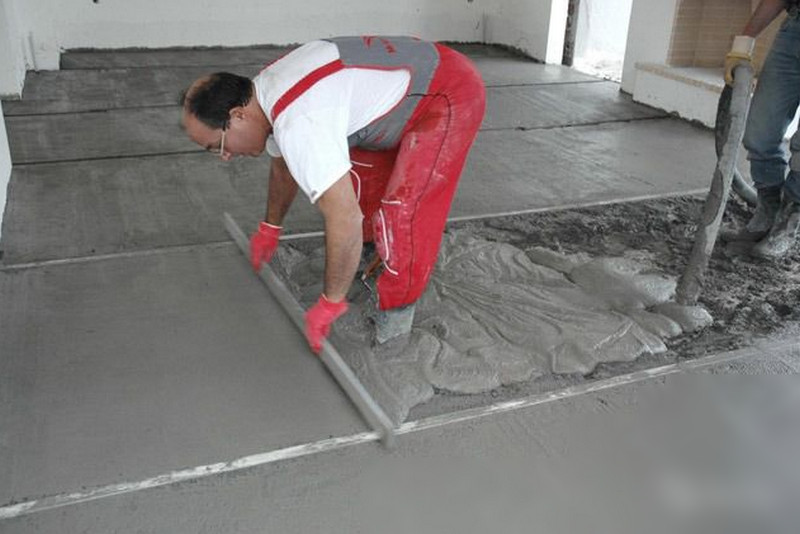
- Rule. Necessary for leveling the newly filled screed. Eliminate the possibility of grooves and irregularities.


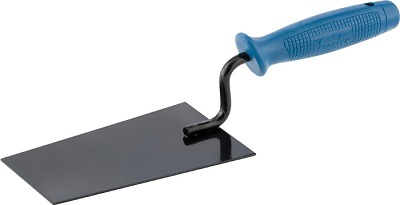
- Trowel. Used to work in small areas.
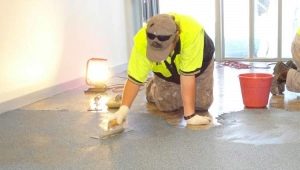
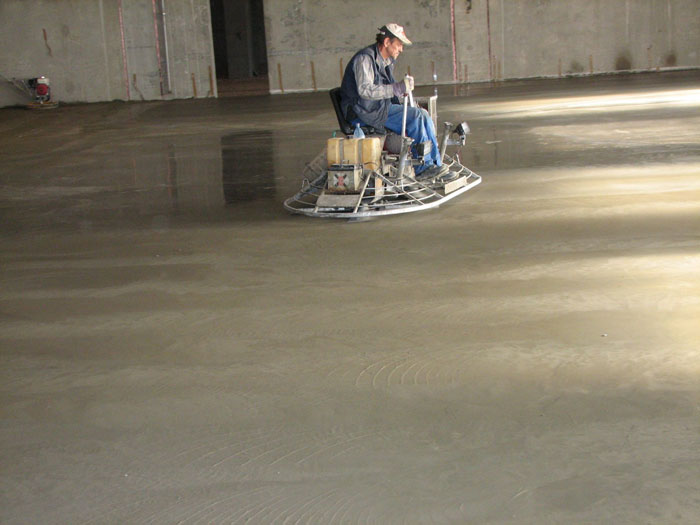
- Needle roller necessary to eliminate air bubbles in uncured concrete pouring. When leveling a concrete solution, air can penetrate and remain in the coating. Because of this, microcracks may appear soon, this will shorten the life of the concrete pavement. Walking through the roller on fresh concrete, you will get rid of the problem of the appearance of air bubbles.
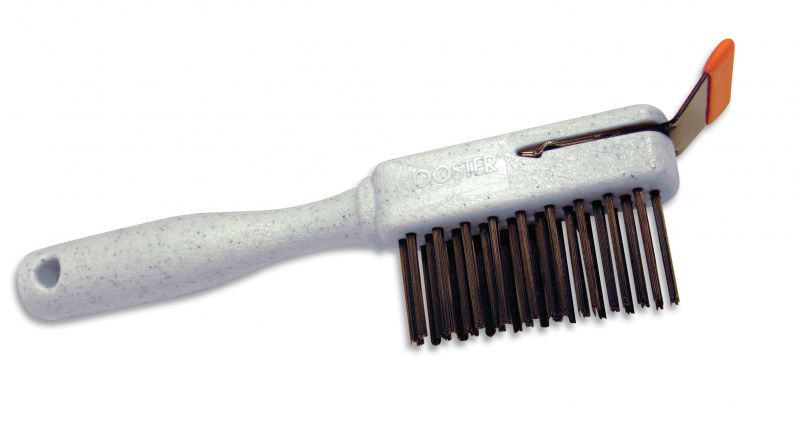
- Metal brush for stripping grappled concrete. It will help to avoid the formation of roughness on the finished coating.

Concreting process
Installation of the floor begins only after the house has completed work on the installation of load-bearing and additional walls, as well as the roof. This applies to both residential and non-residential premises. In order to fill the concrete floor with your own hands, the work should be done in several stages.
Measurement
Measurements are necessary in order to determine the zero level of the floor. Usually this parameter coincides with the level of the foundation. All that is below is considered to be a rough floor. If the house is built according to the project, then all measurements will be reflected in the drawings.
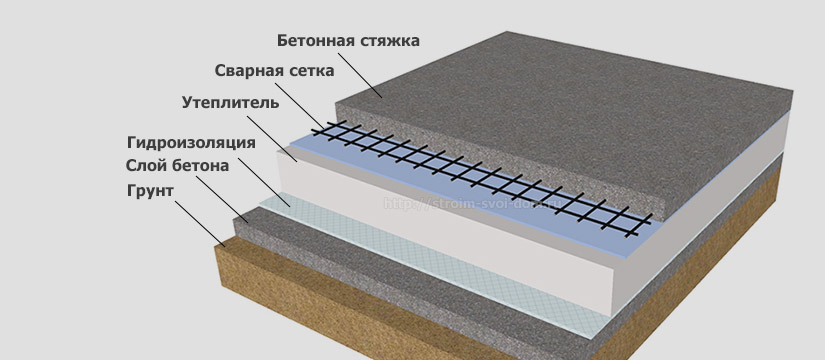
Next, the thickness of each layer of the pie is calculated. The sand layer should be 10-15 cm.In private homes, an additional layer of gravel can not be used, since the load on the concrete surface is low. The next layer is rough, about 10 cm thick. You can use a reinforced mesh. The thickness of the insulation should be 10 cm. And the last layer is a concrete screed. Layer thickness - not less than 7 cm for residential premises. All the above layers are added up and a value equal to the thickness of the “pie” from the ground to the zero floor level is obtained.

Cleaning and tamping the soil
The soil is cleared of excess debris. Depending on the calculations, excess land must be removed. If the soil is low, then fill up. Works are performed manually, as the big equipment can damage the foundation. The next step is to tamp the soil.
It is better to do the work with the help of special tools, so you will save time and the work will be done better.
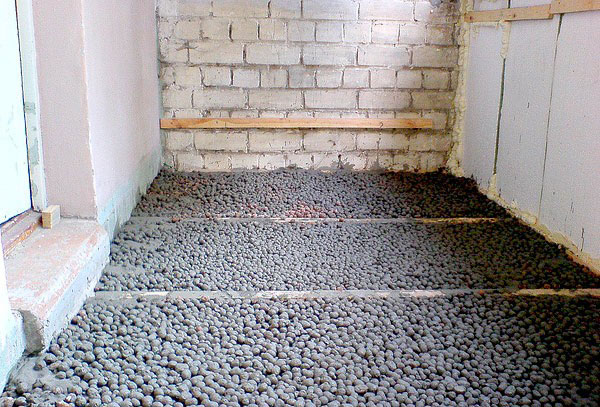
Gravel or rubble
Before starting the filling of sand on the inner side marks on the height of the layers are made and lines are drawn. Deviations of no more than 2 cm are allowed. Sand is laid in layers and carefully rammed. The better the tamping of sand, the more stable the floor will be.For this it is better to use professional equipment.
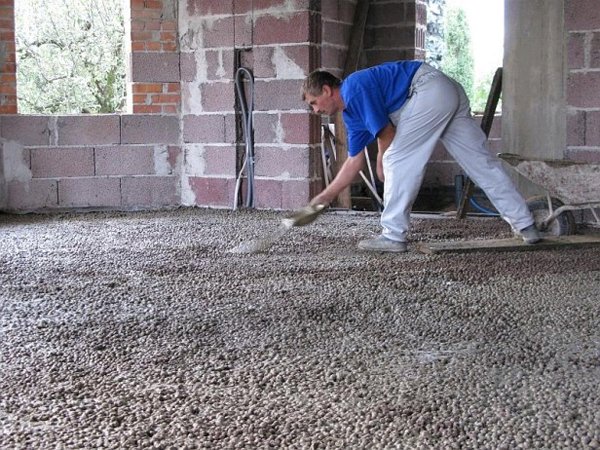
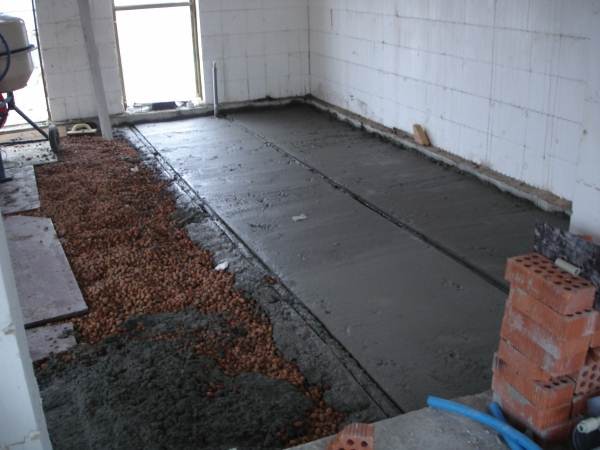
Rough concrete floor
Rough concrete floor is necessary in order to improve the performance properties of the main concrete pavement. For strength, you need to install reinforcement. Pour the solution in portions, focusing on previously defined layers and elevation levels. Concrete needs to be leveled with a long rule.
To avoid bumps, use a level.

Hydro and thermal insulation
For laying waterproofing on concrete enough to wait 48 hours. During this time, the concrete fill will grab. But it is worth remembering that waterproofing in private homes is not a prerequisite. It all depends on the thickness of the sand layer. If it prevents the penetration of moisture droplets, then additional protection is not needed.
As a heater it is worth using expanded polystyrene. This material meets all technical requirements, but has a high cost. Slag or expanded clay can be used as a substitute for it, as well as for reasons of economy. The foam must be laid tightly, without gaps. The joints of the plates should not coincide - they must be stacked in a checkerboard pattern.
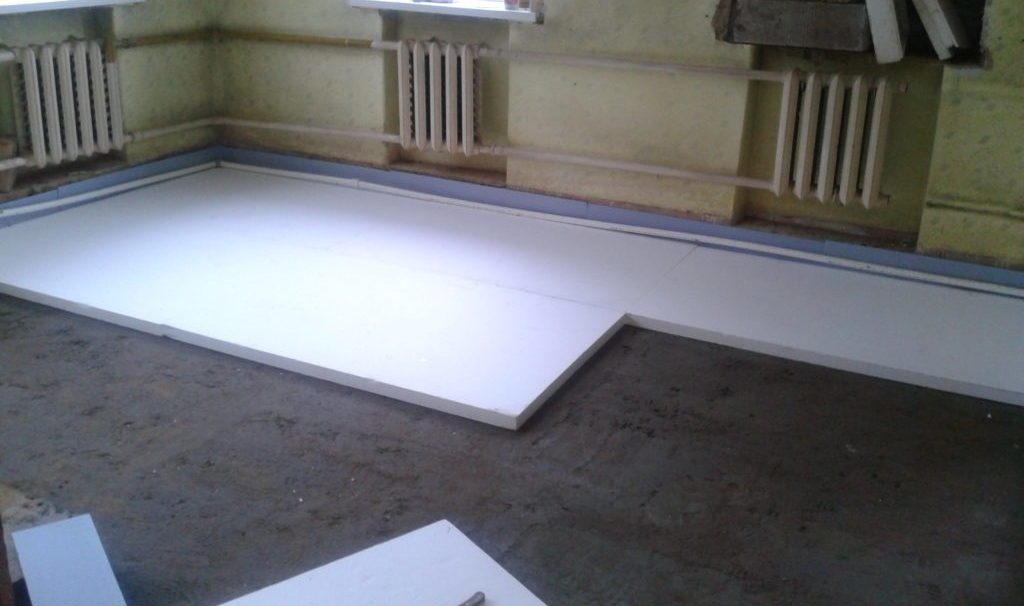
Above, a layer of dense polyethylene is needed for waterproofing. This will increase the performance of polystyrene foam.
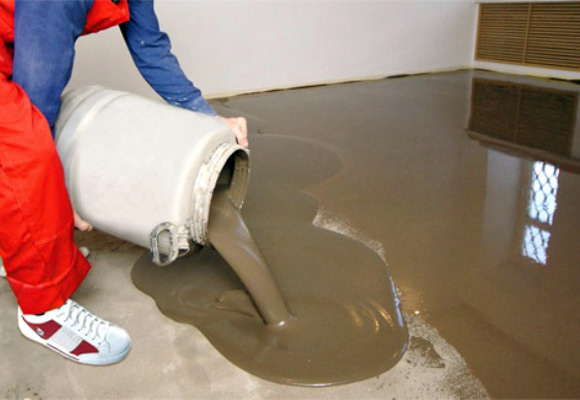
Pouring solution
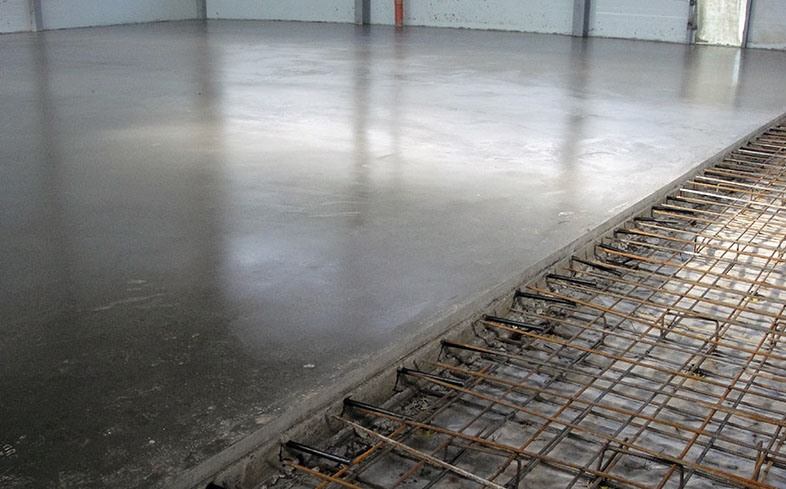
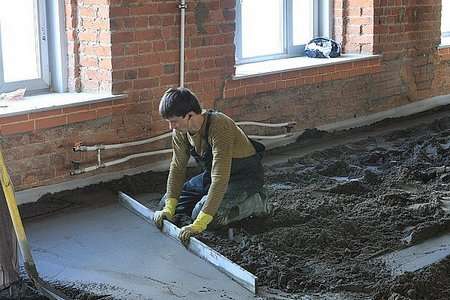
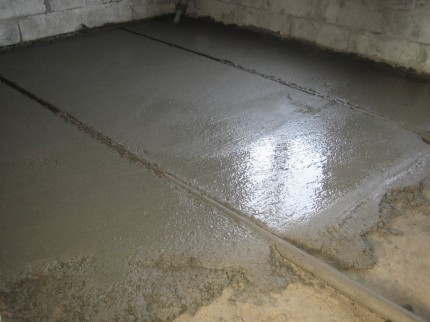
Before you start pouring the final layer, you must install the beacons. This will help make a smooth finish. The distance between the beacons is 50-60 cm. When installing, be sure to use a level. Now you can start pouring concrete. Do it in better portions. Leveling is done first with a shovel and trowel, and then the rule. It is important to prevent the formation of dimples and bumps.

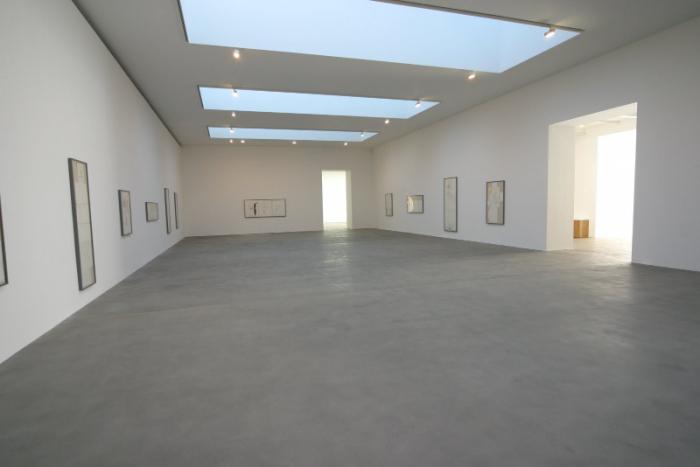
At the creation of a concrete pavement is completed. After complete drying, you can proceed to the main coating. You can use any materials - wood, laminate, linoleum, ceramic tile.
Concrete flooring can also be made warm. To do this, in the process of laying additional pipes are held.
The composition of the "pie"
All work is done in stages. Compliance with technology ensures quality coverage at the end. The most important thing when laying a concrete floor on the ground is to observe the composition of the “cake”.
"Pie" is a sequence of layers to cover. The device of the floor on the ground will contain the following layers:
- Soil compacted. It is very important that the soil is well compacted, otherwise your floor will squeeze and crack with time.
- Layer of sand or fine gravel.
- Draft layer of concrete screed;
- Waterproofing;
- Insulation;
- Concrete floor.
Expert advice
That the concrete covering pleased you throughout all term of operation, It is worth considering the advice of experienced professionals:
- Layers of sand, rubble or expanded clay need to be laid alternately. Tamping each layer thoroughly creates a solid cushion for concrete.
- It is desirable to pour concrete in one go. But if this does not work out, then you can change the technology and make a fill in two approaches.
- If you want to get a high-quality and even surface after work, you should use a vibrator to seal the concrete floor, as well as for additional leveling.
- Do not immediately fill the entire floor with a solution. Correct to do everything gradually. Divide the area into several parts. Level the solution with a spade, and only after use the rule and the needle roller.
- For the draft layer of concrete is the following solution: 1 part cement M 400 + 2 parts sand + 3 parts gravel.Take care that the sand and gravel does not contain clay. It reduces the performance properties of concrete pavement.
- If the draft concrete layer is laid in summer in hot weather, then after drying it must be wetted at least twice a day. This will help avoid cracking. To continue the work it is necessary to allow the surface to dry for two days.
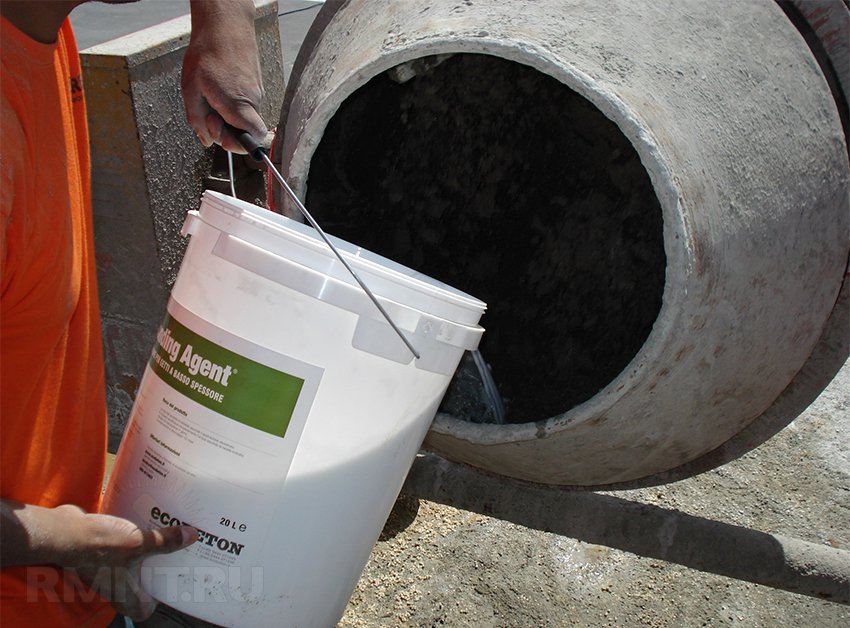
- To improve the properties of the operation of the upper layer, experts advise the use of plasticizers.
Brand does not matter. They must be added to the finished solution, following the manufacturer's instructions.
Your home is your castle. If you apply these simple but important tips and rules in practice, then the floors will be strong and durable.
How to pour the floor with concrete, see the next video.