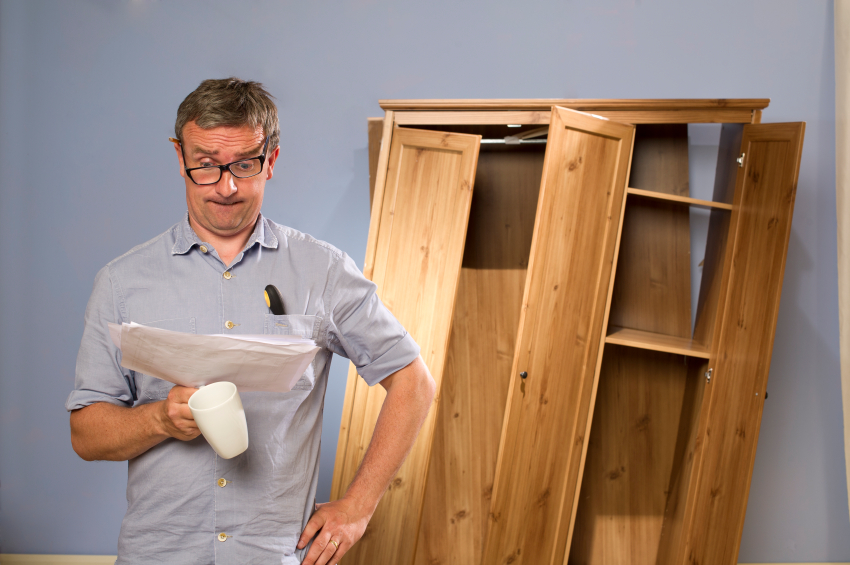
How to make a cabinet with your own hands?
Perhaps you could not find a suitable design. Or it did not work out into the budget. And, perhaps, I just wanted to make something with my own hands, thus making my family proud. Follow our instructions, make a little effort - and very soon your hallway, loggia or bedroom will be decorated with a nice and functional wardrobe.
Where to begin?
So, you decided to make a real male (and maybe female) act and assemble a cupboard with your own hands. First of all, you need to decide for what purpose you are doing it, how it should look and what functions to perform - in other words, to organize the design.
This piece of furniture will serve you for many years, so the preparatory stage should be approached with special attention:
- Decide in which room you will place the new wardrobe. Whether it is a living room, a loggia or a corridor is important, because the cabinets for different rooms, as a rule, differ in materials, fittings and accessories.Then select a place in the room and find out what size the planned product should become.
- Calculate the design parameters: width, height and depth, the space between the shelves, the number of shelves, hooks, rods for hanger or other components.
- Decide on the shade and design of the intended piece of furniture.
- What will be in the locker, traditionally, determines how the internal space will look. There are the following principles: “raw” things are placed aside, the most necessary and small things are stored at eye level, “dry” - on the upper shelves, and valuable - in the drawers. For example, you can not have in the middle of the section for outerwear or umbrellas - the moisture from it will spoil things to the right and left. If it is located in the corner, then the moisture will go outside. Boxes or shelves for bedding should not be placed above the floor - there should be a separation of about forty centimeters from the surface in order to prevent dust and moisture from entering. It is better to move them to the upper section. The more carefully you think about the placement of the content, the smaller the width of the shelves, which means that space is saved.It is worth remembering that a good layout is a guarantee of convenient operation and long service life of a piece of furniture.

Popular models
There are many models of cabinets, which, as a rule, can be made of the same materials, but perform different purposes.
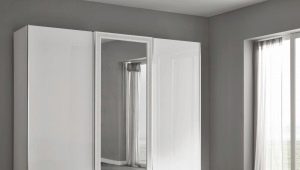
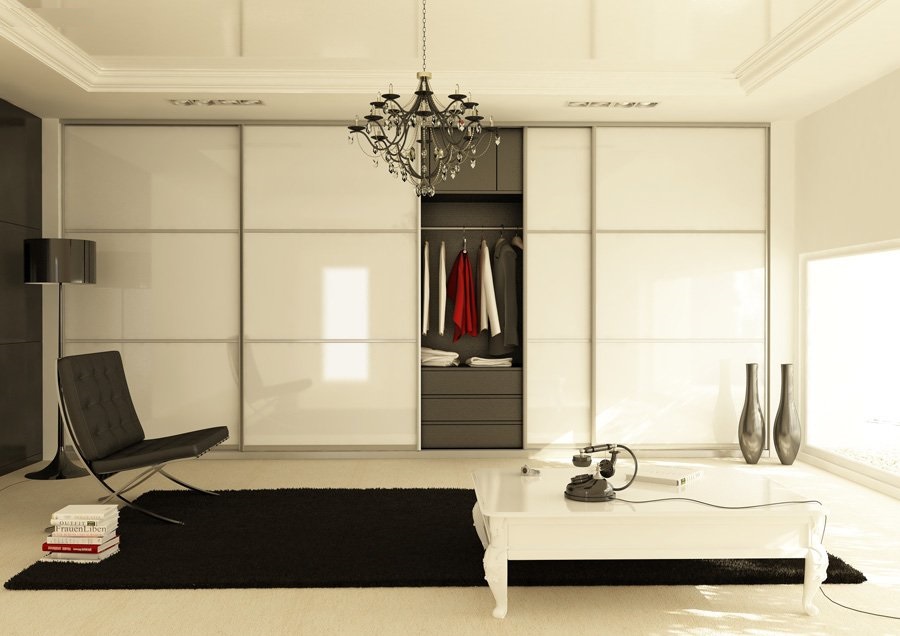
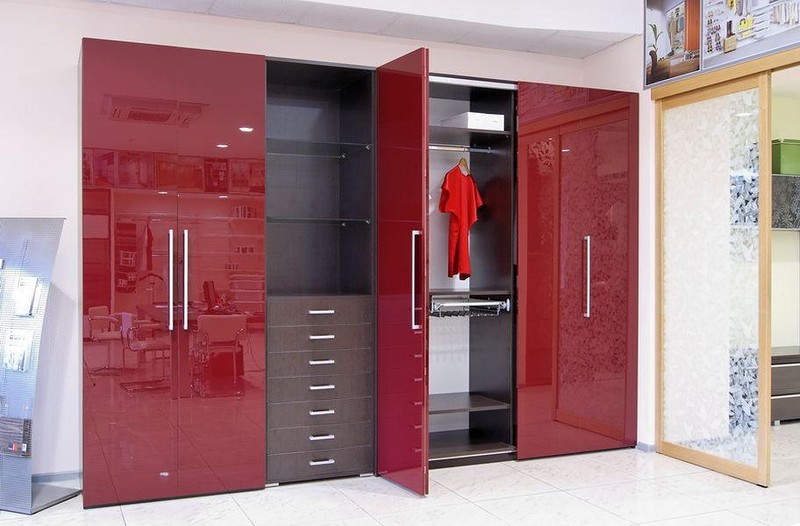
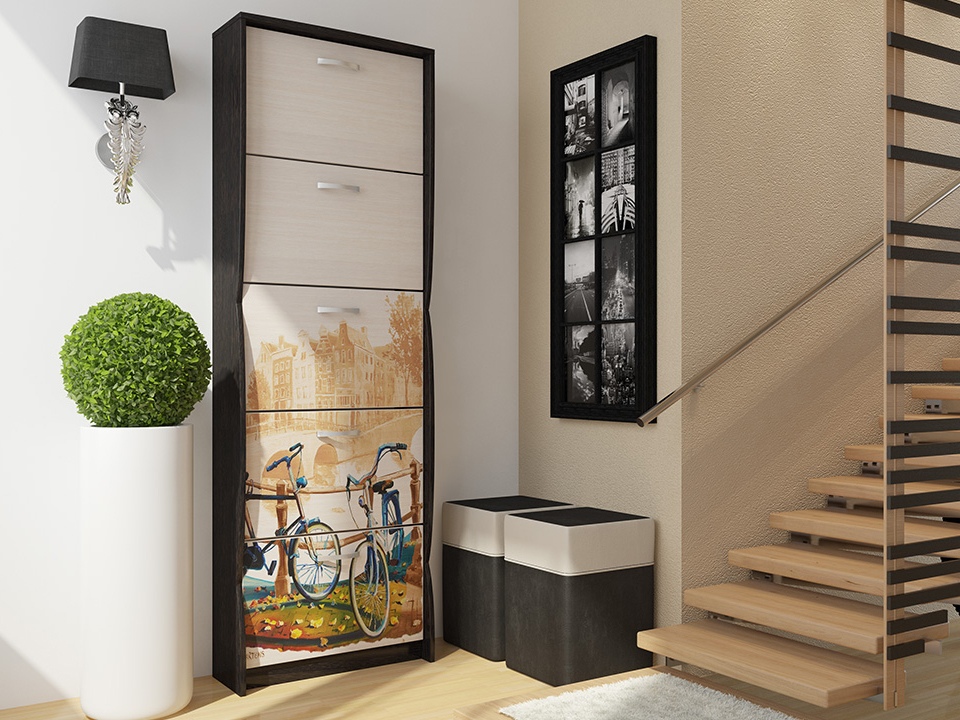
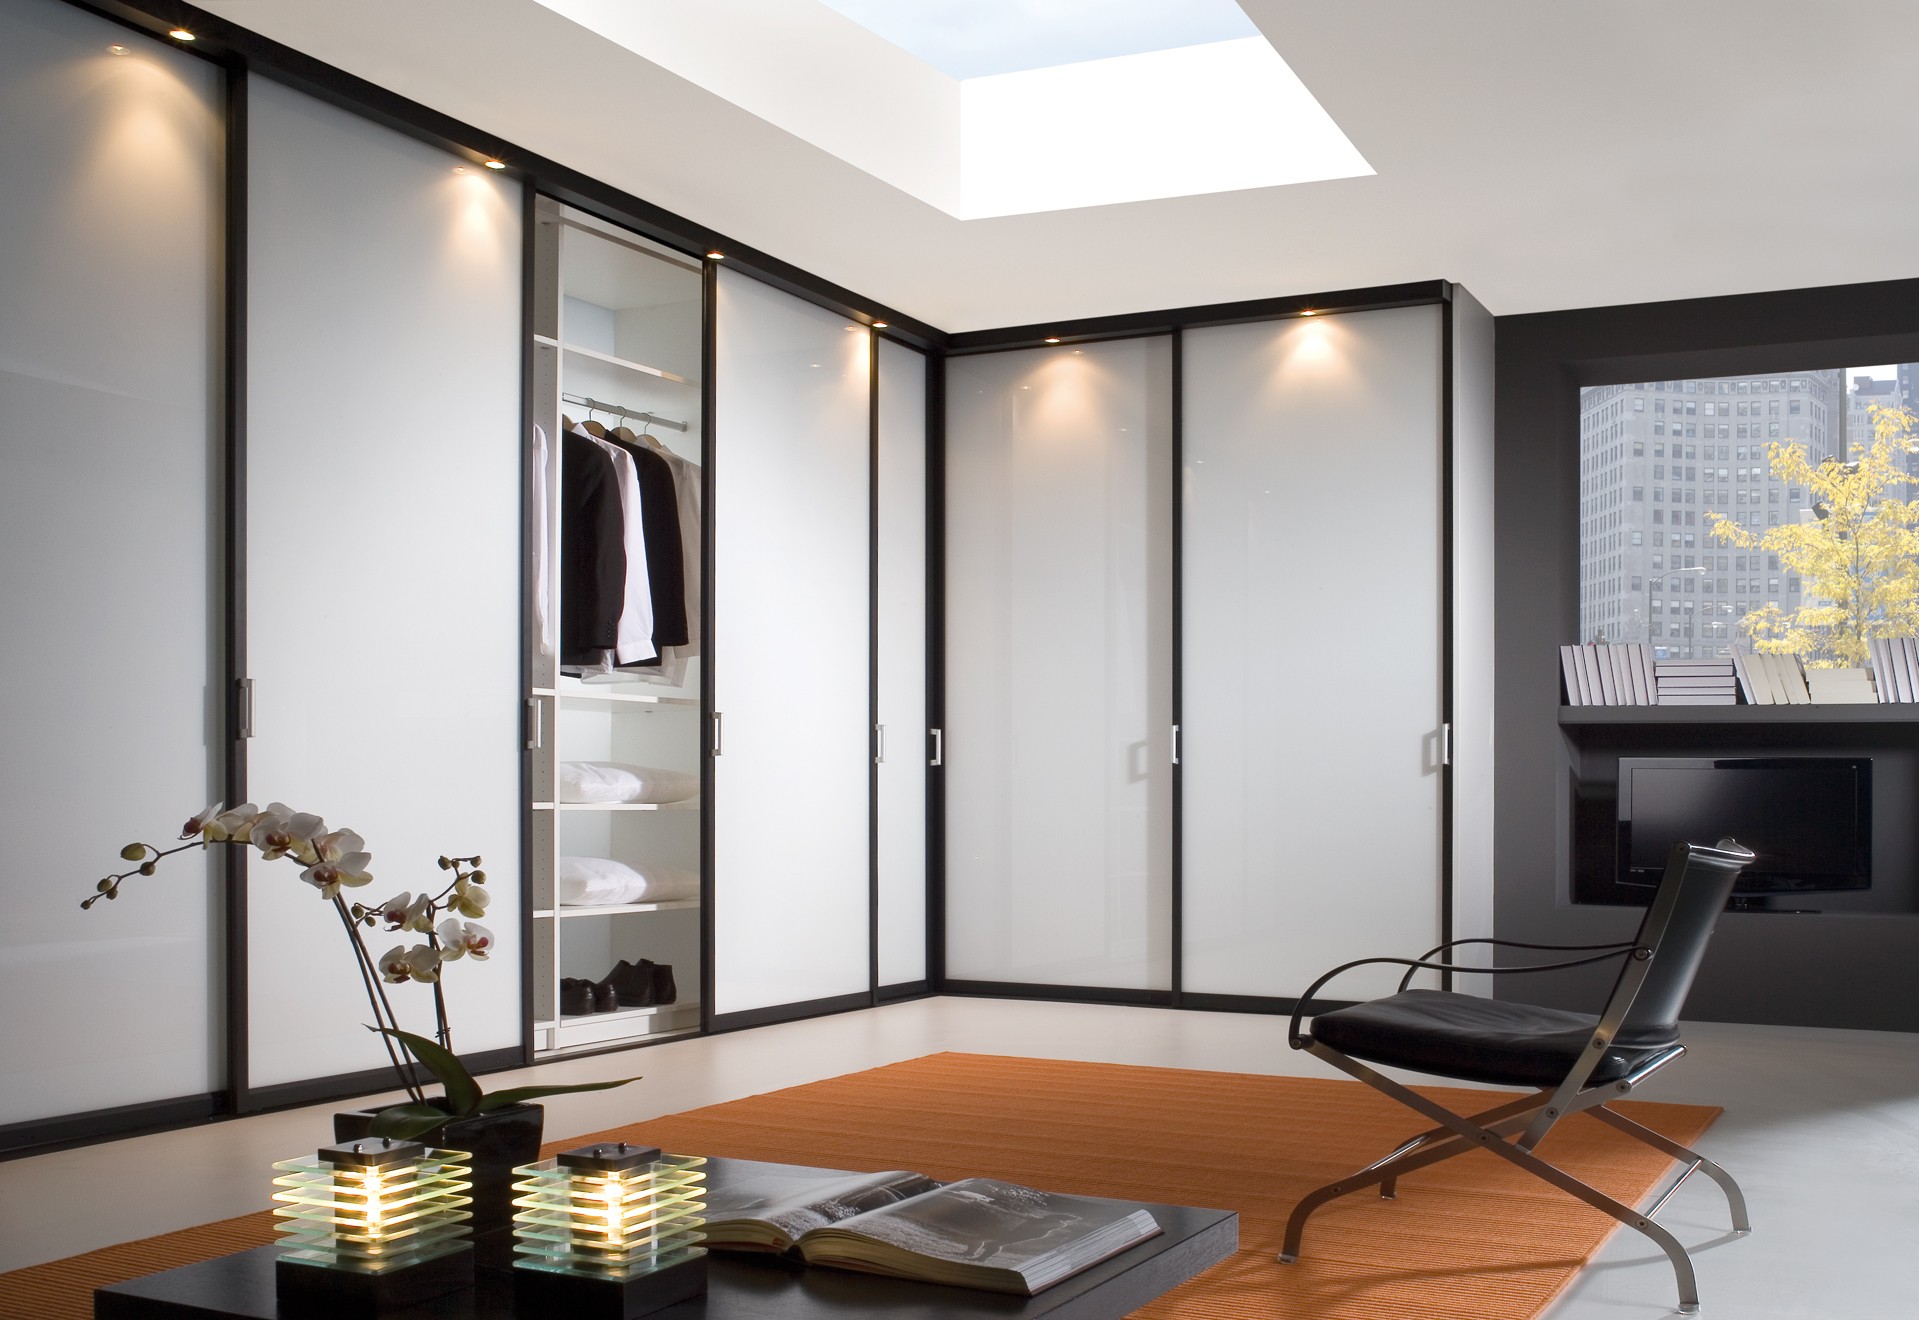
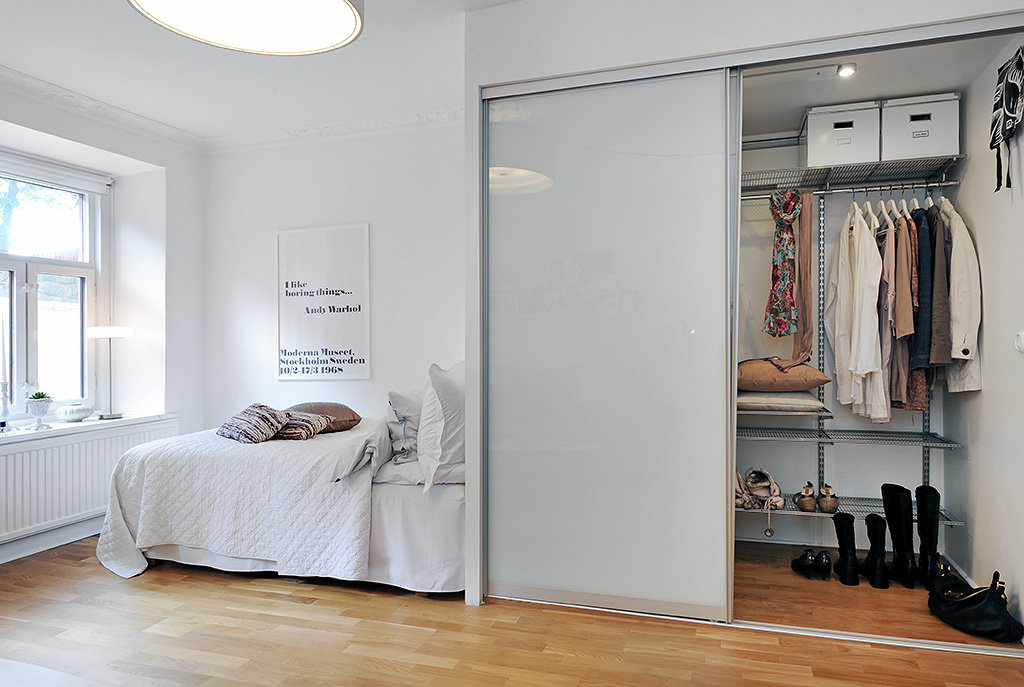
- For clothes. Designs of this type are distinguished by the presence of special components. In the closet for storing clothes there are necessarily a hanger bar (transverse or longitudinal), shelves and hooks. You can also add a mirror, drawers for underwear and a shoe stand to this list. Very often, this piece of furniture is built-in or wall-mounted - it is installed along the wall with the help of an artificial gypsum plasterboard. From the tree or metal profiles going frame, which is attached to the floor. Then it is sheathed with drywall, the structure is puttied and polished. After this stage, the installation of shelves and doors (hinged or "coupe").
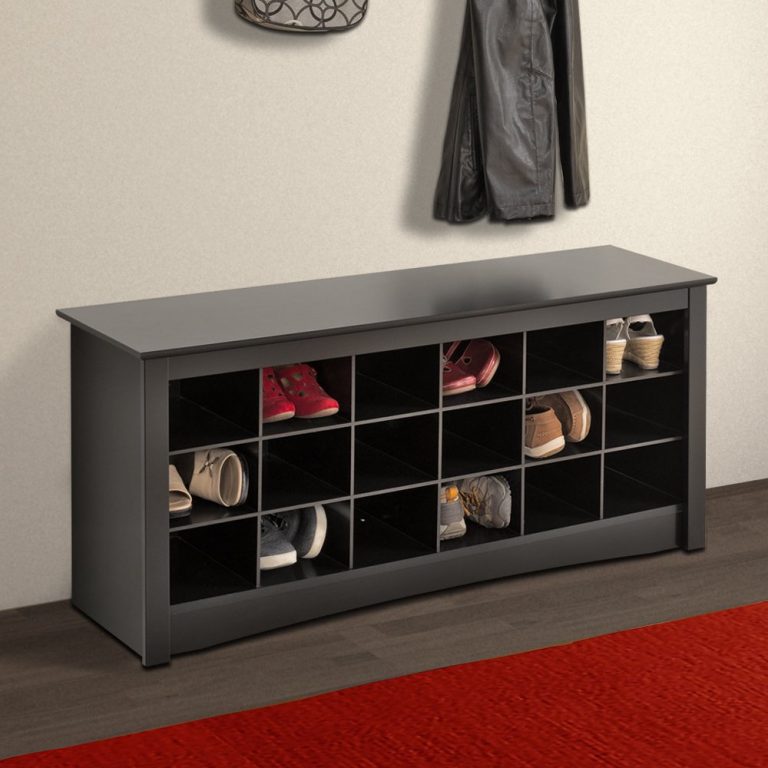
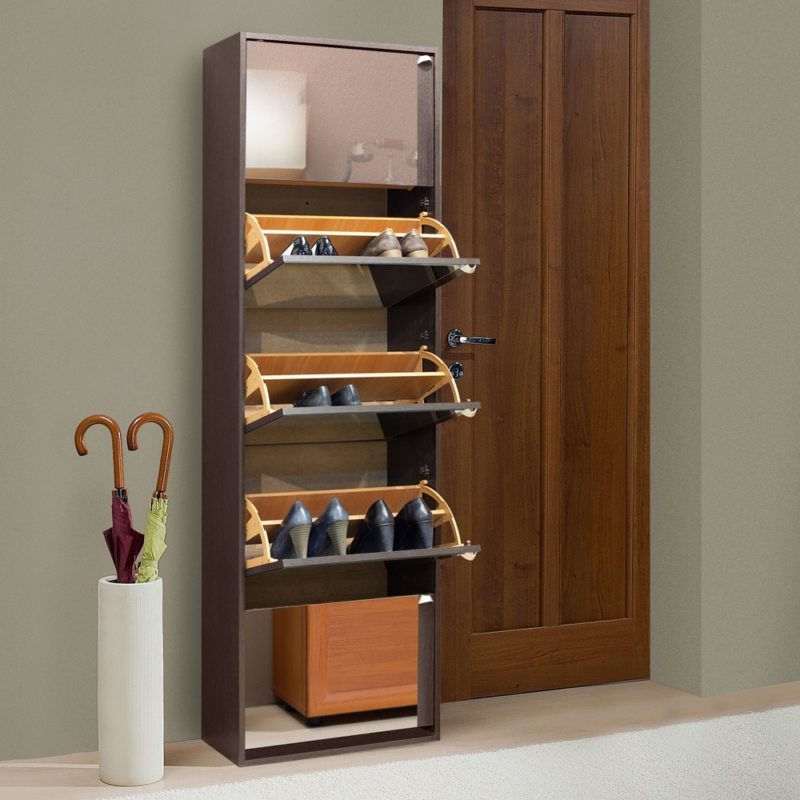
- Shoe. The design for storing shoes is of two kinds. The first - as part of the wardrobe for storing clothes. The second is like a separate dresser, on the lid of which keys, gloves, hats and other small things can be stored.The shelves do not have to be wooden - there is an opportunity to choose the type of dryer for dishes. Lattice shelves made of metal, combine functionality and attractive appearance. Be sure to leave the bottom of the cabinet open, otherwise excess water will accumulate inside. The depth of the shelves should match the length of the box from the largest pair of shoes in your apartment.
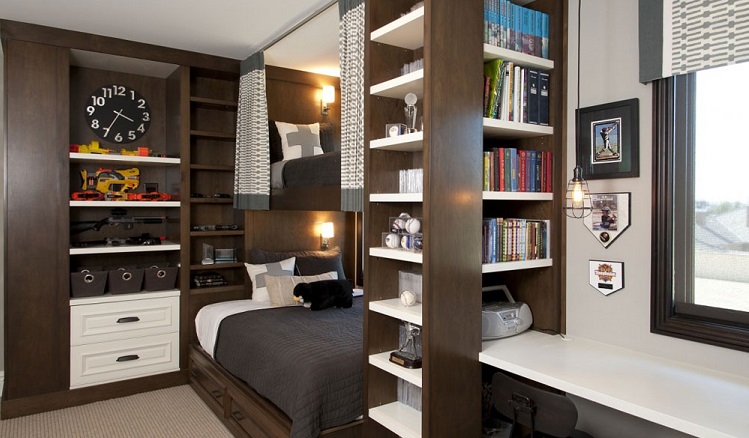
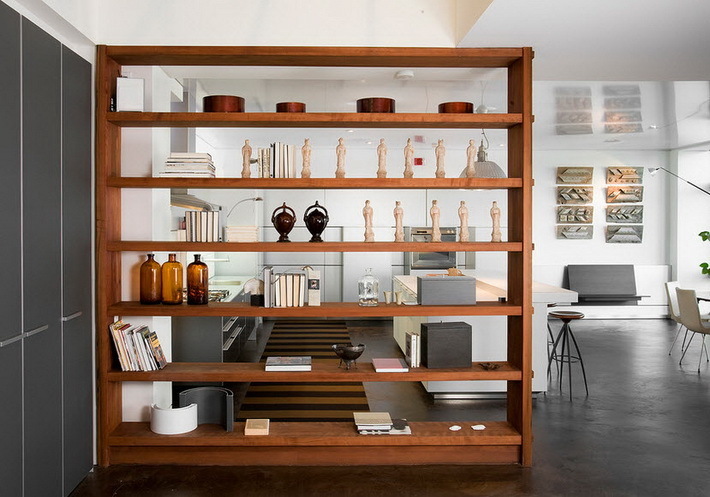
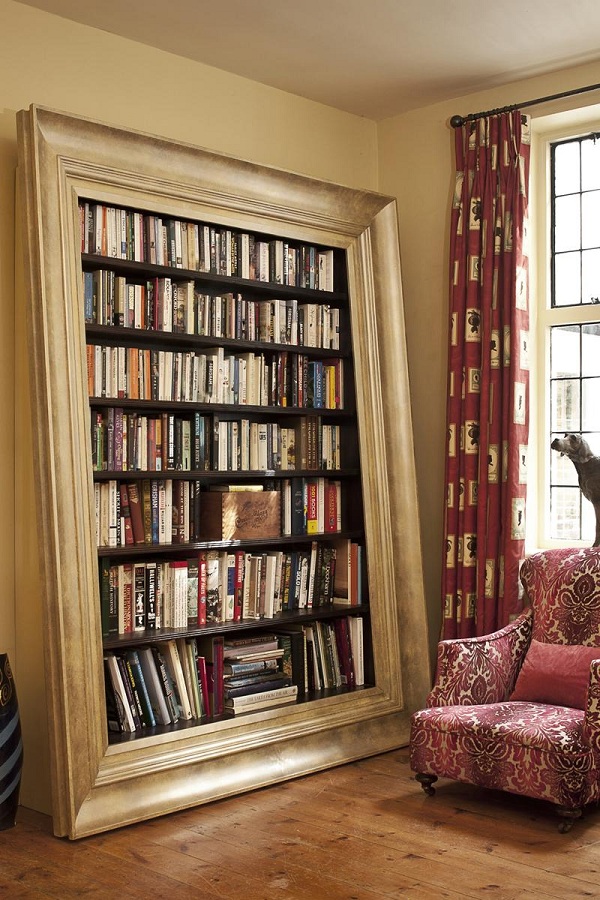
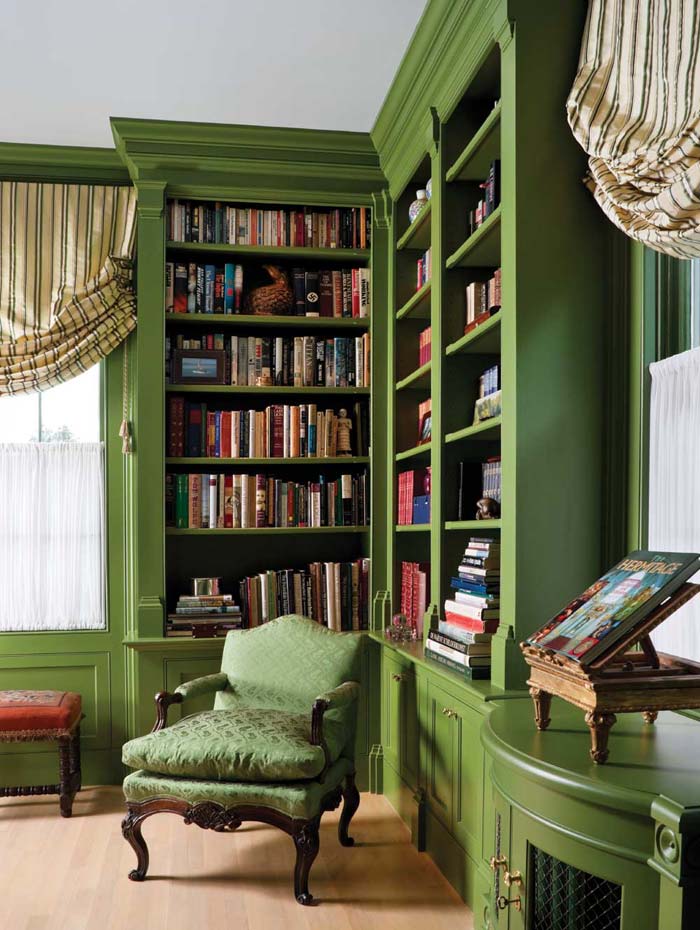
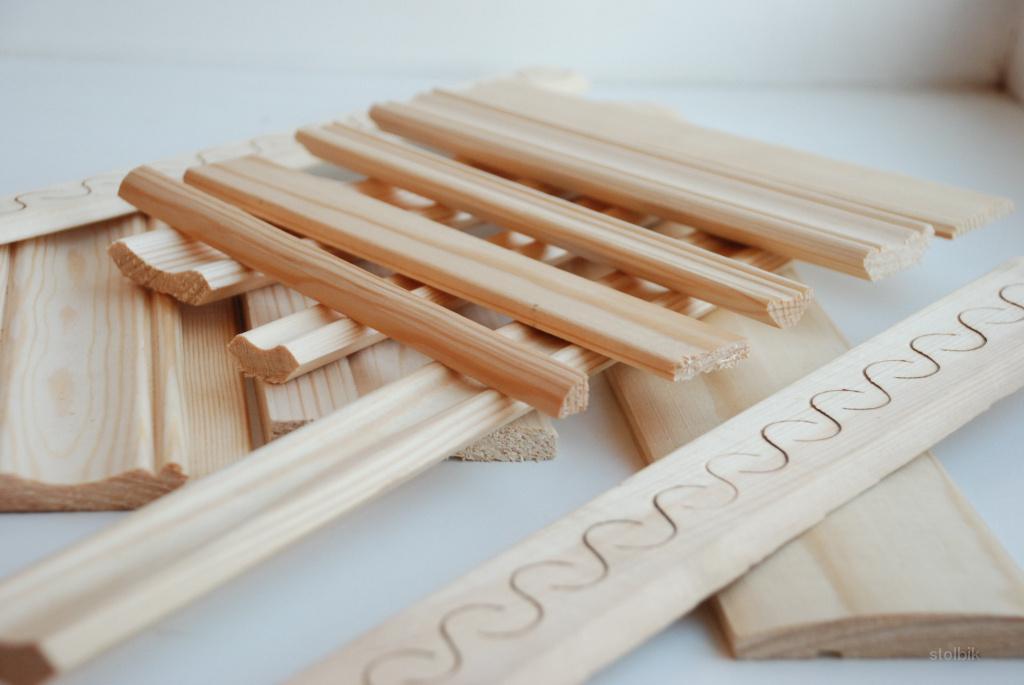
- Book. Bookcase models are divided into open and closed. The second protects books from dust, moisture and light, but the first look better in the interior. Also distinguish case cabinets (the most common), modular (giving the opportunity to combine elements and change the appearance), built-in (with a system of sliding doors), corner. Most often, these pieces of furniture are assembled from chipboard or MDF. The classic cabinet depth for books is 400 millimeters, height - 2 meters, and width - 800 millimeters. Most books and magazines quietly fit inside with such indicators. Shelves can not be mounted on the corners, and crash into the sides of the cabinet. For aesthetics of furniture, use decorative moldings - overhead bulging strips.
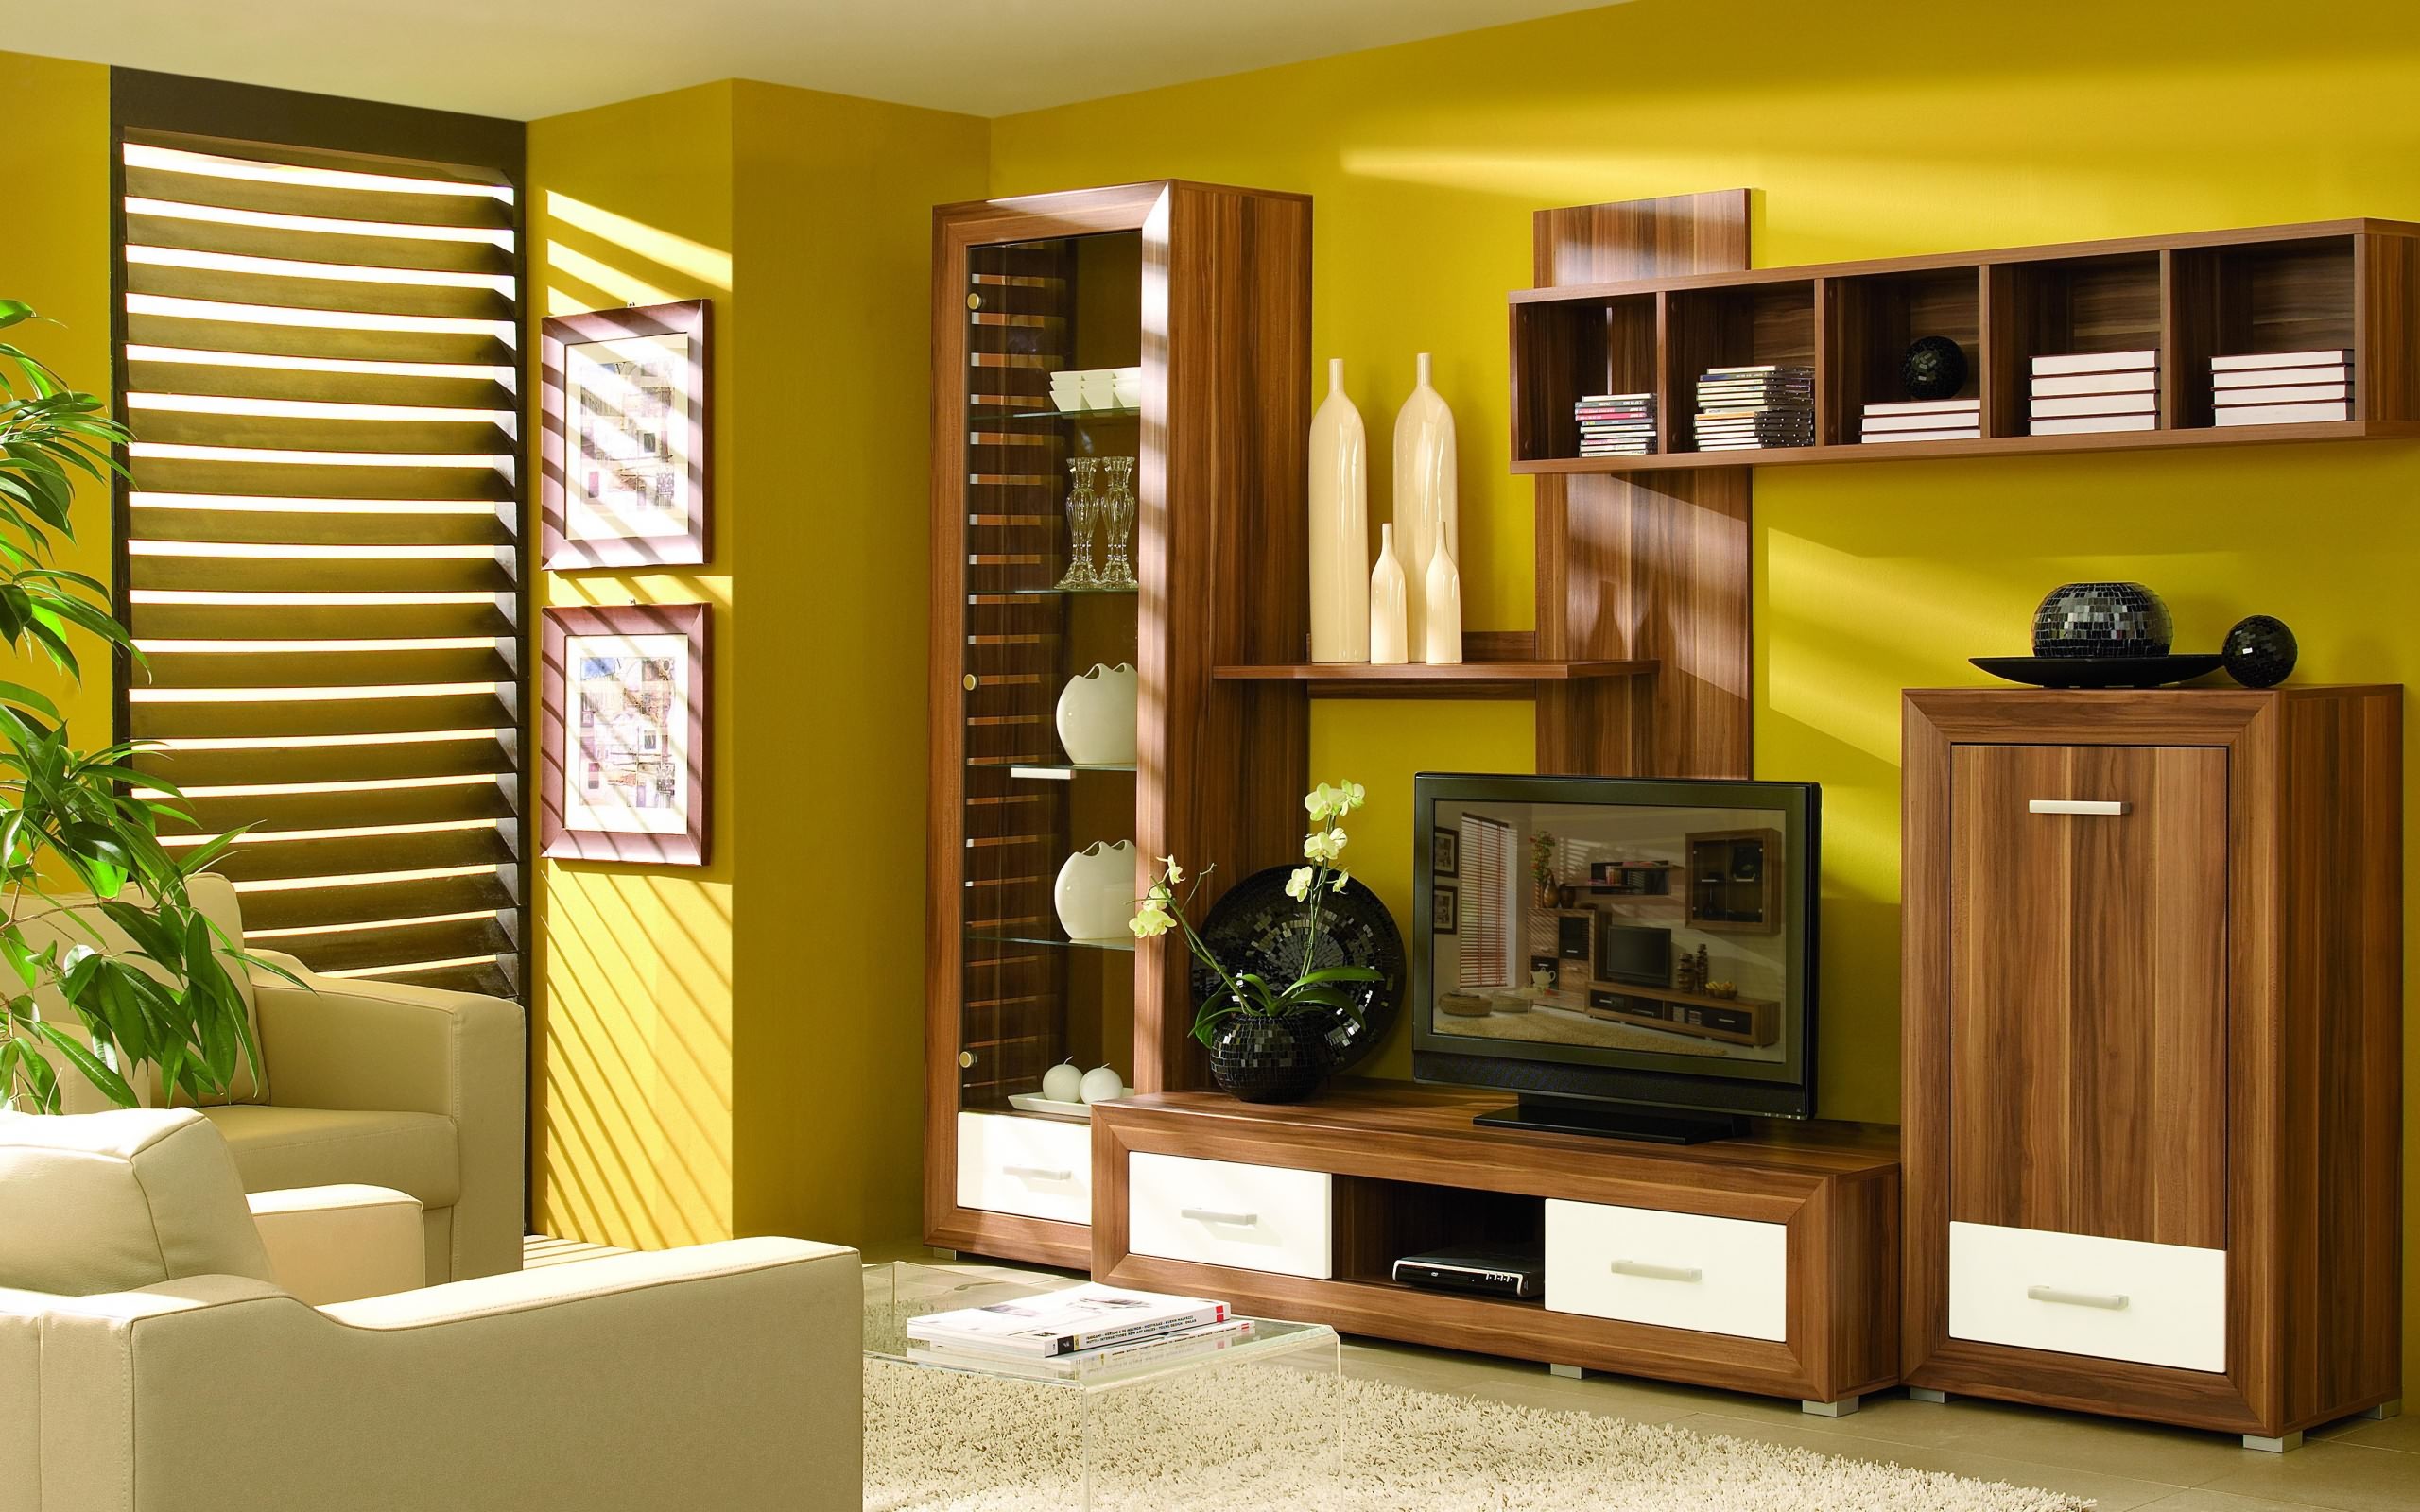
- Swinging. This type is one of the most simple and familiar for Russian apartments. The design can be very different, and the content includes shelves, drawers, tables or rods for hangers. These cabinets are used to store some personal items, clothes, dishes, hobby items or handicrafts - in general, for anything.
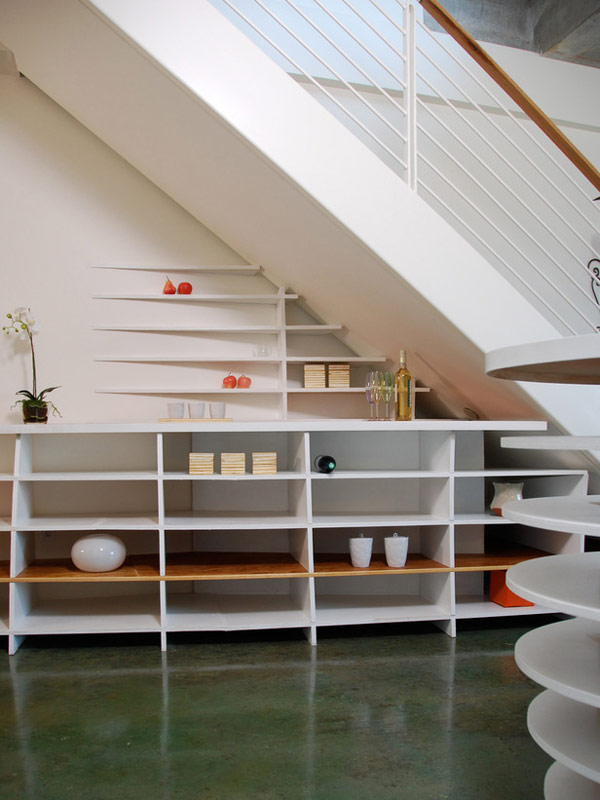
- Built in. In addition, you can assemble a closet placed in a niche or under the stairs, if available. These models allow you to save space and refresh the interior design.
Options for different rooms
The design and the internal contents of the cabinet depend on the purpose of the room and the required functionality.
- If you are looking for a storage device for a small room or a narrow corridor, give priority to wardrobes (built-in models), which do not take up much space, but allow you to accommodate a large number of things.
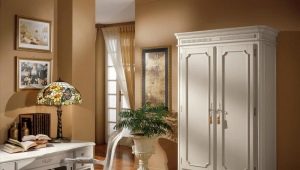
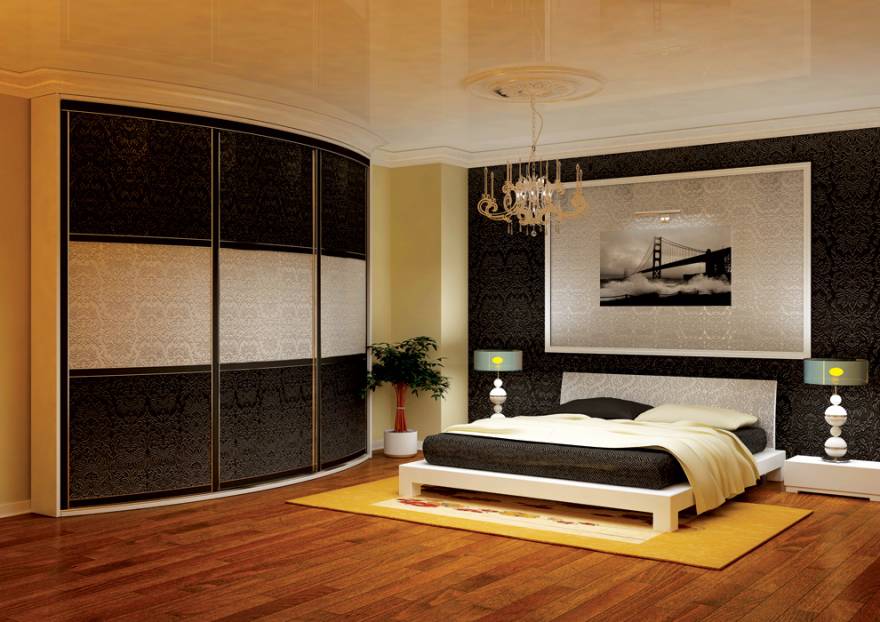
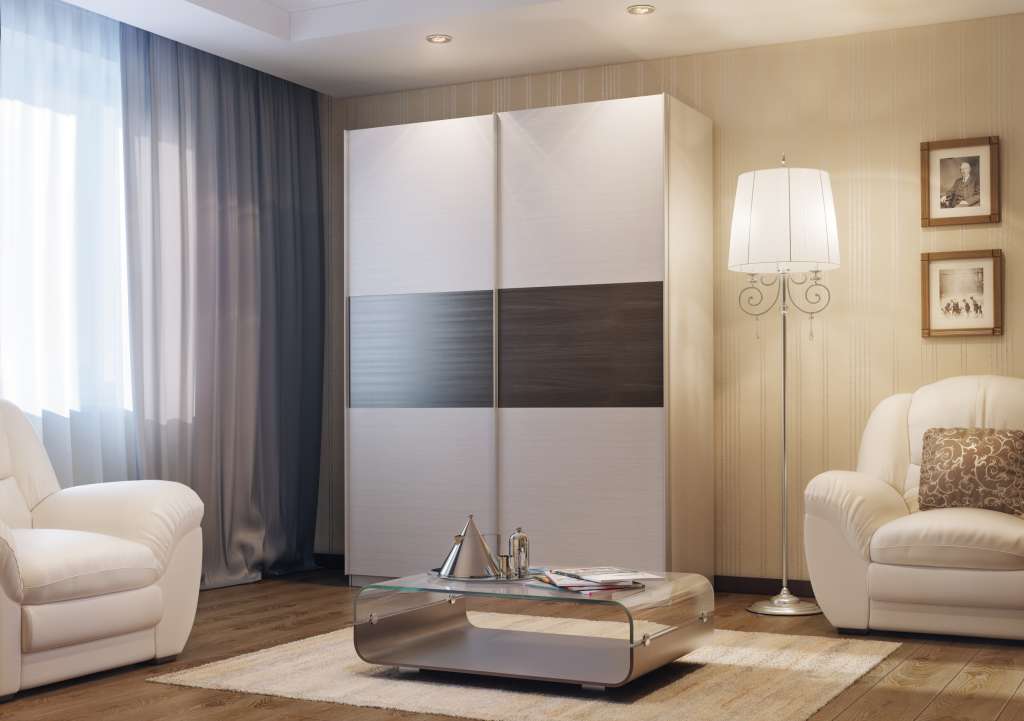
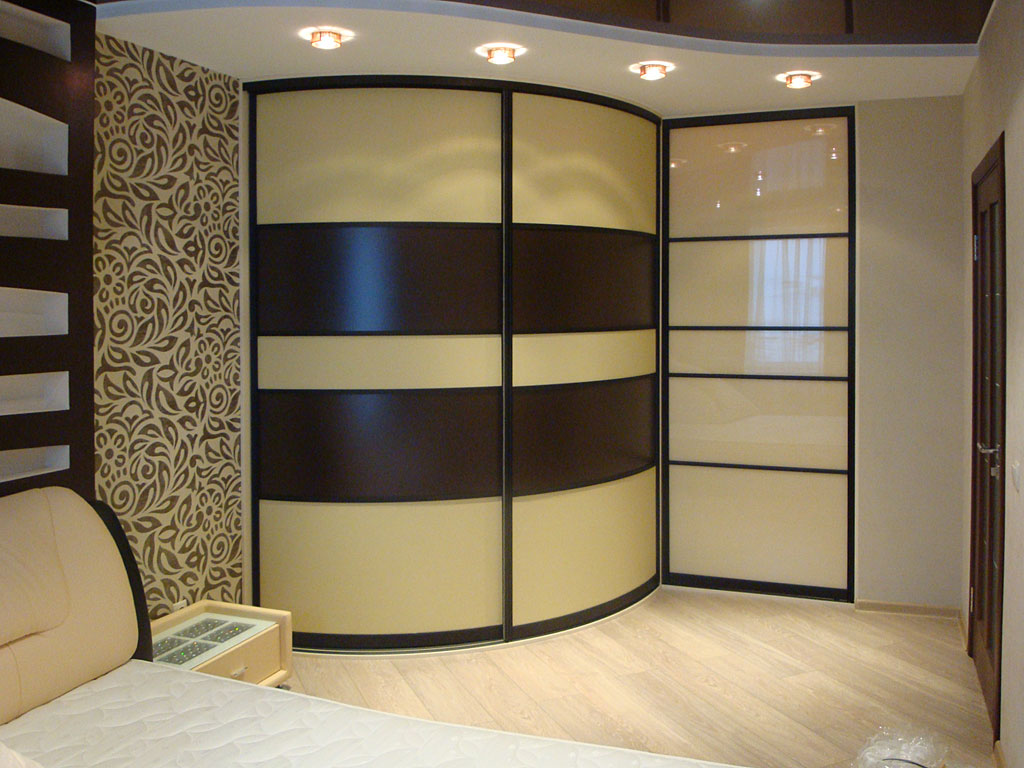
- If you need to choose a wardrobe for the bedroom, then pay attention to the roomy design, which houses a variety of shelves, drawers and modules, tables, bars, shelves and hooks. Both sliding wardrobes, and usual oar models will approach.
- Kitchen sets usually consist of hinged cabinets with a large number of drawers.
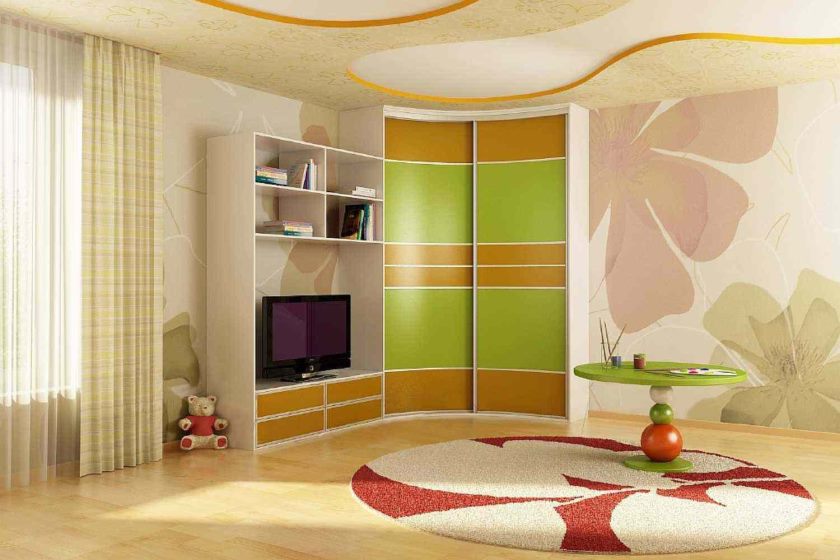
- In the children's room, non-standard models look good, for example, modular bookcases, characterized by bright colors.
- The simplest swing models with a couple of three shelves and mirror surfaces are suitable for the bathroom.
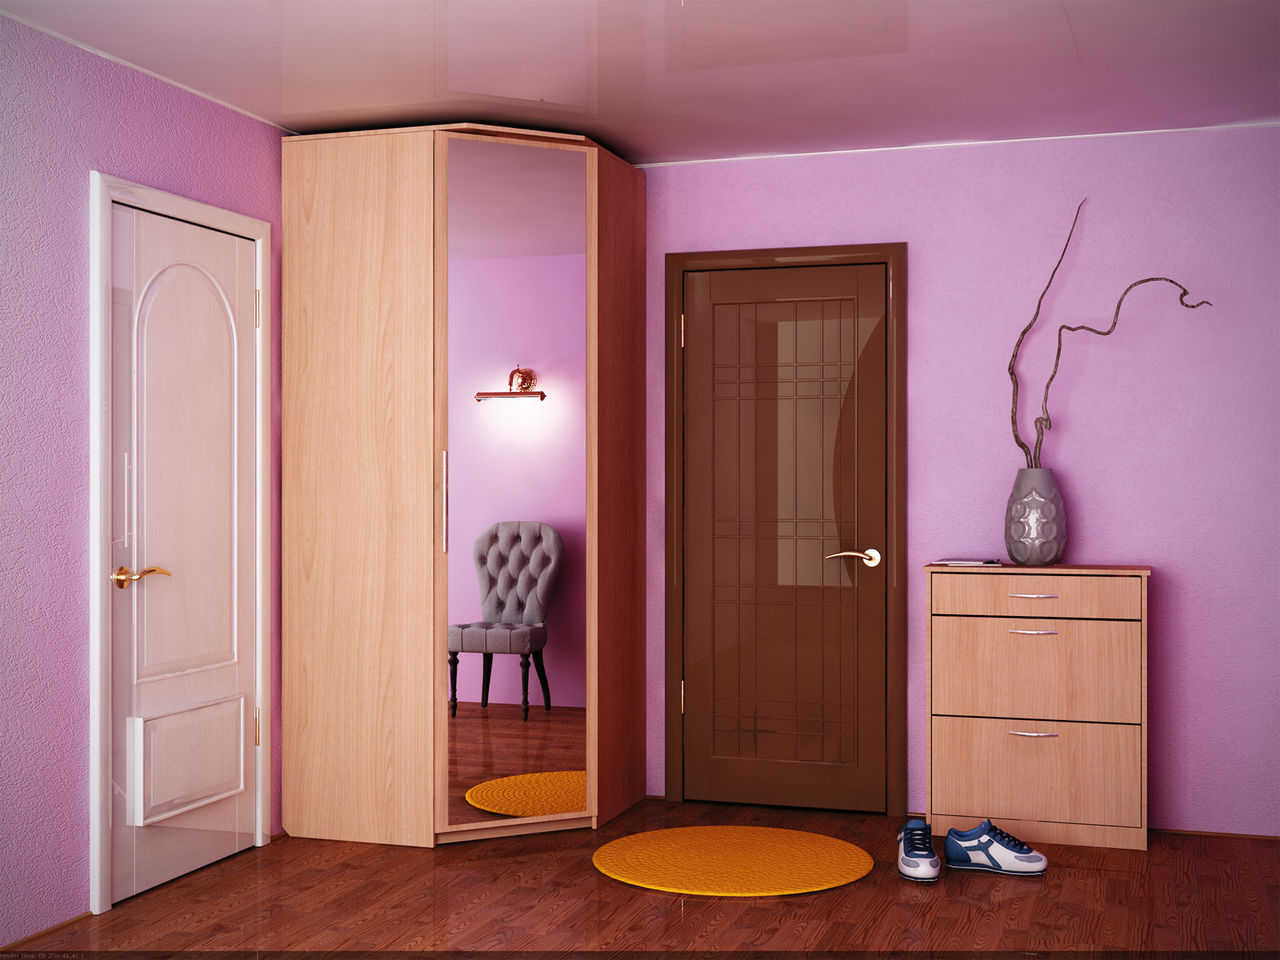
- Hallway - a place for built-in structures, including corner, and shoe chests.
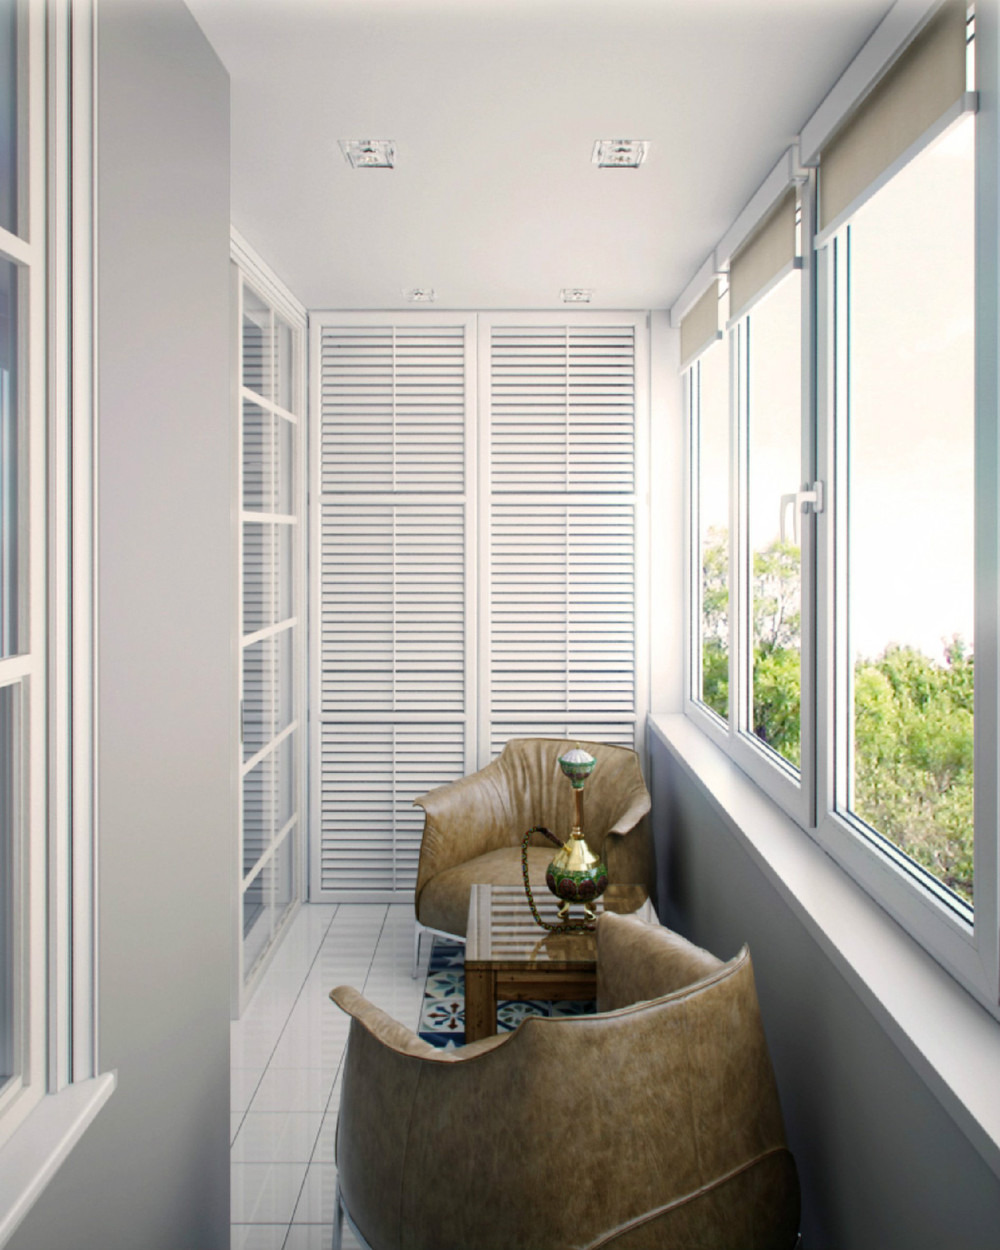
- Cabinets on balconies and loggias are equipped with numerous shelves and compartments and are hinged structures. It should be borne in mind that a wardrobe made of chipboard can only be installed on a heated loggia, otherwise the shields will begin to warp, and the furniture will not serve you for a long time. Natural wood, properly treated with water-repellent formulations, will last much longer, even in the presence of excessive moisture. Open shelves - the simplest version of the balcony cabinet.
What to do?
Materials for the production of cabinets do not differ much diversity.
Furniture panels or slabs
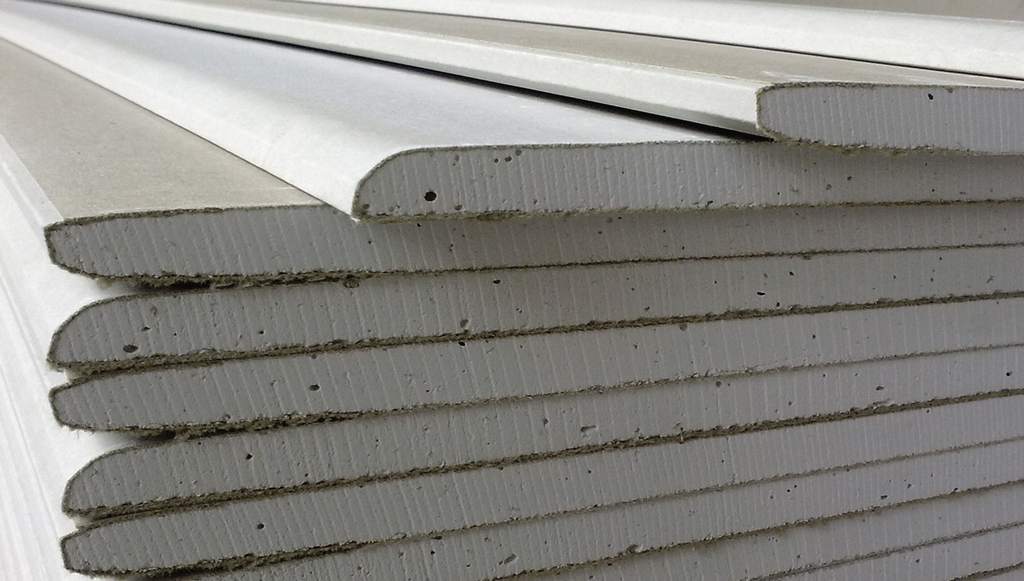
Chipboard, laminated chipboard and MDF are boards or plates made of pressed shavings, fibers and sawdust.MDF is a fibreboard made of very fine chips by hot pressing. This material is dense, flexible and easily processed. Fasteners inside such plates lasts much longer, in addition, they are not deformed when the temperature and humidity drops. MDF is quite environmentally friendly and is highly durable.
Chipboard - chipboard - consists of pressed and glued sawdust and large shavings with the addition of binder resins. Such a material is rather fragile and afraid of water, but it can be achieved with an exceptionally flat surface. Chipboard is usually chosen for bookcases and cabinets for clothes. Plates benefit in cost compared to MDF and chipboard.
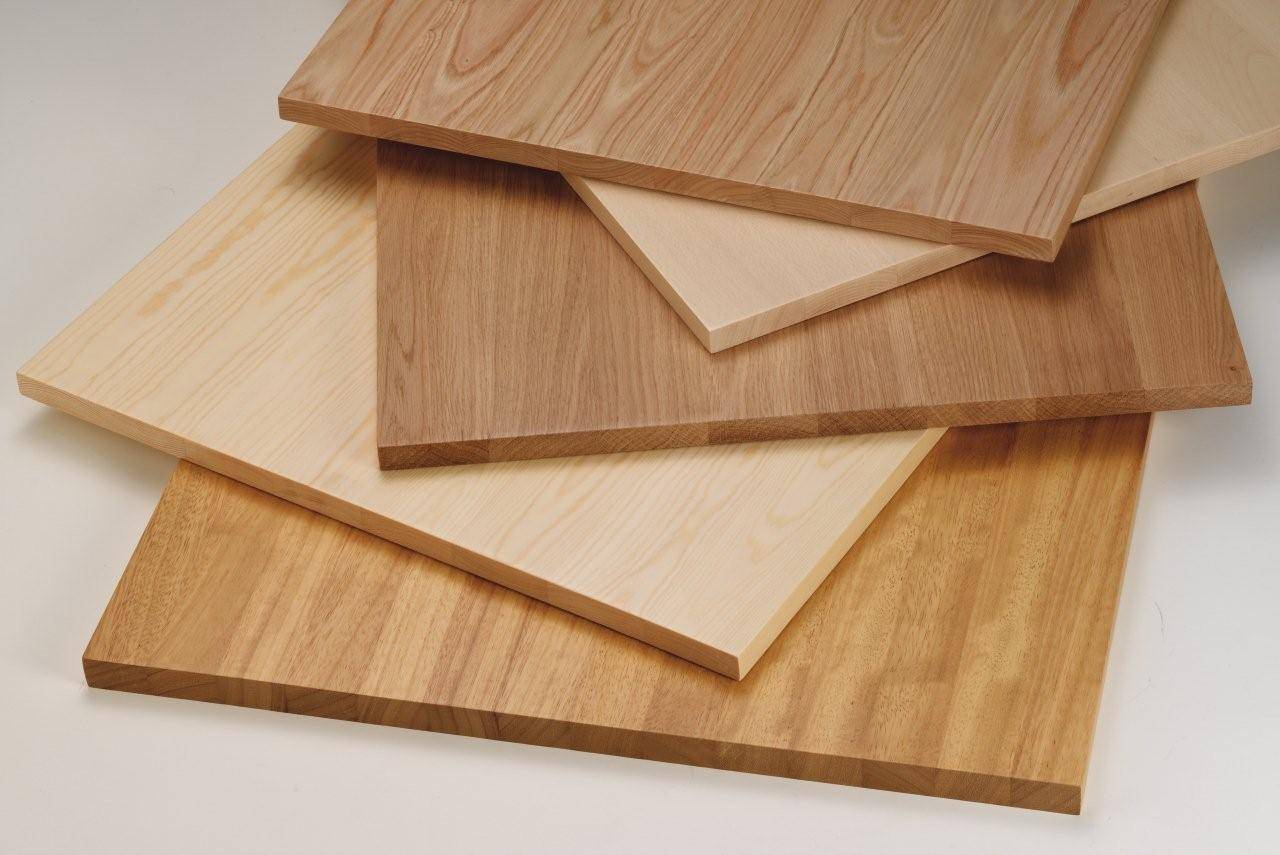
Chipboard - laminated chipboard, the surface of which is treated with a special melamine film. In common people called "laminate." The material is resistant to moisture and has a wide color palette. LDSP is much stronger than chipboard, due to the fact that the coating is pressed into the very structure of the board.
All three varieties are fairly cheap, easy to handle, durable and durable.
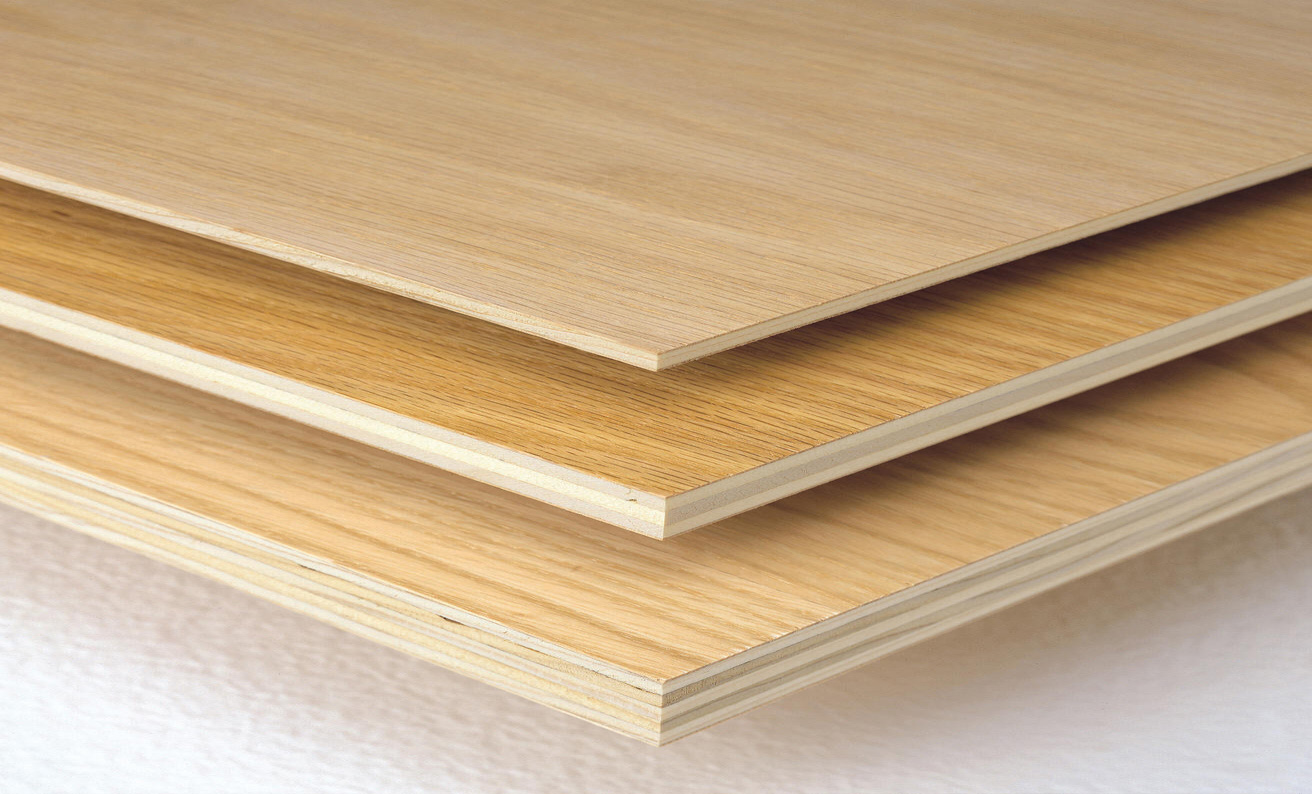
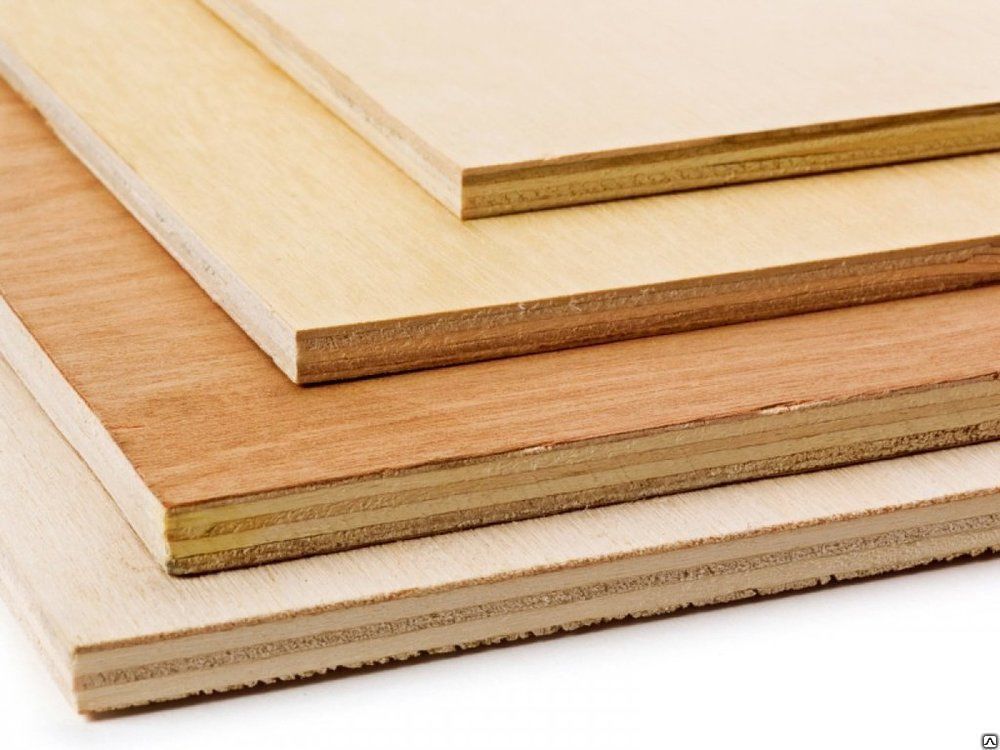
Plywood
Plywood is a durable material that does not crack,it is eco-friendly and does not require additional processing, due to the smooth surface. Sold in solid sheets, therefore, does not require docking. If you get the treated and varnished plywood, then save time, due to the fact that the cabinet will only need to assemble.
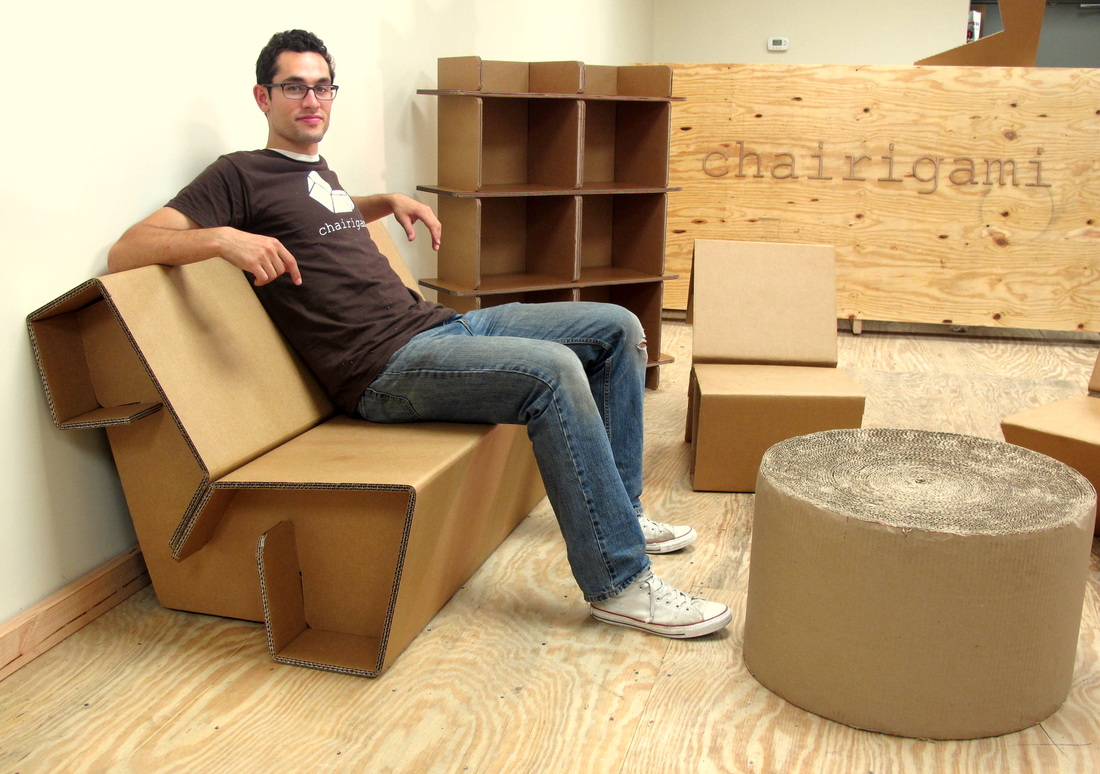
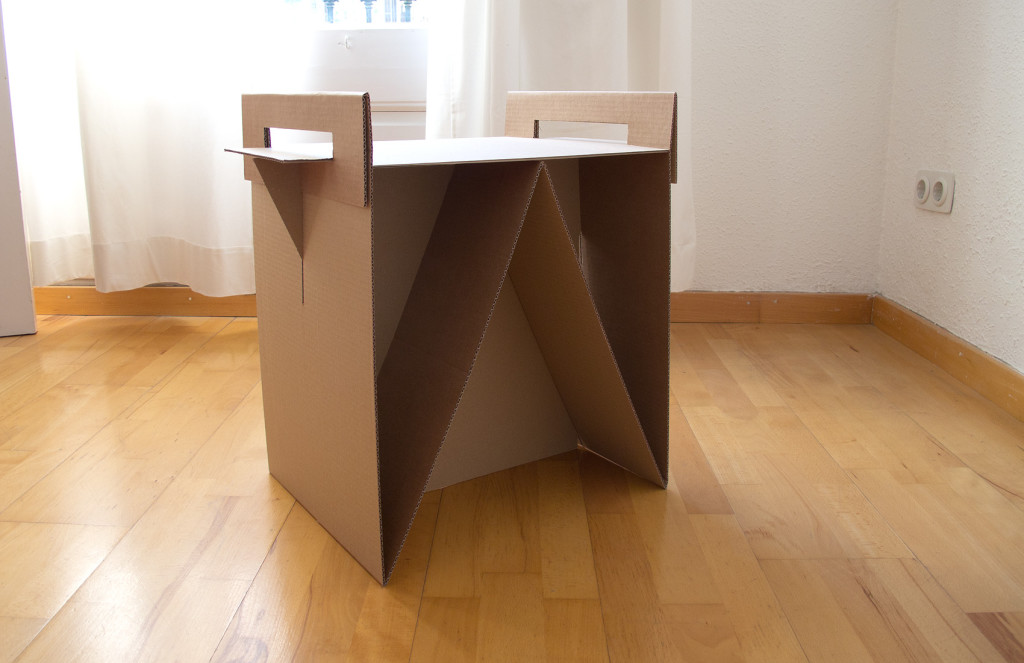
Cardboard
Making furniture from boxes is no longer a fun hobby - now it is a serious direction in interior design. Having picked up a qualitative cardboard, you can make not only a wardrobe, but also a dresser, a table and even a bed. Such furniture is environmentally friendly, cheap, mobile and surprisingly durable. The only disadvantage is that with a long stay in a humid environment, it loses its usability. To give strength to cardboard it is customary to use parquet lacquer. It is possible to work with this material by layer-by-layer gluing sheets, creating frame objects, which are subsequently pasted over with paper, modular designs and even origami. Cardboard furniture should be symmetrical, or with the presence of additional supports, and with the presence of transverse parts. Keep in mind that the thicker the cardboard, the stronger it is, and light cardboard is not as durable as dark.
When designing furniture, remember that 60 millimeters will occupy the decor of the furniture, so when drawing up the drawings, you need to take this length into account.
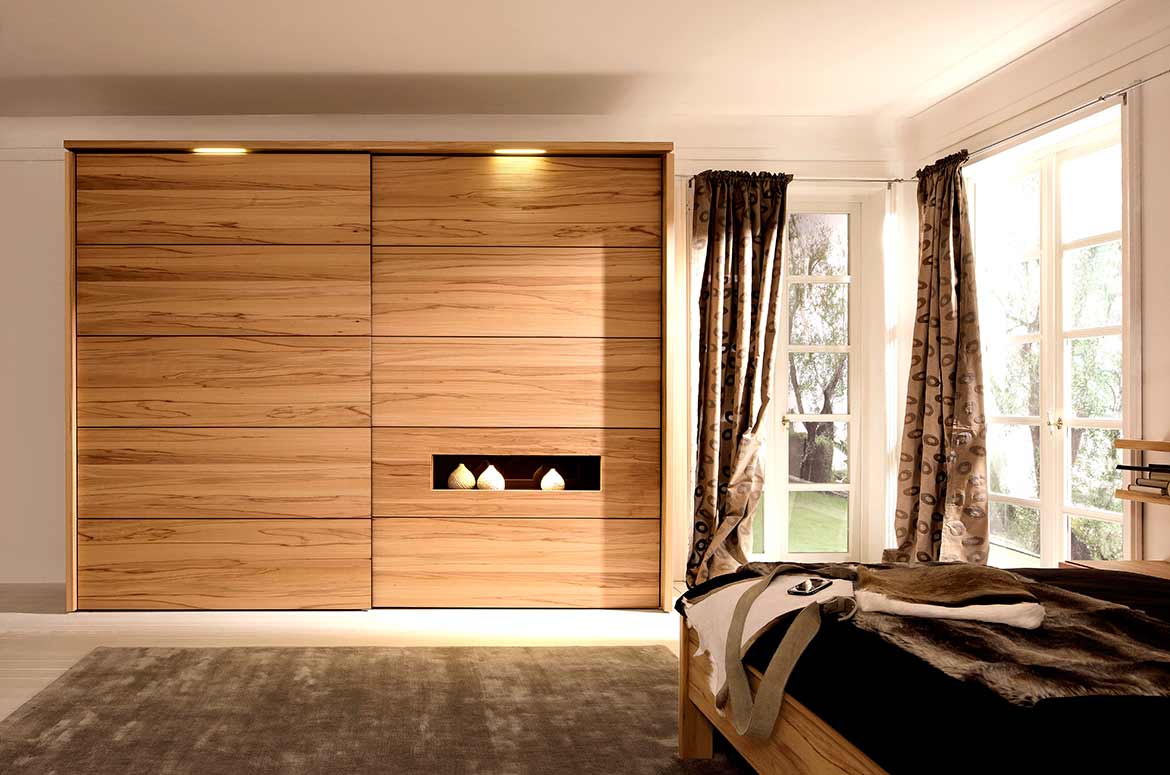
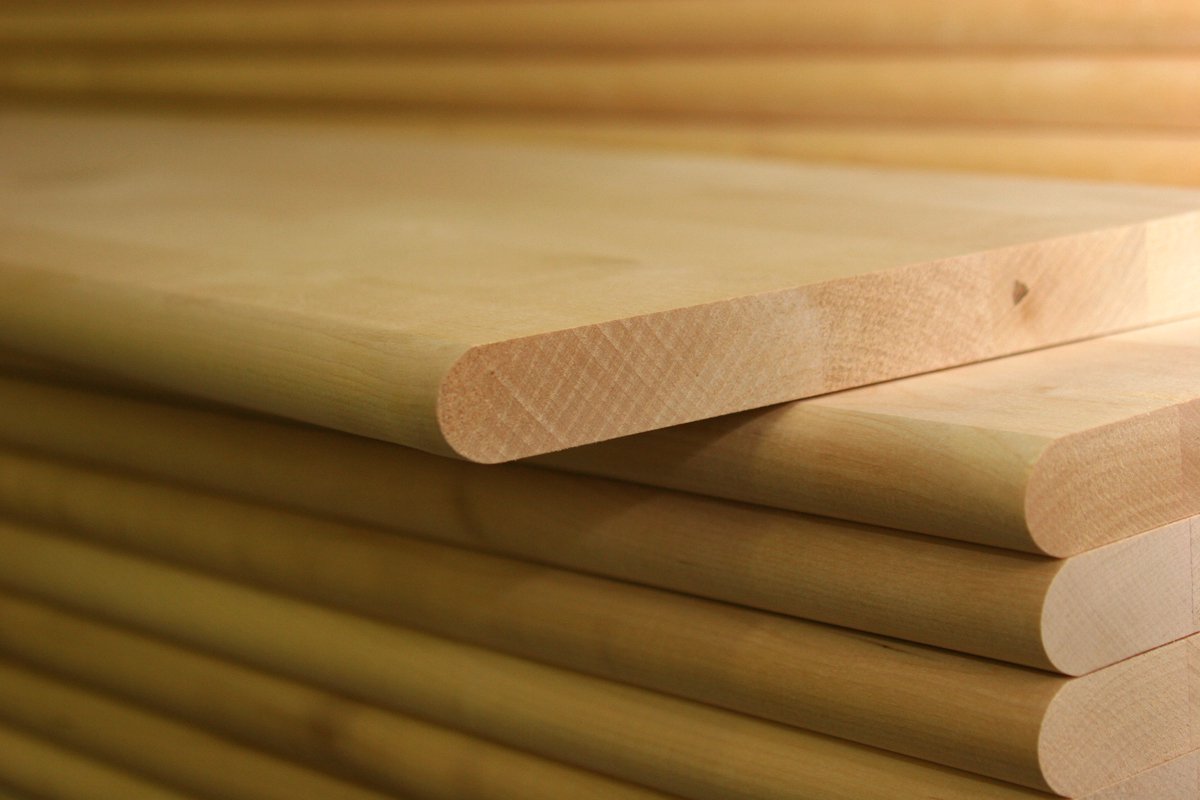
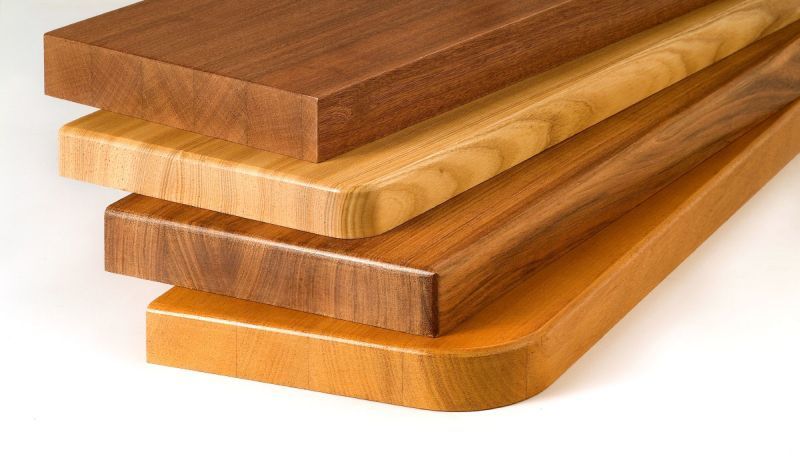
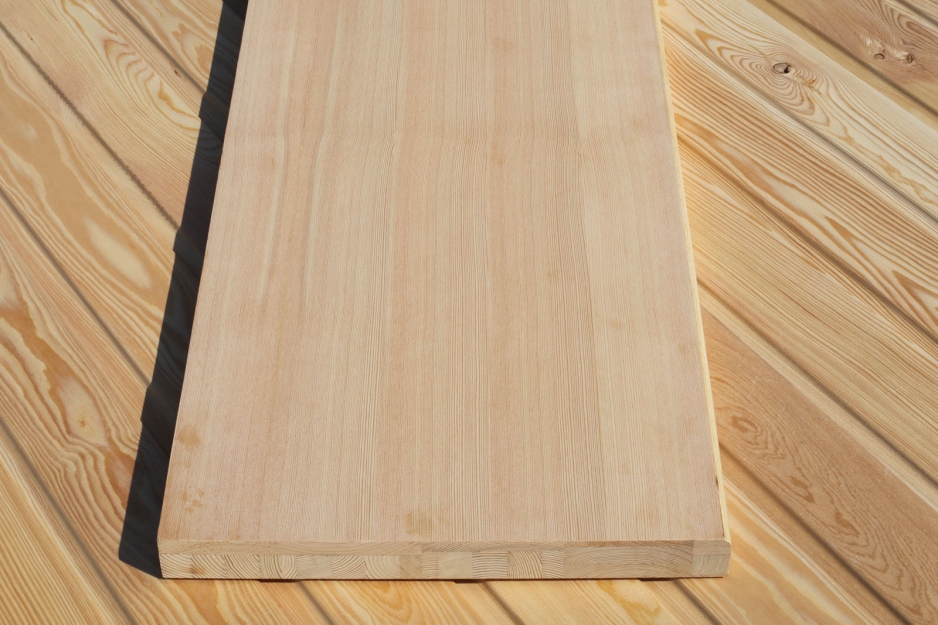
Solid boards
A wooden cabinet made of pine or spruce will serve you for decades without changing its qualities. In addition, wood furniture always looks elegant and weighty. Their cost depends on size, damage, dryness and breed. Pine and spruce are selected most often, hardwoods are also popular.
Clapboard
Cabinets lined with clapboard can be placed on the balcony or in the closet. This material is cheap, durable and aesthetic. When choosing a material, it is recommended to use hardwood paneling, since coniferous trees deteriorate from a long stay under the sun.
Drywall
A plasterboard cabinet can be made possible, but still not recommended. This material is rather heavy and fragile, designed for finishing something. Therefore, it is not possible to store any tangible load in a plasterboard cabinet.
Sheet drywall sags for six months, even if it does not lie.
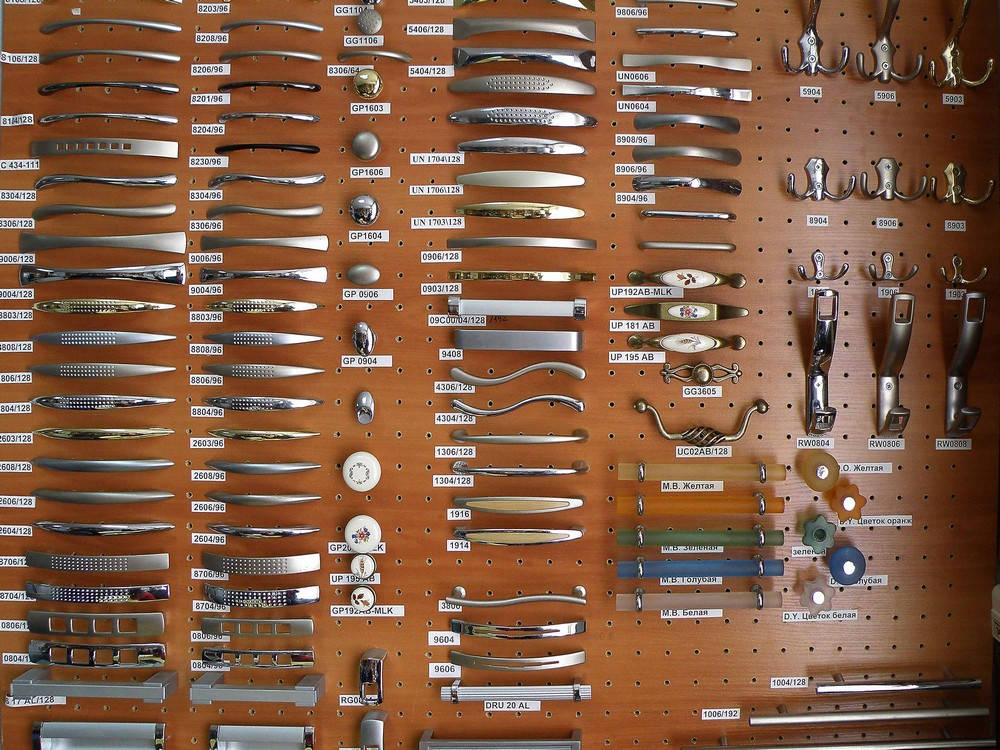
Fittings
Furniture accessories for cabinets include:
- attachments for shelves, hangers and mirrors;
- furniture hinges;
- roller and ball guides;
- handles and decorative accessories;
- feet and feet;
- sliding mechanisms.
All that is used for fasteners to the wall (bolts, ties and other hardware), as well as for opening and closing doors and drawers should be made of quality materials.
How to make a drawing yourself?
At first glance, the assembly of the cabinet is quite troublesome and resource-intensive, but do not forget about all the possible advantages:
- you personally select materials, which means you have the opportunity to save and buy only the highest quality;
- Having understood the instructions, you will understand that making the cabinet with your own hands is not so difficult: ordinary tools are used, and materials are easily processed;
- furniture making can turn into a hobby that brings tangible dividends.
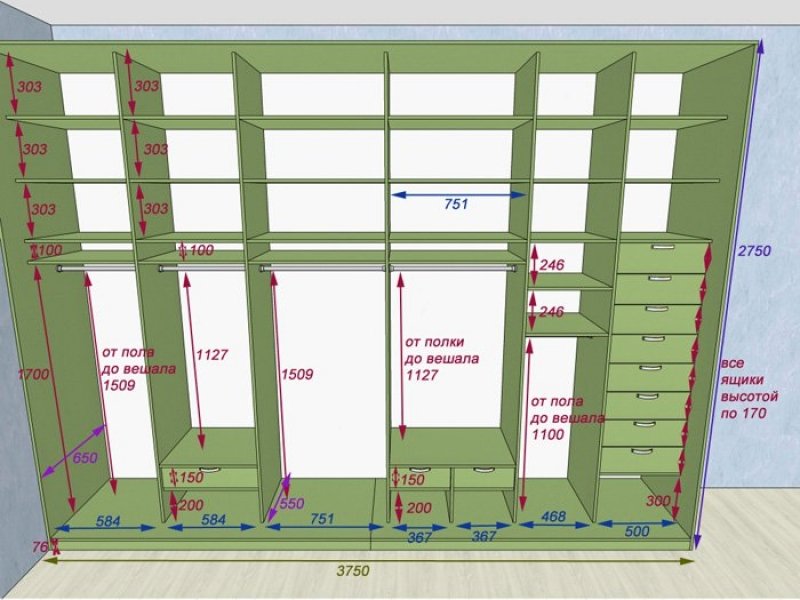
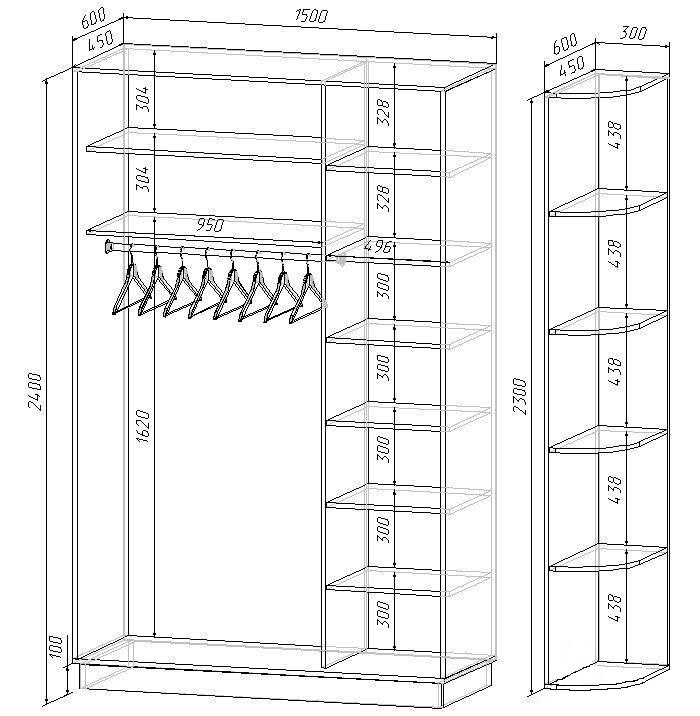
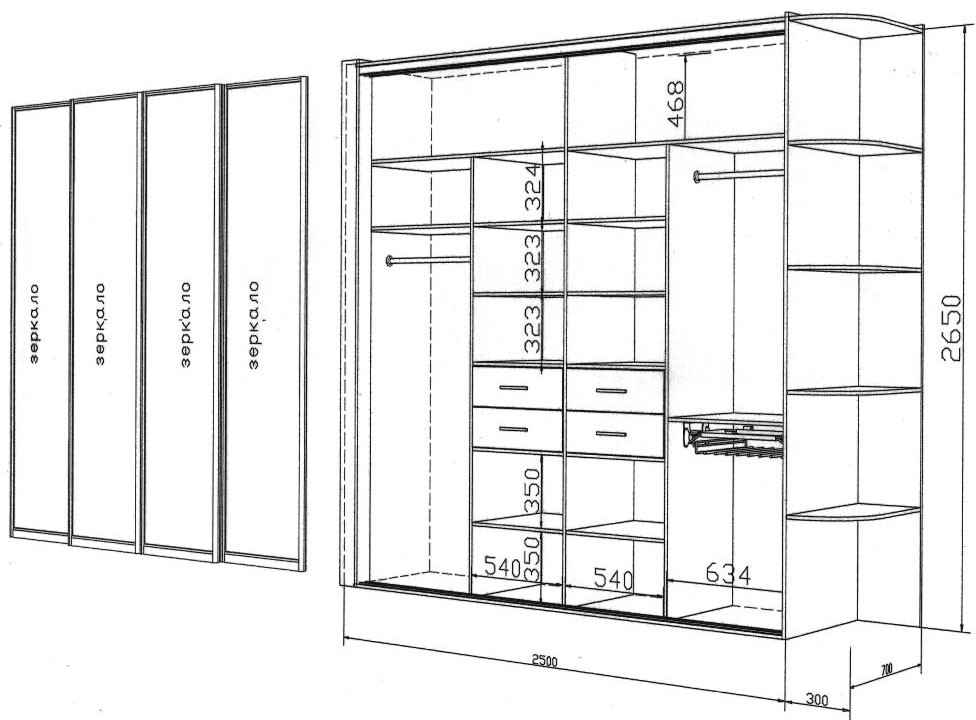
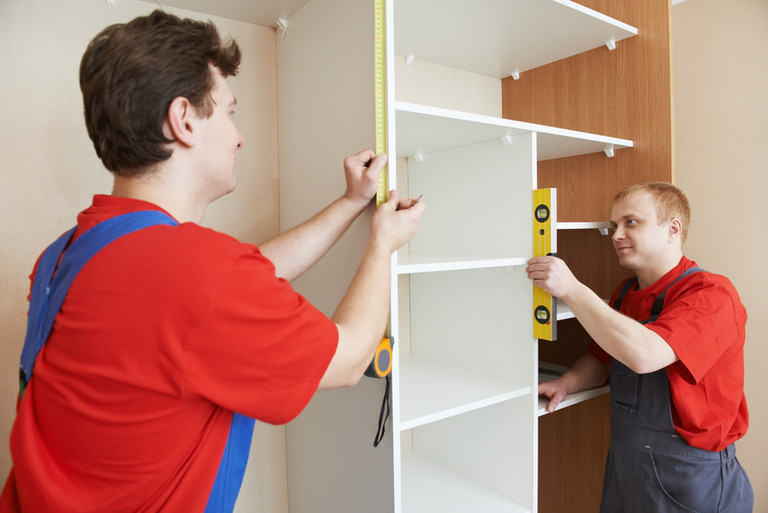
Having completed the preparatory stage, proceed to the creation of a drawing. The planned cabinet model is required to be transferred in detail to a sheet of A4 paper. First draw the frame of the future product, specify the dimensions of the walls, doors and bases. Then transfer the shelves and internal components to the paper.Again, in the diagram indicate the length and width. Consider the size of the design and layout of the apartment, calculate the number of shelves, hooks, rods, the presence of mirrors and their placement in the inner space. Do not forget that the width of an ordinary coat hanger for clothes is 40-42 centimeters, and when you hang something on them, it becomes even larger. To perform this step, use a measuring tape, a pencil and a sheet of paper.
Also, the drawings can be made in special computer programs: Autocad or Basis-Furniture Maker.
When the drawings are ready, you need to start sawing parts. However, it is quite difficult to do this at home - the machine is very expensive, and the use of a jigsaw leads to chipping, so transfer the sketches with dimensions for production to professionals who will do it quickly and efficiently.
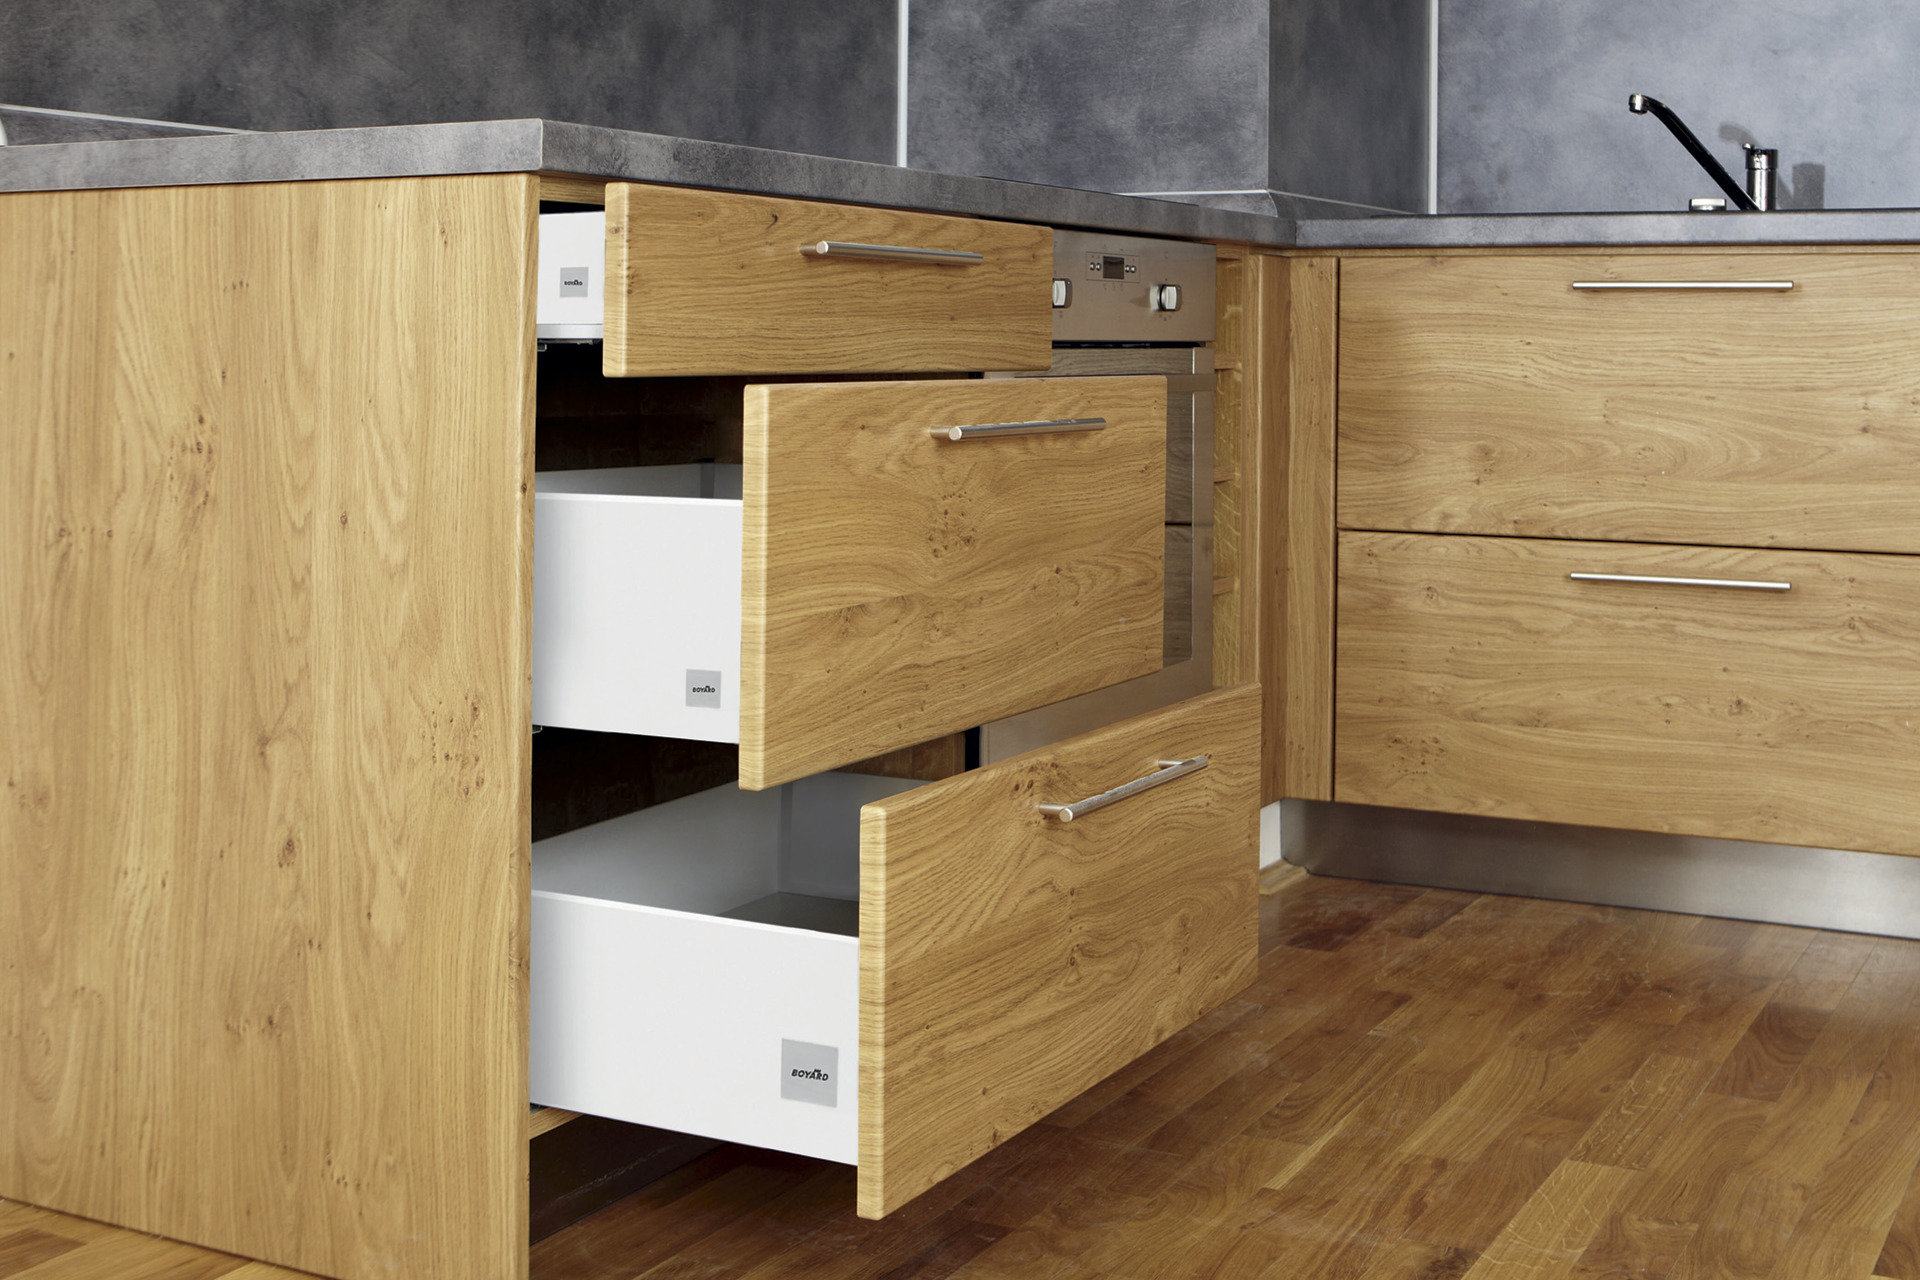
When you get the finished parts, go for the purchase of accessories. Mostly, you will need reinforcements, rivets, guides, angles and holders. Consider the design features and your own preferences.
Choosing a system for opening doors, do not forget that they can open to the sides, up and down, or constitute a "coupe".
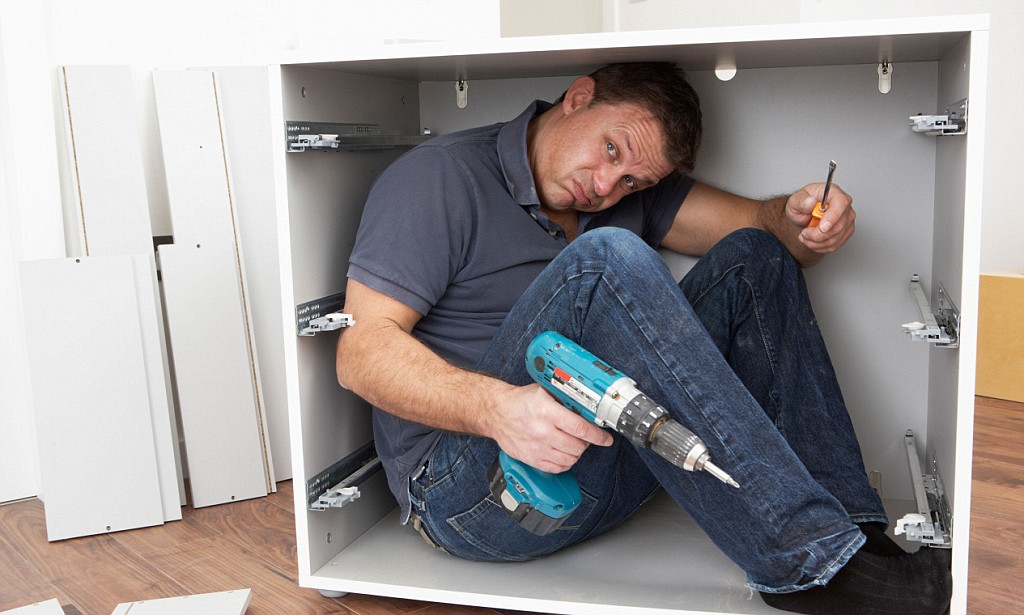
How to properly assemble: step-by-step instructions for assembling a wall cabinet
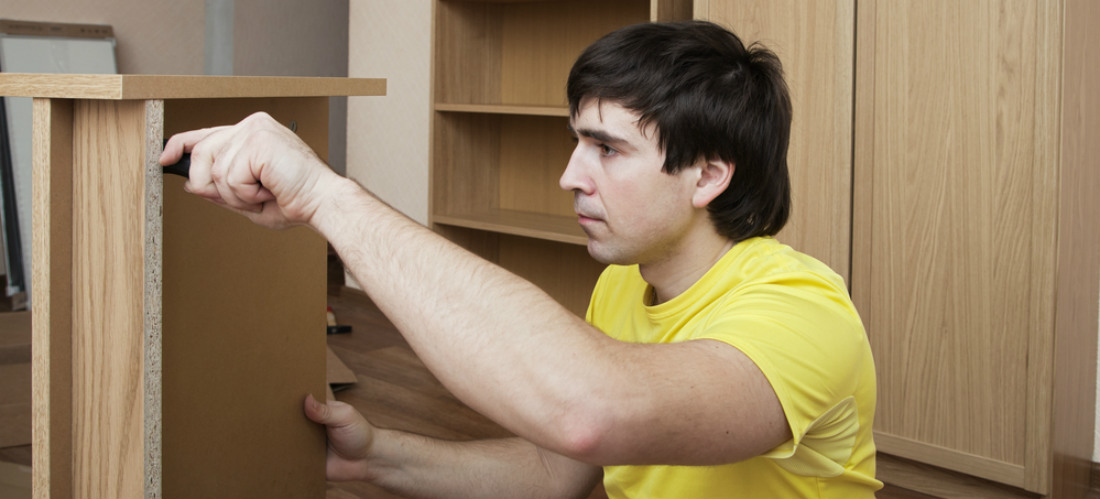
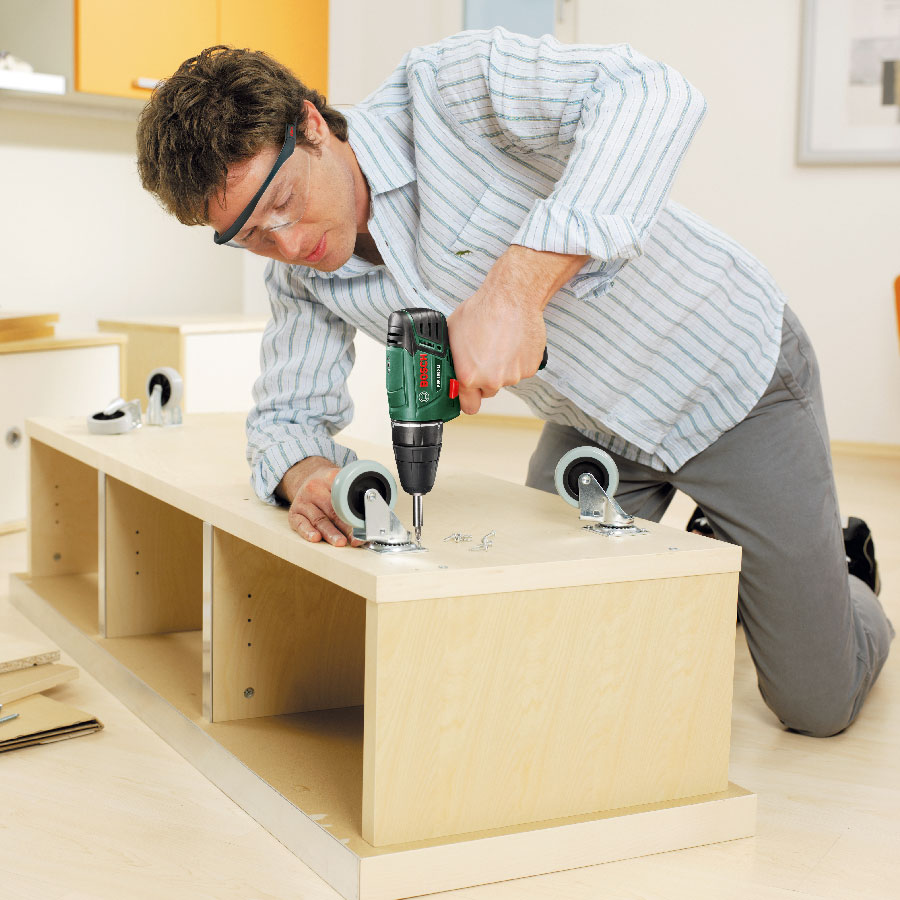
First of all, it is necessary to perform markings for shelf holders and guides for the boxes, depending on where you want to see them and in what quantity. Make sure that the details are arranged in parallel. Attach the fasteners and, if possible - the cabinet is located at the junction of two walls - install the shelves. If desired, secure them with glue and nails. Strengthen the doors with canopies. Also screw the guides if you are assembling a wardrobe.
Then you should select the required drill bit and symmetrically drill holes for confirmatics for butt joints. Do not forget about the holes for rods, shelves and partitions.
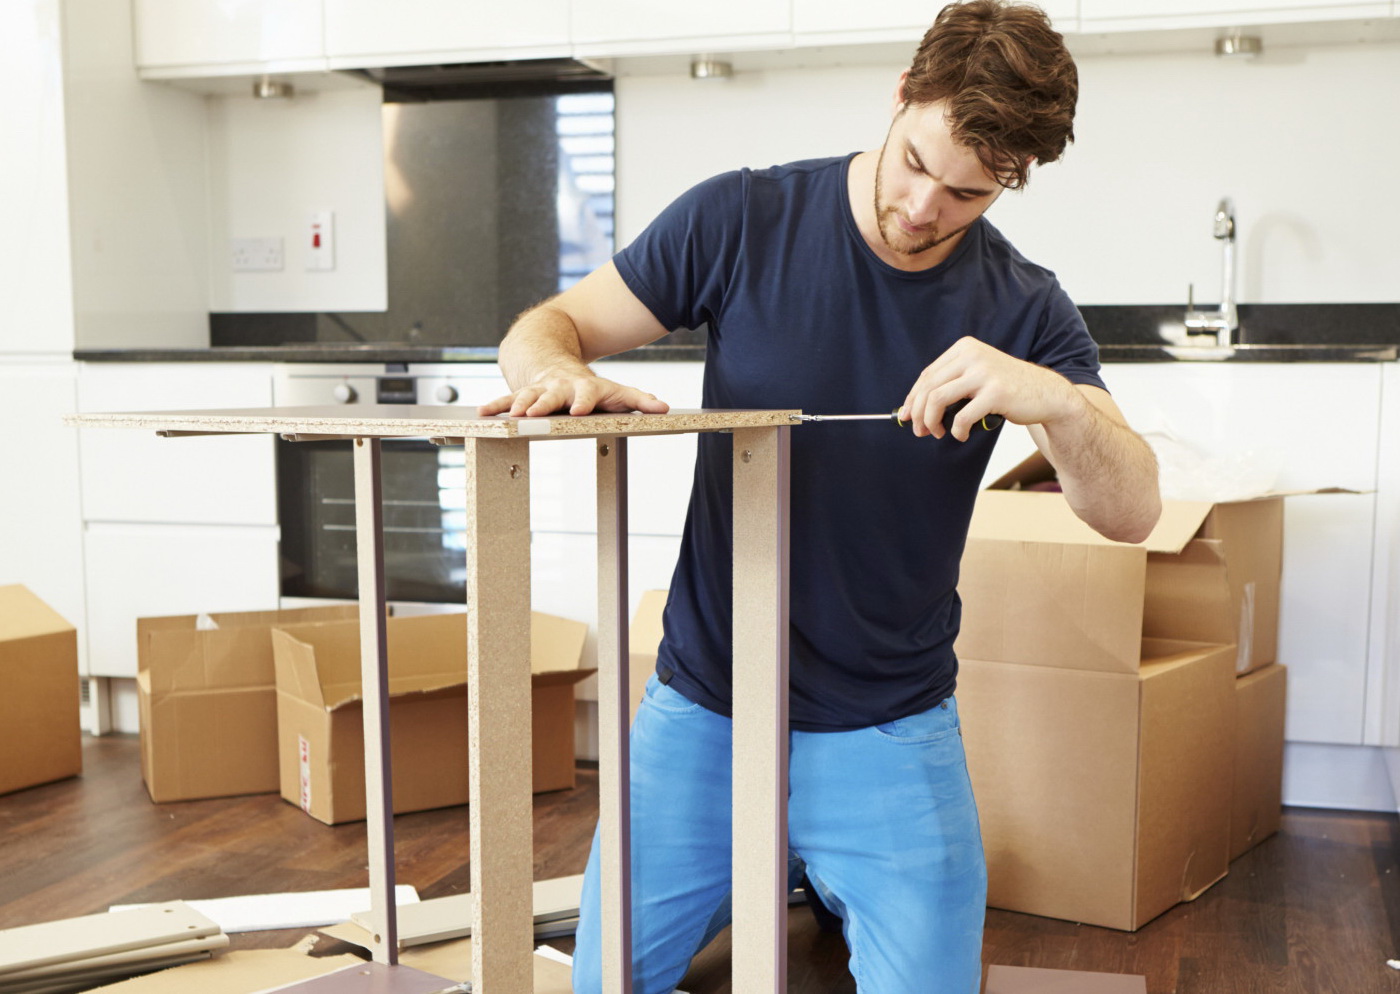
Start to assemble the frame against the wall: arrange the furniture panels, plywood or solid boards according to the drawings, connect them to each other using nails, screws and glue. Place the frame a few millimeters lower than the ceiling level. Install the side frame first and then the front frame. Leave gaps between the cabinet and the frame.
Align the frame with wedges by connecting the frames.
If you are using chipboard, then add a decorative edge at the seams. Glue it over the towel with the iron, and then cut off the excess edge.The iron should be set at three-fourths of the maximum power, and then run on top of the edge applied by the adhesive side to the chipboard. After ironing the hot edge with a dry cloth to press the edges tightly, and cut off the excess with a knife. If you are using unpainted boards, then it’s time to “ennoble” the cabinet with paints, skins and varnish. Roughness is best treated with fine-grained sandpaper wrapped around an object of suitable size and shape. You can also use special furniture tapes.
Attach the door to the case using hinges or special hardware.
Fix the plugs on confirmatics, the color of which should correspond to the color of the entire cabinet. Install door handles and decorative elements: lights, mirrors, and more. Cabinets are made of combustible materials, so the internal lights should be on low-power halogen lamps 12 watts. In no case do not use a constant power supply of 220 W - this is very dangerous. The light in the cabinet should be powered from the AC / DC adapter, which is plugged into the socket by double insulated wires.
Examples and options
When assembling cabinets of various models, there are rules.
Swing
If you make a swing closet, then carefully measure the size of the doors. Vertically, everything must be millimeter to millimeter, otherwise they will not fit, or they will not completely cover the internal space. The width of the valves should be two to three millimeters smaller than the opening, since they are mounted on special elements that also have their own width.
Mounting fasteners for shelves and hooks should be carried out at the base of the cabinet. Place opposite corners strictly horizontally and check the installation with a level. Installation of swing doors at the end of the assembly. At the bottom of the hinged cabinet often attach the legs. Kitchen legs are a good choice, as they are of low cost and adjustable height.
Thanks to the legs, all the weight will not go to the bottom, and it will not squeeze in a short time.

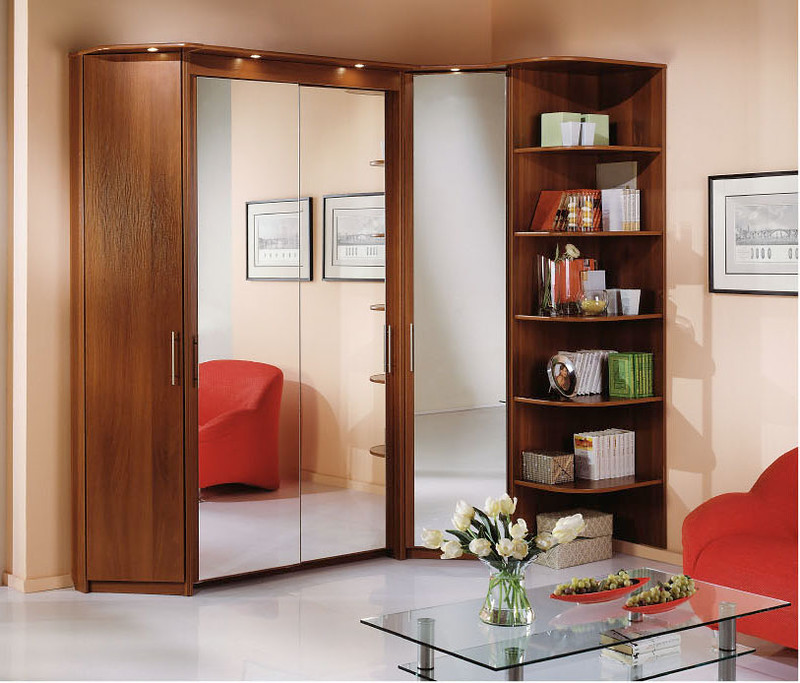
Angular
Installation of the corner cabinet begins with the attachment of metal corners to the walls and ceiling, which will further relieve the door from skewing. Then assemble the frame, mount the rails, install the door and the internal "contents". Corner cabinets are triangular, L-shaped, trapezoidal and five-wall.
Obuvnitsa
Shoe cabinet made of outer frame of chipboard and shelves with front panel and partitions. Its height is measured by several shelves, and width by the maximum size of a shoe box.
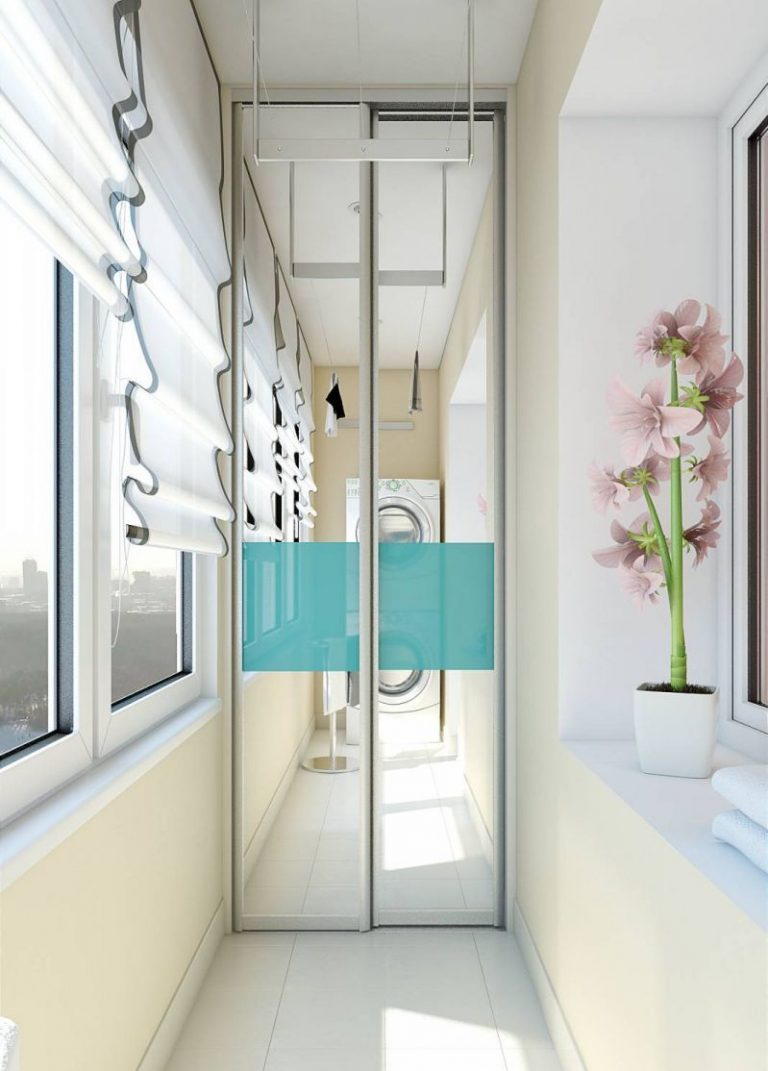
Balcony
The standard cabinet depth on the balcony is 600 millimeters, and the width corresponds to the width of the room. That the design was steady, height is established from a floor to a ceiling without any gaps. The distance between the shelves is usually no more than 400 millimeters. The doors are assembled from planks, which are mounted on the frame vertically or horizontally, or inserted according to the “thorn-groove” principle.
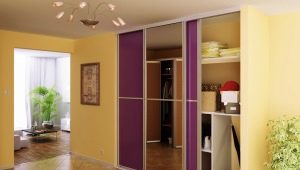
Coupe
When assembling a wardrobe, it is worth remembering the following: if you plan for a few flaps, then, on the one hand, the design will be more convenient, but, on the other, the probability of skewing and sticking is stronger. The length of the overlap of the valves should be between 50-70 centimeters. If the gap is too narrow, gaps will appear, and if the gap is too large, the layout of the cabinet will be difficult. Also, the size of the door leaf should not exceed the size of the narrowest of the shelves, otherwise you just can not use it.In addition, take into account the allowable overlap, from which subtract 40-50 millimeters of the width of the side profiles, without which the doors will break through the walls.
There are three systems for hanging wardrobes: double-rail with lower support, with upper support and monorail.
All of them have their pros and cons, so make a decision based on the parameters, the furniture function and the amount of money you are able to spend.
Modular
Modular wardrobe is usually made of chipboard. The modules of the simplest furniture are rectangular composite sections, which can be placed at your discretion and thereby determine the design of the room. This design consists of the main base section and additional attached to it. In the case when the modules are attached only to the base section, they are called add-ons. Transition sections are used to attach other modules. Corner units are connected to the base, but they are also installed with transitional parts. Open join standard and transition modules. Modules are attached with fasteners, which are special ties, screw or tapered.
In a niche
In the case when you decide to place the furniture in a niche, then you kill two birds with one stone: there is no need to install the side and top panels, since the walls and the ceiling of the room perform their role. It remains only to place the shelves, rods and hooks and make the doors, which are usually a model "coupe". To install the doors, fasten the upper and lower rods, and then place the door leaf itself.
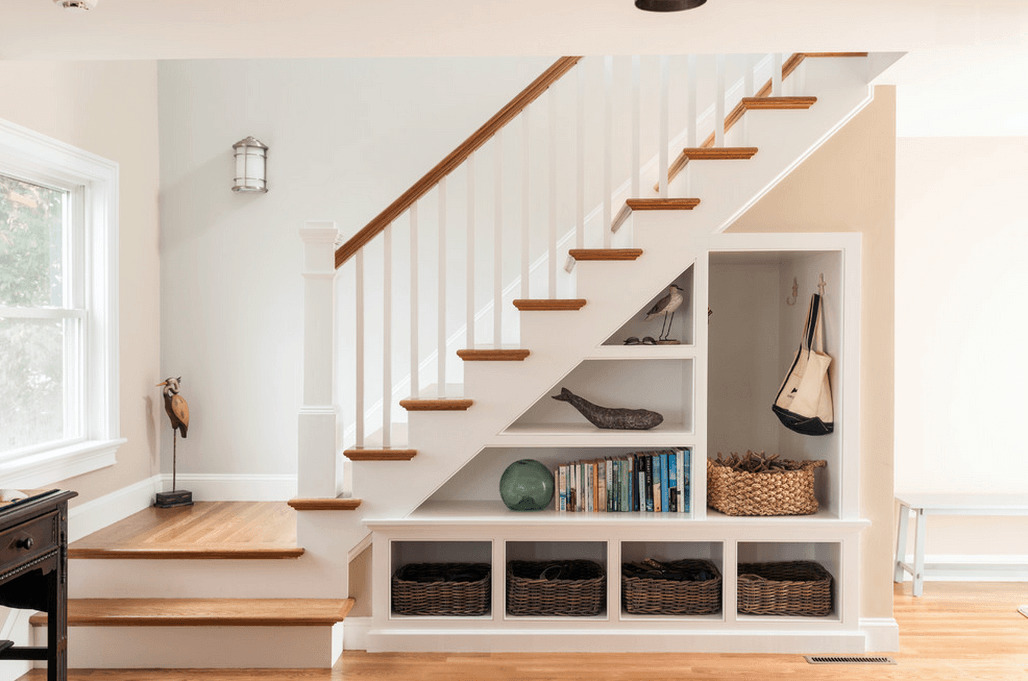
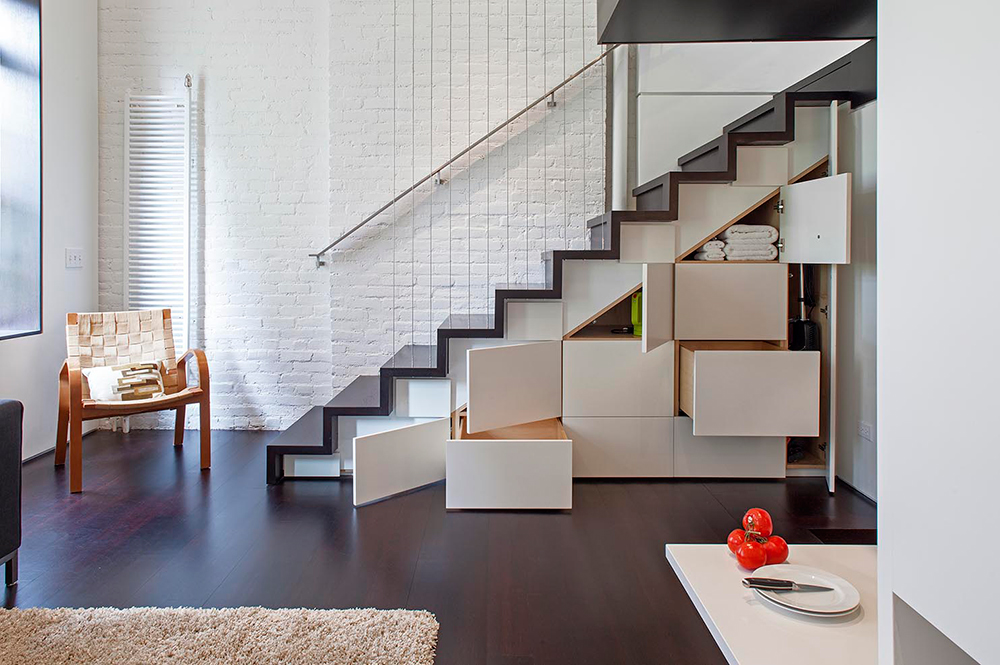
Under the stairs
“Podlabnichnaya” furniture is mounted according to the same algorithm. Often they are chosen by the owners of private houses, and to create them use the stairs to the second floor. Free space under the stairs can be turned into a wardrobe for storing clothes, a pantry for food stocks or a closet for household needs, a bookcase or a wine cabinet. Mastering a piece of furniture, do not forget about the finishing work on the wall of the staircase - plasterboard or plaster it with wallpaper.
Install shelves using wooden beams, the length of which is equal to the depth of the cabinet. To install the doors, you will need a door frame that matches the dimensions of the future cabinet. The decor of a new piece of furniture with the help of a self-adhesive film, photo wallpaper and various accessories is appropriate.You can install sliding doors, but keep in mind that you will not be able to open the cabinet to its full width, so give preference to hinged or different combinations.
Learn more about how to make a cabinet with your own hands, you will learn from the following video.