How to make a closet out of plasterboard?

It is quite possible for a person who, at least once tried to install shelves on a wall or constructed interior partitions, to make a closet of drywall. Of course, you will need a certain amount of skill and knowledge of some features of using such a popular building material.
Special features
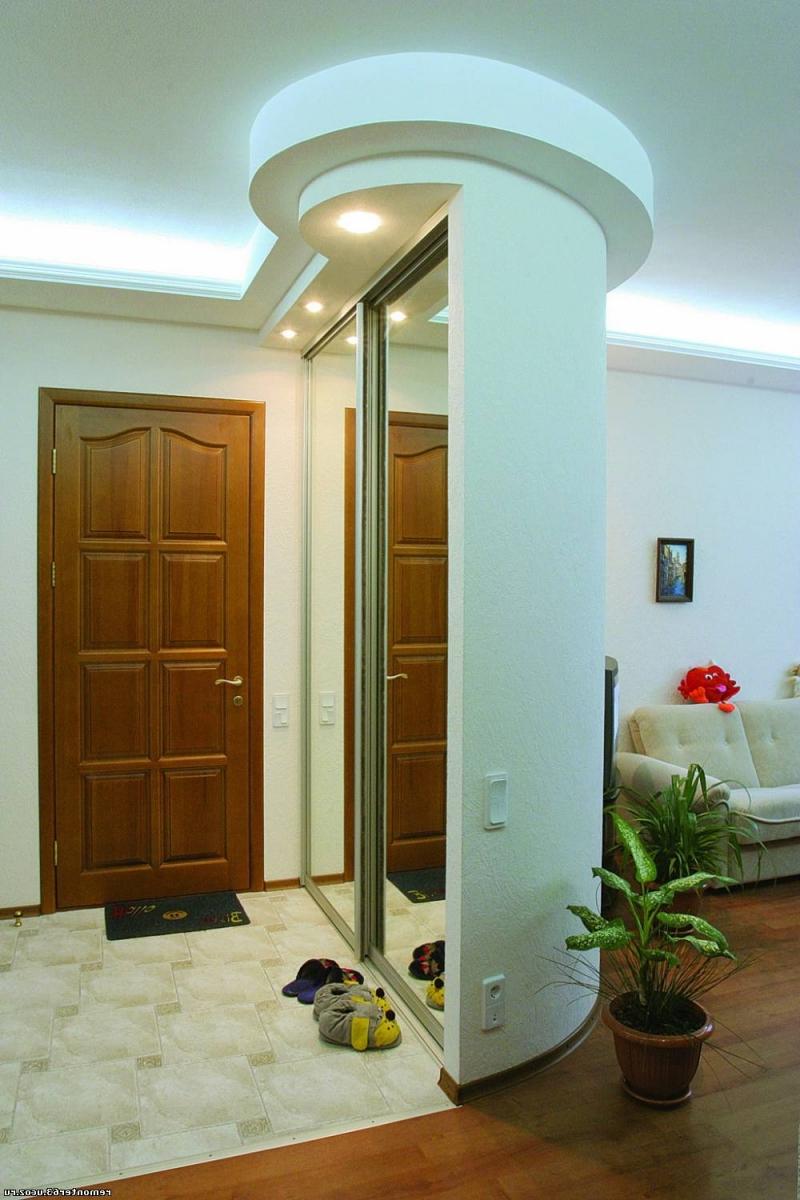
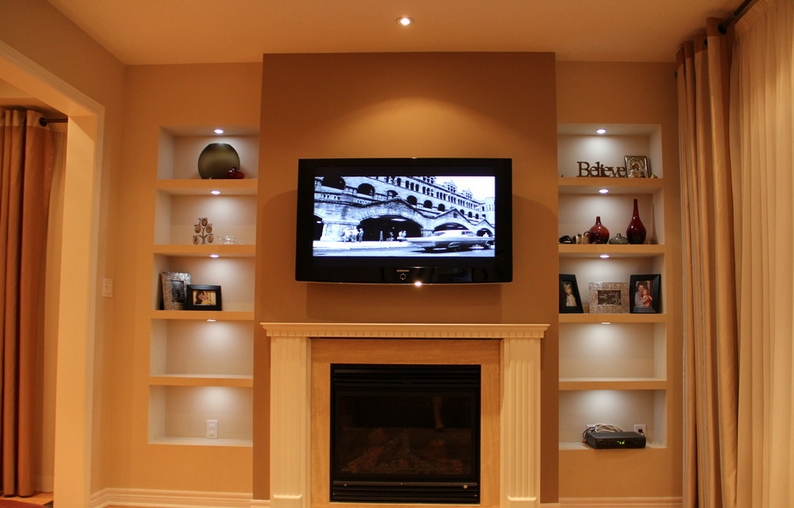
The main feature (and at the same time and lack of) the use of drywall in the interior is its exclusive use as built-in furniture. But on the other hand, structures built from gypsum sheets (GCR) can be used in small premises. Built-in closet for things can save square meters and extend the space for living.
Indisputable advantage of drywall sheets is:
-
their relative cheapness and availability;
-
ease of installation and operation;
-
environmental friendliness (the material is non-toxic, it consists of a mixture of gypsum and special construction paper, cardboard);
-
good thermal insulation properties;
-
large variability of final processing - both with plaster, painting, wallpapering or tile;
-
ease of cleaning construction waste after installation;
-
light can be embedded in drywall constructions.

As with any material, plasterboard has drawbacks:
-
susceptibility to mechanical damage - do not put heavy tools - bend, and the surface is easily damaged, and then the plaster filling will begin to crumble;
-
low moisture resistance - in rooms with high humidity, you only need to use special drywall, green with blue markings, but it (without the protection of the finishing coating) will not withstand a long stay in water.
Materials
For the construction of the cabinet will need a wall and, perhaps, if there is a need for the implementation of design ideas, arched GKL. Front and ceiling sheets are not intended for the manufacture of furniture. Installation of slopes and openings at the doors, wall cladding, the erection of partitions and the creation of exclusive walls, secretaries, cabinets, dressers, sideboards and cabinets - all this is possible through the use of plasterboard wall.
A sheet with a thickness of 12.5 mm is able to withstand a sufficient load. Arched drywall sheets are thin - 6.5 mm, but they can bend, and if desired, they can be given the most diverse shape, be it a circle, a wave, or a curved line.
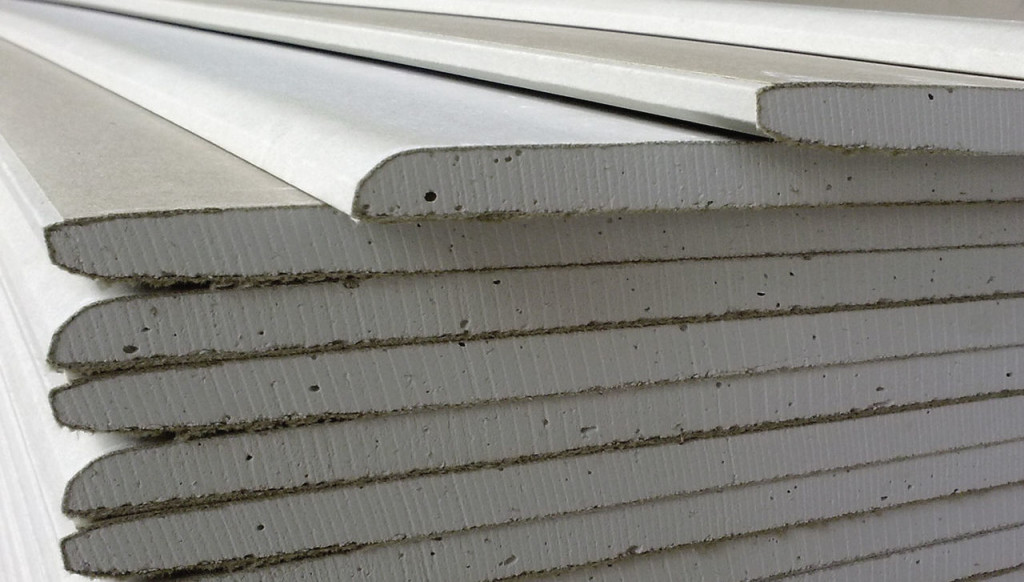
GKL size range varies from 1200 mm to 3300 mm in width and from 1500 mm to 3600 mm in height. It all depends on the manufacturer. But, as a rule, the standard sheet is a canvas of 1200x2000 mm. When choosing materials for the future cabinet, keep in mind that drywall is not only different in thickness but also in color.
Gray or green with blue markings, green, pink or gray with red inscriptions on the back side - such is the palette of the HL. And each color in combination with the marking determines not only the design, but also the basic properties of the web - moisture resistance, resistance to fire.
Before you build built-in furniture in your home, you need to take into account not only its design (whether it will be with or without doors, what kind of doors it will be - sliding, accordion or just opening), but also where and how the cabinet will be located.


In the hallway or in the bedroom, in the kitchen or in the bathroom, in the nursery or in the attic - Each room has its own conditions of humidity and fire safety level:
- To install the cabinet in the hall, bedroom or nursery, in the hallway ordinary gray sheets of standard gypsum board will suit, on which blue letters are inscribed on the back side. There is a stable microclimate in these rooms and there are no significant fire risks.
- In the bathroom or toilet, in the kitchen (where there is high humidity - more than 70%), you will need to use green moisture resistant gypsum.
- In the kitchen, attic, by the fireplaces or a stove (that is, where there is a risk of fire) a gray or pink fire resistant material that comes with a red marking is useful.
How to collect?
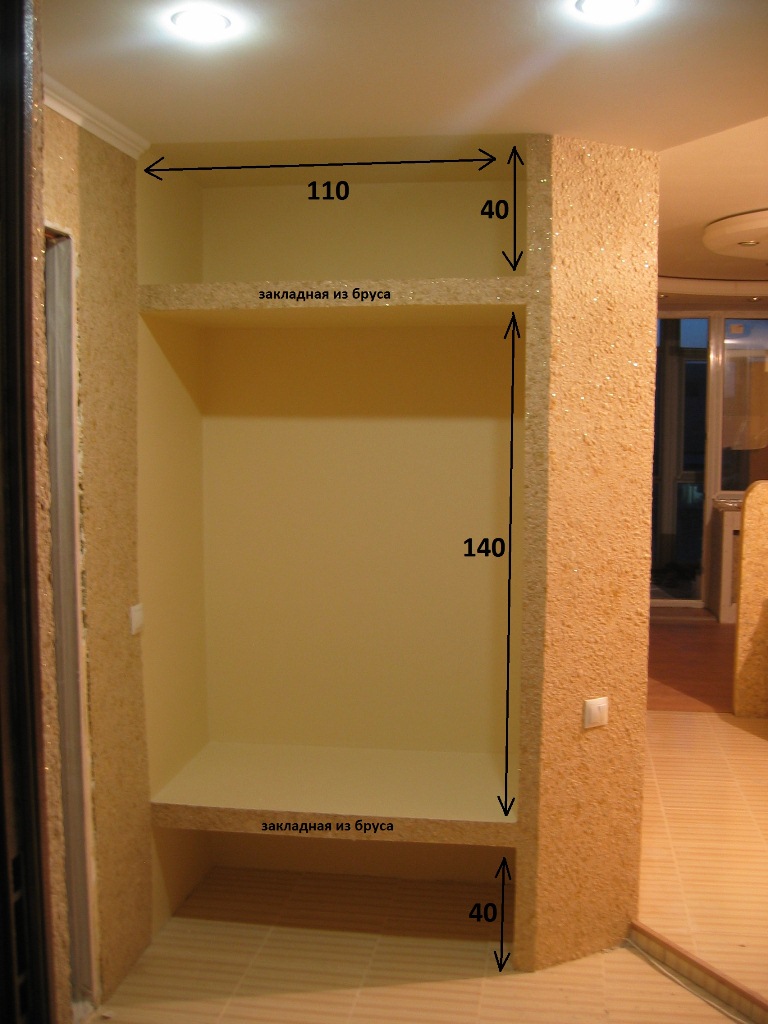
Having decided on the design and what materials are needed for the construction of built-in furniture, you can proceed to the practical part of the implementation of your ideas. To begin, you will need to make measurements and make a drawing of the future product. The scheme can be arranged in a special computer program, and execute the old-fashioned way on a piece of paper. When making measurements, remember that the furniture is built-in, and the walls are imperfect. therefore the width of the part above may differ from its lower parameters, as well as its height.
The design of the future structure will also need to take into account the thickness of the walls, rails, shelves, rails for sliding doors, or additional reinforcements to give greater strength.After the drawing is completed, it can be “transferred” to the place where the furniture will be installed. The marking of the walls will greatly facilitate the next stage - the construction of the frame.
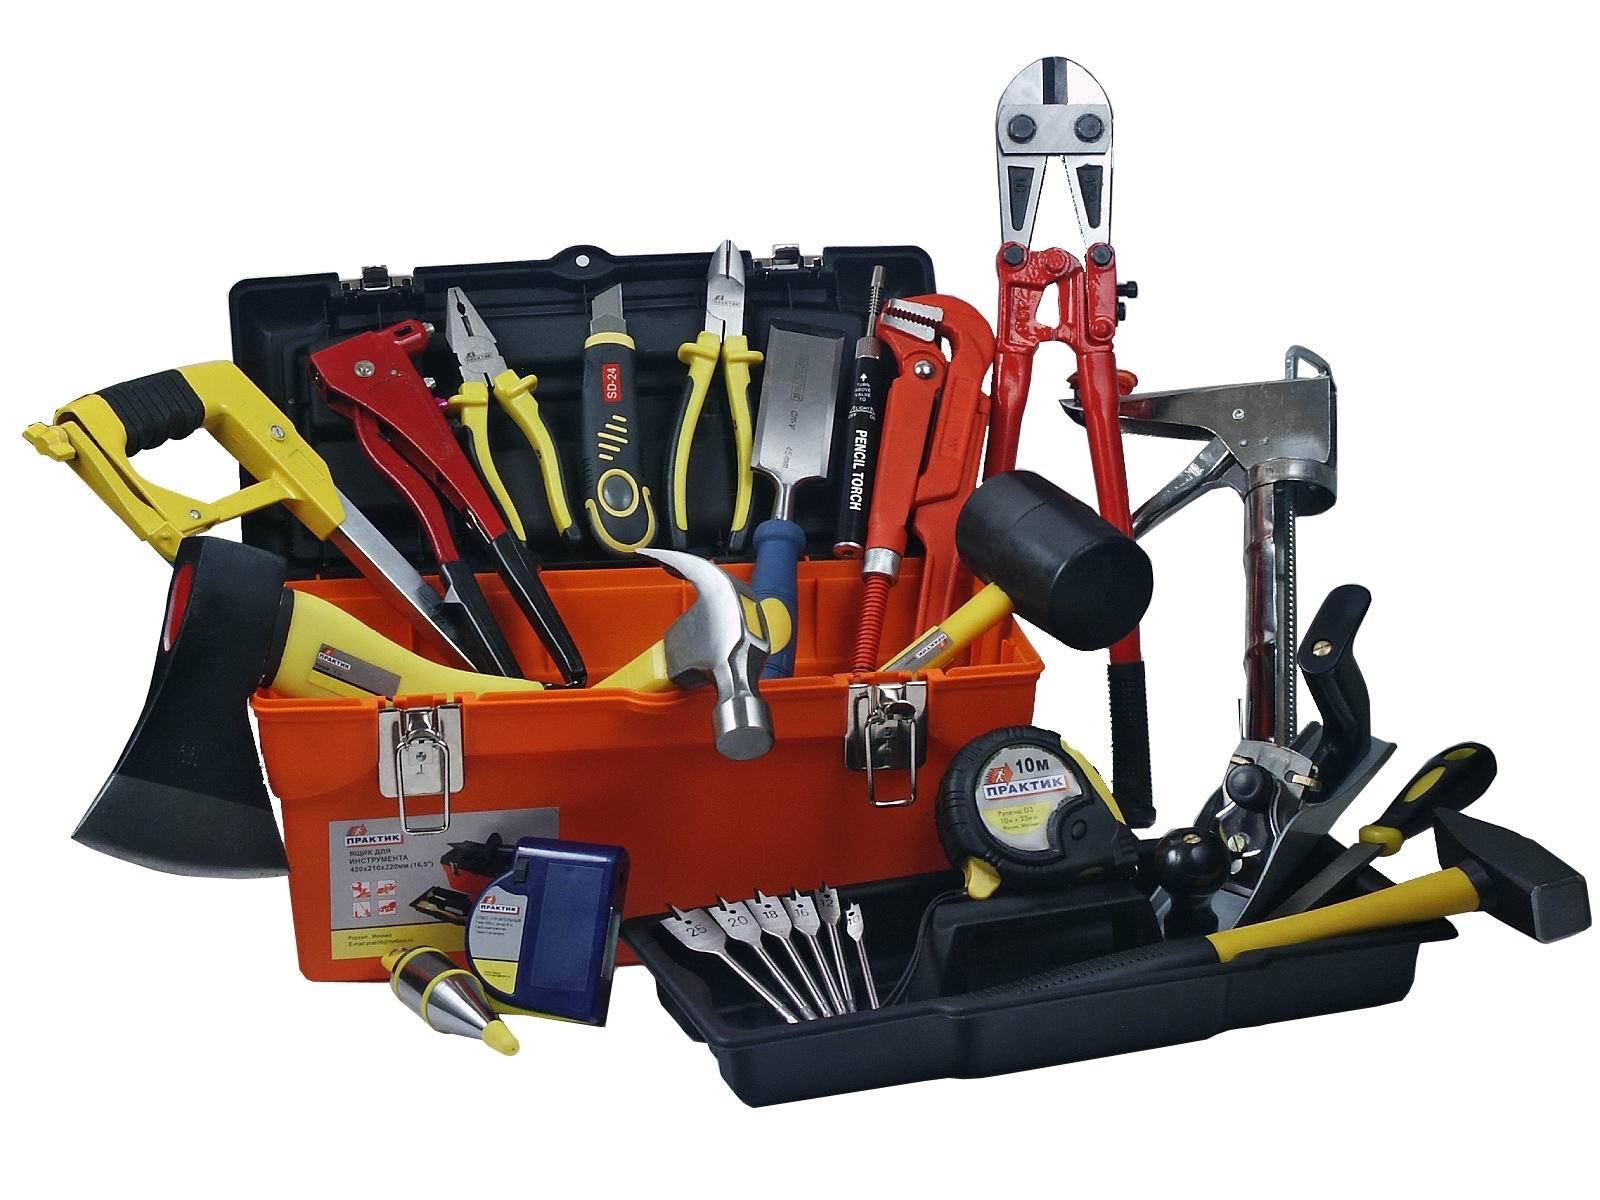
At the preliminary stage you will need:
-
special computer program or paper with a set of drawing tools (ruler, pencils, eraser, etc.);
-
tape measure or construction tape;
-
pencil, pen, marker for marking walls;
-
construction level, square.
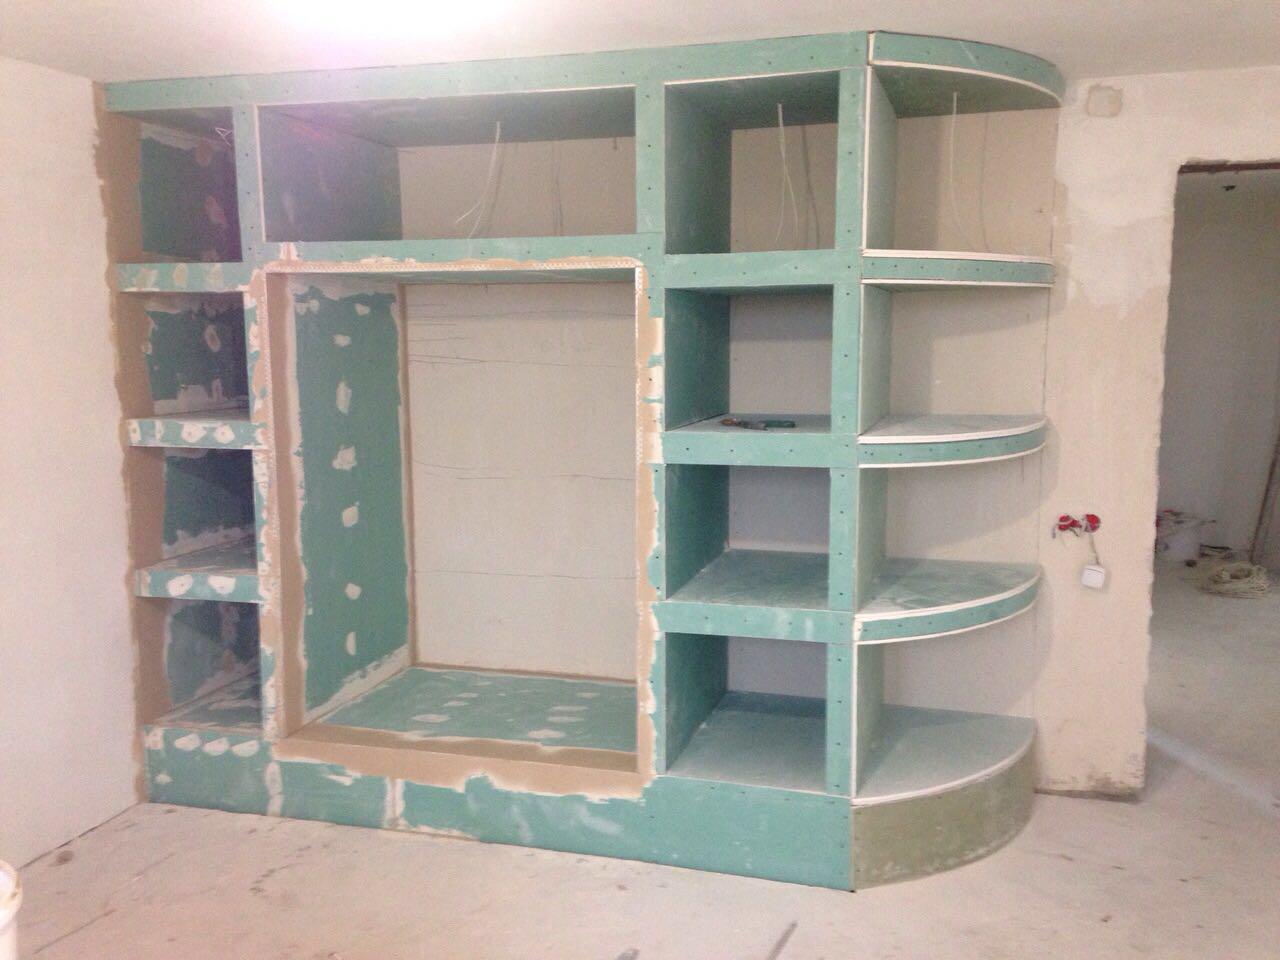
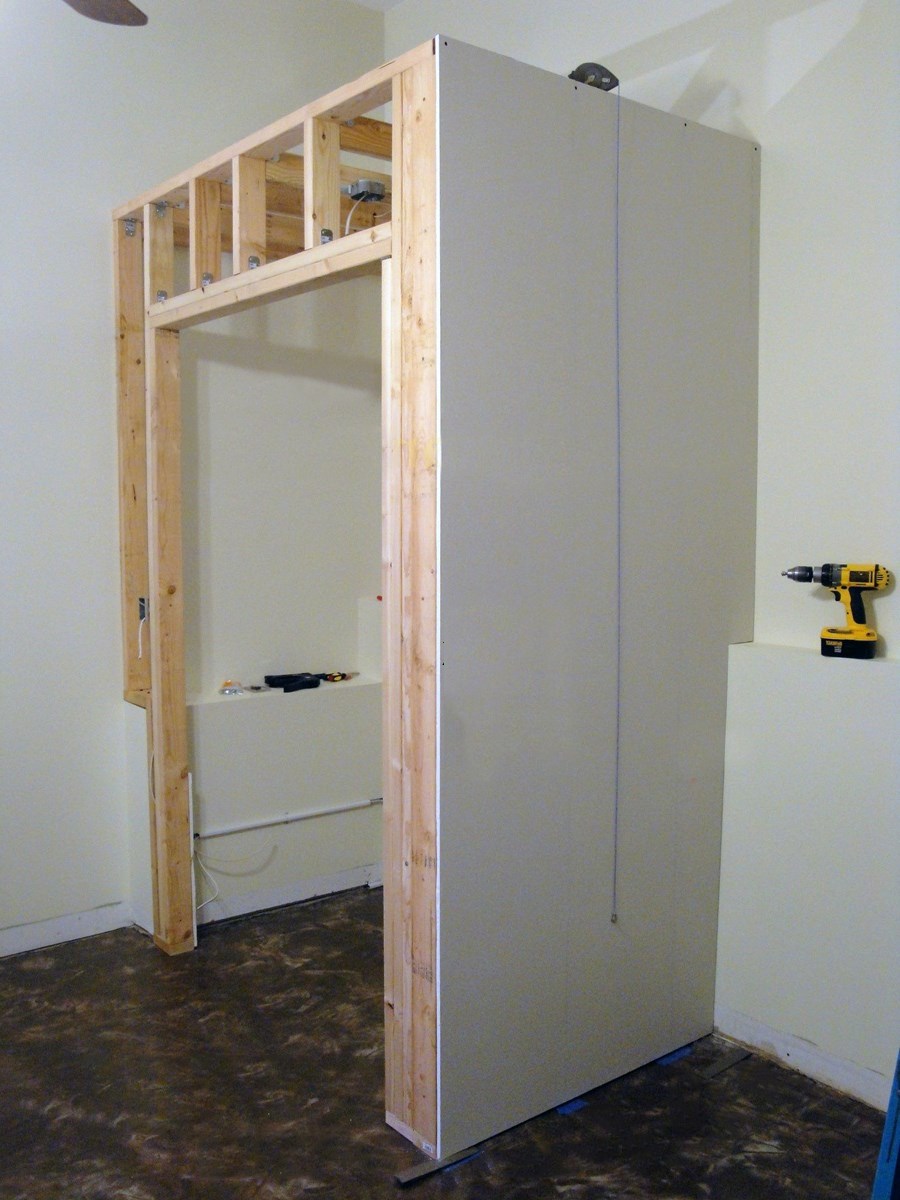
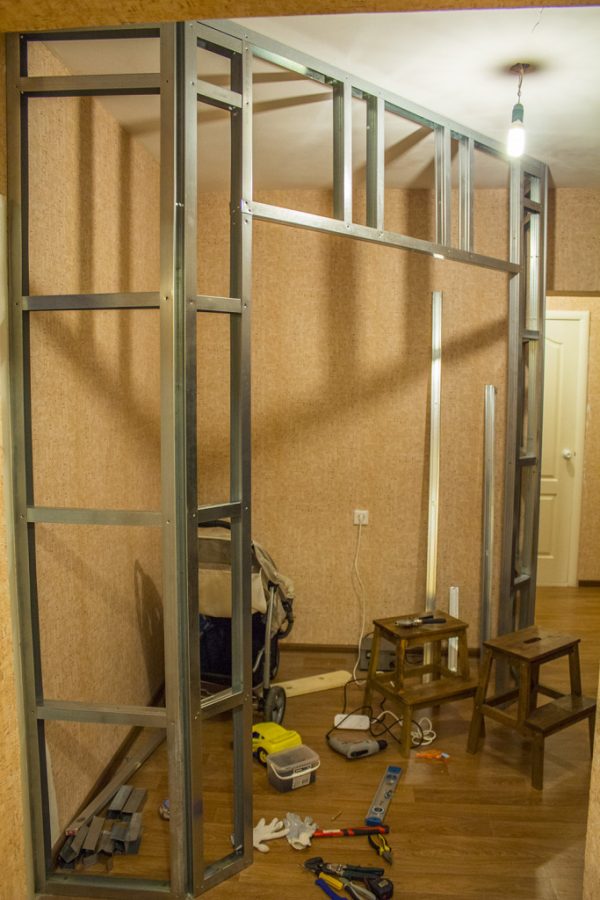
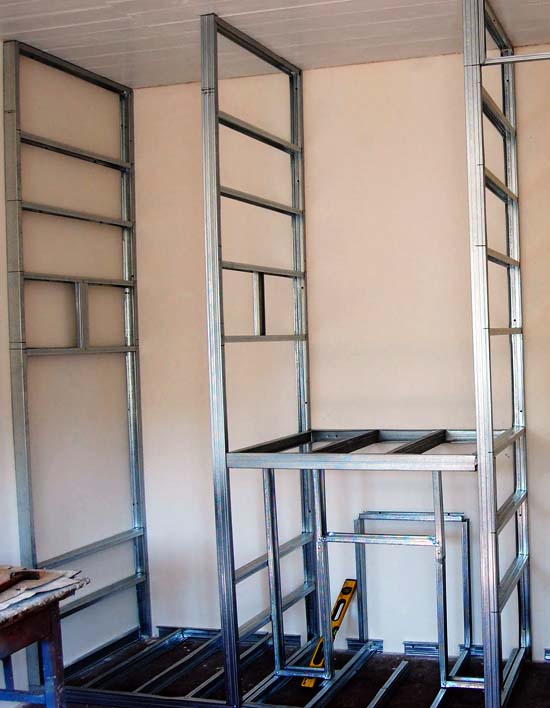
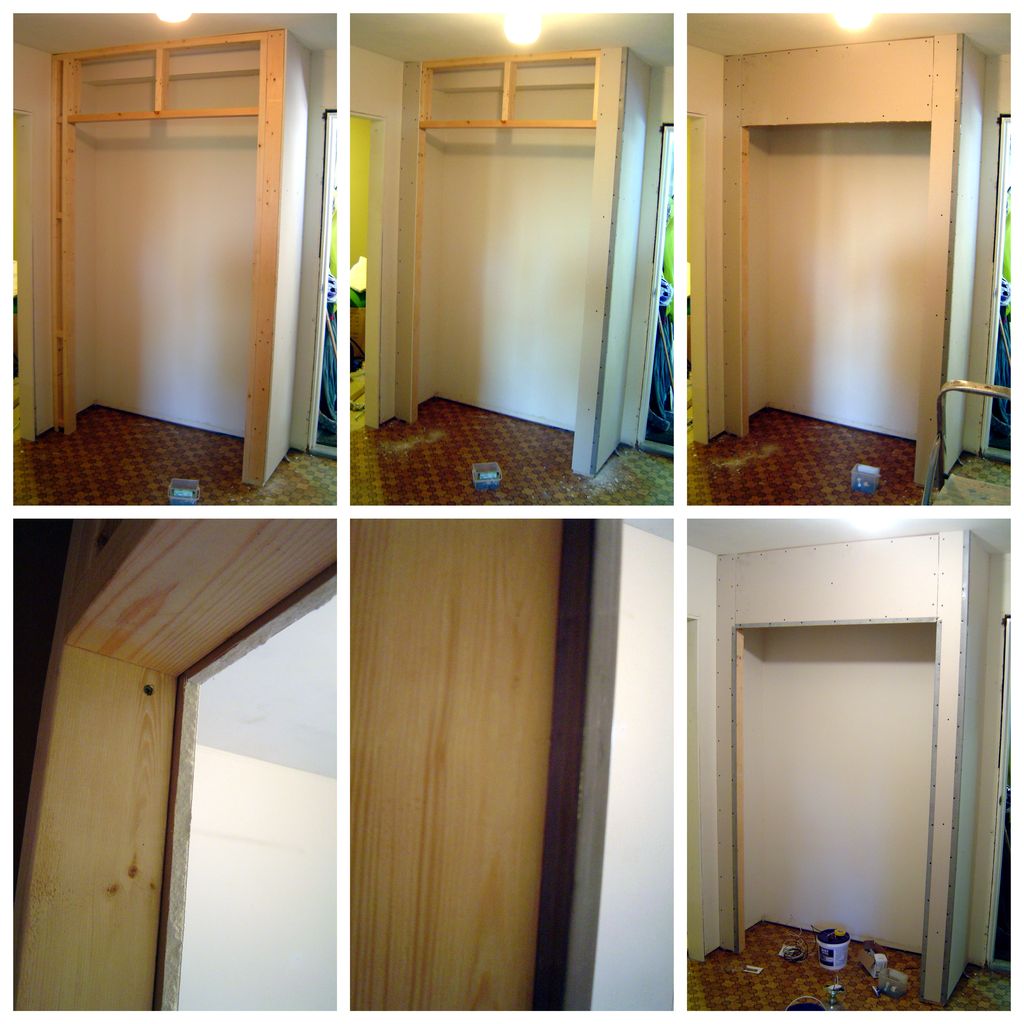
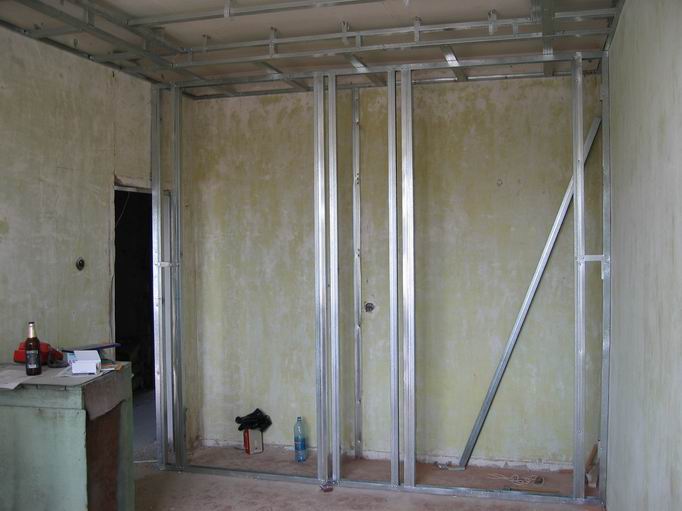
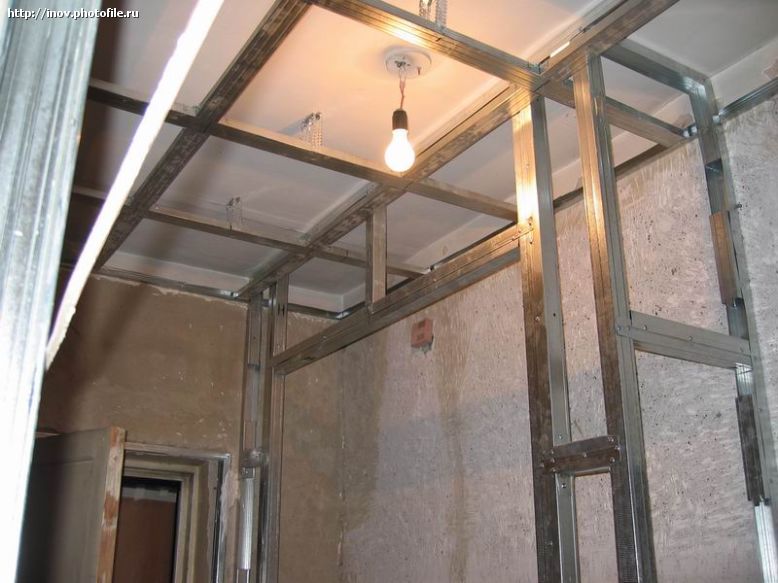
Creation of the frame
The basis for drywall construction, as a rule, is constructed from metal profiles. But if the planned load on the shelves in the cabinet is small, then wood can also be used. However, it will require pre-antiseptic processing and careful, weighted material selection.
Before installing the frame, it is necessary to prepare the walls and the ceiling - clean and degrease the surface, if necessary, remove the old coating. You may need to update the markup after this, as it can be erased.
The next step is to mount the UD-rail profiles on the walls and the floor. The recommended distance between the slats is 40-50 cm.When installing profiles at the expense of a greater distance, the structural strength may be reduced. It is possible to fasten the guides with self-tapping screws or dowels, but first you must put a shock-absorbing or damping tape under each profile that comes into contact with the wall and the floor.
The tape is necessary to reduce / eliminate all kinds of vibrations. To fix the profiles to the walls and the ceiling is easy, you can use a little trick - first slightly fix a couple of dowels at the beginning and end, and then hammer or screw in everything completely and thoroughly.
And do not forget to check everything on the construction level before and after installation of profiles.

When the guides of the UD-profile are installed around the entire perimeter of the future structure, you can proceed to the installation of rack-mount (CD) profiles. The rack profile is mounted perpendicularly. Remember that each drywall sheet must be fastened on all sides. In addition, it should be borne in mind that in those places where shelves are planned, it is necessary to make their additional horizontal reinforcement with a profile. The jumper installation procedure is from top to bottom.
At the construction stage of the base, holes for the placement of lamps are also cut out, hinges and door guides of the closet are attached.
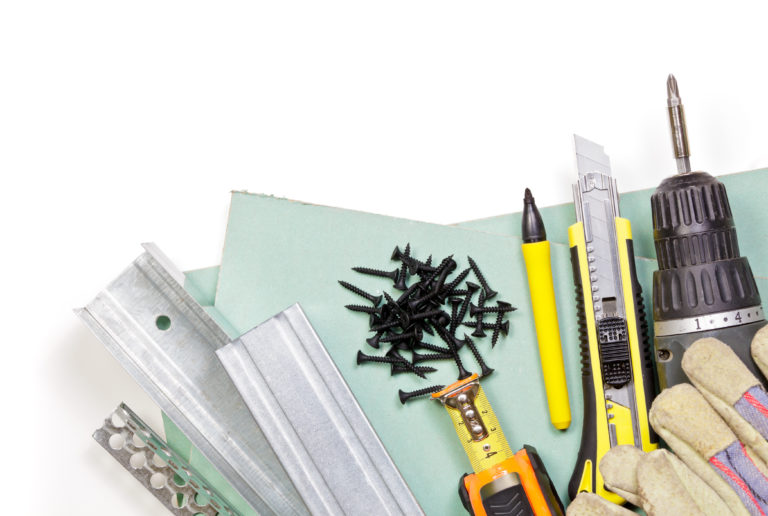
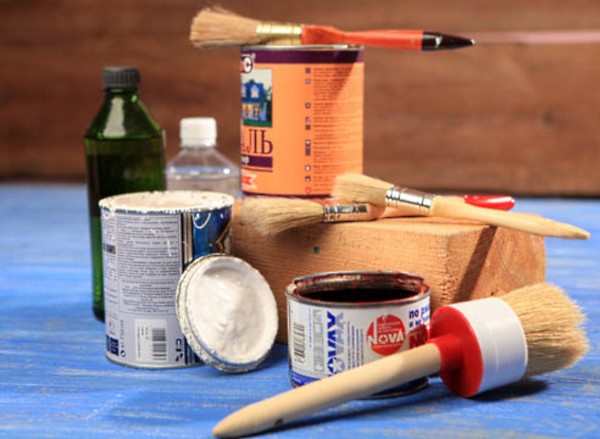
At the stage of the construction of the frame will need the following tools and materials:
-
Finished sketch and markup on site;
-
UD-bearing profiles for gypsum boards (or pre-processed wooden slats, square shaped tube in case special strength is needed);
-
Rack-mounted CD-profile;
-
Screwdriver and / or drill, hammer;
-
Self-tapping screws (for example, for wooden wall) and / or dowel;
-
Special screws and fastening profiles among themselves (the so-called "bugs", "crabs");
-
Corners for fixings;
-
Damping tape;
-
Level, square, construction tape or tape measure;
-
Metal shears, pliers, a knife, perhaps a small grinder;
-
Jigsaw (when the cabinet lighting is planned);
-
For the closet also needed guides and hinges of doors.

Final steps
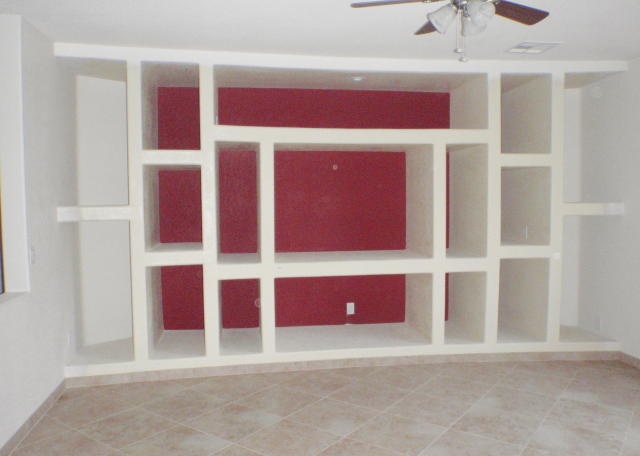
The basis is made, you can proceed to the next stage - the plating and final finishing of the cabinet. But before that, it will not be superfluous to make it an additional check - to calk and try to shake the erected structure.If there is a wobbling, then the foundation should be slightly reinforced, for example, with pieces of the remaining profile.
Covering plasterboard sheets will not be difficult, if the design was done correctly. When the dimensions of the cabinet are significant, then, as a rule, it is sheathed outside and inside, and to give additional strength, it can be sheathed in two layers of gypsum plasterboard. For small furniture, only one layer is enough.
In addition to the sheets themselves, for their mounting will be required:
-
screws (screws for metal 25 mm in length),
-
screwdriver
-
metal knife
-
stationery knife,
-
pencil, pen (what will be the GCR markup),
-
metal corner,
-
reinforcing paper or plaster net (the last two points are used to make the corners more aesthetically pleasing, “evenness” and strengthening against destruction).
Initially, the installation of sheets is carried out around the perimeter, and then they are attached to the rest of the frame.
Usually screws are placed at a distance of 20 cm from each other (but no more). Put a special stop on the screwdriver, so as not to damage the cladding material during tightening, the screw cap should not go deep, up to a maximum of 1 mm.The joining of sheets should not be done tight, butt-to-butt, you must leave a small gap of 2-3 mm.
Cut the drywall sheet can be quite simply using the table. Draw a canvas, make cuts on the ends, put a sheet on the edge of the table so that the intended line slightly protrudes over the edge, strike the surface with a palm (but not much). GCR should break down the intended line. It remains only to cut the cardboard with a stationery knife.
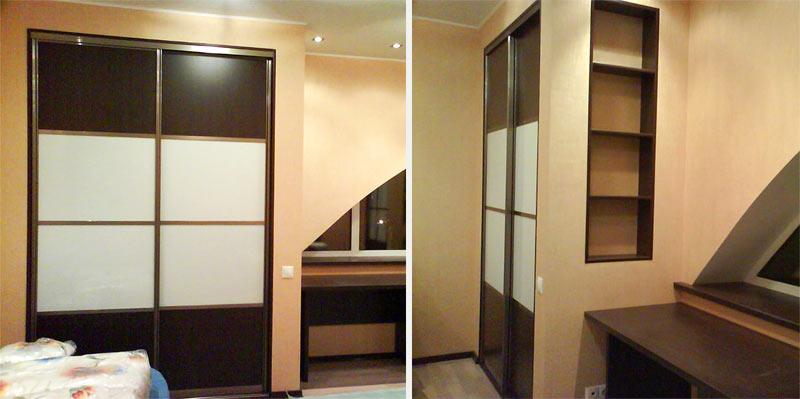
The cabinet is almost ready, it remains only to prime and putty, install rails for doors (if necessary), equip shelves (if they are from other materials) install the doors and finalize.

A set of tools and materials for the final stage:
-
Paint mesh;
-
Finishing putty;
-
Spatulas;
-
Primer;
-
Sandpaper for grinding or grating;
-
Finishing materials (wallpaper, tile, self-adhesive film, mosaic, tile);
-
Rollers, brushes;
-
Tanks for solutions;
-
Furniture accessories, doors, shelves, lamps, switches, sockets (if necessary).
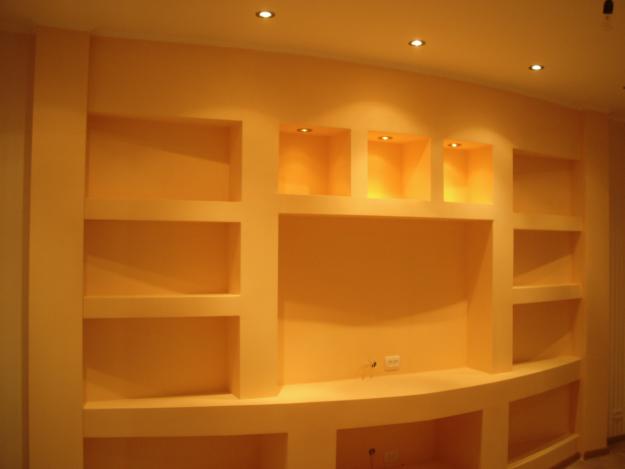
As soon as the masking grid is attached to the joints between the sheets, you can proceed to the putty.All holes from screws and joints of the plasterboard are filled with a finishing putty, then the surface is sanded, if necessary, a second layer of putty is applied, followed by the cabinet primer and its final decoration.
The latest steps in creating plasterboard furniture are the most creative.
Only from the designer’s idea of the creator and his financial capabilities depends on how the cabinet will look like. This is a real "canvas" that can withstand any design delights and almost any finishing materials (even the heaviest tiles), because in fact the canvas consists of two layers - cardboard and hardened gypsum dough.. Finishing can transform any design so that a person who is not aware of how it was erected will never guess what it was made of.
The widest selection of building materials, ranging from wallpaper to photo wallpaper or a variety of self-adhesive films, from paint and plaster to various decorative coatings, from tiles and mosaics to ceramic products, makes it possible to create the interior of your dreams that will be suitable for life.
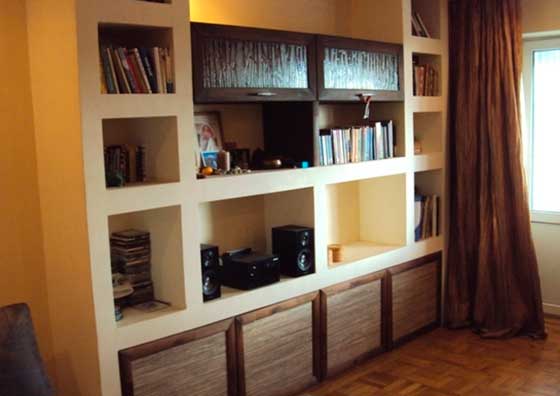
Variants of placement in the interior
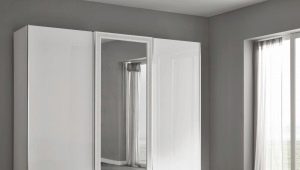
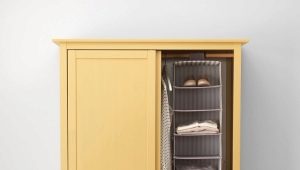
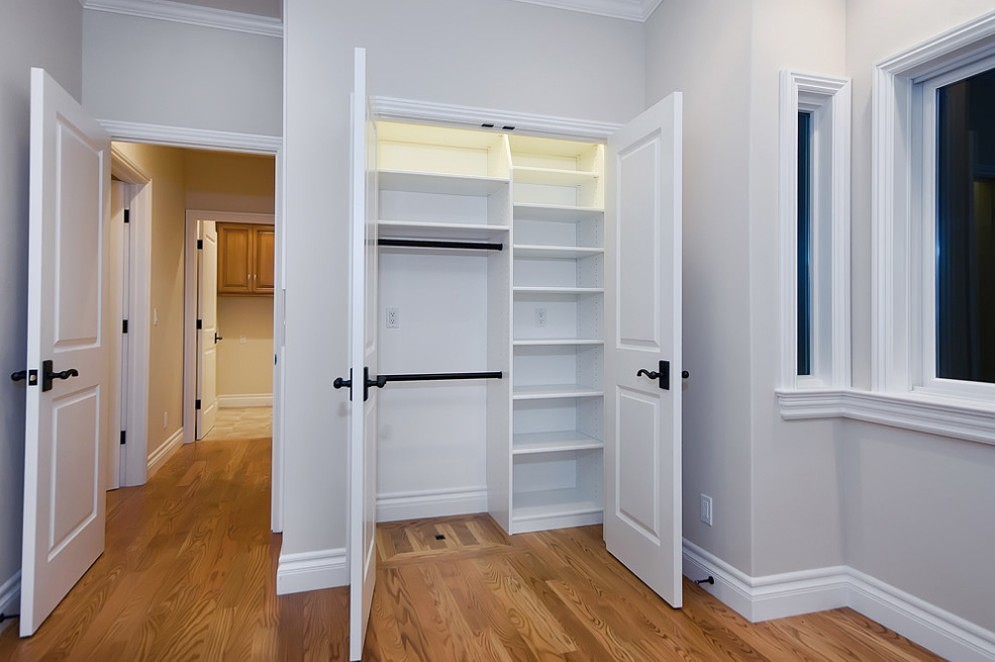
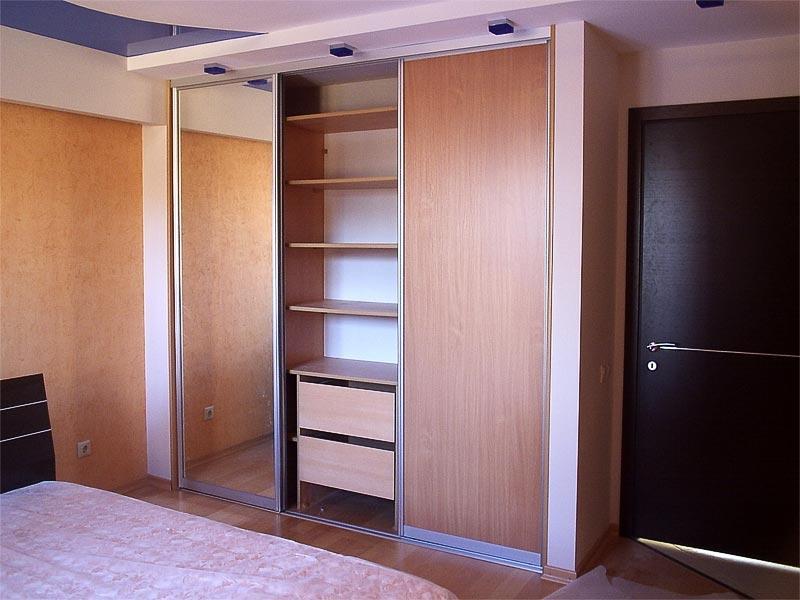
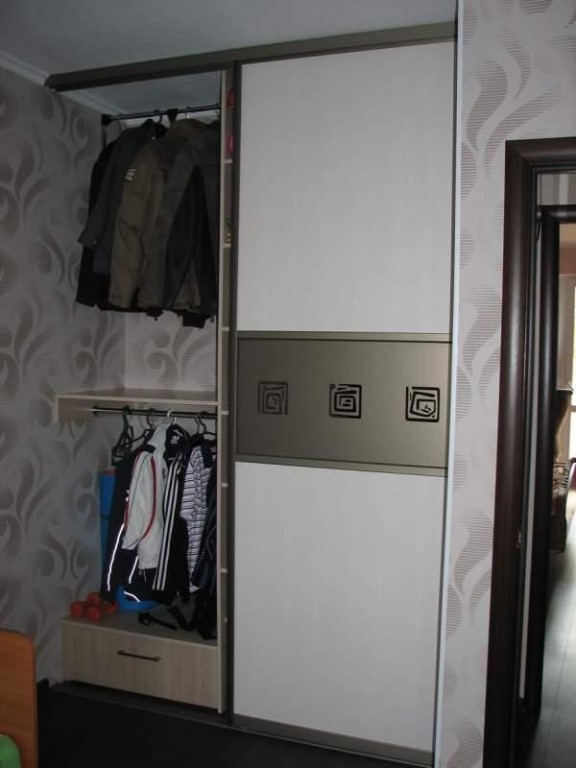
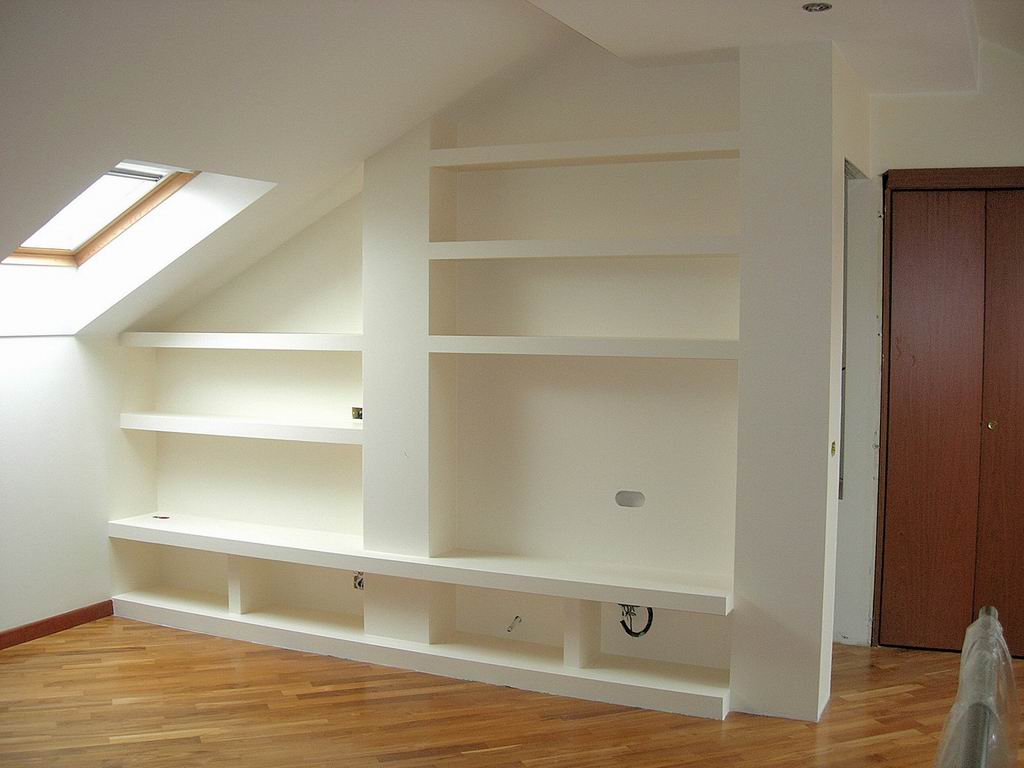
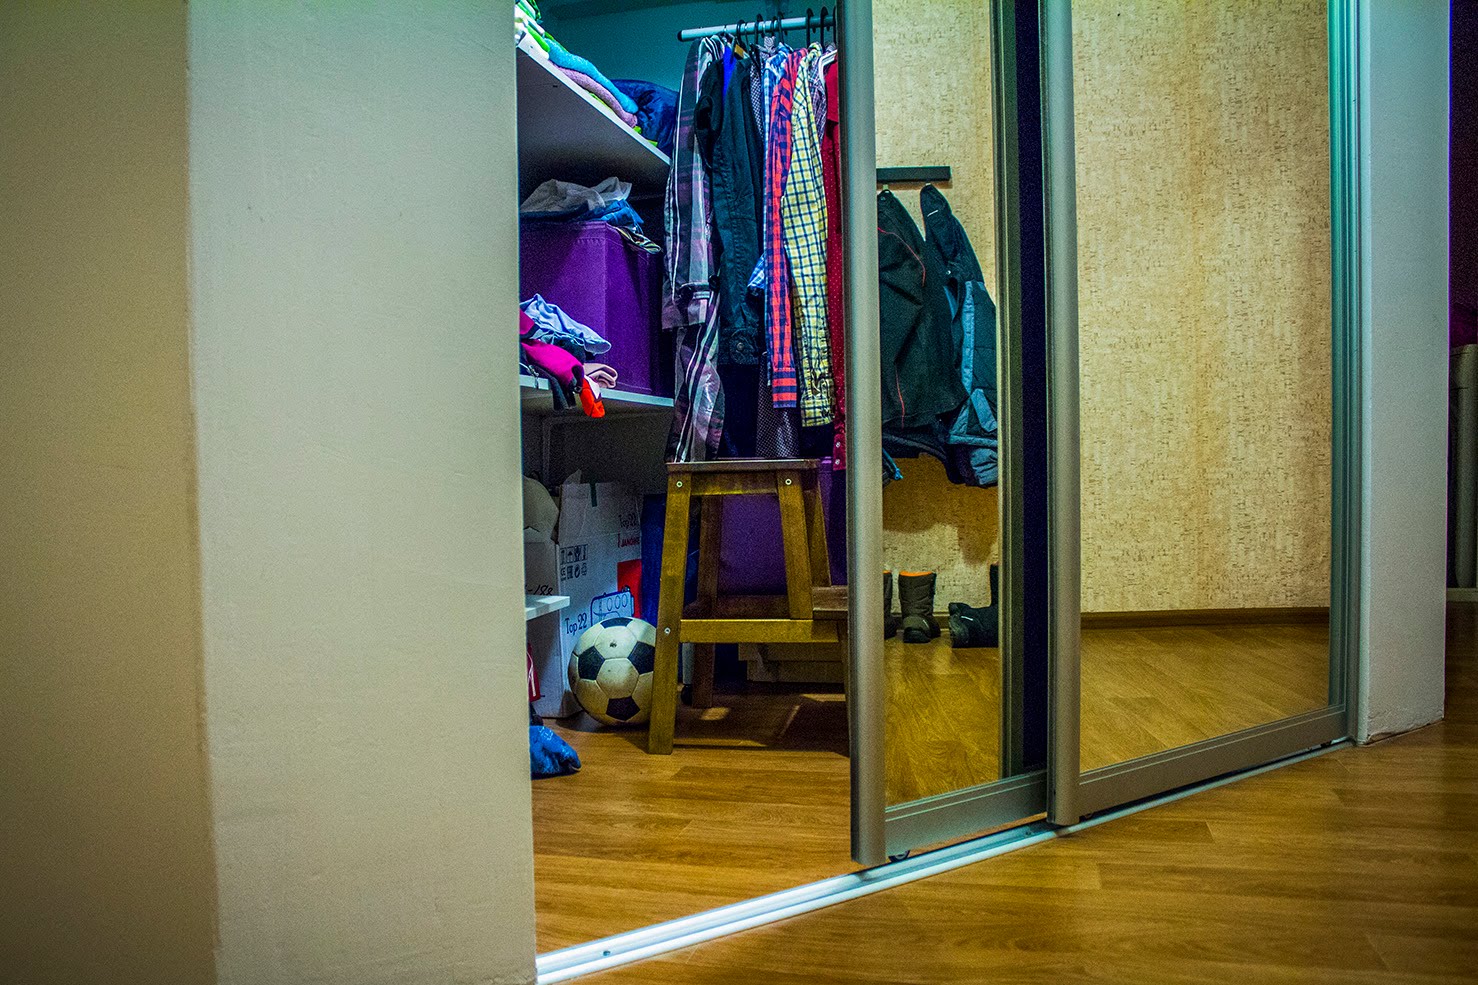
Due to the universality of the building material, the construction of drywall can be placed in an apartment or house almost everywhere, starting with the hallway and ending with a balcony. It is possible to make an angular, linear cabinet with sliding doors from plasterboard sheets. It all depends on the tasks that this furniture will solve. The easiest in terms of construction of the cabinet - with open shelves. However, it is not as practical as the same furniture with doors that need to be ordered separately (after all, it is not recommended to use drywall in this case).
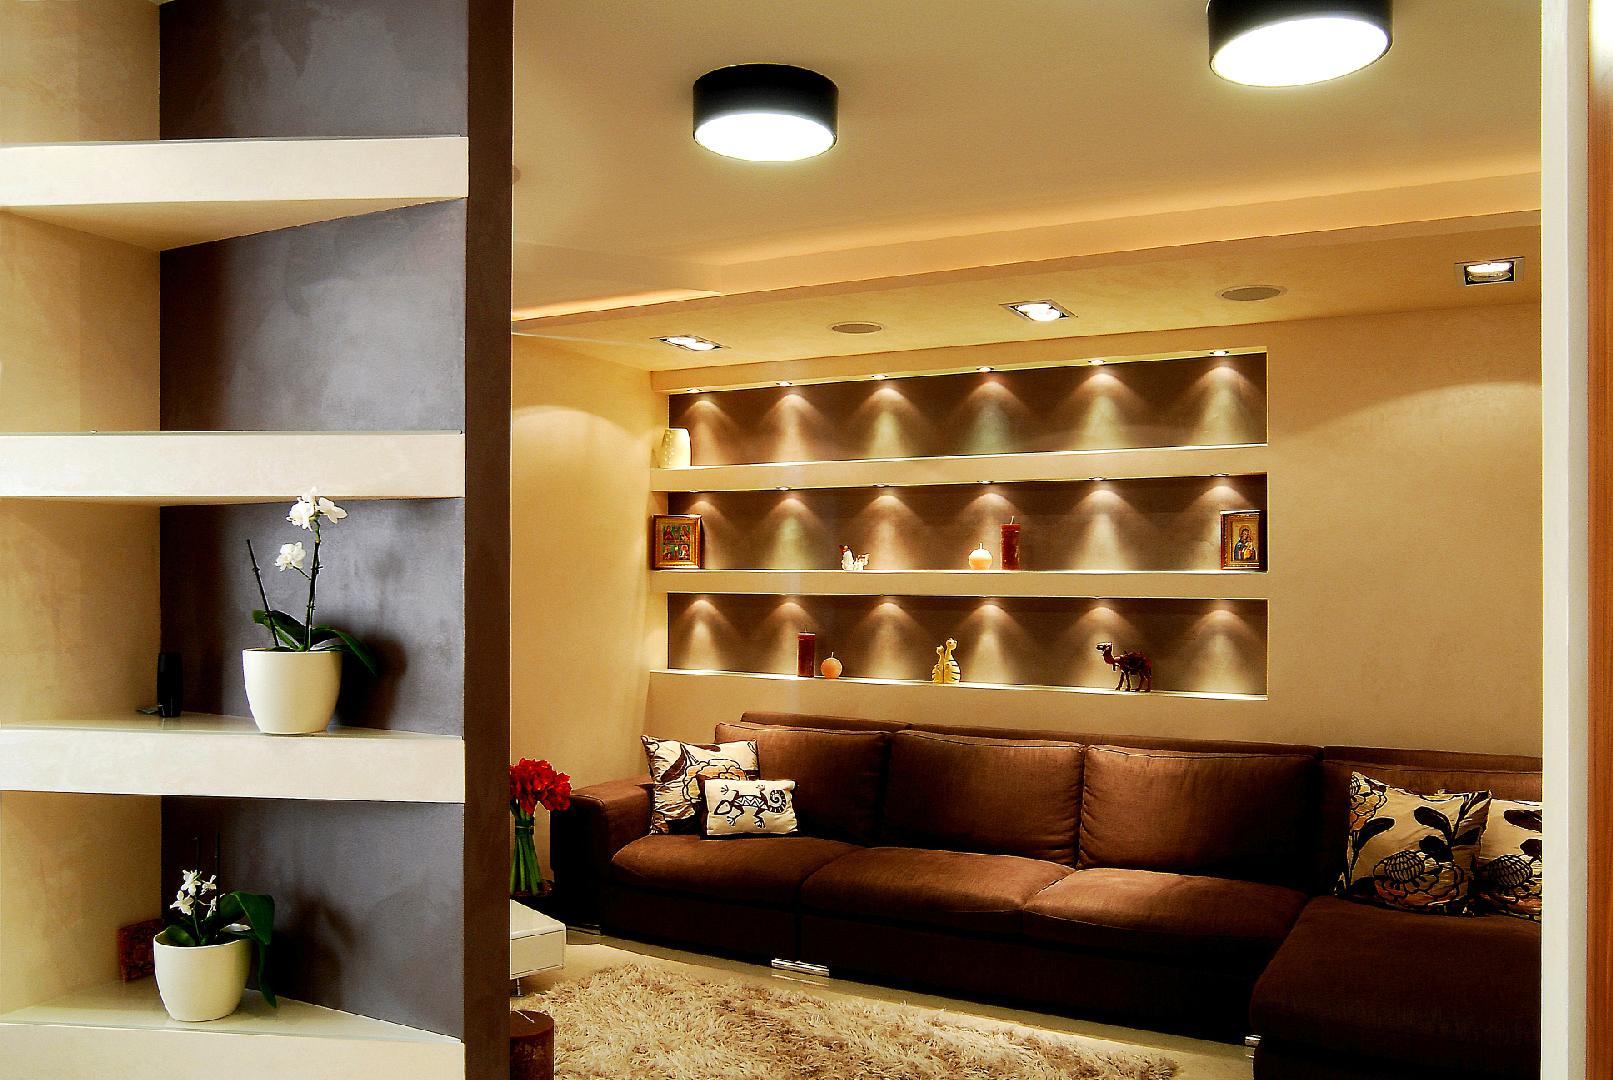
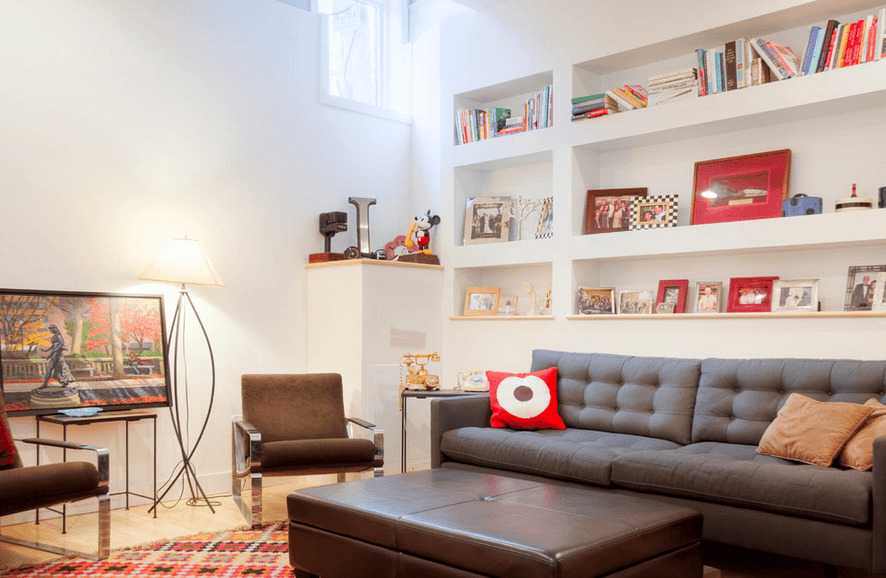
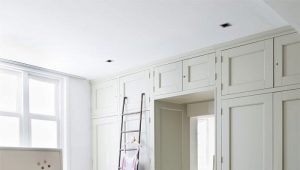
A linear locker with shelves is a classic solution, which is suitable for almost any room, especially for a living room or a hall. If you need storage space, but the space is too small, then you can build a corner cabinet, which is conveniently located in the hallway, bedroom. The wardrobe will become a lifesaver for people who need to keep a lot of things, but there is almost no free space. Coupe can take its rightful place in the living room, hallway, bedroom. Well, if there is a niche in the apartment or house, then it is a sin not to use it and not to equip the built-in closet with lighting.
In some cases, thanks to this solution, even separate rooms appear - dressing rooms. Arrangement of the built-in case on a balcony will become very practical decision.
Very often, a wardrobe can also contribute to the emergence of a new nursery or bedroom.
A very economical solution could be an ensemble of kitchen furniture made of moisture resistant plasterboard. And the cabinets can be assembled both upper and lower. True, kitchen cabinets of plasterboard, despite the moisture resistance of the material (only green plasterboard), need additional protection from water. Therefore, such cabinets at the finishing stage are covered with tiles or mosaics, and a special tabletop is laid.
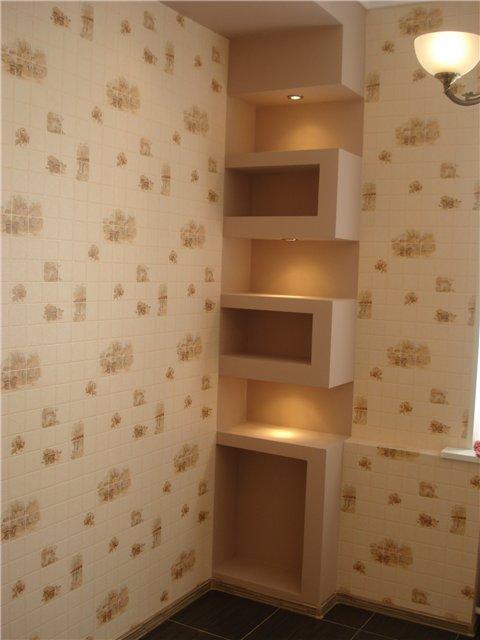

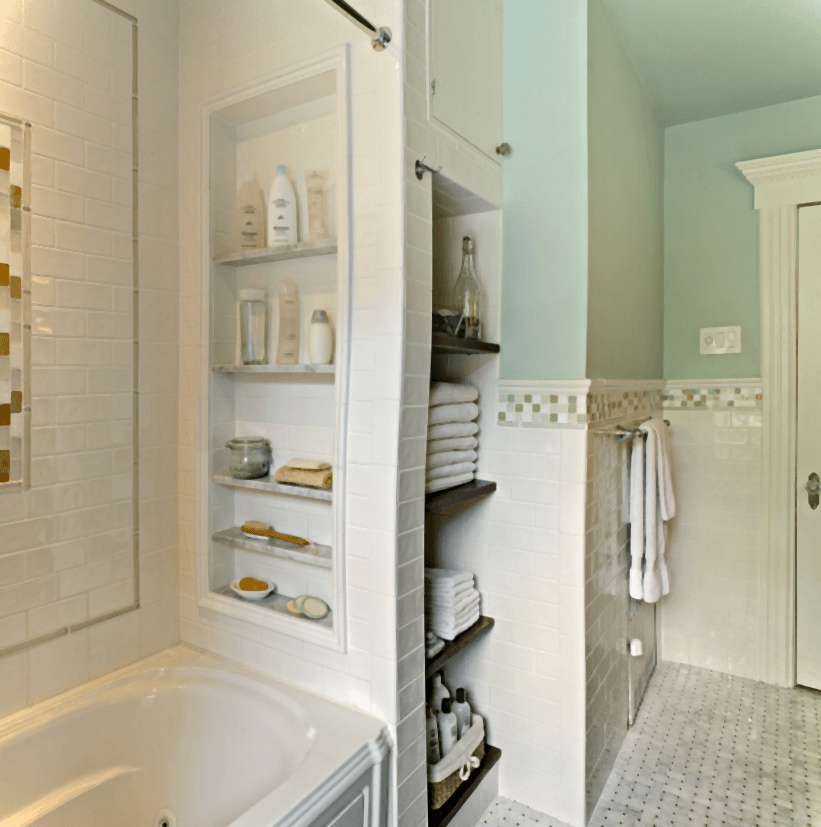
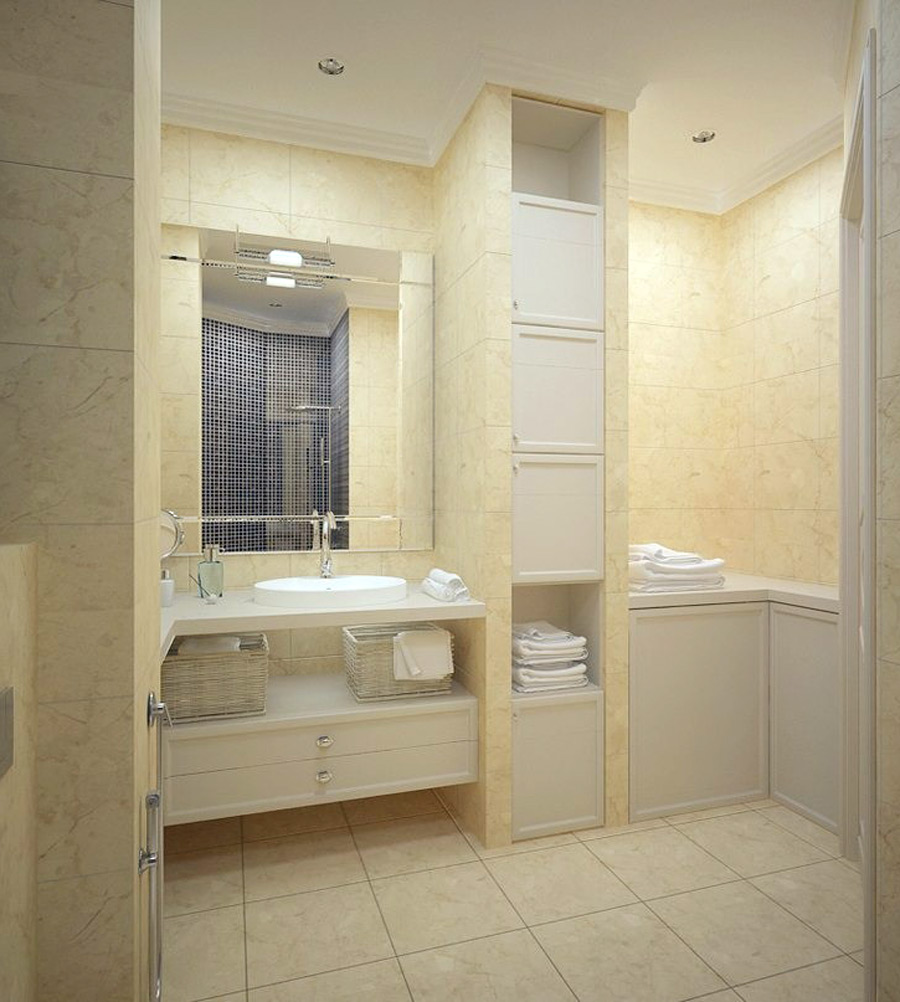
A lot of little things have to be stored in the bathroom and toilet. For these purposes, you can also build cabinets of plasterboard fabric, resistant to high levels of humidity. It is also advisable to protect the surface of such structures with external covering with tiles, mosaics, wall panels.

To make a wardrobe made of plasterboard with your own hands is quite real. Such furniture will be an exclusive design solution that will significantly save the budget.The problem of storing numerous things will be solved. Built-in furniture perfectly fit into the situation of different rooms.
You will learn more about how to make a plasterboard cabinet from the following video.