Plastering features
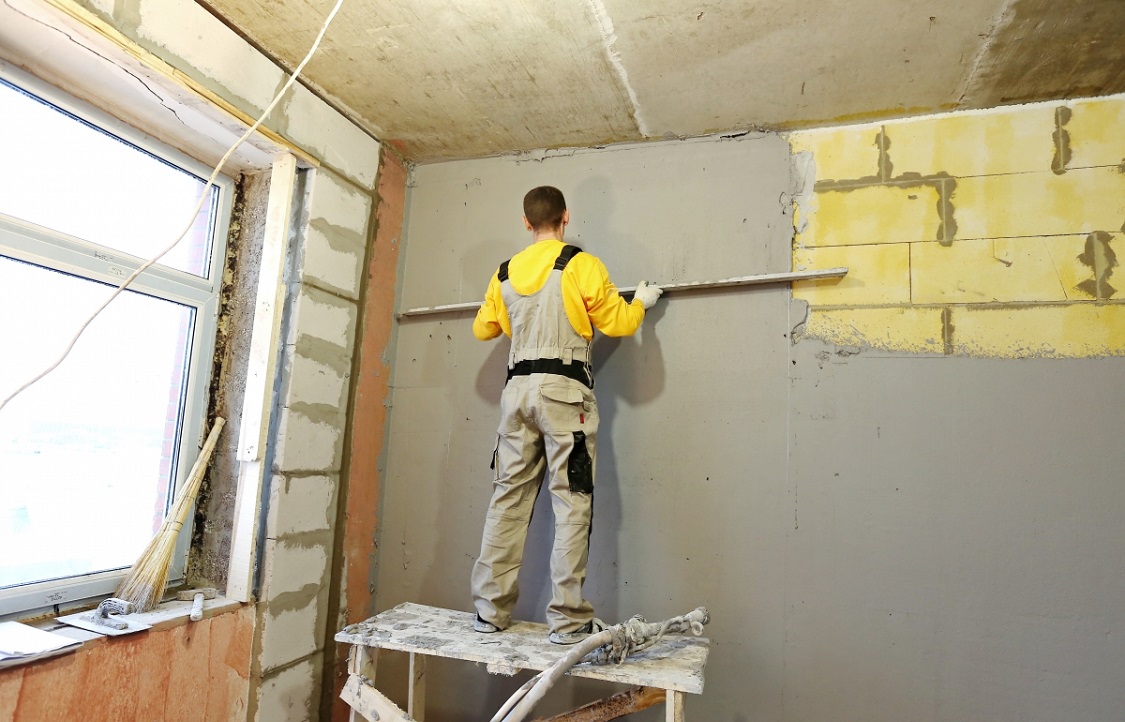
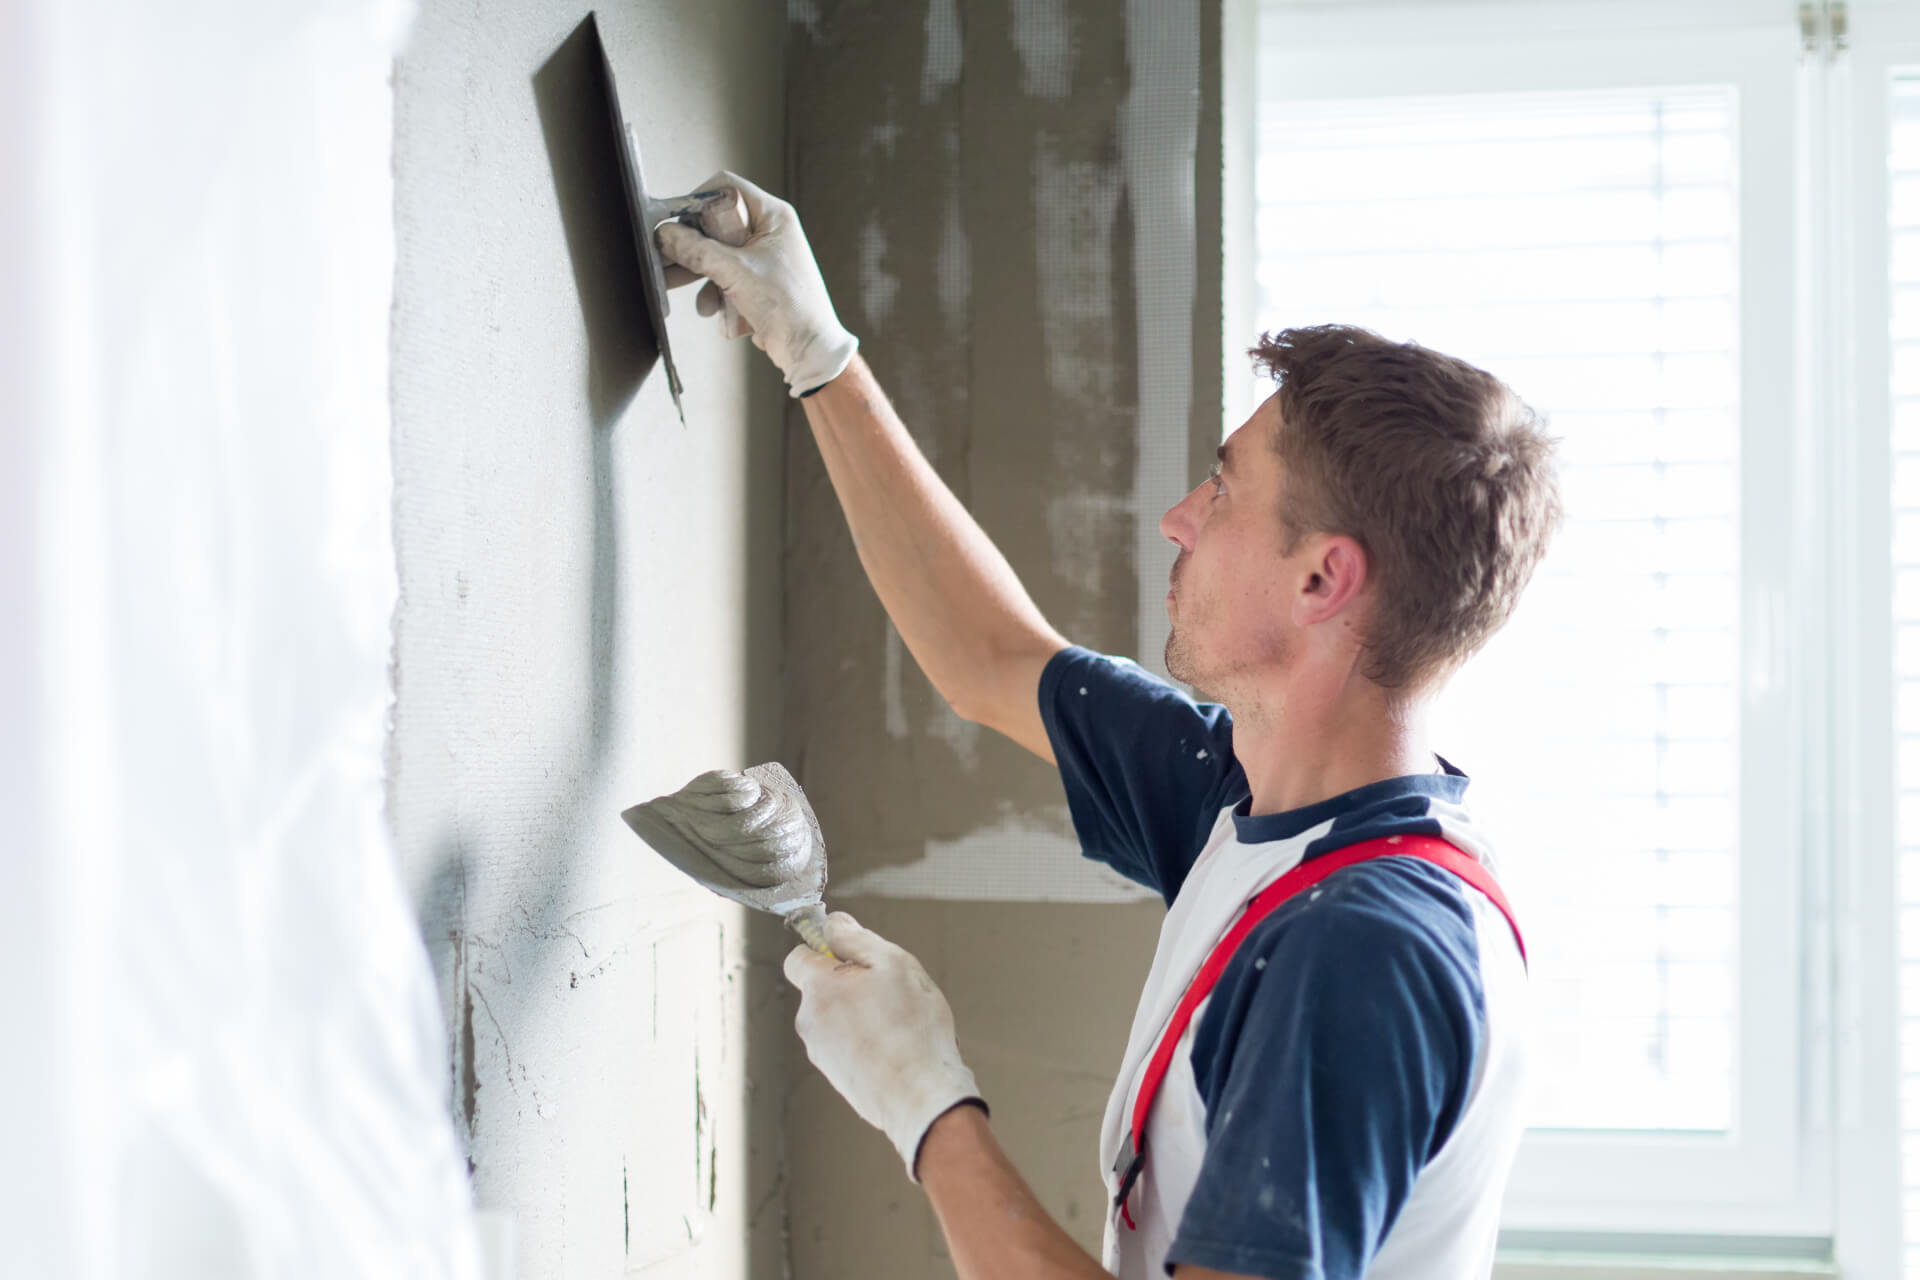
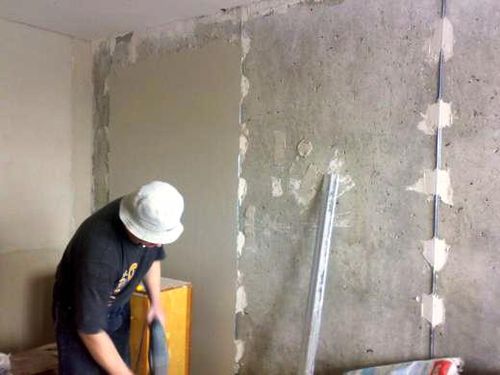
Any overhaul in an apartment or house faces the process of plastering walls. Plaster can effectively eliminate any irregularities and surface defects. However, for independent high-quality processing of walls or ceilings, theoretical knowledge, practical experience and adherence to the sequence of work steps are necessary.
Special features
Before you plaster the surface, you need to clearly define the target. Mixtures for different types of finishes vary in composition and properties. Plastering can be done inside and outside the house. Depending on this, manufacturers offer different solutions.
To increase the service life and provide high-quality coverage, it is necessary to follow the rules for applying the mixture and preparing surfaces.
Temperature and humidity
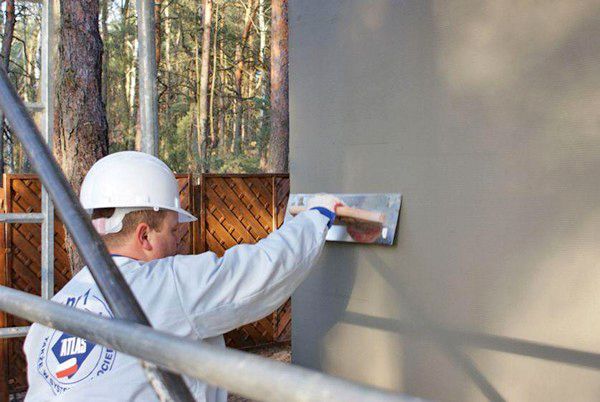
Important factors are temperature and humidity. Experts advise to perform internal work at a temperature of from 15 to 25 degreesto ensure the plasticity of the solution. If outdoor work has to be done in hot weather, it is recommended that the surface be additionally moistened by spraying it with water. This will prevent the plaster from cracking.
Wall material
The nuances of plastering the bases of different materials are different. Manufacturers take into account these features and offer a large assortment of plastering materials, which have instructions indicating the proportions and recommendations for use.
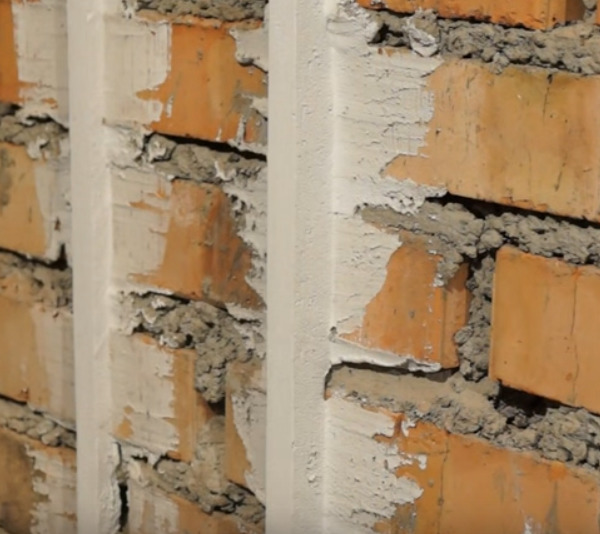
Of brick
As a rule, in these cases, a mixture based on cement. Proportions are selected individually. Most often, one part of the cement takes 3 or 4 parts of sand, which must be sieved for cleaning. The composition is filled with water in such a way that the consistency is thick and plastic.
To increase plasticity and moisture resistance, lime is added to the solution. For outdoor use, this additive is necessary. In this case, 1 or 2 parts of lime dough and from 5 to 7 parts of sand are taken for 1 cement part. The mixing process is extremely important. At first dry parts (cement and sand) are mixed, only then lime, diluted with water should be added.
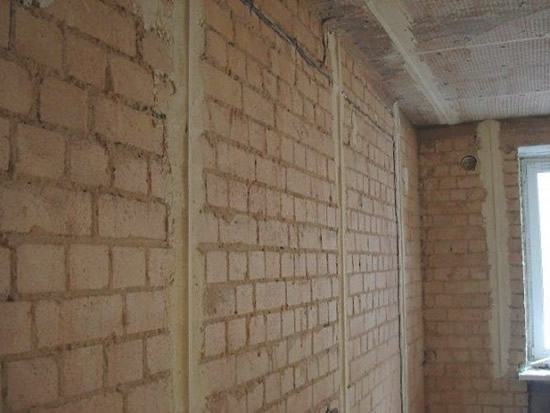
Experts do not recommend applying a layer above 3 cm on a brick wall.
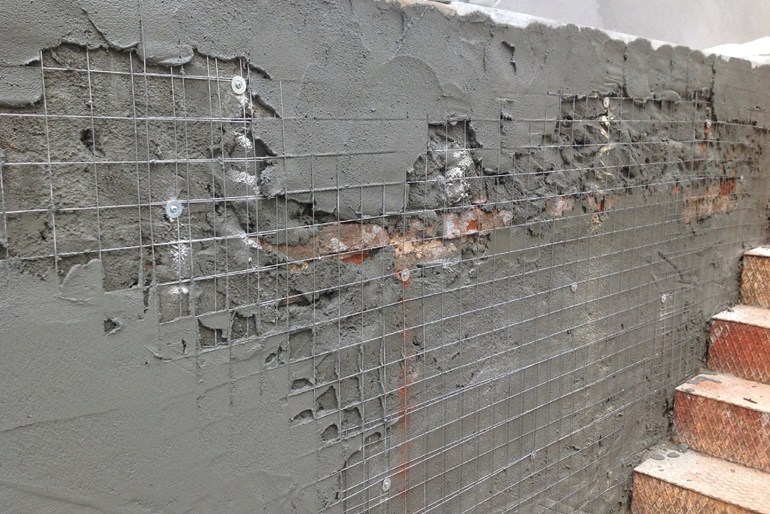
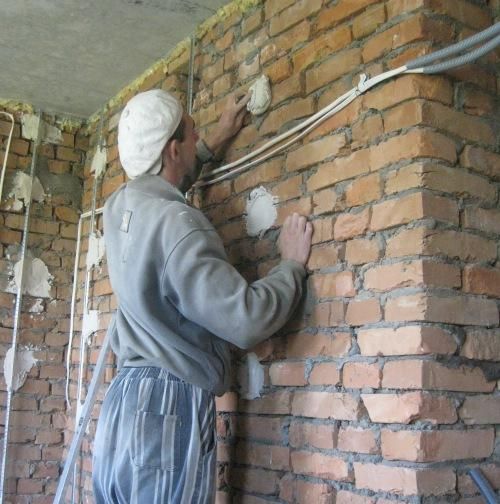
To strengthen it, it is better to use metal mesh as reinforcement. Since the facing brick has smooth sides, it is difficult to put plaster on it. In order to increase adhesion to the surface, the base is recommended to be first primed with special compounds. And also use a reinforcing mesh.
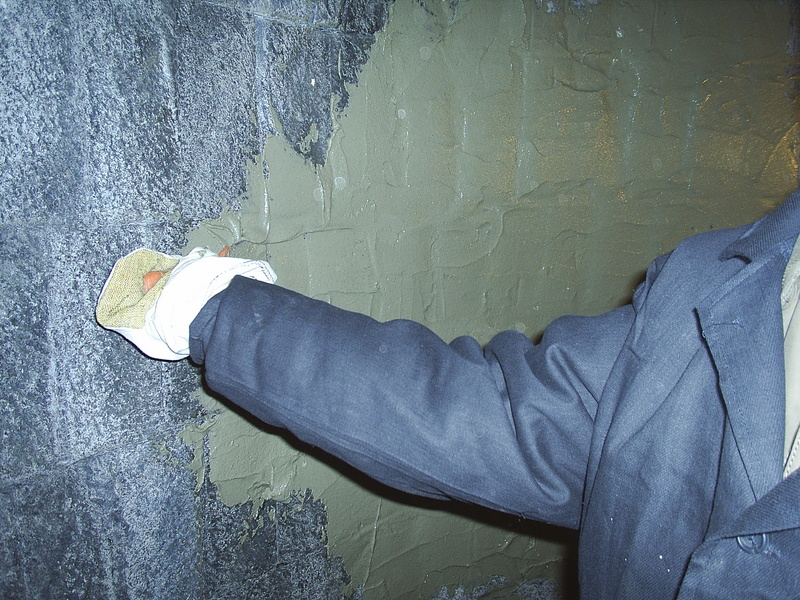
Concrete base
The main problem of concrete surfaces during plastering is smoothness. Therefore, prior to their work, their preliminary treatment with quartz-based ground compositions is necessary. This will add roughness and improve adhesion. When working with concrete, cement-based plaster is used. Its use is most appropriate in the presence of roughness, since it does not require any additional actions other than applying a primer.
In these cases, you can use traditional gypsum plaster.

If the concrete surface is smooth, experts recommend using a gypsum-lime mixture. Usually it contains 1 part of gypsum for 3/4 of lime. Such a solution dries quickly, so when working should moisten the surface and not knead immediately a large volume.
The mixing sequence is important. First, the gypsum and lime are diluted separately from each other with water, then the lime mixture is poured into the gypsum and kneaded until homogeneous.
Professionals pay attention to the fact that the processing of any concrete bases must necessarily be preceded by the process of applying a deep penetration primer.
Cellular concrete
Gas and foam are the simplest materials for plastering. The preliminary stage is the priming of walls with compositions with deep penetration. Such surfaces can be plastered with any mixtures: cement, plaster, lime.If necessary, use fiberglass reinforcing mesh "serpyanka".
Wooden surfaces
Plastering wooden bases is a labor-intensive process.
- First of all, it is necessary to treat the wood with antiseptics, which will eliminate the appearance of fungi and mold.
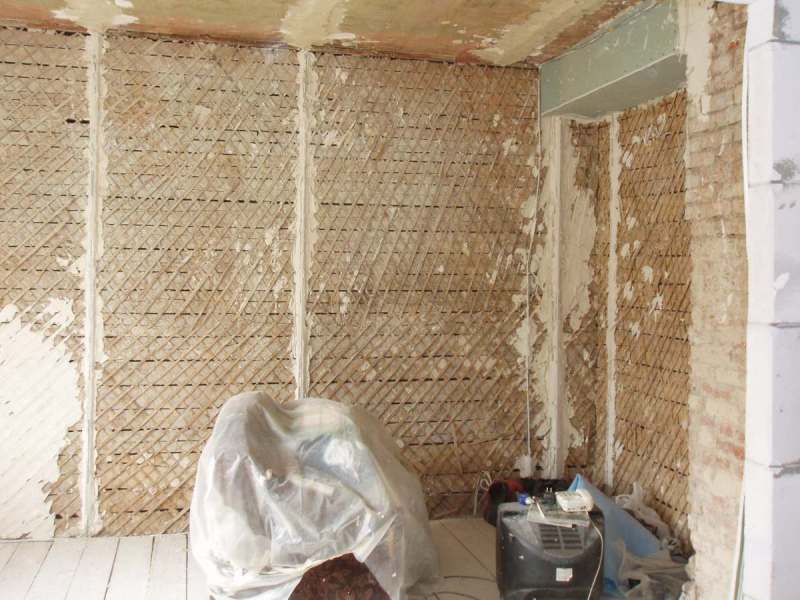
- At the second stage of preparation, small wooden slats in the form of shingles are stuffed onto the surface. Instead, it is permissible to use a metal chain link with a thickness of 3 mm. Experts emphasize that it needs to be fixed with special rails (not to the wall itself).
Since wood has a fibrous structure, any type of mortar will be used for plastering. The classic version is based on cement, but cement-lime and lime-gypsum compositions are acceptable.

Types of plaster
Before you carry out repairs in the room, you need to arm yourself with knowledge of the varieties of plaster. The location of the facade compositions used for outdoor work. Interior mixtures are designed for interior decoration. Plaster materials vary in purpose.
Traditional
These are ordinary plasters, they are intended for leveling walls.The main task is to prepare the foundation for further finishing with wallpaper, tiles or panels. As a result, it is necessary to obtain a layer that will withstand the influence of various factors.
The composition can be divided into several types:
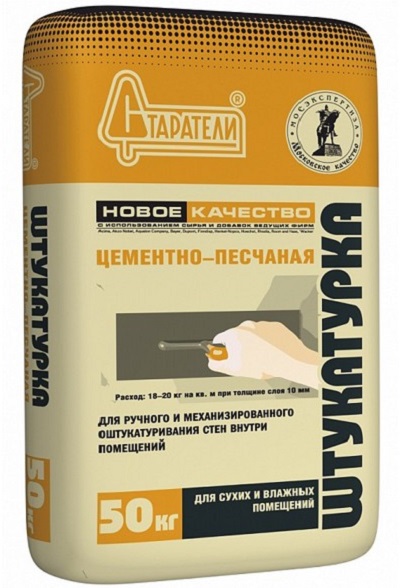
- Cement sandy. The classic version that has proven itself to be many years of practice. Equally suitable for exterior and interior use. A relatively inexpensive composition with proper preparation and application will last for many years. The only downside is the dampening of the plaster.
- Cement-lime. It is based on cement-lime composition, which is supplemented with lime and synthetic additives. Lime mortar provides plasticity, synthetic additives - strength and resistance to various influences. As a rule, applicable for facade foundations.

- Lime sandy plaster has established itself as an interior finish, as the composition is less durable.
- Lime Plaster universal, suitable for any type of base, except concrete. In addition, it has a high coefficient of moisture resistance.
- Mortar most often used as a rough finish wall. It is not suitable for outdoors and rooms with high humidity, they are not recommended to level the plaster bases.
- Gypsum mix suitable for leveling the surface indoors. With its help, you can get a perfectly flat base. The downside is the low degree of moisture resistance.
Specialized
Special plaster has protective features. It is used as heat, sound and moisture insulation. It acts as a screen for various types of radiation. There are several popular types of specialized plasters.
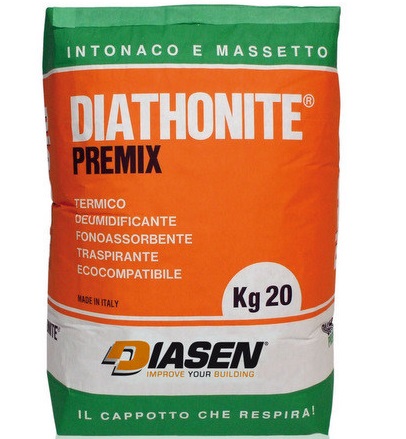
Thermal insulation
Thermal insulation - the most common form, which is used for exterior and interior works. It is practical, safe and functional. The composition allows the material to go well on the base with any surface. The main feature of the solution is viscosity.
The fillers having a porous structure help to keep warm. To do this, use several materials:
- Foam glass, representing quartz sand foamed under the influence of high temperature.The material is characterized by incombustibility, low water absorption, resistance to shrinkage.
- Vermiculite get the same way from mica. It is heat-resistant, but high hygroscopicity reduces consumer demand.
- Perlite formed during the burning of volcanic glass. Porosity allows the material to reduce the noise level in the room and retain heat. It has the same disadvantage as vermiculite, therefore, requires a protective coating.
- Styrofoam contains all the advantages of the materials described above, it is moisture resistant. However, it is combustible, therefore its use is limited.
- Sawdust - the cheapest, environmentally friendly and effective option.
It is better to use them only for interior work.
The insulating composition is used as an additional layer, which is recommended to be applied with a thickness not exceeding 50 mm. Otherwise, the mixture will crawl from the base under its own weight. Warm plaster can provide good insulation, if it plaster walls inside and outside.
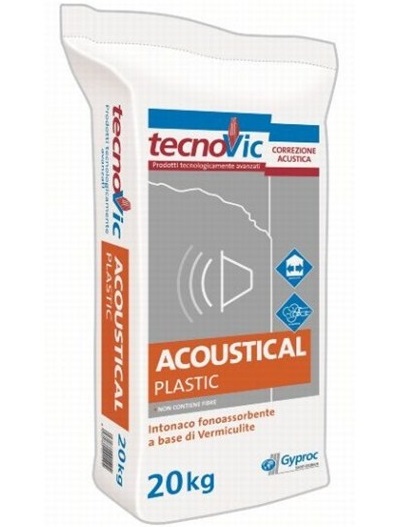
Acoustic
For the processing of the walls of large workshops and concert halls often use soundproof plaster.It contains special additives (expanded clay, pumice, slag). For private interiors, the solution is also appropriate, especially when finishing with marble or tile, as it will reduce the echoing of the room.
An important condition is the observance of certain rules. For example, the surface must first be primed in several layers, there should be no temperature difference upon drying. Since the bases treated with acoustic plaster cannot be painted, they are covered with a cloth or covered with decorative grids.
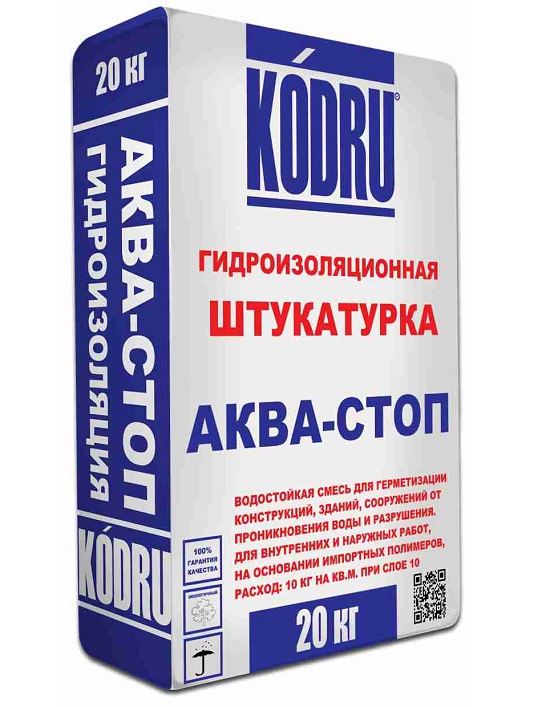
Waterproofing
Waterproofing mixture is designed to work in wet areas (baths, showers, balconies and basements). The composition includes a knitting base (for example, cement), a filler, and various mineral or synthetic additives.

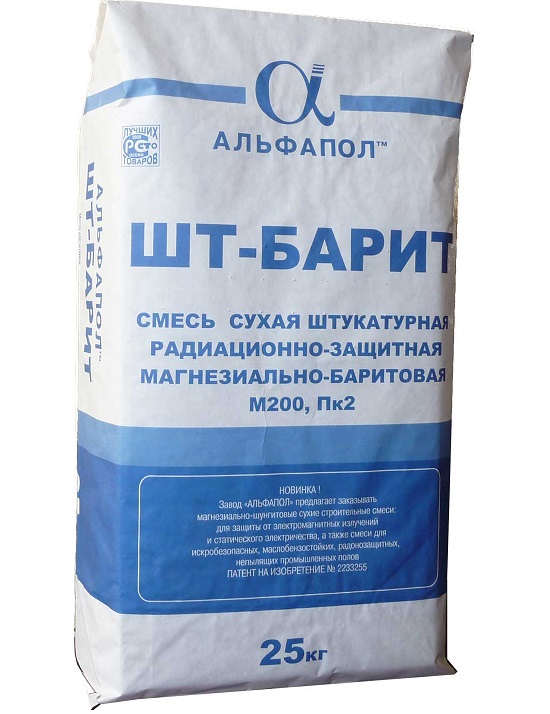
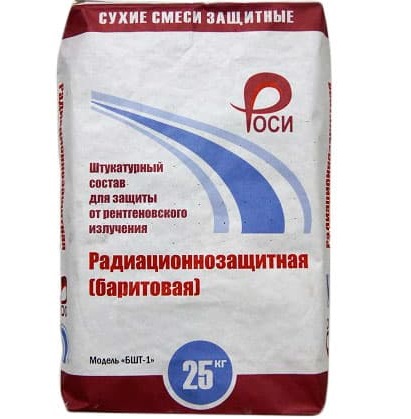
X-ray protective
X-ray protective variety is characterized by the presence of barite concentrate, which can replace the lead screen. The layer should not have joints, so it should be applied once with a thickness of 50 mm. It is important to observe the temperature regime not lower than 15 degrees.
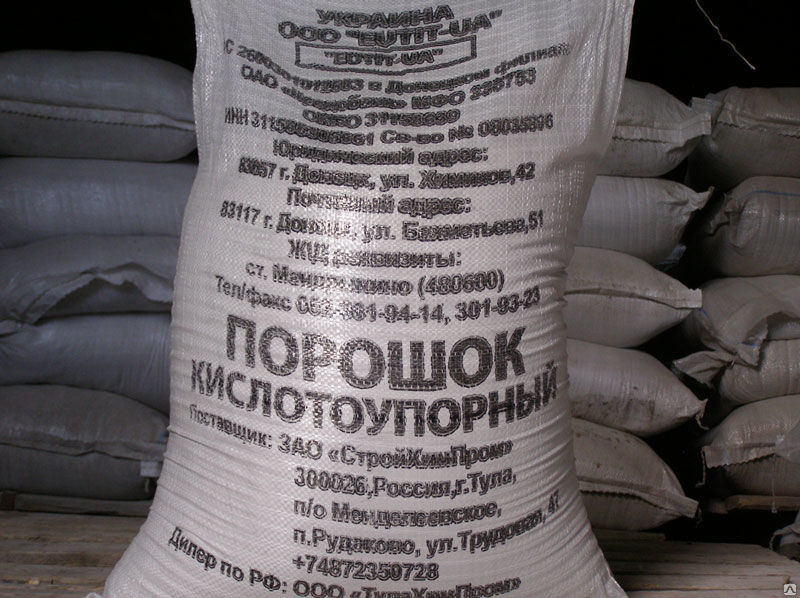
Acid resistant
Acid-resistant plaster is used in cases where it is necessary to protect the surface from the effects of various chemicals.The solution contains potassium glass, stone flour and quartzite sand. The main layer is coated on top with additional cement-sand for protection, treating with ironing.
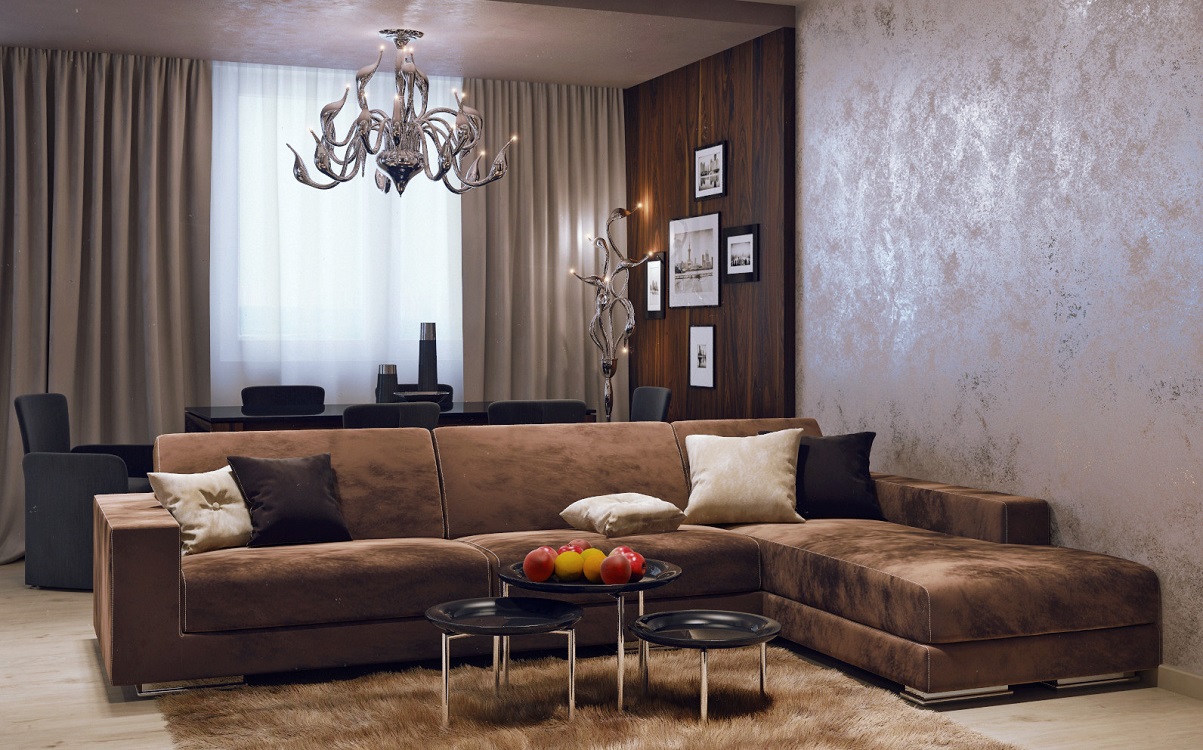
Decorative
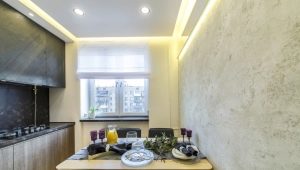
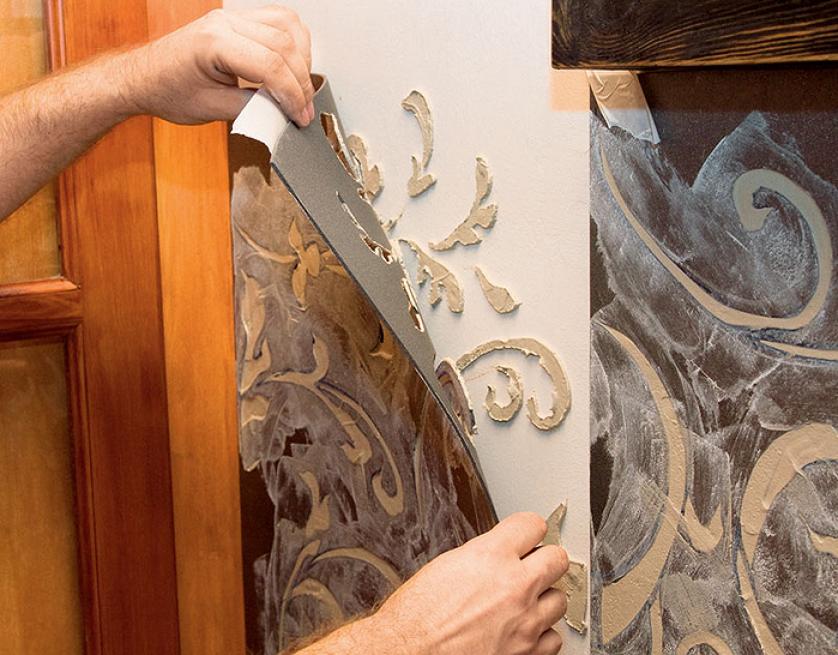
Decorative plaster, as a rule, is a finishing material and serves as a decor in the interior. Plaster is structural, textural and venetian. The latter is used only for interior decoration. The composition of the structural mixture is characterized by the presence of silicates or acrylic, as well as other additives that give the surfaces a volume.
For the same purpose are different methods of applying plaster.
A distinctive feature of the textured composition is plasticity. It makes it possible to create drawings, to imitate various materials. The decor made with this plaster is not only aesthetically pleasing, but also allows you to hide the imperfections of the walls. Designers add various textile and vegetable fibers, stone chips, glass beads, sequins and much more to textured mixes.
Experts advise that it is mandatory to pretreat the grounds to be decorated with antiseptics.It is important to cover the plaster layer with protective structures to prevent mold, fungus.
For the effect of the texture "fur coat", "bark beetle", "Venetian plaster" you can buy special tools. The venetian type of plaster is unique. It imitates marble by marble flour, which is part of it. The cost of such a finishing coating is not affordable for everyone, but this plaster looks luxurious and amazing. From above it is covered with wax to give shine, emphasize the depth and protect from damage. Prepare such a composition can be putty.

According to the binder component
Depending on the binder component, plaster mixtures are divided into several types:
- Acrylic contains acrylic resin, which gives the mass plasticity. This property causes the smoothness and strength of the coating. The disadvantage is the low degree of vapor permeability and exposure to ultraviolet radiation.
- Mineral basically contains cement. Therefore, over time, the strength of the coating increases. The advantages include relatively low cost and immunity to sunlight, to the downside - low resistance to mechanical stress.
- Silicone characterized by excellent moisture resistance and plasticity, which provides a synthetic resin. It can be painted in different colors, get different textures.
- Silicate contains liquid glass, so it is durable, fireproof and resistant to high humidity. It has the greatest operational period, reaching 50 years.
Wall alignment methods
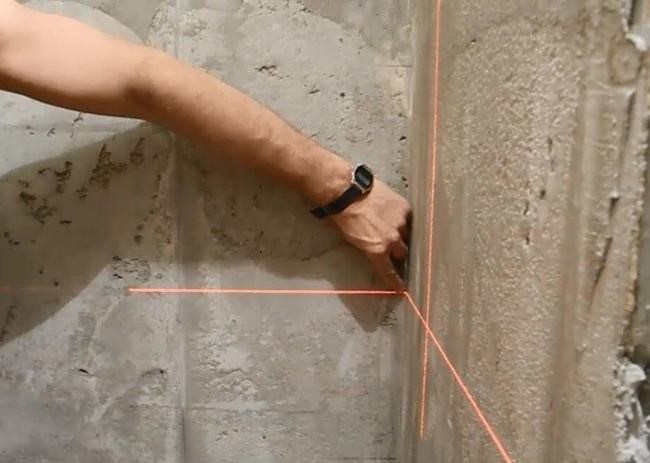
The main task of plaster - leveling surfaces. To do this, you must first measure the curvature using a building level. If the drop is less than a centimeter, you can use putty. Significant deviations are best eliminated with plaster.
As a rule, there are two ways to align the walls.
With lighthouses
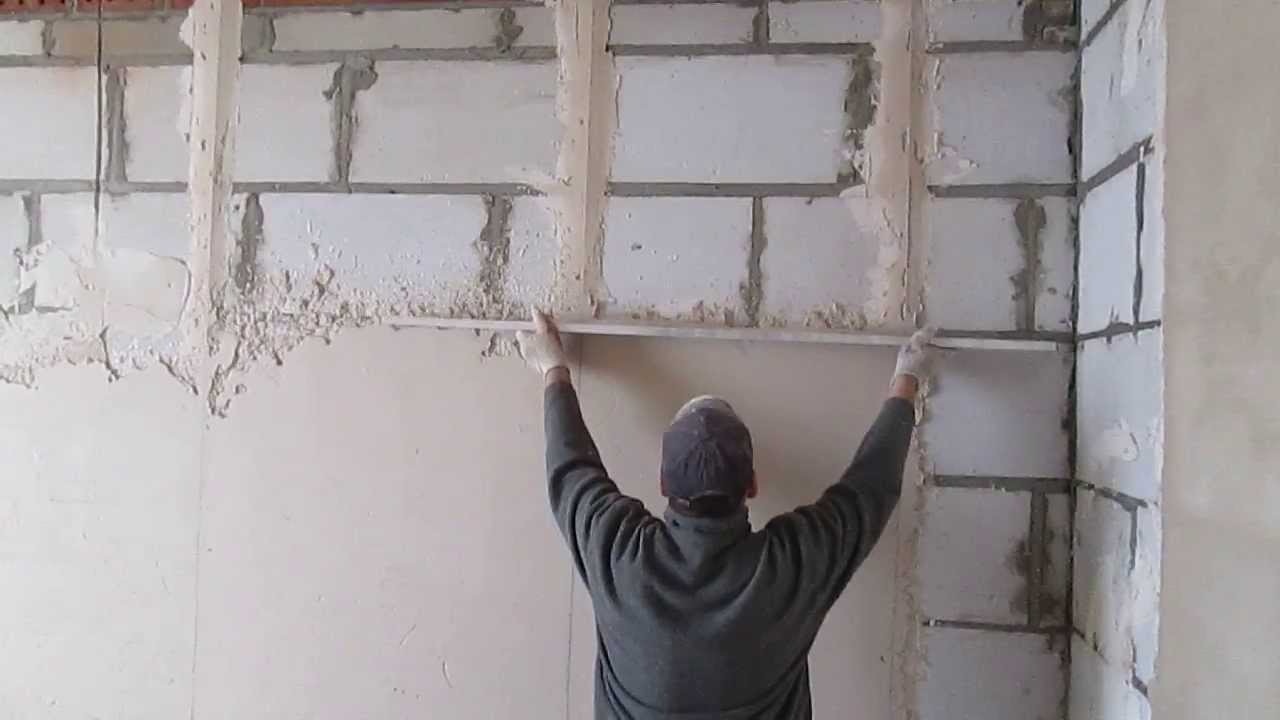
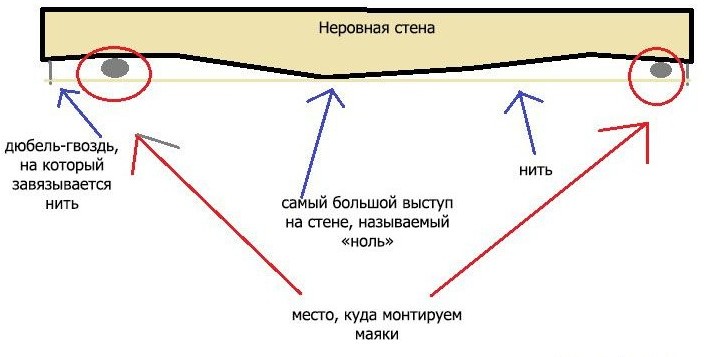
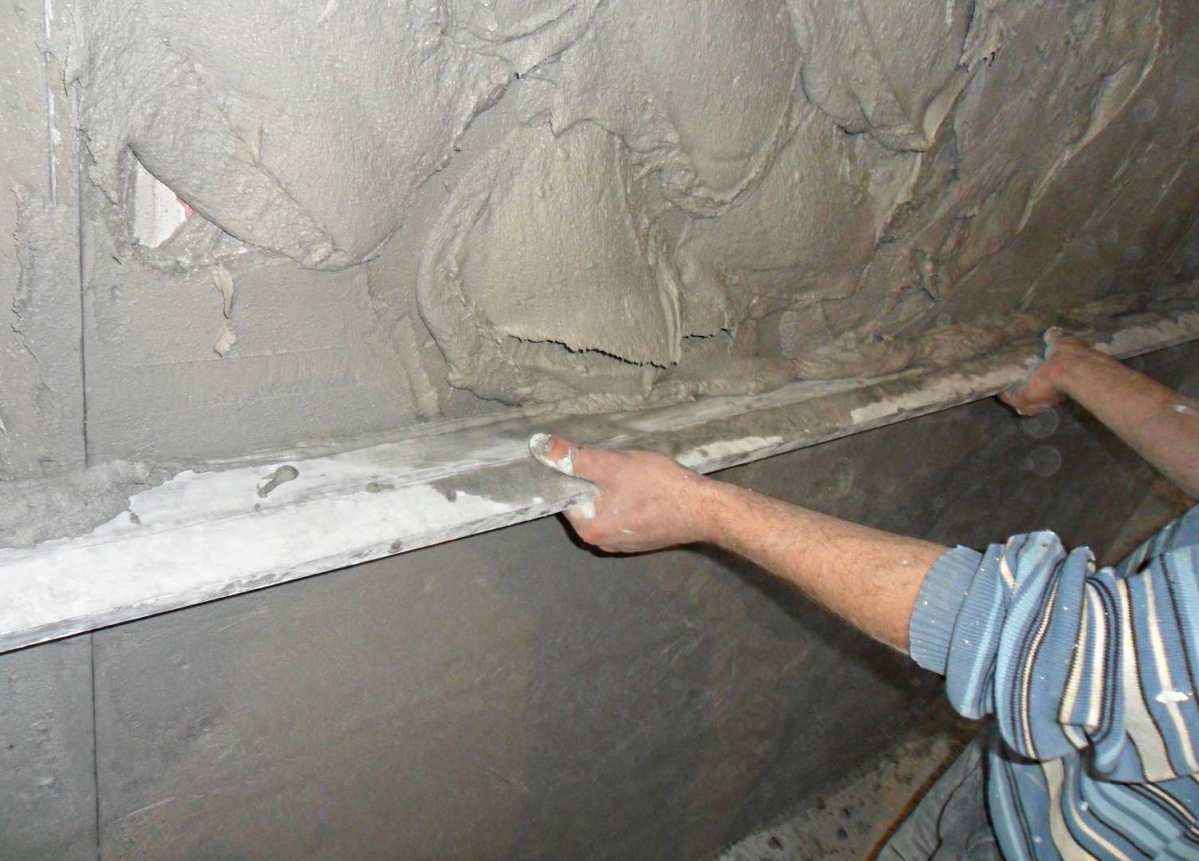
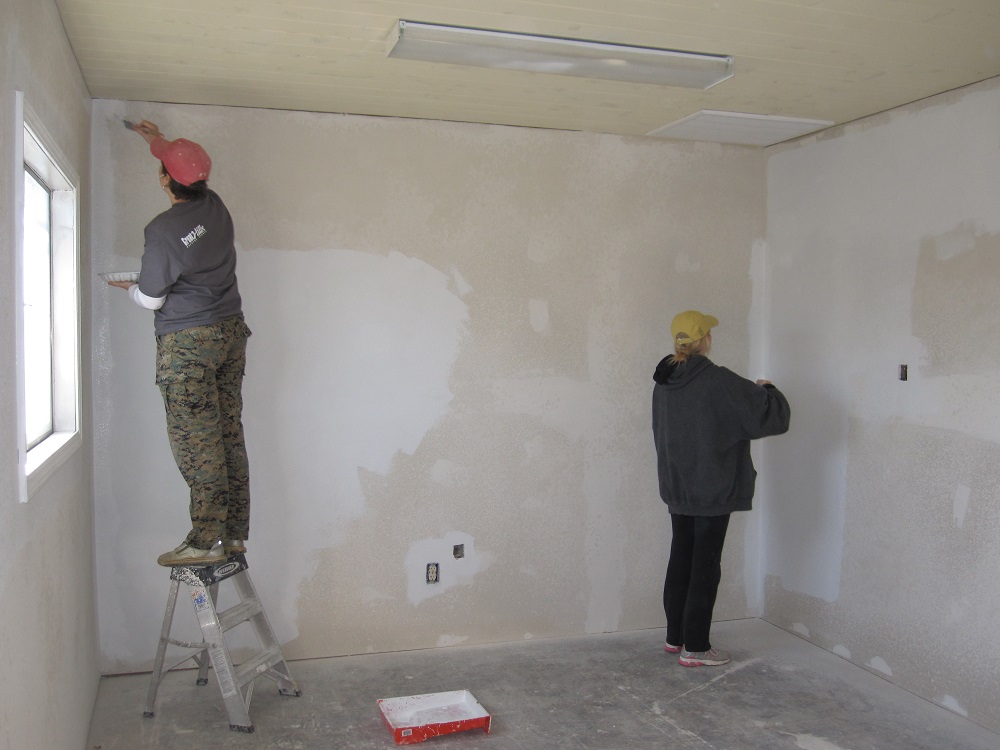
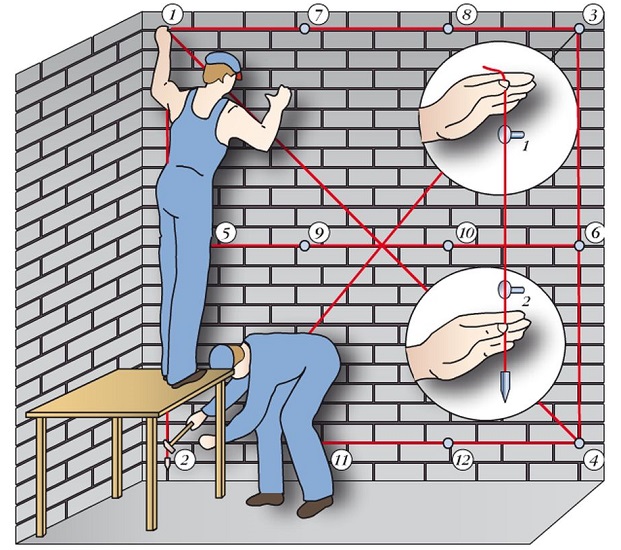
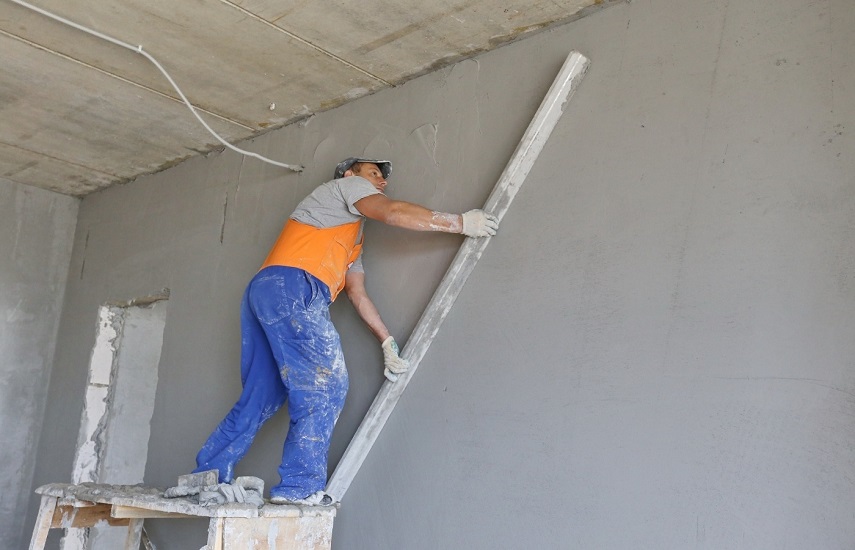
If the irregularities are significant and the surface area is large, then you cannot do without beacons. They provide an opportunity to see the thickness of the plaster layer that needs to be applied. You must first mark the place of plastering. Then you need to install the first beacon parts near the ceiling and near the floor, for example, screw in the screws.
Between them pull the cords.The distance between the base and the cord is arbitrary (as long as they do not touch). Further along the cord vertically fix the rail, using for this plaster. Typically, the first profiles are placed in the corners, intermediate - parallel to each other in increments of up to 1.5 m, depending on the size of the rule.
Vertical control is carried out using a plumb line. Plaster is applied gradually from the lighthouse to the lighthouse. After the solution has set, the beacon profiles are removed. The resulting voids are filled with plaster. After that, the entire surface is polished, achieving smoothness.
No lighthouses
This method is simpler than the previous one, since it eliminates preparatory steps for installing beacons. In addition, the plaster is applied with a thin layer, which saves on material. but This method is appropriate only if there are small irregularities:
- At the initial stage, the surface is primed, spats large dents, scratches and chips.
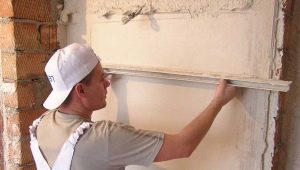
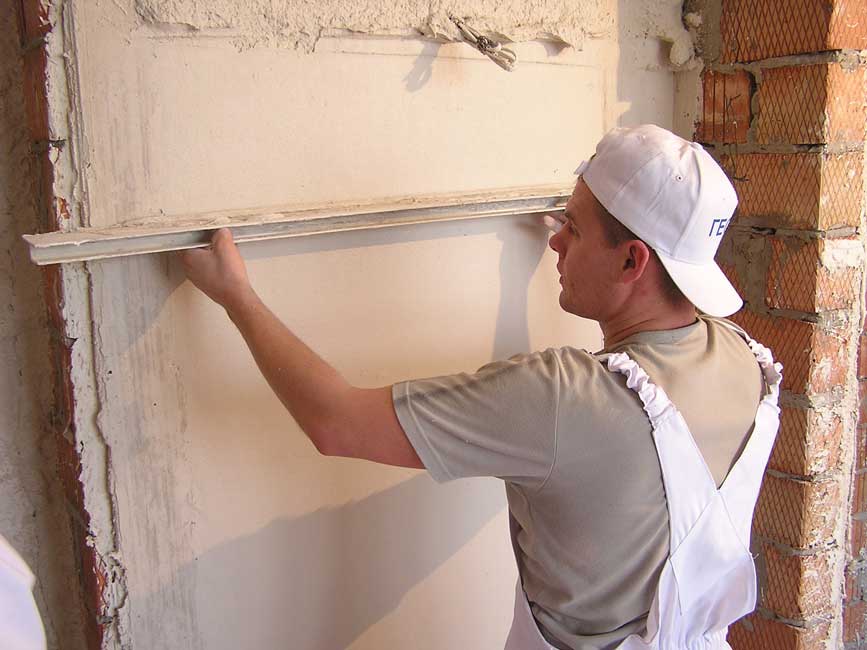
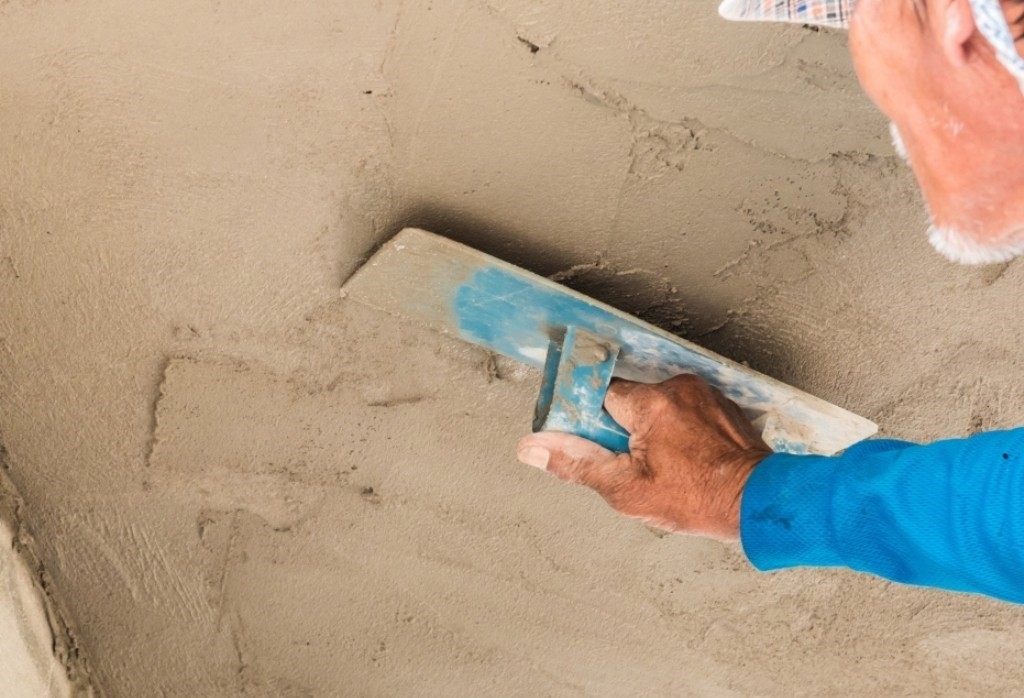
- Next, impose a solution in three stages, allowing to dry each layer. First throw a trowel. Its thickness depends on the type of material from which the base is made. The rule helps to straighten out irregularities; a smoothing pad helps to stretch the plaster across the wall.The second layer is carefully applied with a wide spatula; its thickness should not exceed 8 mm. His task is maximum alignment. Finishing the third stage is designed to achieve smoothness. Its thickness is 1-2 mm. It is better to apply it on a slightly wet second layer.
Alignment of corners
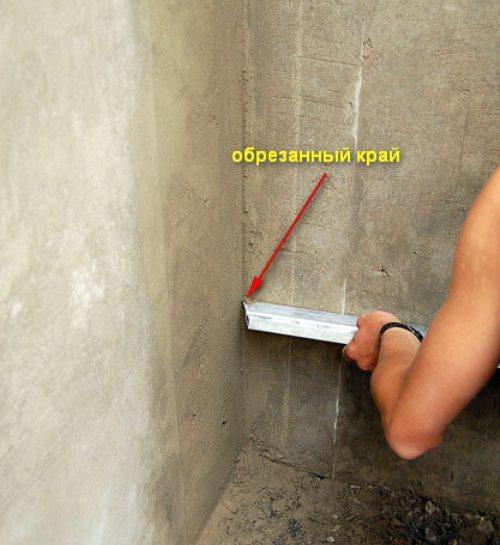
Plastering corners - a complex process, not subject to all. Instead of beacons, you can use the trimmed surface of a perpendicular wall and a square or a rule. Before starting work, it is important that the main area of the walls has already been processed and prepared.
The corners themselves must be primed with a deep penetration solution.
Internal
In this case, there are two cases of plastering: with the alignment of both surfaces or one. In the second, one wall of the inner corner is processed. The solution is applied by the usual method, then stretch the rule of the angle along the base. Then the corner trowel rubbed corner up and down. As reinforcement, you can use a reinforcing mesh or a special perforated metal profile.
External
External corners are plastered in the same way. The method is not much different from the previous one. Manufacturers of building materials offer to facilitate the task by using a perforated metal profilewhich will allow to receive an equal and reliable external corner. Attach it to the cement or plaster. You can use the method without auxiliary elements. In this case, first plaster one wall, and then another. It is important to ensure that the surface is flat.
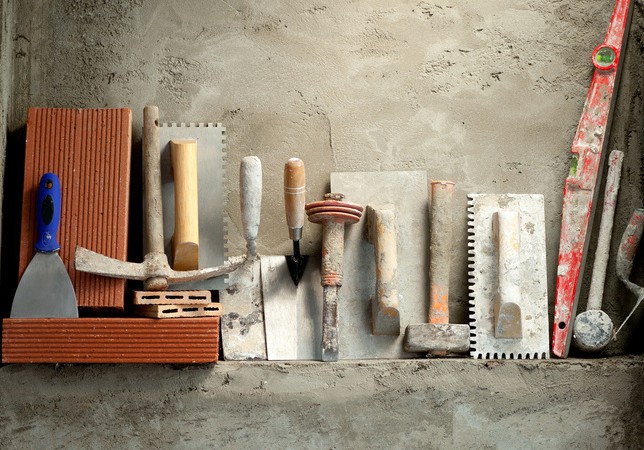
Necessary tools and consumables
Before plastering, it is necessary to prepare all the tools and materials that will be needed during the preparatory stage, during work and during the final finishing. You can list the most frequently used.
These include:
- plaster;
- putty;
- ground solution;
- beacons of different sizes;
- perforated corner profile;
- reinforcing mesh;
- apparatus-perforator and nozzle-mixer for mixing;
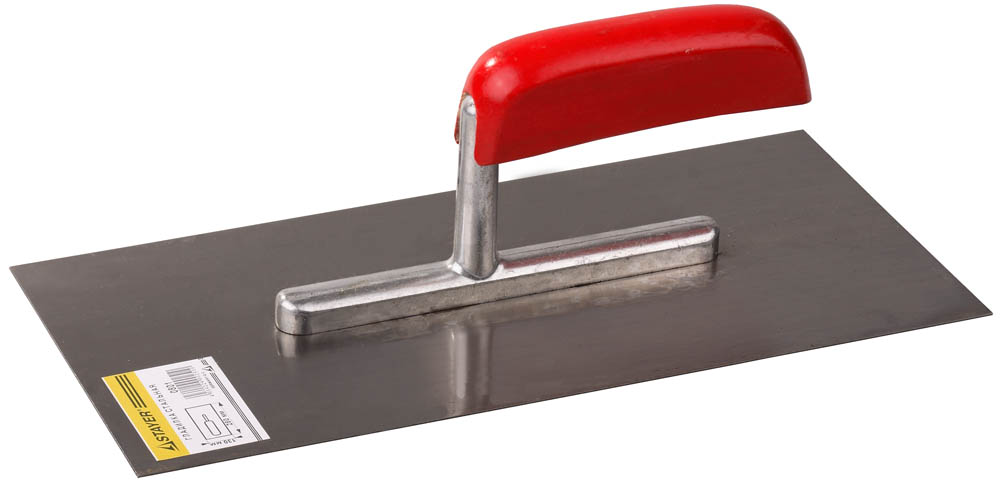
- plane;
- Bulgarian;
- various graters;
- metal shears for cutting beacons;
- set of screwdrivers;
- building level;
- plummet;
- the rule;
- ironing machine

- several spatulas;
- dowels, screws, screws;
- roller and brush for applying a primer;
- tanks for cultivation and mixing;
- tape measure, simple pencil or chalk for marking;
- protective gloves;
- headdress.

Wall markings and primer
Before you start working with plaster, you must mark the walls.
Markup
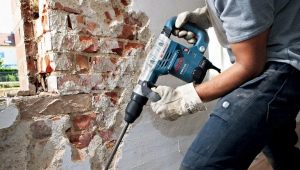
At the initial stage of preparation. It should be done by inspecting walls using a building level and a plumb line. Similarly, deviations are detected that are marked with a marker. In the case of significant mounds over 3 cm, they are best cut with a grinder. The grooves are putty.
After completion of the preparatory work proceed to markup for the installation of beacons.
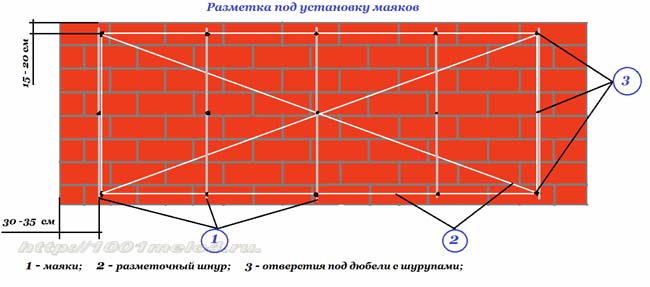
Begin with the extreme (corner) lighthouses:
- To do this, back away from the angle of 30 cm in each direction.
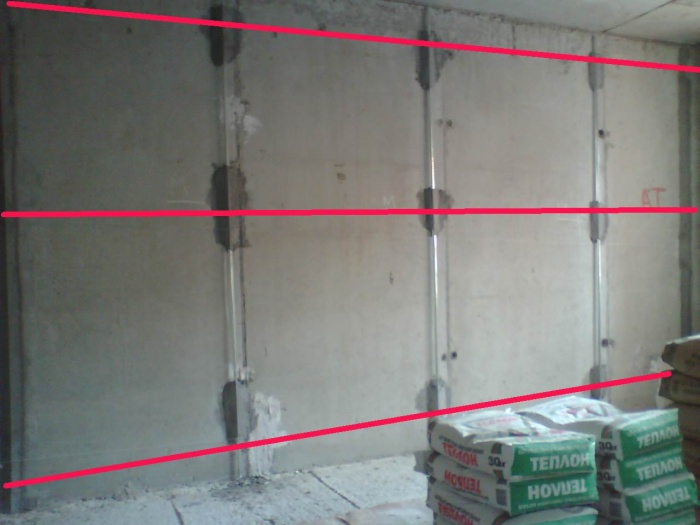
- A vertical line is drawn from top to bottom, from which at a distance of 1.5-1.6 m the next parallel line is drawn (and so on to the end of the surface). The distance between the beacons should be such that the rule was convenient to work.
- For a tool with a length of 2 meters lay a width of about 1.5 meters.
- From the floor and ceiling should retreat to 15 cm to install the screws. They will be decisive for lighthouses. First, stretch the horizontal cords near the floor and near the ceiling.
- At the intersection of cords with vertical markings, it is necessary to twist the dowels. They will be needed to install beacons.

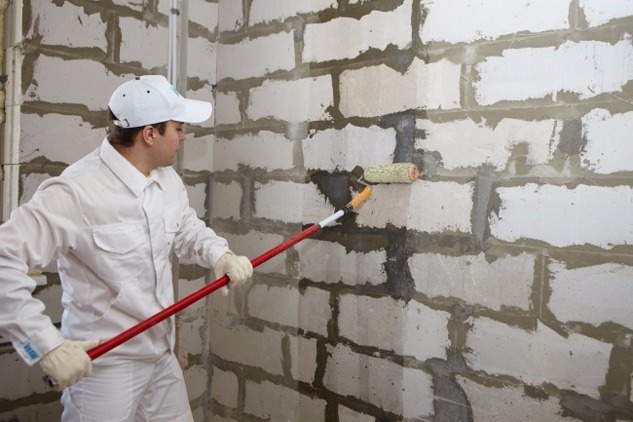
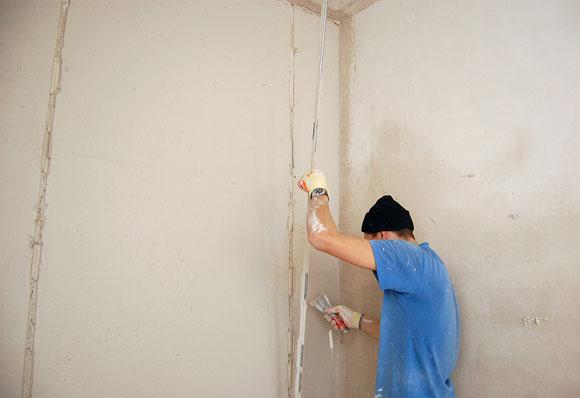
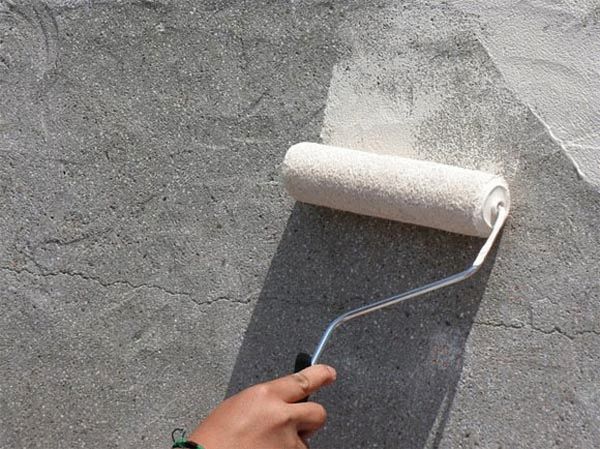
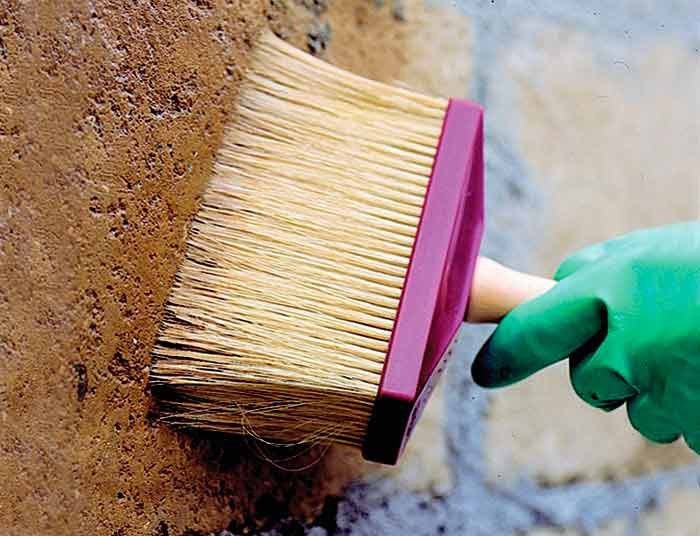
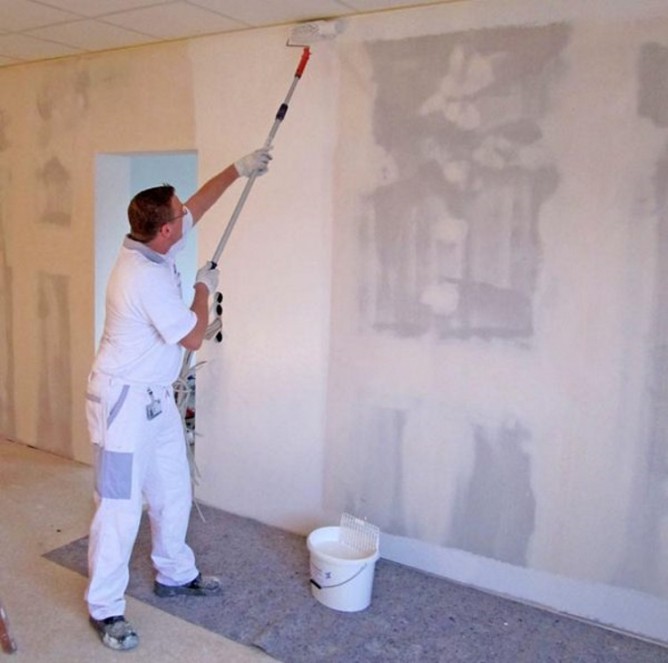
Primer
Priming is an obligatory preparatory stage before plastering surfaces. This process increases the adhesion between the plaster mix and the base, eliminates dust and reduces the absorption of moisture from the solution. In addition, the primer serves as an antiseptic, it improves the ventilation of walls, prolongs the life of the coating.
Manufacturers in the product manual describe in detail how to dilute the primer, how to apply it and for what materials it is suitable. For particularly smooth and porous surfaces use deep penetration compounds. It is better to apply the primer in several layers, letting the previous one dry within a few hours. When applying a topcoat, it is better to leave the substrate overnight (about 10 hours).
Lighthouses fastening
Installation of beacons can be carried out only after the soil layer dries. To level the horizontal or vertical surfaces, you need to adjust the thickness of the plaster layer. This is especially true with significant irregularities.For such purposes use beacons.
They are different:
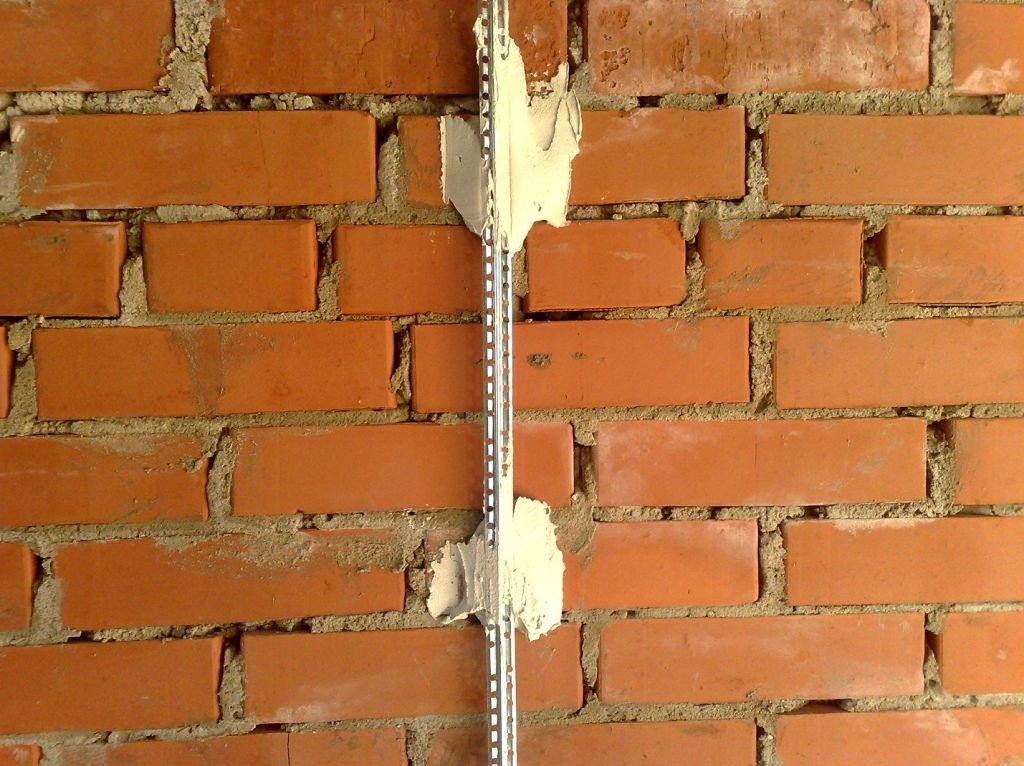
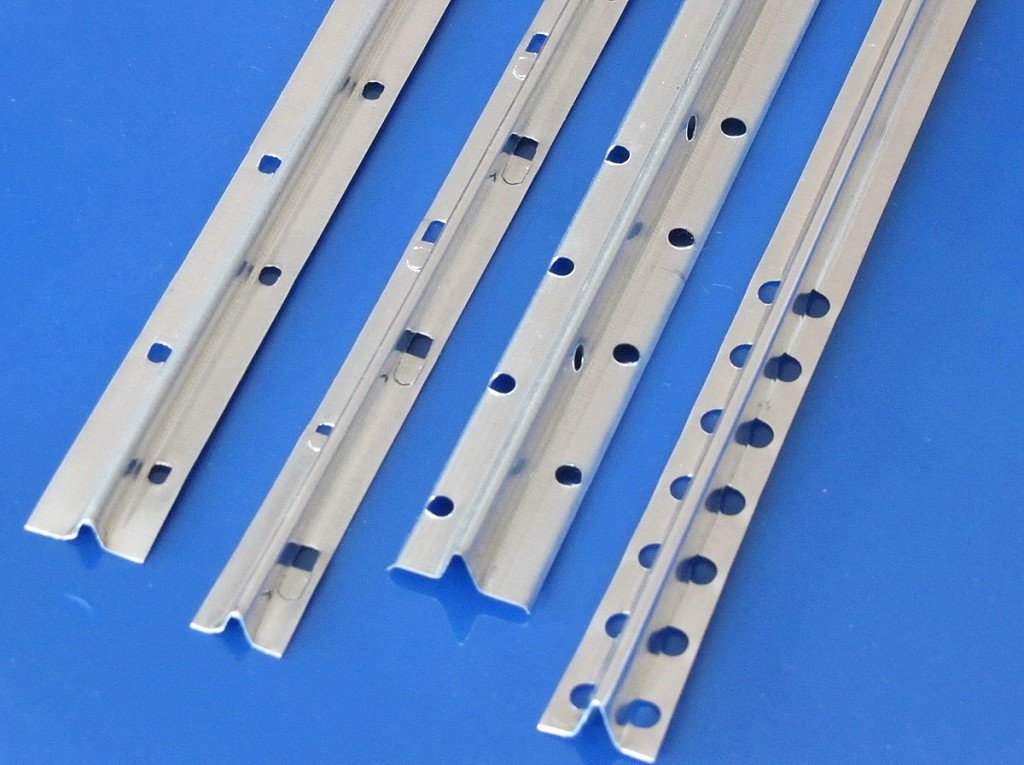
- Made of metal. Metal beacons are perforated galvanized metal profiles. According to the standard, the length is 3 meters, the depth is from 3.6 to 10 mm. Attach lighthouses to the wall with screws. Beacon profiles are designed to control the thickness of the applied plaster. After plastering they are eliminated.
- From plaster. Gypsum beacons are different from metal ones in that they do not need to be removed after plastering the surface. Therefore, it is believed that this method is more economical. Gypsum beacon parts can be made by hand. As a result, a gypsum vertical is formed on the surface, which serves as a beacon.
- From plastic. Plastic beacons are analogous to metal. The material for them is high-strength plastic. The mounting process is similar to the installation of galvanized metal profiles. The main disadvantage of such lighthouses is their fragility, therefore, they should not be hard hit by the rule when plastering the surface.

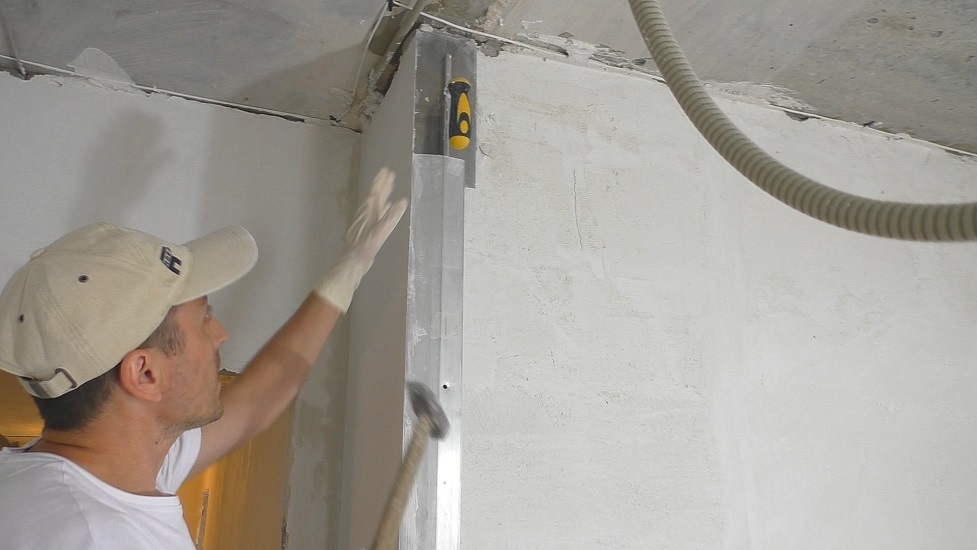
Installation of metal and plastic beacons
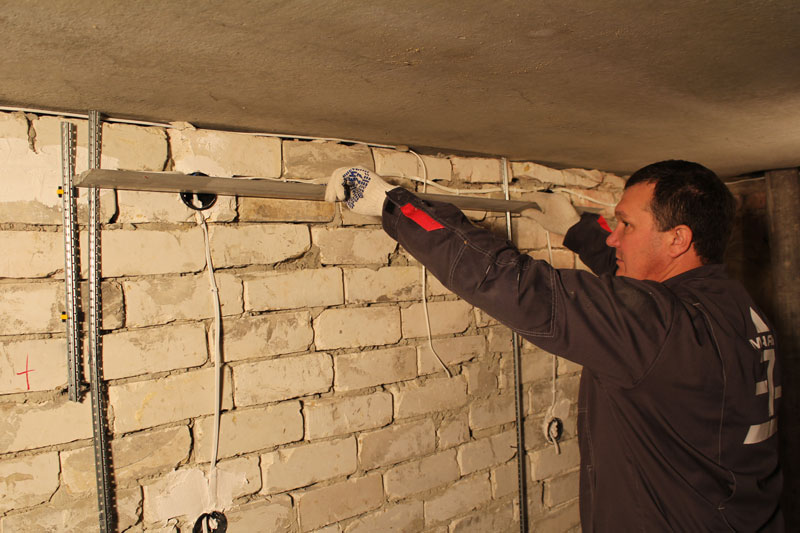
When marking the surface near the floor and ceiling screw screws.Before installing the beacons, it is necessary to once again check and check the verticality of the lines obtained using a plumb line. In the process of marking it is necessary to tension the guide cords vertically, horizontally and diagonally. Under each of them you need to hold a beacon profile. If the lighthouses cling to the level, the screws must be reinstalled.
Next, cut the profile of the required length. To do this, they take away from the distance between the extreme dowels 10 cm. Thus, the lighthouse will retreat 5 cm from the upper and lower screws. Then you should prepare the plaster mortar to install the beacons. Experts note that the consistency of the finished plaster should be thinner than usual, but it should not drain from the spatula.
The mixture is applied to the base along the marked vertical line. The beacon profile is pressed into the plaster flush with the heads of the screws. Check the evenness of the installation with the help of a building level and a long rule. If necessary, you need to adjust.
After making sure that the lighthouse is correctly installed, the screws must be removed. Similarly, lighthouses are installed along the entire surface prepared for plastering.The distance between them should be such that the rule, when leveling, simultaneously moves along two proximal profiles. As a rule, leave about 1.5 meters.
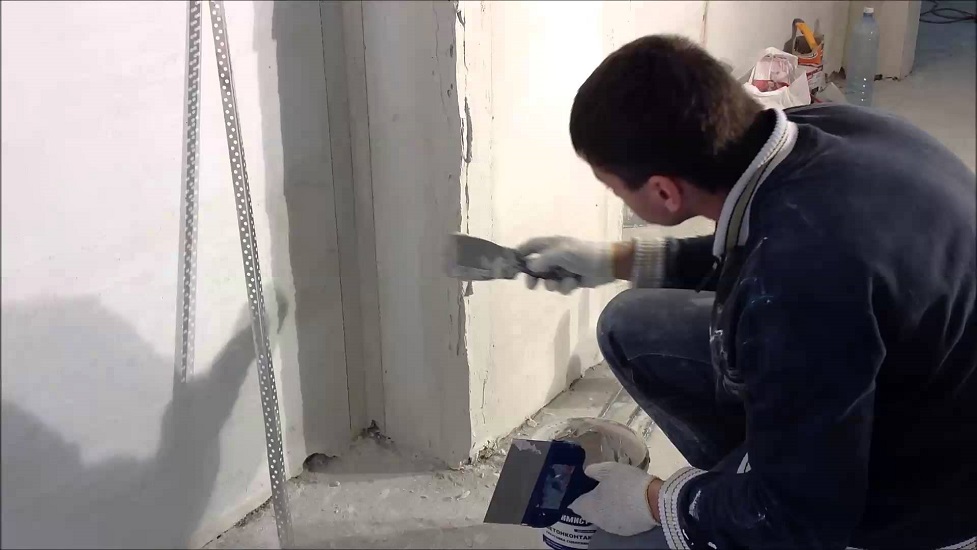
Plaster fixation
The sequence of actions when attaching gypsum beacons is as follows:
- First, dowels are installed on the surface at a distance of 15 cm from the floor and ceiling.
- Screw the screws in so that the caps are at the correct height. For leveling it is better to use a level.
- On the screws set metal or wooden flat bar.
- While holding the profile, cast gypsum into the space between the plank and the wall.
- Excess plaster mortar is removed with a trowel, then the profile is removed.
- Thus, all remaining lighthouses are installed.
After complete drying of the gypsum, you can proceed to plastering.
Preparation of the solution
Depending on the material of the walls of the composition of the plaster may vary. Recently, manufacturers offer ready-made plaster mixes with detailed instructions for preparation, use and storage conditions. If the plaster is not prepared from individual components, but a semi-finished product is bought,It is better to follow the recommendations of manufacturers. If the mixture is prepared on its own, you must correctly select the volume of the necessary components.
We list the most popular compositions:
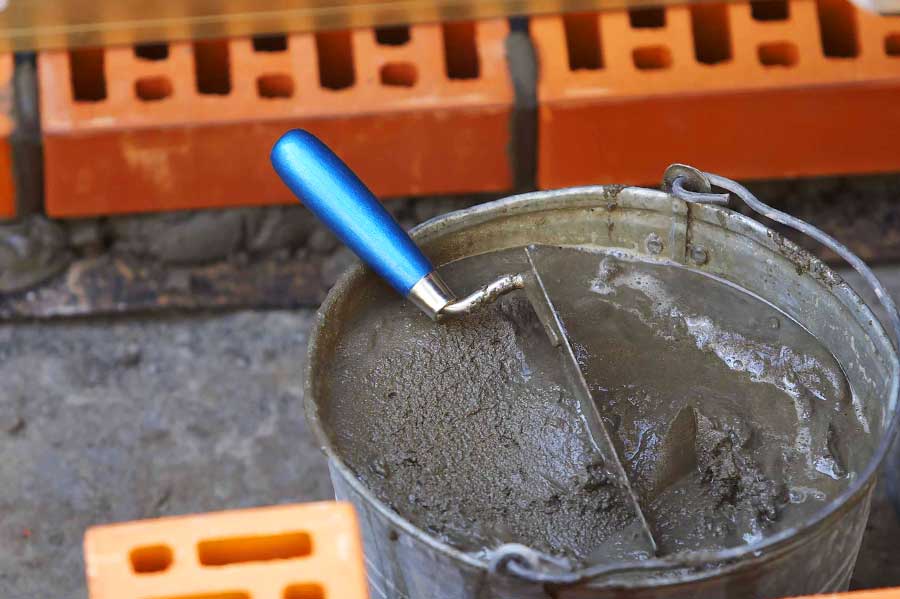
- Cement. The simplest option consists of 1 part cement and 3 parts sand. The sand must be cleaned and sifted. The larger its fraction, the harder it turns out plaster. For finishing it is better to use a fine sand mixture. It makes plaster more plastic.
- Lime. The solution is made from 1 part lime powder and 3 parts sand.
- Cement-lime. More reliable, because cement provides durability, and lime - plasticity. In this case, the component composition is as follows: 1 part lime and cement, 5 parts sand.
- Lime The material with the addition of gypsum consists of 1 part of gypsum powder and 3 parts of lime test.
The cement-based mortar dries quickly and must be used within 30-60 minutes. Gypsum varieties dry out faster than others (up to 30 minutes). Therefore, you must first assess their capabilities and dilute the required amount.
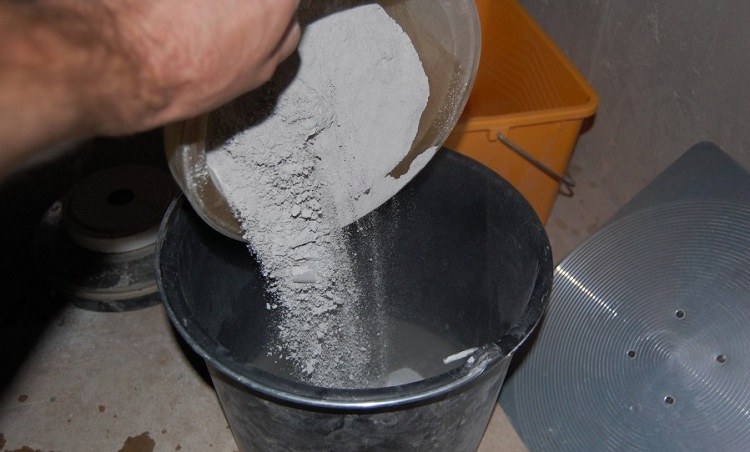
Kneading
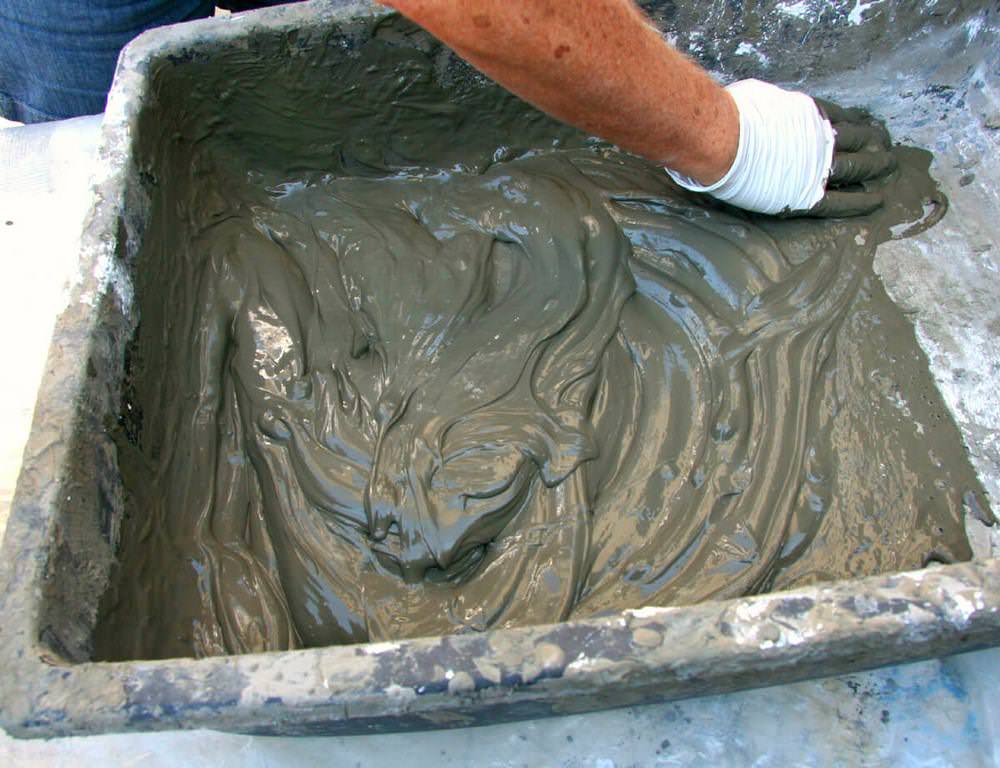
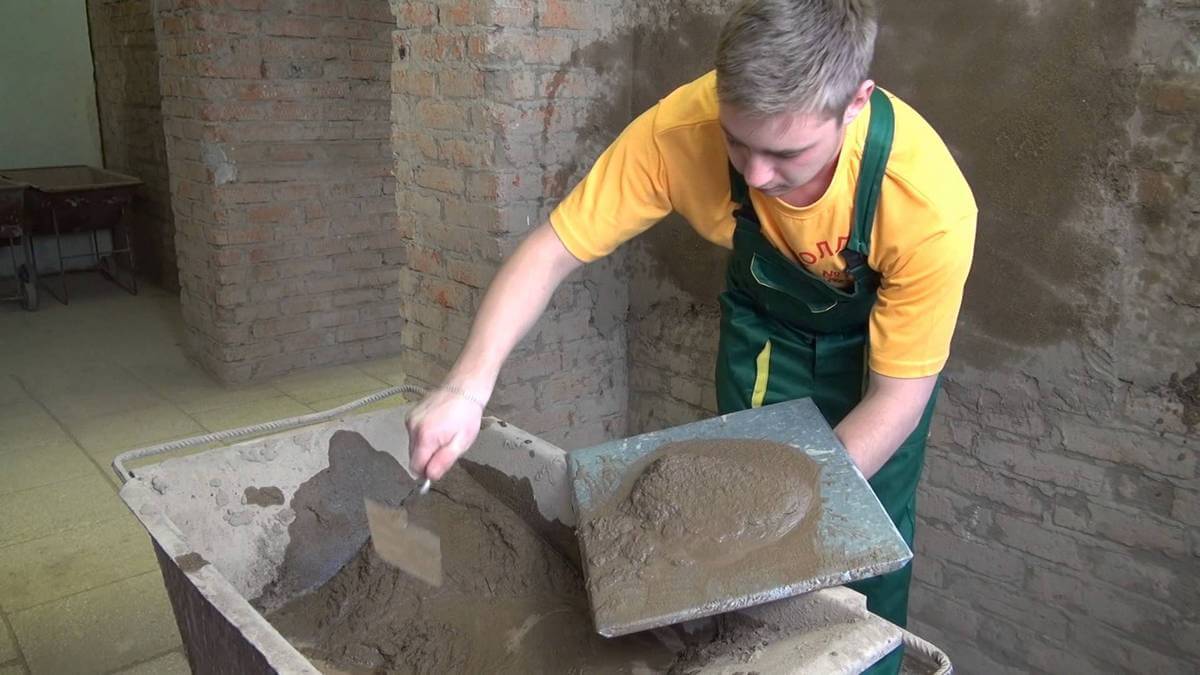
To knead quality plaster, you must adhere to a certain sequence. At the initial stage, mix all the components in a dry form. First in a container for mixing pour water. It is better to use drinking, not technical. From 6 to 8 trowels of the mixture prepared in the first stage are poured into the liquid. The solution must be mixed using a special construction mixer or drill with a similar nozzle.
Subsequently, gradually pour the rest of the mixture, while the mixing process does not stop. The procedure continues until the plaster reaches the desired homogeneous consistency. The resulting plaster mixture is left to stand for about 3-5 minutes, then mix again. At this stage, you can adjust the composition and degree of density.
From one batch should get as much material as needed for plastering within 30 minutes.

Plastering
It is possible to apply plaster mix on the basis in different ways. Each method has its own characteristics.
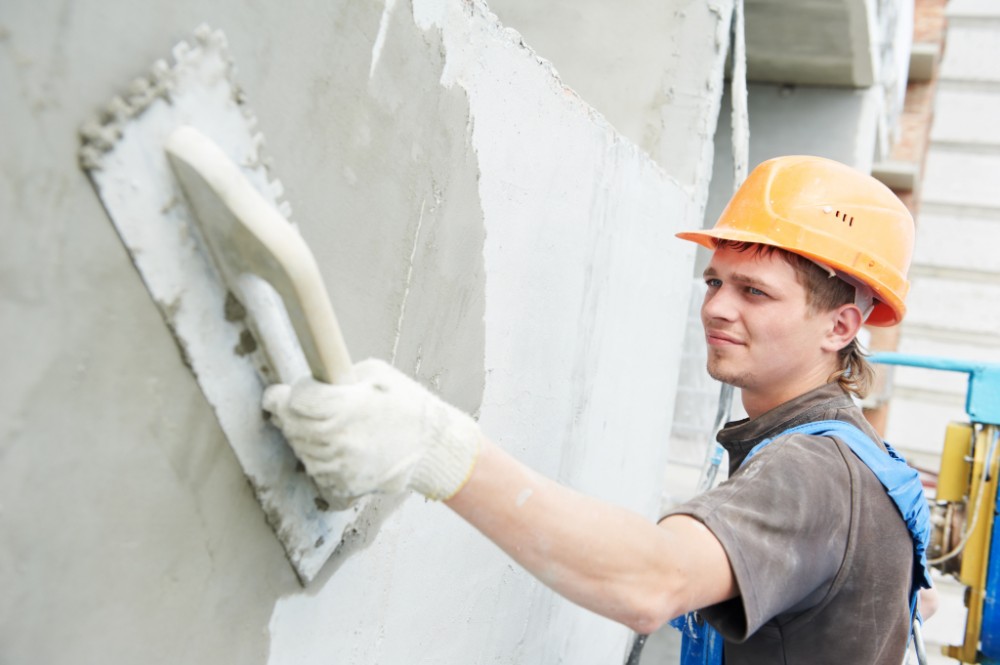
Manual mode
There are two main methods of applying plaster to the base:
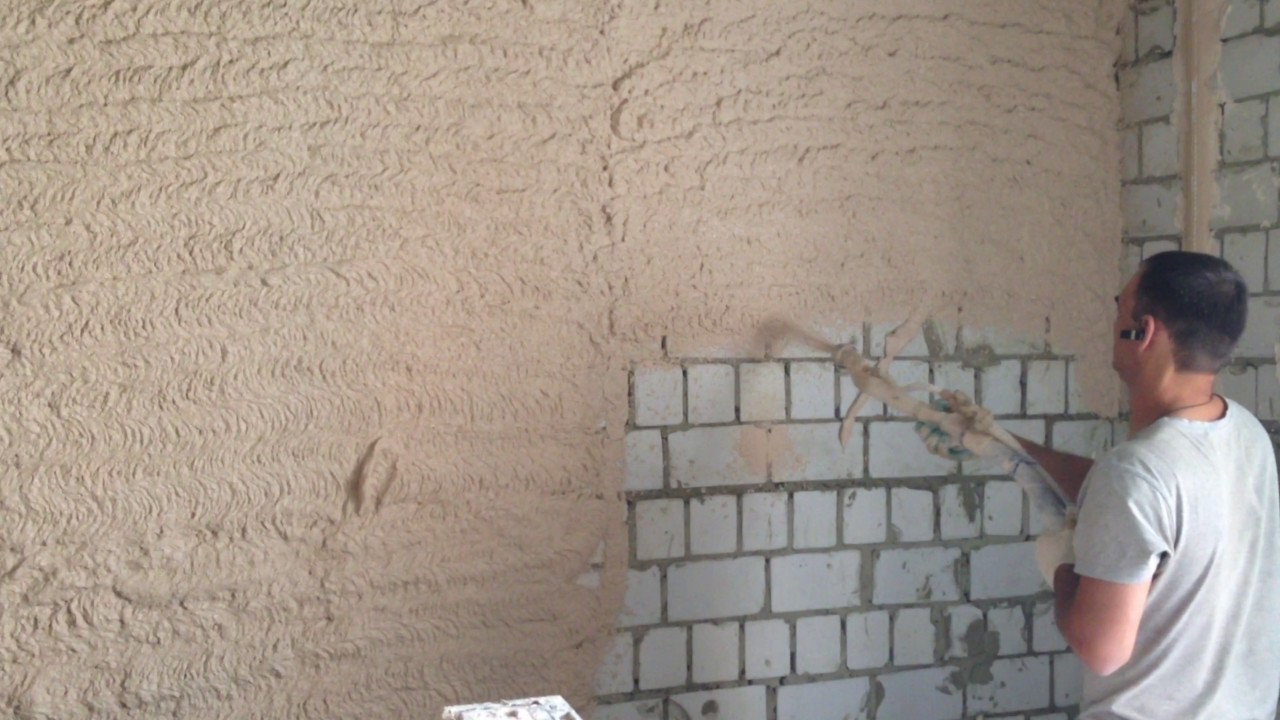
- Professional. This method is more often used by experienced finishers. It consists of throwing a solution onto the surface, stretching it with the help of a rule.
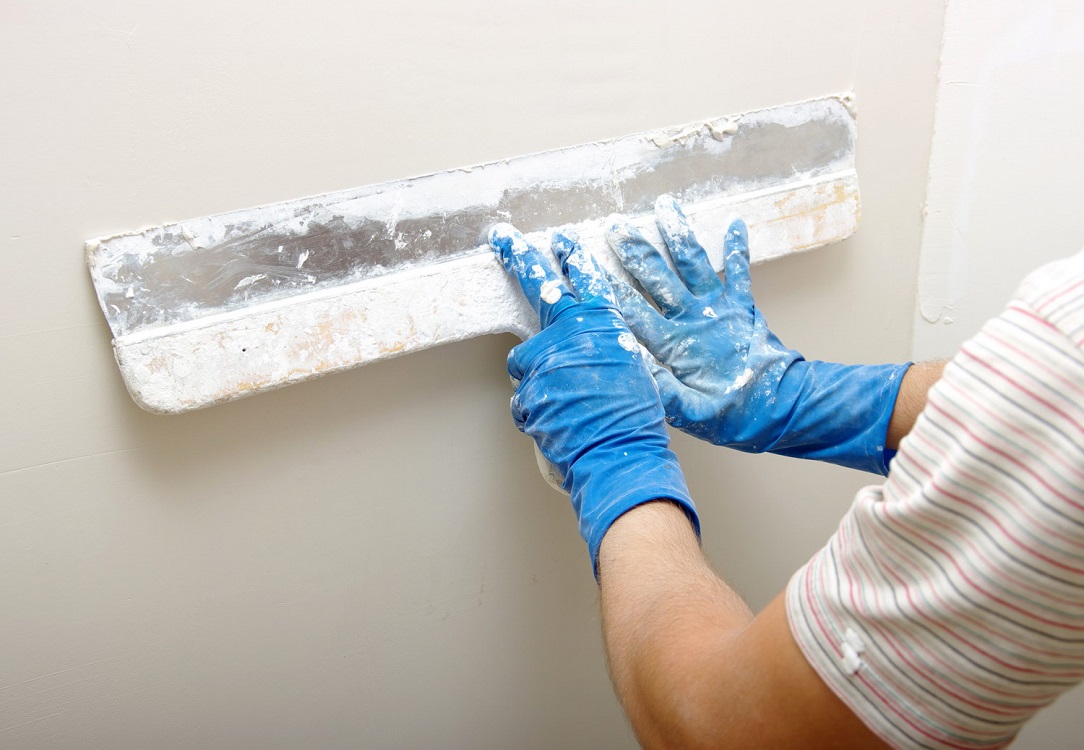
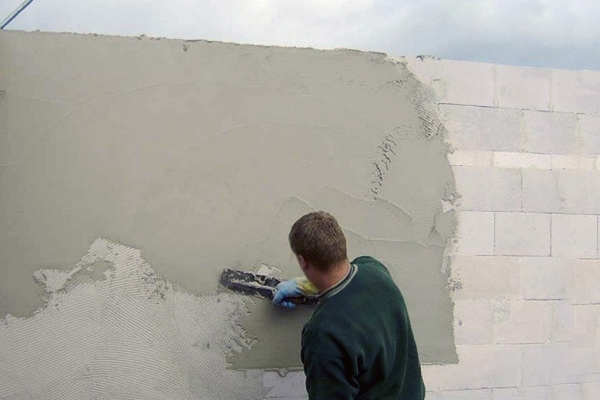
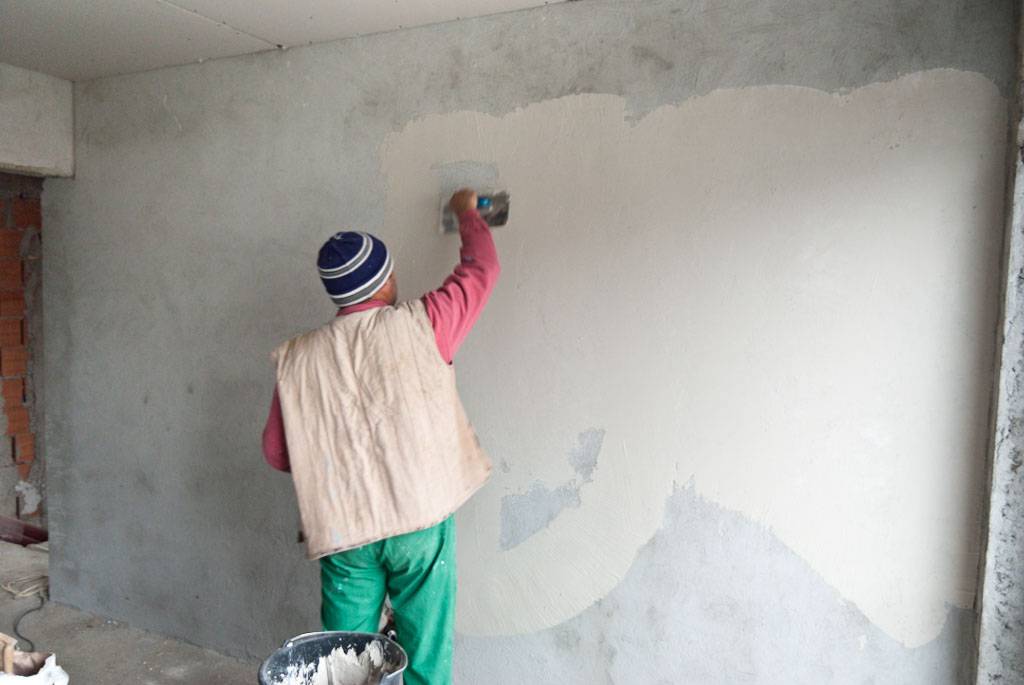
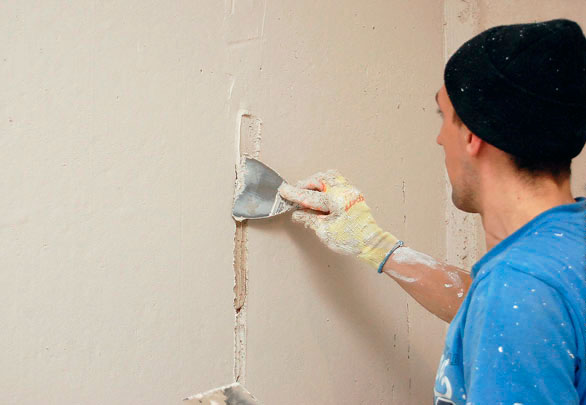
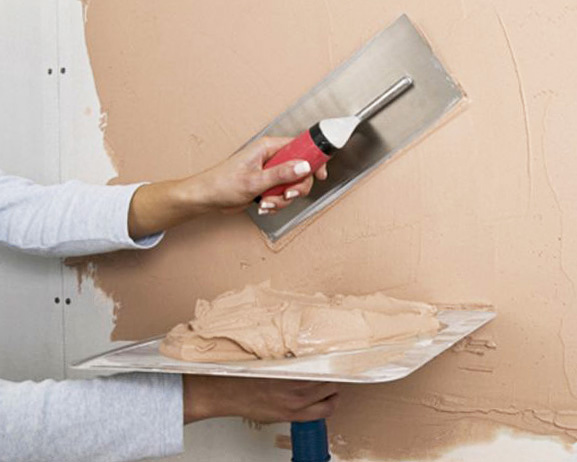
- Unprofessional. For novice builders, the second method is more suitable when the mixture is applied to the base with a wide spatula, and then smoothed with a smoothing pad.
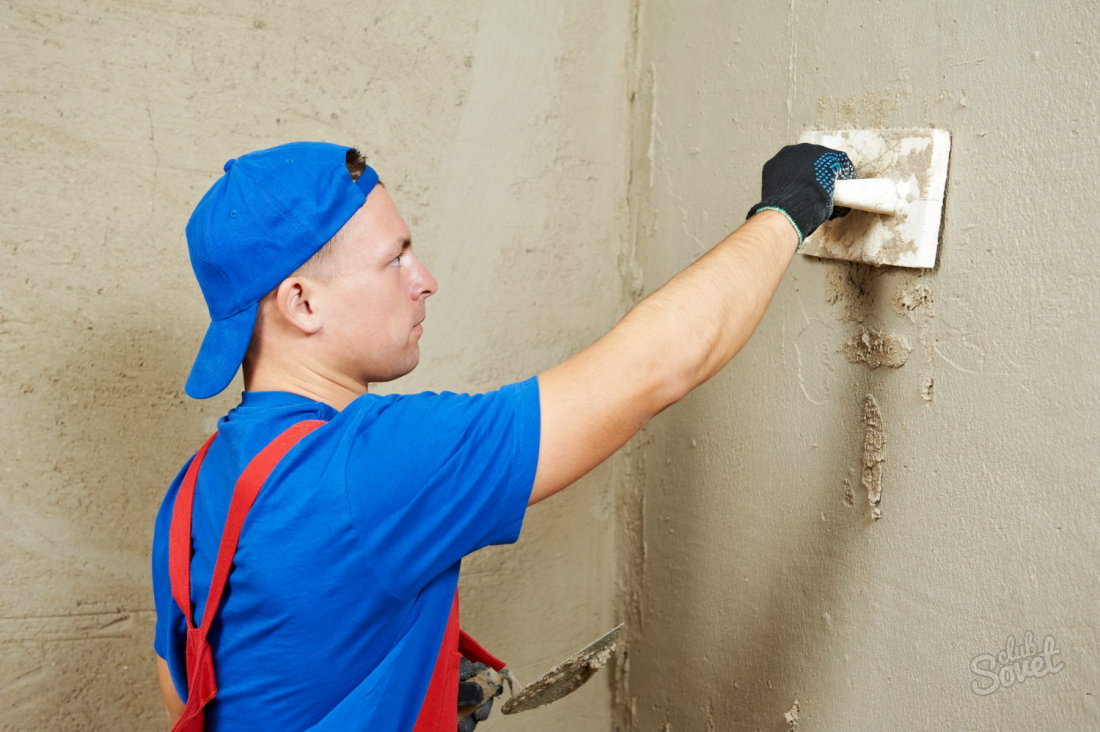
The technology of self-plastering walls is based on three stages:
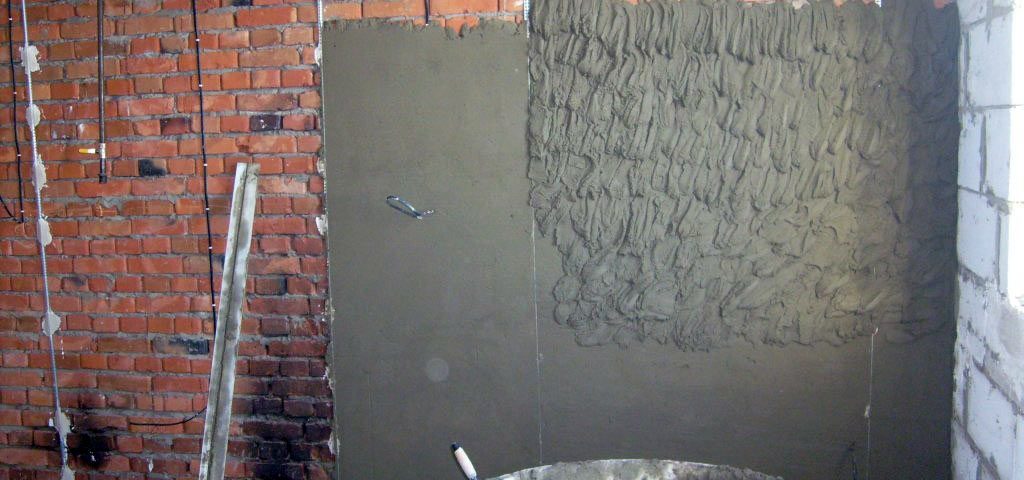
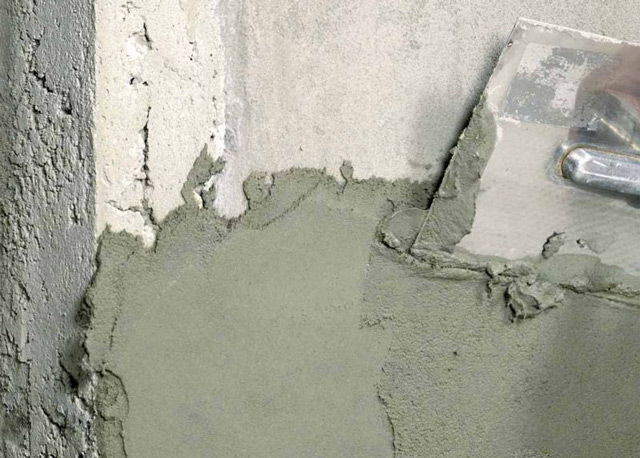
- Sprayed For the first stage, it is important to knead the solution correctly. It should be more liquid than for subsequent layers. The thickness must correspond to the type of material from which the base is made. Brick and concrete will fit up to 5 mm, and for wooden surfaces it is better to make a layer of 10 mm, because after performing the work, shingles should be completely covered. Experts recommend throwing plaster, because under the action of an impact, particles of the solution penetrate deeper inside the base, fill the voids better. Throwing the solution on the wall, it should be leveled. If blistering occurs during application, the plaster in this place must be removed, then reapplied and leveled. Otherwise, the repair threatens to result in falling out pieces of the dried solution in the places of the formed voids. Finishing at the initial stage does not require perfect smoothness.

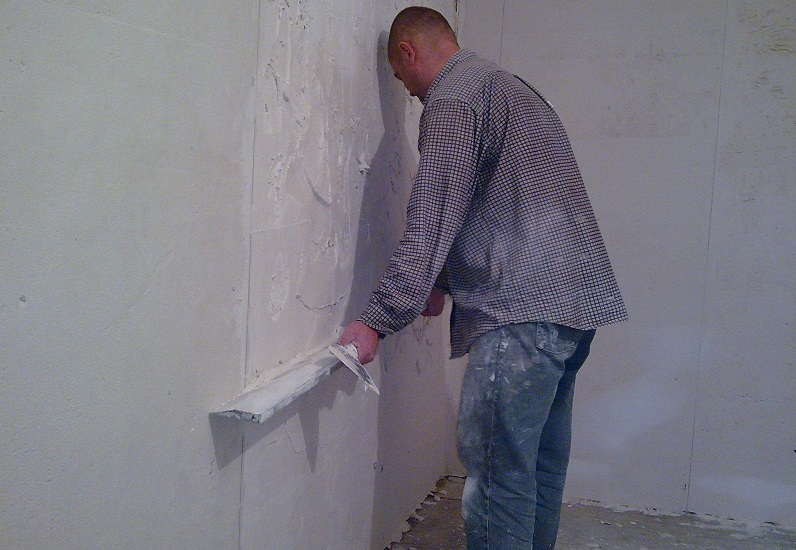
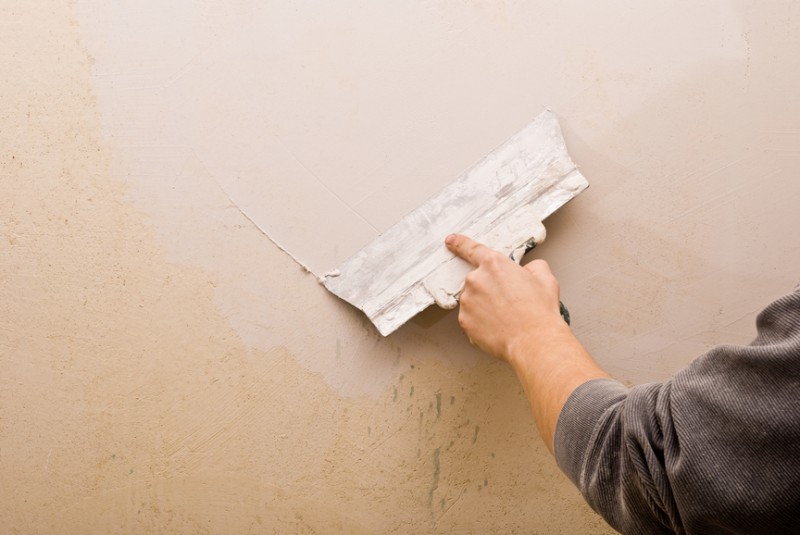
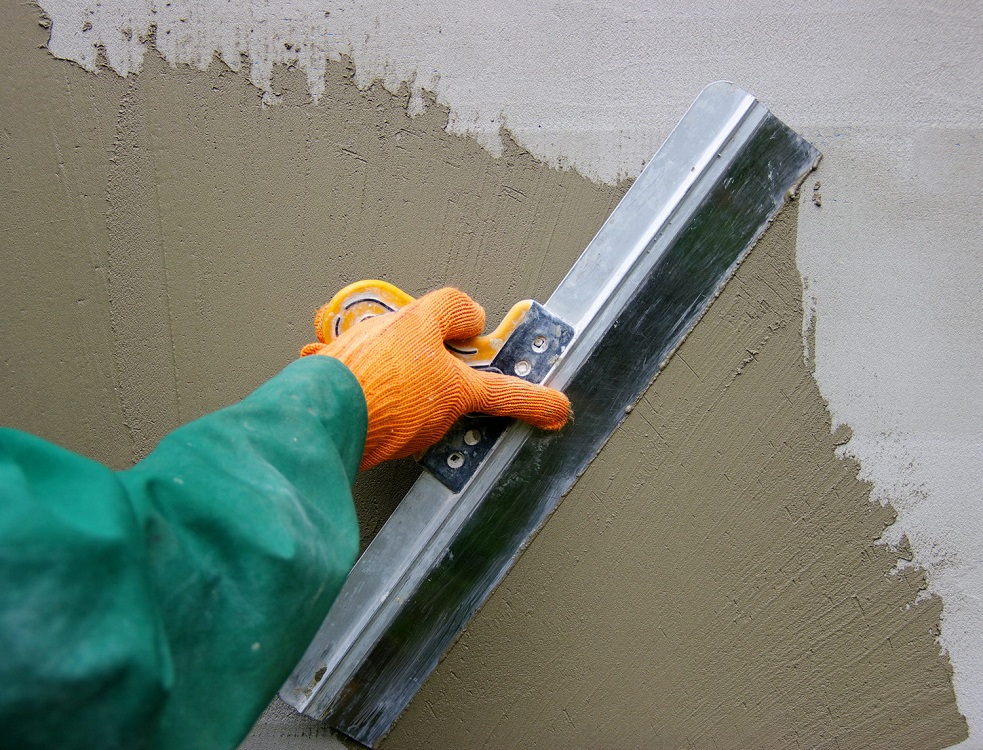
- Ground coat. Here you will need a thicker pasty composition. At this stage, it is extremely important to control the flatness of the plastering process during the process. Plaster mixture is applied with a wide spatula, stretched with a rule and a smoothing lever. The maximum allowable thickness of the second layer should not exceed 20 mm. As a rule, this restriction applies to wooden floors. For others, the indicator is even less.
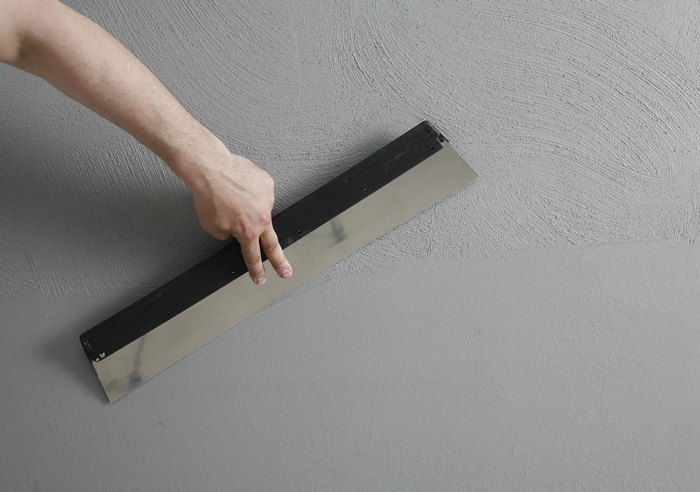
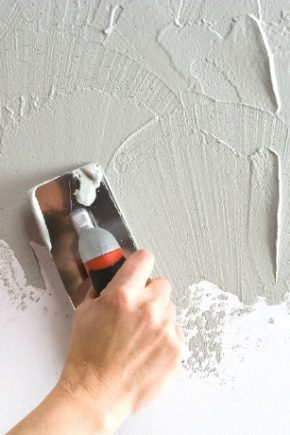
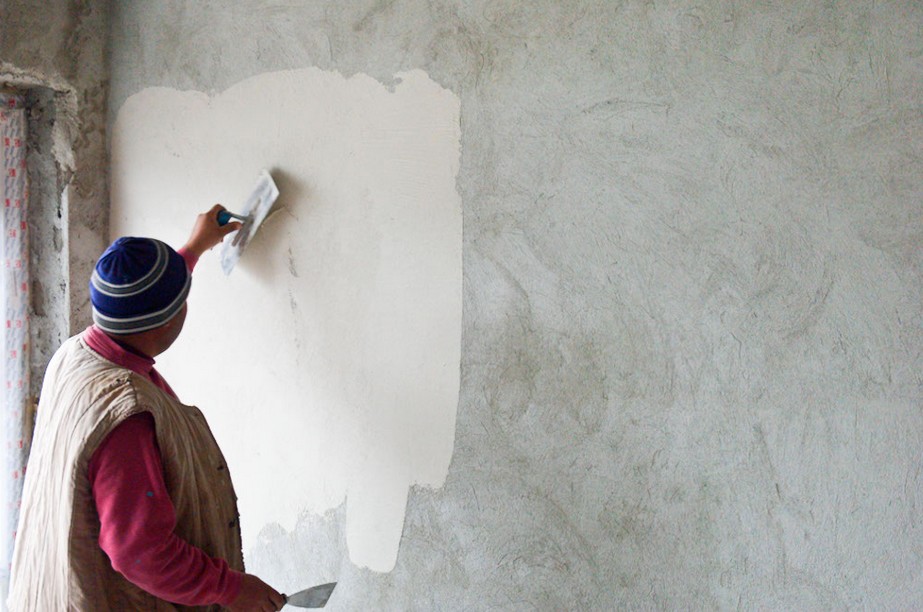
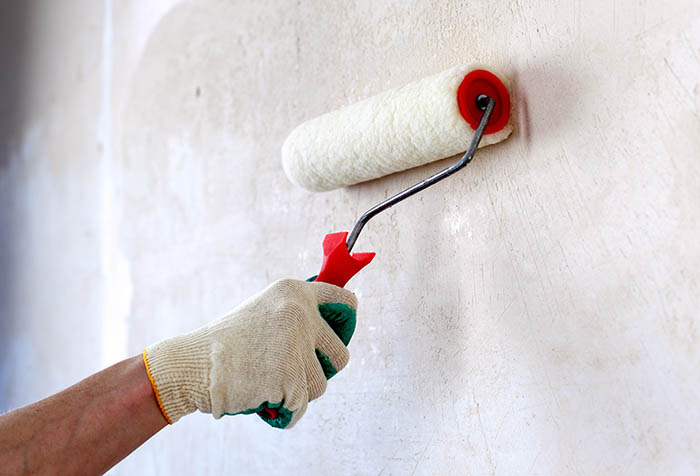
- Cover. The third stage is the finish. In this case, prepare a mixture of consistency, reminiscent of thick sour cream. It will smooth the last flaws of the soil layer and get a perfectly smooth surface. To obtain an even and plastic structure, all components are sieved through a sieve. It is not necessary to give the second layer completely dry, before applying it is better to additionally moisten it with a slightly wet roller. The thickness of the finish coating must be no more than 2 mm.
Leveling is done with a scraper in circular or wavy movements.
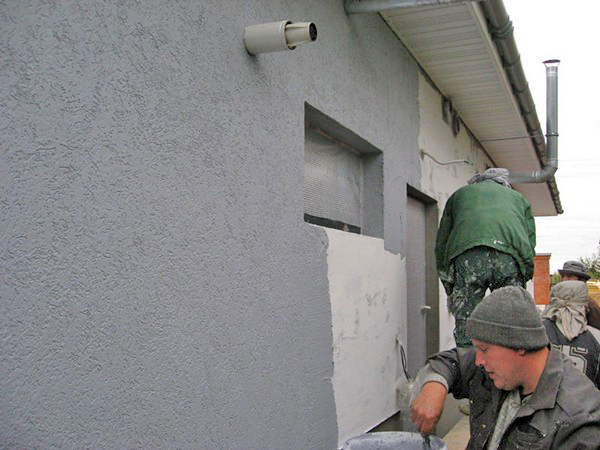
The technology of applying plaster on different materials may differ slightly from the standard. Therefore, it is necessary to follow the manufacturers instructions when purchasing ready-made mixes or to receive a preliminary consultation of specialists. For example, many high-rise buildings are insulated with foam plastics from the outside.However, mechanical strength and moisture resistance are not characteristic of it. It is better to protect it with plaster. However, the use of cement mortars in this case is contraindicated, as they destroy the penoplex. In this case, you need to choose a specialized mixture.
Often during interior decoration, it turns out that the floors are made of drywall. Before plastering it is necessary to first clean the coating with emery paper. Then it is necessary to apply a primer of deep penetration, and only then you can begin to finish the base with plaster. The main thing is that all layers be as thin as possible.
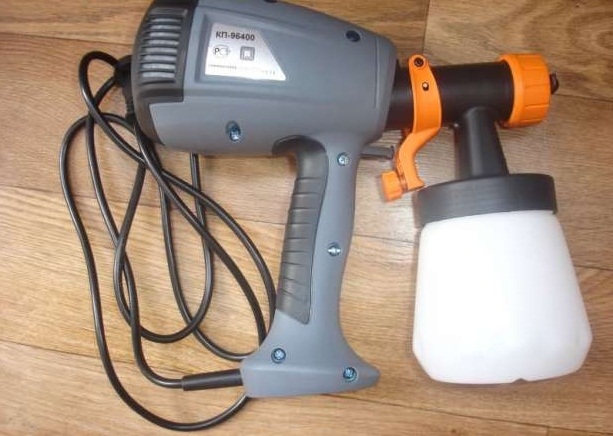
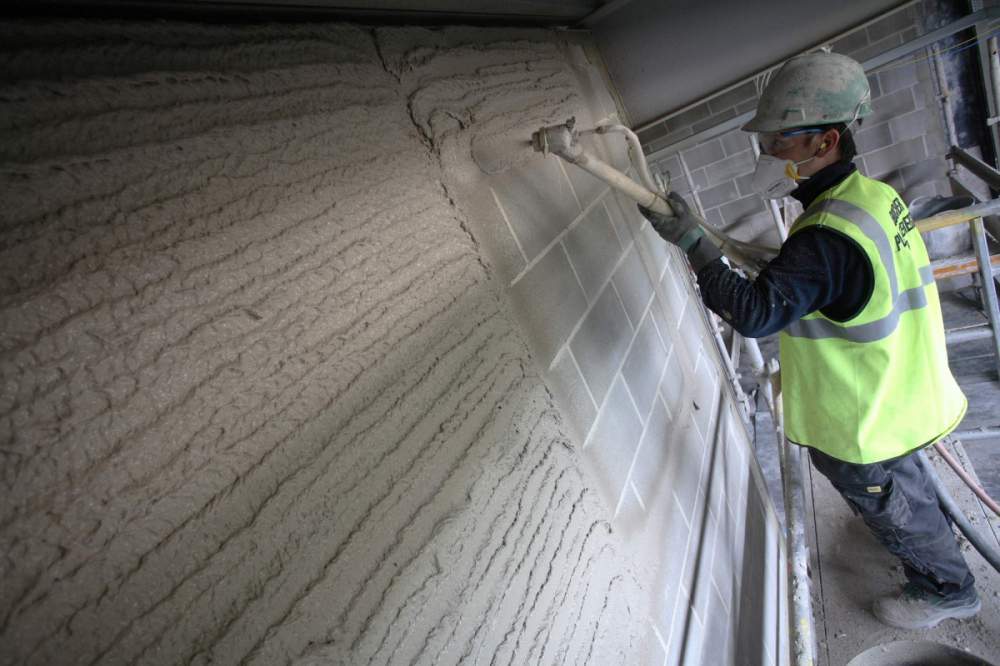
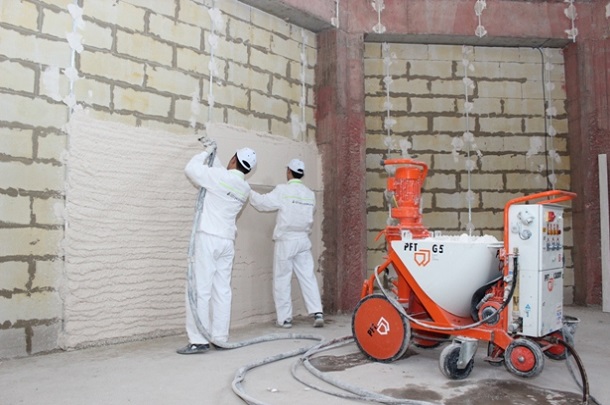
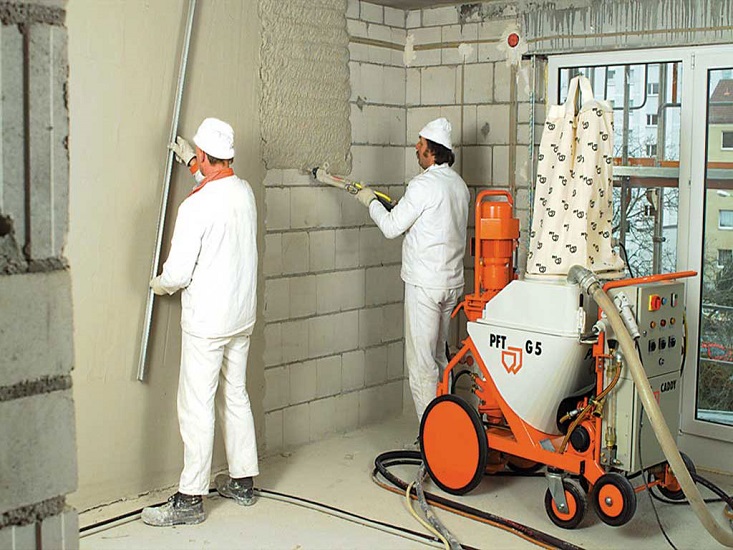
Machine application
With a large amount of work, companies use for plastering walls a specialized technique that allows you to speed up the process and improve quality. The principle of operation of this technique is the same for everyone. First, the ingredients are placed in a special compartment, the volume of which can reach up to 75 kg. The camera is connected to the power supply, automatic mixing takes place.
Plaster mixture is applied by compressed air to the base. The jet feed distance may vary.Experts advise to move from top to bottom stripes, making them overlap. The thickness of the layer can be adjusted. Finishing alignment is done manually using a rule or spatula.
The main advantages of this method:
- speed of work;
- reducing the cost of plaster (reduced consumption);
- reduction of labor costs for workers;
- improving the quality of the mixture (due to machine mixing, a more homogeneous structure is obtained);
- improved adhesion due to sprinkling under pressure;
- reducing the cost of additional preparatory and finishing works (the process instead of the three stages is limited to two).
Machine plastering is carried out with a special composition, which in addition to the base includes special additives and hardeners.
They cause the mixture to be uniform and prevent it from cracking after drying.

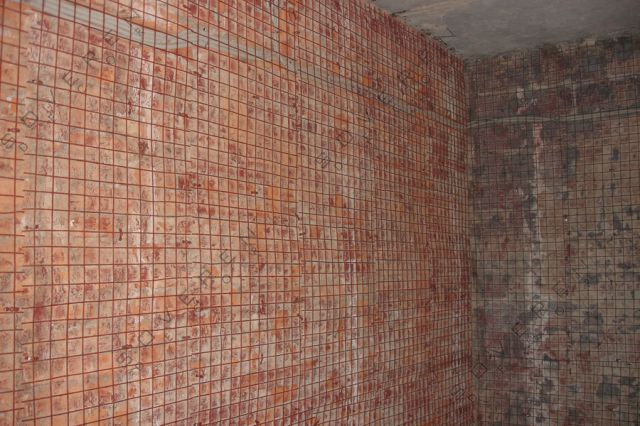
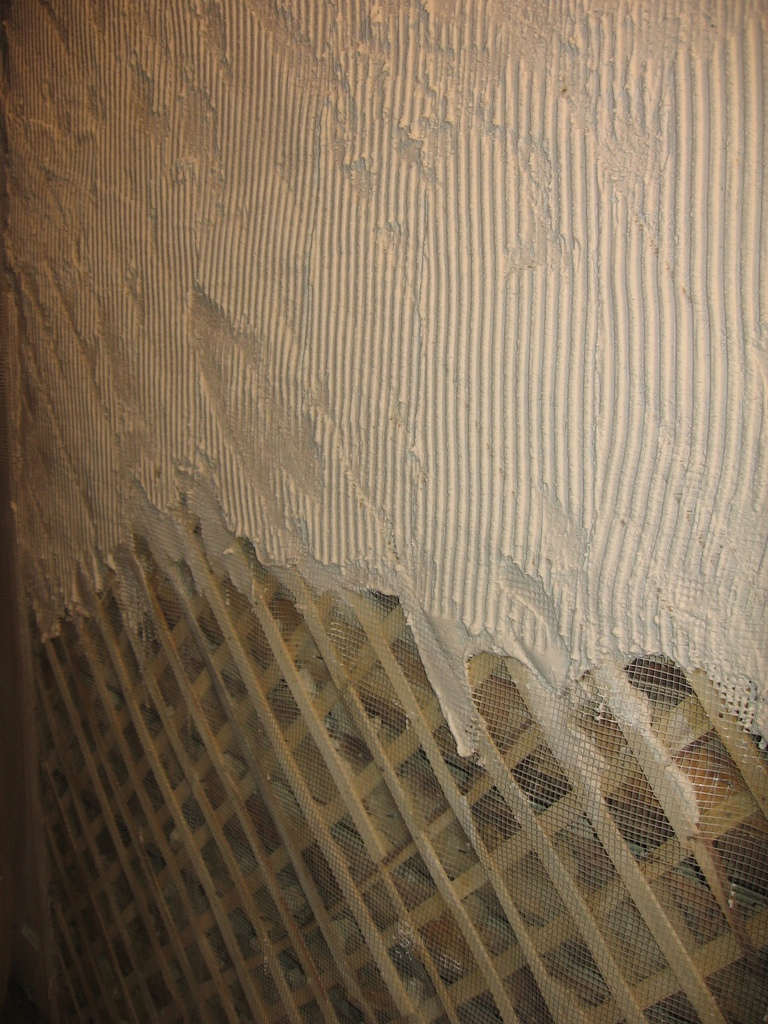
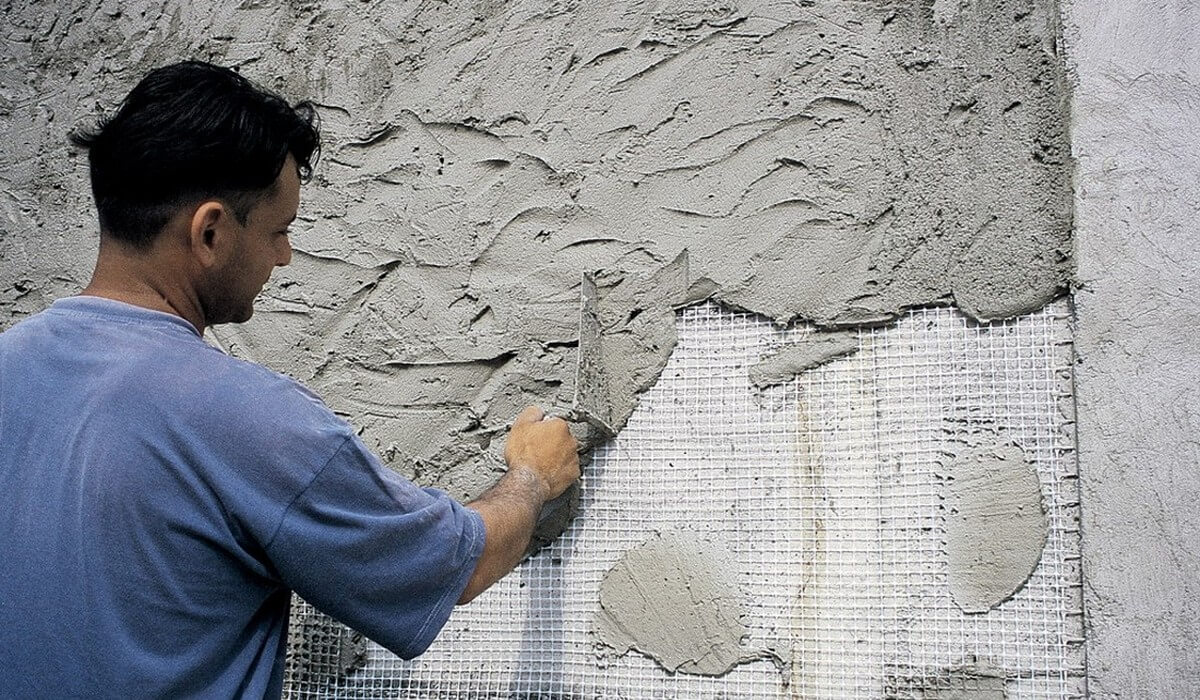
Mesh application
Reinforcement allows you to apply a thicker layer of plaster and prolongs its service life. Plastering smooth surfaces increases the risk that the plaster may fall off the wall after drying. Therefore, such bases are reinforced in the first place.The reinforcing mesh will increase the adhesion of the plaster to the surface.
If a thin layer is to be applied, it is better to use fiberglass nets. For a thickness of 2 cm metal fit.
The grid is pre-mounted on the base. In the case of using fiberglass fasteners carried out around the perimeter with gypsum or a thin layer of plaster. Installation always start from the top. The grid should not sag anywhere. The rest of the process of plastering is similar to the manual method described above.
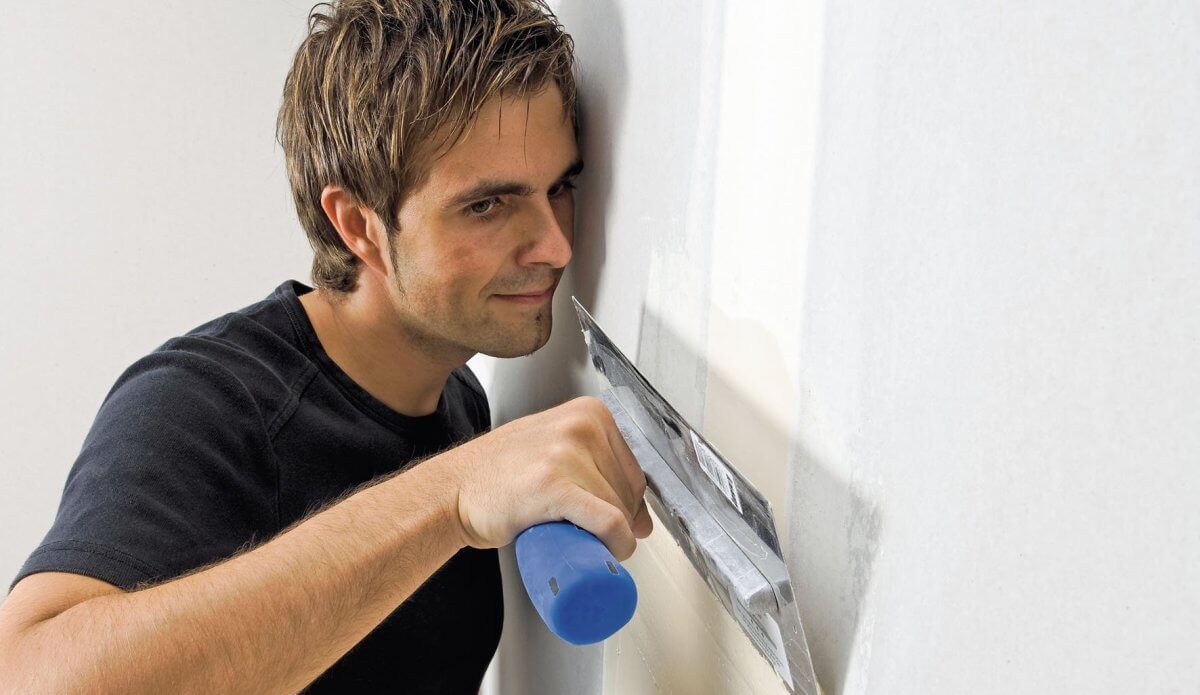
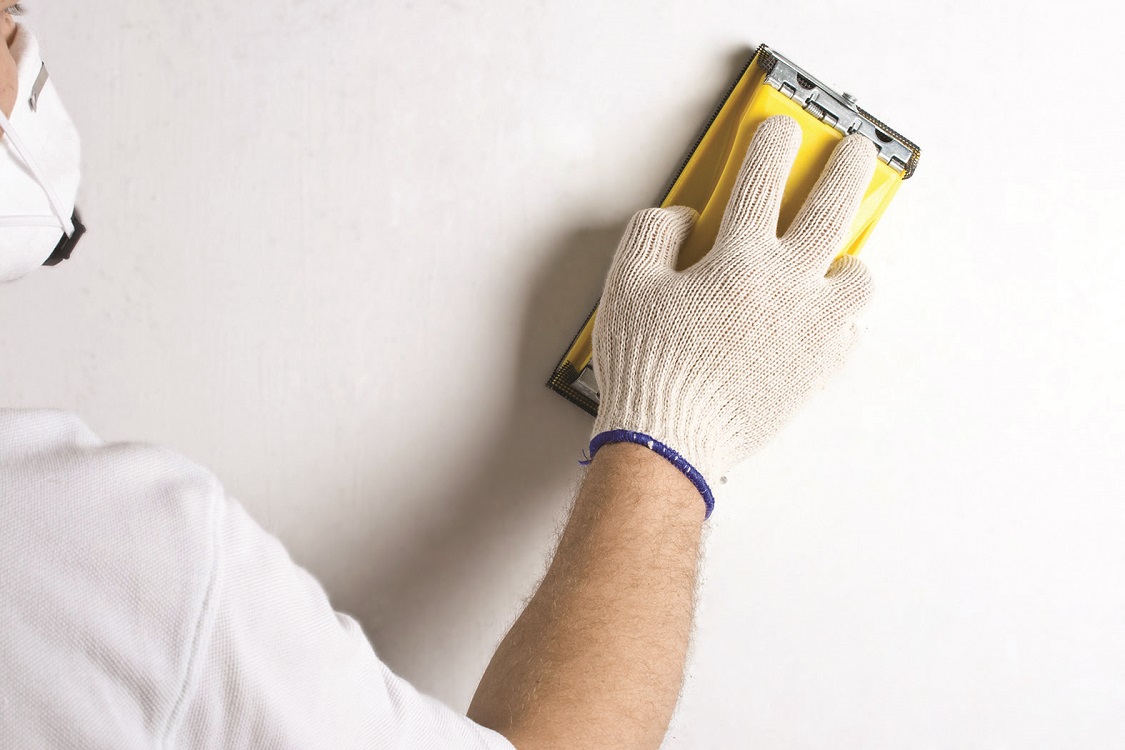
Grout
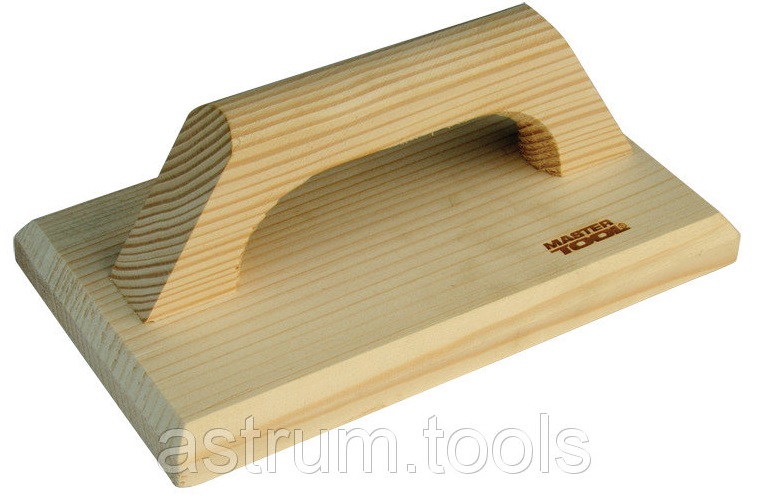
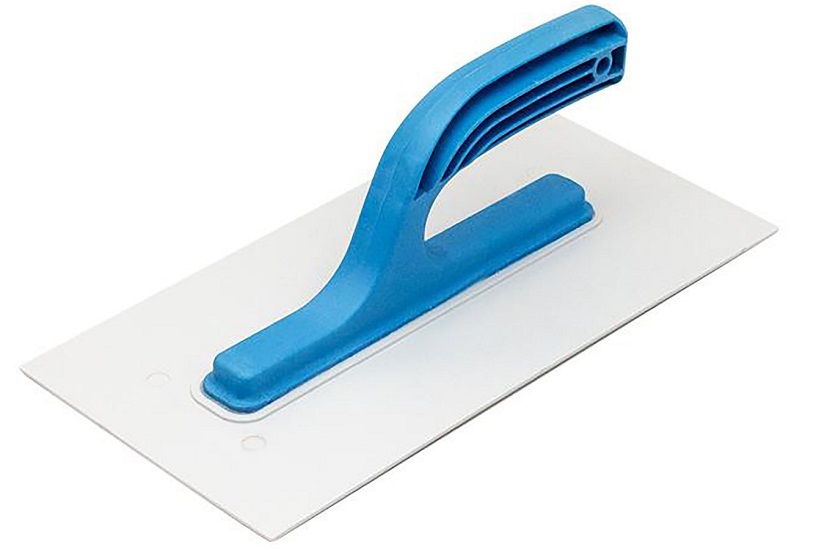
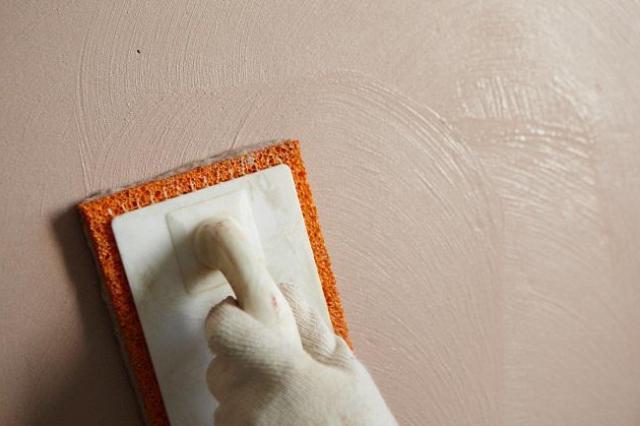
After the last finishing layer of plaster dries, proceed to the process of grouting. It is designed to eliminate minor defects, leveling and smoothing the surface. To do this, use a different grater, differing in size and materials of manufacture:
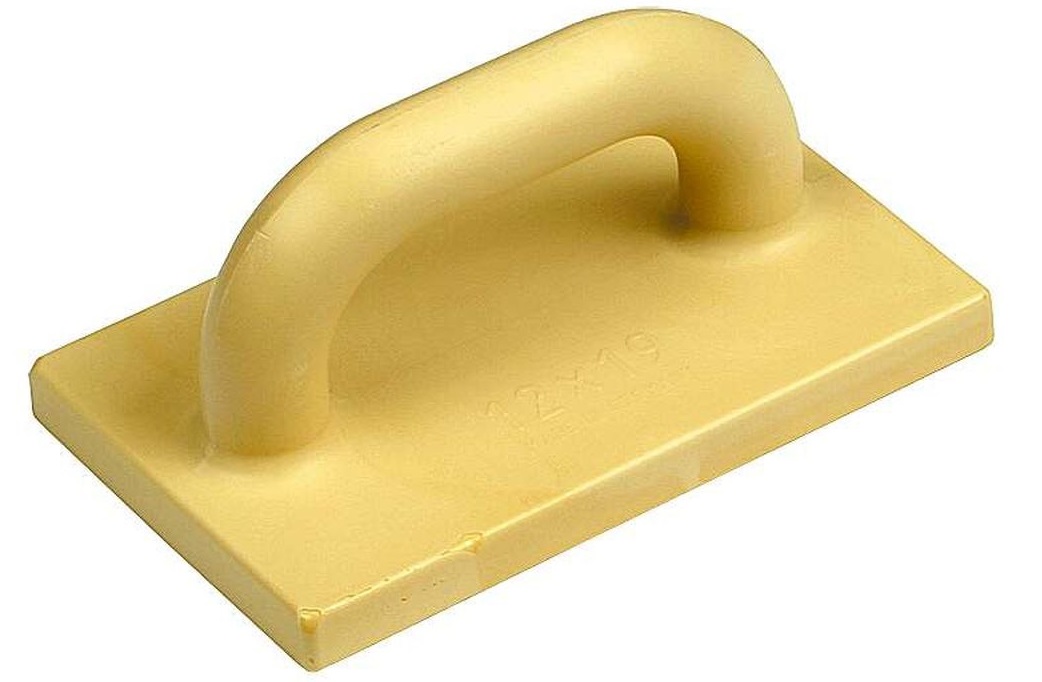
- Most often use wooden float, because they are suitable for cement and plaster solutions. The main disadvantages of such products are fast abrasion and deformation. The advantages include low cost and the ability to make them yourself from any wooden bar.
- A plastic grater is appropriate when grouting small areas.Experts use them to obtain embossed surfaces. To be able to use, you need a skill.
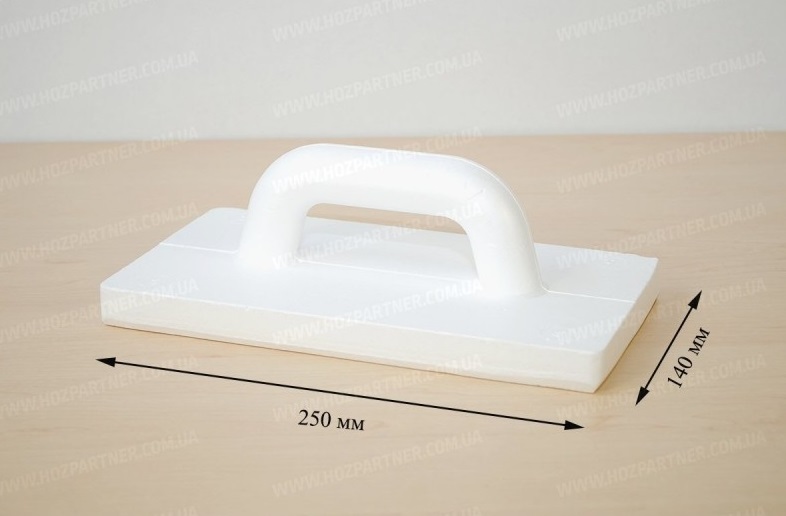
- Polyurethane trowel is lightweight, durable and easy to use. It is suitable for any plaster, has a low degree of abrasion. Its only disadvantage is the high price.
- Foam grater has a lot of advantages (low cost, ease, convenience). However, all of them overlaps the only negative - fragility. Therefore, it is mainly used for finishing grinding.
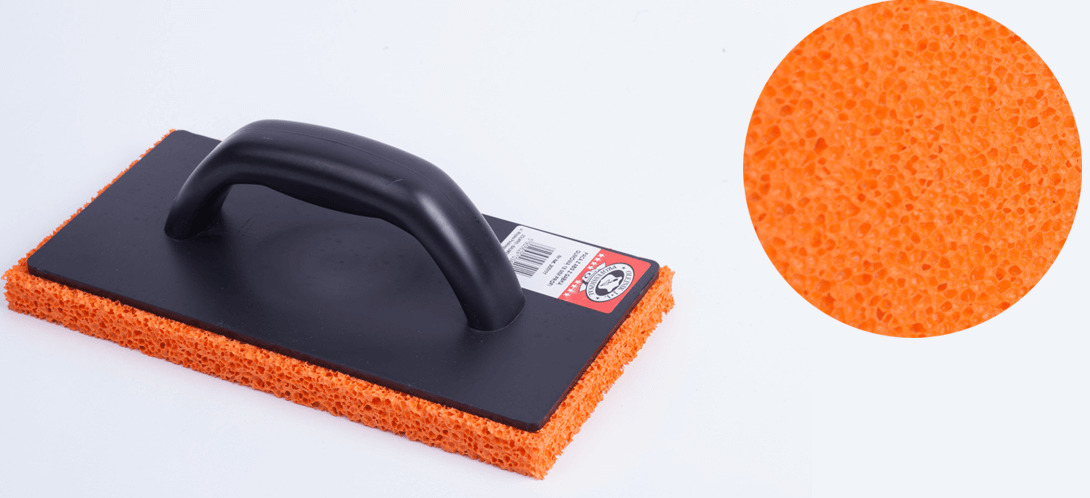
- Spongy trowels are made from various materials, including rubber and latex versions. More often used as a tool that forms a textural surface.
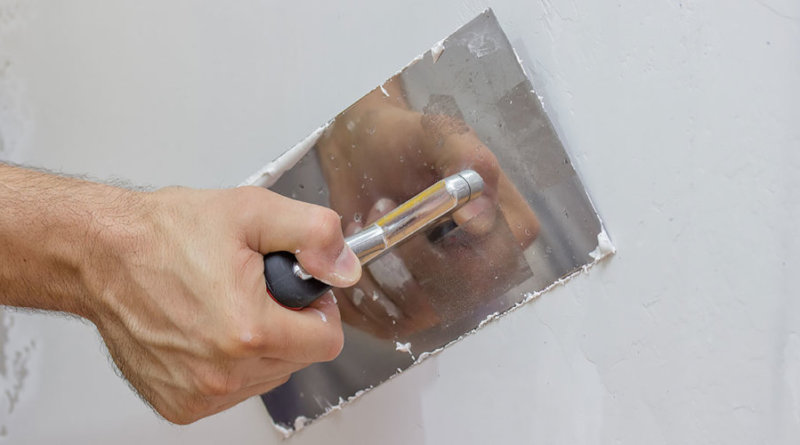
- Metal graters are necessary for compaction of the plaster layer, to obtain a smooth surface for painting.
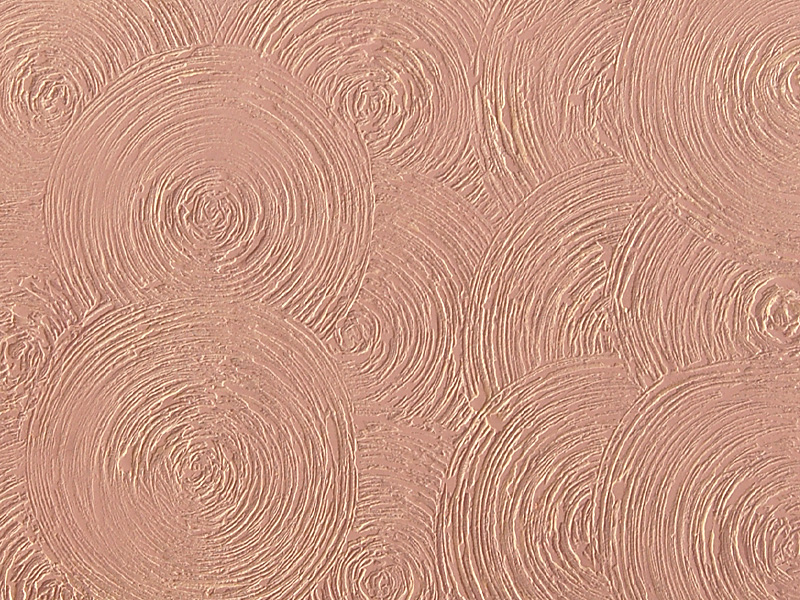
The technology is as follows. The ironer is pressed to the surface and in circular motions it is driven across the surface in an anti-clockwise direction. This method is called "round." It allows to compact plastering layers, but in this case it is impossible to achieve perfect smoothness.
If the top means decorative trim in the form of tiles, panels, the grout can be stopped at this stage.
To eliminate the traces of circular movements, make a direct sweep up and down. This method is called "overclocking". Experts note that the grout is necessarily carried out on a wet basis. At the same time the grater should be clean and smooth. Irregularities on the trowel or sticky chips can leave scratches. If the surface dries quickly, then wetting with a sprayer will improve the smoothing procedure.
If you need to get a perfectly smooth surface (for example for painting), take a grater covered with felt or felt and polish the base. If the grout is made in the process of applying decorative plaster, it is necessary to form a certain relief. In this case, it is relevant detailed instructions on how to display a texture based on. The full characteristic is always applied to manufacturers of decorative plaster.
There are 2 main ways of forming a pattern:
- When applied. On a previously prepared surface with a spatula put plaster solution in any order.An important factor is the thickness and uniformity of the layer. Additional alignment is not necessary. After application, you must wait until the mortar sets in such a way that it does not stick to the grater (about 20 minutes). Then the ironer dipped in water is smoothed out without pressing in one direction. Moisten the grater periodically.

- After drying the plaster layer. Decorative plaster is applied on the base with a thickness of 2-3 mm. With the help of metal rules are distributed over the entire area, simultaneously eliminating all transitions and defects. After giving the surface a rest for 15-20 minutes. For grouting use plastic graters. A clear beautiful picture will appear only if you move in one direction. At the same time they can be any: circular, vertical, diagonal, wavy. Grater must be moistened during the troweling work, as well as cleaned from adhering dirt. After grouting, the coating is sanded with a foam trowel.
Tips
To get the expected result, a beginner needs to follow the advice of professionals. Usually the path to competent performance of work is based on several components. TO These include:
- high-quality plaster solution;
- proper mixture preparation;
- the storage conditions of all components of the composition.
- It is important at the very beginning of work to determine the purpose of plastering. You can simply align the walls in order to later finish the tiles or other finishing materials. Sometimes you want to achieve maximum smoothness (for example, when preparing walls for painting).
- Before starting work, the surface must be cleaned and primed. Deep joints between honey panels should be zenenit.
- In the process of plastering is important temperatureas well as humidity in the room. Work can be performed at a temperature of 15 to 20 degrees in the presence of dry air inside the house. In hot climates, you will have to constantly moisten the plastering layer. Otherwise, it will dry out and crack quickly.
- Cement is considered a universal component of plaster. It is used for exterior interior work. If the owners are not sure or do not know which option to choose, it is better to start with cement-based plaster.
- Brick walls are plastered depending on the circumstances. It is better to use cement for exterior work; it is acceptable to use gypsum mortars for interior decoration. Facing bricks should be reinforced because it is too smooth.
- Penoplex cement mixtures are not suitable because they corrode it.
- Wooden walls before applying the plaster pre-covered with shingles.
- For leveling surfaces, it is better to use the beacon plastering method.
- If you need a thick plaster layer, then it is applied in several approaches, allowing each previous layer to dry.
- Monolayer coating level immediately after applying the plaster.
- When plastering a concrete or brick surface, the adhesion of the composition to the base occurs not only mechanically, but also due to a chemical reaction. However, gypsum does not have a second property. It is held mechanically on the wall. If the area to be treated is subject to vibrating or shaking, then there is a risk that the gypsum plaster will fall off. You can use various fillers (synthetic or natural fibers, stone chips, glass, beads, sawdust) to impart a texture to the base using plaster.
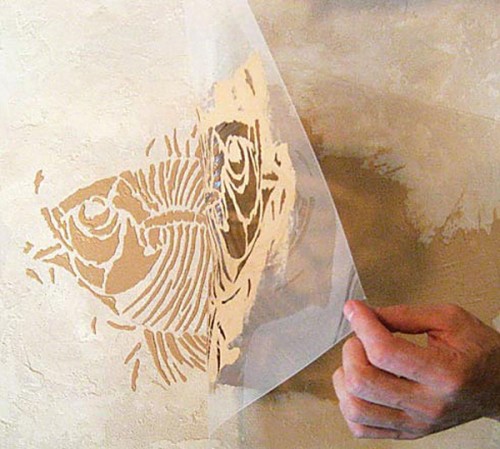
- If you need to get three-dimensional drawings easier to apply a stencil.
There are technical requirements that apply to the thickness:
- For single-layer plaster of any composition (except plaster), a thickness of up to 20 mm is permissible. For gypsum - up to 15 mm.
- When forming a multi-layer plaster without synthetic additives, there is a dependence on the type of base material.
- The “splash” for brick and concrete surfaces is 5 mm, for wooden - up to 9-10 mm.
- "Soil" on a cement basis is allowed up to 5 mm, for lime and gypsum solutions - up to 7 mm.
- The “covering” layer of ordinary plaster can be up to 2 mm thick, for a decorative variant it can be up to 7 mm.
About what you need to know about the calculation of plastering, see the following video.